


Software & Tools
Houdini
Procedural Modeling, Simulation, Rendering
Build 21.0.440
Free Non-Commercial License (Apprentice)


Bambu Studio
Slicer workflow for print profiles, supports, and machine-ready G-code generation.
Desktop Slicer
Open Source (AGPL)
PrusaSlicer
SLA and FDM slicing for layout, resin profiles, supports, and export-ready print files.
Version 2.9.4
Open Source (GNU AGPLv3)
SLA-Printing Jellyfishes
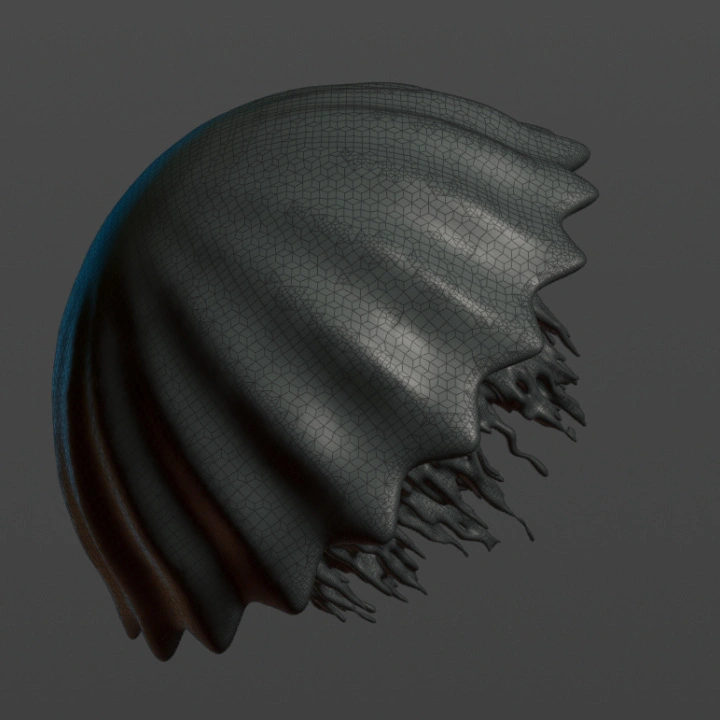
Creating Jellyfish
For the jellyfish, I used Houdini to quickly build a simple procedural generator. This allowed me to produce slightly varied jellyfish, so that no two shapes are exactly alike and their sizes differ subtly. I created 20 jellyfish models and exported them as separate files. The same approach was applied to the air bubbles.
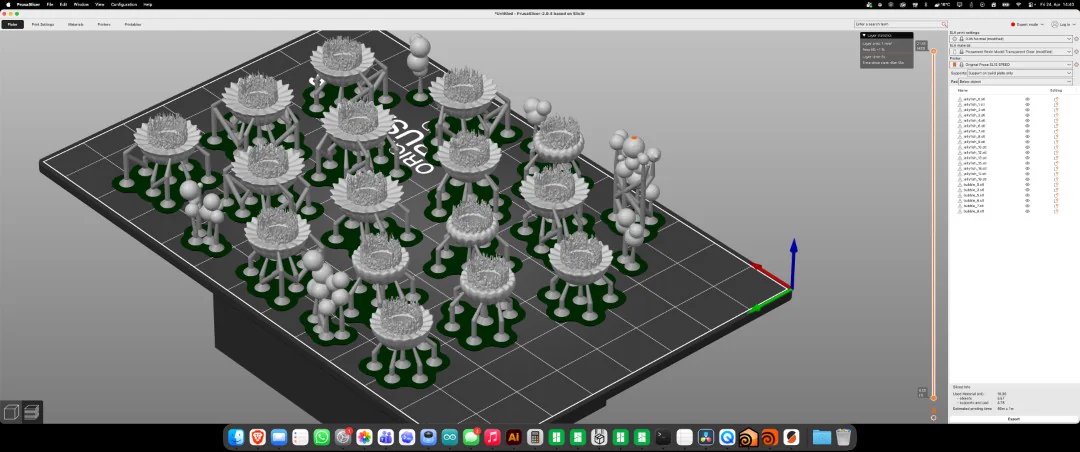
Preparing for 3D Printing
I installed PrusaSlicer and configured it with all the Prusa printers available in our lab, including the SLA printer. All pre-configured Prusa materials were added to the software.
After setup, I dragged all 30 shapes into the software and arranged them using the layout tool on the print bed. Some jellyfish were removed due to mesh errors caused by the rapid generation, as were some bubbles that were too small.
For the remaining models, I set them to print with supports on the baseplate and selected transparent resin from Prusa. The only custom setting I adjusted was the exposure time for the first few layers, which I set to 20 seconds to ensure proper adhesion to the build plate. After slicing, the files were ready for printing.
The procedural workflow was fast, but not every exported model was printable. I removed fragile or broken shapes in PrusaSlicer before slicing to reduce failed details on the build plate.
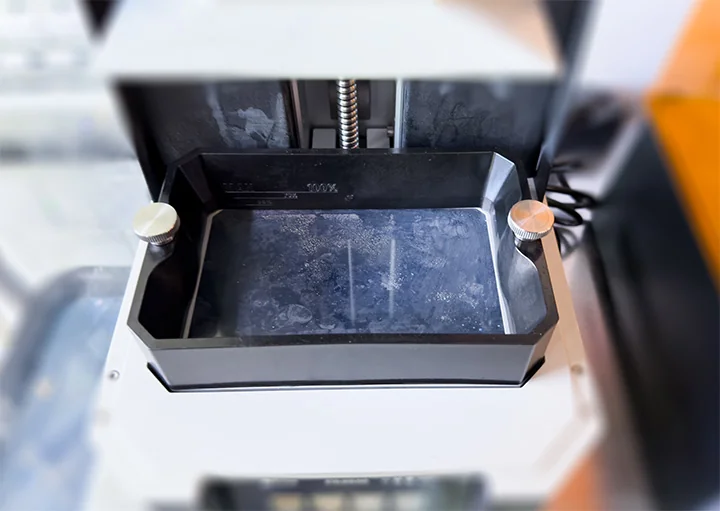
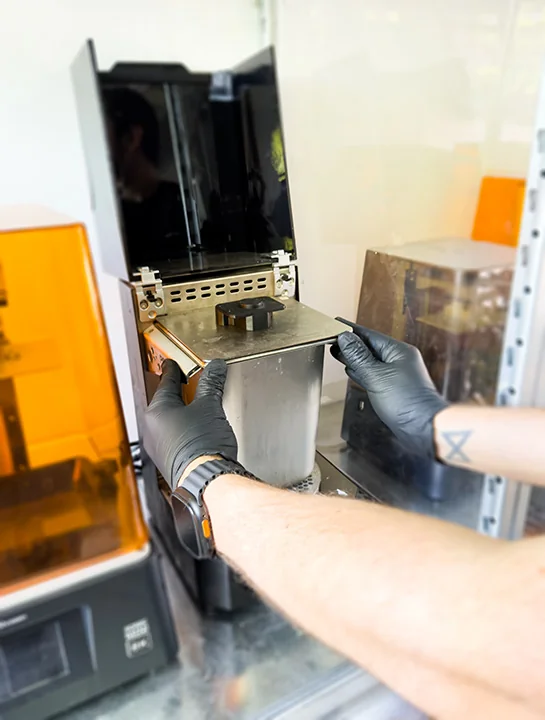
Before printing, the printer must be properly prepared. The resin tank is removed and cleaned thoroughly with isopropanol, as is the print bed. Once clean, the parts are placed back into the printer, and the tank is filled with the chosen resin up to approximately 70% capacity.
The sliced file is then loaded via USB into the printer. Once recognized, the print preview pops up, and the print can be confirmed to start.
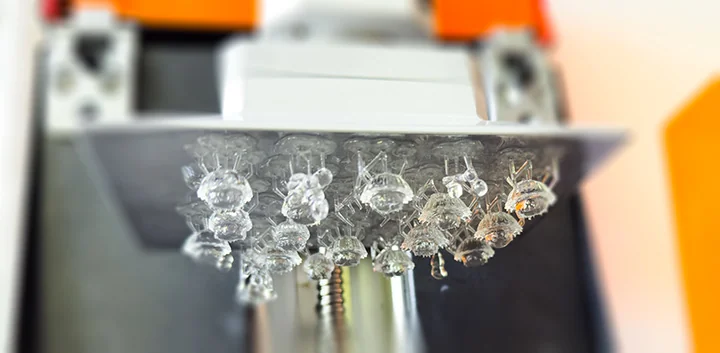
Unlike FDM printing, SLA printing is less affected by the number of objects, because SLA printers use a UV light screen that cures an entire layer simultaneously. Each layer is exposed to UV light according to the sliced image, which ensures even curing regardless of how many objects are printed on the bed.
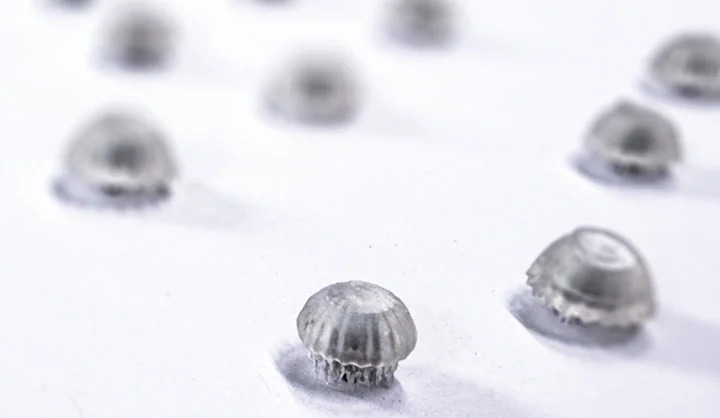
The print ran for about 45 minutes. Unfortunately, some jellyfish tentacles were only partially printed, which I anticipated due to their thin geometry, but it was still worth testing.

Very thin tentacles can partially fail during SLA printing, especially when the geometry is generated quickly. For a production version, these details should be thickened or supported more carefully.
Post-Processing
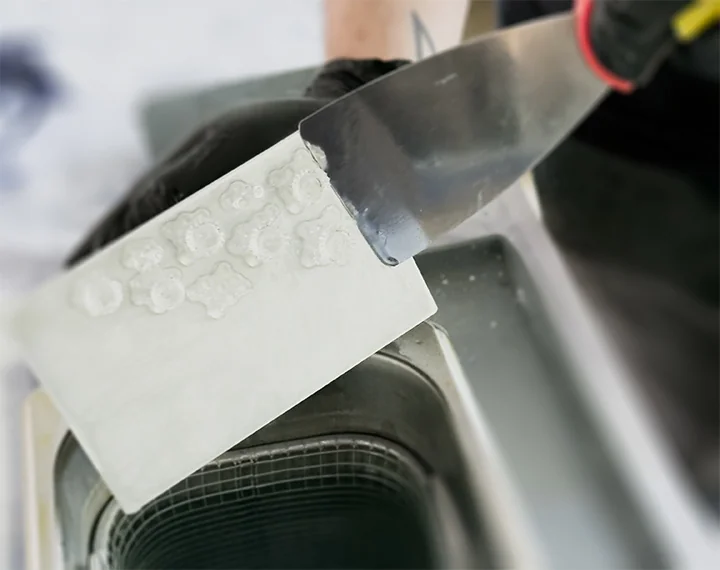
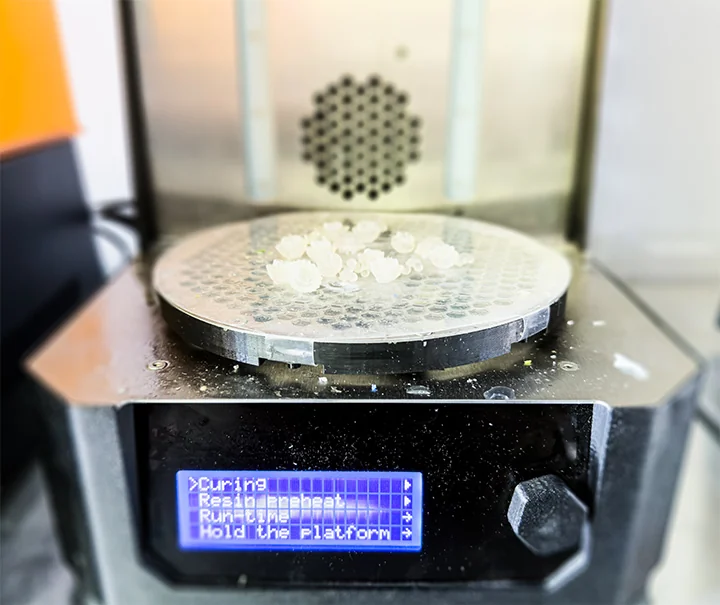
After printing, the parts are removed from the build plate and placed in an isopropanol bath for washing. The Prusa Washer can then be activated, running for 3 minutes, to remove any residual resin from the surfaces.
Parts are then carefully removed and dripped dry. A pre-cure under UV light is performed for 3 minutes while the supports are still attached. Afterward, the supports are removed, and the parts are cured again individually to ensure that areas previously covered by supports are fully hardened.

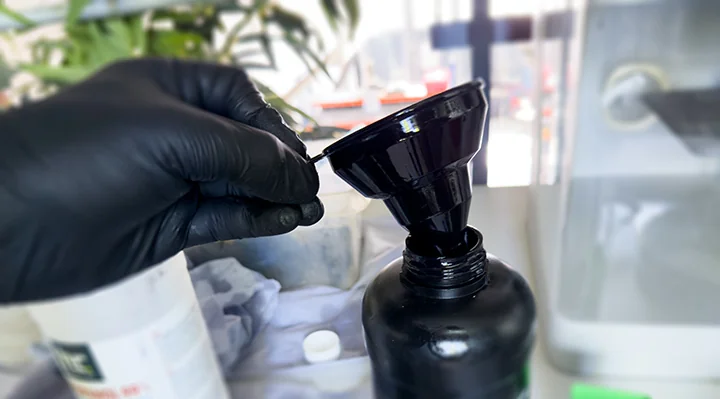
Finally, the prints are ready, but SLA printing can be messy. Excess resin should be collected and stored safely, while hardened supports are discarded. The printer, tank, and tools like spatulas or tweezers are thoroughly cleaned with isopropanol. Fresh resin must always be protected from light exposure, as sunlight or UV can cause it to yellow or cure prematurely. Transparent SLA resin naturally tends to yellow over time, which is accelerated by exposure to UV or sunlight.
Uncured SLA resin should be treated as hazardous material. It should not touch skin, should not be washed into the sink, and should be kept away from uncontrolled UV exposure until it is safely cured or stored.
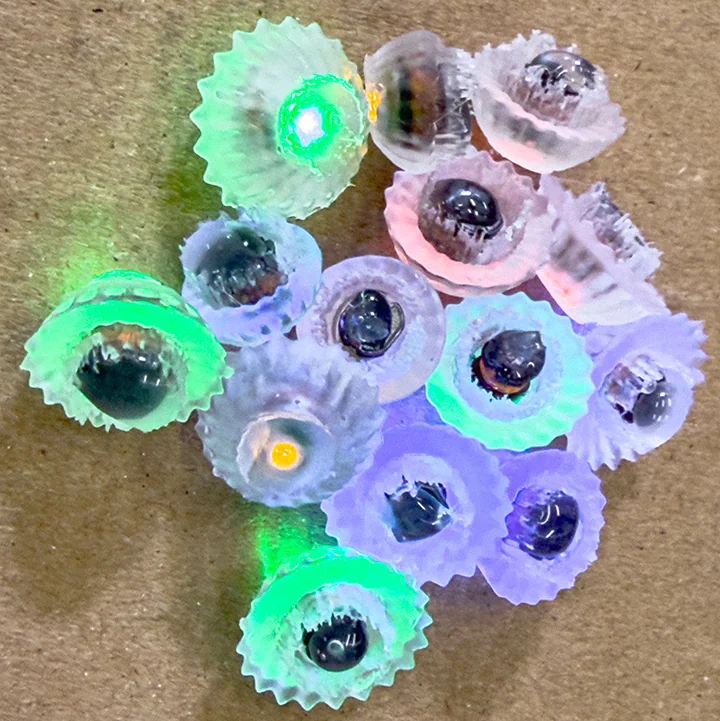
Assembling the Jellyfish LEDs
Once the jellyfish prints were ready, I attached the wireless LEDs using hot glue. After a few tests, hot glue proved to be the best solution, as it allowed the light to scatter and diffuse naturally through the jellyfish shapes. Using epoxy or super glue caused the LED and the jellyfish to appear fused together, which did not achieve the desired glowing effect.
Creating a Mold
Preparing the Mold
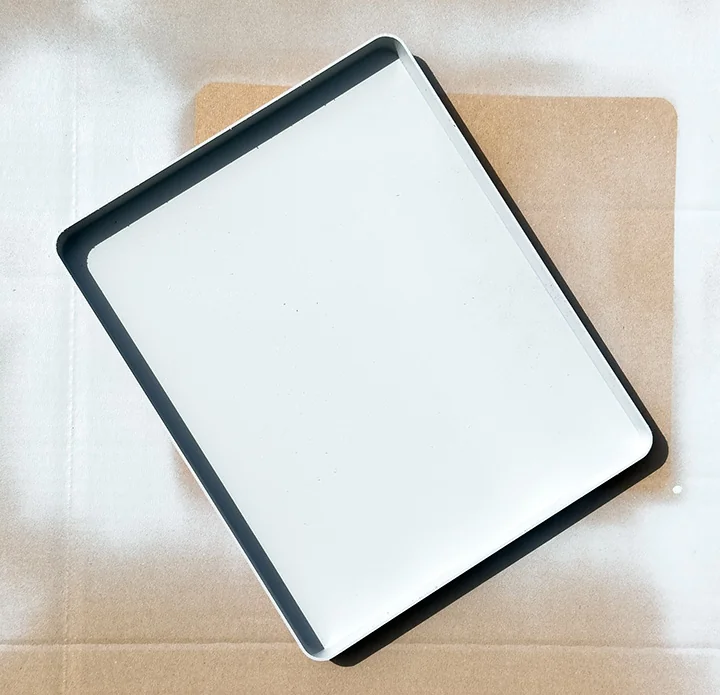
With all components ready, I prepared the mold. Since I was making a mousepad, the shape was not particularly complex. I considered creating a more intricate mold, but could not find a practical or aesthetically pleasing design for this use case, so I opted for a rectangular form. The corners were rounded, and the top edges were slightly tapered to make it easier to remove the cast later.
The mold was 3D-printed, although alternative methods such as CNC milling would have been equally feasible. Regardless of the manufacturing method, the mold needed post-processing to eliminate visible layer lines. Initially, I planned to apply a thin layer of epoxy to smooth the surface, but due to curing time, I decided to use spray filler (from the automotive industry) instead.
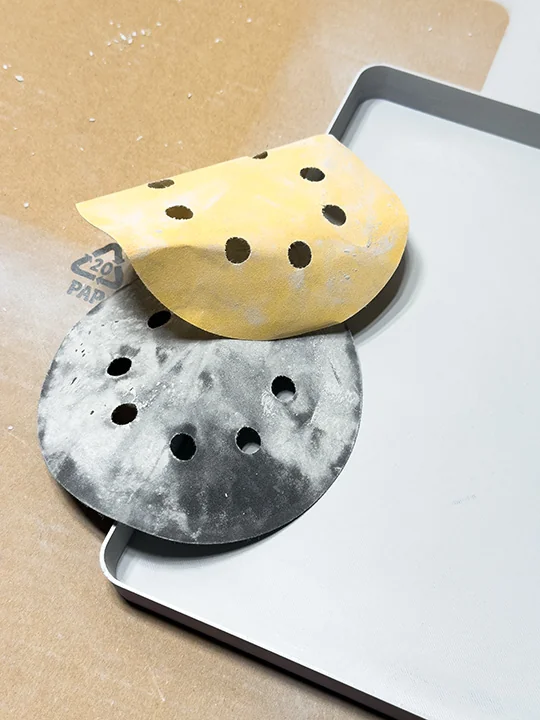
I carefully sprayed the printed mold; the design meant very few layer lines were visible. After drying, I sanded the surface with 260 and 400 grit sandpaper, removing imperfections and leveling the spray filler. Even though some layer lines remained slightly visible, they could no longer be felt by touch, which made the mold ready for the epoxy casting.
Casting Epoxy
Casting the Epoxy
The epoxy used in our lab (Toolcraft Epoxy L and Toolcraft Hardener L) has a maximum recommended pour thickness of 8 mm per layer. After some research, I decided to use 4 mm layers to ensure proper curing and avoid excessive heat buildup.
Although the datasheet allowed up to 8 mm, I used 4 mm layers to lower the heat buildup and keep the transparent casting cleaner. This also made it easier to position the jellyfish between layers.
Epoxy consists of two components: resin and hardener. When mixed, an exothermic reaction occurs, releasing heat. Laminating resin is designed to cure quickly, which increases both the temperature and reaction speed compared to standard casting resin. The maximum temperature is usually reached about 2 hours after mixing, when the material transitions to a gel-like state.
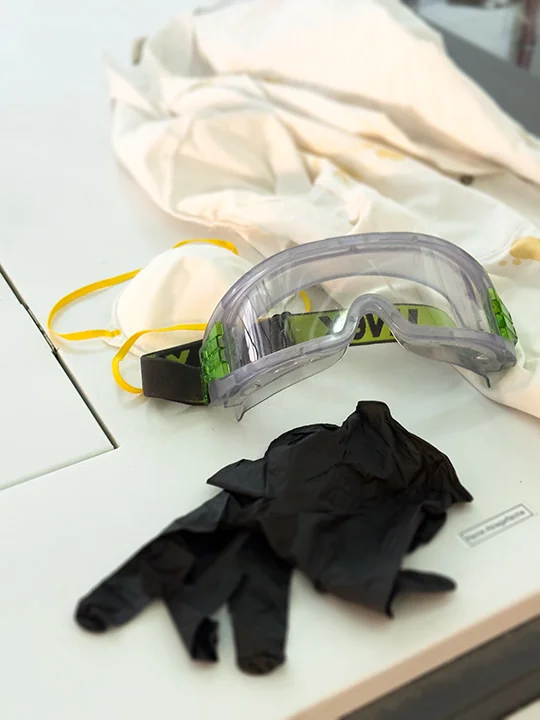
Safety precautions are critical: epoxy must not touch skin, hair, or eyes. Proper PPE is required, including gloves, goggles, a lab coat, and a mask. Because of fumes, epoxy should only be poured in well-ventilated areas or outdoors.
Epoxy and hardener can irritate skin and produce fumes during mixing and curing. Gloves, eye protection, protective clothing, and good ventilation are not optional for this step.
For proper curing, the ambient temperature should be above 12 °C. Once mixed, the epoxy and hardener have about 45 minutes before significant curing begins. Our specific epoxy mix required a 100:40 ratio (100 parts resin to 40 parts hardener). Based on the mold size, I calculated the required quantities: 166.4 g resin and 66.6 g hardener. The resin was mixed thoroughly for one minute, then the hardener was added and stirred for three minutes.
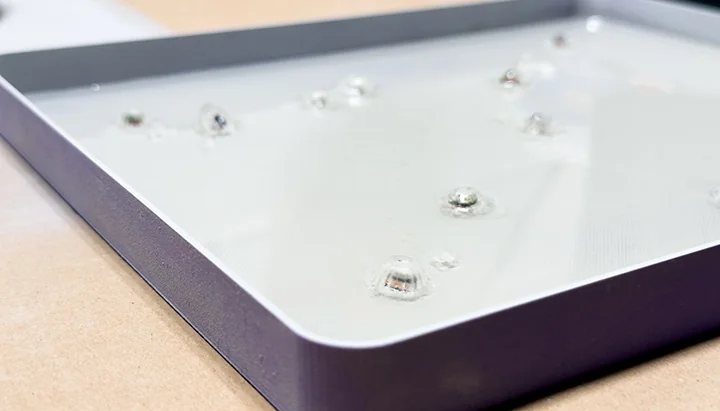
Before pouring, I sprayed the mold with a silicone release agent to aid in demolding. The first layer of epoxy was poured carefully from one side, allowing the material to flow naturally and cover the mold evenly.
Once the first layer had settled, I carefully positioned the jellyfish LEDs and SLA-printed bubbles into the epoxy.
Layering and Curing
After approximately 5 hours, the first layer reached a gel-like solid state, indicating it was ready for the next layer. At this stage, the epoxy no longer stretches into threads when touched with a gloved finger, but still remains soft enough to bond with the next layer. This ensures a seamless transition between layers while avoiding excessive heat, which could discolor the material or deform the mold.
Since my mold was 16 mm high, I repeated this process four times. By the third layer, the jellyfish were completely embedded.
After the final layer, the epoxy was left to cure fully for about 24 hours before demolding. Once hardened, the epoxy block could be sanded and polished, optionally using wet sanding for a clearer, more transparent finish. After this step, the mousepad was complete.
The Deep Tide Mouspad
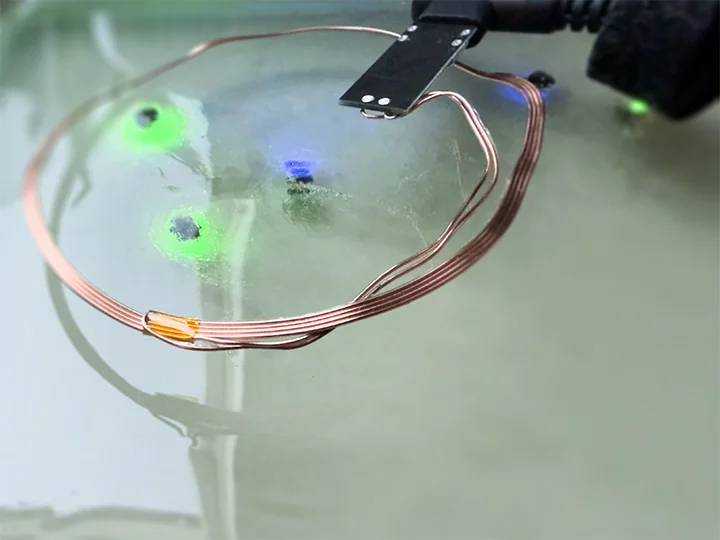
Mouse Mount and Coil Integration
To use the mousepad, I needed a mount for the mouse, which allows the embedded coil to interact with the LEDs. I 3D-printed a mount that holds the coil and connects via USB-C for power.
To model the mouse shape, I scanned the mouse on a slightly translucent green acrylic plate to capture depth information. The scan was traced in Photoshop using the Pen tool, exported as an Illustrator 8 file, and imported into Houdini as a path. The model was uniformly scaled based on its width, which provided the most accurate reference for the mouse’s proportions. Height was already correct, so uniform scaling was sufficient.
For this proof-of-concept, the mount was temporarily attached with double-sided tape, but future iterations could integrate the mount more seamlessly into the design.
The casting is still curing. Even after more than 48 hours, some areas on the surface and edges are still partially gel-like. Because I touched the surface during testing, it is no longer perfectly clean and may need to be planed, sanded, and polished later. This is a task for the future, but I will update this as soon as possible.
Houdini Sweets
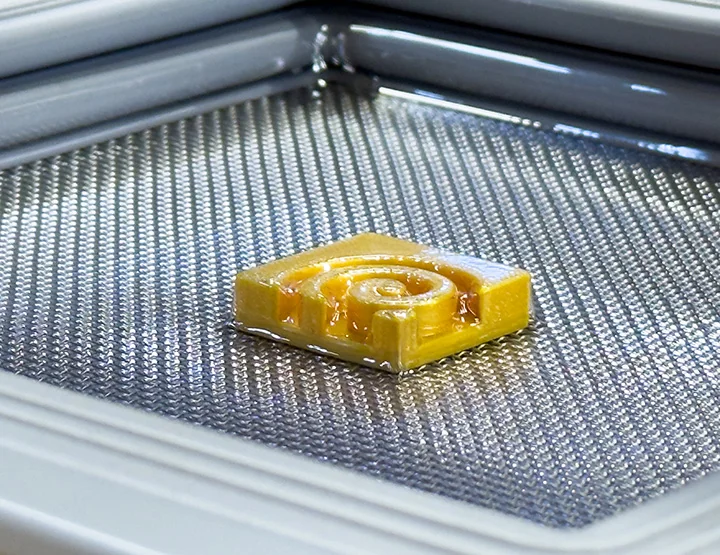
I also decided to make another cast, this time out of chocolate. And of course, what better thing to cast than the Houdini logo?
The process started with a 3D model of the Houdini logo, which I printed on an FDM printer. While SLA printing would have provided a smoother surface with fewer visible layer lines, the FDM print was sufficient for this proof-of-concept. I then prepared the vacuum forming machine, allowing it about five minutes to reach operating temperature. The appropriate plastic sheet was clamped in place, using level 6, the maximum heat setting required for this material, and heated until fully pliable.
The 3D-printed positive was positioned centrally under the sheet, and the vacuum was activated to draw the plastic tightly over the model, forming a precise negative mold. The vacuum remained active for approximately five seconds to ensure complete conformity. Once the form was stabilized, the vacuum was released, and the sheet was allowed to cool for thirty seconds to avoid deformation during demolding.

Once the mold had fully cooled and retained its shape, chocolate, or a vegan gelatin alternative, could be poured into the cavity to produce a clean, detailed Houdini-shaped sweet treat.
