individual assignment
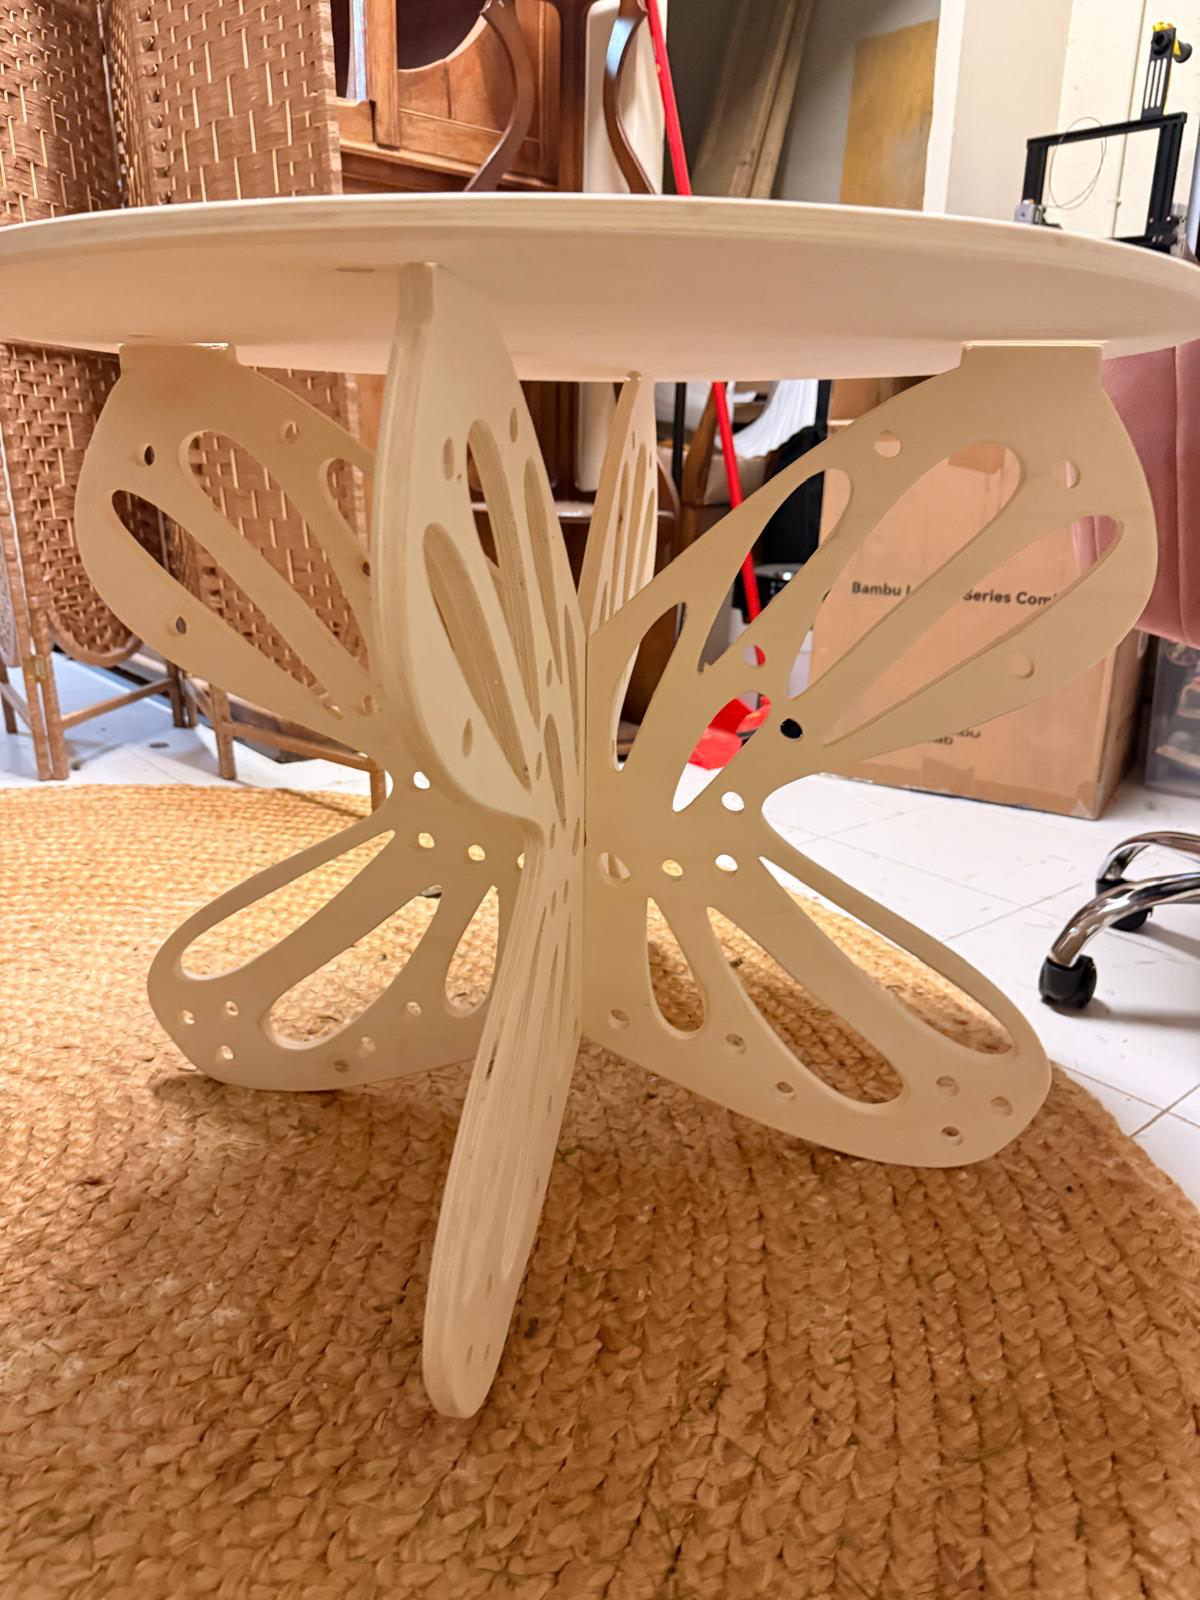
for this week´s assignment, i wanted to use the CNC to make a butterfly table to use as a center table for my living room.
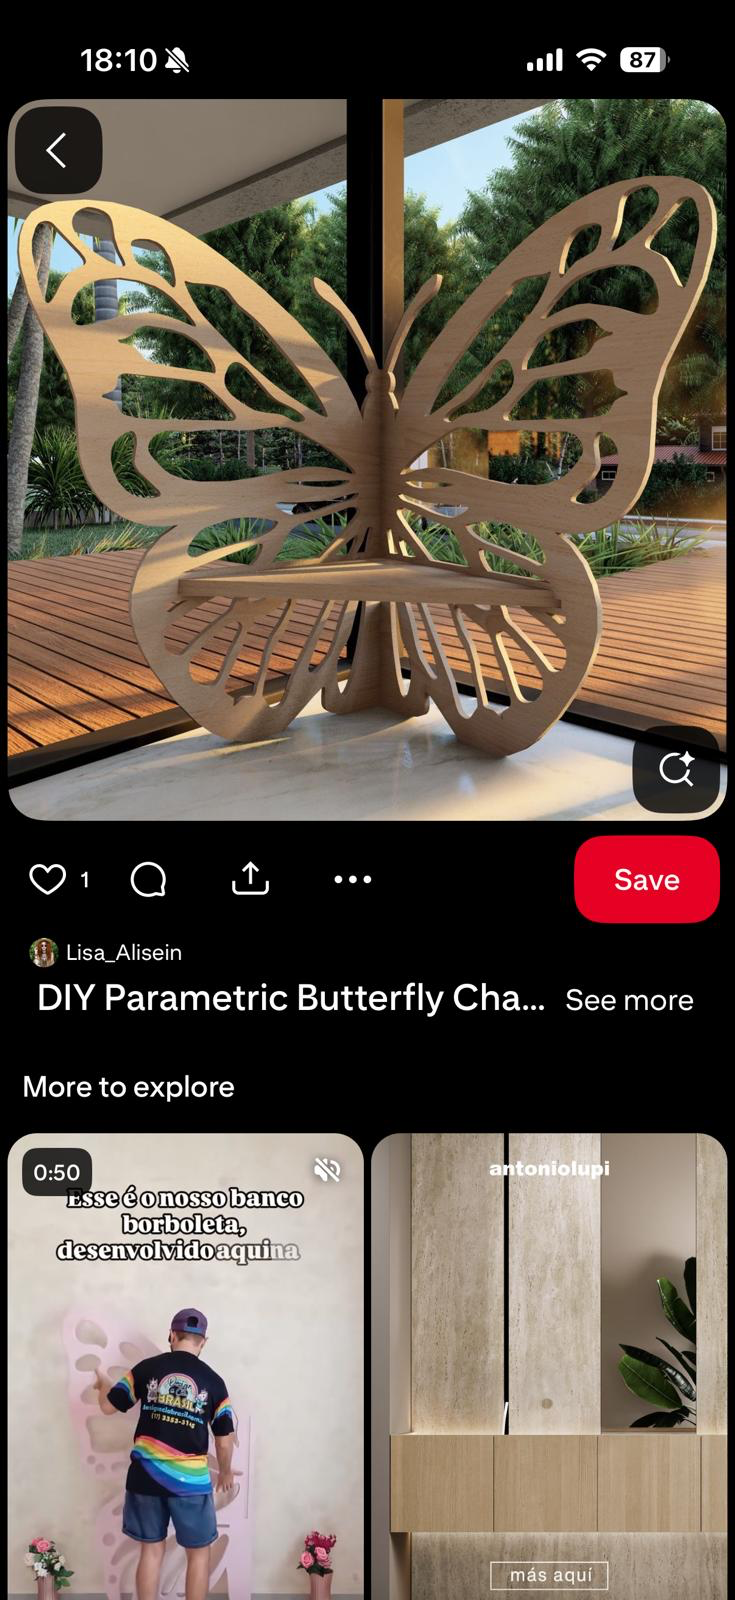
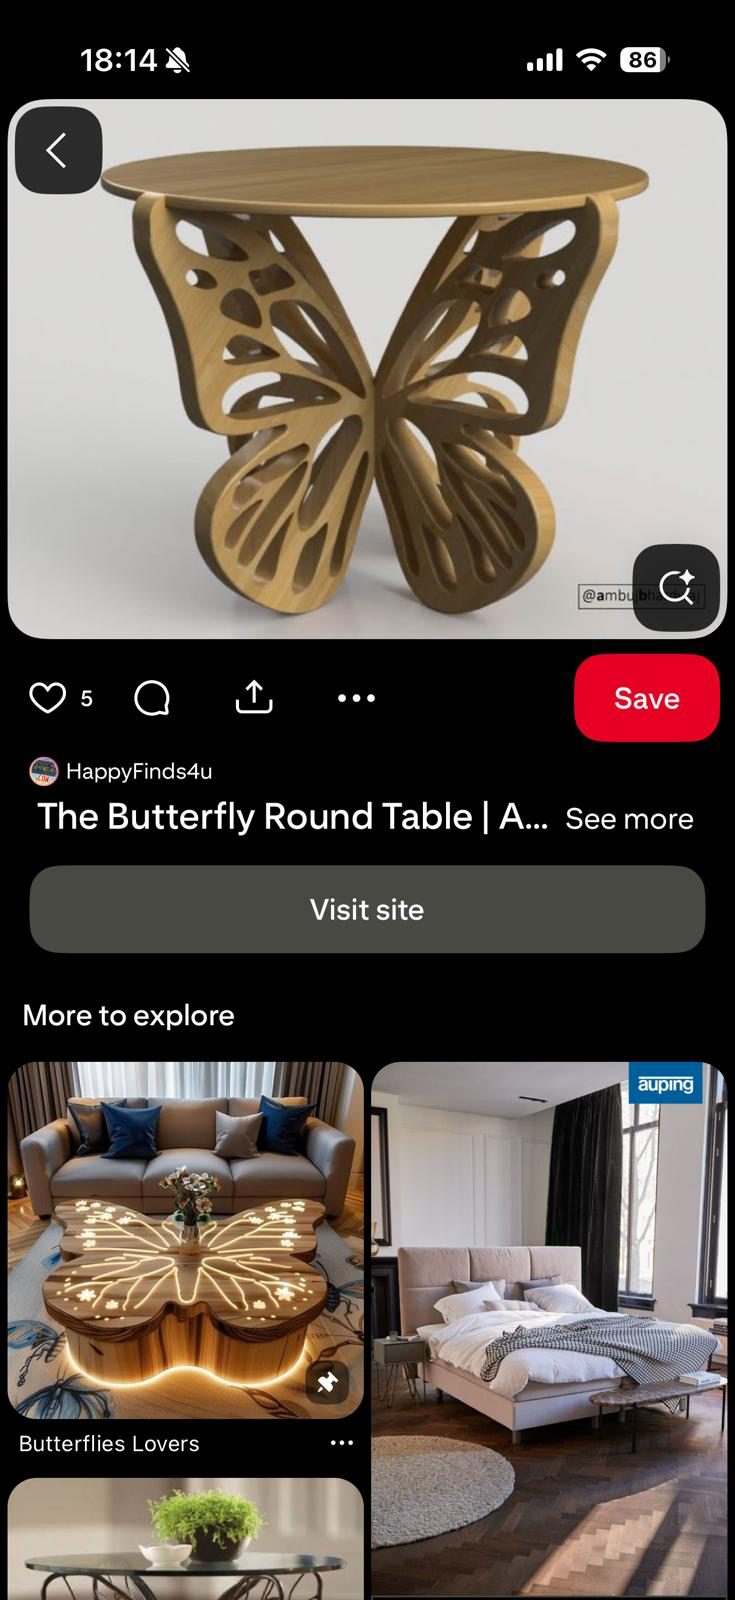
i found some butterfly themed furniture for inspiration on pinterest first
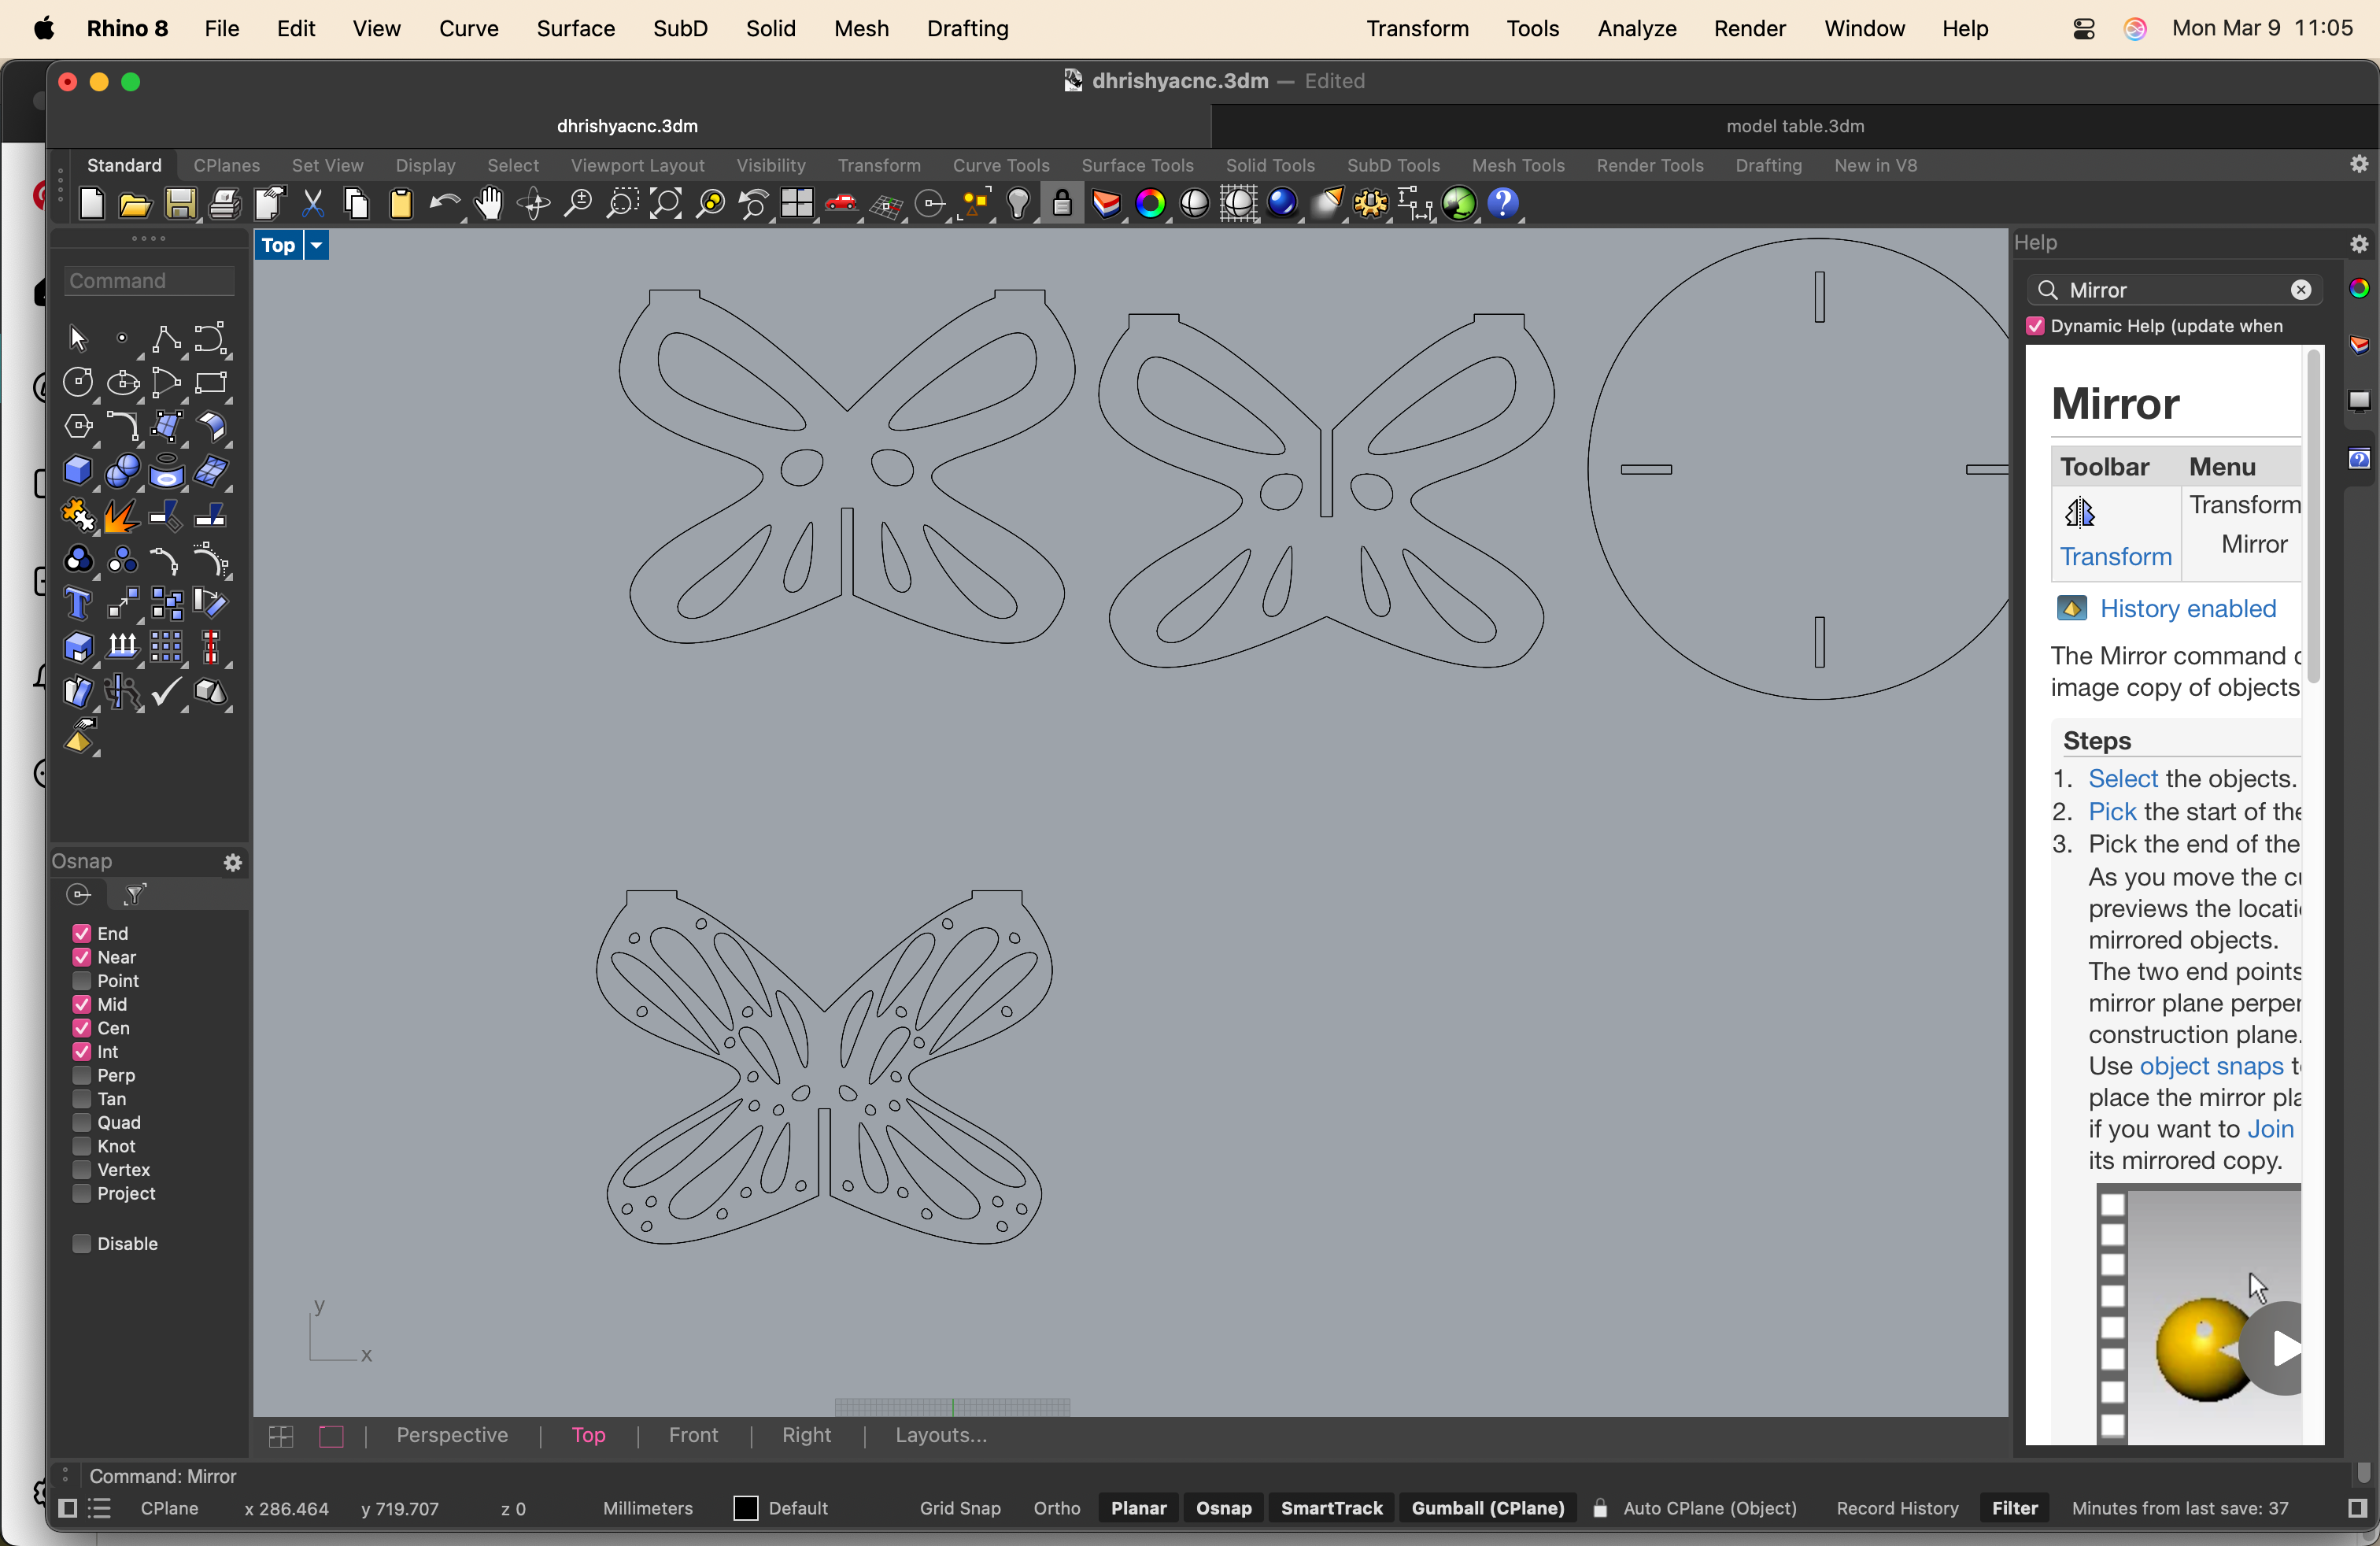
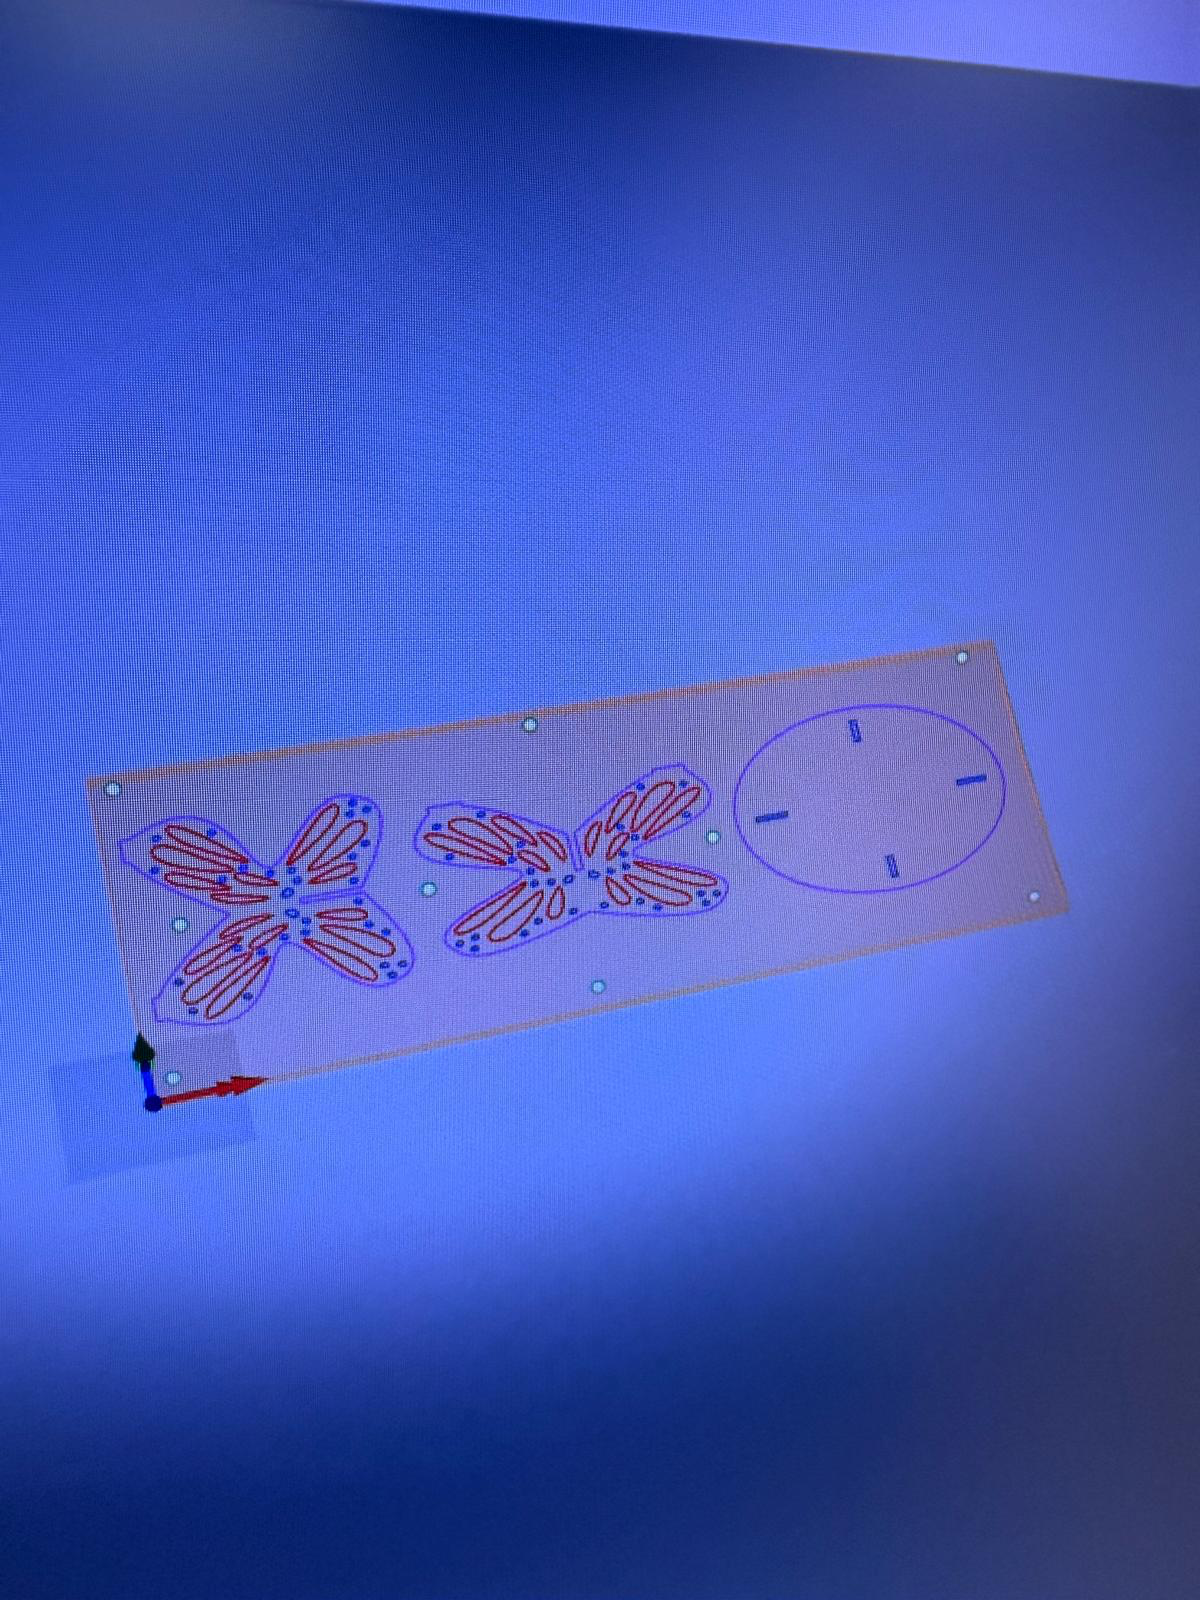
I designed and simulated the table on rhino
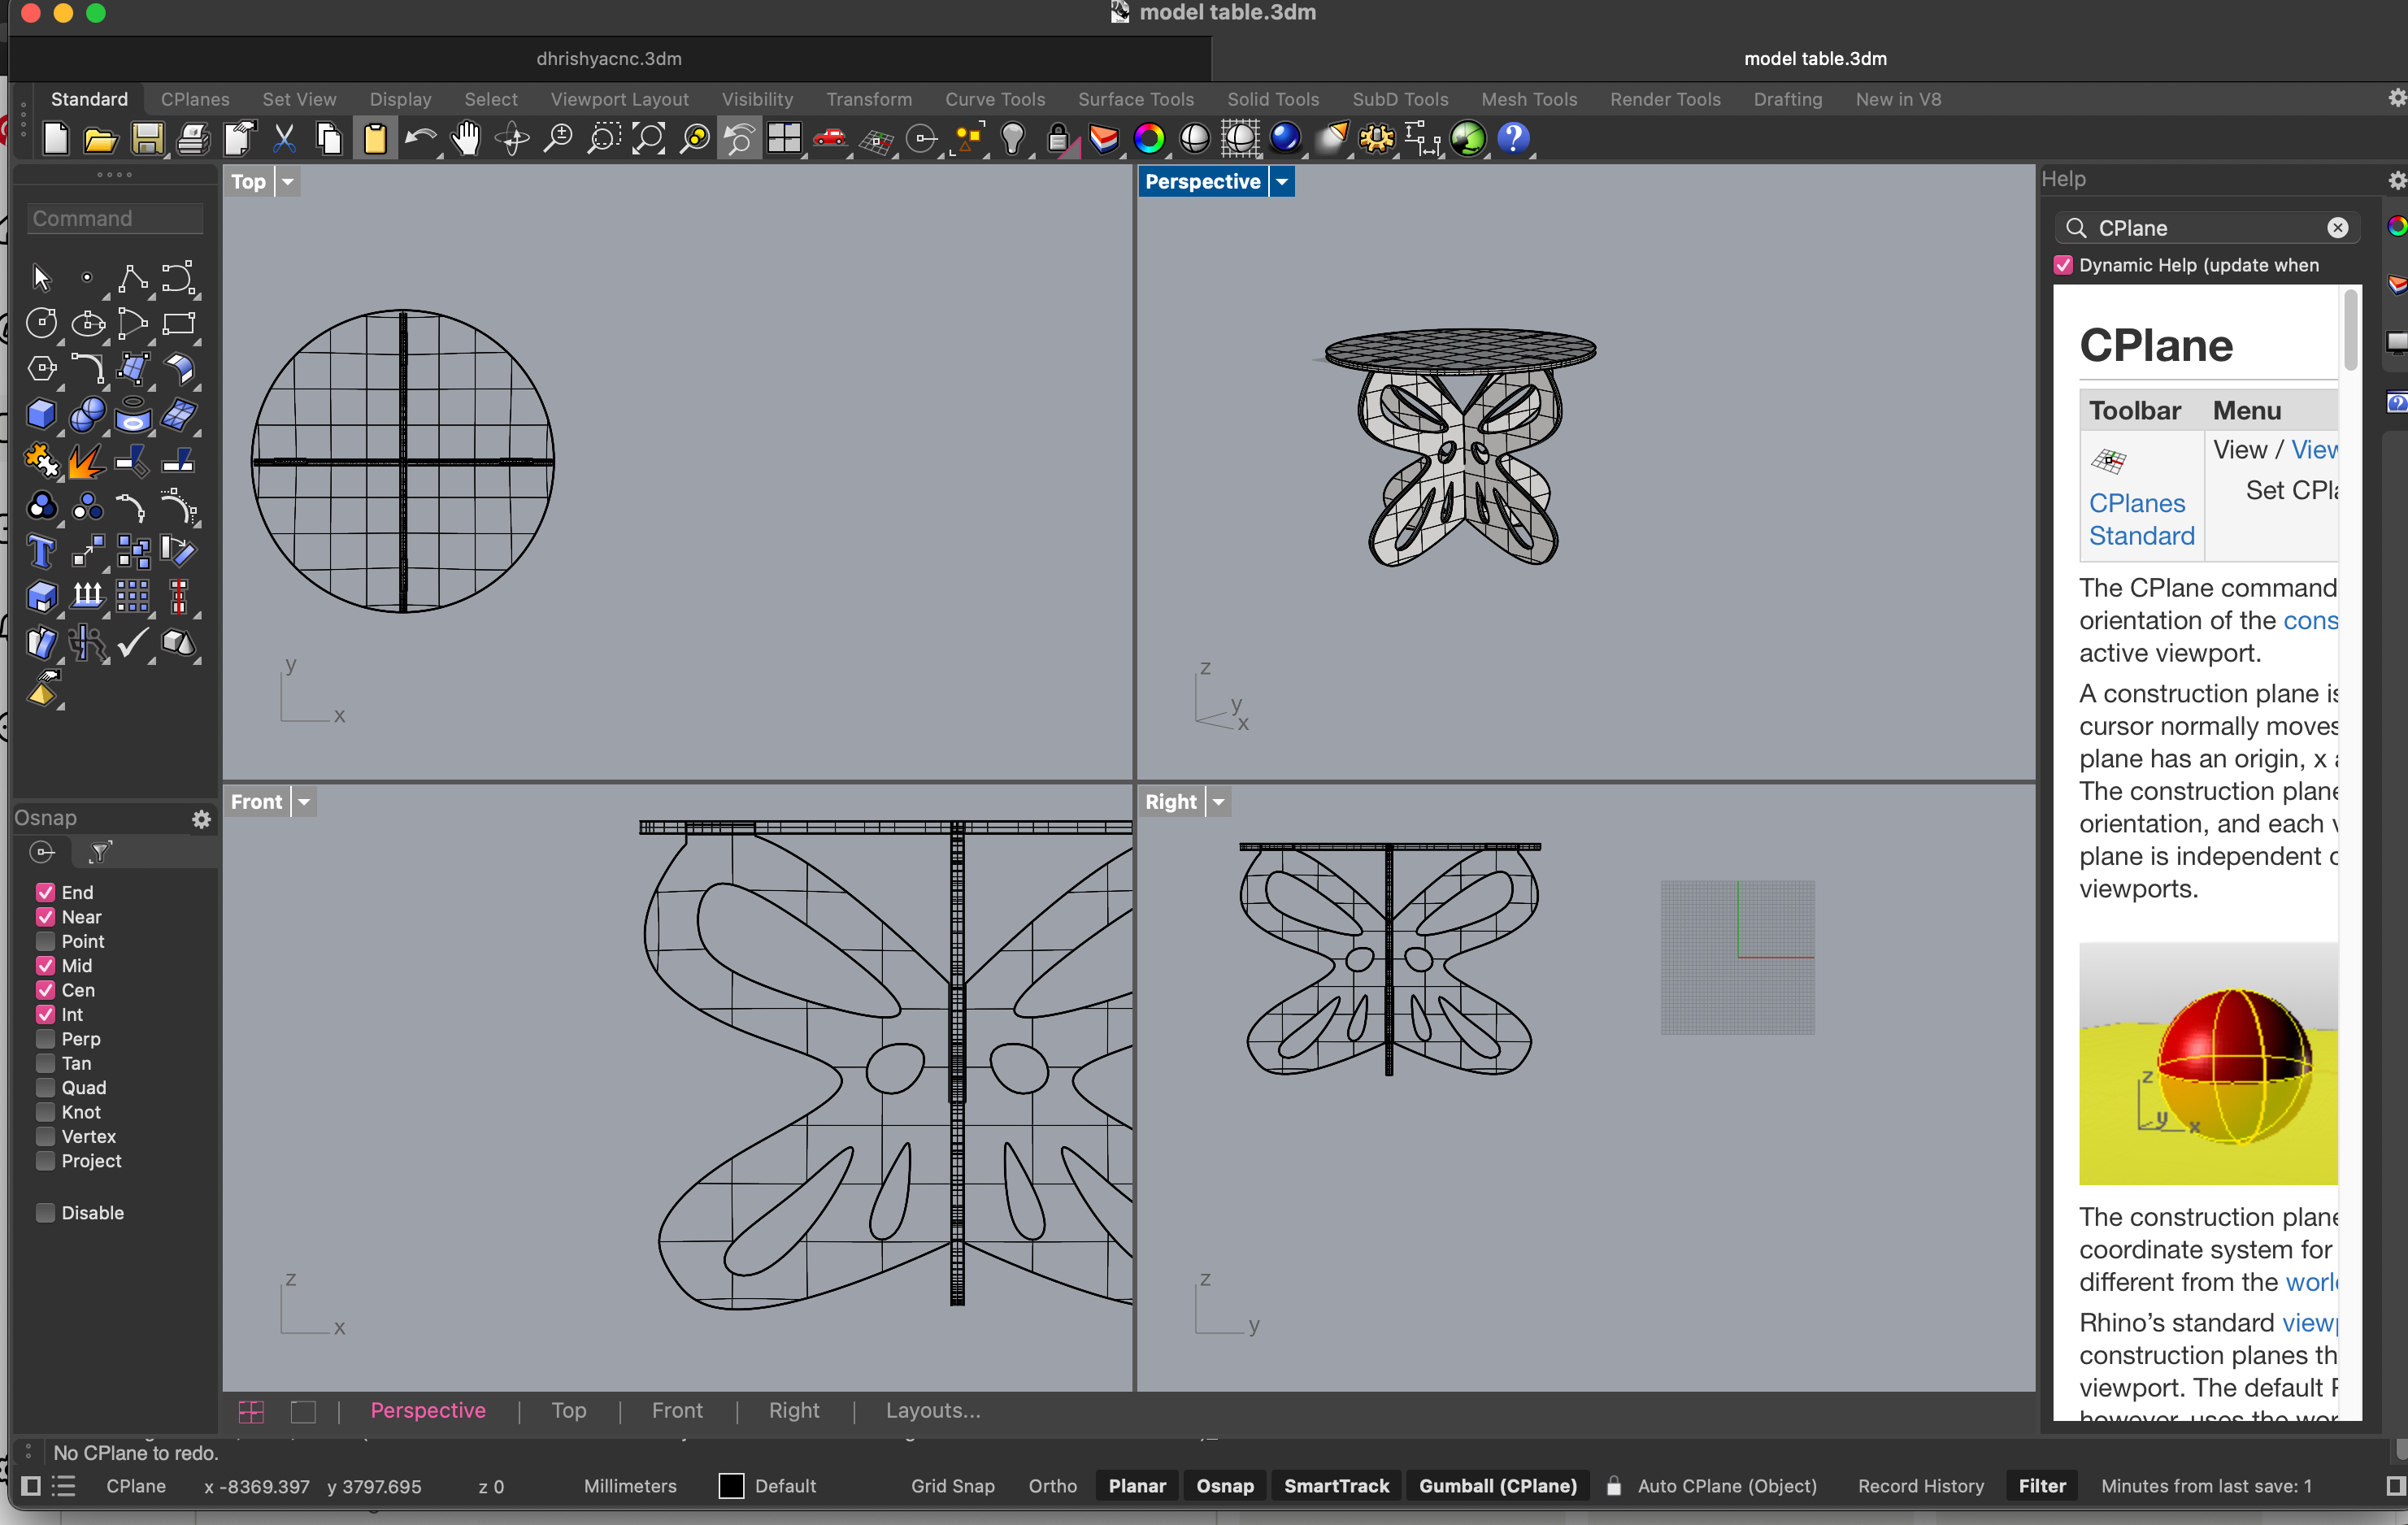

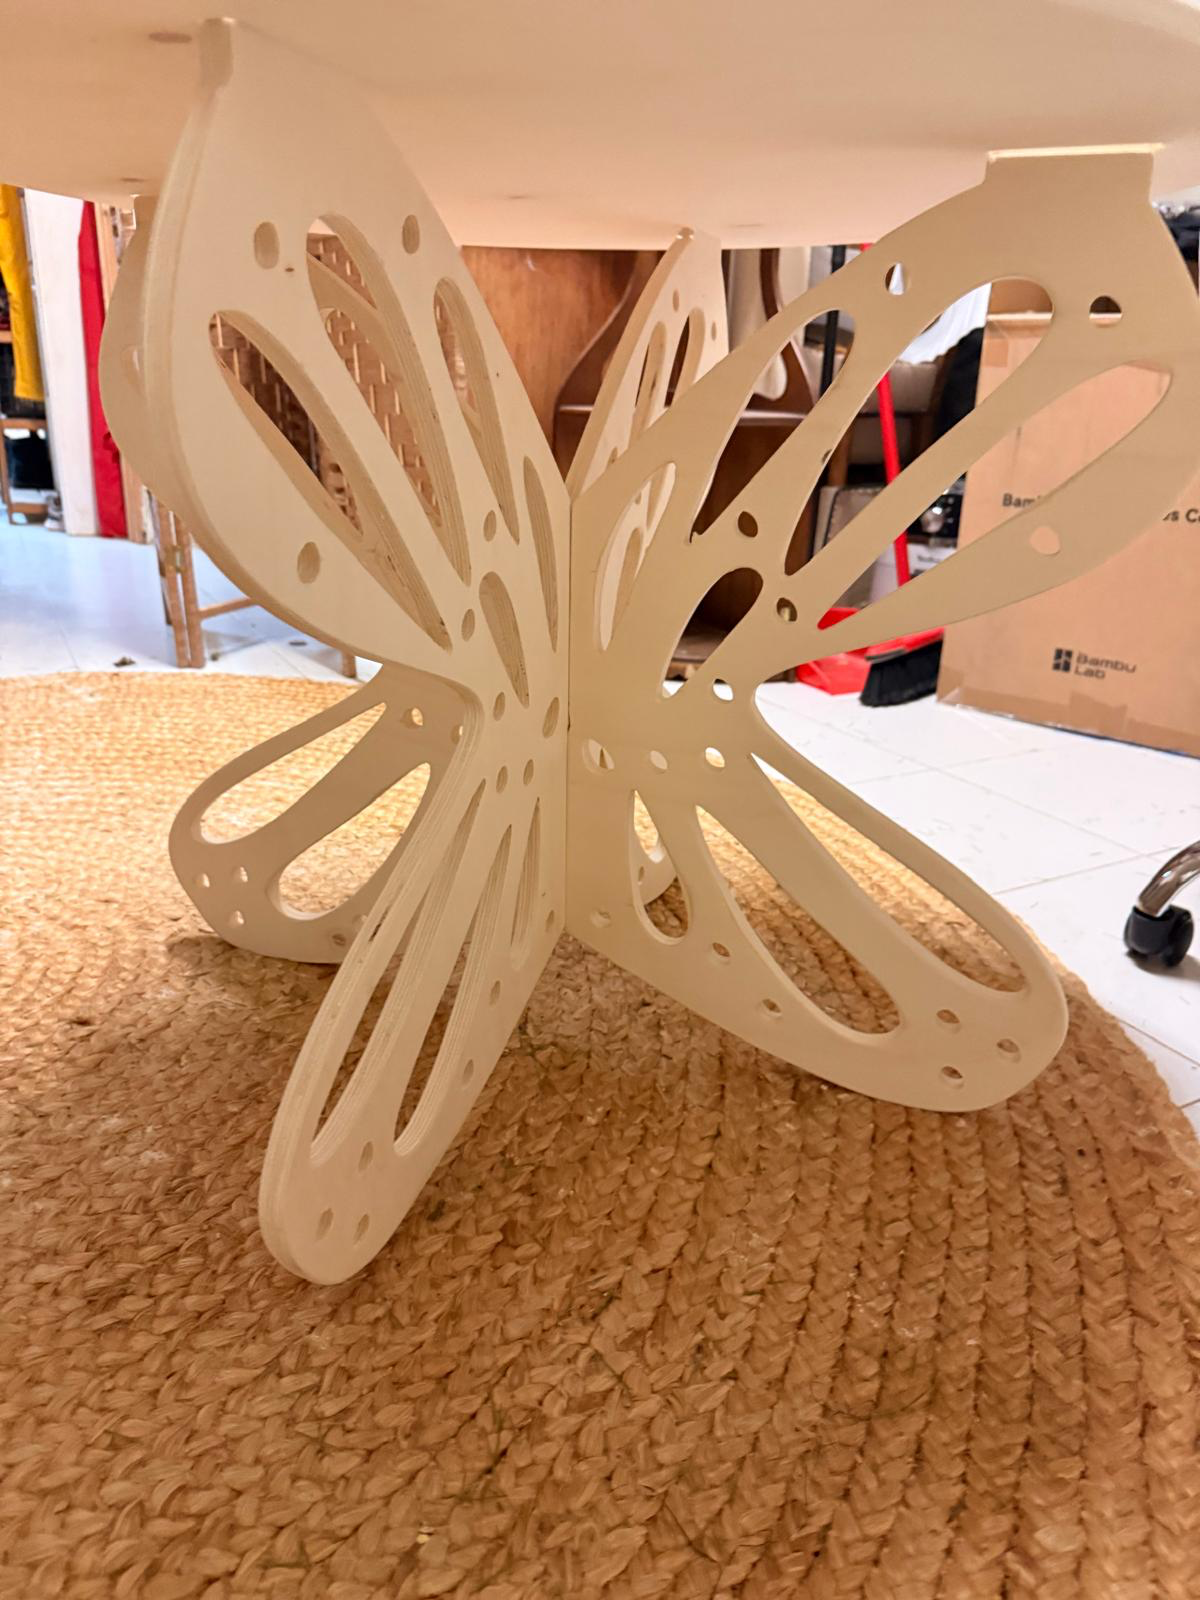
i changed the wing design to be slightly more complex
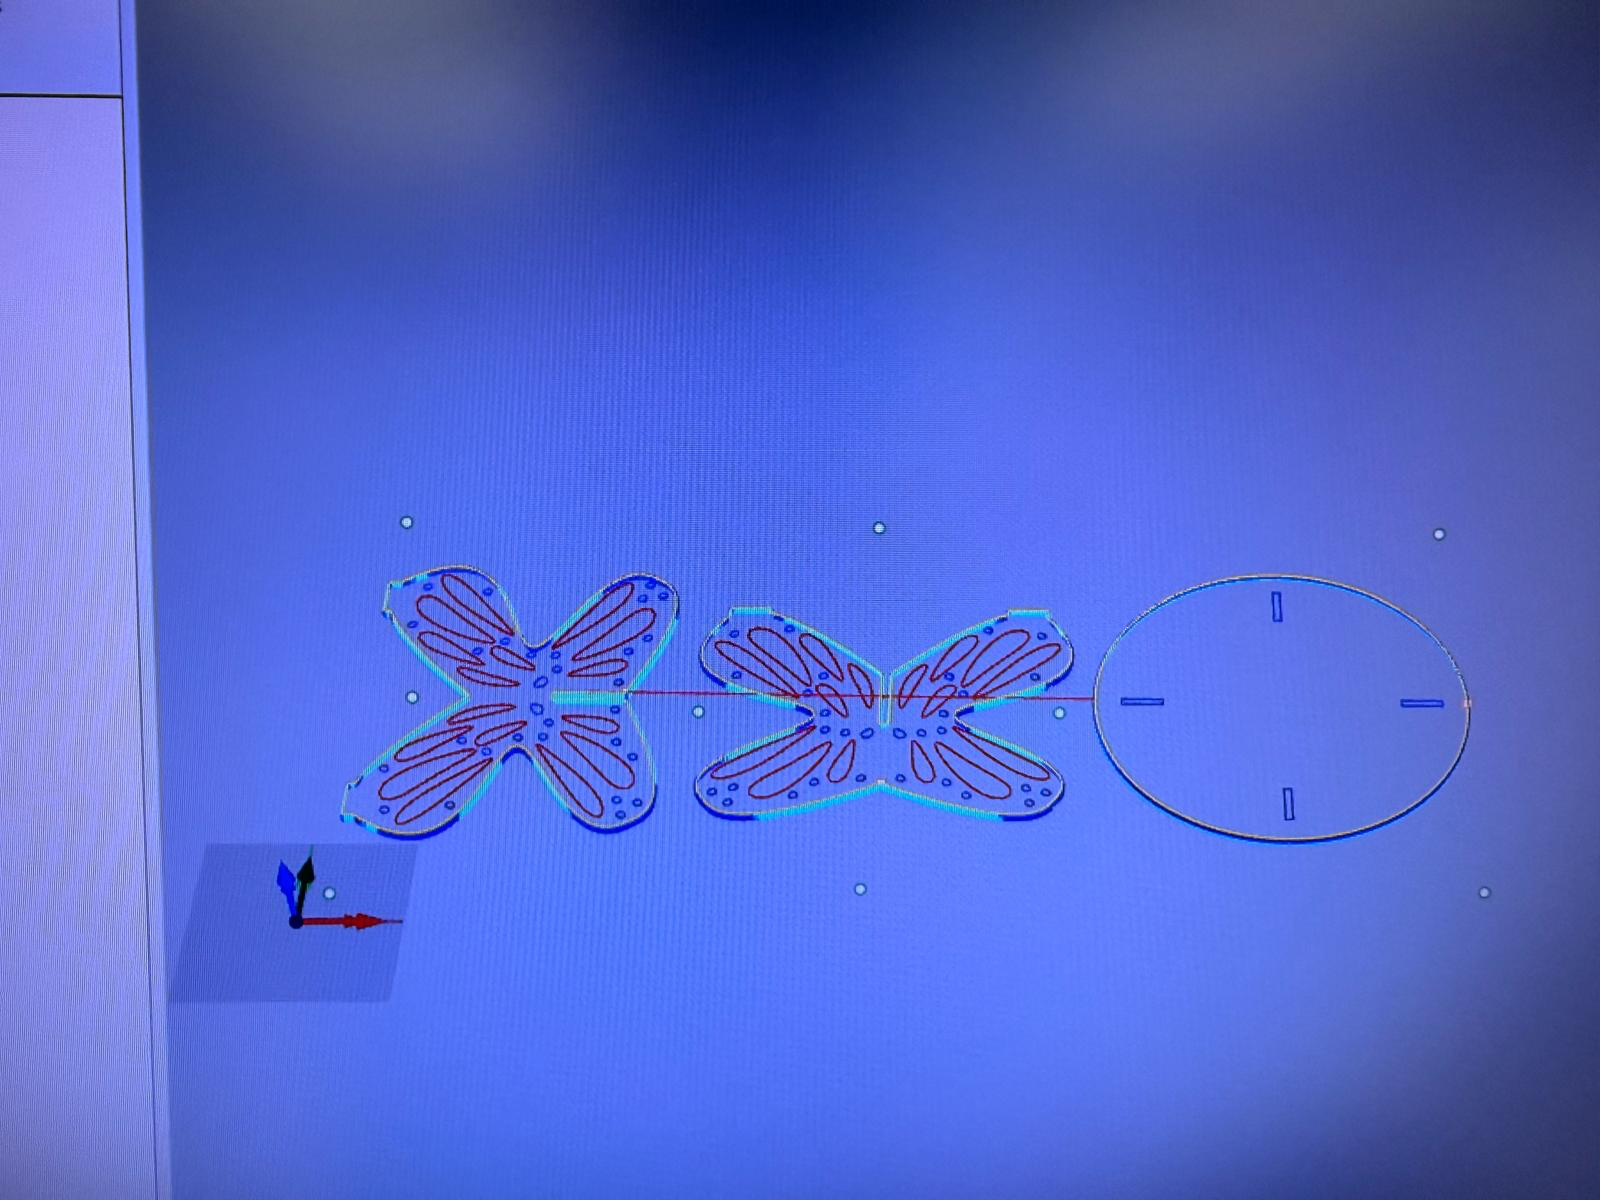
preparing the cutting file
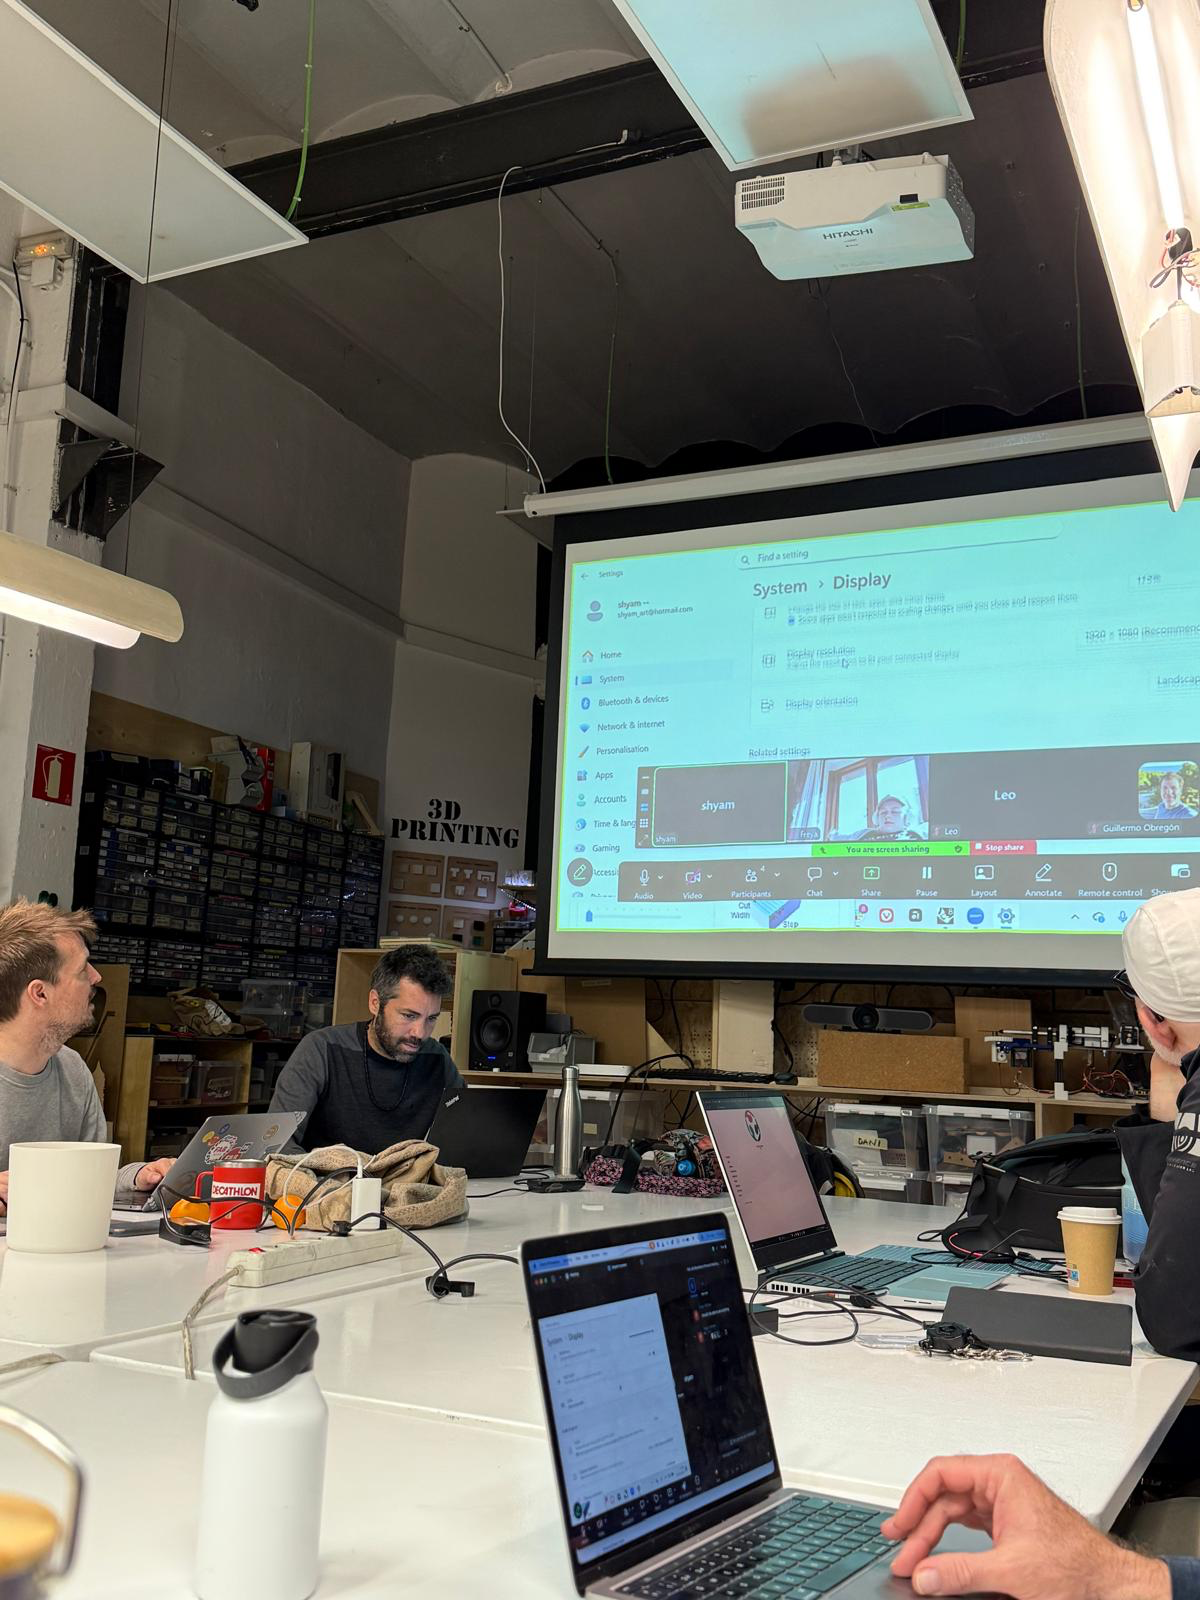
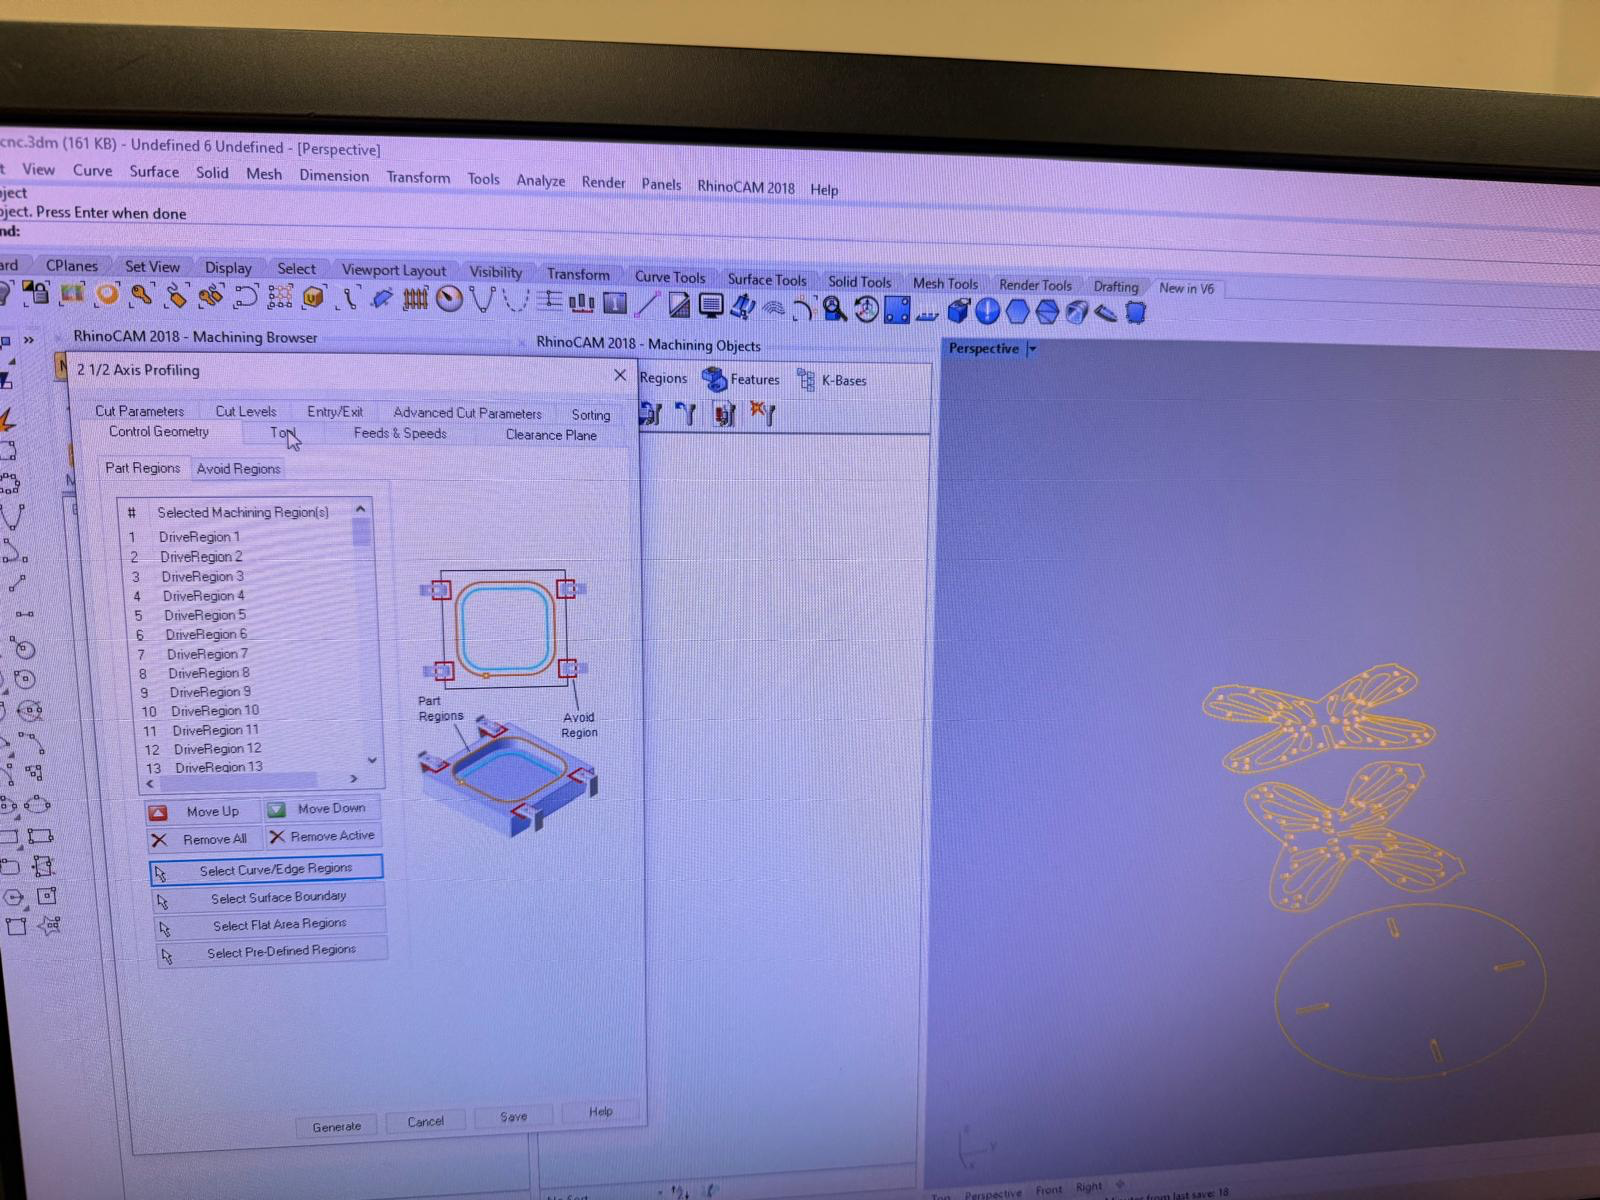
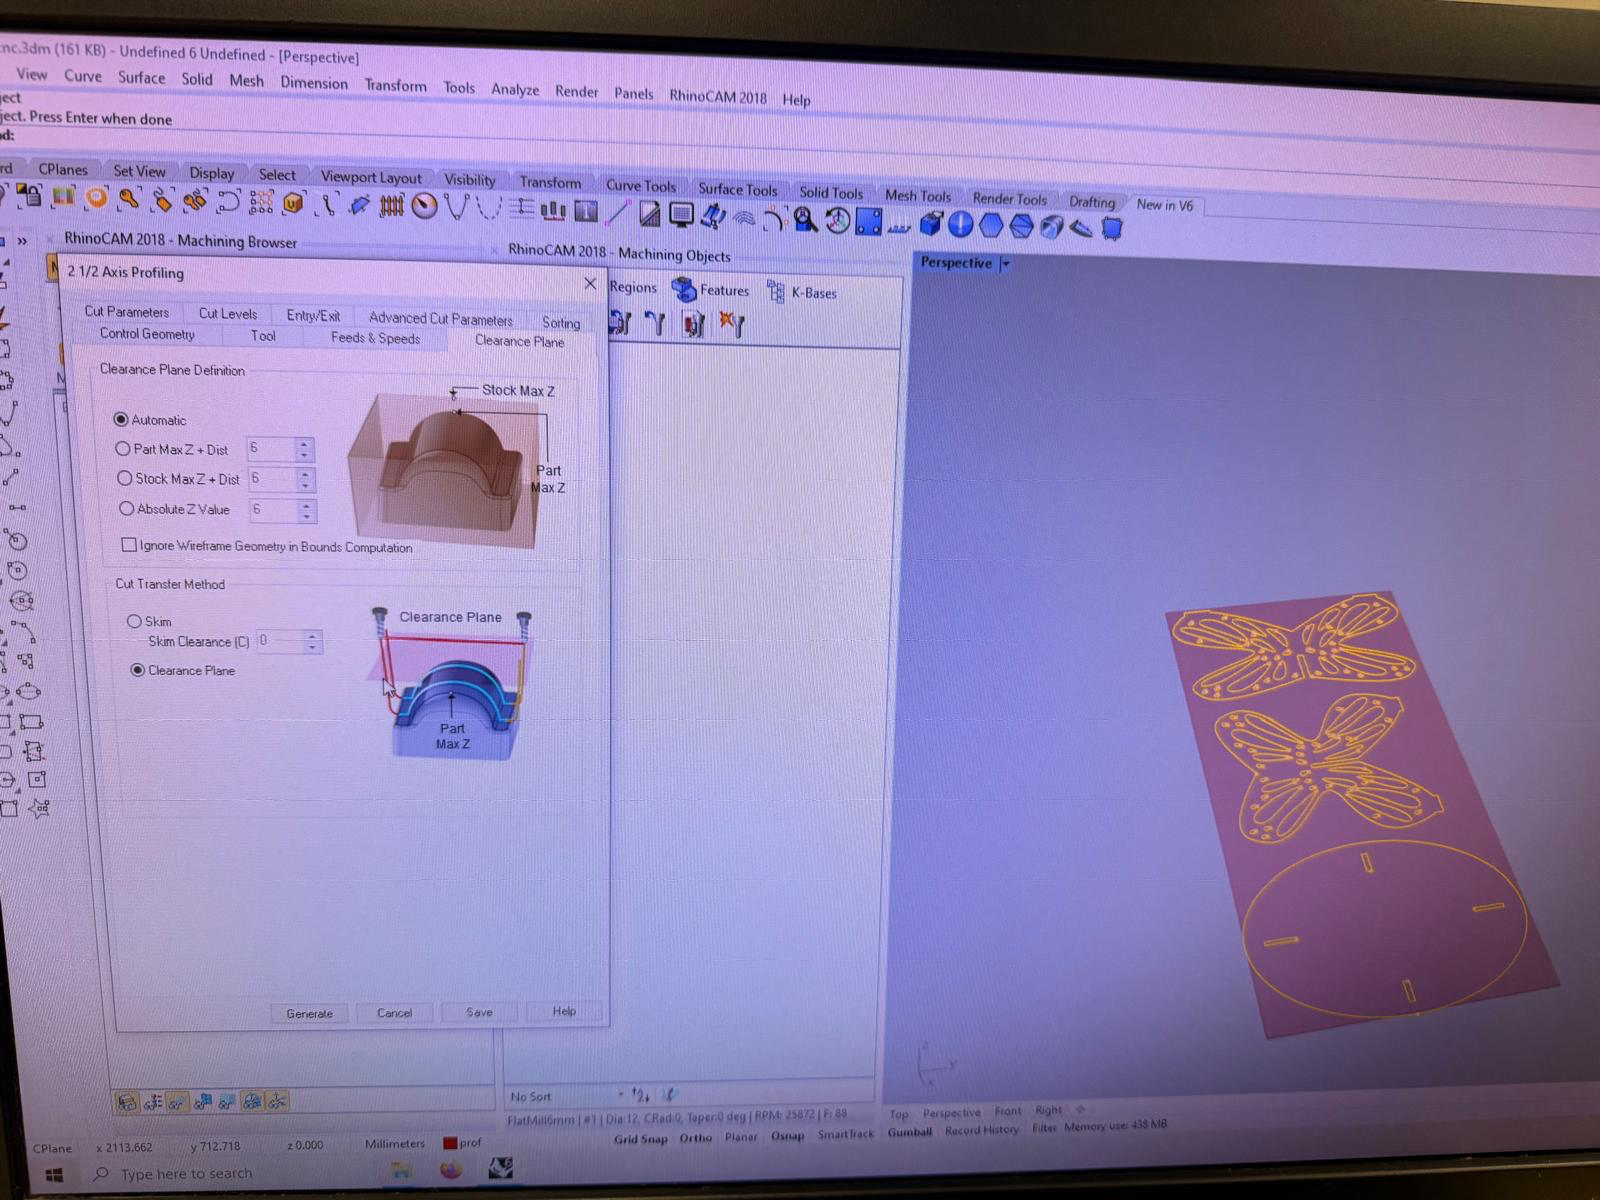
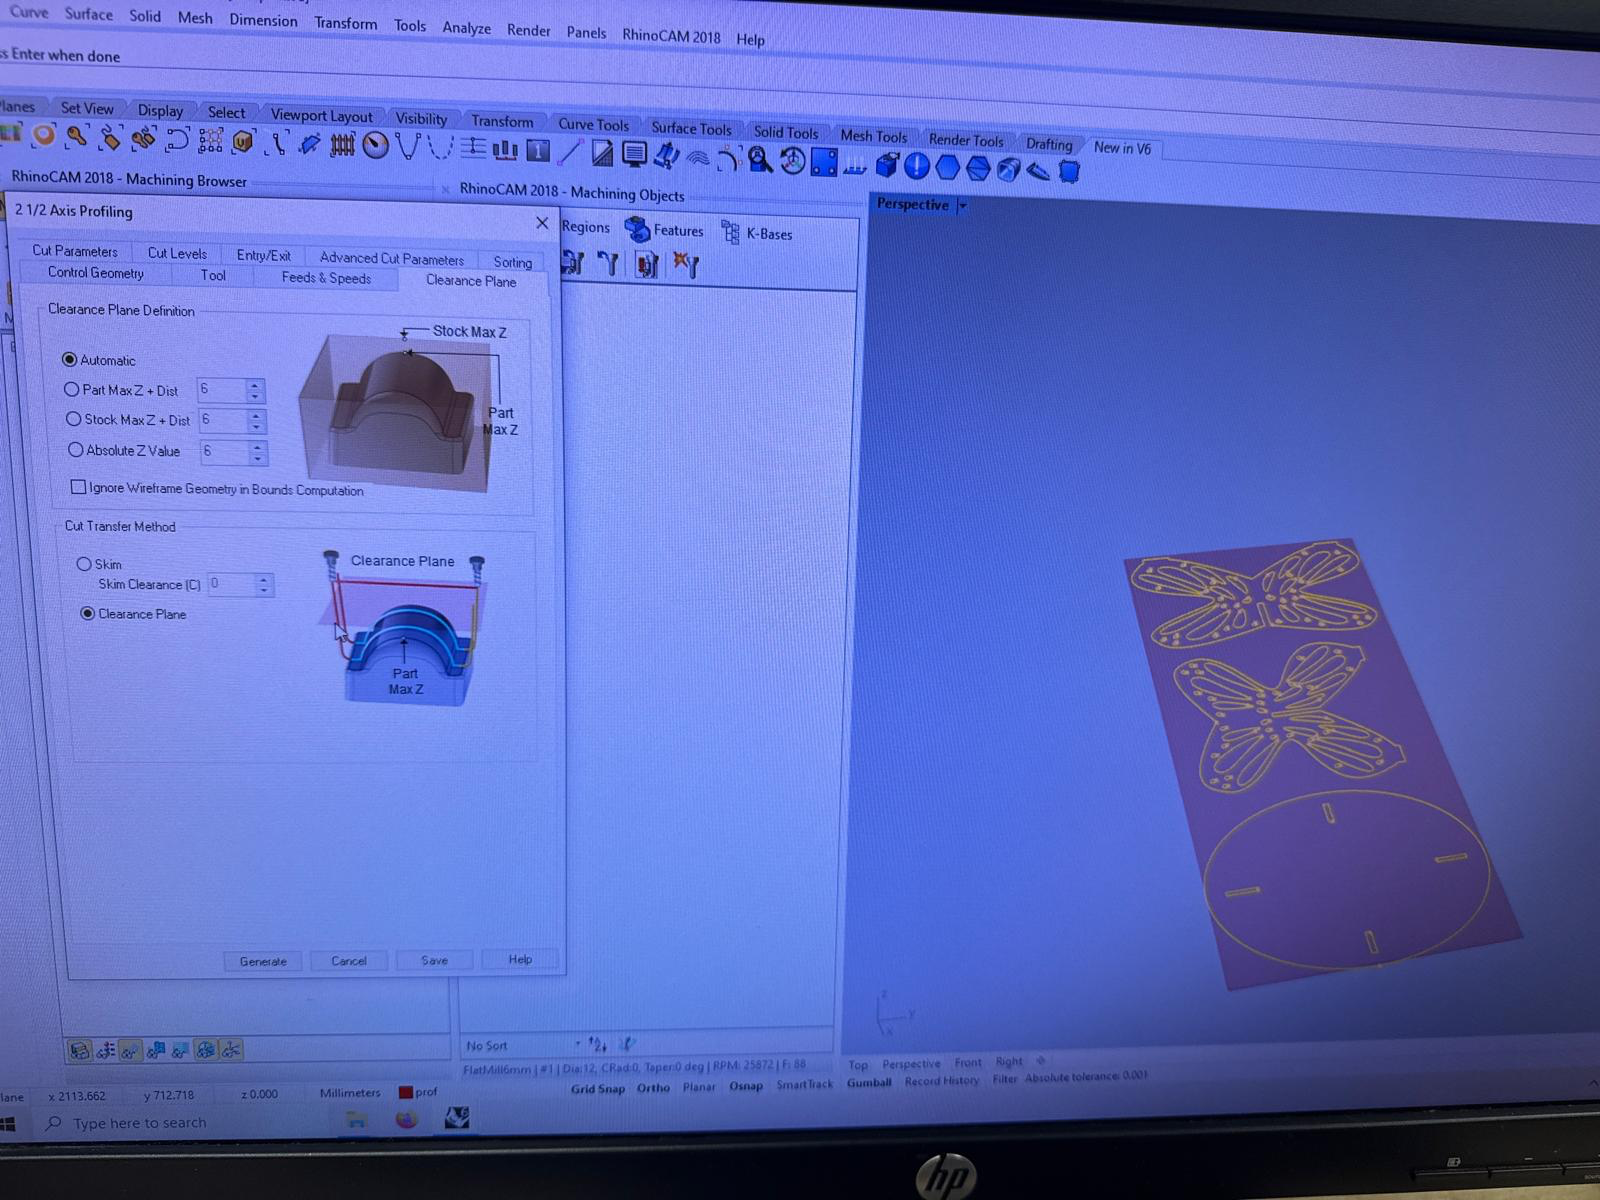
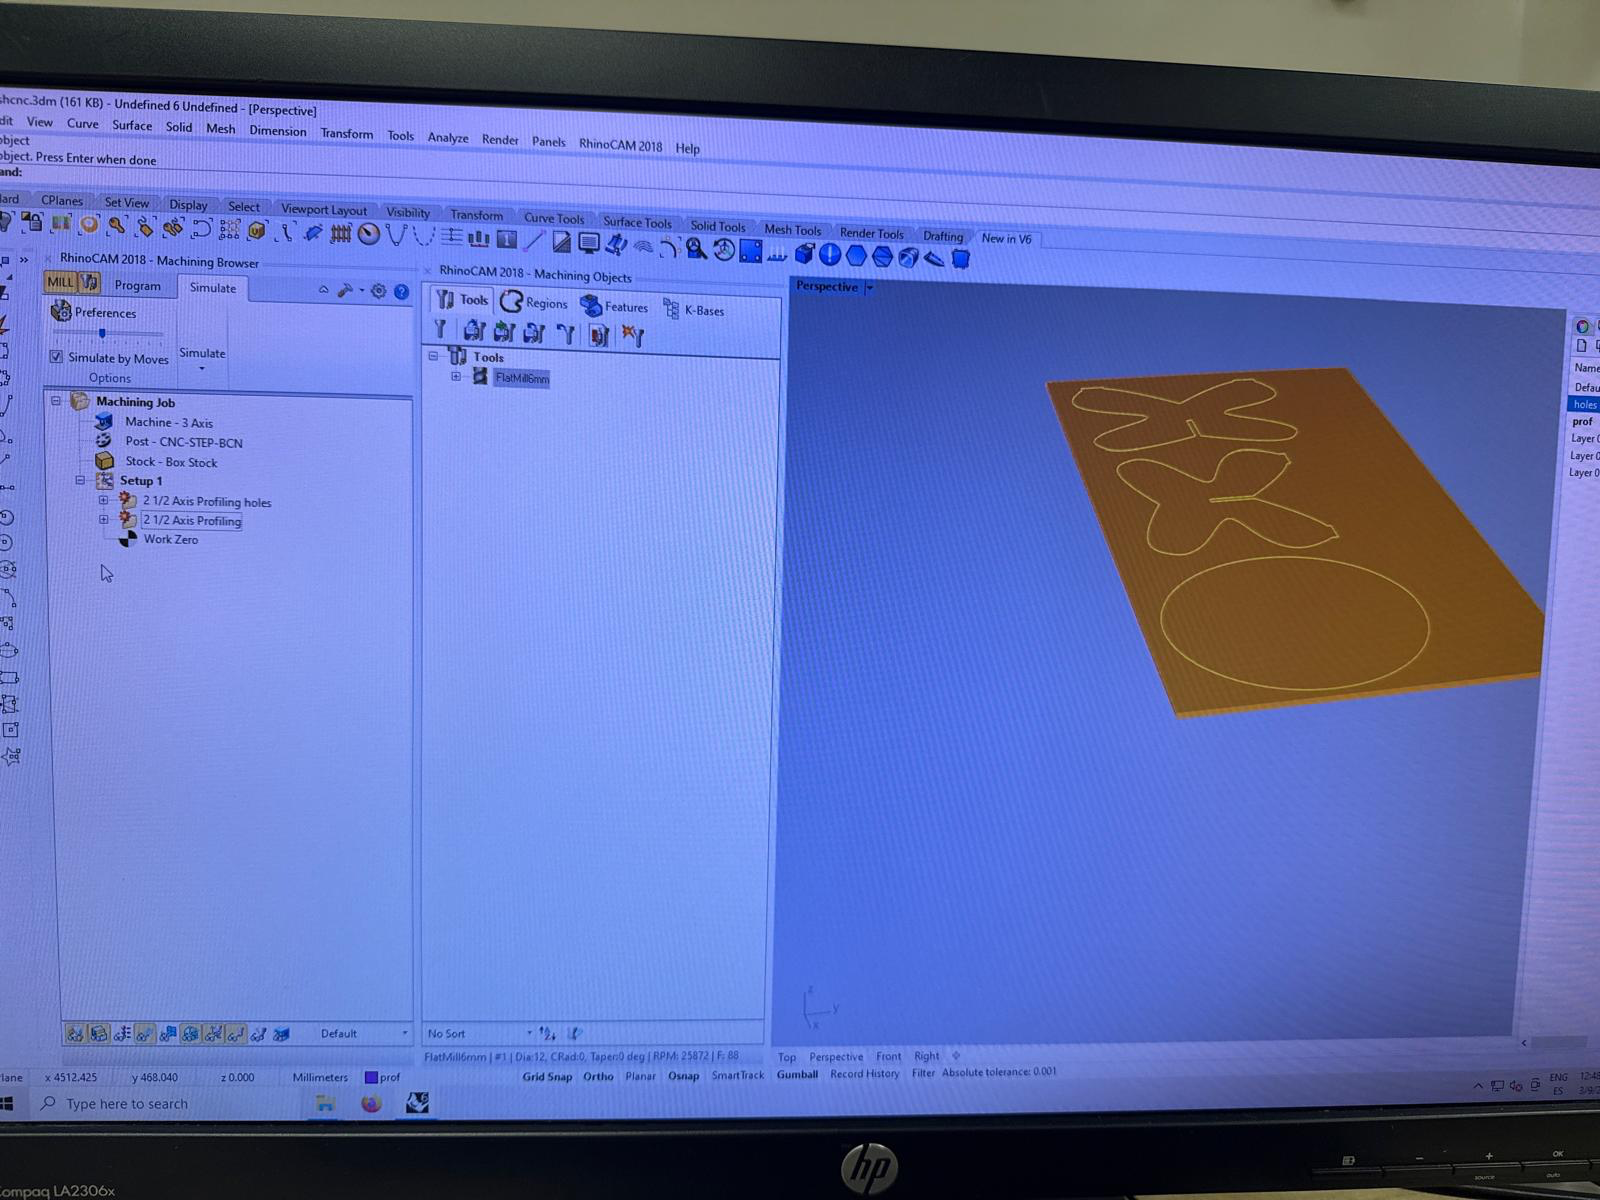
i used rhinocam to create the files and customised the settings for the CNC at the lab
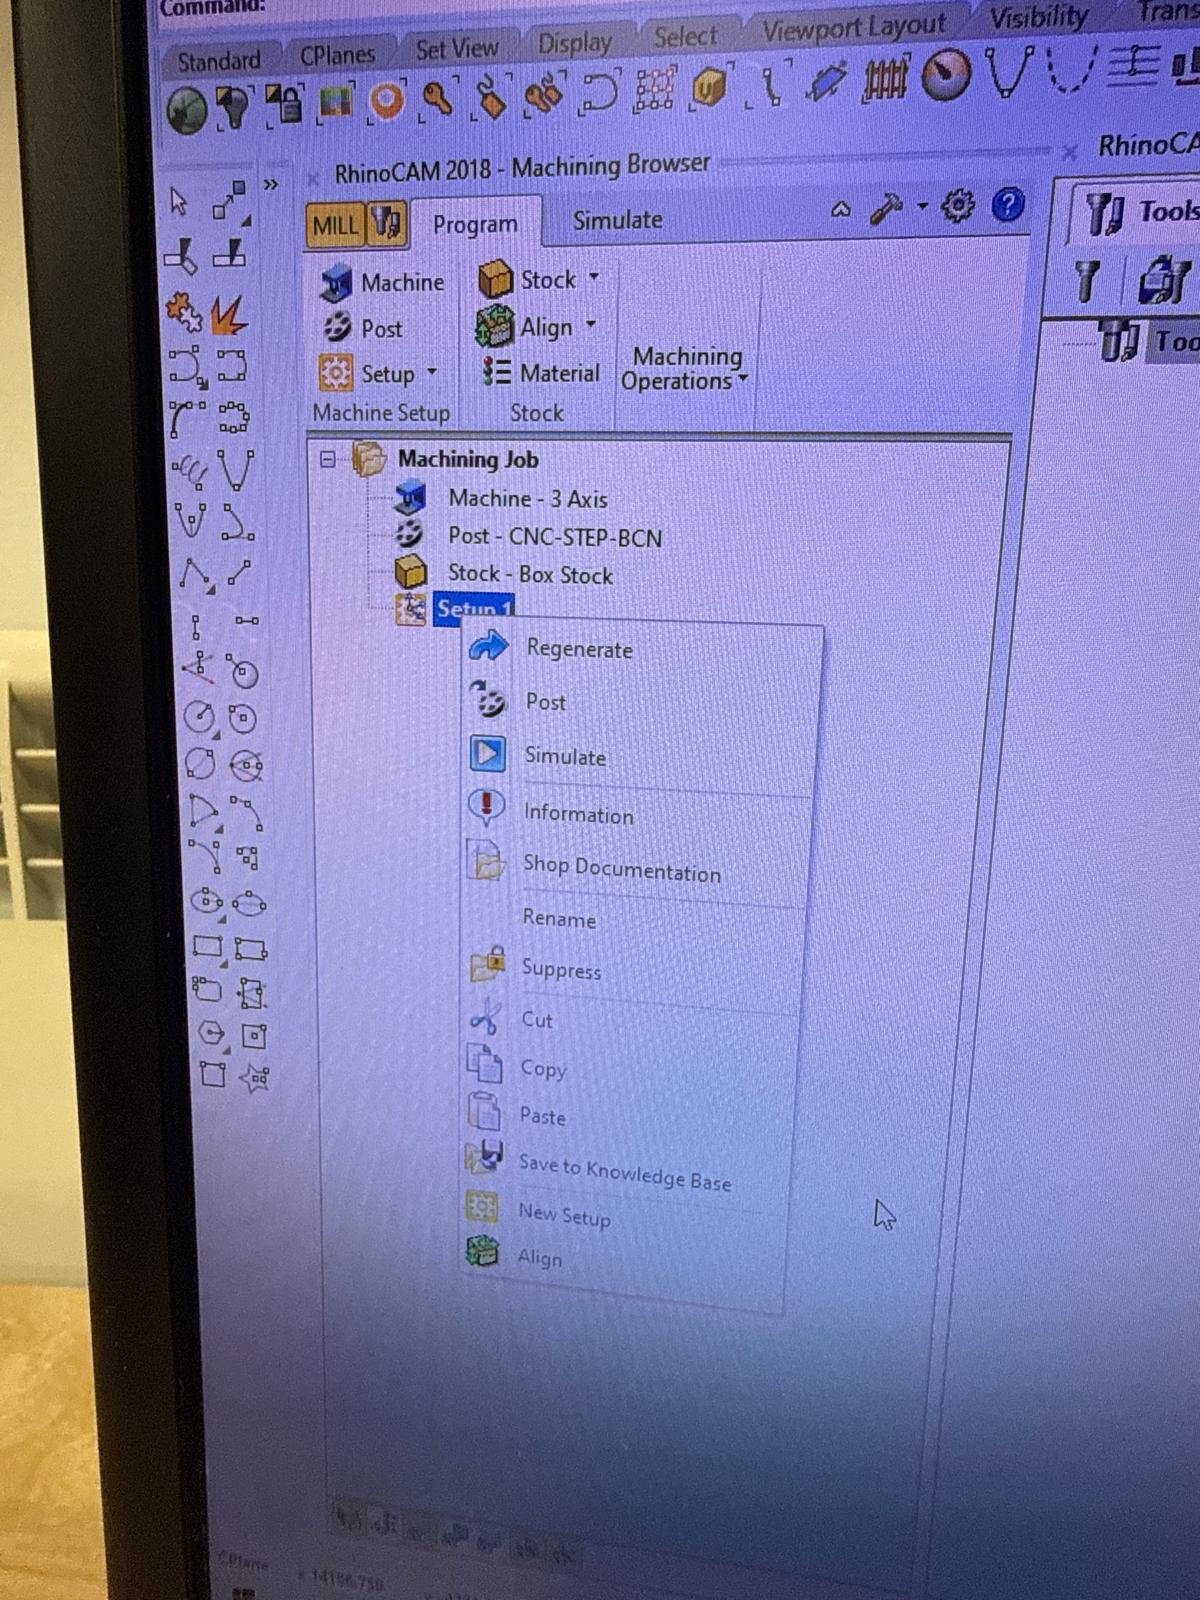
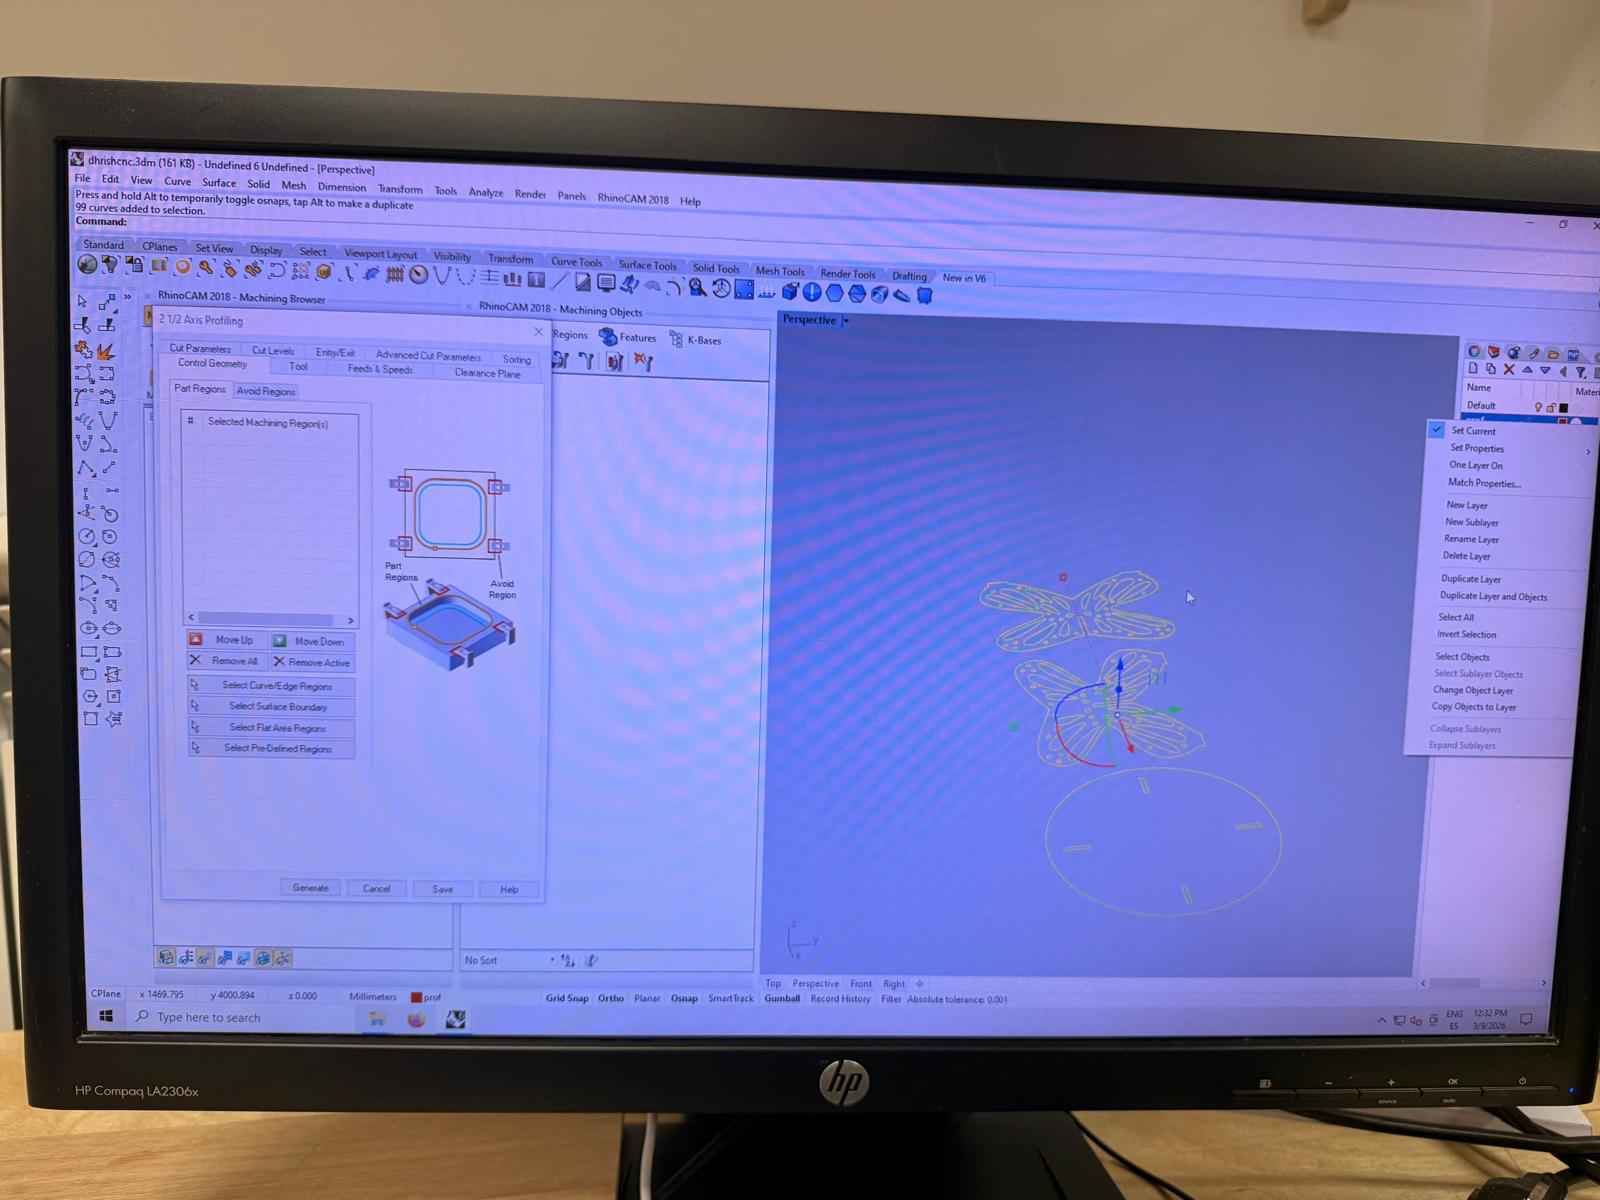
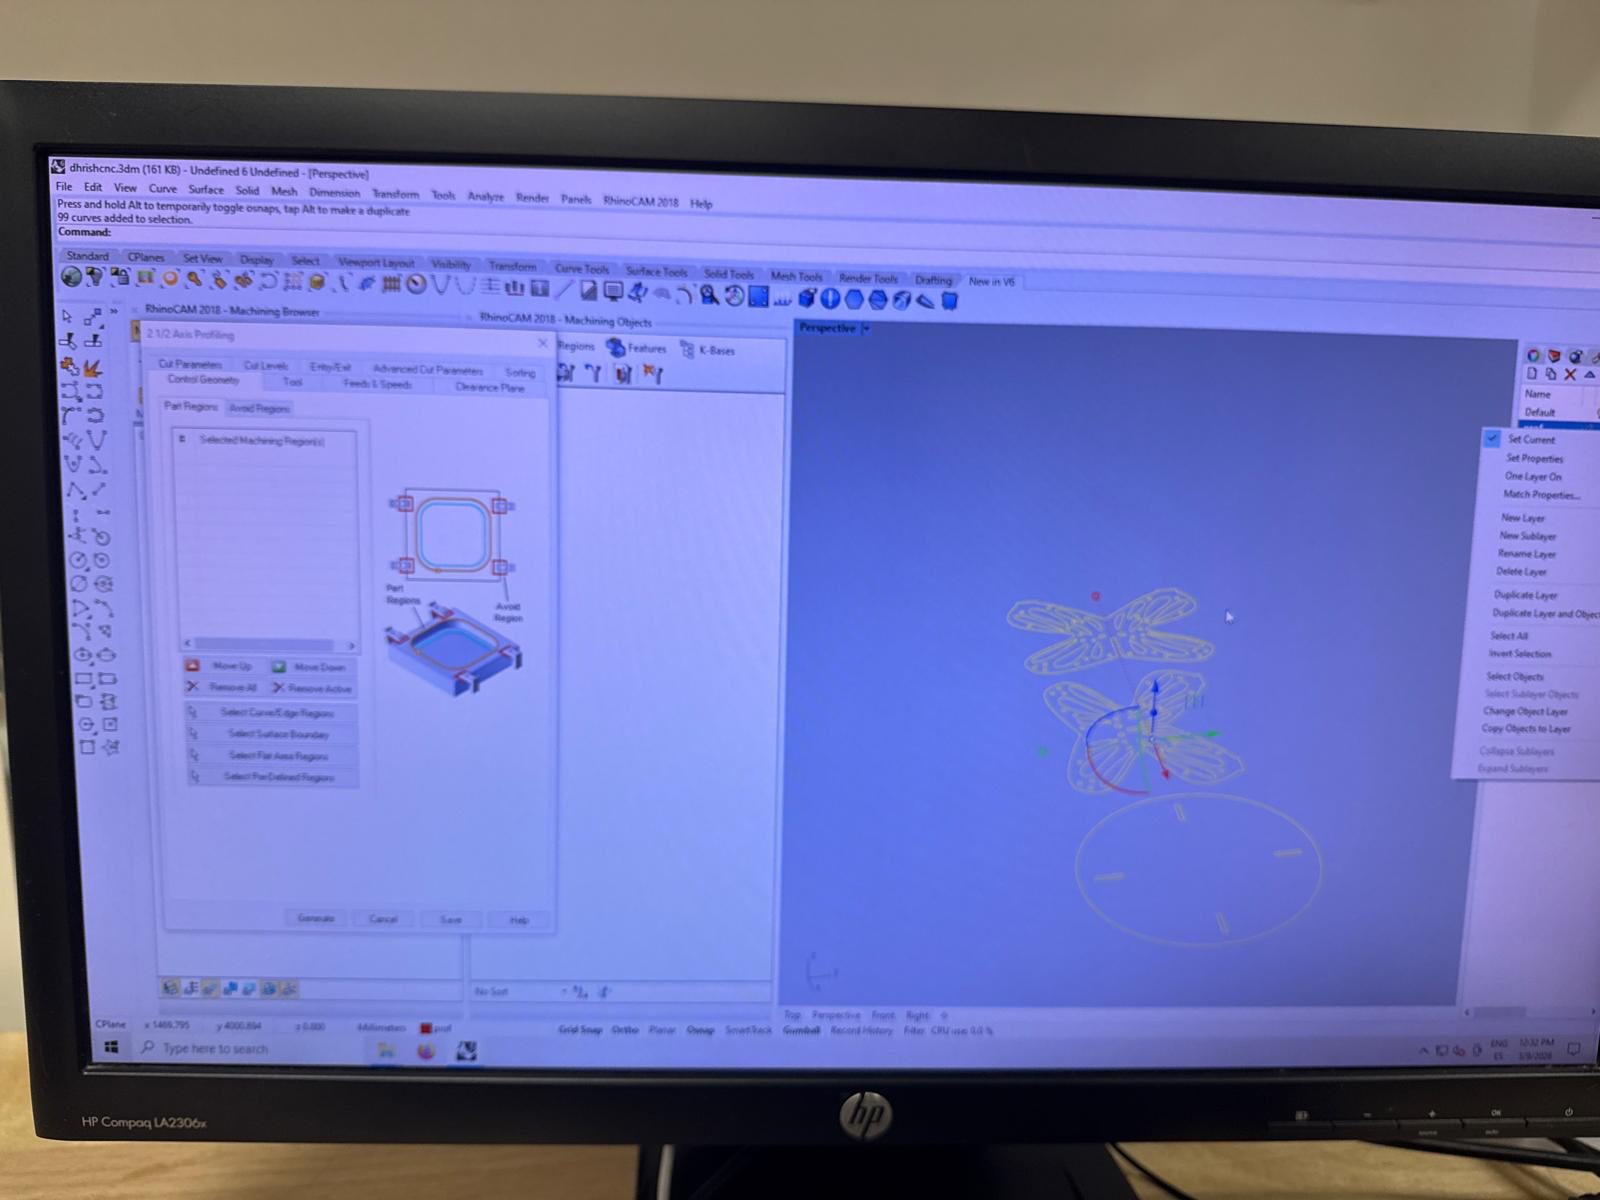
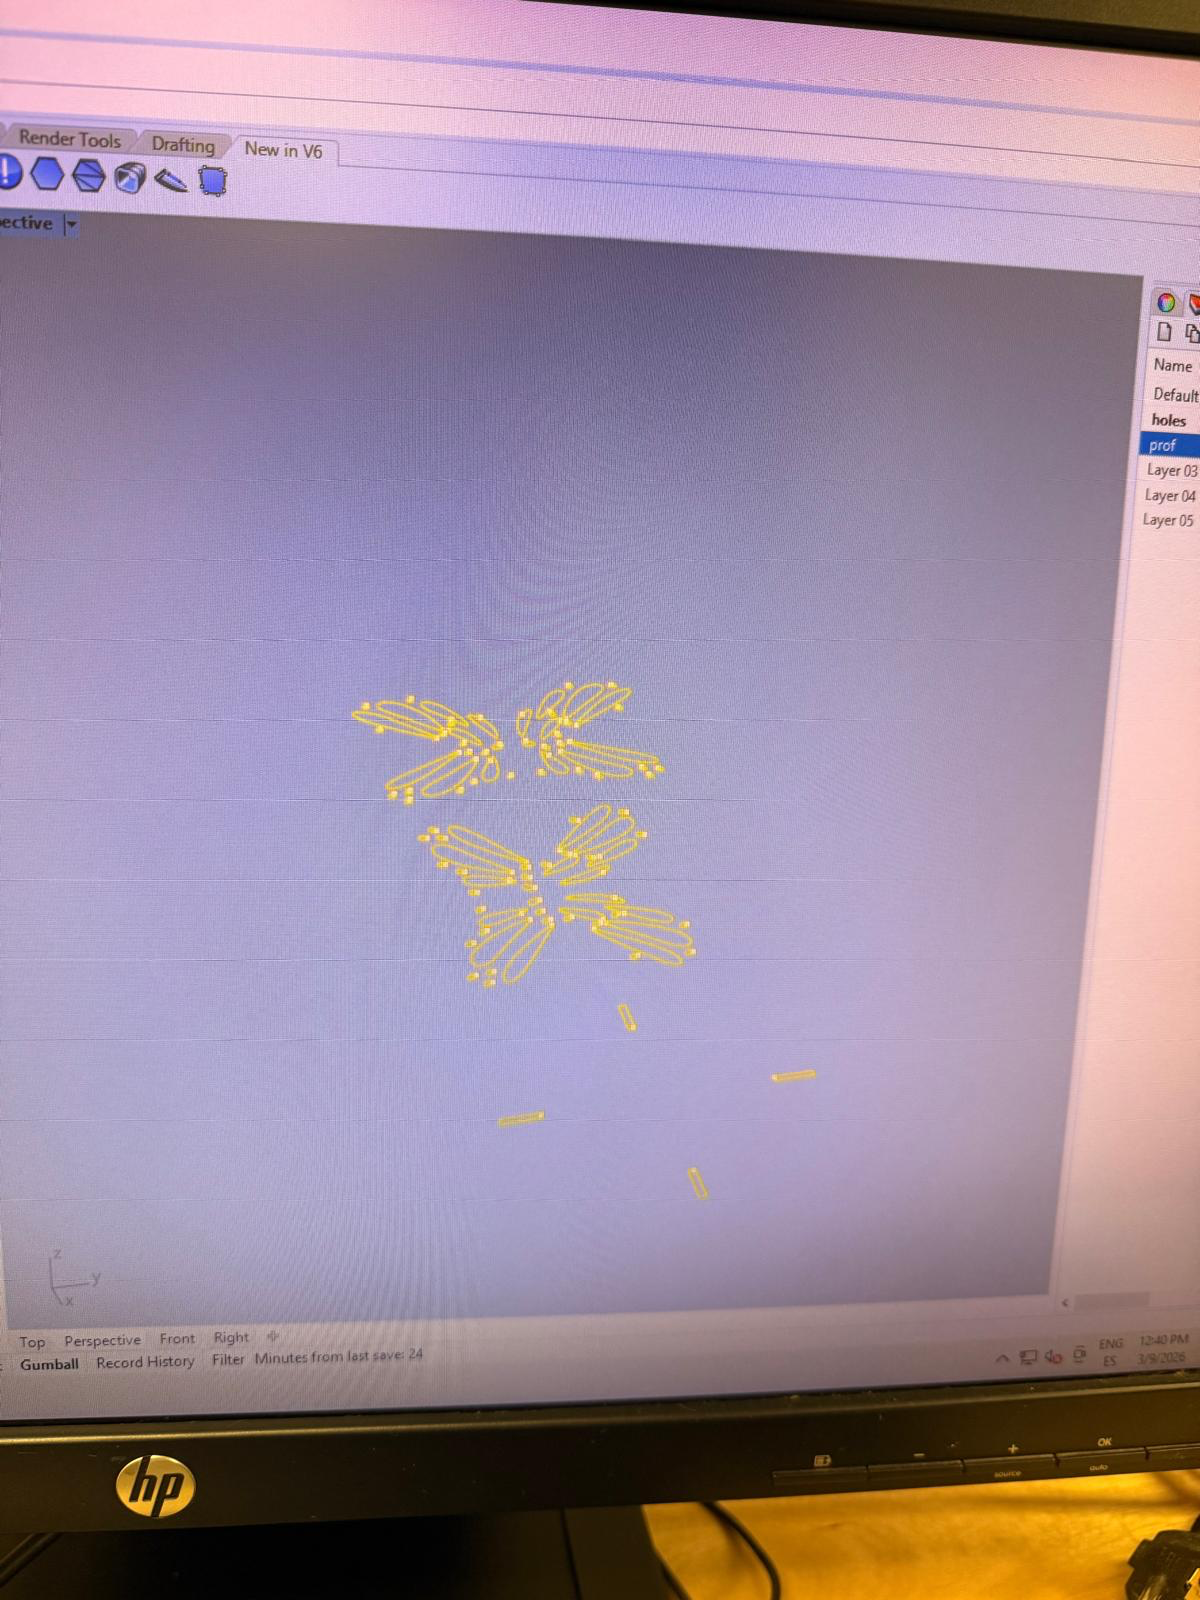
first i had to separate the layers as screws, holes, cutting and engraving
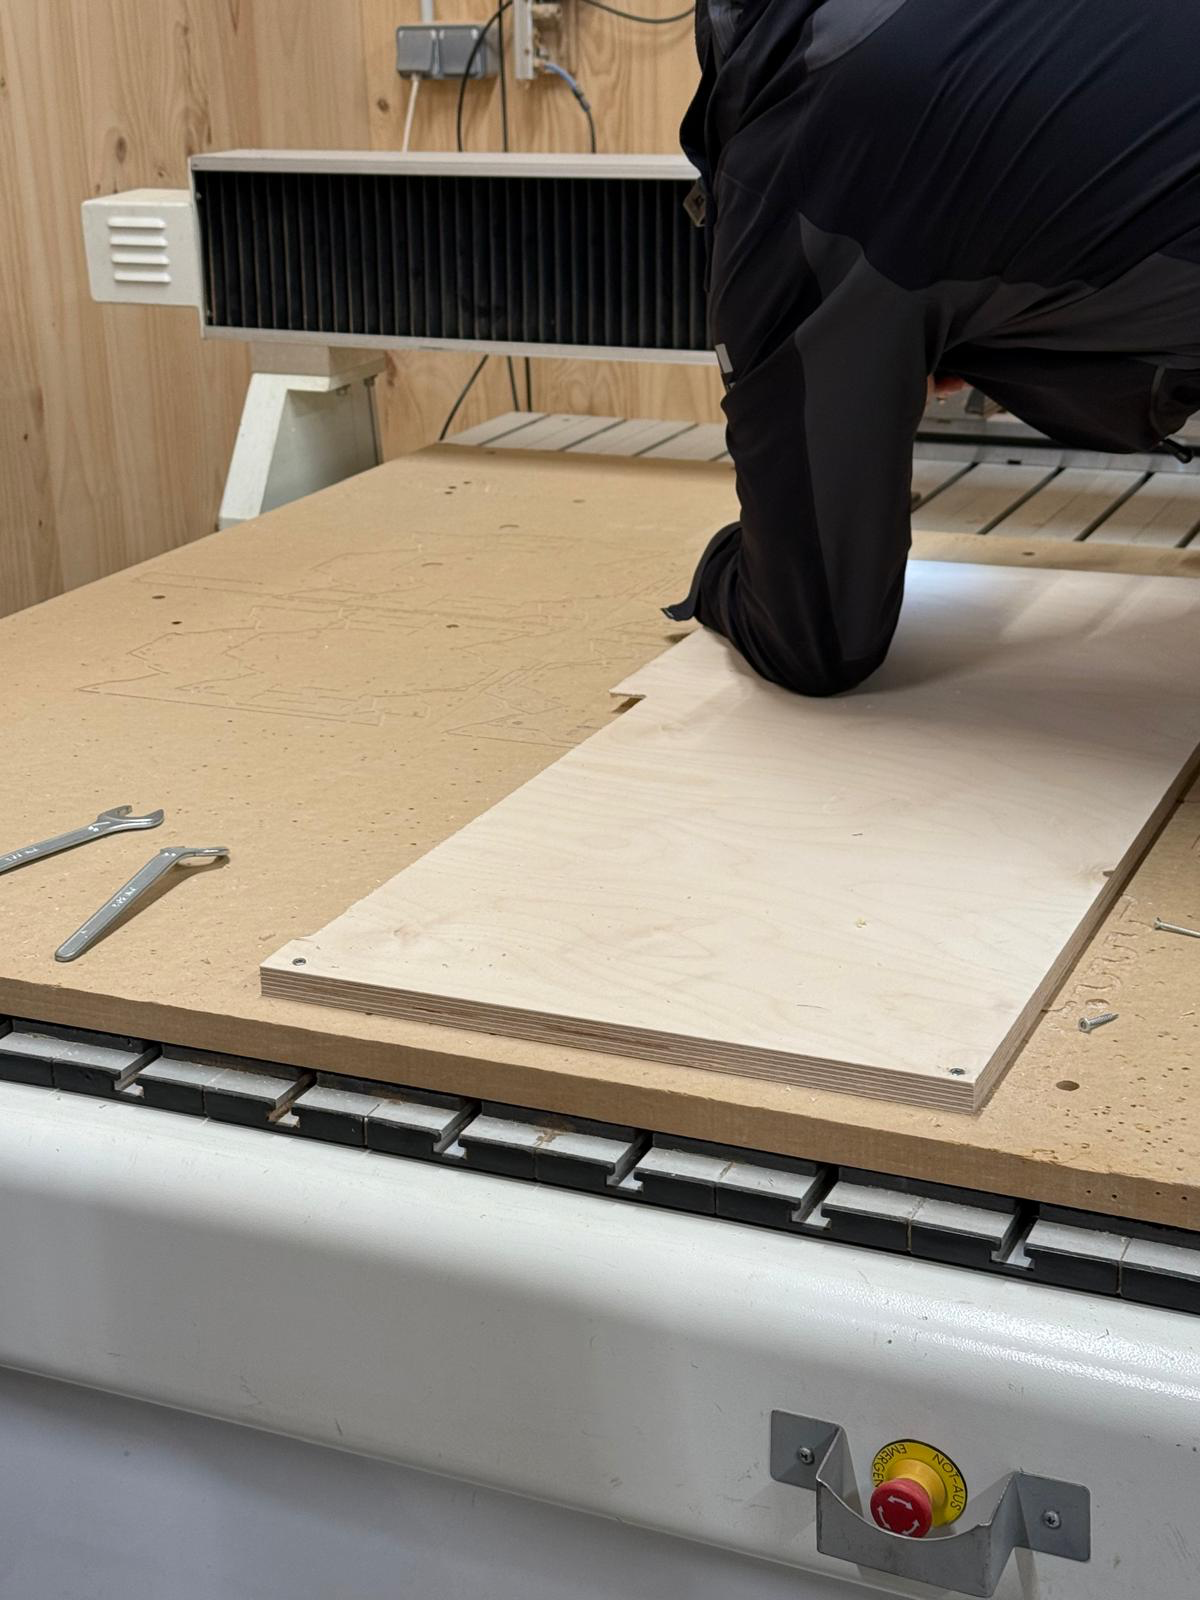
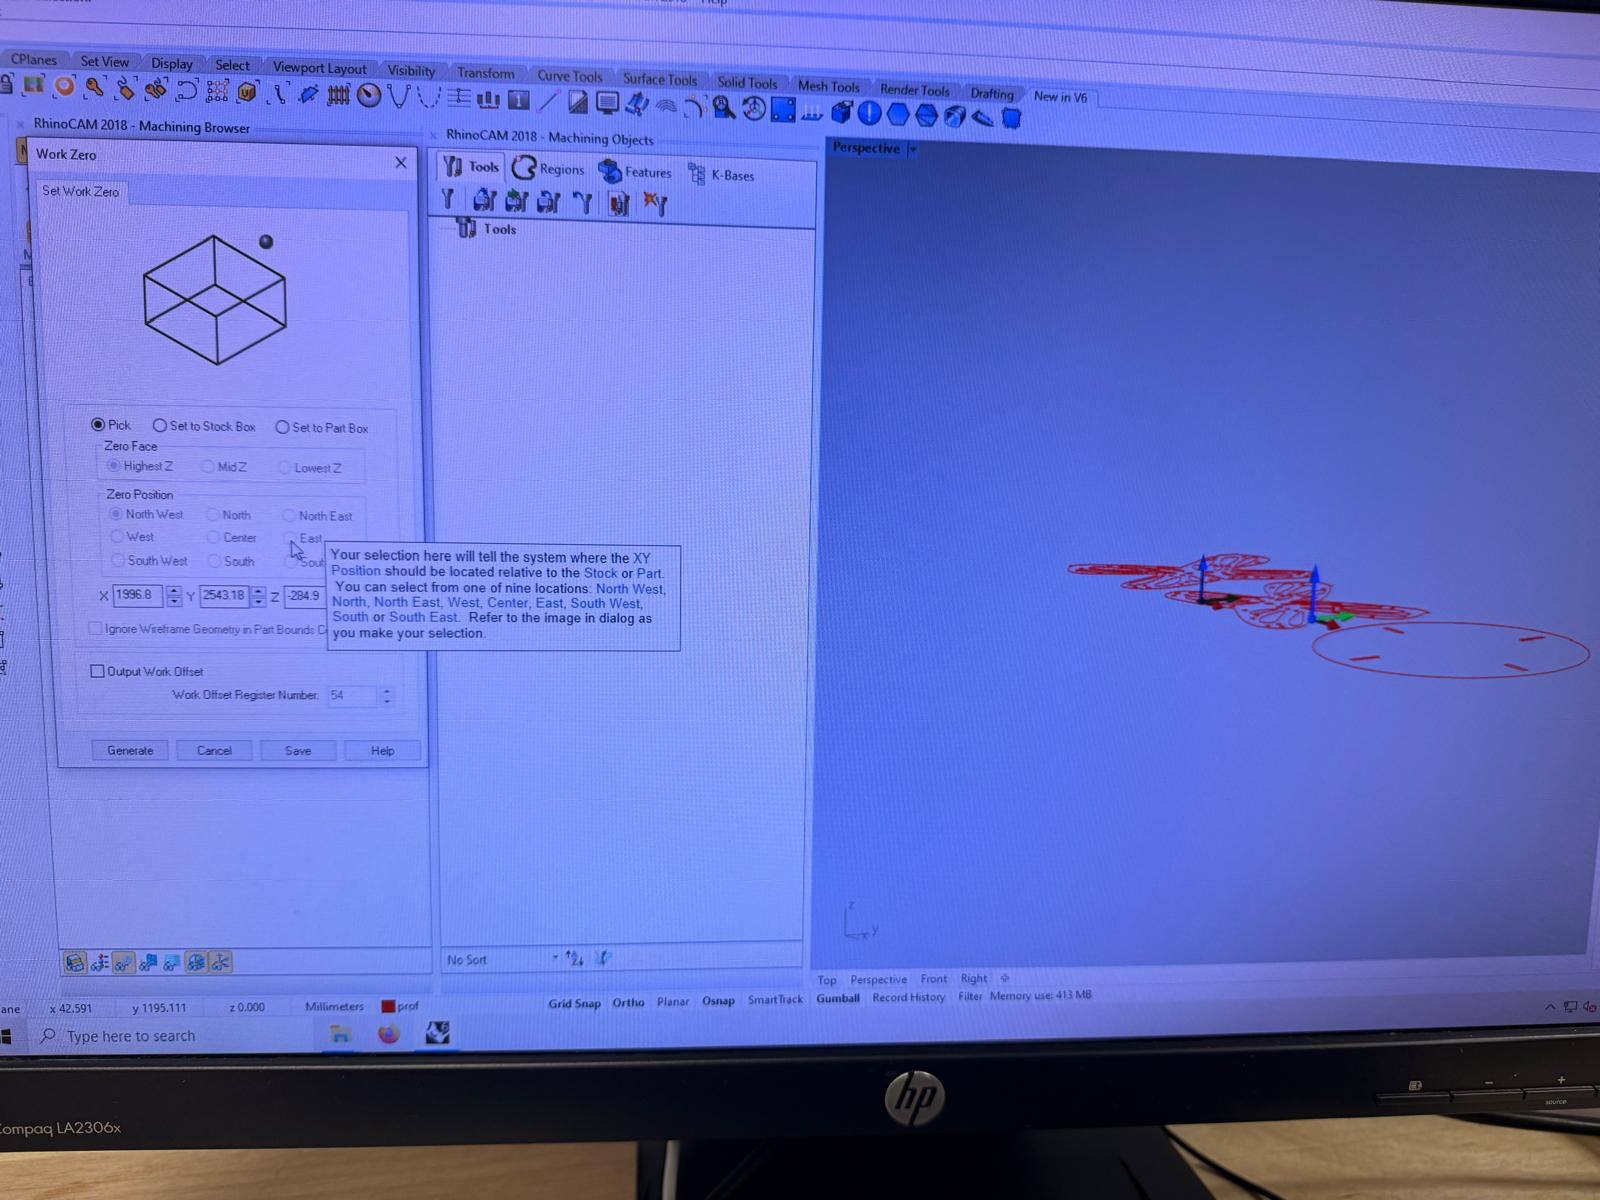
i then had to create my stock. which dani helped me measure from the material room.
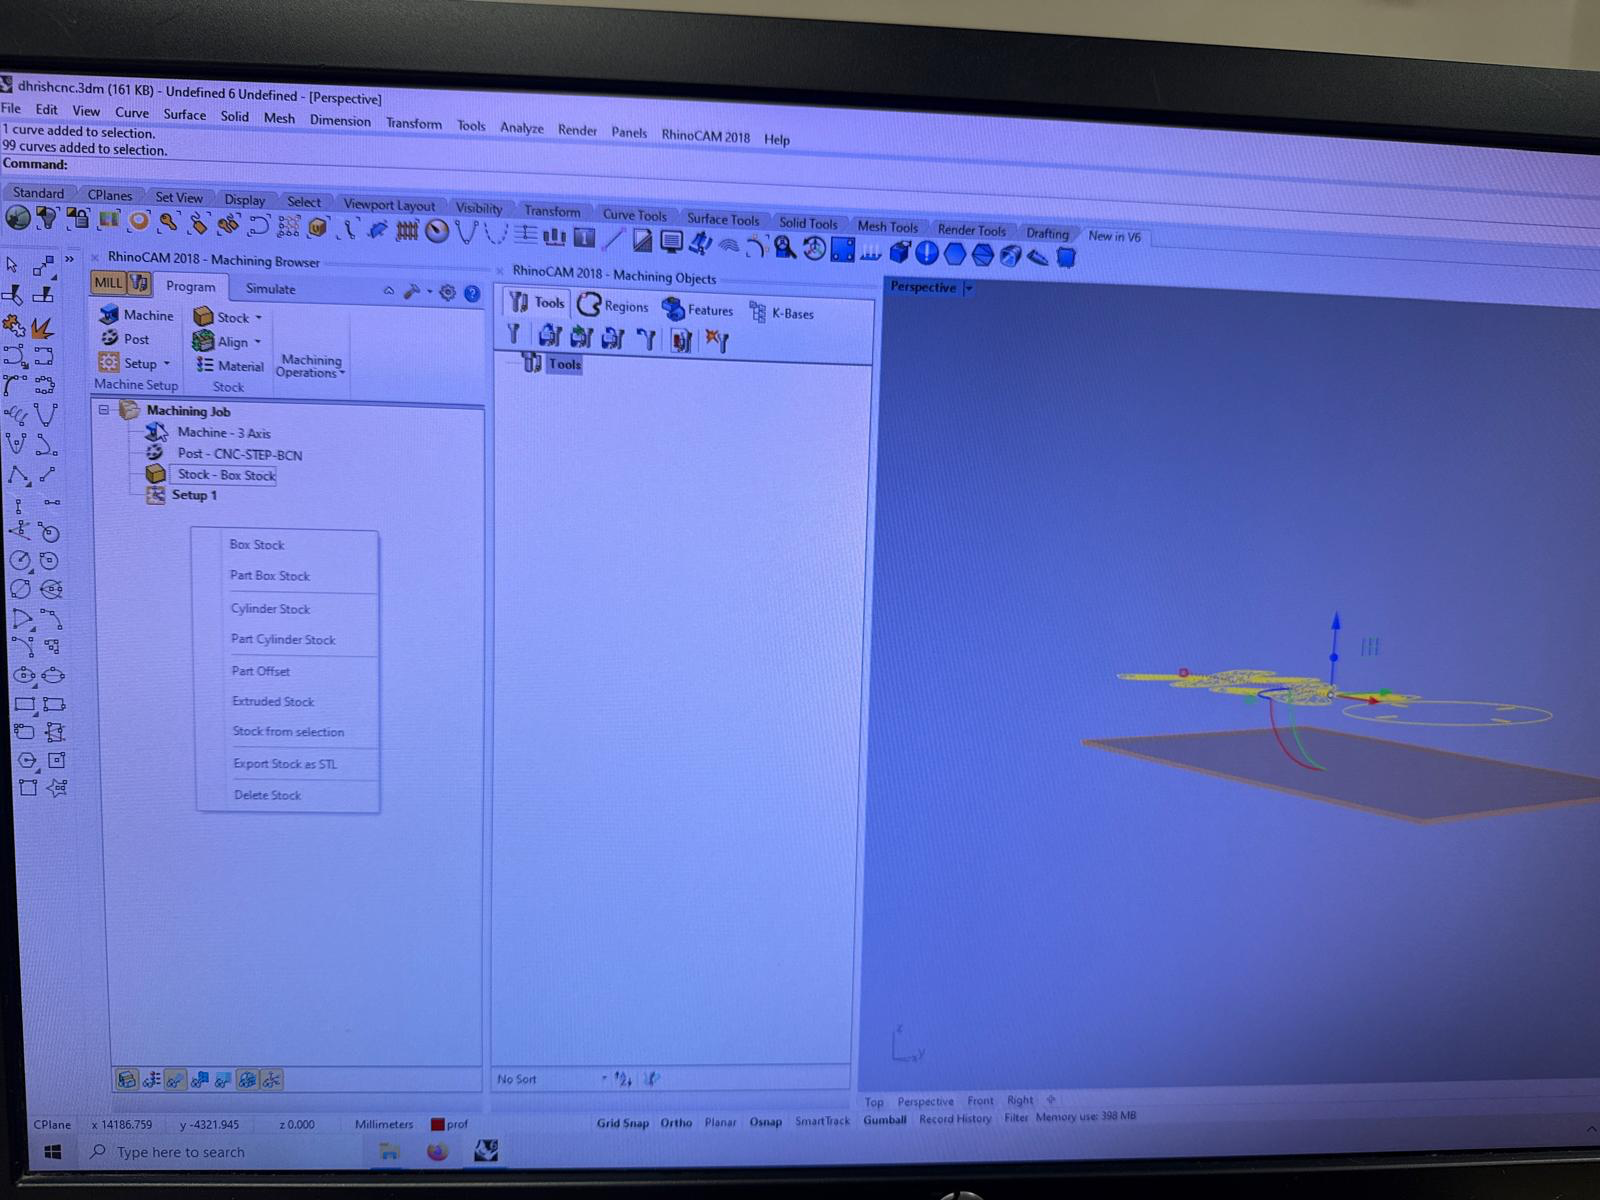
the size of my stock was 2.4m x 1.2m x 15.1mm

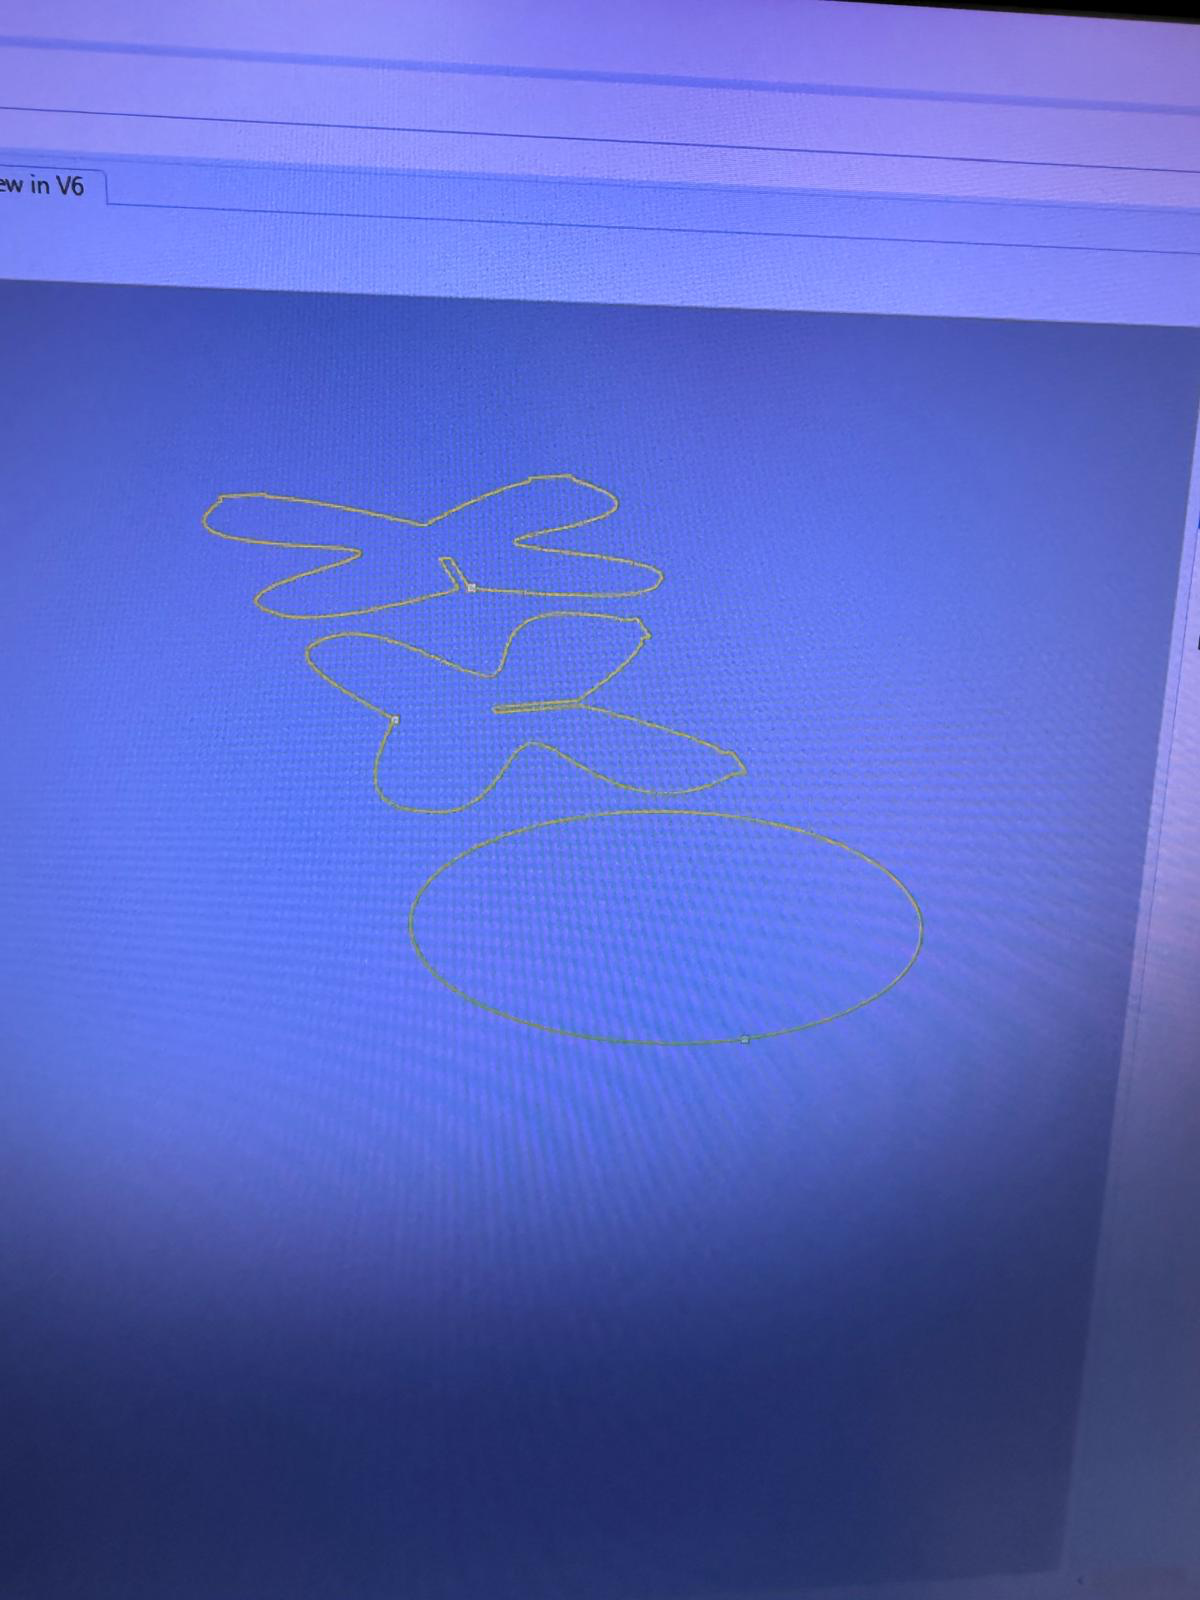
i pull the curves to the stock.
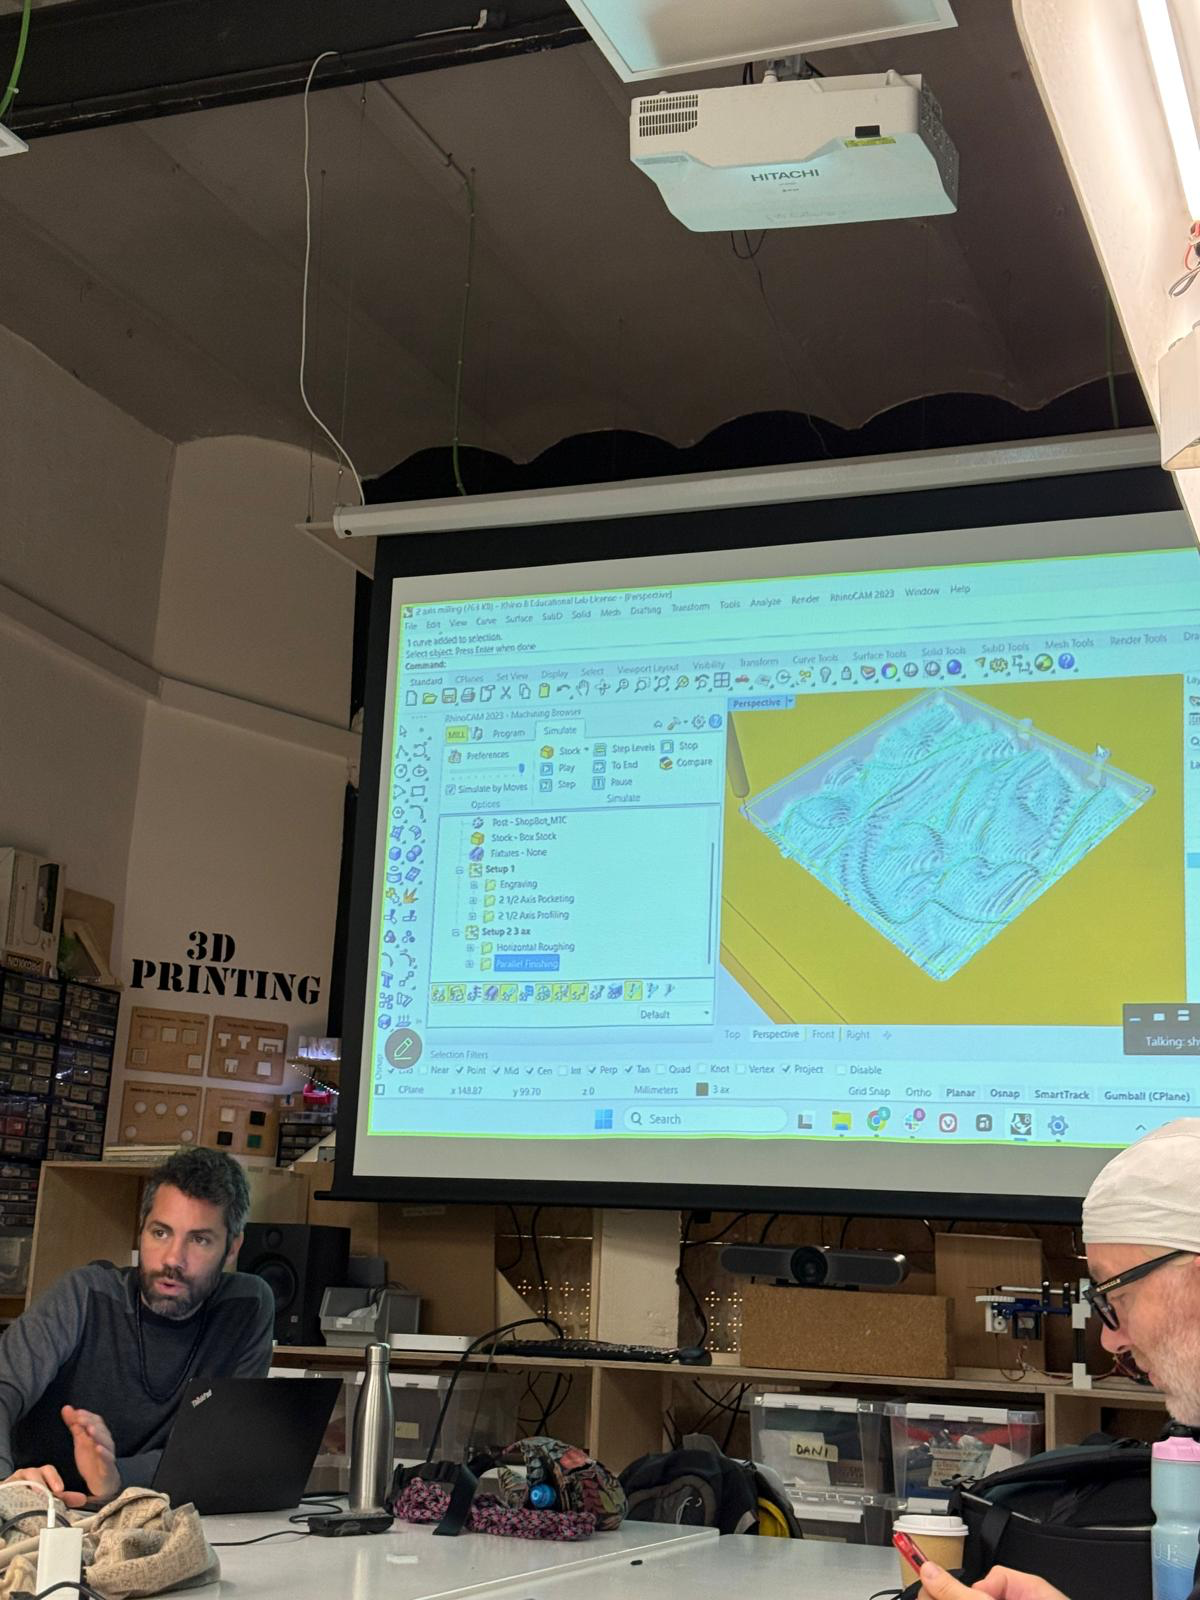
started assigning the properties of the cutting order and material.
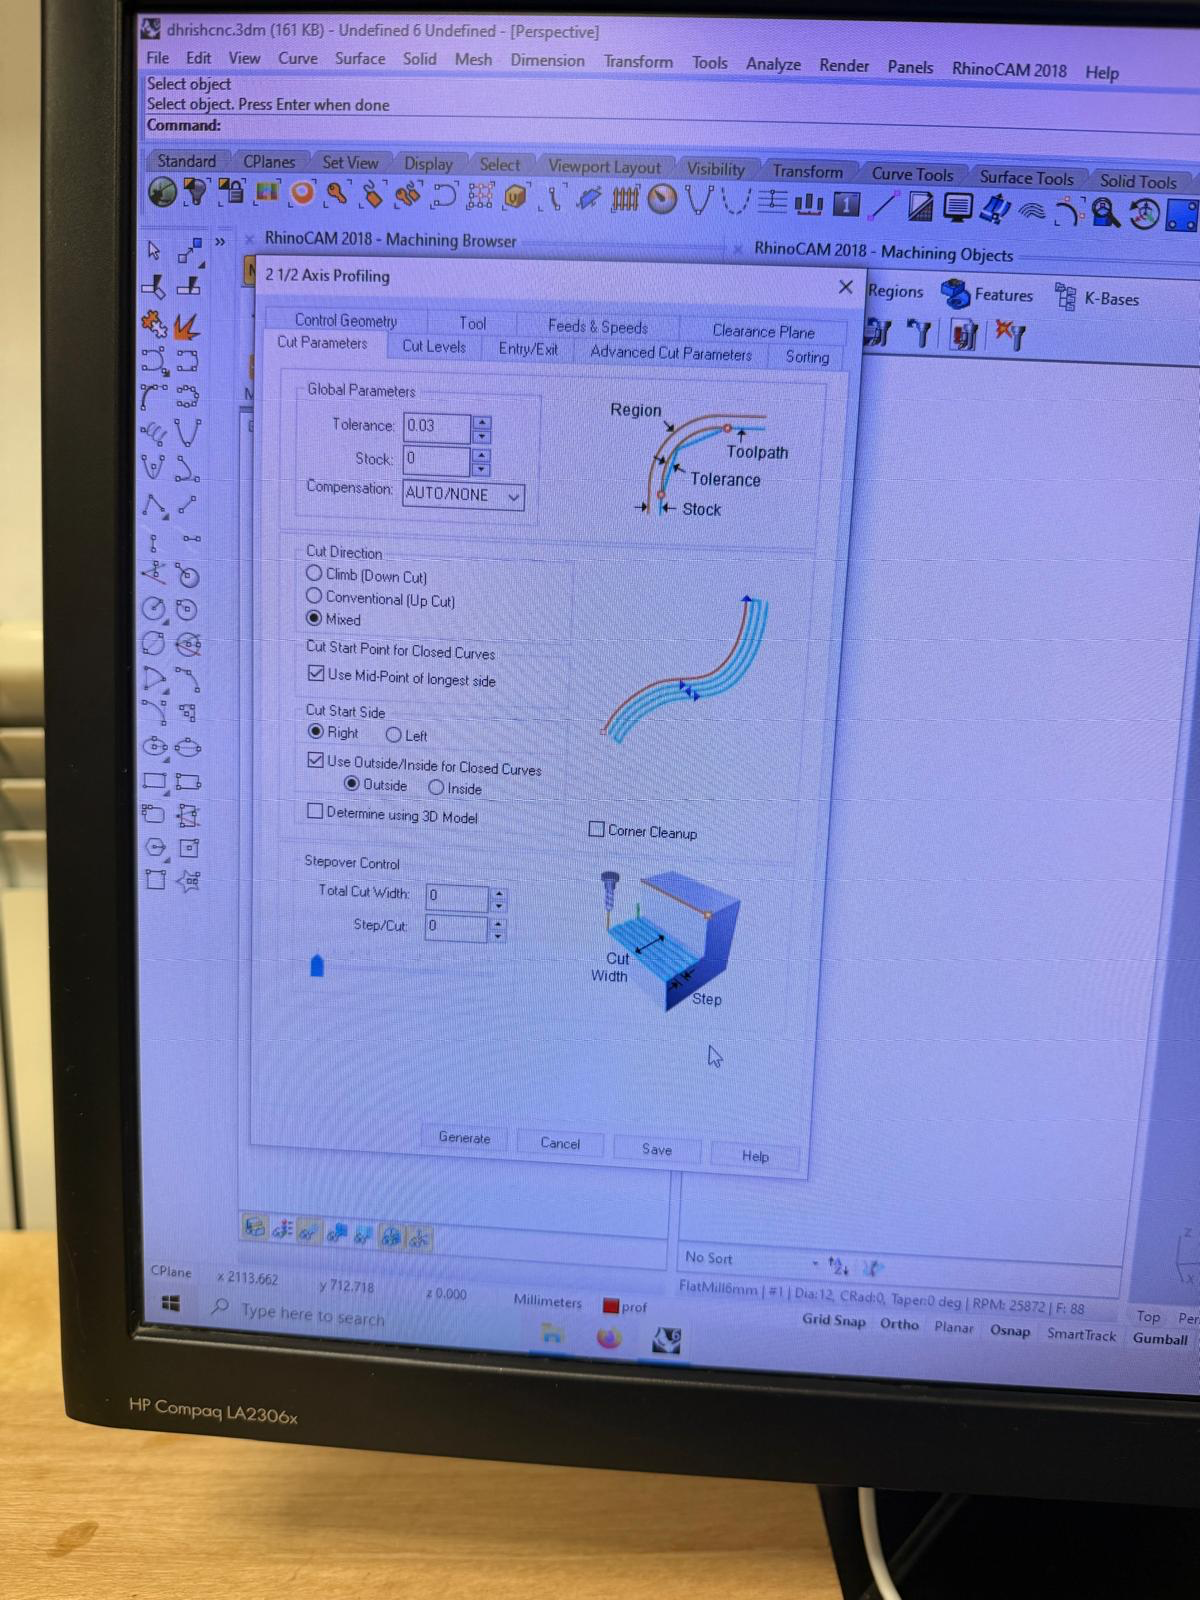
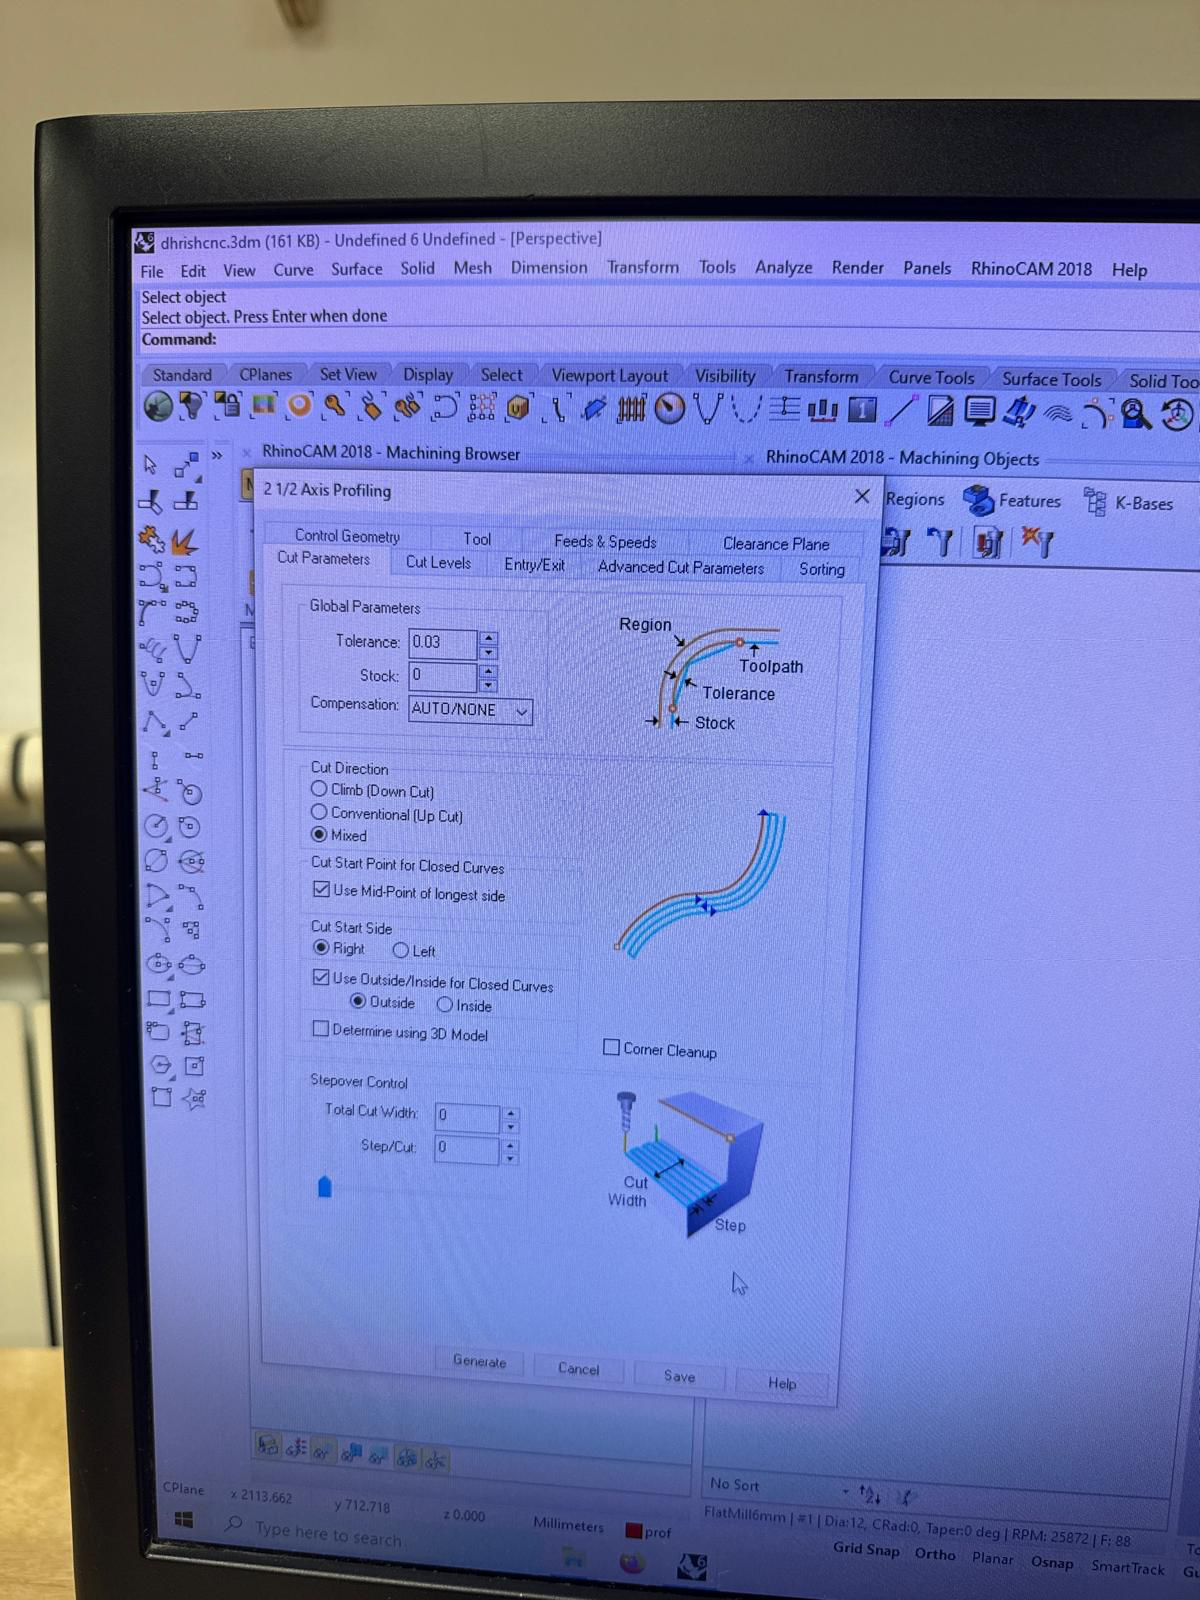
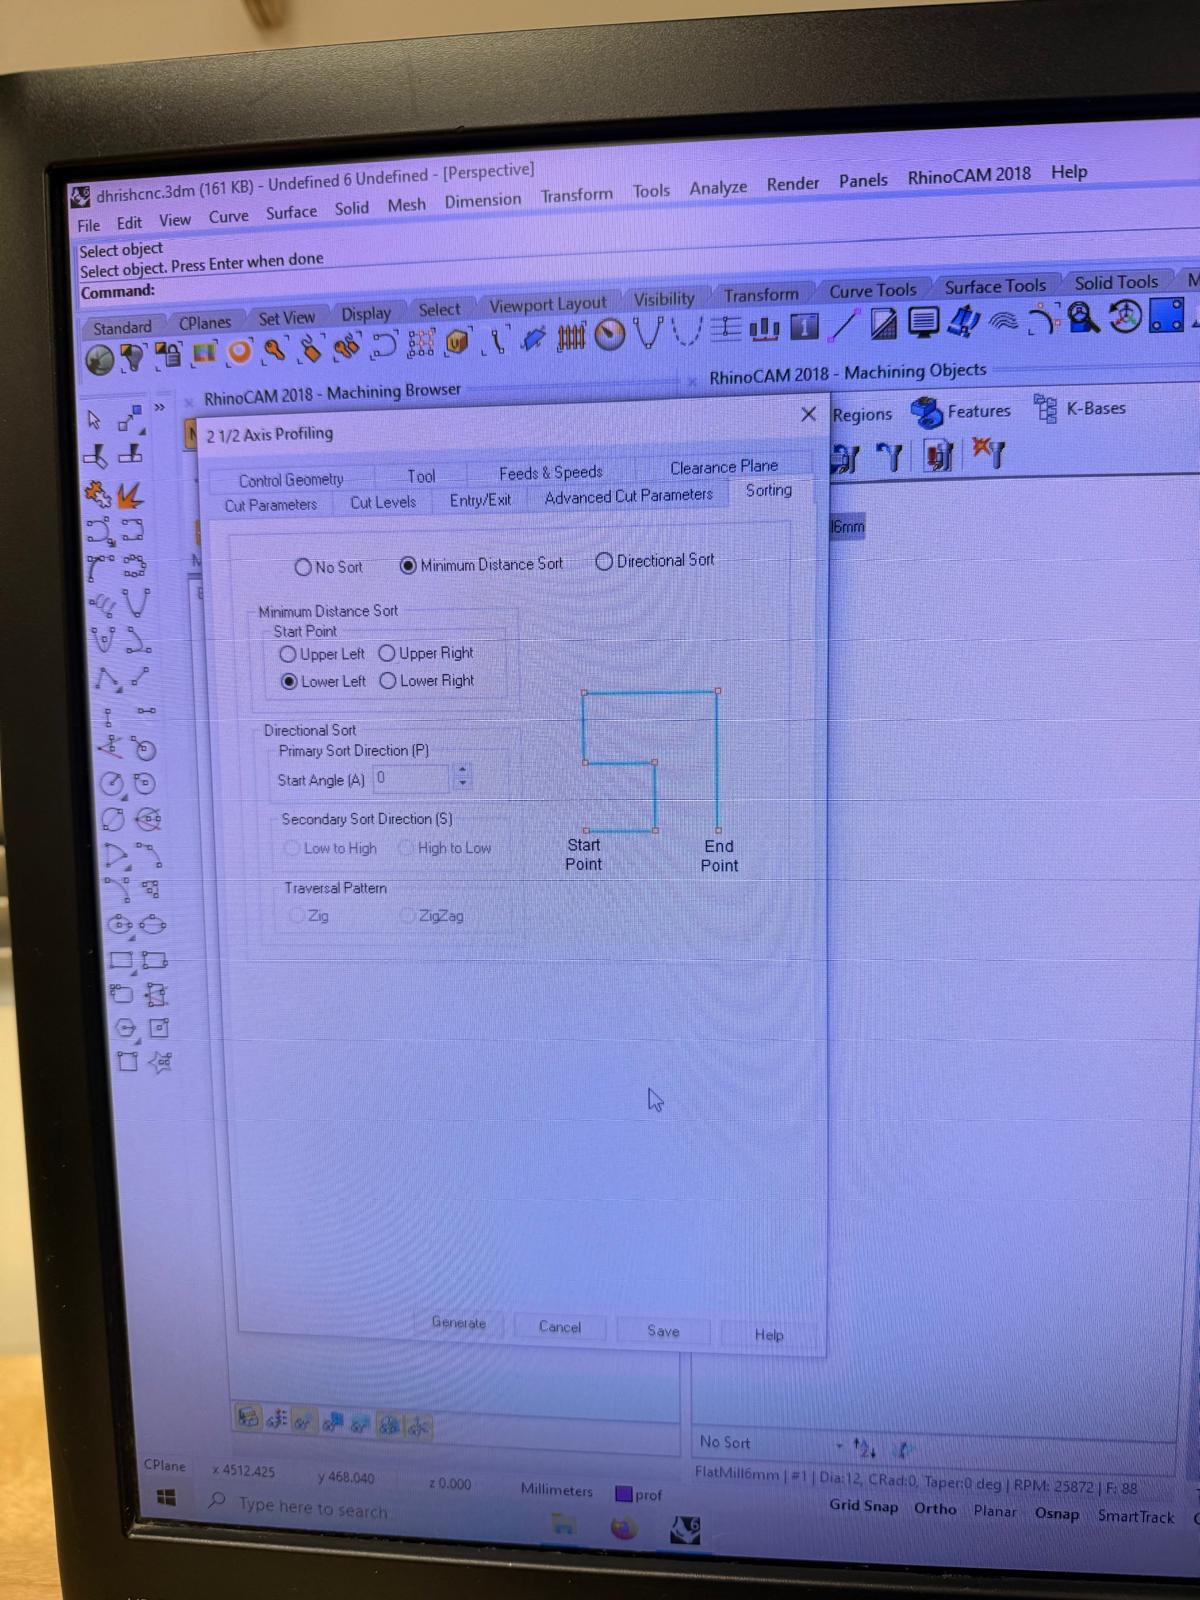
i created new processes for different layers and i had to assign the cutting order and the depth of cut for each layer
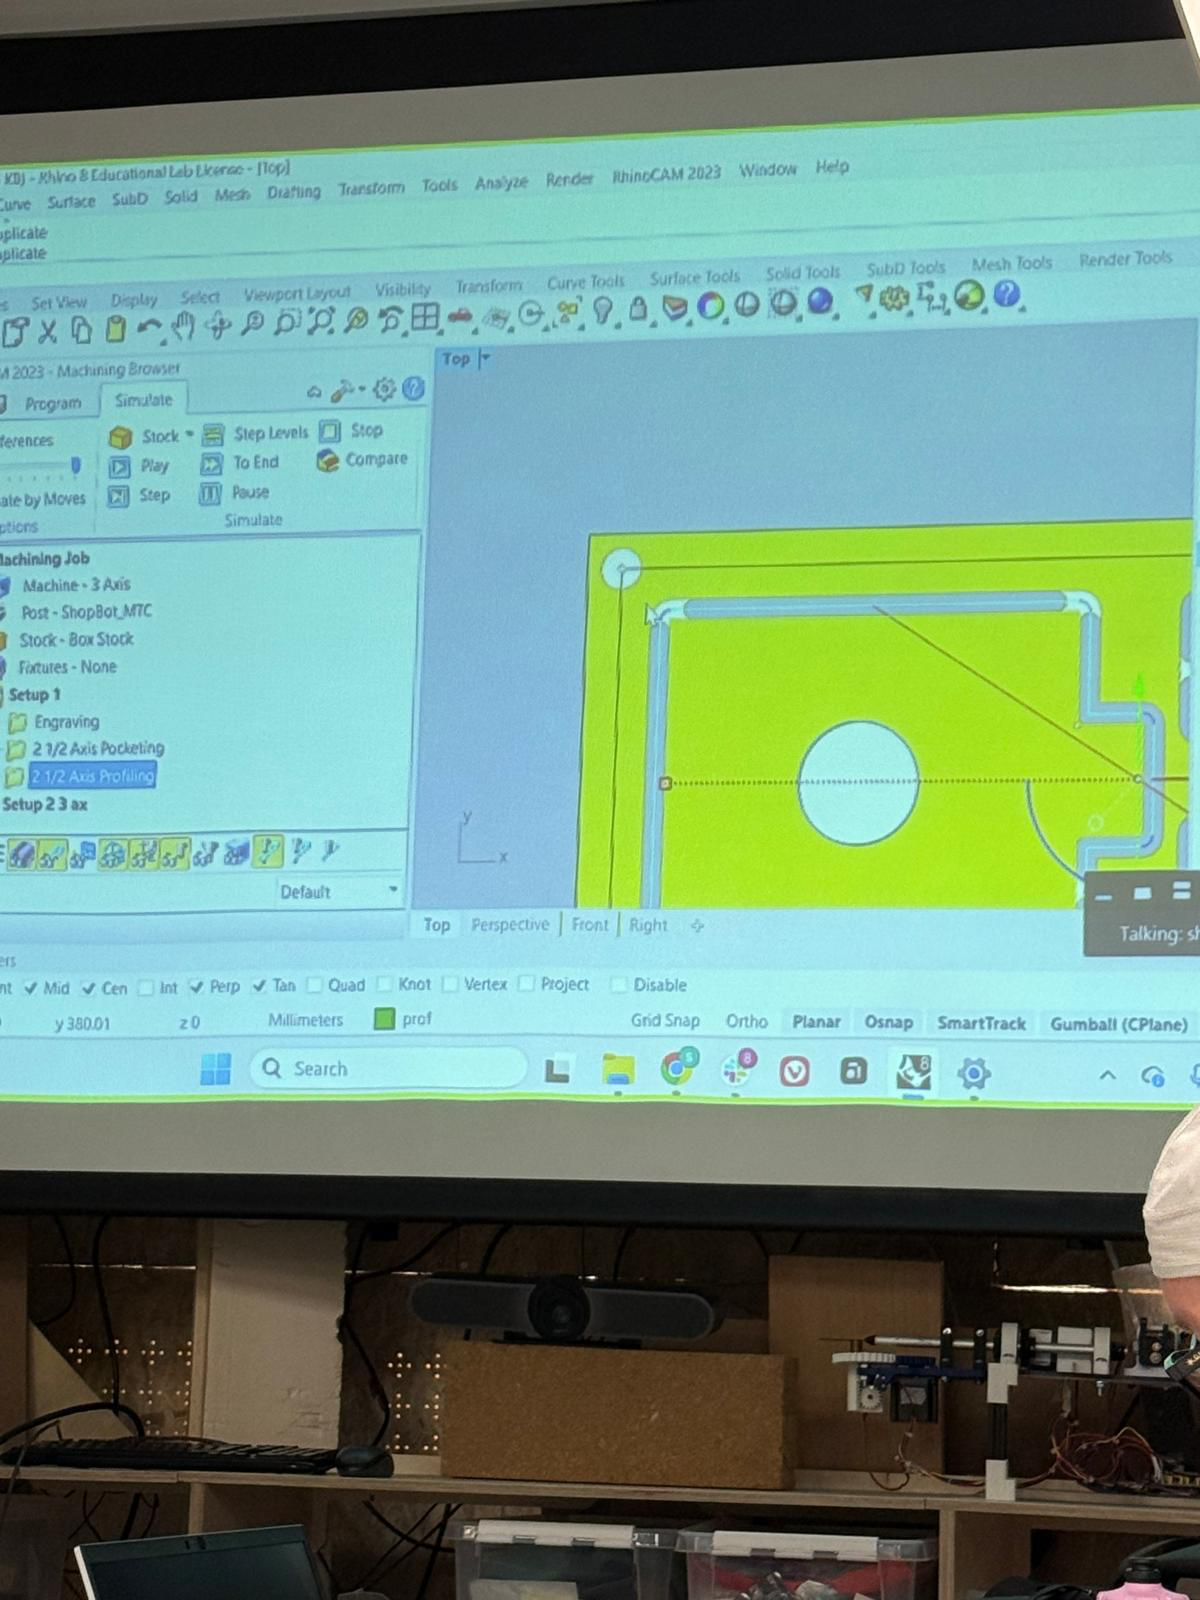
adding screws to keep the material flat throughout the cutting process. it is important that the screws never intersect with the toolpath of rest of the the cutting process
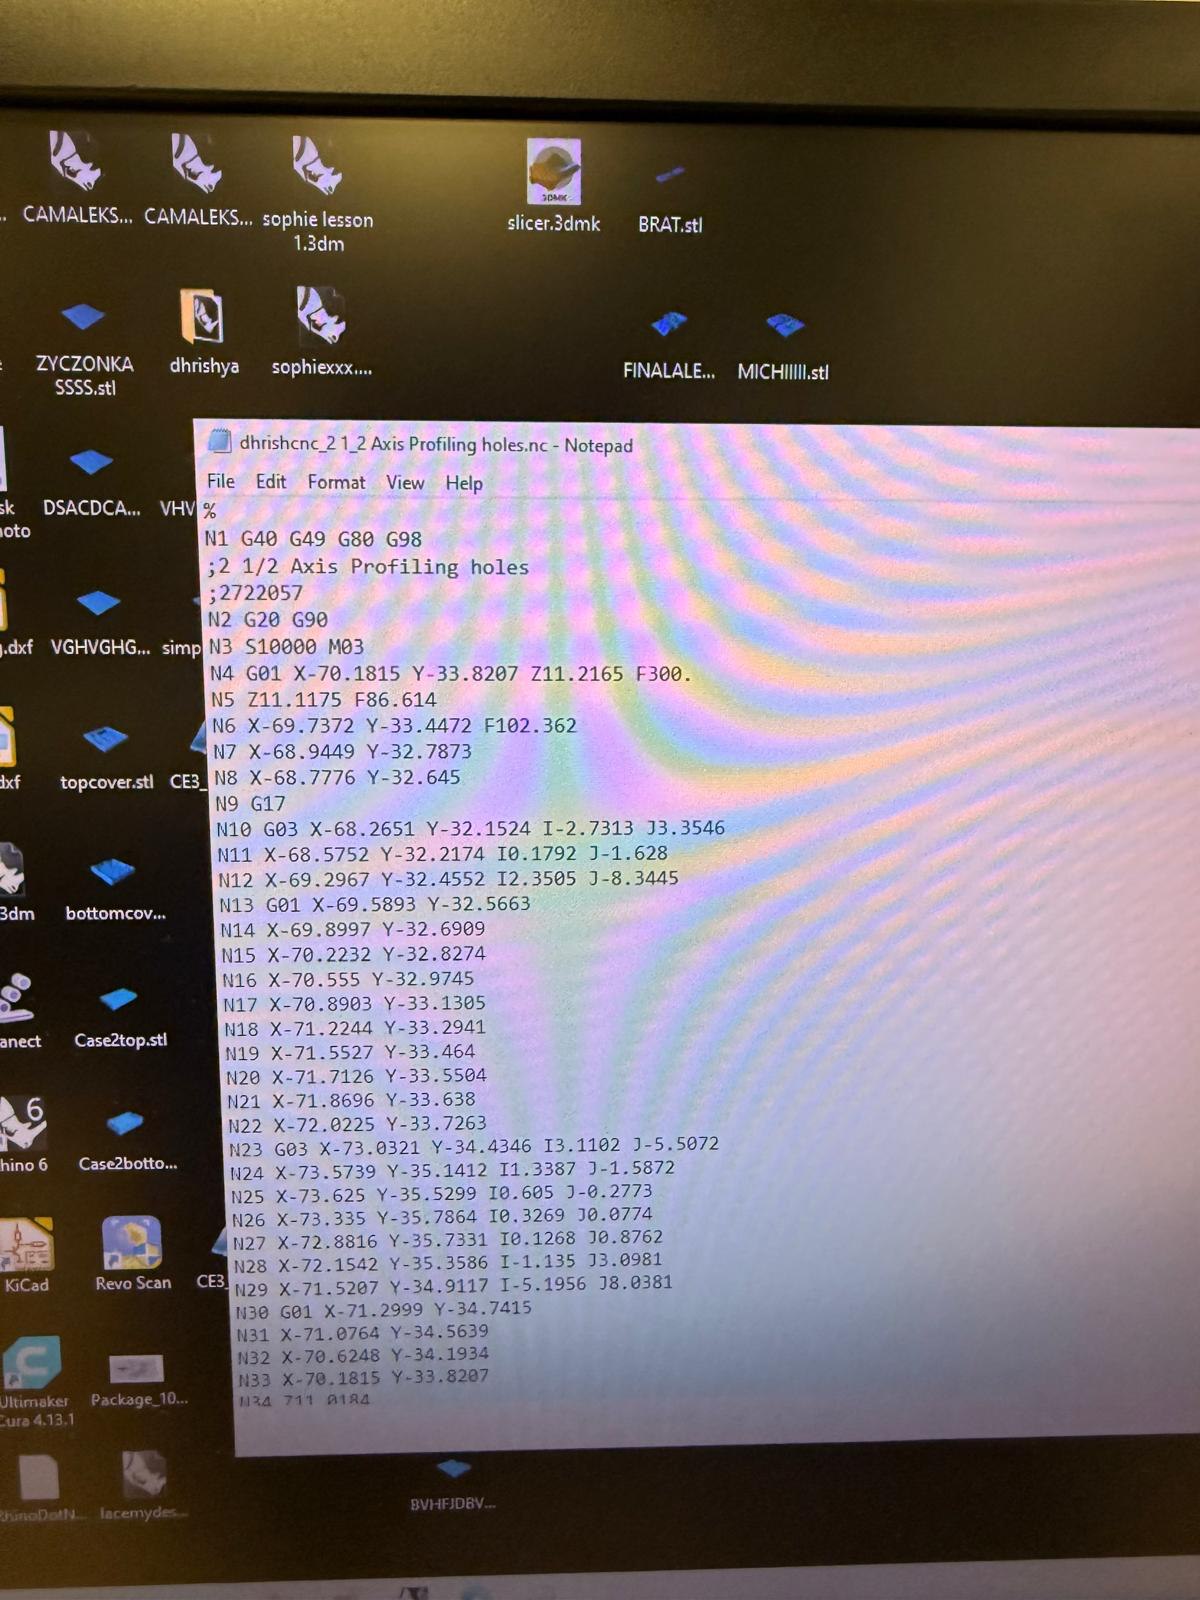
the cutting file is ready and ready for export into g-code
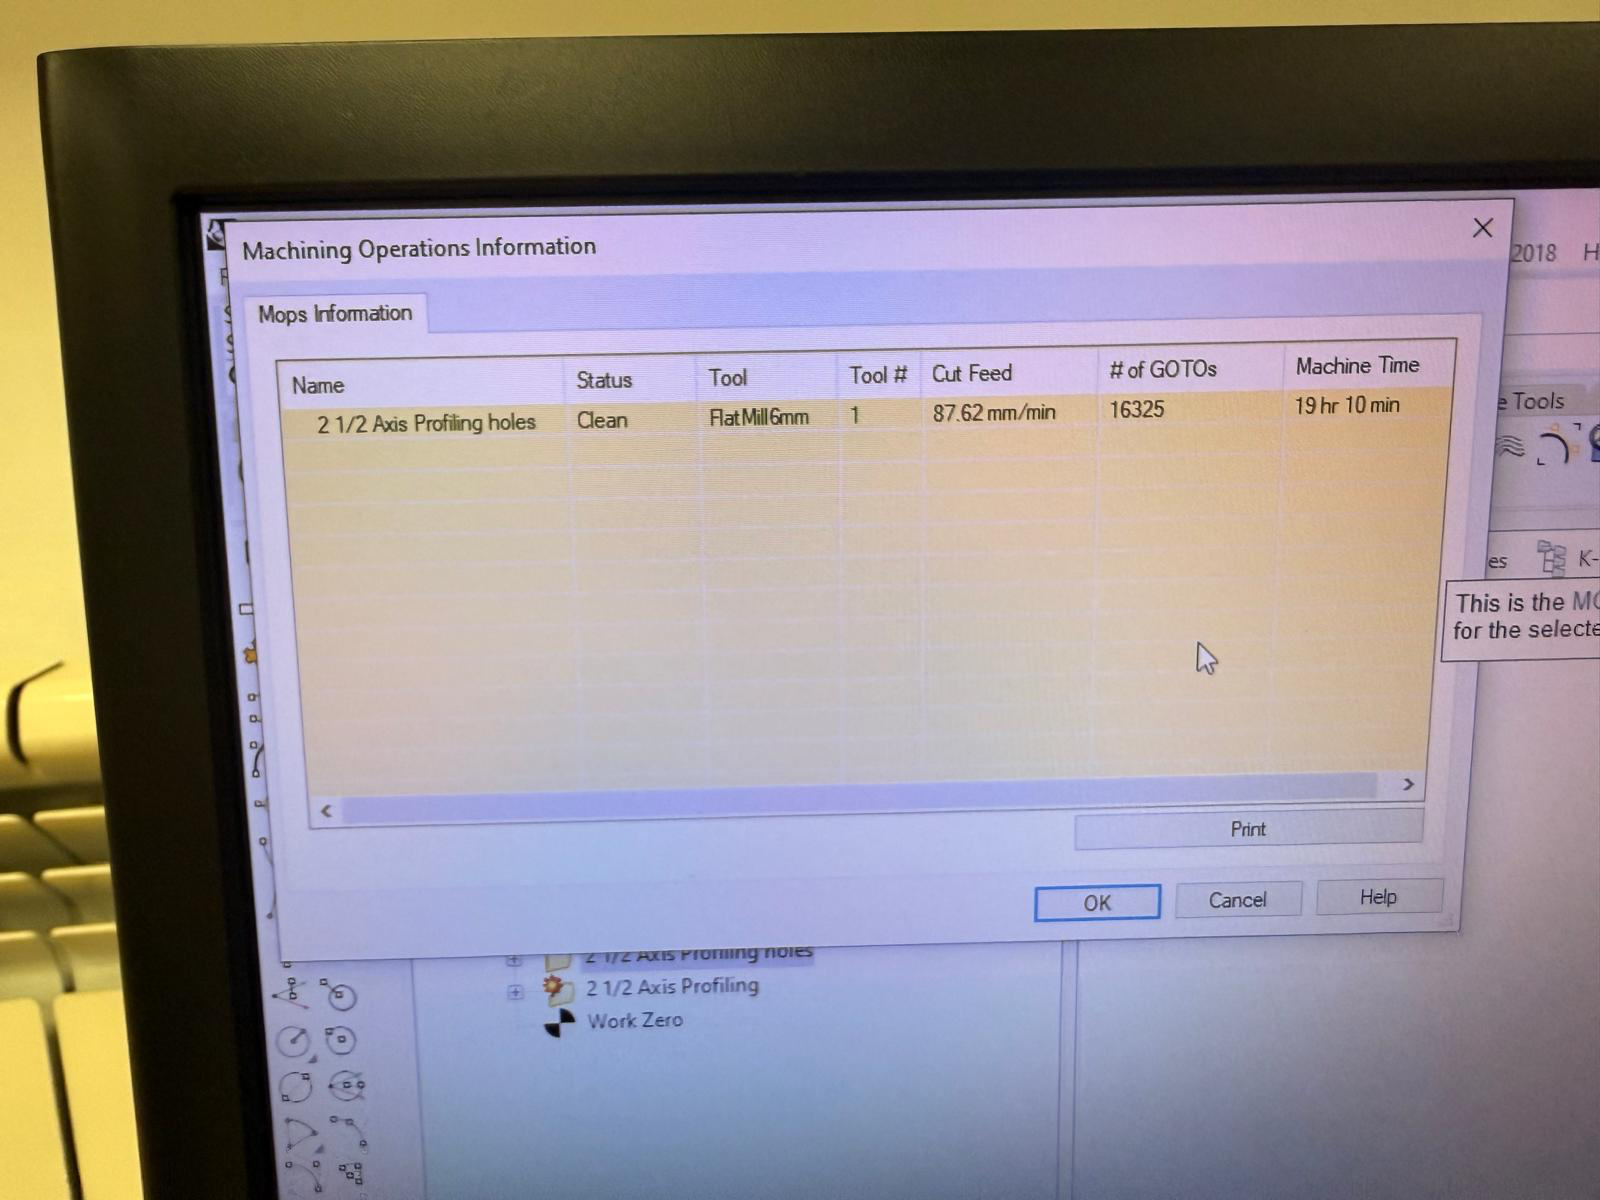
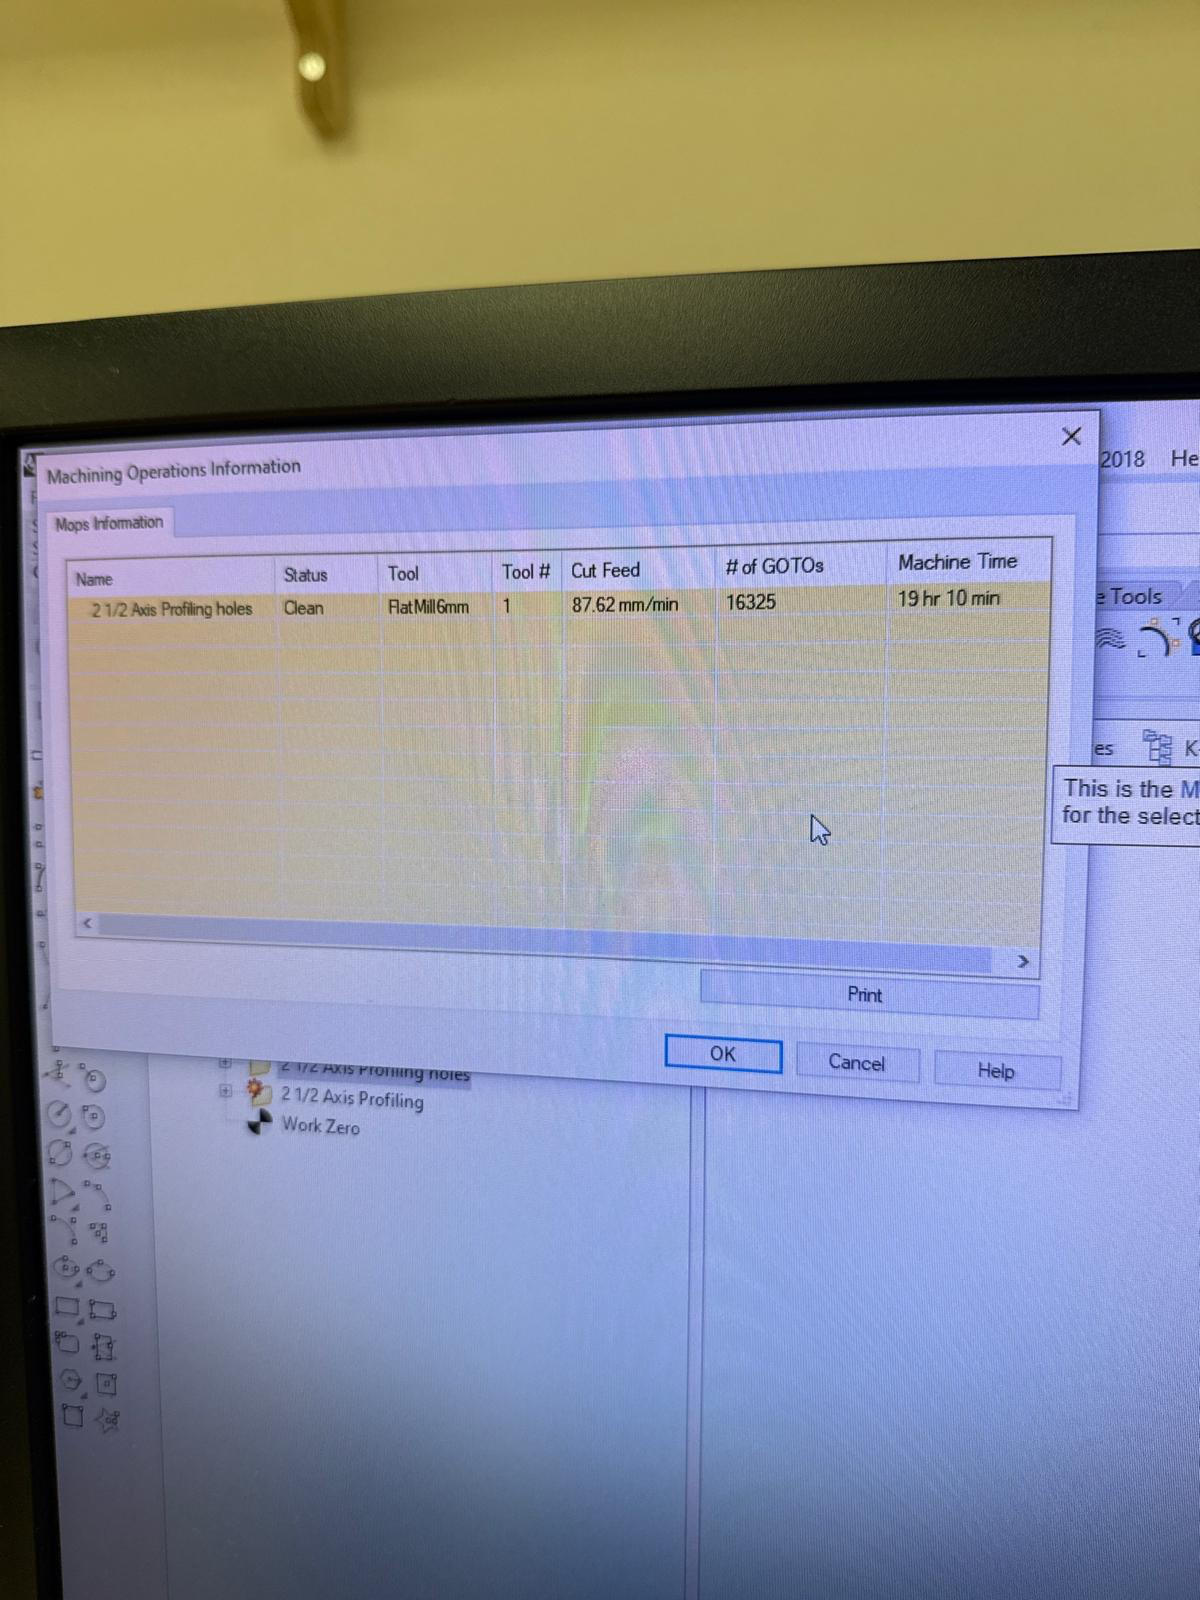
the g-code didn,t look correct a couple of times and I had to re-export all of them because i had chosen the wrong machine in the settings. thankfully gabriel from the lab noticed that something was wrong before we started cutting. and the time was way too long like 20 hours- which was unrealistic fot a simple cut with no machining.
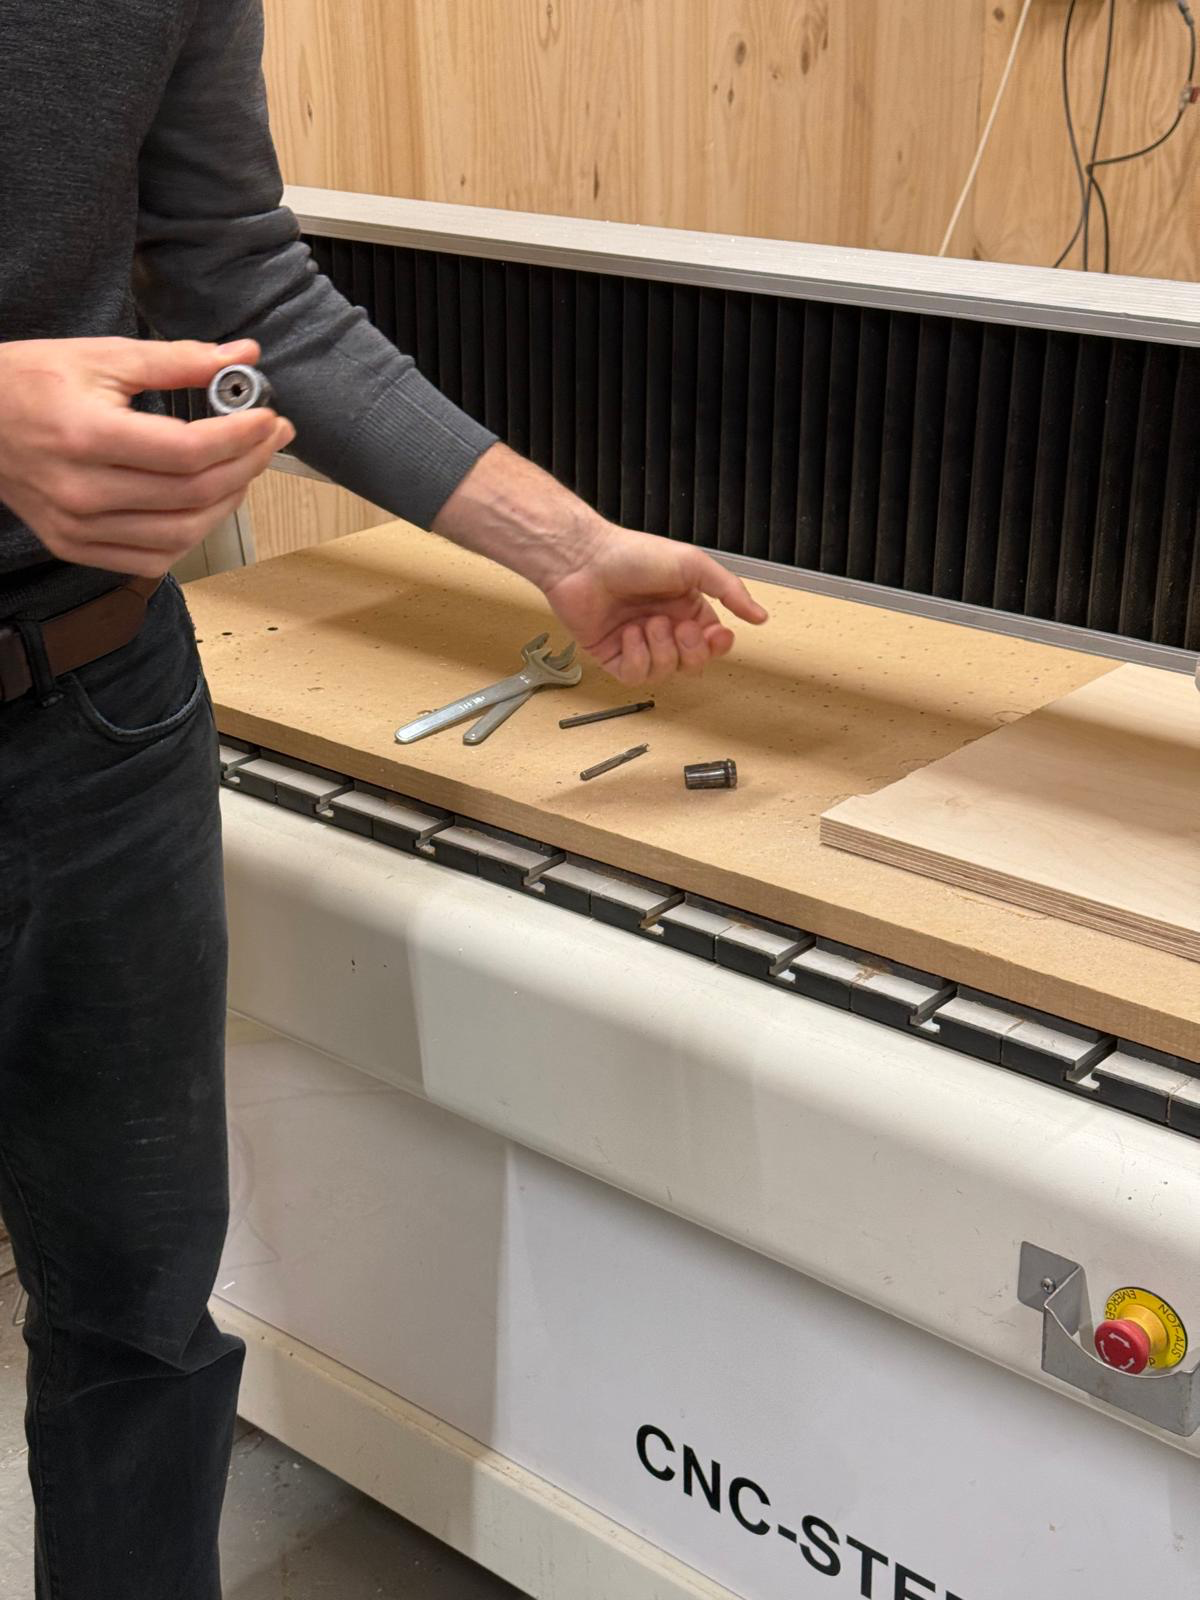
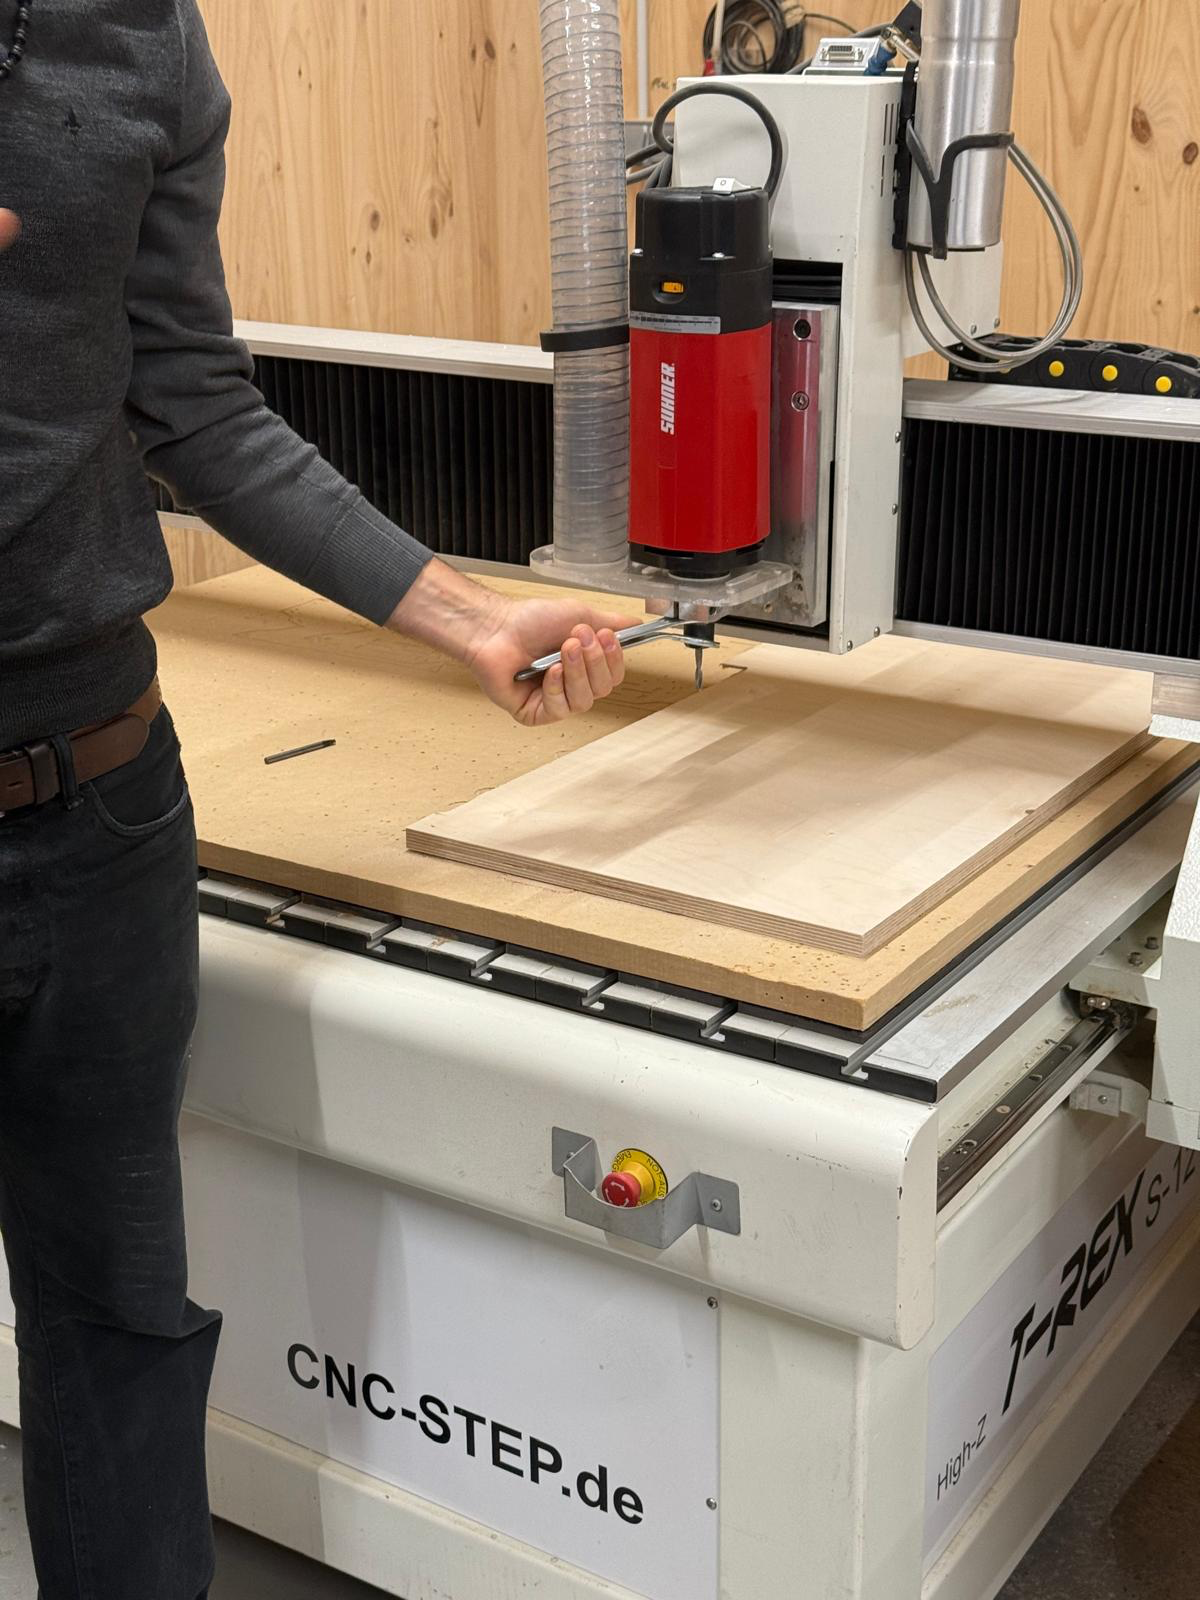
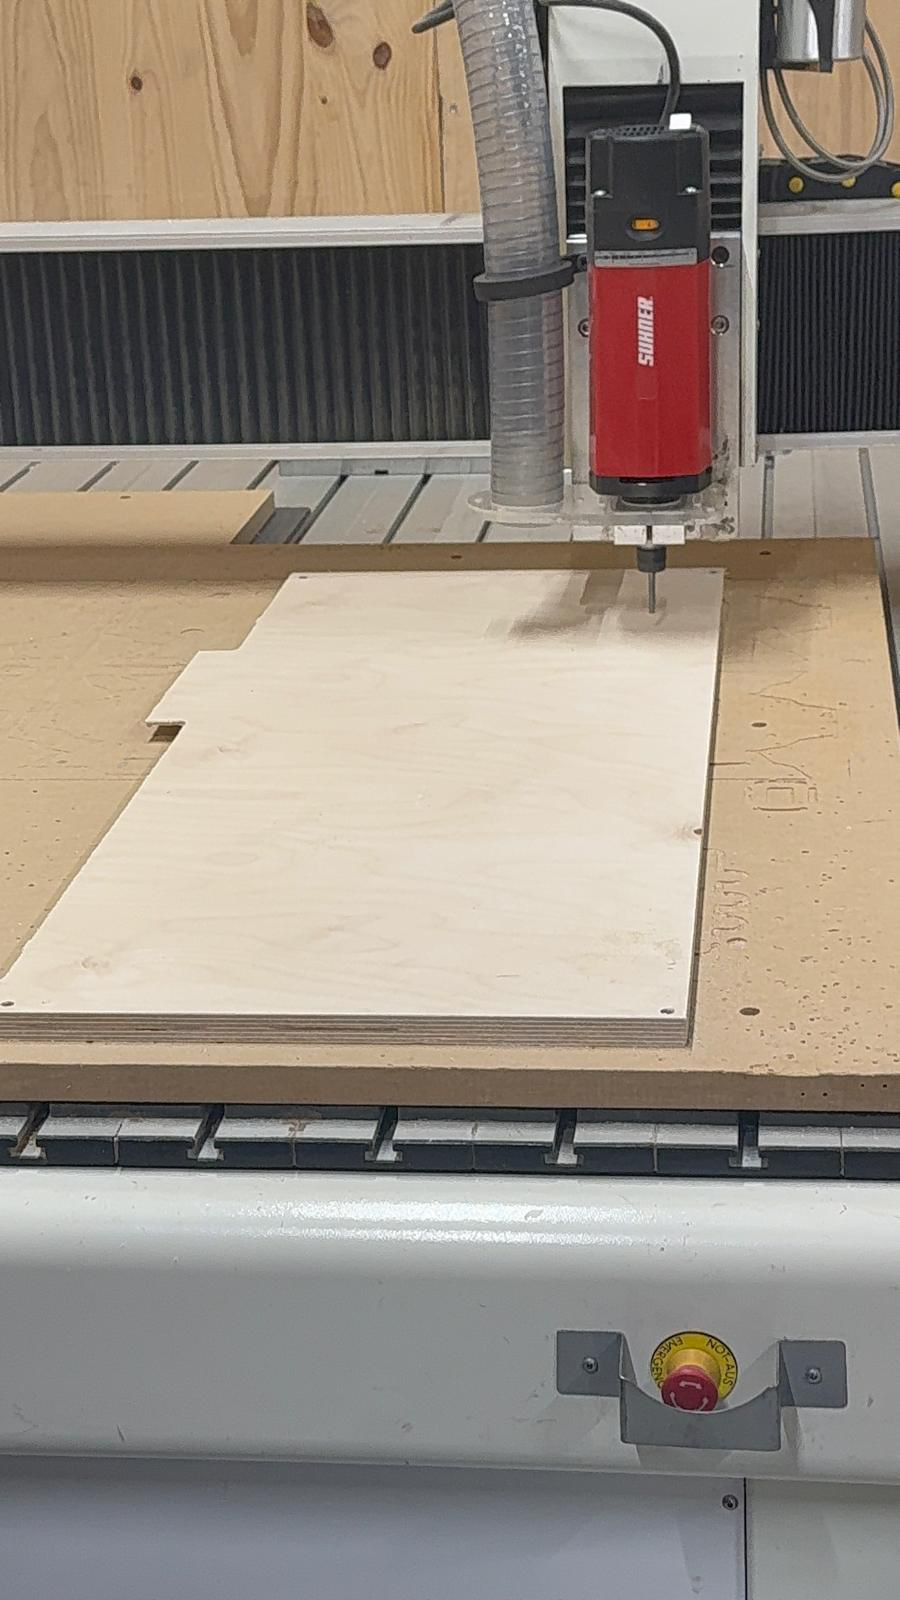
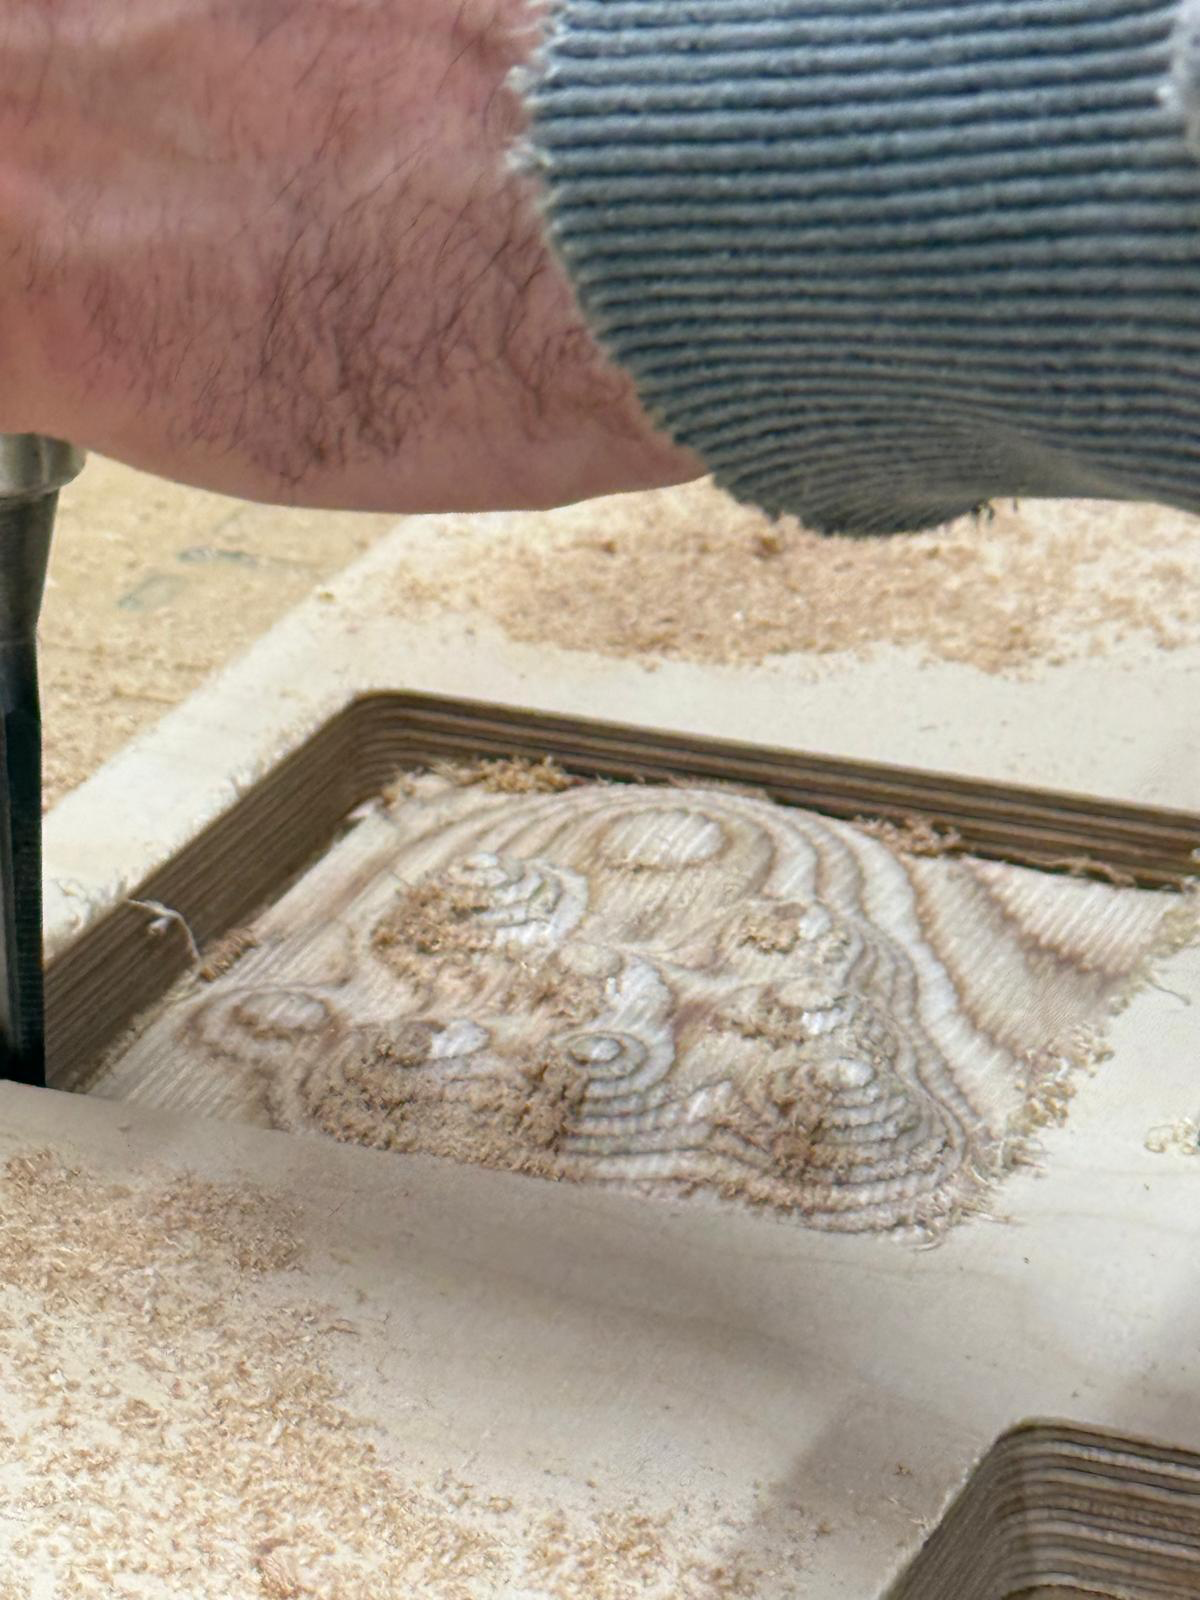
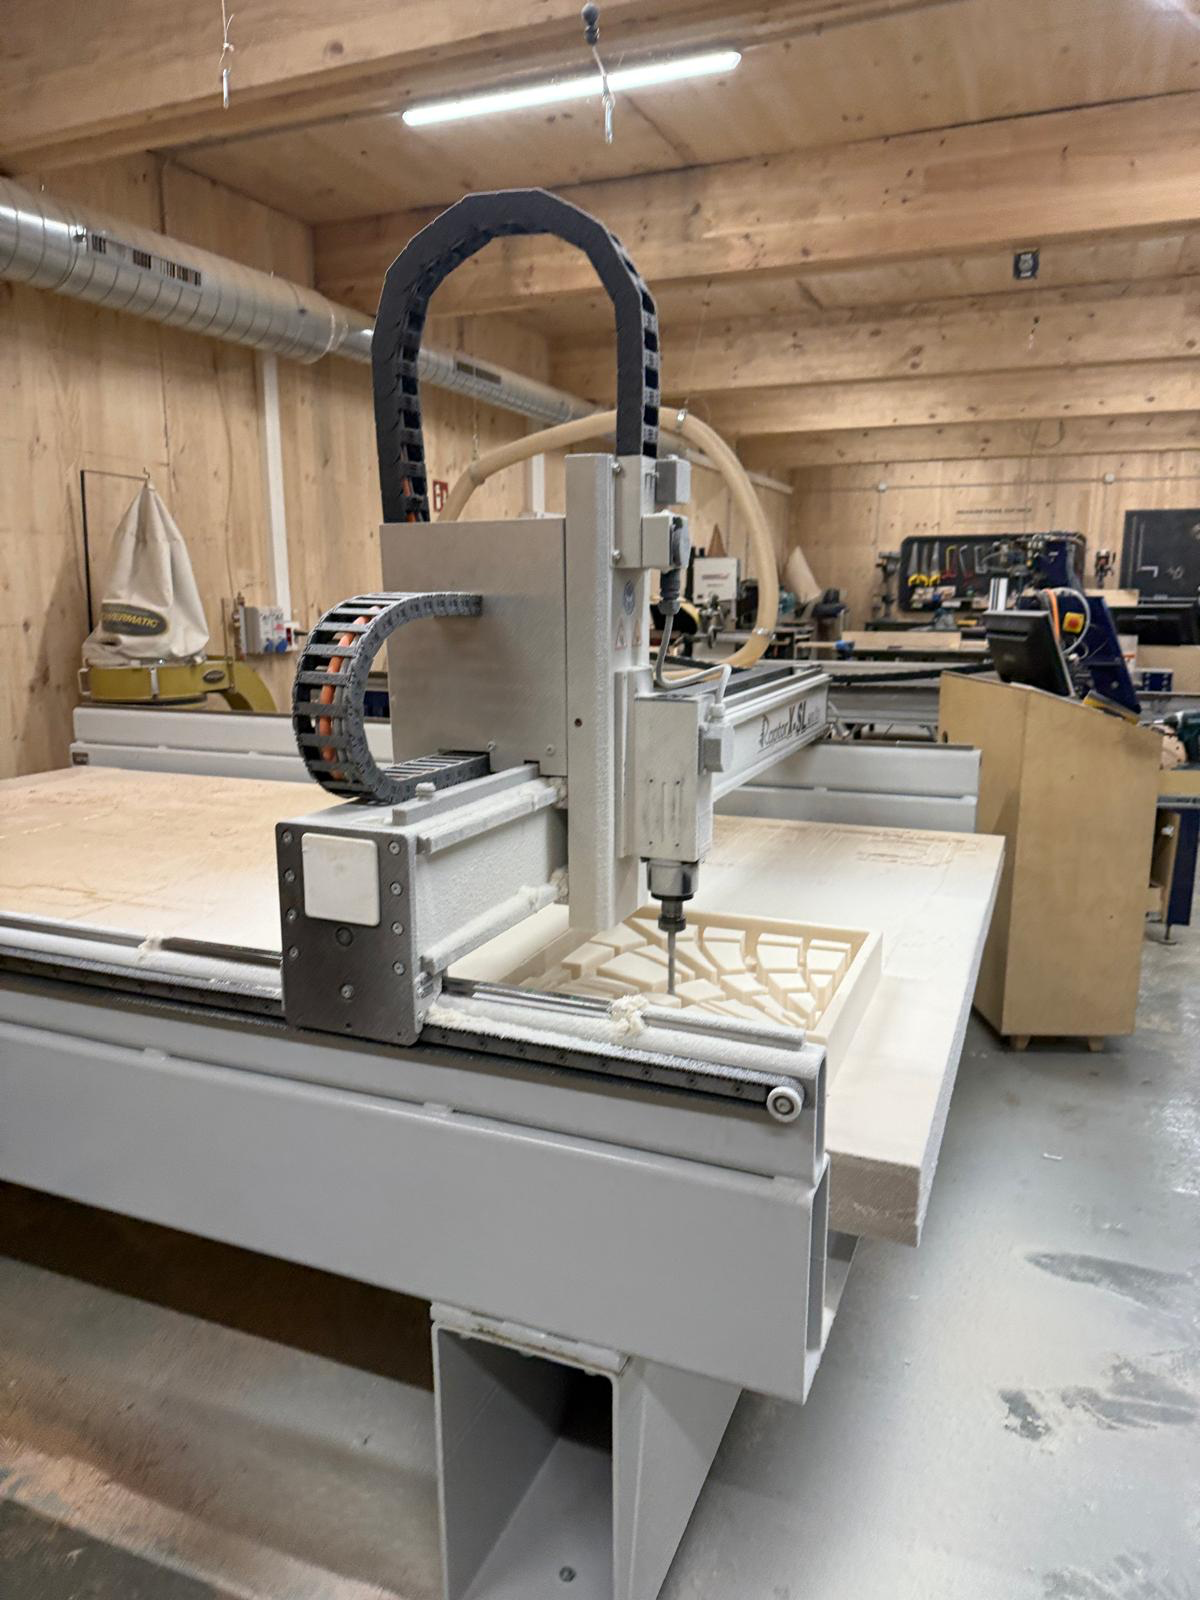
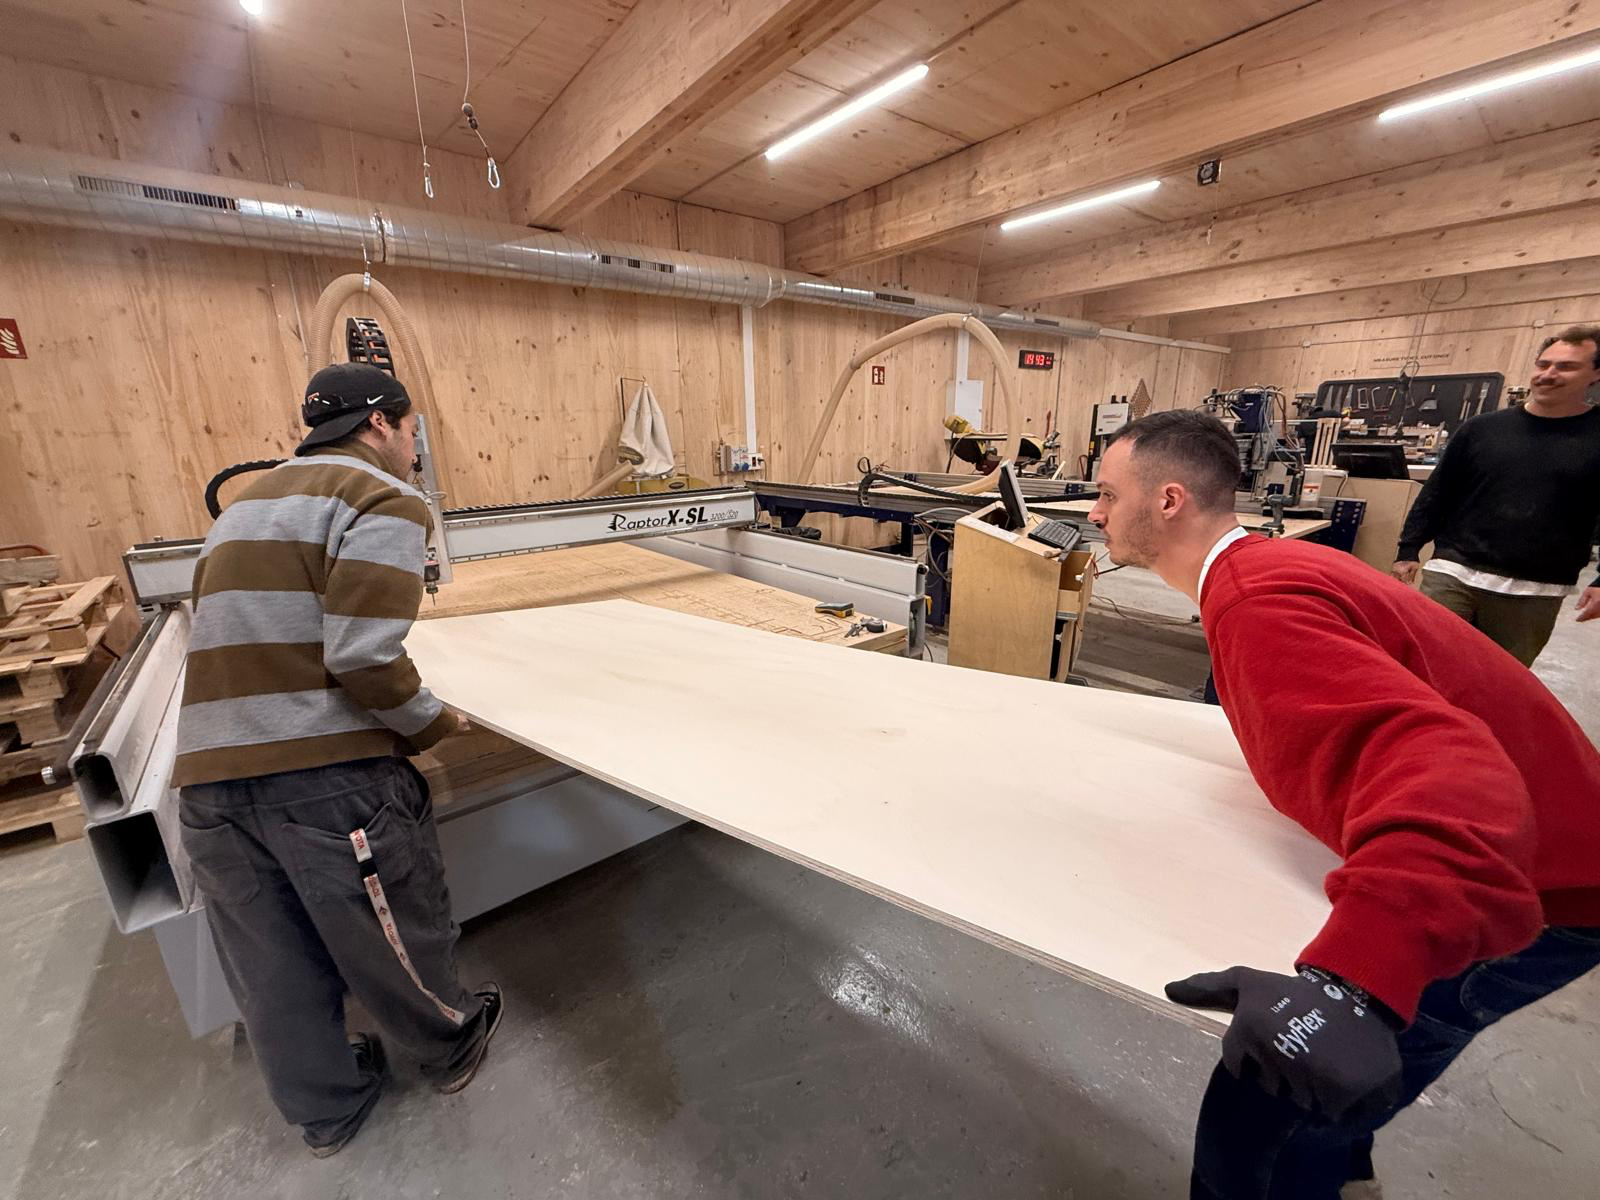
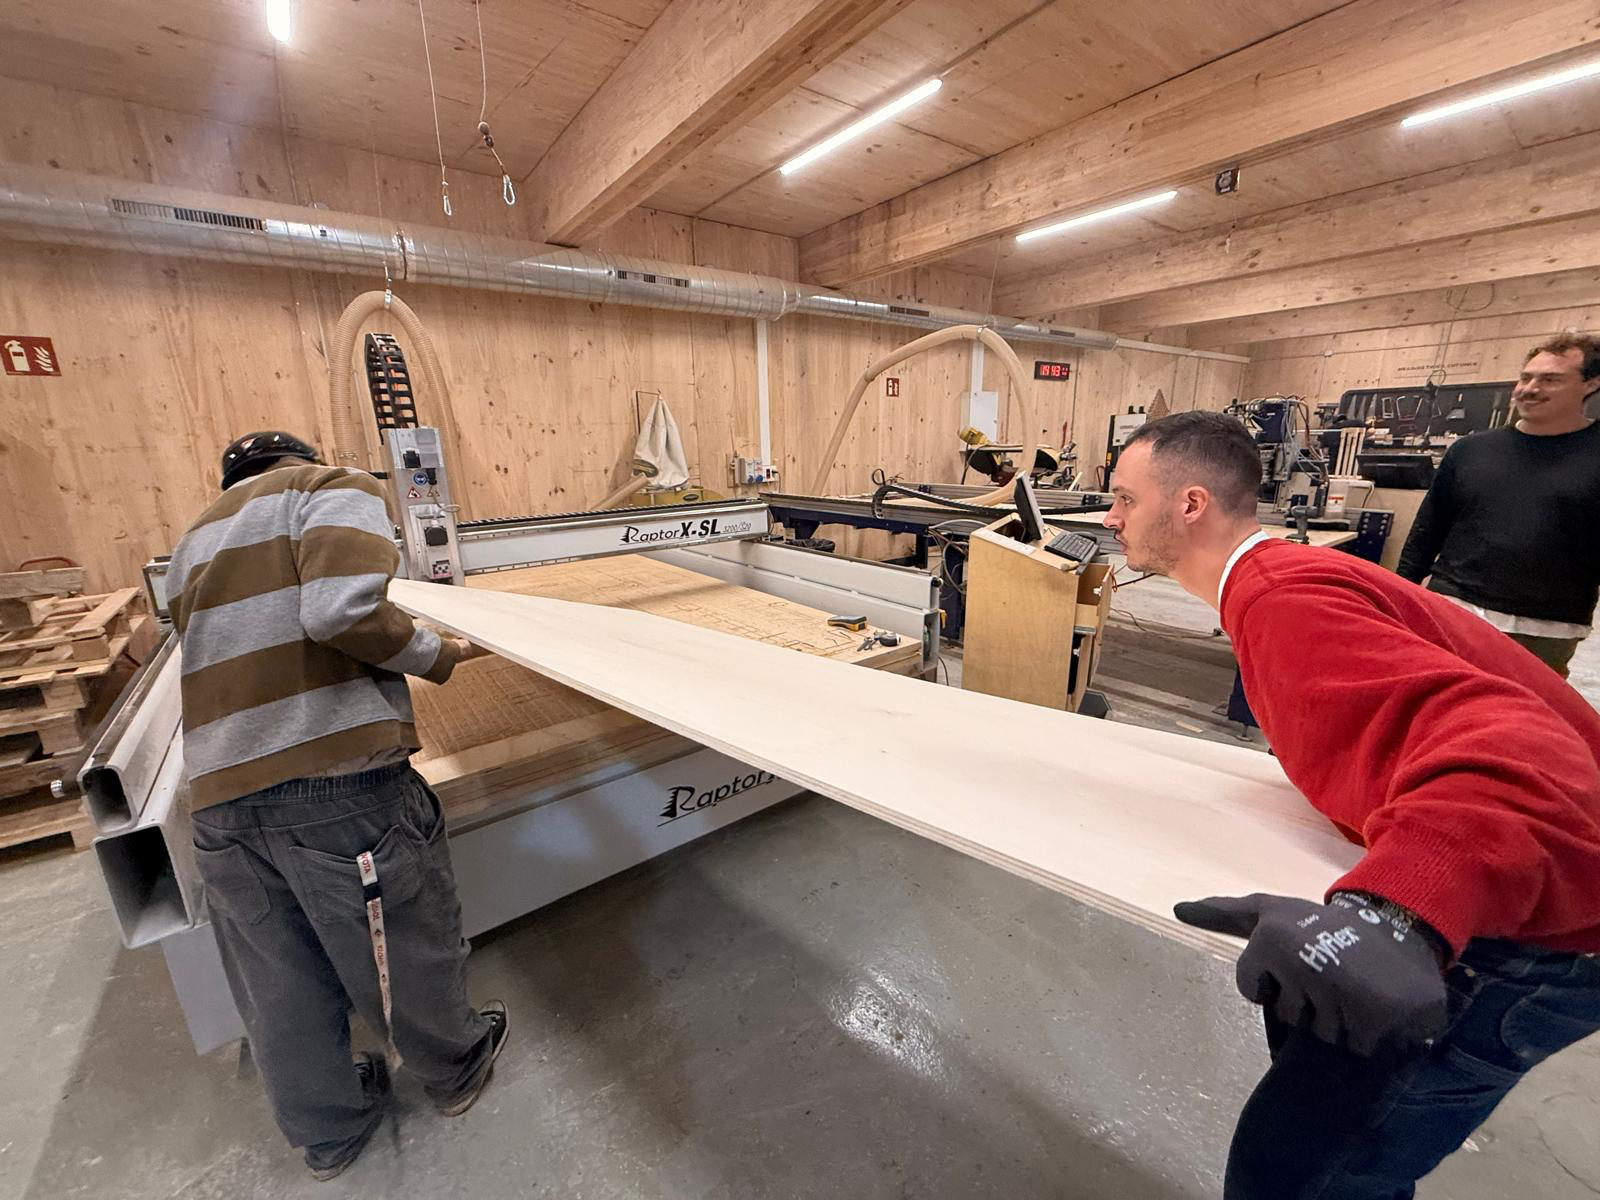
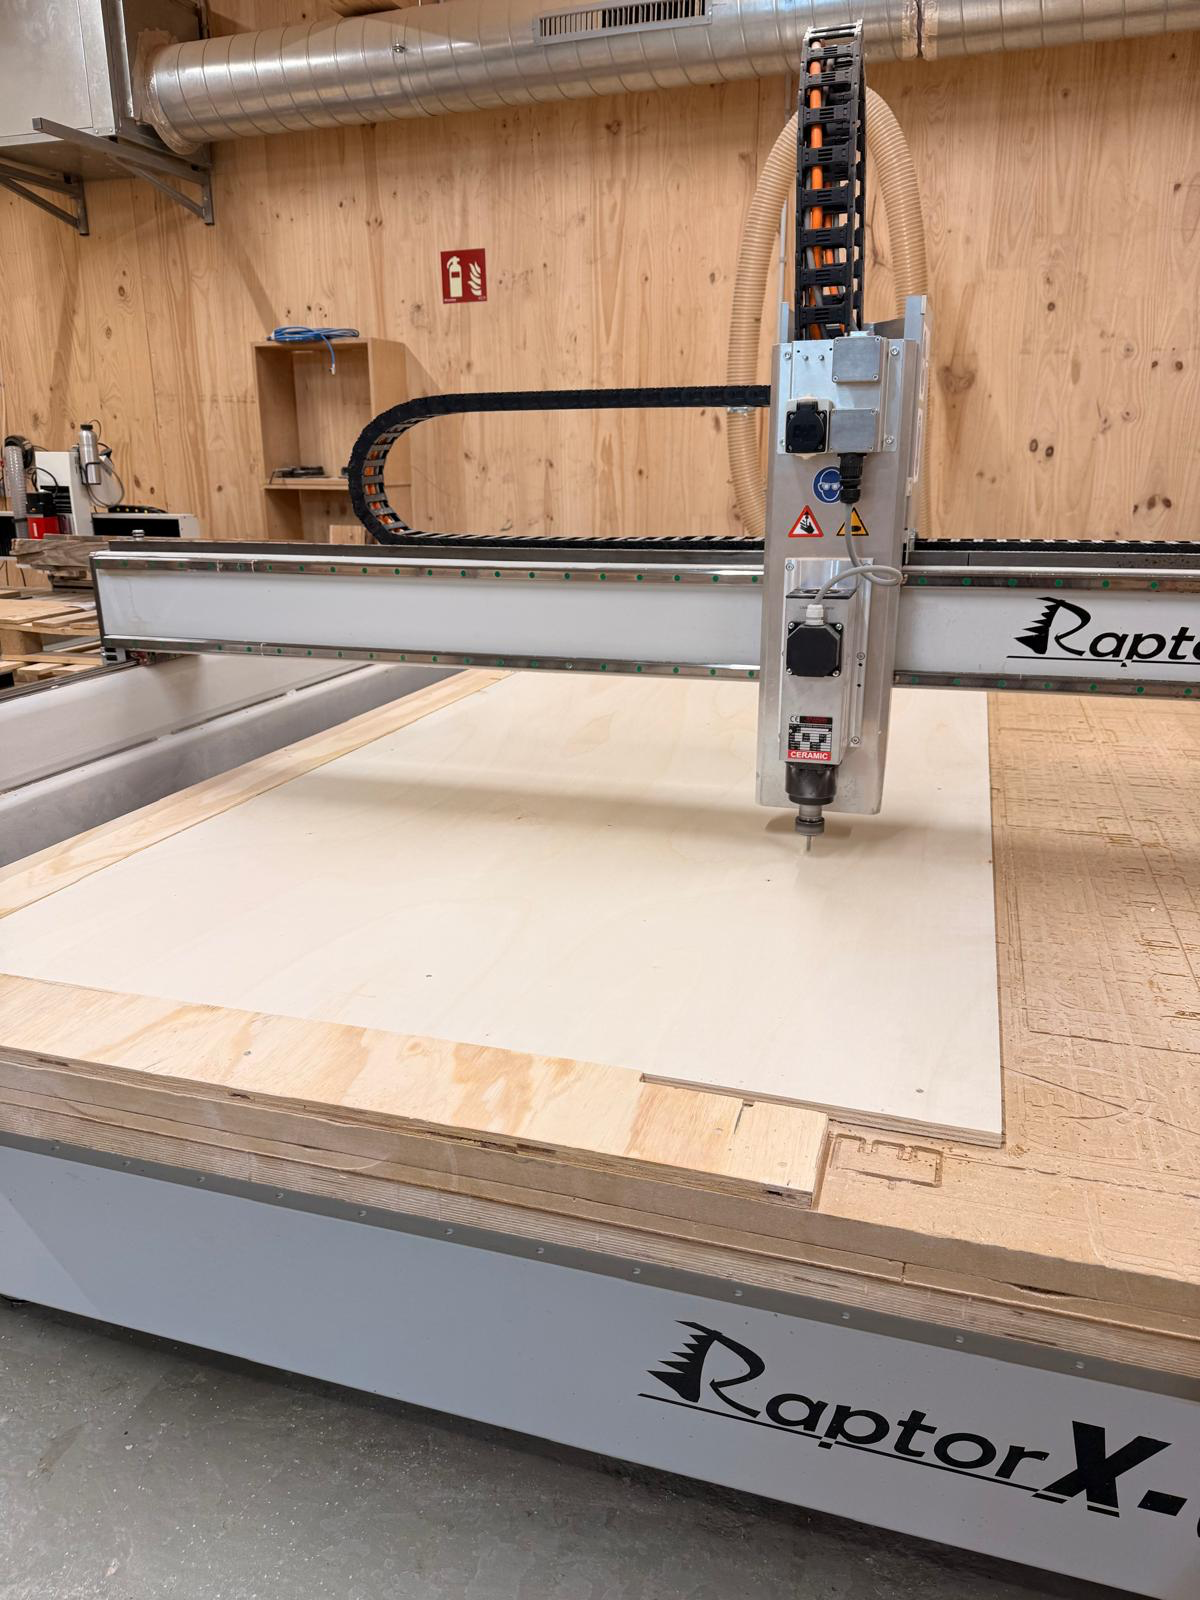
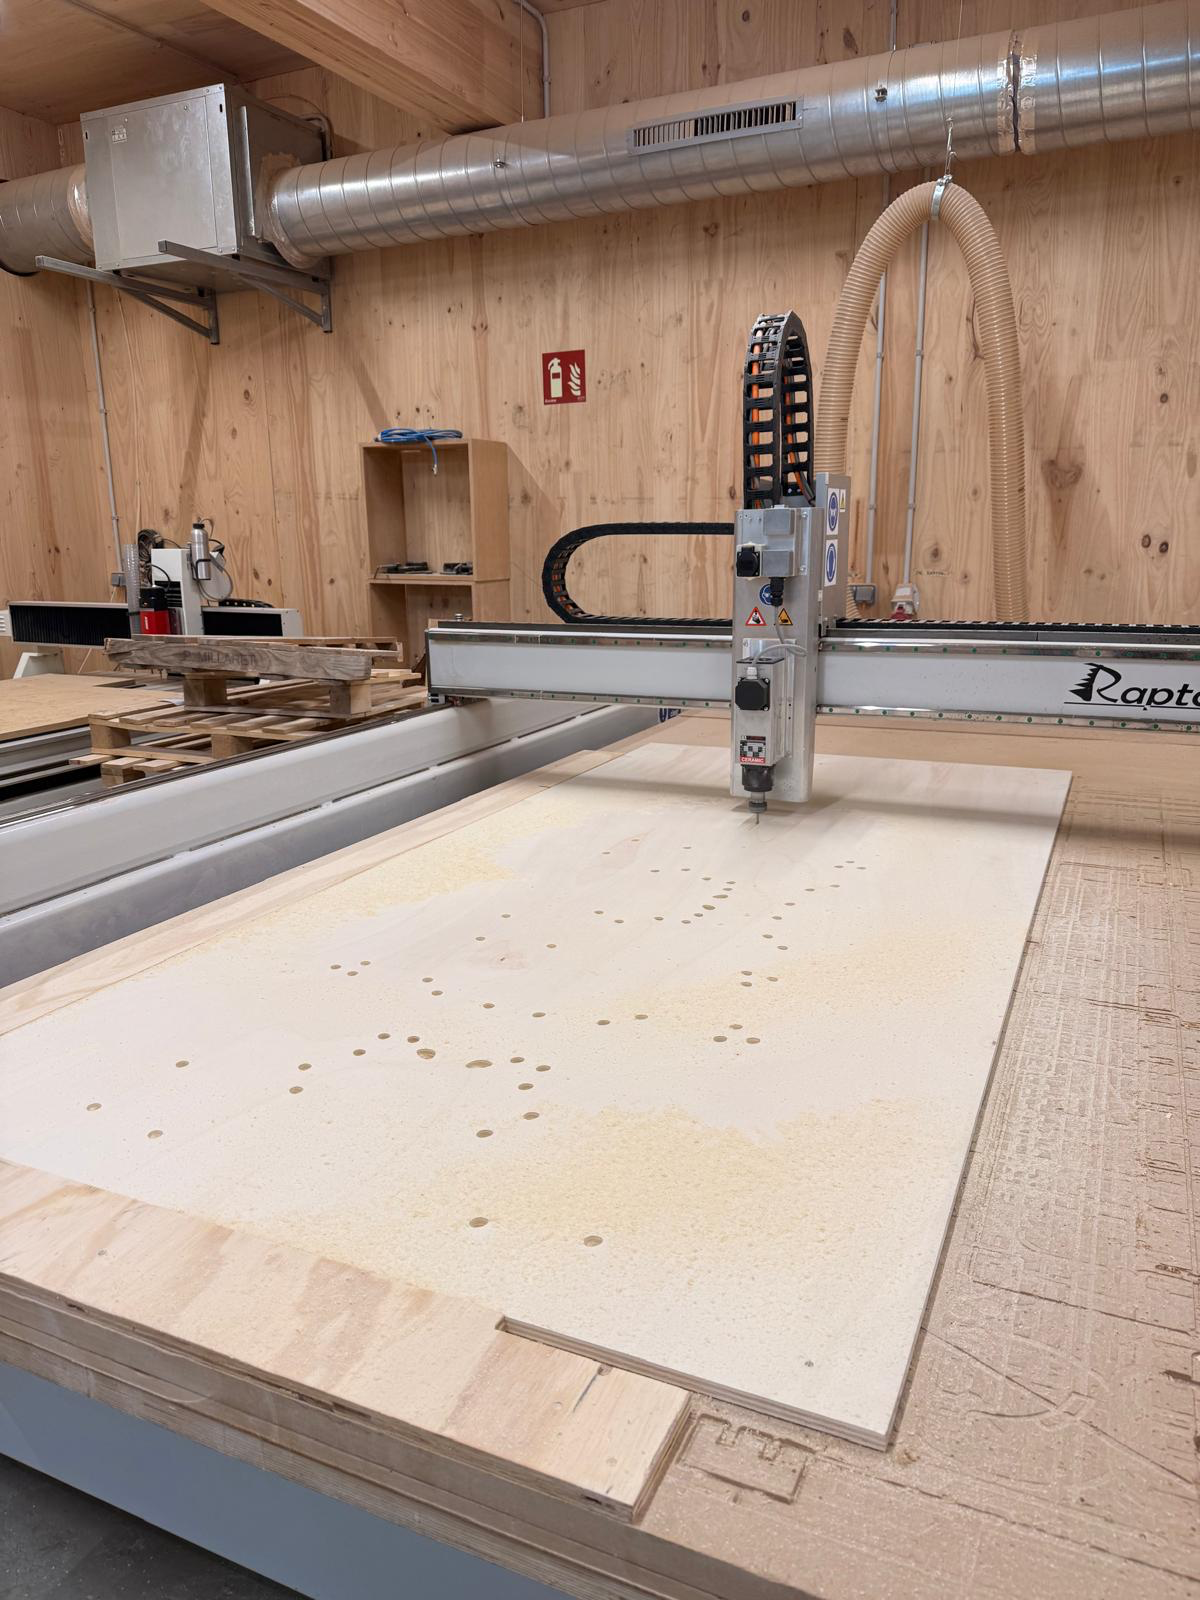
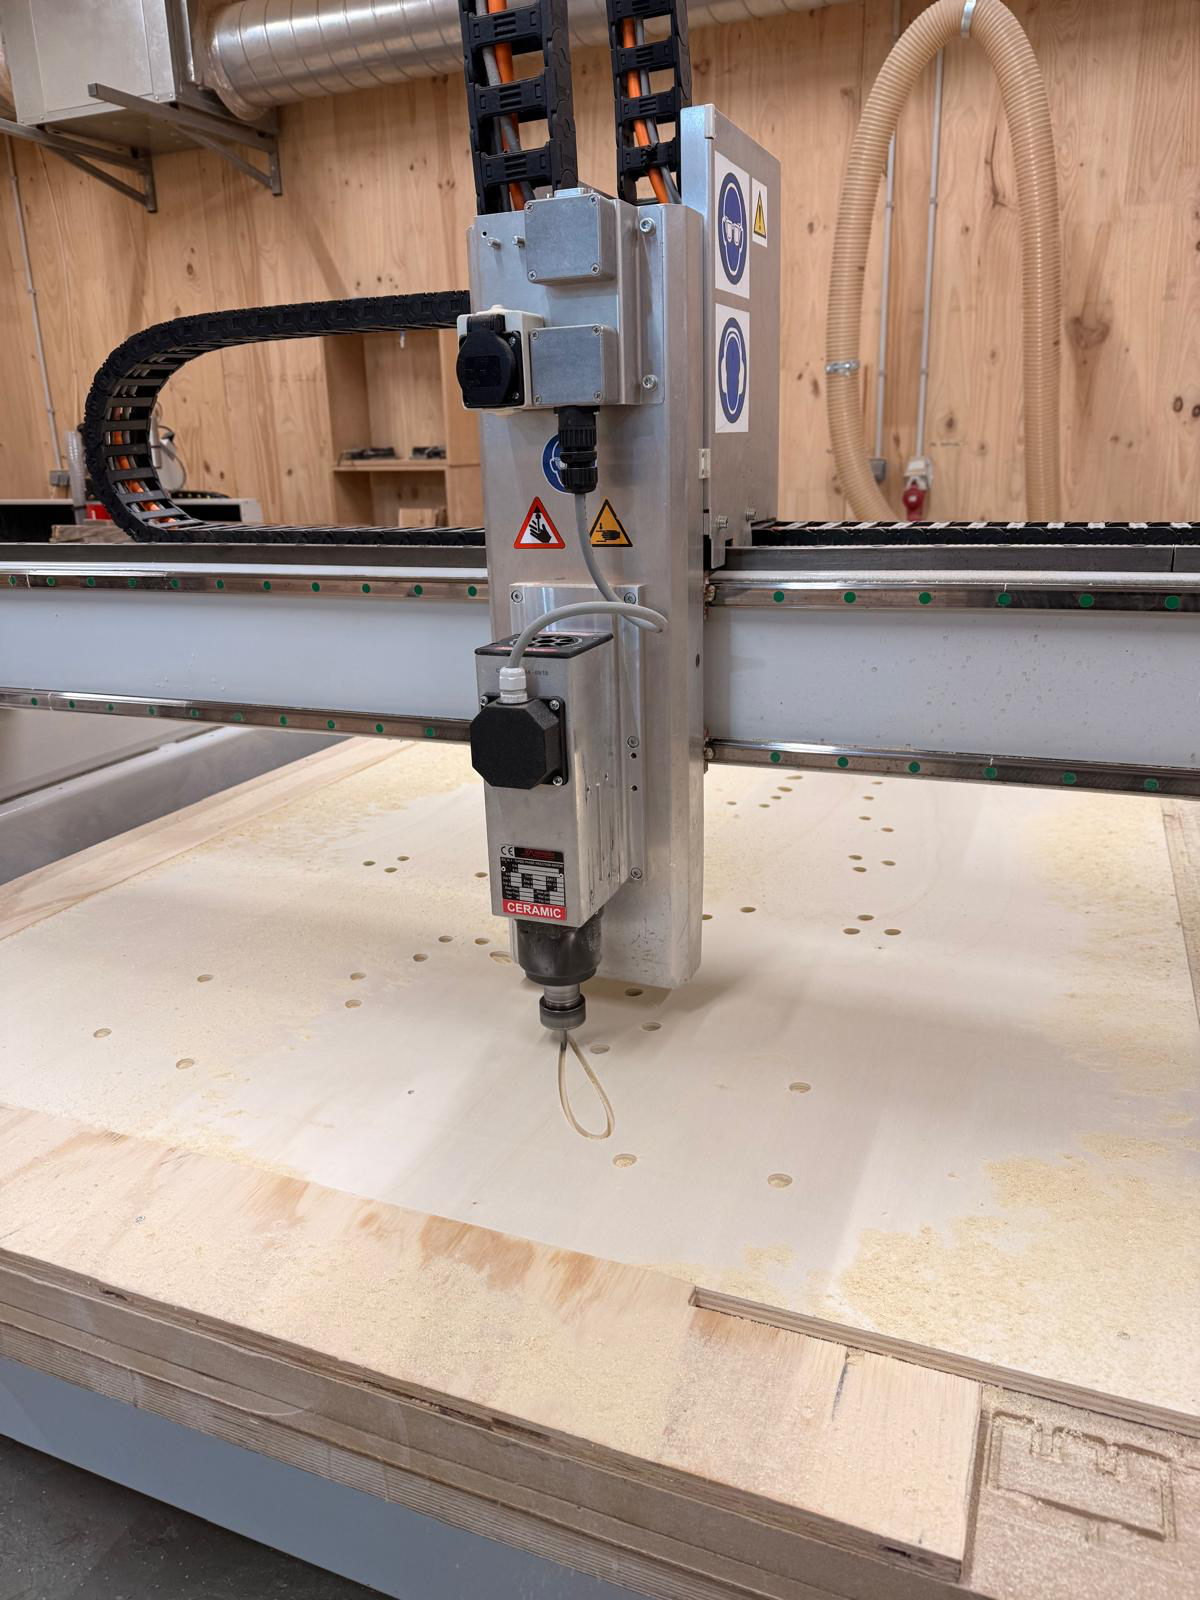
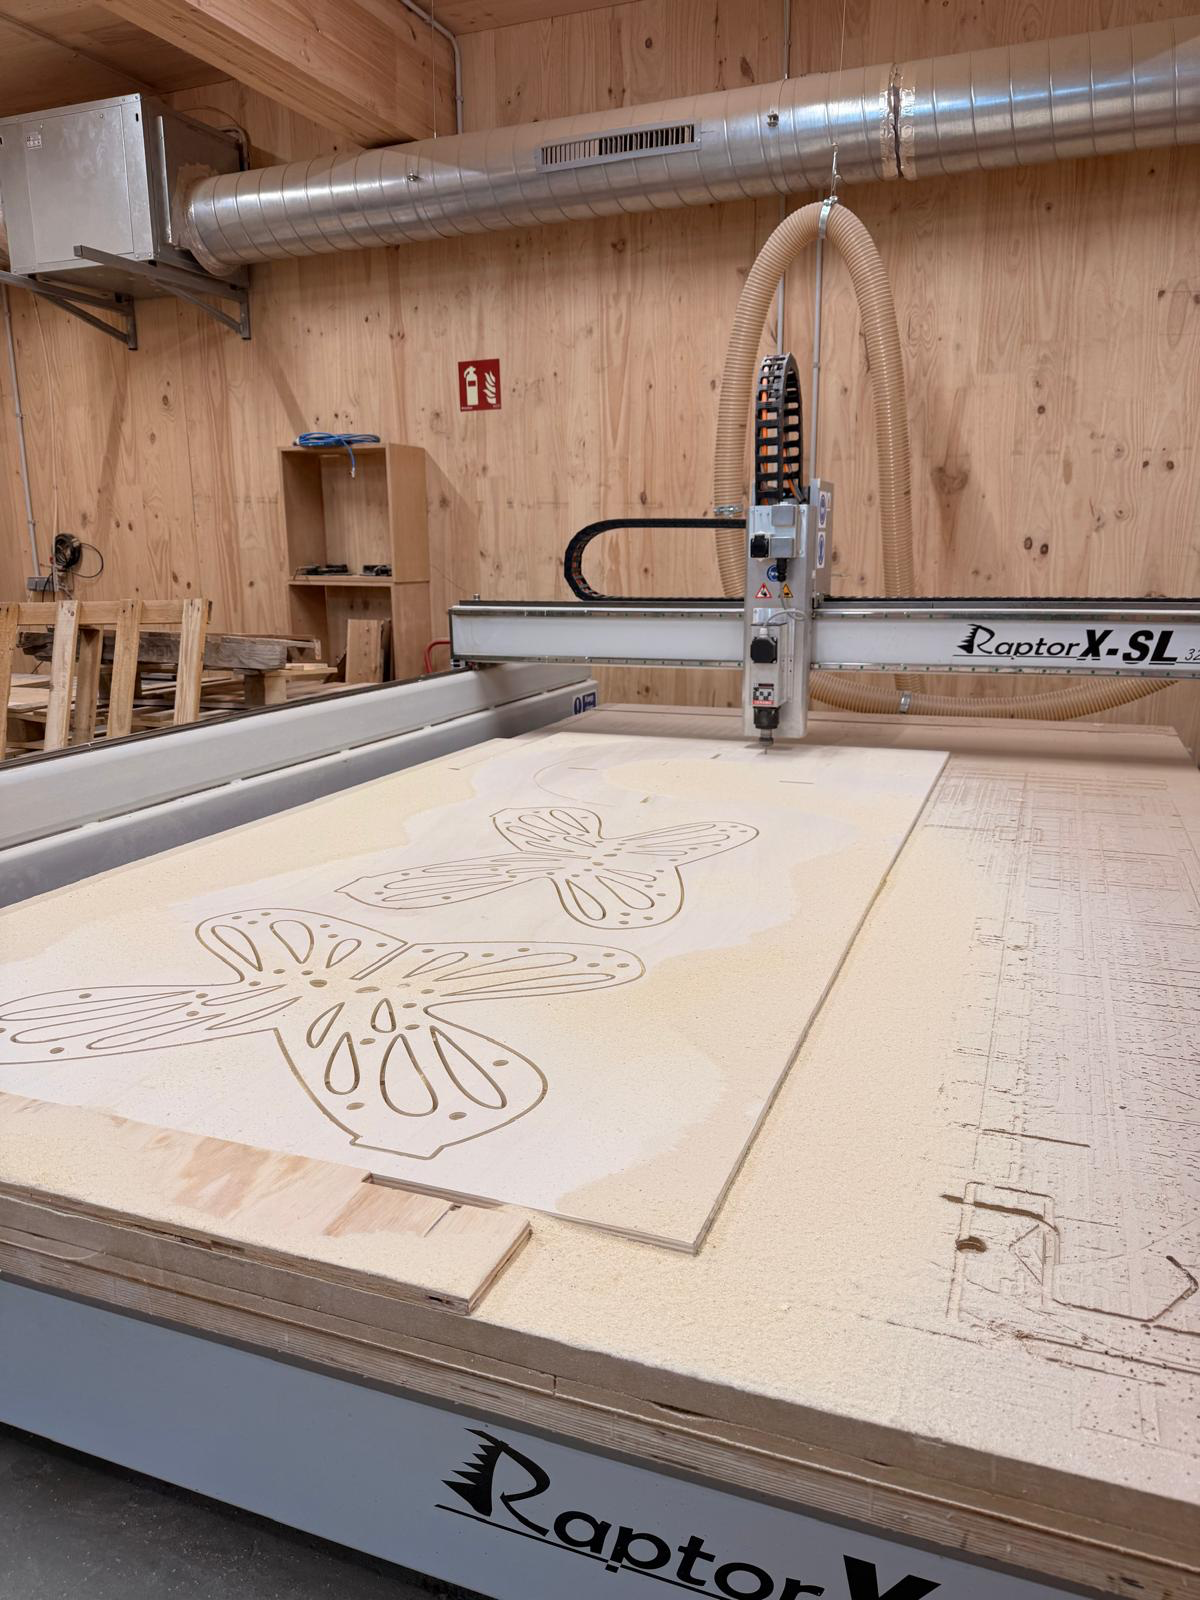
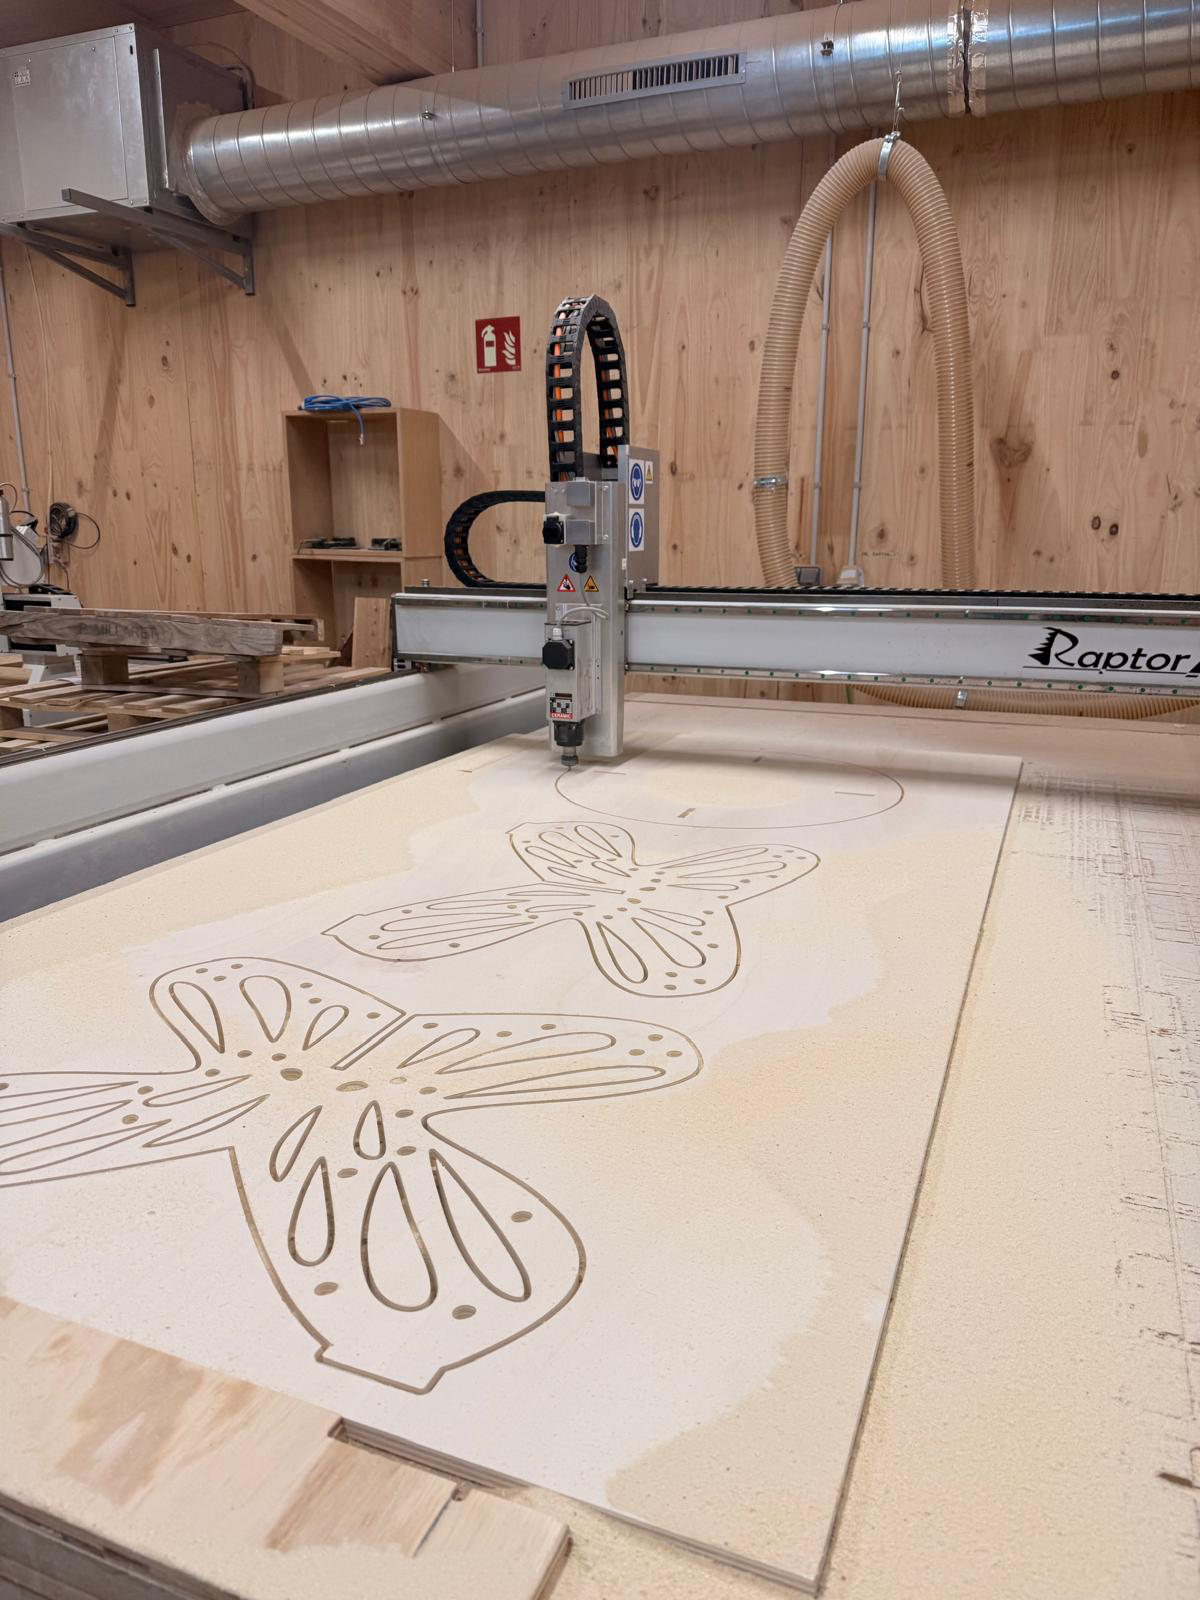
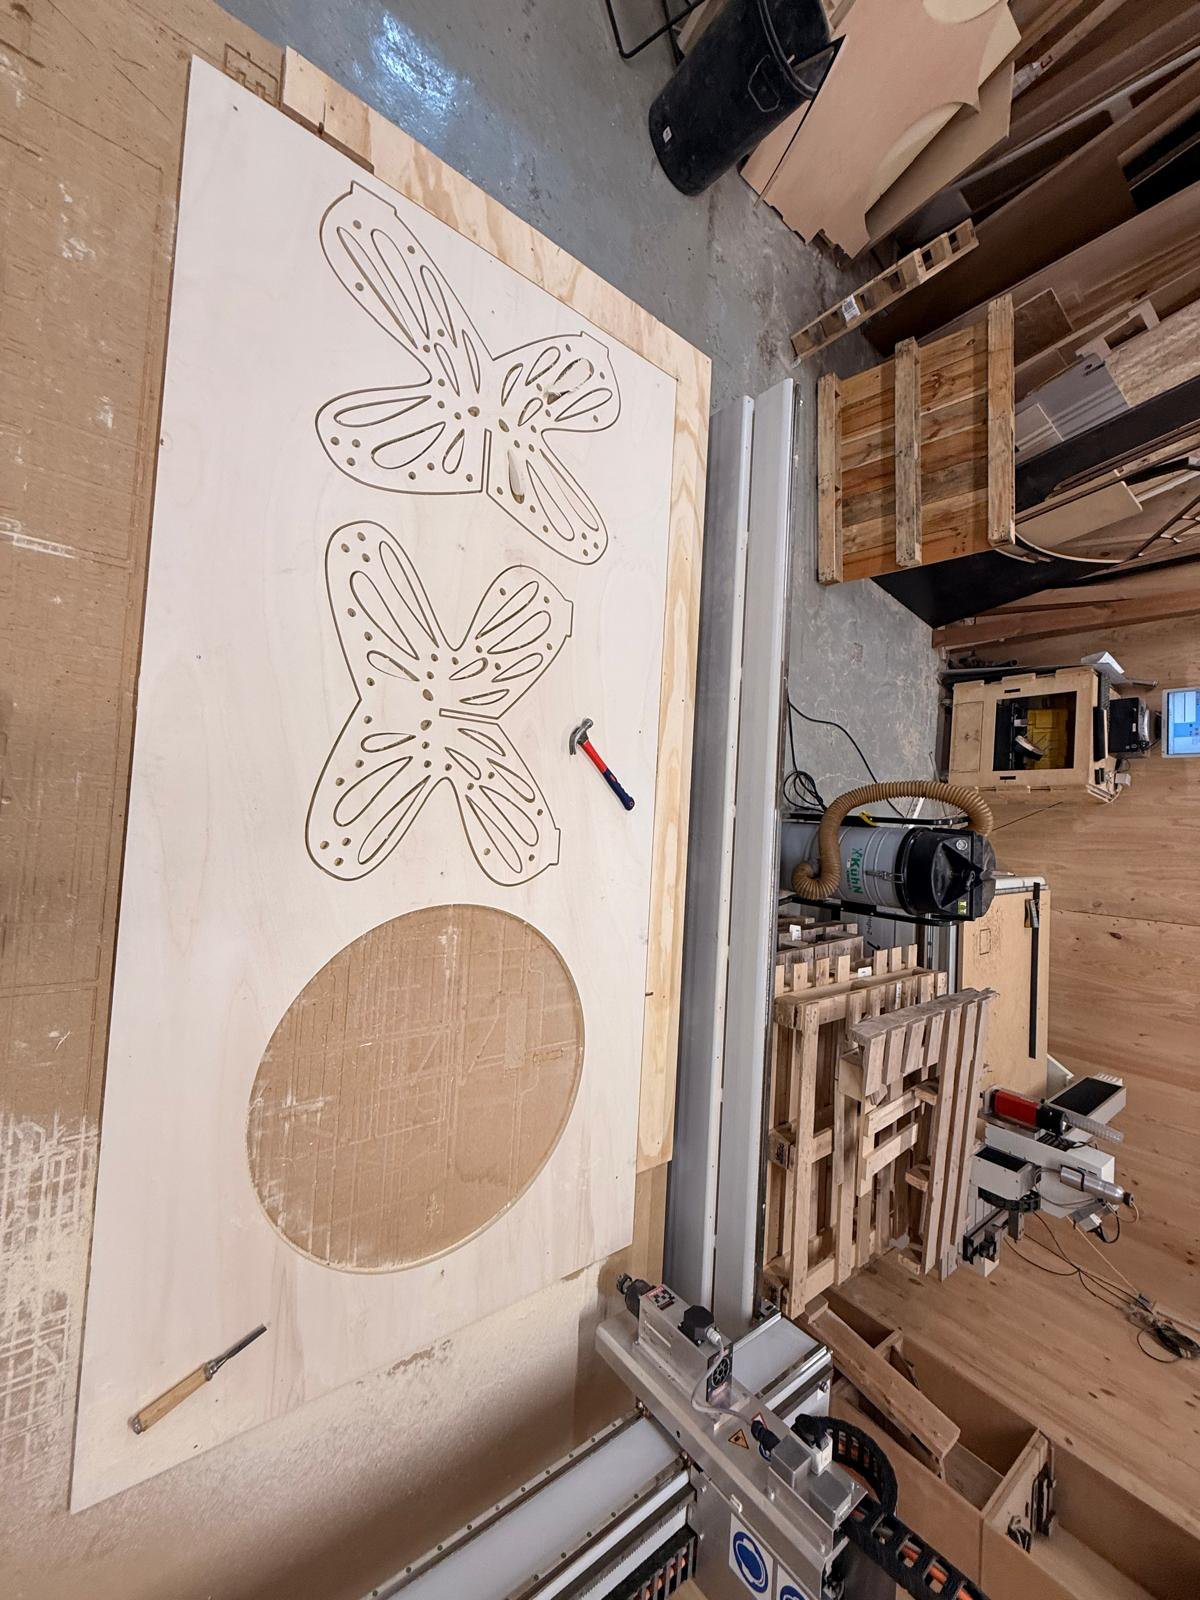
cutting with the Raptor x-sl CNC
thank you gabriel and gennaro from class for helping me carry the stock to the machine
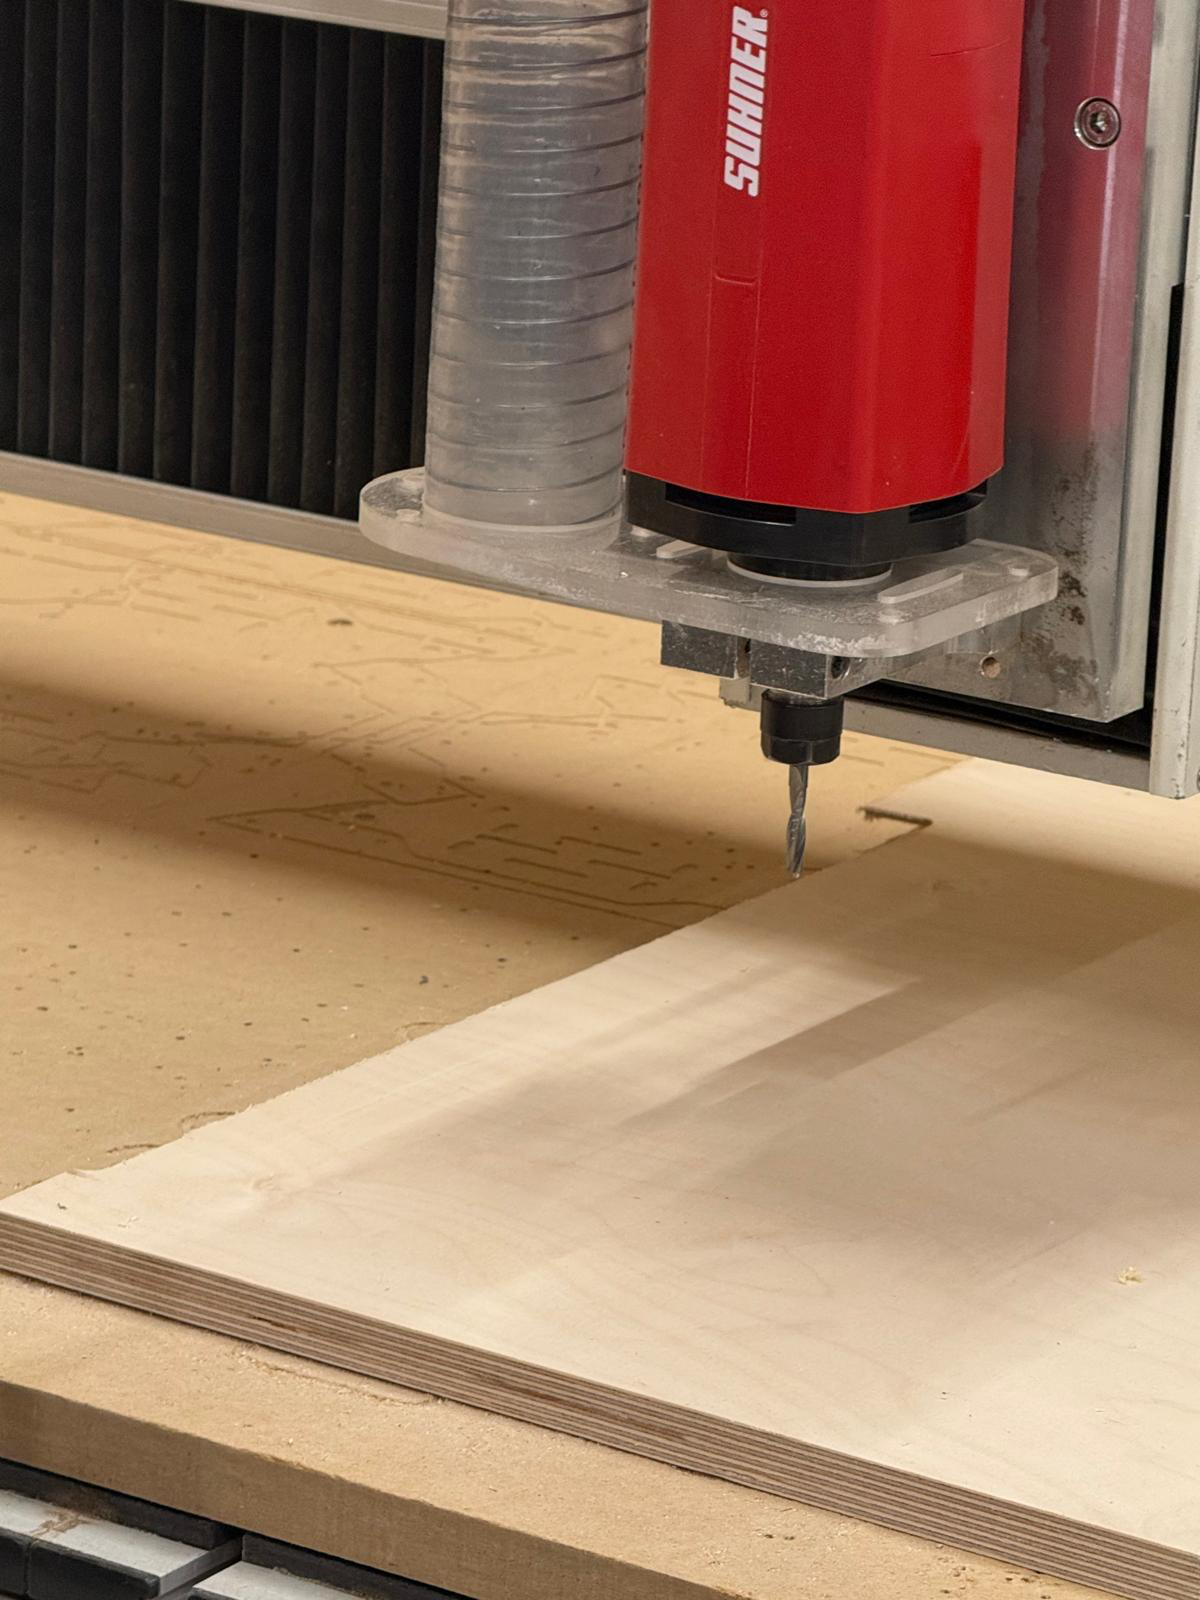
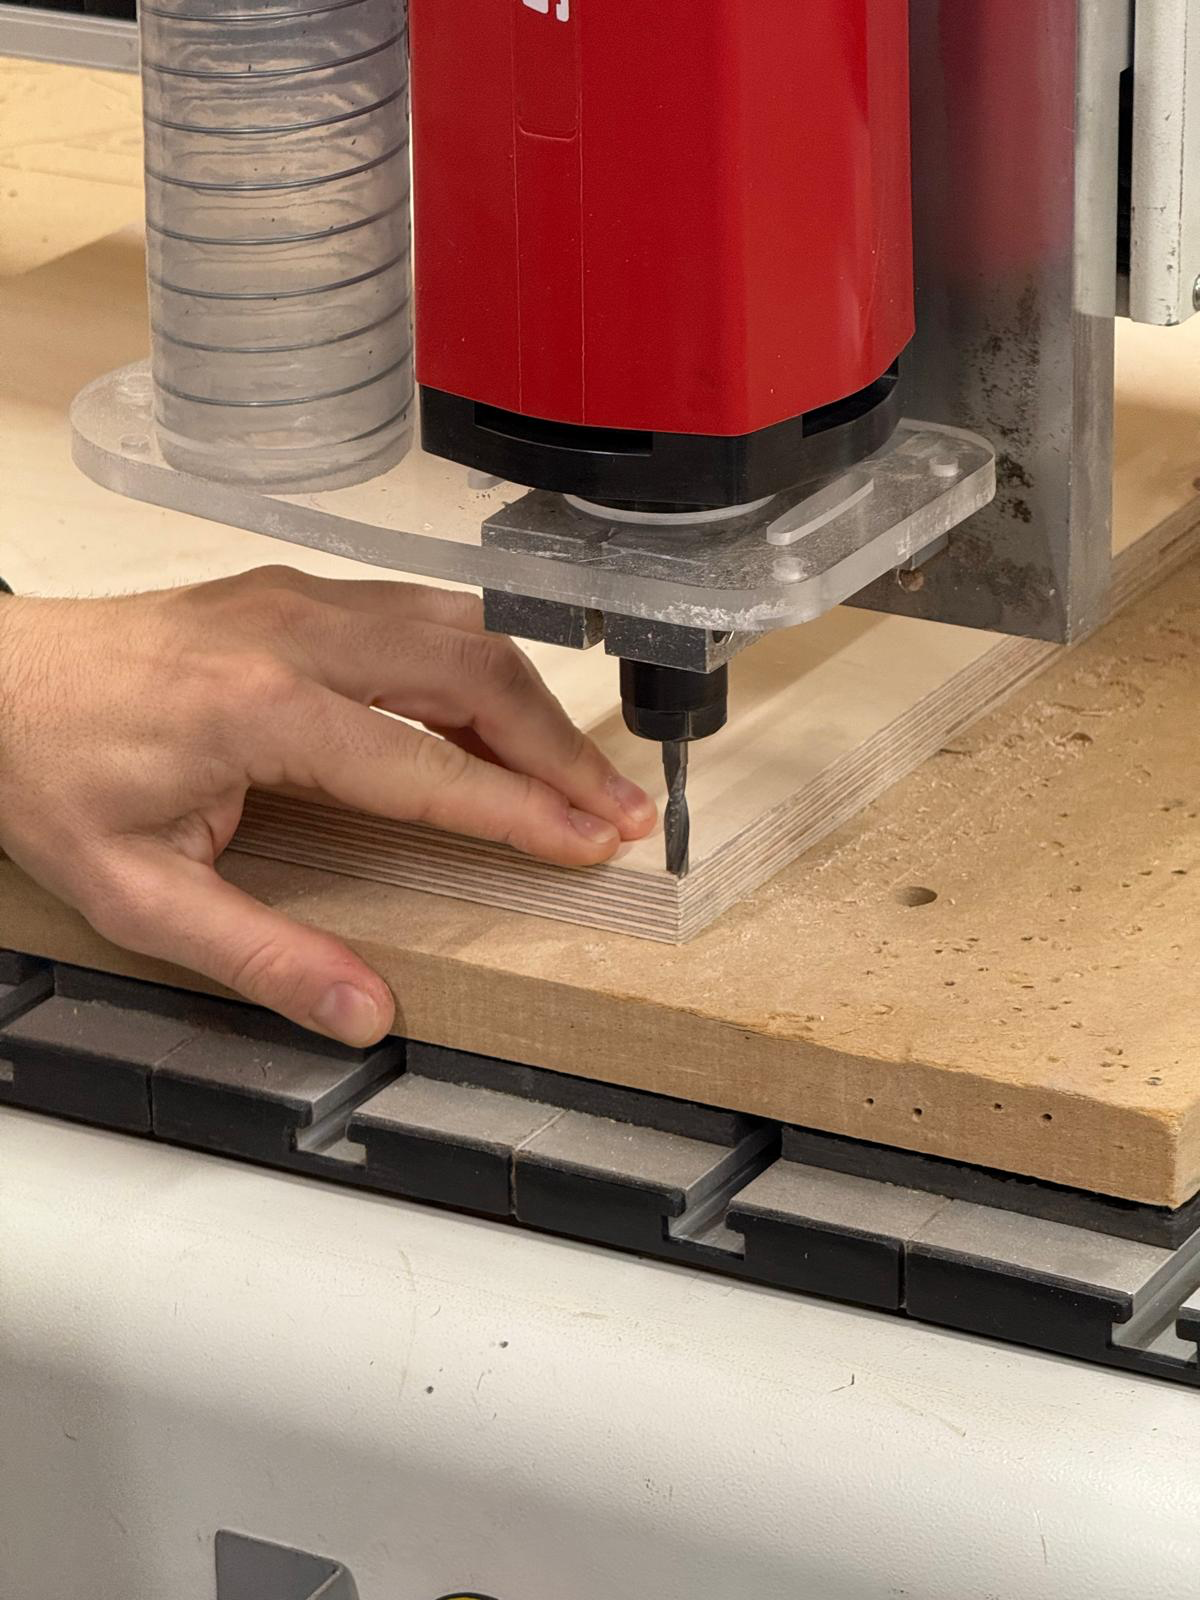
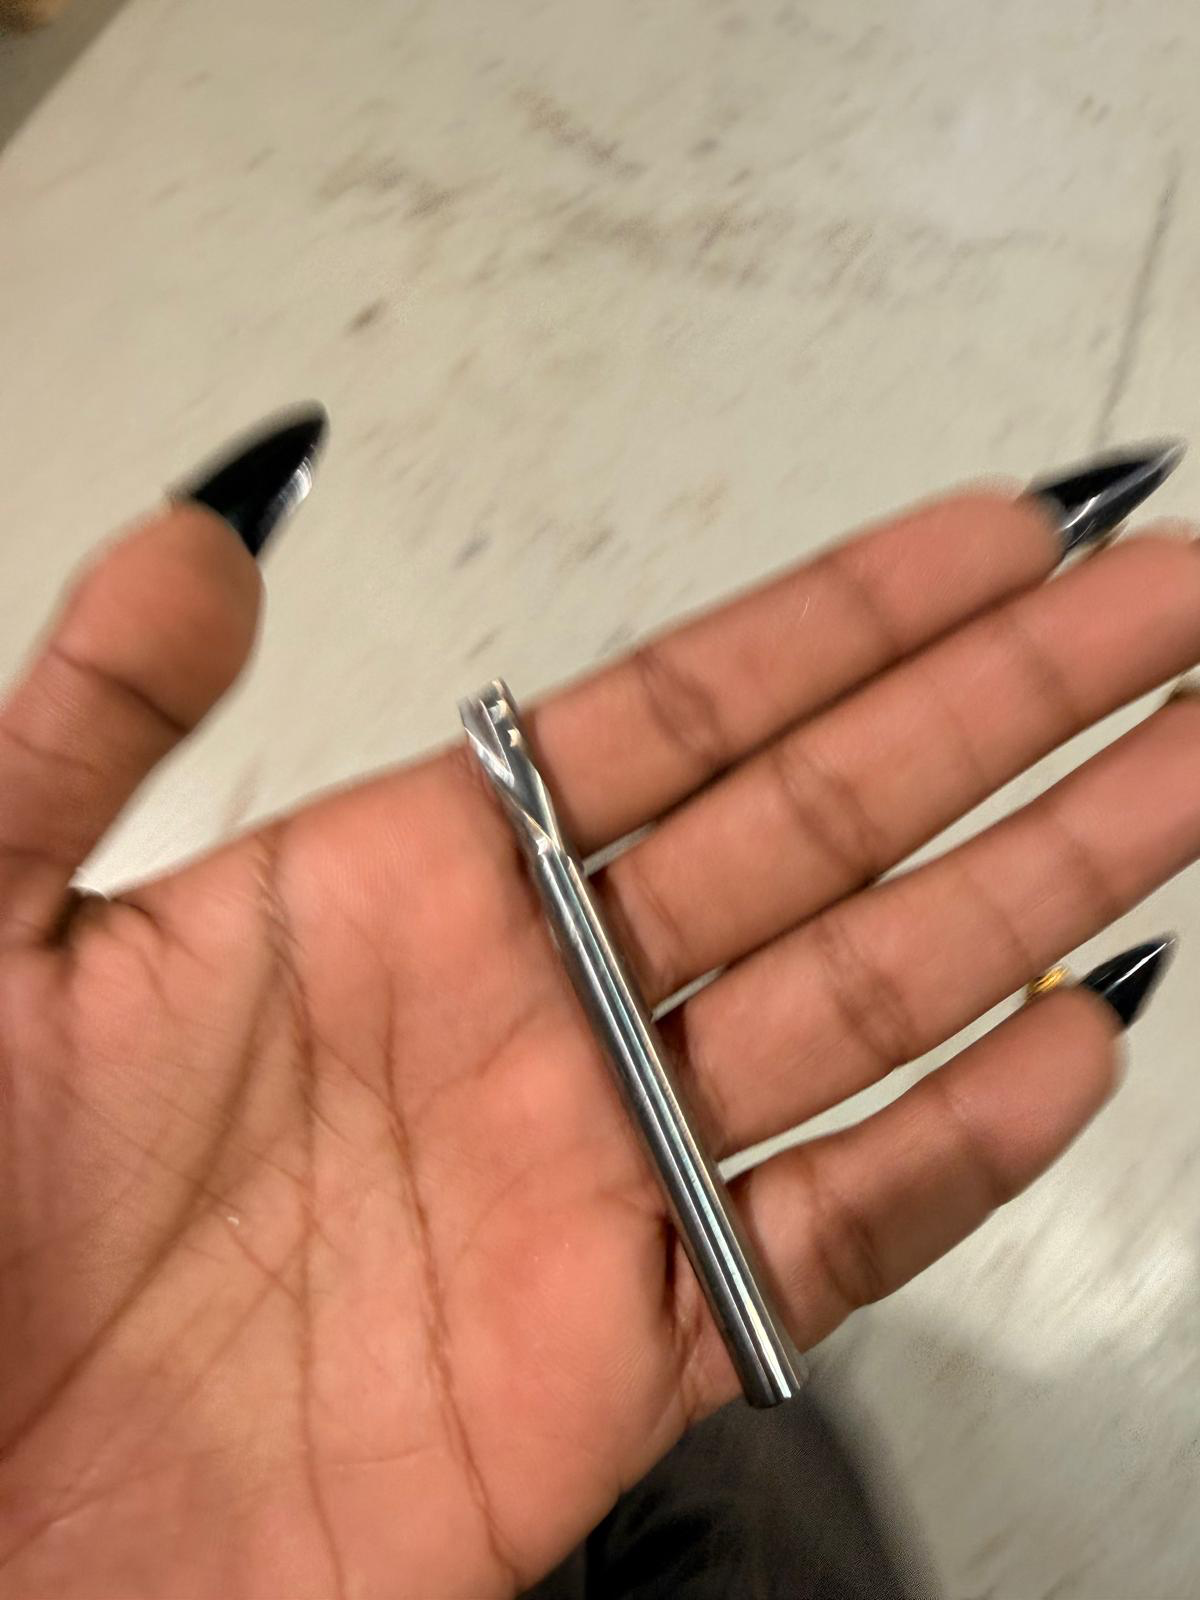
i used a 6 mm with 2 downward flutes.
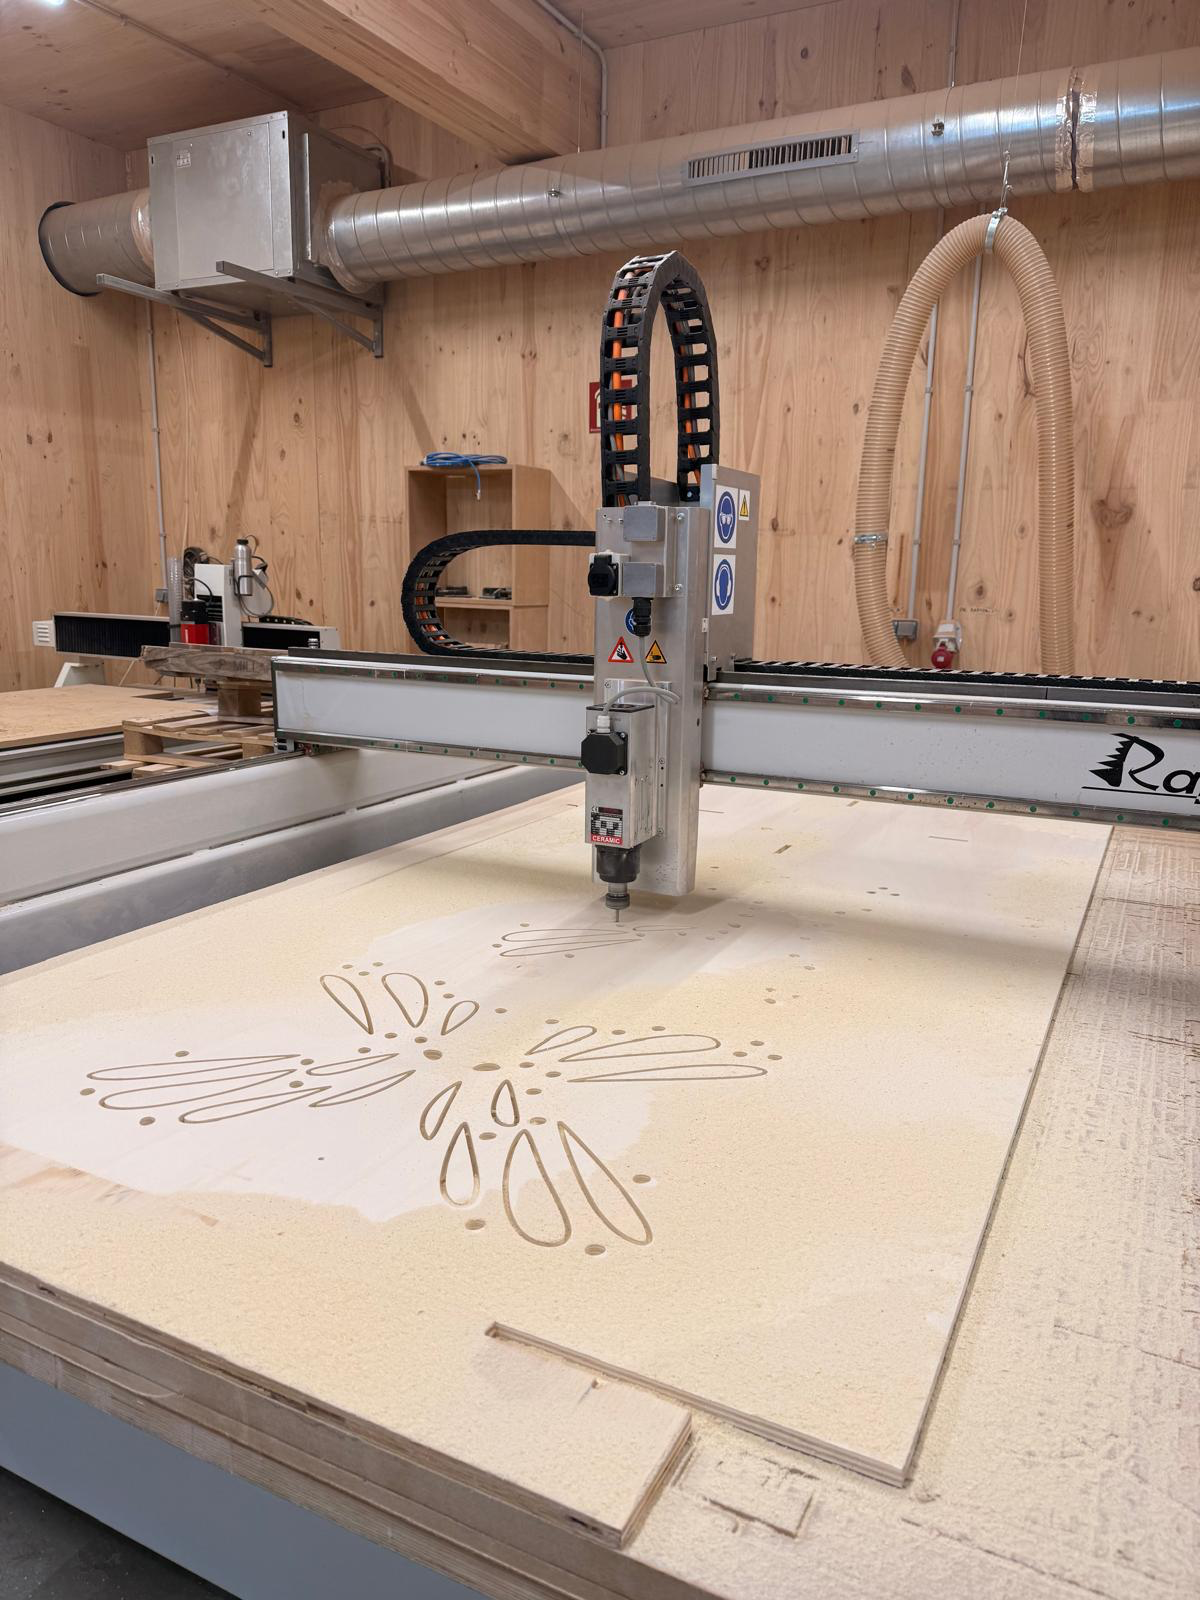
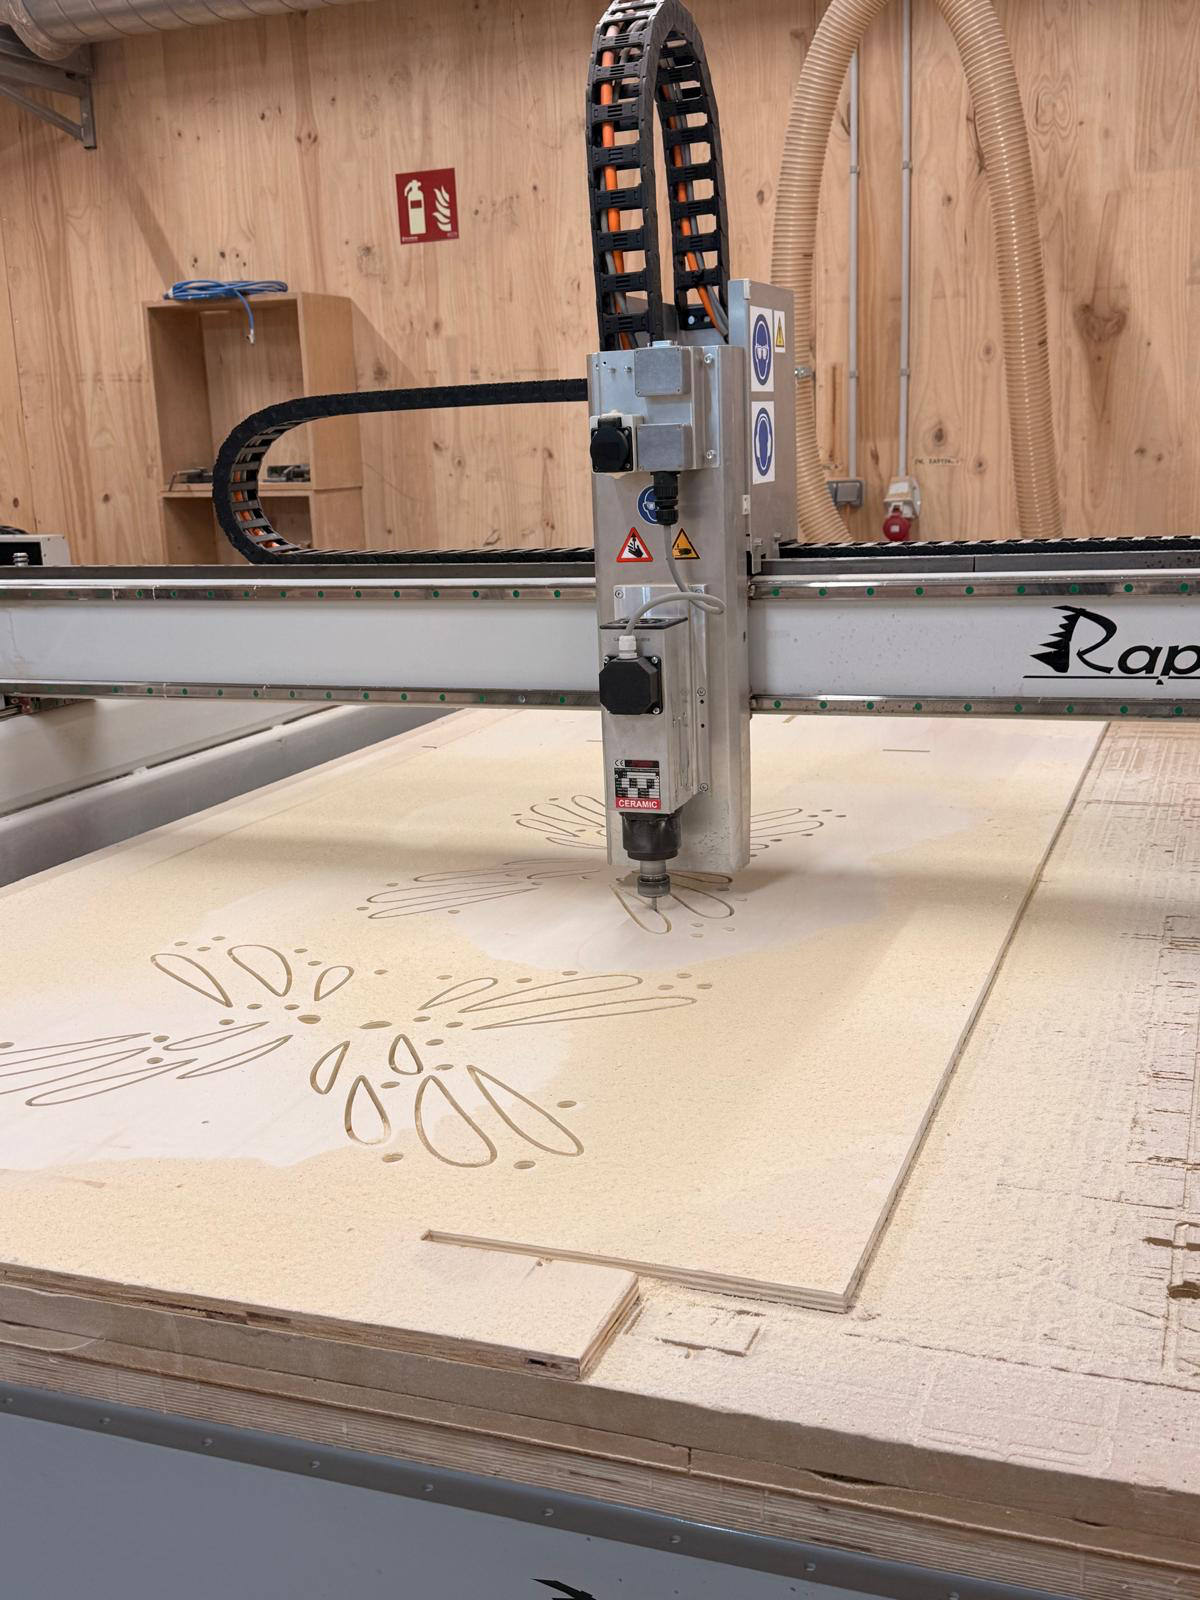
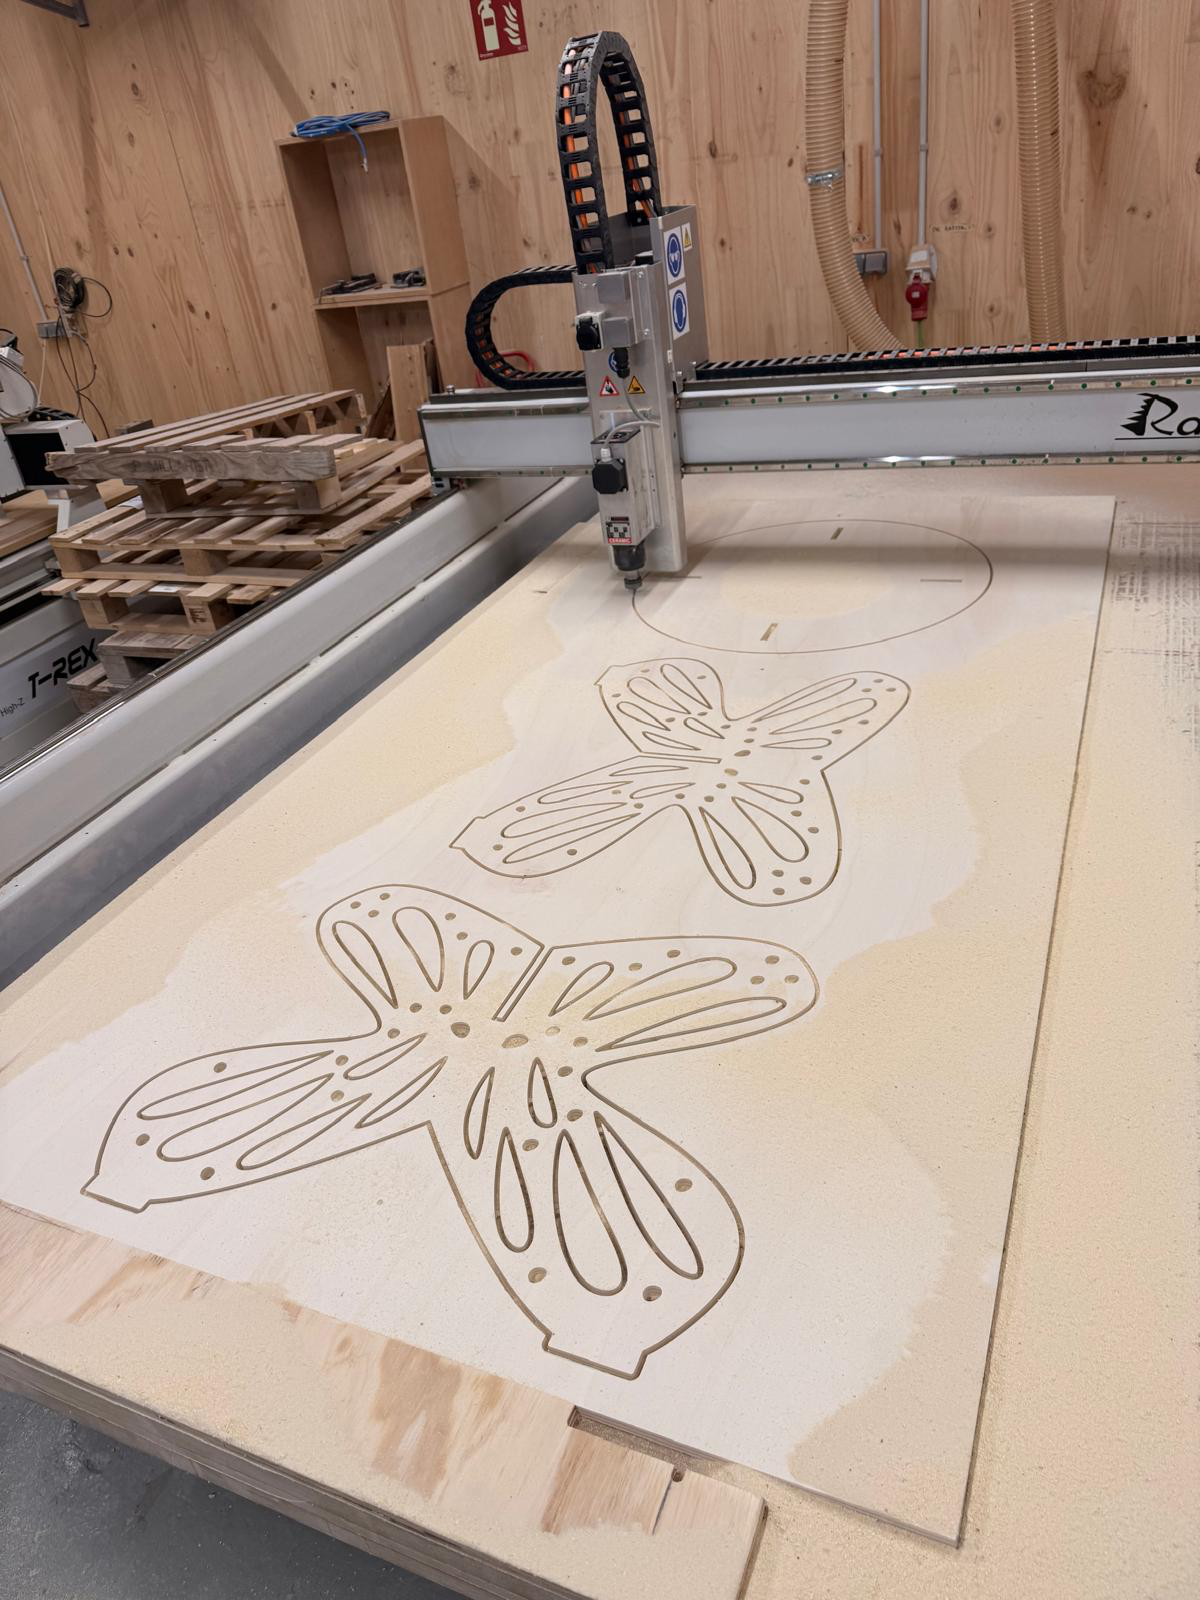
the cutting process went smoothly and the results were as expected.
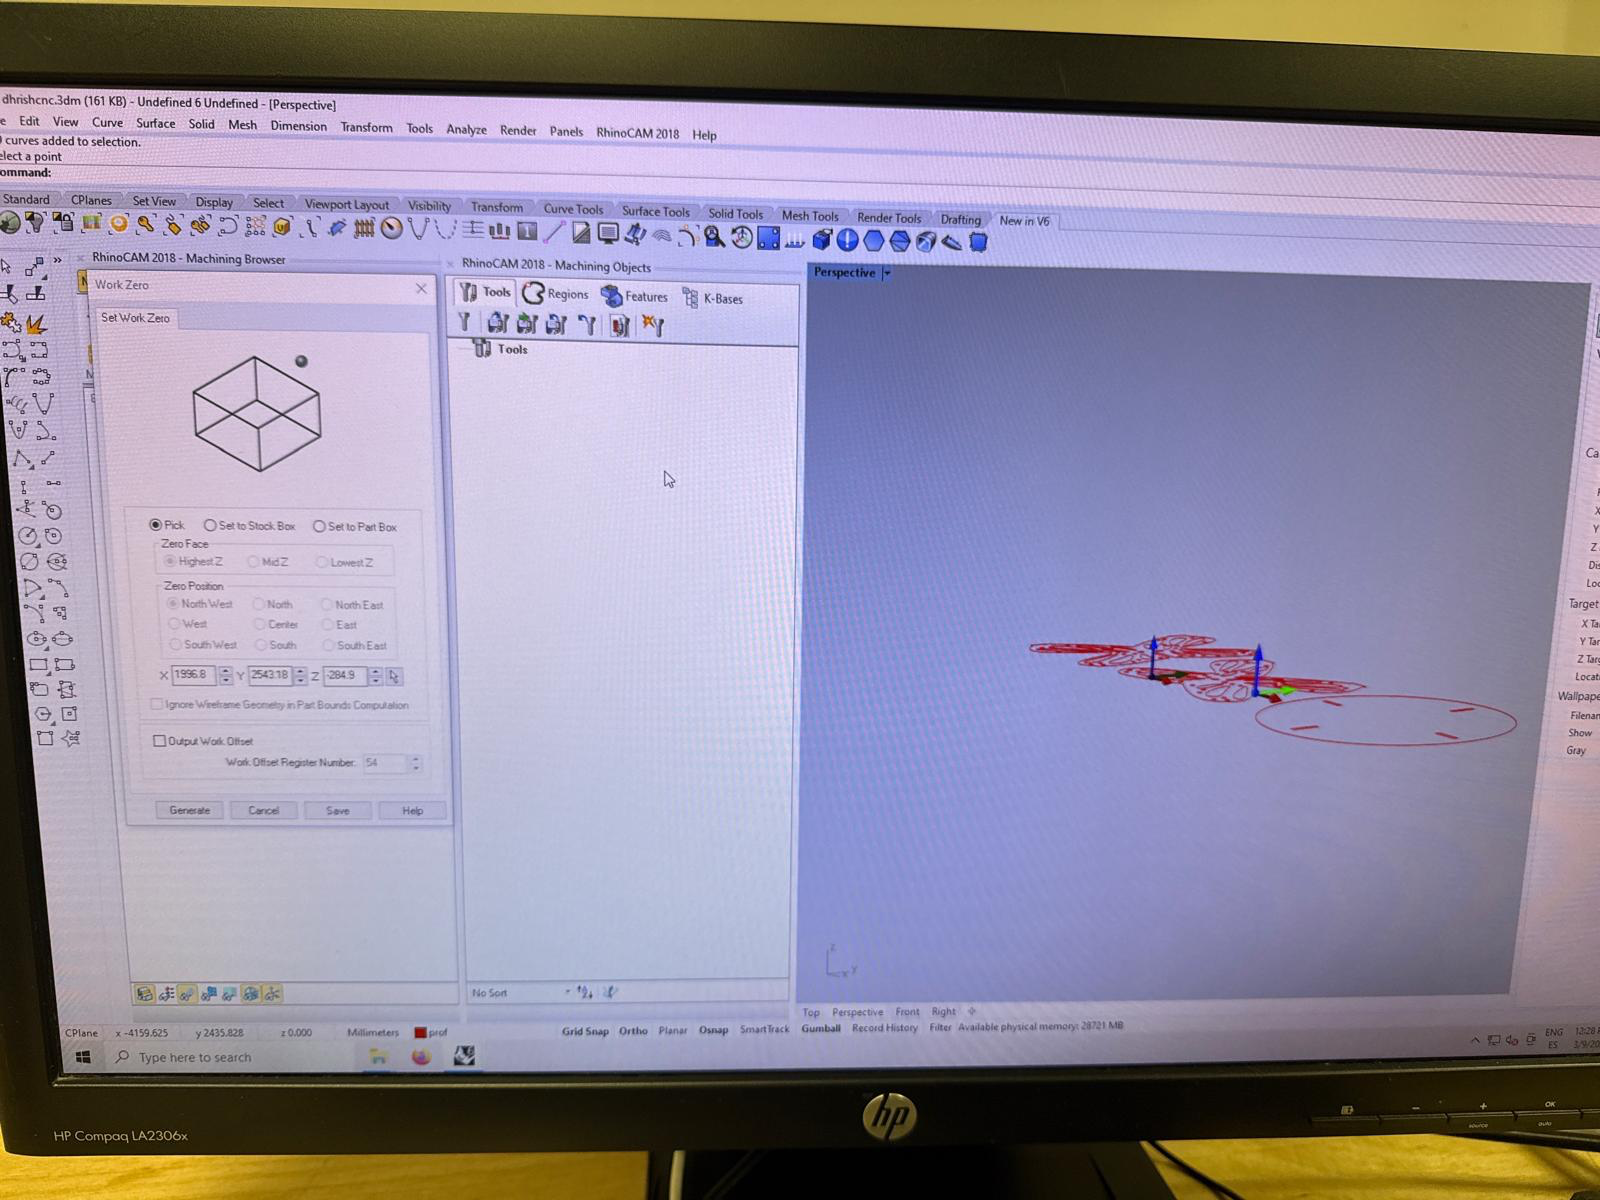
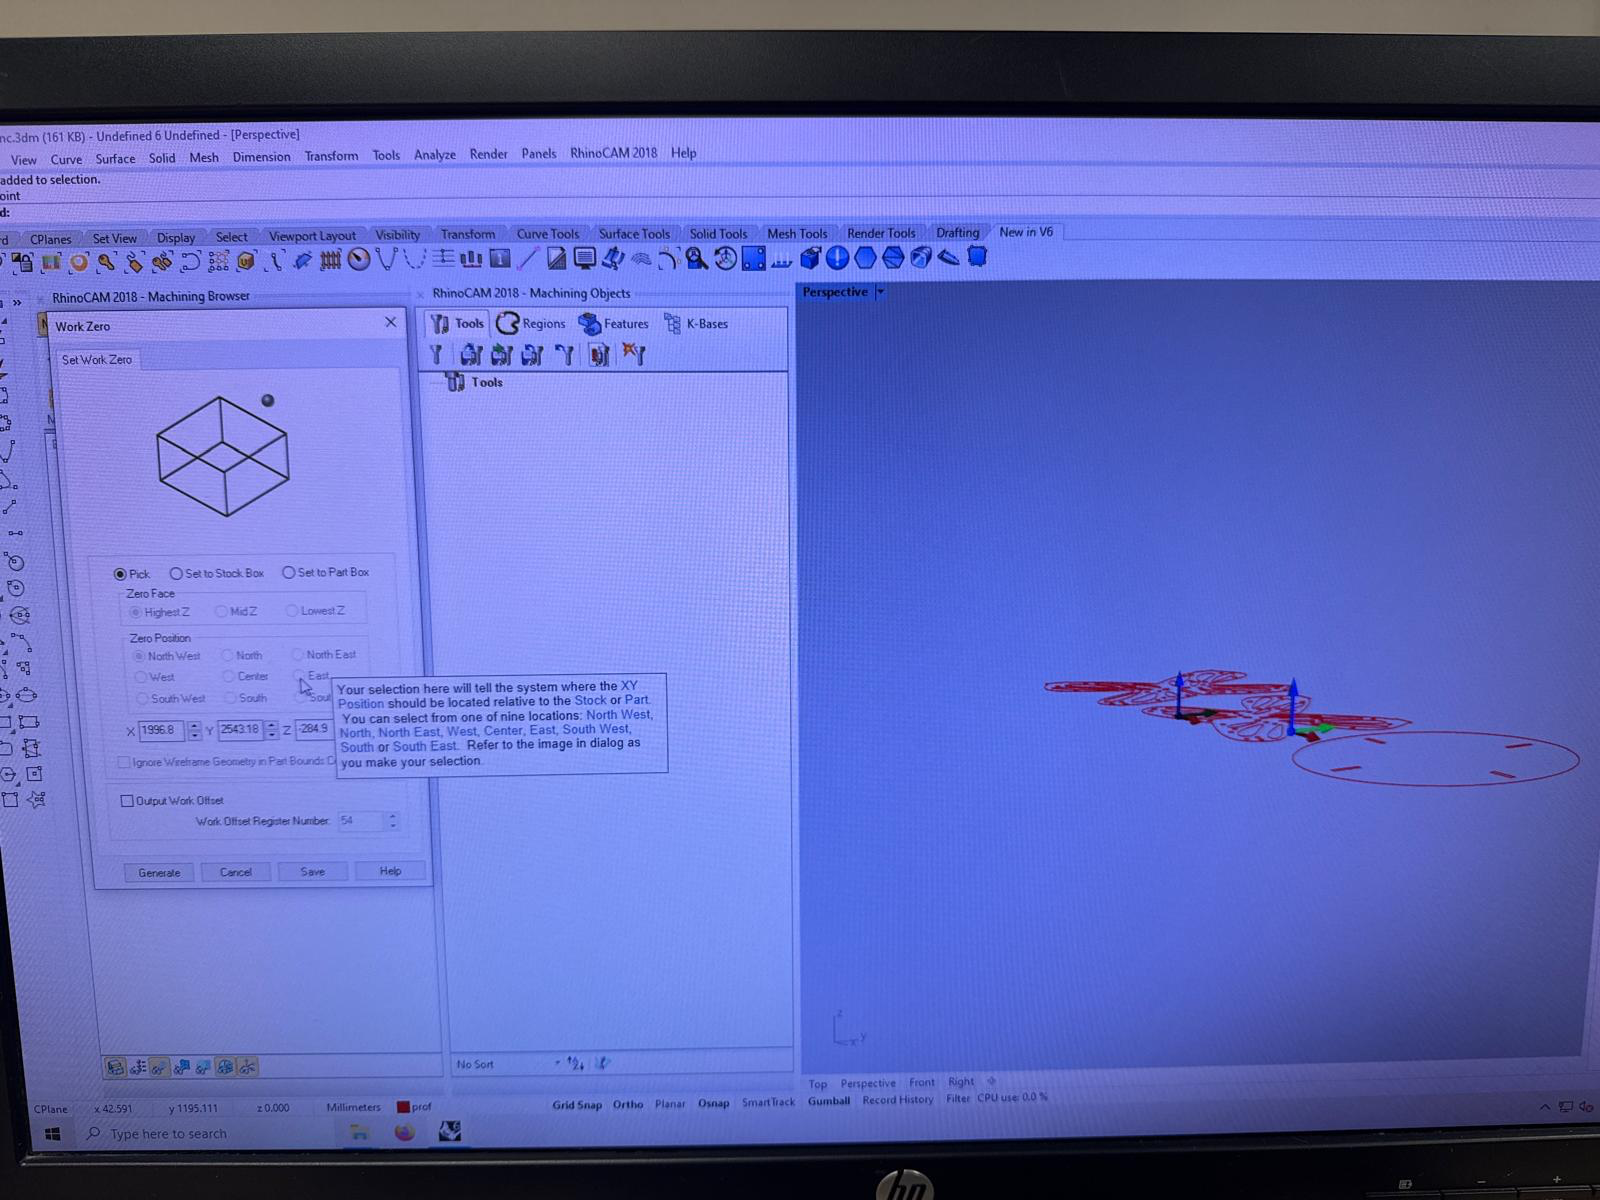
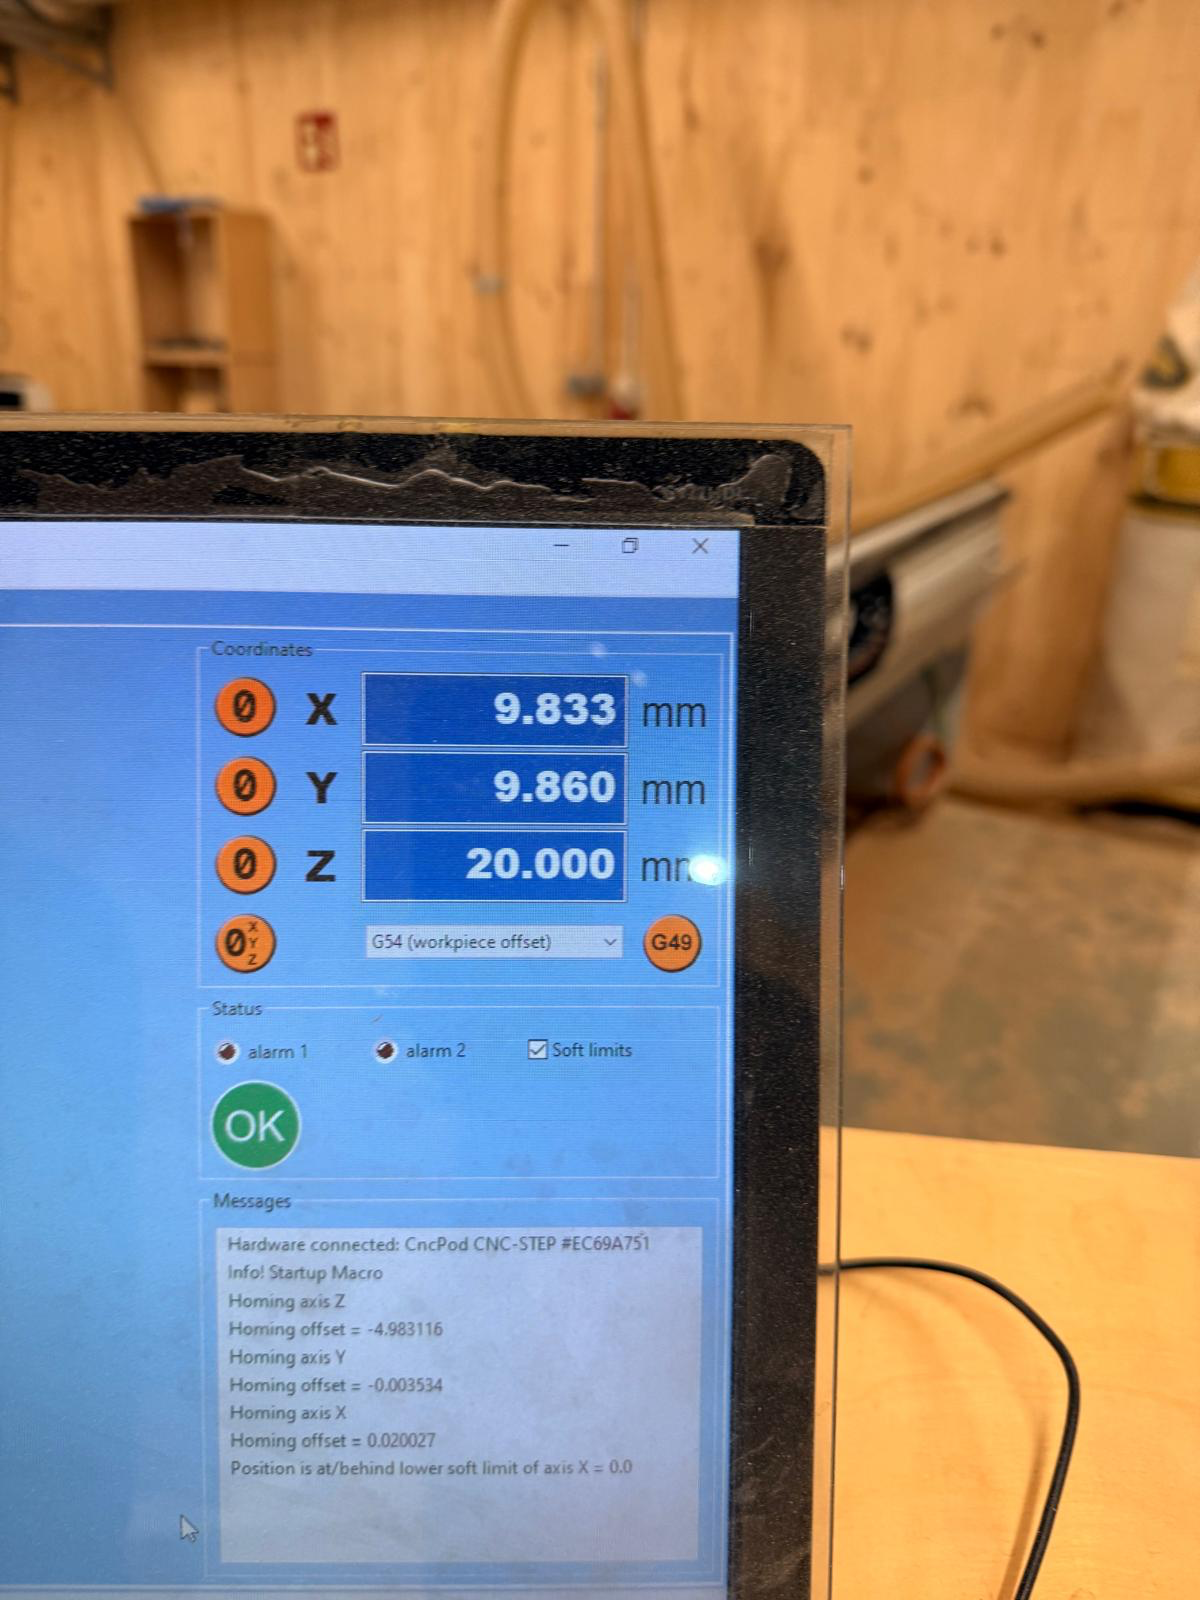
setting the 0 for X and Y by moving it with the remote control. then setting the 0 for Z by setting it with much smaller movements.
starting the cutting process.
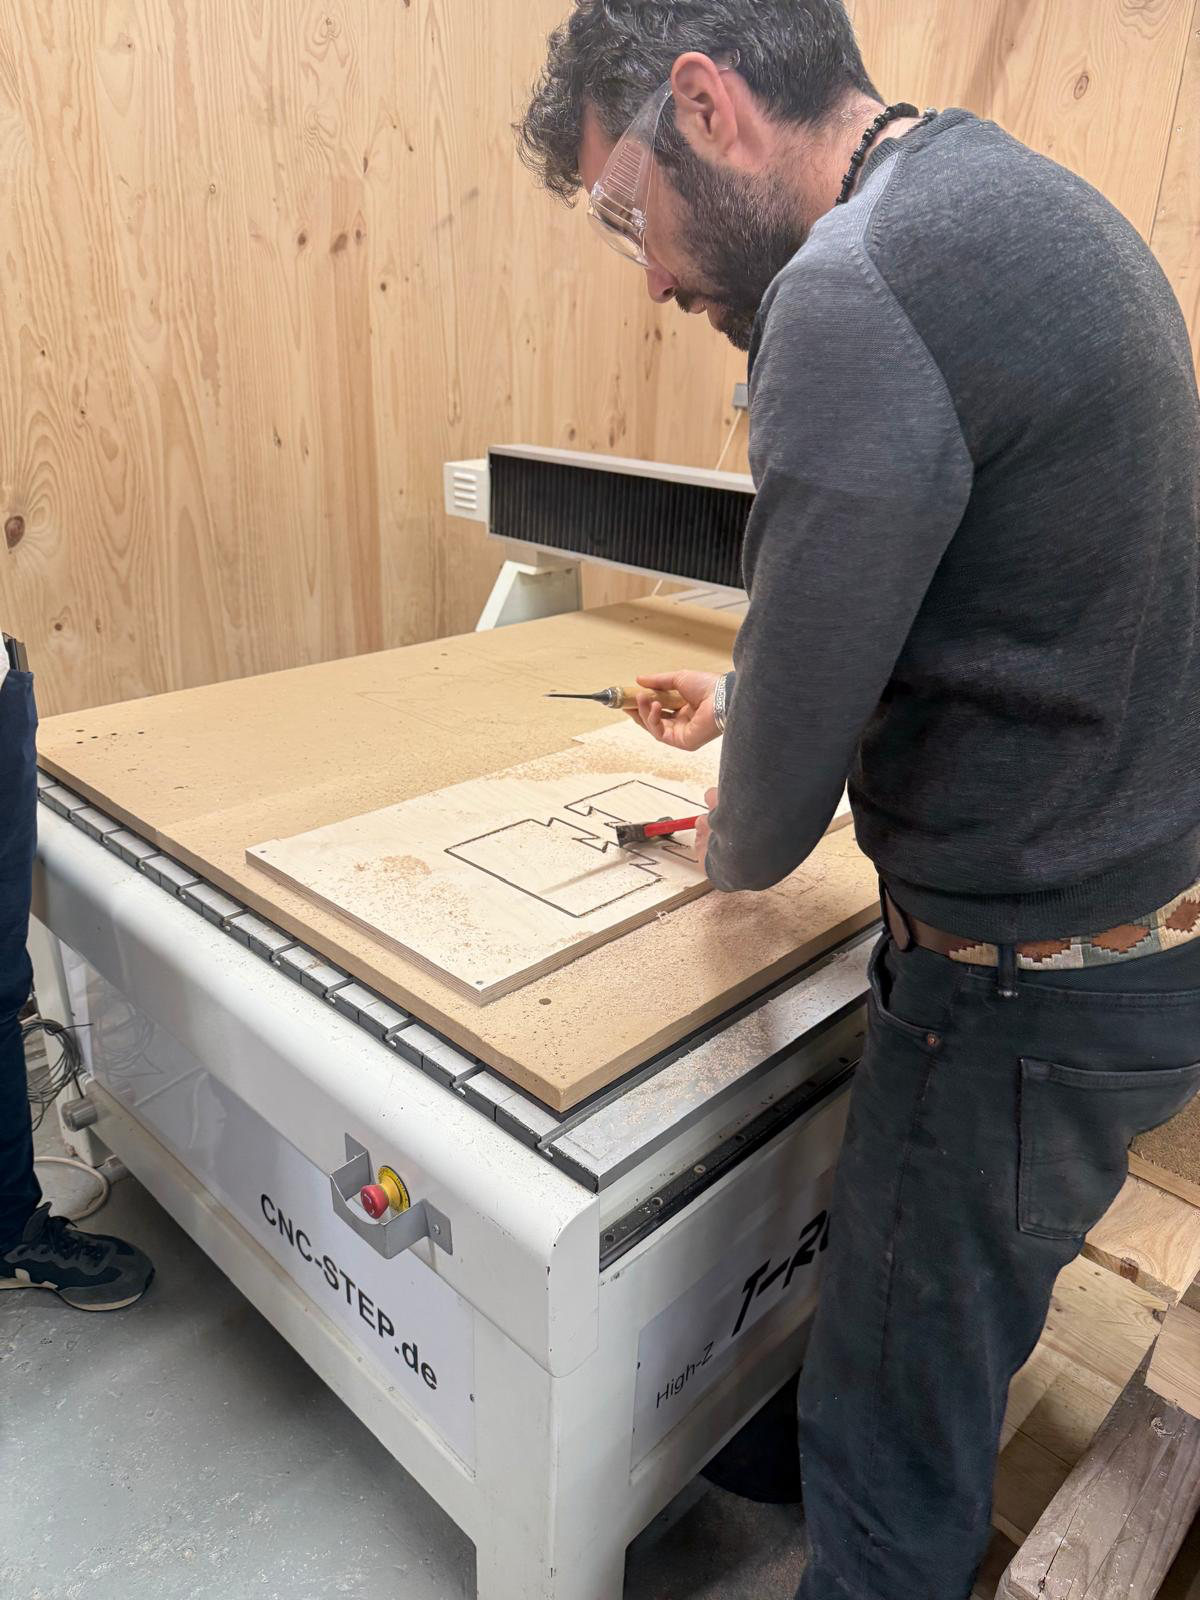
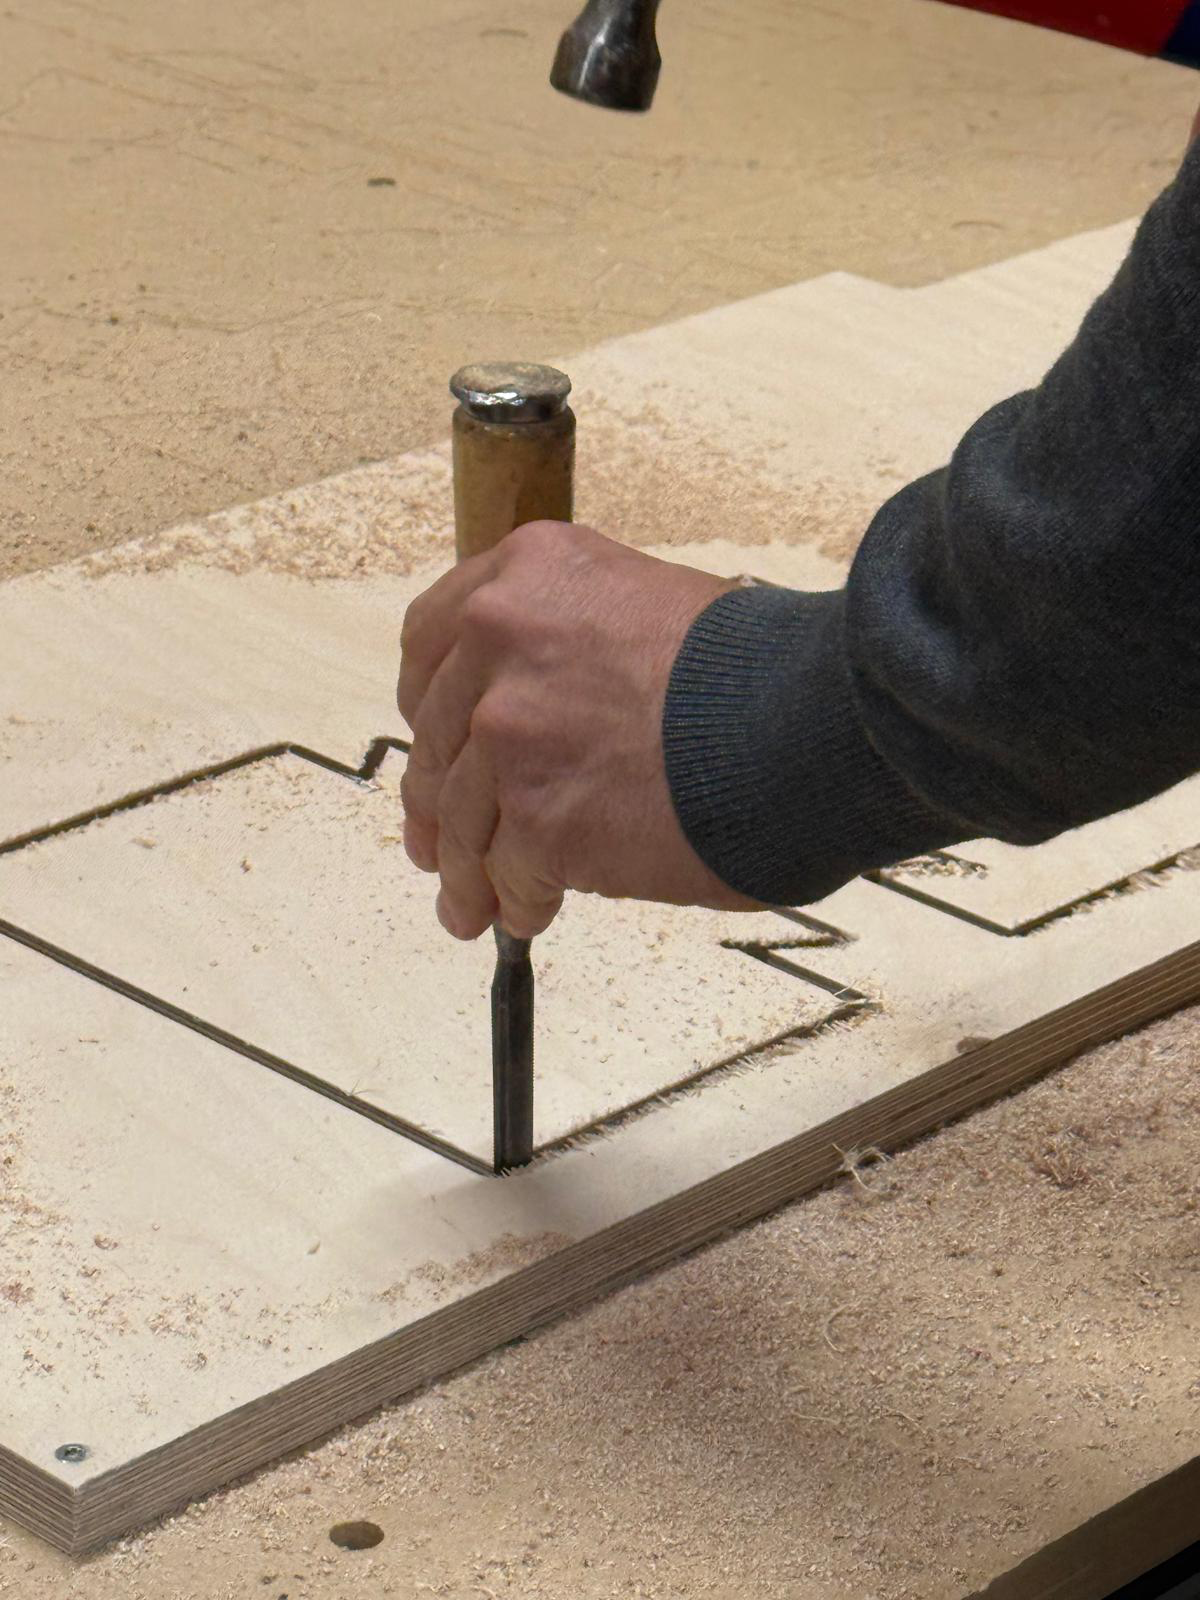
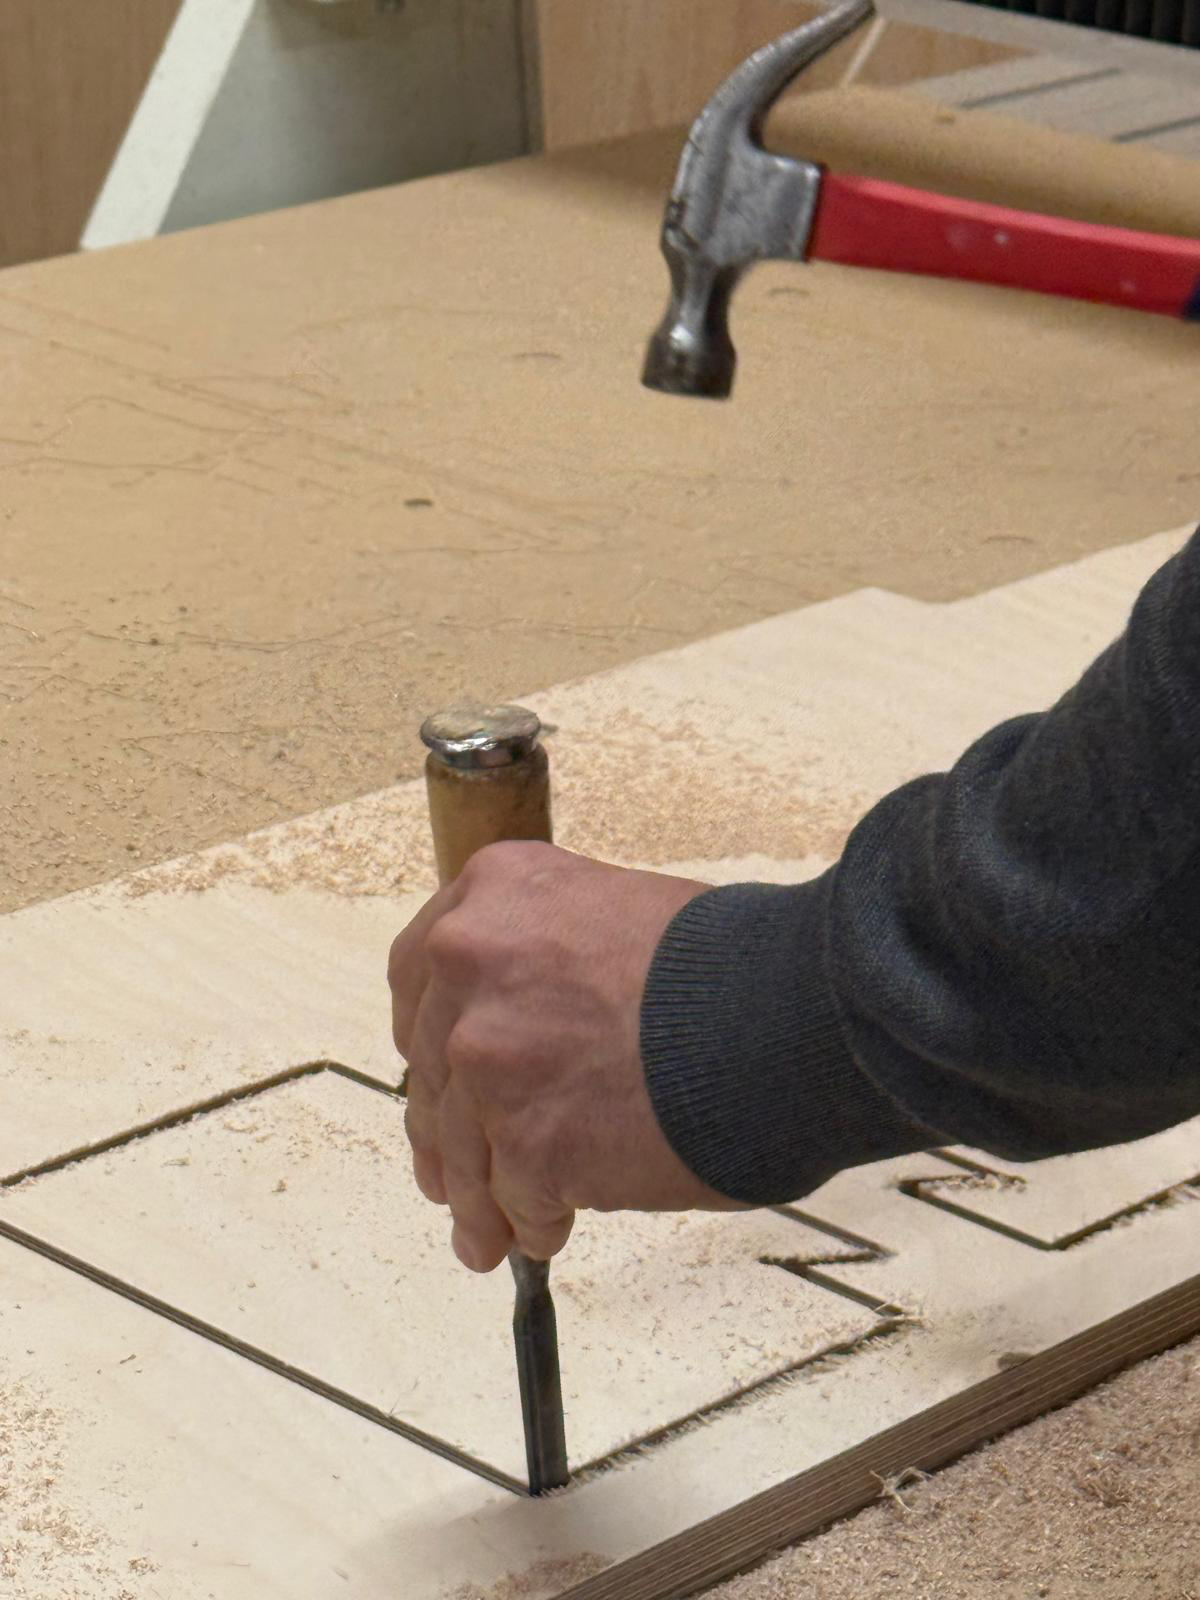
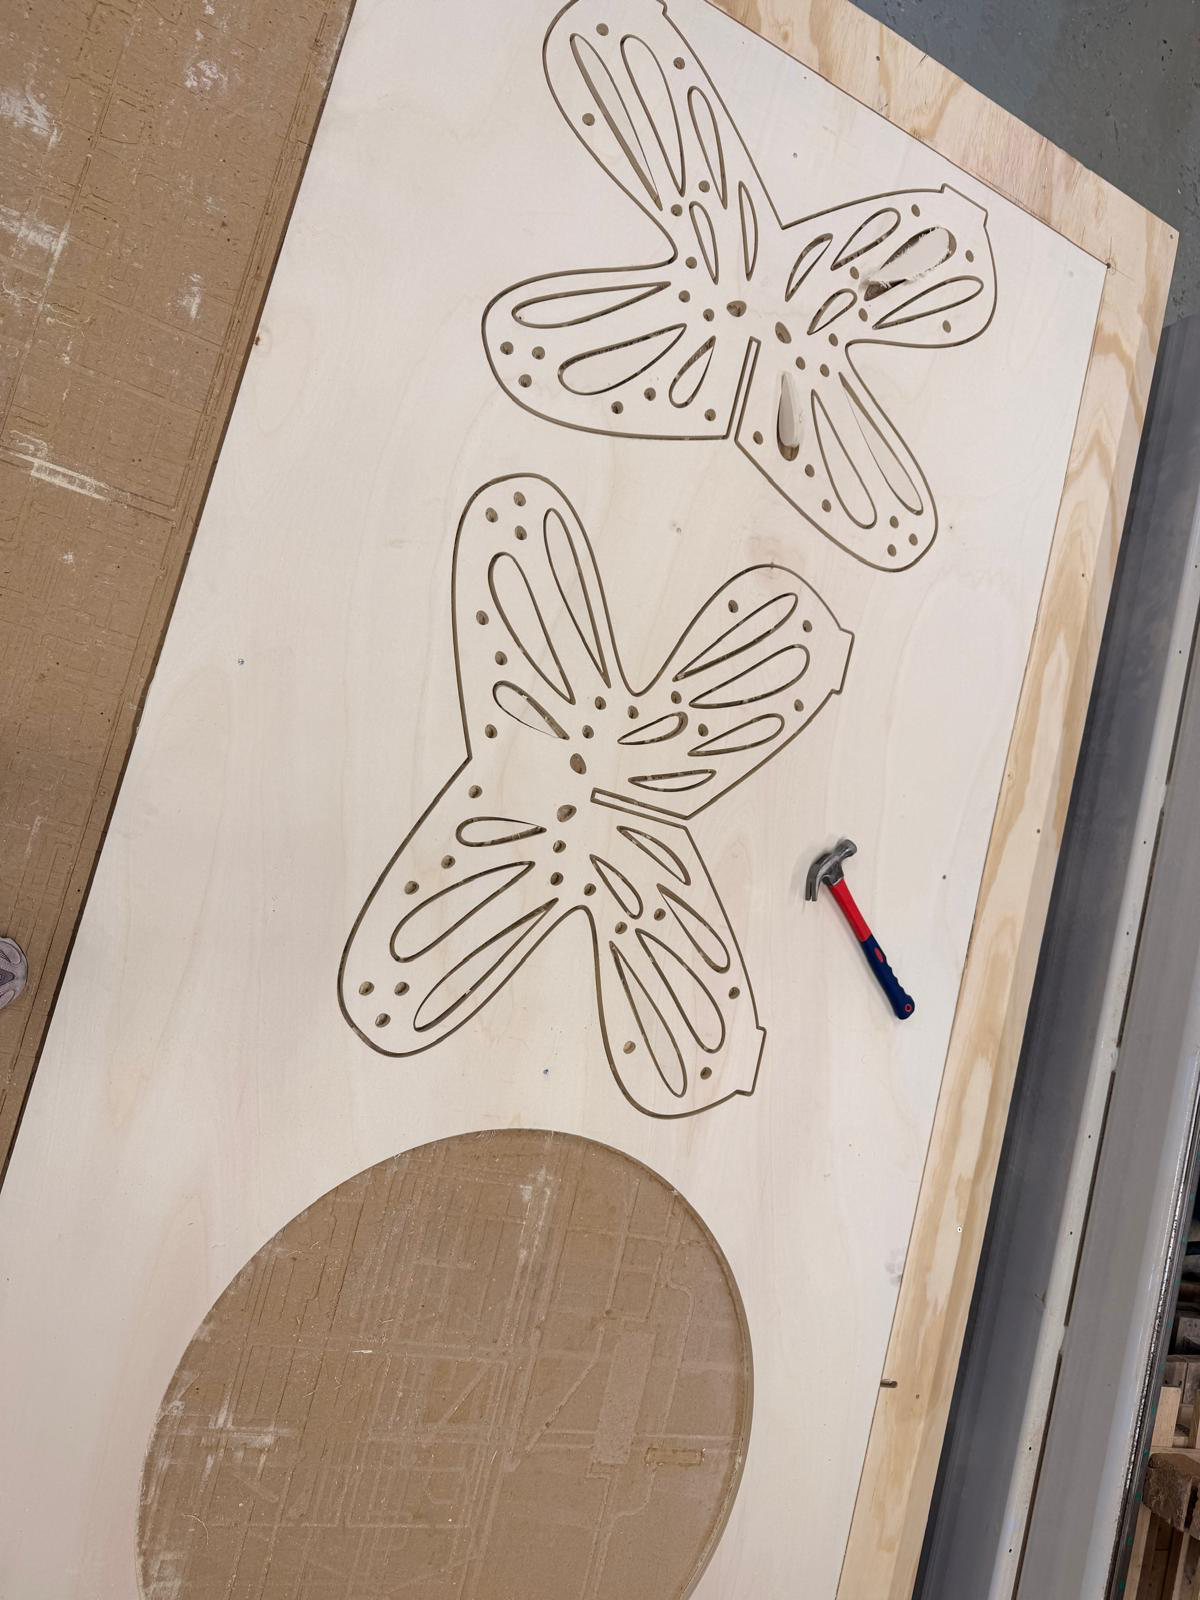
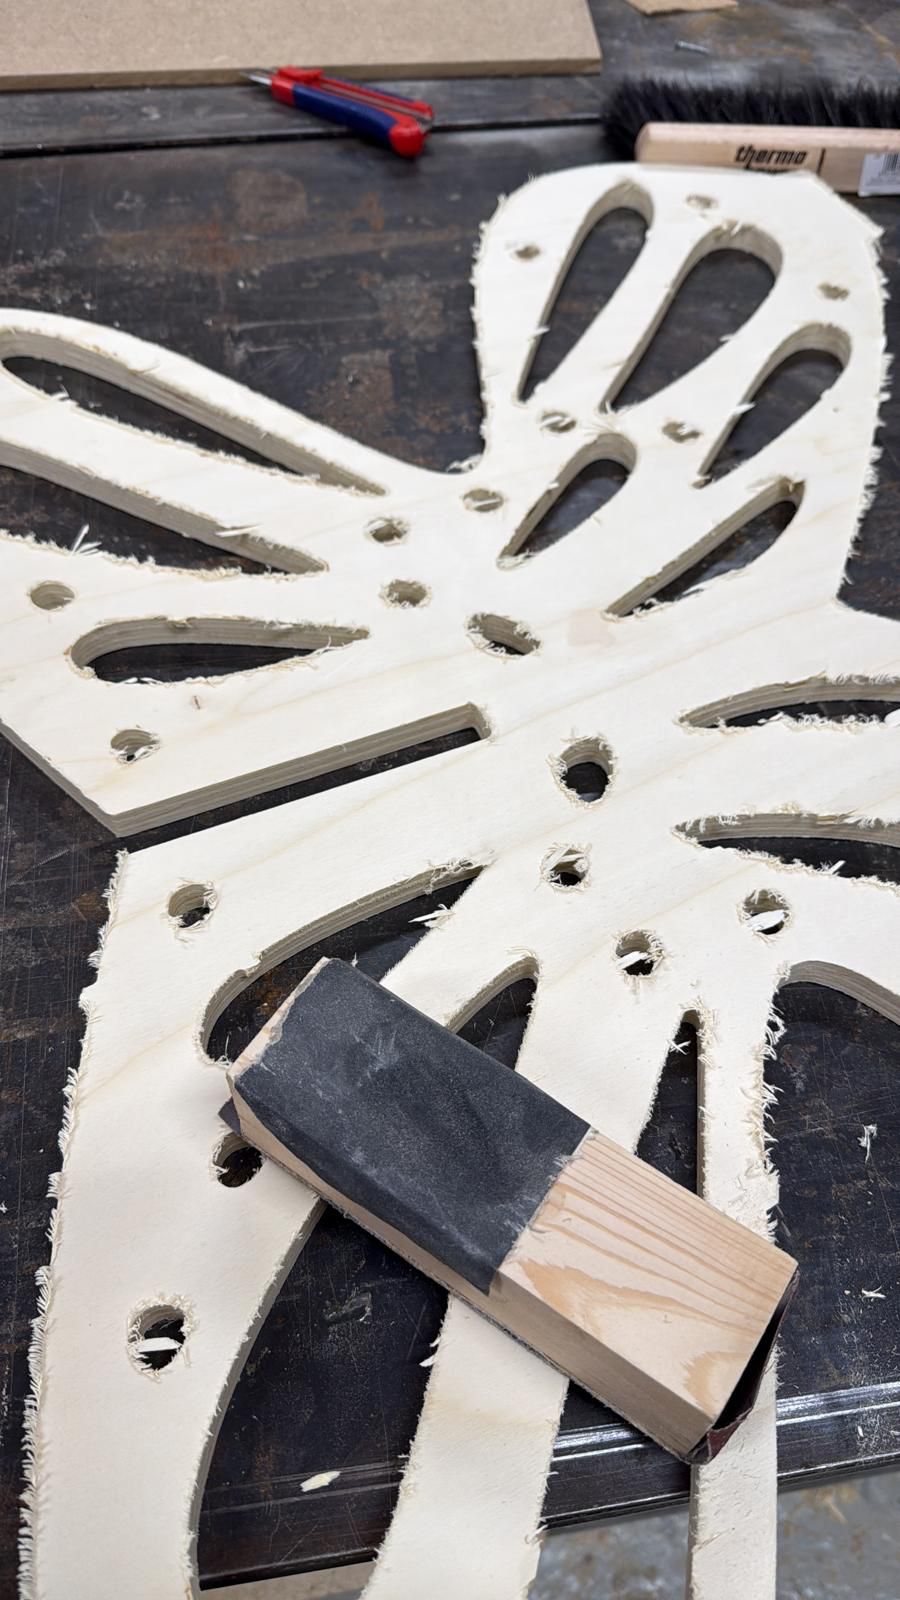
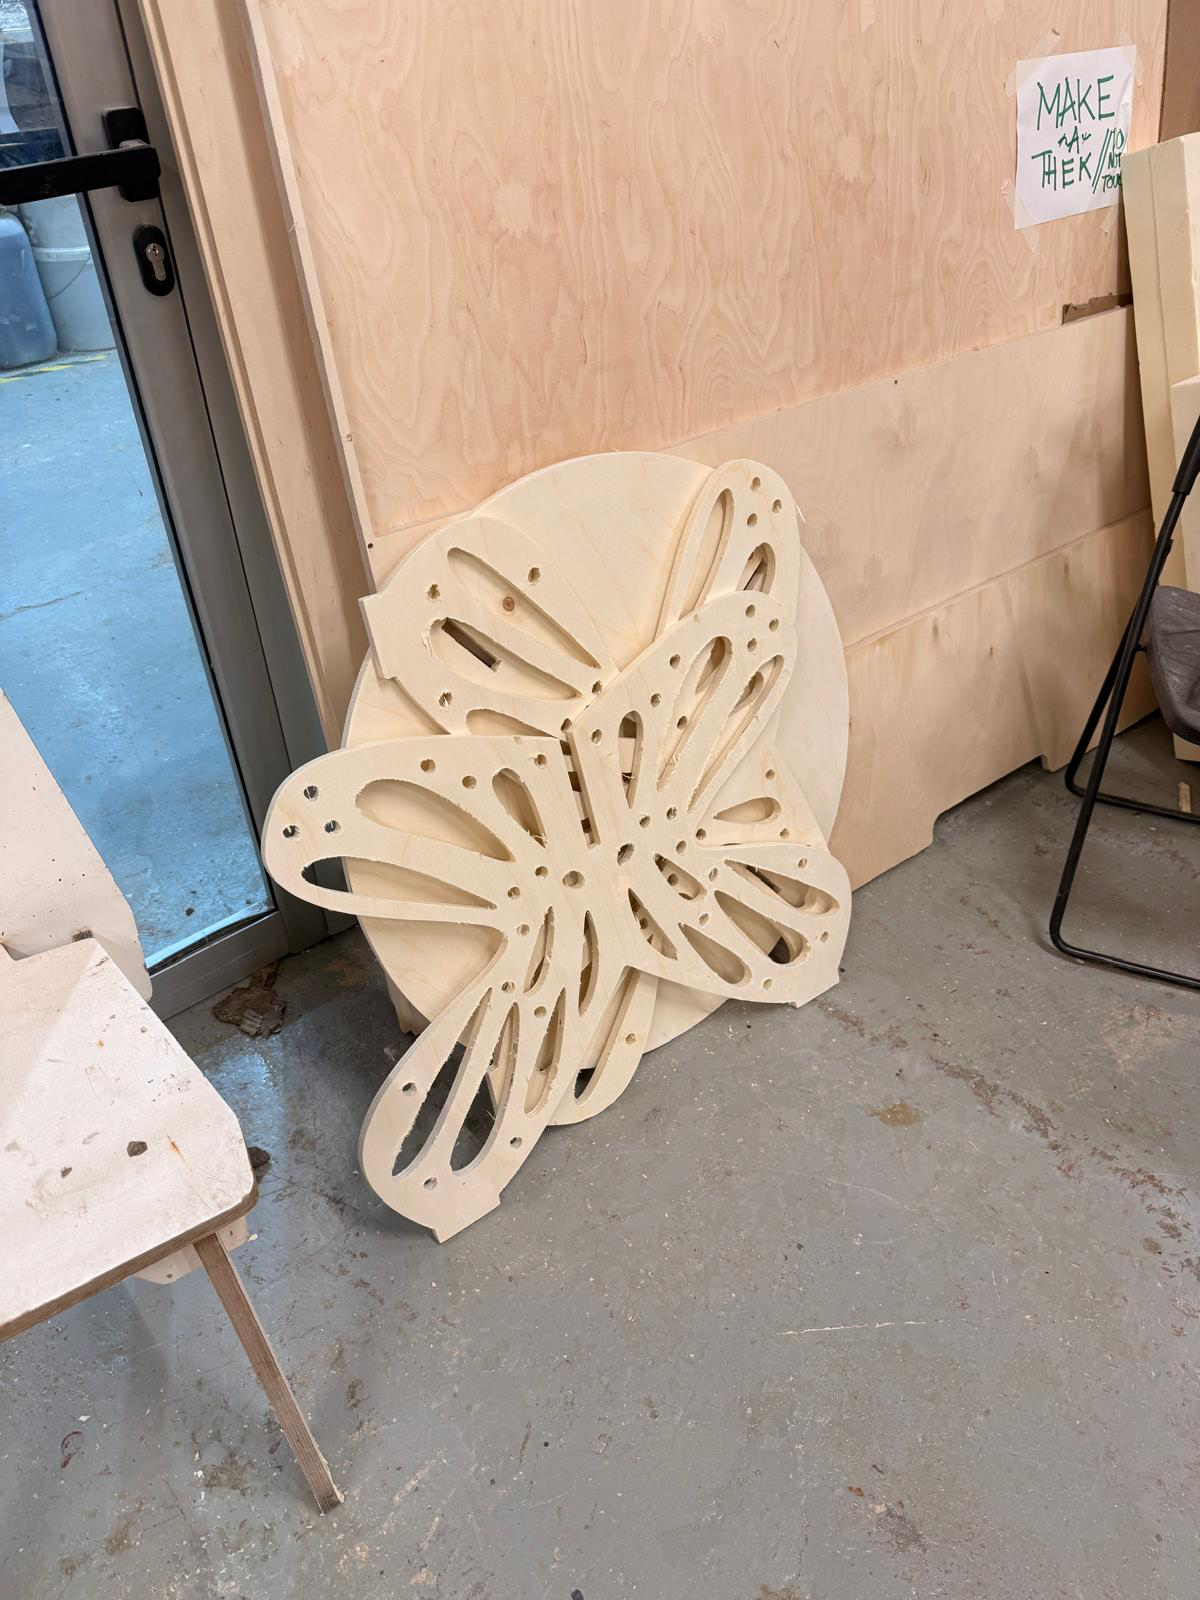
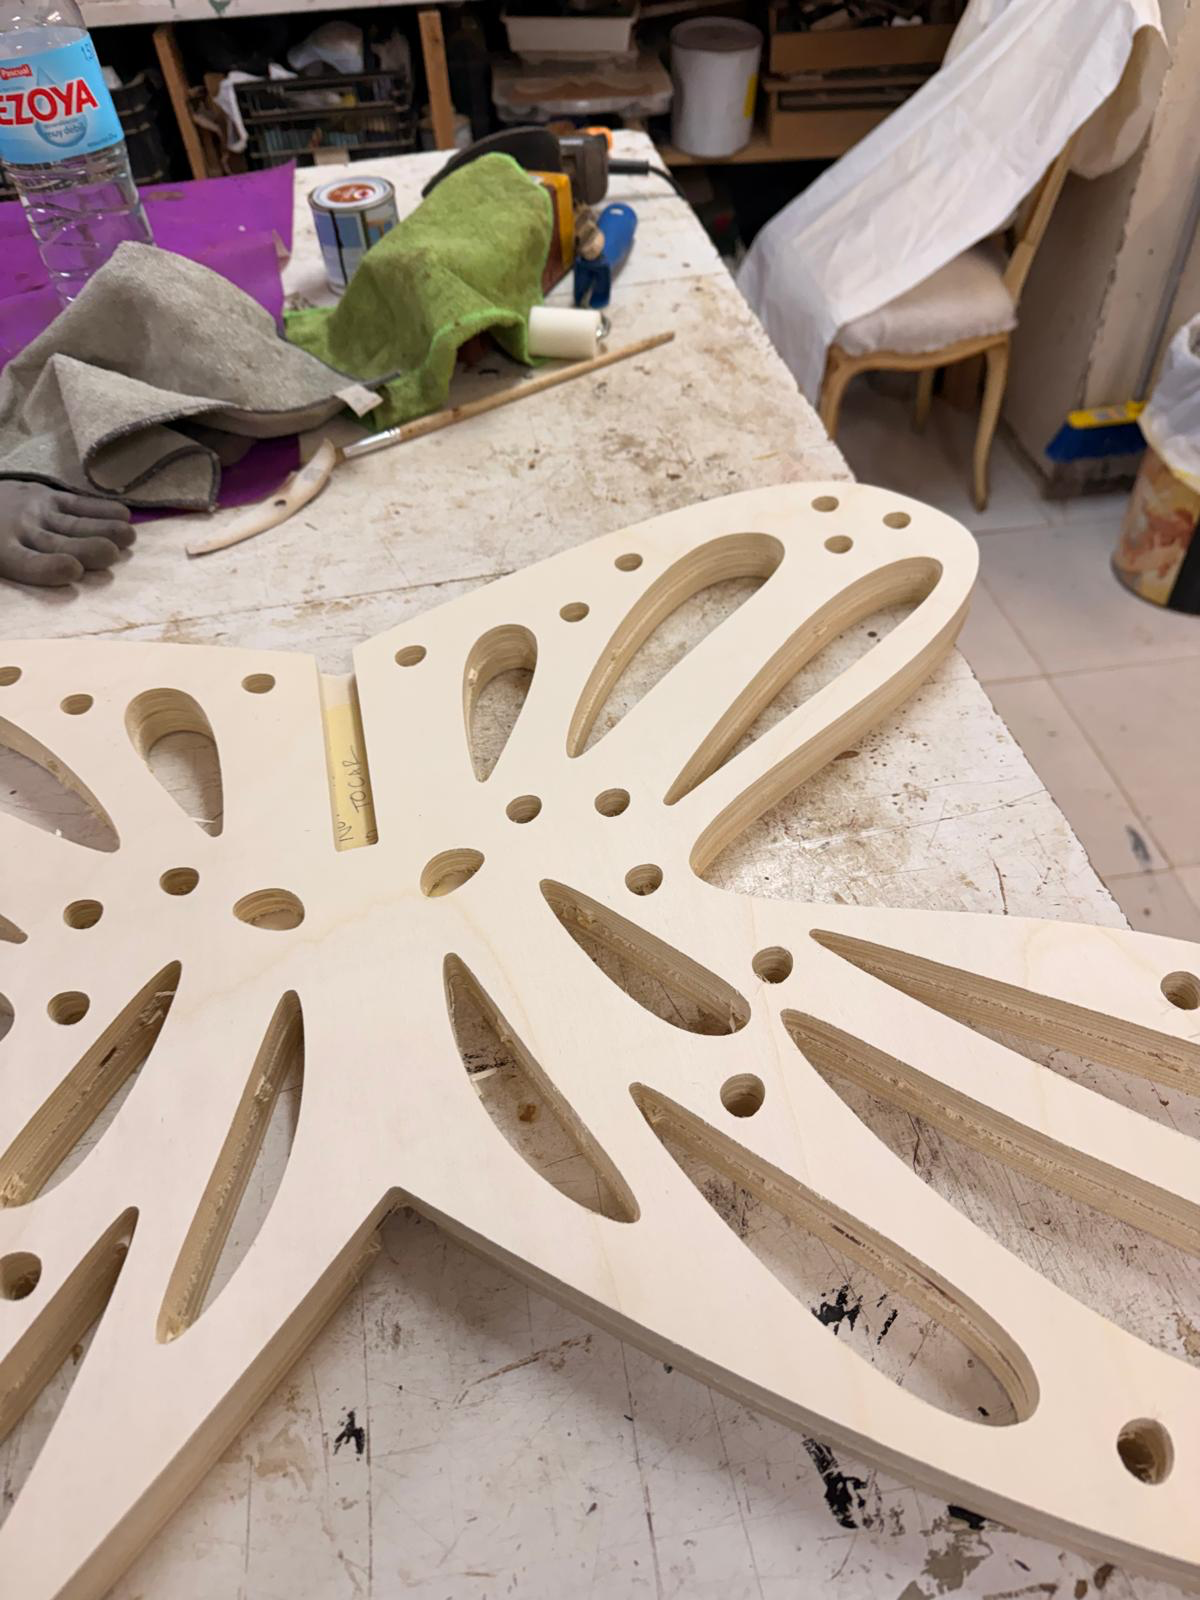
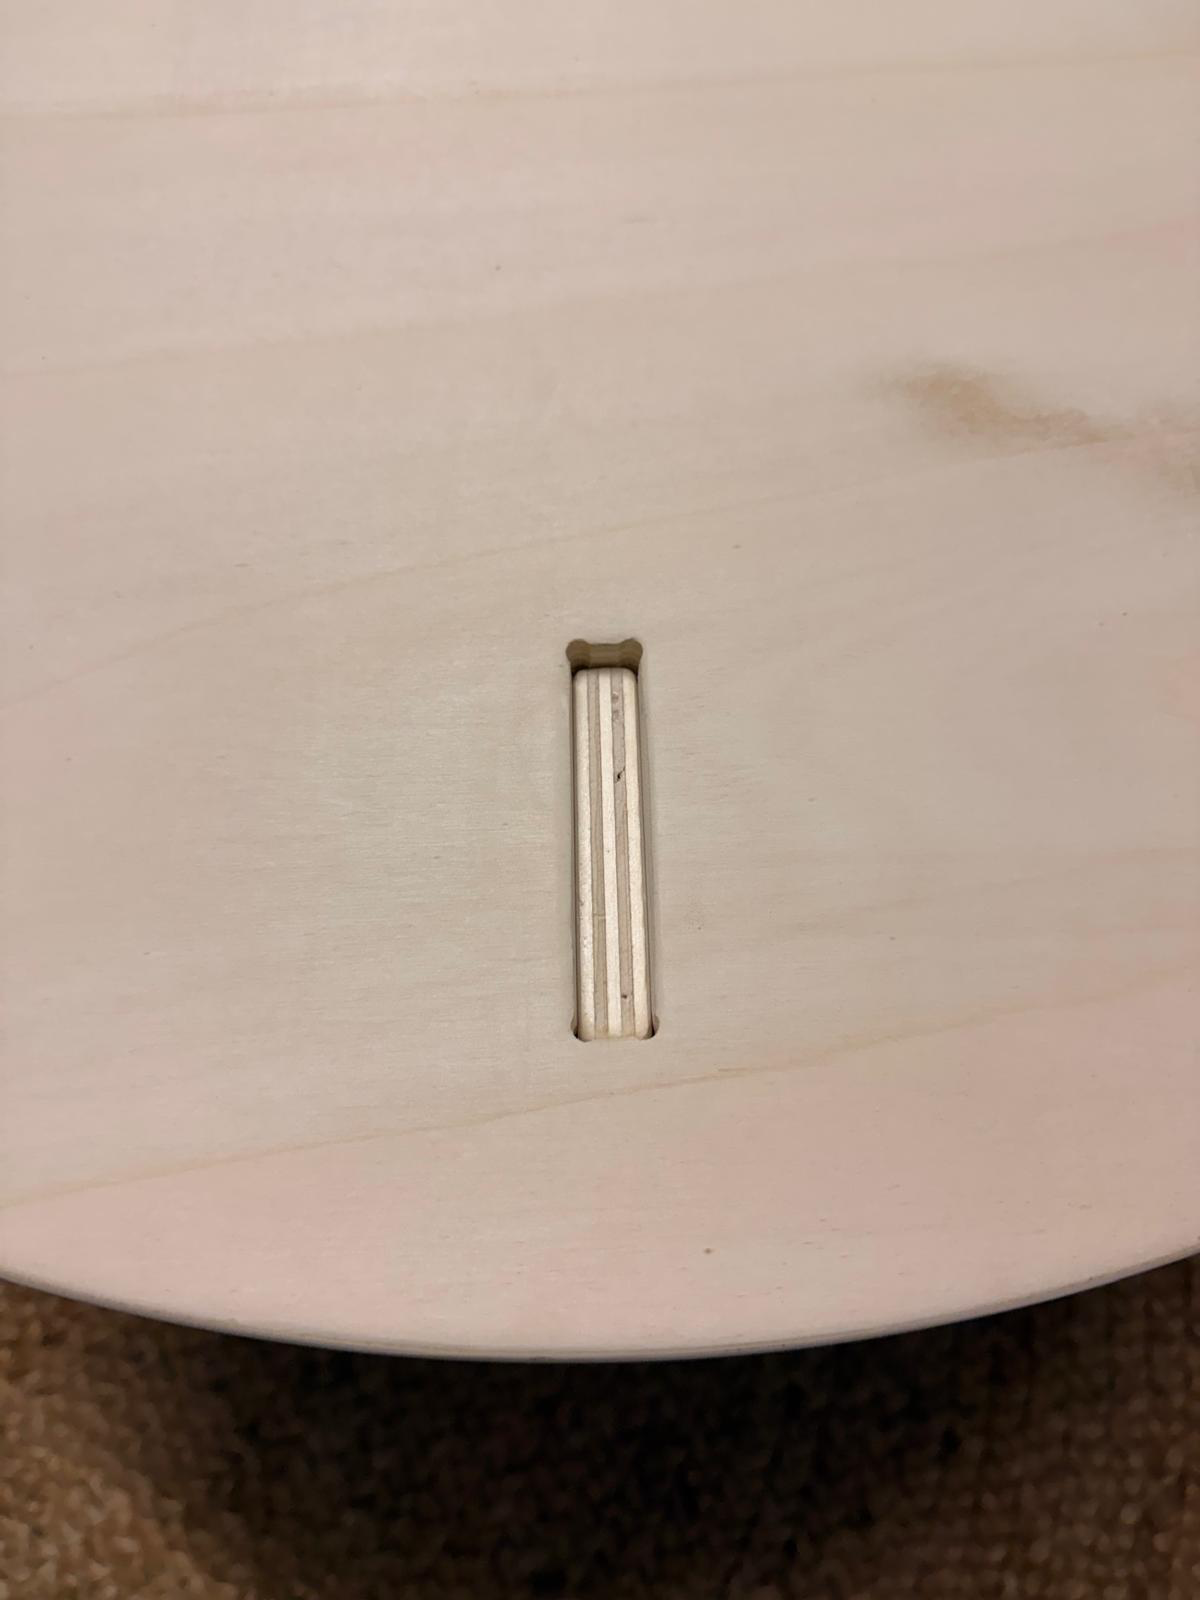
hammering with a chisel to cut off the bridges and removing the final output
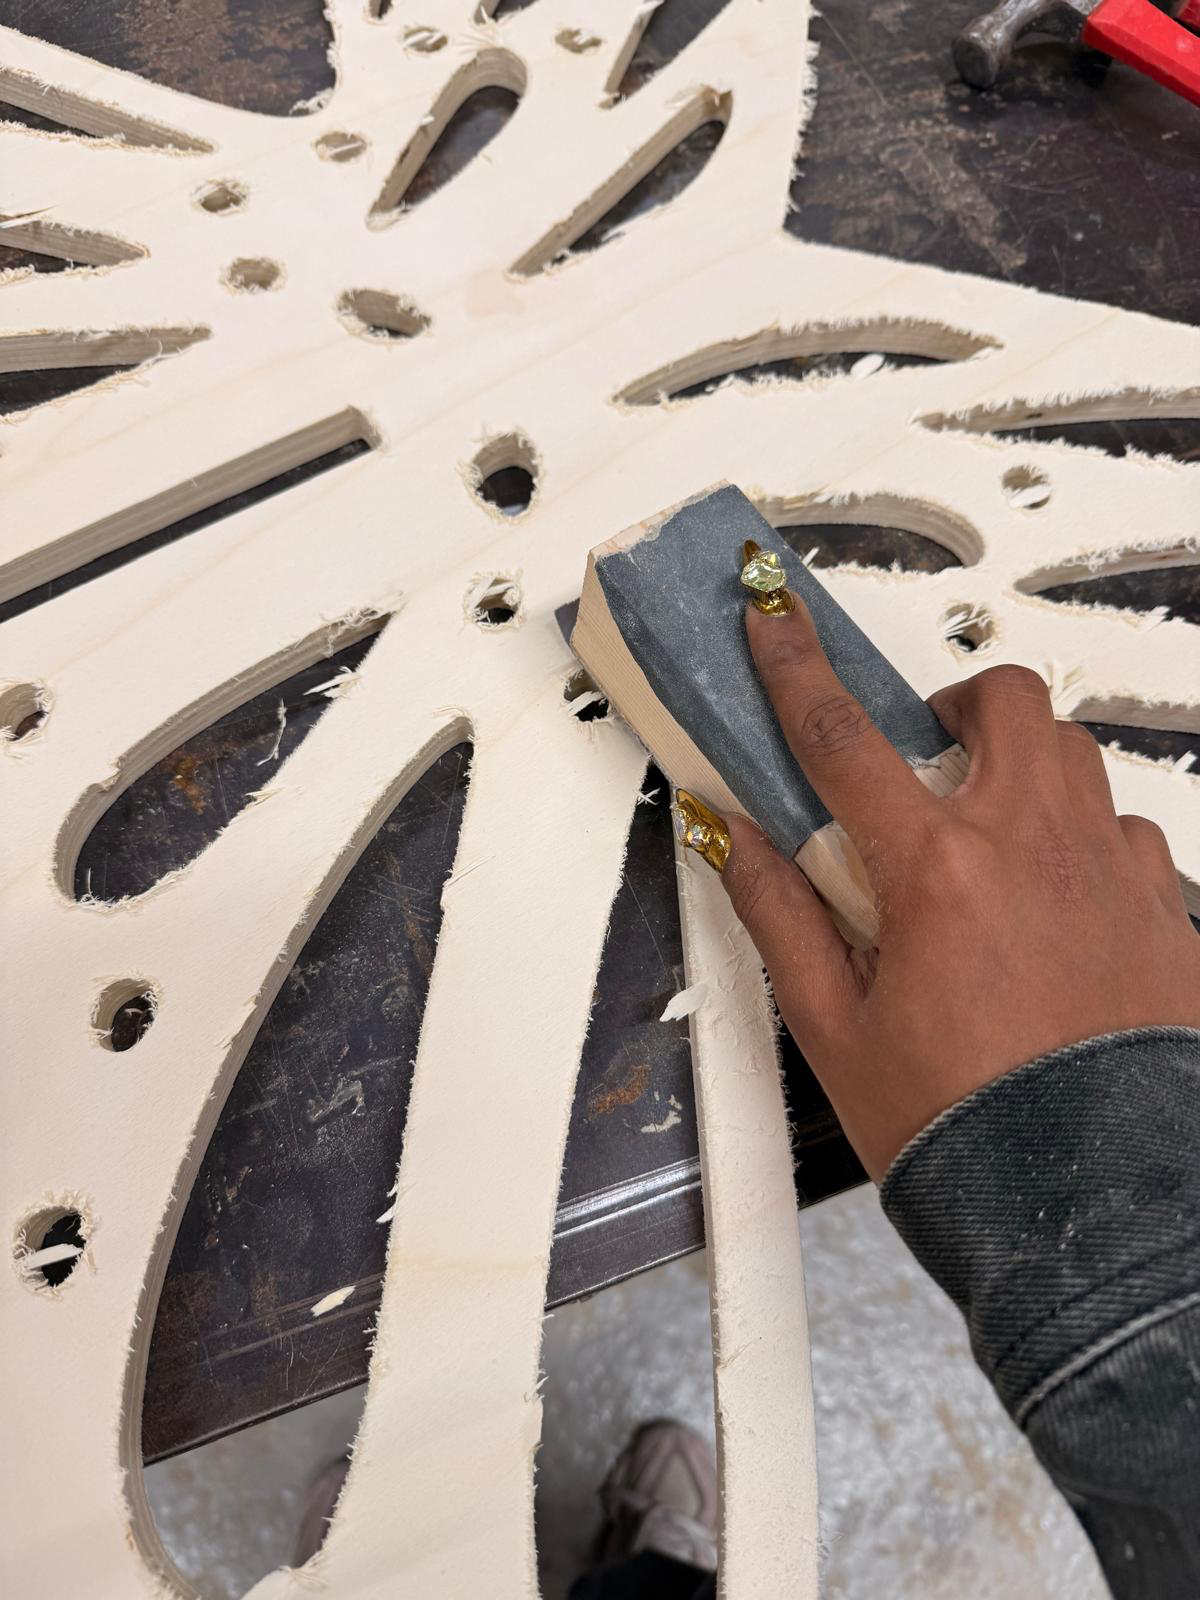
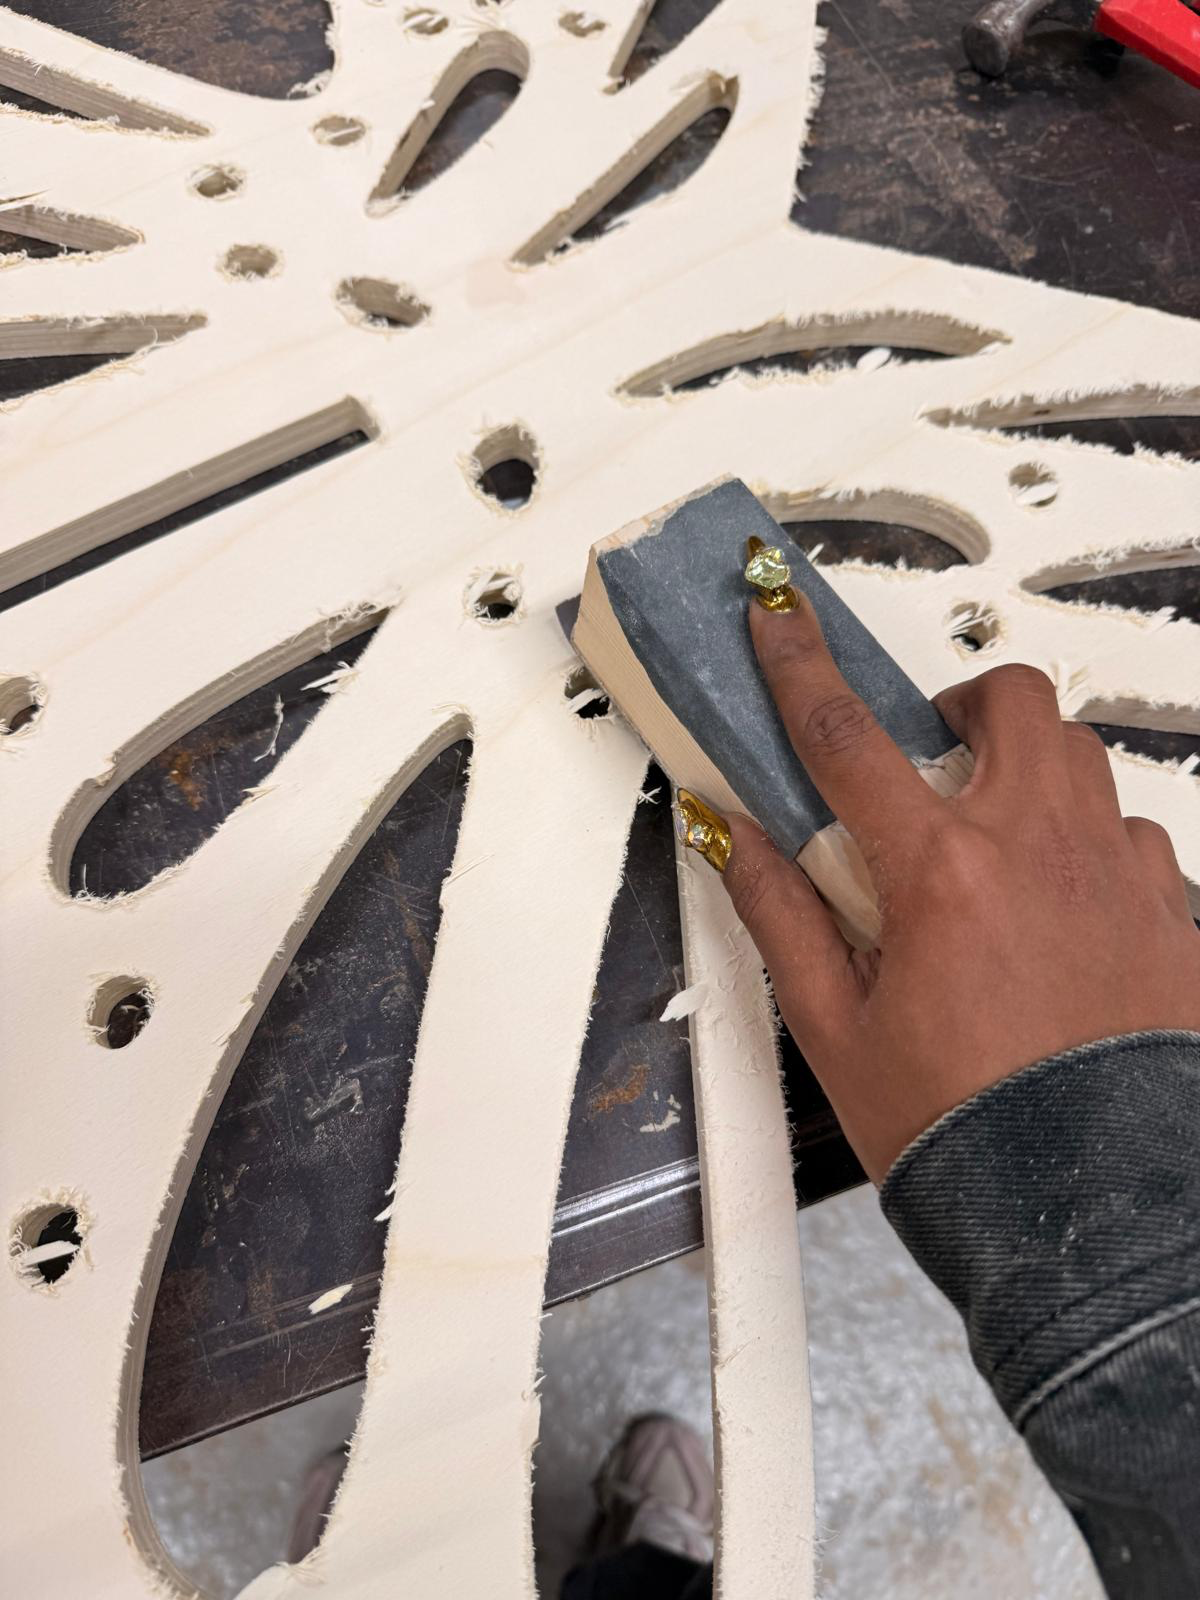
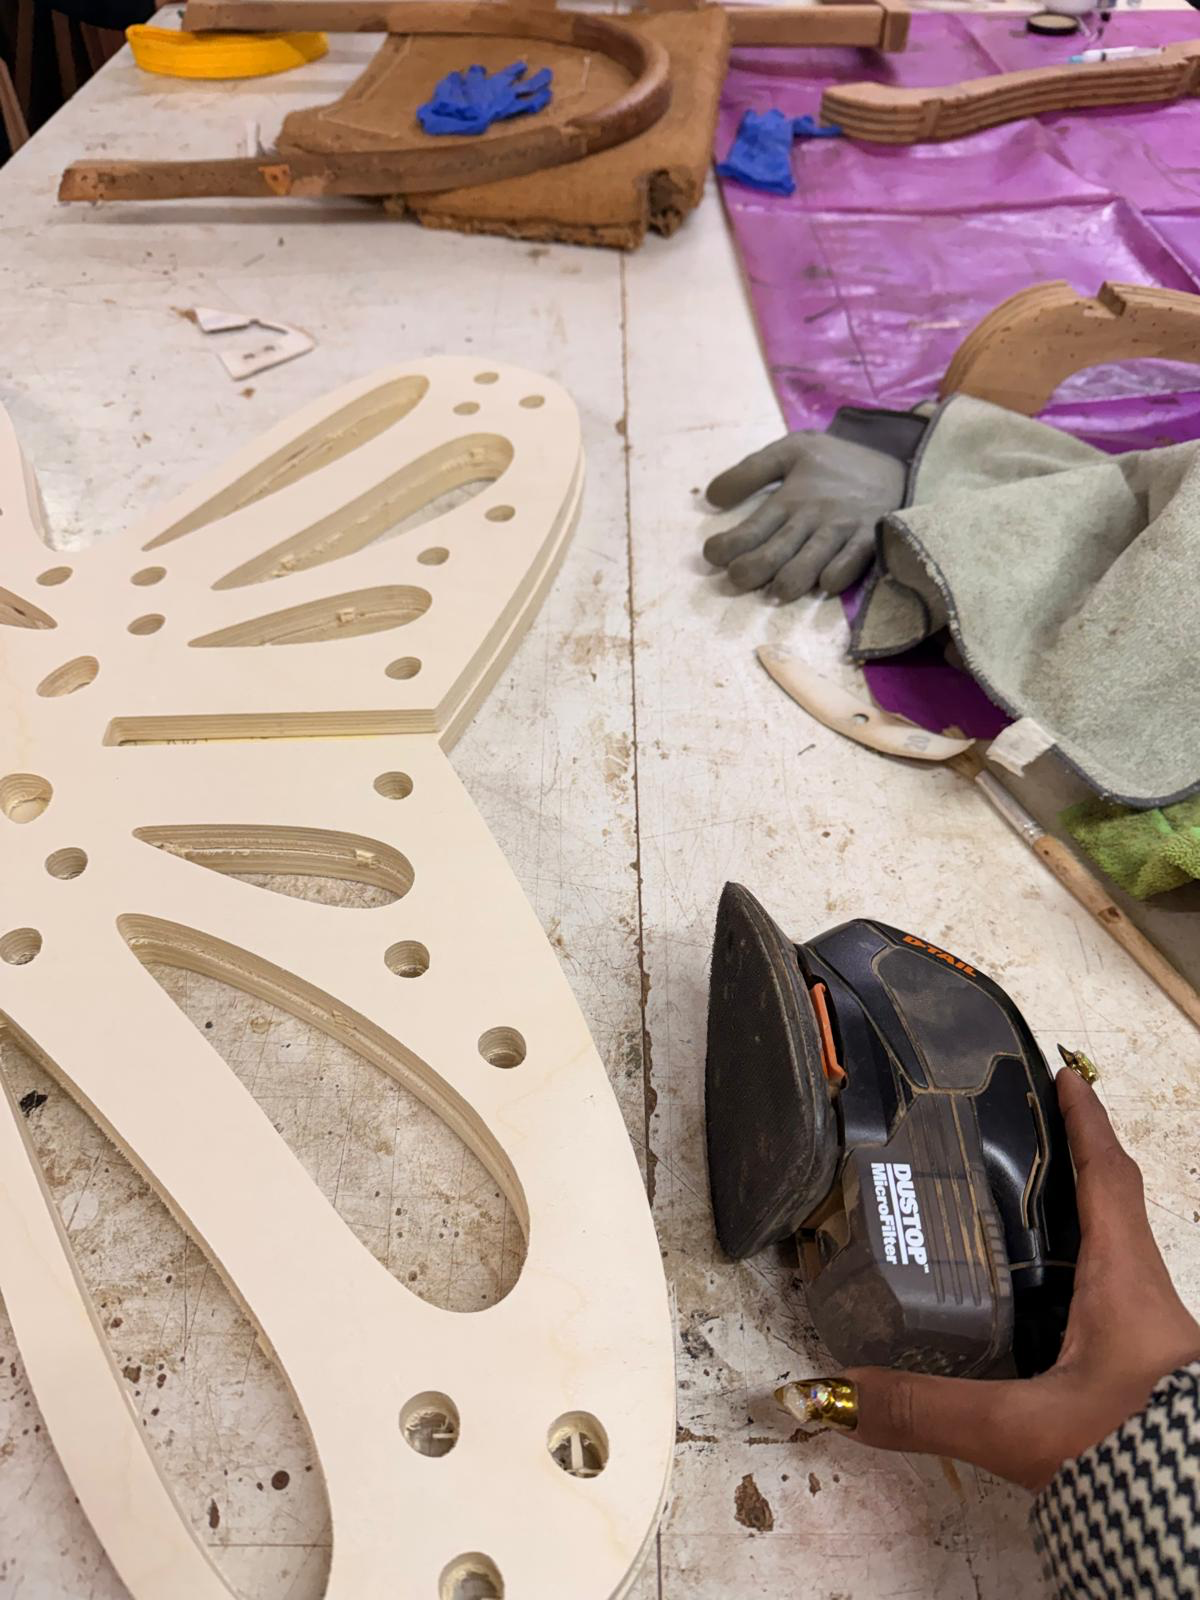
starting the sanding process by sanding off the tabs and edges
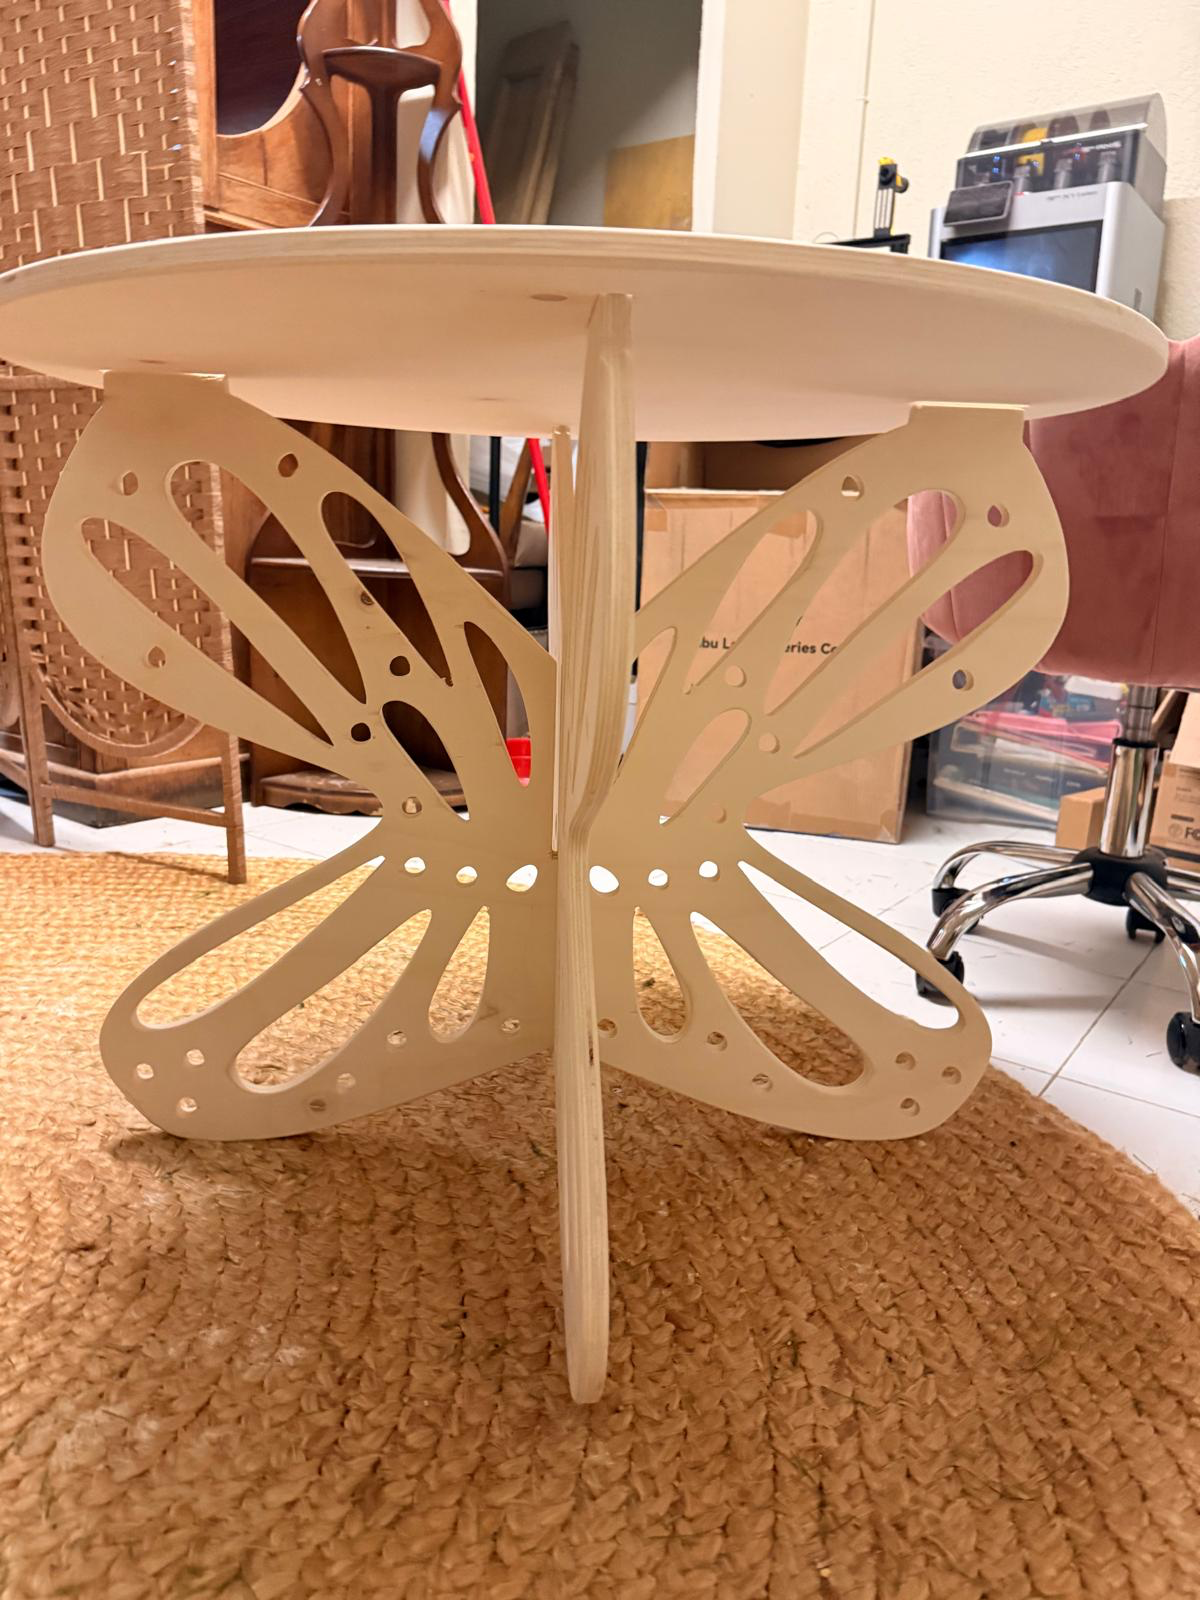
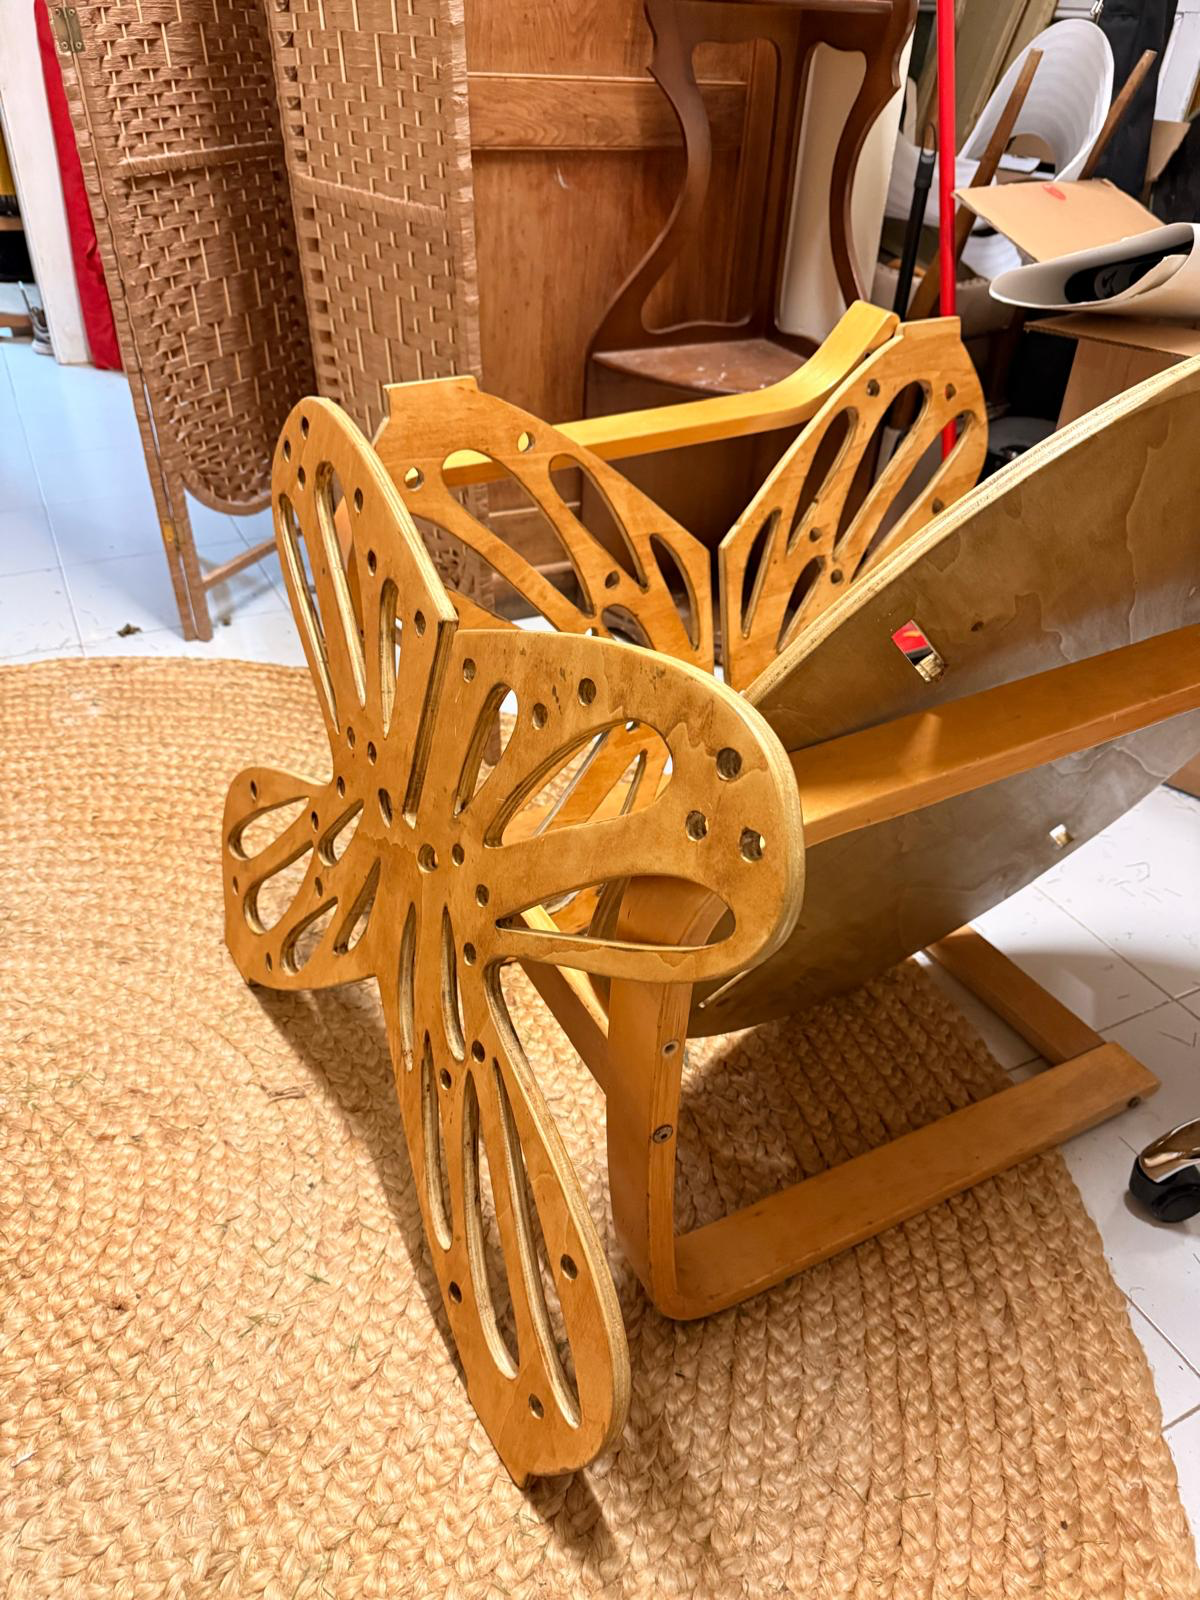
assembling to check the fits again before adding varnish

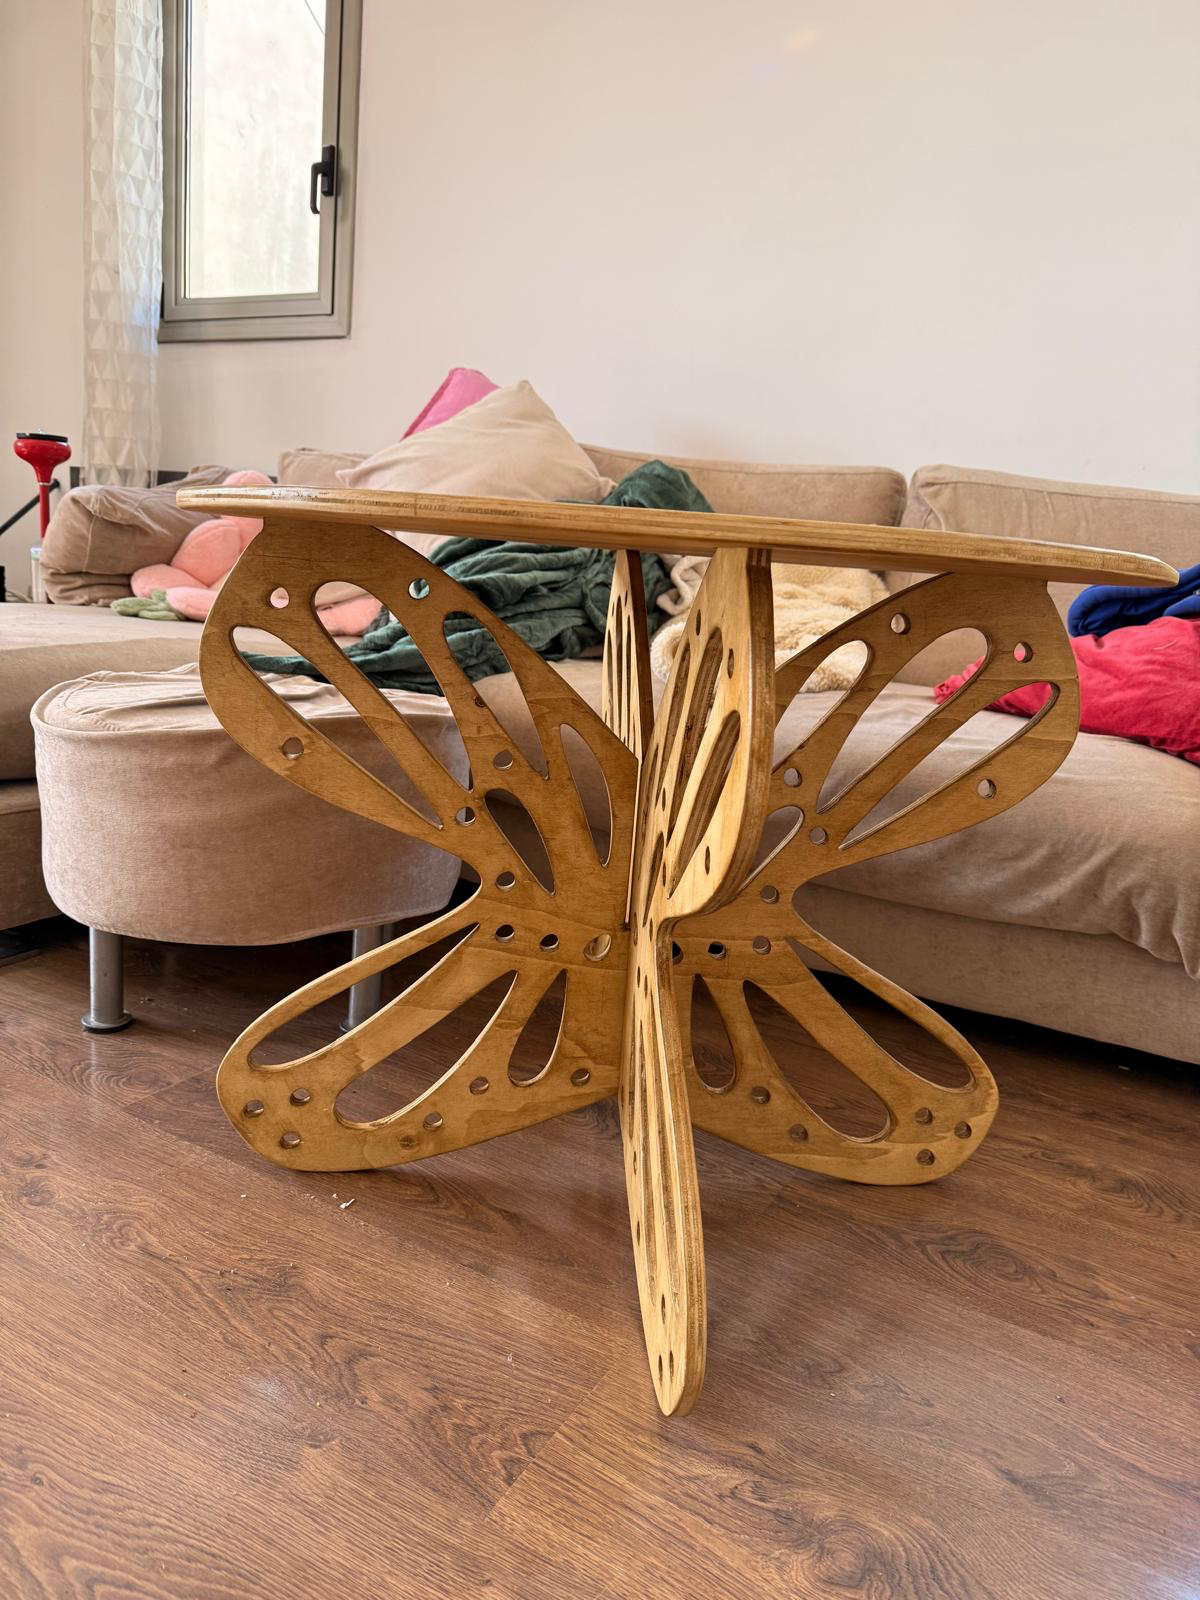
i accidentally added two slightly different colours of varnish on both sides. since i did one side, let it dry overnight then did the other side, i mixed up the varnish colours- but i liked the effect so i went with it
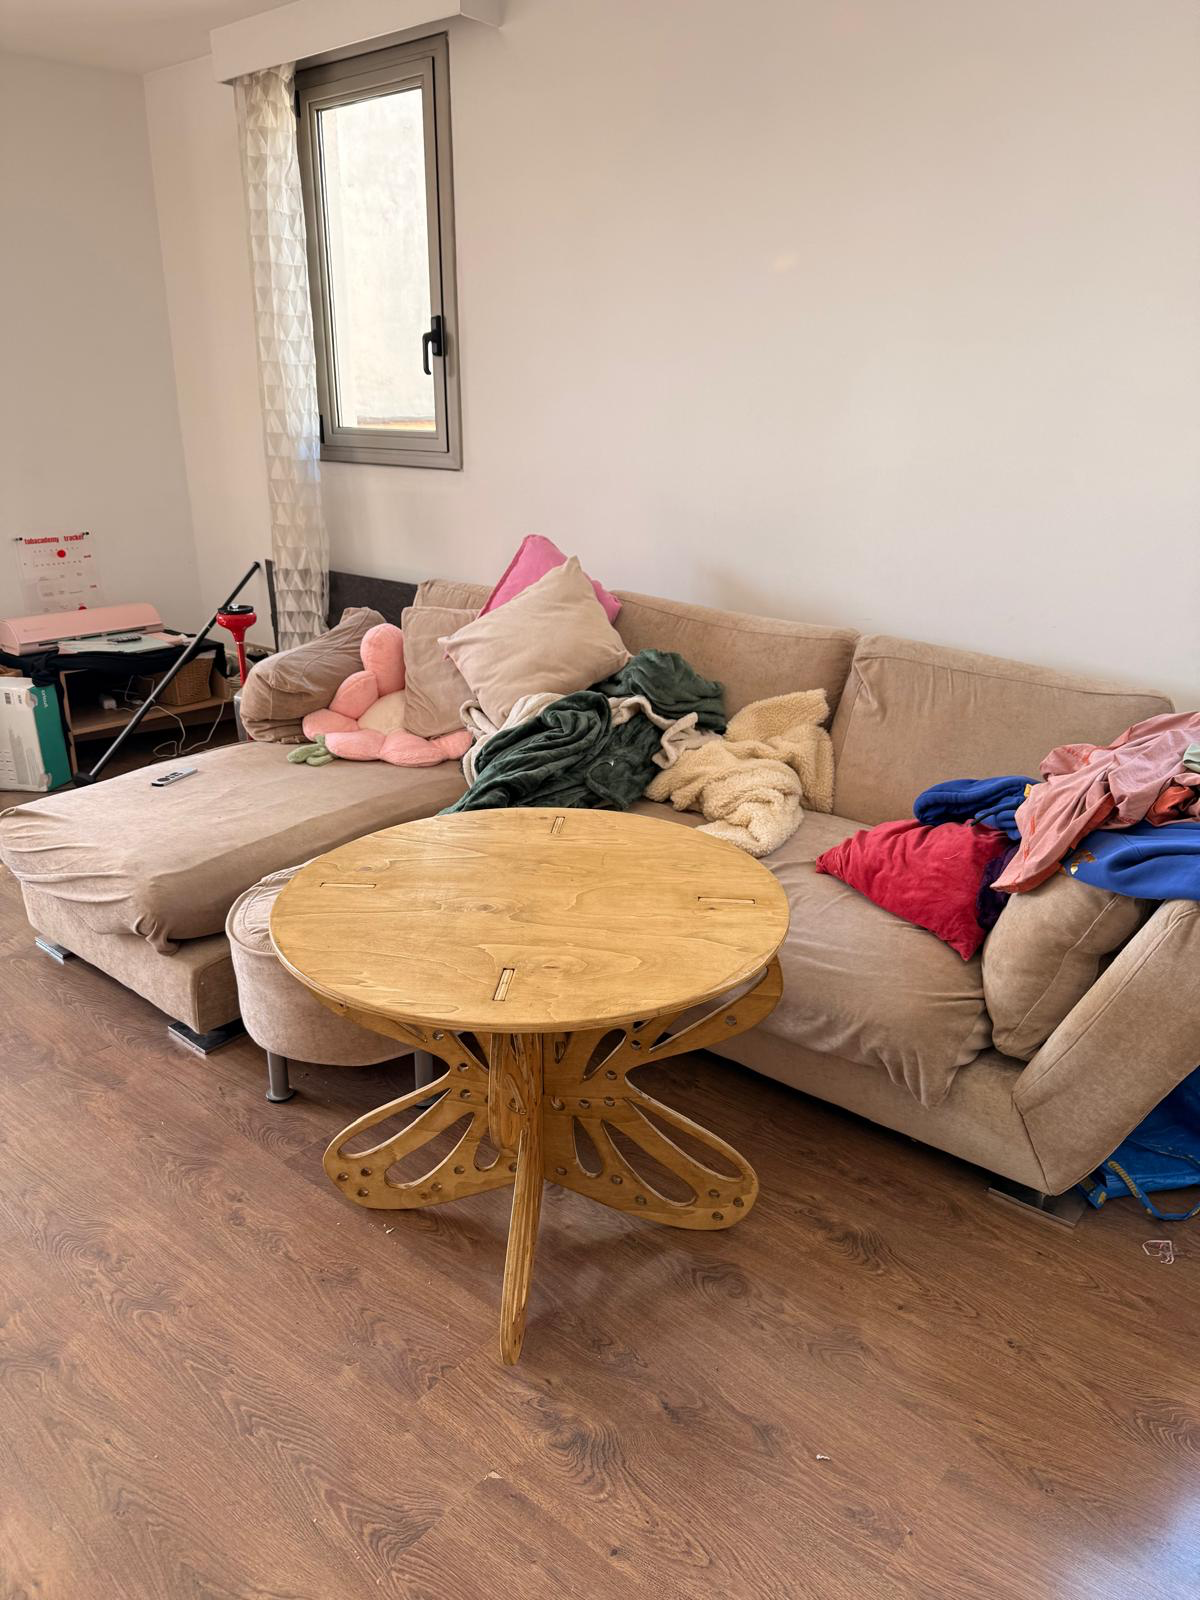
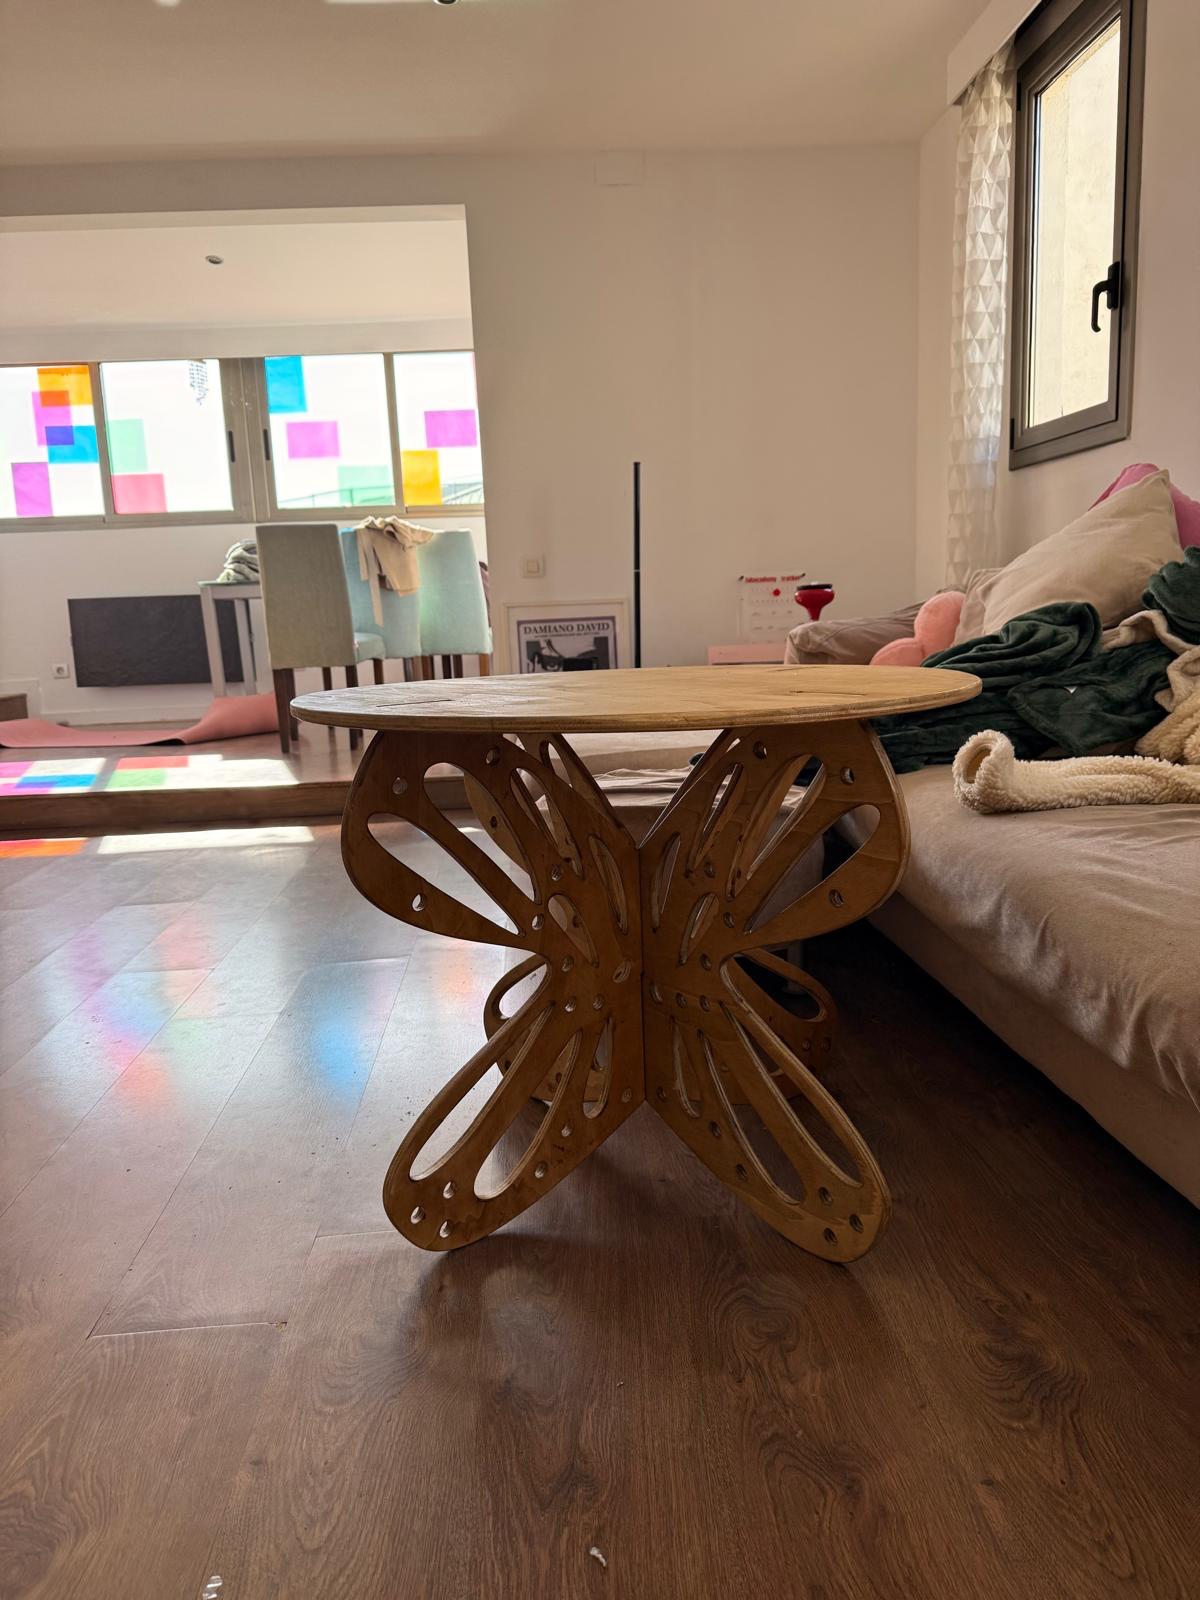
here is the final table in my living room (sorry about the mess)
cutting file
Personal Reflection.
I enjoyed making the butterfly table & use it quite regularly at my home. I made some errors like using 2 different varnishes, not using the whole material available & using the wrong machine settings during g-code preparation.
I accepted the slightly heterochromatic table for what it is, though I hope to use waterproof varnish to access it for outdoor use next time too. The varnish is much thicker & the application time is longer.
The sanding was very therapeutic & may have led to some over sanding & uneven edges. Gabriel helped me find the right G-code in RhinoCam & with the whole process. Thank you.
group assignment
here is the link to the group assignment page Group Assignment week 7
Reflection
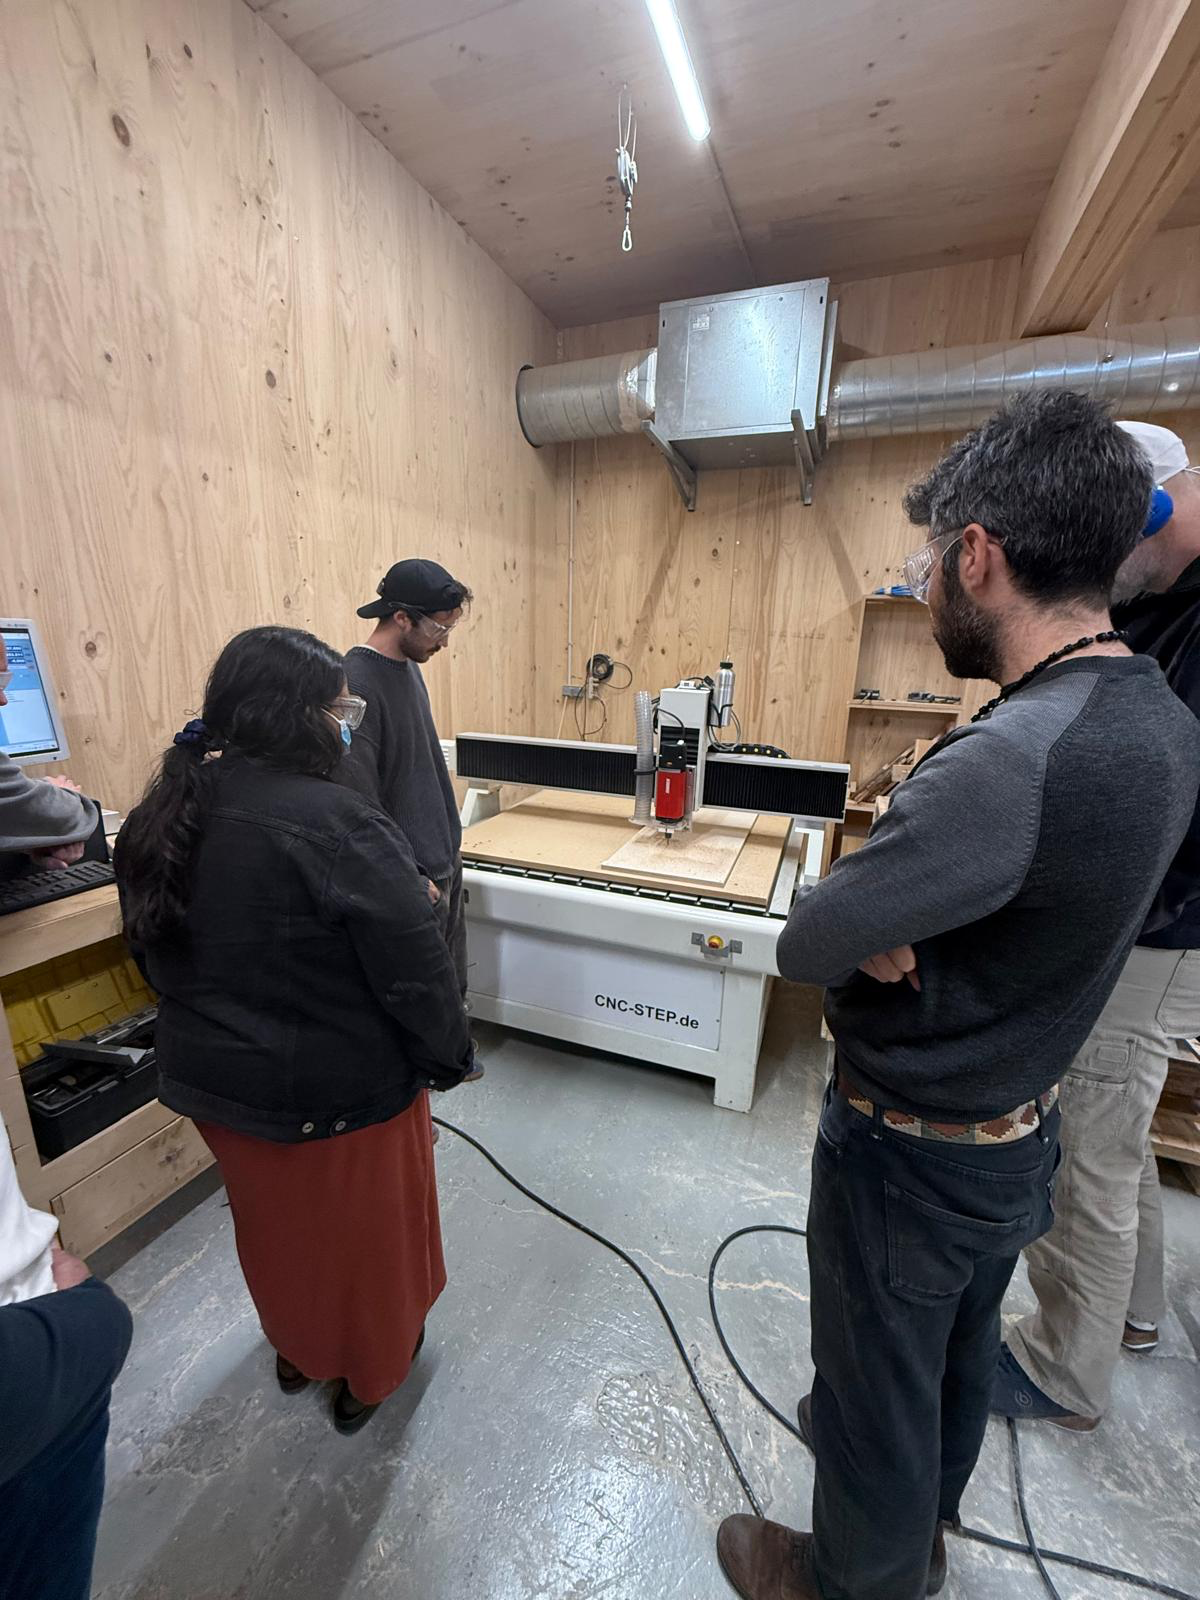
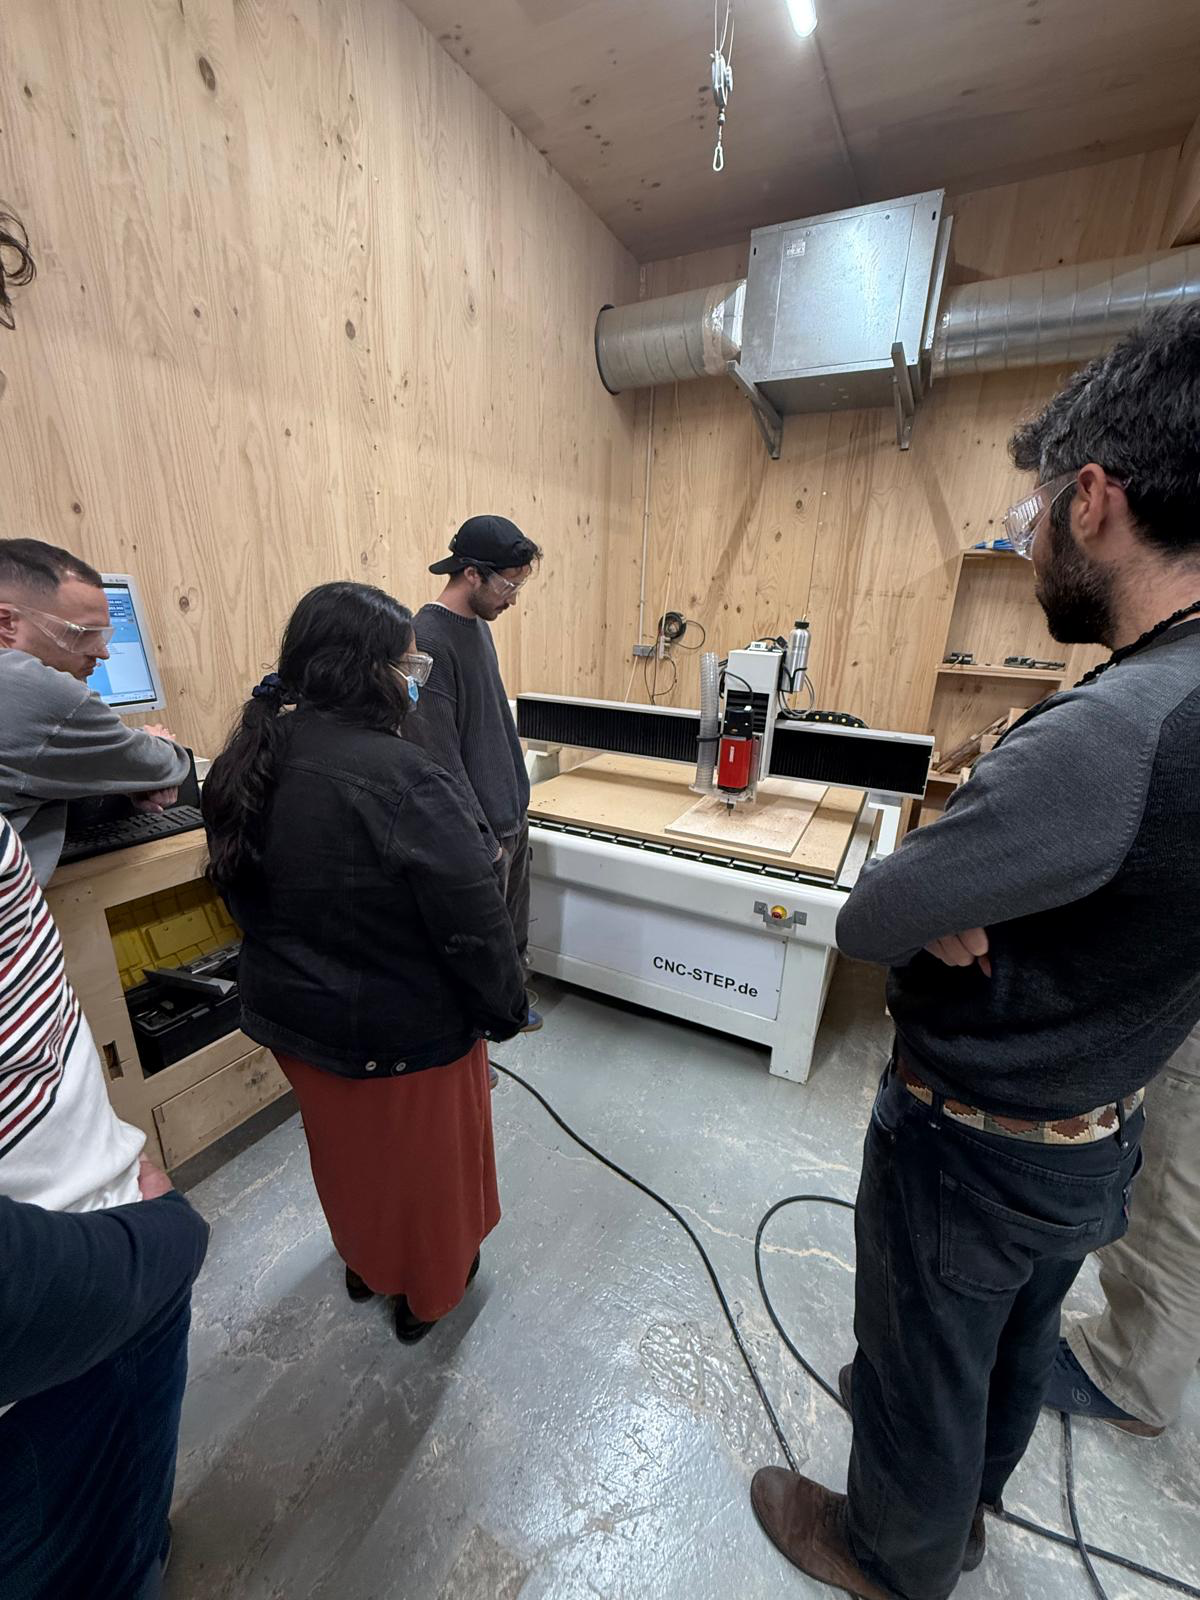
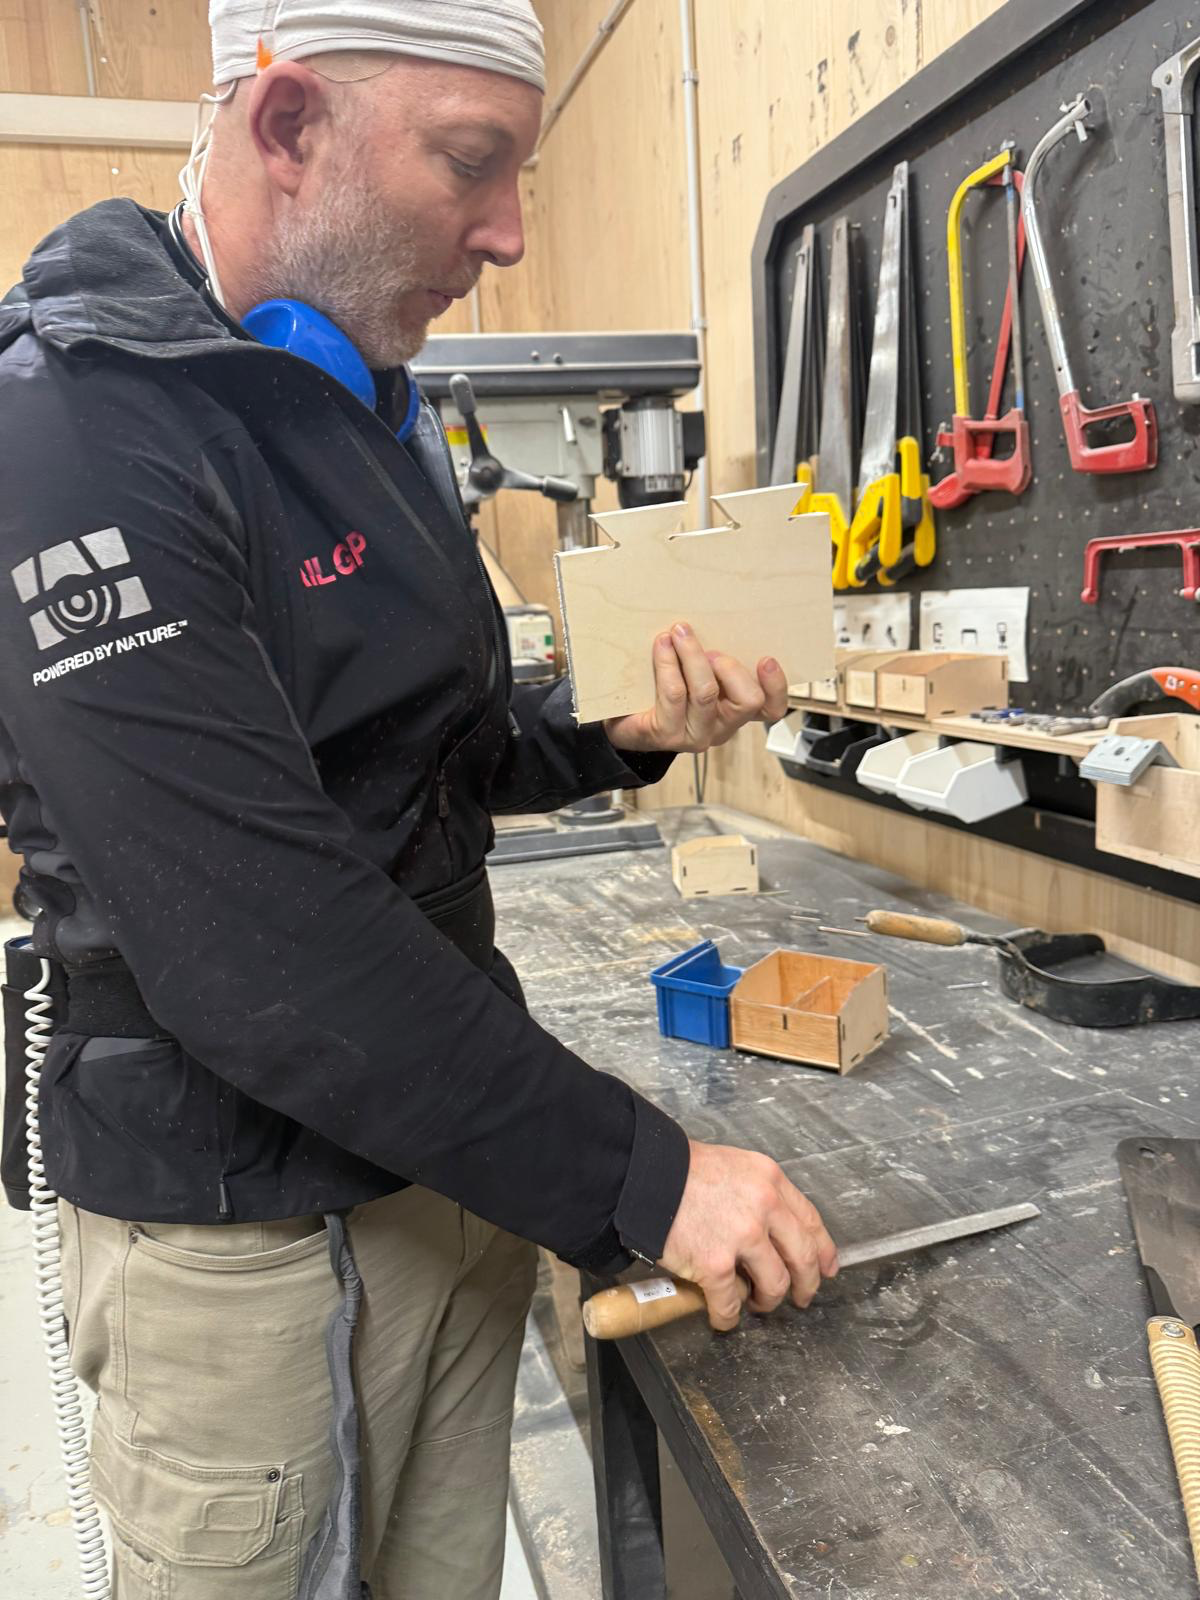
This week we visited the CNC’s. CNC stands for computer numerical control & can refer to a wide range of machines. We used the large milling machines used for wood & other materials. These machines are large & demanding of some safety measures.
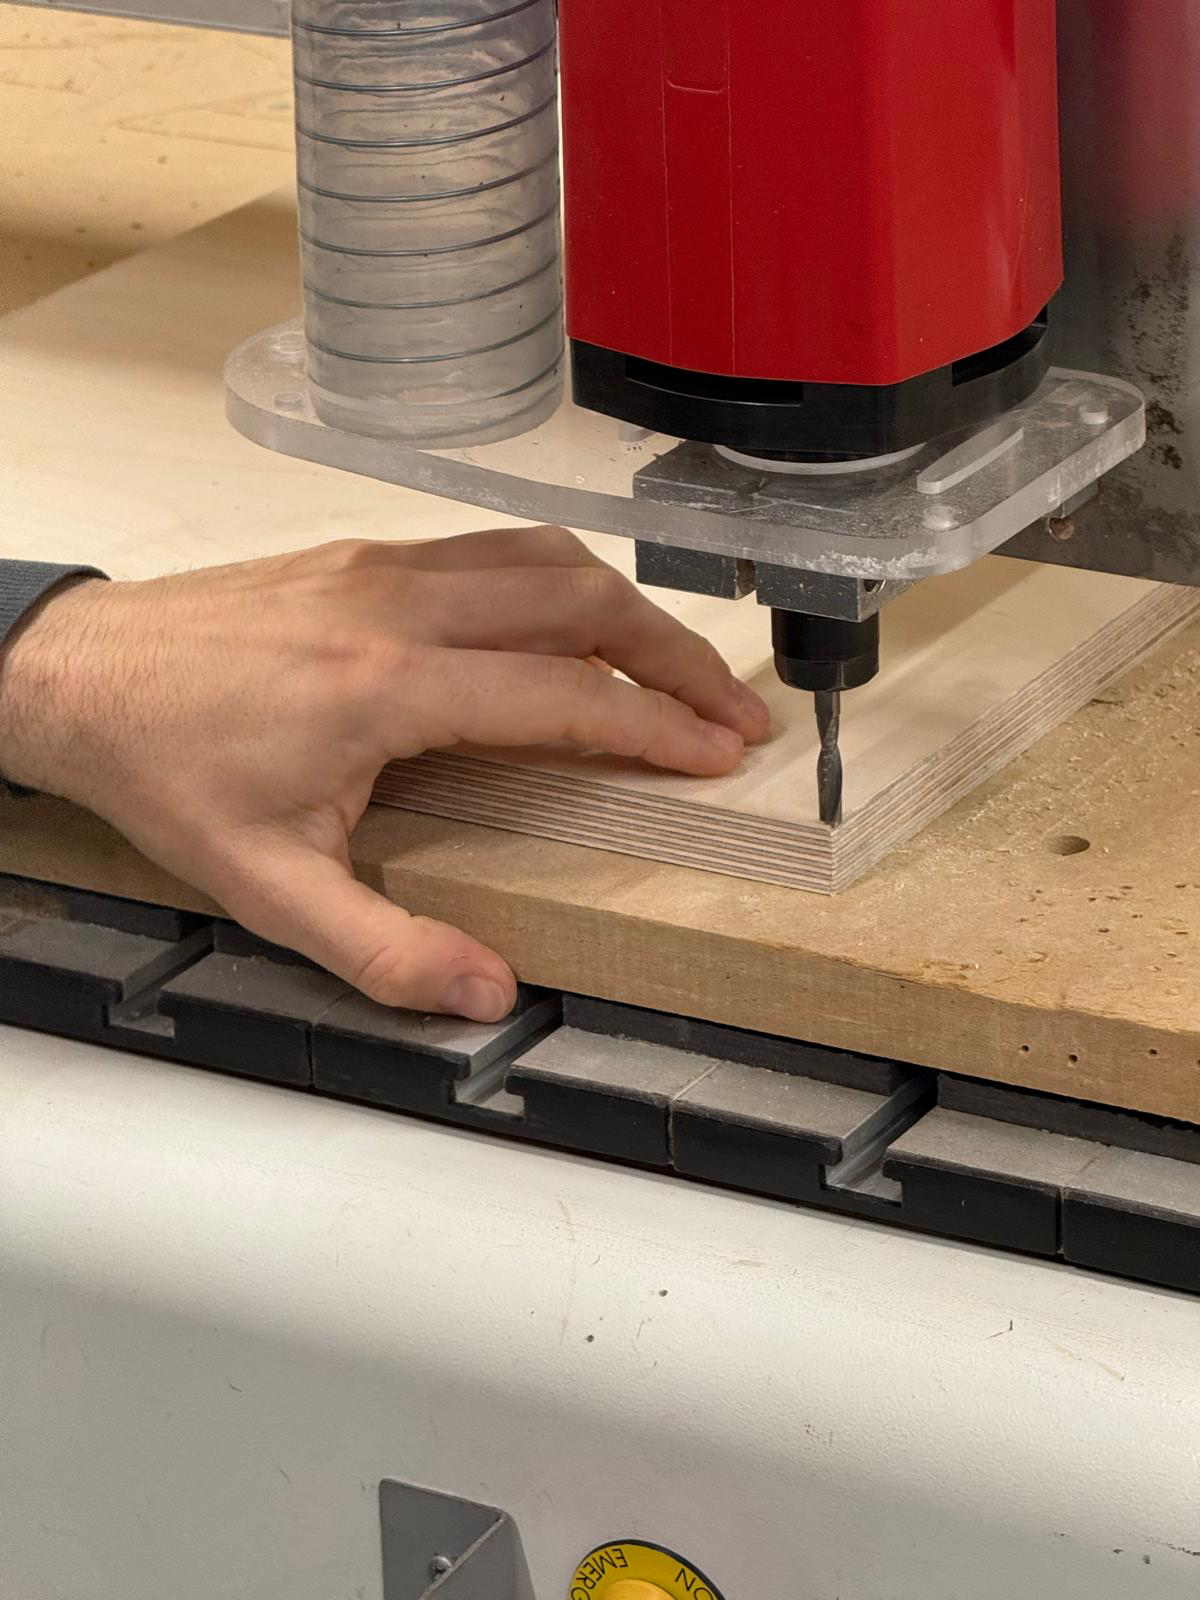
It is suggested to wear eye-wear & ear covering while in the woodworking lab. Be aware of your surroundings and the machines & materials of others in the lab. Wearing a facemask can also be good to avoid breathing in sawdust, especially for those with breathing difficulties. Every machine has a big red button for emergency stop. The material needs to be flat on the bed. The mill bit should be inserted properly by holding one side & twisting the other with a spanner & a turner bit. Set X & Y origin & set Z by moving 1 mm at a time. When changing tools in the same process, only reset the origin of the Z axis. Change tools close to bed and avoid letting the mill bit roll off & break. They are not cheap. Make sure the toolpath does not interact with the screws used to hold the material to the bed. It will damage the bit. Cut holes first. Keep the material stable, pause & add screws if the material moves a lot. When designing, avoid overhangs & account for the rounded tool & the distance of material removed from the tool center point (the radius of the mill-bit) by adding fillets & dog bones.
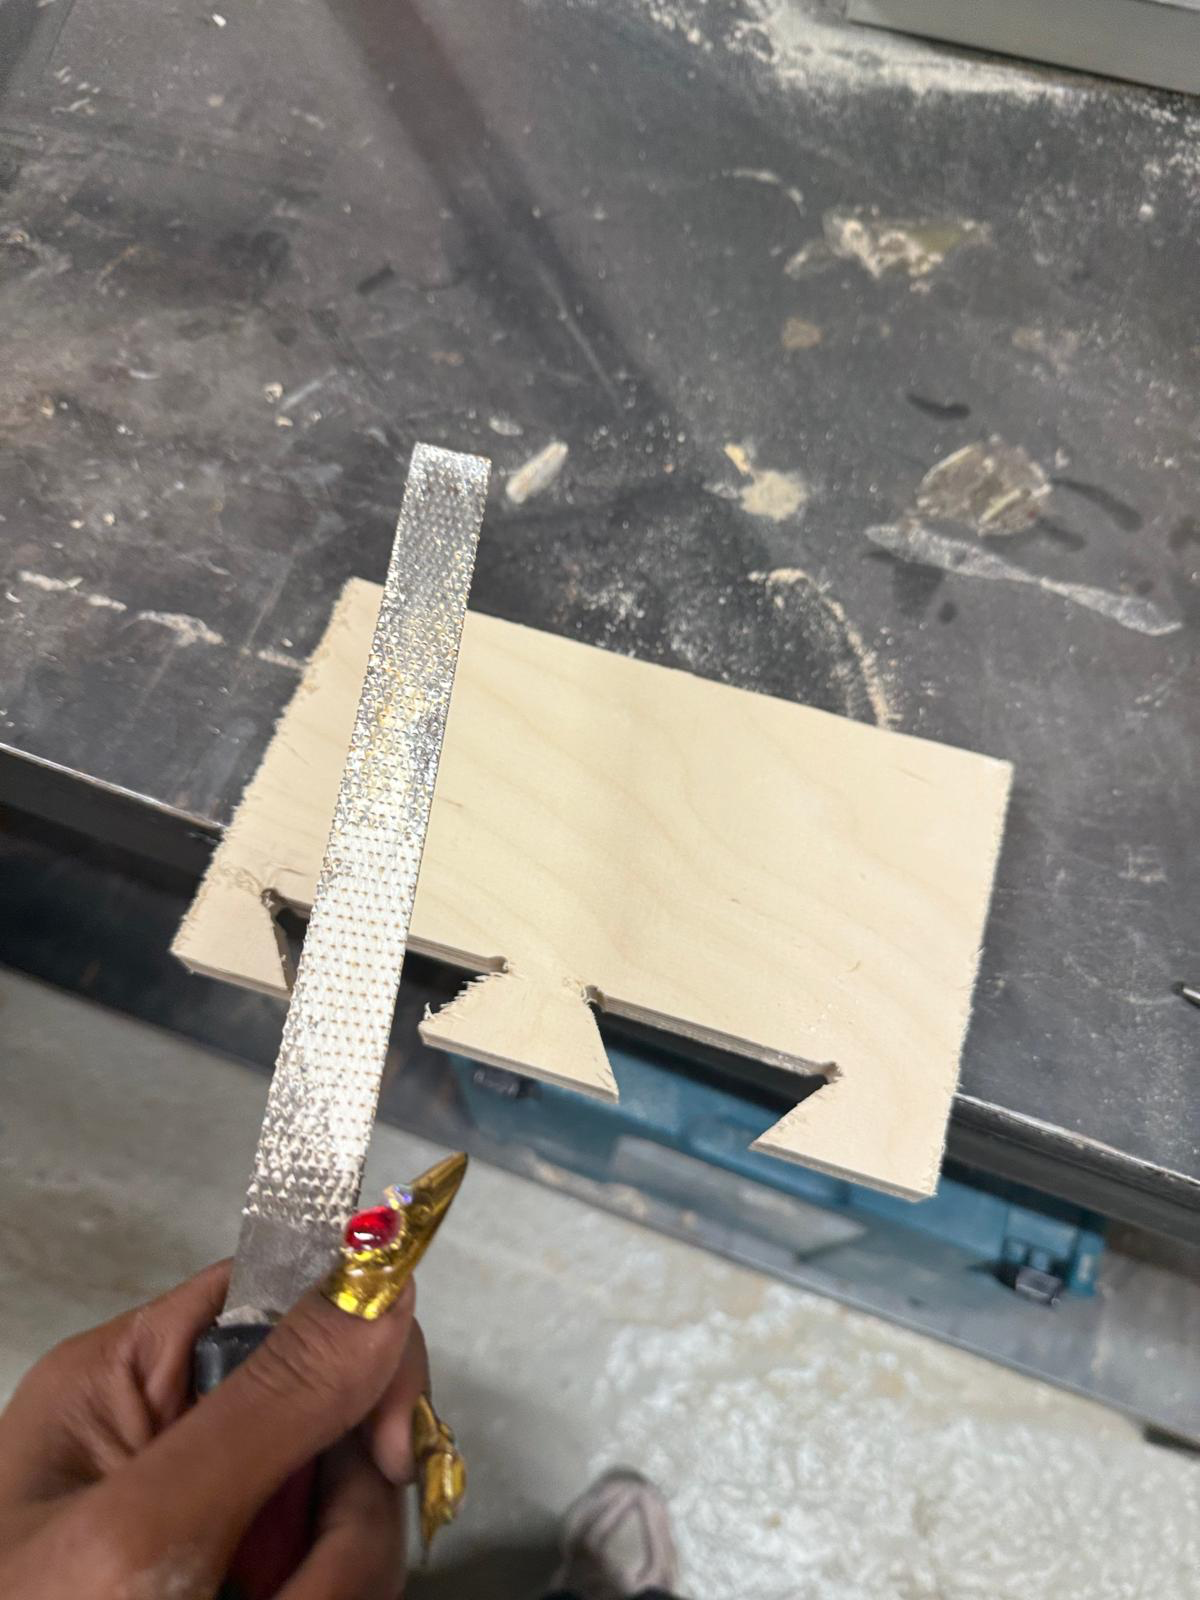
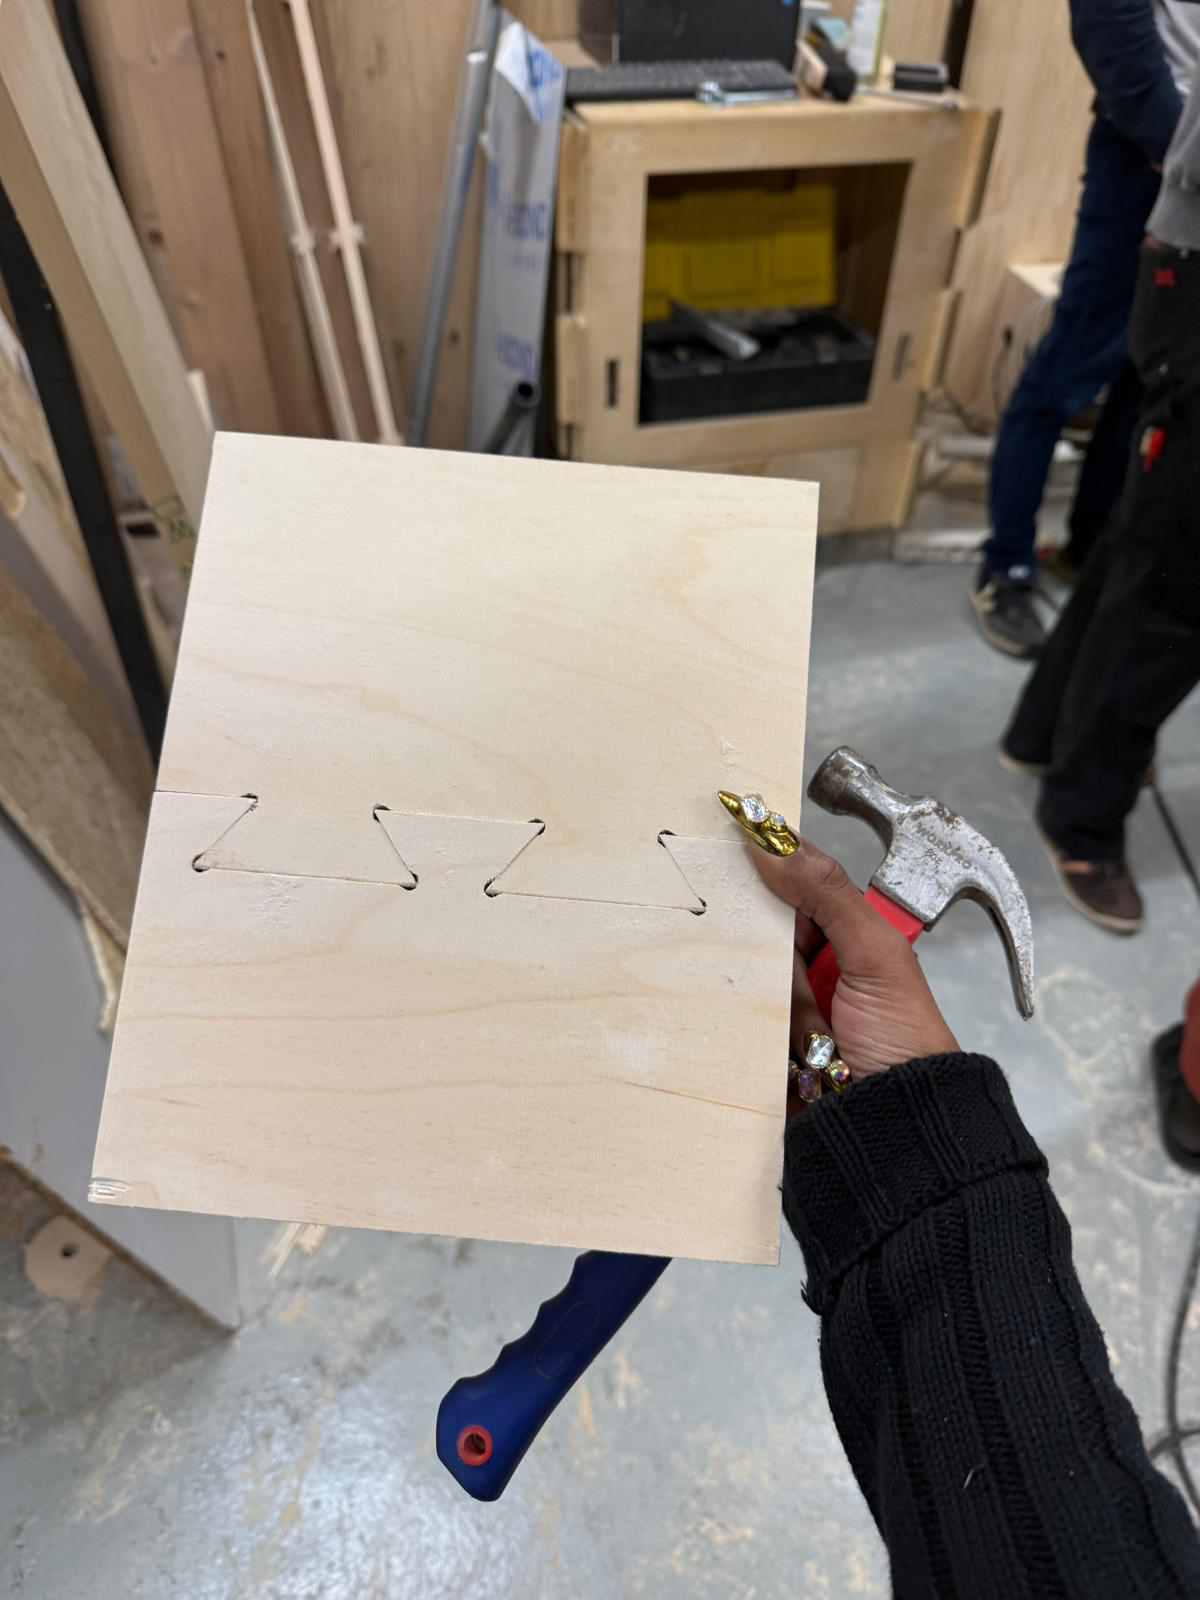
As a group we cut 2 pieces to fit them together with a tight fit. I helped design the dovetail joint test piece on Rhino. I also helped remove the cut parts from the base & join them together as a group, place the material on the bed, add the mill bit & use the machine. I also included the rhino file & a link to the group page.
cutting file
notes