Individual assignment
This week, we got into casting & moulding, and the various ways in which we could achieve this.
The process typically consists of the positive mold - a replication of the desired result or the object itself with an enclosure to pour material, the mould is made by casting it into the positive. Now we have an empty space to pour the desired material for creating the final pieces.
It’s important that the 3 materials for the positive - mould - cast are:
hard - soft - hard
or
soft - hard - soft
the alternation is important so that the cast material is easily removed from its mould. This is important for repeatability & reusability. Some soft materials disappear or get fully damaged after a single use. They are called sacrificial moulds. Like when casting metal with lost wax, sand, etc.
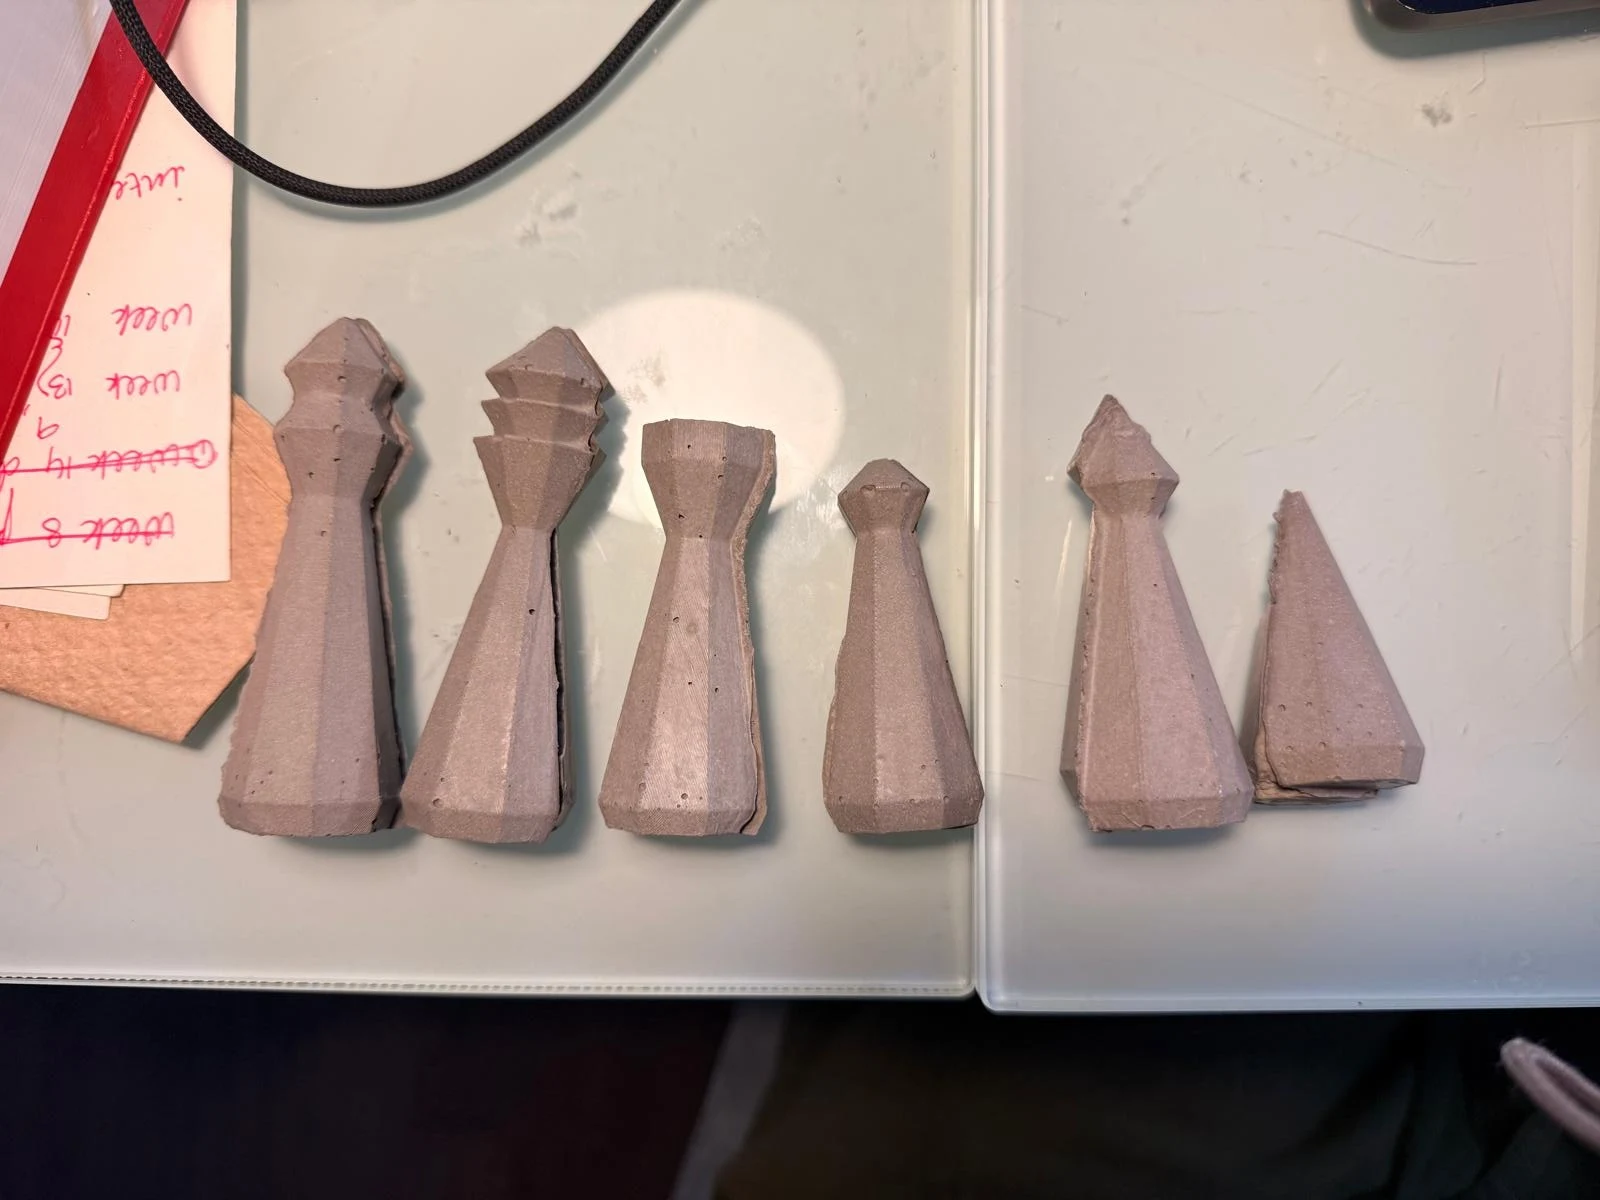
I decided to make all the pieces from a chess set. A chess set has 32 pieces total. 16 black & 16 white. 16 of them are pawns, 2 kings, 2 queens, 4 bishops, 4 rooks & 4 knights.
Chess Set Design
I designed a chess set in university so I decided to use that one.
Here is the sketch.

softwares
→ Blender
→ Rhino
→ Bambu Studio
I used 3D modeling on Blender to make the pieces.
→ Processes
→ 3D printing
→ casting & moulding
Materials
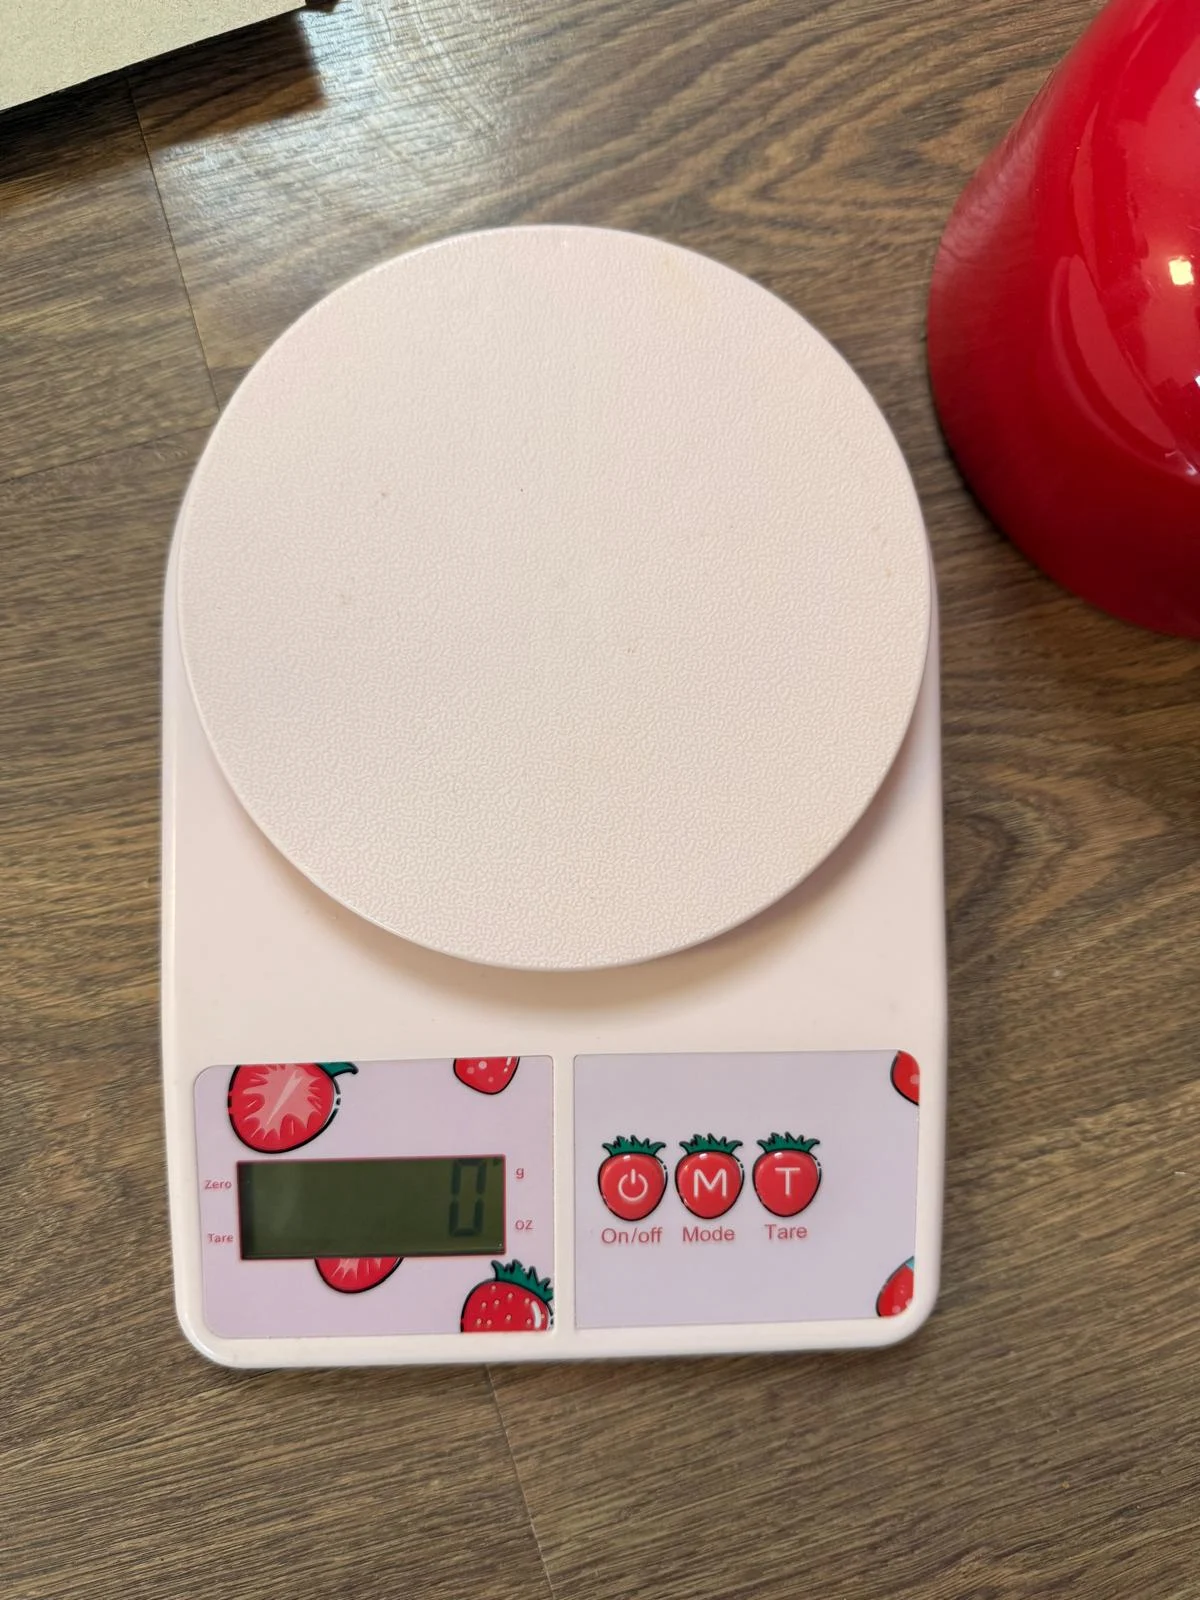
→ Metric scales
→ plastic (ABS, PETG, PLA) - positive.
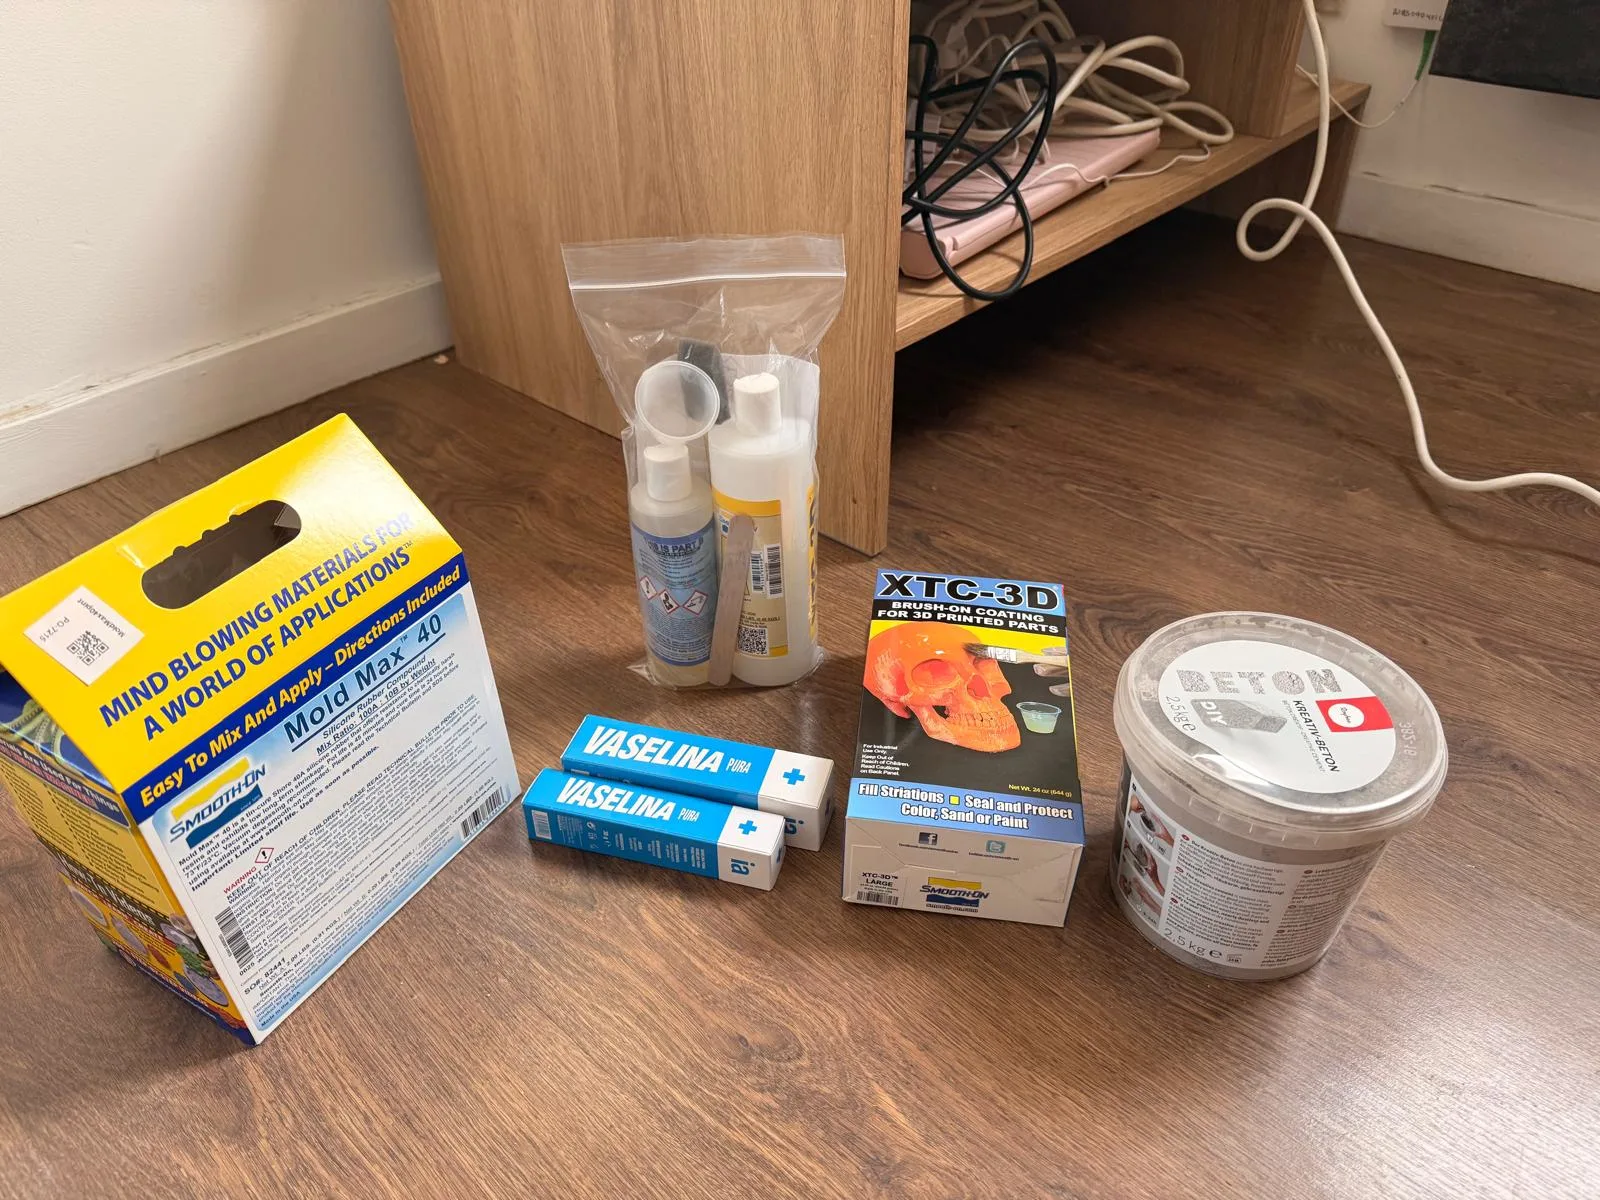
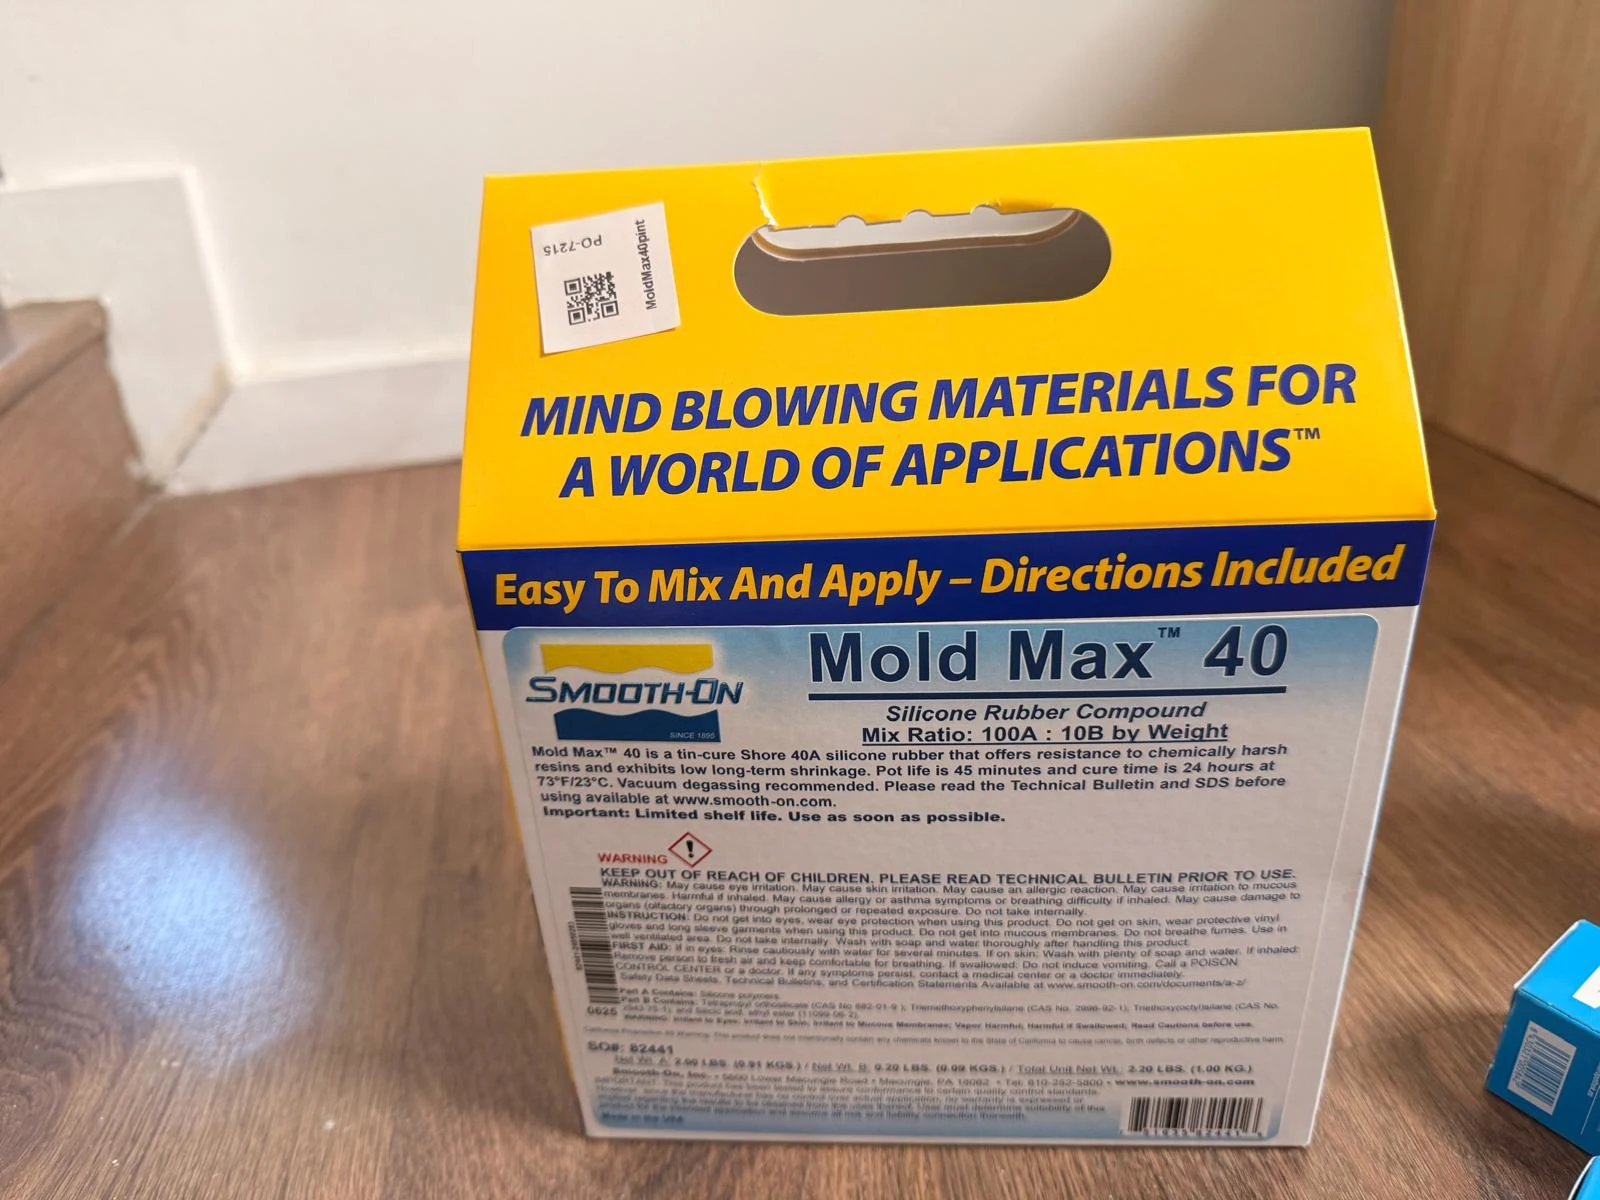
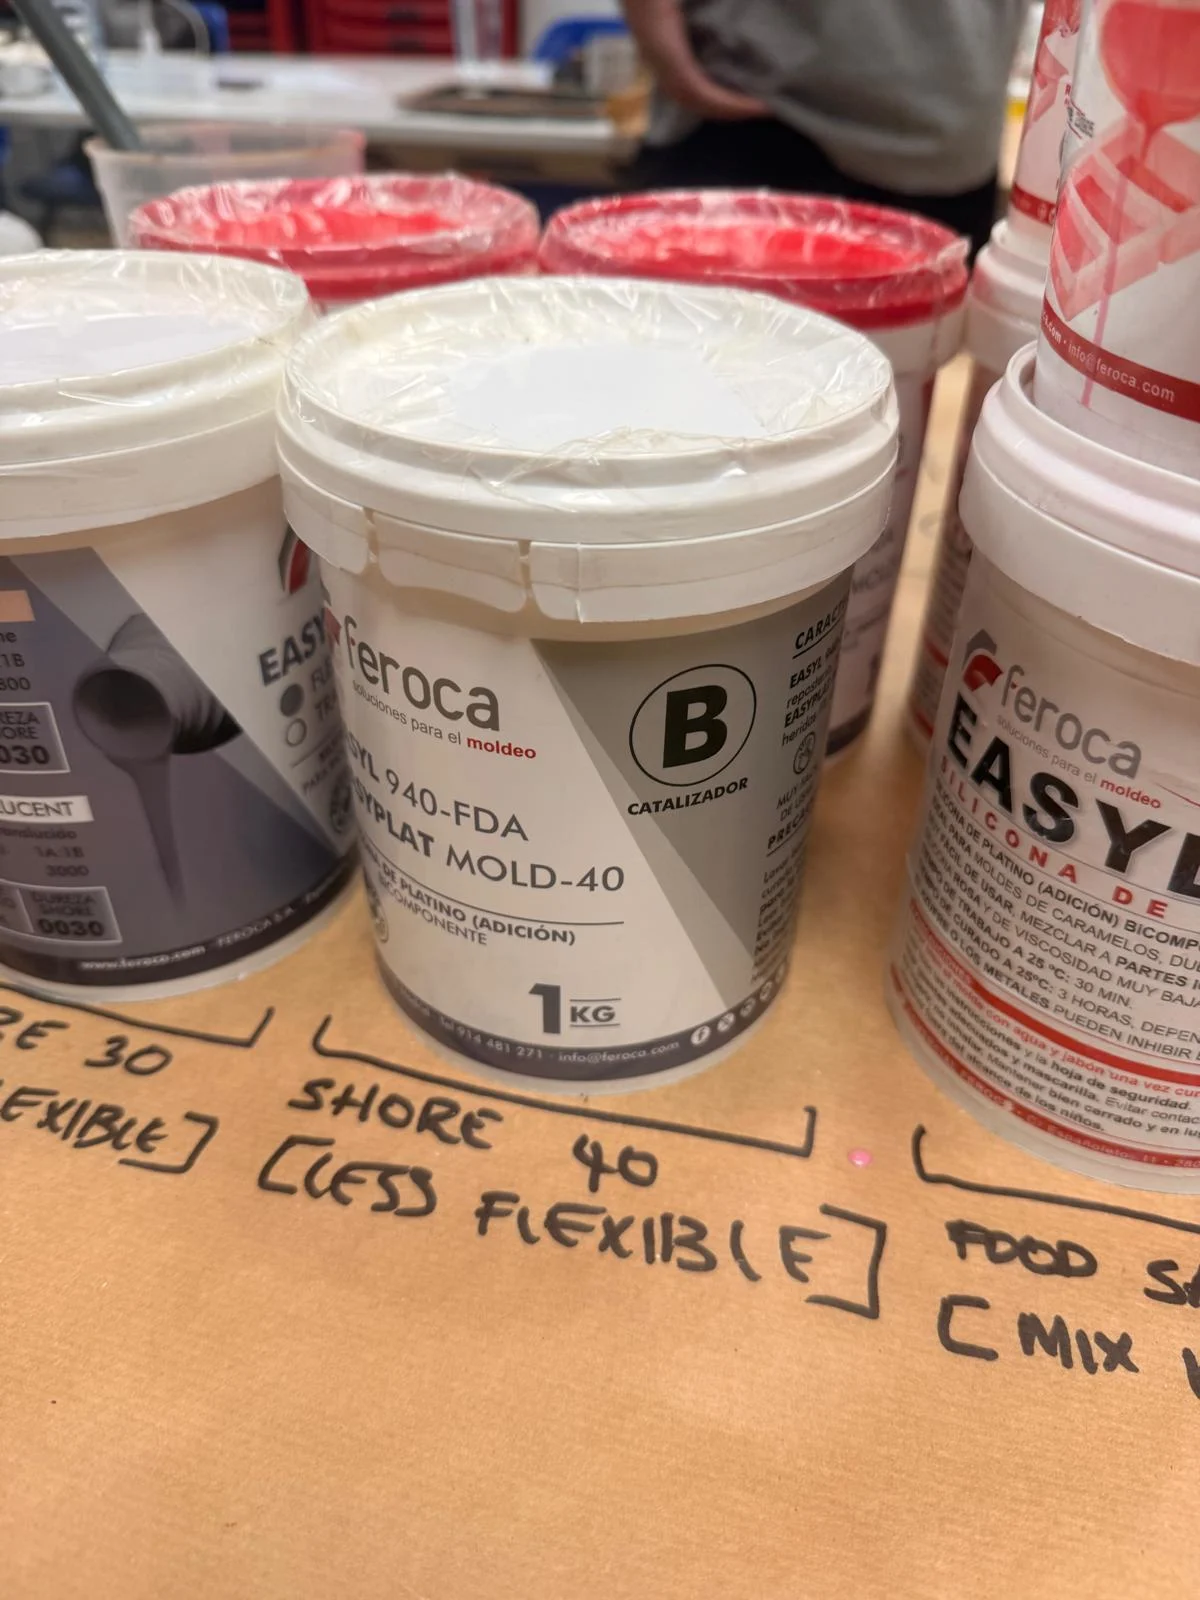
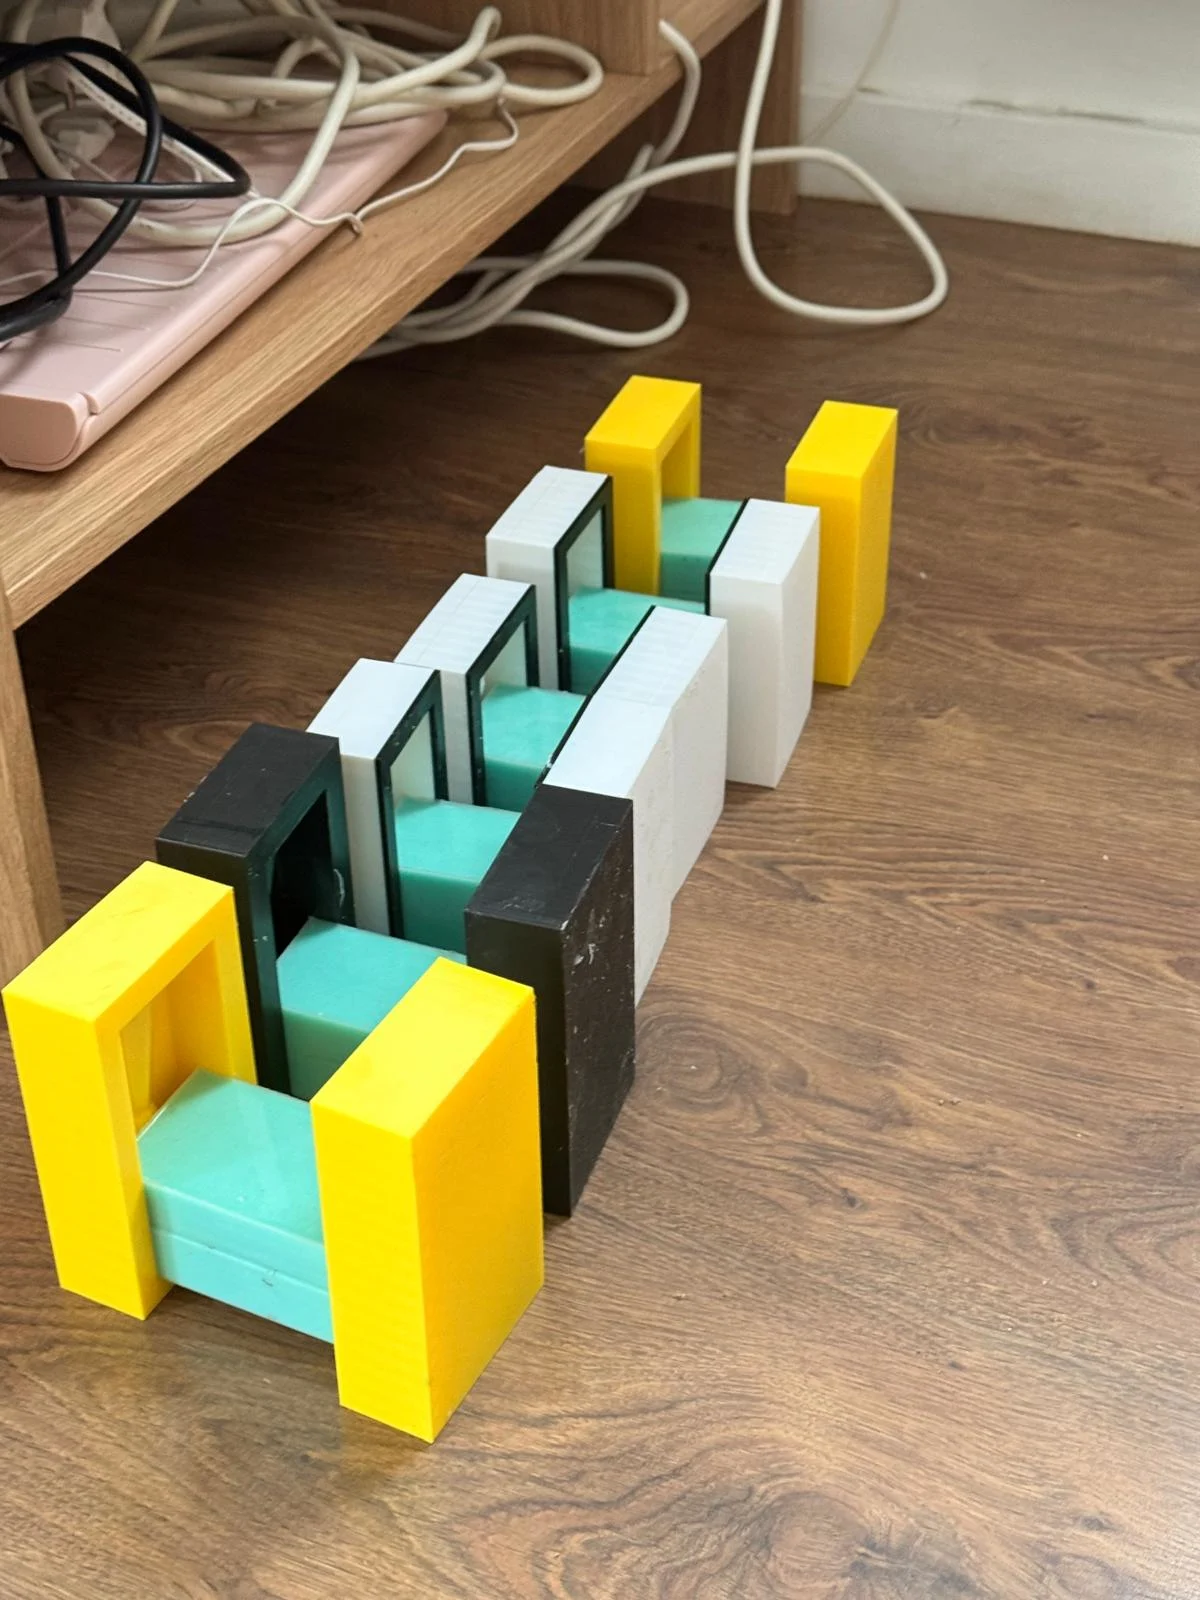
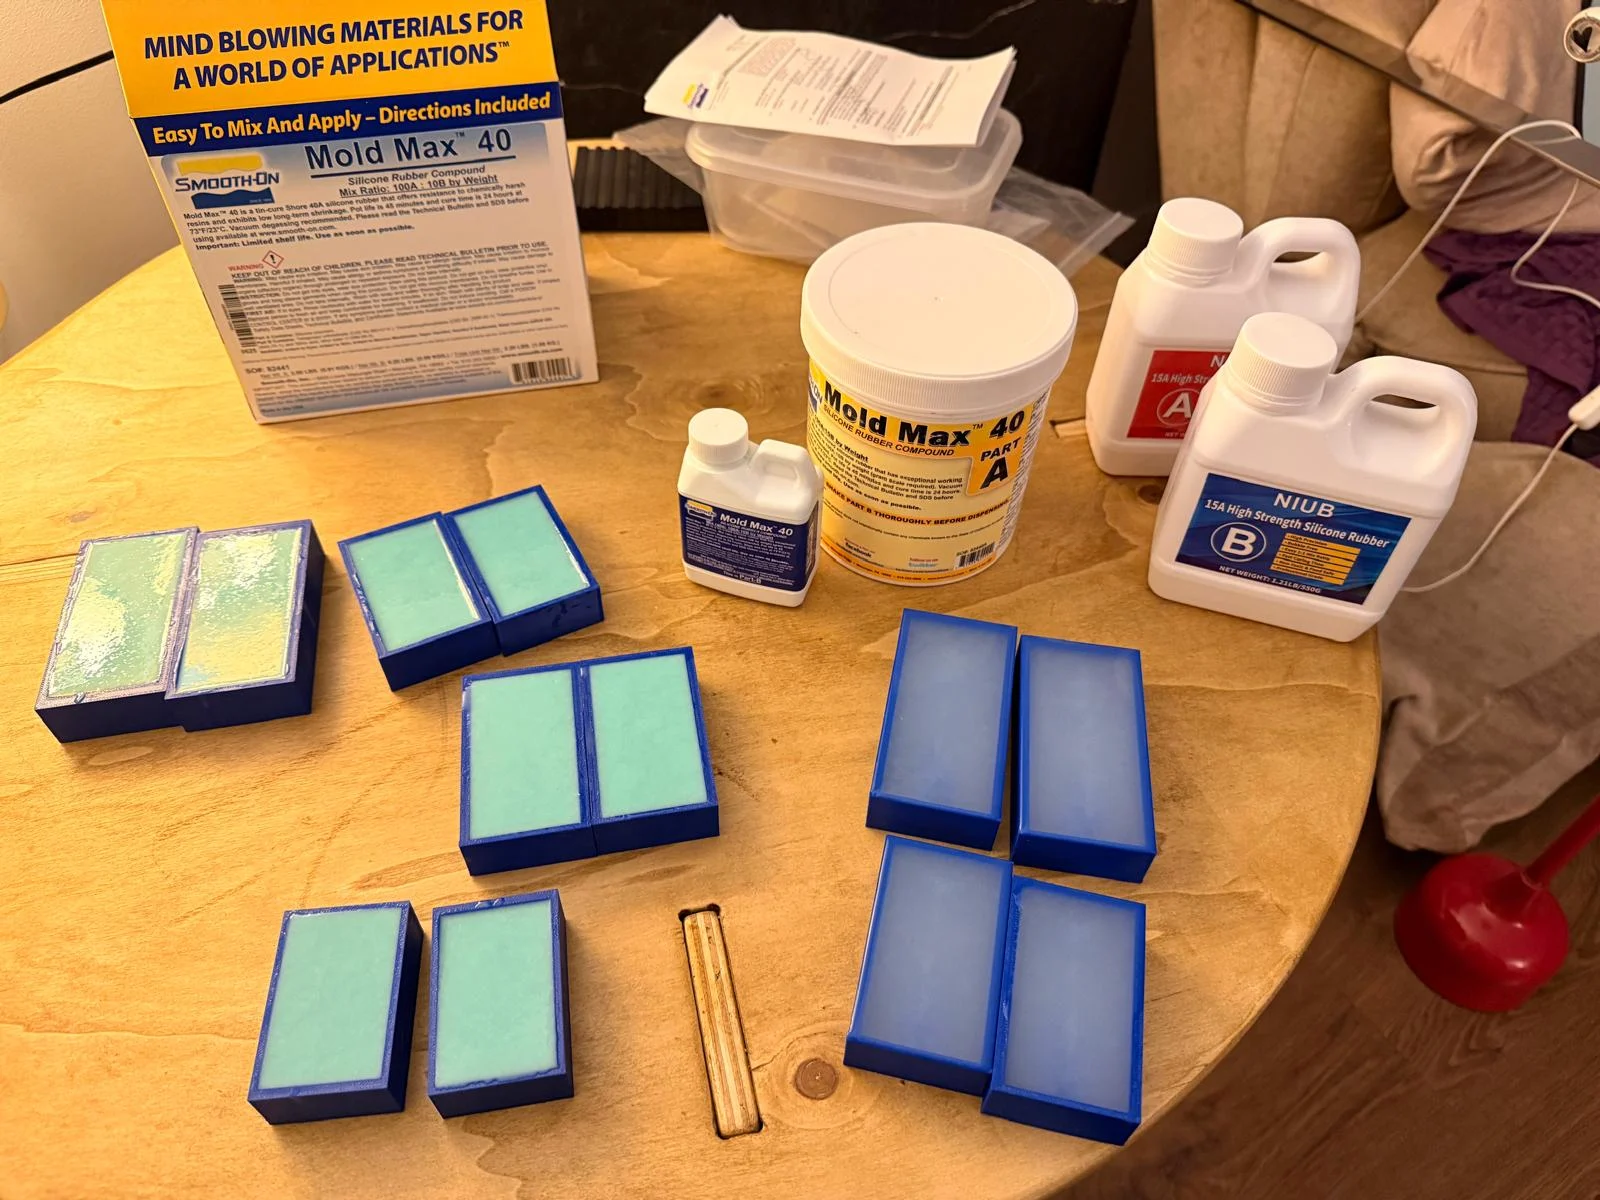
→ FD-40 Silicone - not very rigid but rigid enough to hold moulded material shape.
→ bought it from FormX in Poblenou
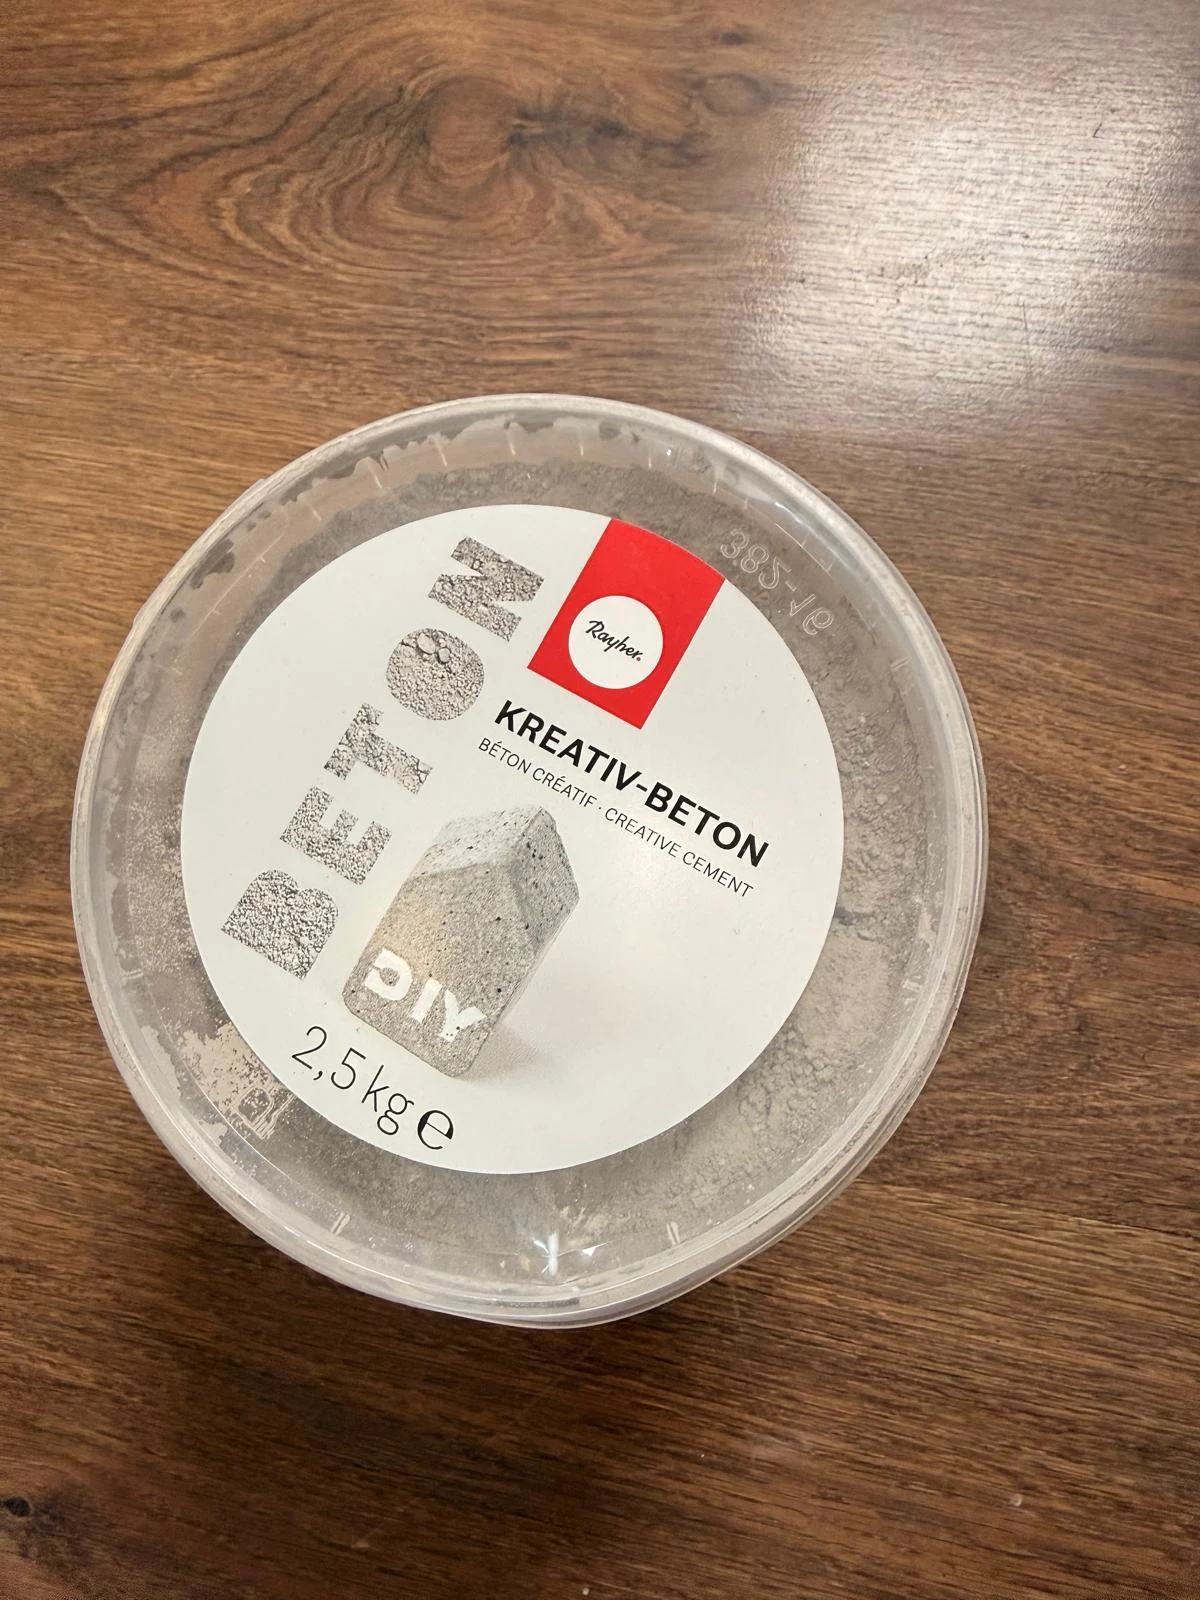
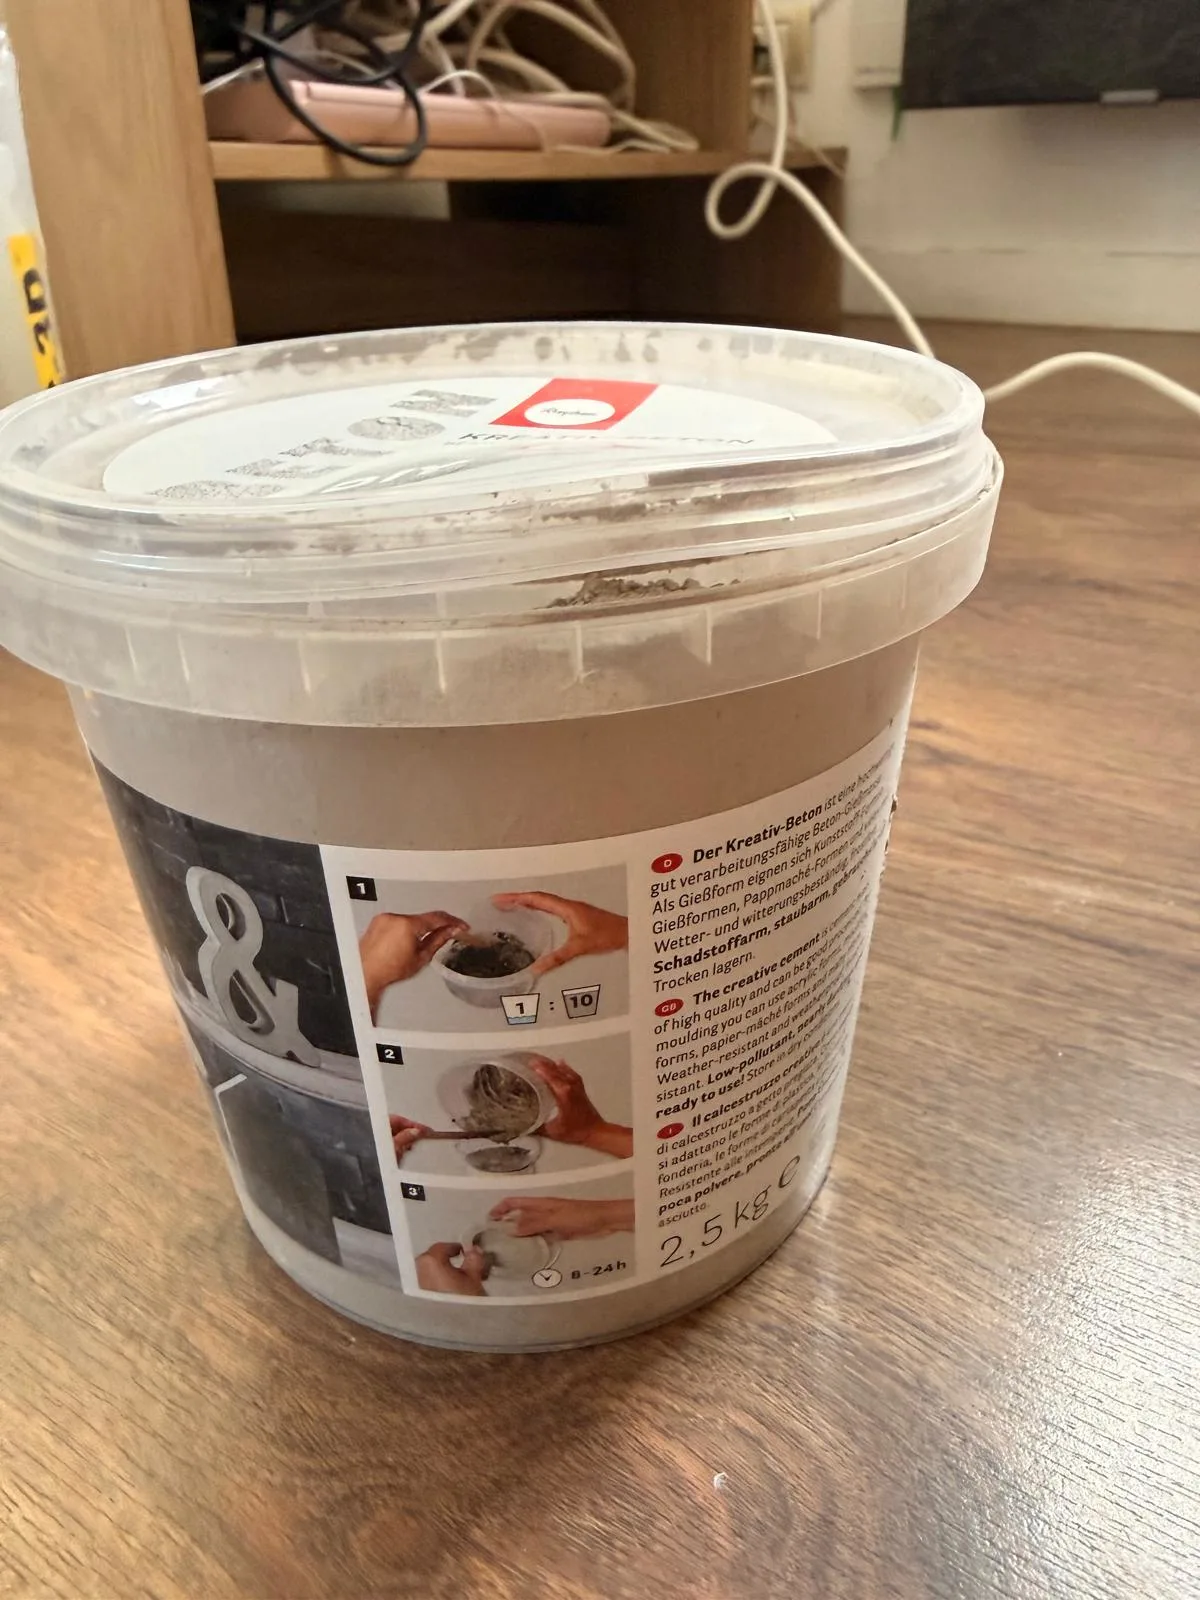
→ cast - concrete mix.
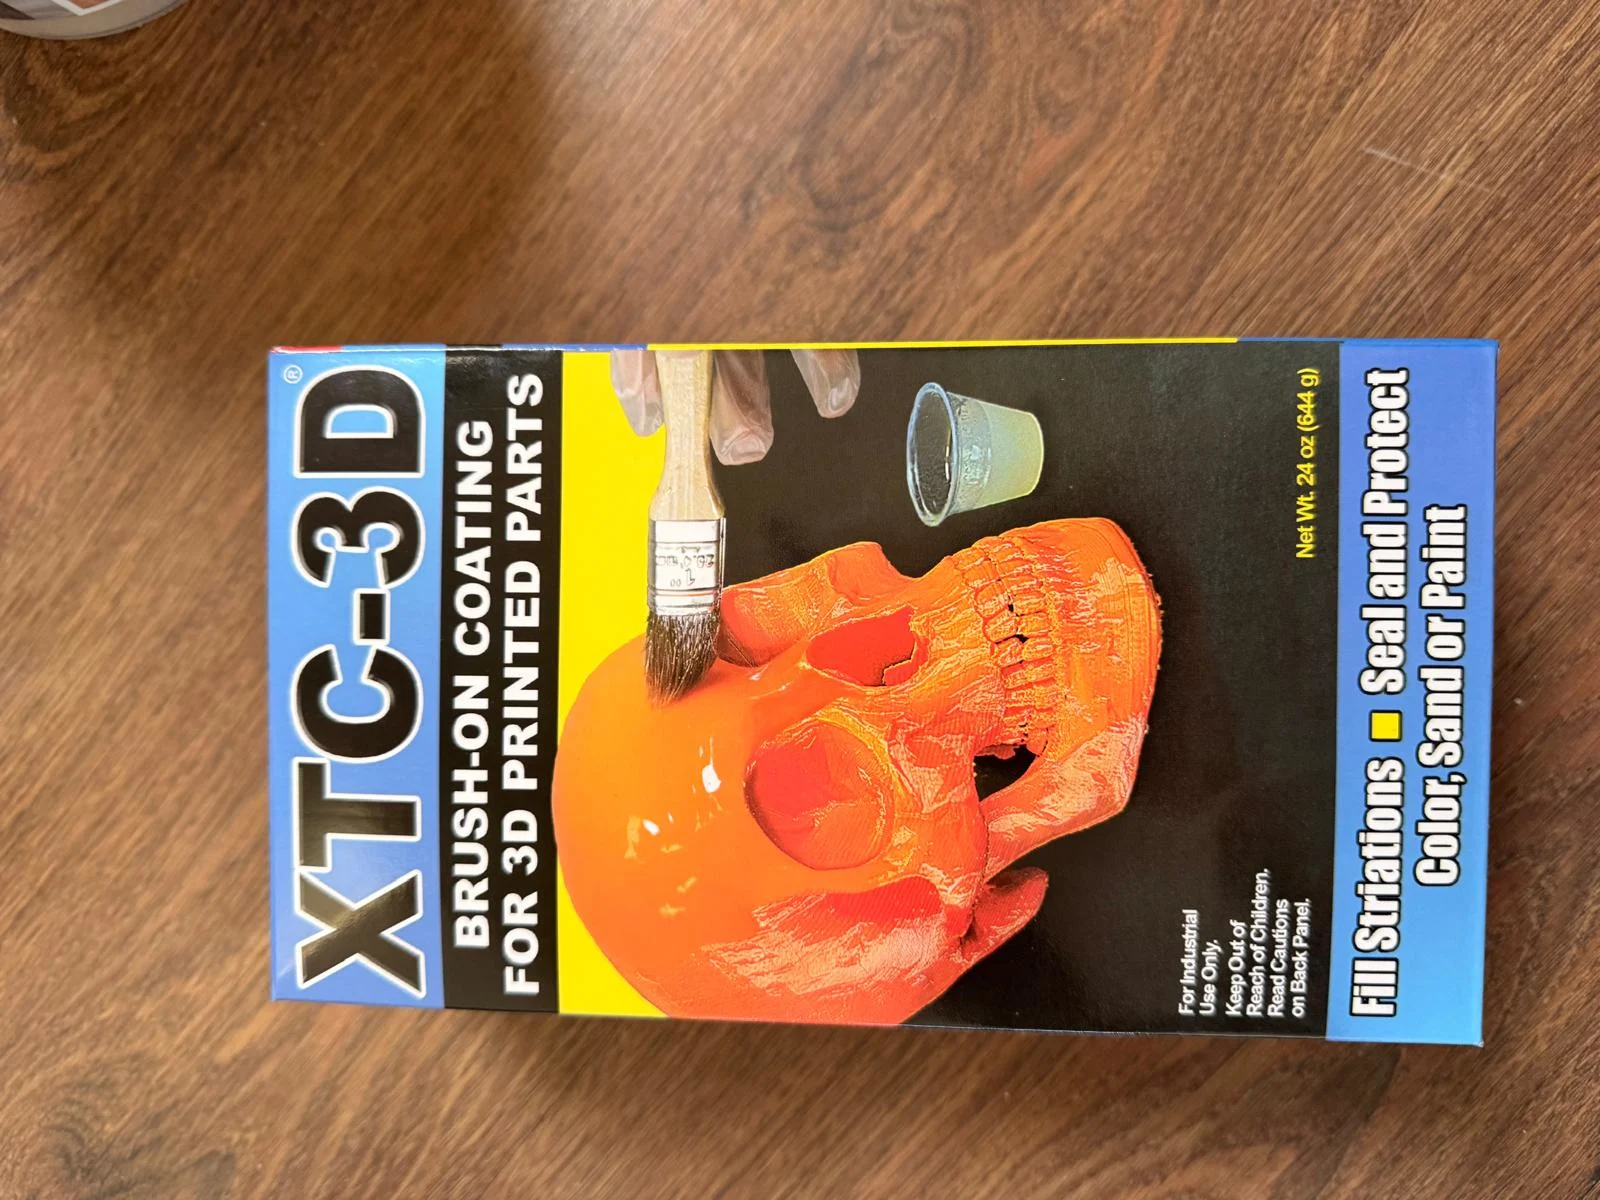
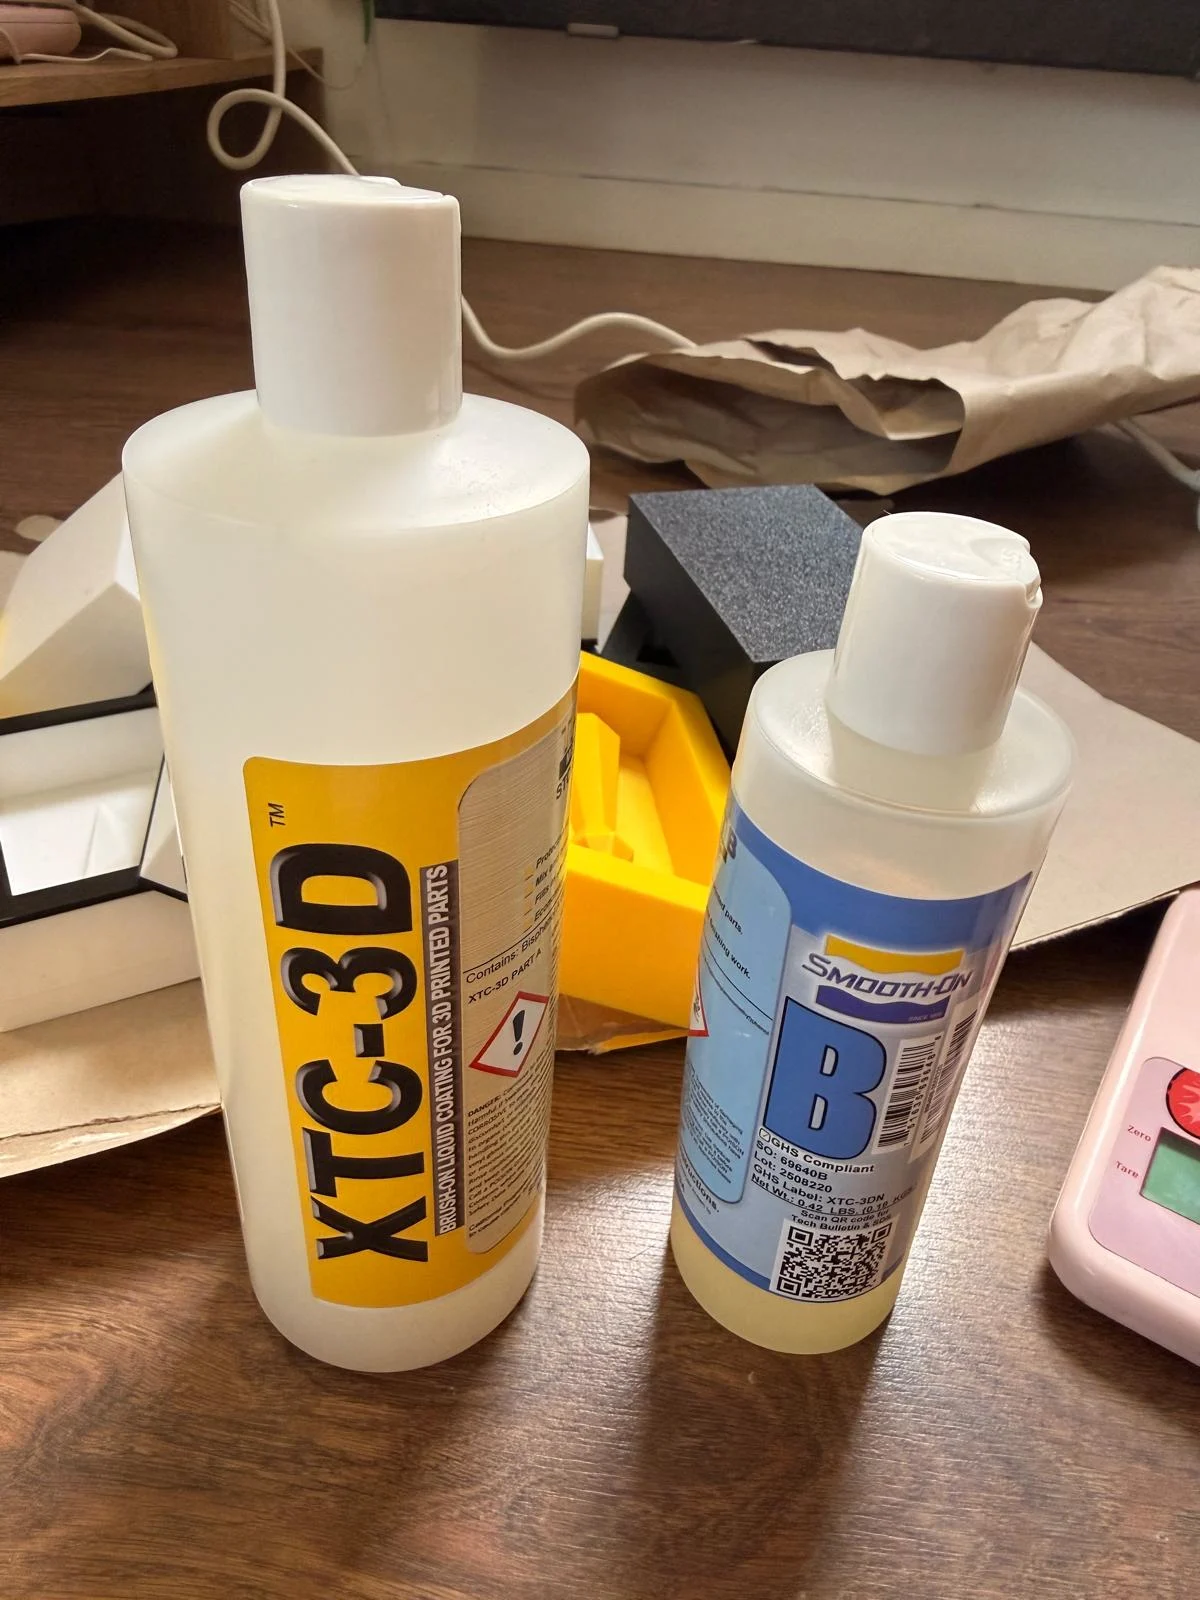
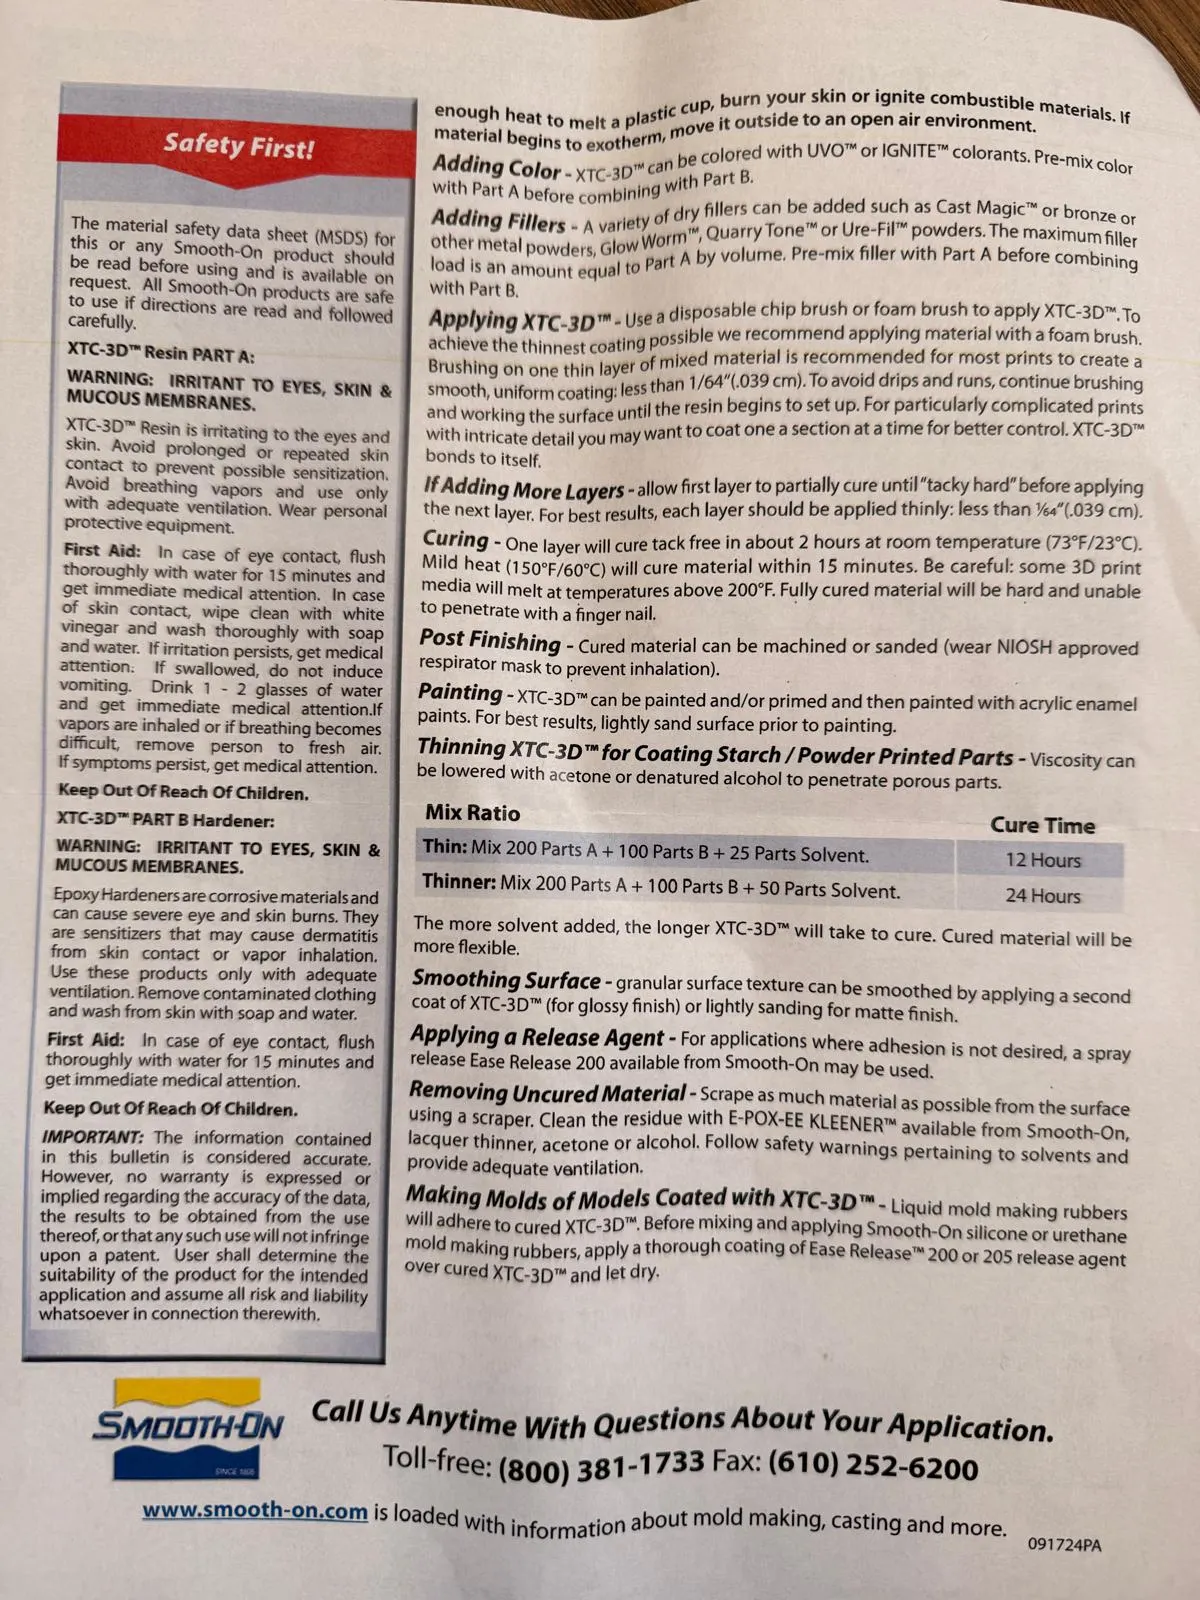
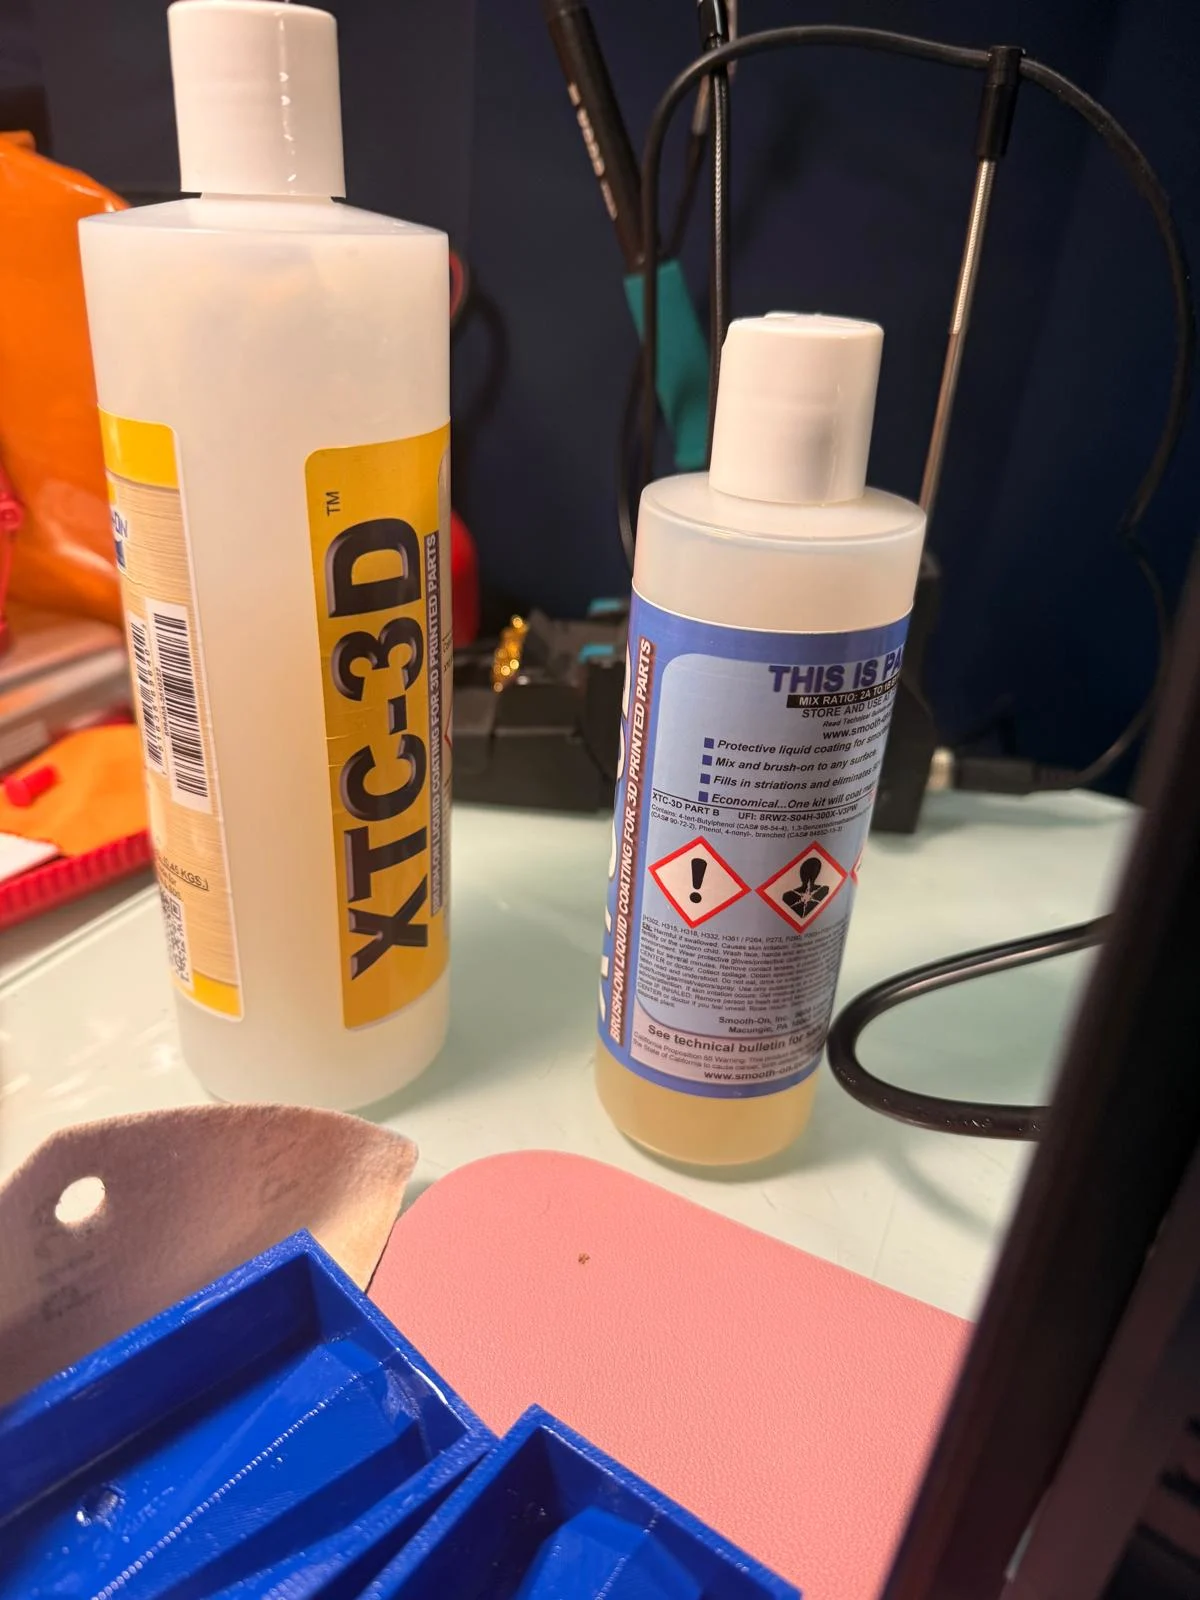
→ Resin - coating 3D print for smooth finish.
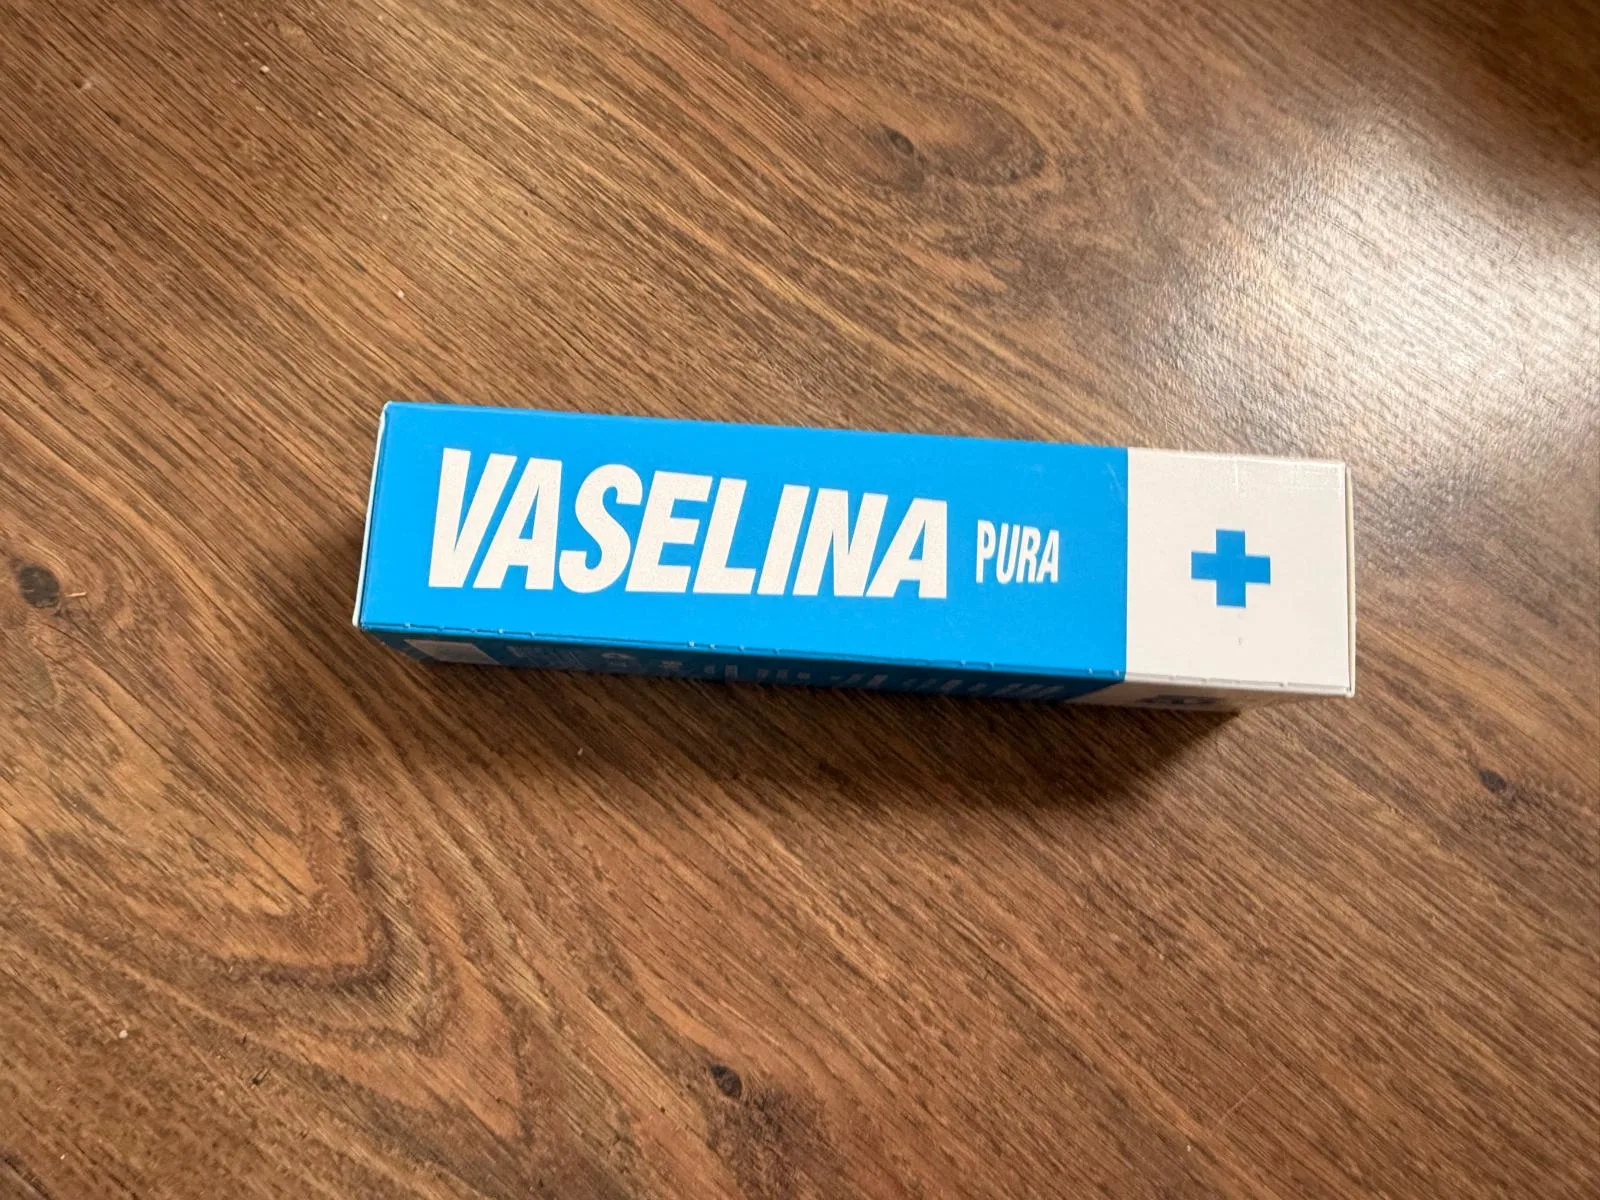
→ vaseline - release agent.
Iterations
Iteration 1
PROCESS
→ modeling the chess pieces on Blender.
Extruded & scaled faces to create the pieces from a cone.
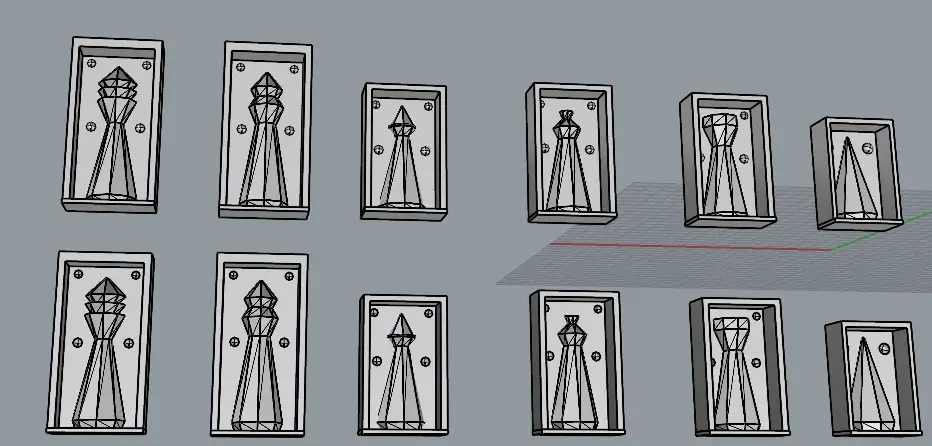
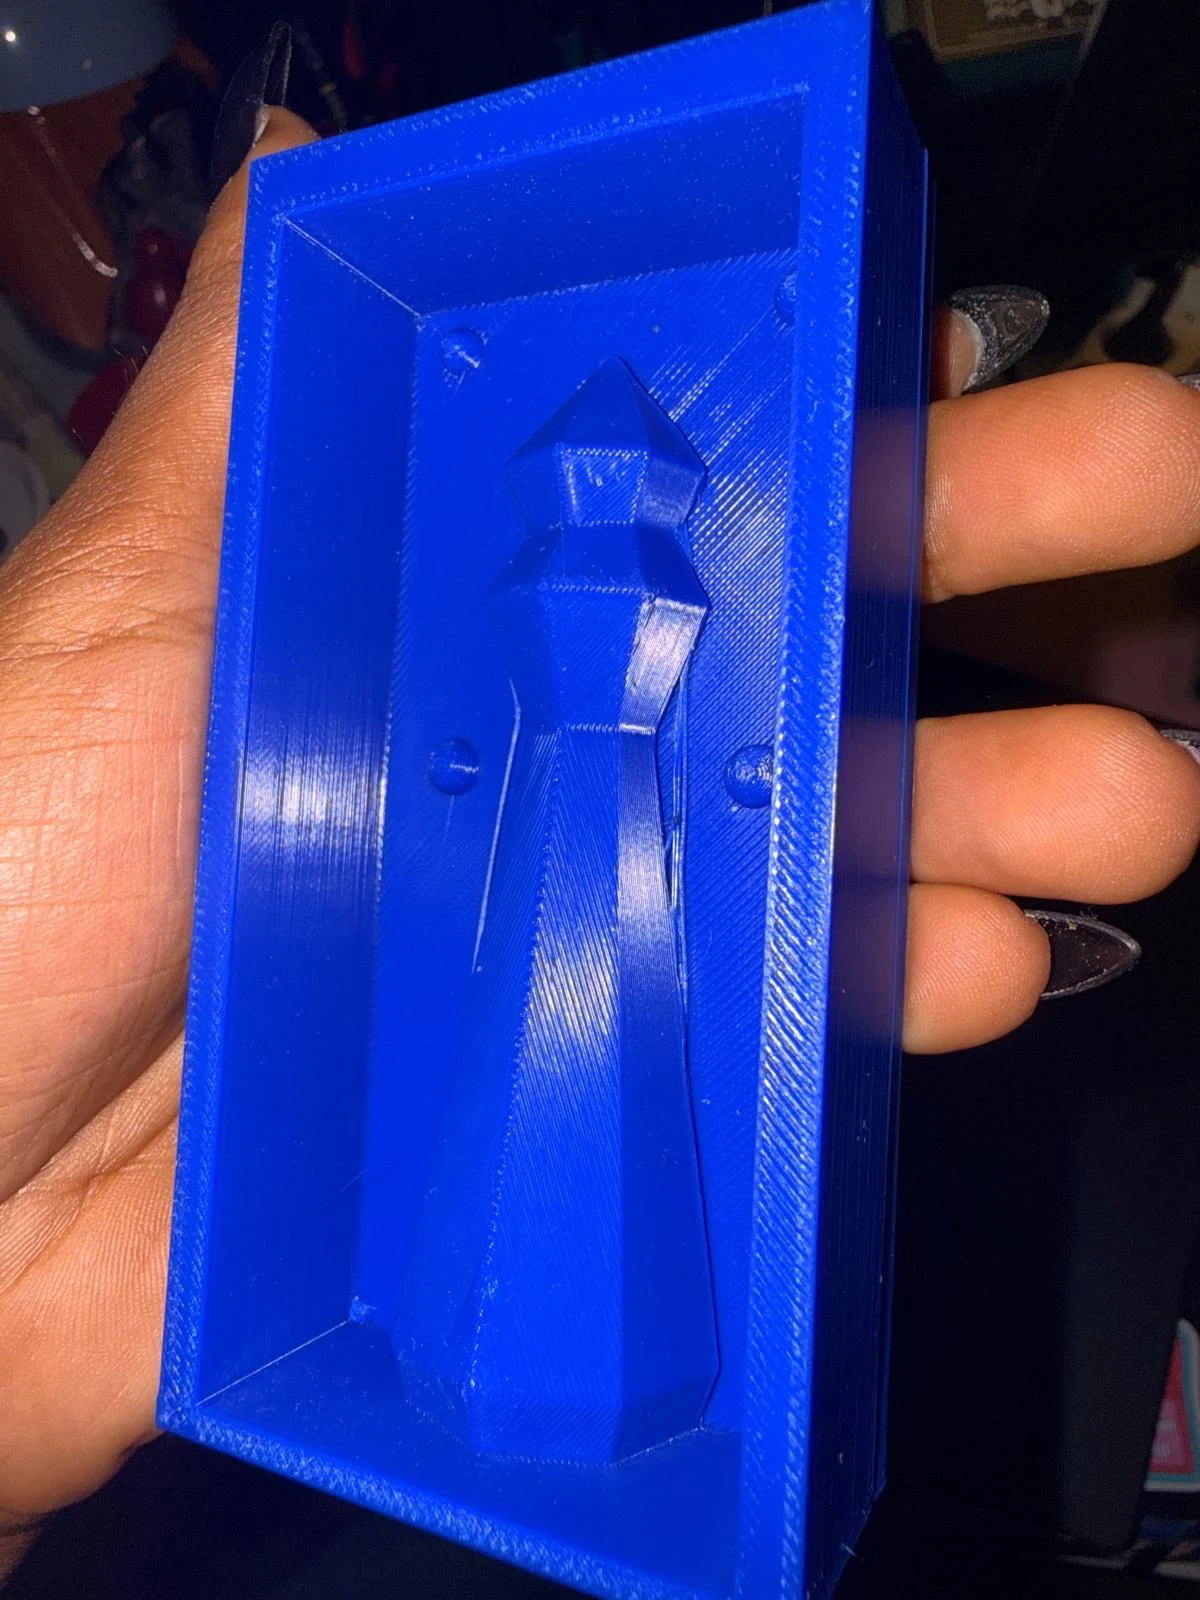
→ making the positives in Rhinoeros.
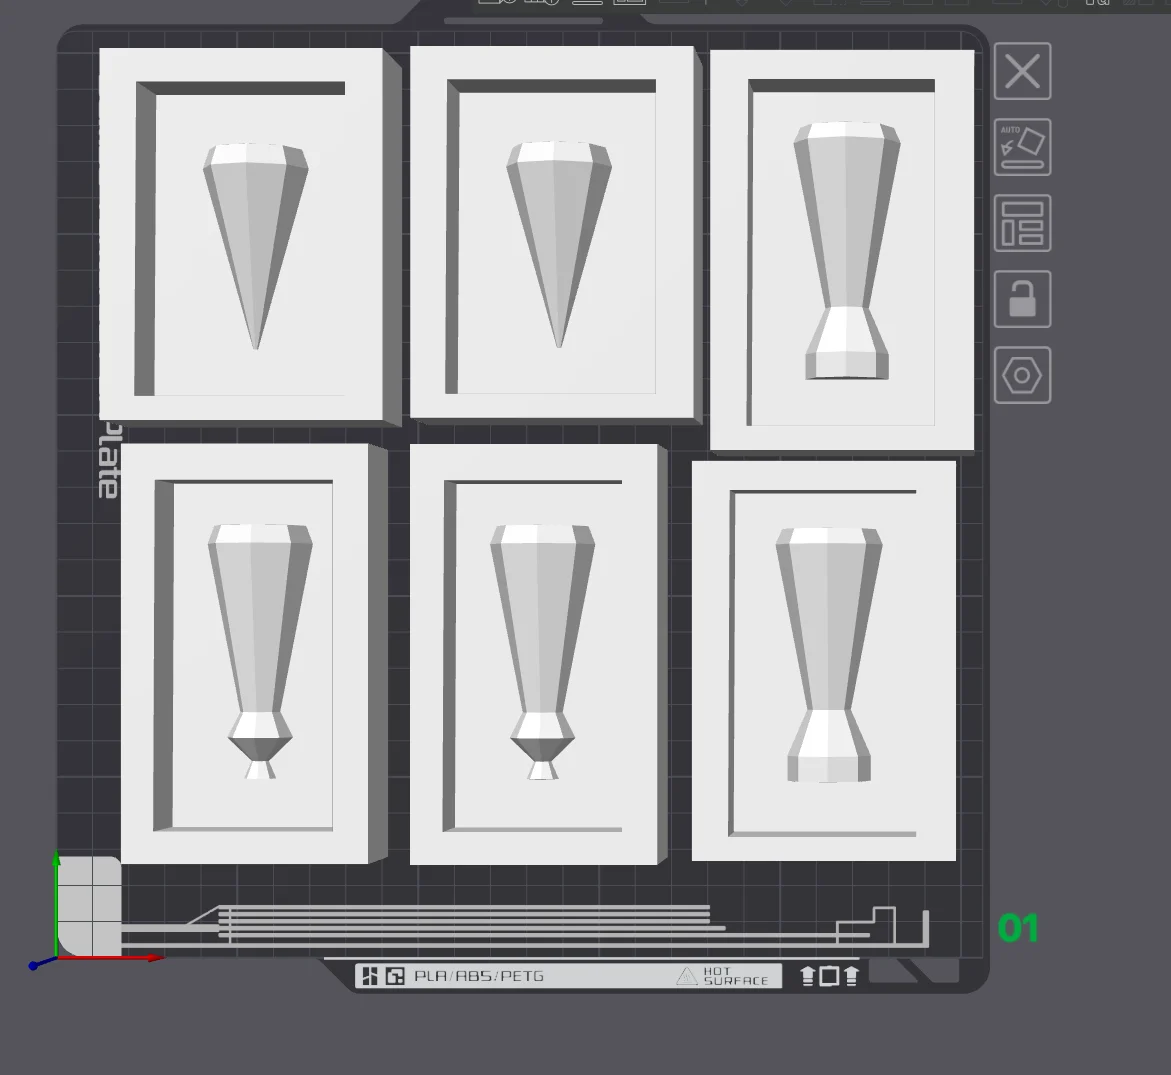
Split the pieces in half & placed inside a box to create the positive.
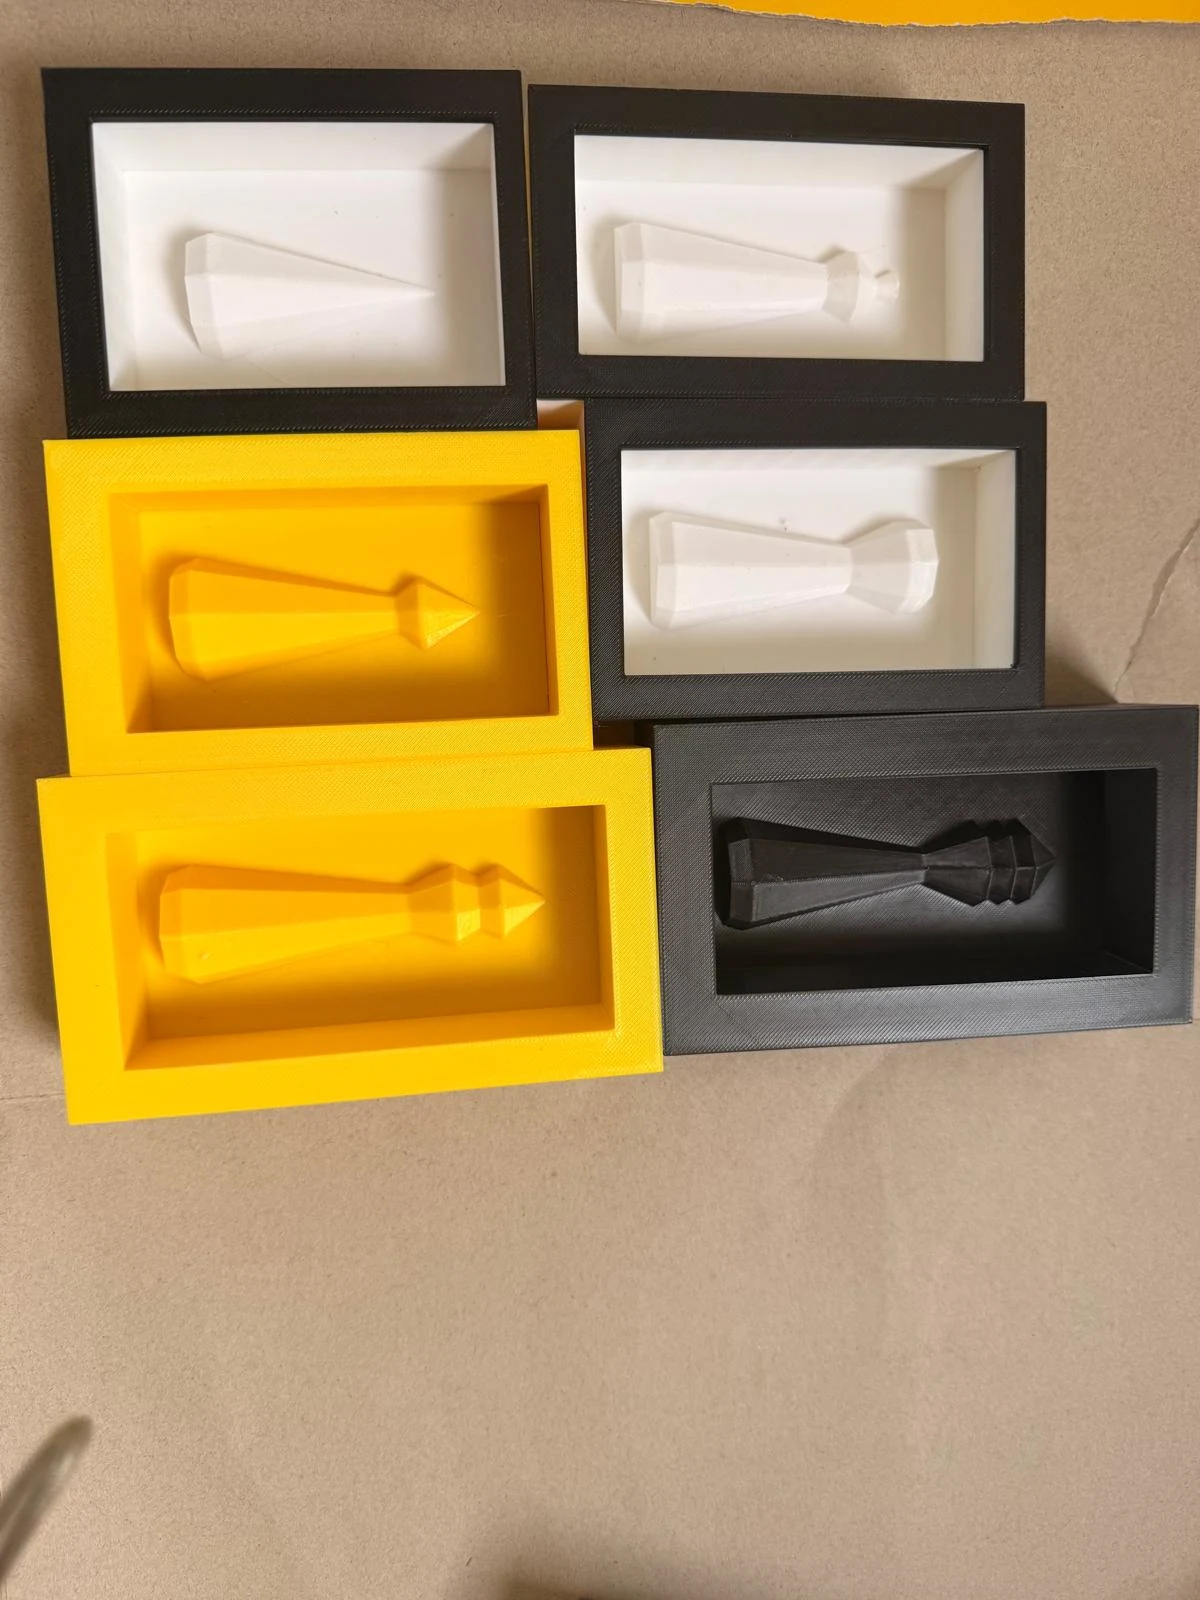
(Box → shell → boolean union)
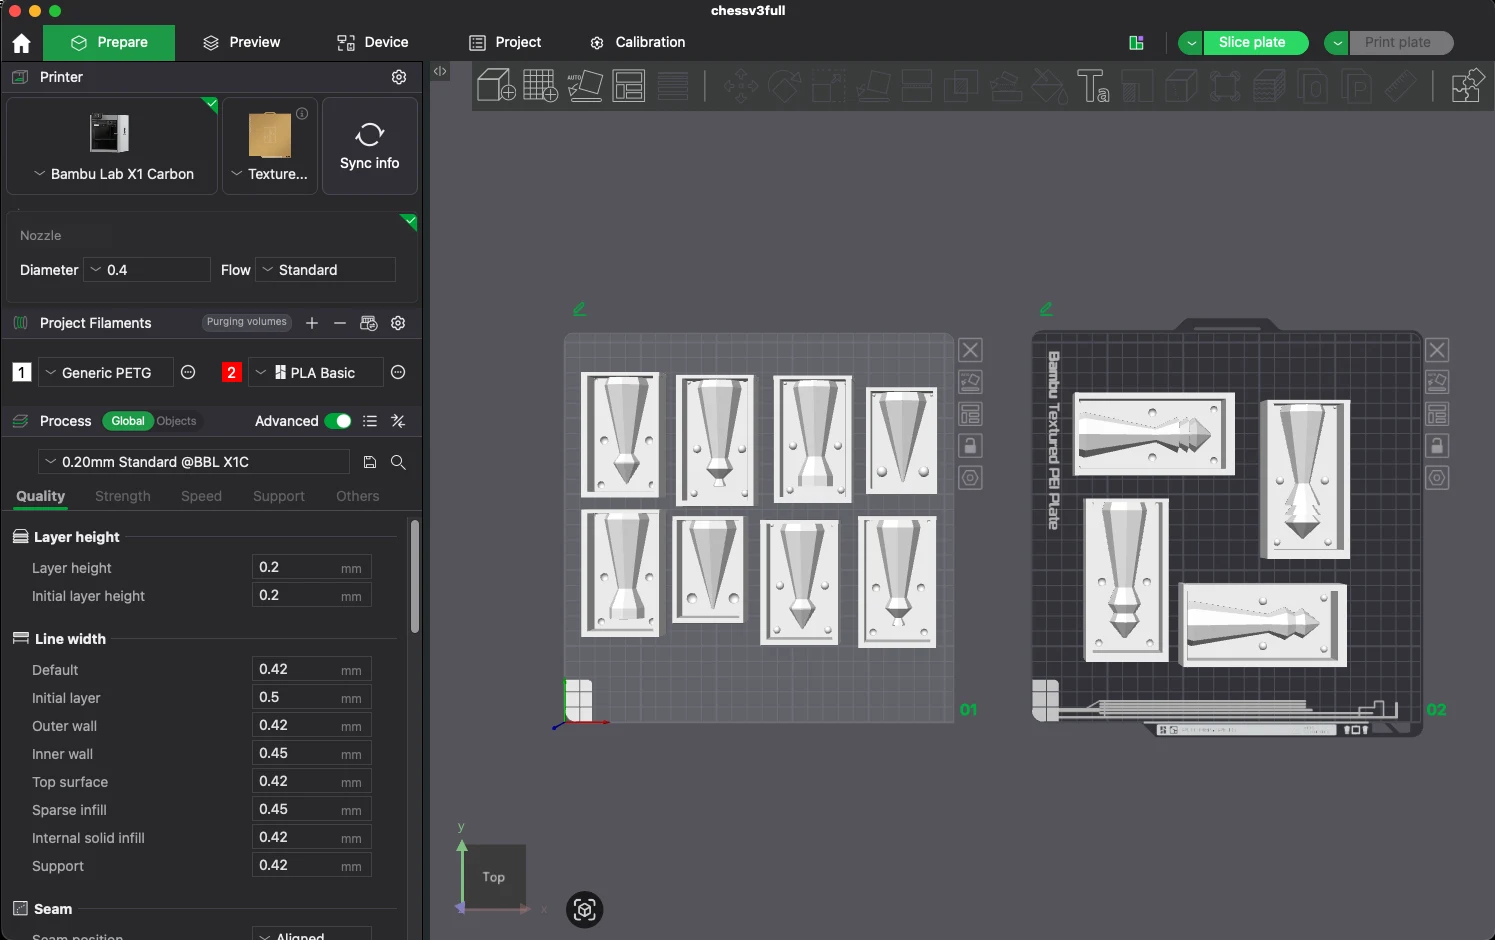
→ 3D printing - used 3 different materials to test the finish & quality. (ABS, PETG, PLA)
printing time (approx 12 hrs)
Export to stl & add into BambuStudio for slicing.
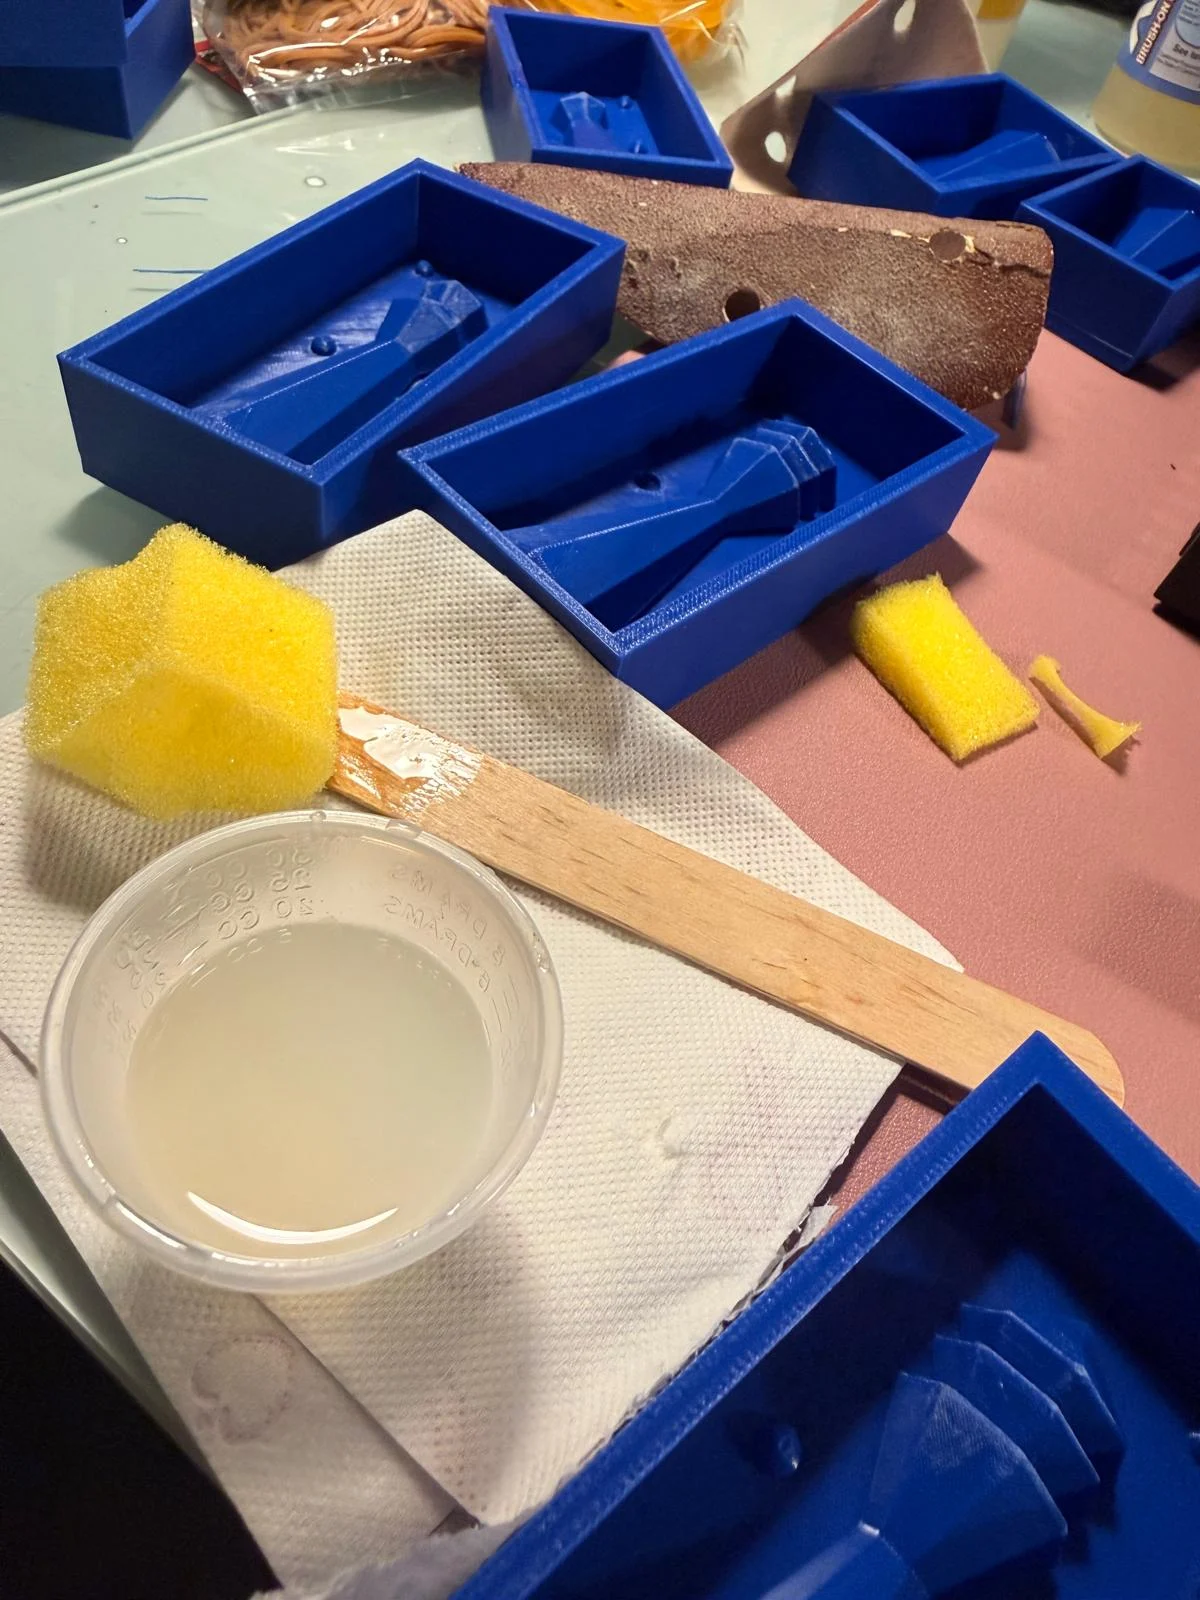
→ Resin coating the inside of hollow box with half positive to hide layer lines & create a smooth surface. cure 24 hours.
(2 layers recommended)
→ vaseline - release agent for next step.
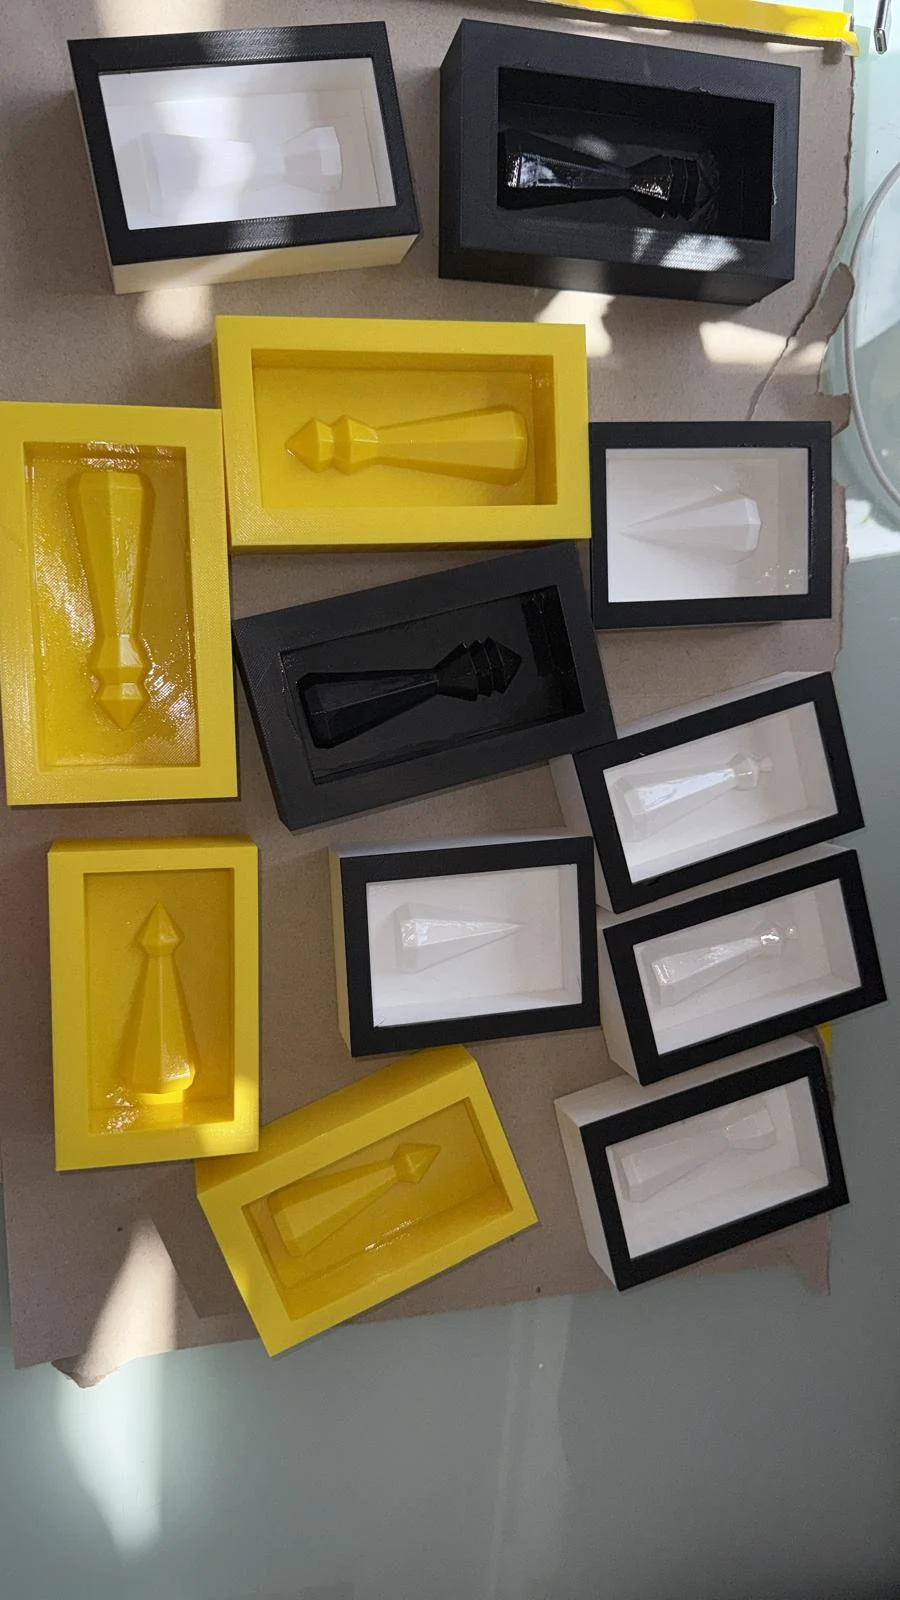
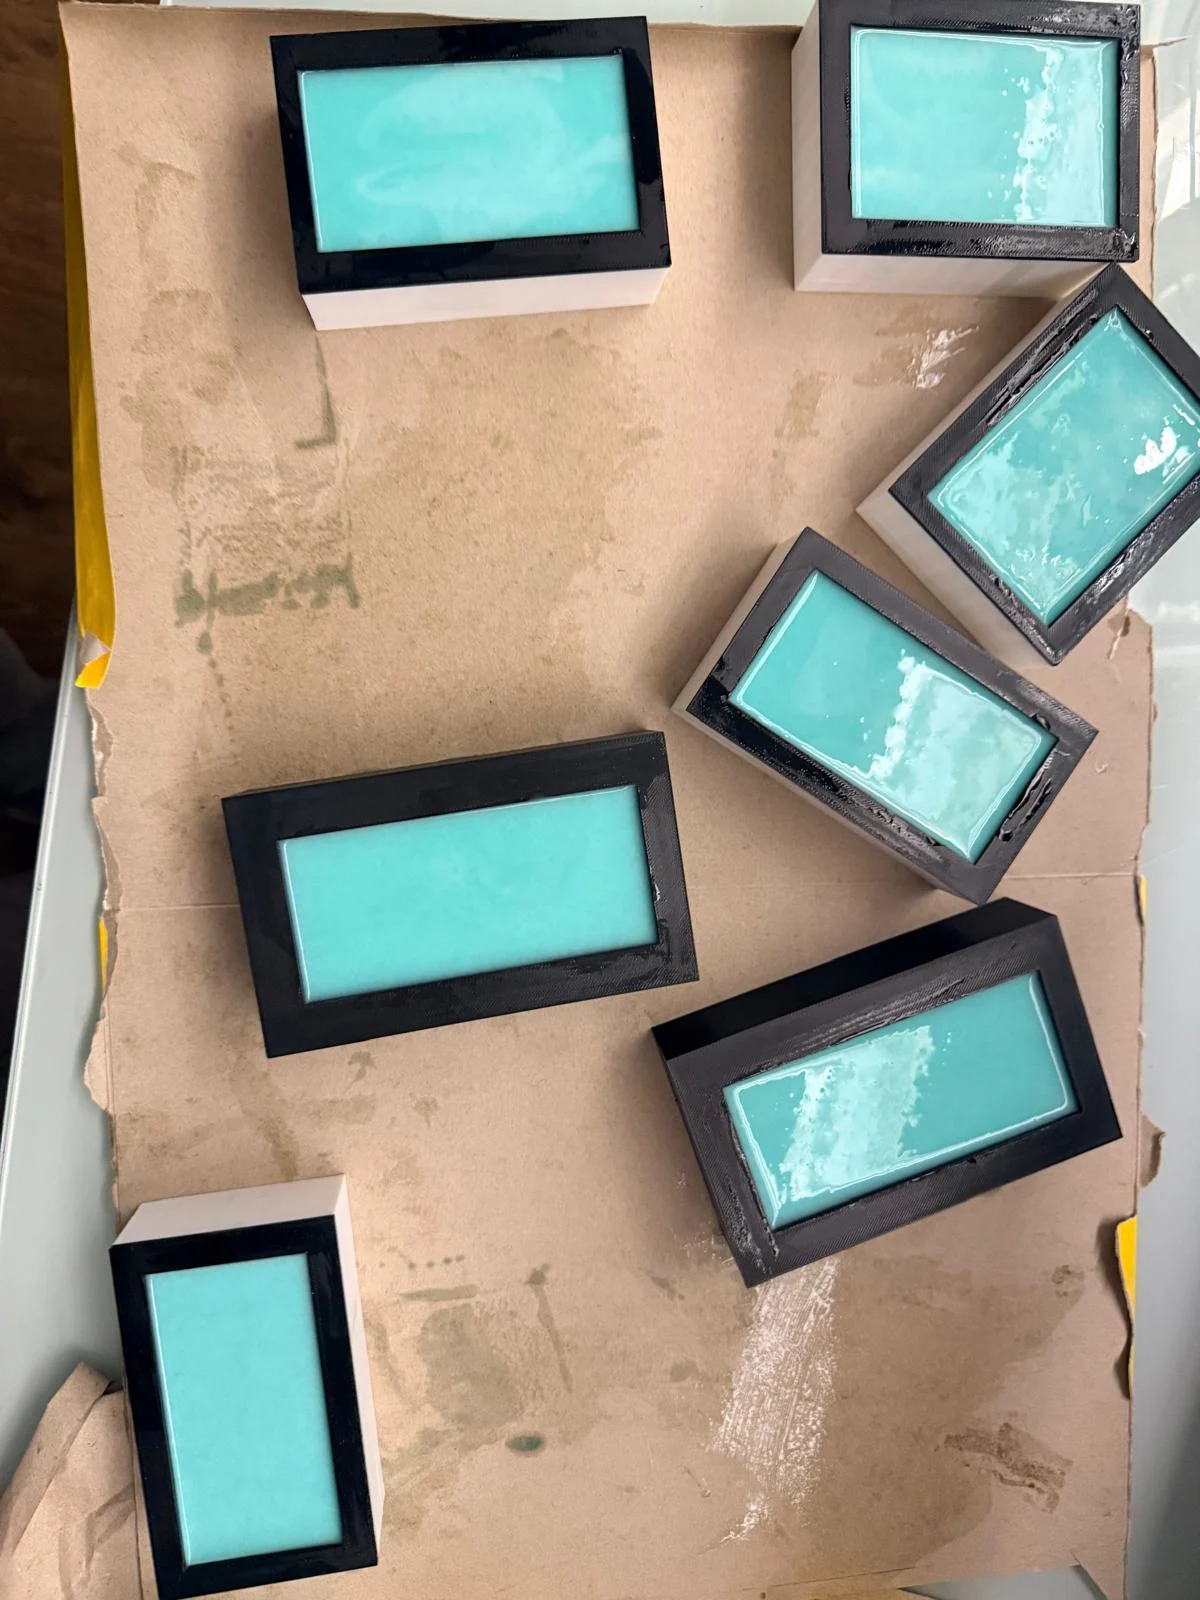
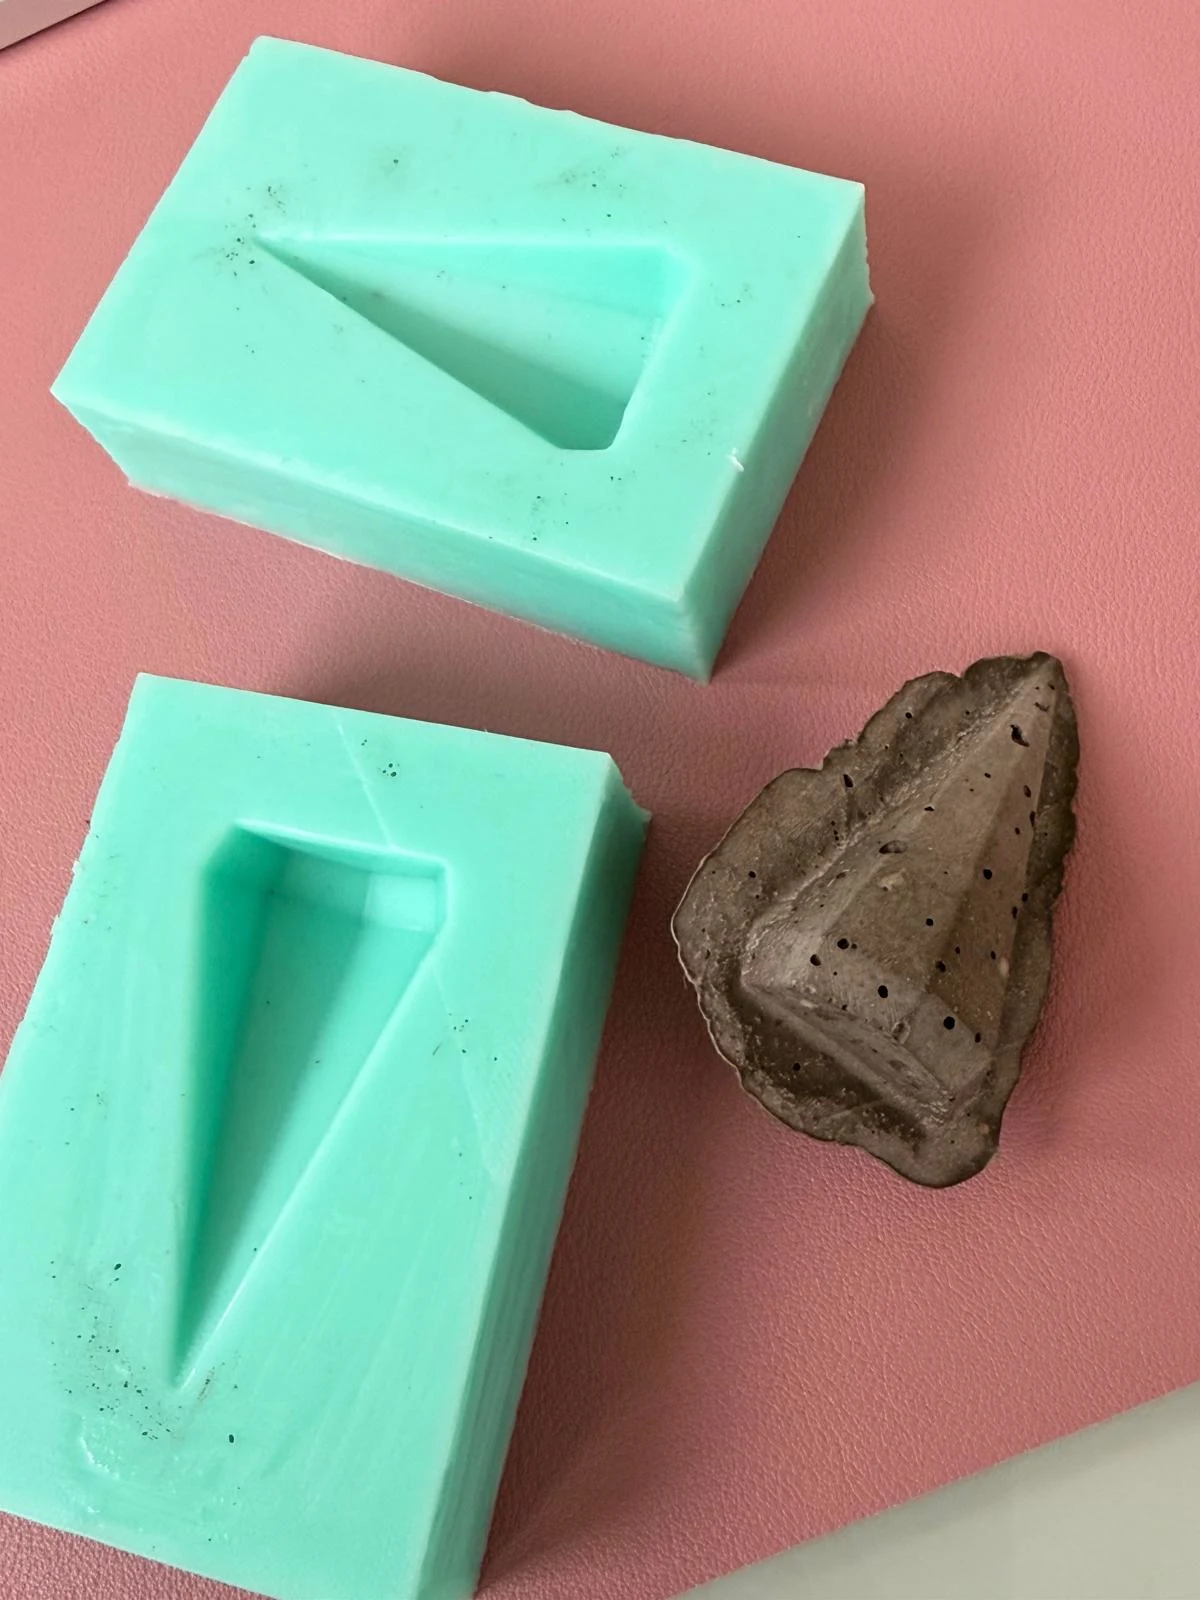
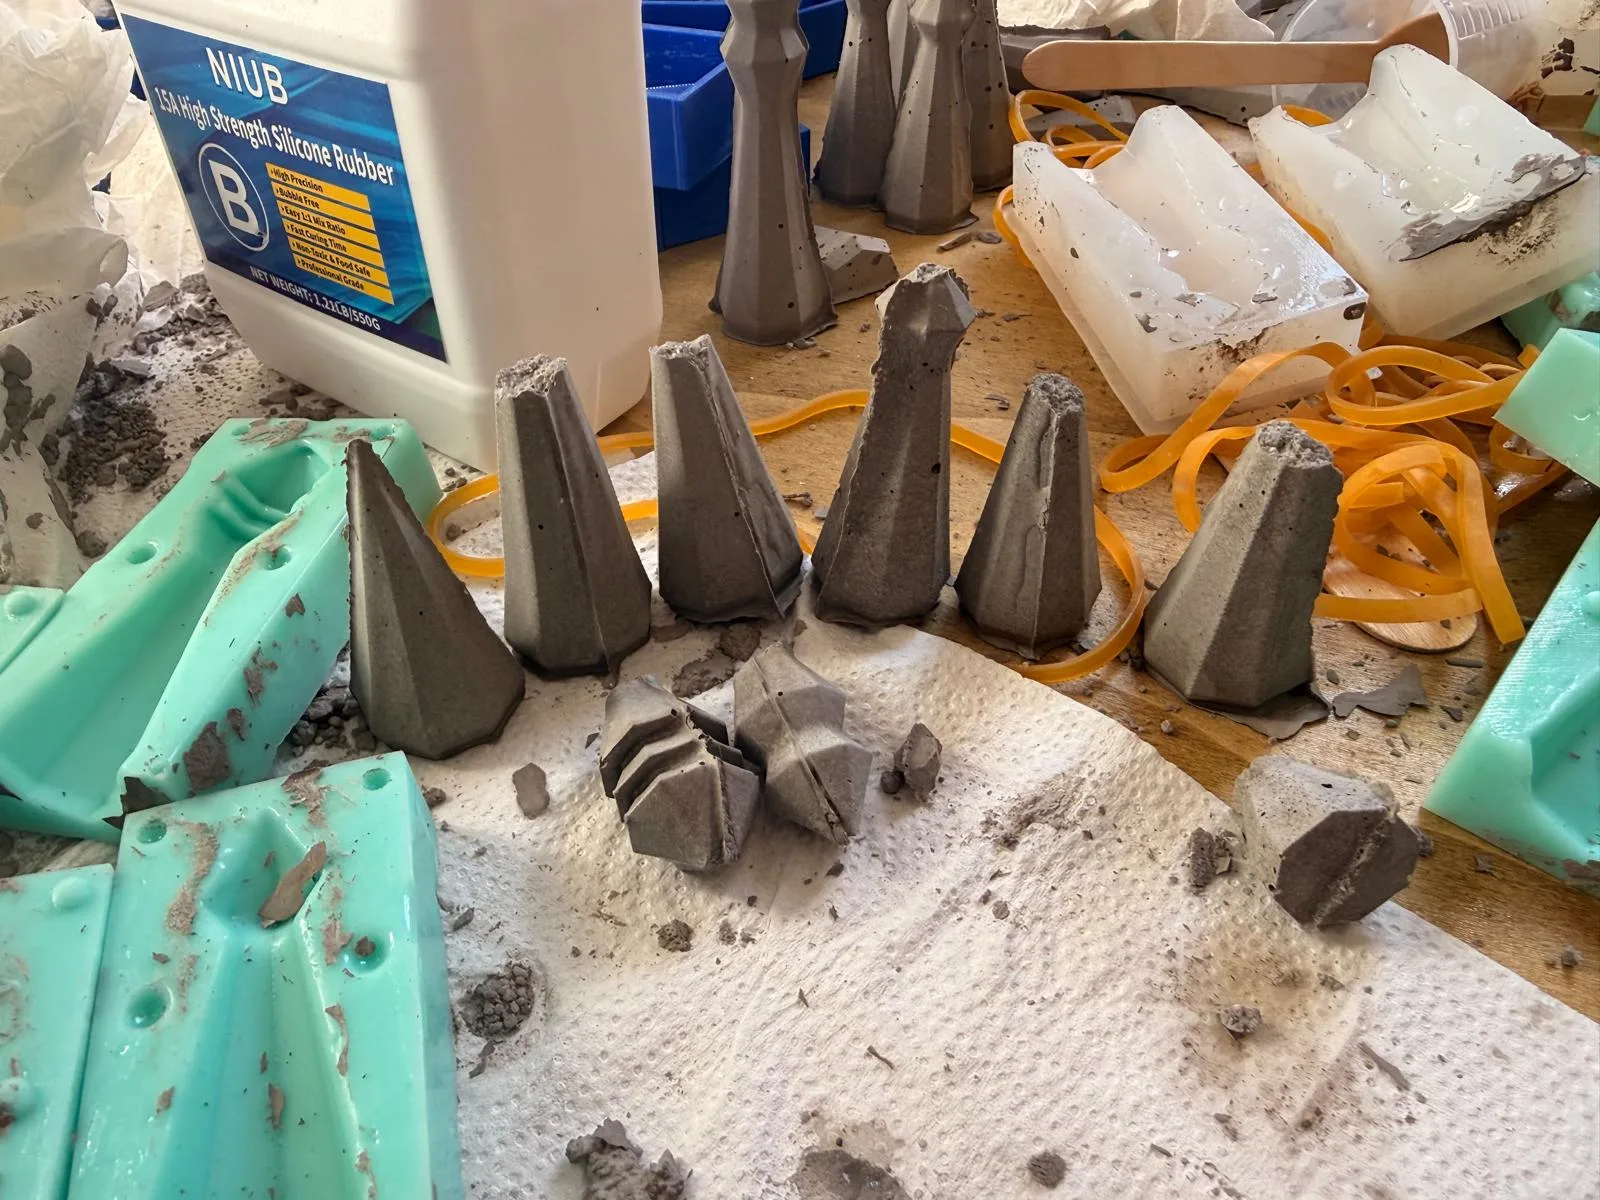
→ Casting the mould - Pour the silicon in a thin line to reduce bubbles and pour at the highest point of the positive so the silicon can spread evenly. (cure 24 hours) (tap on table to settle & remove air bubbles)
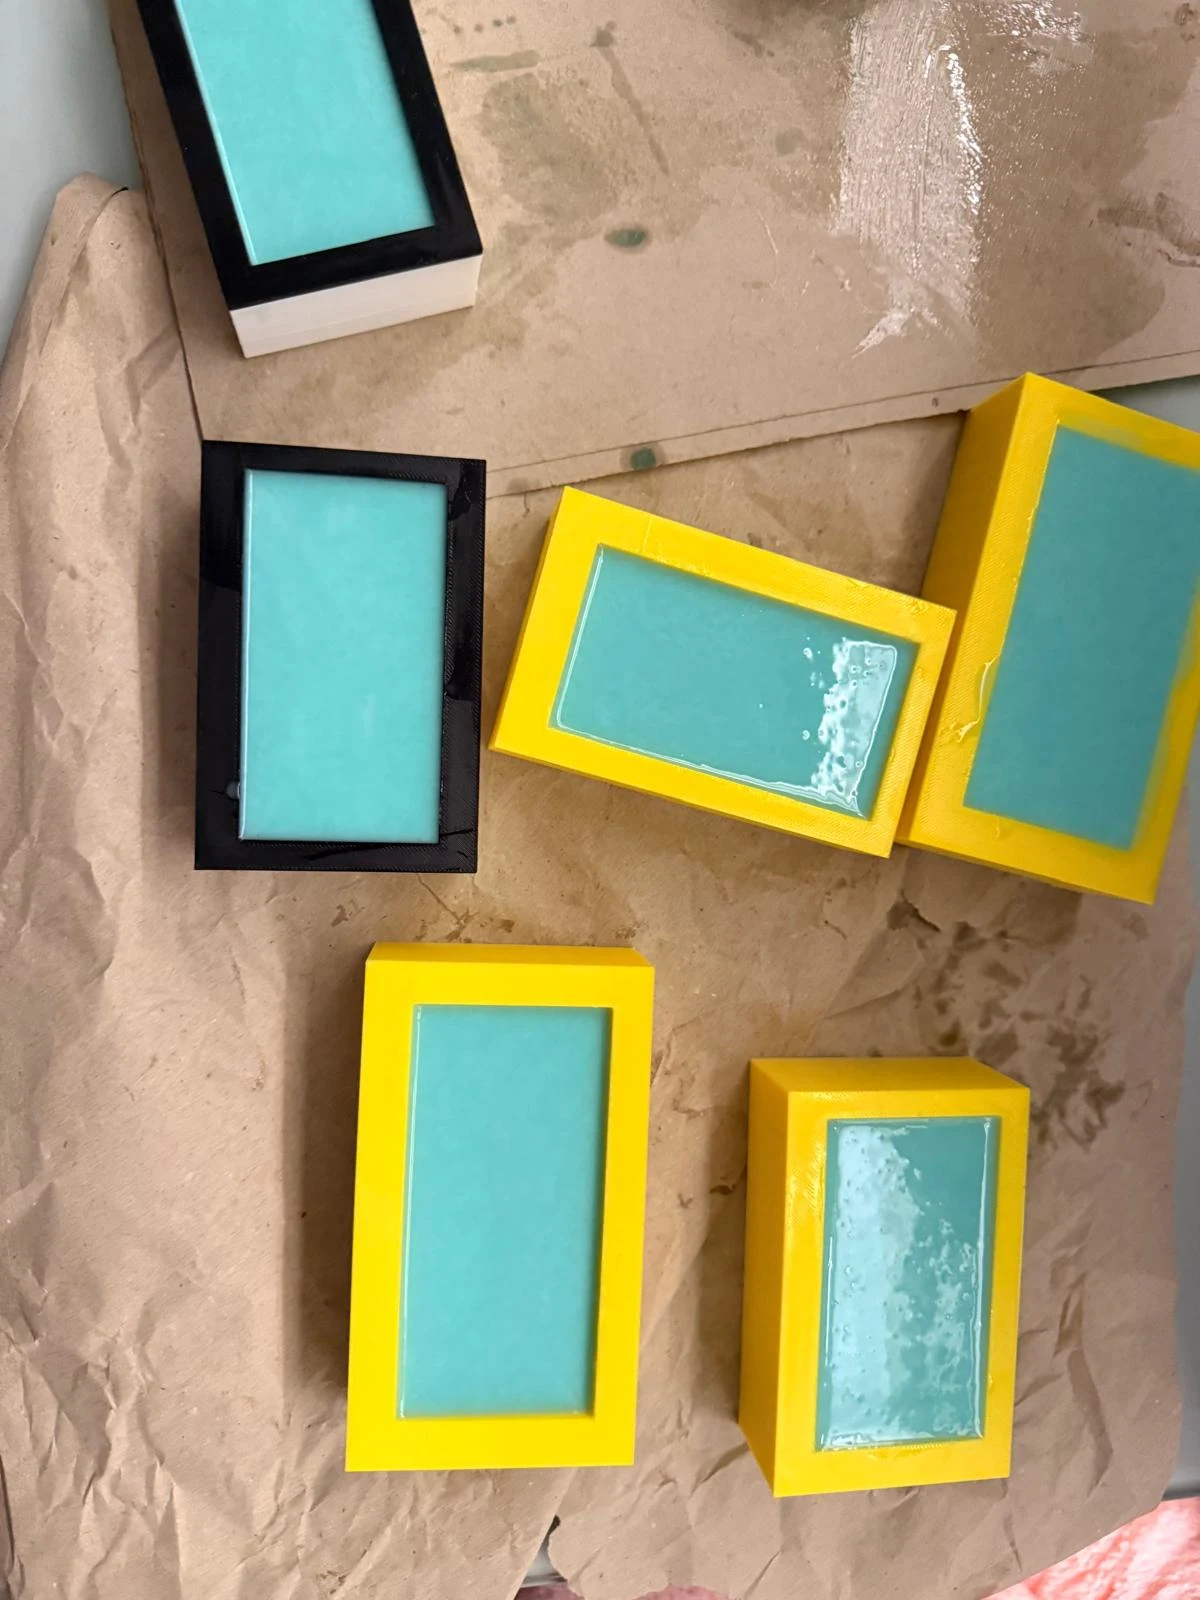
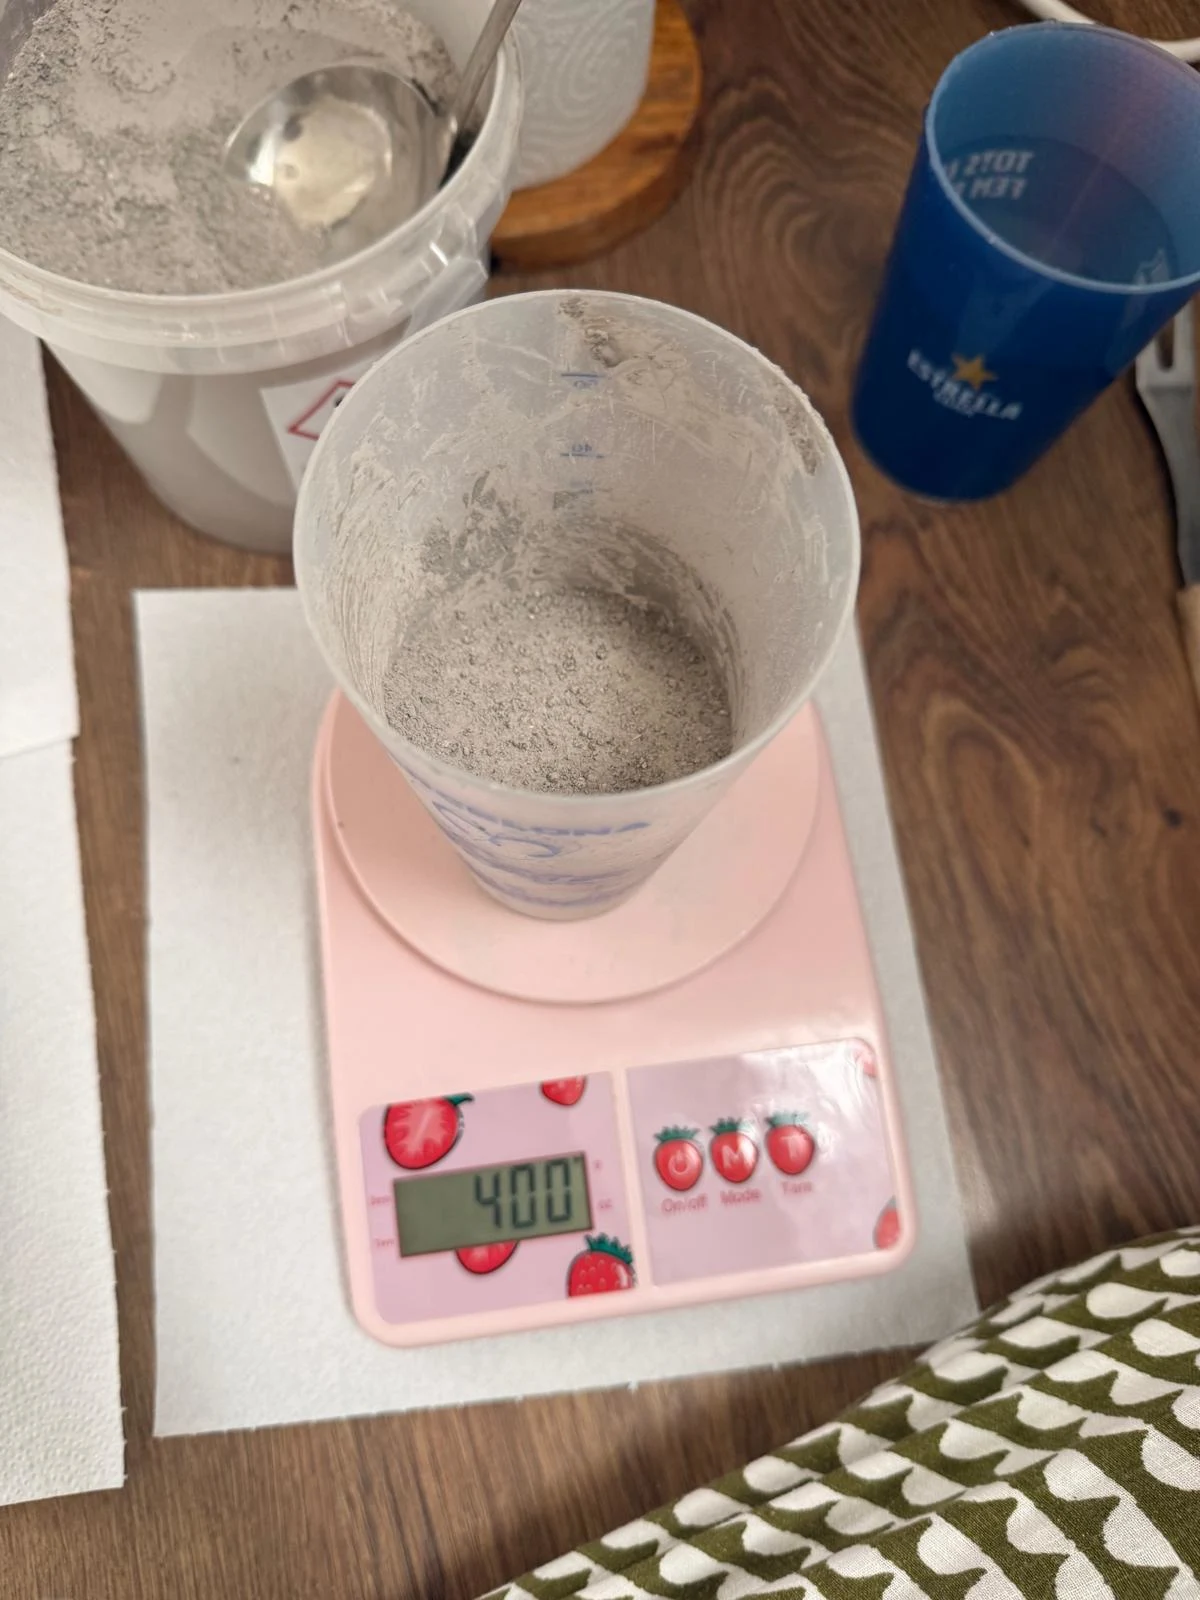
→ Casting the pieces - mixing concrete & pouring into all 12 moulds. Put the pairs together as flush as possible. (dry 24 hours) Heavy books on top to weigh down.
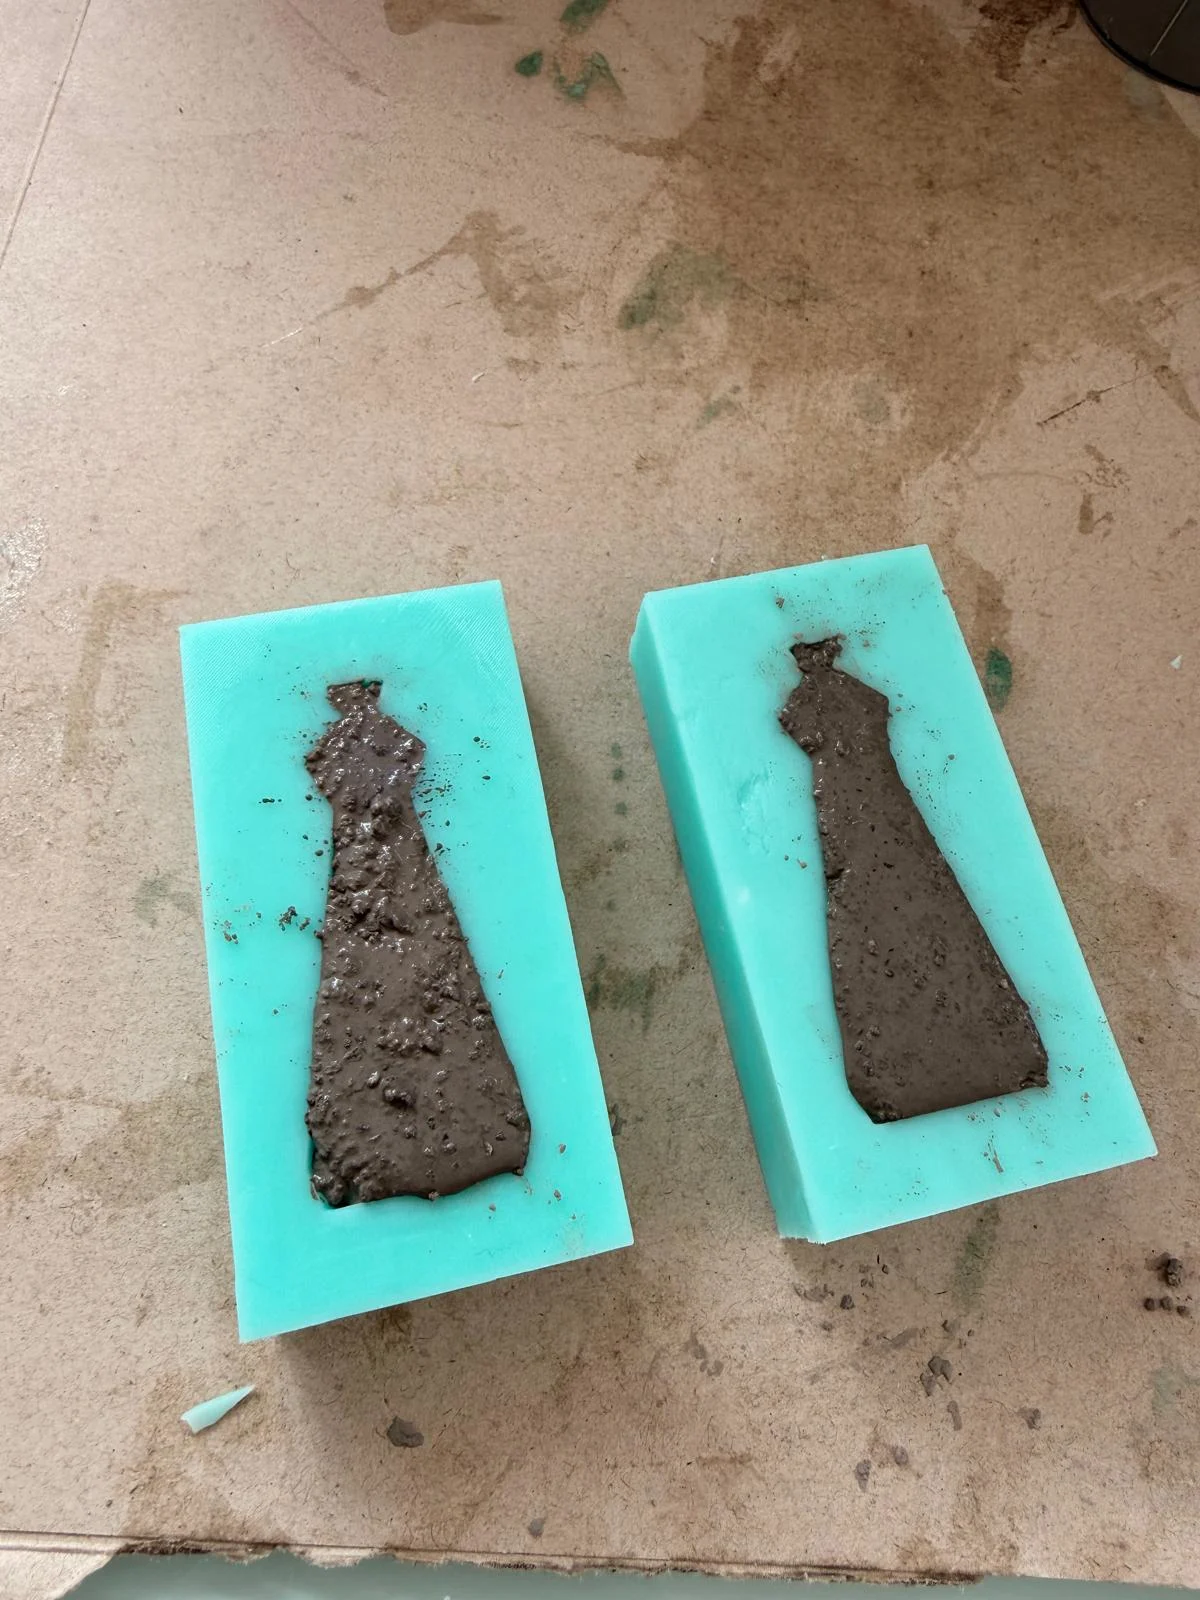
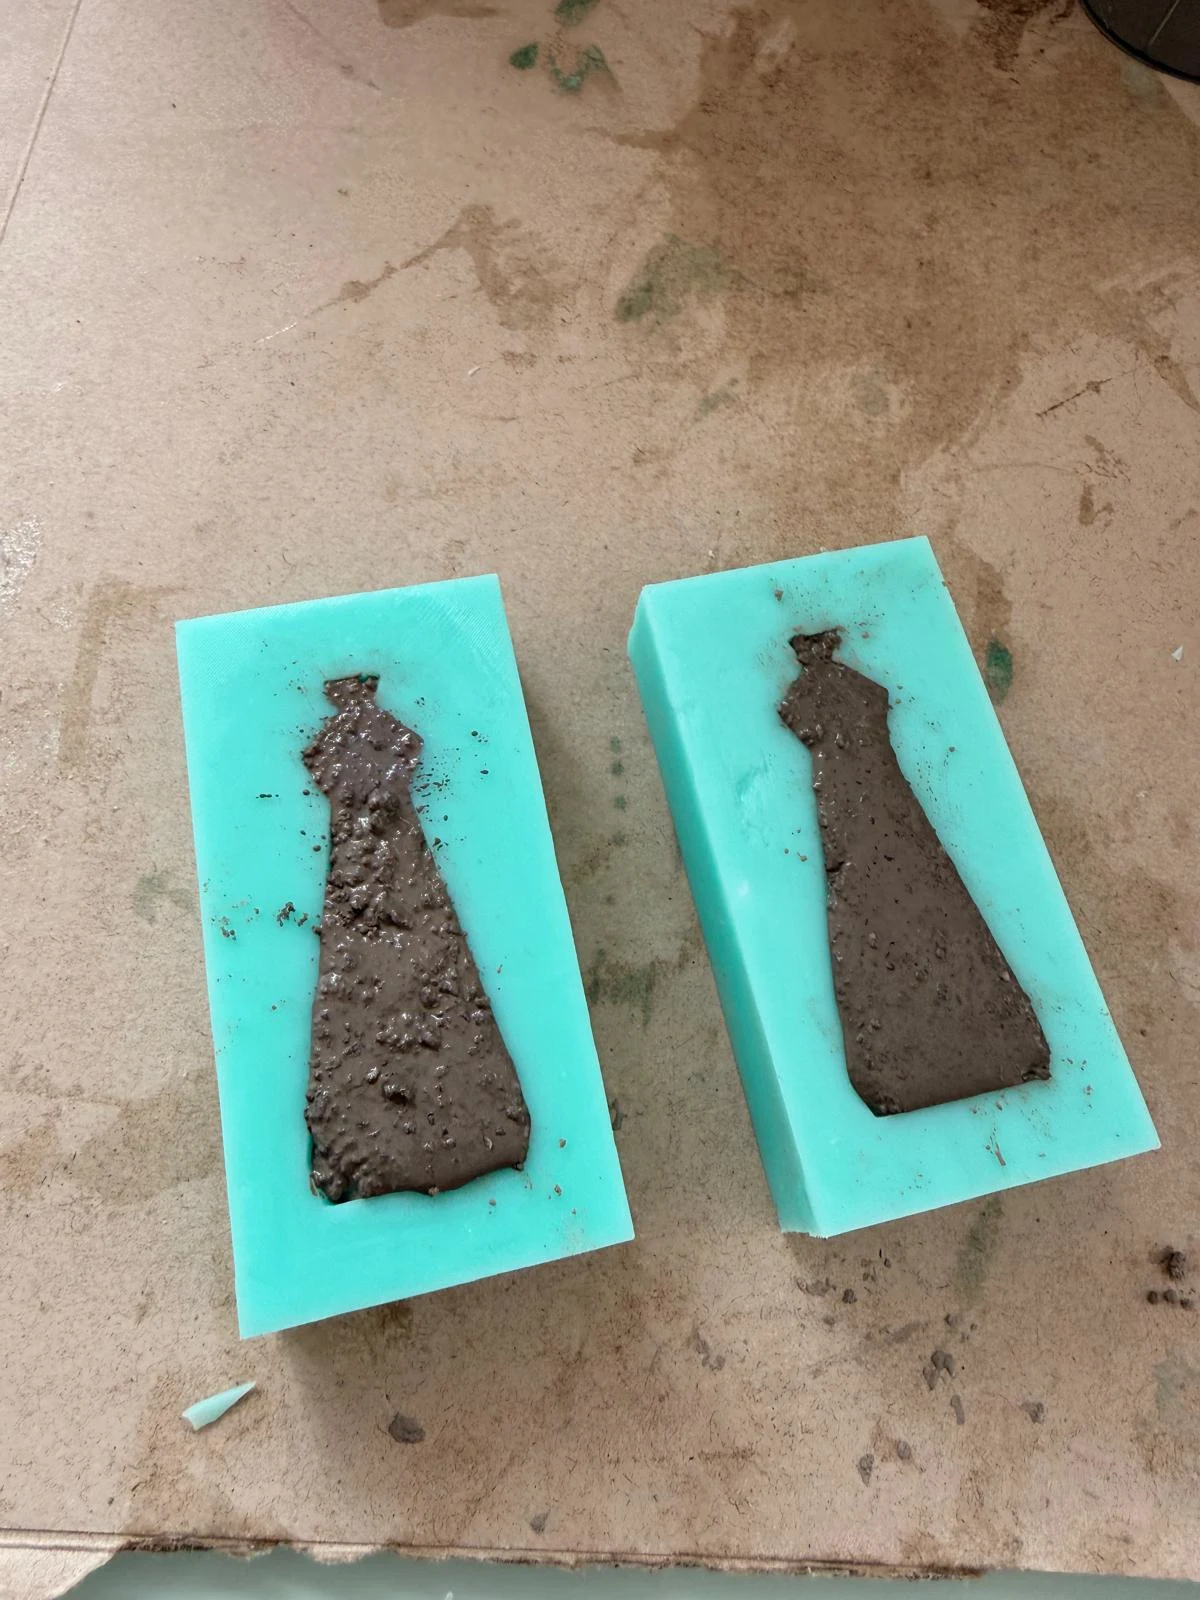
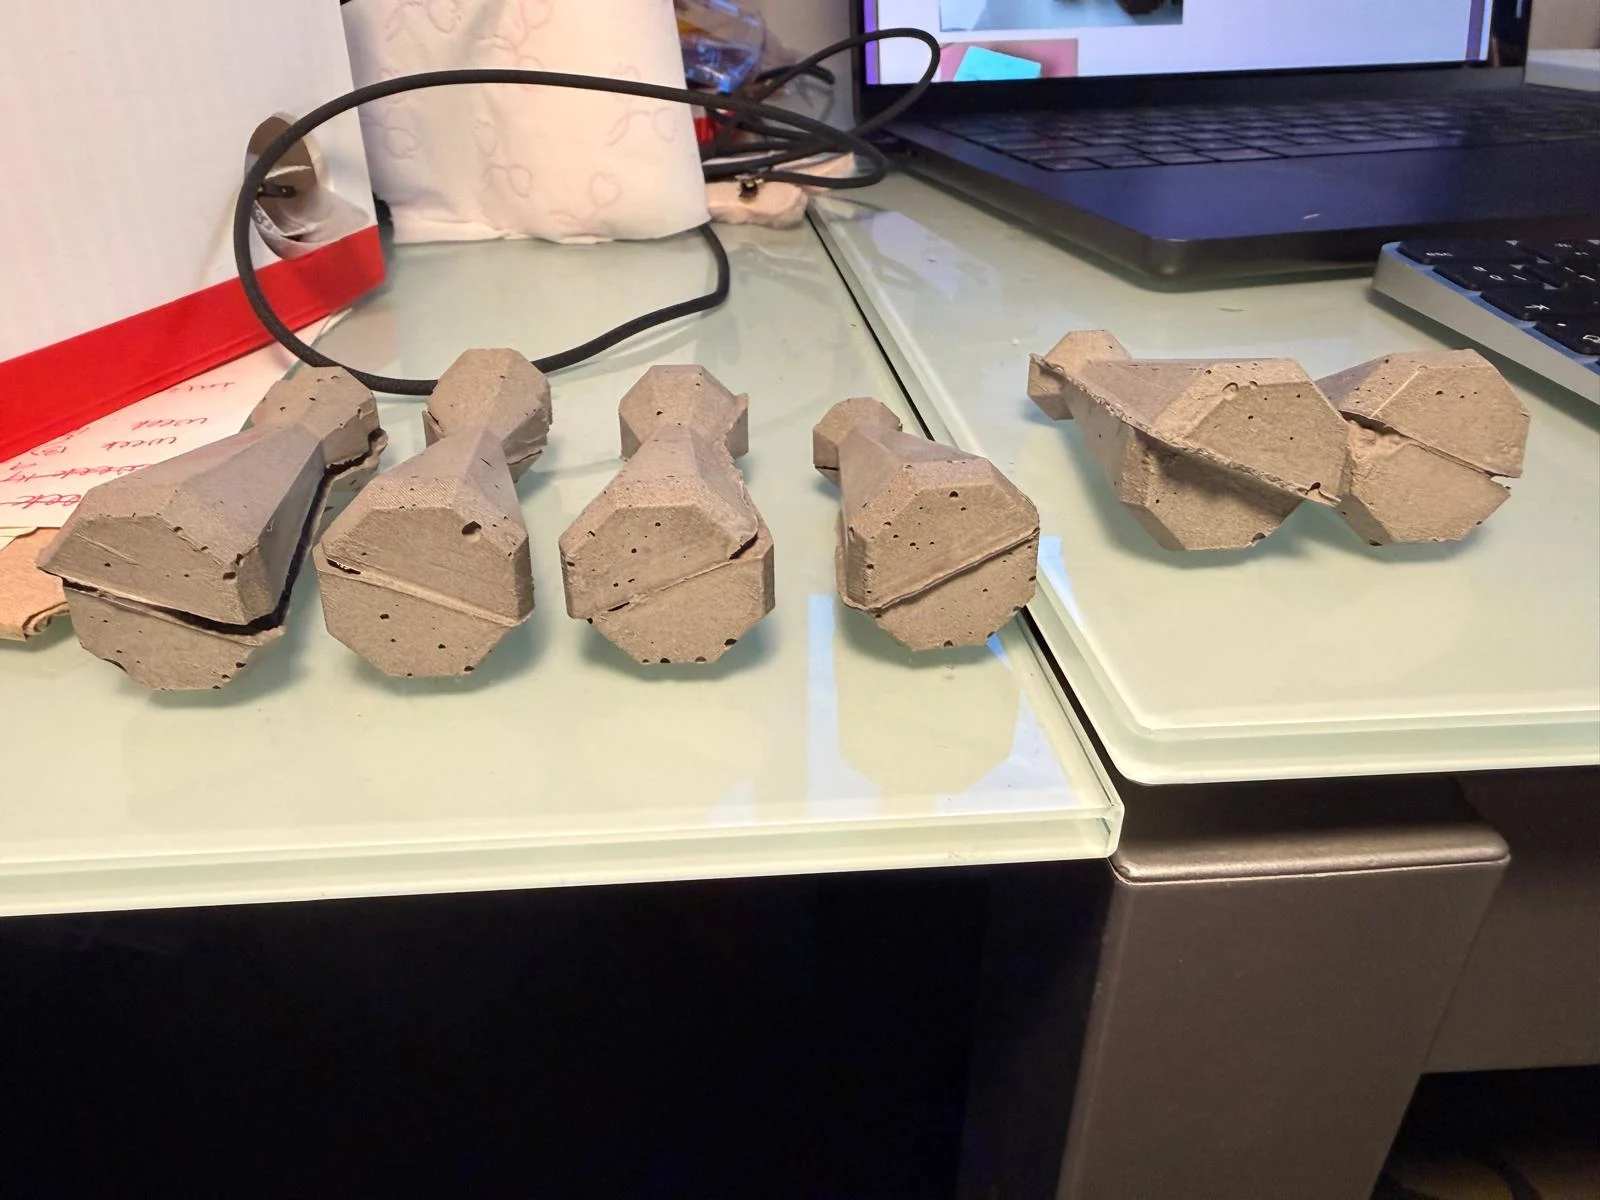
Results
Issues:
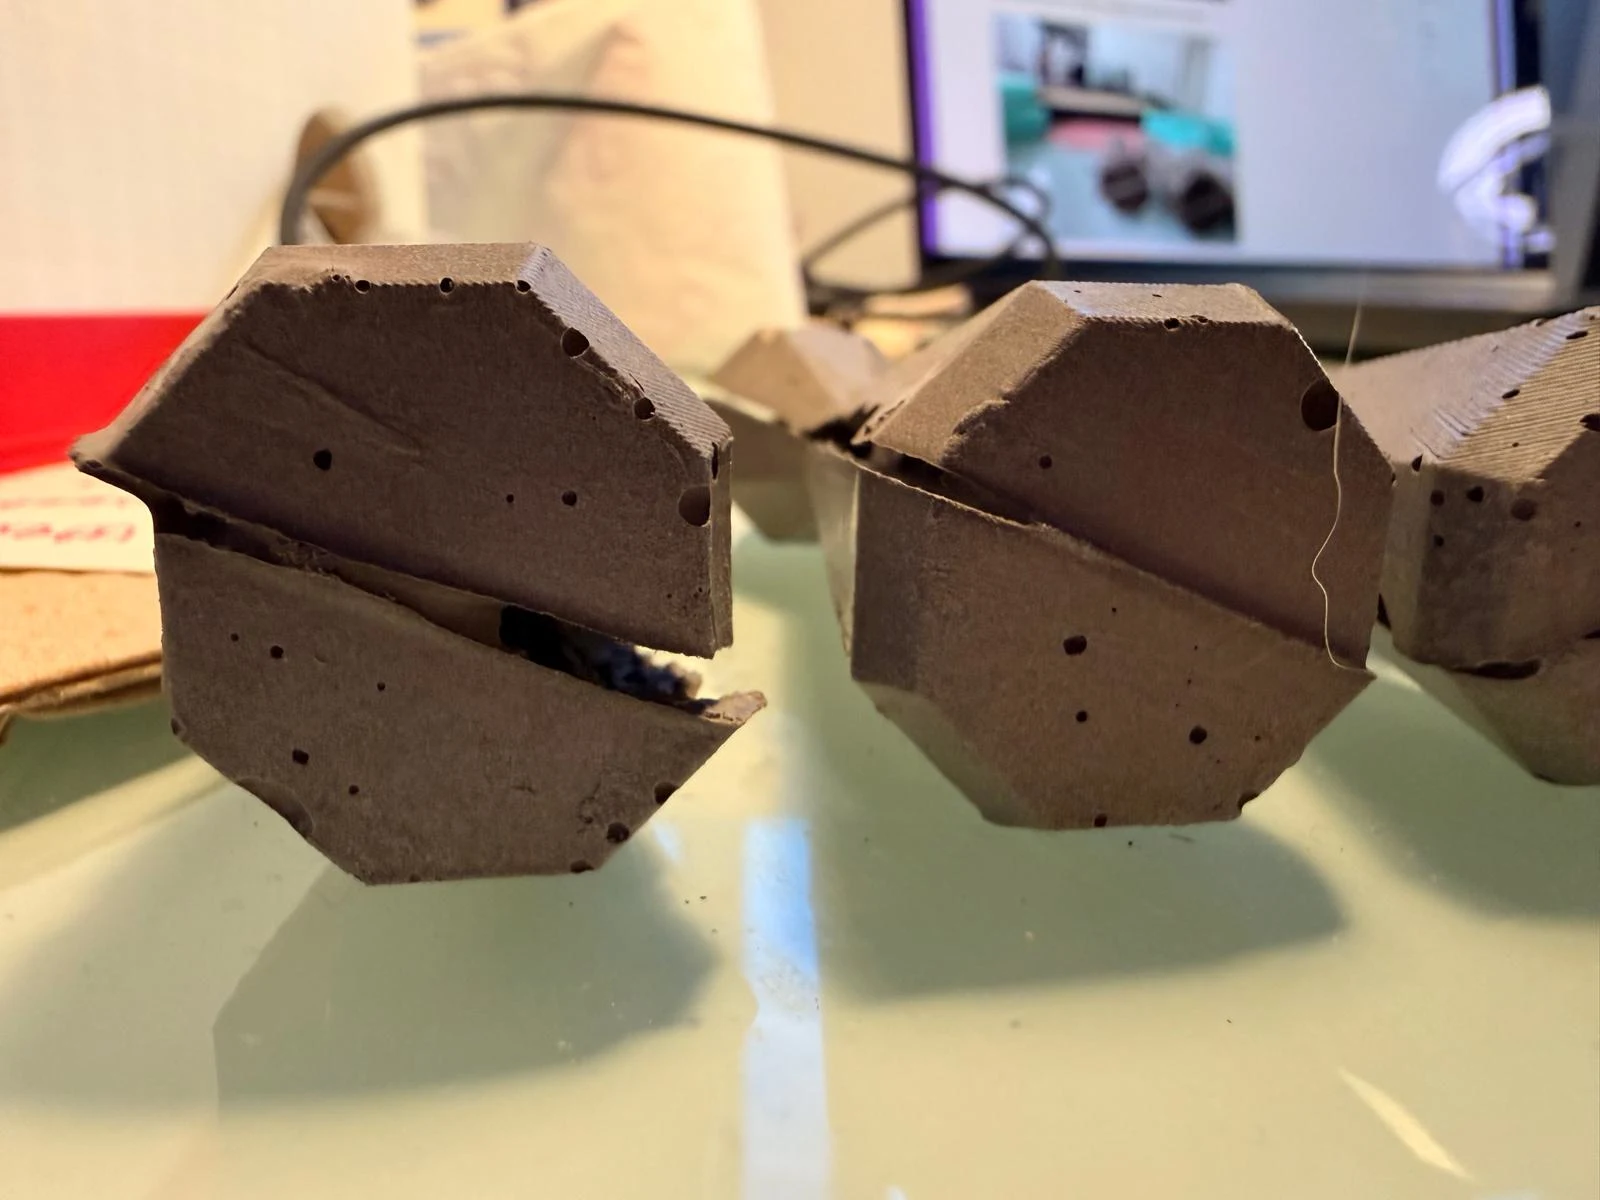
- Alignment - the 2 halves were not aligned well for some of the pieces.
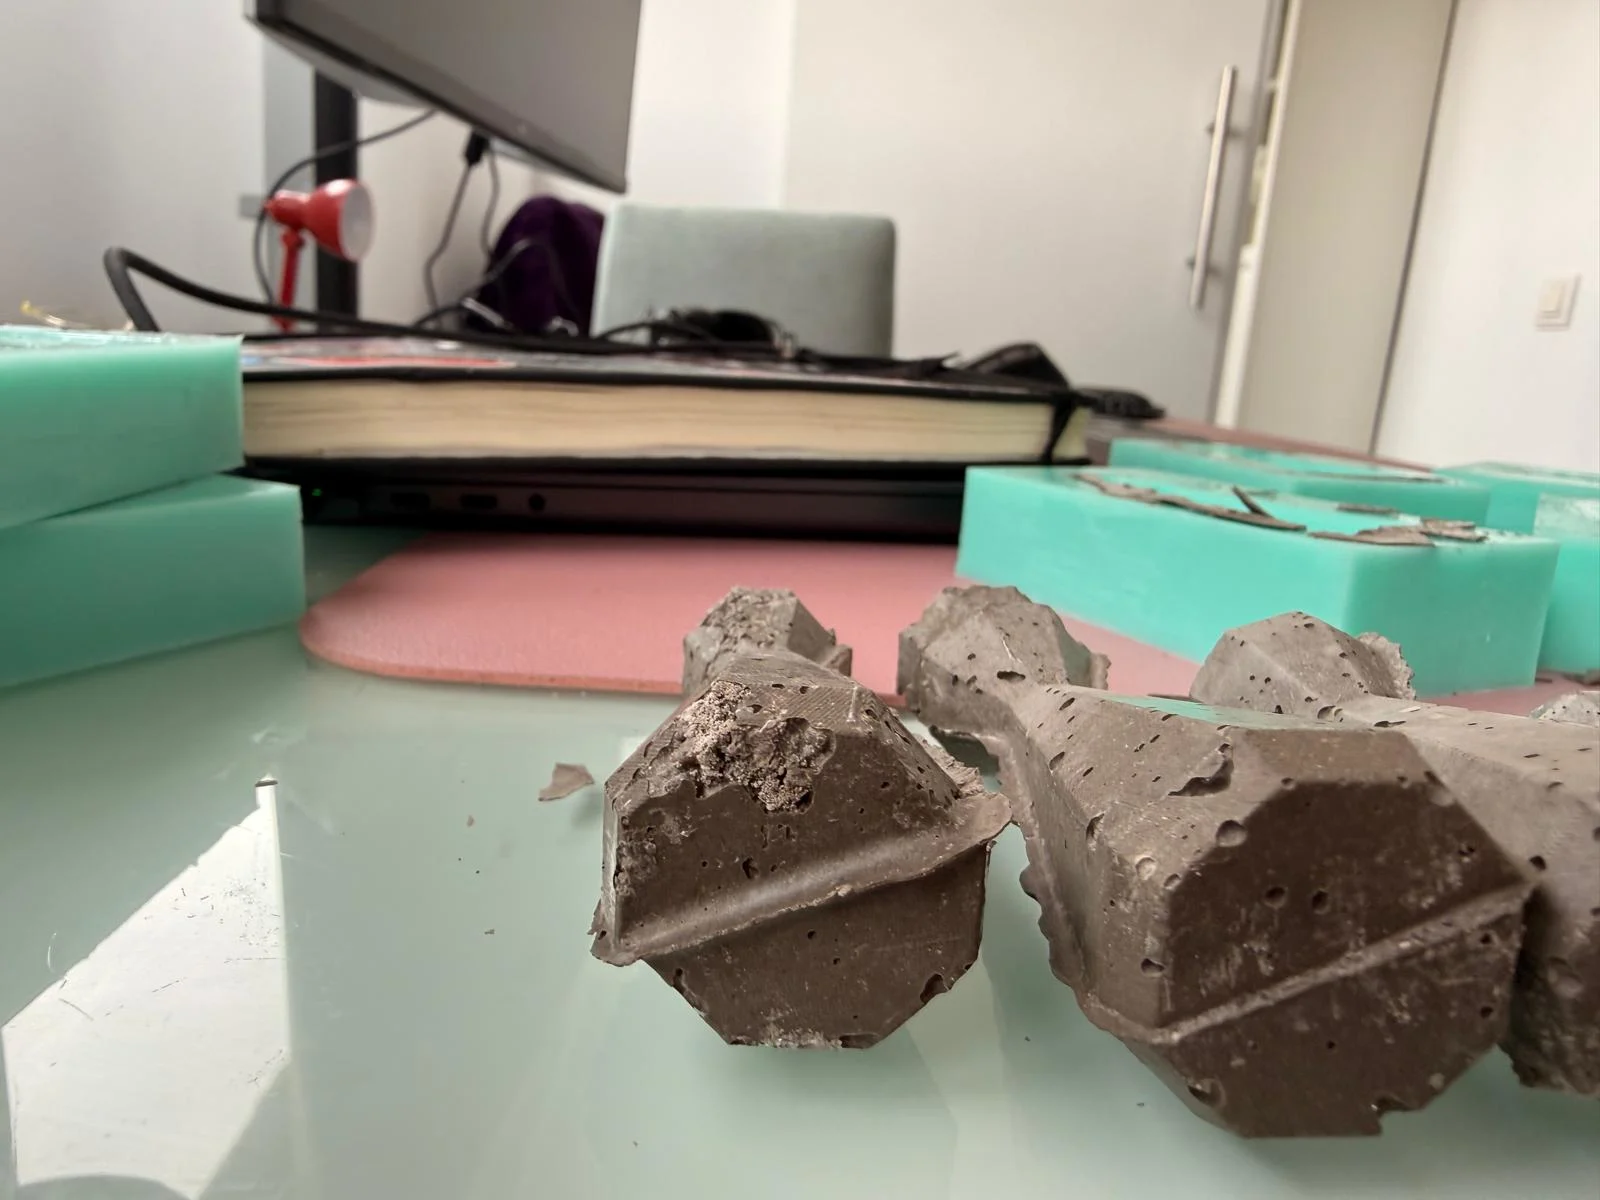
- Bubbles - lots of bubbles in the model.
Iteration 2
Changes
- used the positives to hold the moulds in position so they wouldn’t move & misalign. Addresses ISSUE 1
- mixed the concrete for a longer time to reduce bubbles. Addresses ISSUE 2
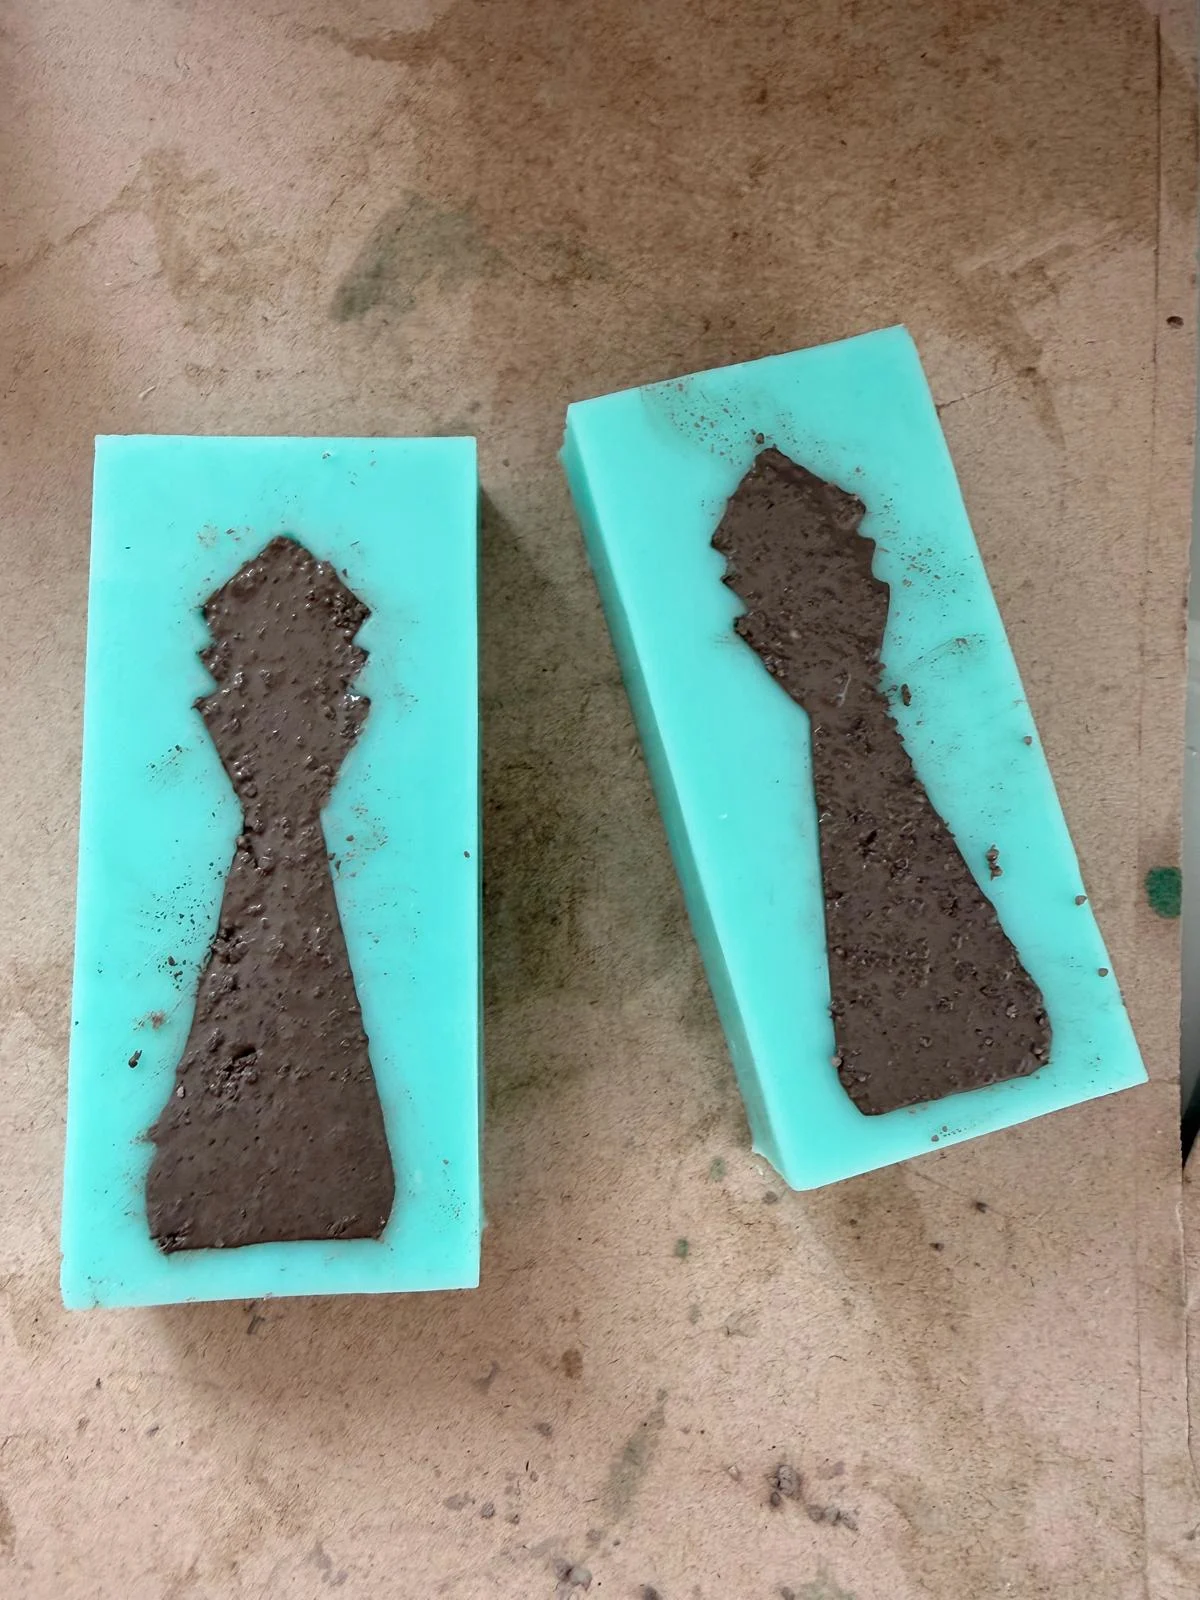
Results
Bubbles reduced significantly
Issues:
- Alignment - the lack of weight on top this time was a problem. The 2 halves didn’t stick together well enough to look like 1 piece.
Iteration 3
Changes
- went back to rhino to redesign the model
- added alignment pins
- moved the model to the base of the mold so the silicone mold will have a hole to pour material & let air escape.
- spheres on one side
- mirror with centerline as axis
- Boolean union on 1 side
- Boolean difference for the other side
- Centered the model again with reference lines.
- measured distance from mid-point to ends of the box on both sides to ensure the model is centered.
- applied 2 layers of resin for a better finish
- used rubber bands to hold molds in place while casting pieces
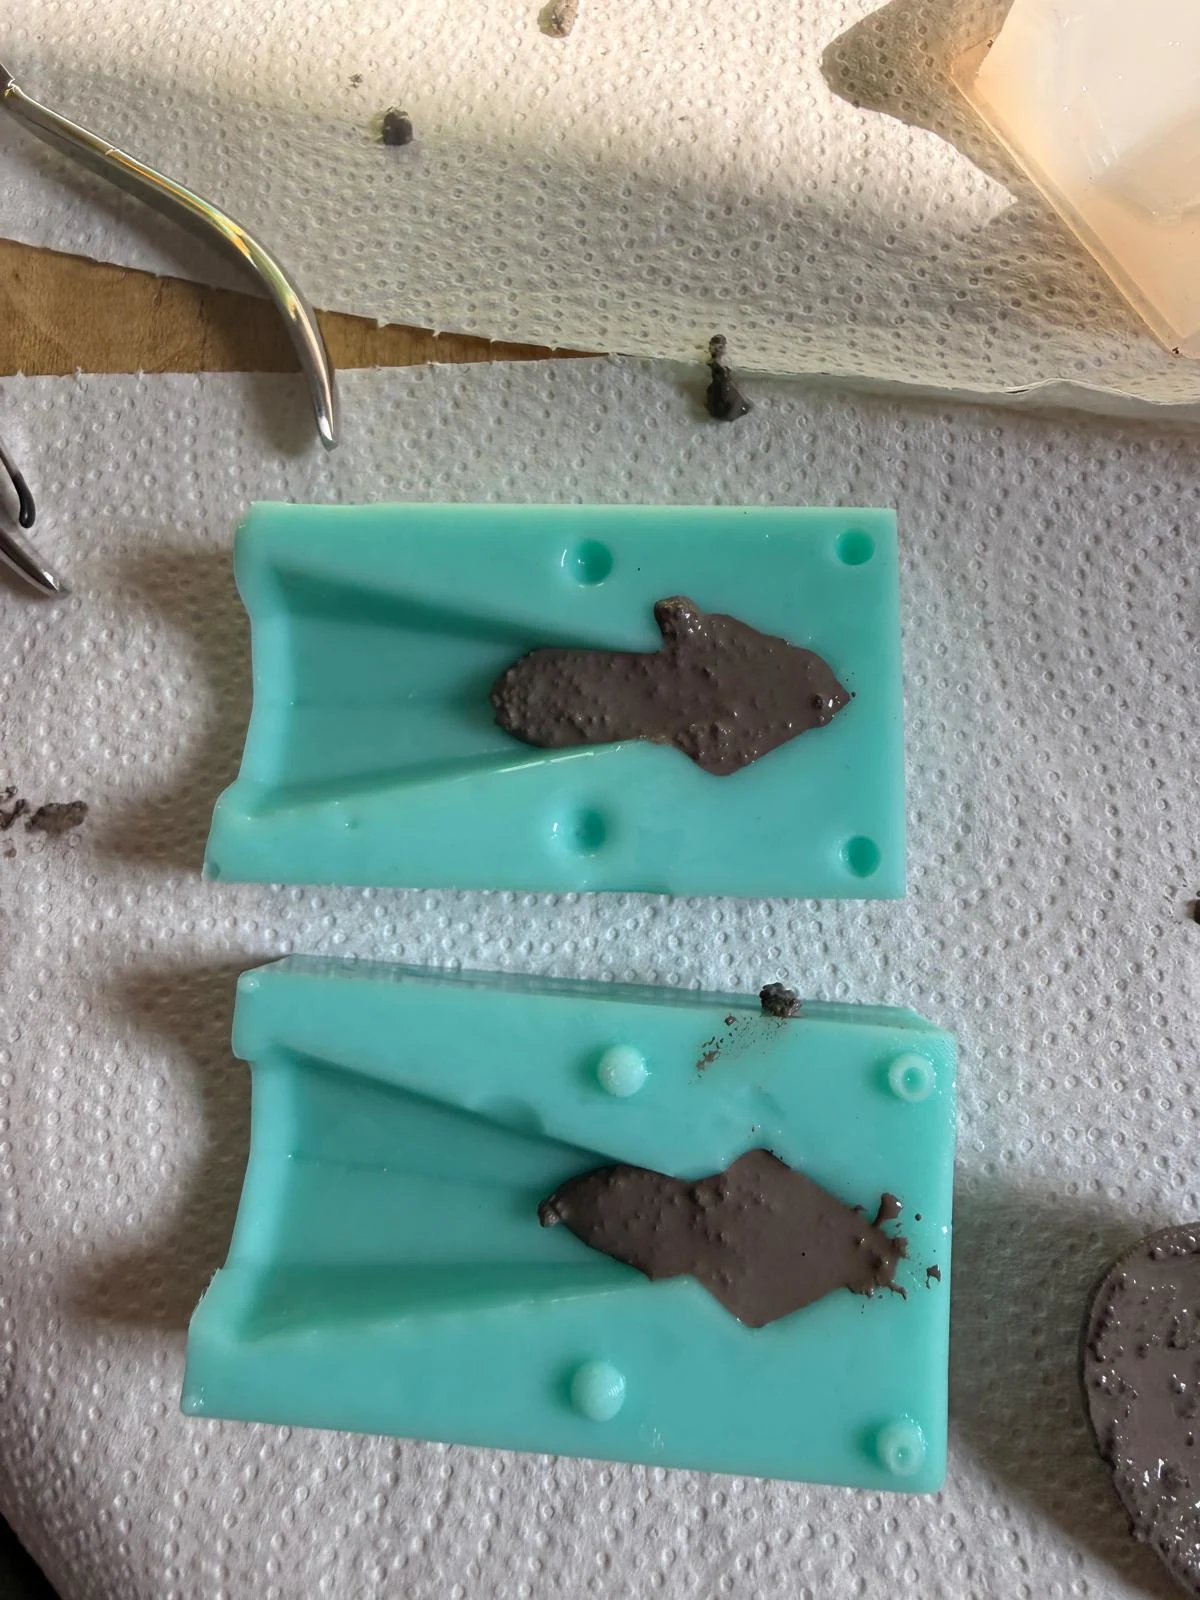
- pre-poured concrete in each half
- excessive tapping of moulds to remove air bubbles
Process
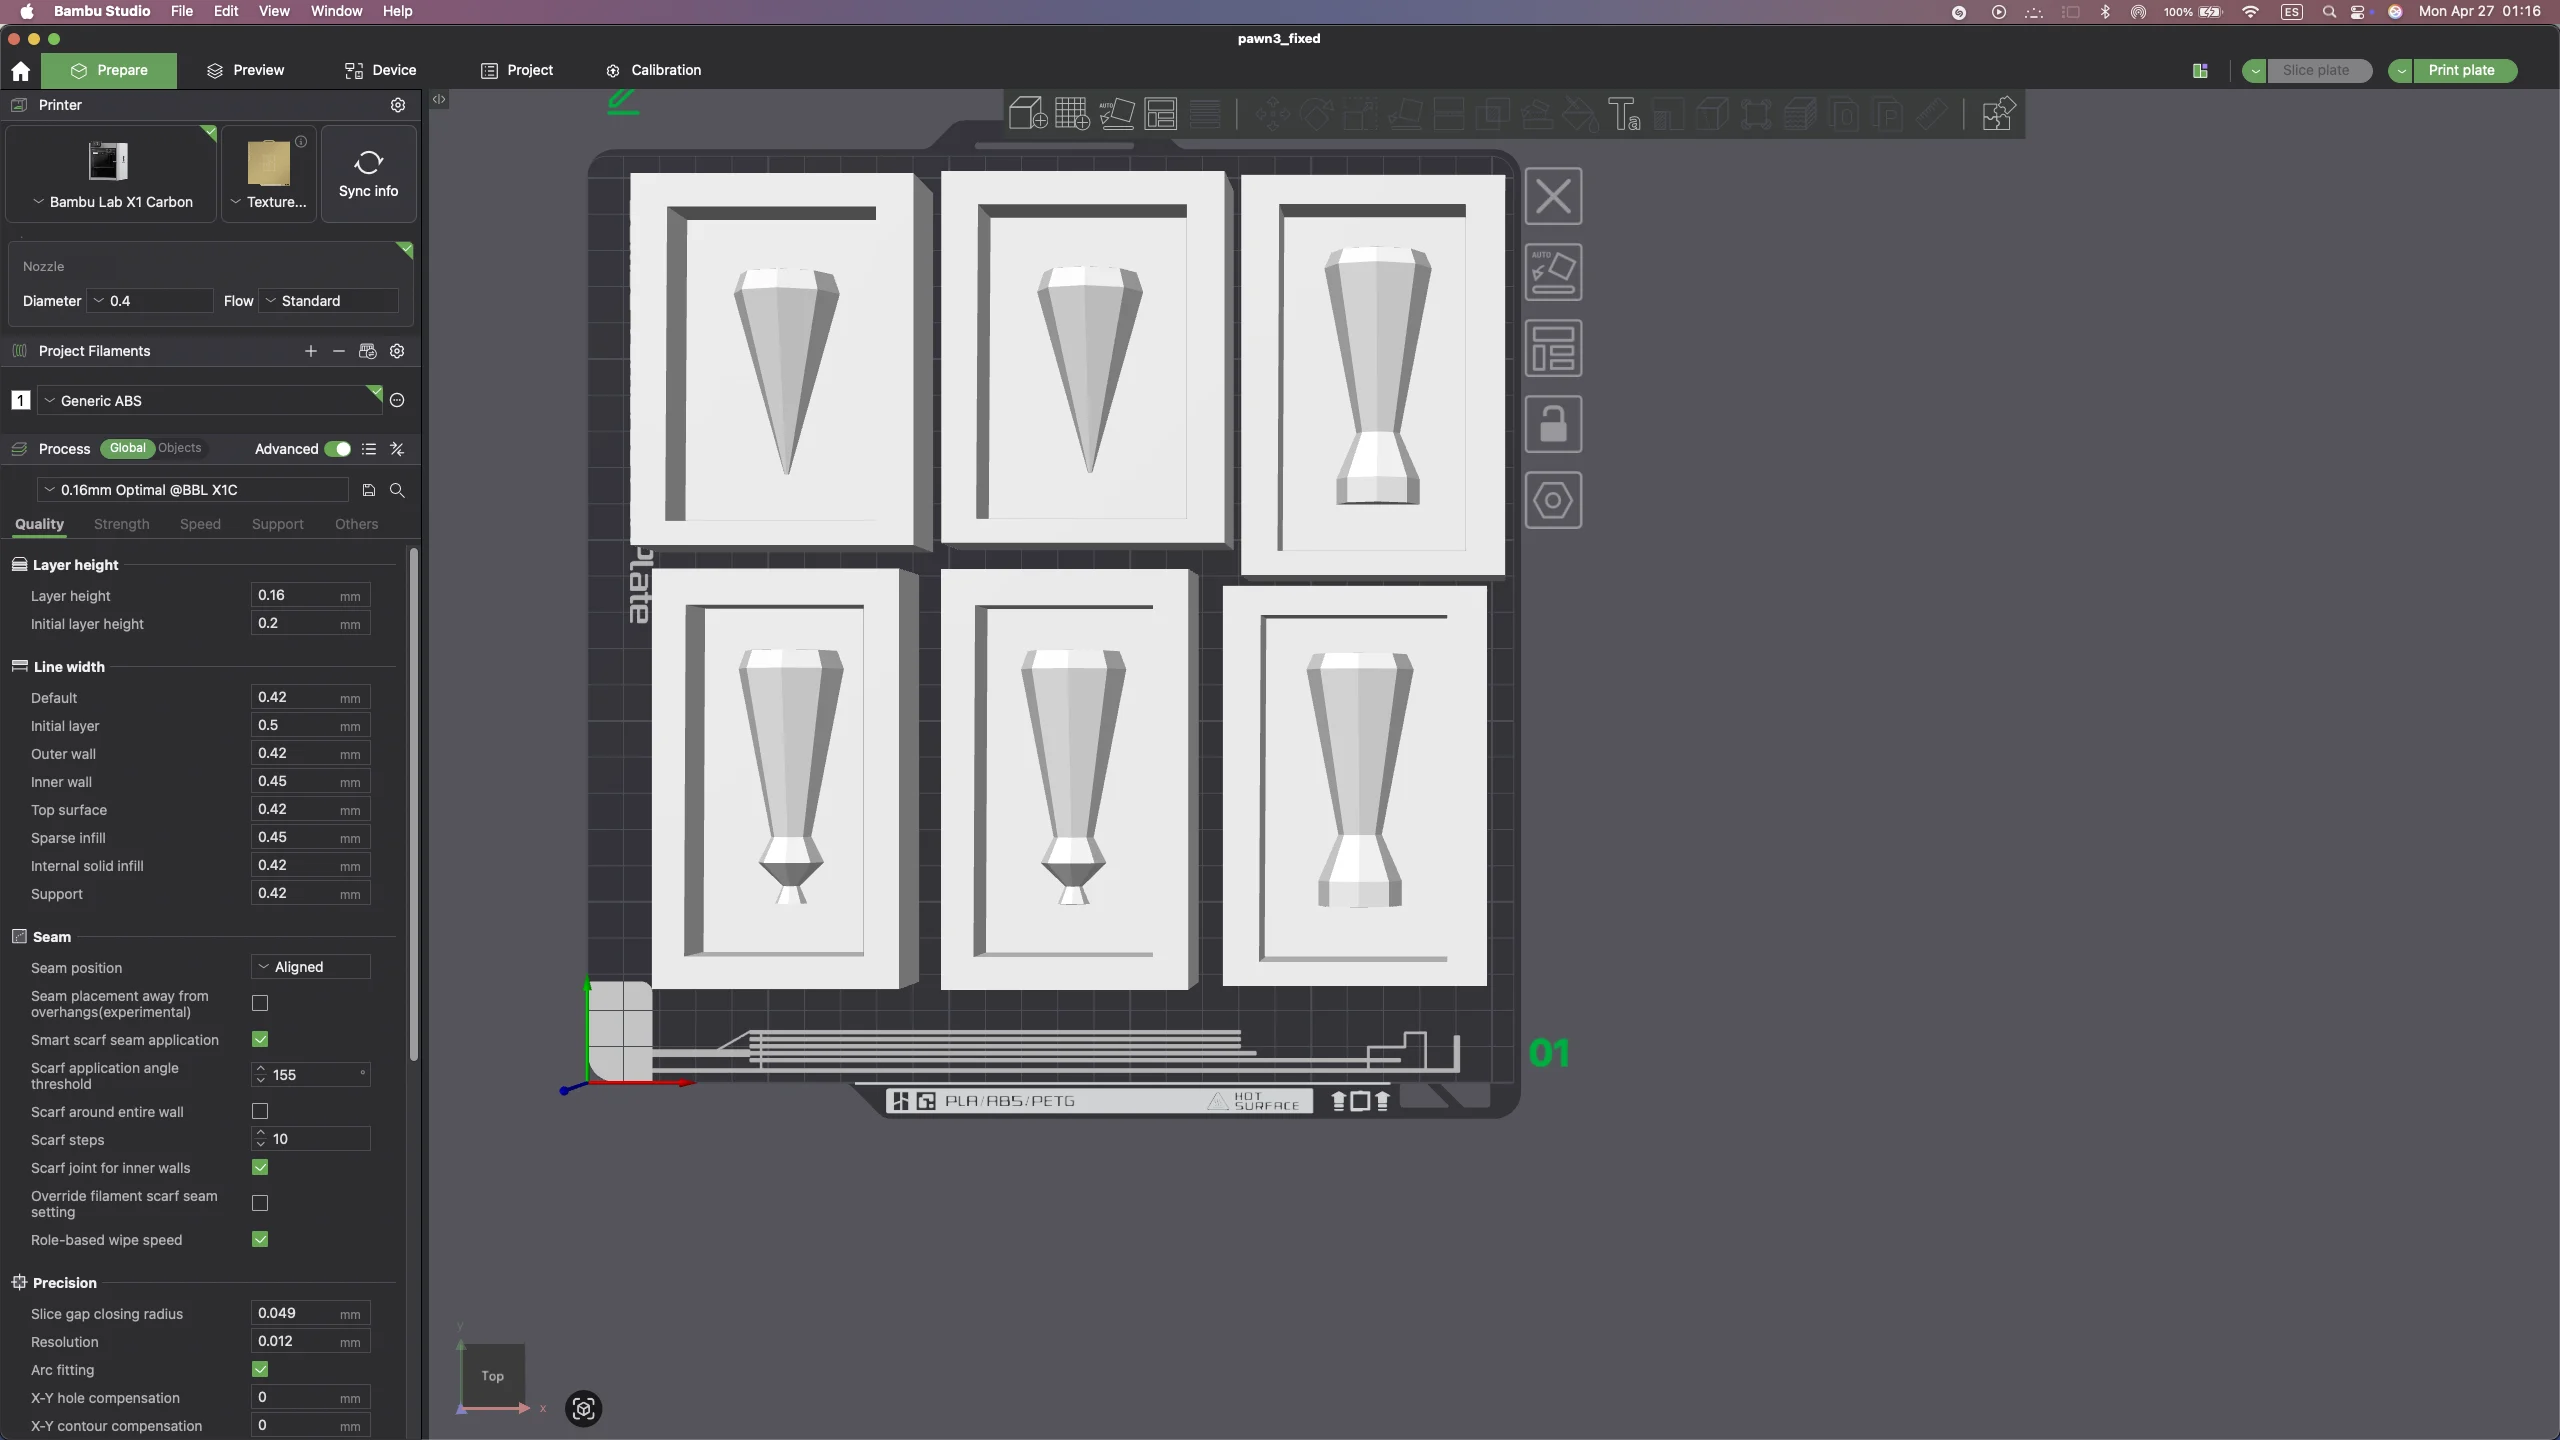
→ remodelled
→ export as STL
→ add into Bambulabs for slicing
→ send to print
→ sanding printing inaccuracies
→ resin application for smooth finish
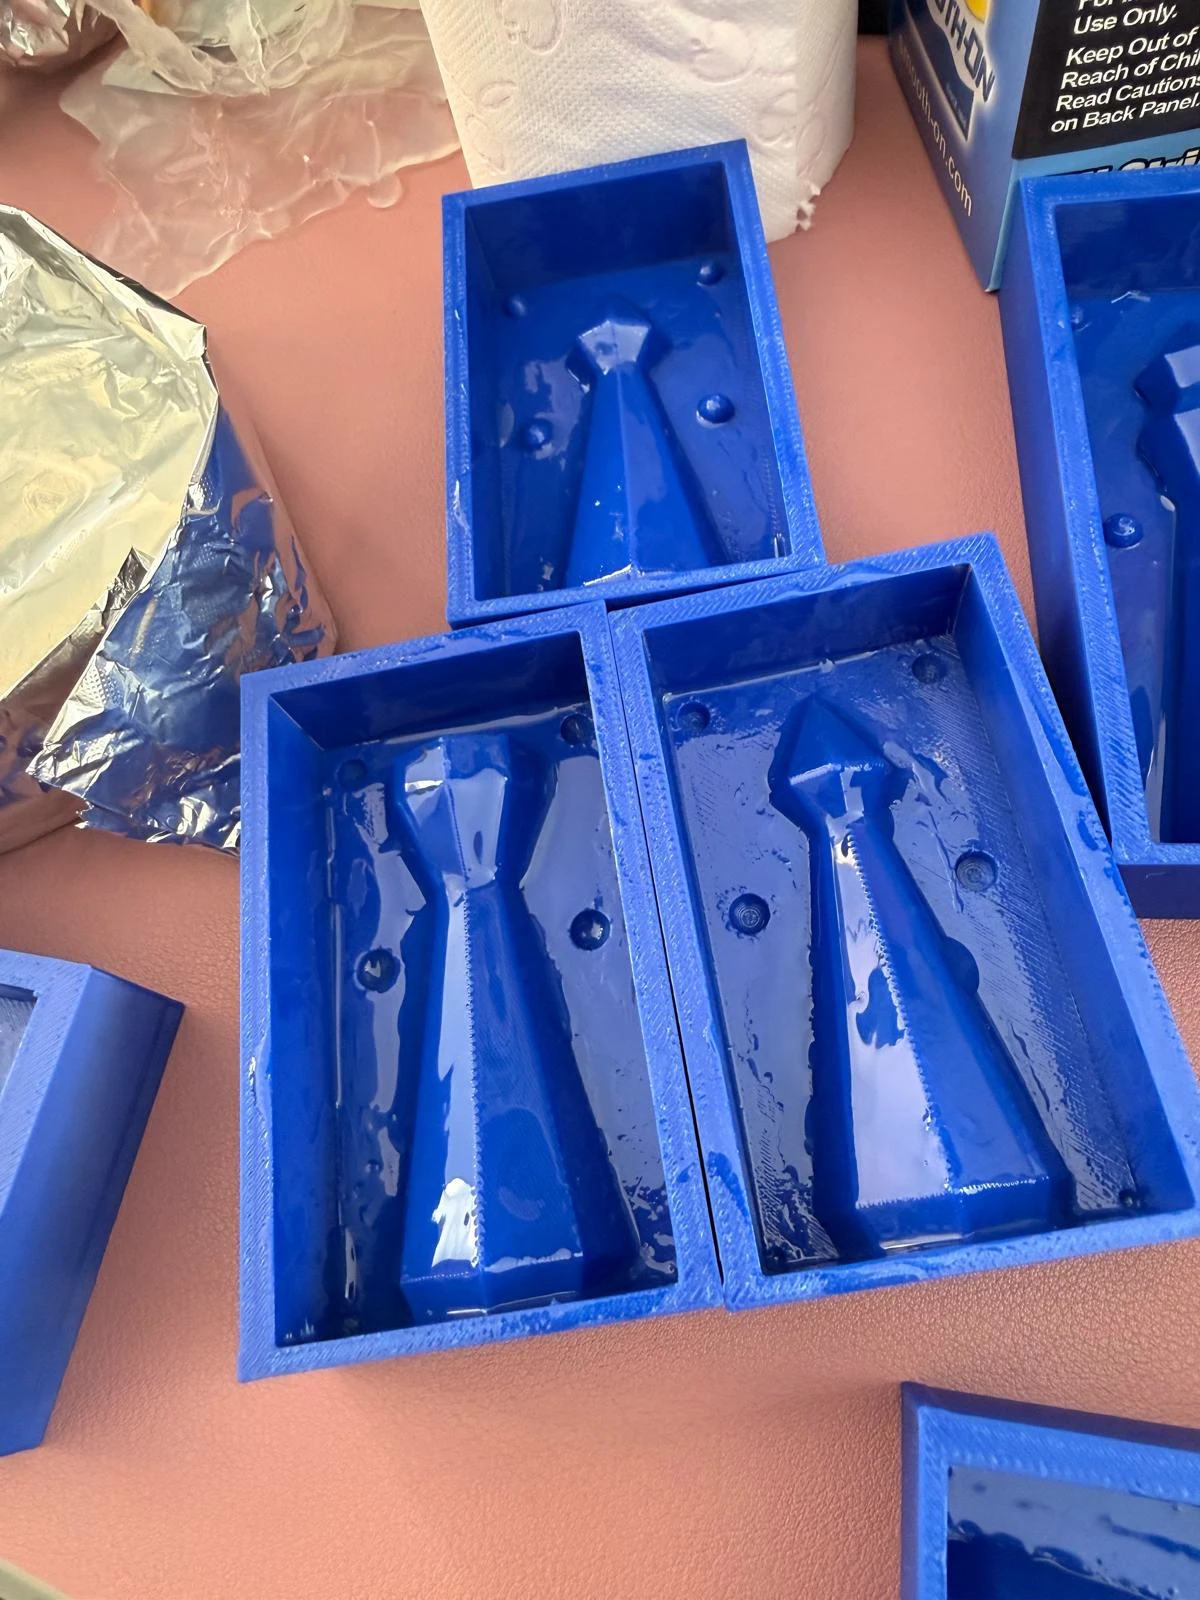
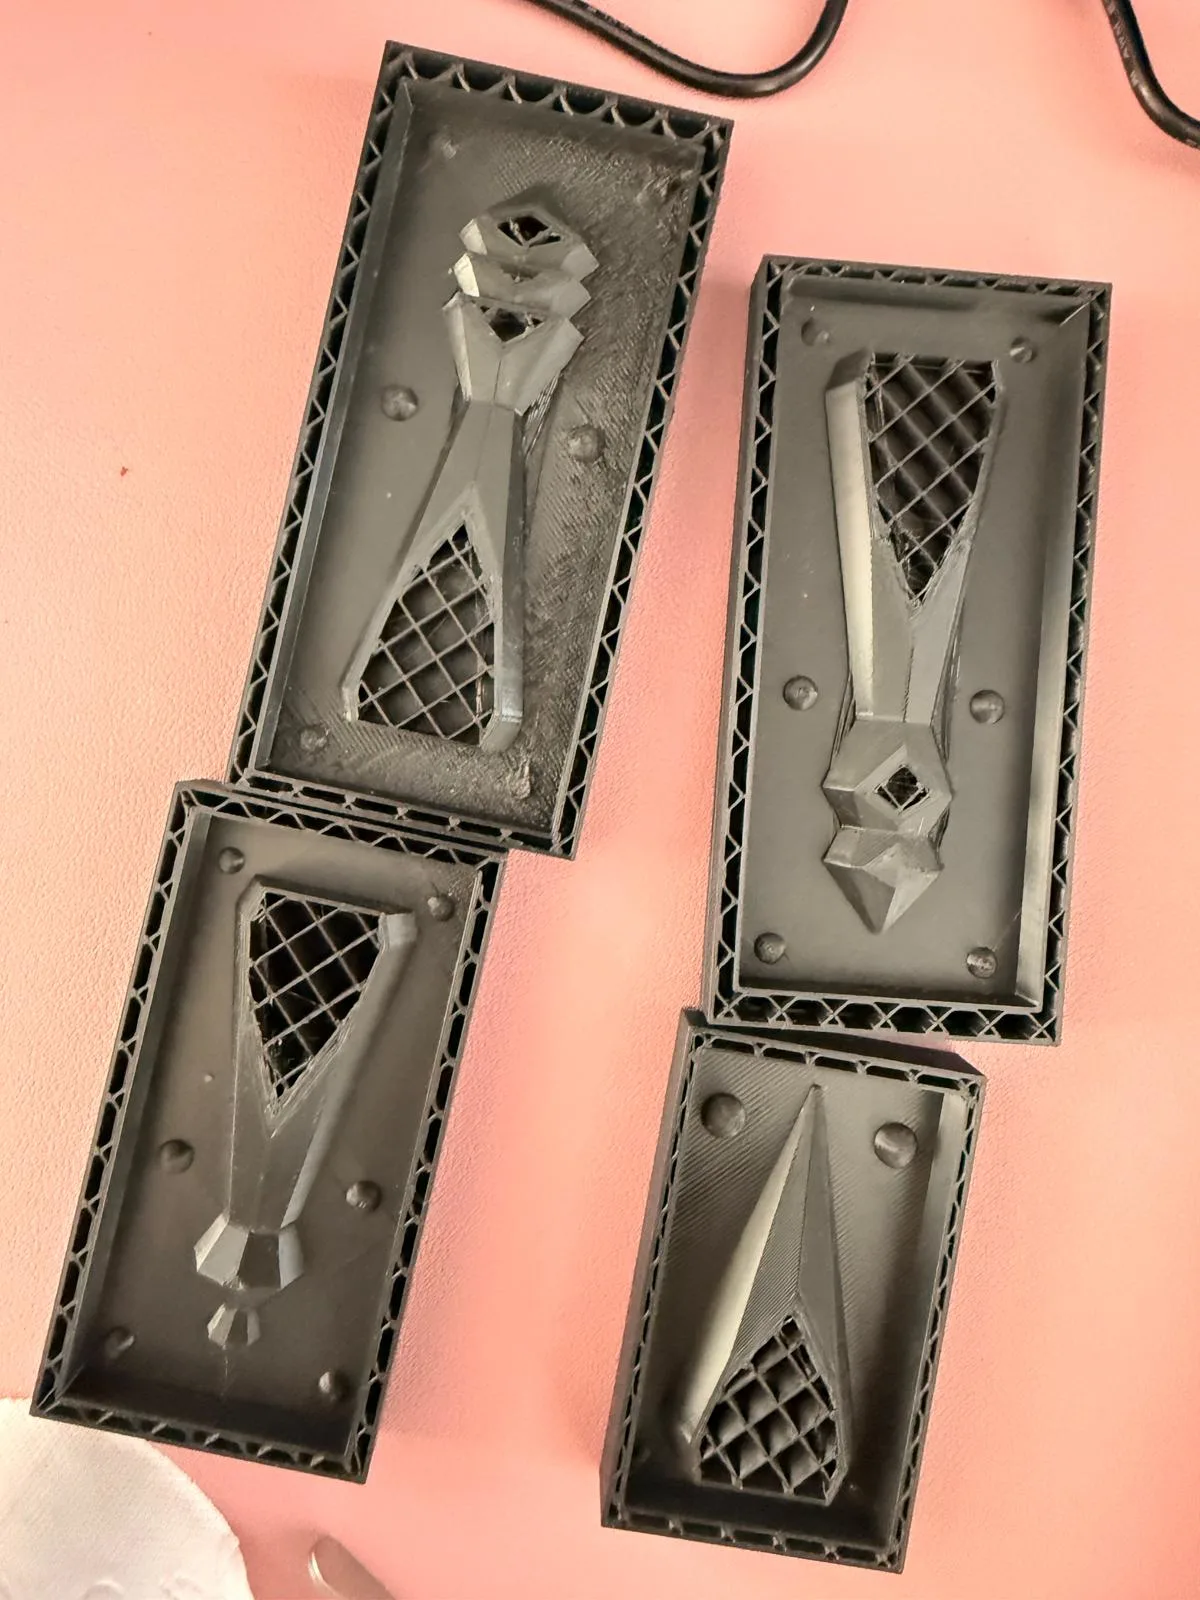
→ poured the mould
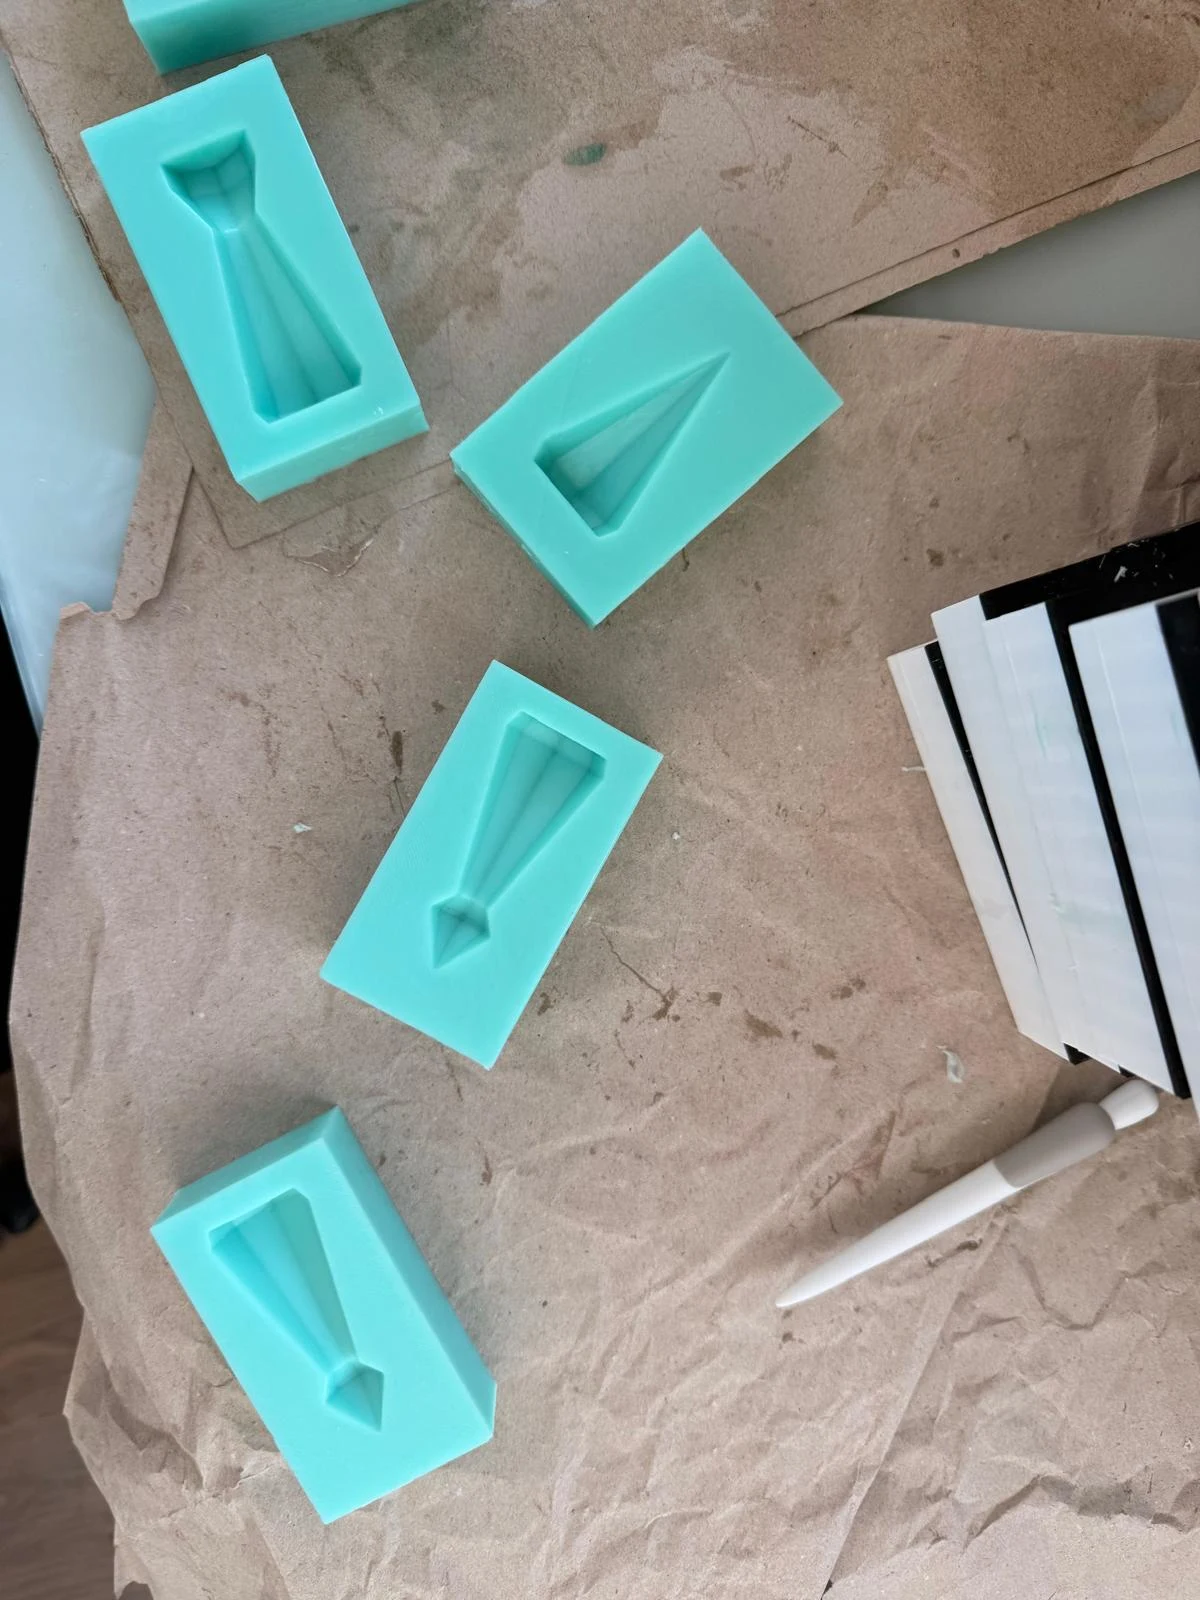
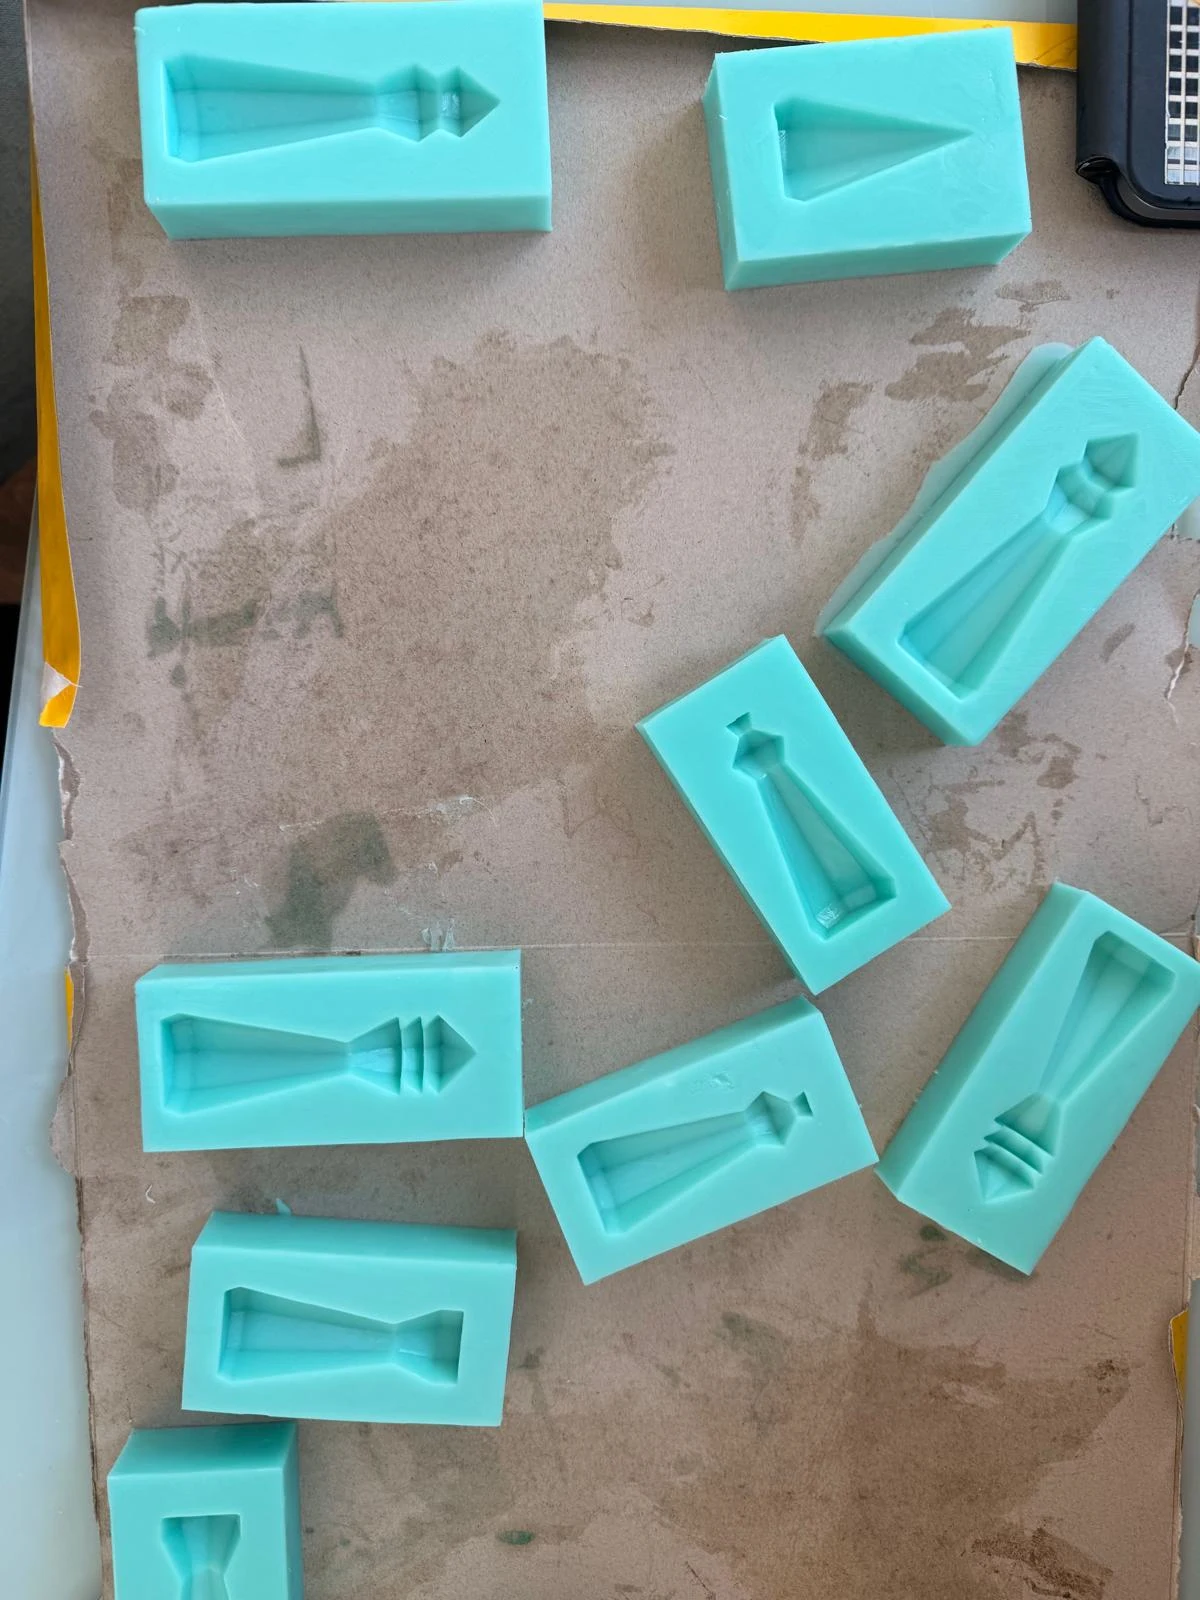
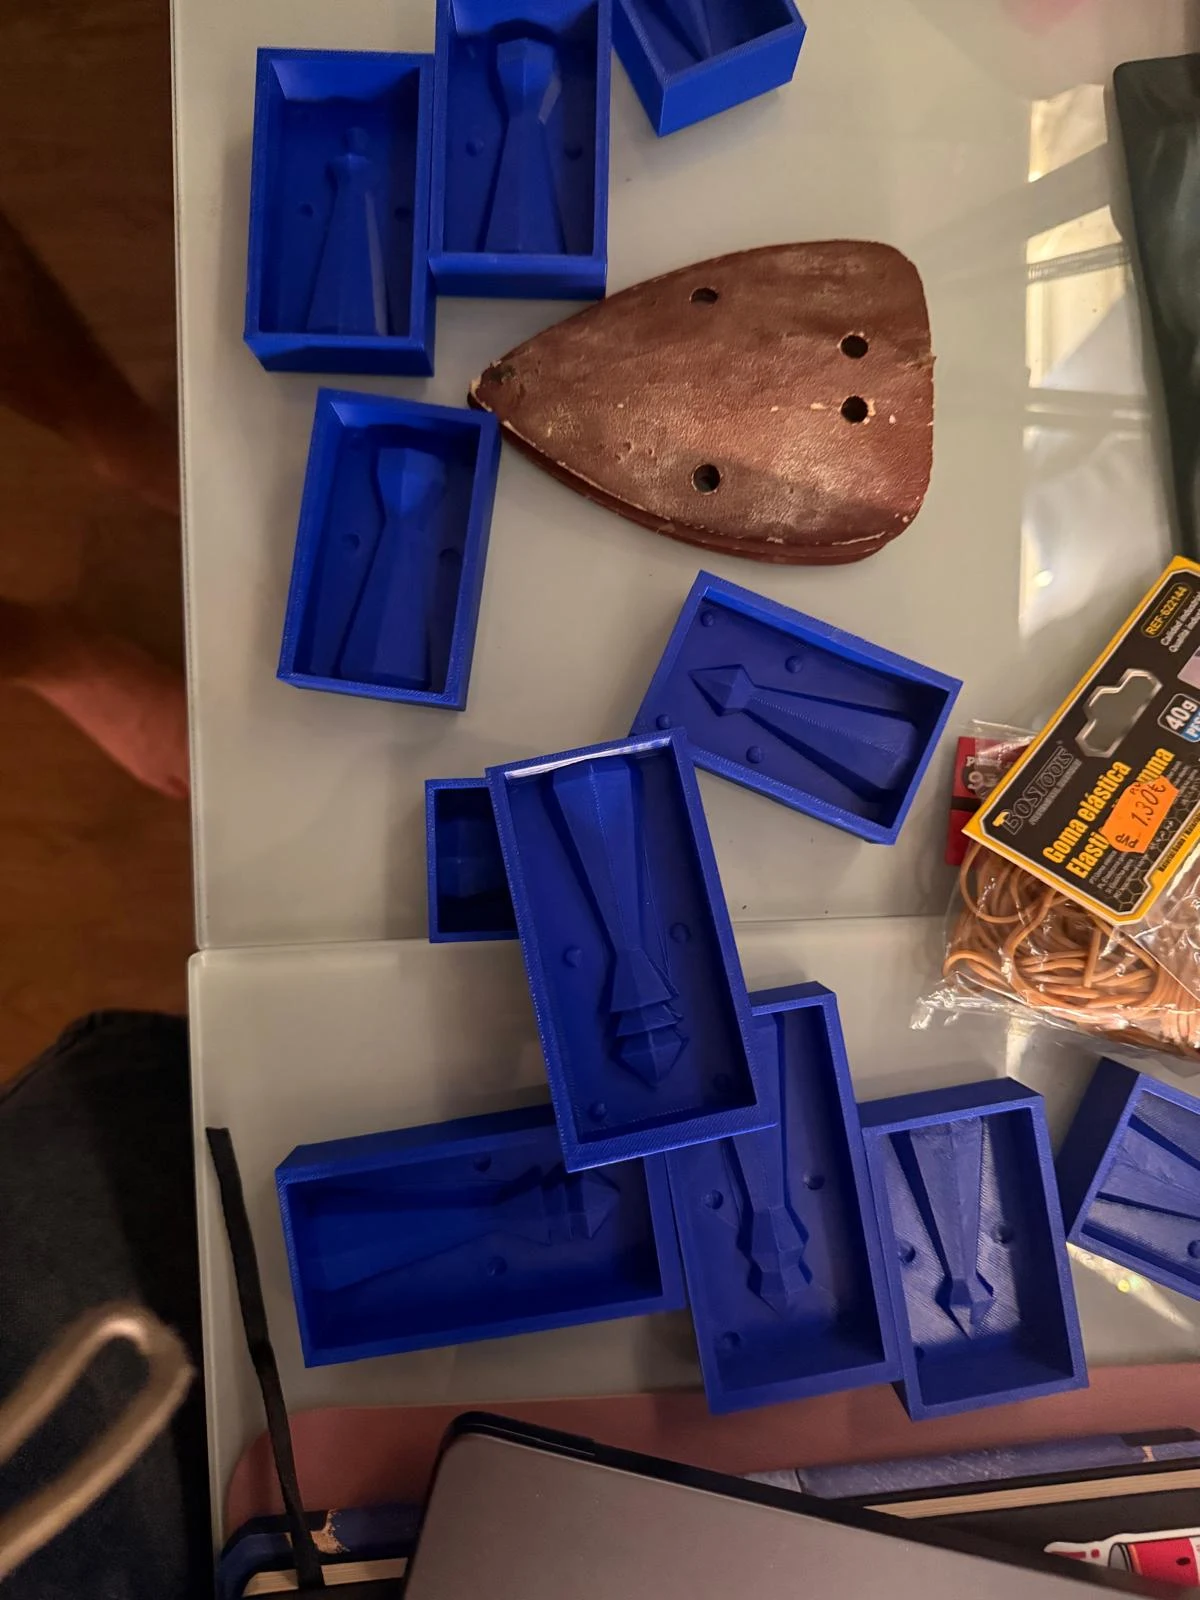
→ moulds dried and ready for casting
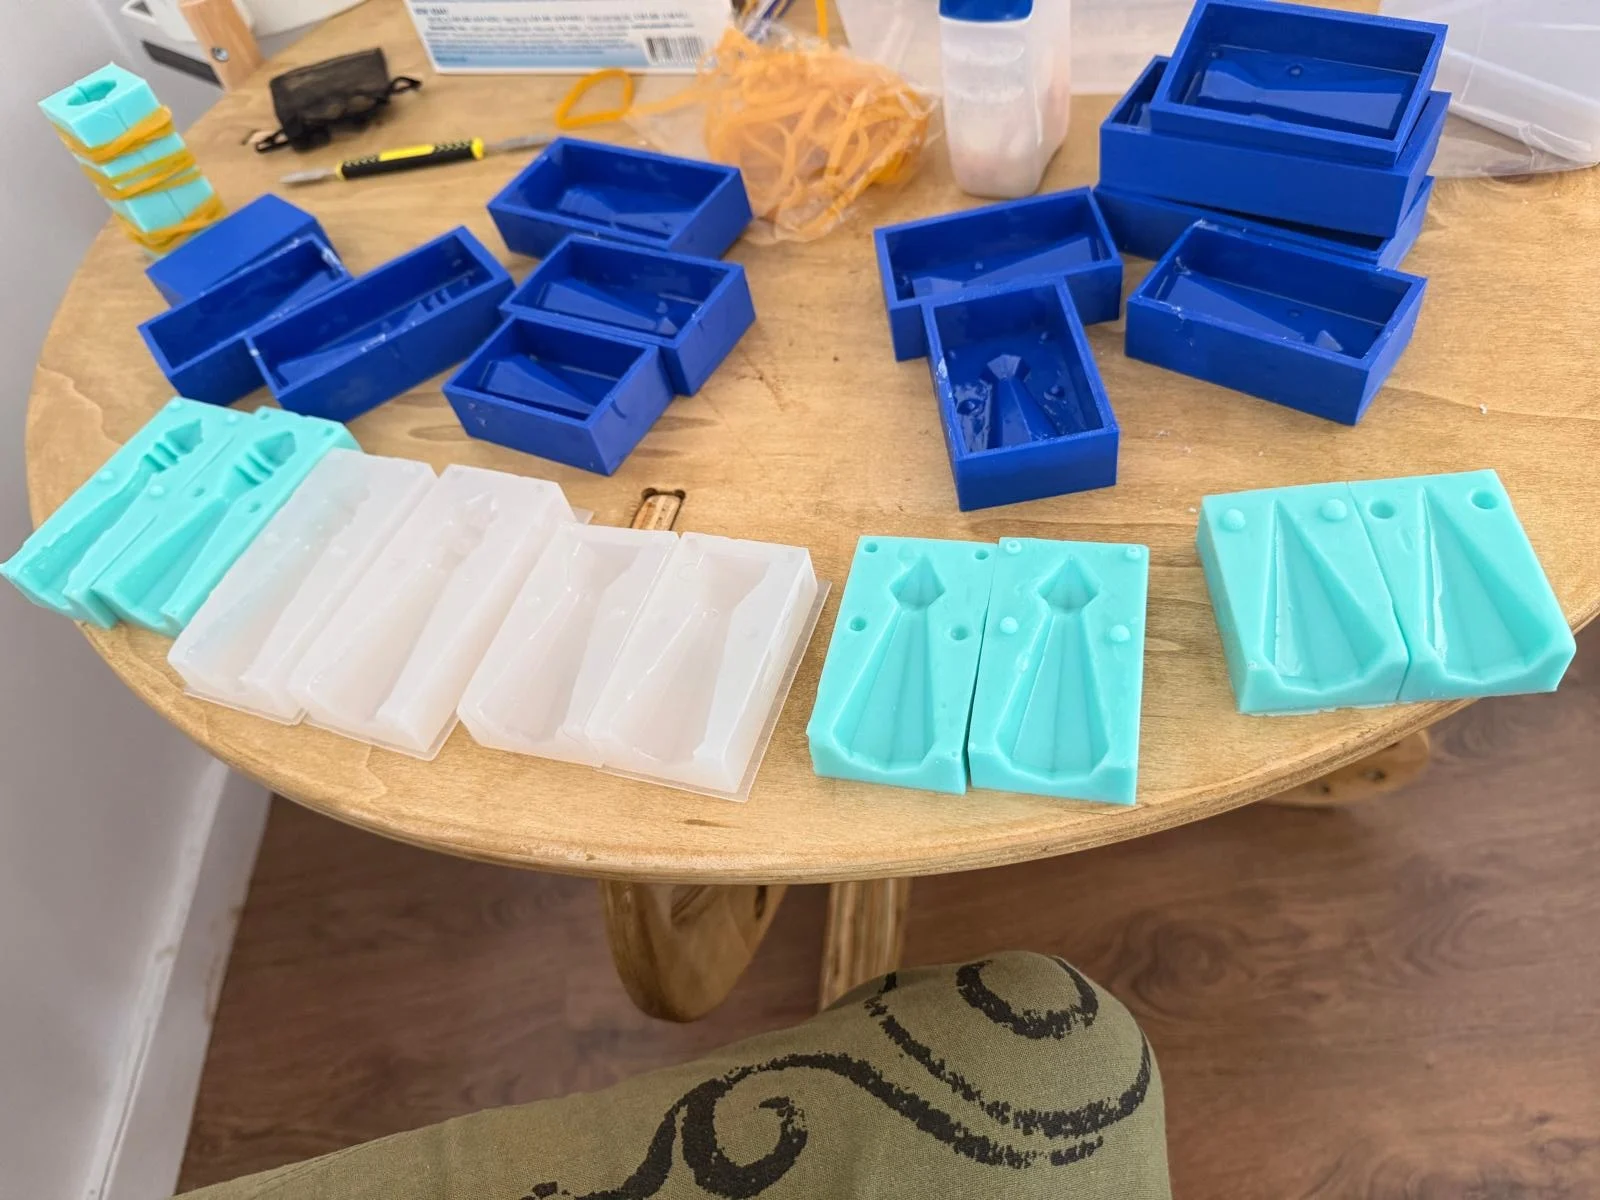
→ moulds looking well aligned
→ trimmed minor imperfections
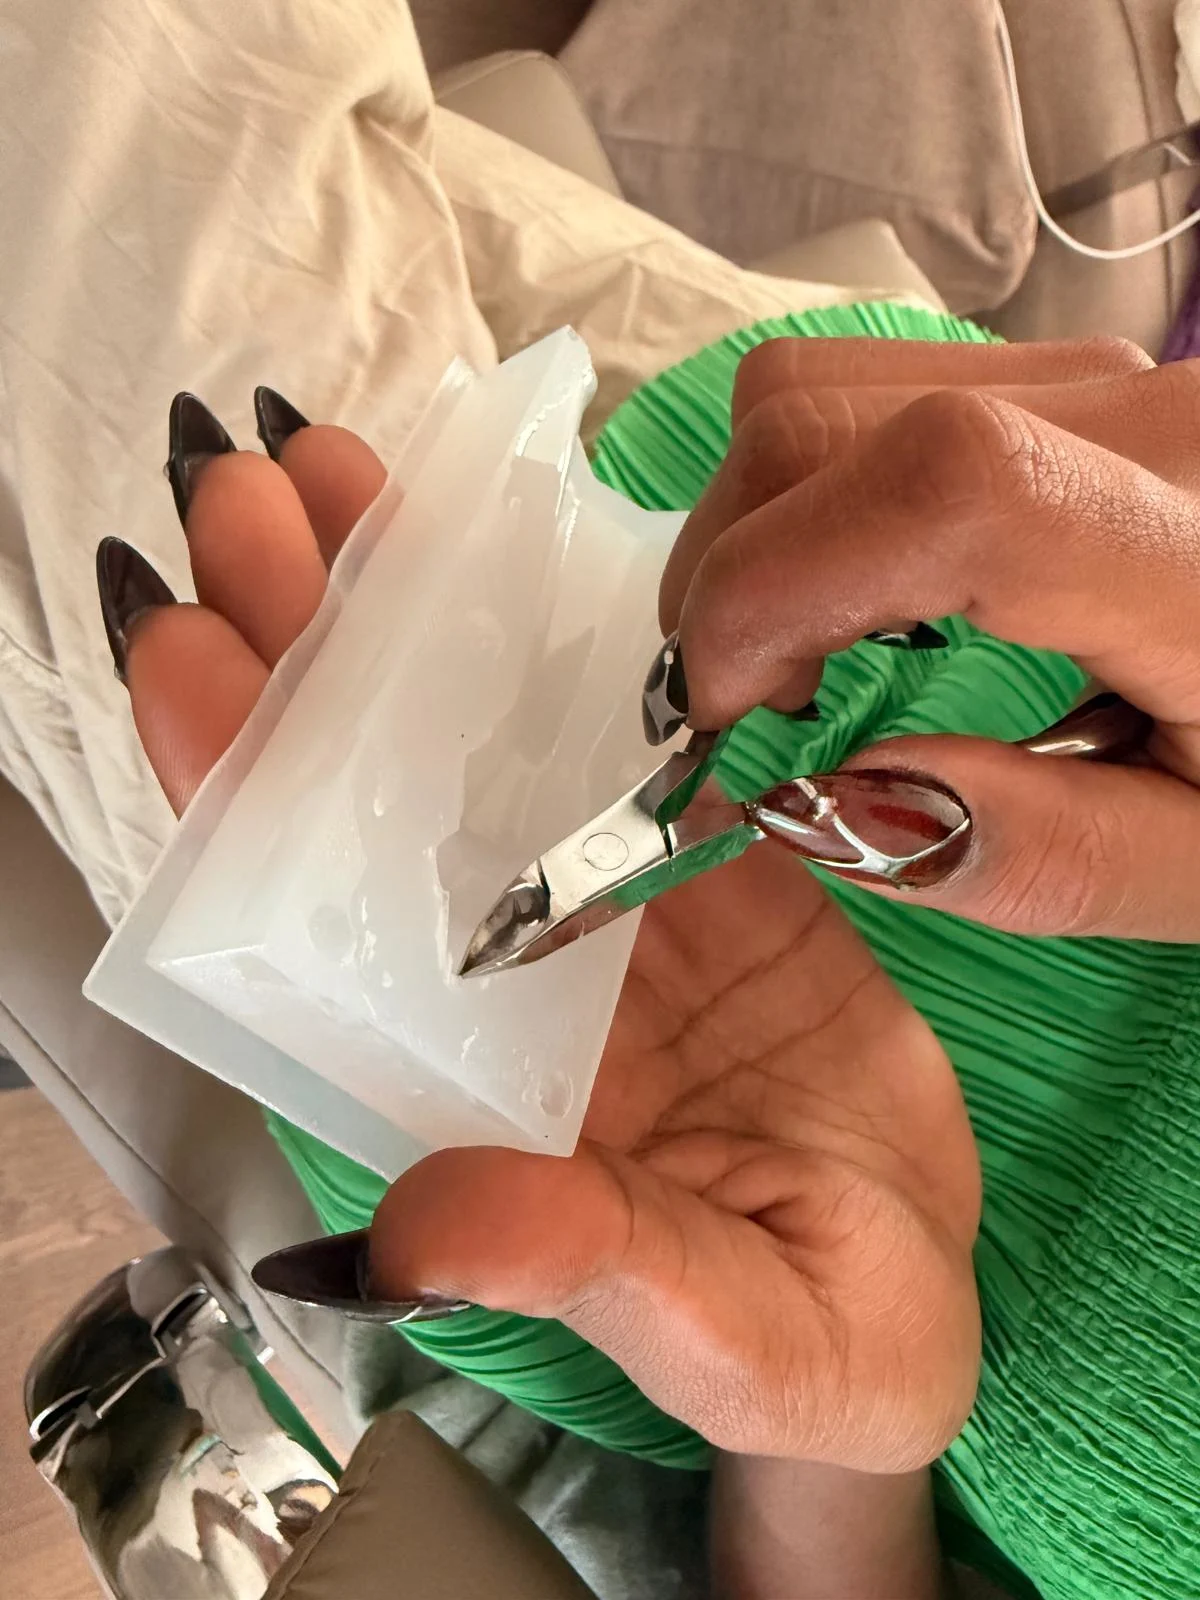
→ Pre pouring concrete in more complex parts of model to reduce bubbles
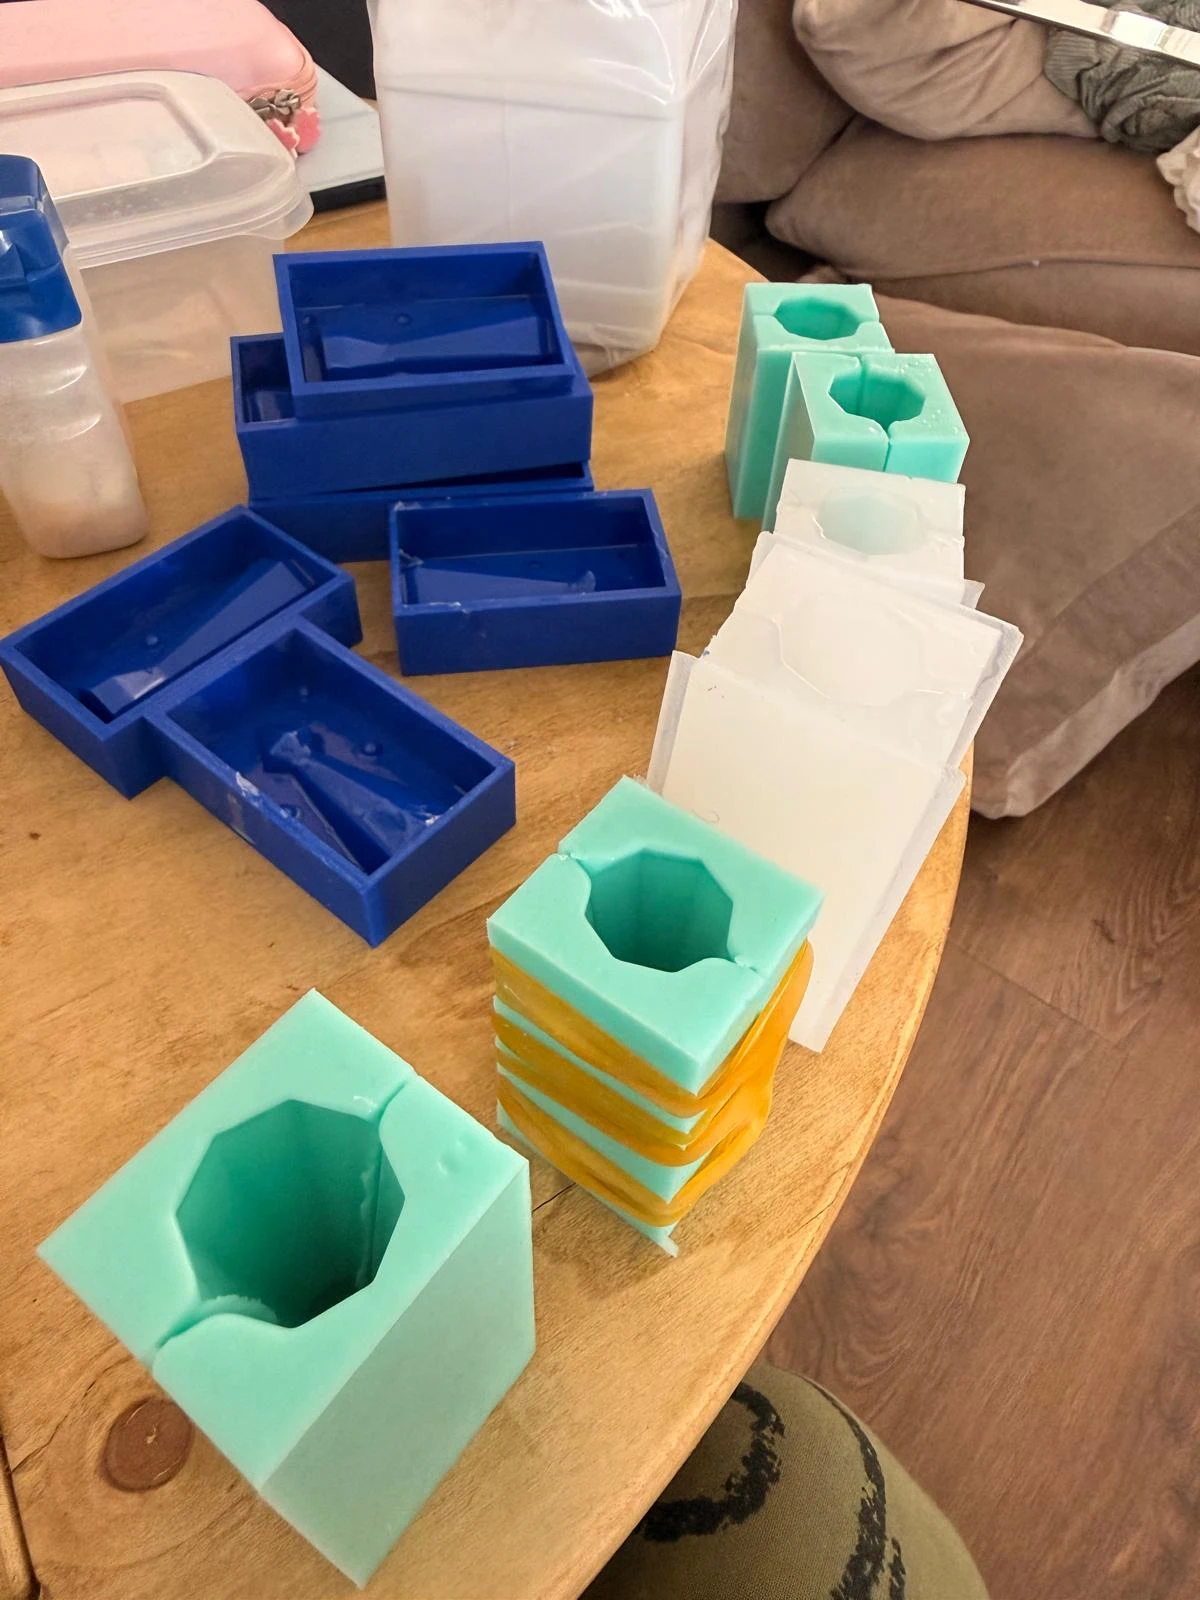
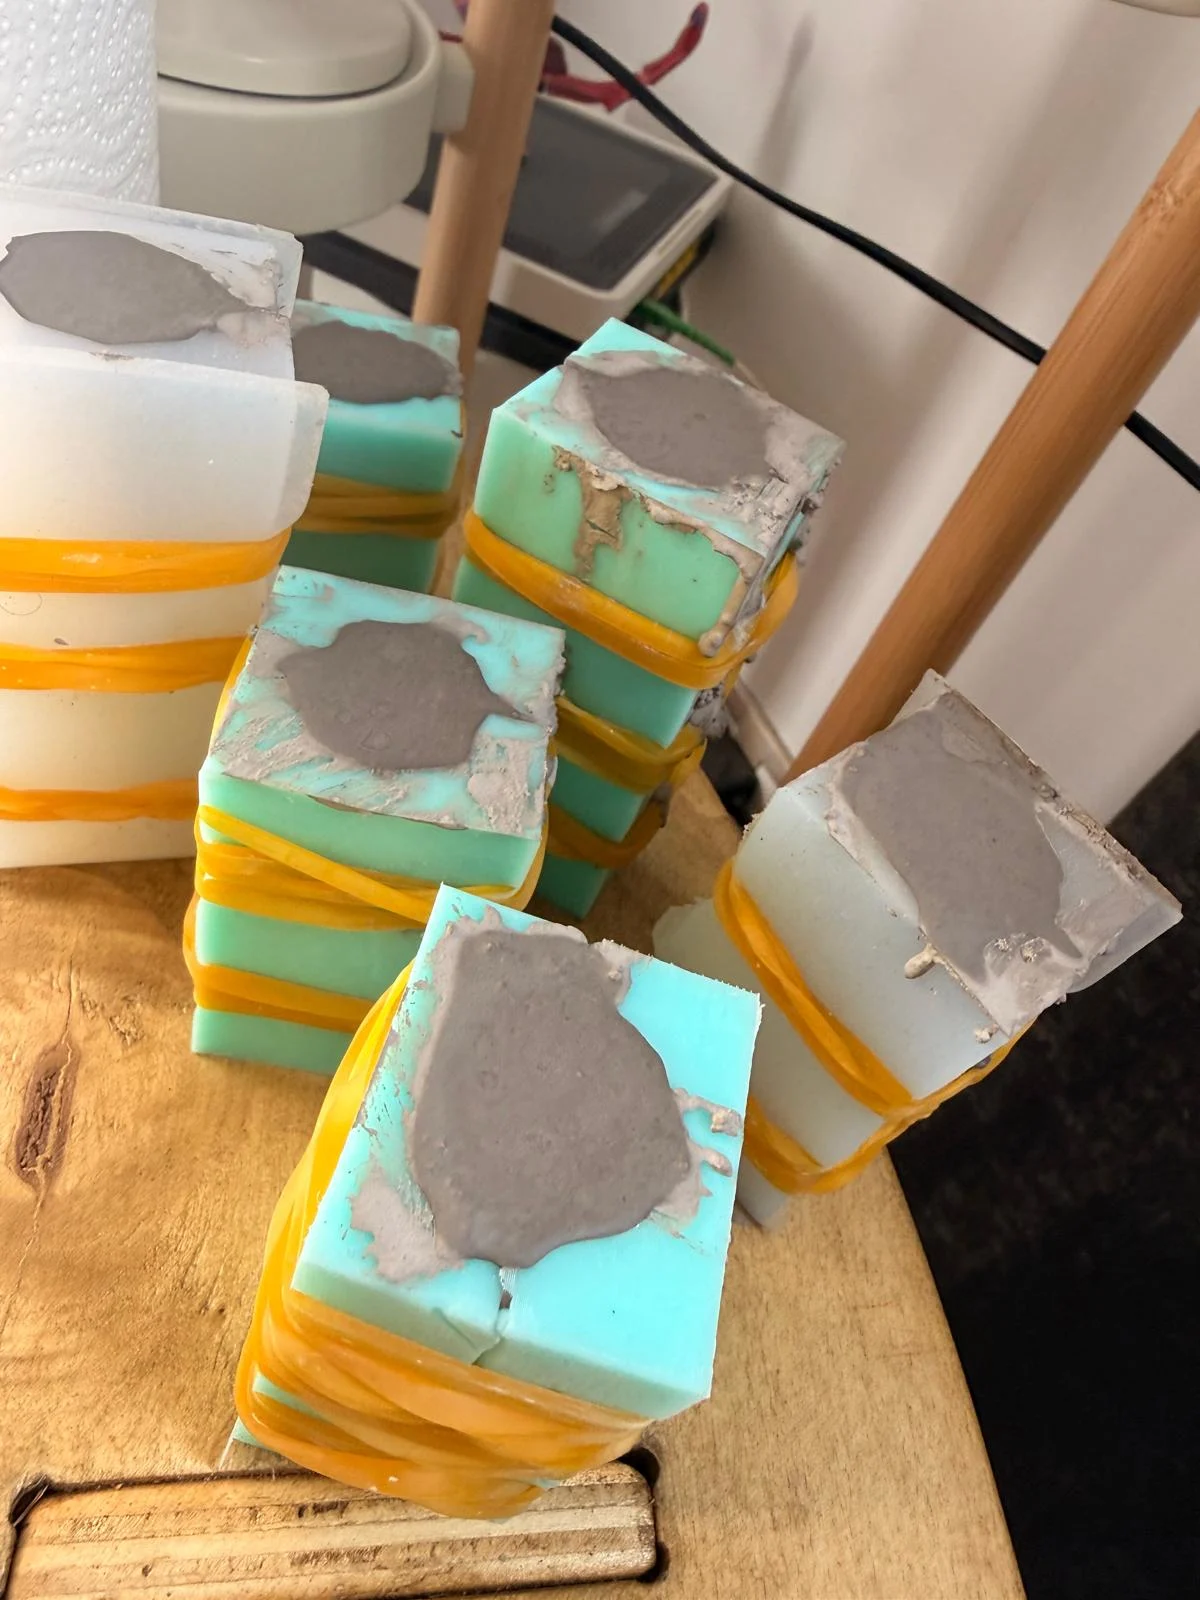
→ moulds poured and held firmly in place with rubber bands
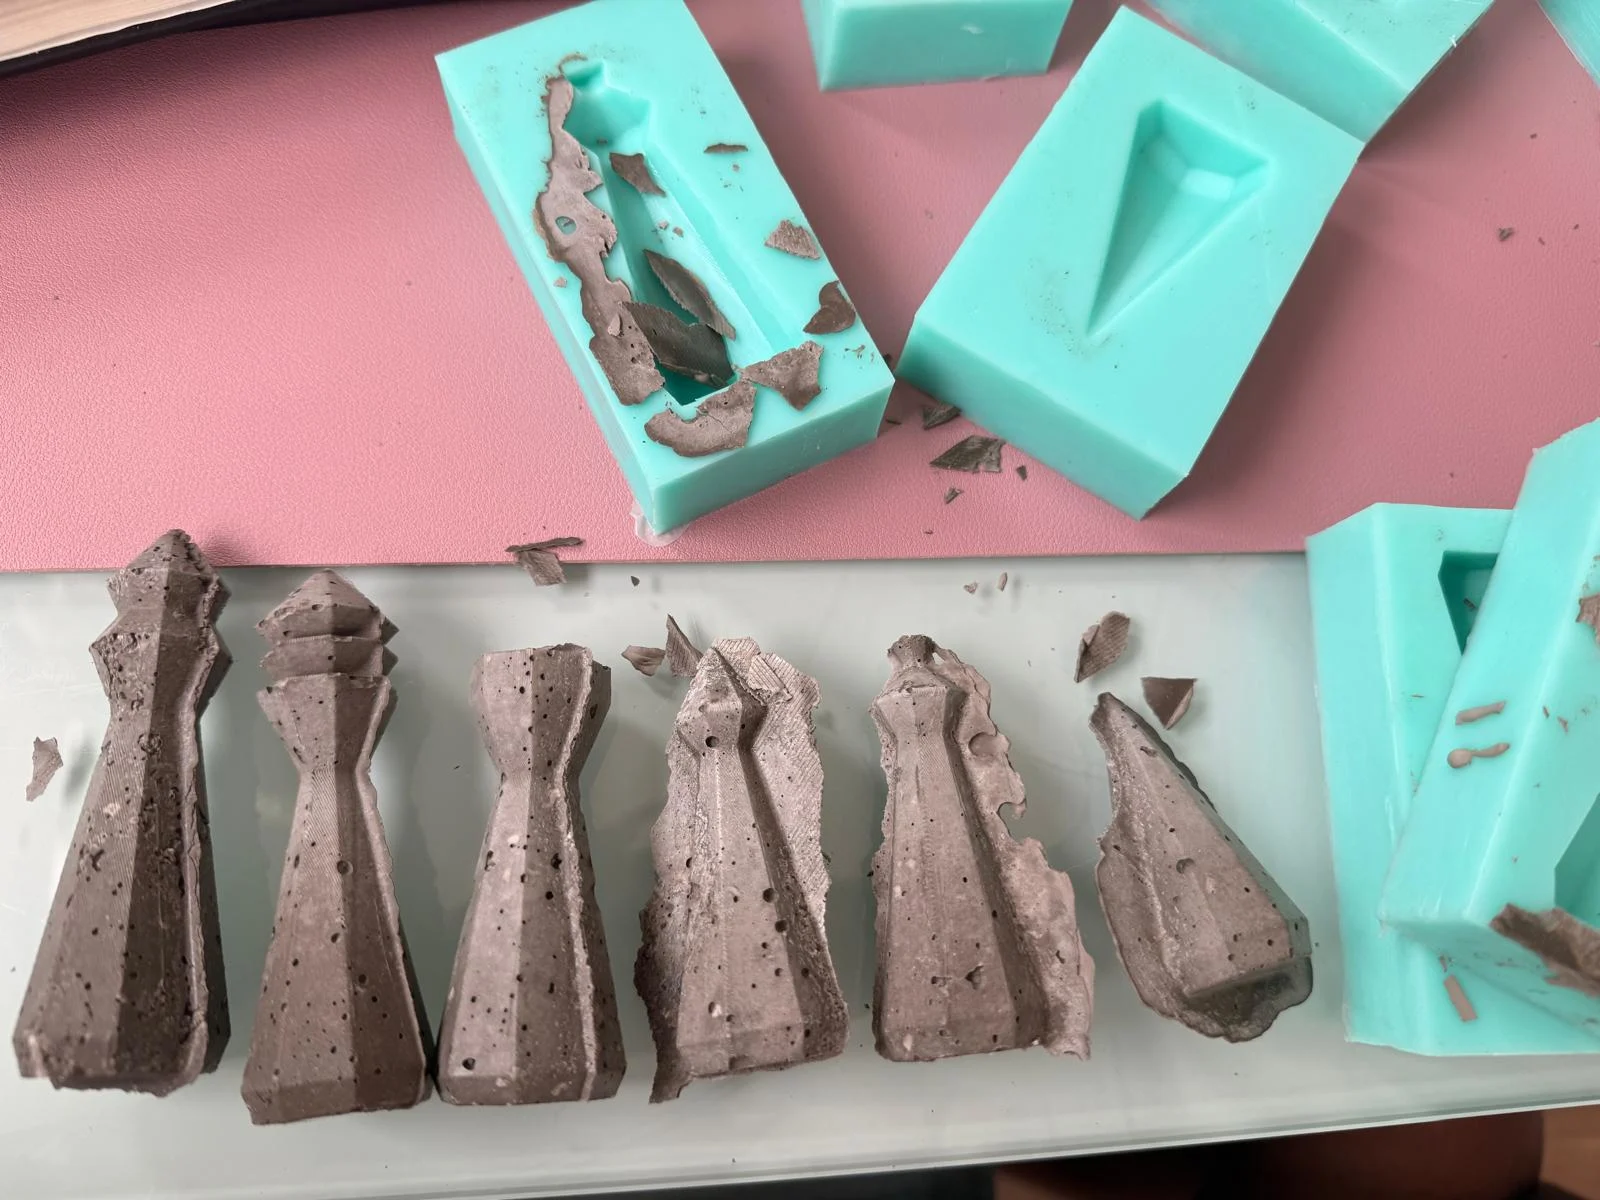
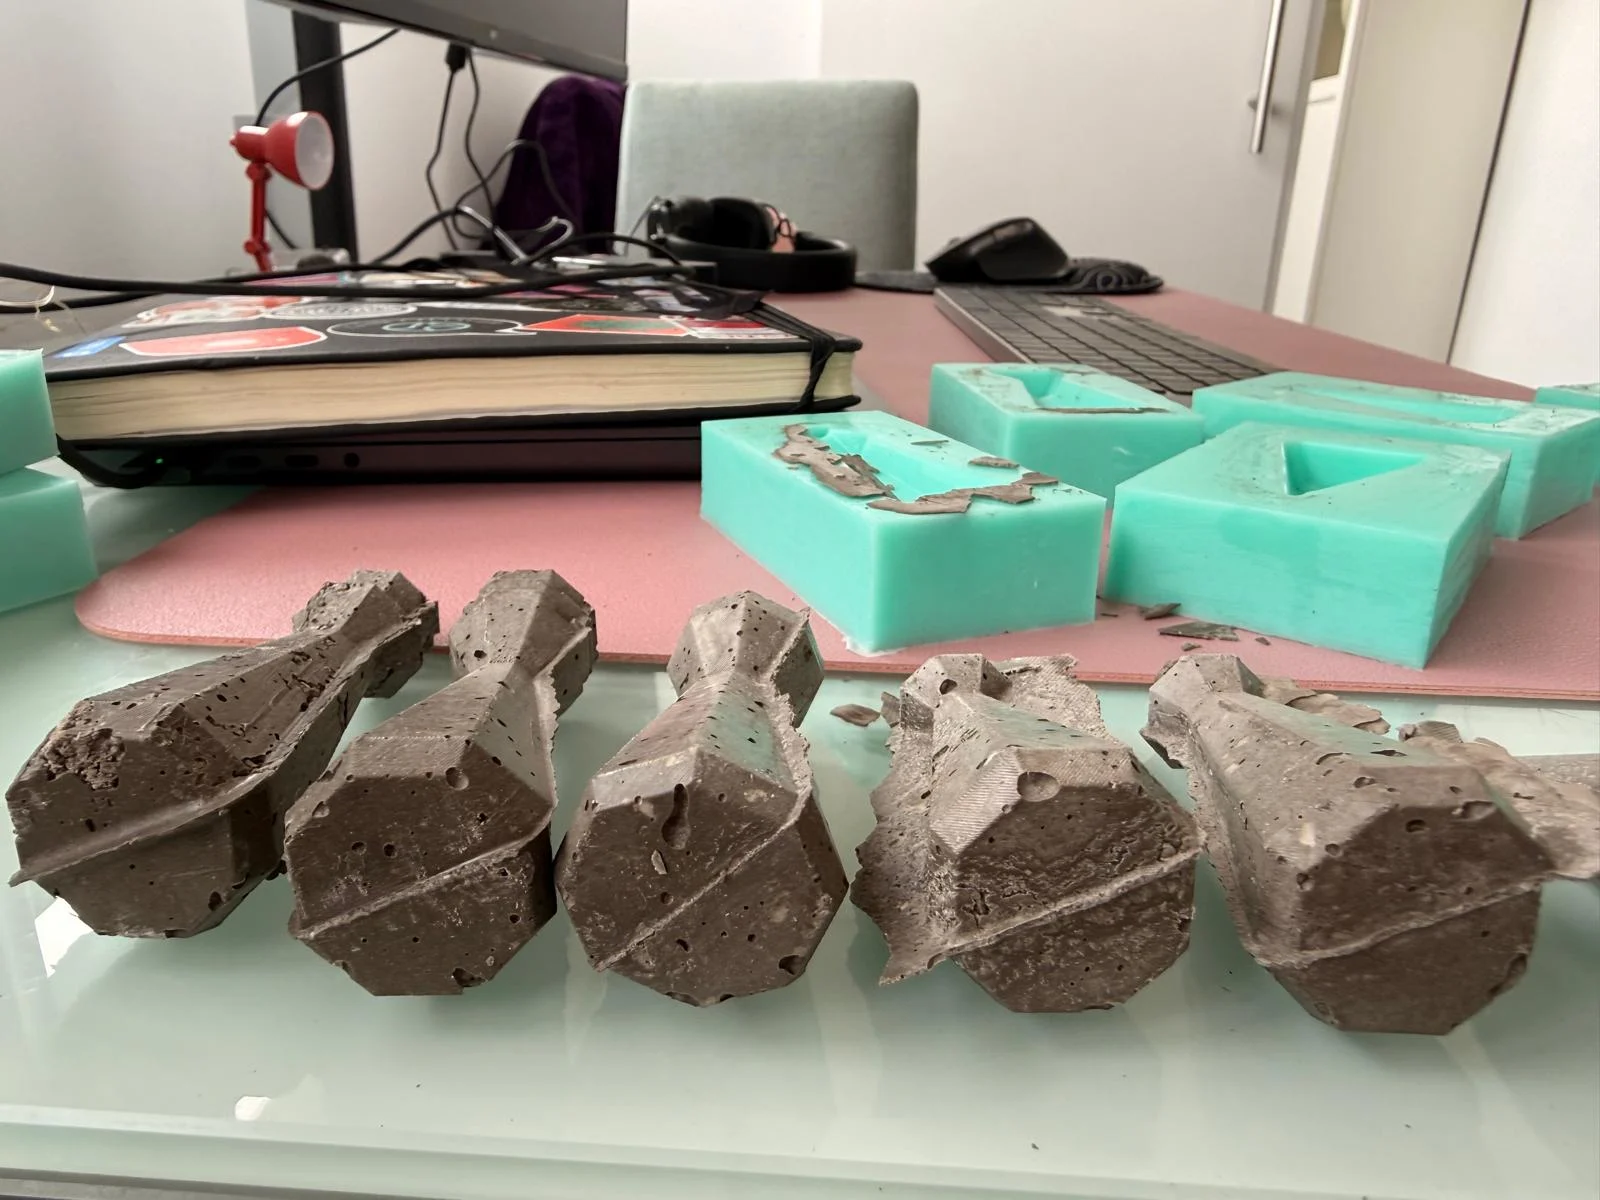
RESULTS
the pieces are much better aligned now. Minimal bubbles. The pins & rubber bands helped a lot.
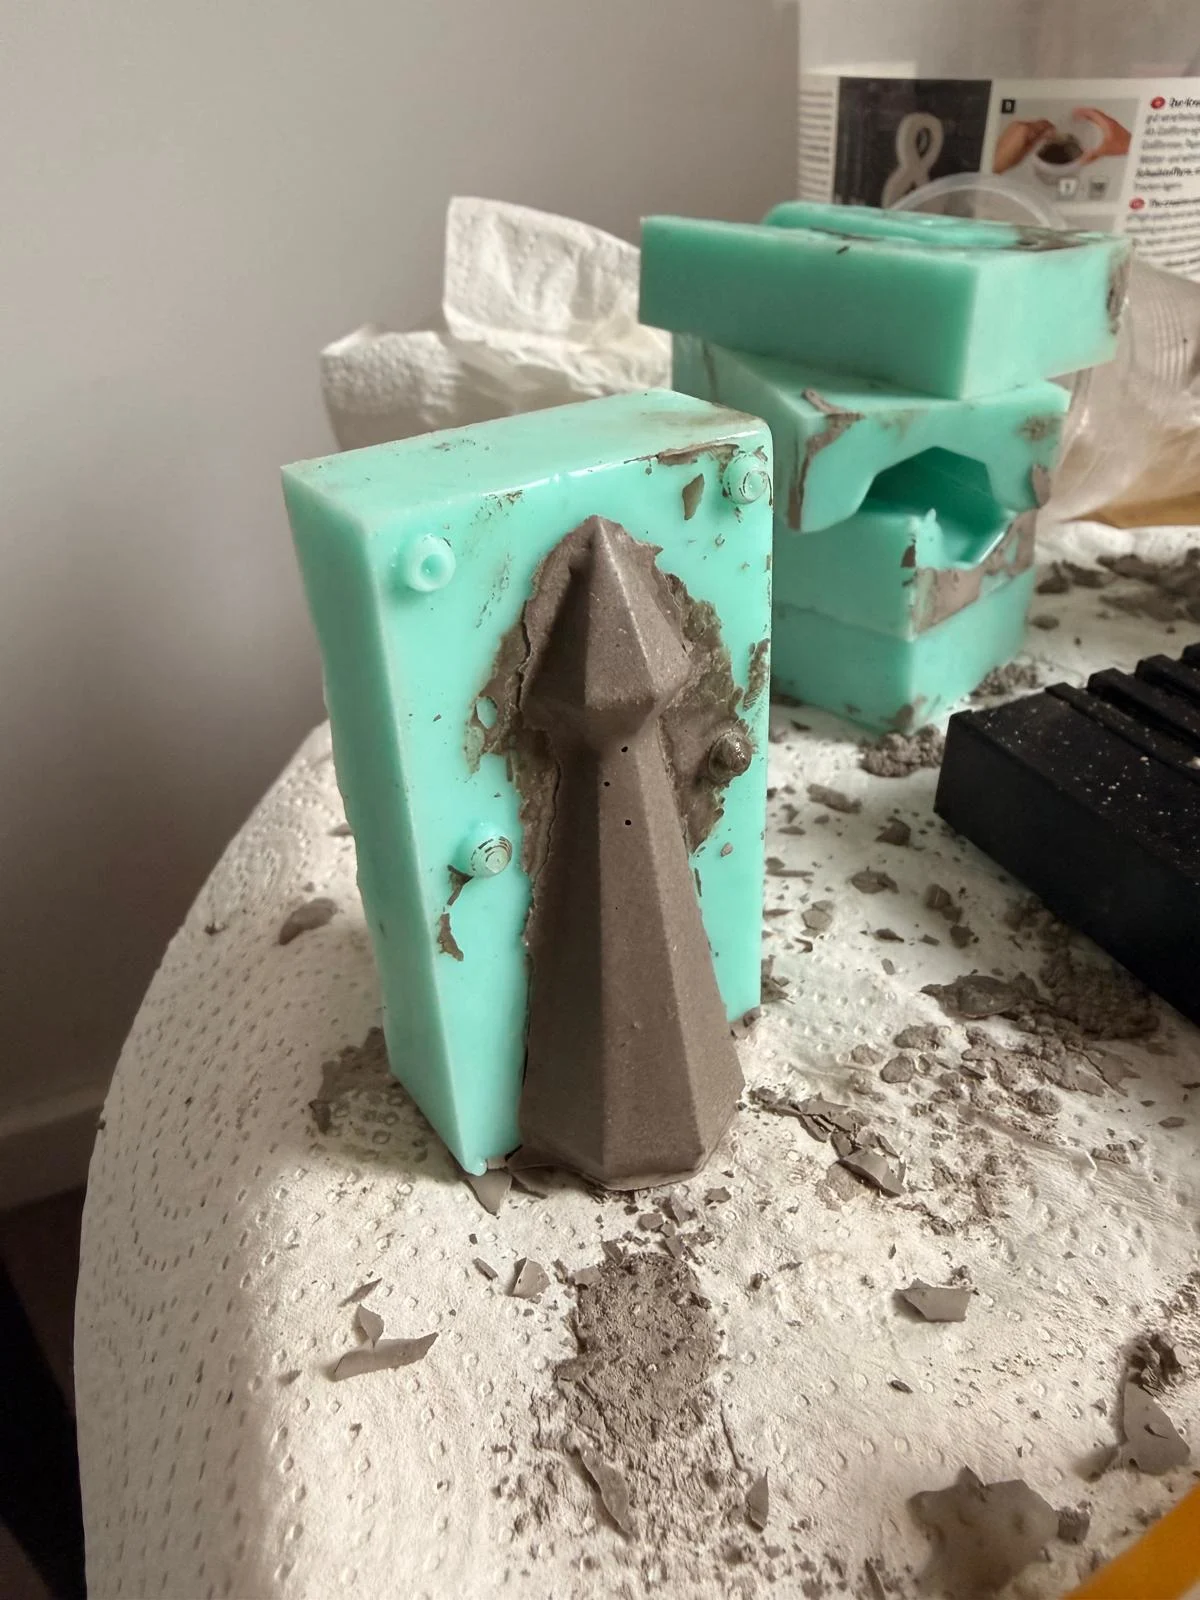
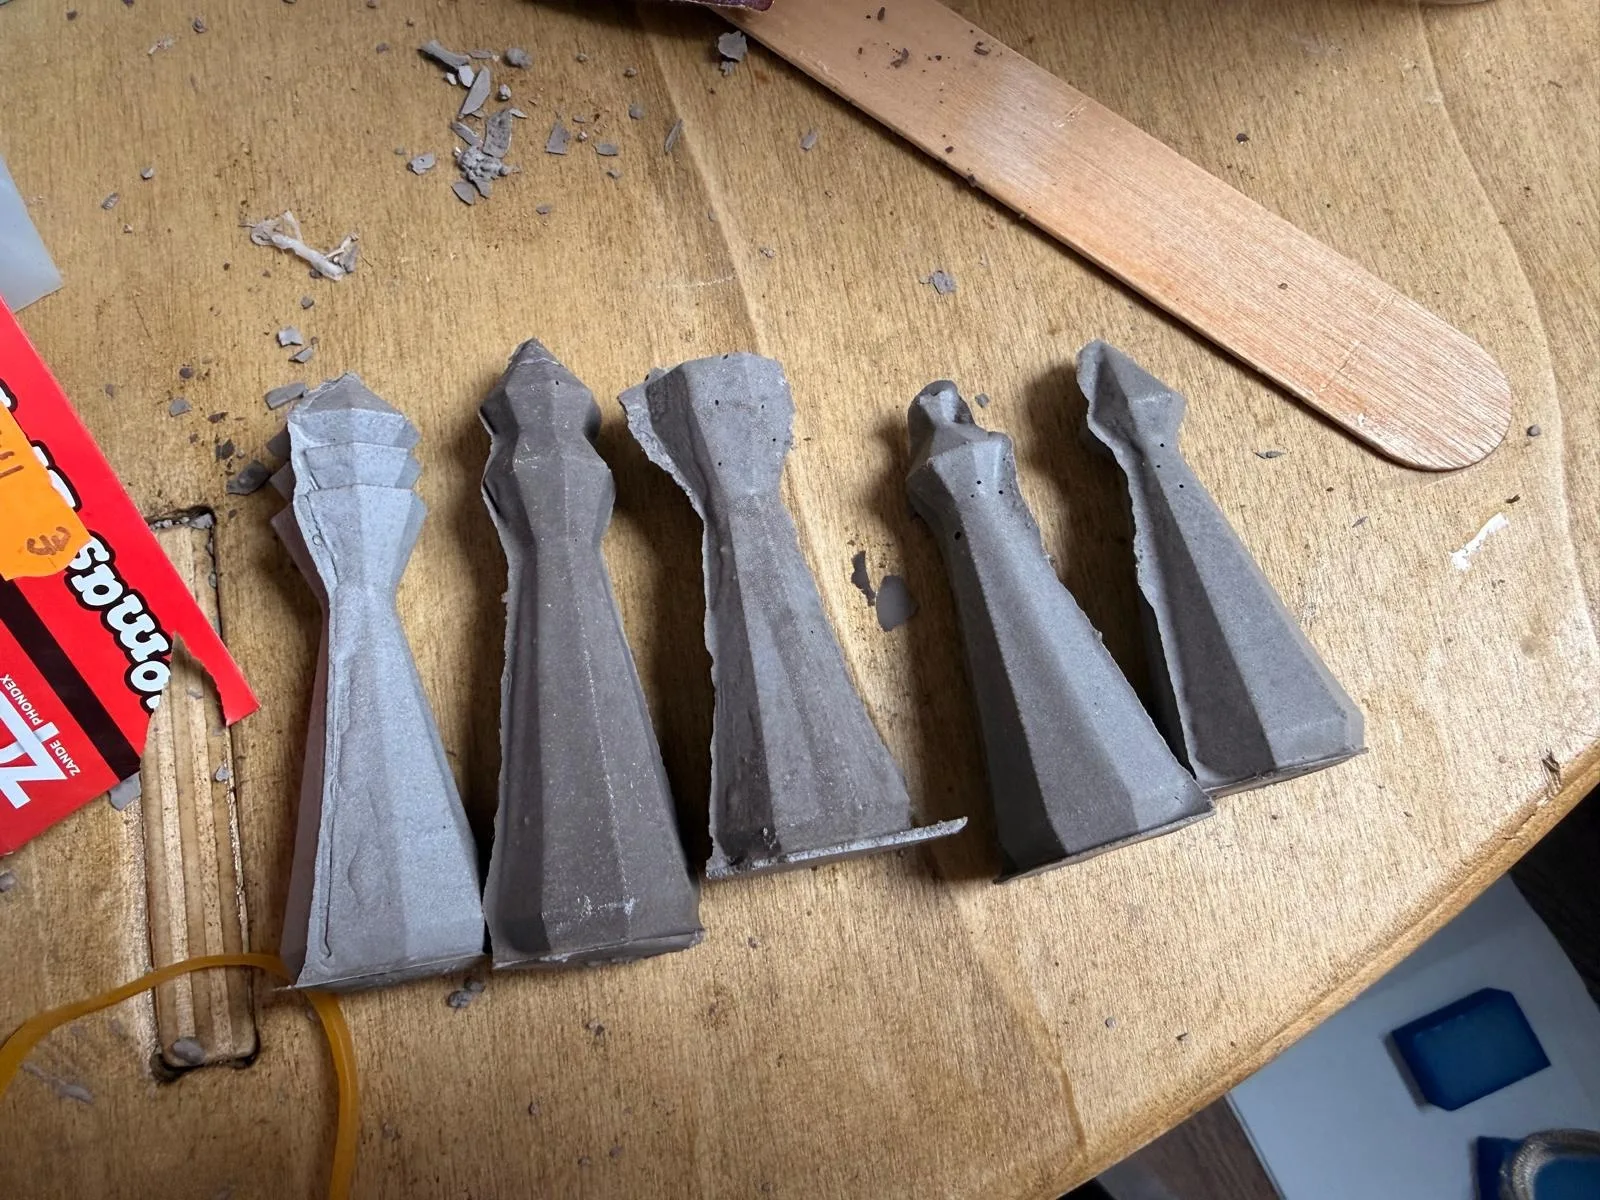
→ with result better I made extra pawn moulds so i could create 4 at a time
ISSUES
- print issues:
- initial print failed:
- Modelling error:
- initial print failed:
- post-processing issues:
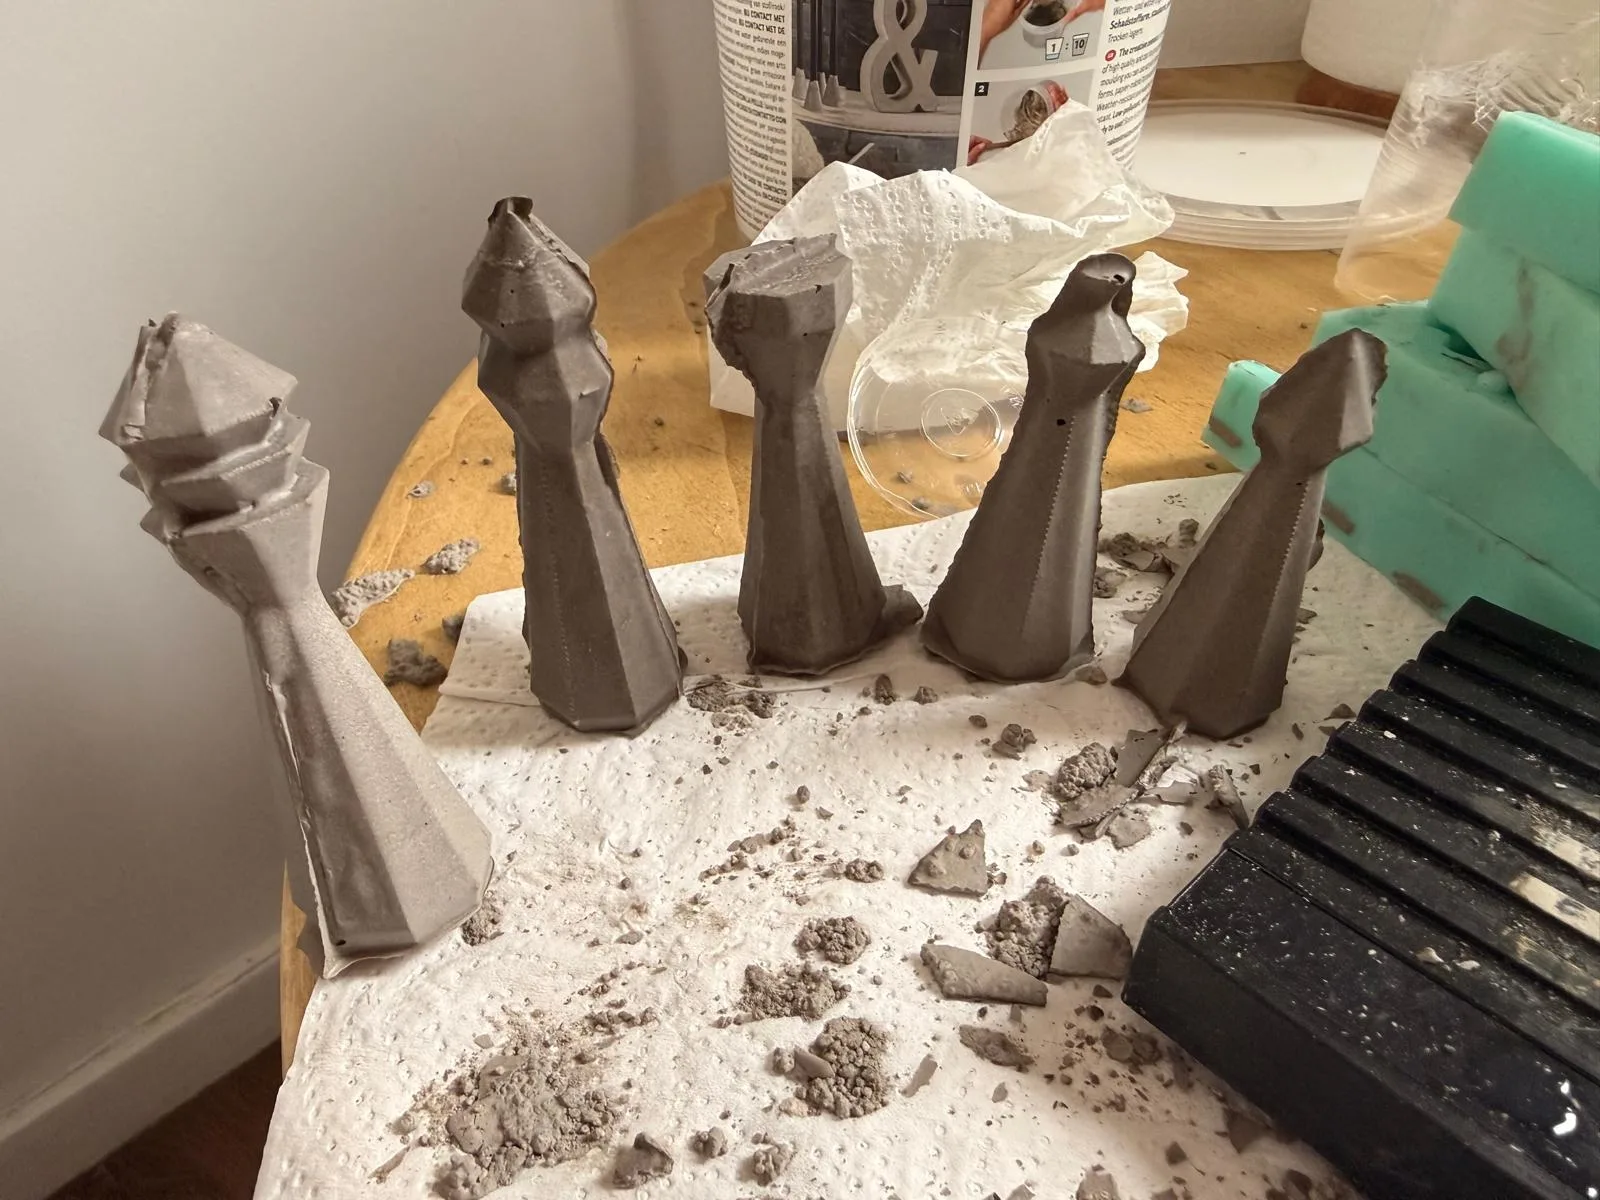
- concrete not setting properly. Opened after only 12 hours:
- concrete not setting properly. Opened after only 12 hours:
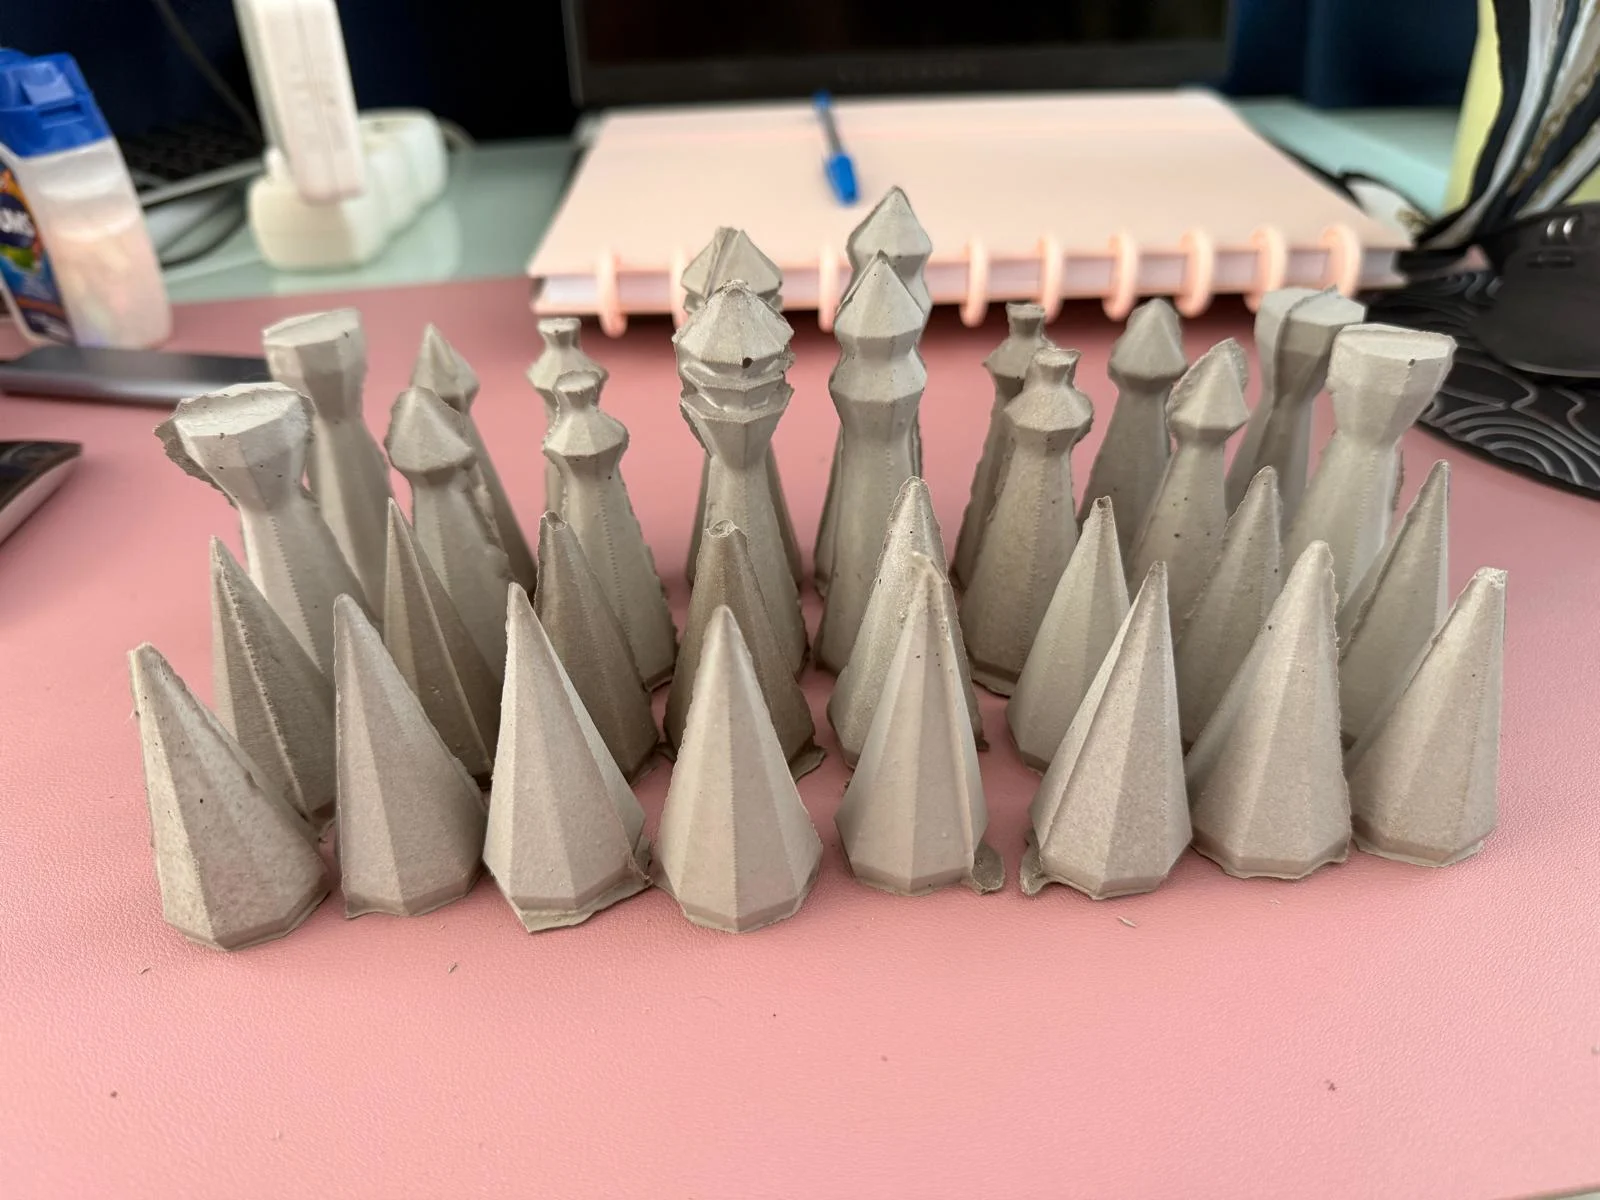
Final Chess Pieces
after several days of casting, i had all 32 pieces
video
original files
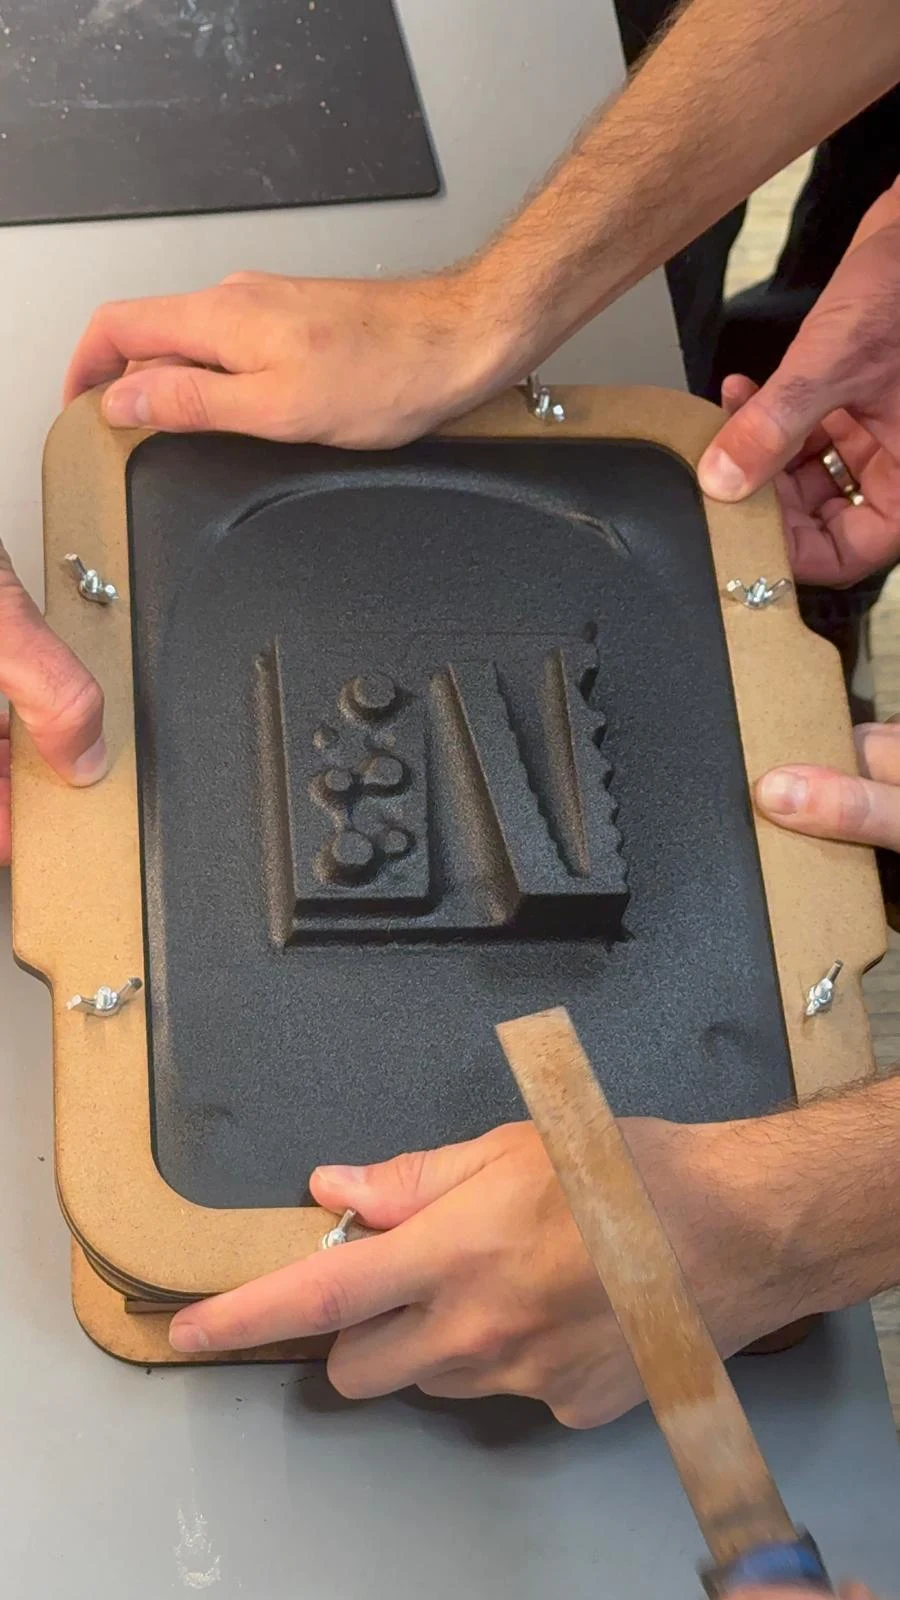
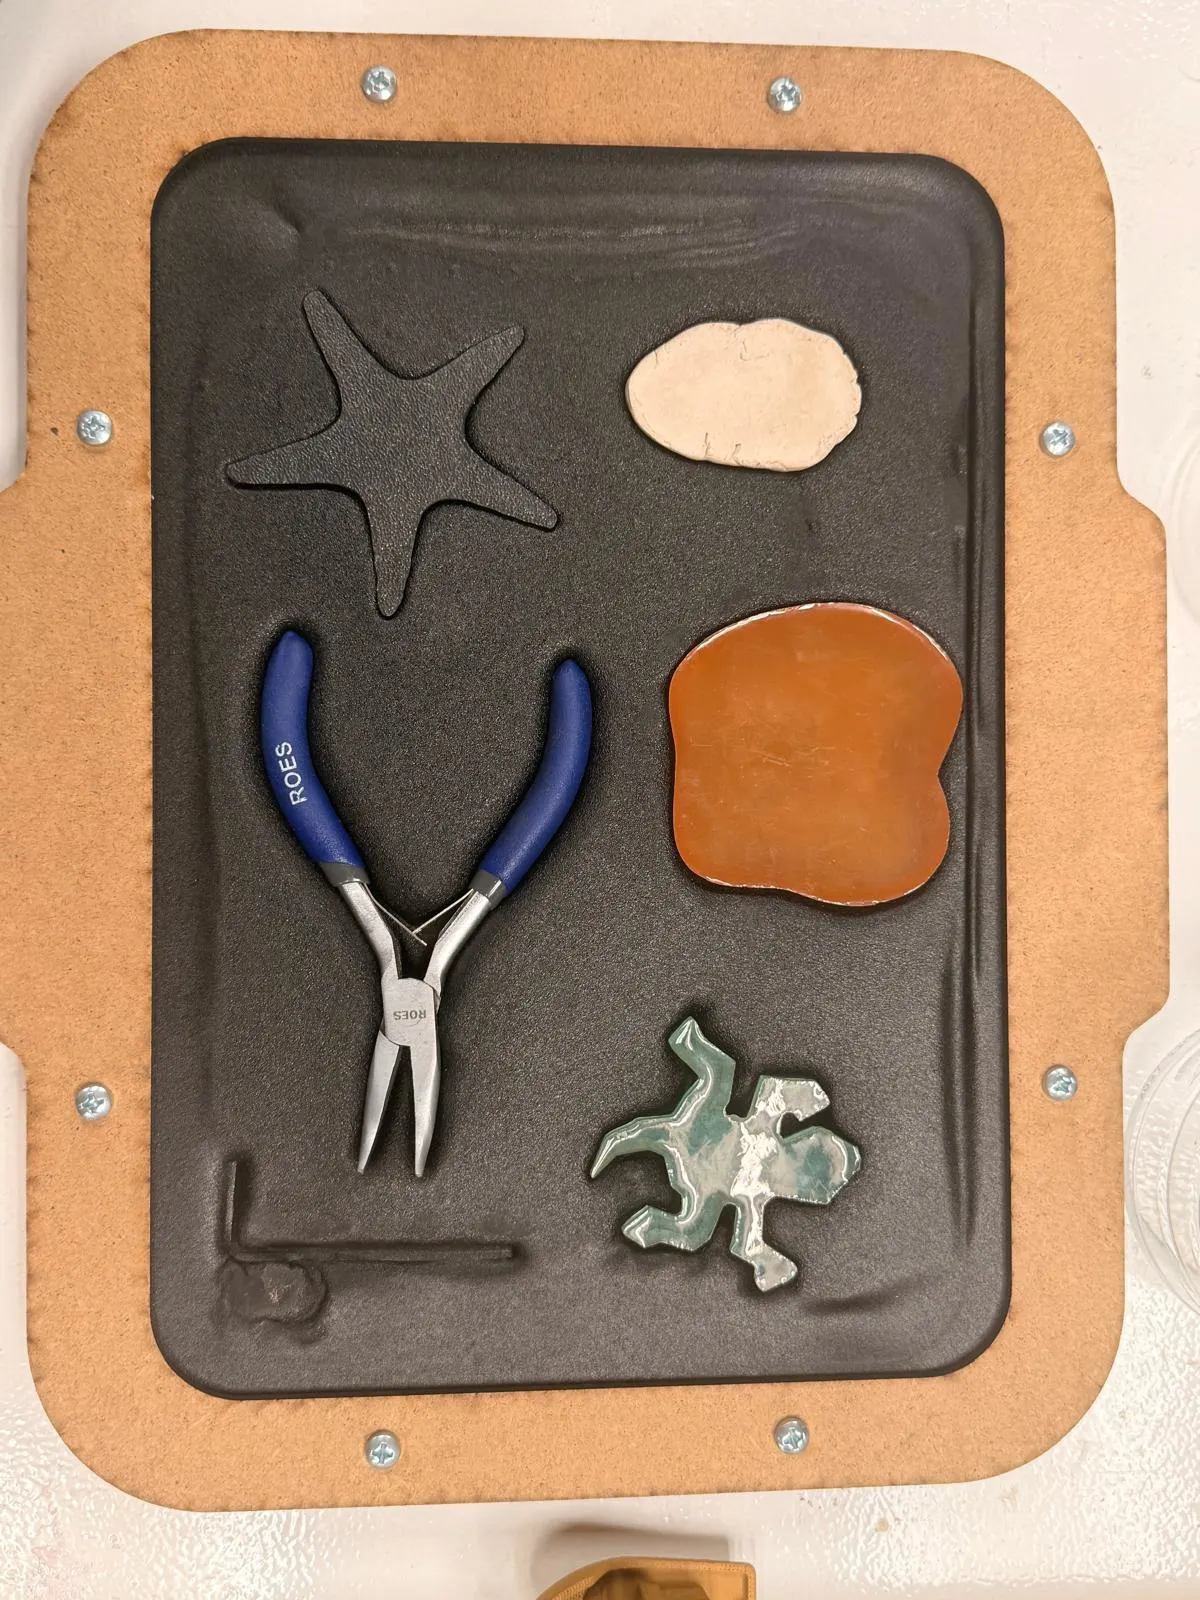
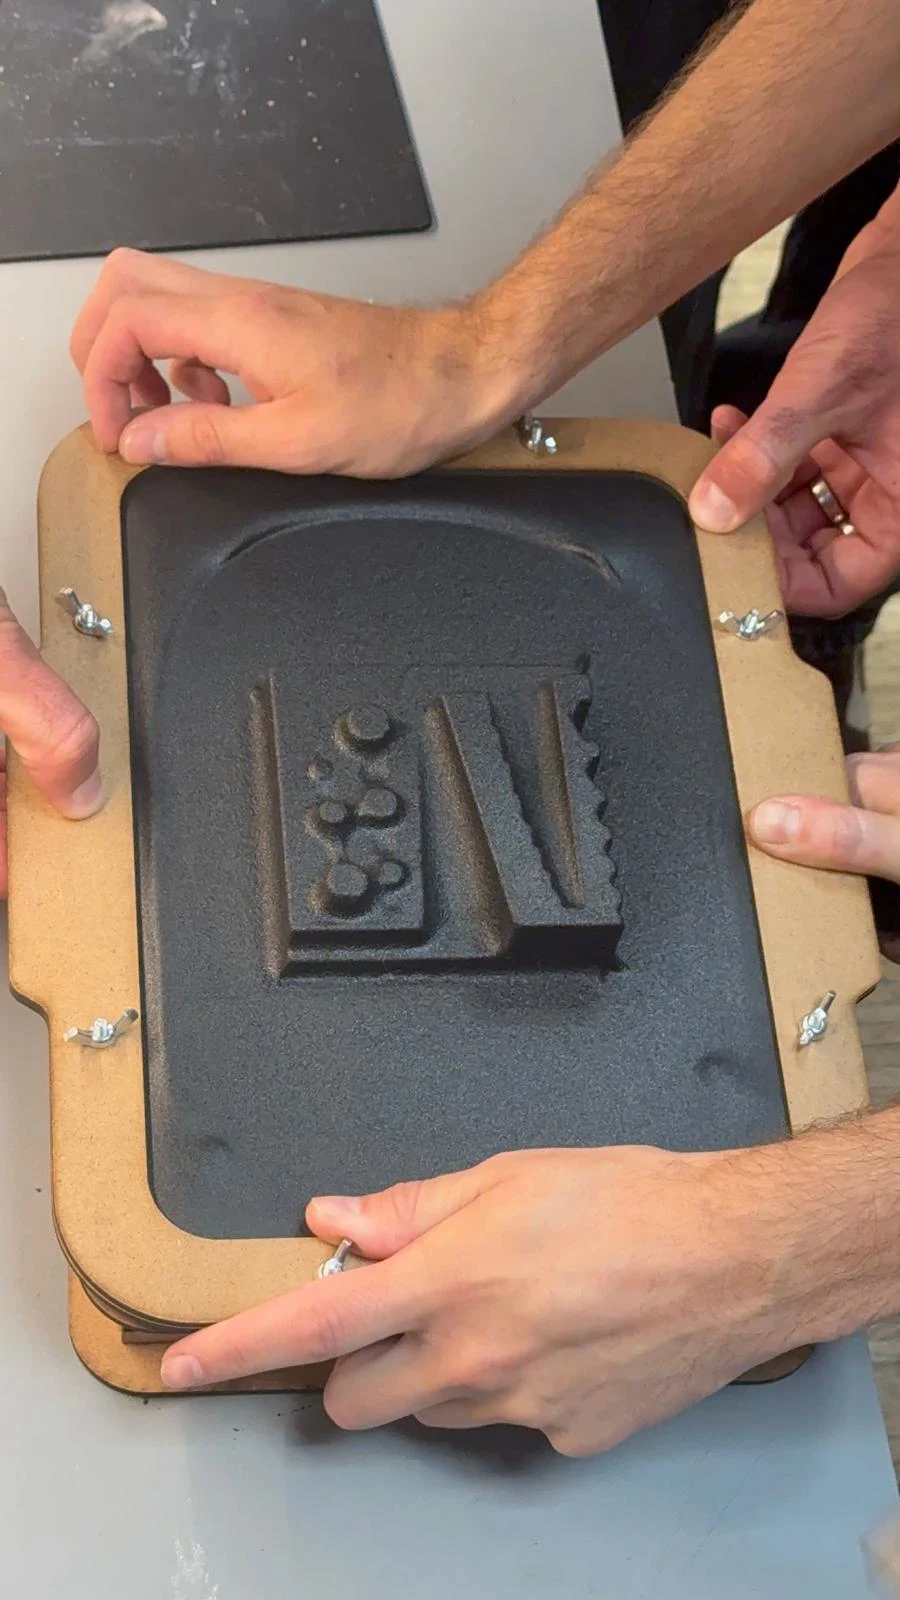
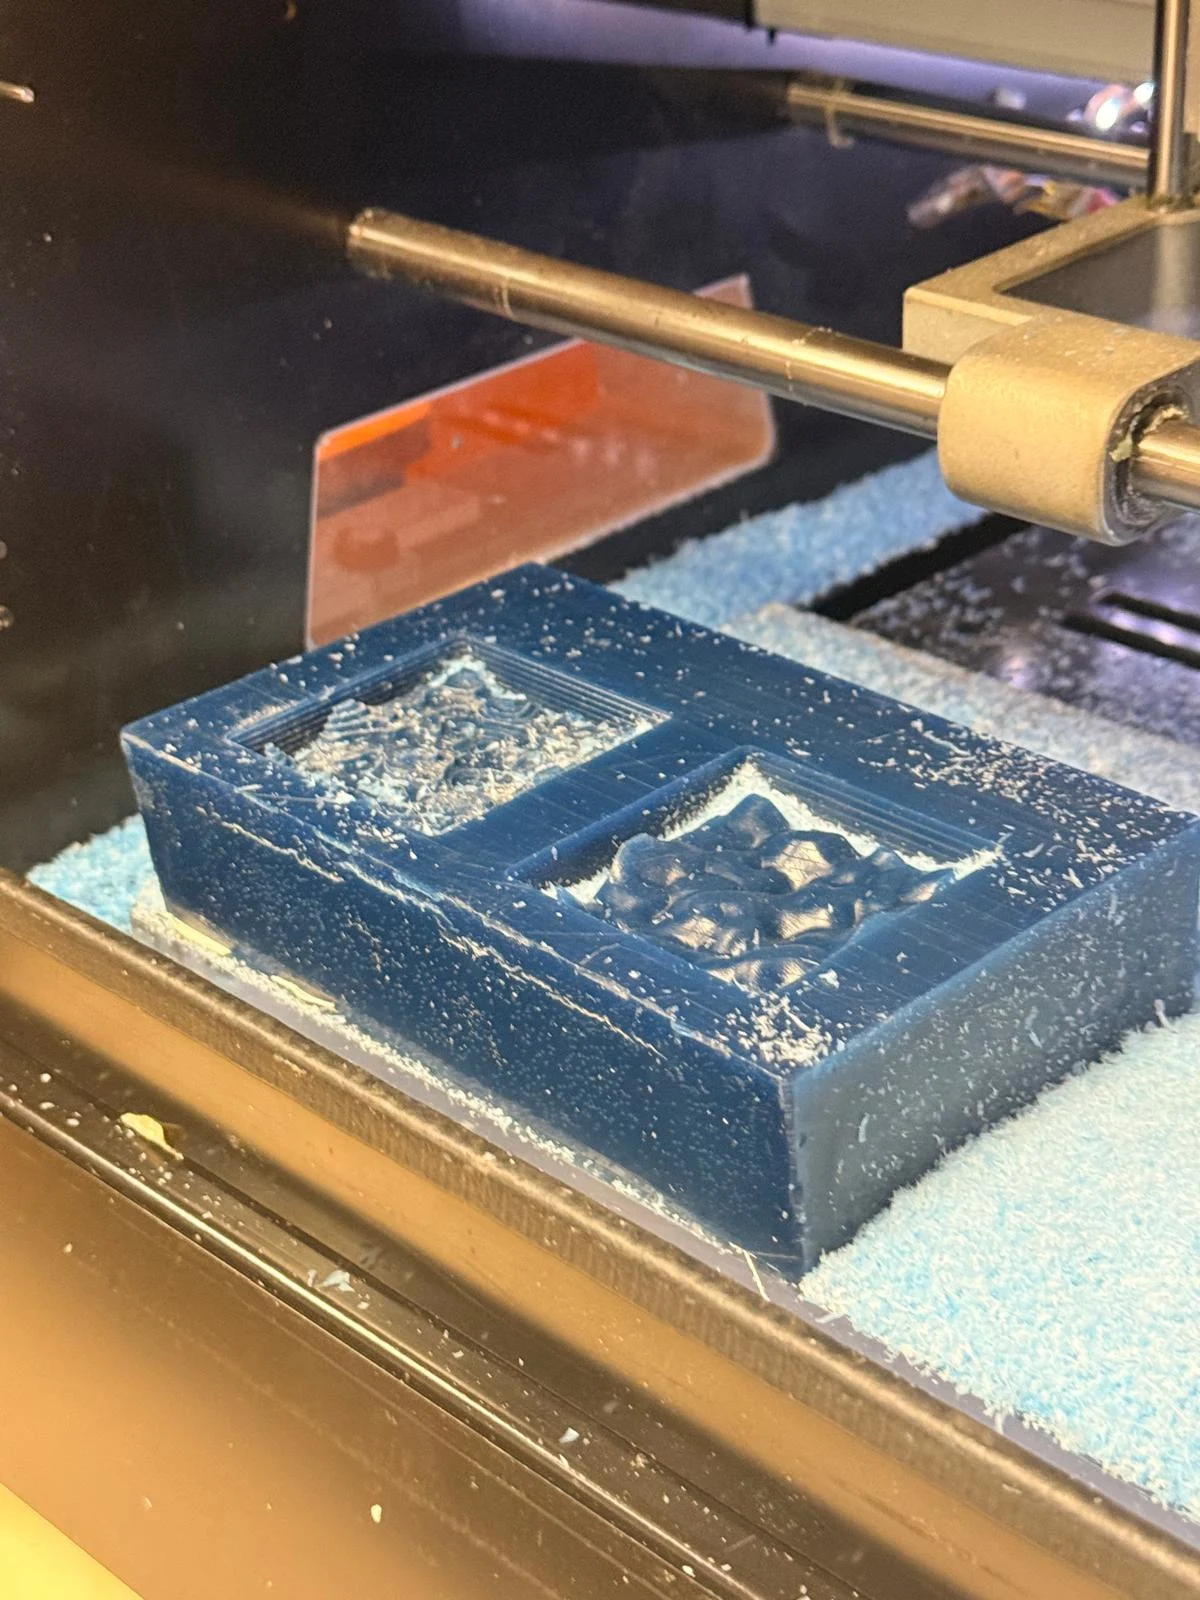
Group assignment
here is the link to the group assignment page Group Assignment week 14
Notes