14. Molding and Casting
Group Assignment
This week’s group assignment was to review the safety data sheets for each of the molding and casting materials and compare the test casts. We used a previous year’s wax form to pour our silicone into.
Designing Cupcake Frosting
For this assignment, I worked with a fellow classmate to produce foam cupcakes. Jadelyn designed the cupcake base while I designed the frosting.
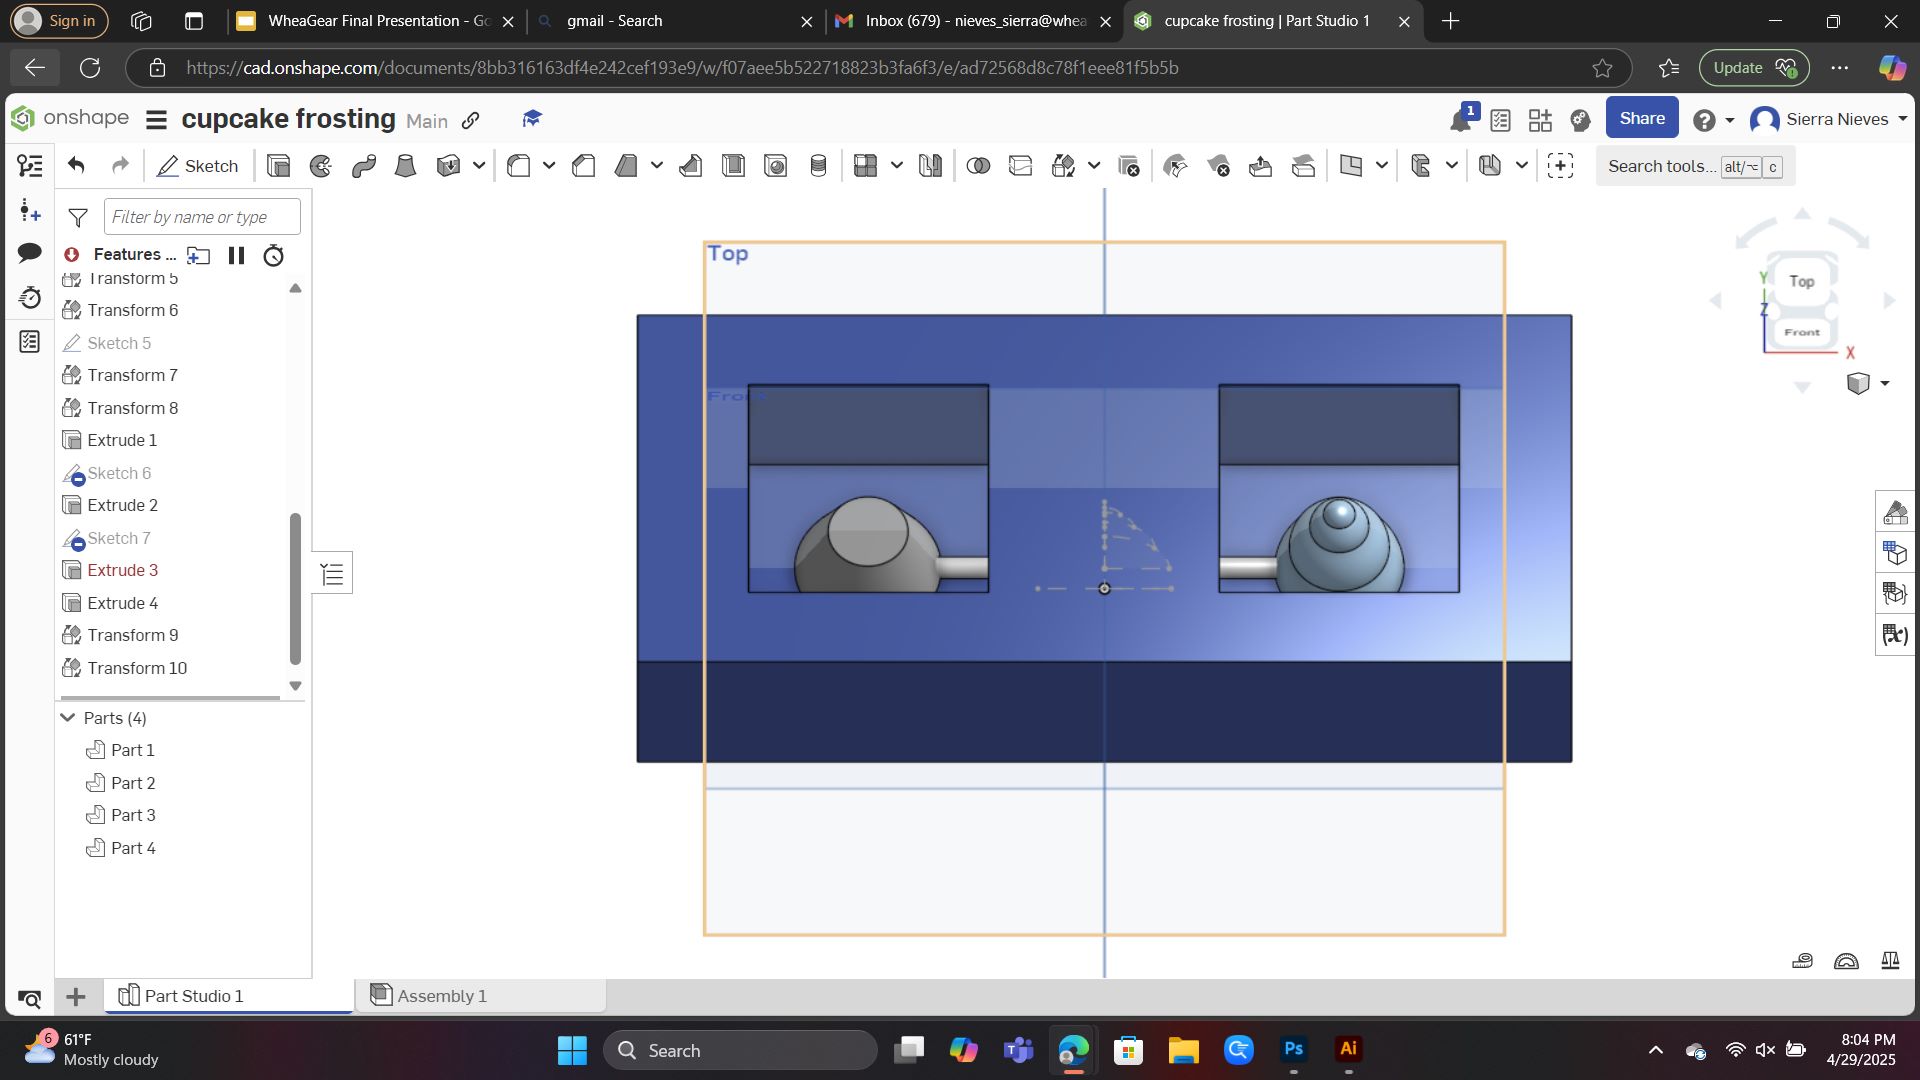
To design the frosting, I used OnShape. I created a positive of my frosting using the revolve tool on half circles, ensuring there were no overhanging areas that would not be able to be milled out. I then made a square pit the same size as the cupcake base pit.
Design Steps

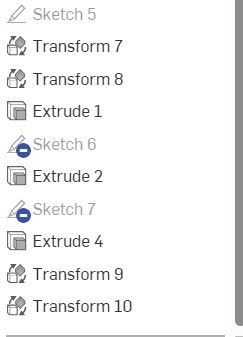
Revolve Tool
With both designs centered, when the silicone mold is made, the top and bottom will create one object. We also made sure to add a half cylinder from our designs to the pit wall to allow both foam and air to escape the mold.
Wax Design Made
Milling Wax Mold
I used the Axiom Precision CNC to mill my wax mold. I used my saved STL file in VCarve to make my cutting files. During this process, I completed my first rough cut, leaving a pixelated type cut. I then completed the smooth cut and used the soldering heat gun to smooth over any imperfections. More in dept on week 7.
Week 7. Computer Controlled Machining
Double sided tape and secure wax block
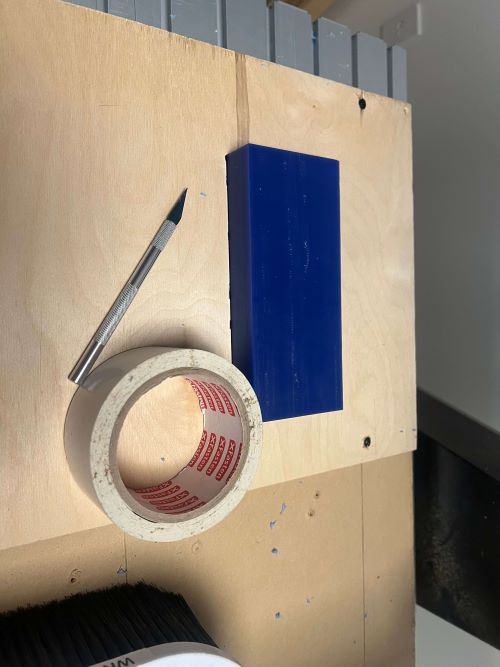
- Tighten in correct end mill bit
- Rough cut complete
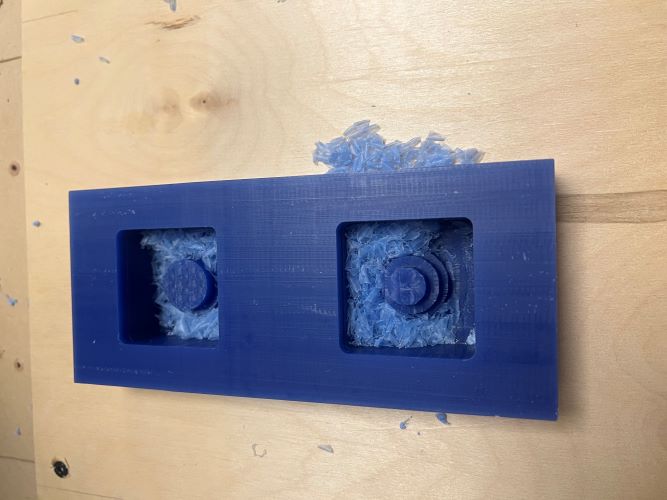
- Vacuum wax cuts
- Loosen end mill bit and put in new bit
- Smooth cut complete
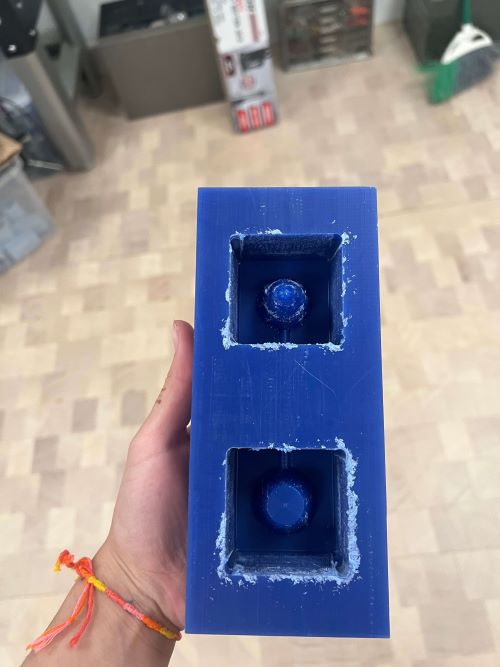
- Melt imperfections on wax using heat gun
Making Silicone Mold
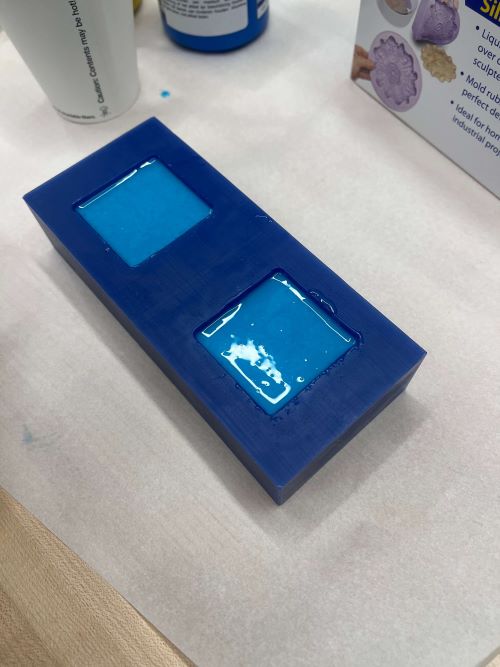
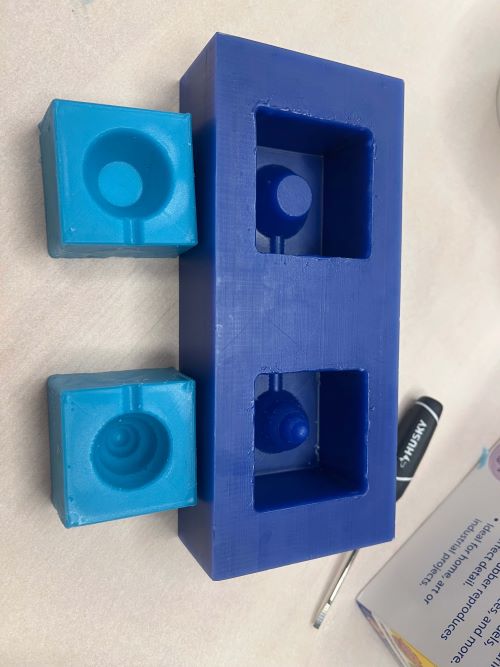
Though I do not have photos of the following steps, to make the silicone mold, we mixed part A and B using a 1:1 ration. The pot time of this was a couple minutes, leaving a lot of leeway in the pouring process. Once mixed, start pouring from a low point, slowly raising the cup upwards to allow a little stream to flow downward. This helps to only allow for minimal bubbles to form. Before leaving to cure, lightly tap on whatever work surface available to release the last few bubbles. Once fully cured, carefully remove the silicone from the wax. The finished product is seen below after a three written step visual.
1: Mix parts A and B of the silicone
2: Let cure
3: Unmold
Mix Foam
Mixing the foam seemed to be our most difficult step. Though it was a 1:1 ration, the package itself was a couple years old, leaving us unsure if it would function the way it was supposed to. After mixing though, this mixture had a short pot life, leaving little room for error or hesitation. We poured the mix into the frosting portion of the mold about half of the height. We then placed the cupcake bottom on top and used rubber bands to seal.
1: Mix parts A and B of the Foam
2: Let cure
3: Unmold
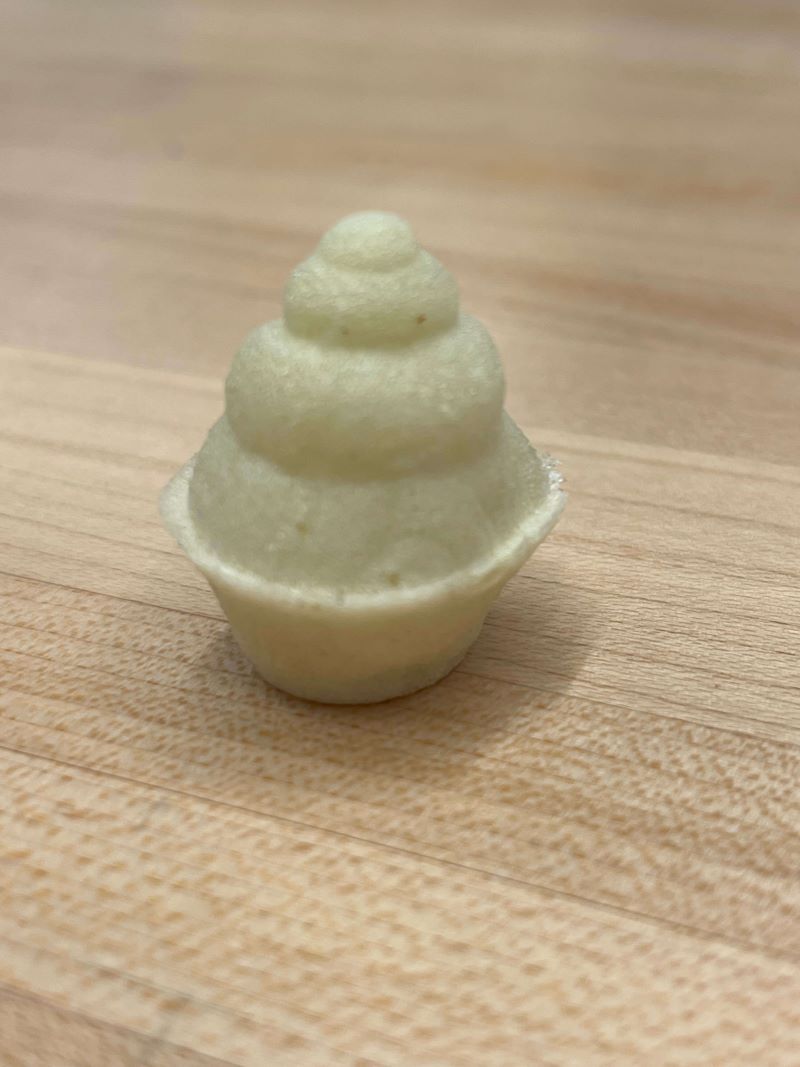
Finished Product