5. 3D Scanning and Printing
This week, I participated in a group assignment, testing the design rules for our fabrication labs 3D printers. I also designed a 3D print that could not be made subtractively. Lastly, I made a 3D scan of a Cheez-It box.
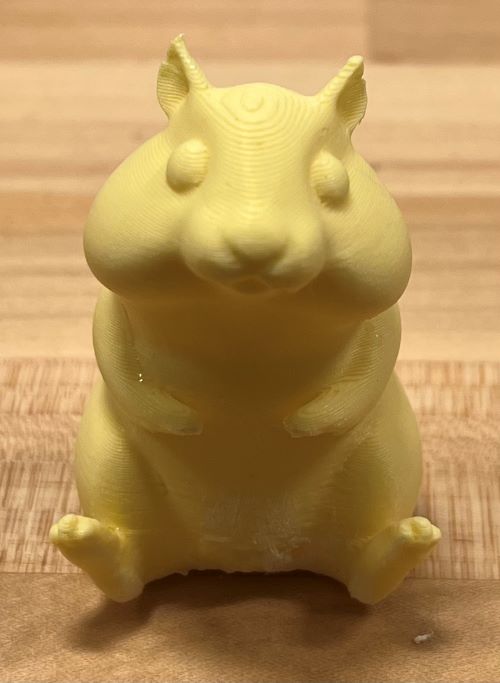
Week 5 GroupworkHampster 3D Model
The following is a pre-made design of a hamster from printables.com. I do not have much previous experience 3D printing natural shapes, so this portion of my design is premade. This design was then scaled down in Pruca Slicer to be 2 inches tall.
Hampster Cage Design Process
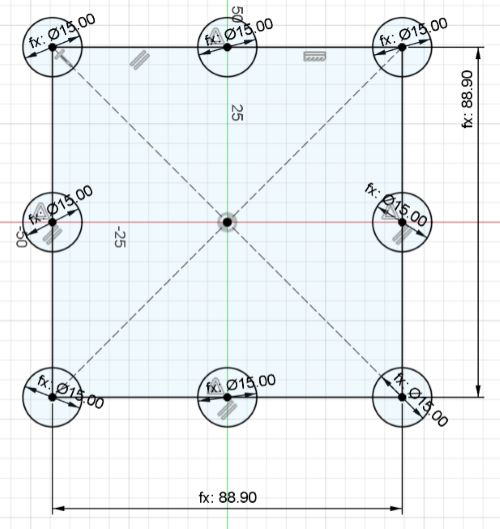
The following is my sketch of the hamster cage. To create this shape, I made a square and cirlces using parameters I set beforehand. Using a center rectange, I added my parameter to each side and then proceeded to add circled with a preset diamerter on each edge. To get the circles centered on each side, I made a circle using the same diameter anywhere around my sketch. From there I used the MidPoint tool. Once selecting both the cirle and the line on the side I wanted the circle, the circle then moved to the perfect center of that line. I also ensured that the hamster would not fit through the spaces in between the pillars so it can not be made subtractively.
Cage Sketch
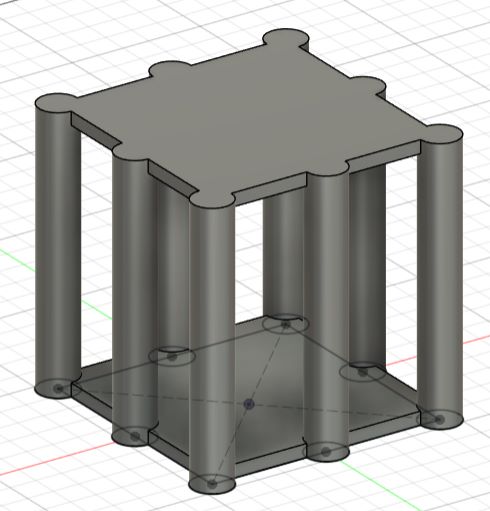
Next, I extruded my sketch. I extruded the base square to 5mm and the pillars to reach a height of 4 inches. I then made a sketch on the top of the pillars to add the top square and extruded it to -5mm to keep the 4 inch height.
Extrude Sketch
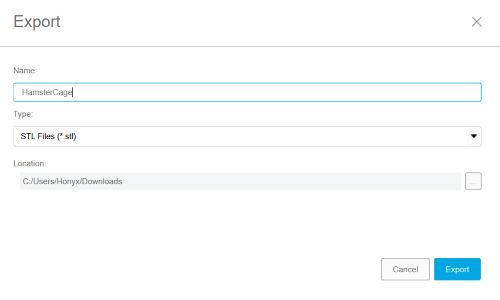
I then exported this design as an STL file. To insert into Prusa Slicer, I pushed Add... and then found the saved file. This opened the cage in Prusa, now ready to slice.
Export From Fusion
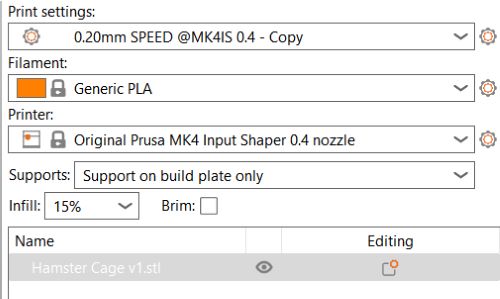
My Prusa and Prusa print settings were selected as seen below. The one thing changed specifically for this print was the supports changed to support on build plate only. This causes the supports to not start anywhere on your build, as in the case of the cage, it would be almost imposible to remove.
Prusa Settings
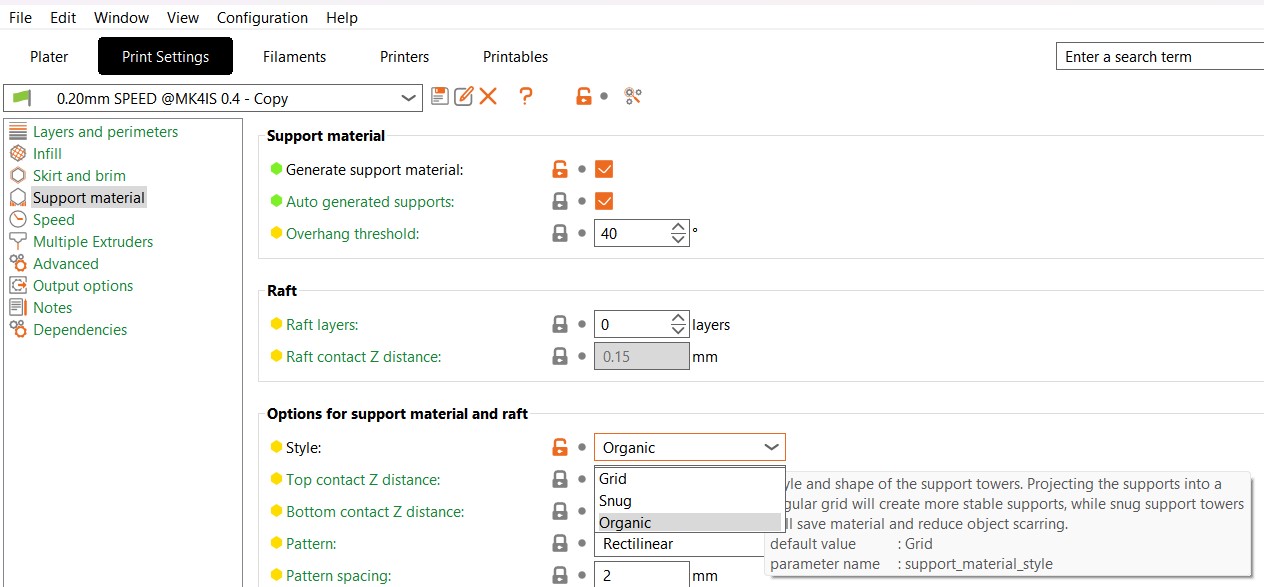
Next, I changed the support types. To do this, go to print settings and the support material. Under options for support material and raft, there is a style category I simply switched from snug to organic.
Prusa Support Print Settings
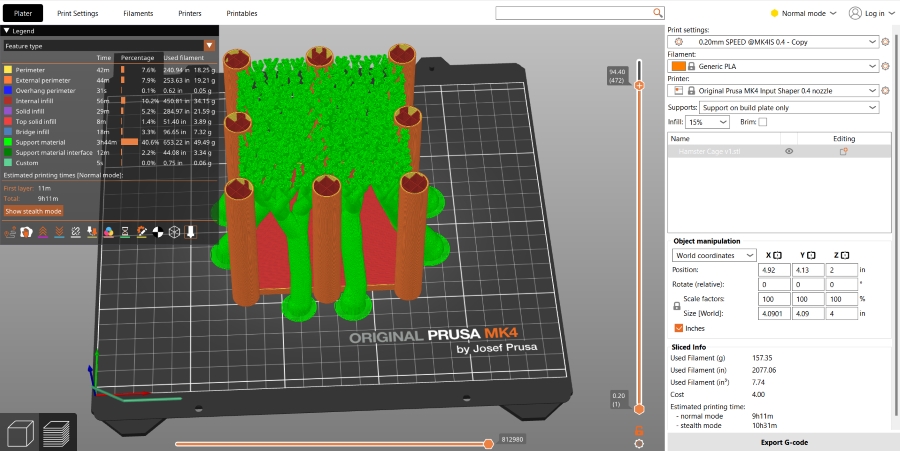
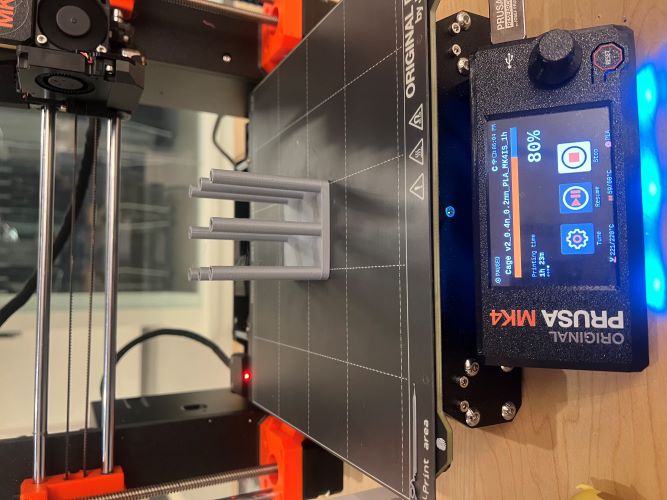
One of the last steps in Prusa is to slice your print. From here, you can see the print time, was not ideal for a whole class trying to use the 3D printers. The cause for this long print was not the design itself, but the supports needed for the bridging of the top layer. Also, due to the cage shape, removing the internal supports would prove to be quite difficult.
Error Design
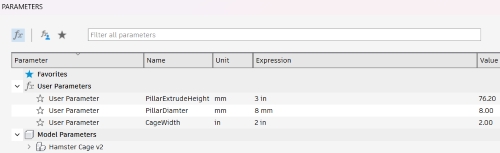
To account for this long print, I decided to redesign the cage. I made it smaller, with the heighest point being 3 inches and the width and length of the cage being 2 inches. After doing some research online, it was stated that the printers our lab has should be able to bridge that gap, so I put that to the test.
Parameters
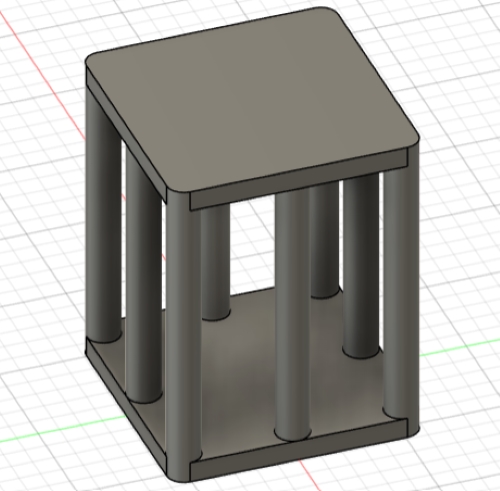
New Cage
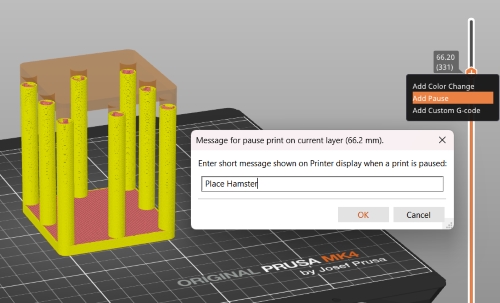
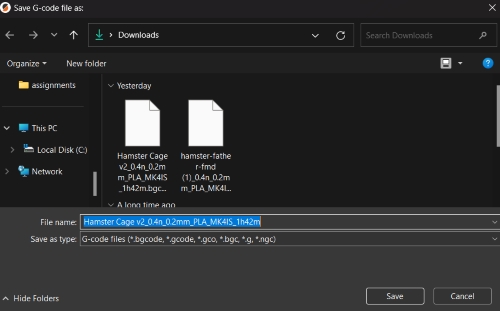
This design was then added into Prusa Slicer. This time, I removed the supports completely. I then added a pause to the cage. This is so that I can add the hamster and continue the print, locking the hamster inside. Lastly, I sliced the cage and exported the G-Code onto the USB drive for the 3D printer.
Adding Pause
Slicing Cage

Export G-Code
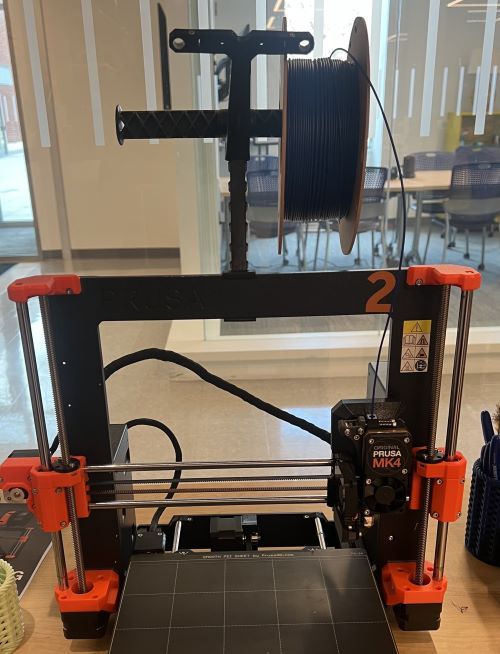
3D Printing Prep
Previous Filament Color
Unload Filament
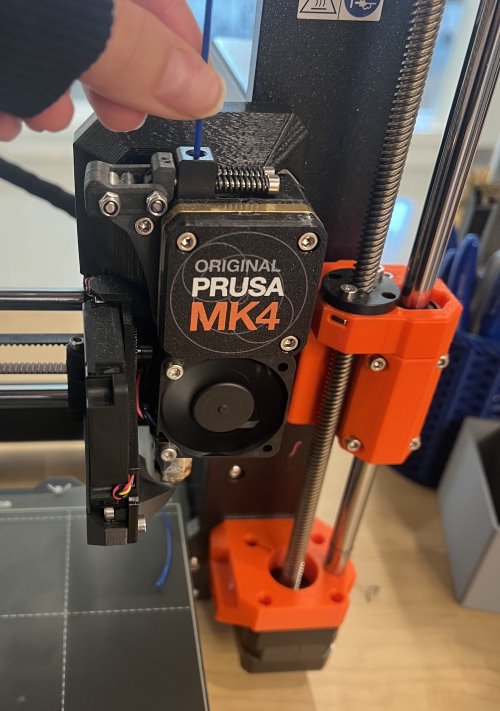
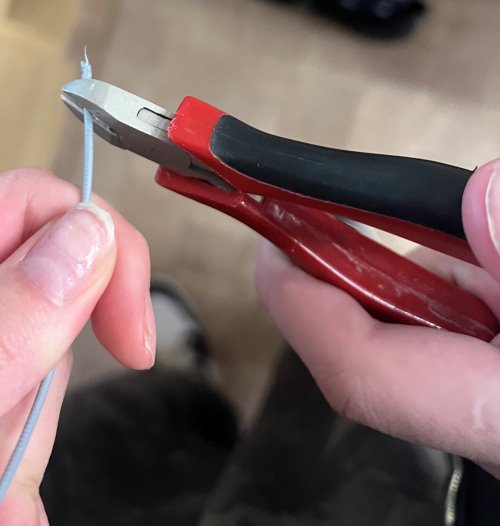
Angle Cut New Filament
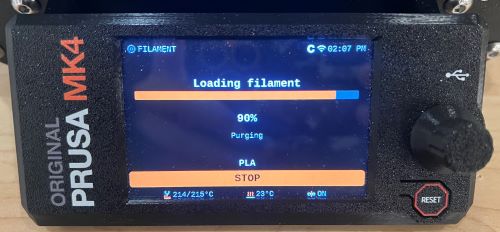
Loading New Filament and Purging Filament Out

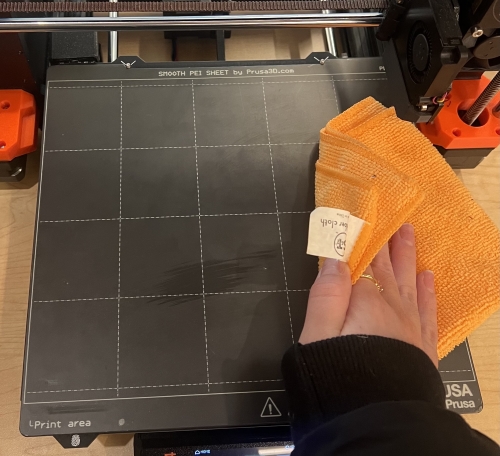
Clean Print Plate
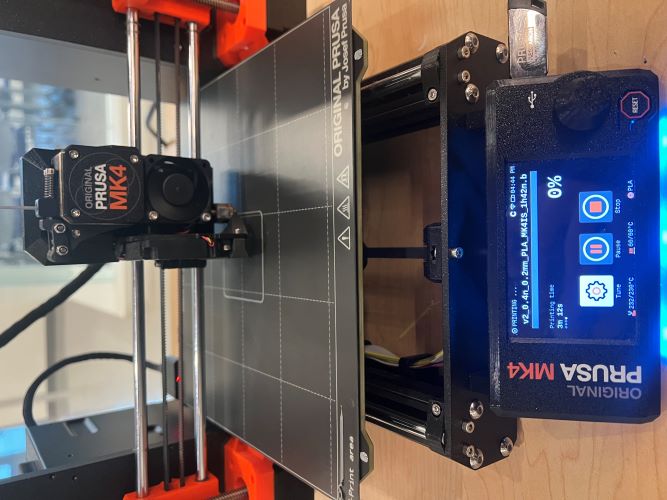
Printing Hamster
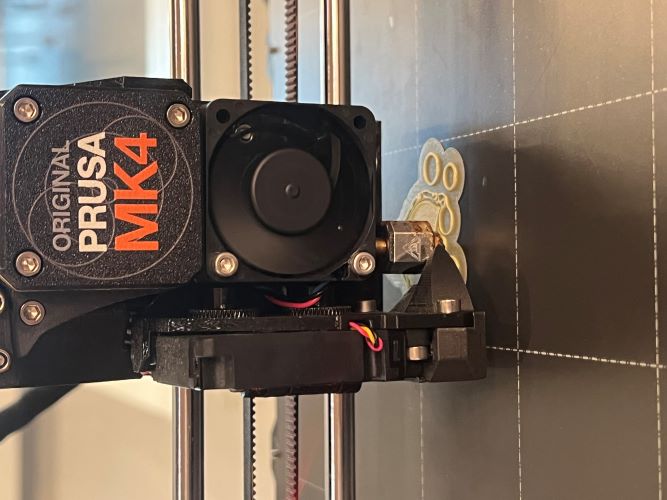
First Layer
Finished Print
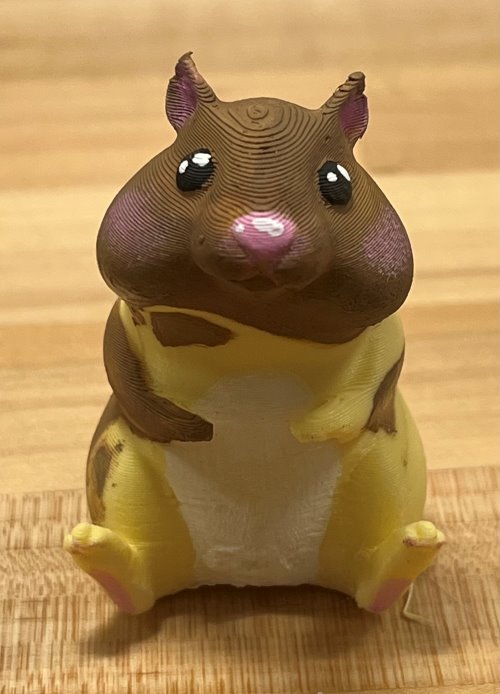
Painted Print
Printing Cage
Starting Print
Paused Print
Place Hamster

Final Design
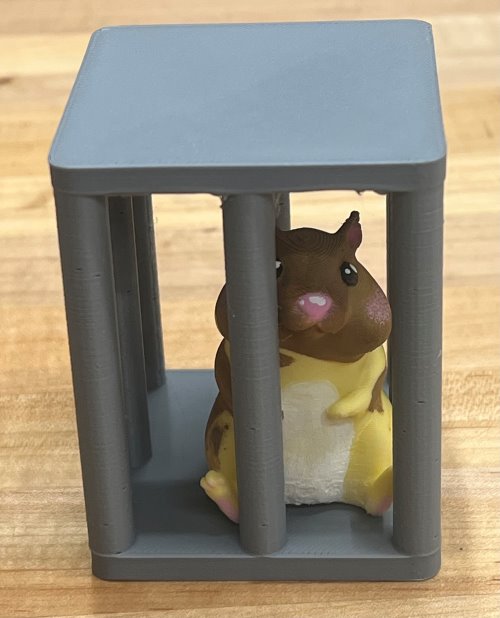
My final design can not be made subtractively. First of all, the hamster would not be able to be painted while inside the cage. Second, you can not put the hamster into the cage once the cage is already made. By pausing the print, I was able to place the painted hamster, locking it in the cage permanently.
Bridging Error
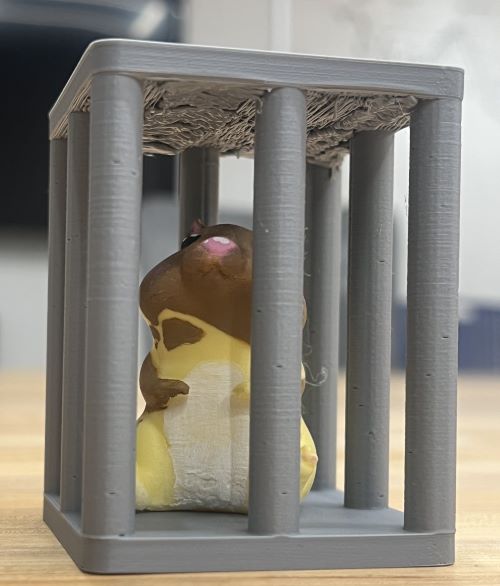
I experienced an issue while using unsupported bridging. The first layer of the top caved in, though as the print continued it sorted itself out and made a clean finish. To account for this error, I used a 3D printing pen with the same color filament to fill in some of the holes on the bottom. Though it is not perfect, it is structurally sound.
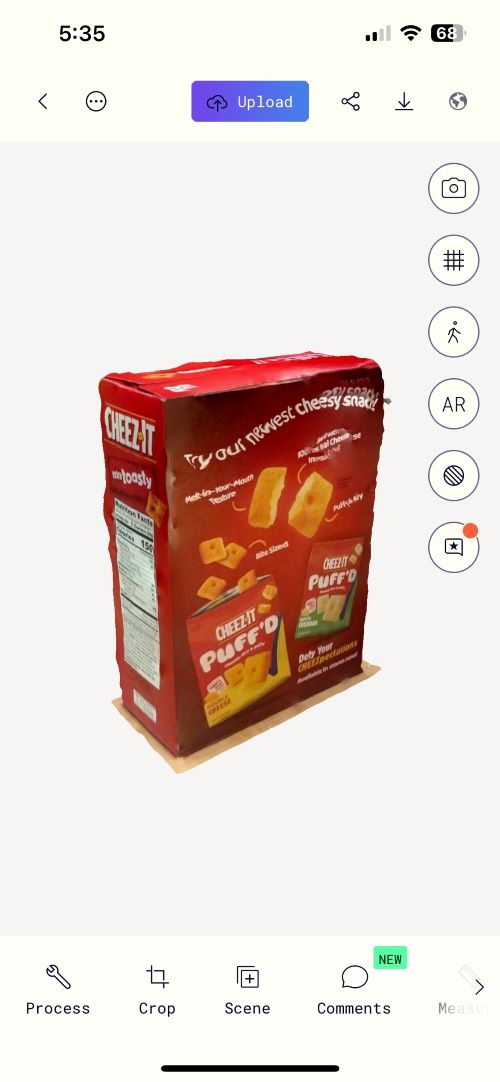
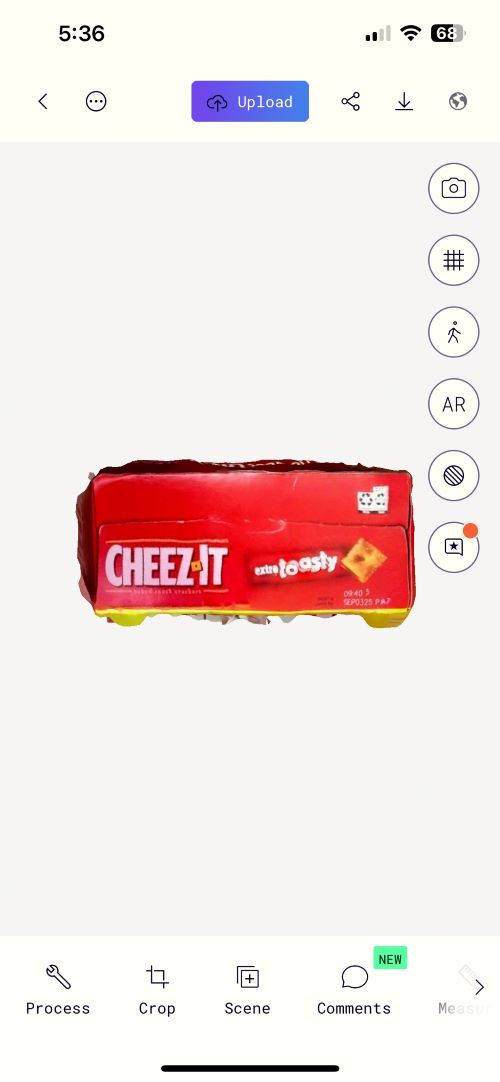
3D Scanning Object
Make Polycam Account

To 3D scan an opject using Polycam, use Lidar mode. This shows blue surfaces around your object that you must fill in to get a clear scan. I then cropped my final scan to remove the small portion of the table showing.
3D Scan Angles
Export 3D Scan
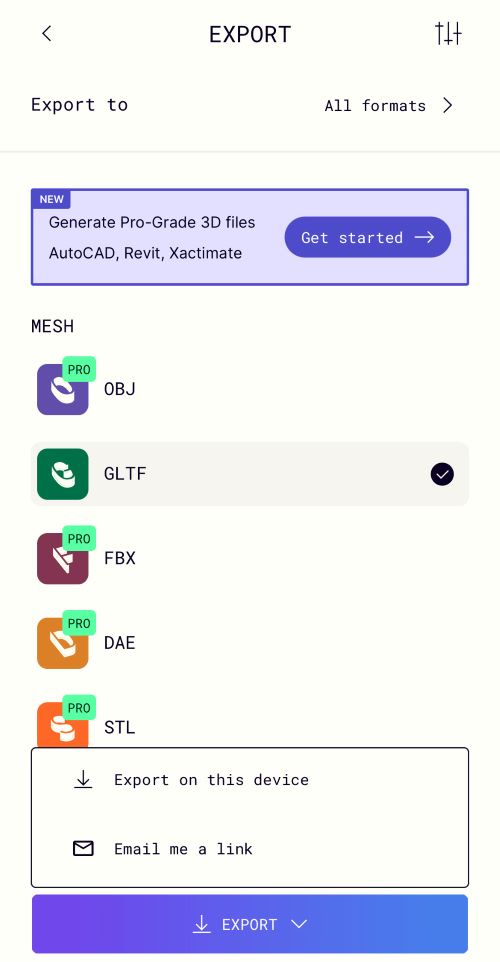
The only export option available to me was GLTF. From a quick search, not a lot of programs support this type of file, including Prusa Slicer, so I decided not to print it.