3. Computer-Controlled Cutting
This week, I participated in our group assignment, completing our lab safety course, and characterizing the laser cutter's focus, power, speed, rate, lerft, joint clearance and types. I also individually cut out a sticker using the vinyl cutter and made a parametric construction kit that is documented below.
Vinyl Cutter
Though I had prior knowledge from my digital fabrication course last semester, I relearned the functions of our school's vinyl cutting machine. These functions included setting the force and speed which changes based off of the intricacy of the design, and whether you are cutting sign vinyl (paper backing) or heat transfer vinyl (color on both sides).
To document this understanding, I used the shape presents on the vinyl cutting laptop. From there, I chose the duck. If you want to go deeper into the design process for this assignment, find simple design. Copy this image into Adobe Illustrator and image trace. After the image trace is complete, expand the design and then ungroup all the components. From there you can direct select the parts you would not like to include in your vinyl design. Lastly, save this design as an svg.
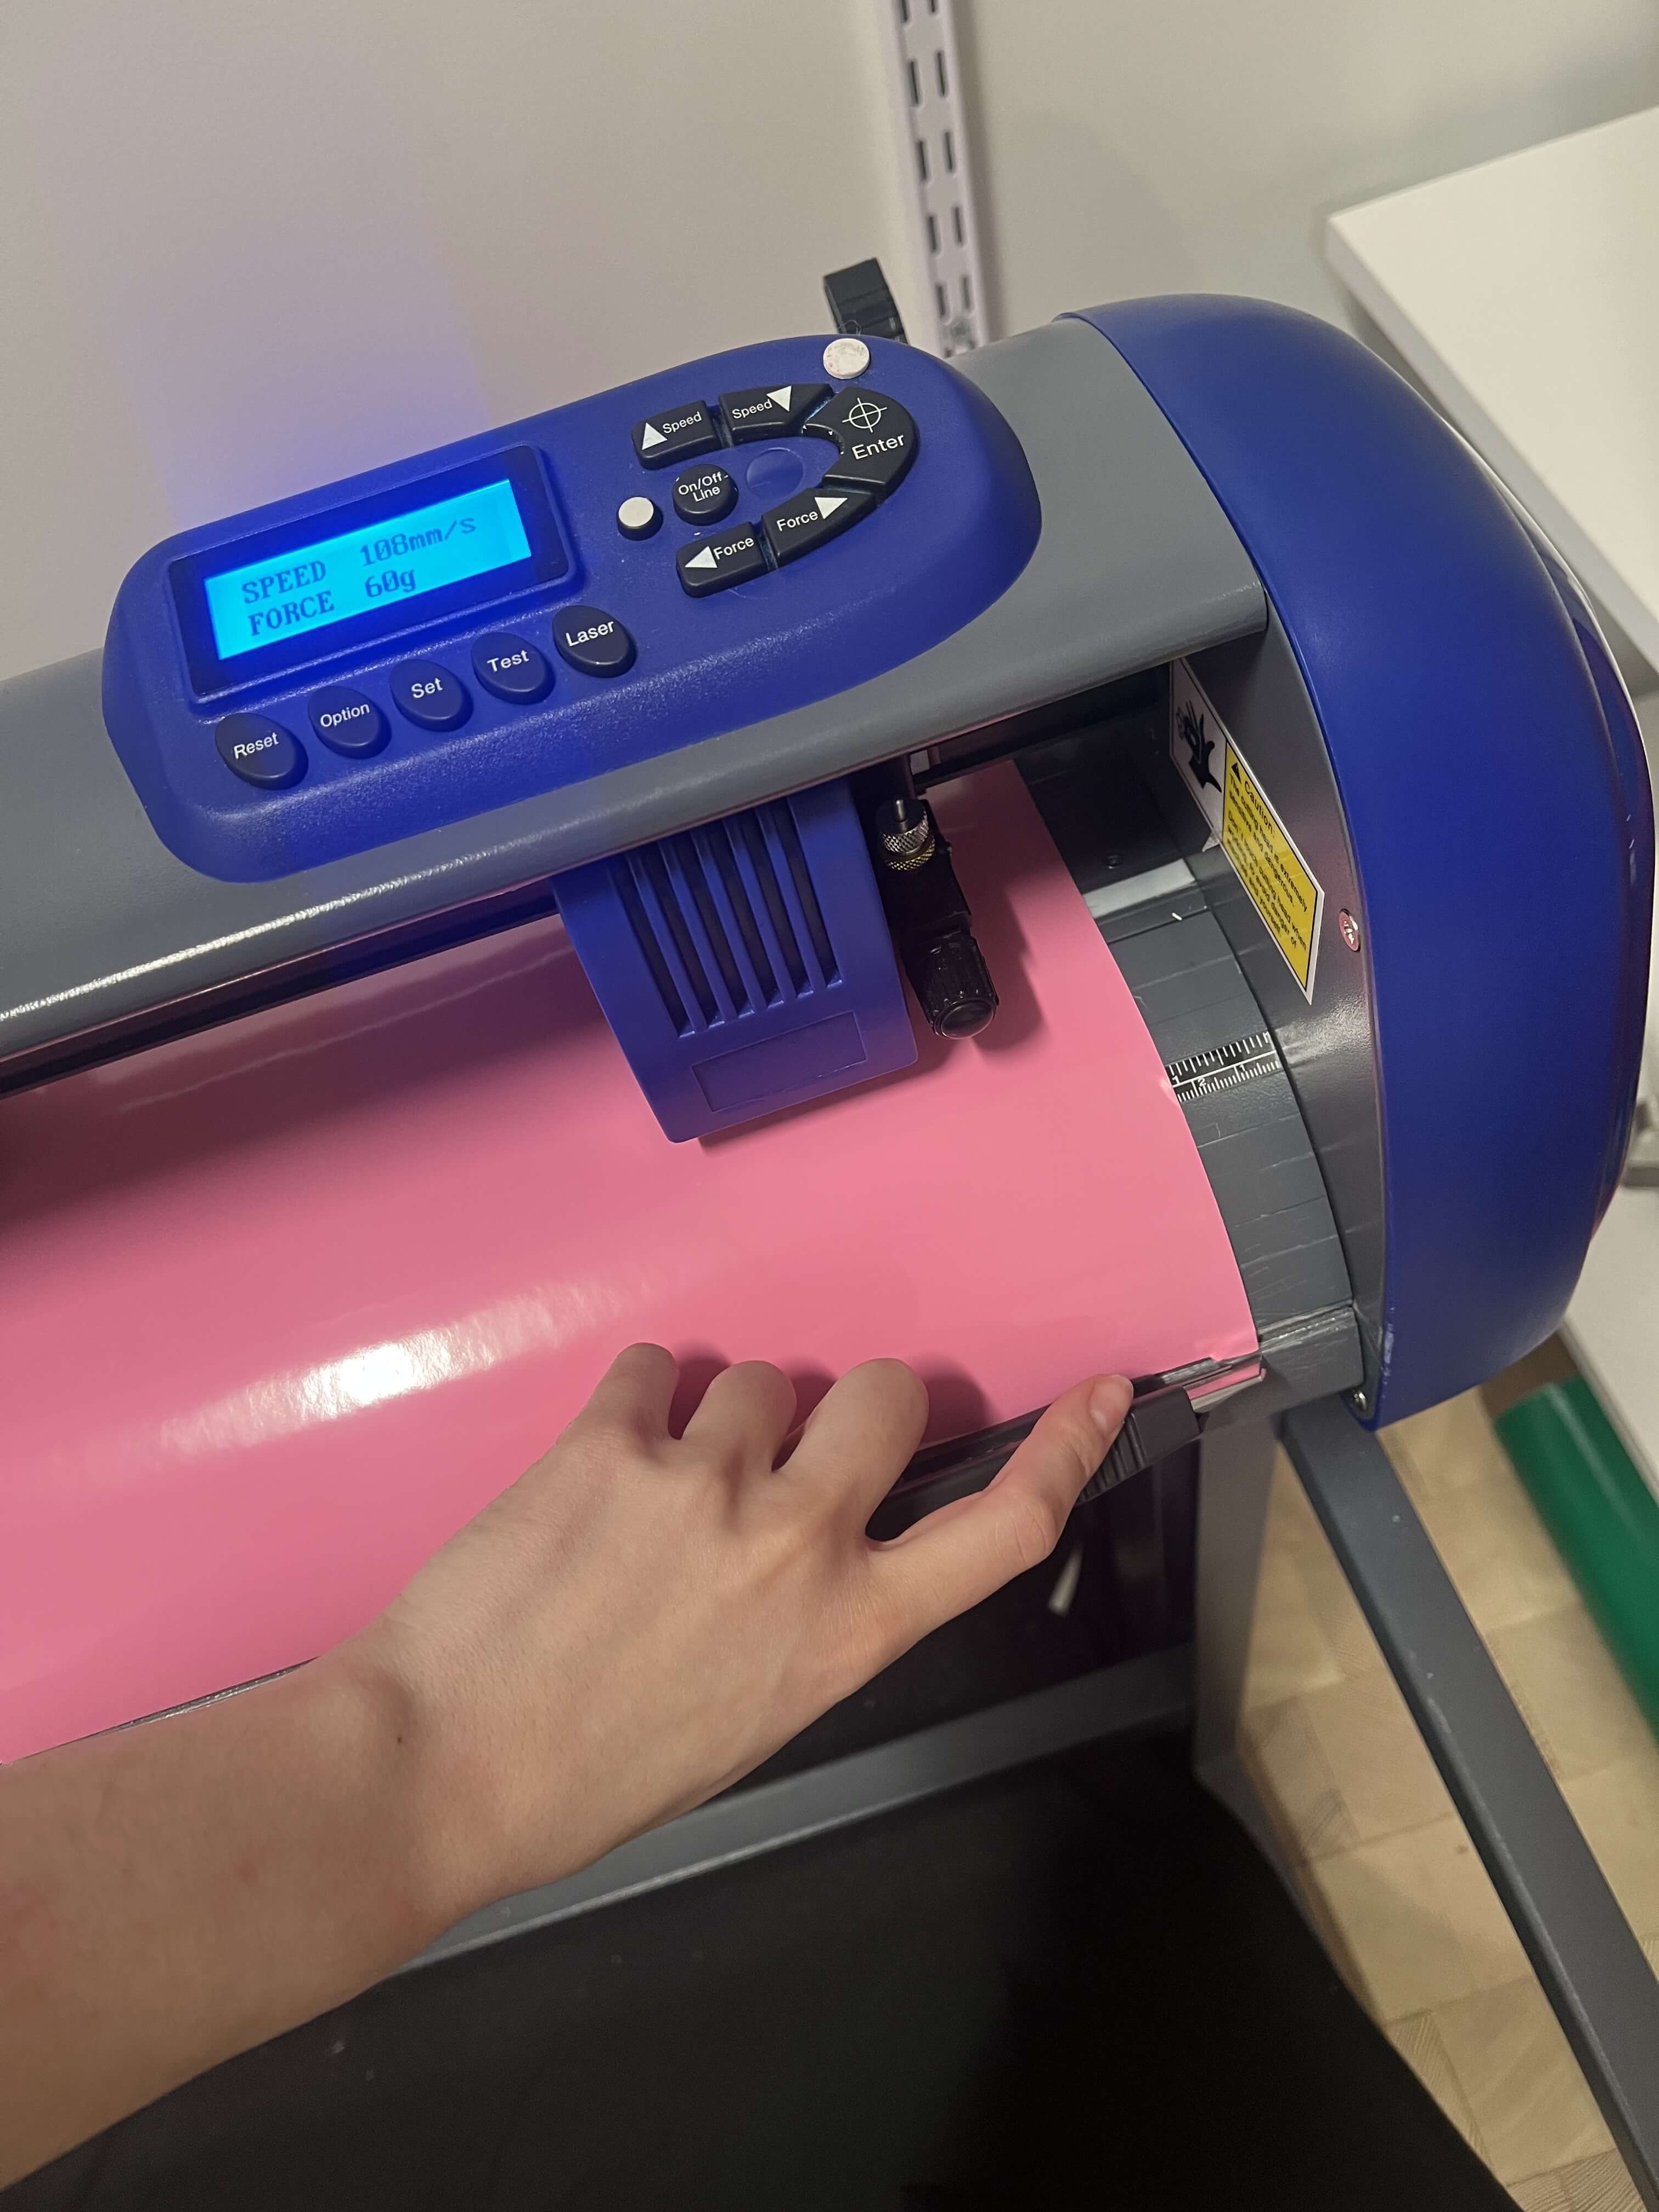
Load sign vinyl into vinyl cutter. Based on size of vinyl, position it under the wheels so that no side will lift during the cutting process. Also ensure that the vinyl is placed over the silver line extending across the machine. This also ensures that the vinyl will not bunch up and get caught in the machine while cutting. Also make sure the lever in the back is pushed to lock the vinyl in place.
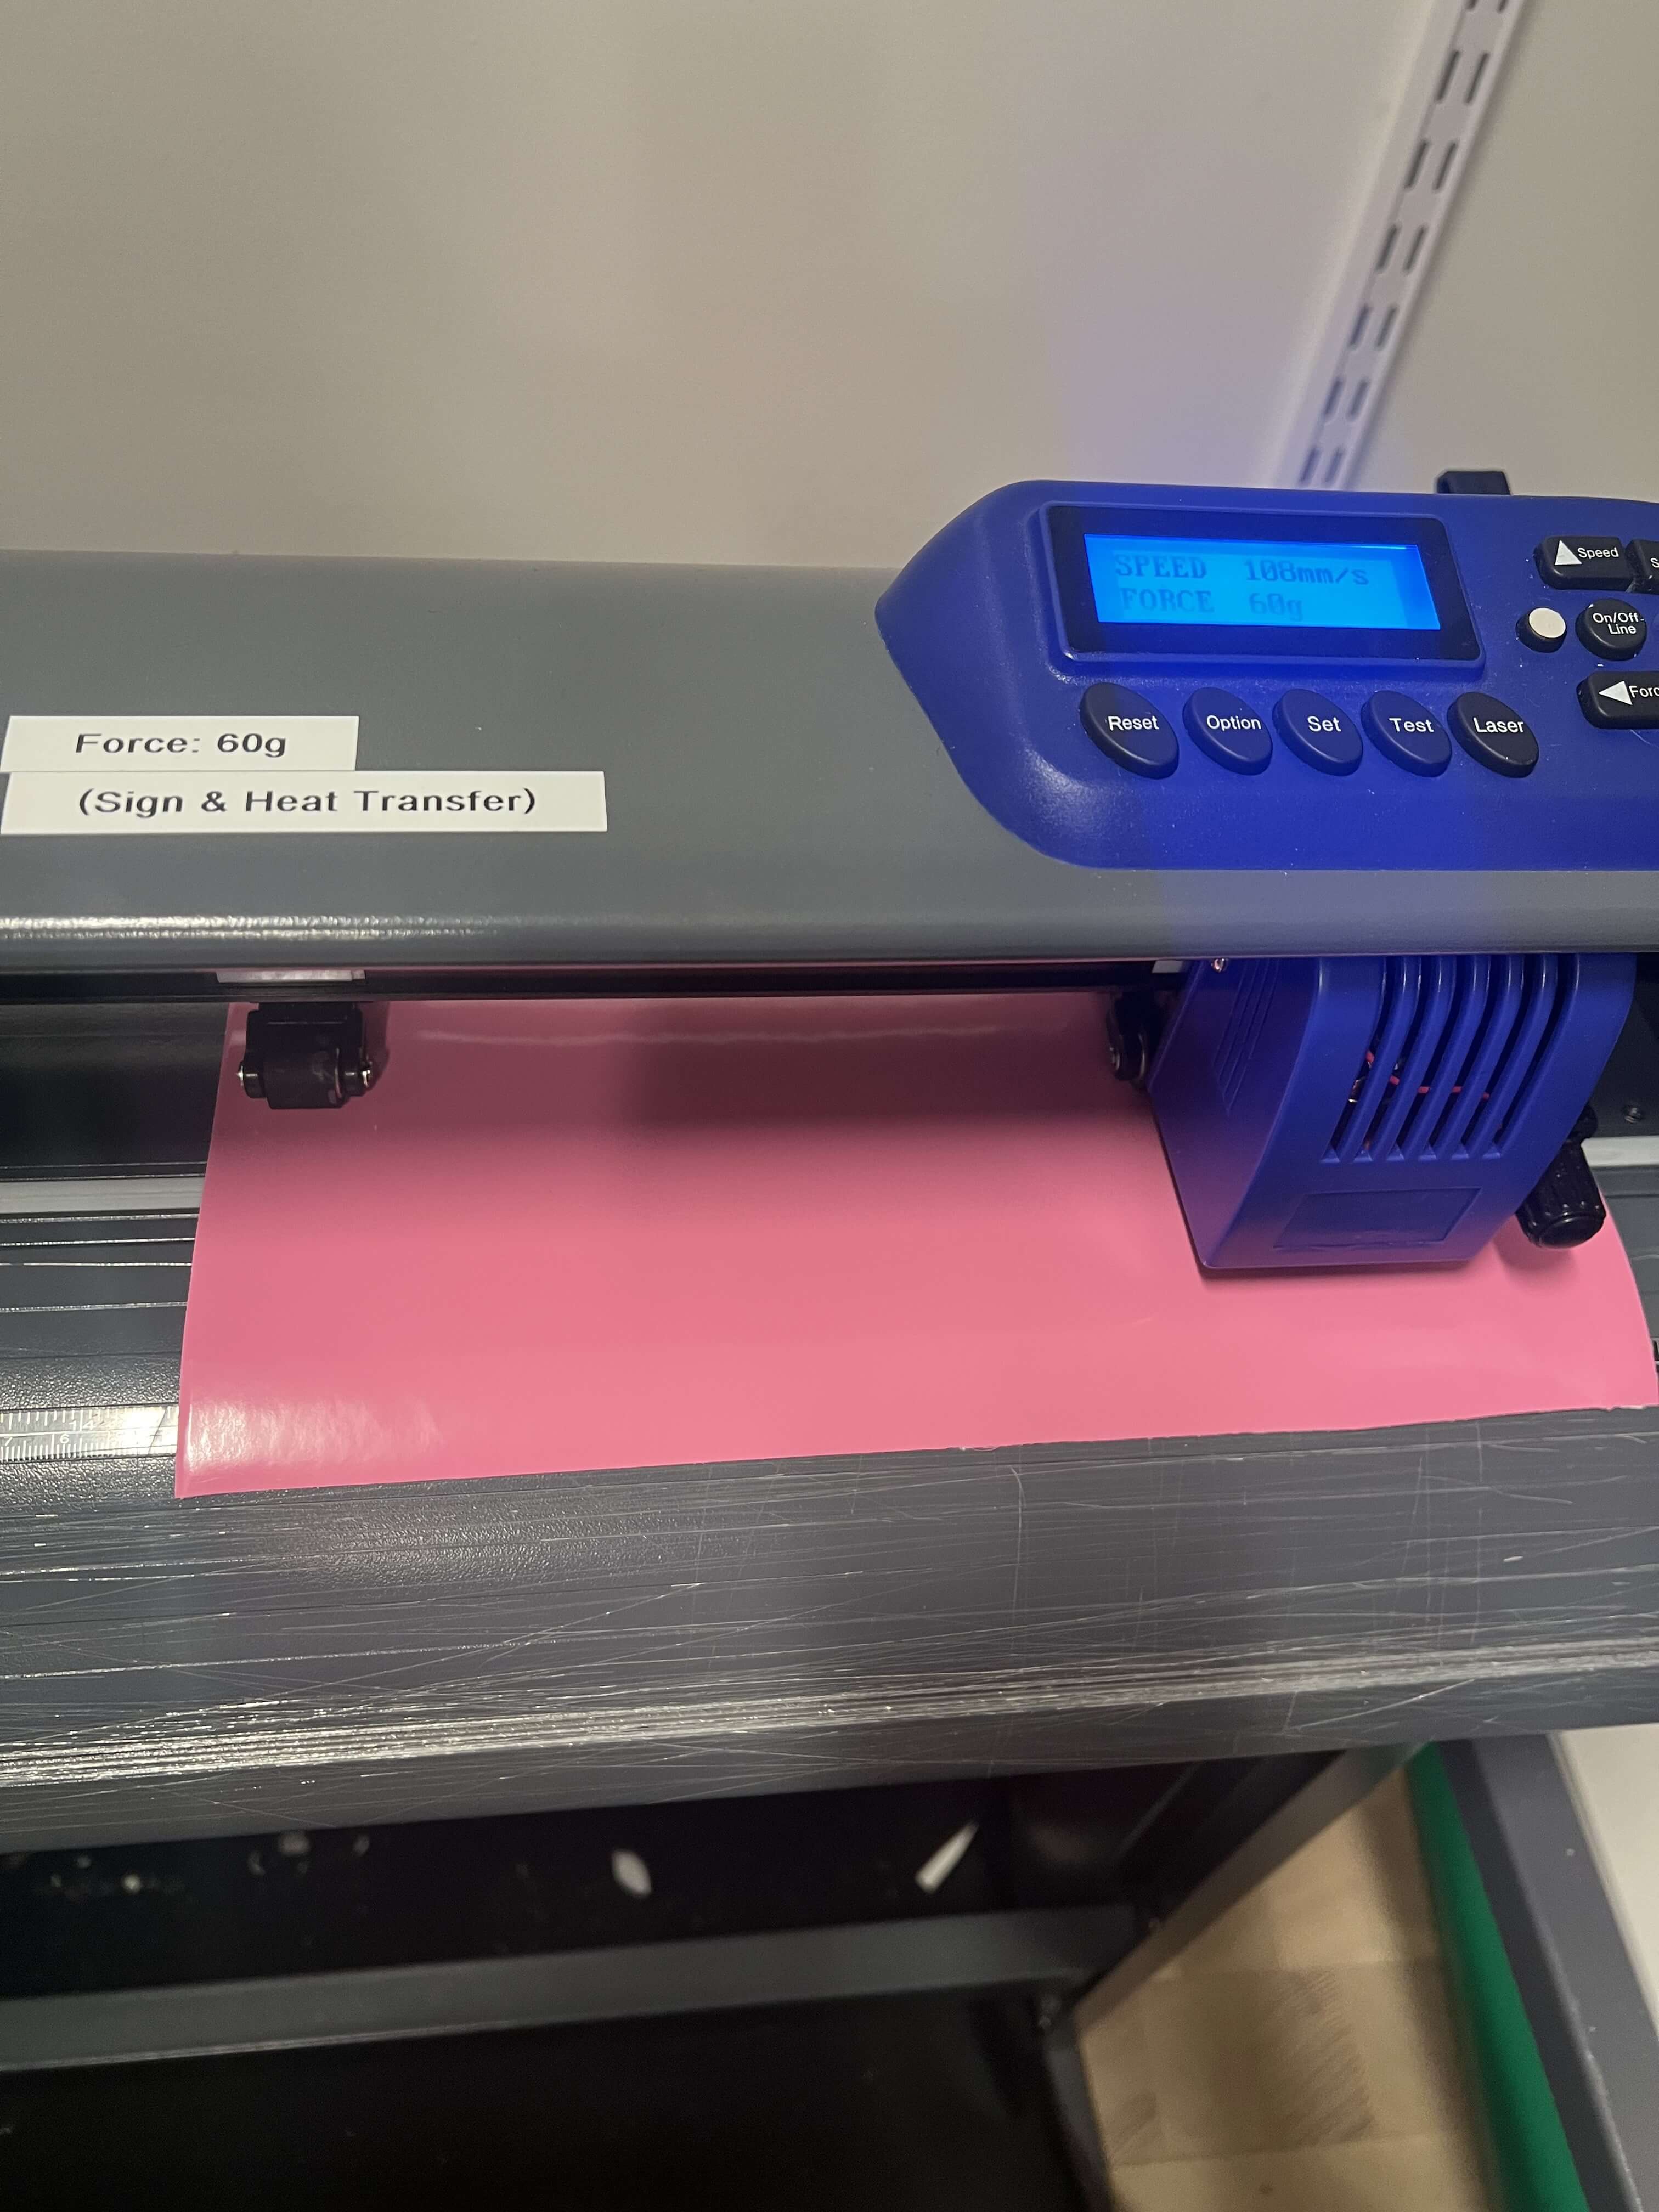
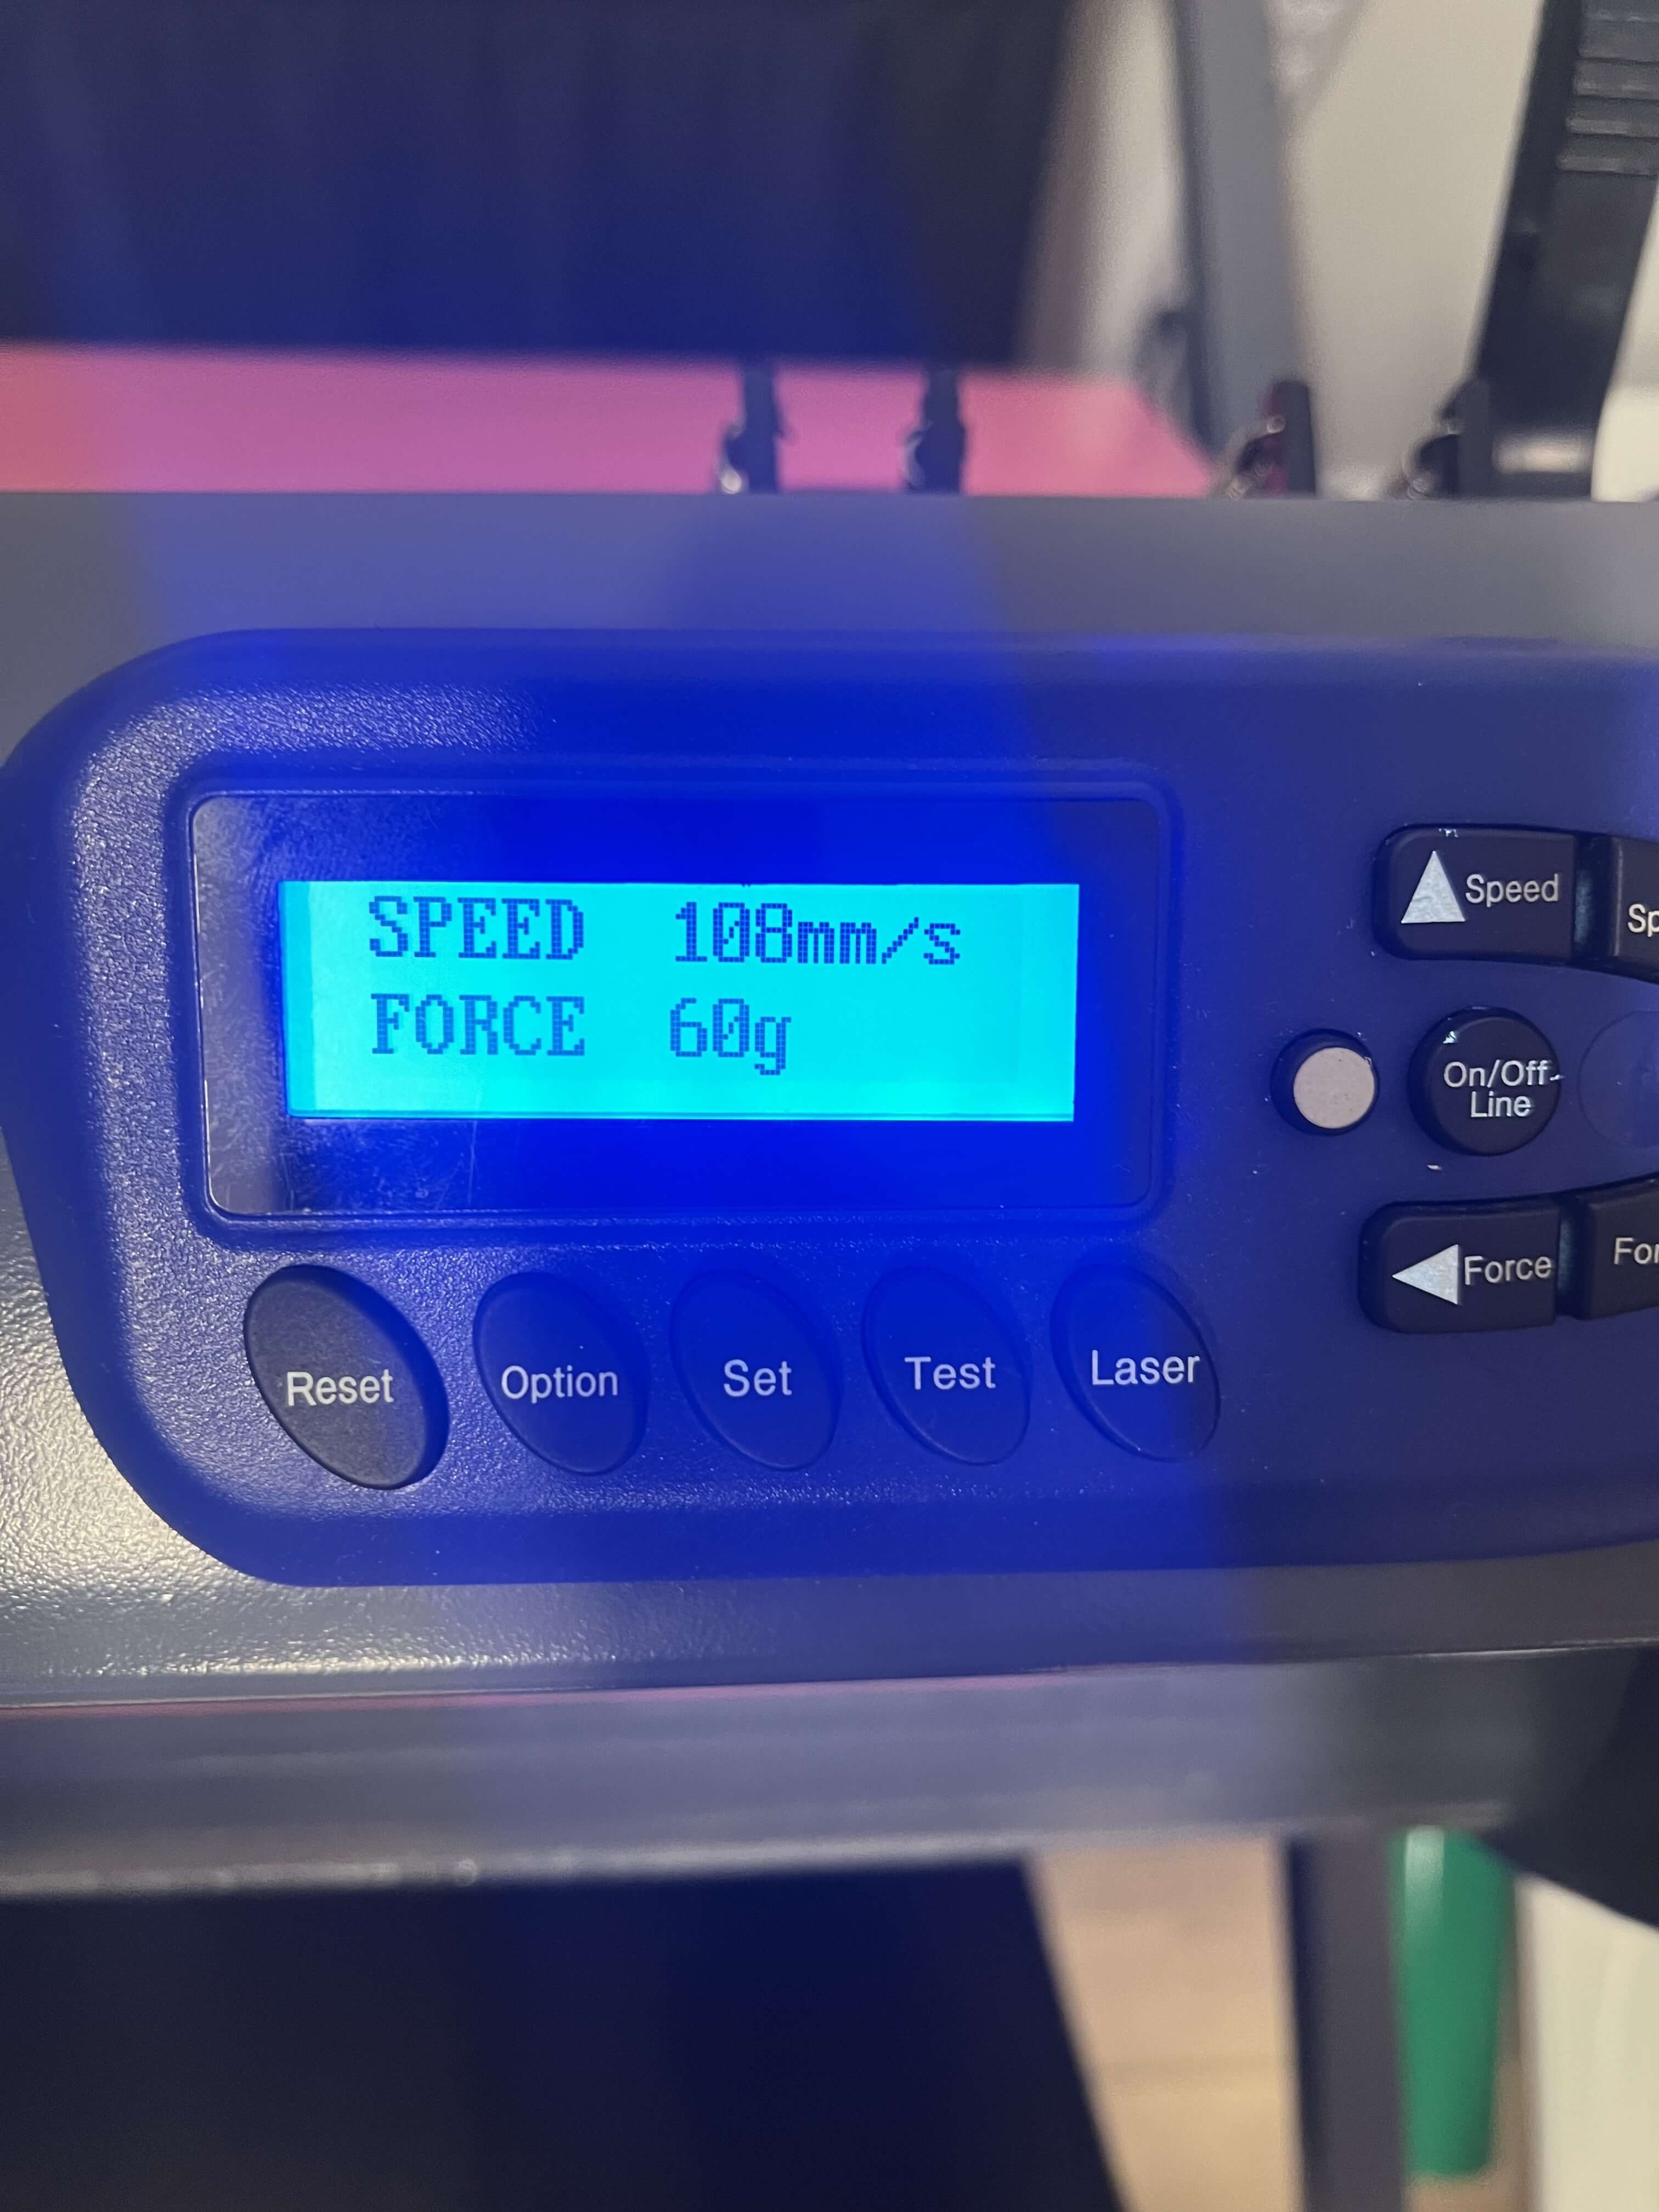
Set the speed and force. The force provided for this machine is 60g, though the speed depends on the intricacy of the cut. In my case, the design was simple so I put the speed around 108mm/s.
Open design in Sure Cuts a Lot and situate in the bottom right corner. Press the scissors tool on the top row of Sure Cuts a Lot and confirm the cut.
Lift pedal up to release grip on vinyl. Pull forward until cut is past the bottom ridge. Use a blade to cut in the ridge to remove the design.
Weeding. Using the weeding tools, remove the unwanted vinyl from around your design.
Transfer adhesive. Apply transfer adhesive over top on vinyl sticker. In my case I cut around the design to create a clean look.
Vinyl application. To apply the vinyl sticker, press firmly on surface, which in my case was my laptop. Slowly peel away the adhesive, leaving the vinyl behind
Final Vinyl
Parametric Construction Kit
Account for kerf of cardboard.
Set parameters. The parameters I set included the slot width and kerf. This makes it easy to set a dimension by just typing slot width and either subtracting or adding the kerf to that to ensure a tight fit between all pieces.

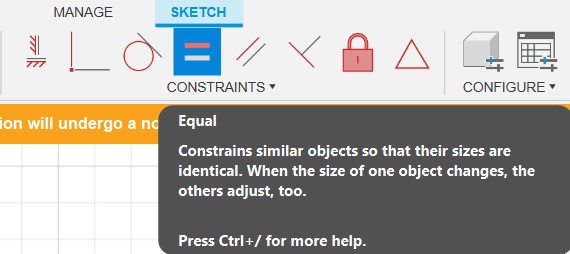
Create parametric construction kit in fusion. Take intro account constraints. The constraint I used a majority of the time is the equal constraint tool to ensure my measurements were equal on all four of my shapes.
Put design into Adobe Illustrator. From here, change the line stroke to 0.01mm. This will cause the Epilog to read these lines as a vector cut.
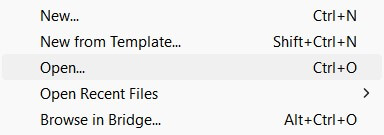
Open Adobe Illustator on Epilog computer. Press print and make sure that auto rotate is off and do not scale is selected.
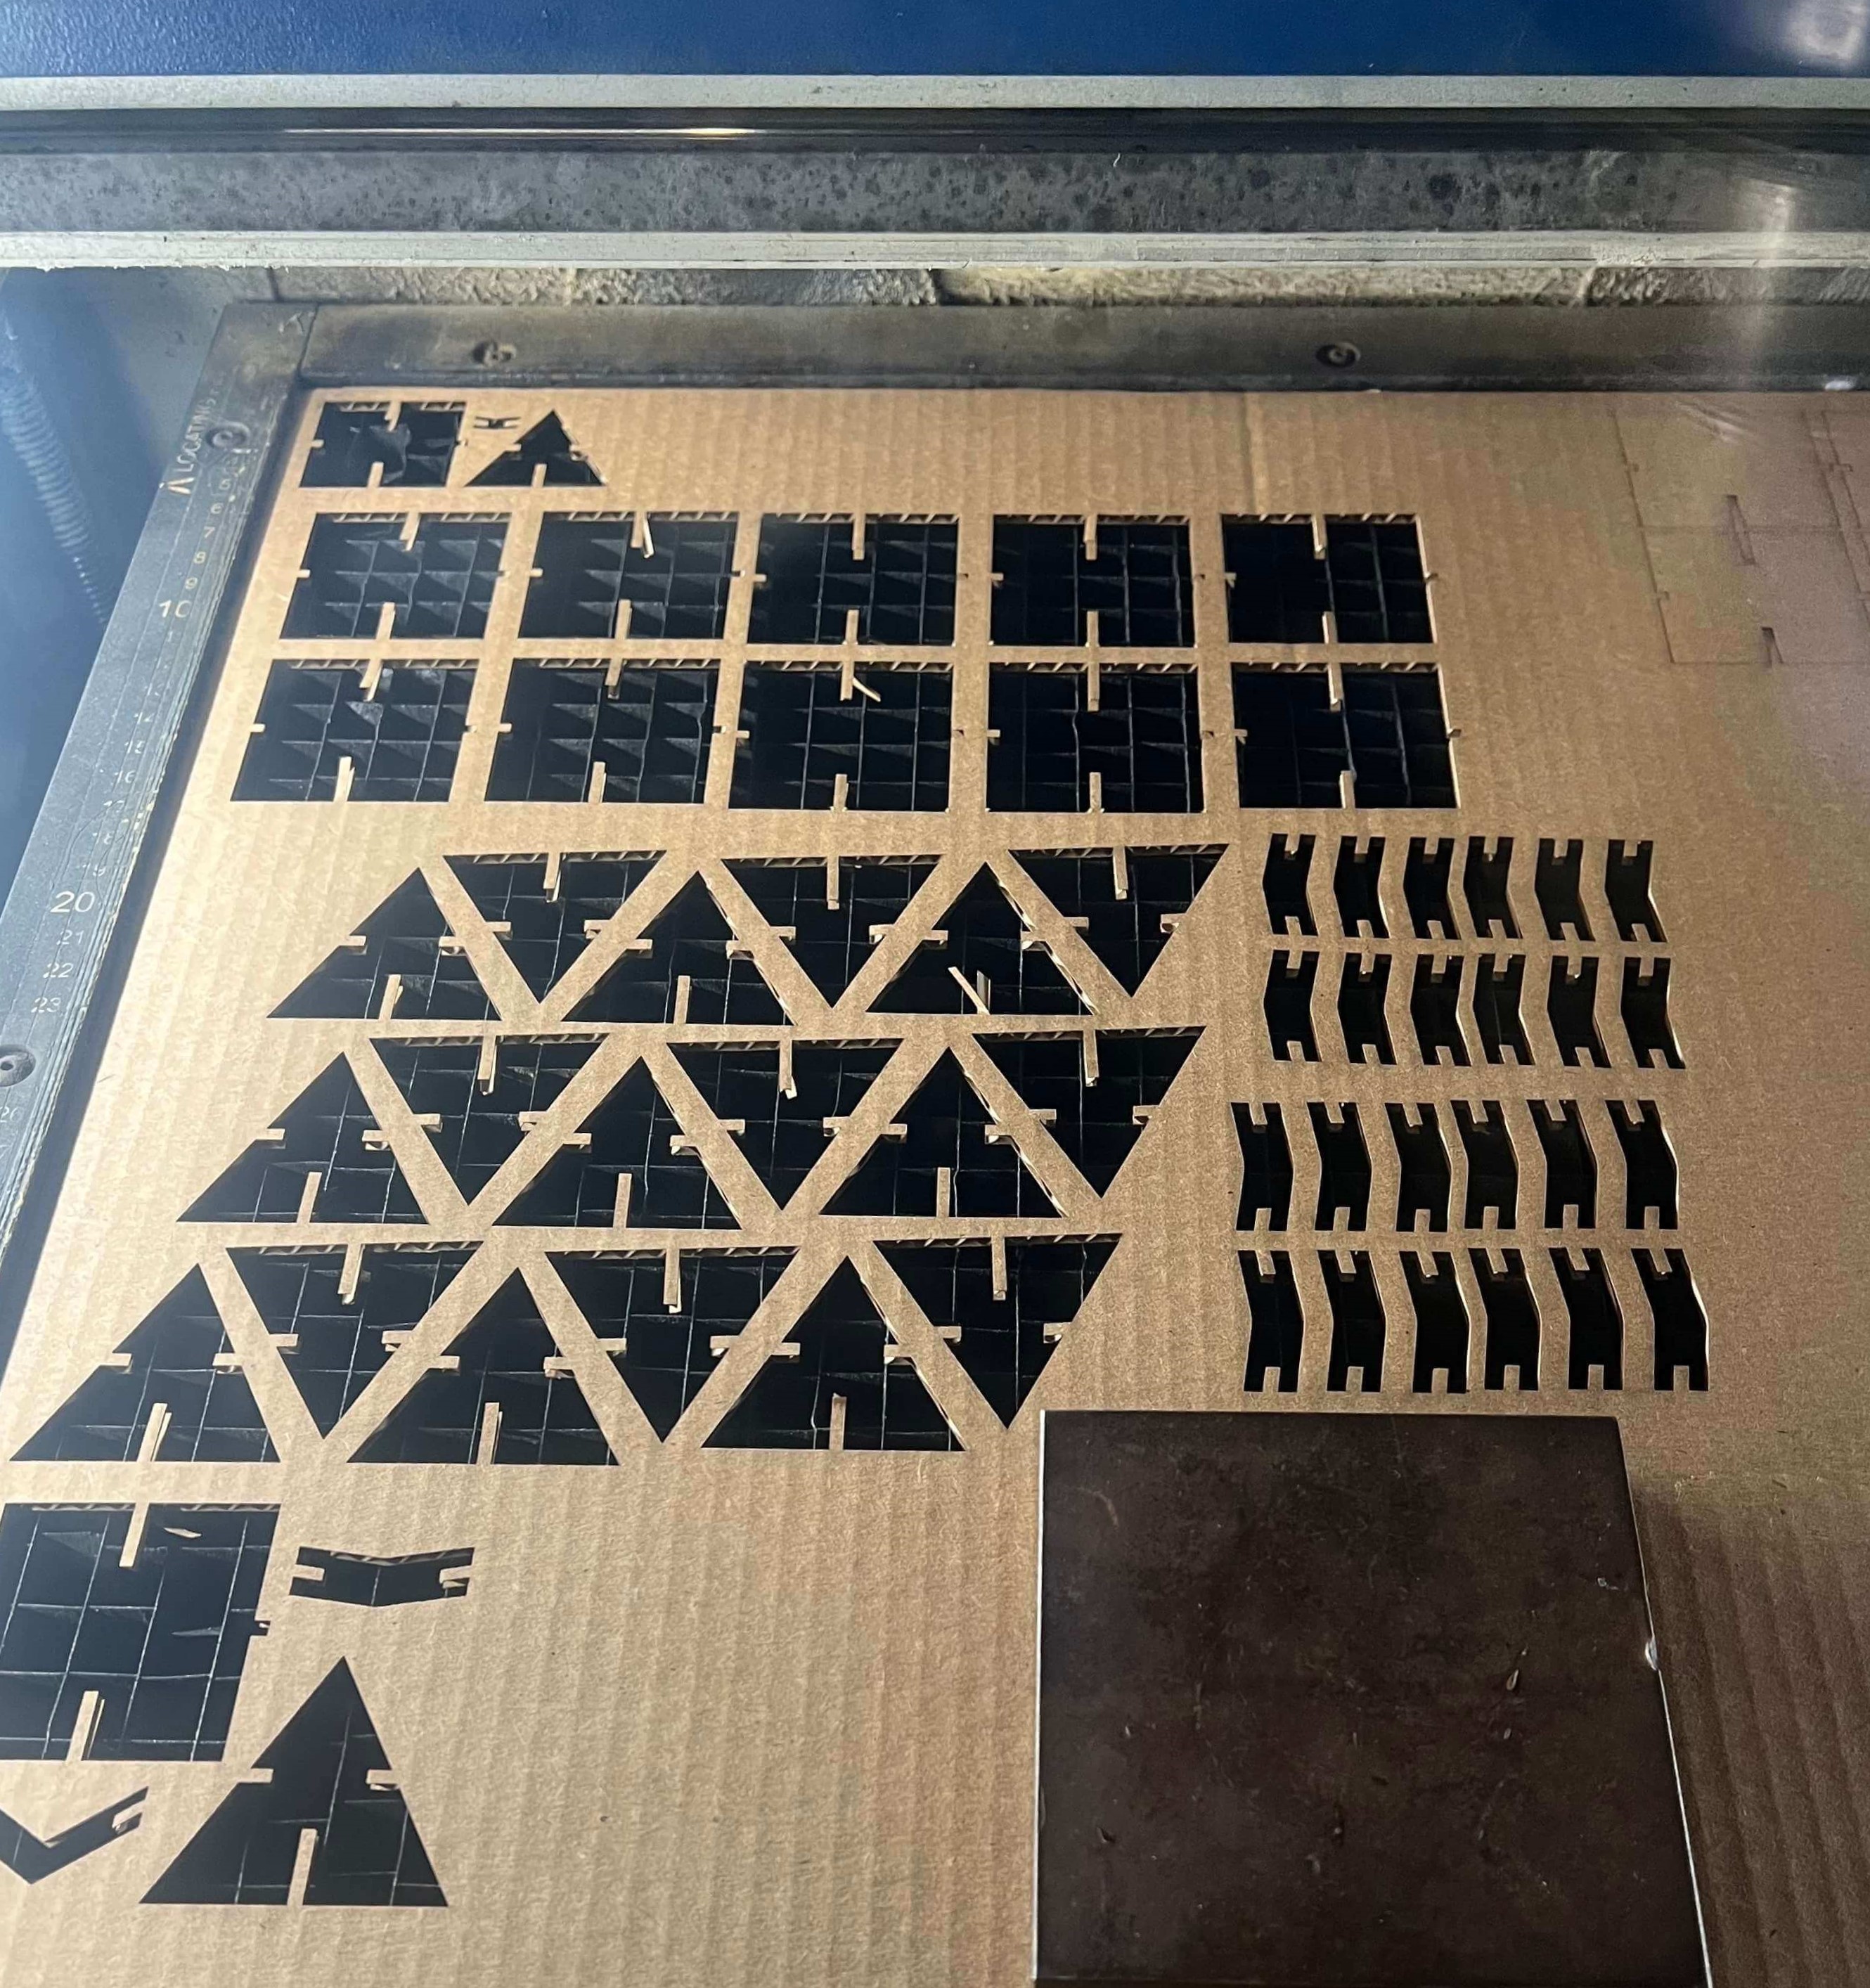
Print settings for cardboard. These settings include a 75% speed, 50% power and 10% frequency. Press air assist and the design is ready to cut.
Machine setup. There are a few steps in preparing the Epilog laser to make cuts. First, turn on the exhaust switch which is on the wall next to our machine. Then, click the air assist button to on which is located on the floor to the right of the laser. Lastly I press the power button which is on the machine.
Focus
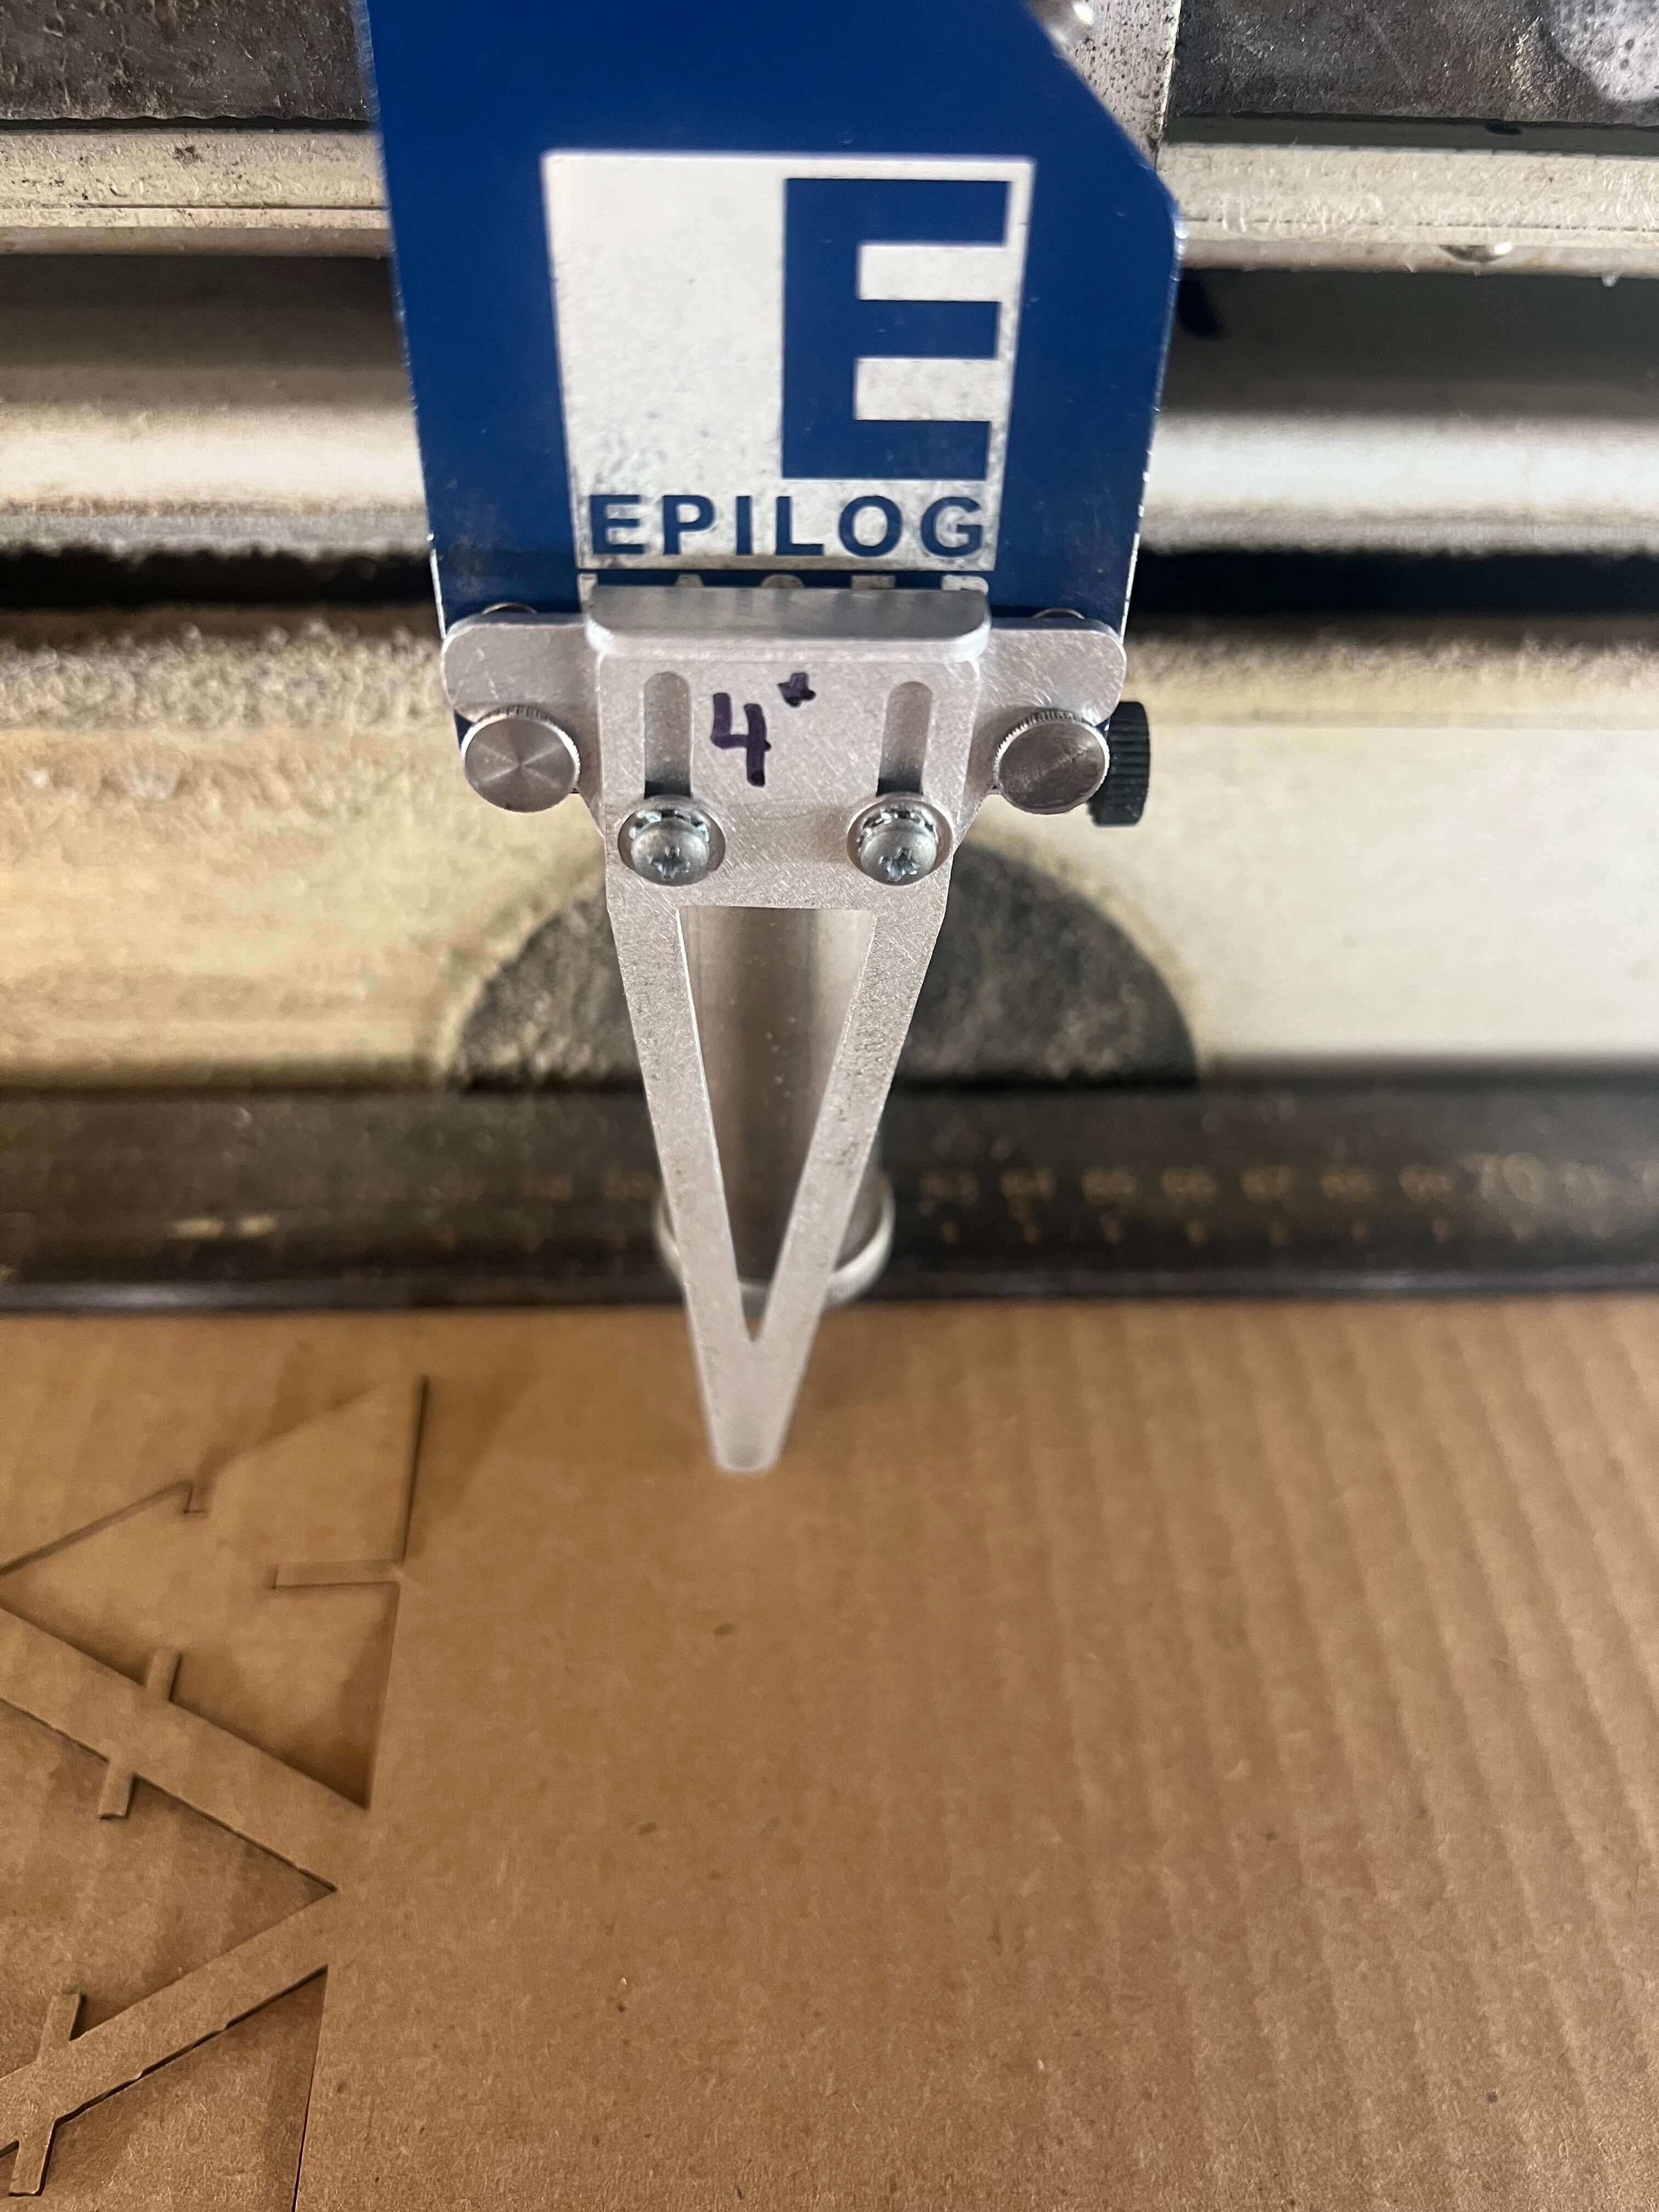
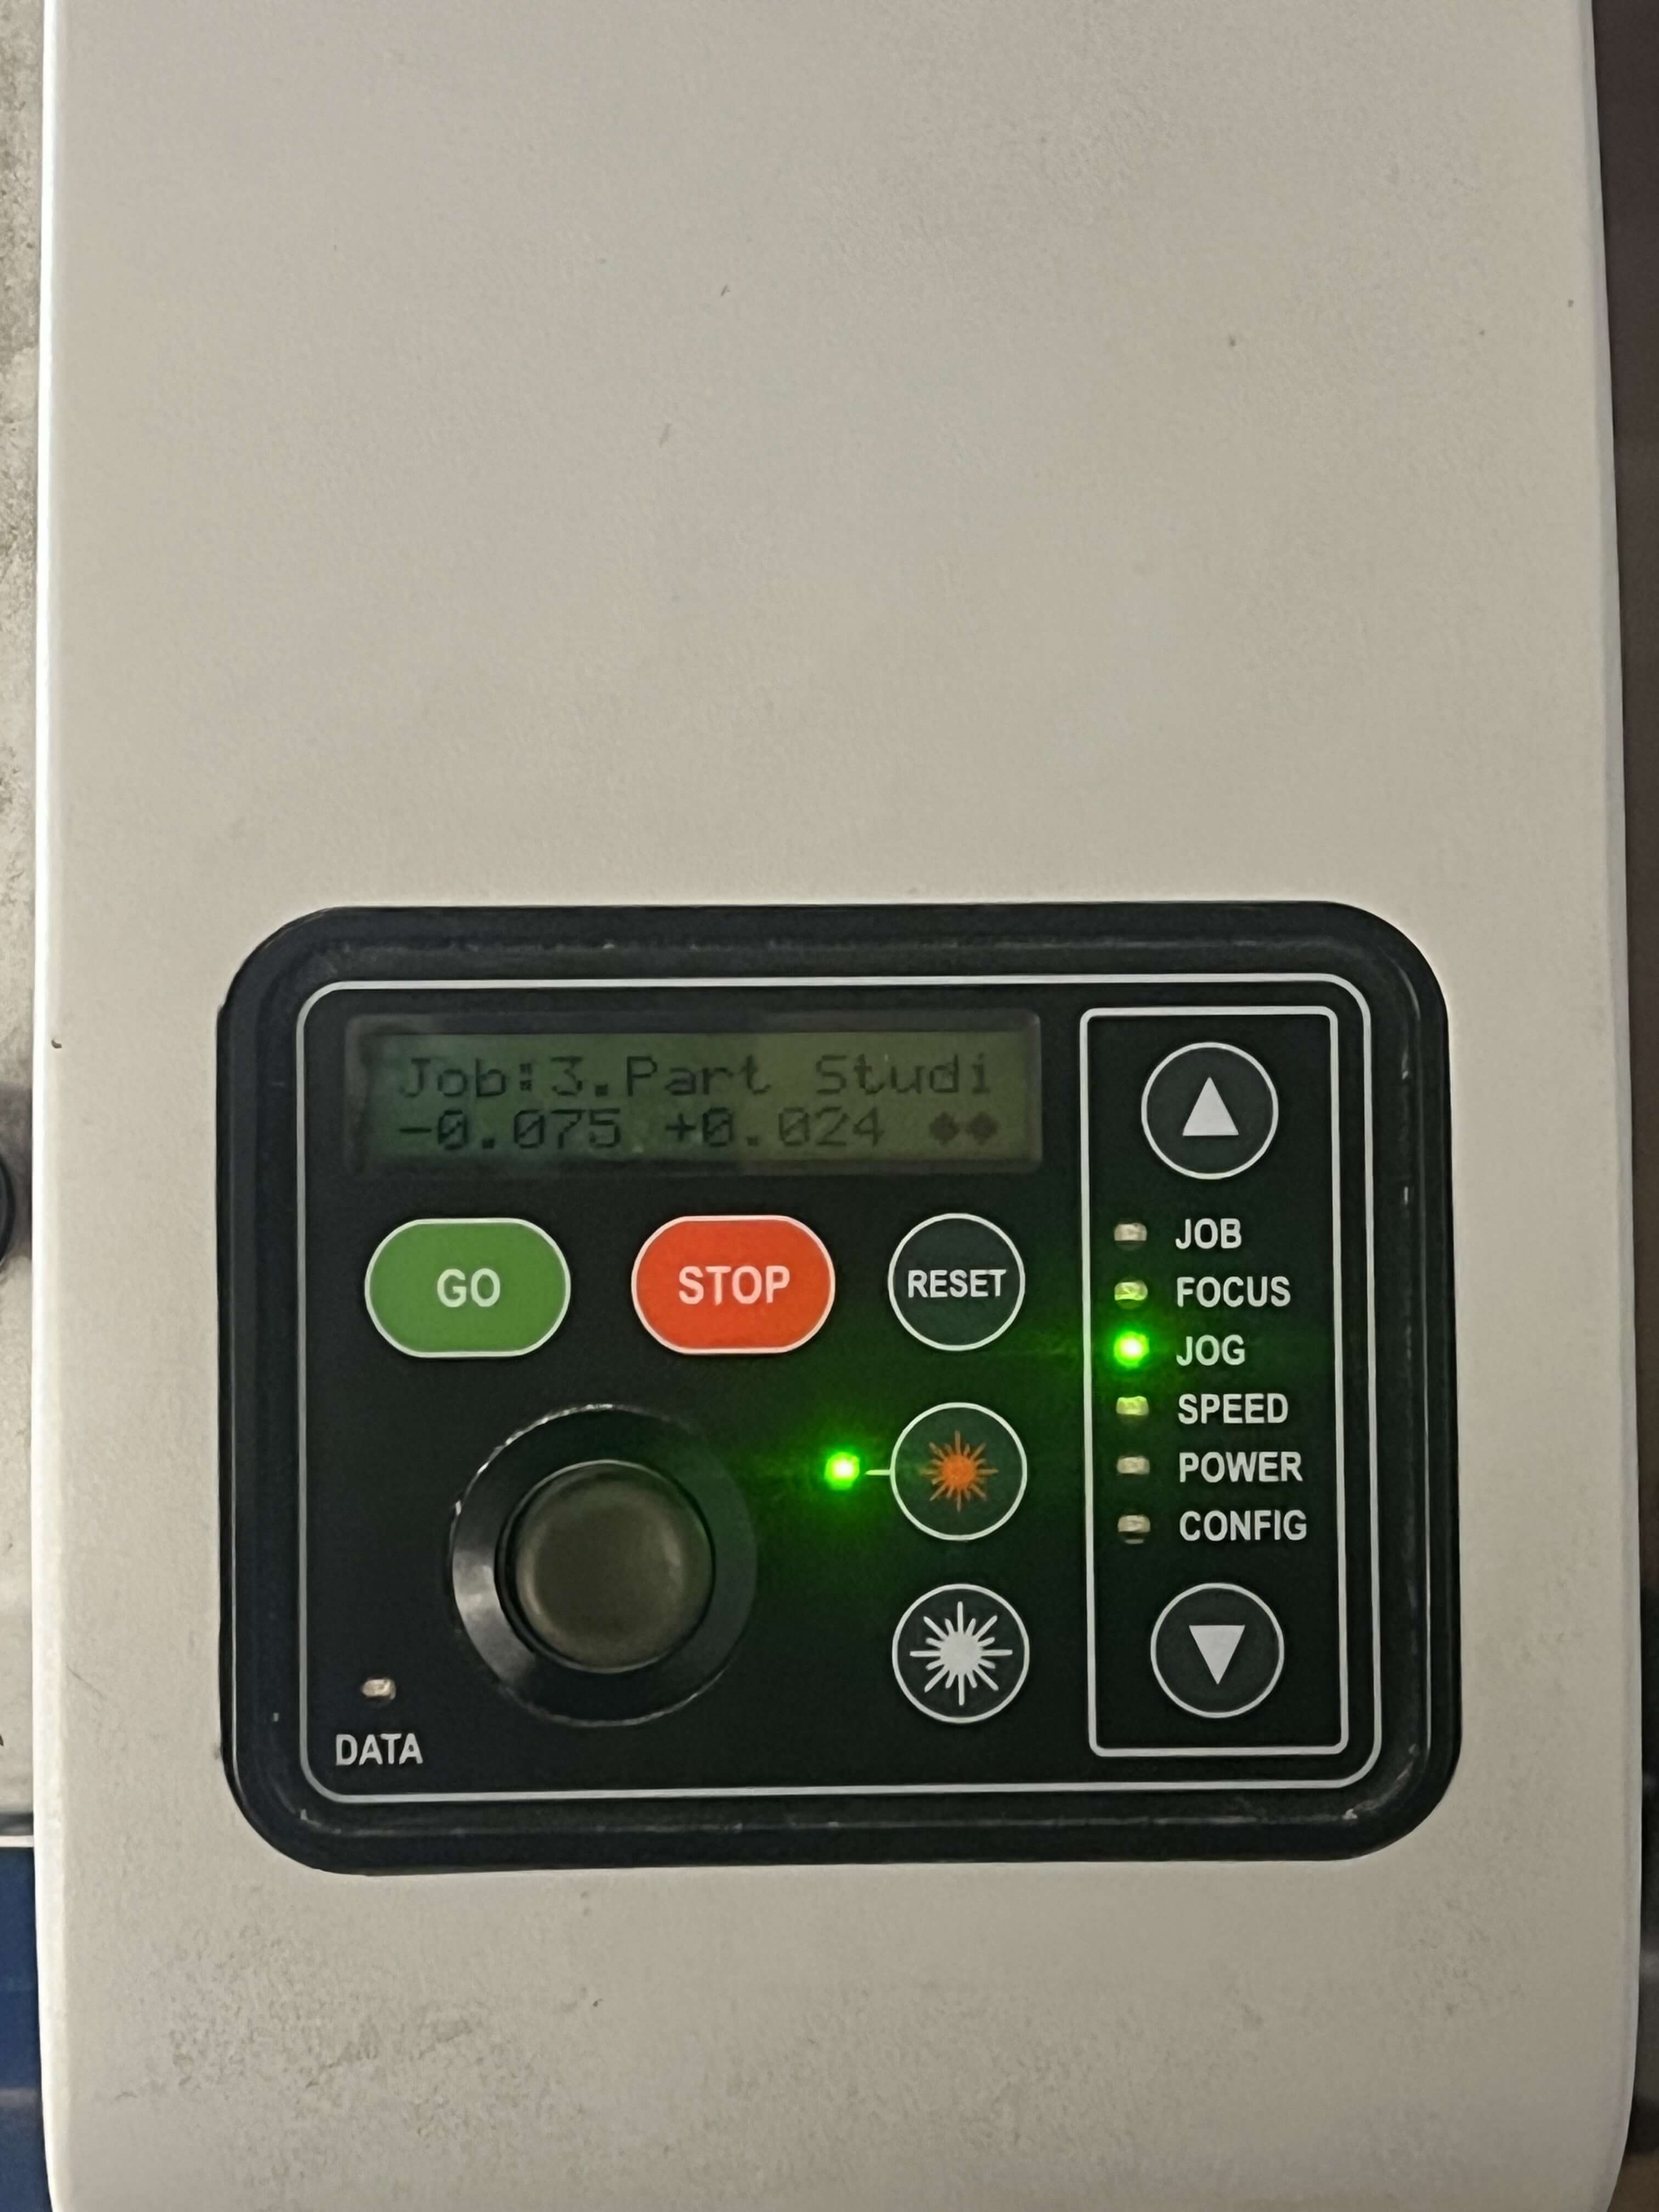
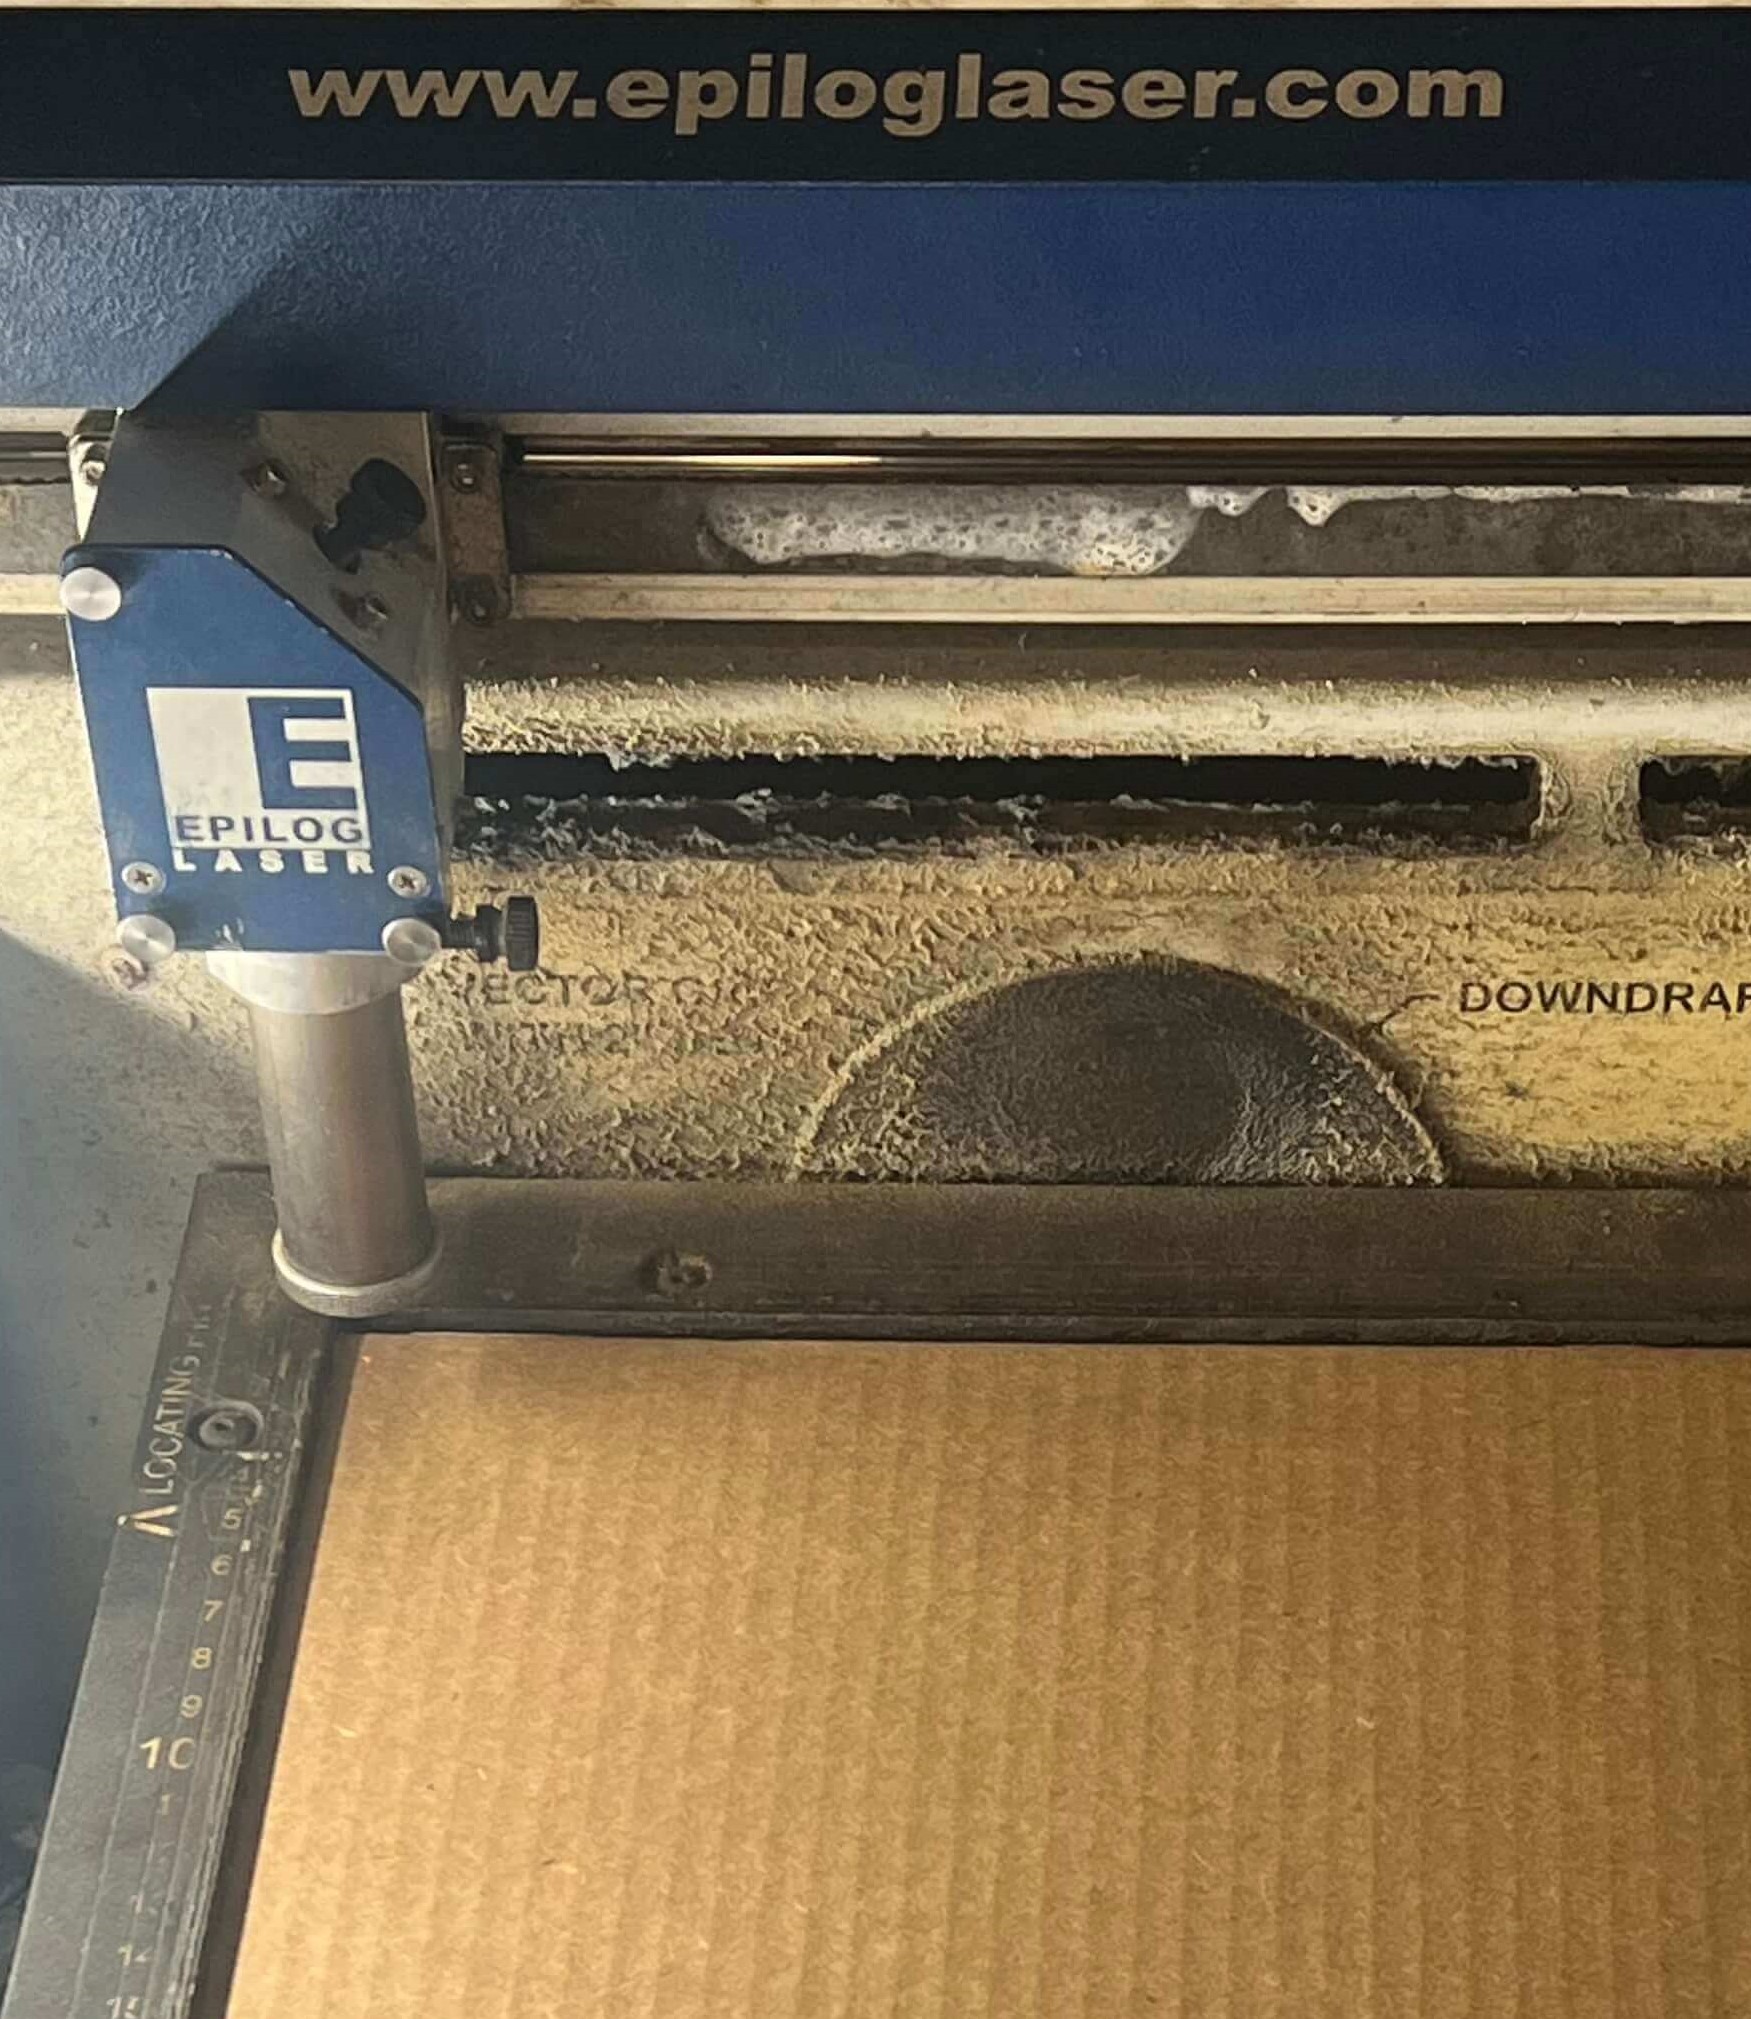
Jog
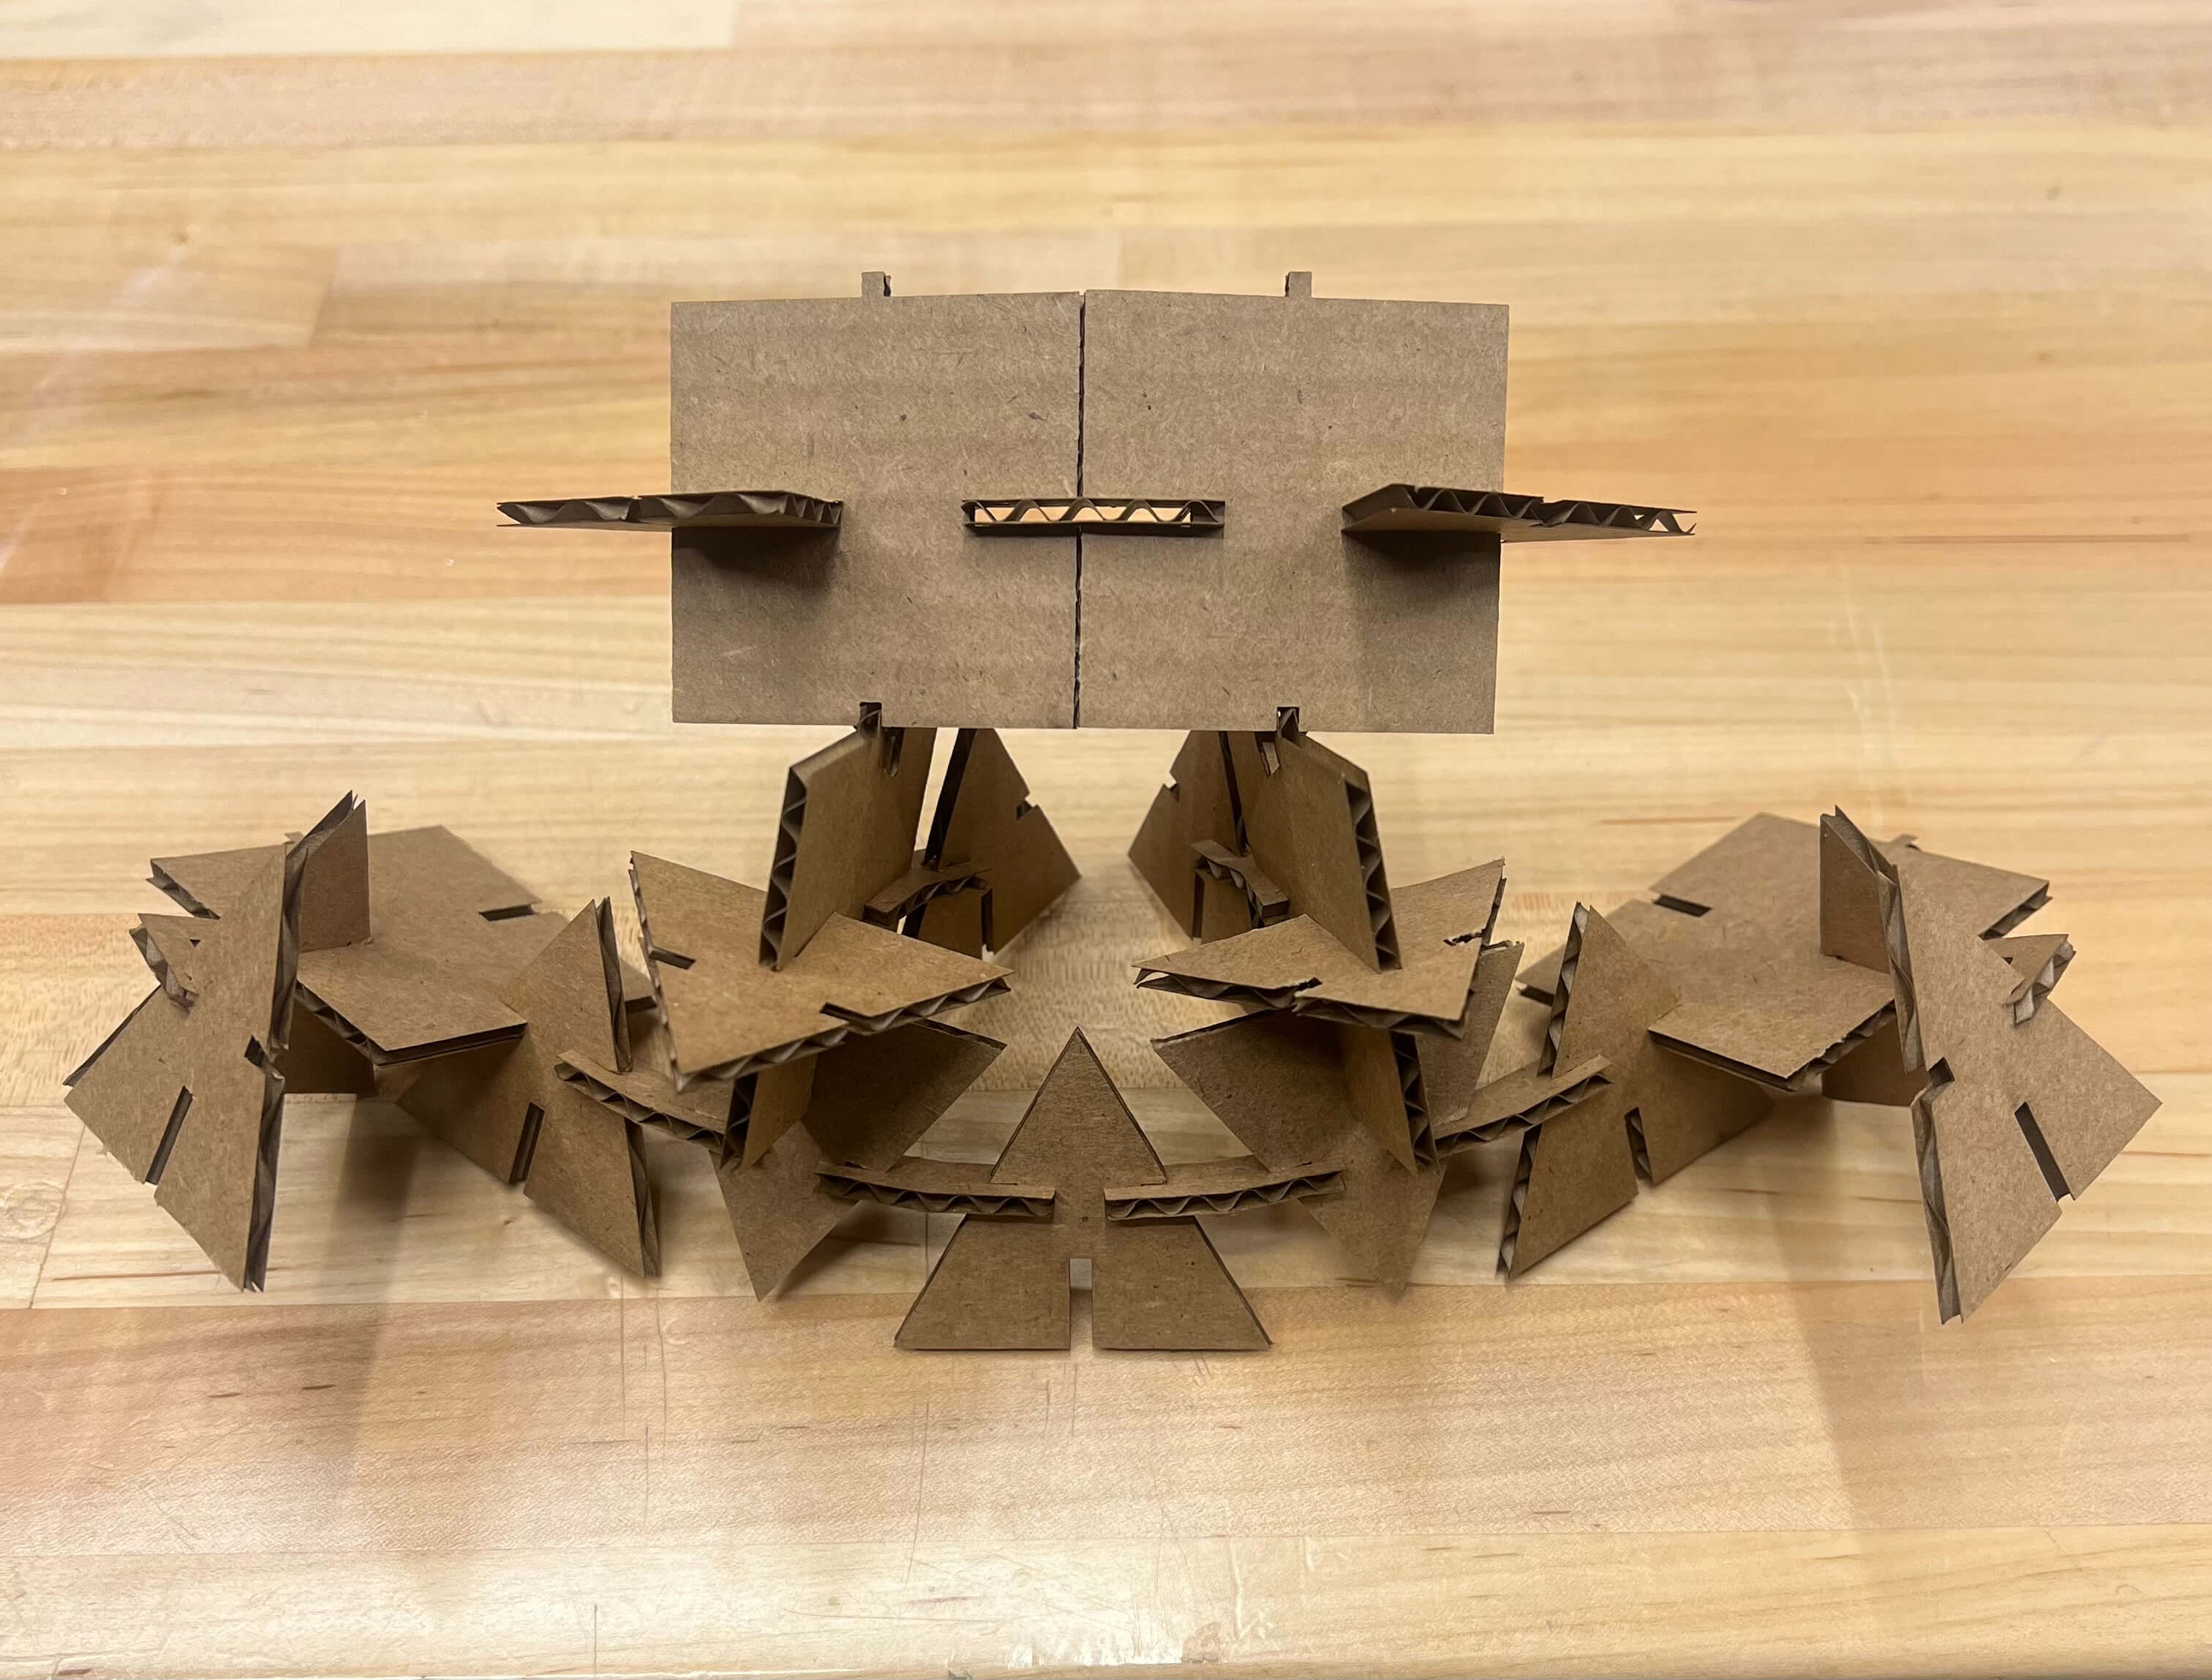
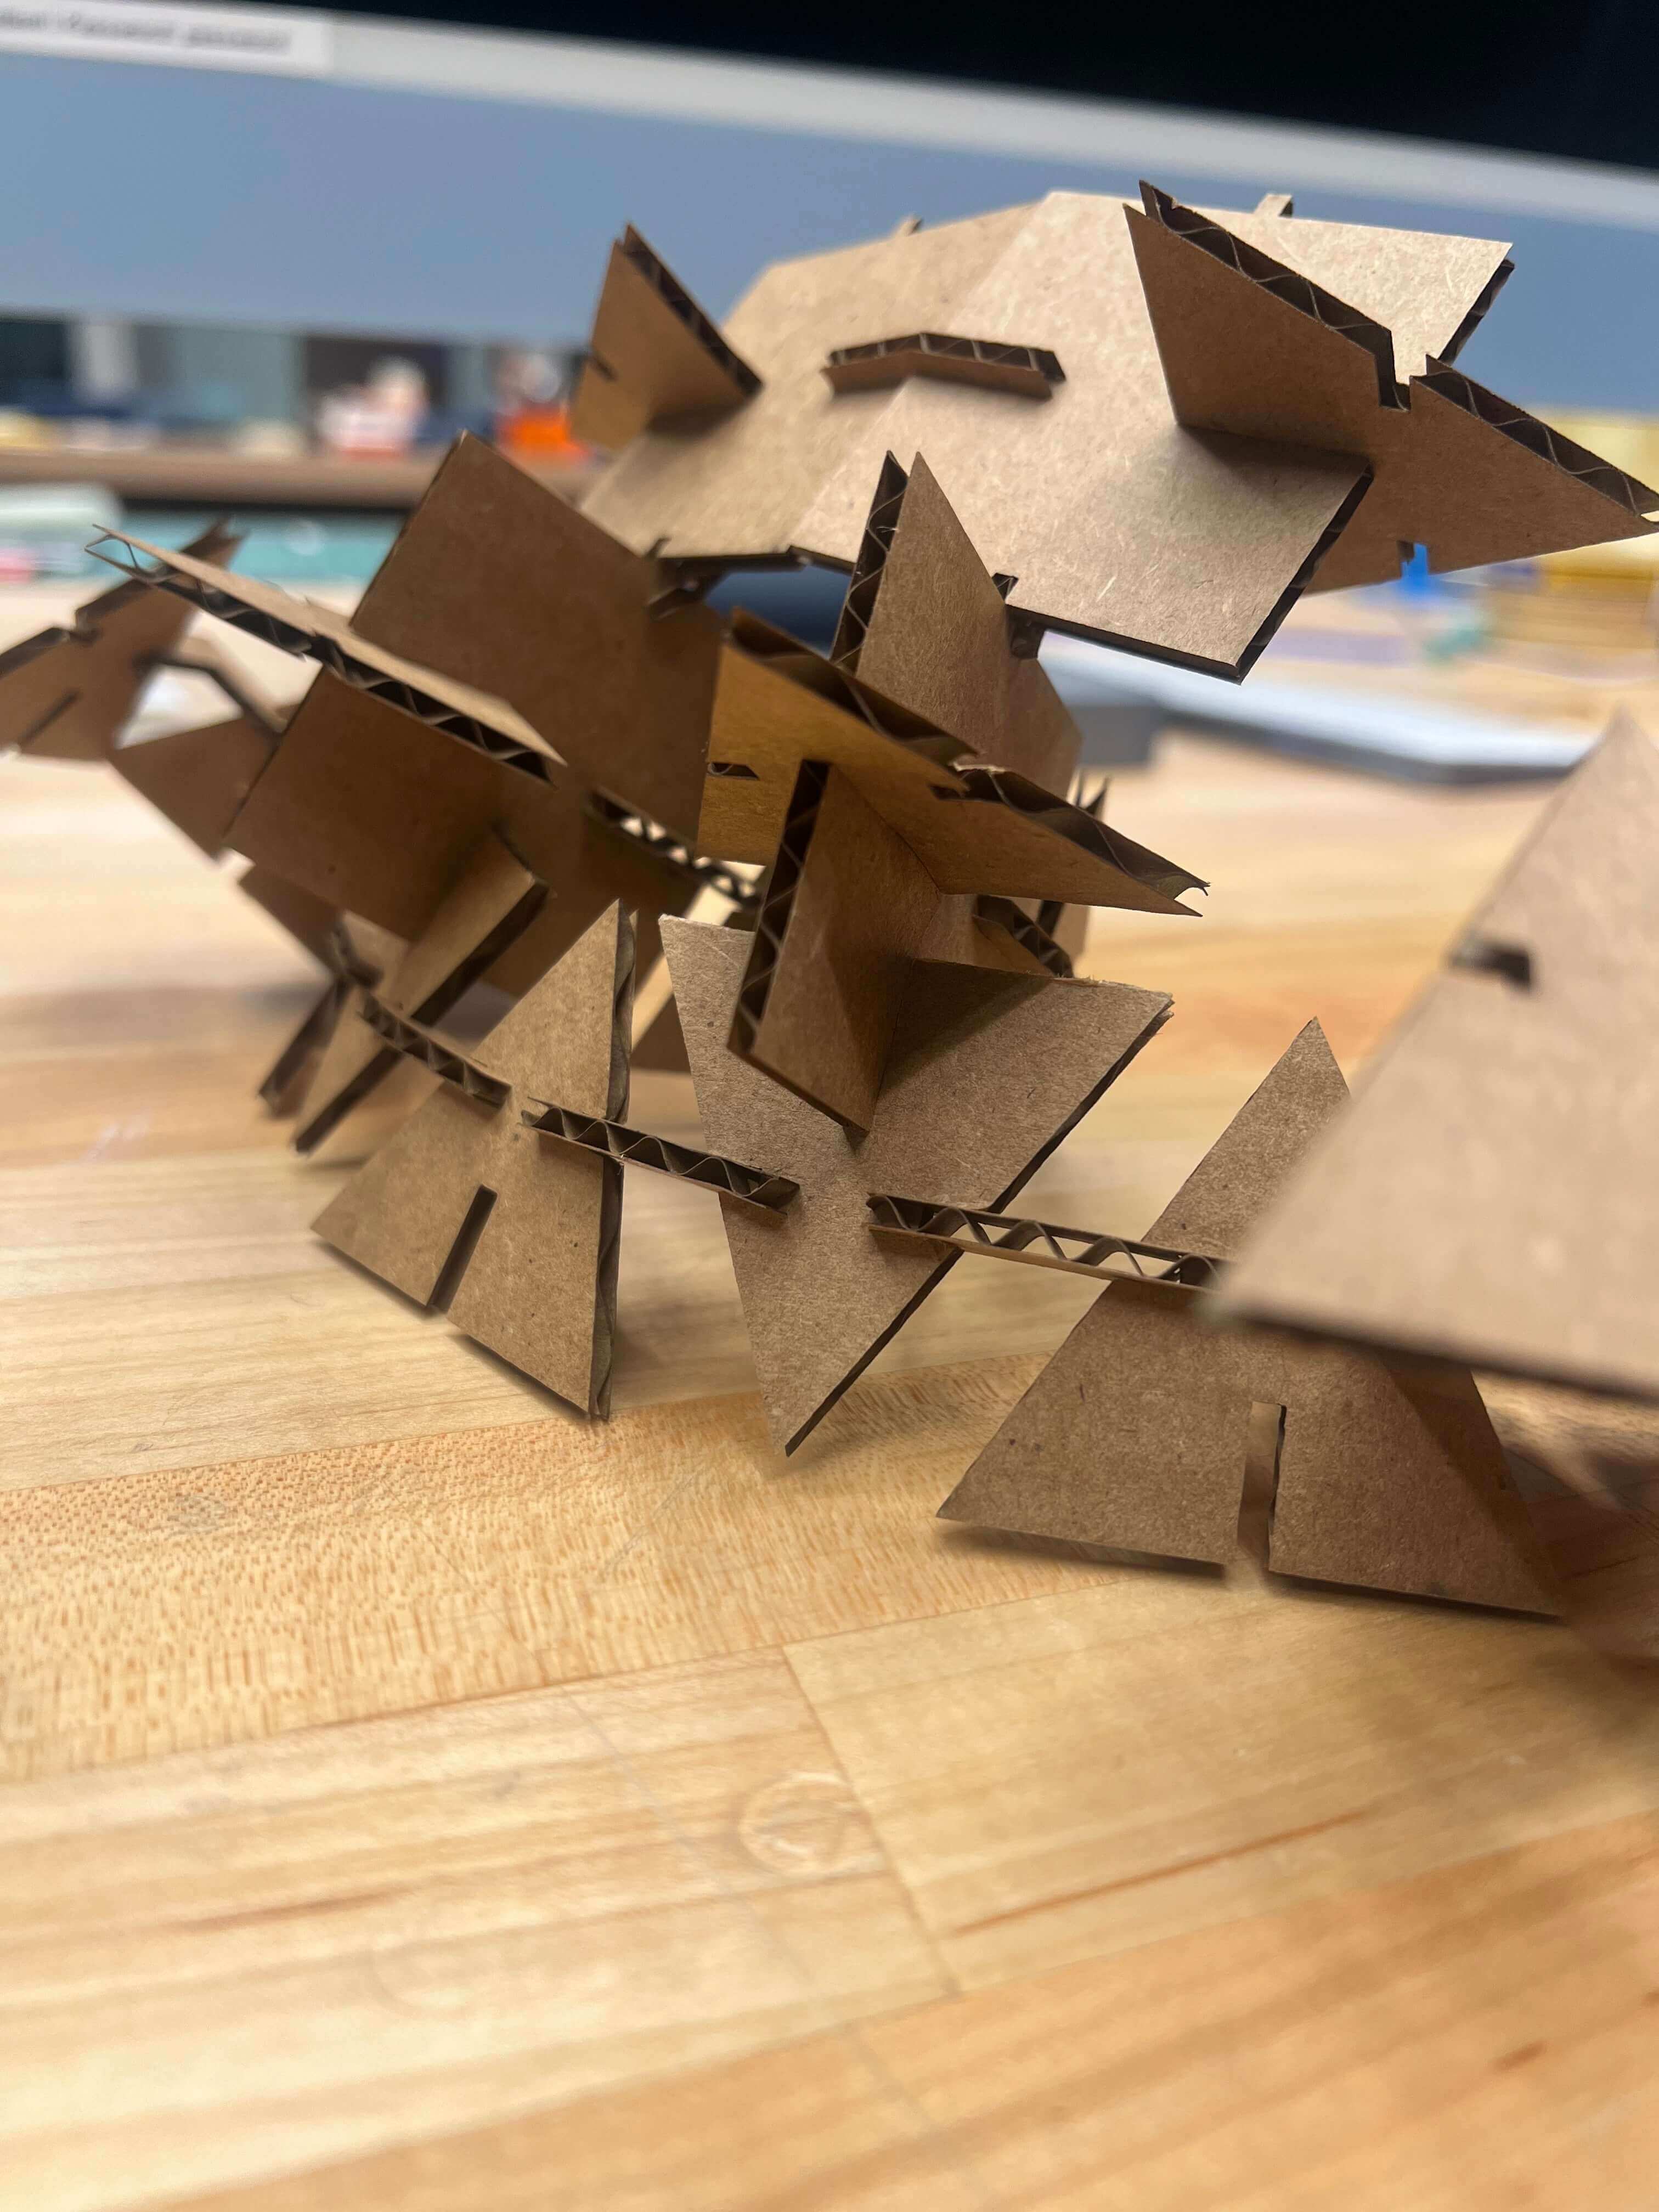
Remove pieces from machine and assemble however you would like. In my case I aimed to create a sort of prey mantis creature.
Troubleshooting
This week I faced the trouble of being unable to push. I had six unpushed commits that backed up my repo.
  // the setup function runs once when you press reset or power the board
  void setup() {
    // initialize digital pin LED_BUILTIN as an output.
    pinMode(LED_BUILTIN, OUTPUT);
  }

  // the loop function runs over and over again forever
  void loop() {
    digitalWrite(LED_BUILTIN, HIGH);   // turn the LED on (HIGH is the voltage level)
    delay(1000);                       // wait for a second
    digitalWrite(LED_BUILTIN, LOW);    // turn the LED off by making the voltage LOW
    delay(1000);                       // wait for a second
  }