2. Computer Aided Design
This week I developed my 2D and 3D modeling skills and experimented with a new software. My computer has not been able to handle and softwares like fusion as of now, so I plan to add more and a final 2D design by the end of this week or sooner.
Research
For this week's computer-aided design, I learned to use onshape. This was a software I had never attempted to use before and reviewed our discussion during our class block to fully comprehend the functions. My main project research is based around an portable ECG monitor I saw.
ECG stands for electrocardiogram. These provide details about ones heart rate. Because I wanted my design to model the monitor portion that is to be added to the clothing, I chose Onshape. Overall, this project helped me to expand my knowledge of the tools provided to us.
3-D Modeling in Onshape
Onshape is a software I mentioned I was not all too familiar with, though my initial work I have grown to like.
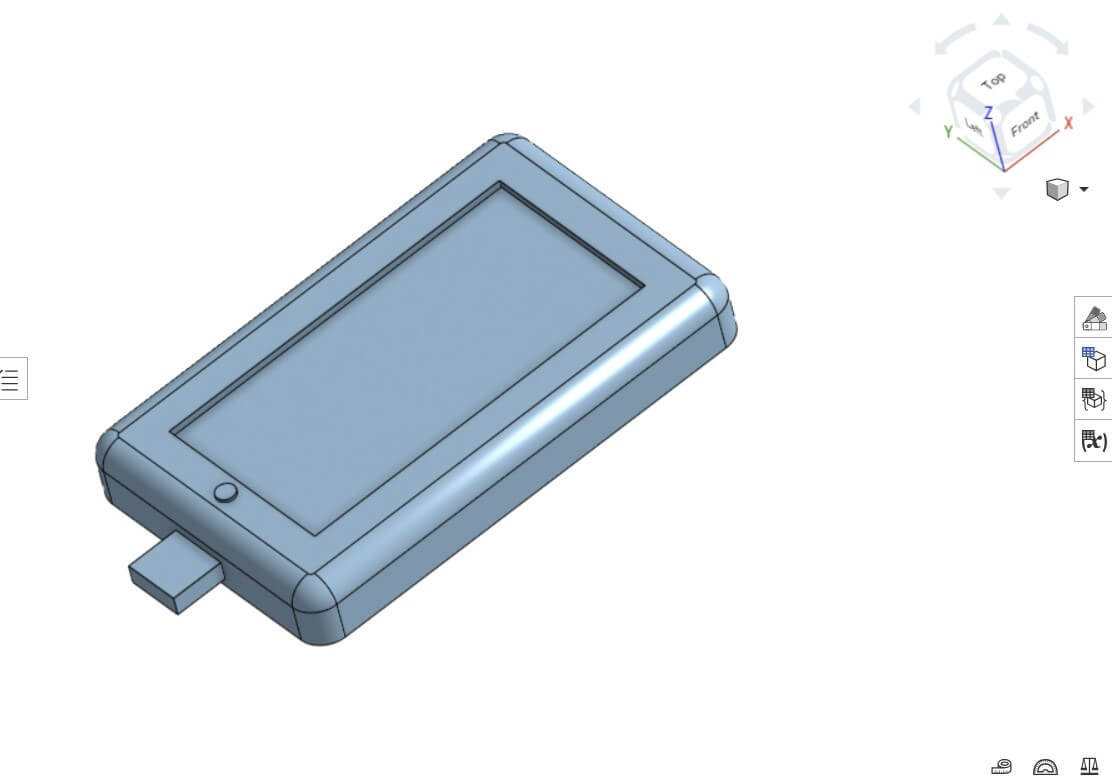
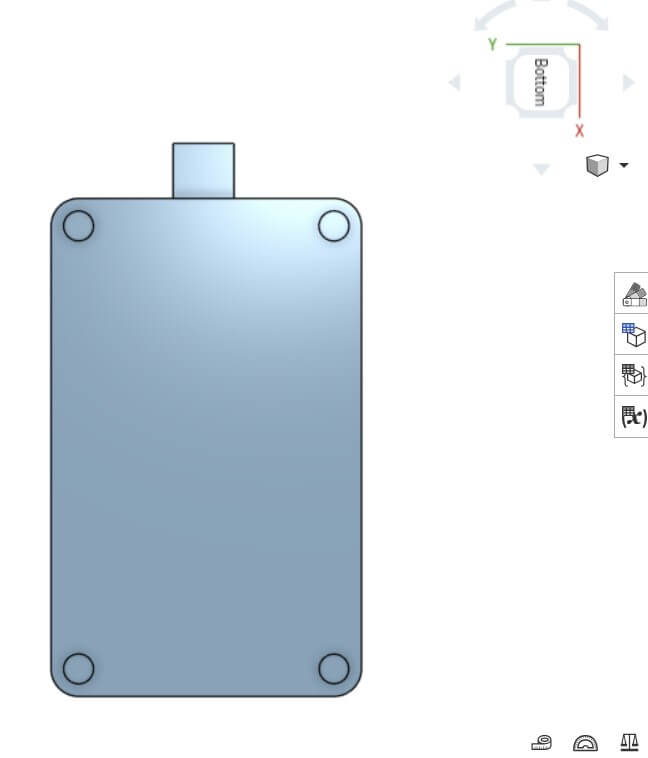
In Onshape, I focused on creating my version of a portable electrocardiogram. I avoided using sharp edged on the outer pieces of my design because this monitor screen is placed in an inner pouch of my final article of clothing. The use of smooth edges avoids discomfort during wear.
To begin this design, I made a sketch of the bottom rectangular portion of my monitor. I then curved those edges equally on each side and extruded. The top screen was represented by making a shell of the main rectangle, with a circular extruded from that same rectangular base.
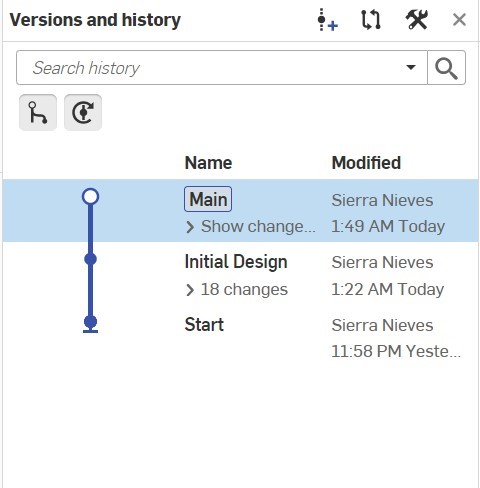
I also made sure to create a version in my version history so that I know what was completed in my first mockup of this design.
Process of Creating 3D Model
1. Select top plane
2. Sketch the rectangular shape and curve the edges using the sketch fillet tool
3. Extrude the rectangular shape to desired height
4. Use the fillet tool to curve the top of the design to create a smooth edge
5. Use the shell took to create an indented screen on the top
6. Select the top of rectangular shape to be the next design surface and sketch a circle as the button for the monitor
7. Extrude the circular shape to be a flat round button
8. Select the left side of the monitor, being the side the button is placed on
9. Sketch a rectangle on that surface
10. Extrude the shape outwards to represent where the cord plugs in to monitor
  // the setup function runs once when you press reset or power the board
  void setup() {
    // initialize digital pin LED_BUILTIN as an output.
    pinMode(LED_BUILTIN, OUTPUT);
  }

  // the loop function runs over and over again forever
  void loop() {
    digitalWrite(LED_BUILTIN, HIGH);   // turn the LED on (HIGH is the voltage level)
    delay(1000);                       // wait for a second
    digitalWrite(LED_BUILTIN, LOW);    // turn the LED off by making the voltage LOW
    delay(1000);                       // wait for a second
  }