15. Wildcard Week
This week was wildcard week, so I took on the task of doing electroplating!
Design
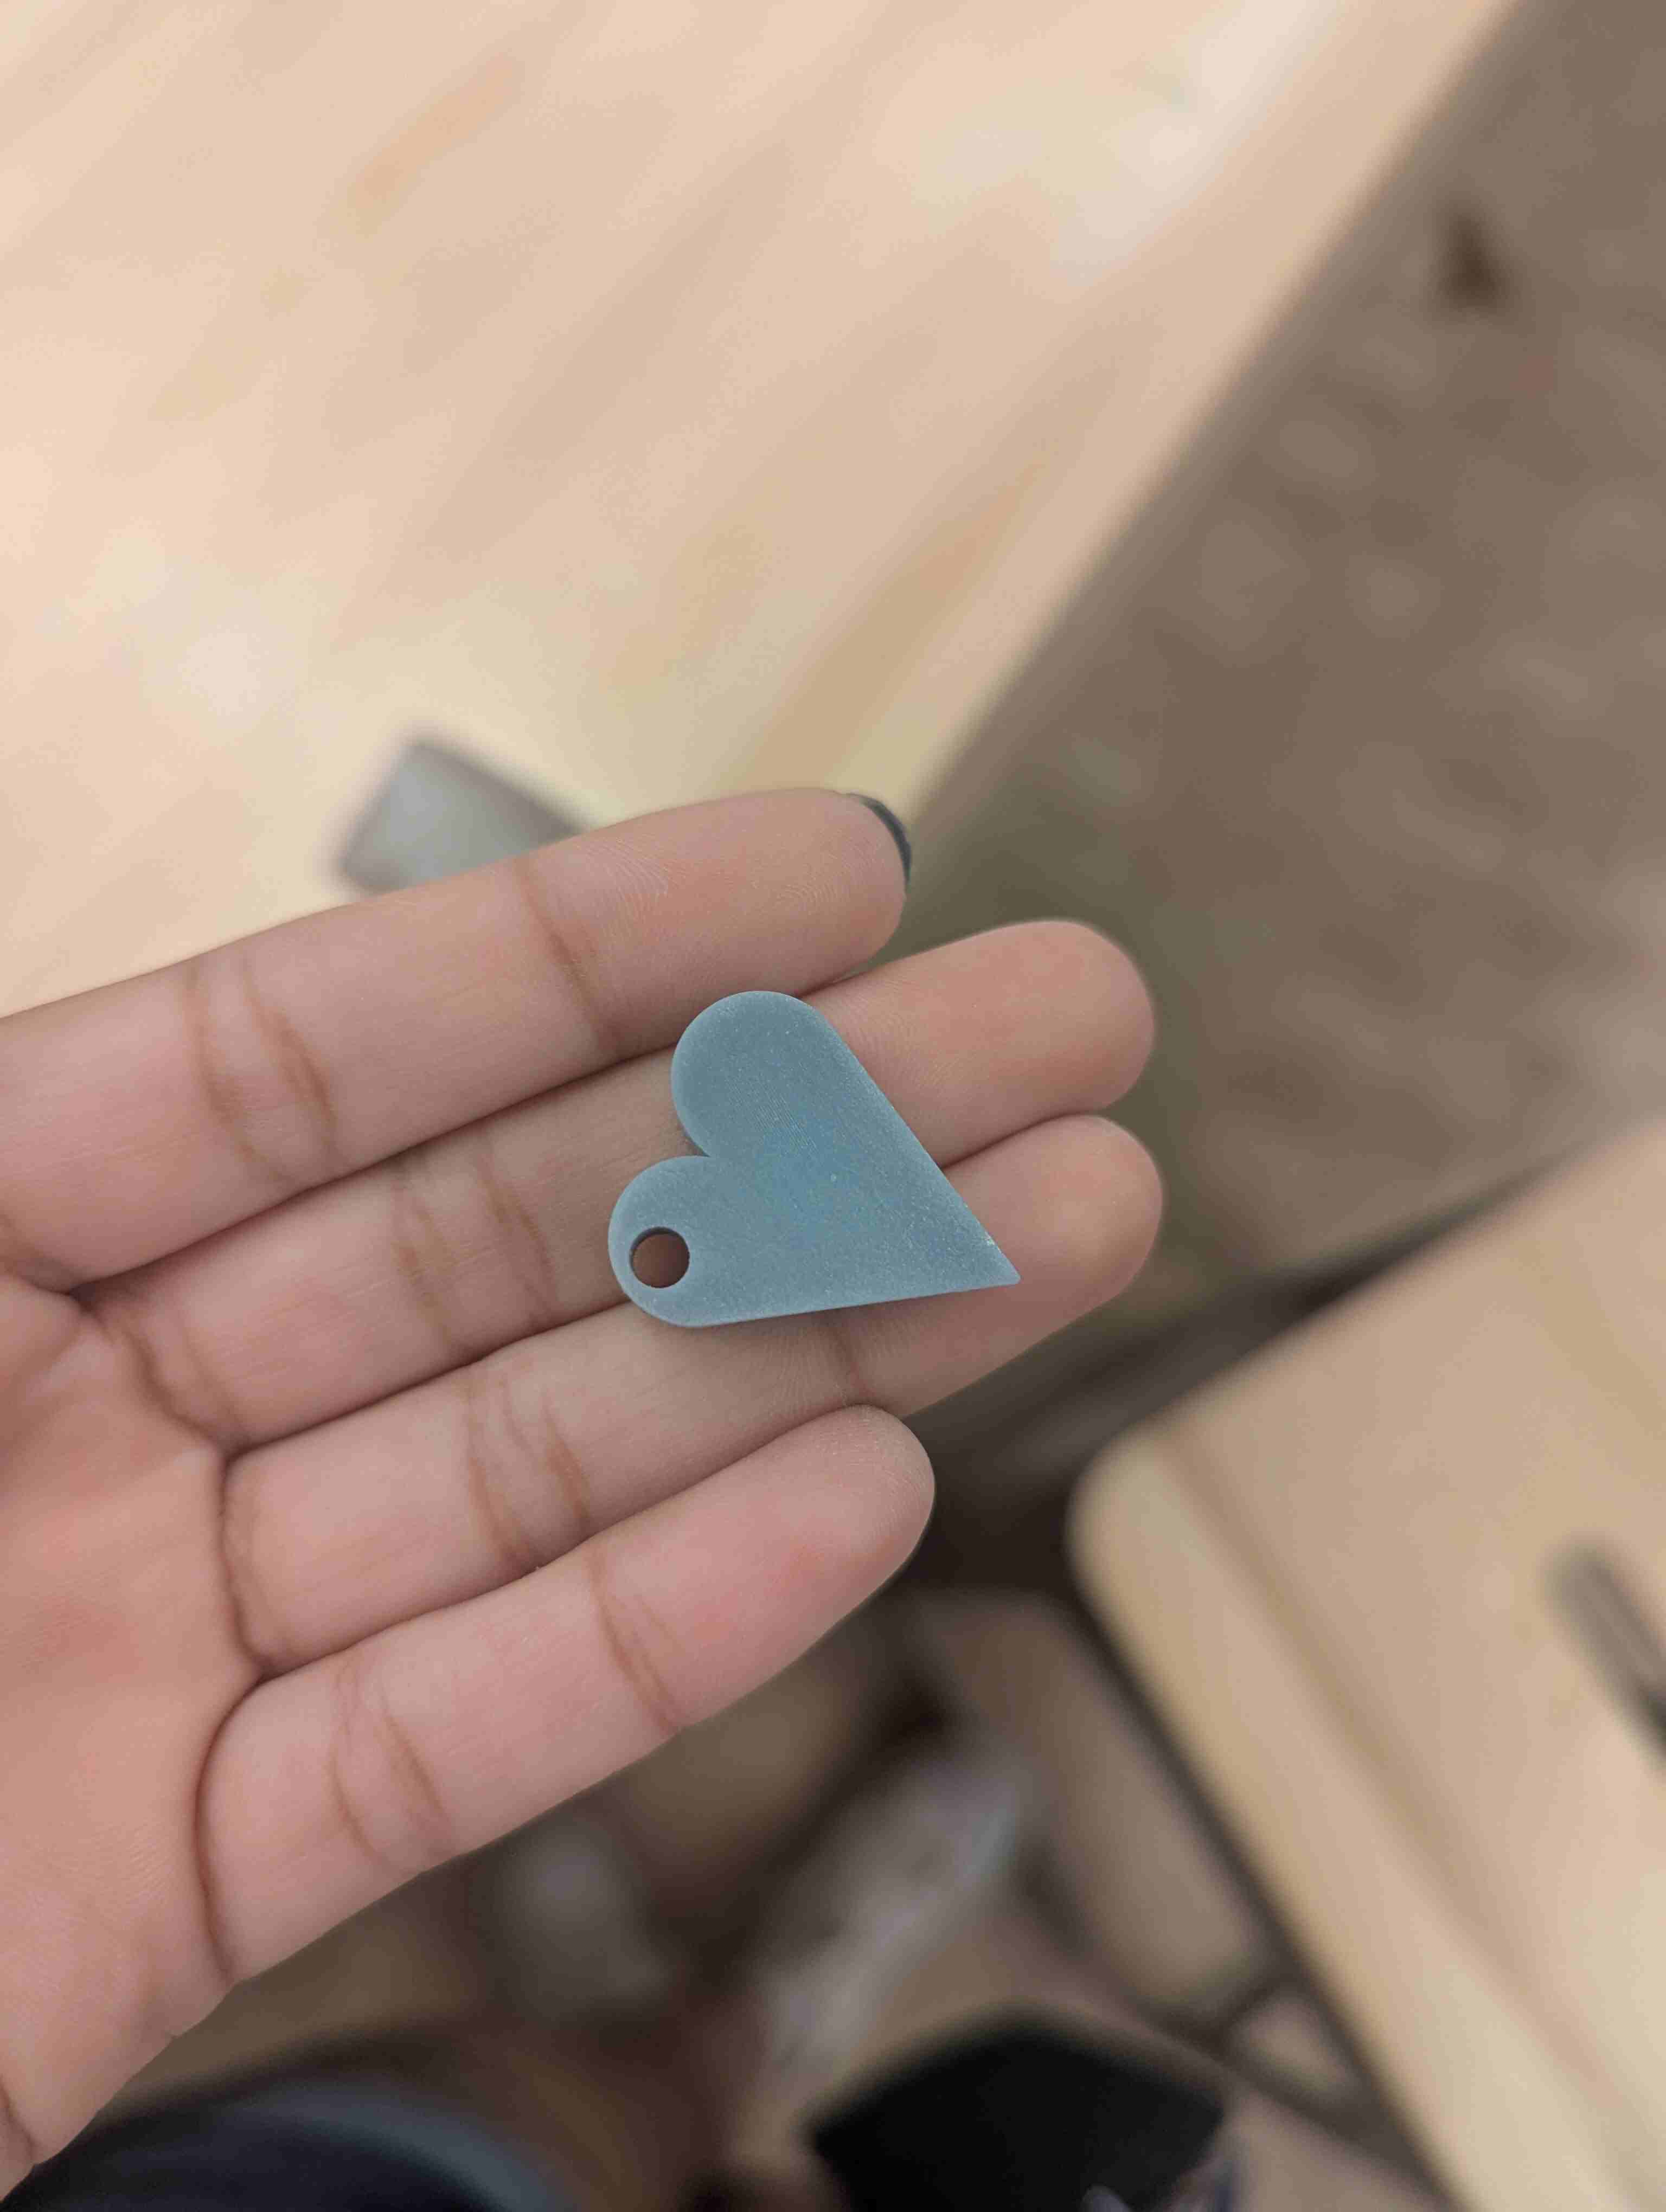
For my design, I wanted something simple yet cute so that it would hopefully be easier for the metal to adhere to my design, so I chose to make a heart with a little hole so I can make it a keychain.

I used Onshape to make my design. I started by using the line tool to make the V part of the heart. Then I used the 3-point arc tool to make the two circular parts of the top of the heart.

Then I had to make the hole, so I started a second sketch and used the center point circle tool to make a circle that I thought would be a good size, and placed it in the corner of the heart.
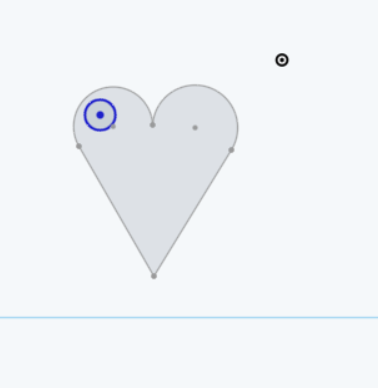
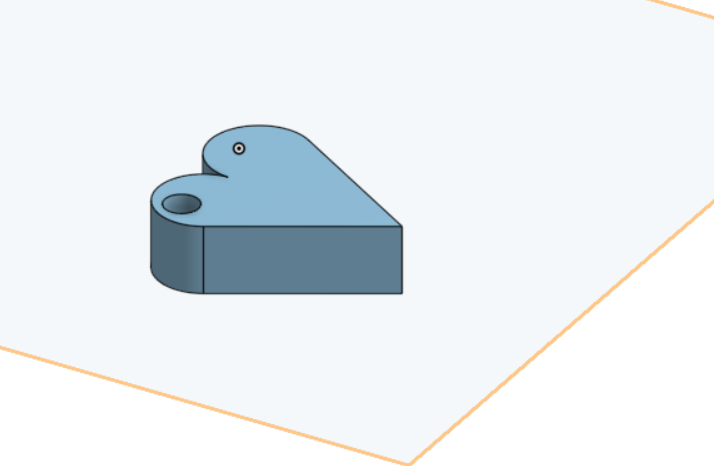
Finally, I extruded the heart and made it 0.5 inches deep so that it wasn’t too thick. After extruding, I used the hole tool on the circle so that it made a hole that went all the way through the heart. Then I exported it as an STL file so I could print it on the SLA printer.
Printing and Curing
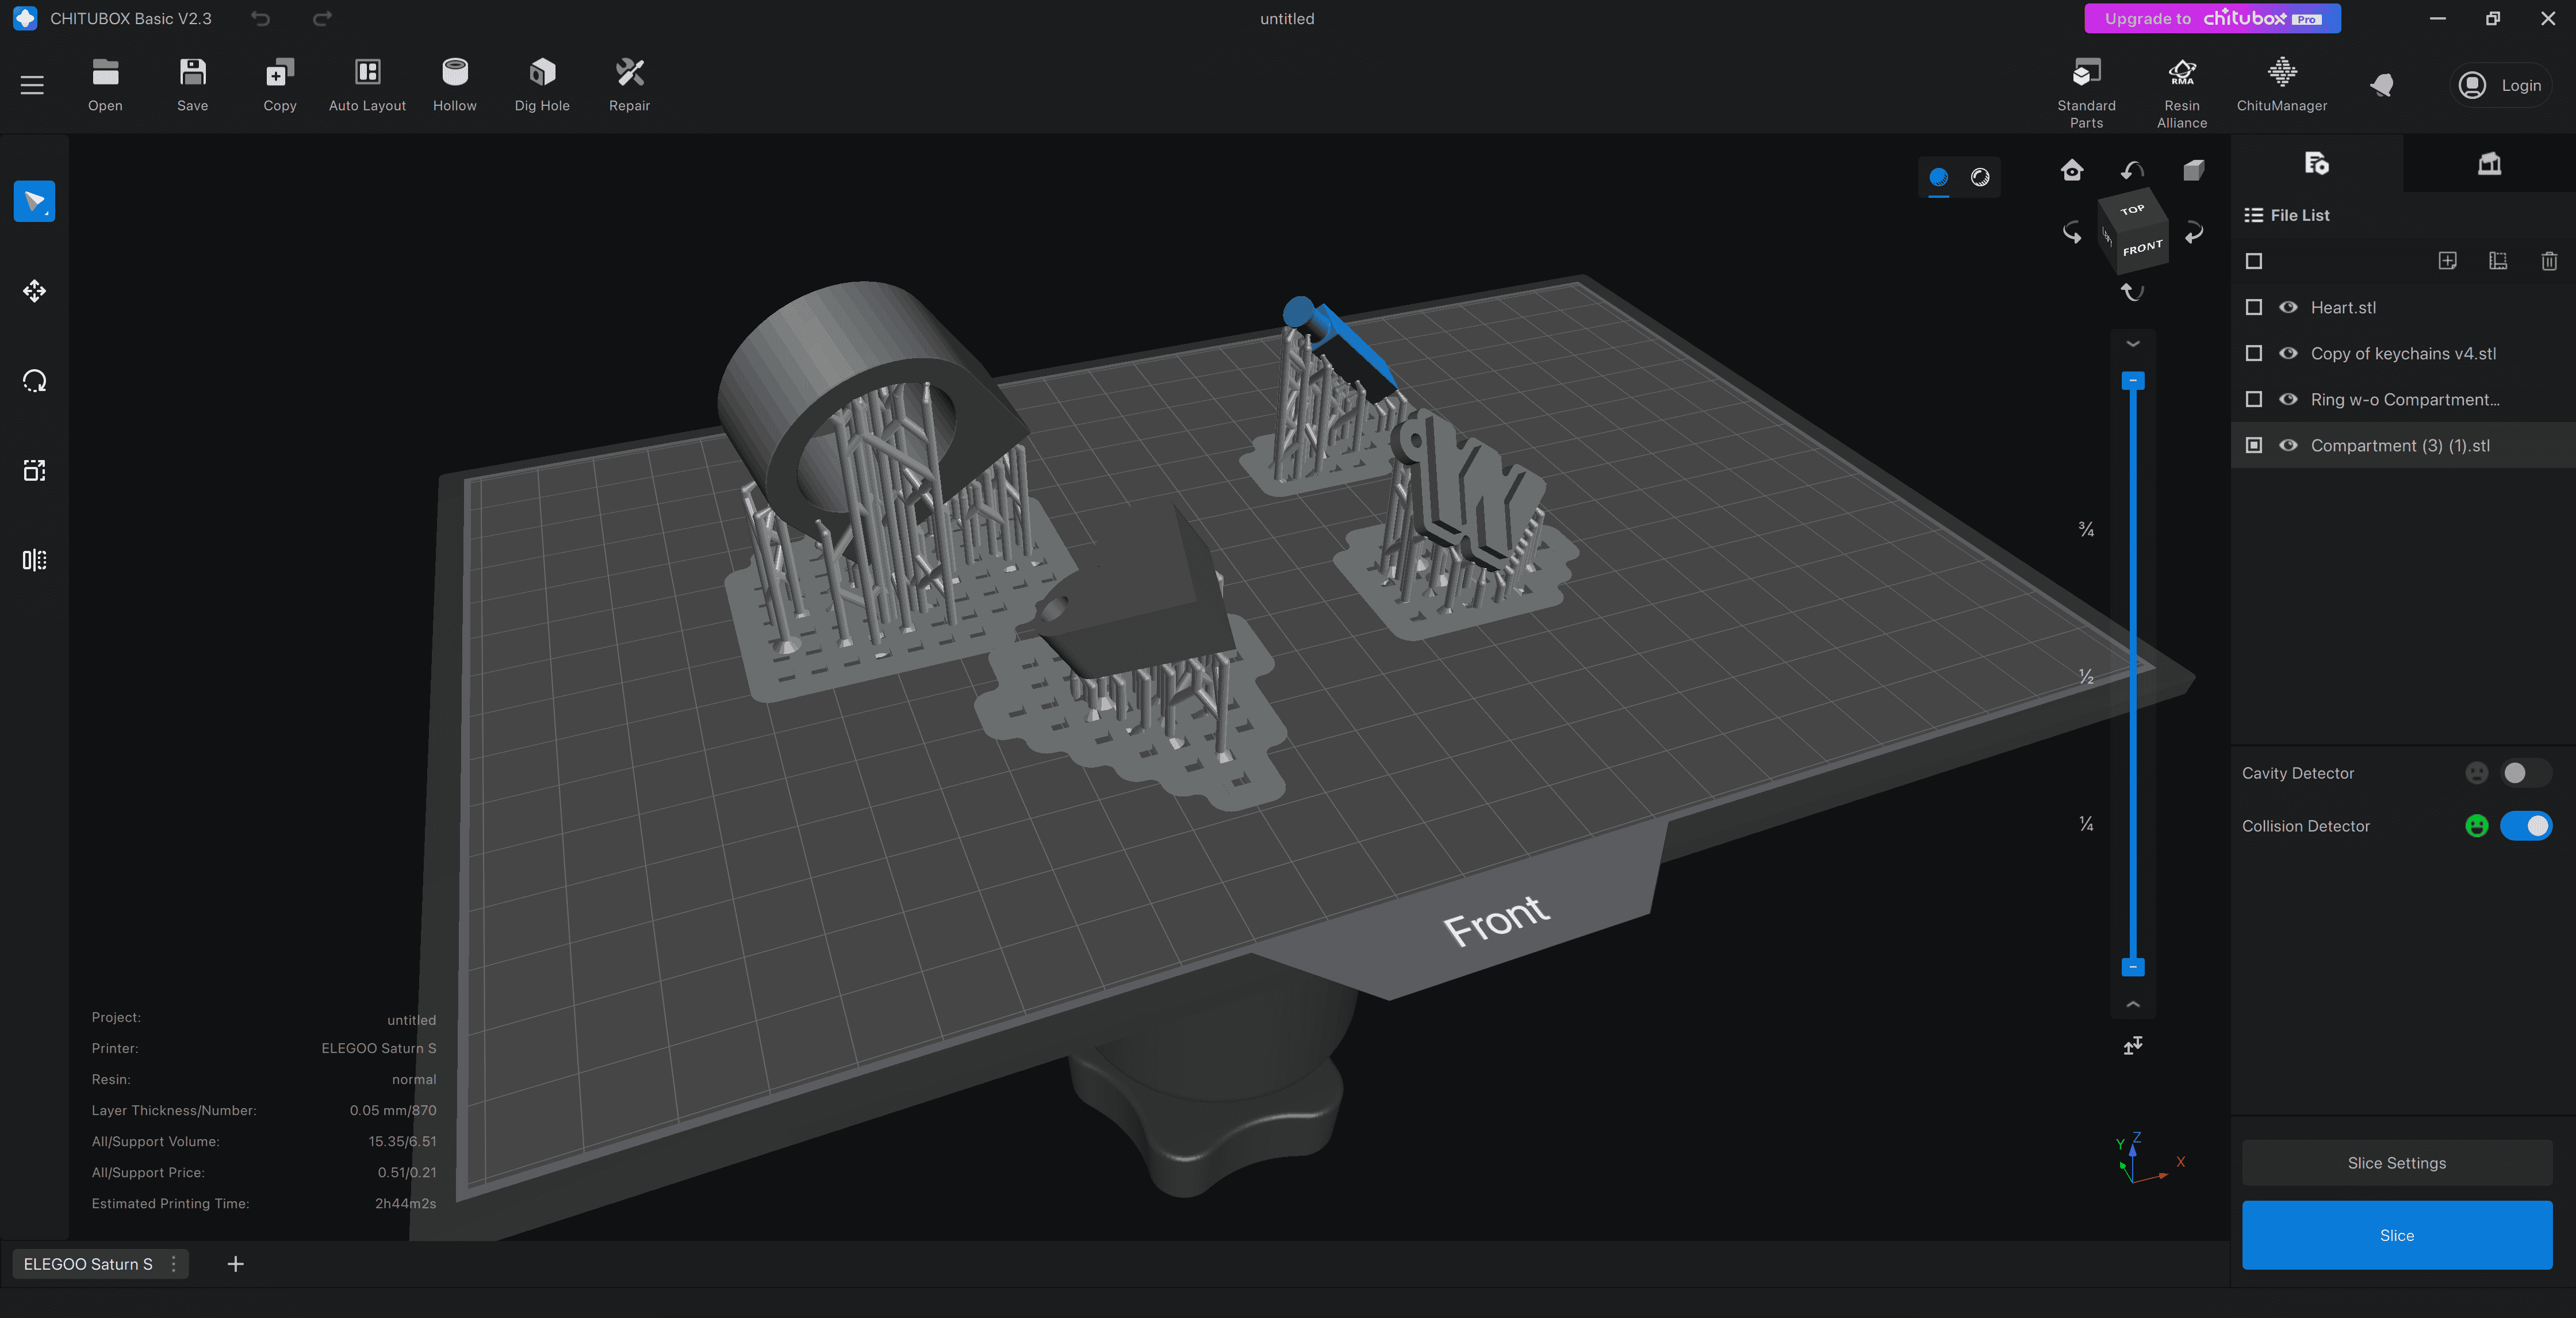
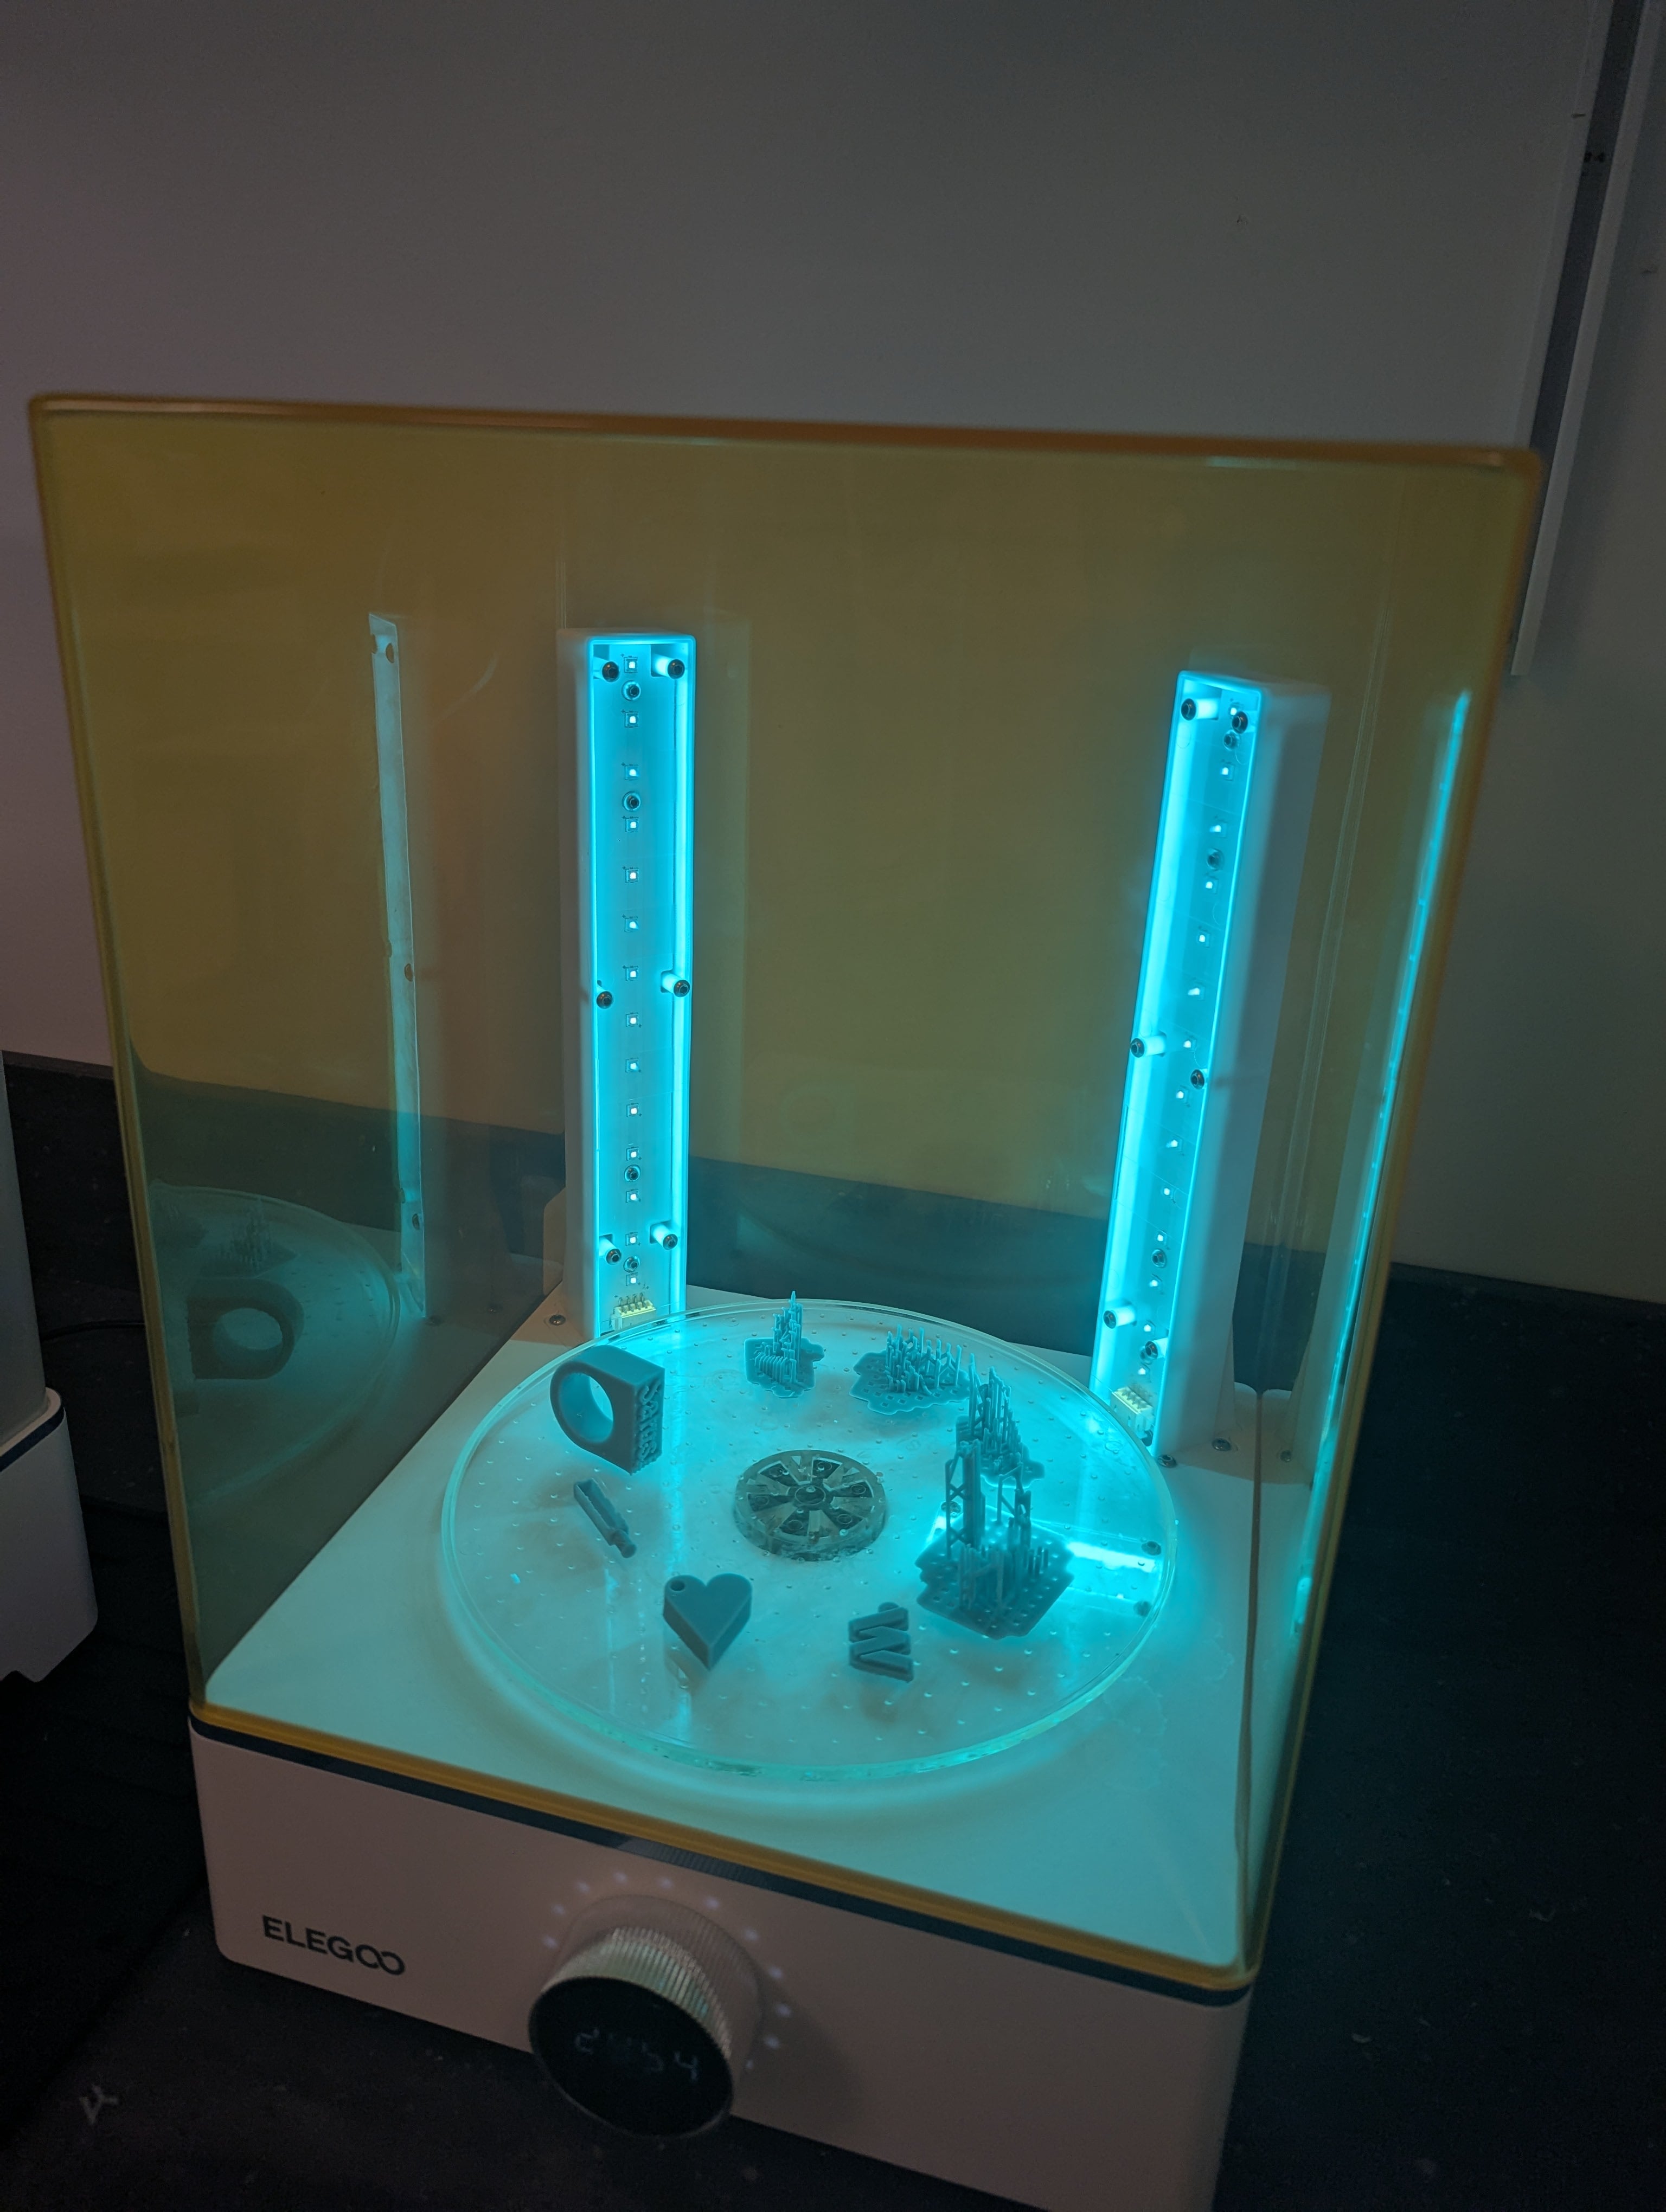
Now we’re onto the hands-on stuff! We uploaded our designs onto the computer and sliced the designs, which we then put on a USB and connected to the SLA printer. Then we started the print, which took a couple of hours.

After the prints finished, we had to clean them before we could cure them. At this stage, you have to wear gloves because the resin can be dangerous to get on your skin. We took the prints and put them in an alcohol bath for a few minutes.

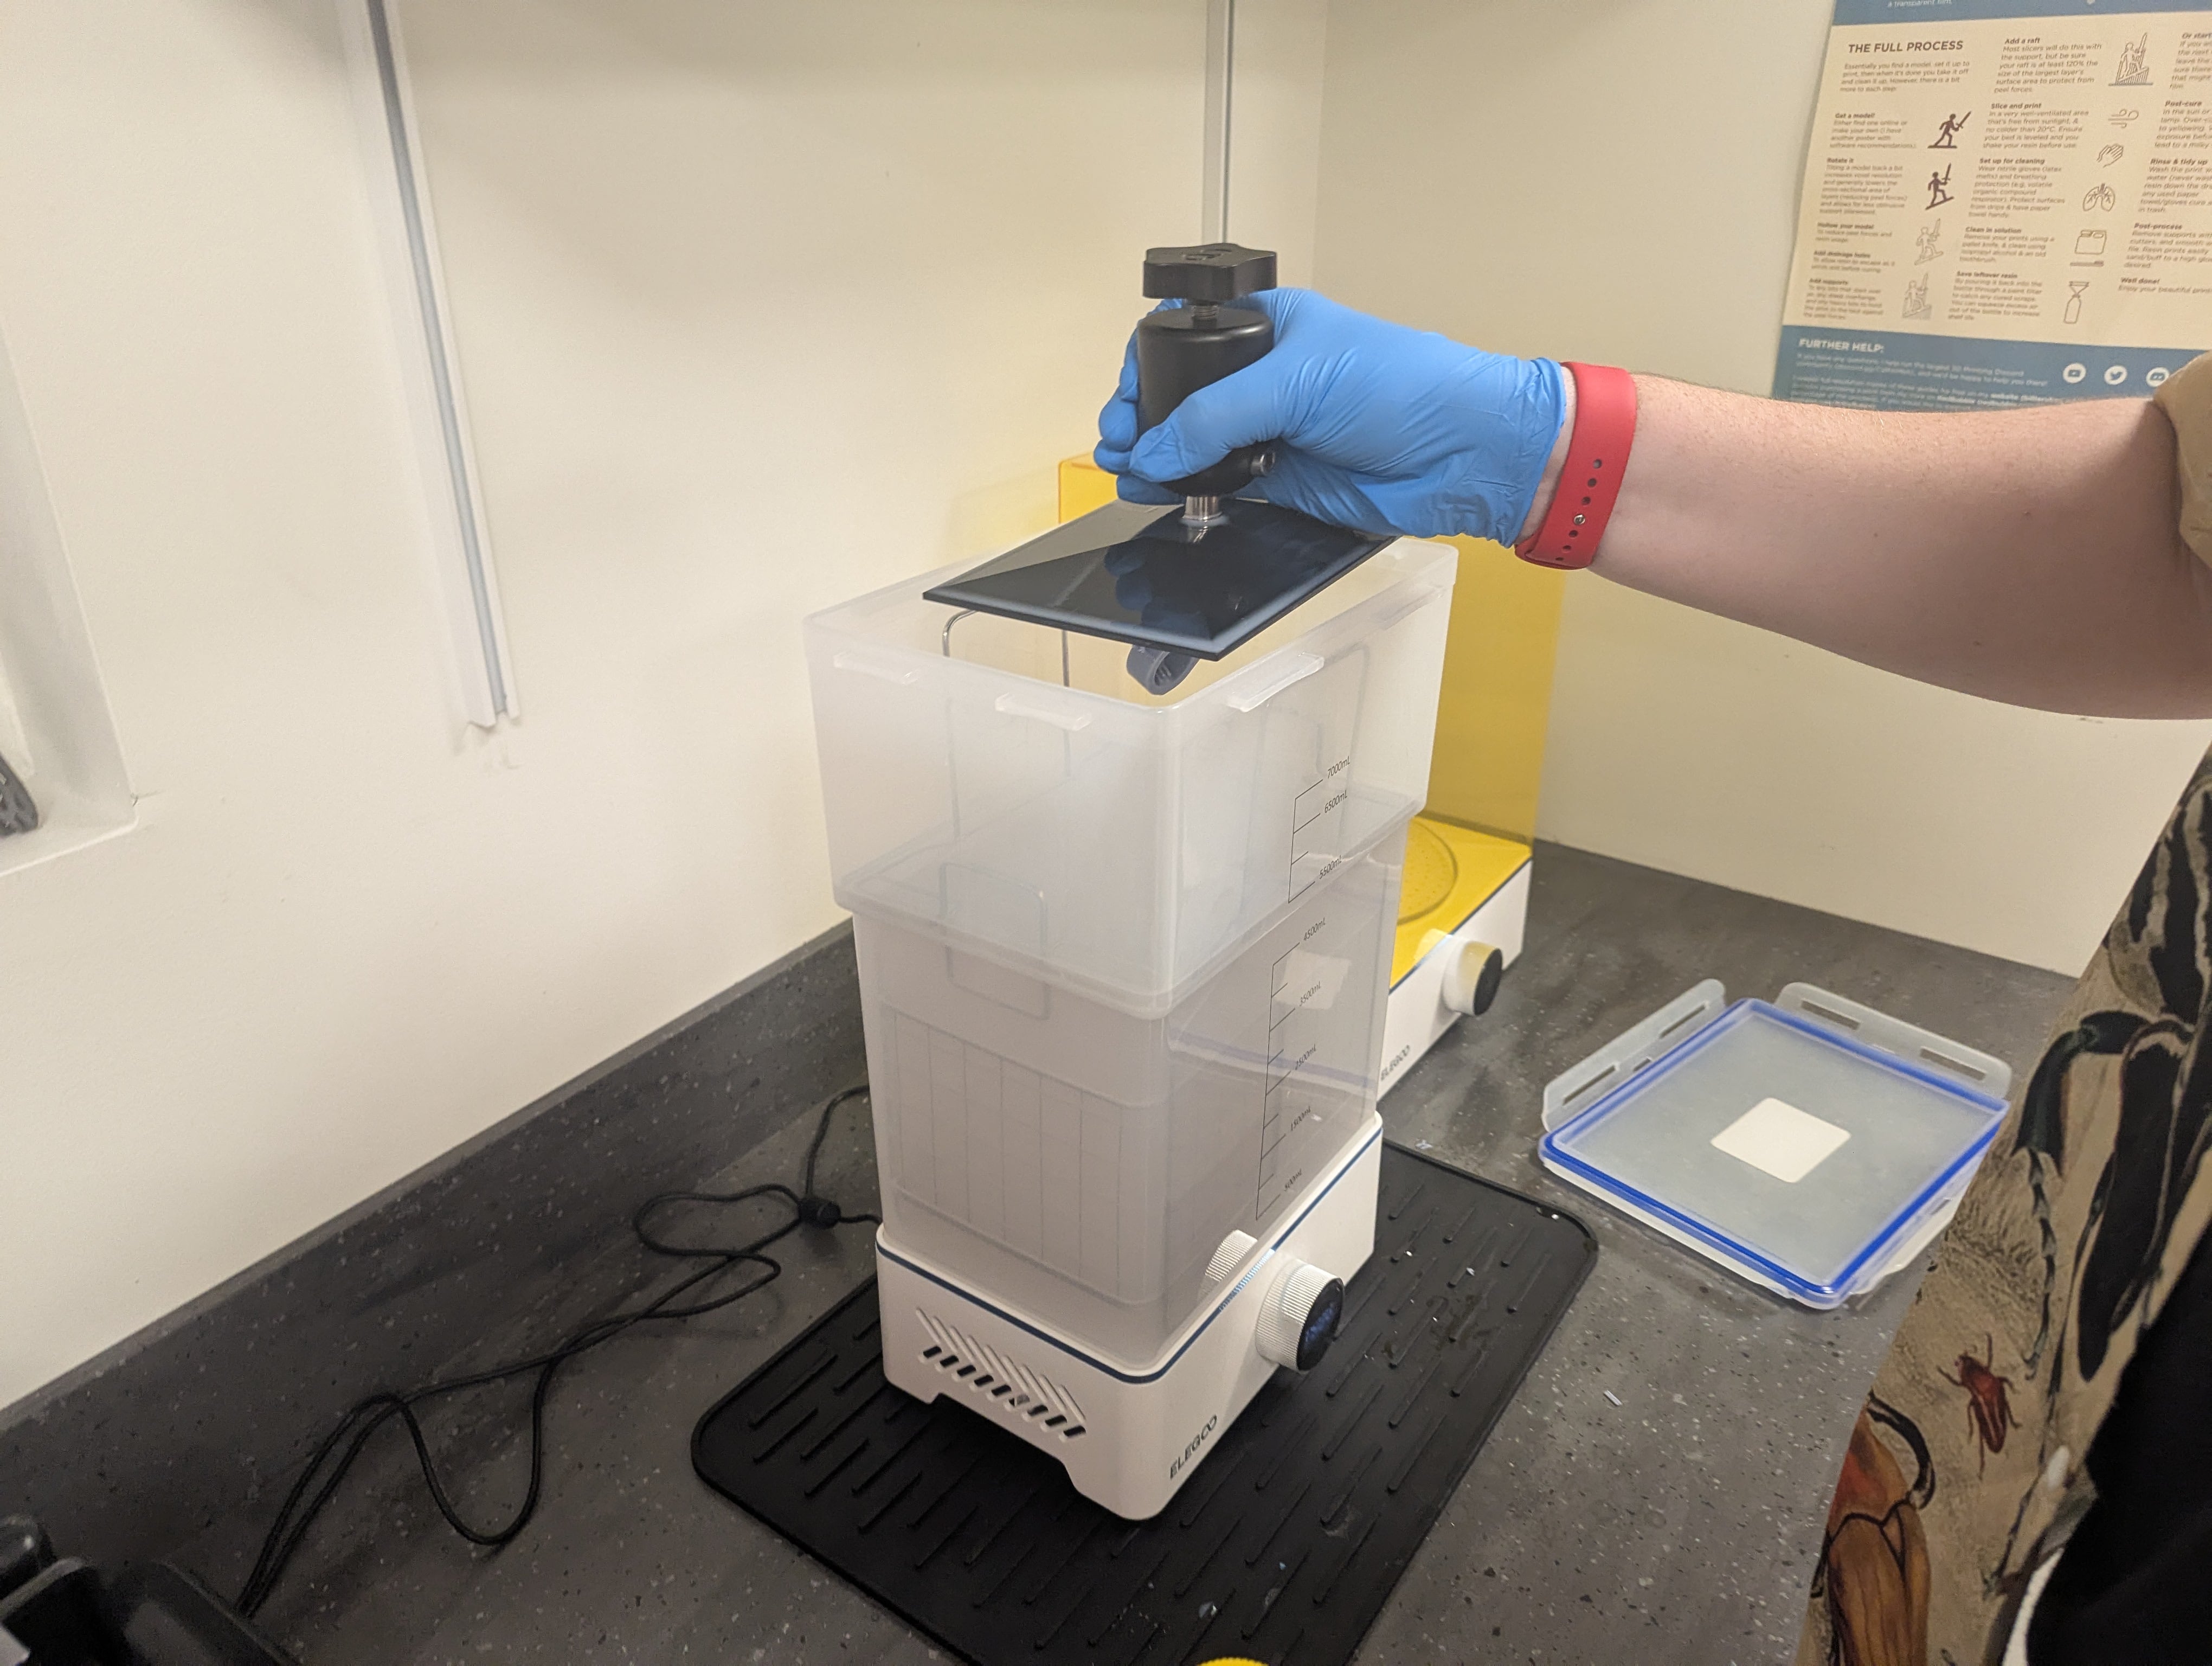
After cleaning, we can finally get to curing them! We took them off the board they were attached to and put them inside the machine that cures them. It uses UV light, and we left it in there for about 30 minutes. This allows us to be able to touch the prints without it being dangerous.
Prepping for electroplating
First, I sanded my heart so that it was as smooth as possible. I had a few bumps on the back from where the plate was connected when it was printing.
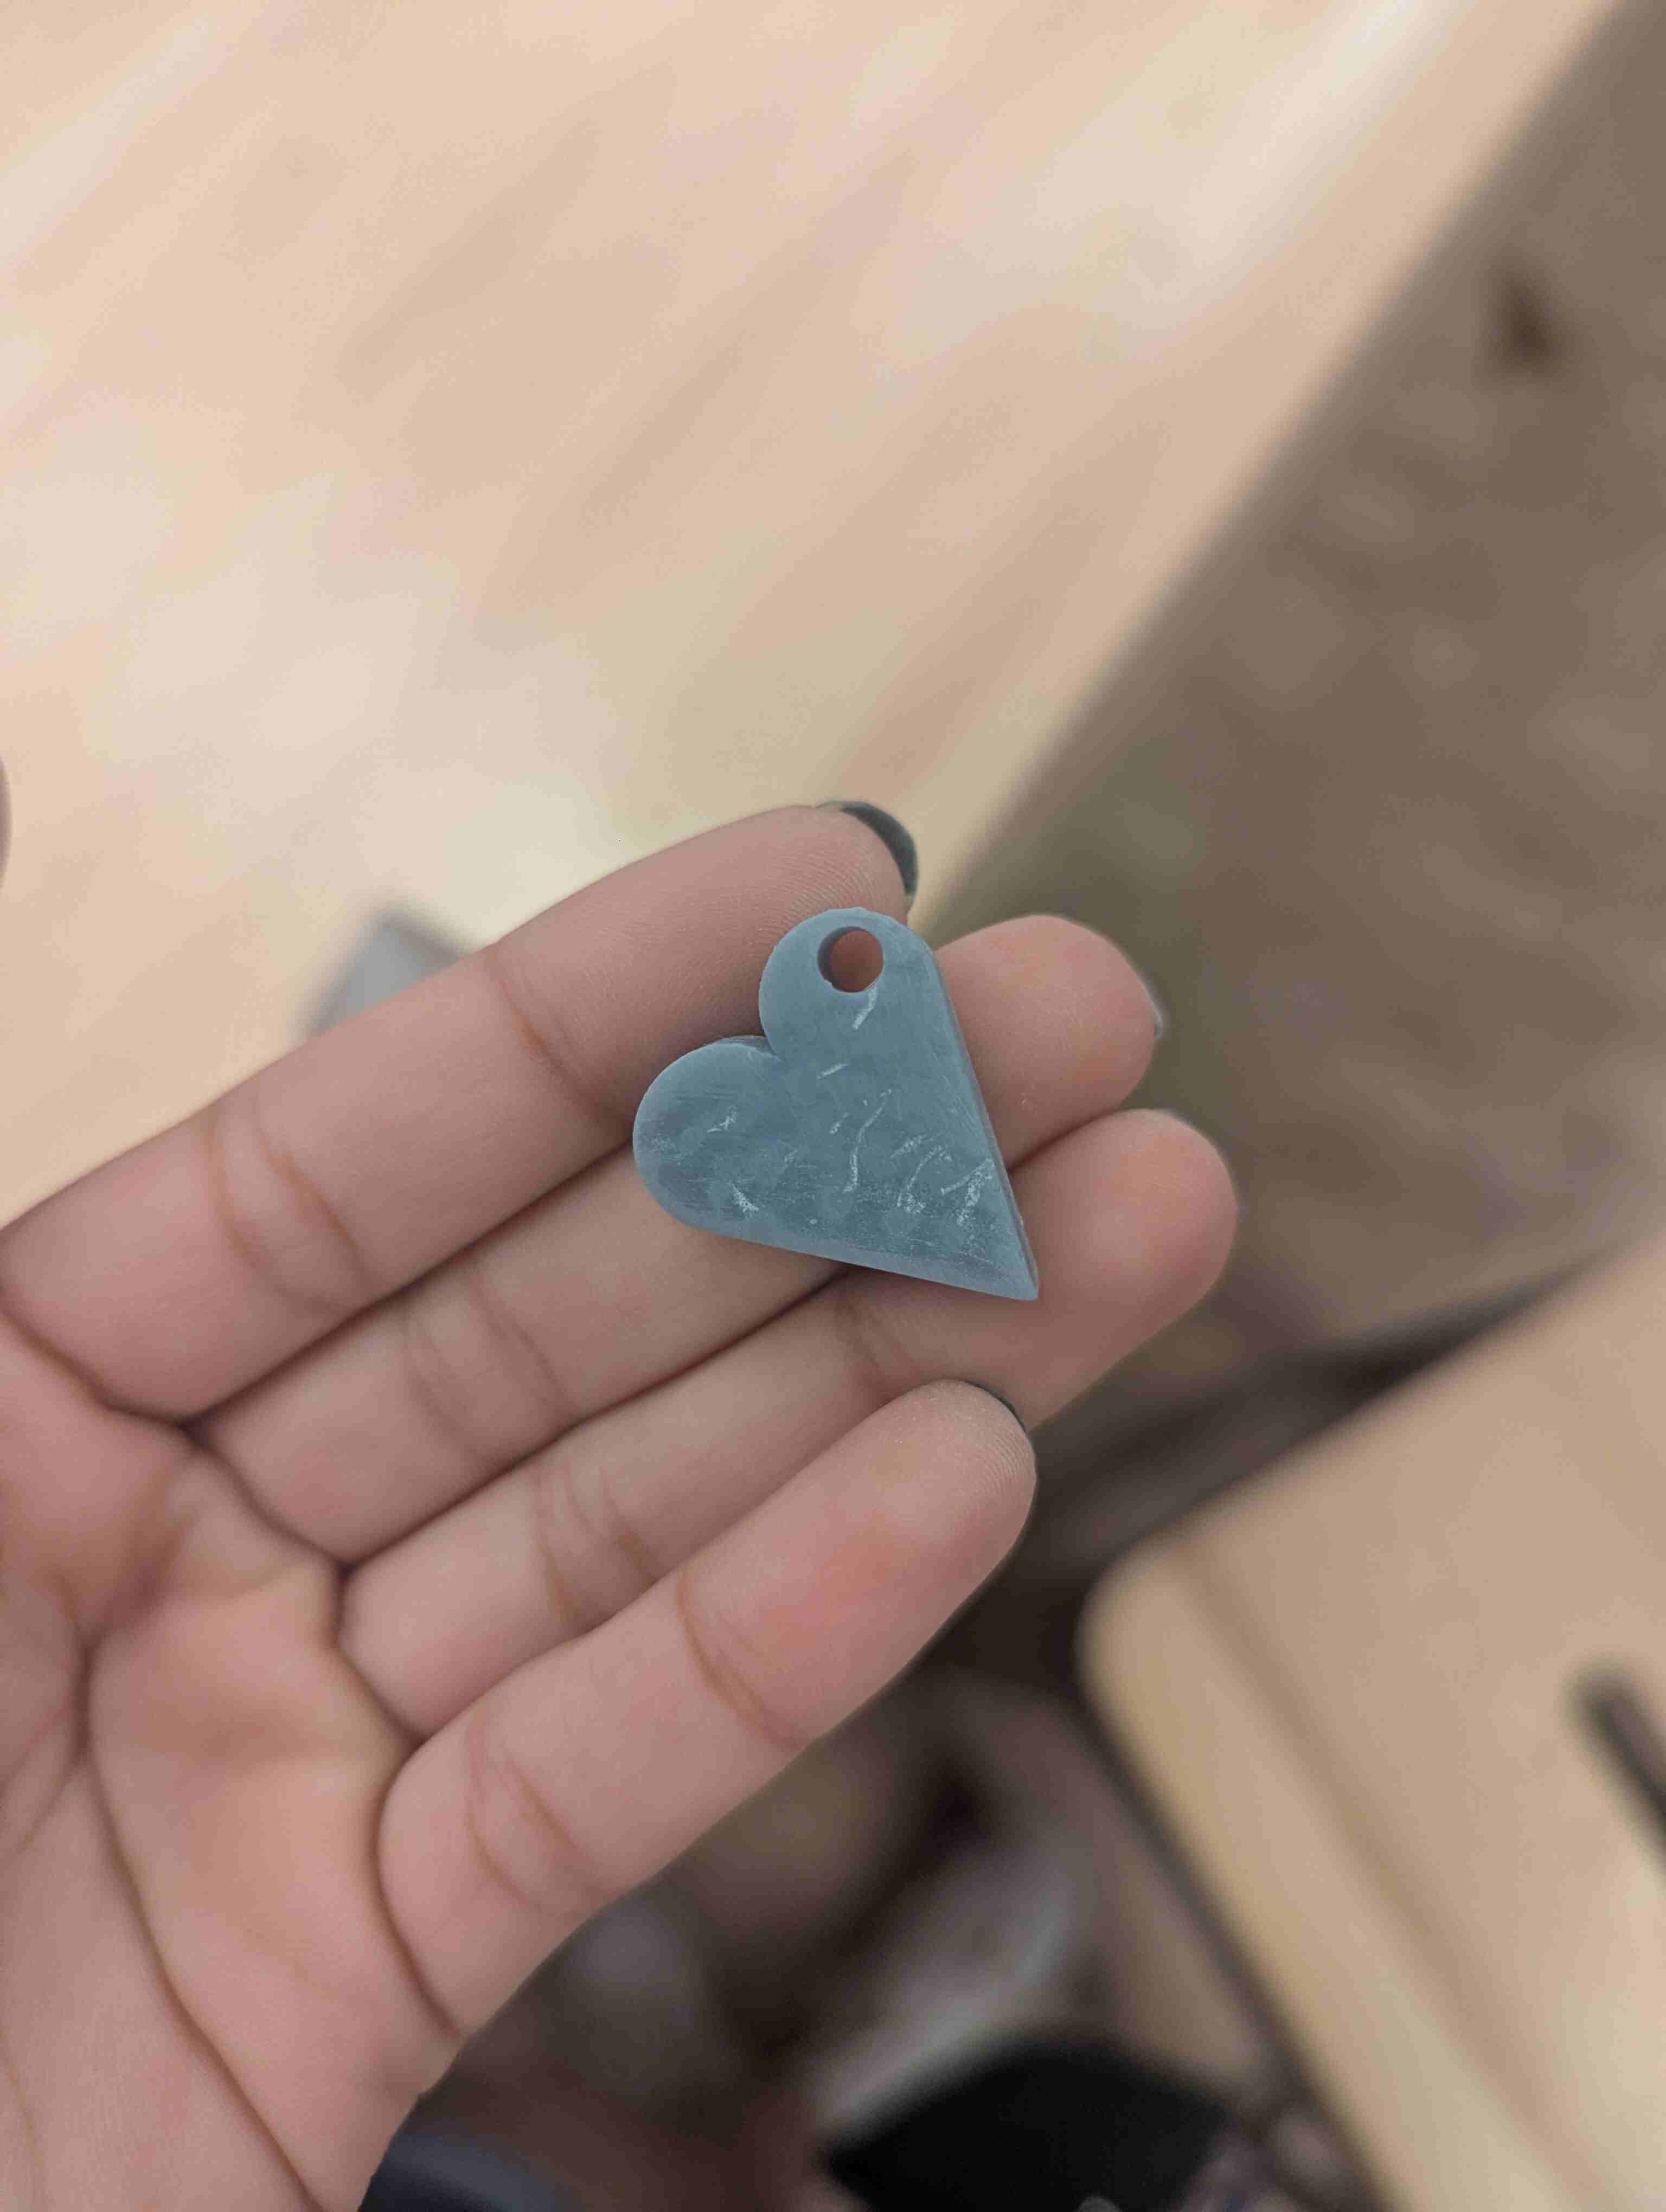
In order for the design to be able to be electroplated, it has to be sprayed with a conductive spray. We sprayed our designs with a couple of layers and let them dry for a bit. The reason you have to use this conductive spray is that you are using an electric current in order to get the copper to deposit onto this conductive layer. So there has to be a base for it to be able to deposit onto.

Electroplating
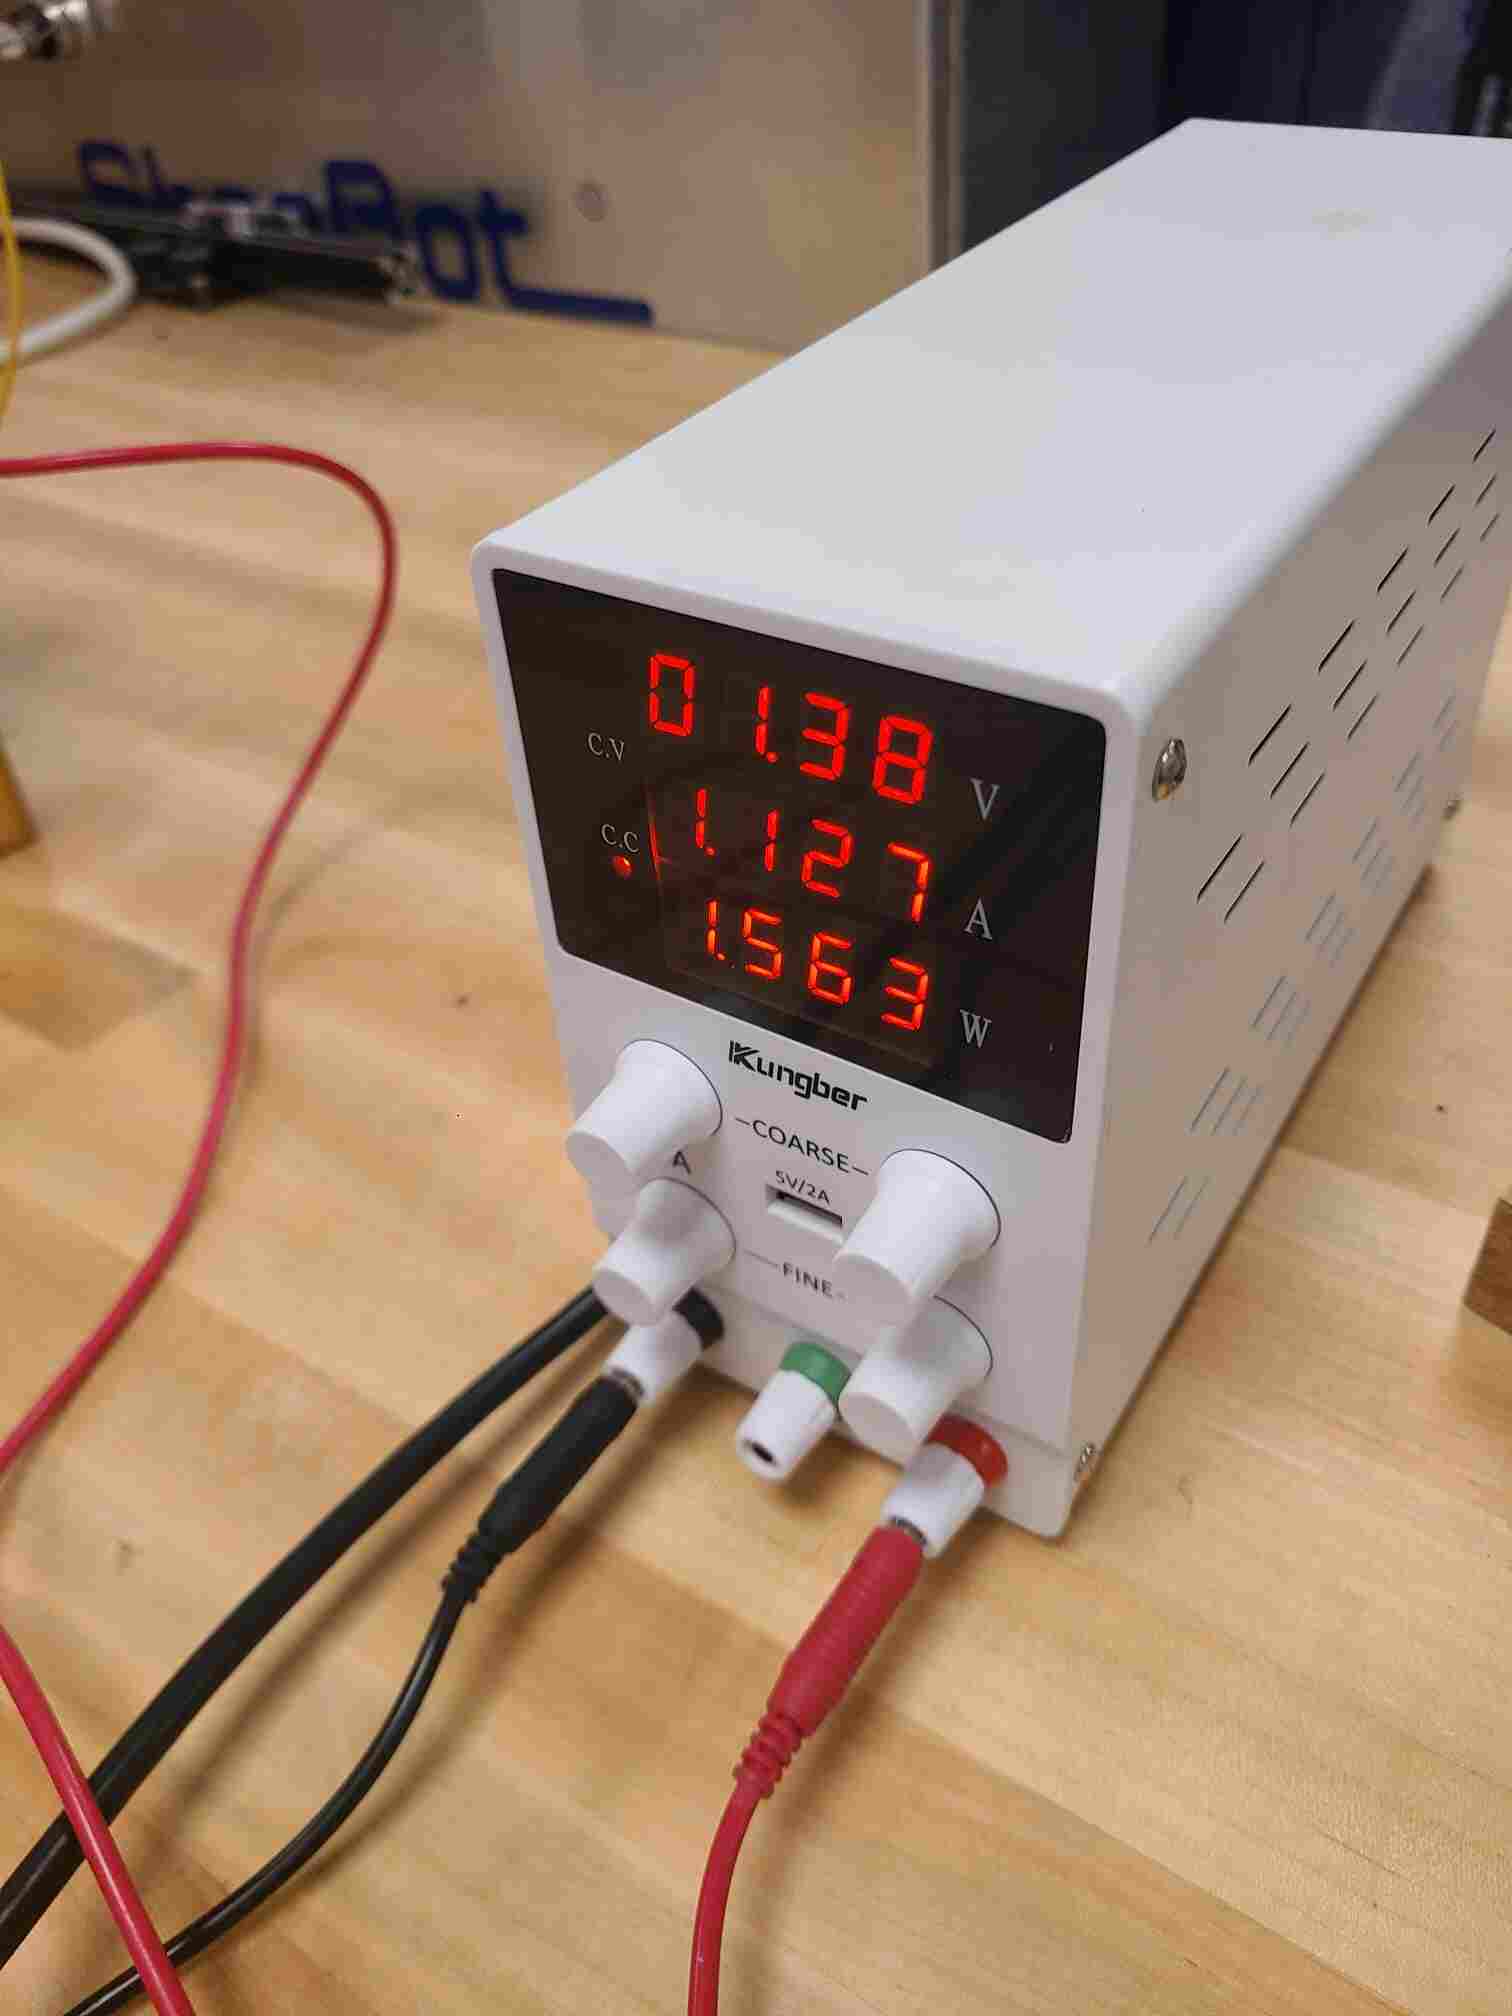
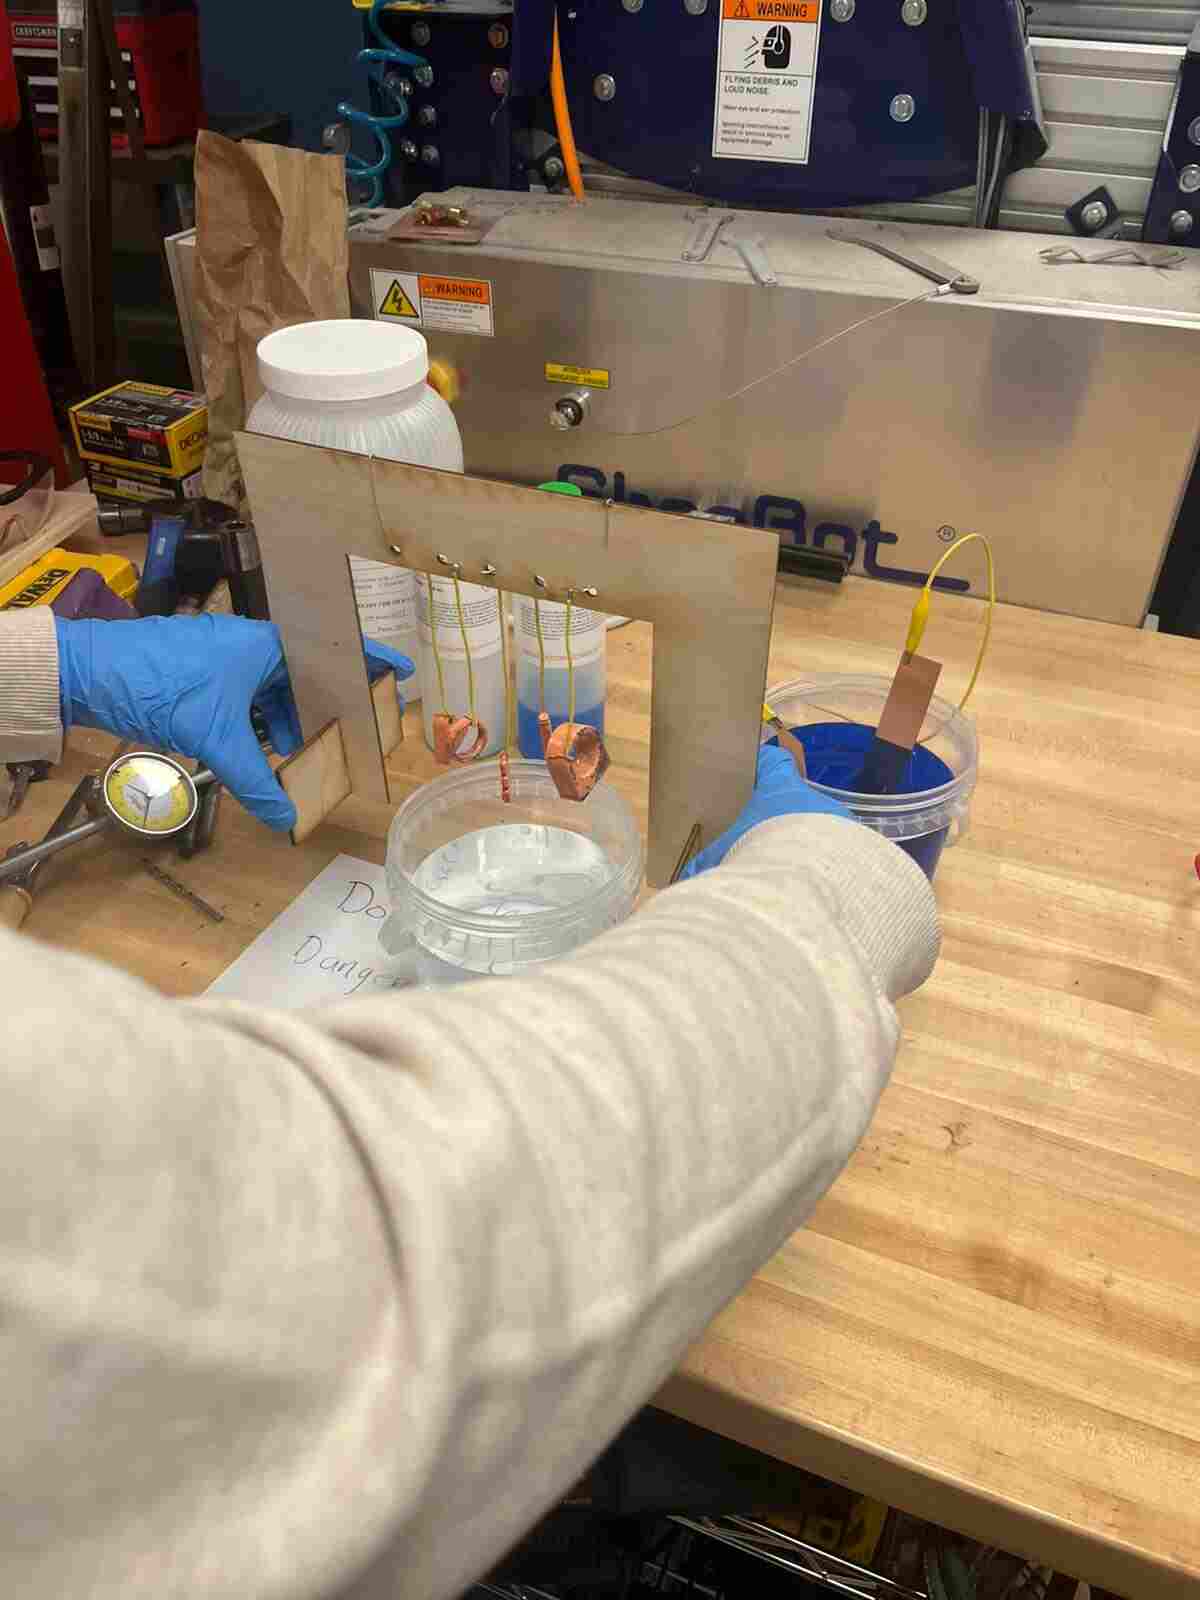
In order to set up for electroplating, first, we washed our designs in distilled water to clean them a bit. Then we hung them in a copper (II) sulfate solution, which had two copper plates on the sides that were connected to the battery that had a voltage of around 1.4. Then the other wires were connected to the wire that was holding the designs in the solution. The voltage we had was based on a video that we used as a reference for our process, which is referenced in my links at the bottom of this page.
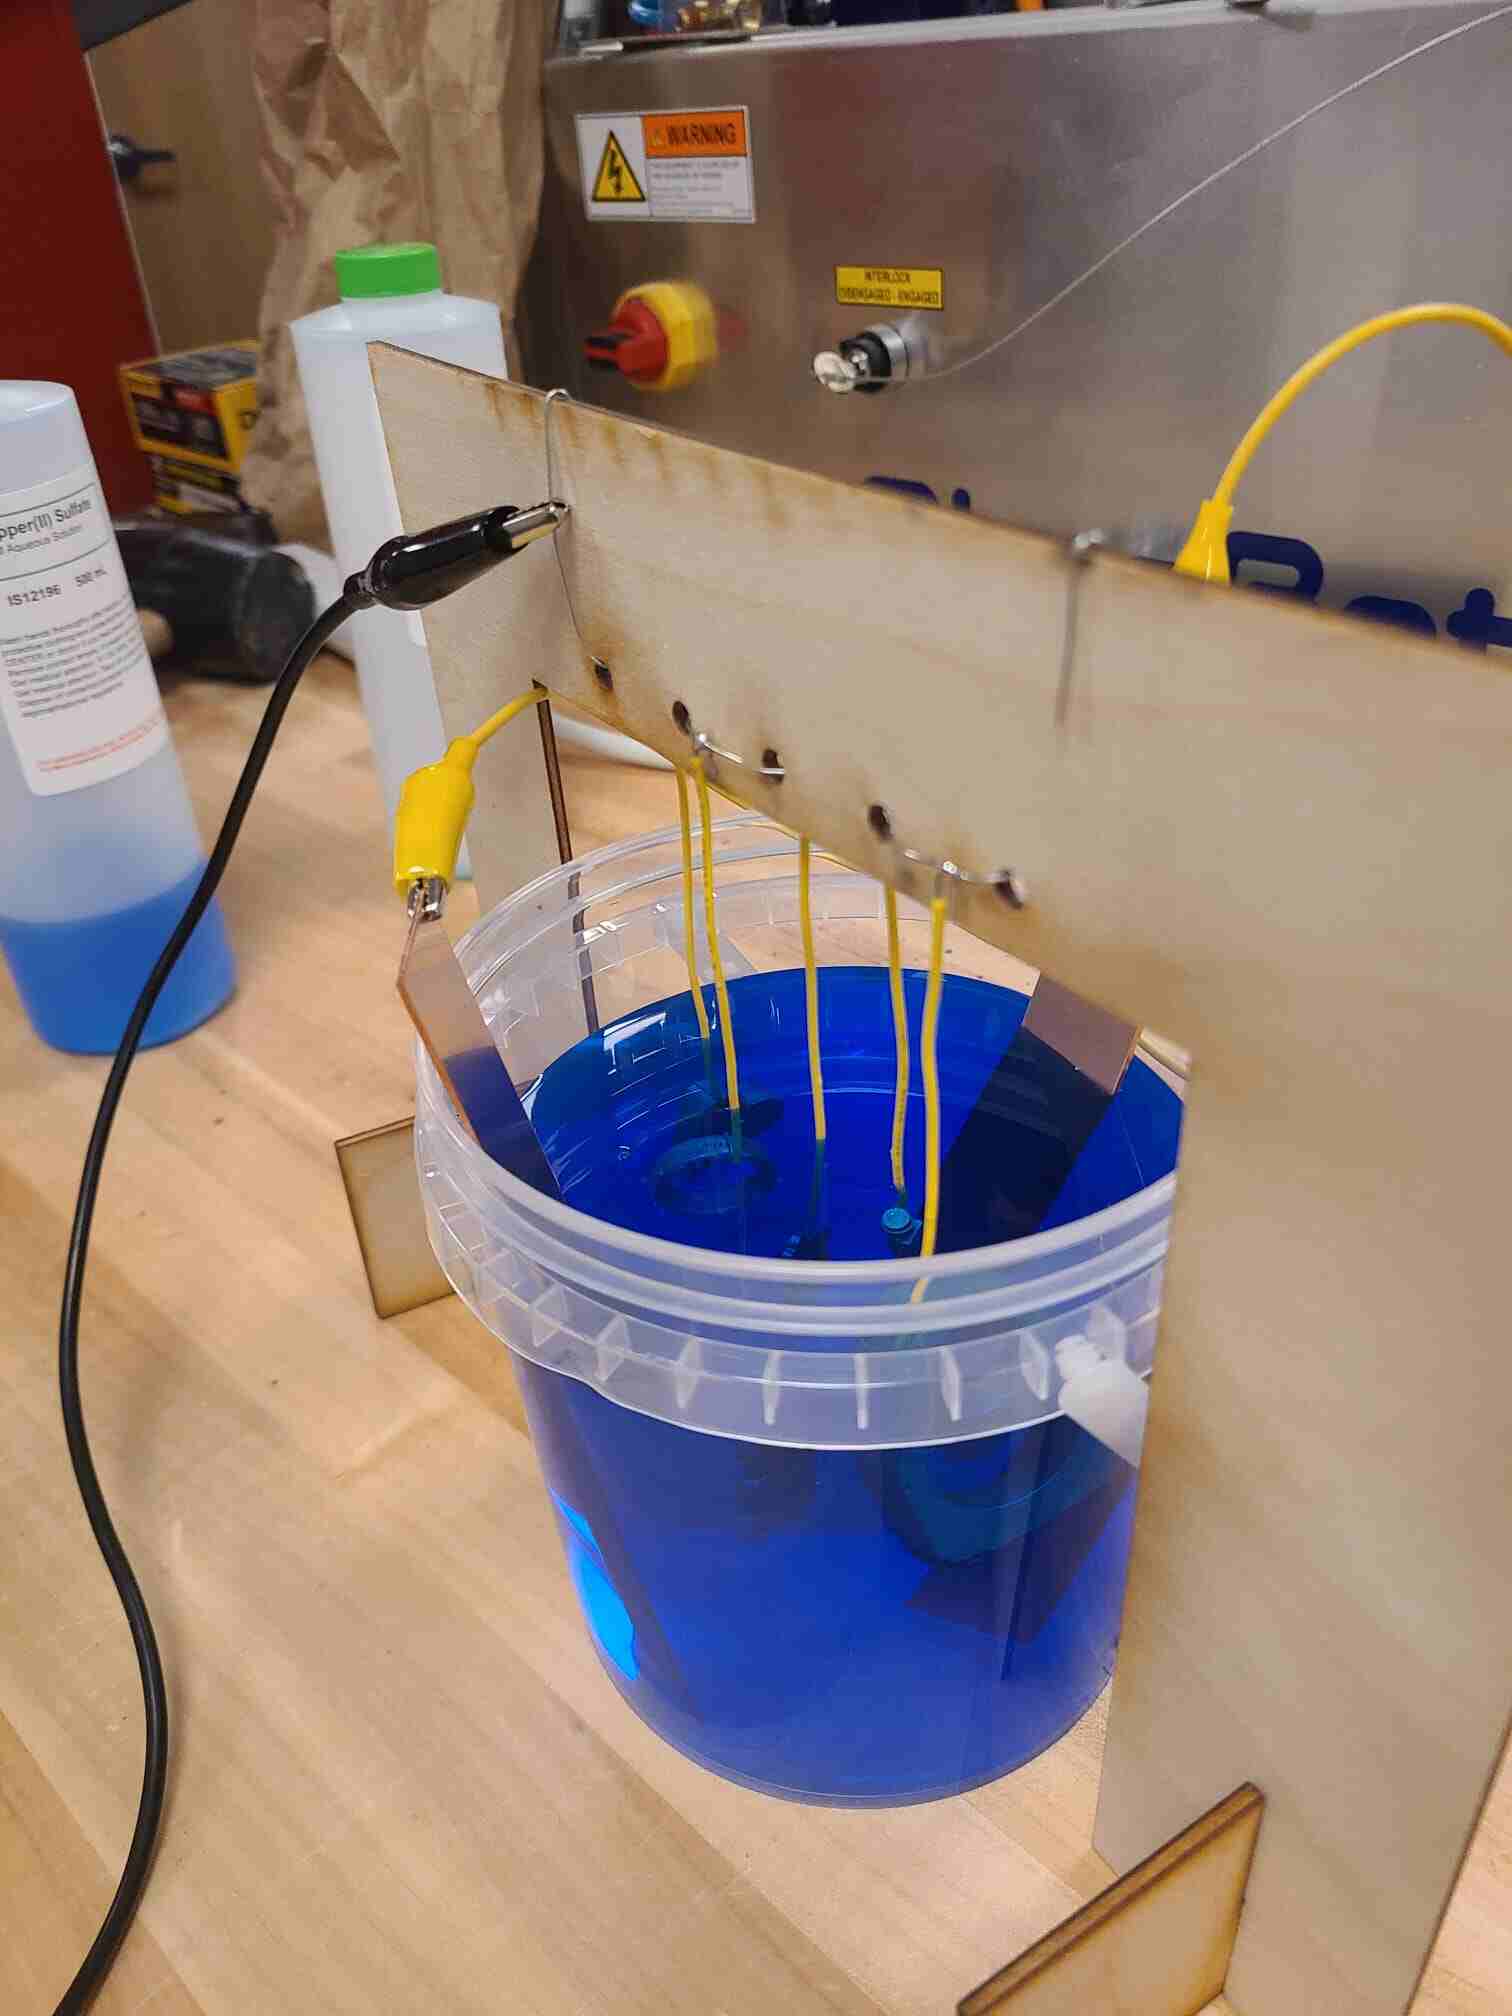
Now that it’s set up, how does it work? Basically, the solution and the copper are positively charged, while the designs are negatively charged. Over the two hours that we had the electrical charge going, the copper deposited onto the designs since the positively charged copper was drawn to the negatively charged designs.
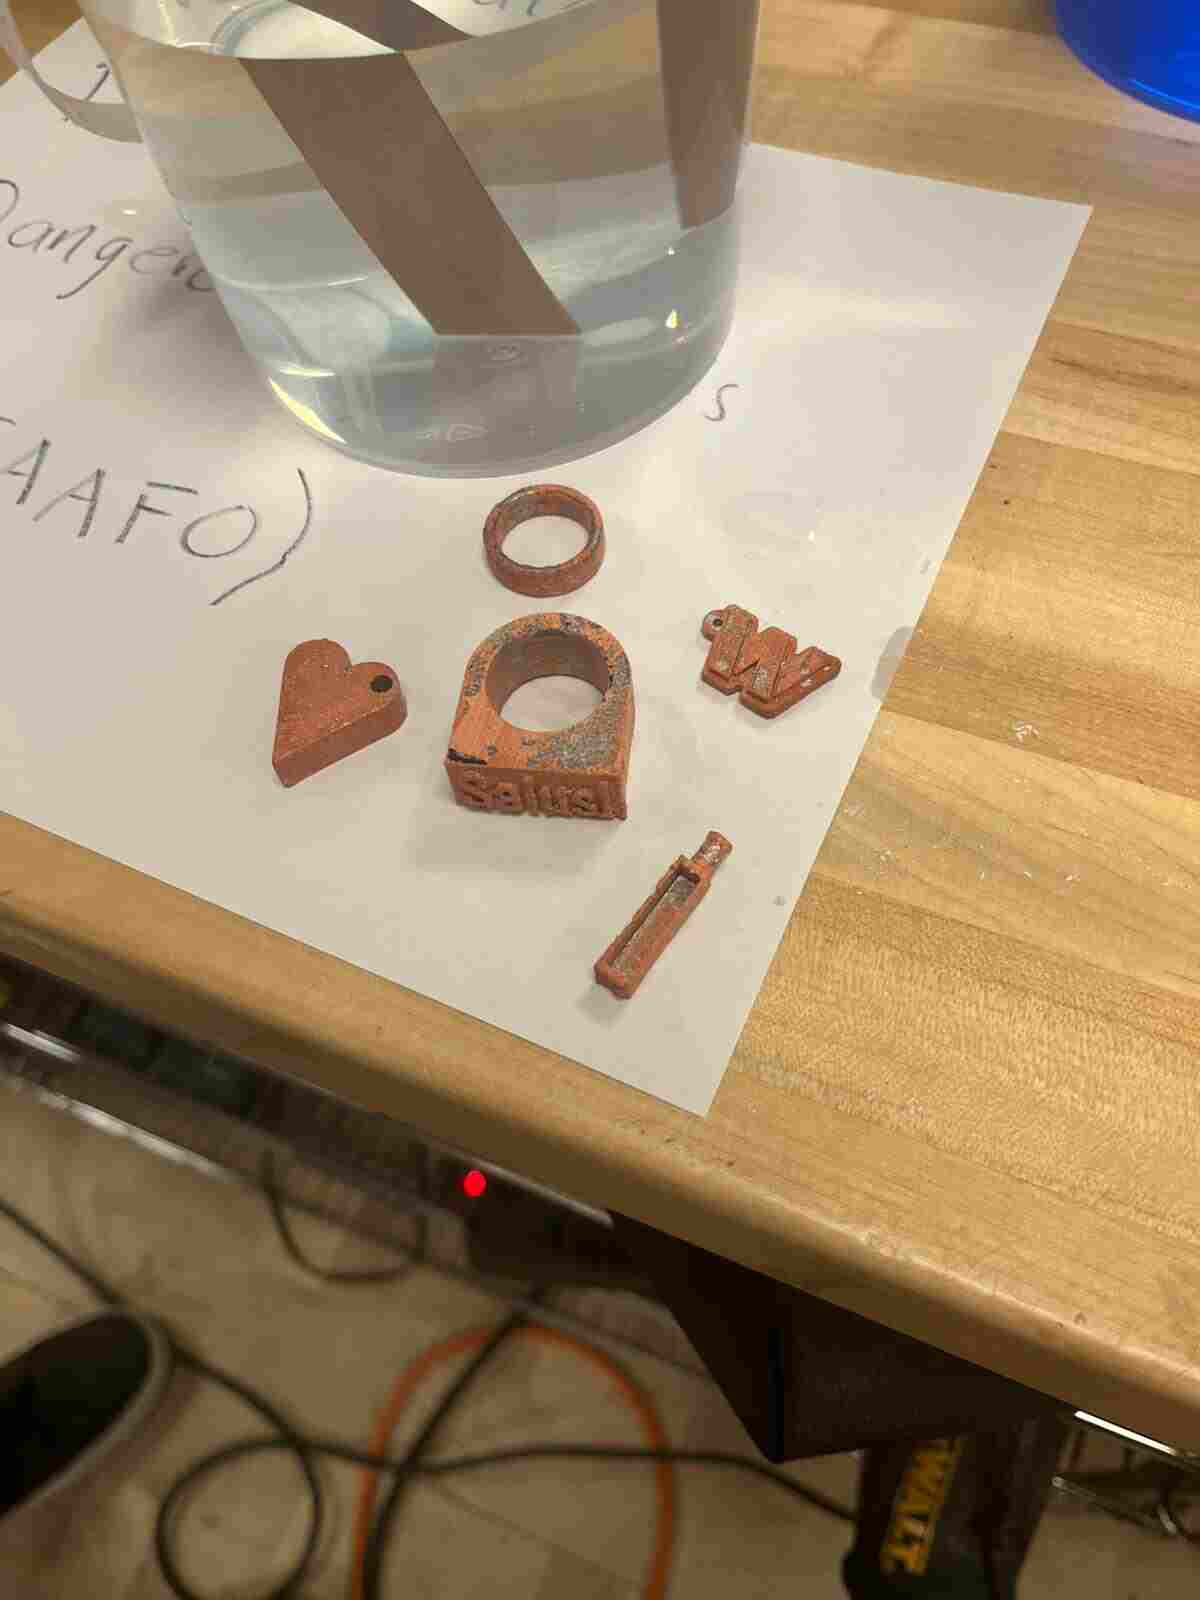
In our case, the electroplating didn’t work properly, and we did end up with the copper on the designs, but it wasn’t dispersed evenly, nor was it shiny like it was supposed to be.
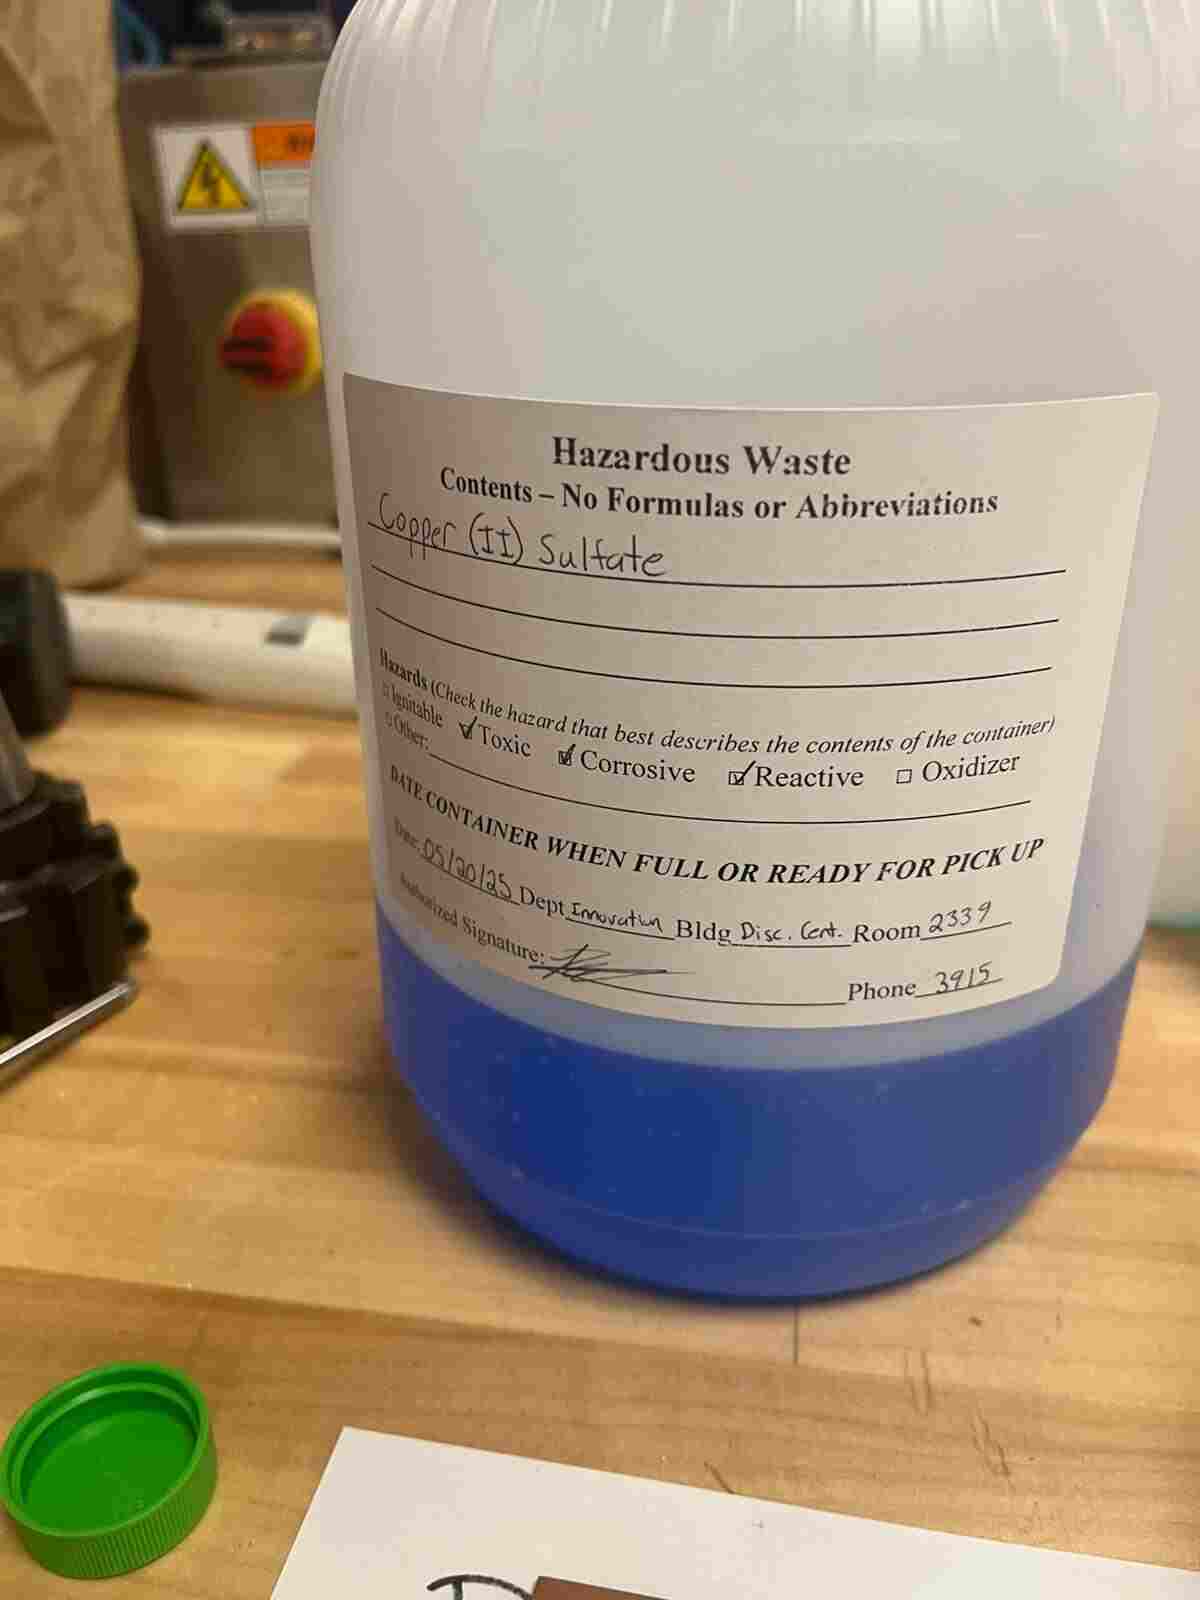
Now that we have finished the electroplating, we have to get rid of the solution, but it is quite toxic, so you have to put it in a specific bottle that shows what it is and what hazards it poses.
Files and Links
youtube video reference Heart design stl