7. Computer controlled machining
This week I worked on learning about CNC machines
Design
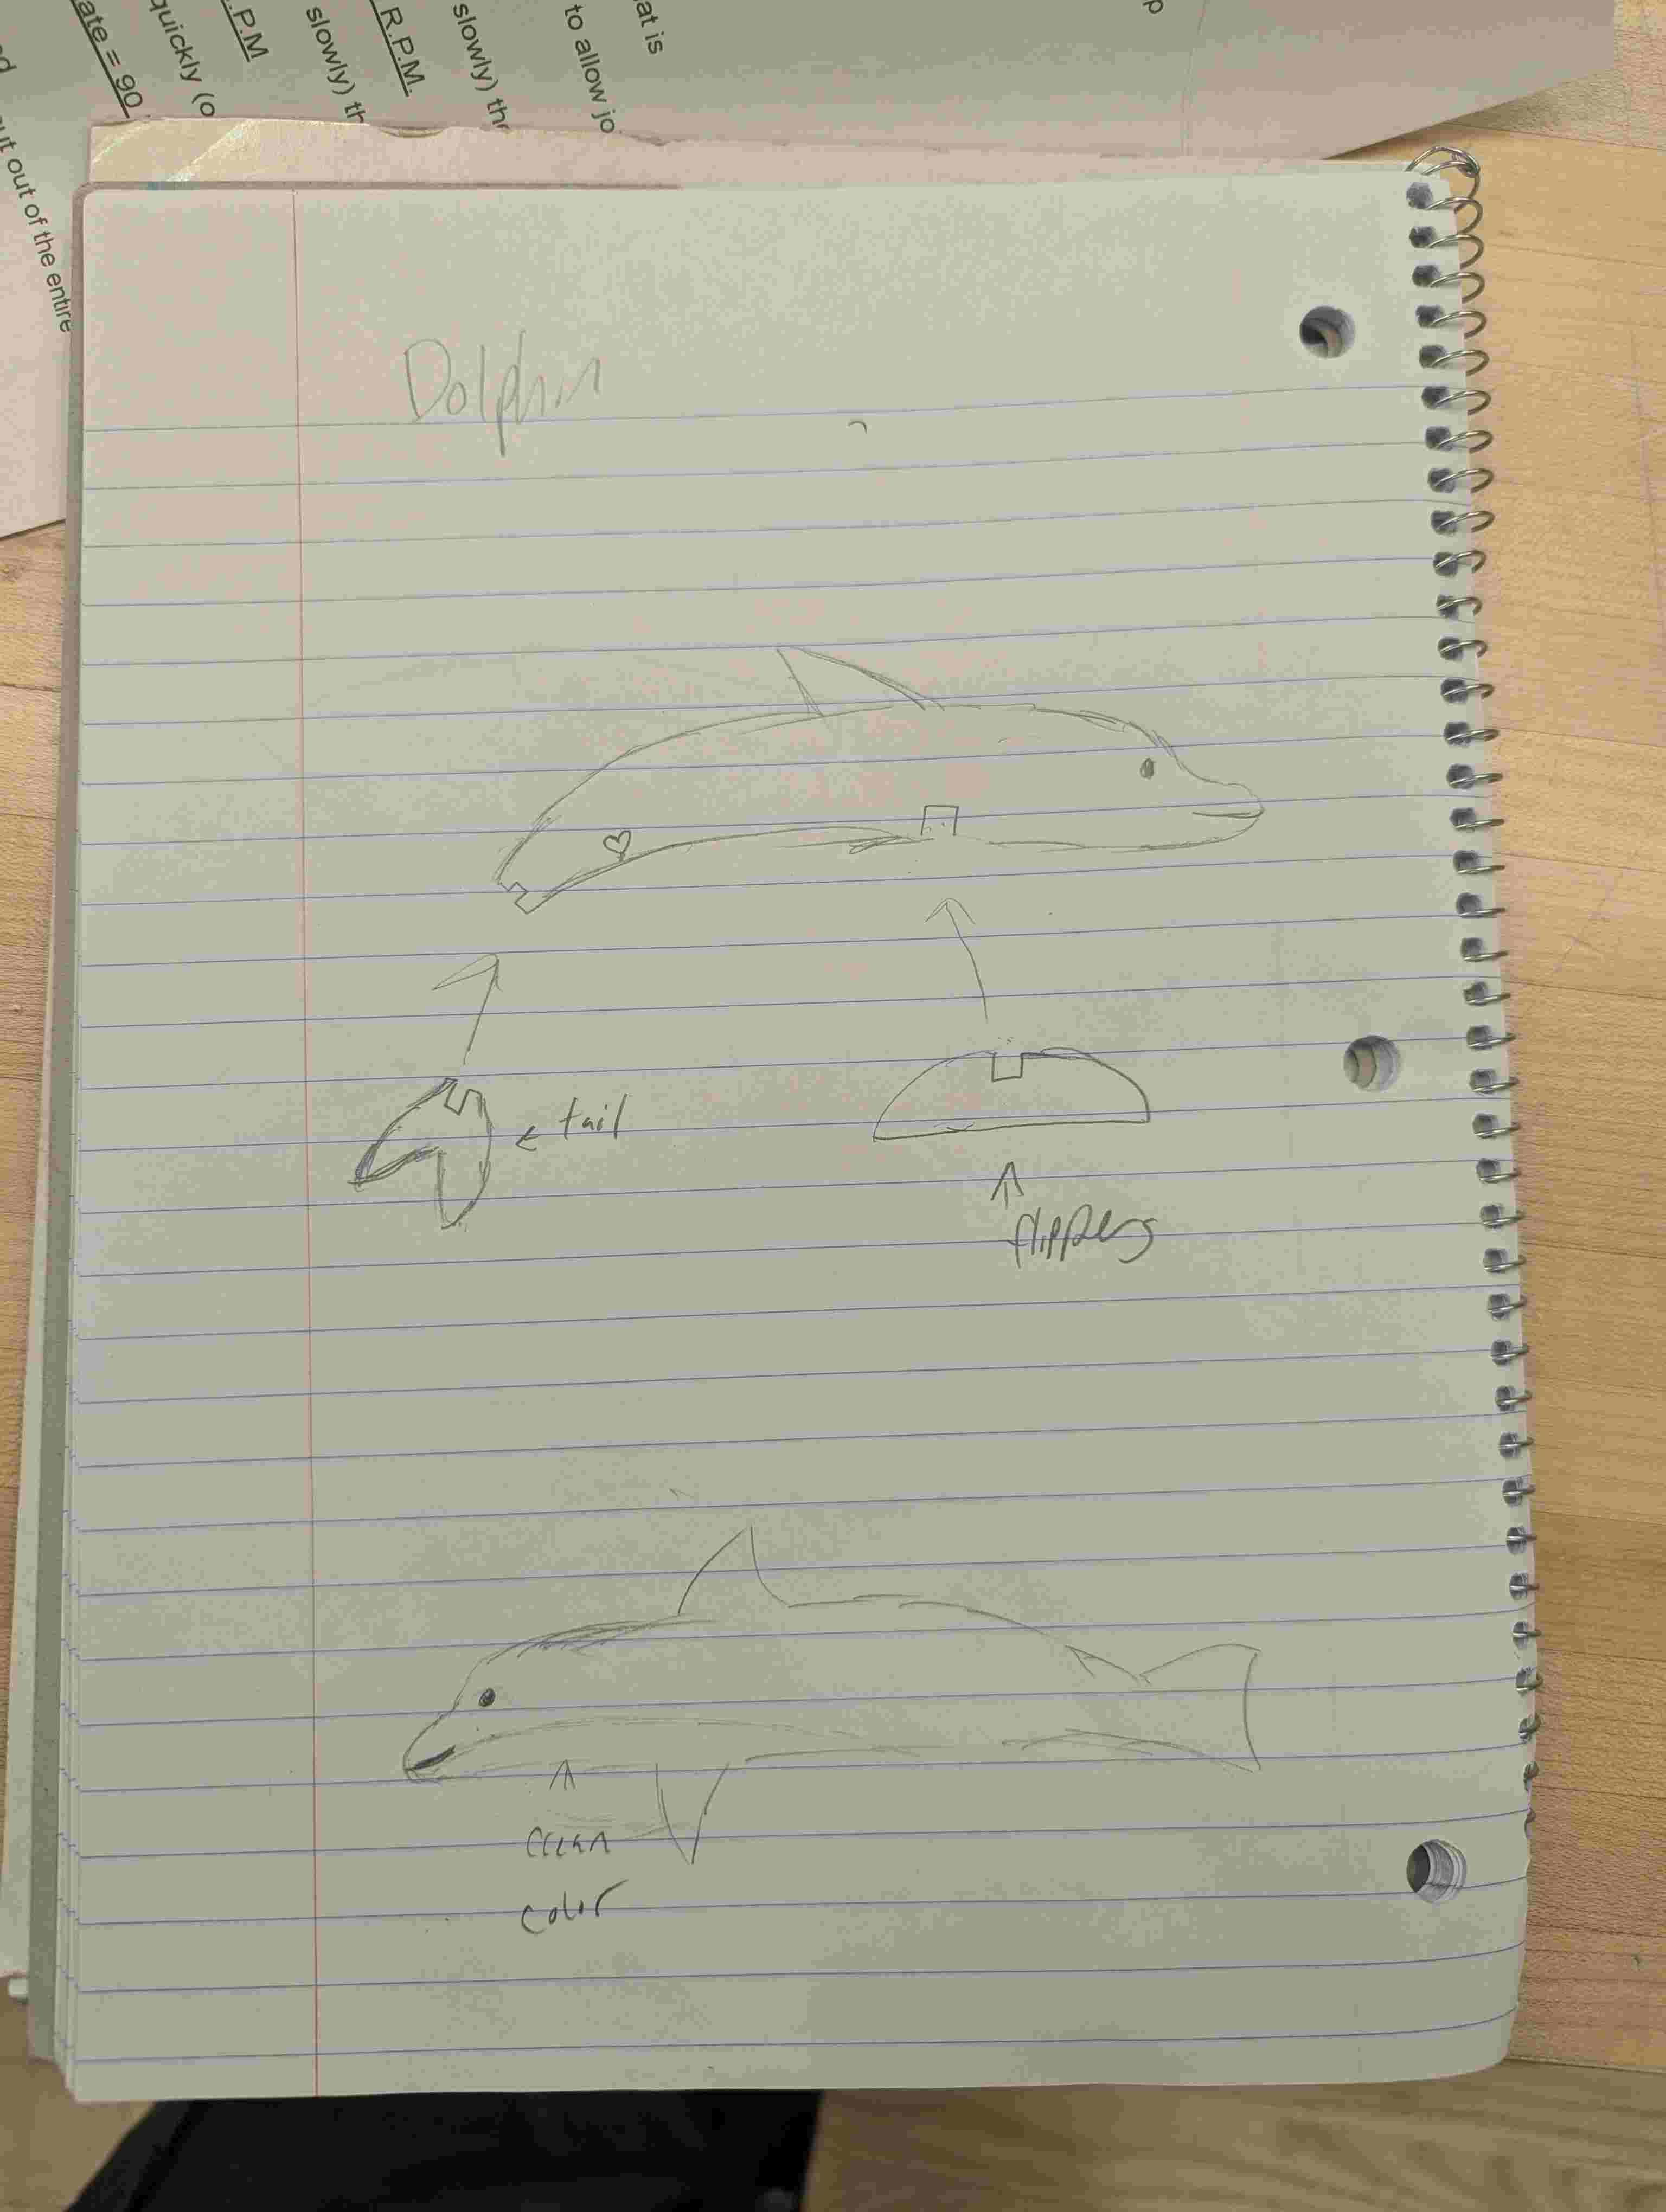
First I started by figuring out what my design was going to be for this week's project. I originally wanted to make an organization shelf but it would have taken more wood than I had access to. So after going through some trials I landed on making a dolphin statue. I drew out my idea first with the tail and fins being the separate pieces that would connect to the body. Then I designed it on Onshape by using the line tool and then resizing everything with the transformation tool. Originally I made the slots 2 inches deep and 1 inch wide by using the dimensions tool. I changed the width later to be 0.48 inches so that it would match the wood thickness and actually let the pieces fit together.

Setting up
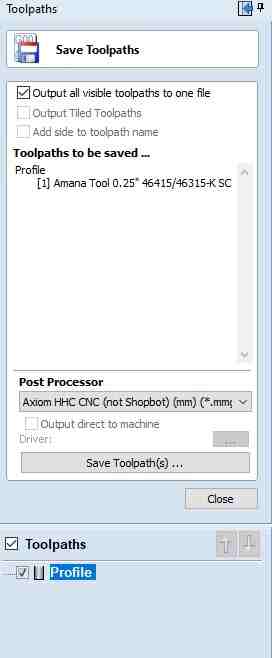
I exported my files as DXF and then sent them to my professor for him to download so I could use the computer with the program to use with the wood cutter. Then I made sure the settings were right to describe what material I was using and the dimensions, which was a wood plank that was 2 feet by 4 feet.
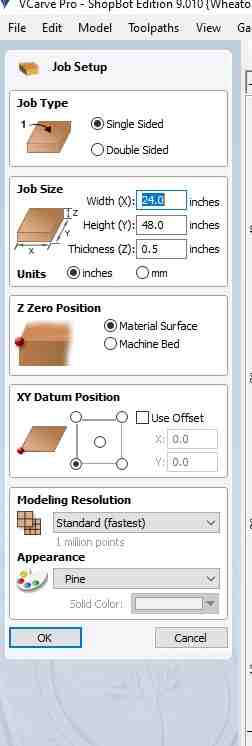
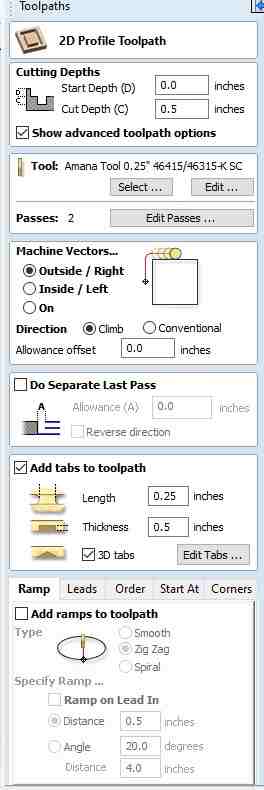
After that I imported my files and organized them so they all fit on the plank. I added two of the fin designs because I didn’t know if I was going to like the tail piece so I added two just in case I wanted to use it as the tail. Then I set up the toolpath which tells you how deep to cut and how big the tabs are going to be, as well as whether it was going to cut on the outside or inside, for this cut we are going to cut on the outside.

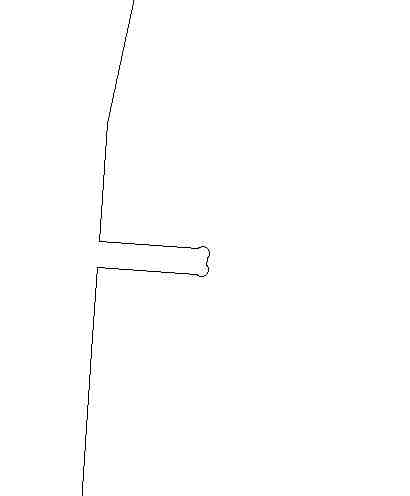
Then I added dogbone cuts to the inner corners of the slots so that the pieces would fit together but also so that the machine could actually cut those pieces. Then I added tabs so that the wood would not just fly off the board when it was being cut. Tabs are little pieces of wood that are indicated to the application by adding a little icon where you want them to be and then when it’s being cut out it leaves small pieces of wood to hold the design in place.

Finally I saved the design and exported it to the drive so that I could move on to using the machine.
cutting process
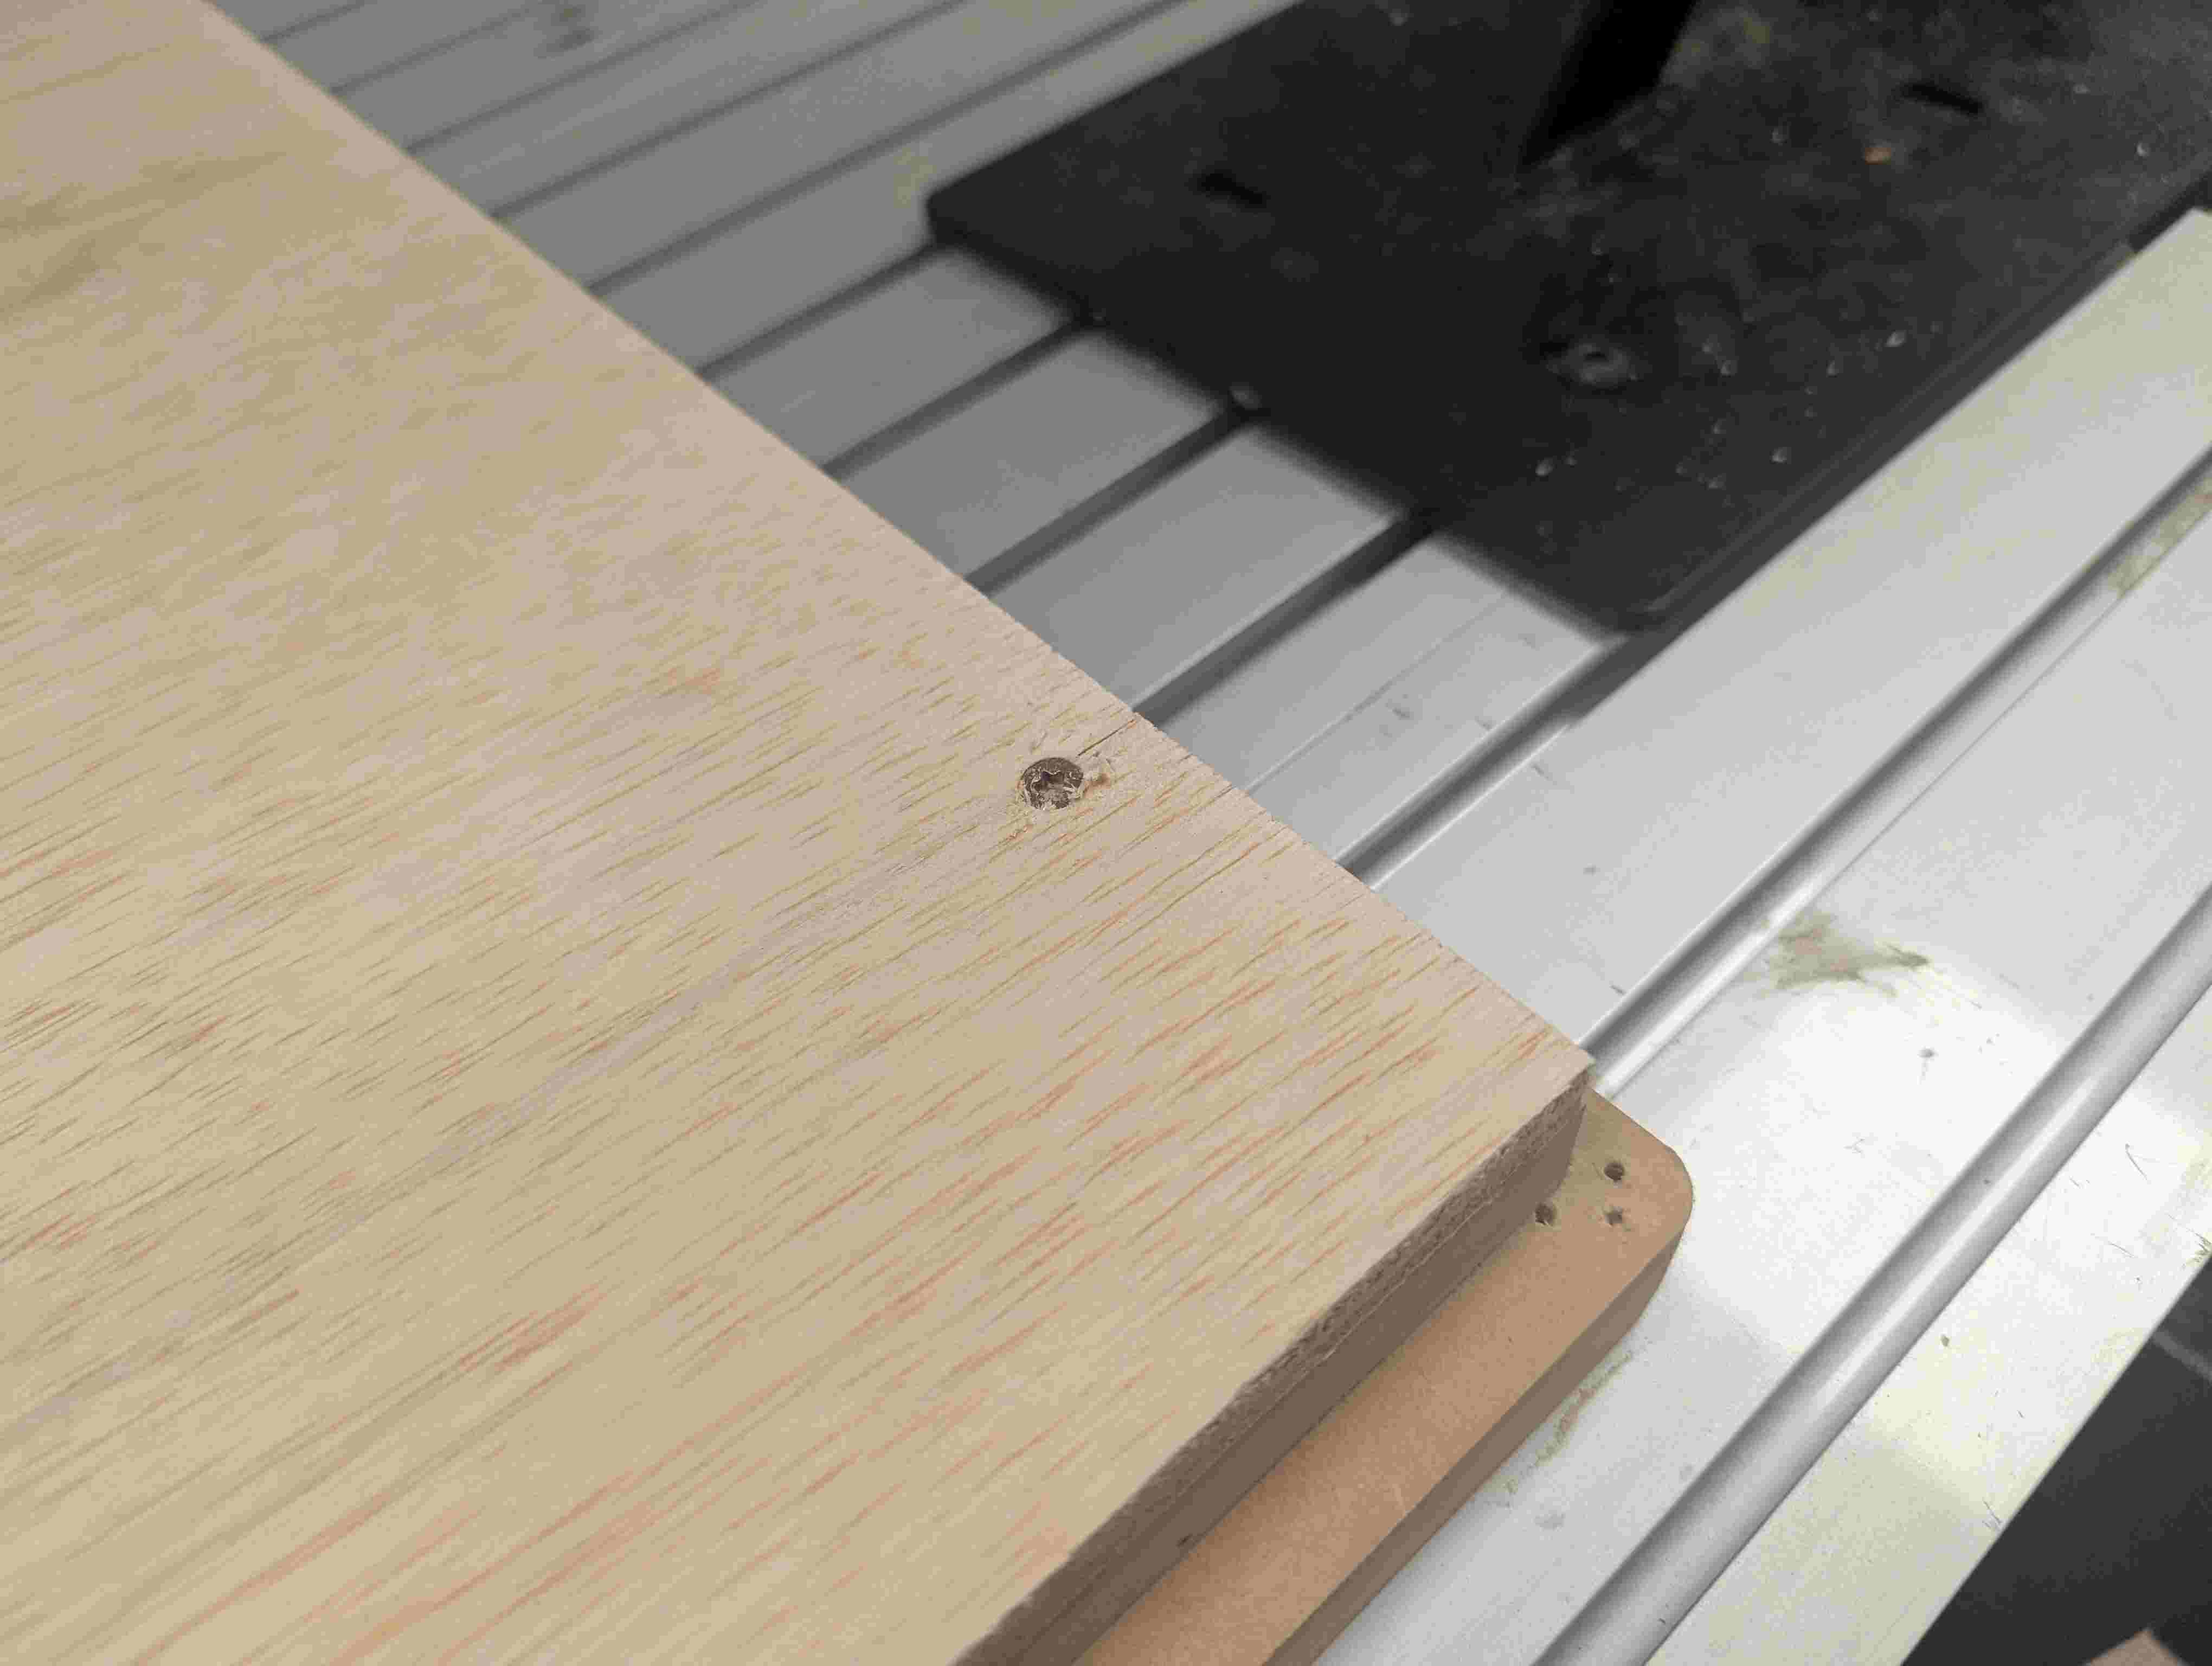
To start the cutting process, We put the wood plank on the bed and drilled the corners down so it wouldn’t fly off and stay in the same spot. For my design since it was close to the edges we had to put two of the nails at the very edge of the board.Then we had to bring the machine back home so it would be in the starting corner.
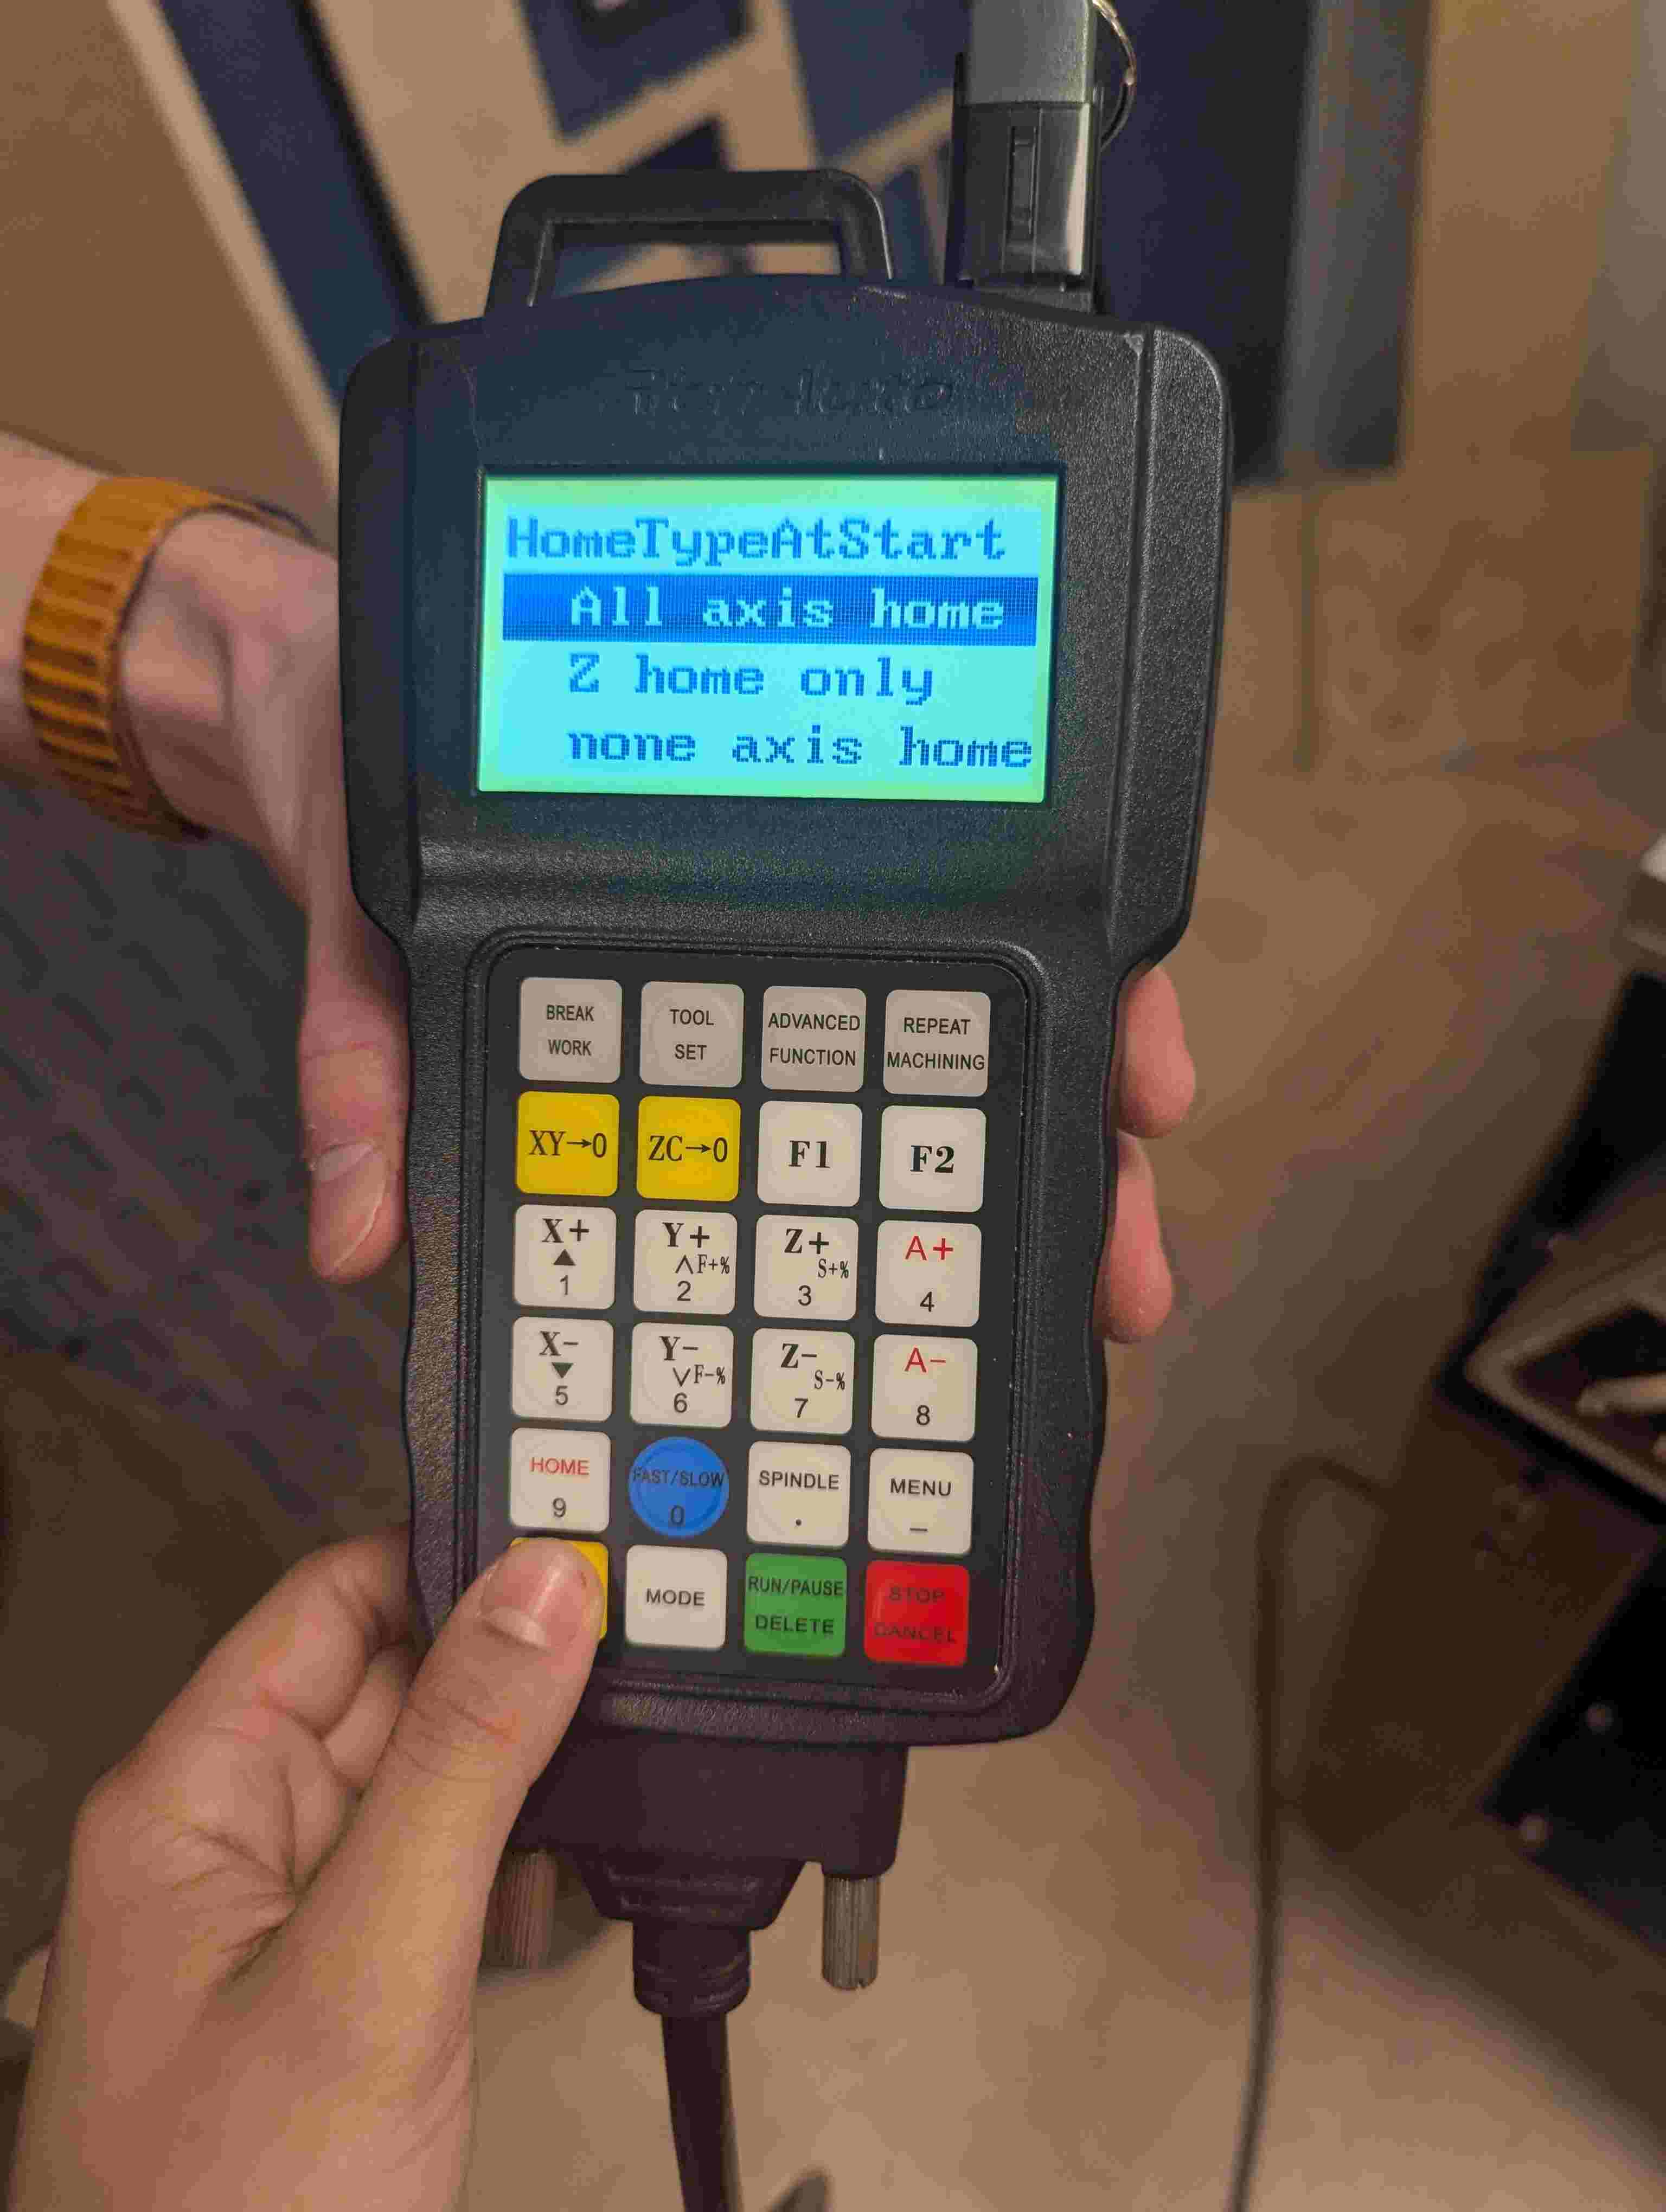
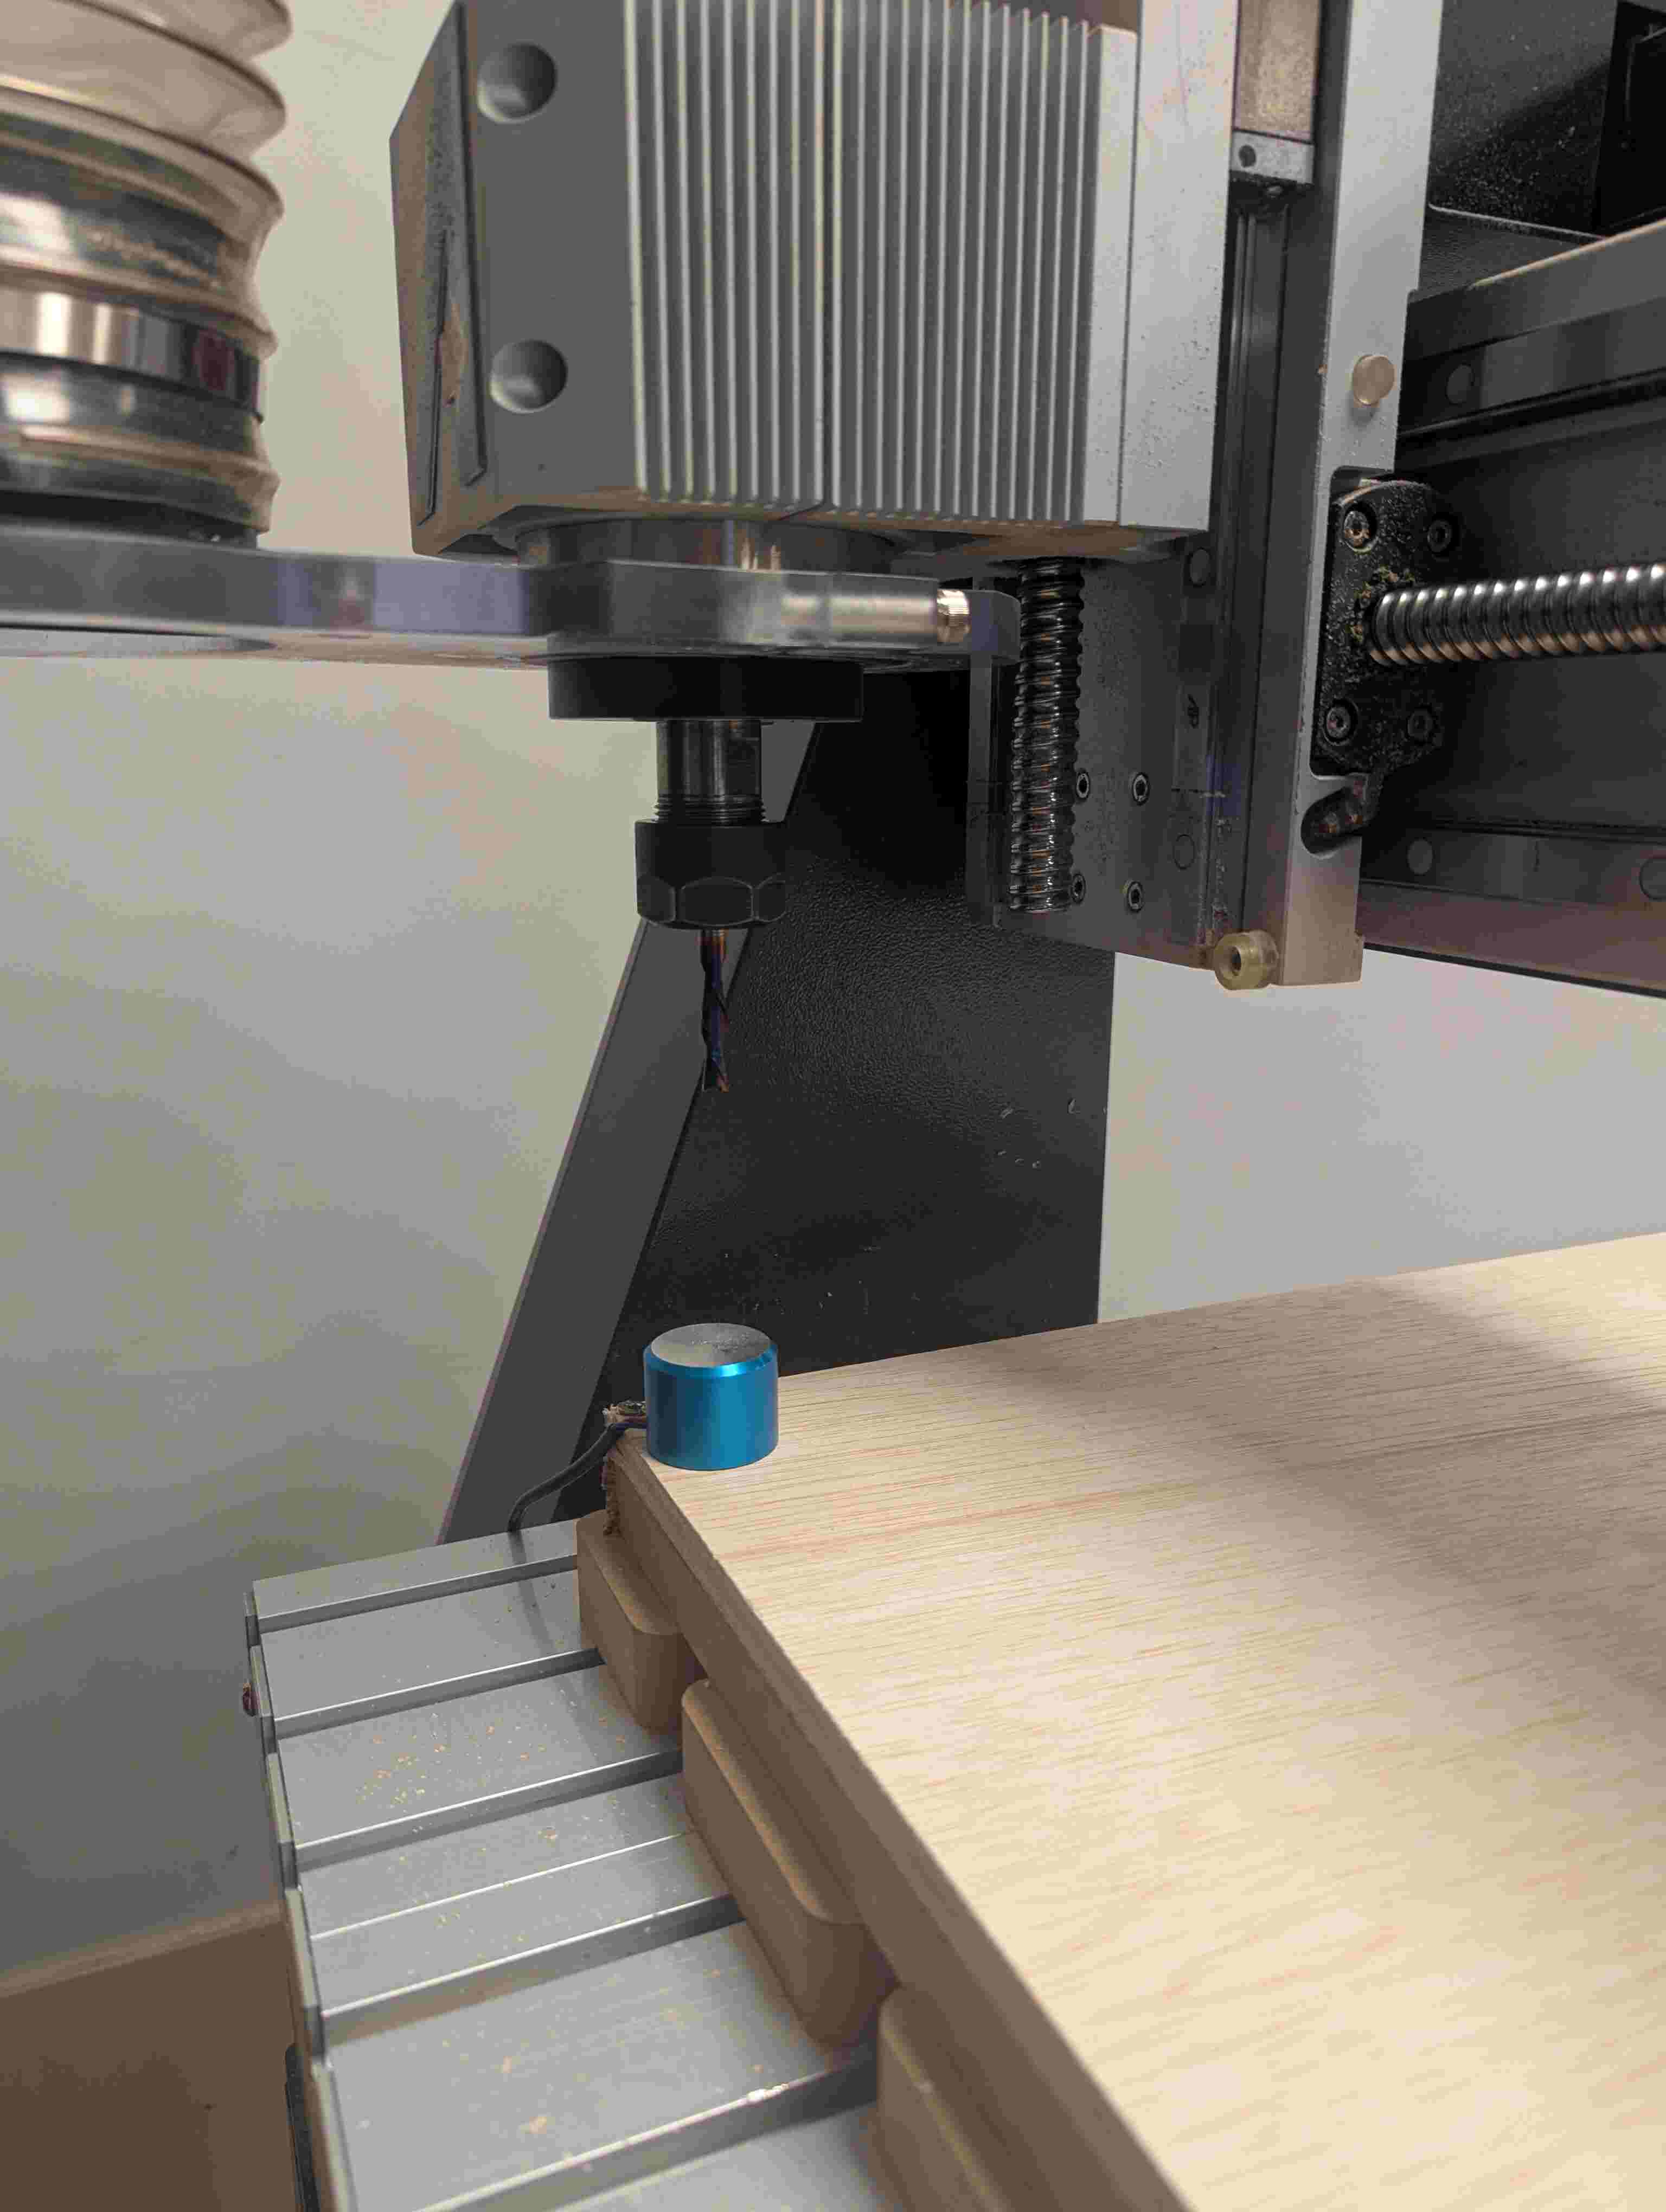
After that I changed the bit to the right head to use for cutting not engraving, I used two wrenches to twist it loose and put the right head in. Then we used this blue thing to set the Z axis which set the depth to the machine.
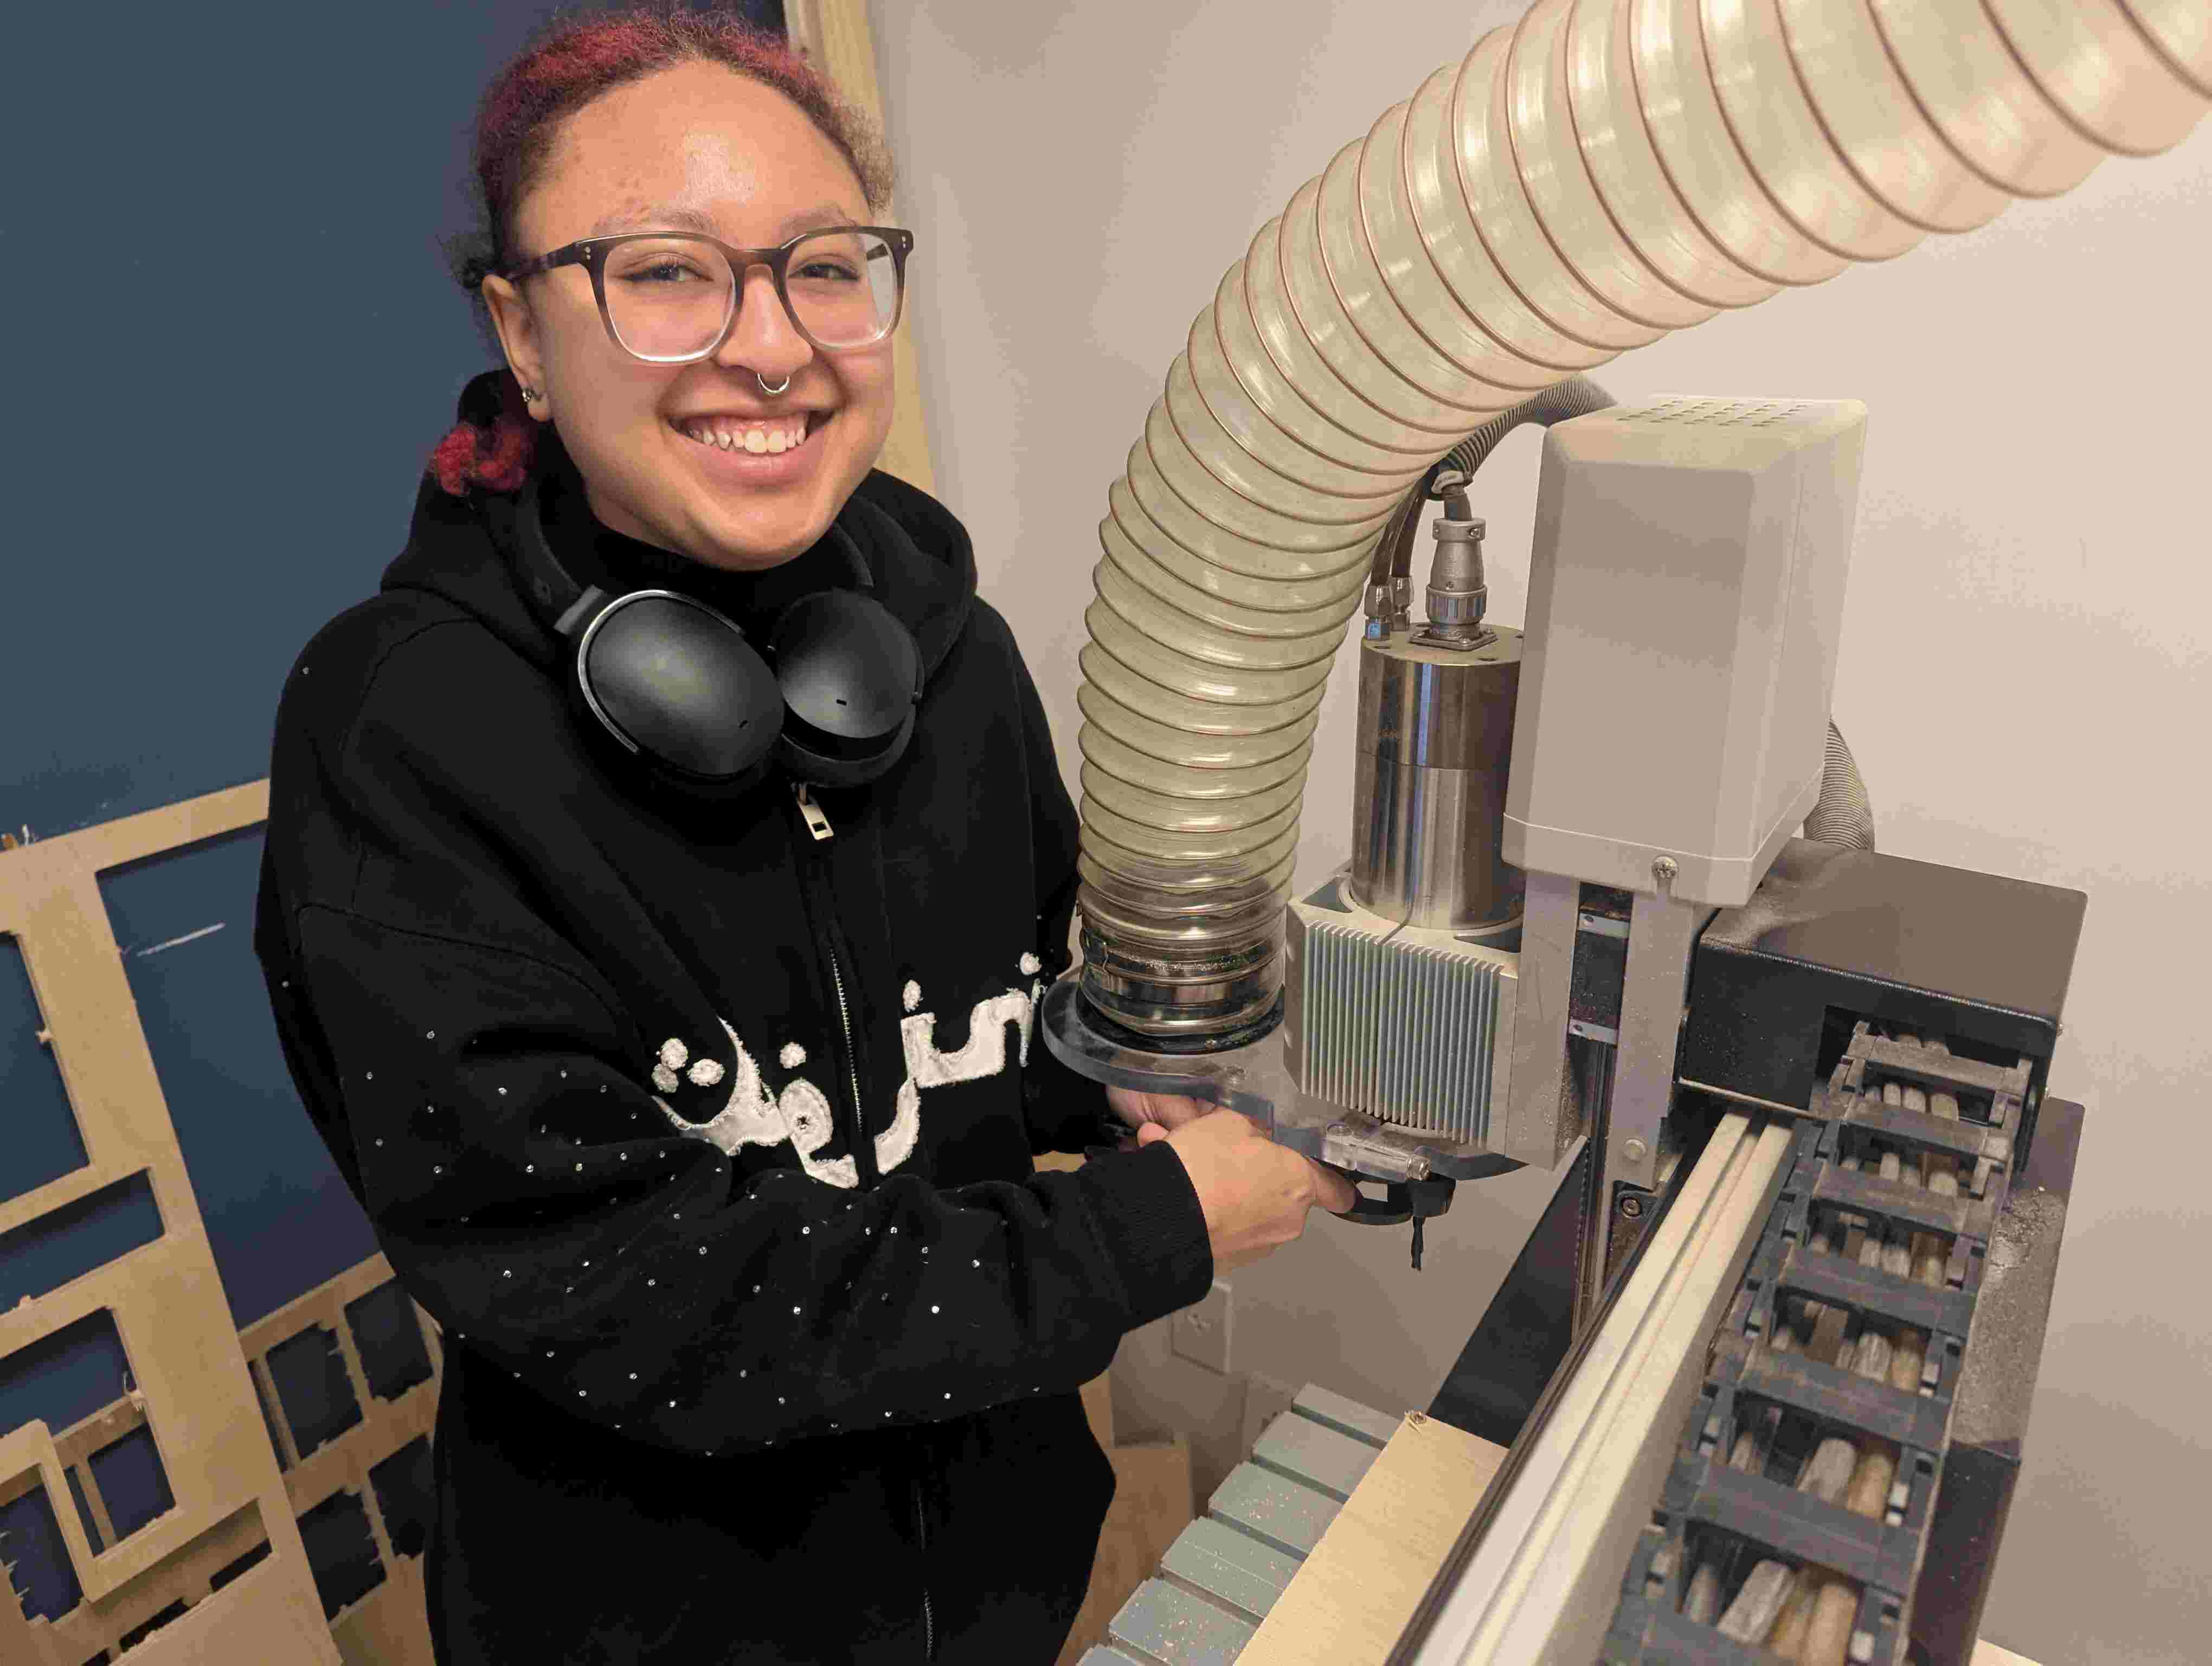
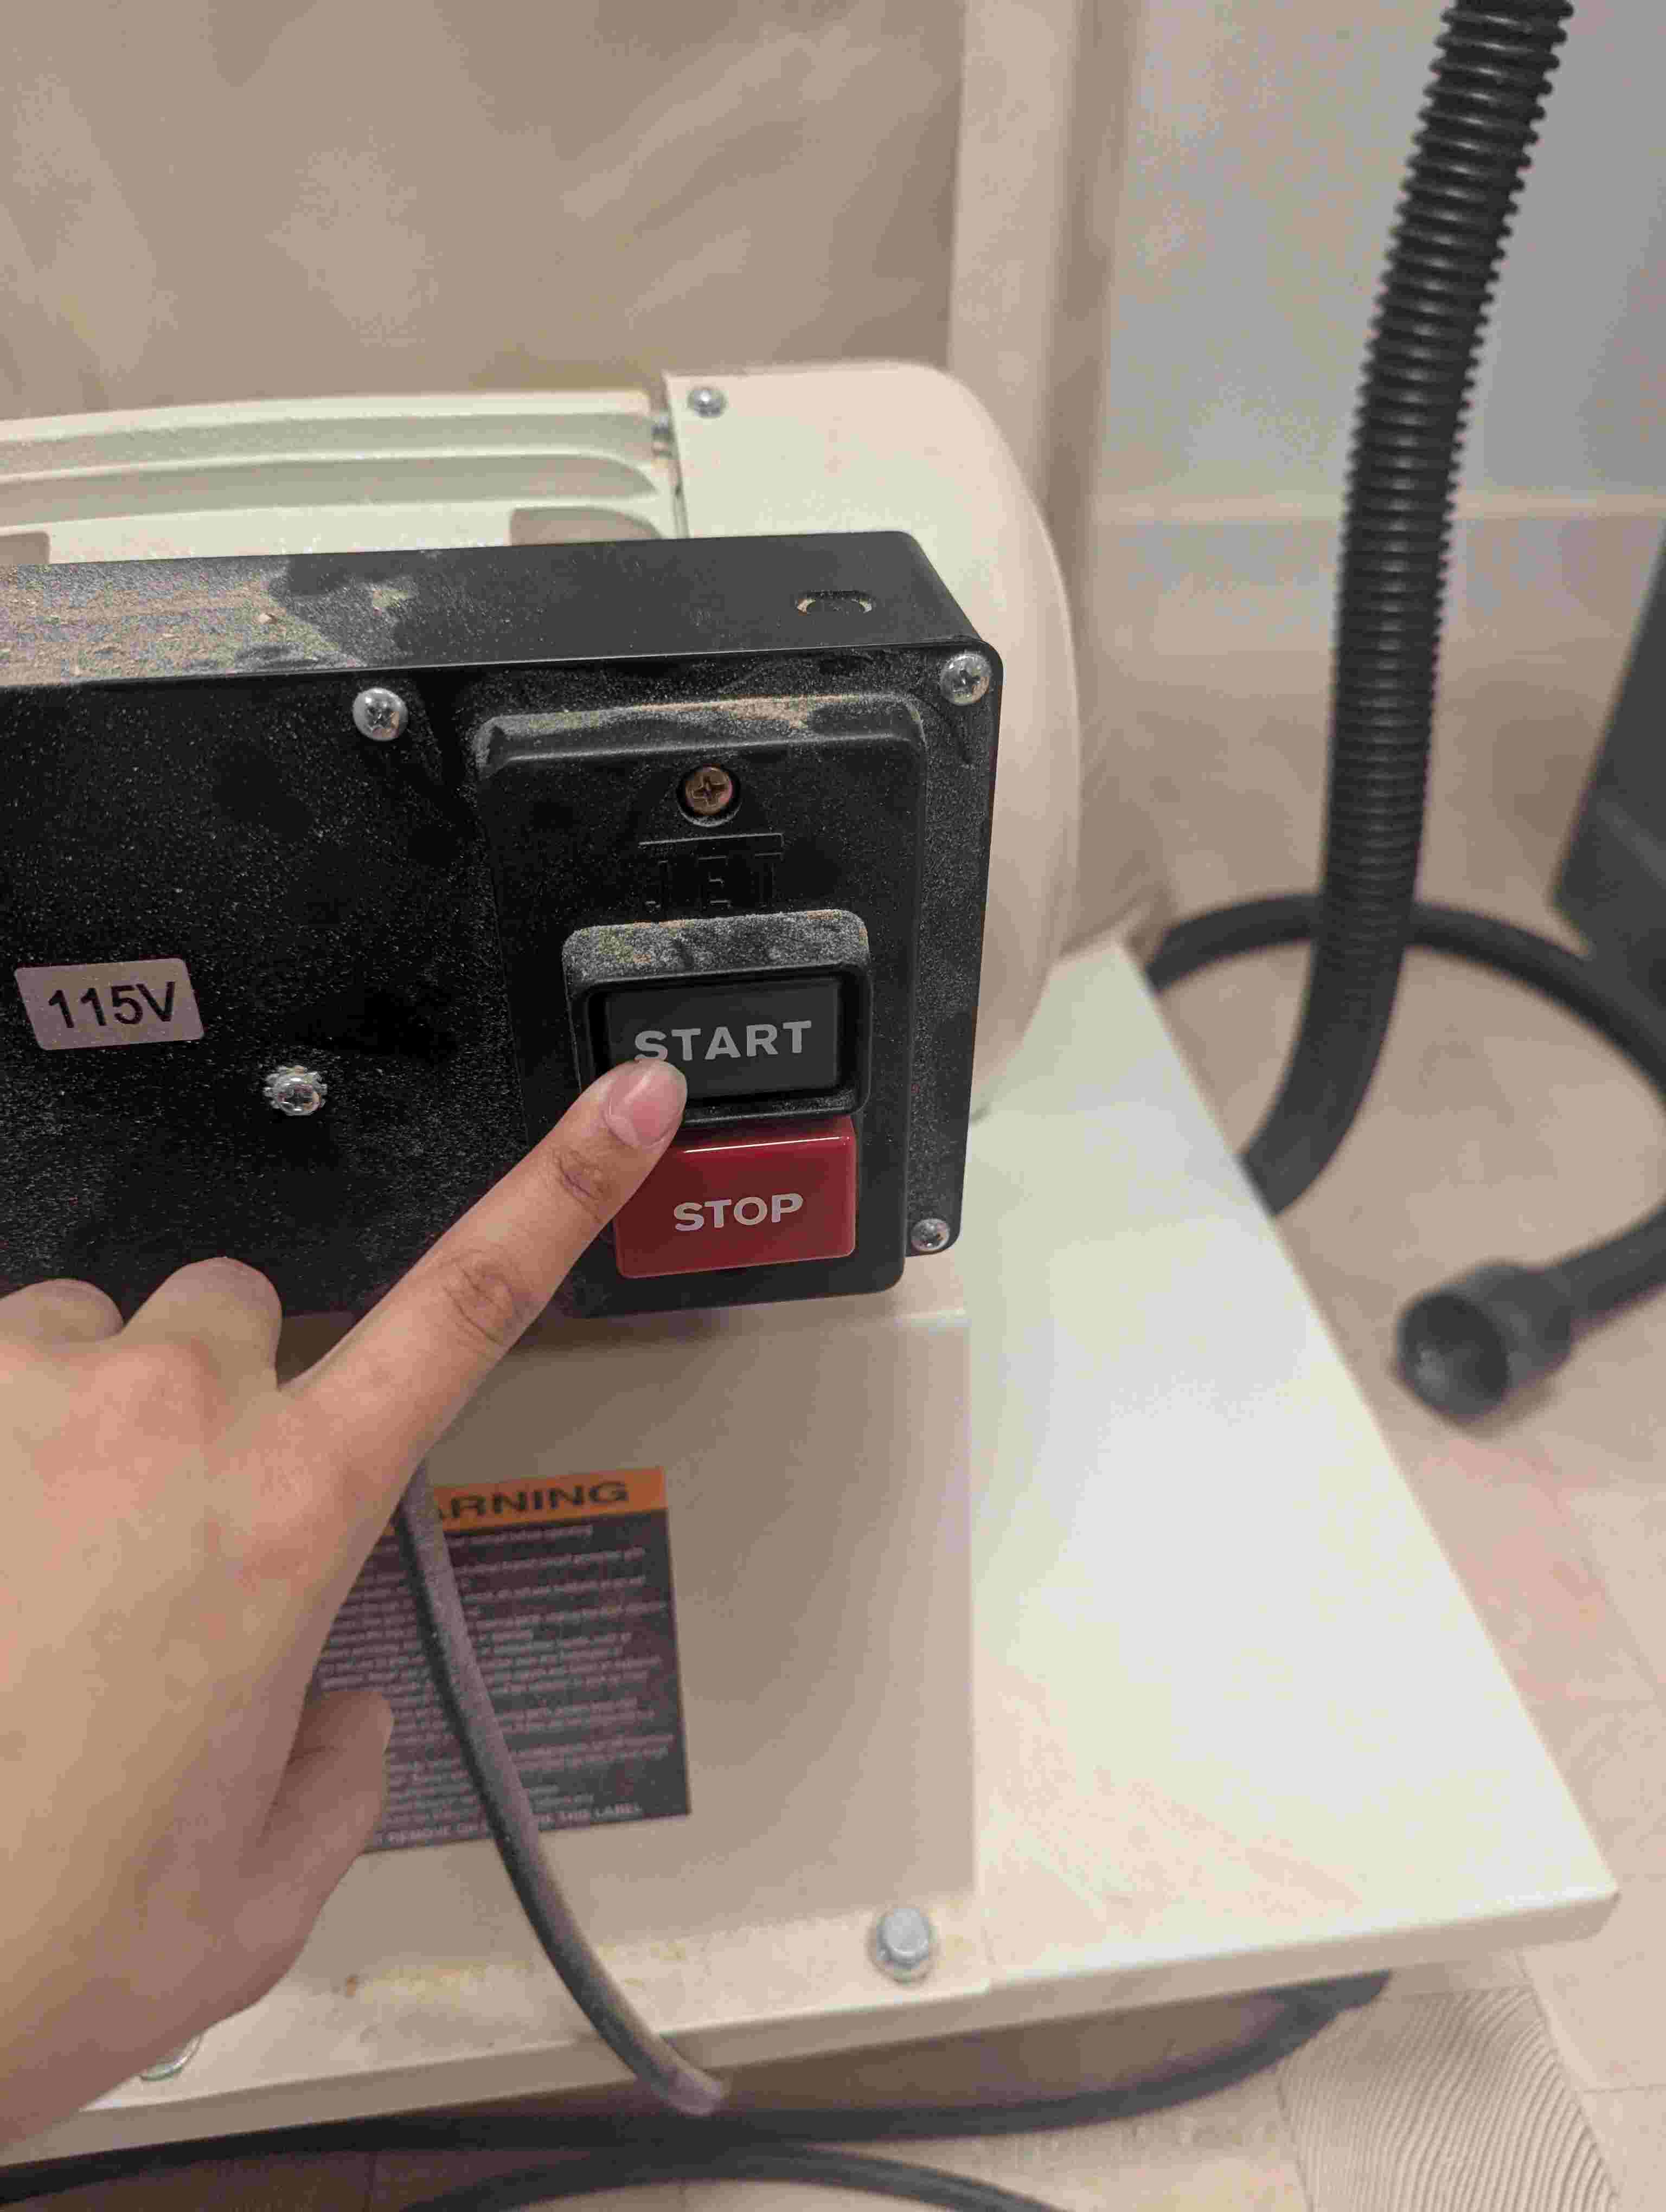
To finish up cutting I turned on the dustbag that takes in all the wood that is left over from the cut and pressed the start button and it started to cut my design out
Decorating
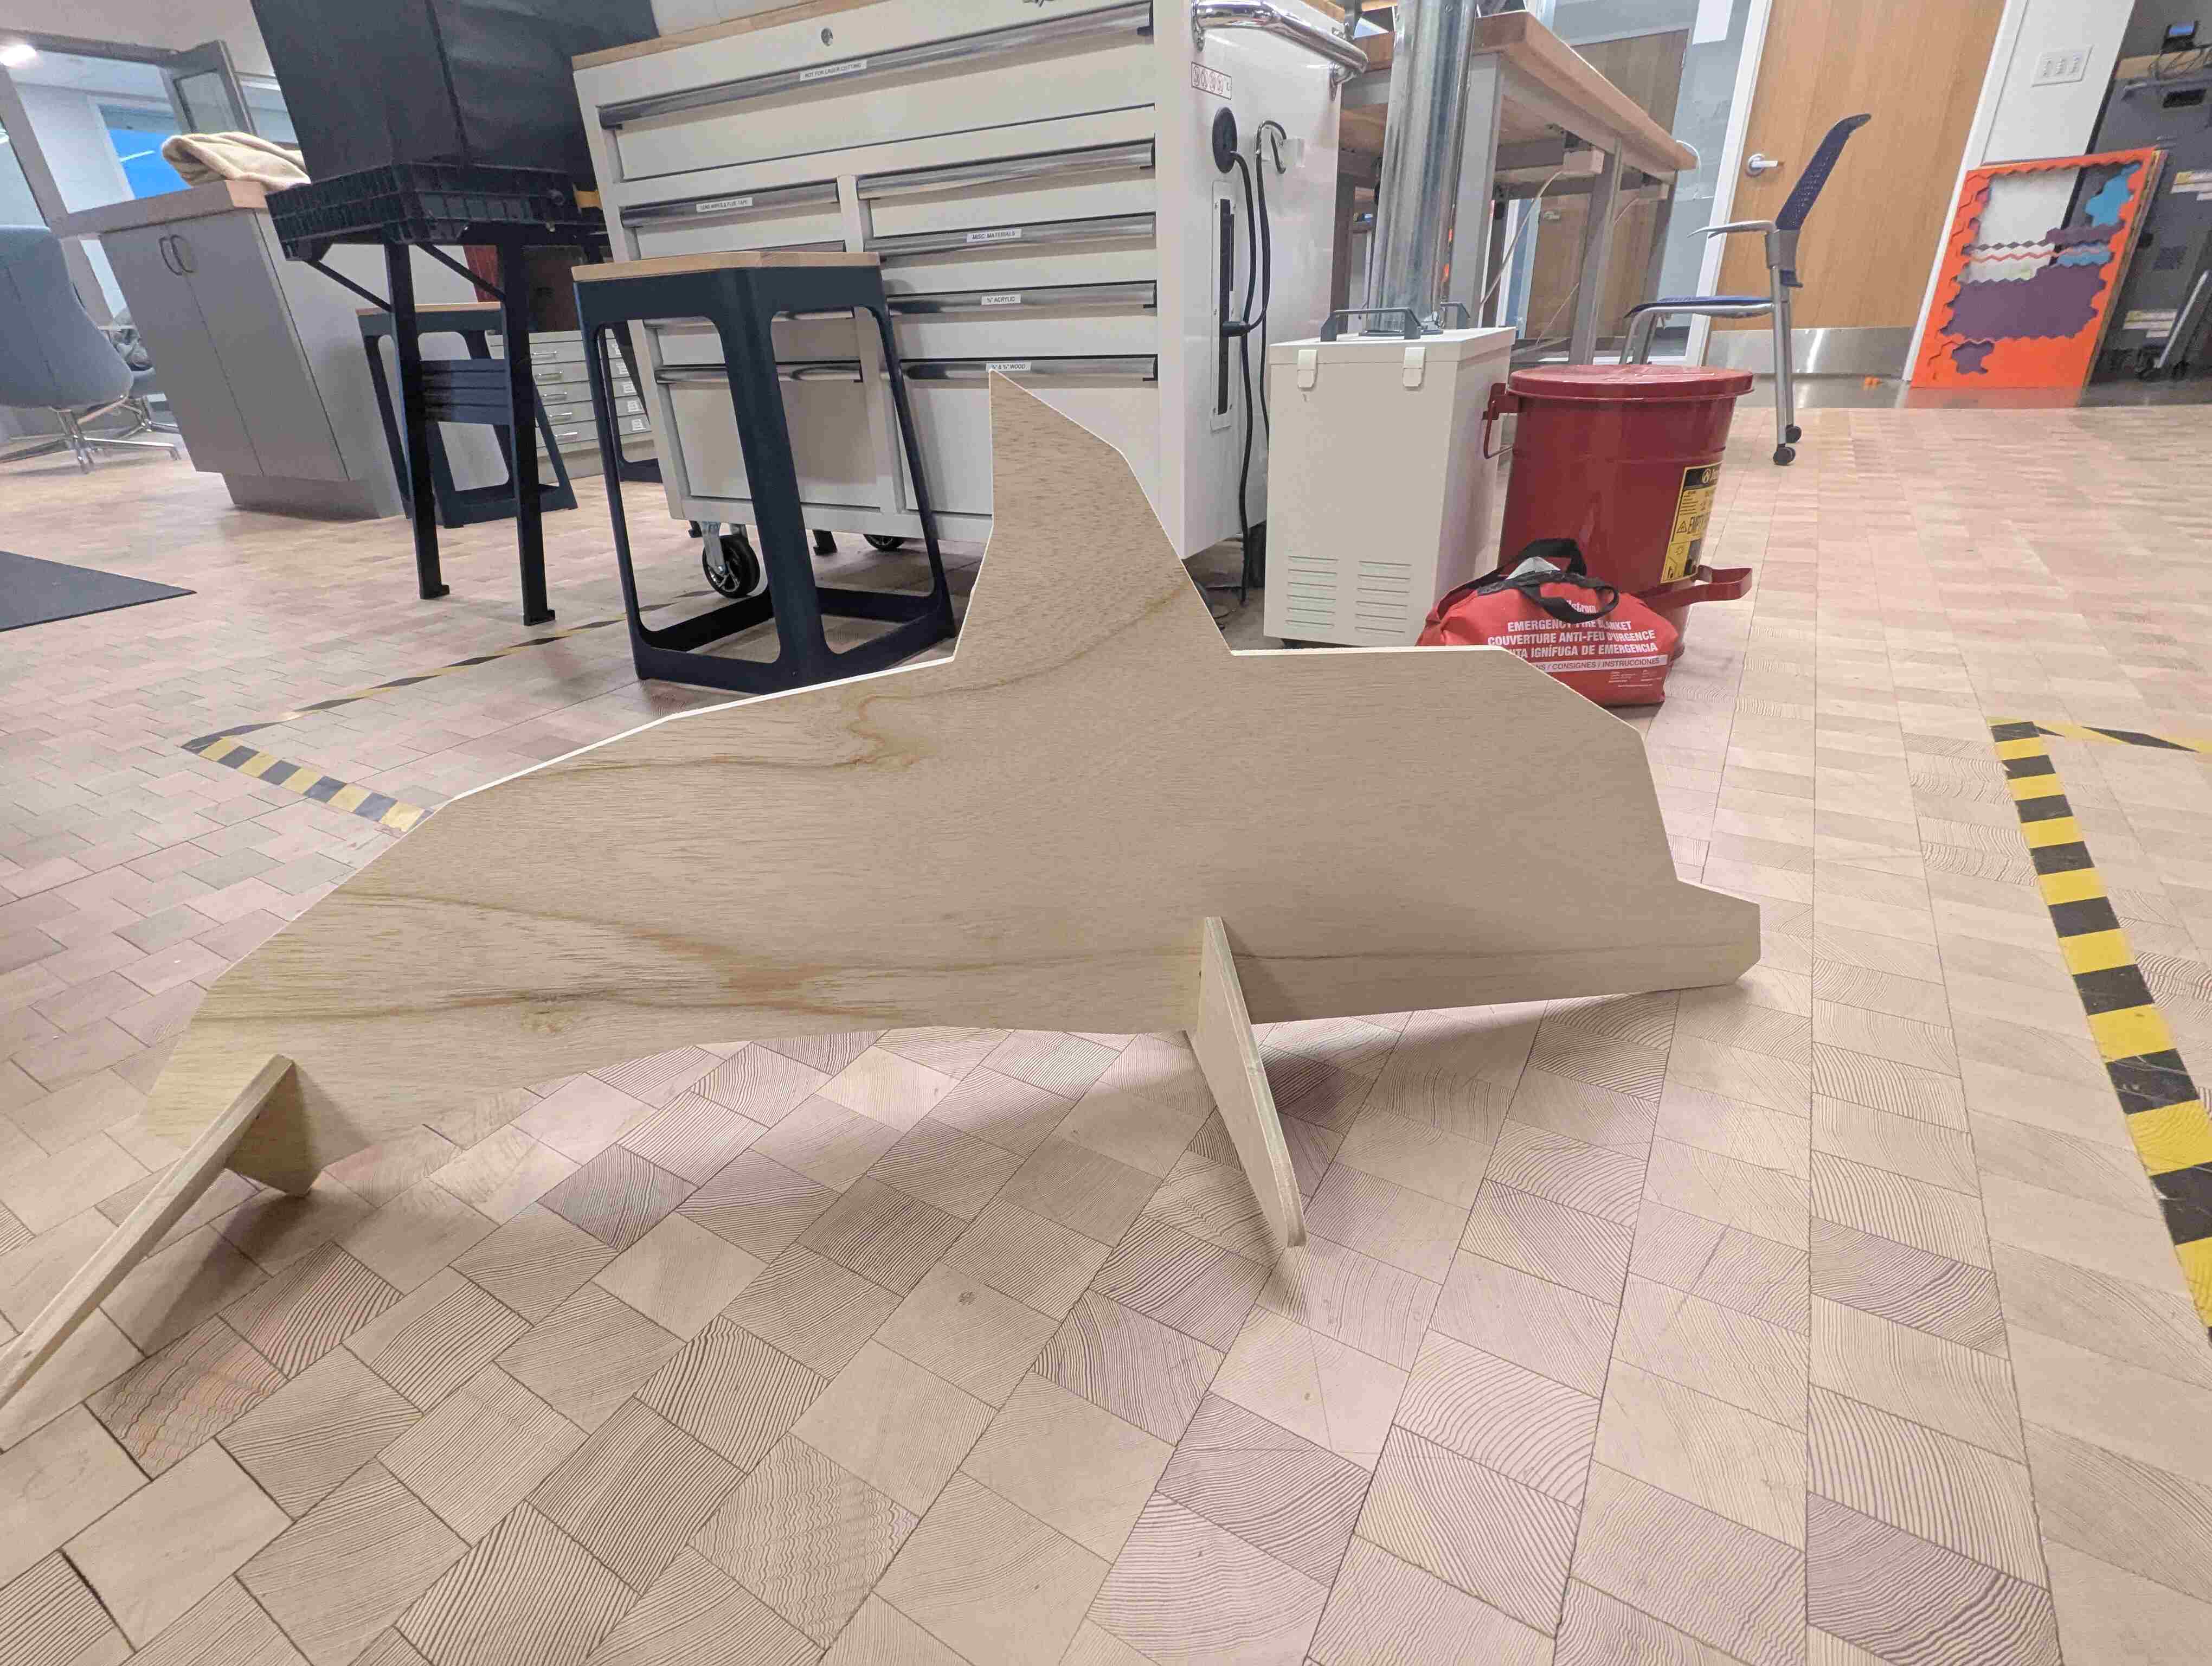
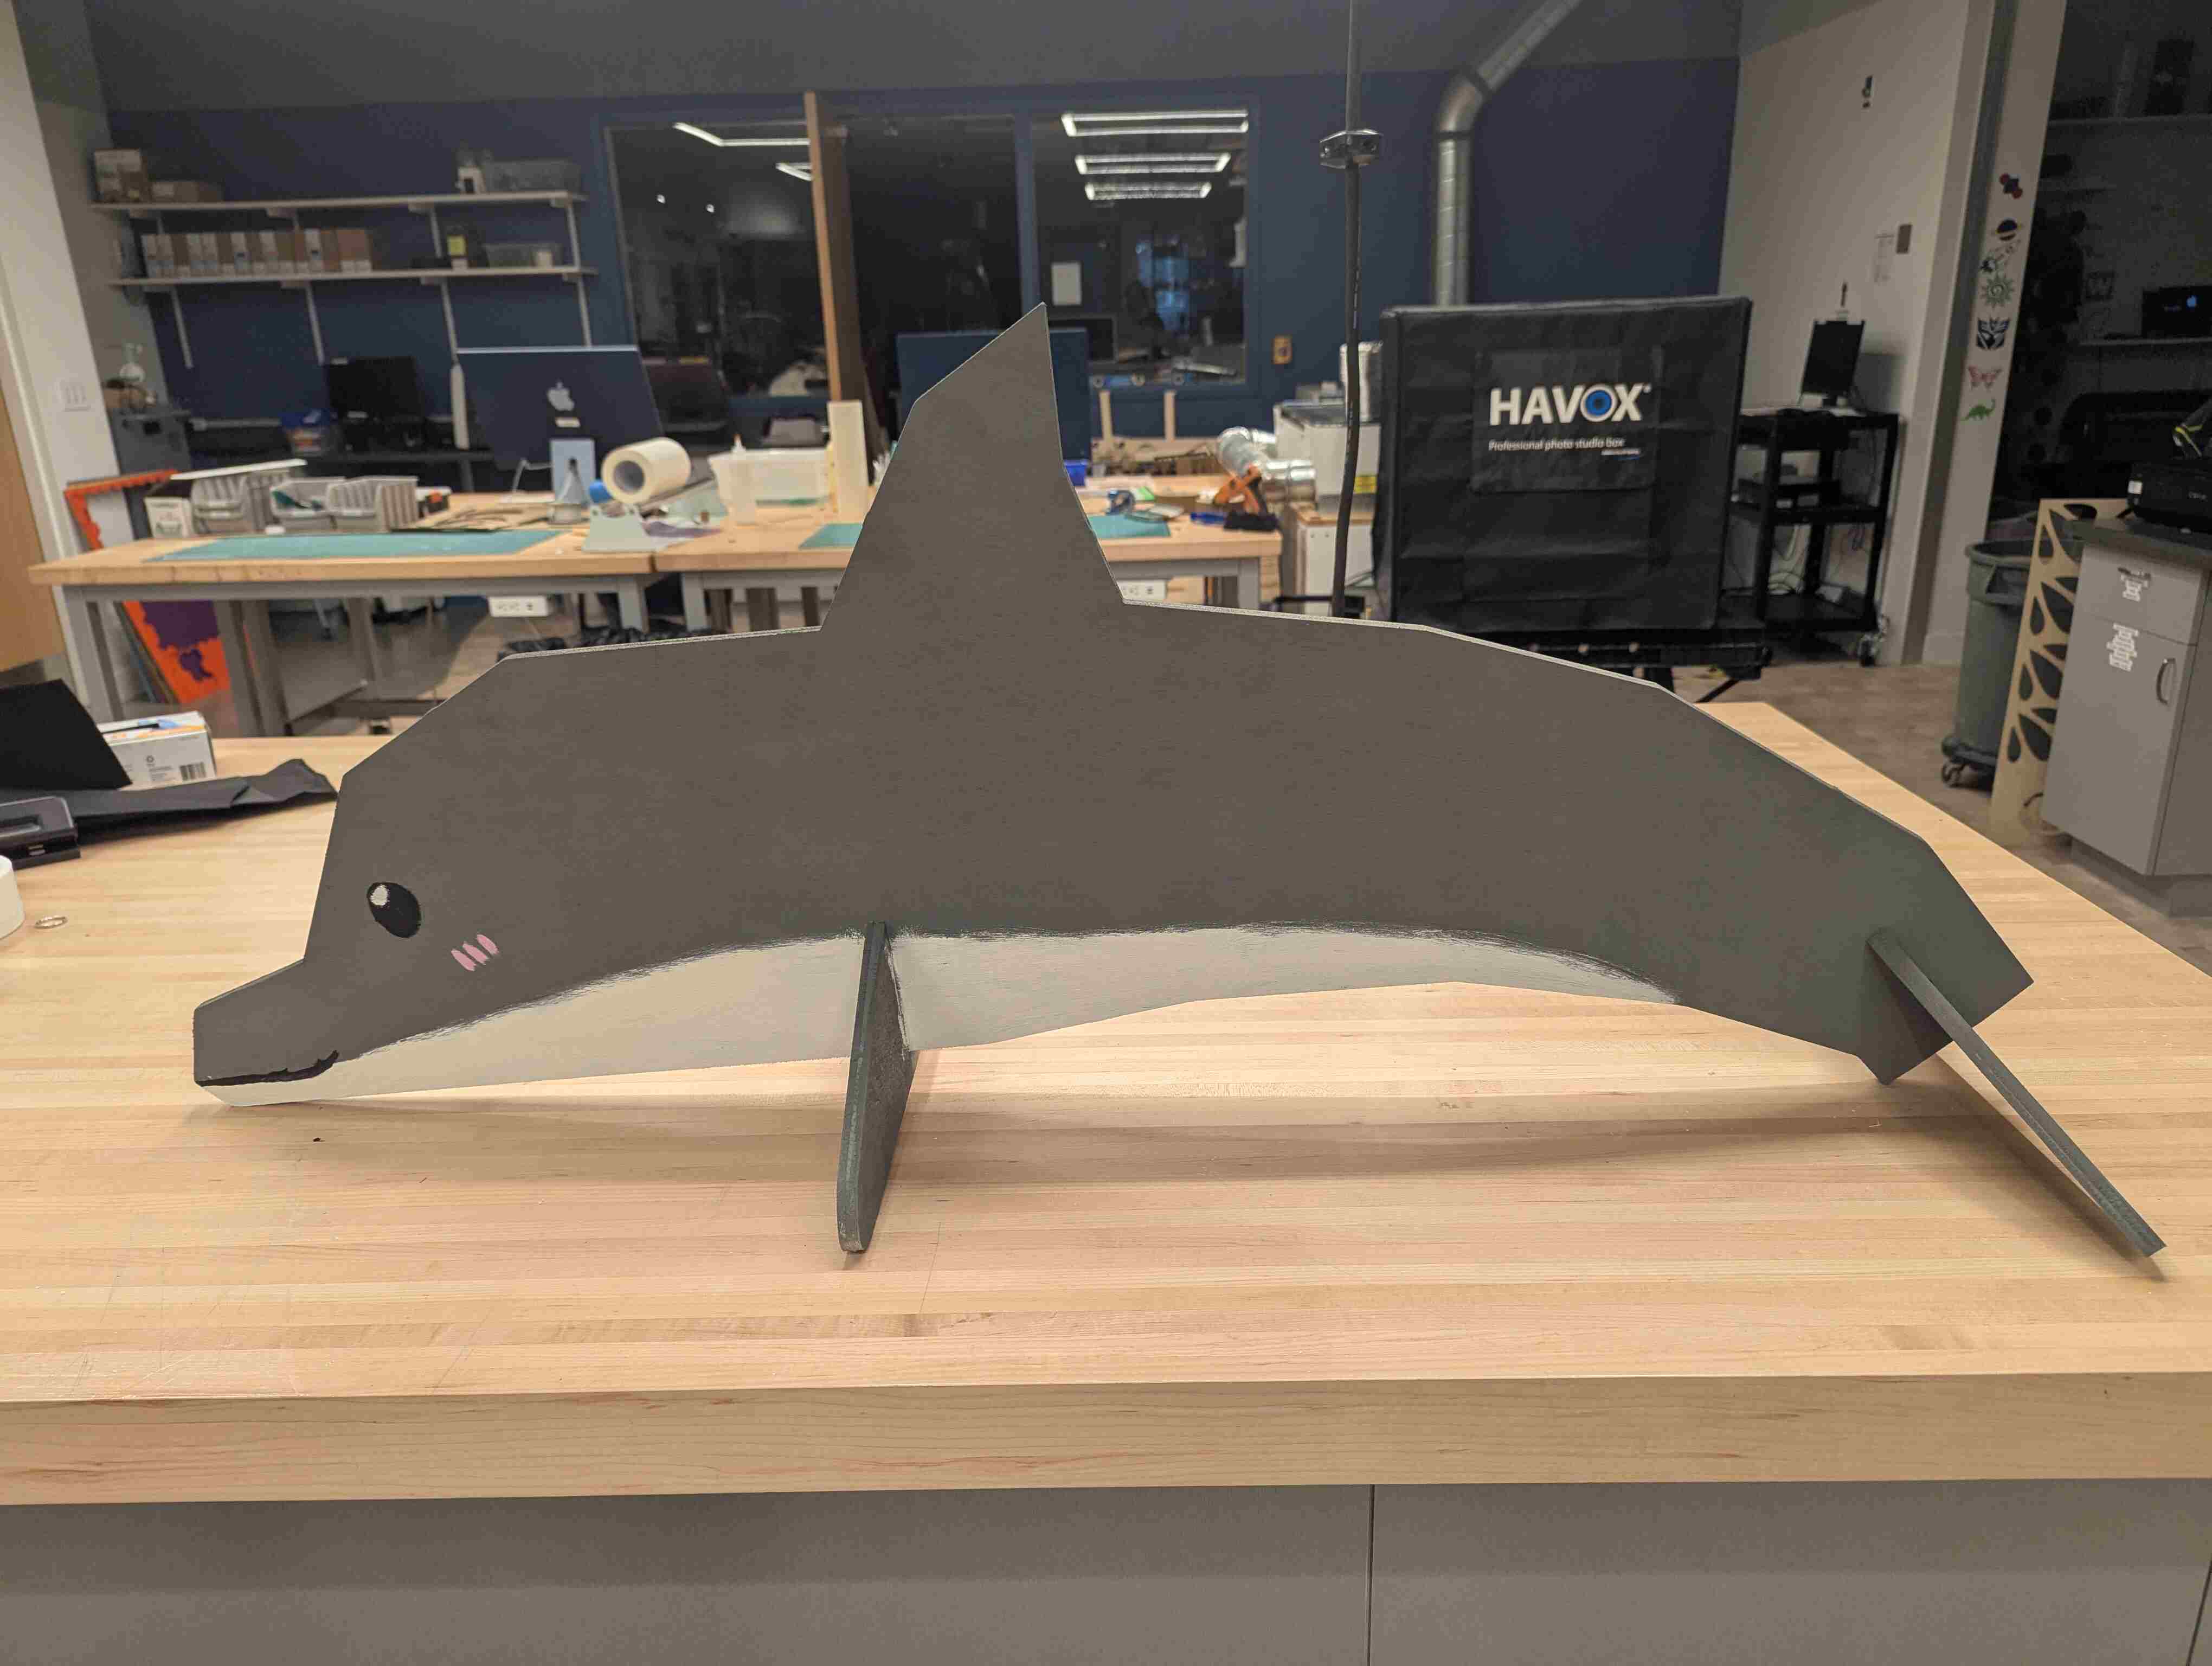
To start decorating the dolphin I first started by sanding the pieces so they were smooth then I put the pieces together and I did end up using the extra fin piece as the tail because I thought it fit the design better.
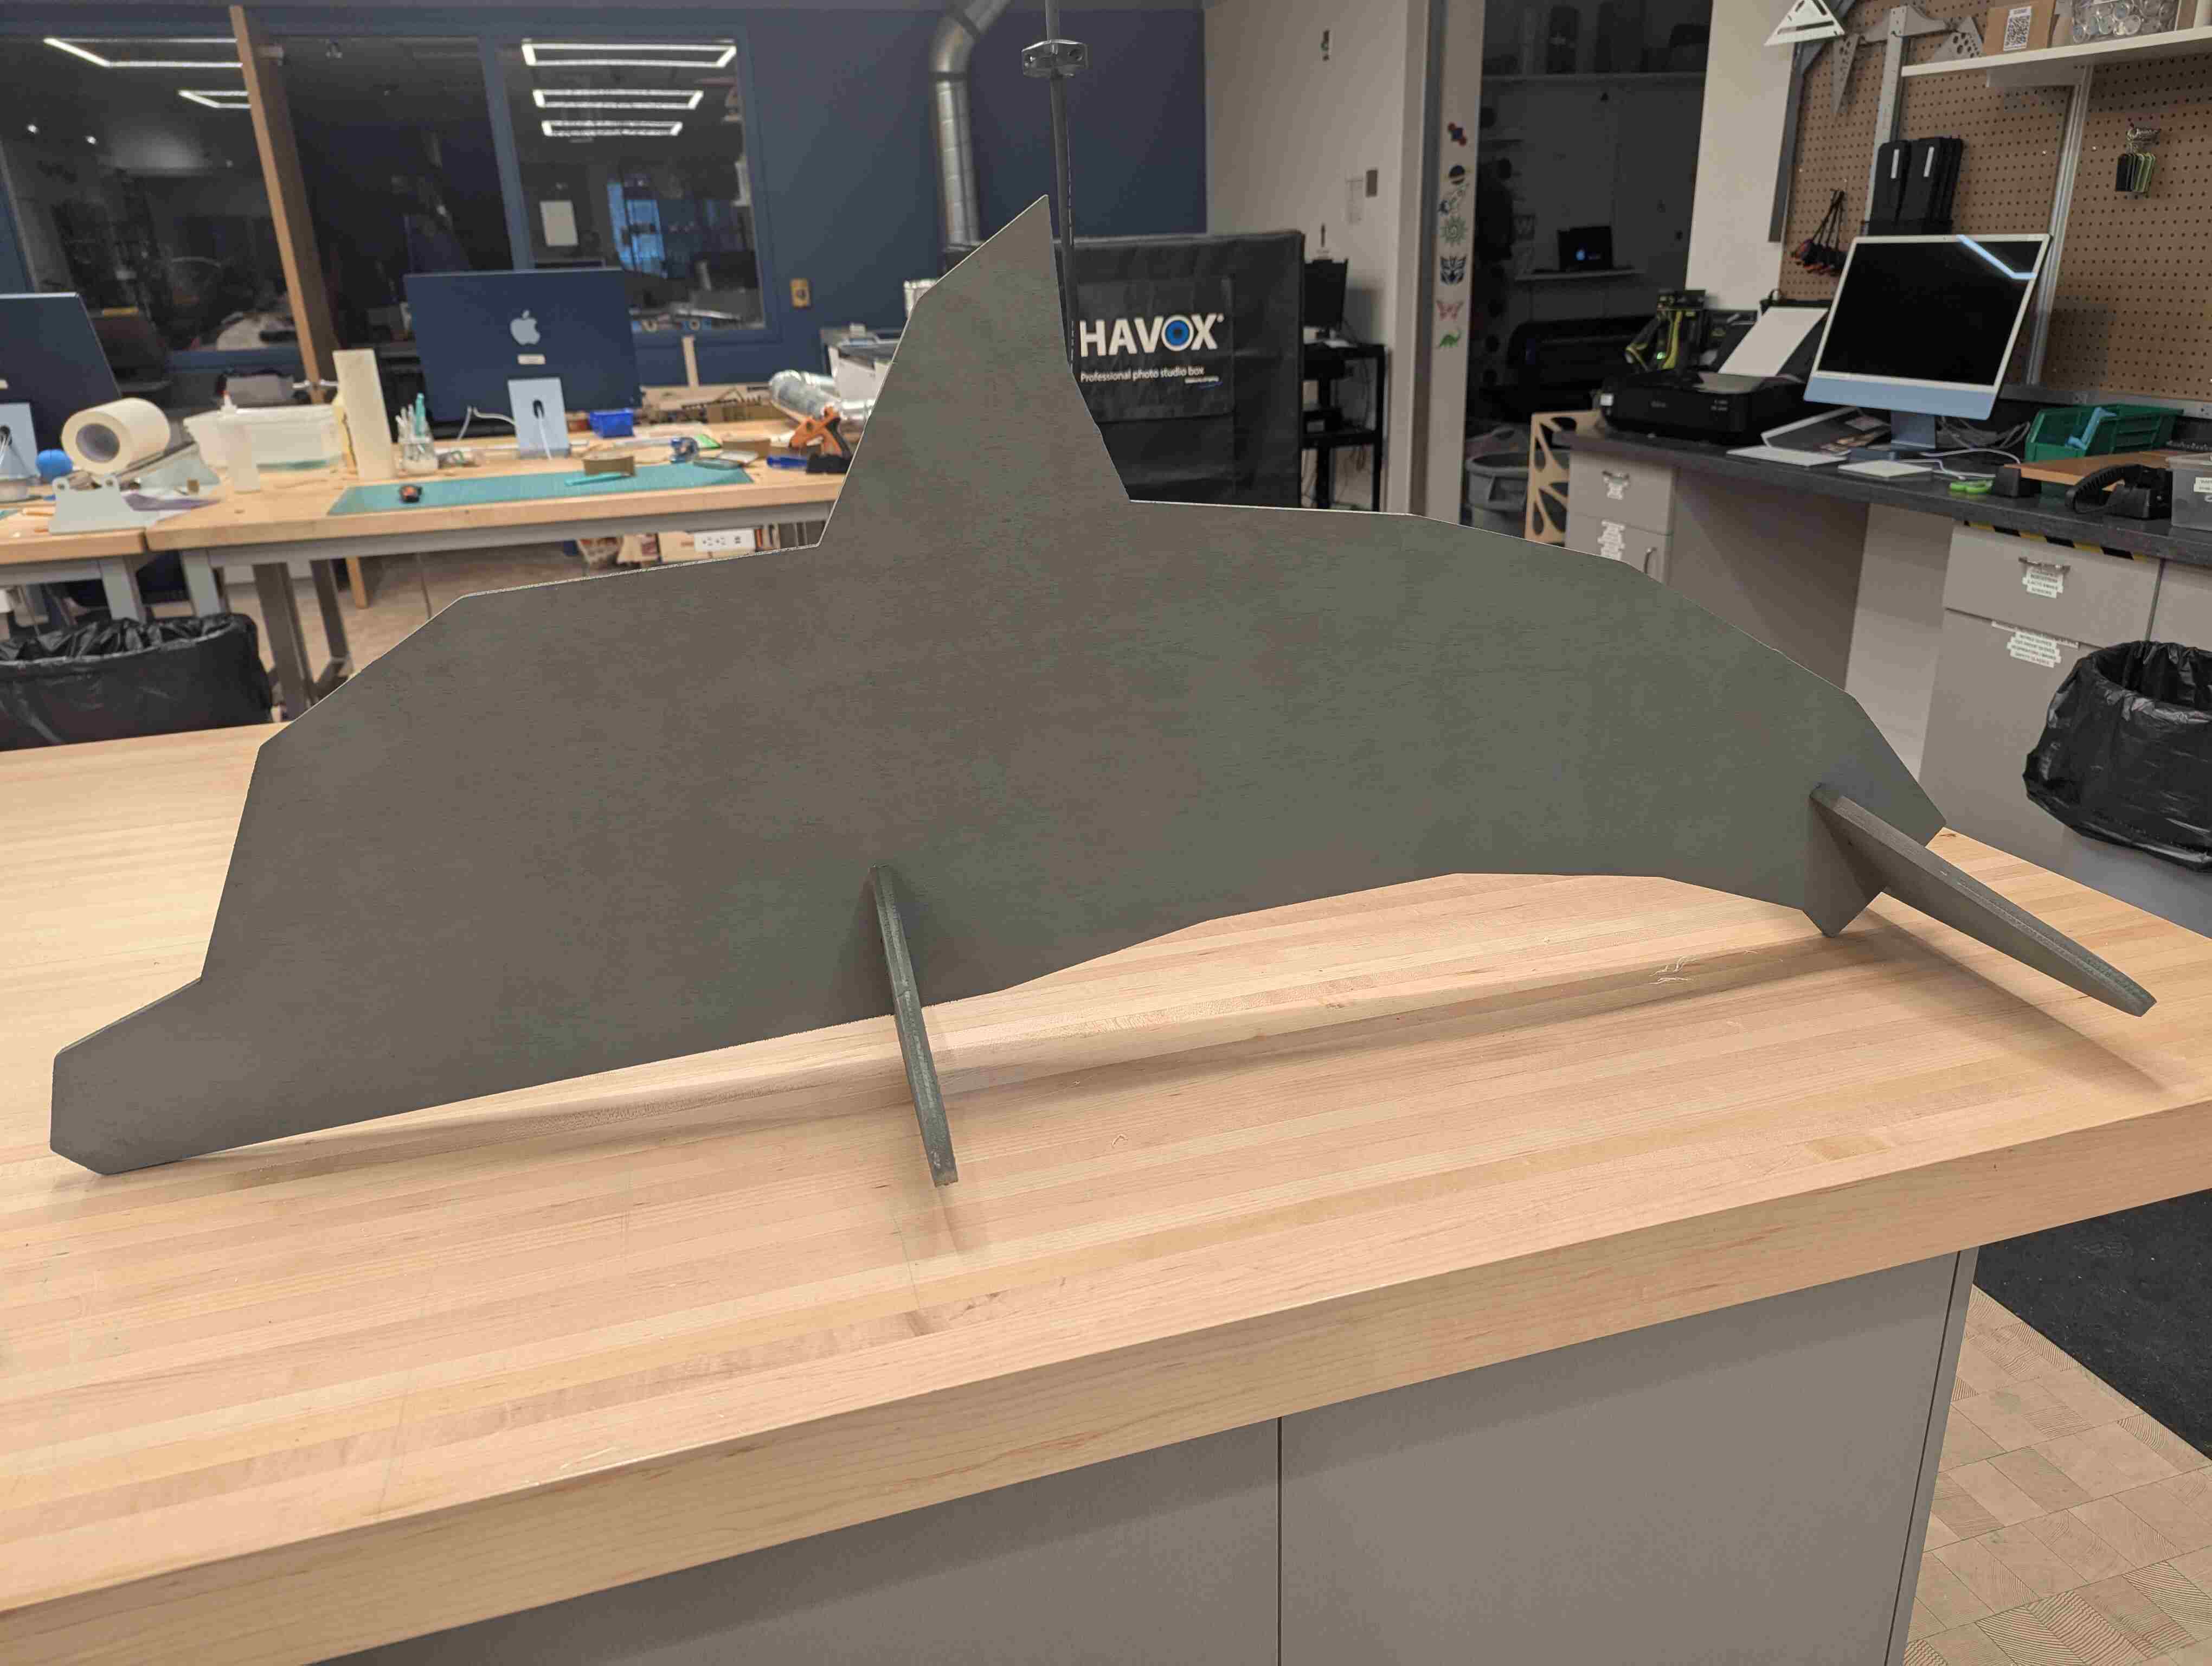
Then I decided to spray paint it grey which I have never done before. I went out to one of our fields and did 3 rounds of spray painting to get a pretty opaque finish.
After spray painting and letting it dry, I got some acrylic paints and drew out lightly in pencil where I wanted the belly to start, the eyes and the mouth. Then I started painting the lighter belly by mixing a white and a brownish color to try and get cream so it wasn’t a stark white. Then I painted the black eyes and mouth. After that I added the white highlight in the eyes and mixed some pinks and white to get a lighter pink to add as blush and also painted a little heart on the tail.
summary
I enjoyed this week a lot because it was way more hands on and I liked getting to paint. I also tried Onshape instead of Fusion and I think for this project it was a bit easier for me to use. The Dolphin ended up being around 4 feet long and I think it came out pretty good.
Useful links