
About this week
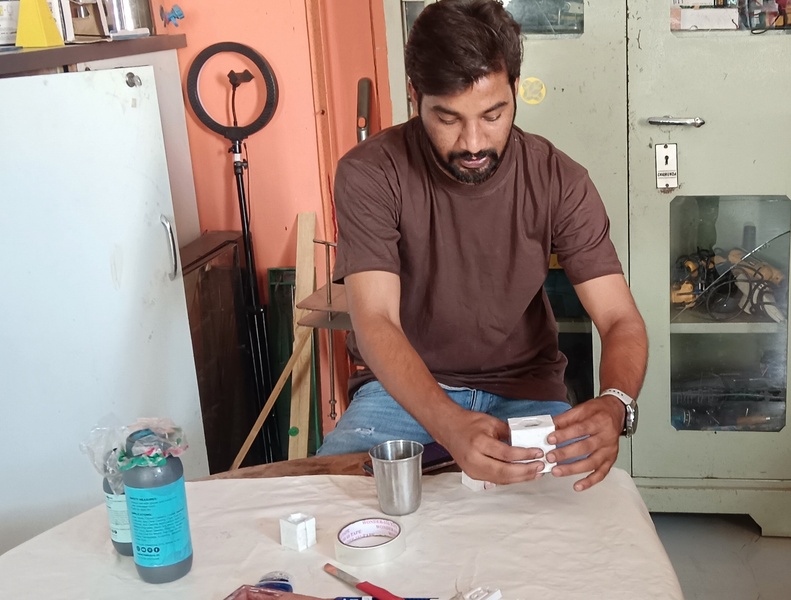
This week, I explored the concepts and practical techniques of molding and casting. As part of the assignment, I focused on creating a mold for a nut-shaped design, which I first modeled using Fusion 360. The goal was to understand the complete workflow—from design to fabrication and casting—using different materials and machines.
Heroshot of the Assignment
 |
 |
|
|
|
 |
 |
|
|
|
Objctive of the Assignment
1. Group Assignment -
2. Individual Assignment
Click here to visit our group assignment
Individual Assignment
In my individual assignment, First i designed mold in Fusion 360. Then created the mold using three different materials:
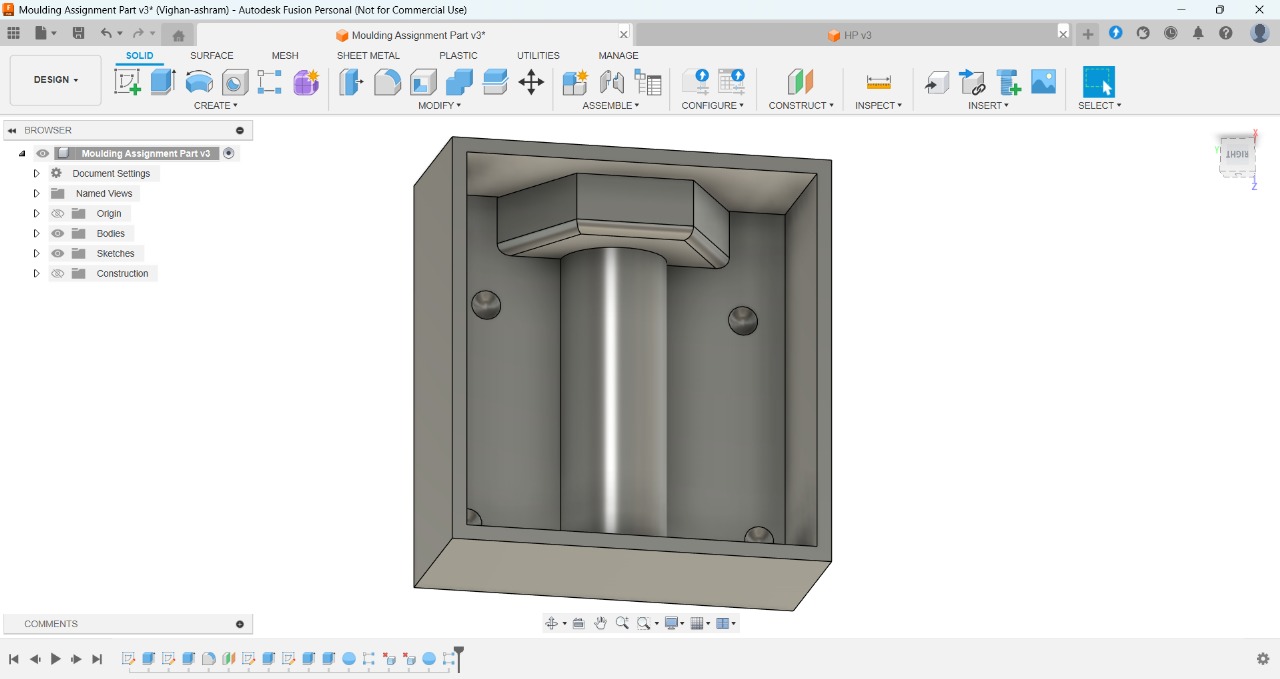
3D mold design in Fusion360
I used Fusion 360 software to design a 3D mold for a nut.
| |
 |
| Designed a 3D mold of a nut. |
Nut design in fusion 360 |
|
|
|
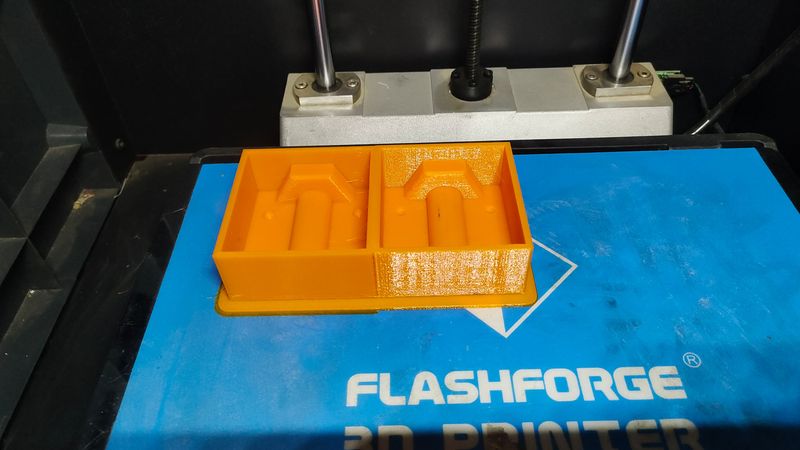
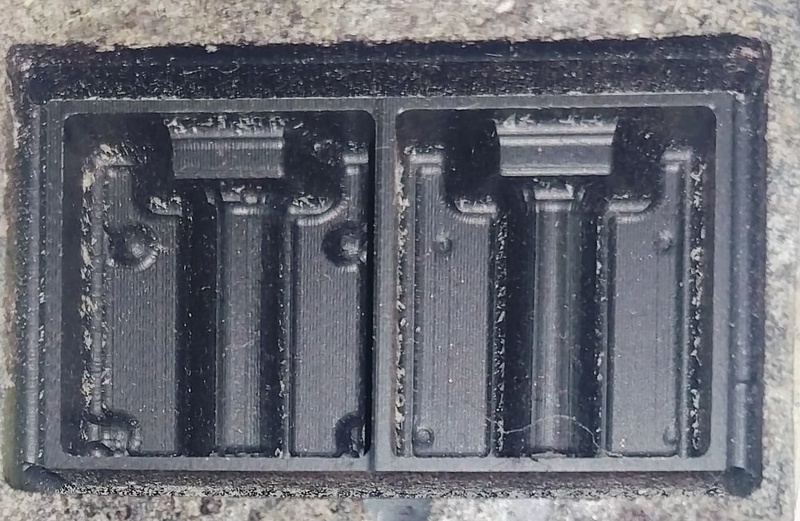
3D mold printing with PLA material
|
|
|
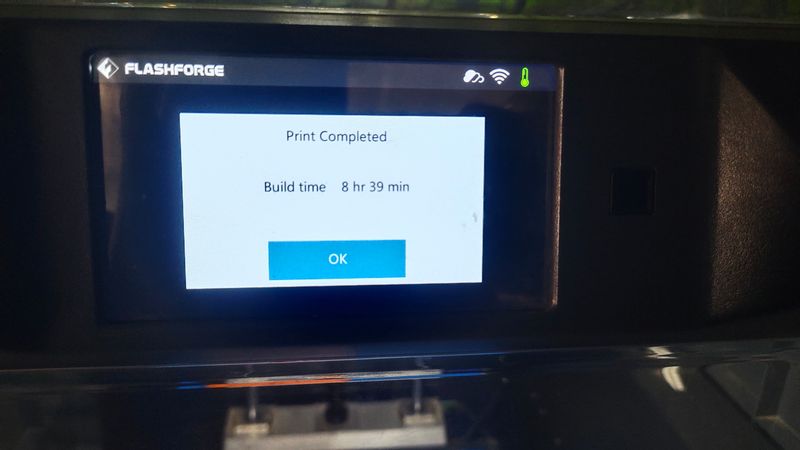
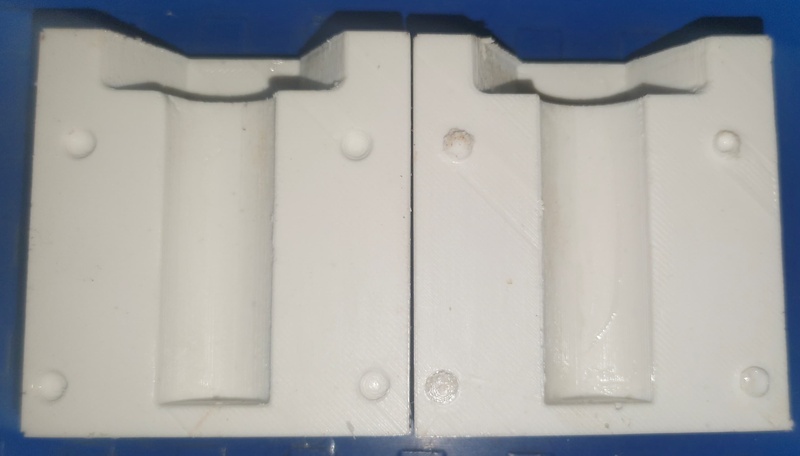
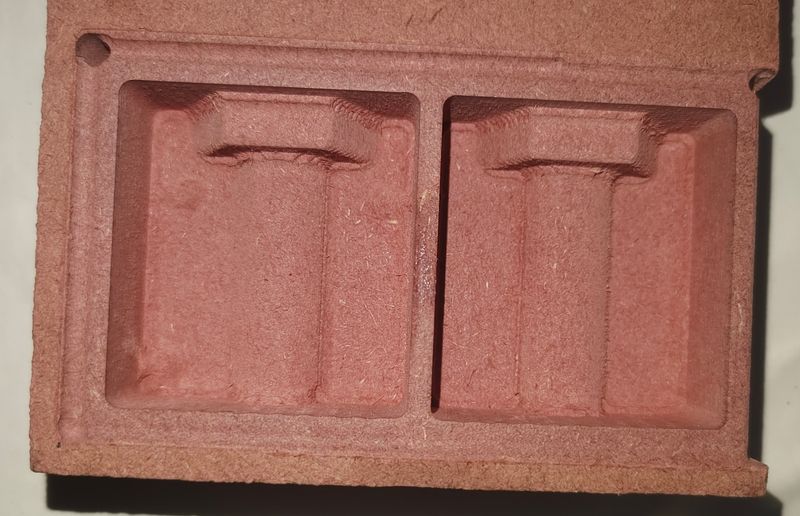
Printed the 3D mold design using 3D printer. |
The total time taken for design completion. |

|
|
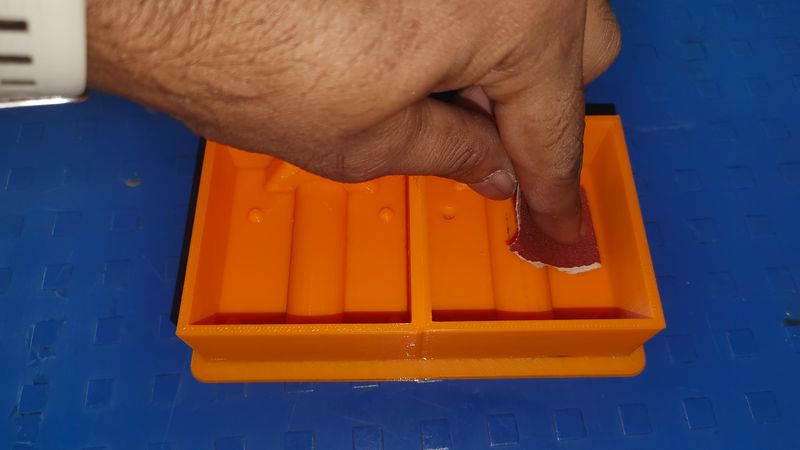
| Once the design was finished, I removed it from the 3D printer. | I used sandpaper to slightly smooth the surface of the design, so that the finishing would be clean and accurate. |
3D Printed mold casting process
|
|
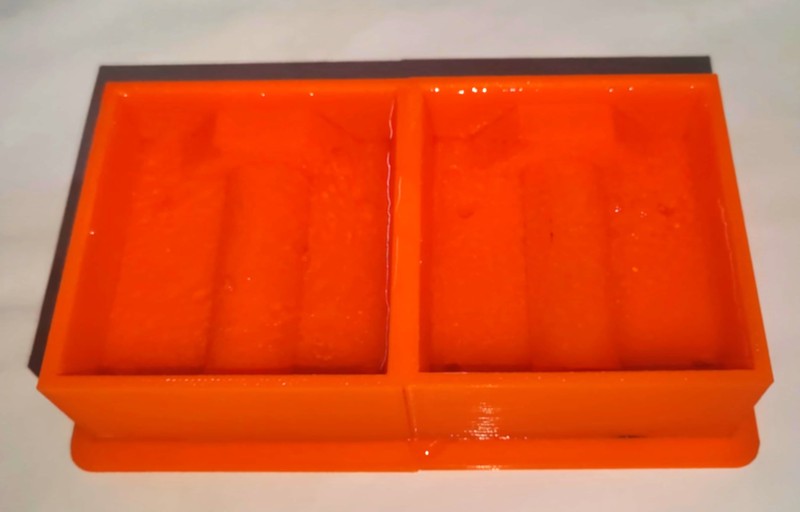
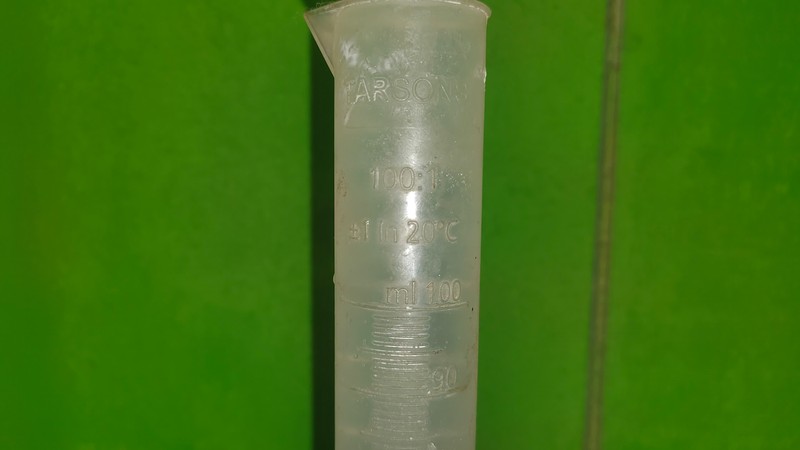
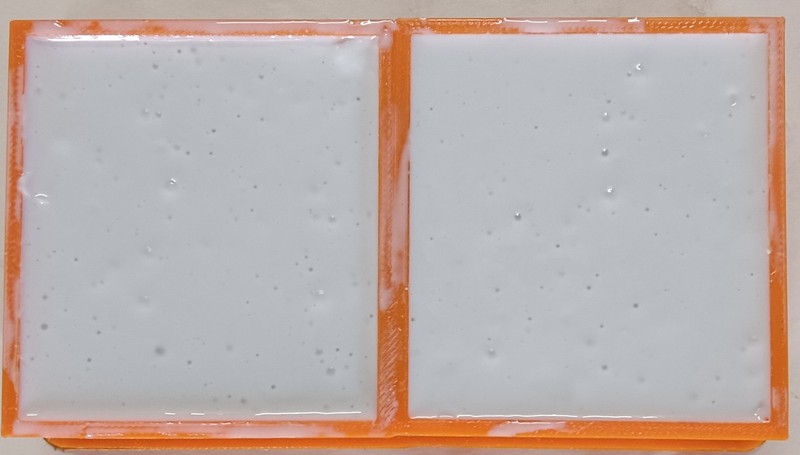
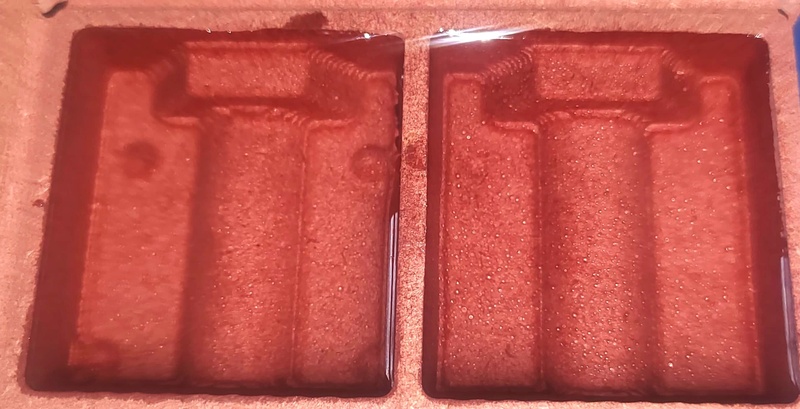
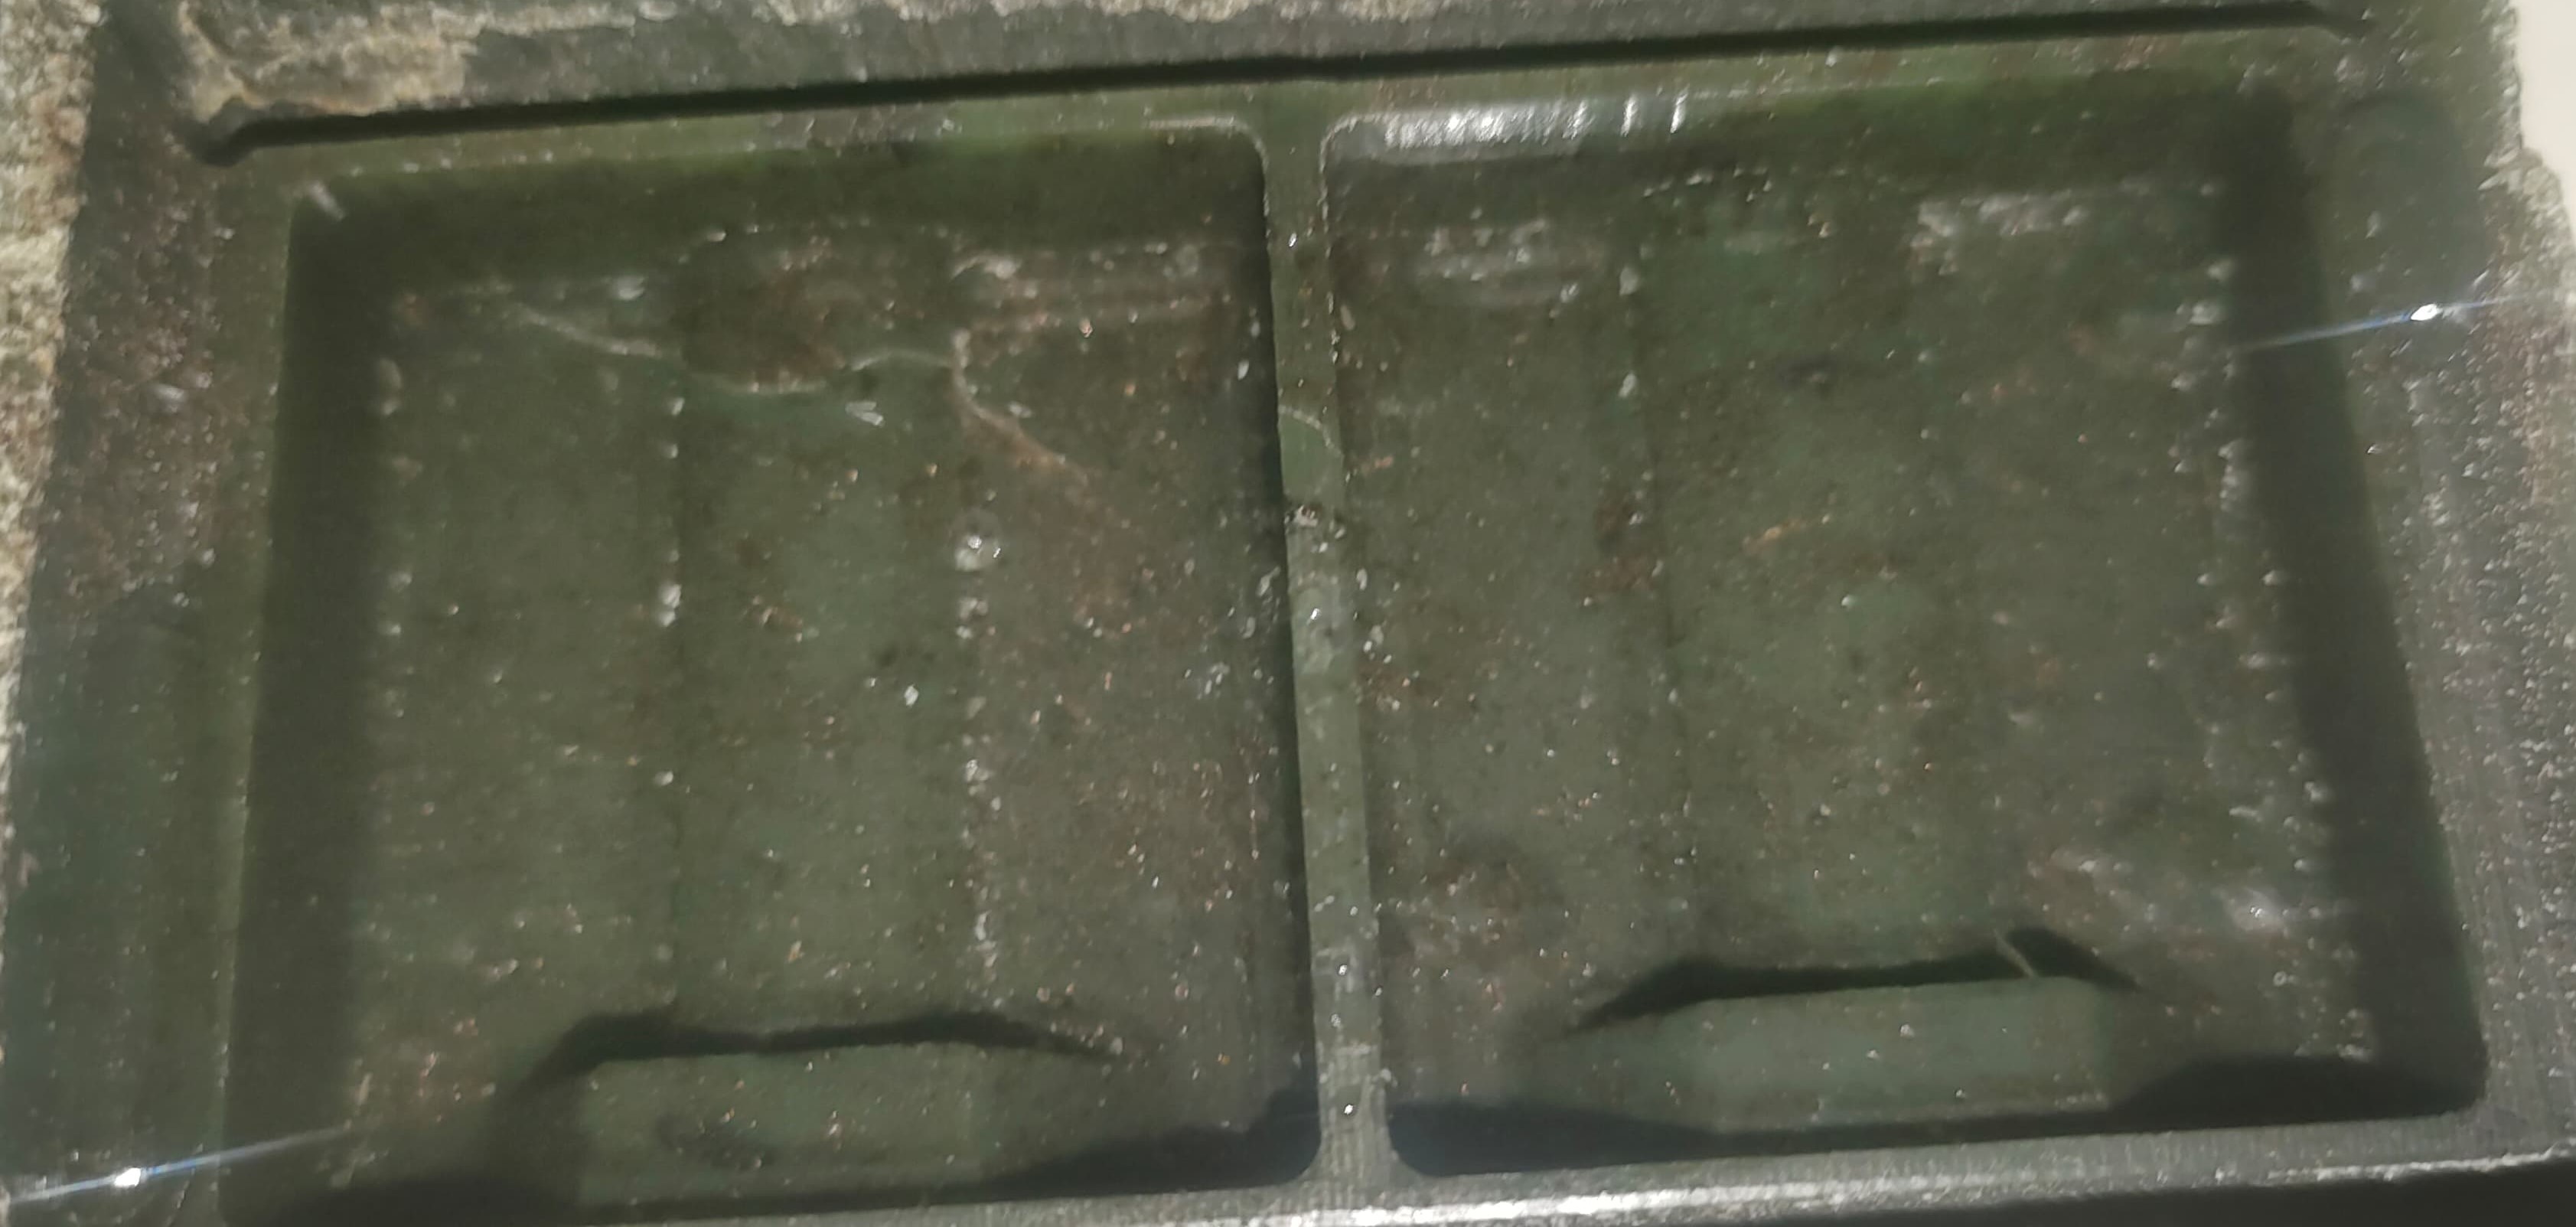
| To determine the amount of Mold Shell and CAT required, I filled the mold design with water and used the weight of the water as a reference. |
|
|
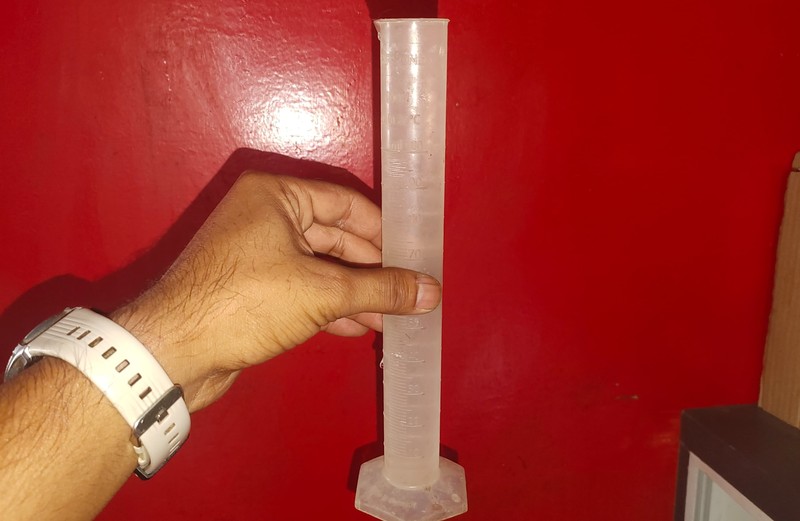
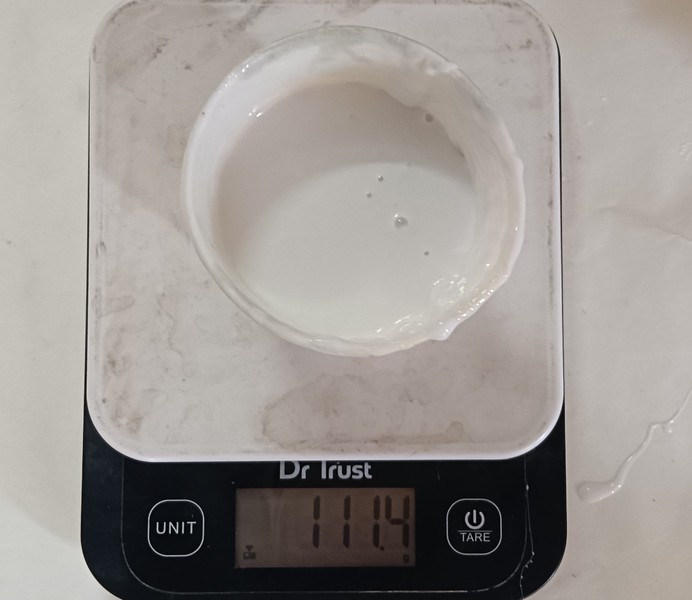
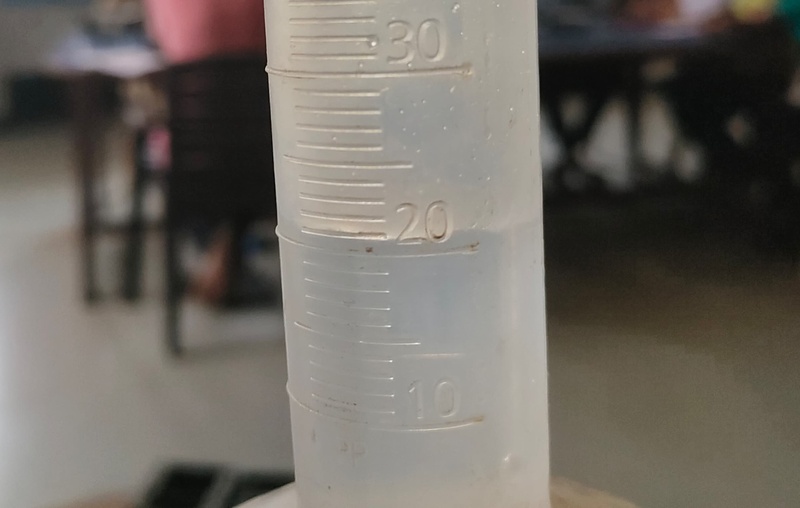
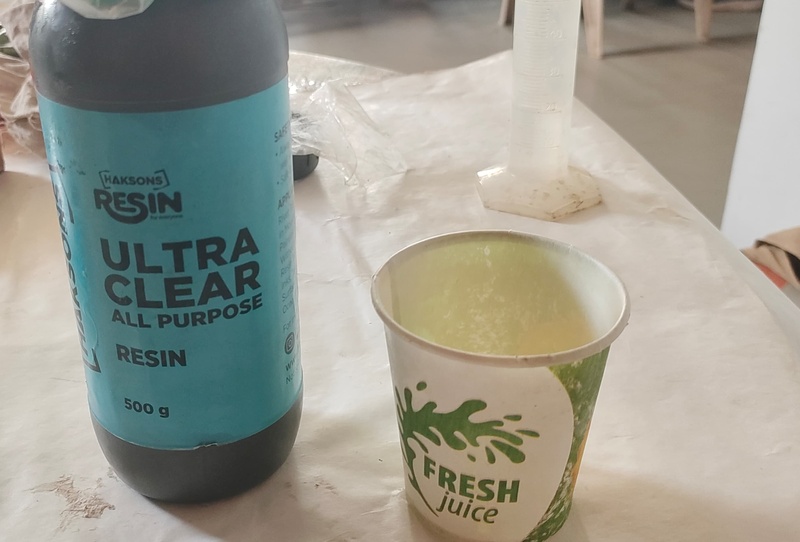
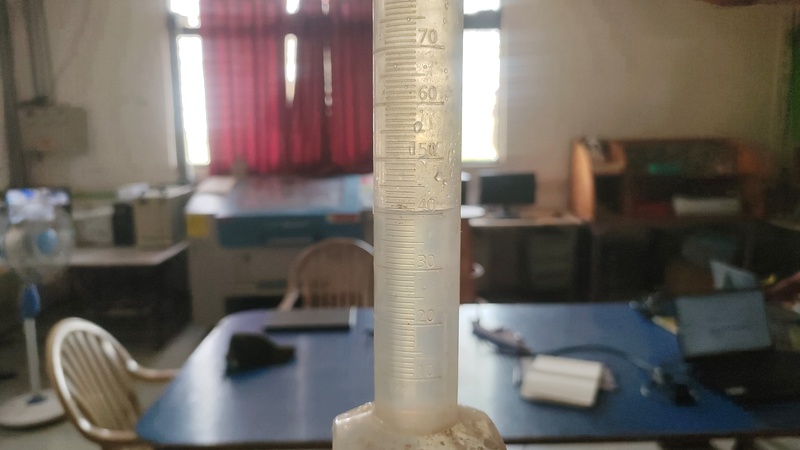
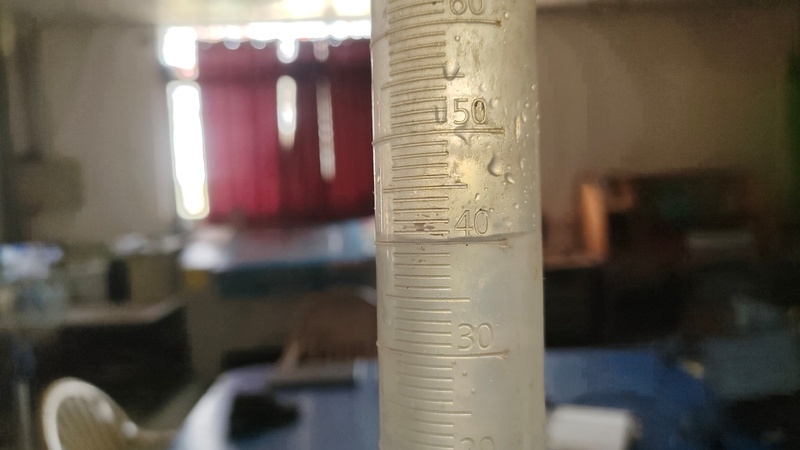
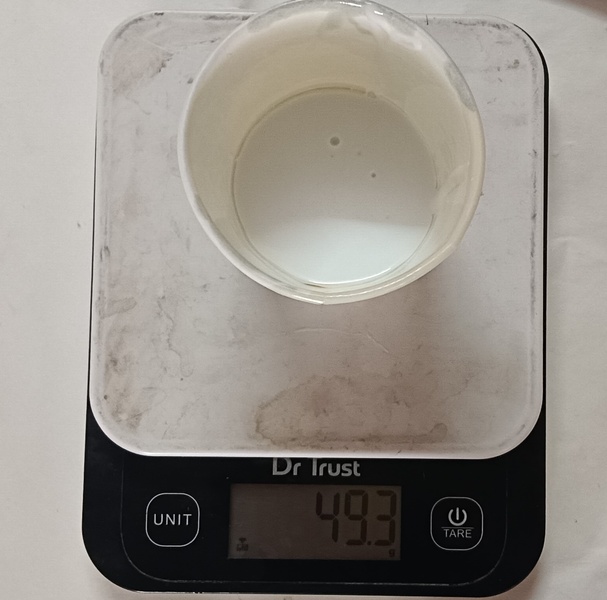
| I poured the water from the mold into a measuring cylinder and measured its weight to find out how much material would be needed for casting. | After this, carefully and slowly transfer the molded mixture into a bowl, ensuring precision. |
|
|
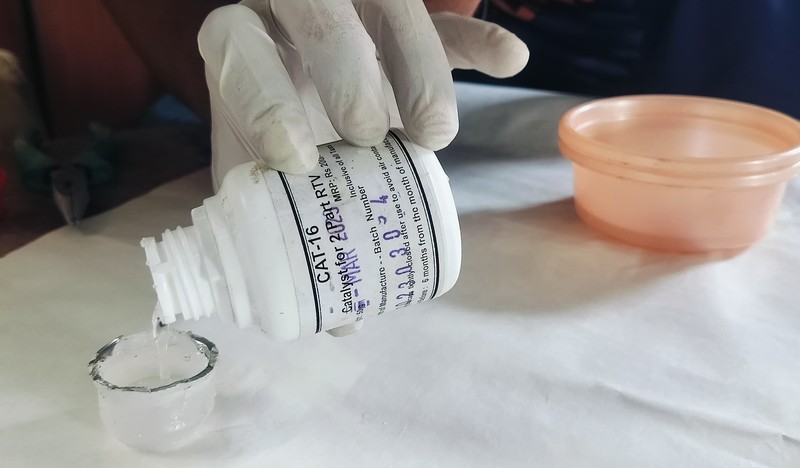
| Now, take out the CAT for casting. | After this, based on the weight of the water, carefully take the molded mixture, ensuring it is slightly more than the amount of water. |
|
|
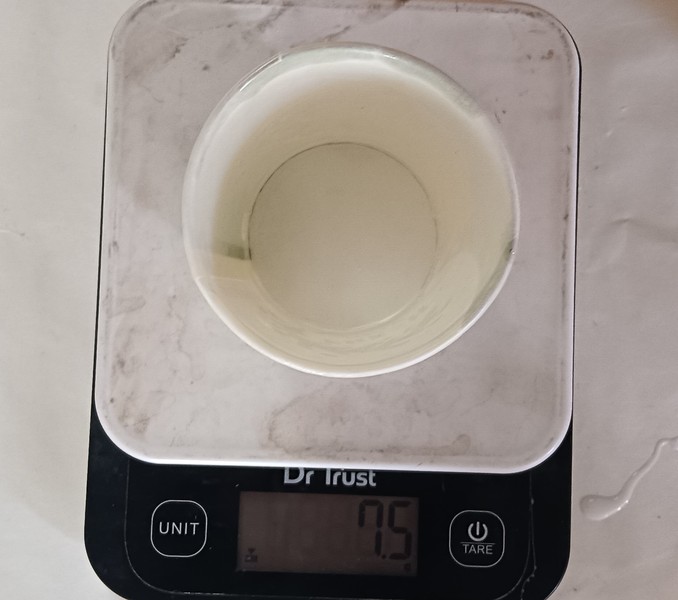
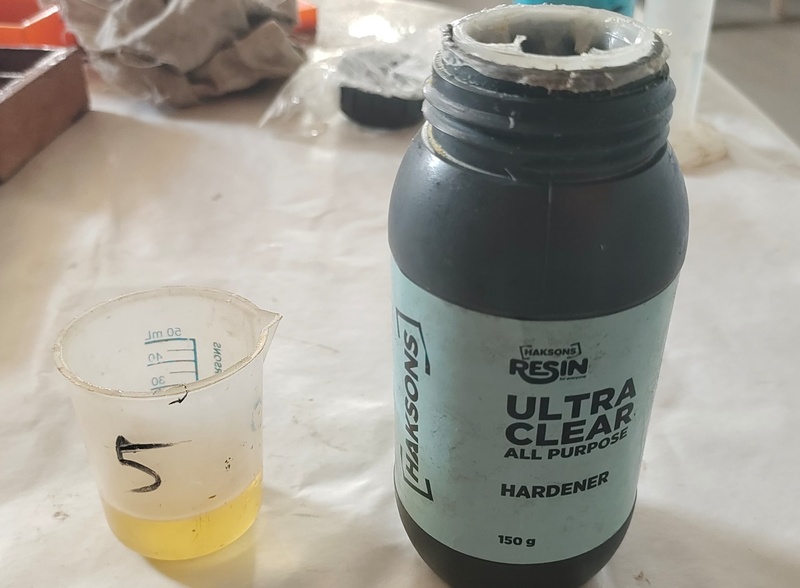
| Now, weigh the CAT according to the molded mixture, for example, in 100 grams of molded mixture, 5 grams of CAT is used. | After this, thoroughly combine the CAT and the molded mixture together. |
|
|
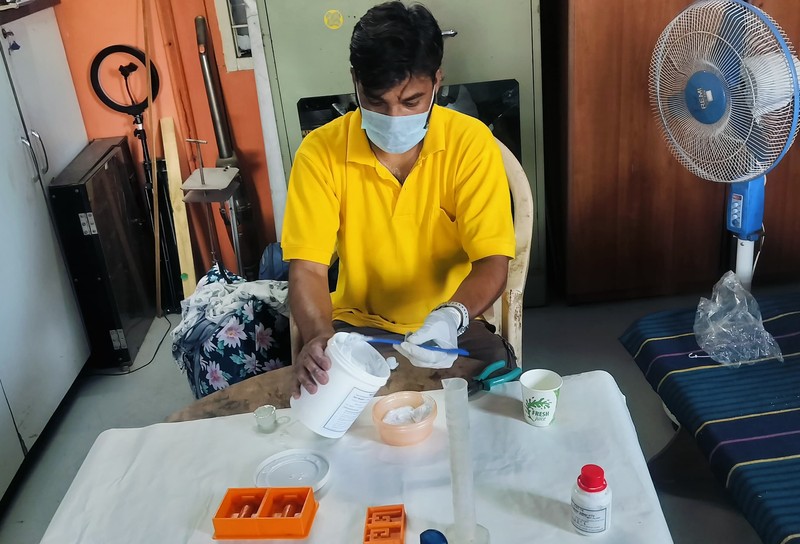
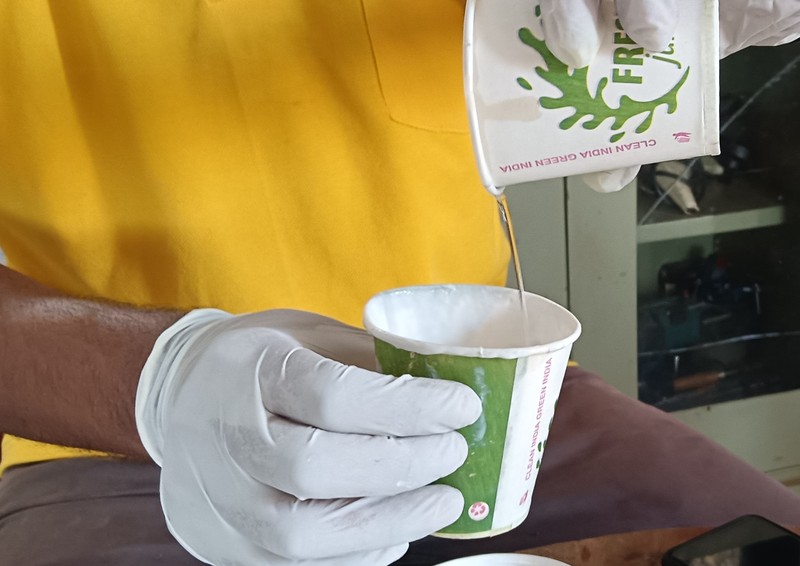
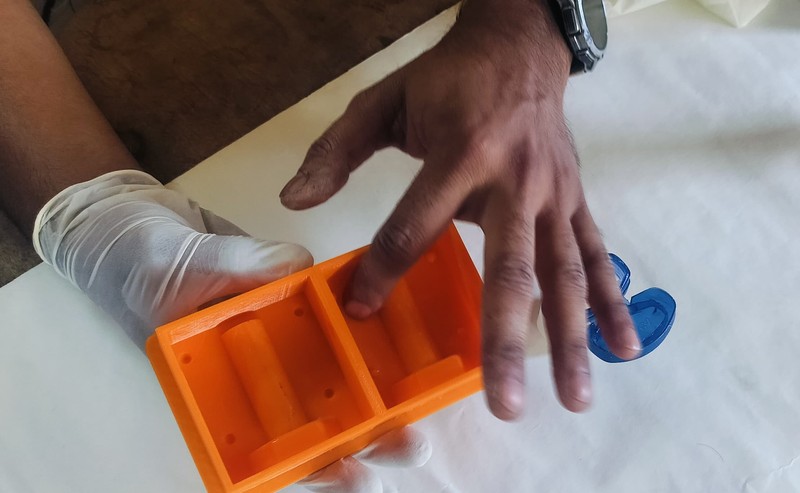
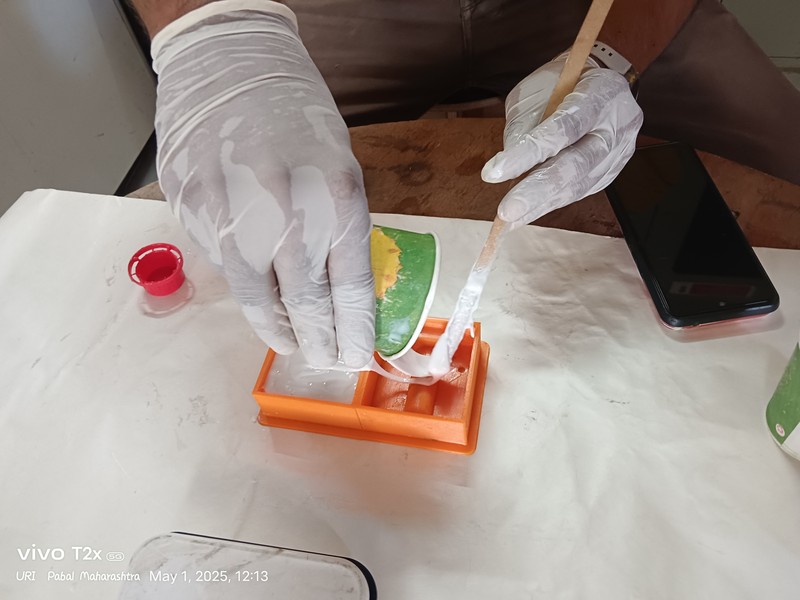
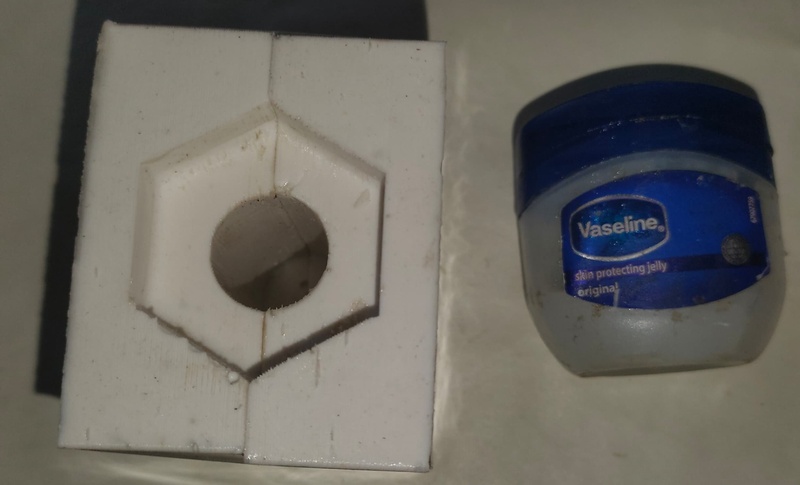
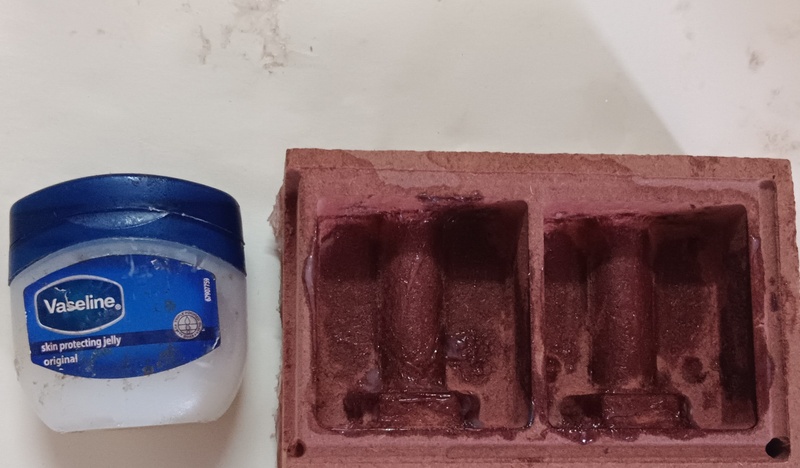
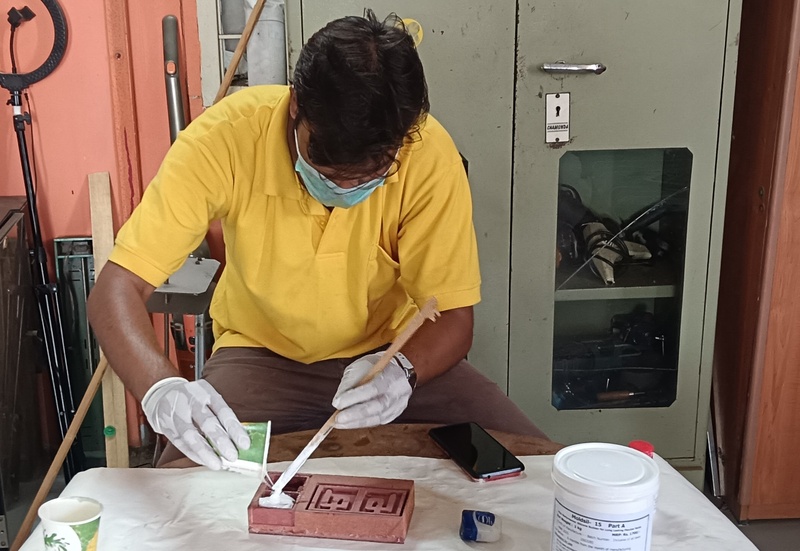
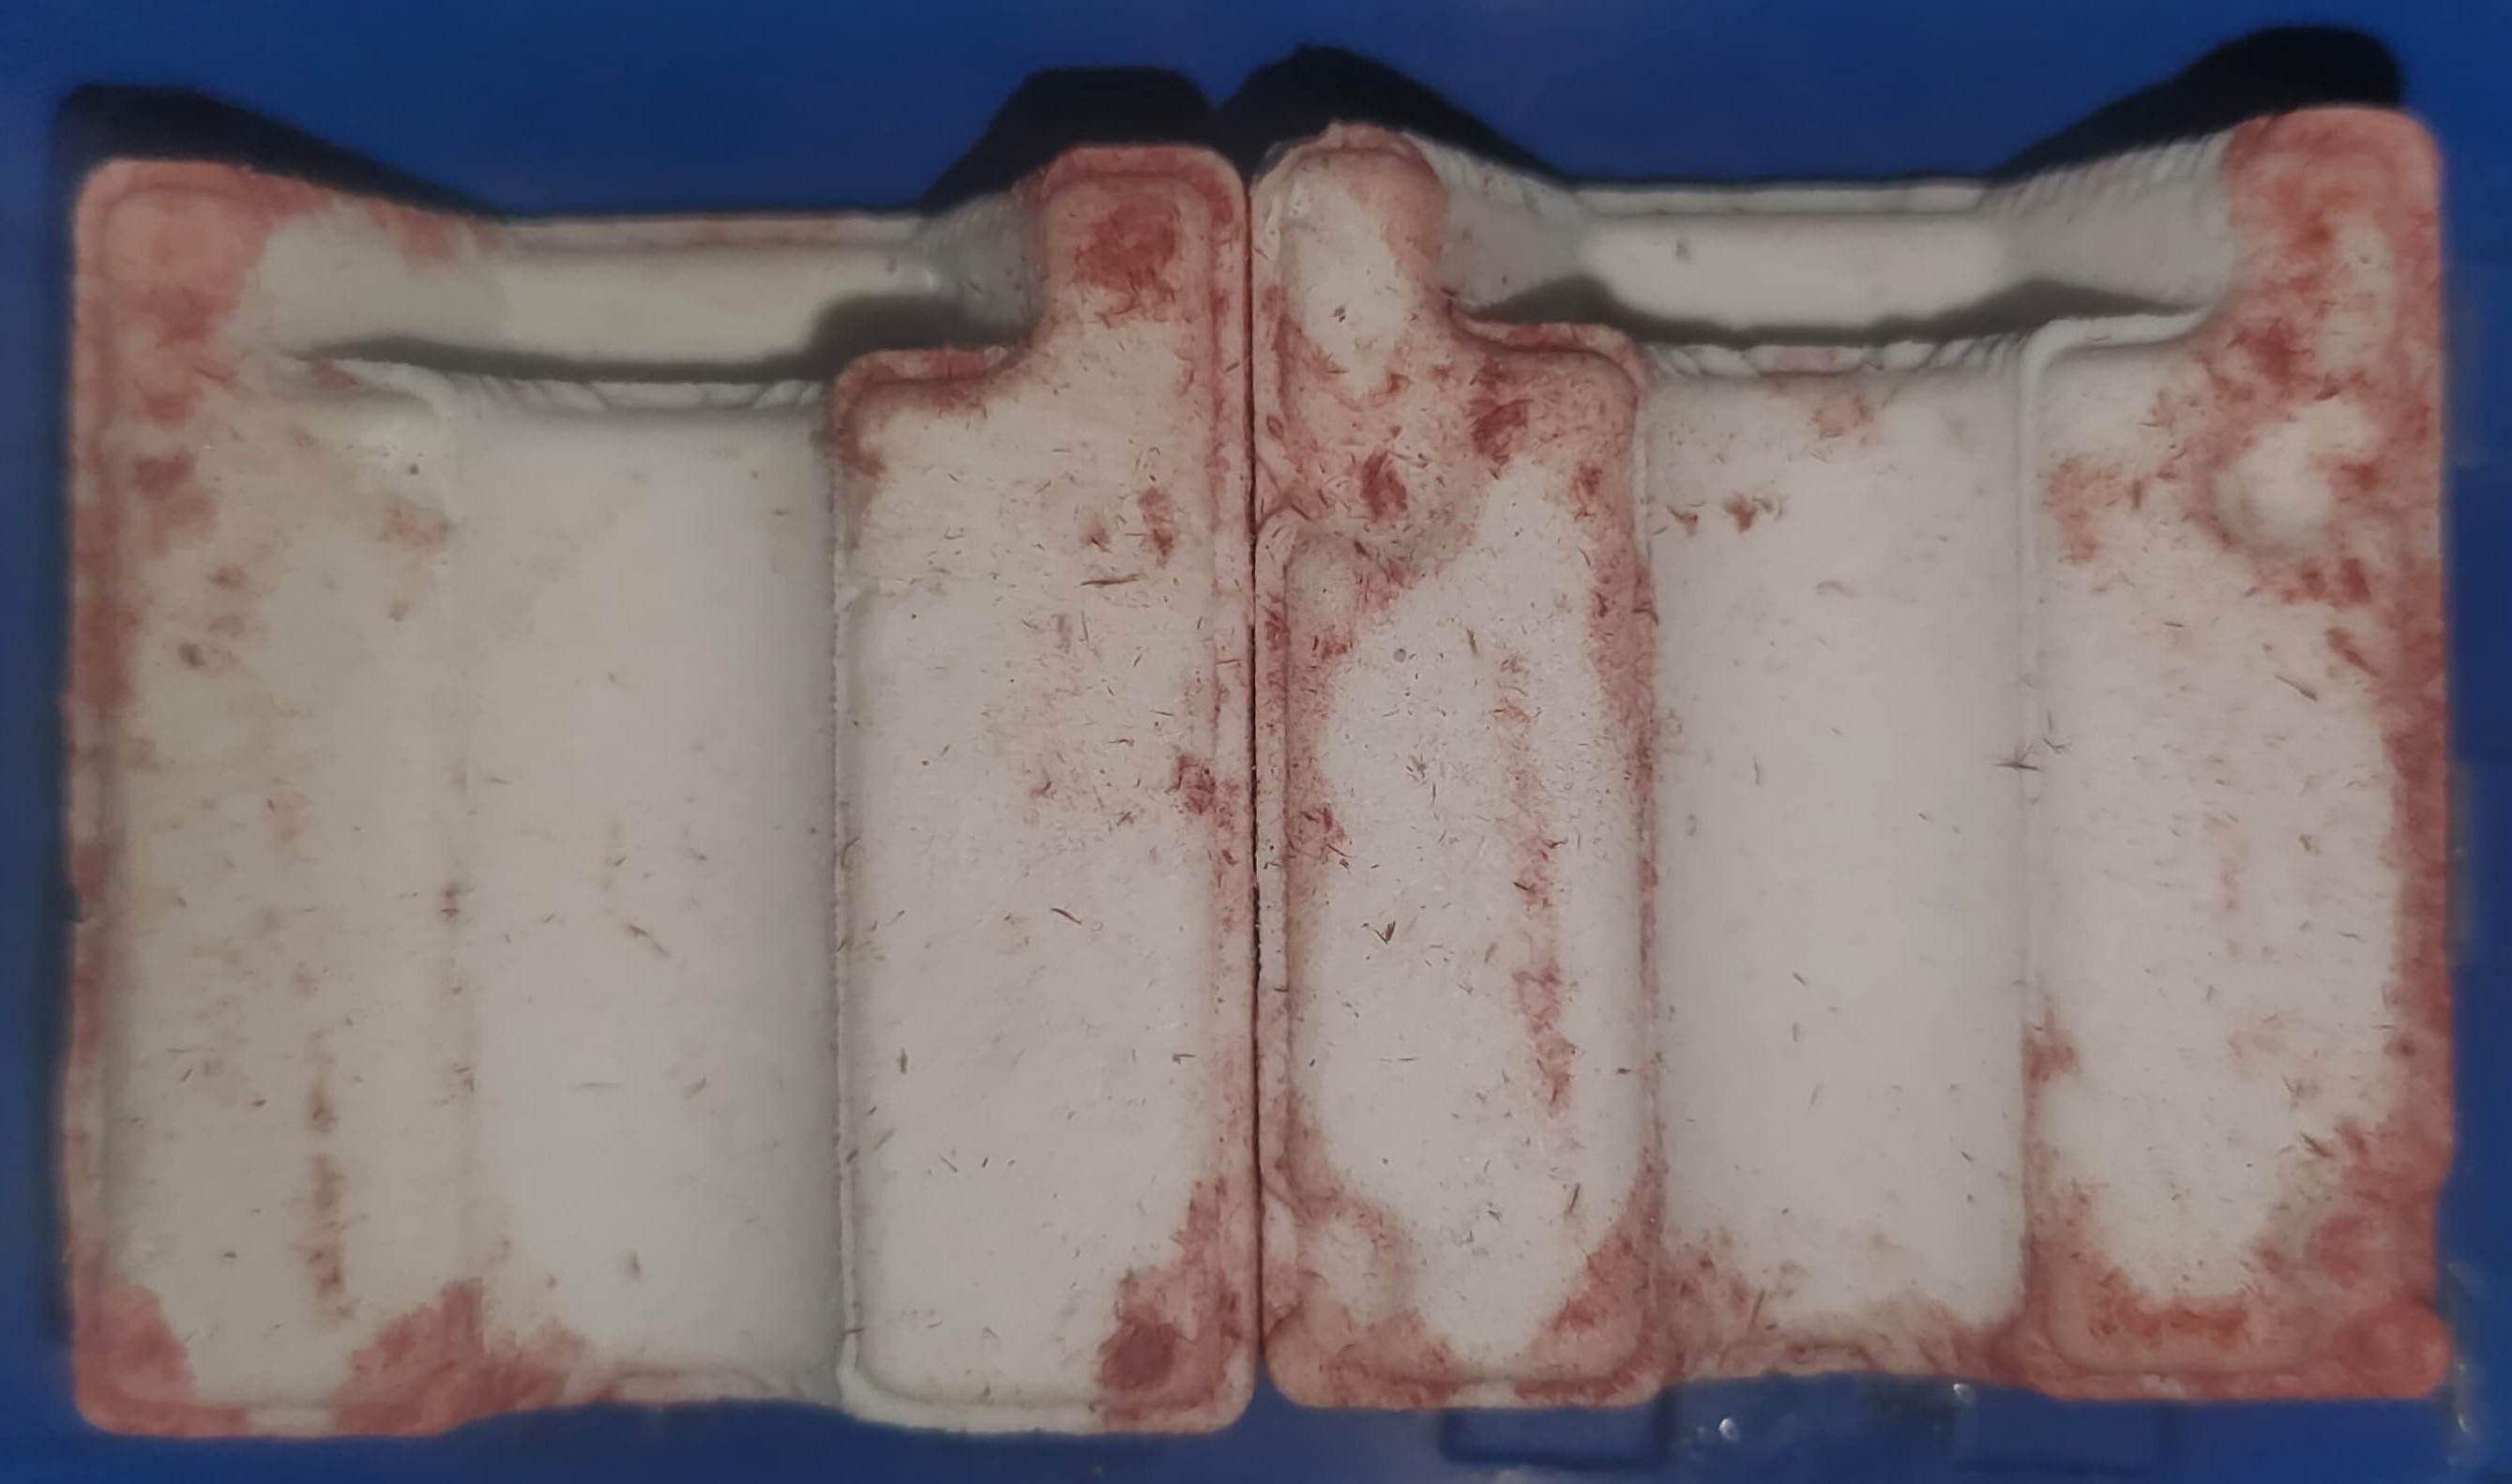
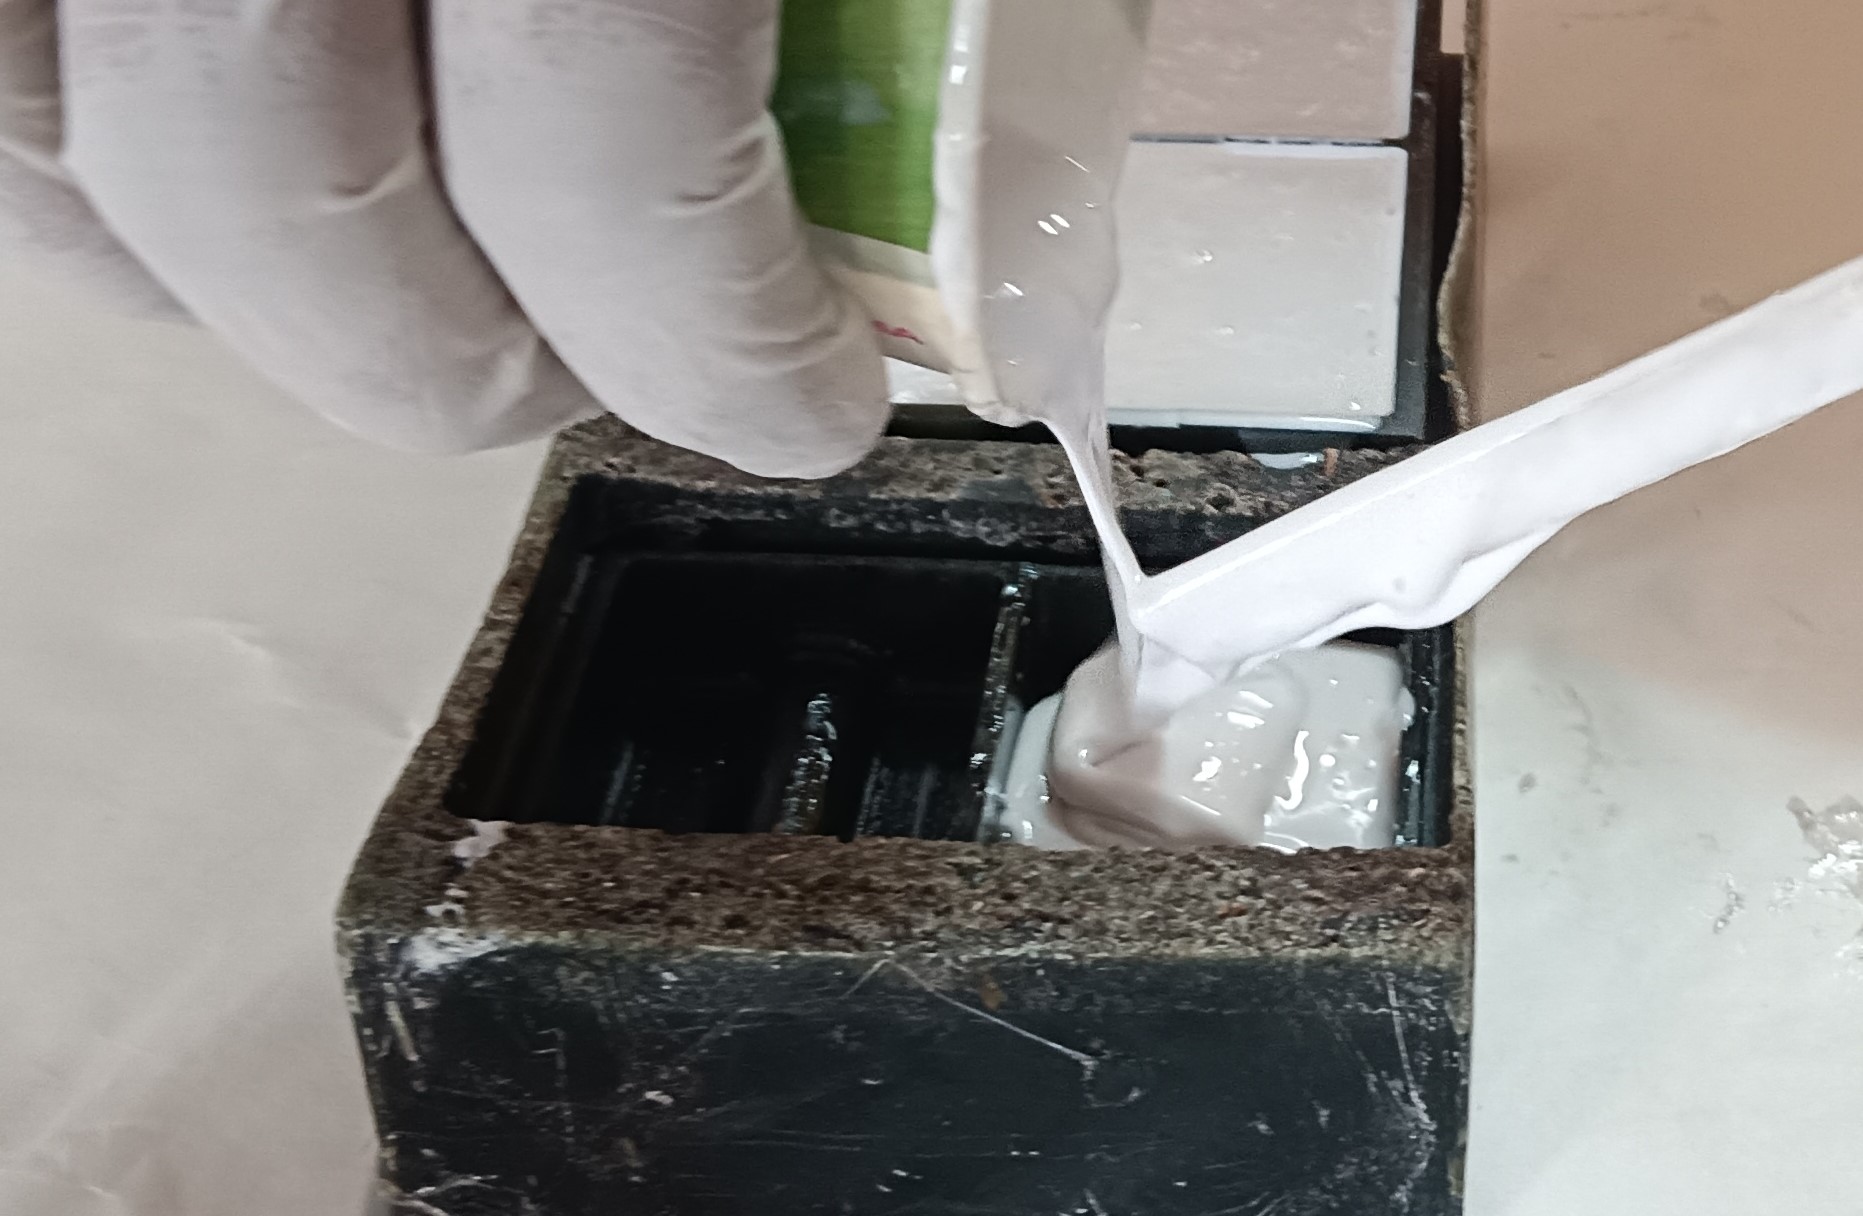
| Now, apply a small amount of Vaseline to the mold design, so the molded mixture can be easily removed afterward. | Now, carefully fill the design molds completely with the mixed molded mixture. |
|
|
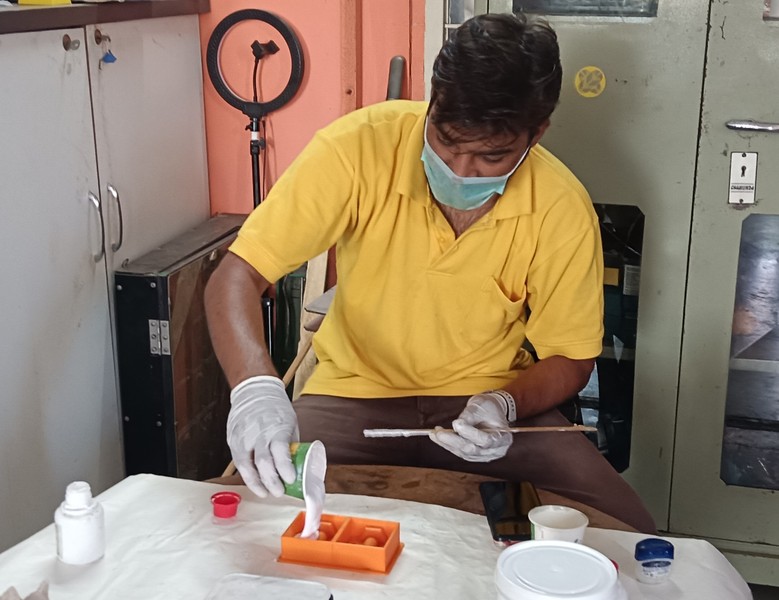
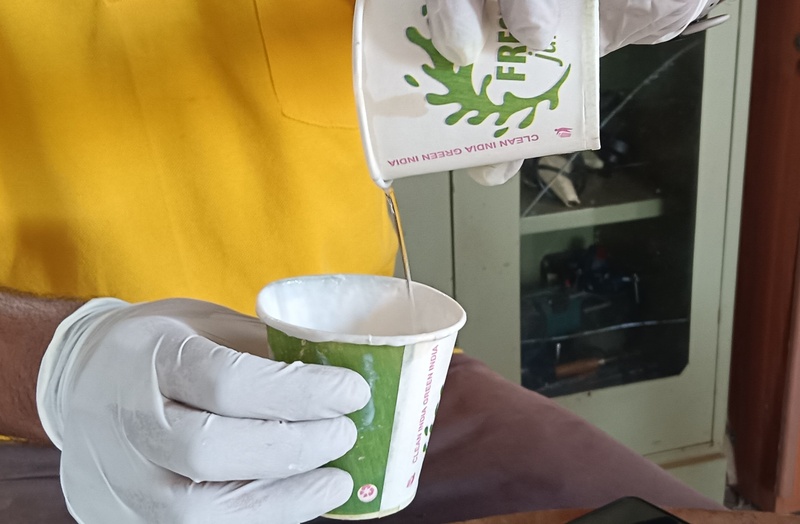
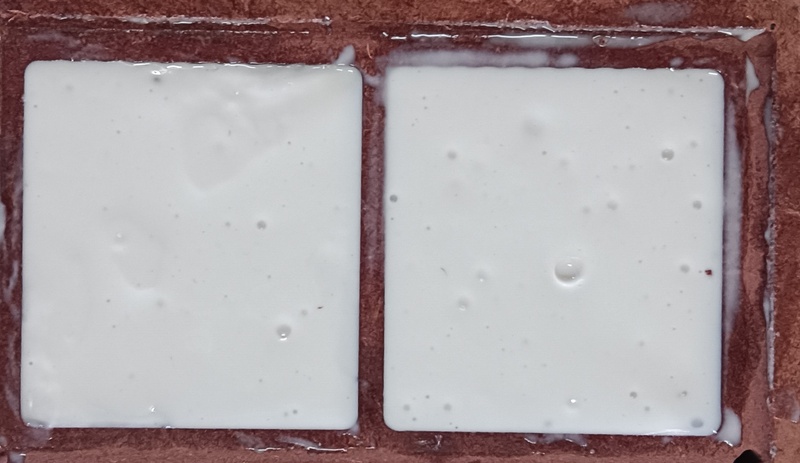
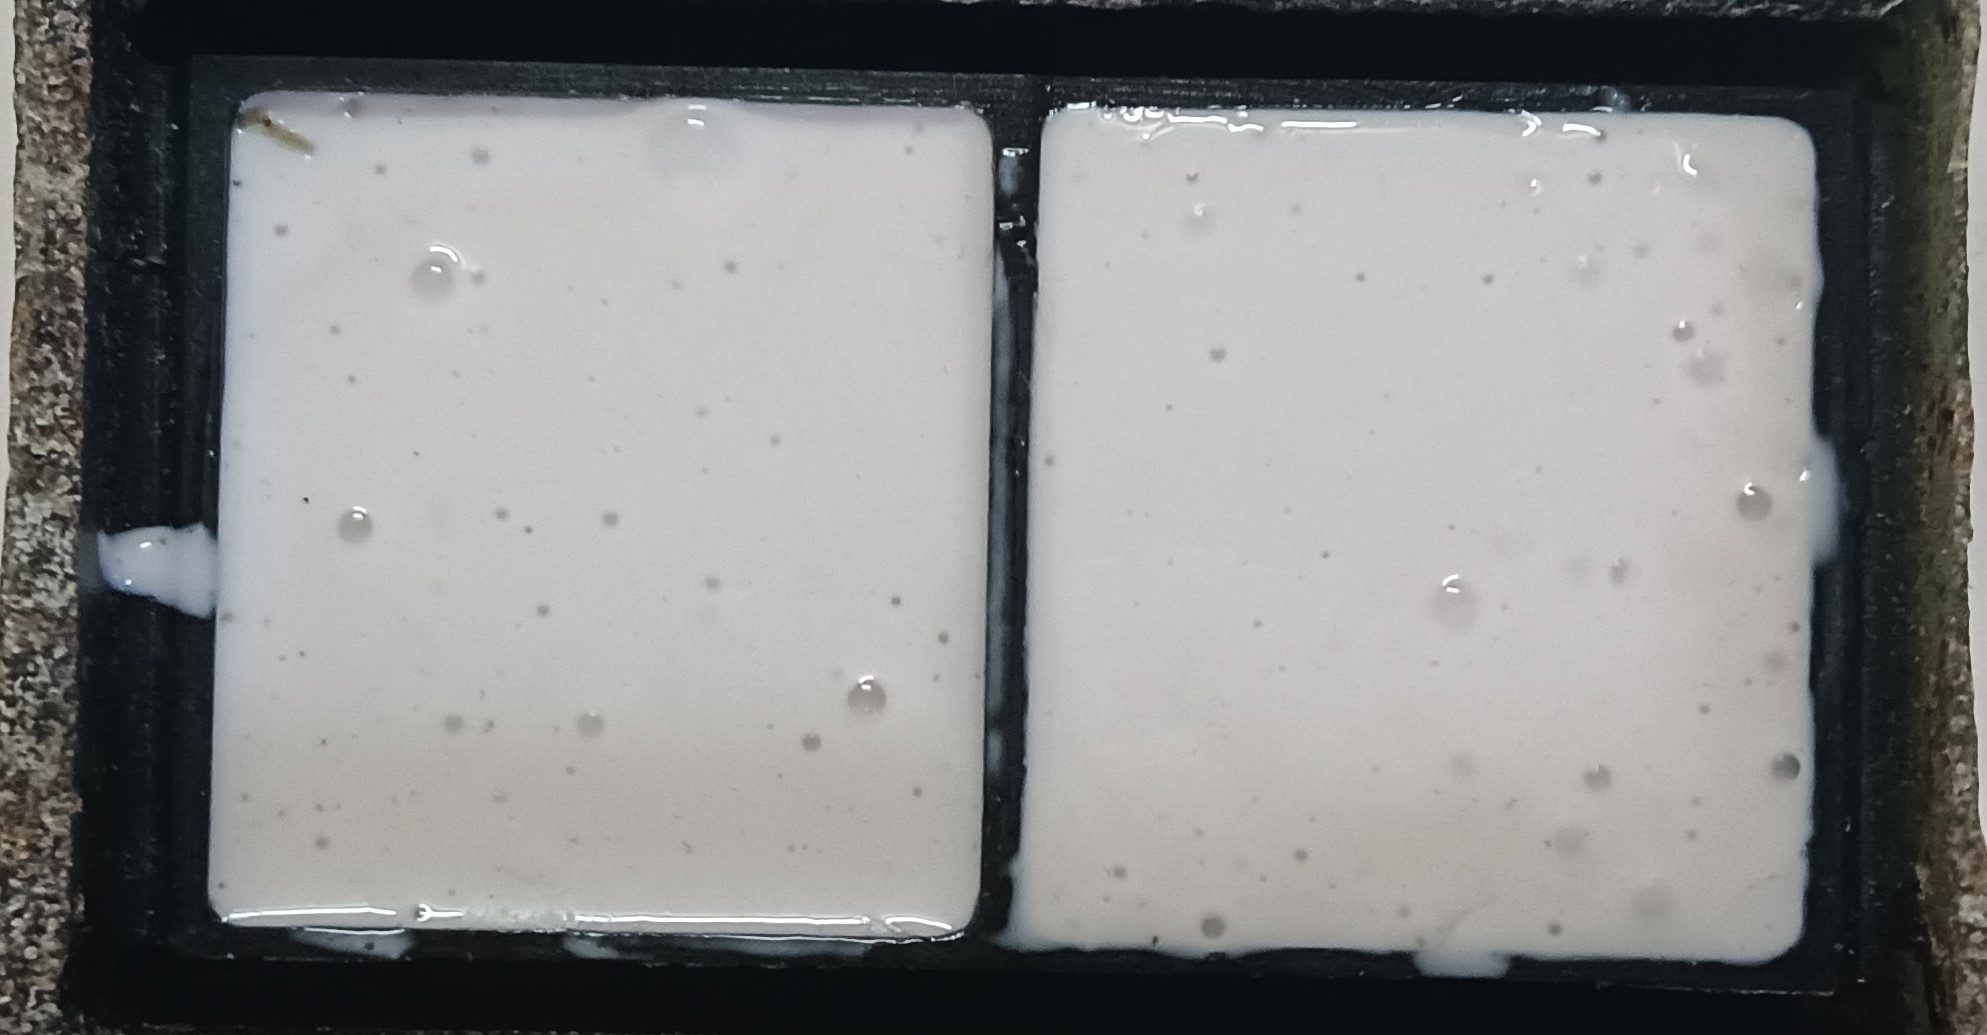
| Filling the molded mixture into the mold design while wearing a mask and hand gloves for safety, ensuring proper protection throughout the process. | Now that the molded mixture is fully in the mold design, leave it in a safe place to dry or set properly. |
|
|
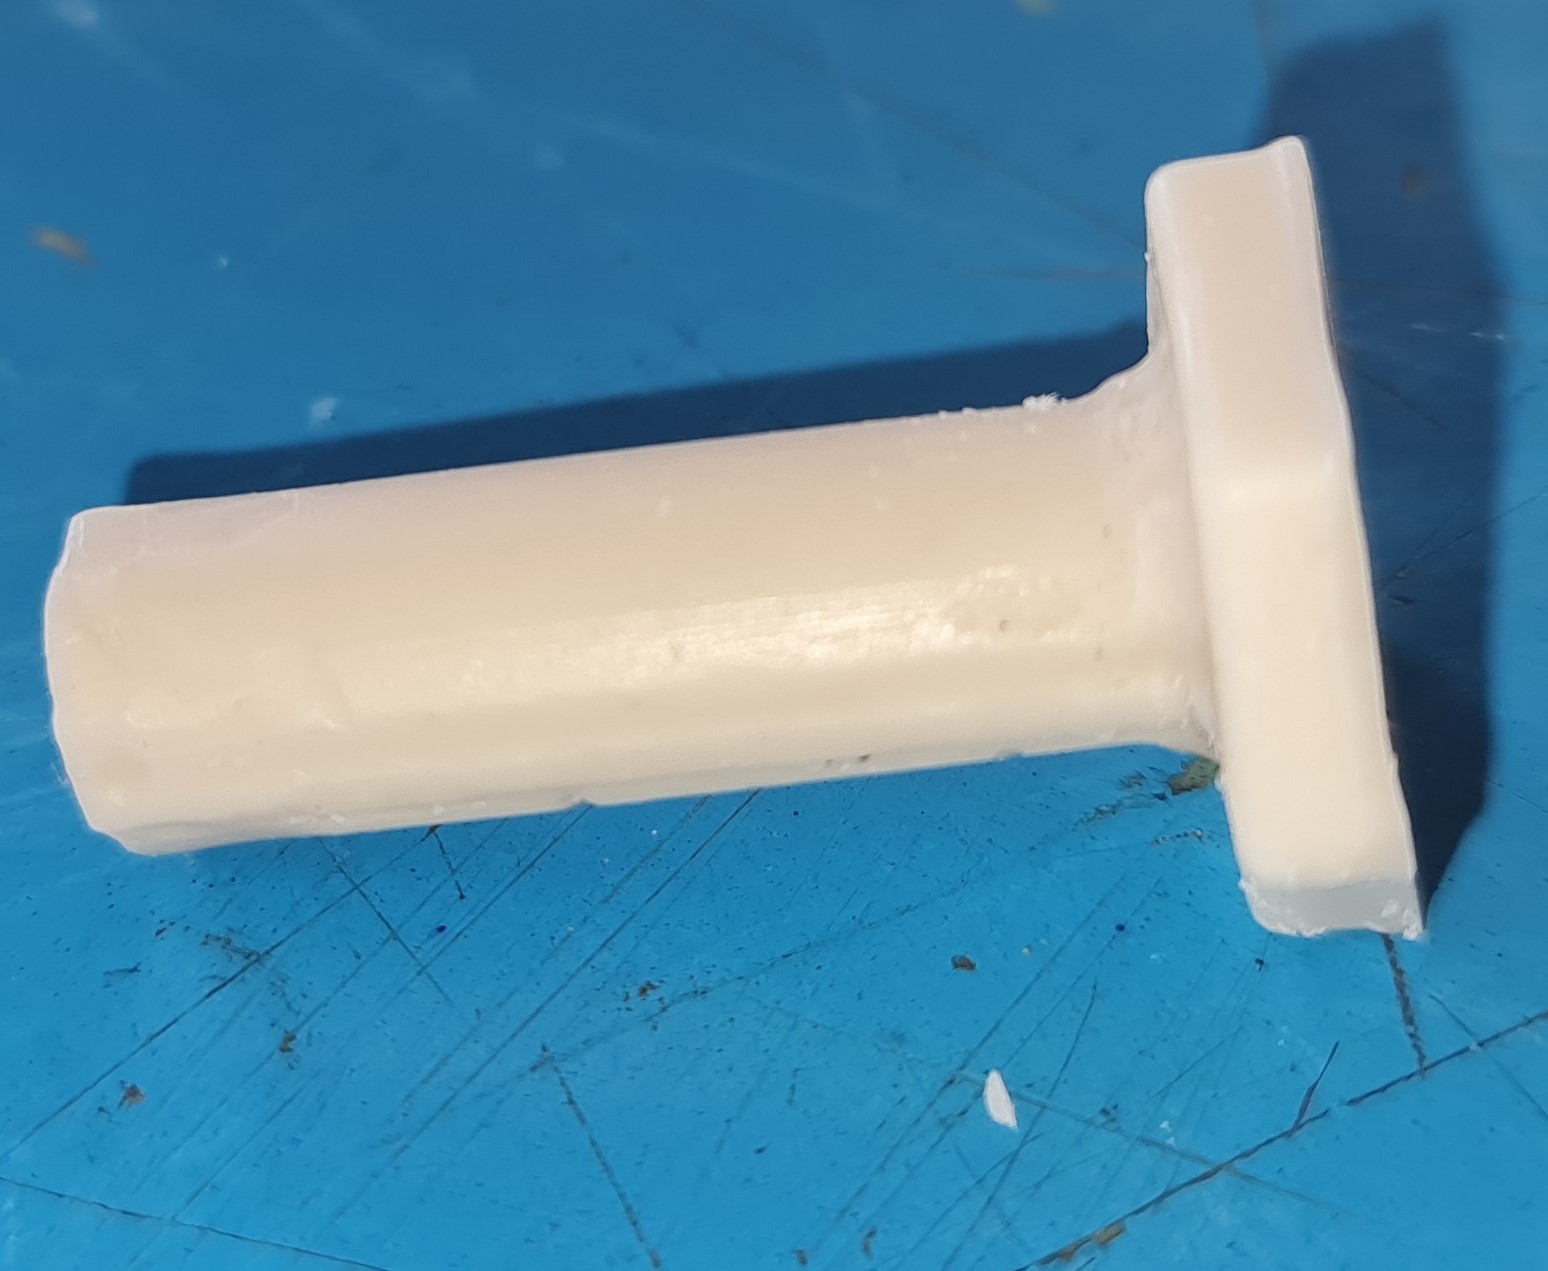
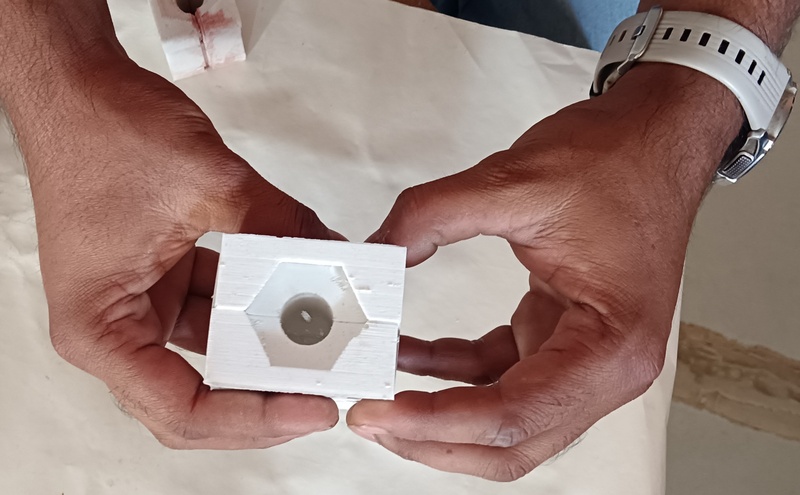
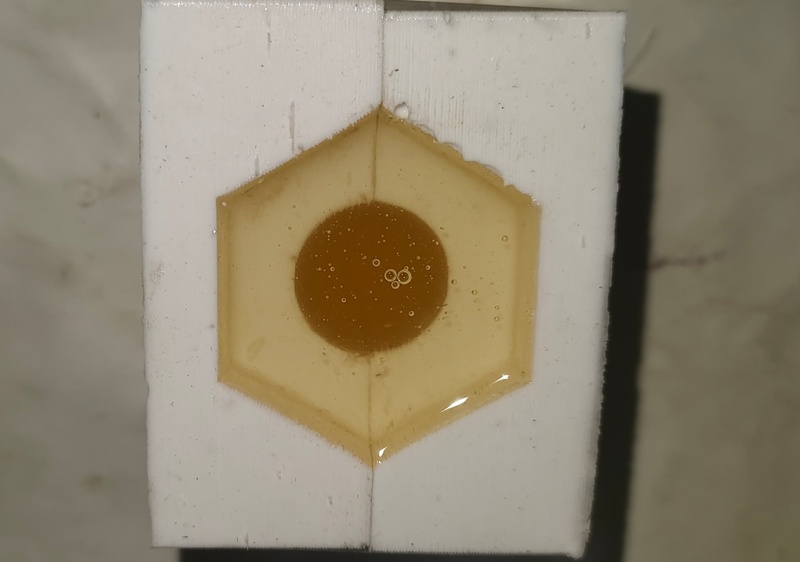
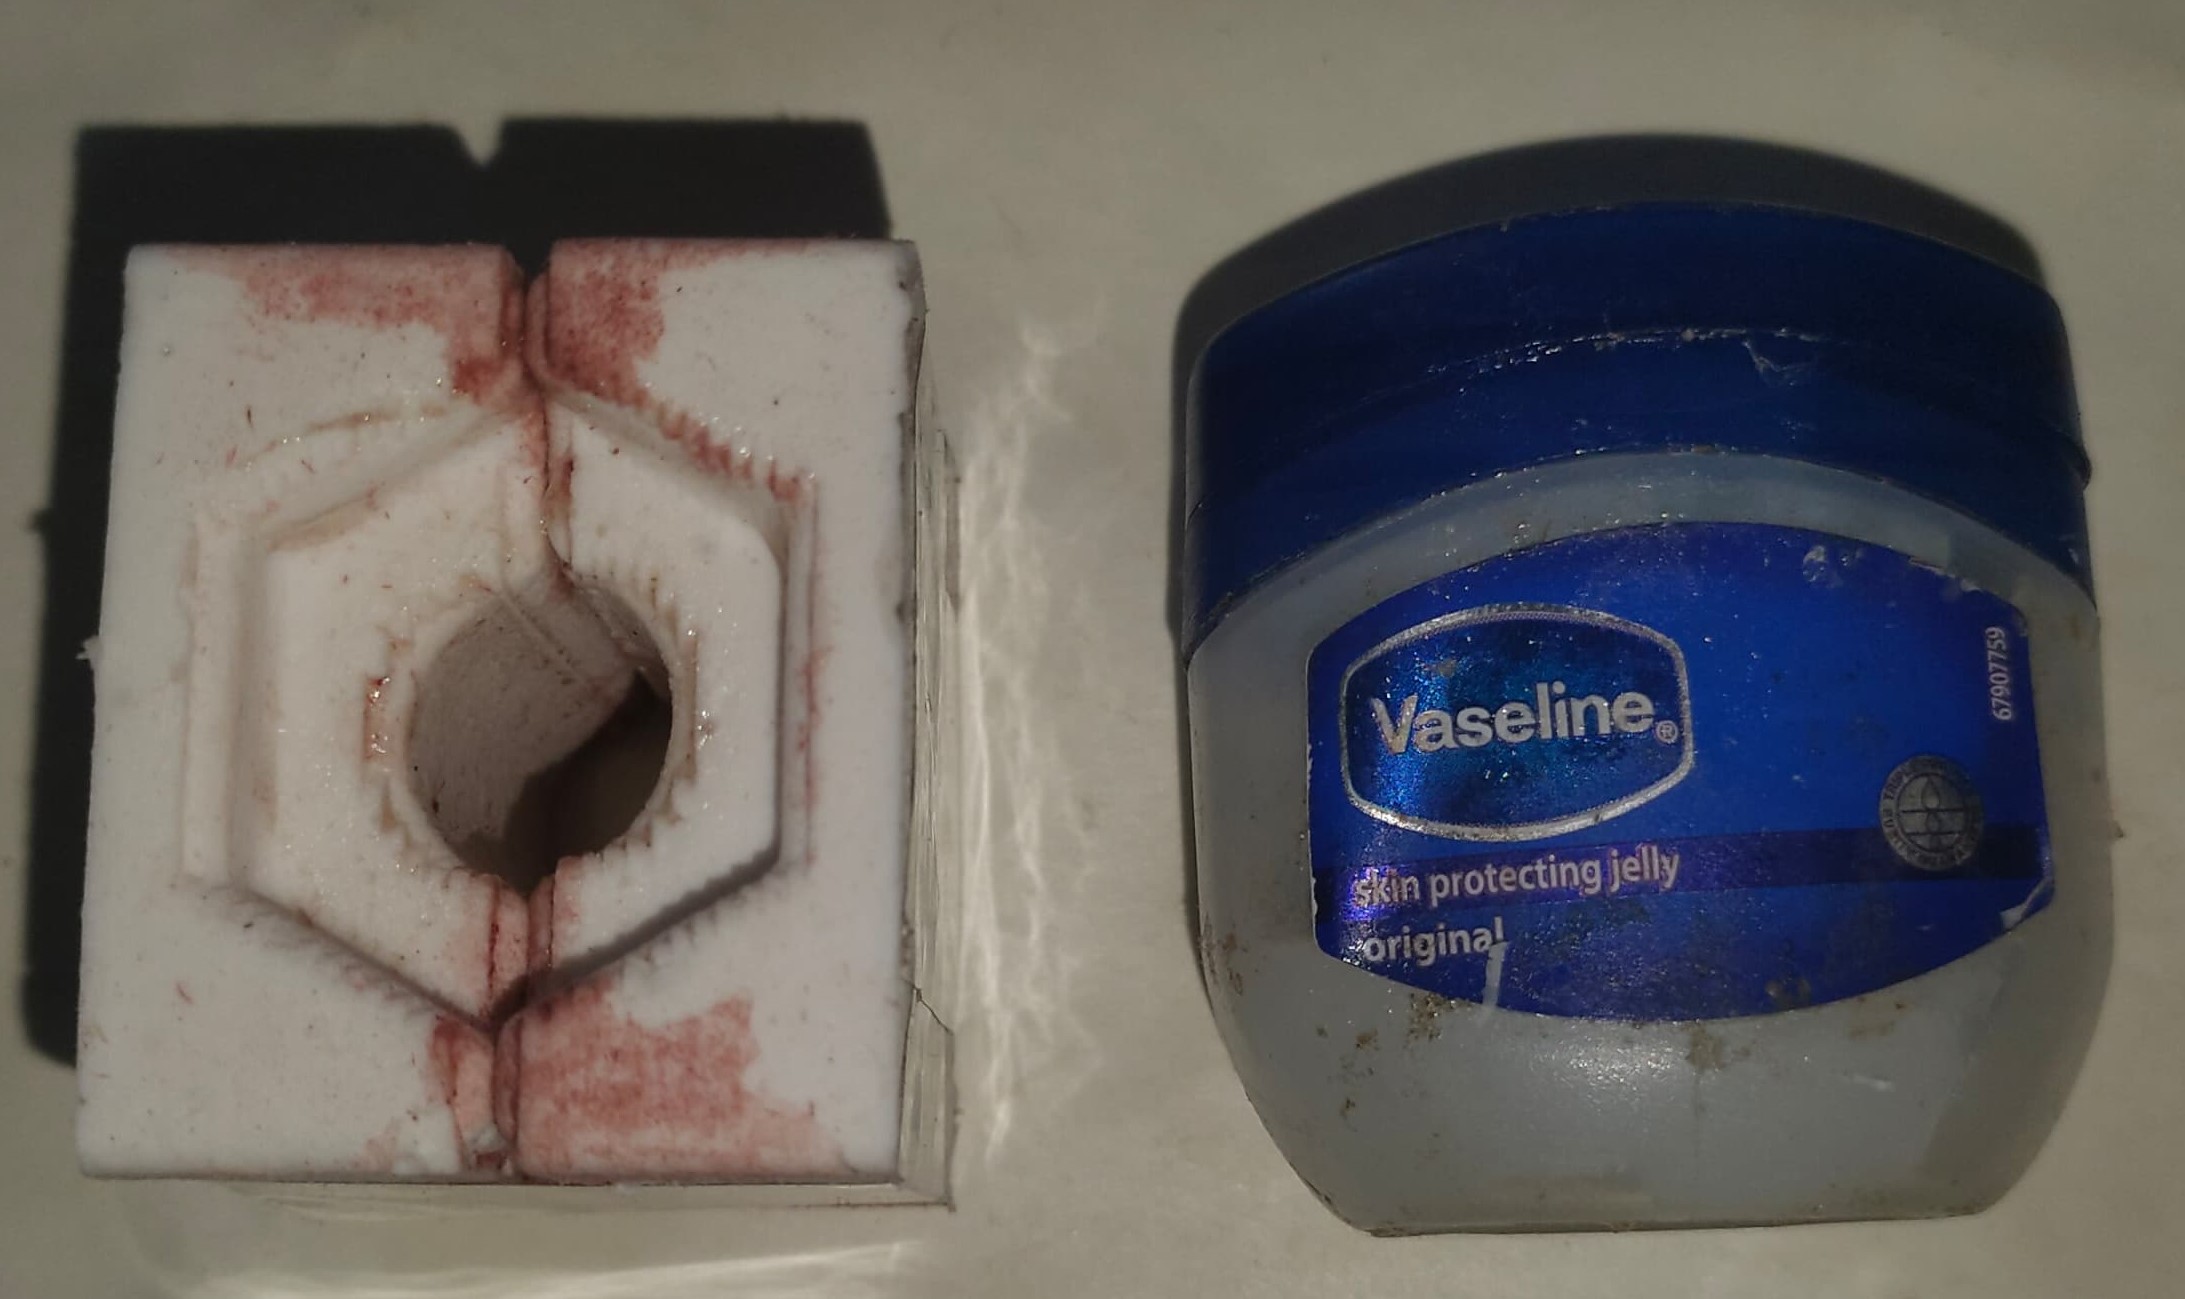
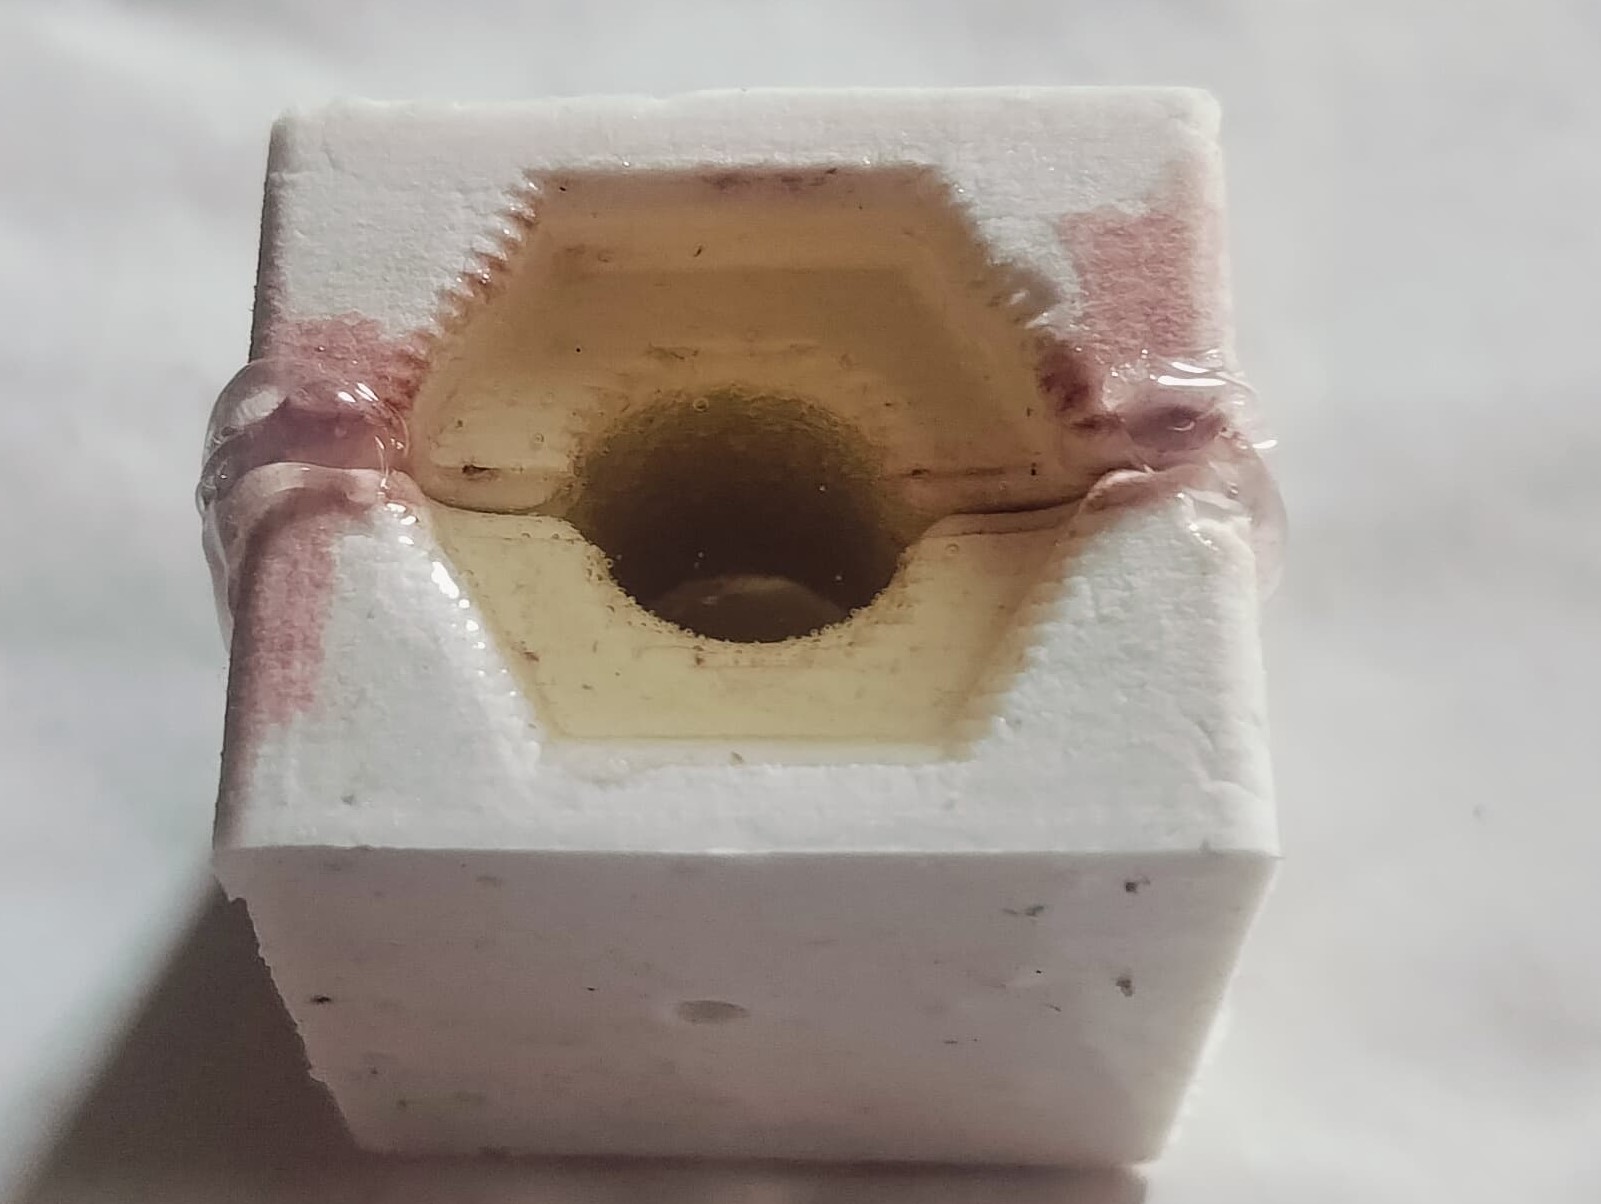
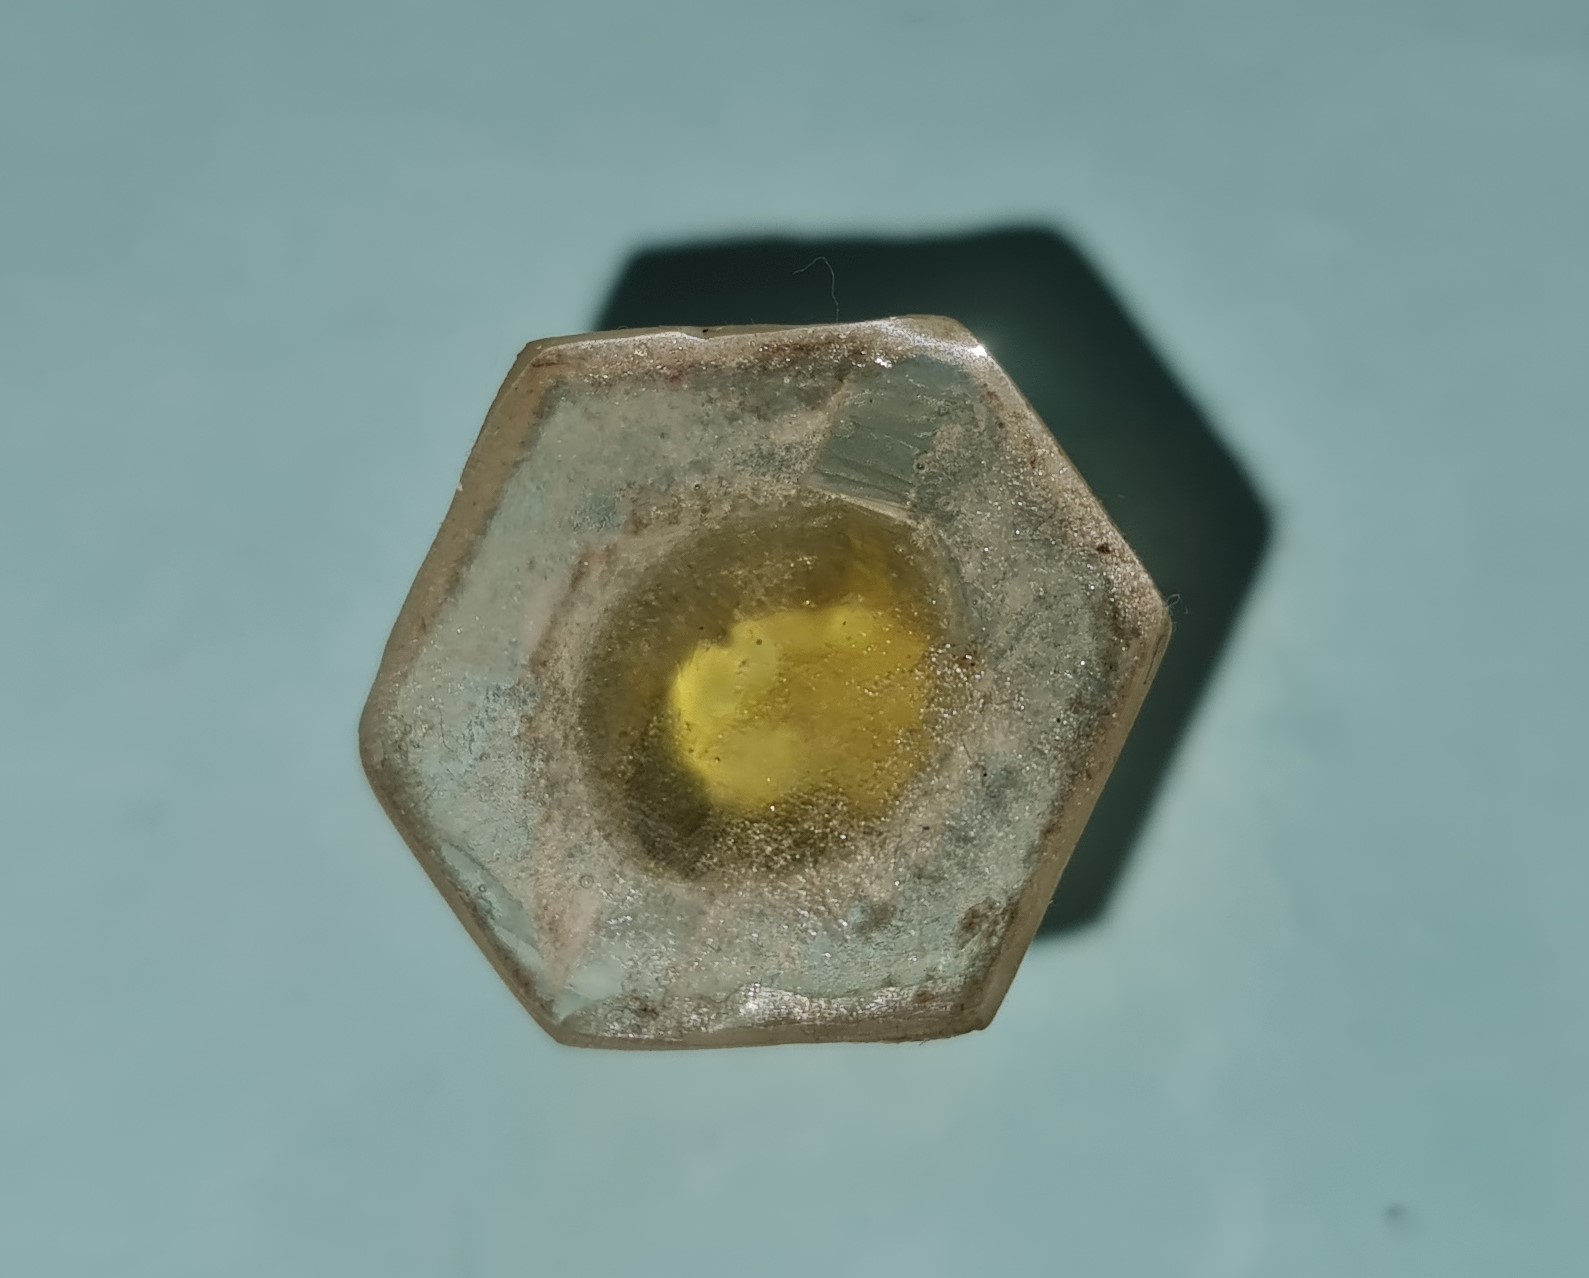
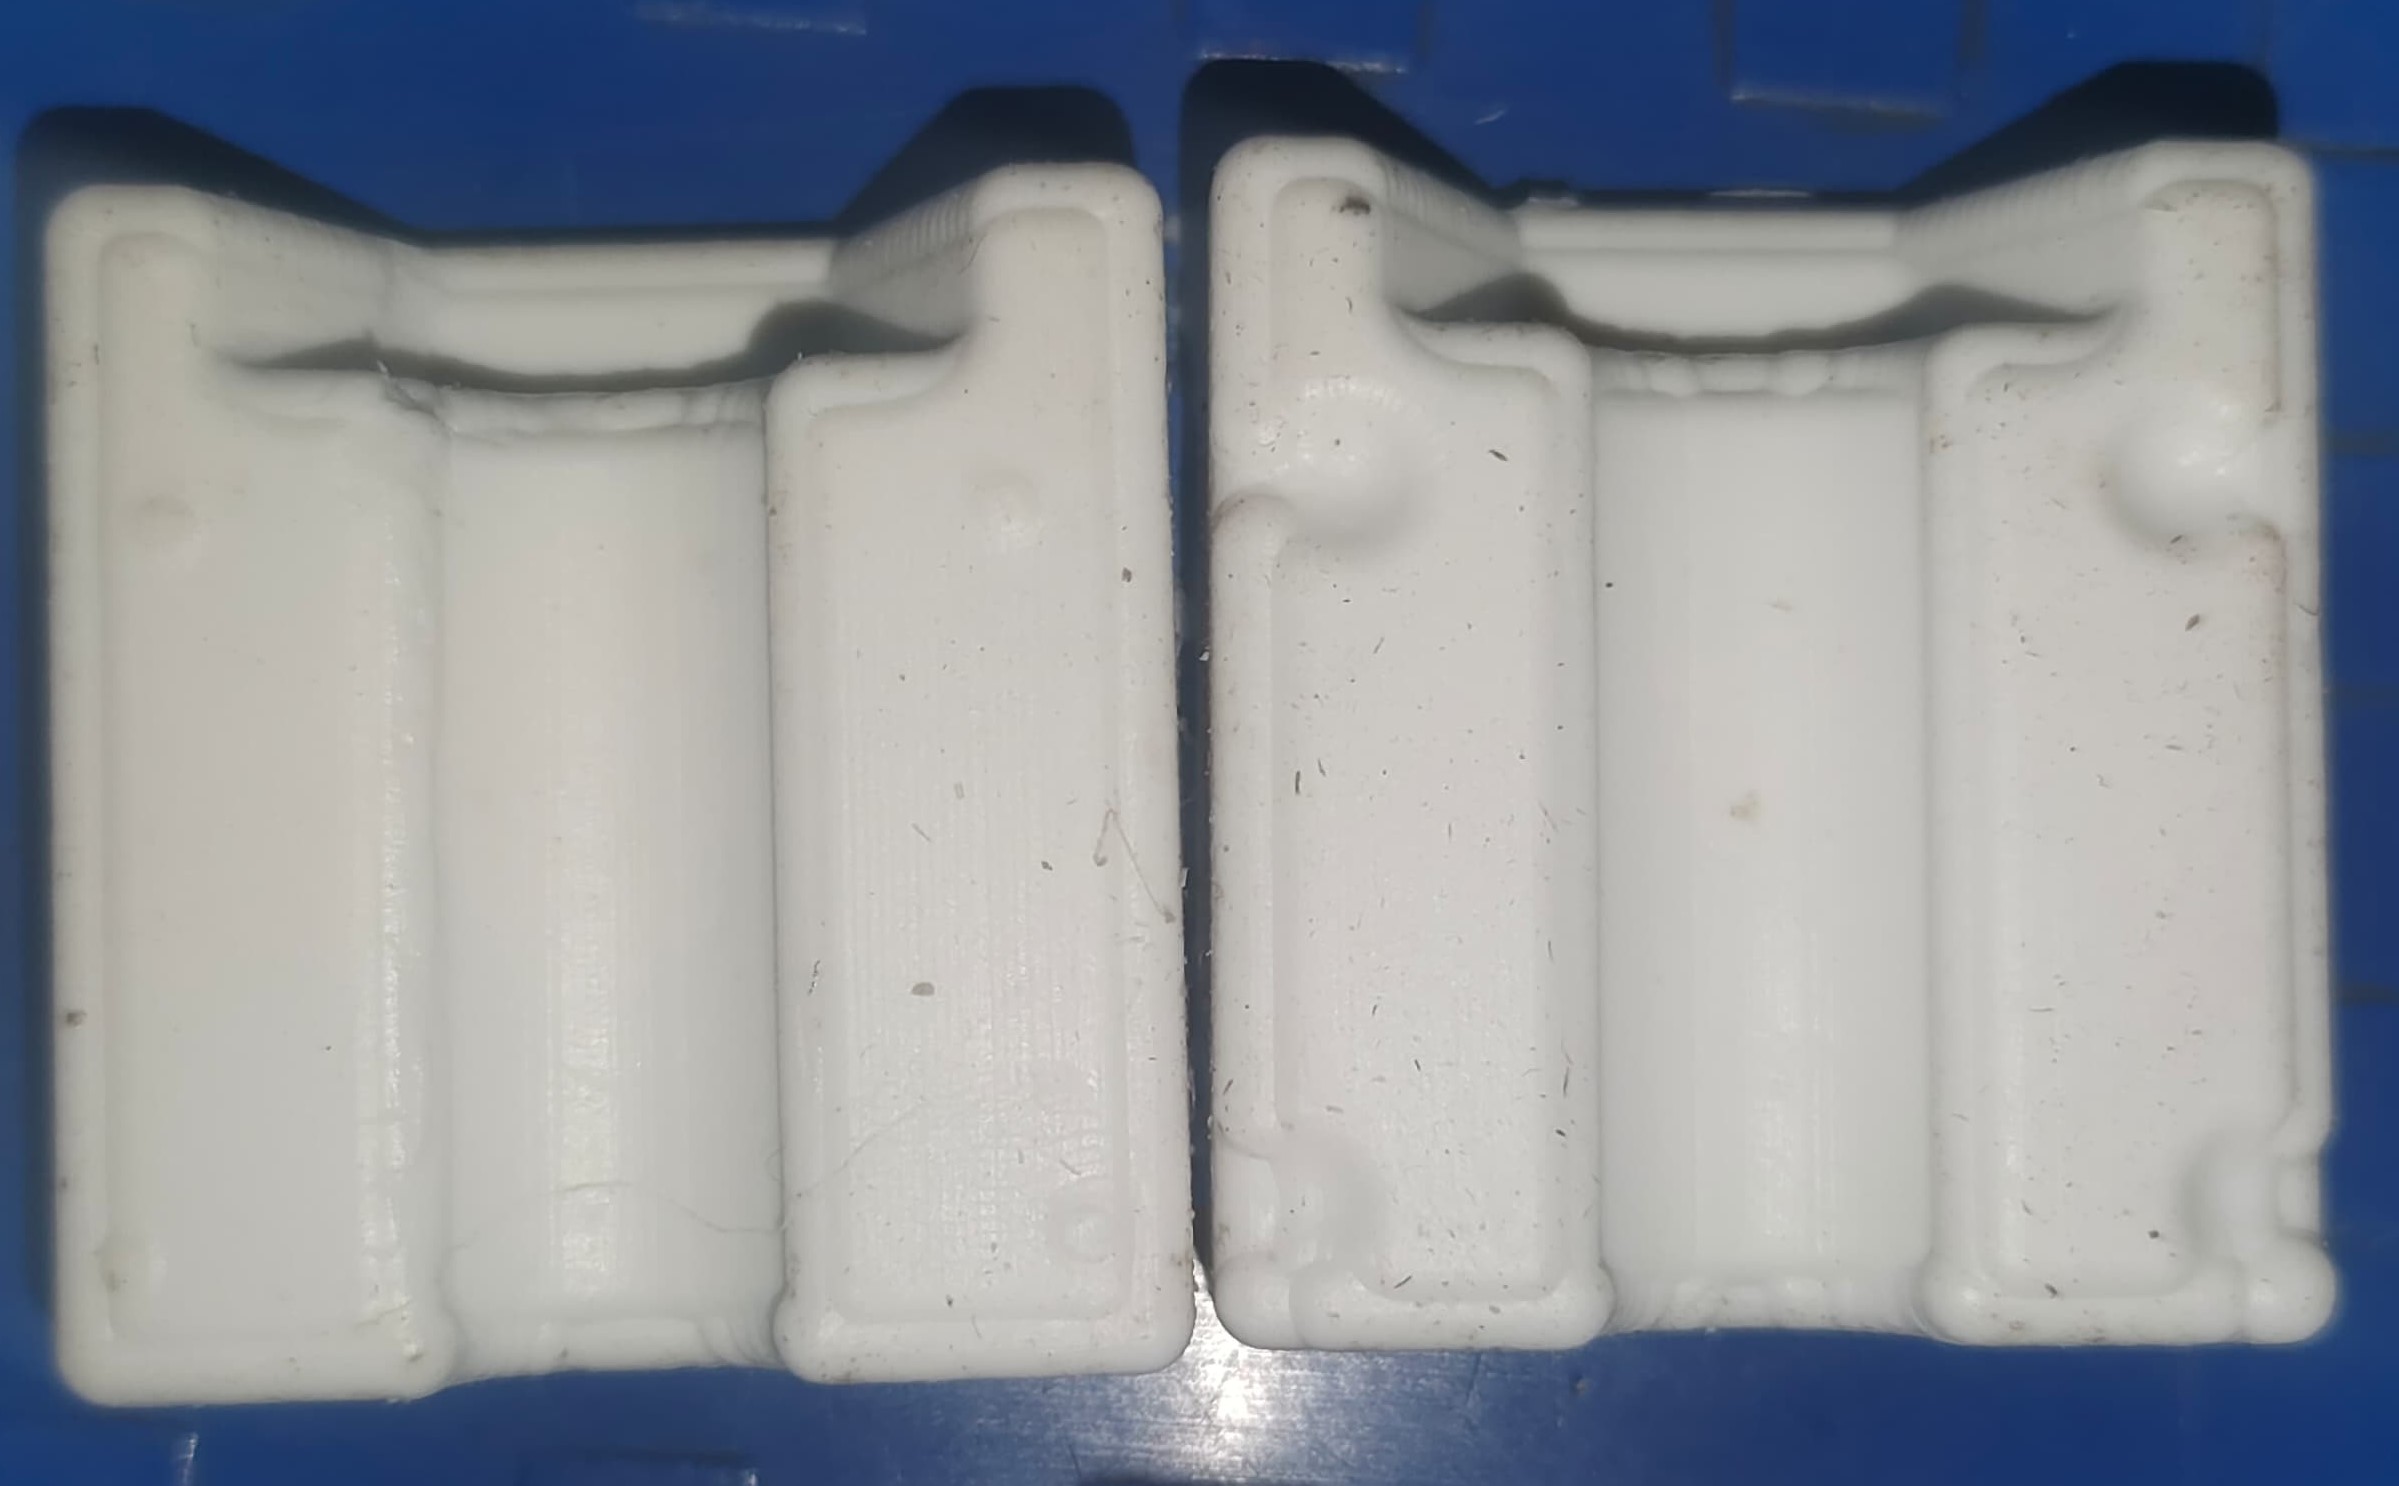
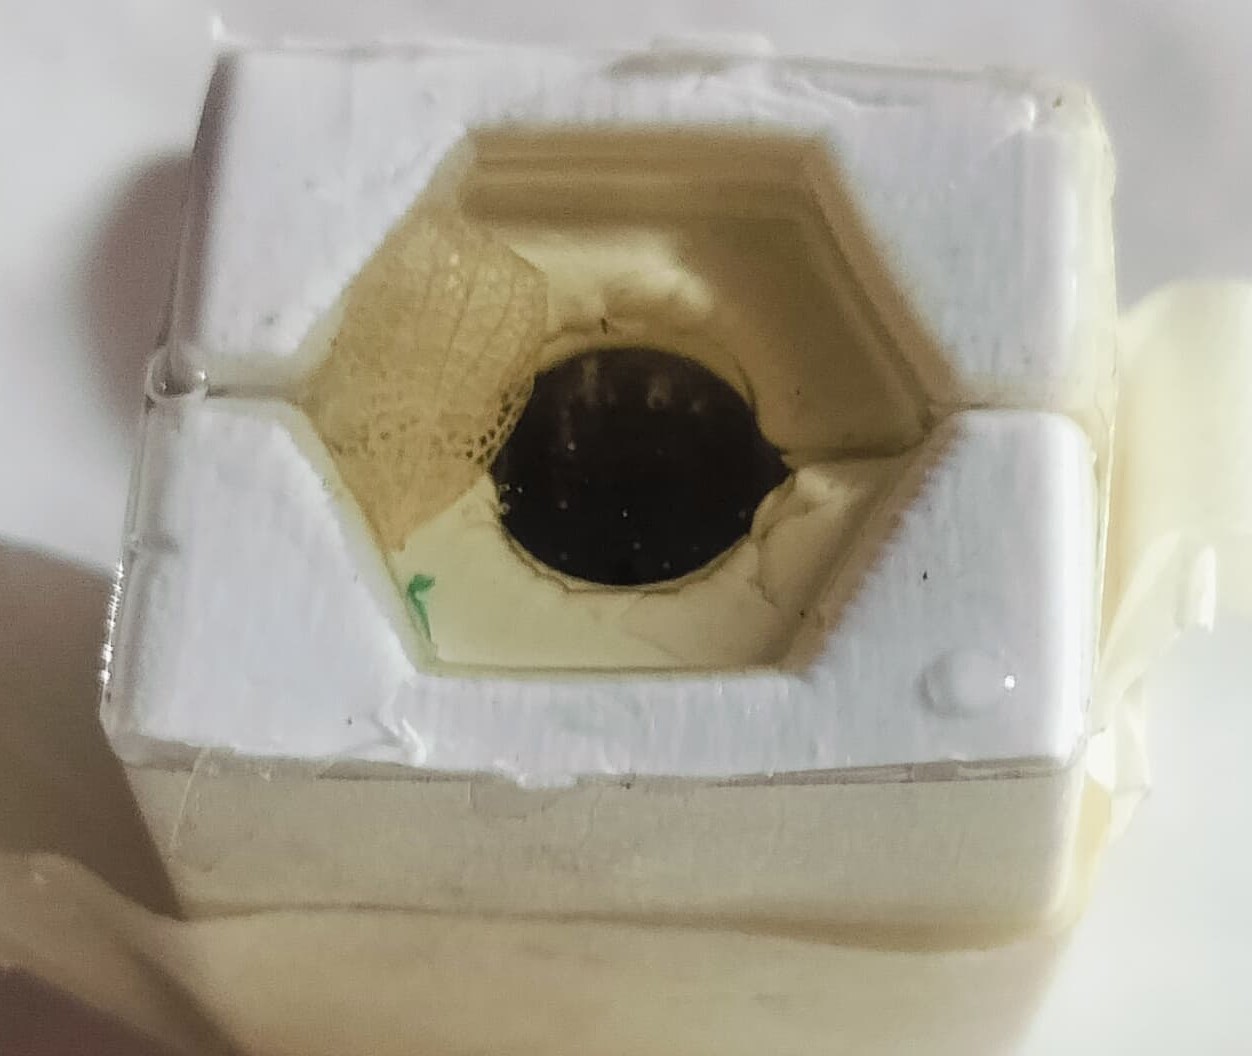
| After that, I left the mixed mold to dry for approximately 24 hours. Once the drying period was complete, I carefully removed the mold. At this stage, the nut-shaped mold had properly set and taken the desired shape. | In the next step, water was poured into the nut mold. This was done to determine the exact volume and weight of the cavity, which would then be used as a reference for mixing the resin and hardener in the correct ratio. Measuring with water ensures that the resin mixture is prepared with precision, leading to a more accurate and high-quality casting in the final process. |
|
|
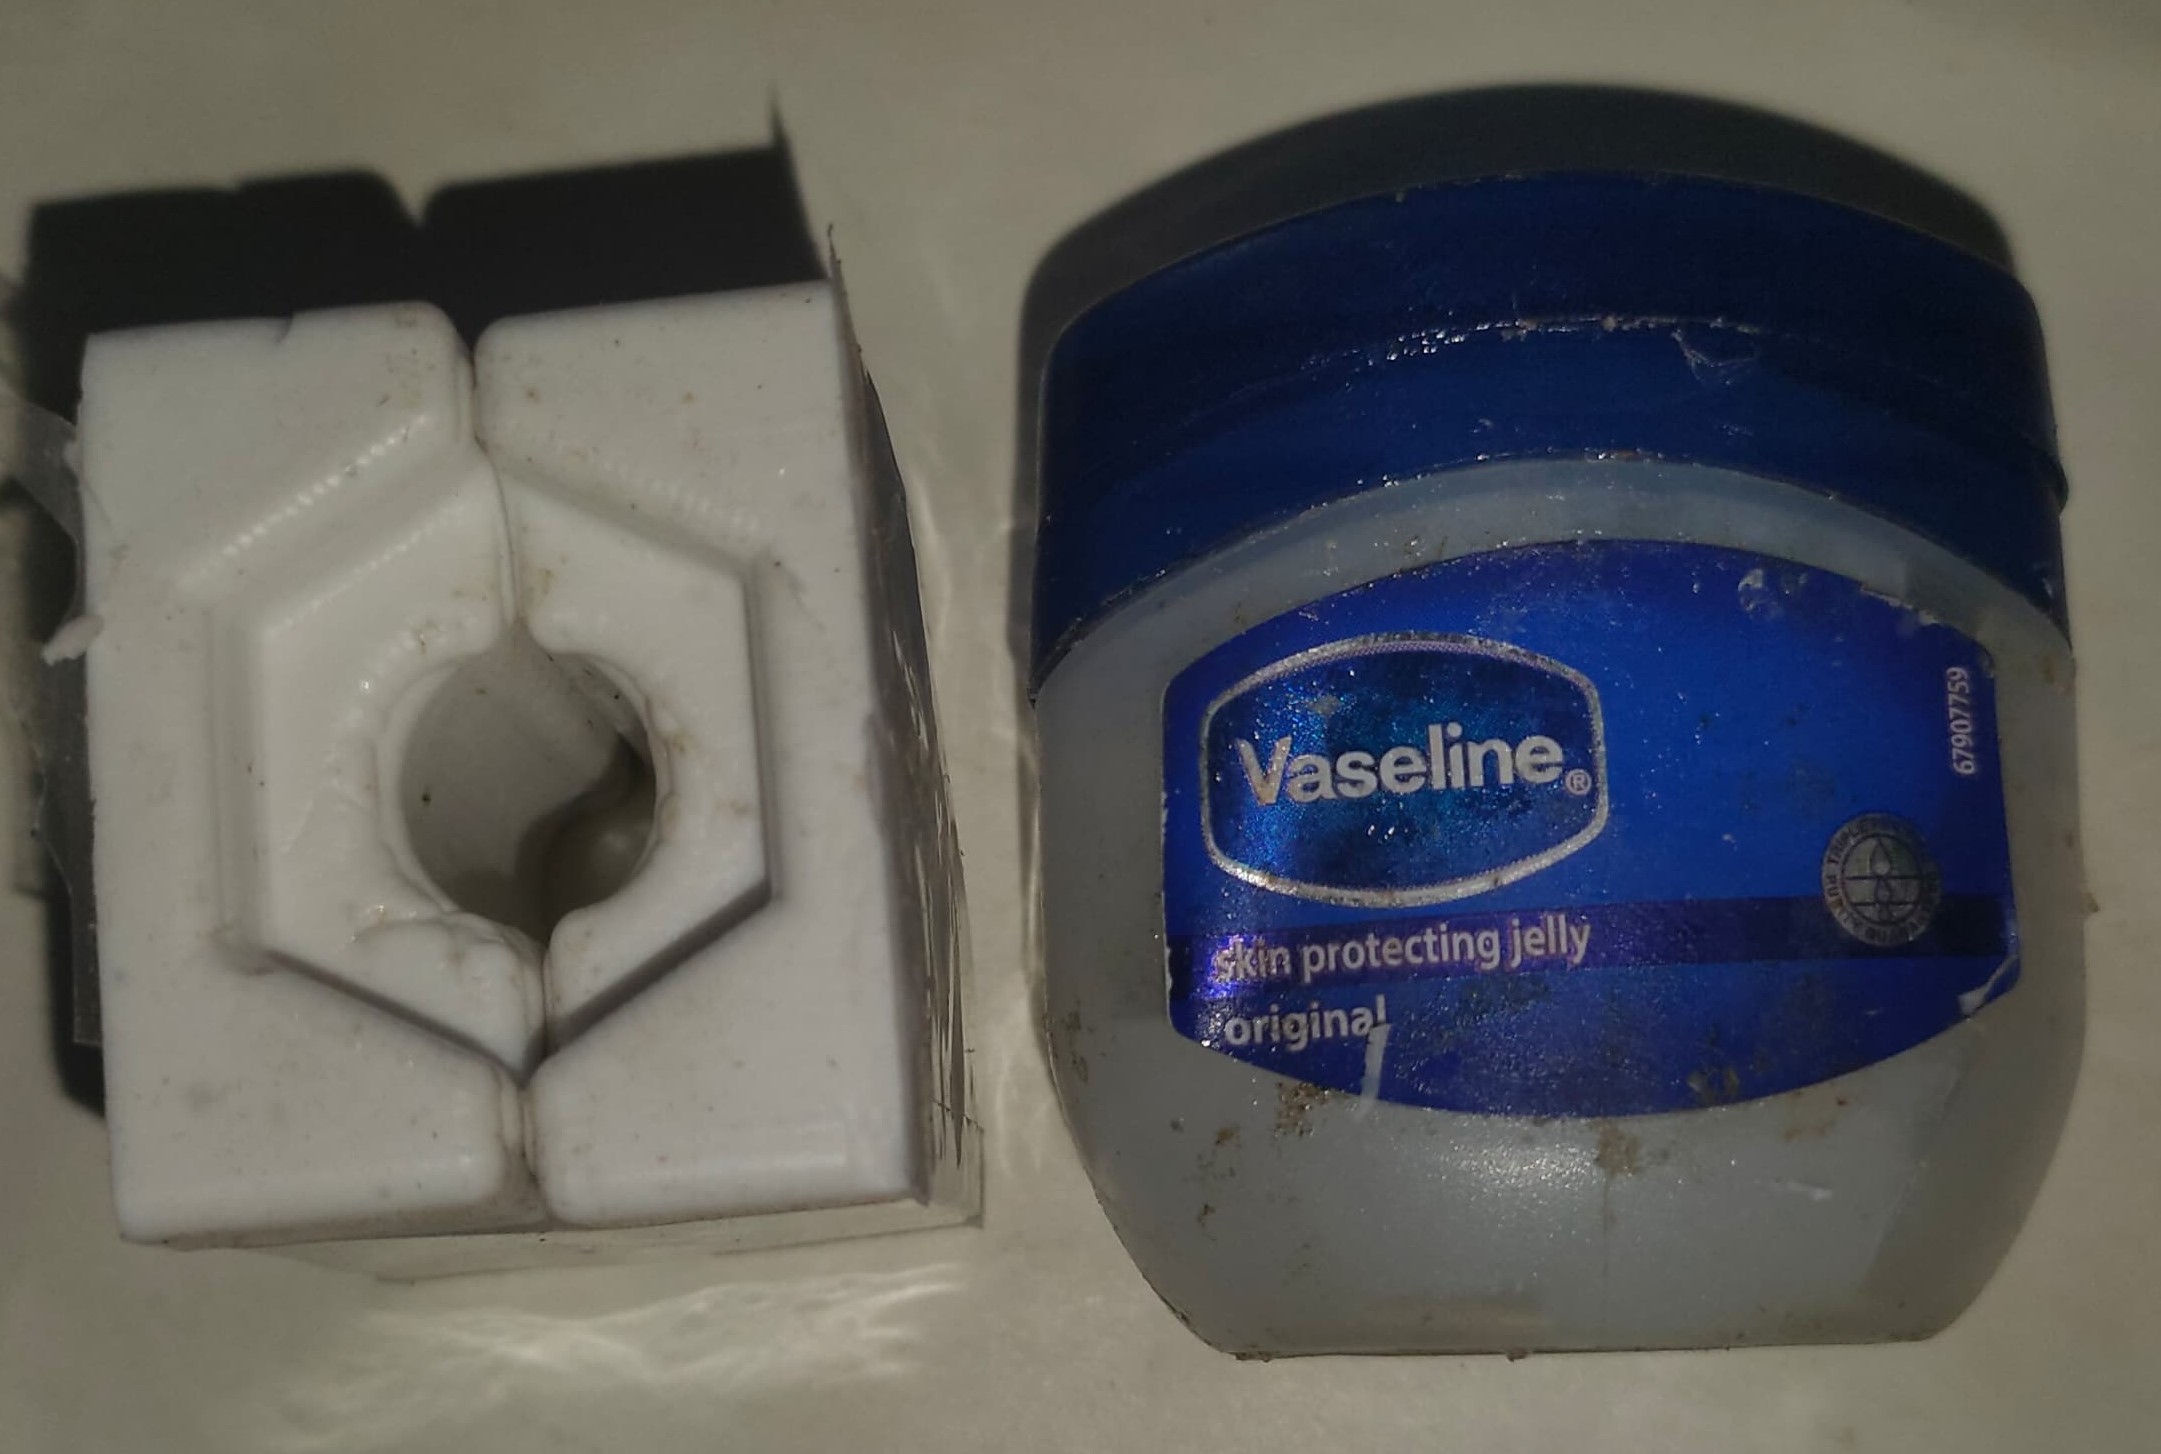
| Before pouring the resin and hardener, a thin layer of Vaseline was applied inside the nut mold. This helps to easily remove the final nut casting after it dries, without damaging the mold or the shape. | After applying the Vaseline, the mold was ready for the next step of the process. |
|
|
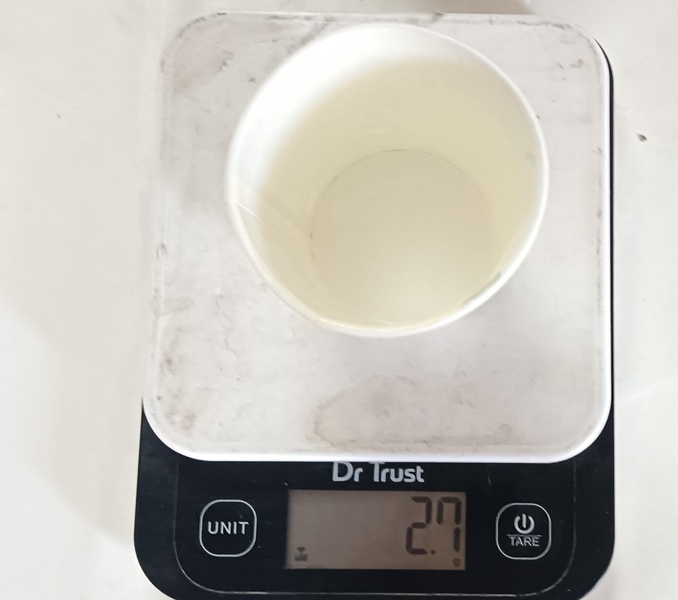
| Now, the water that was previously poured into the nut mold was measured to determine its weight. As you can see, the mold held a total of 20 grams of water. This measurement will be used to prepare the correct amount of resin and hardener for the casting process. | Based on the weight of the water, we now need to mix the resin and hardener in equal proportions. Since the mold held 20 grams of water, we will use 10 grams of resin and 10 grams of hardener to match the same volume for proper casting. |
|
|
| Now, 5 grams of hardener was taken and mixed thoroughly with 15 grams of resin. | Finally, after thoroughly mixing the resin and hardener, the mixture was poured into the nut mold and set aside to dry. |
Note - The first batch of Resin and Hardner didn’t set properly because the material was slightly old and had passed its expiration date. So, I repeated the process with a fresh mix of resin and hardener, poured it into the mold, and waited 24 hours. This time, it solidified perfectly, forming the exact shape of the nut.
|

|
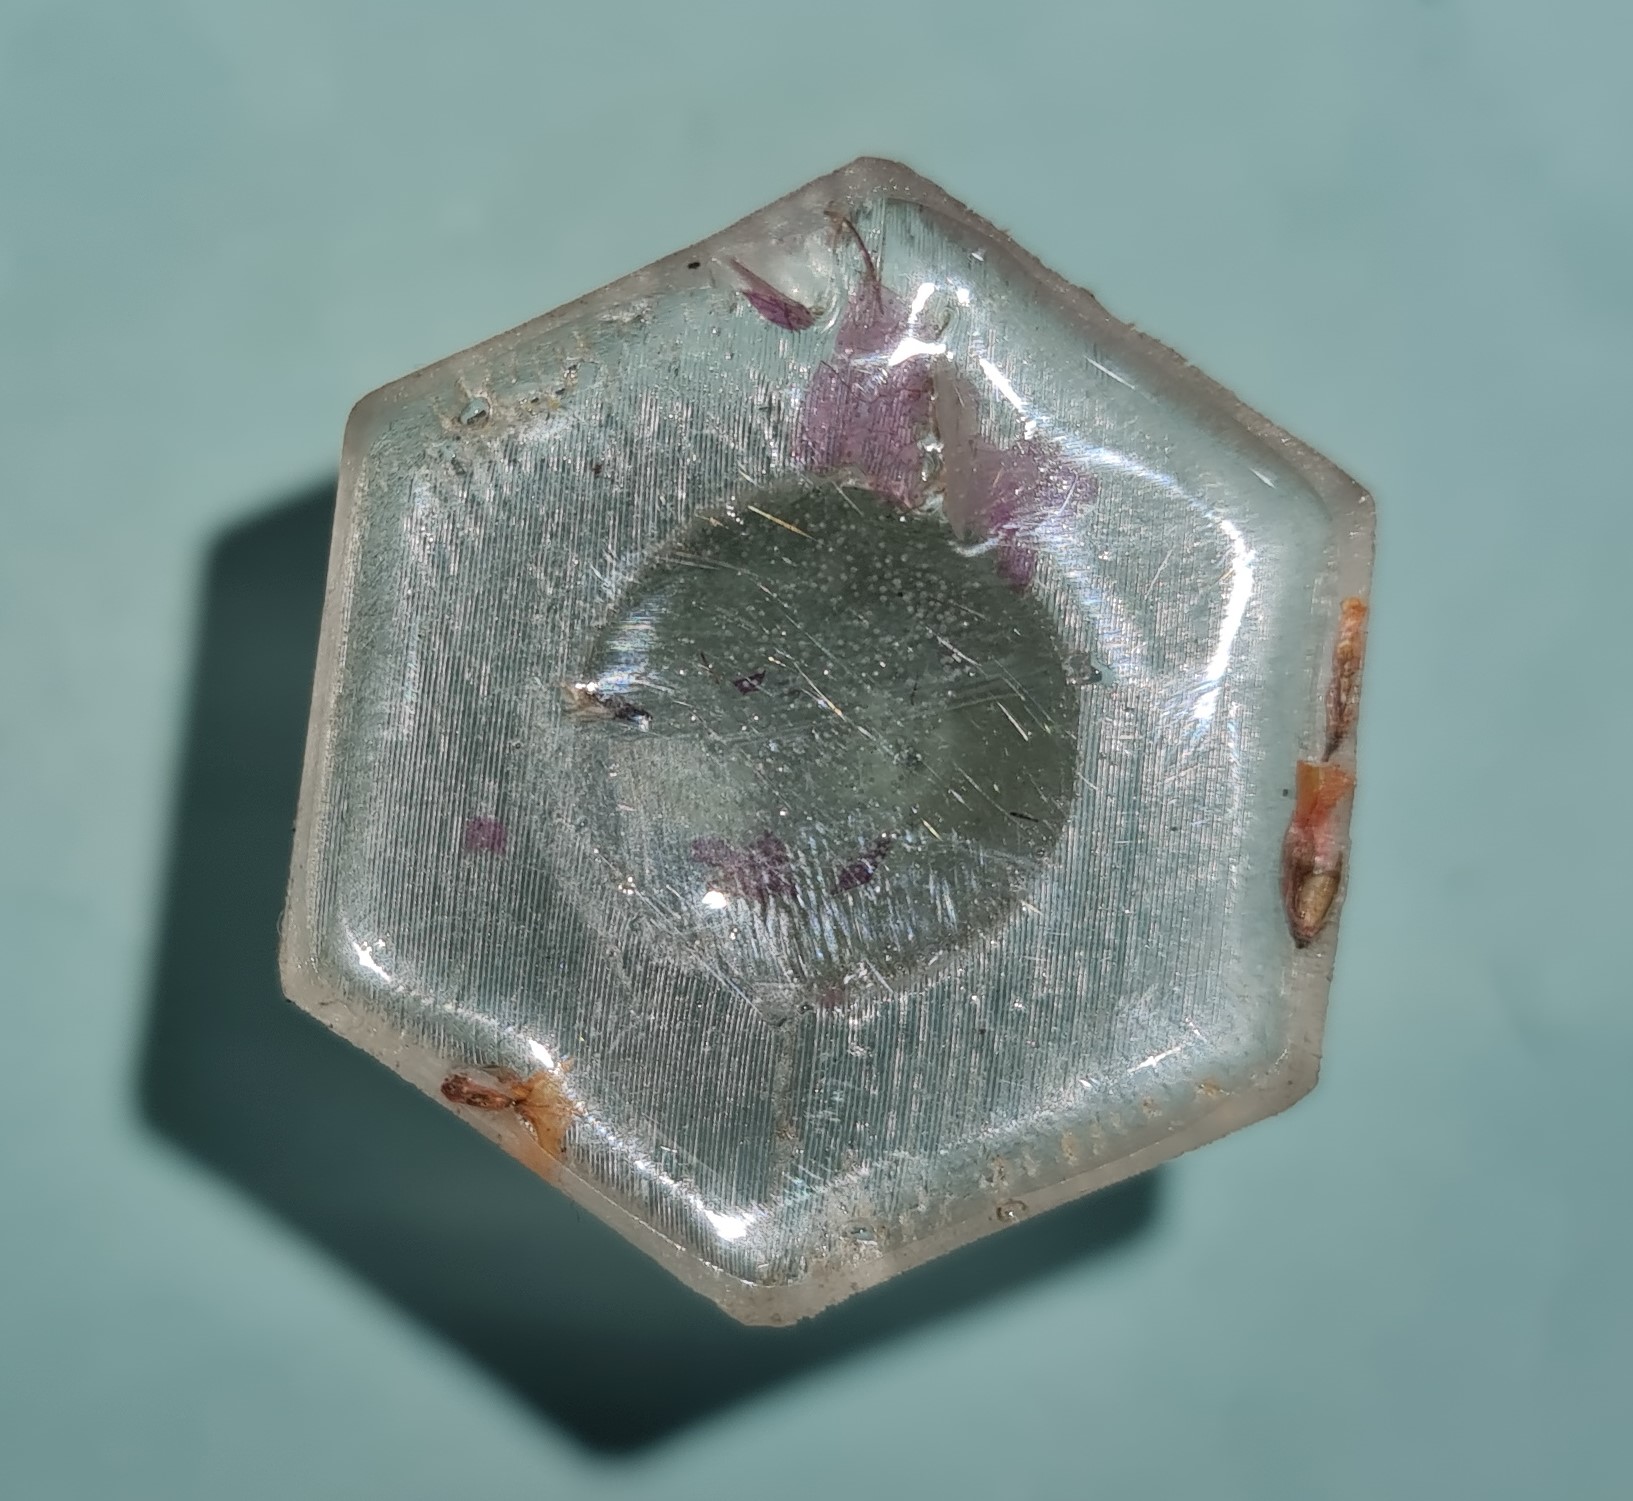
| After 24 hours of mixing the resin and hardener, the material has fully set and taken the perfect shape of the nut mold. |
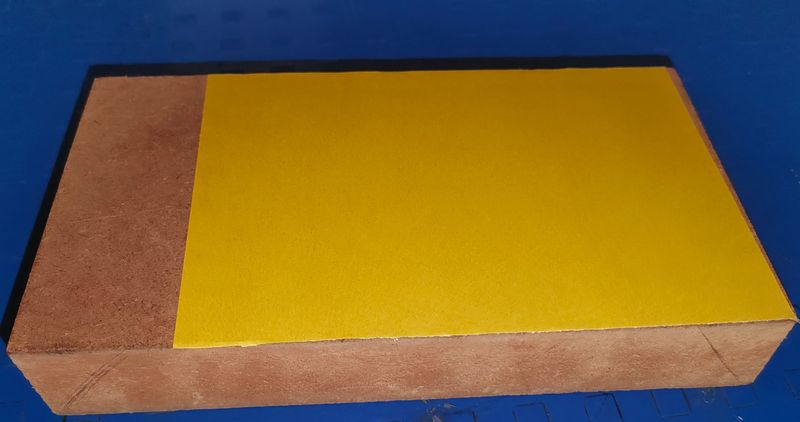
3D Mold in soft wood
For the soft wood mold, I began by generating toolpaths for surface preparation, roughing, and finishing operations. After finalizing the toolpaths, I used the SRM-20 milling machine to cut the mold. The complete process has been documented in detail below
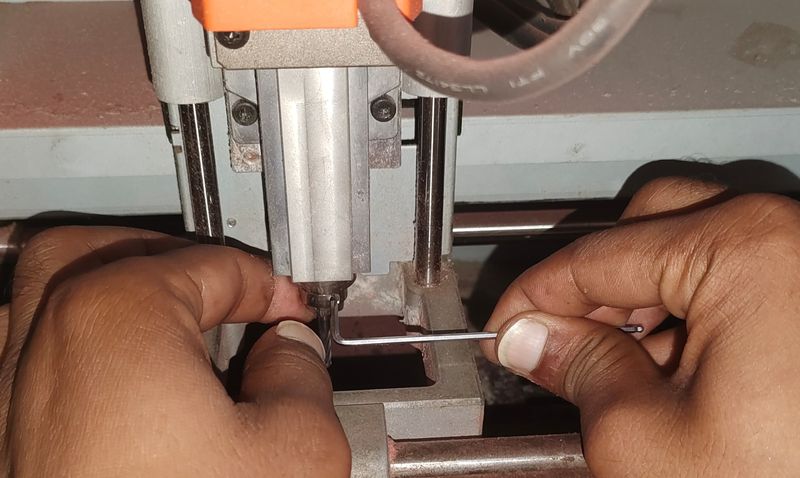
Before starting the mold-making process, I installed a 3mm square-end milling bit into the milling machine. After that, I set the origin point using the V-panel to ensure accurate alignment for the cutting operation.
 |
|
| 3mm squre bit for surfaceing and roughing (Reference) |
ToolPath generate for surface all process
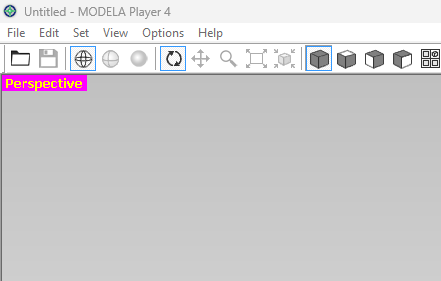 Open Modela Player 4 |
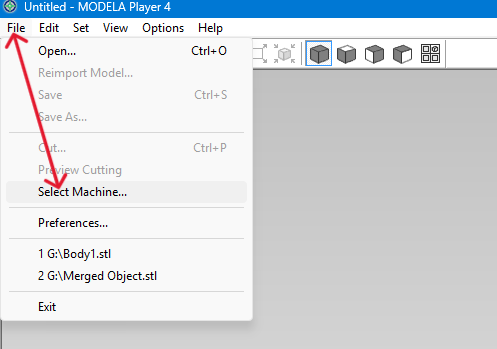 Go to File and click on Select Machine |
 Select the machine |
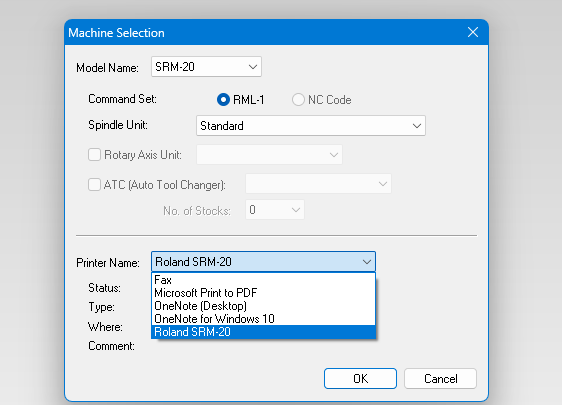 Machine selected |
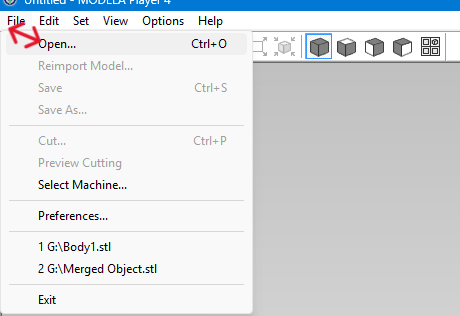 Go to File and click on Open |
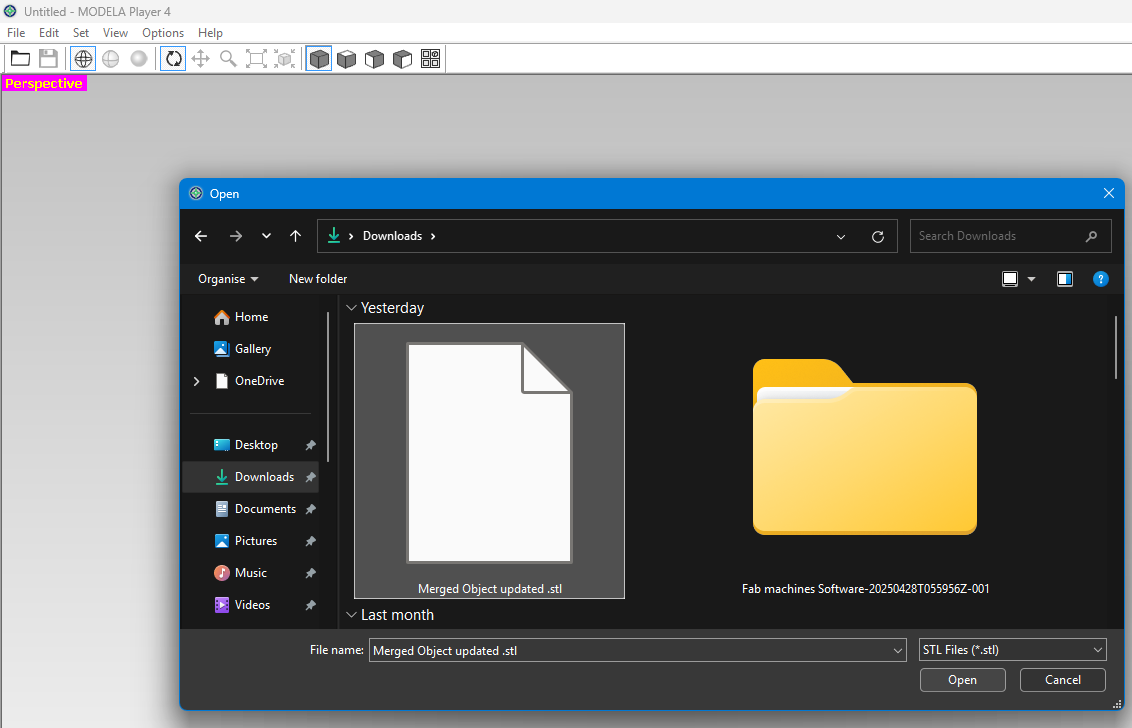 Choose the file and open it |
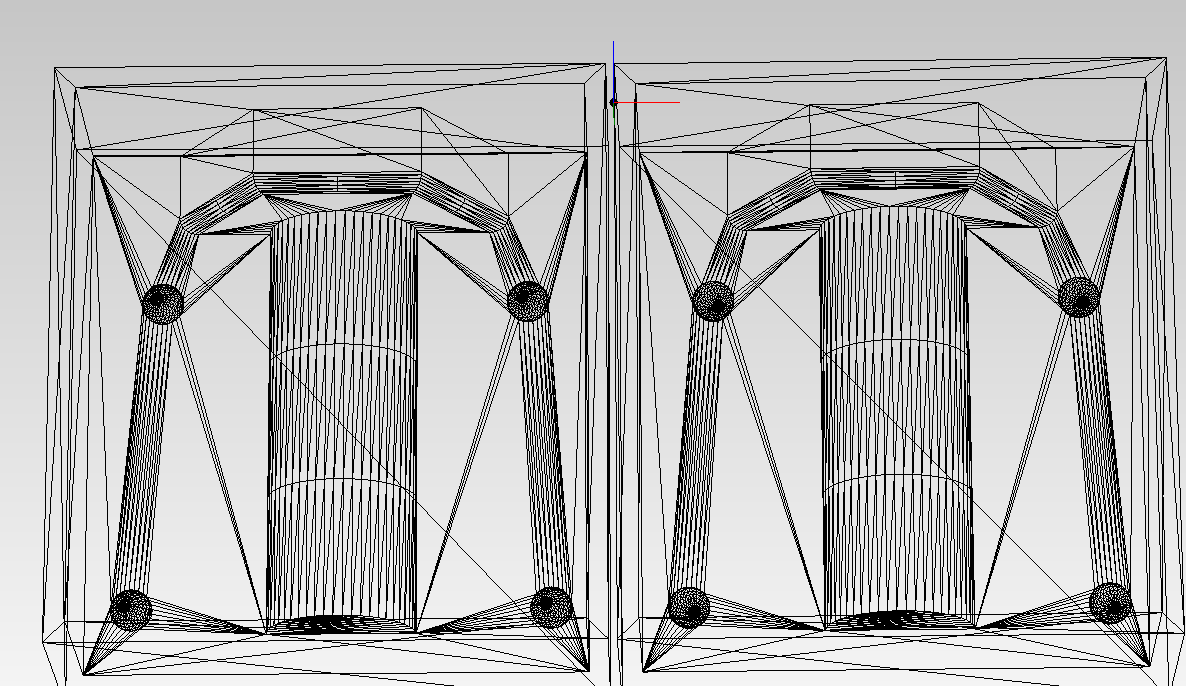 File is loaded and G-code file is shown |
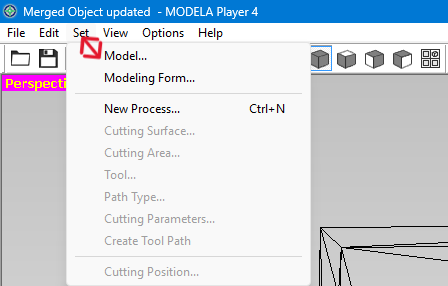 Go to Set and click on Model |
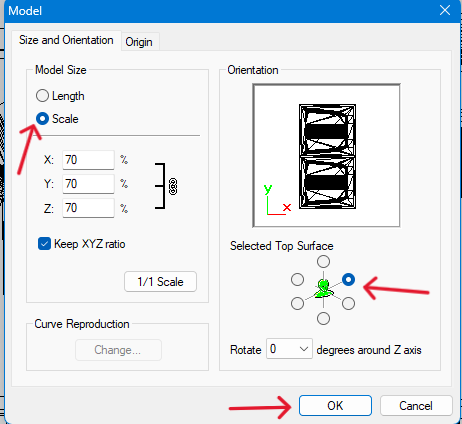 Use Scale to set XYZ according to suitable size |
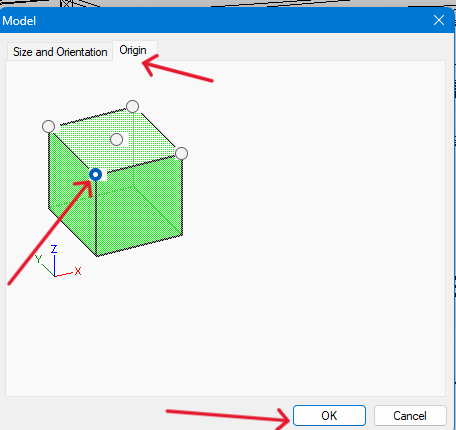 Click on Origin and set it |
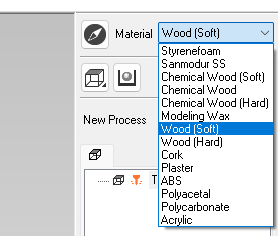 Click on Material and set the material used |
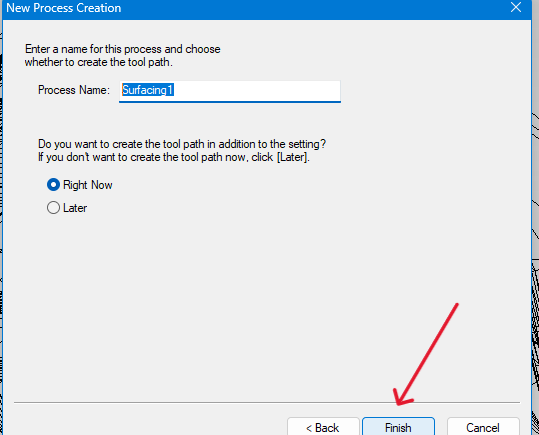
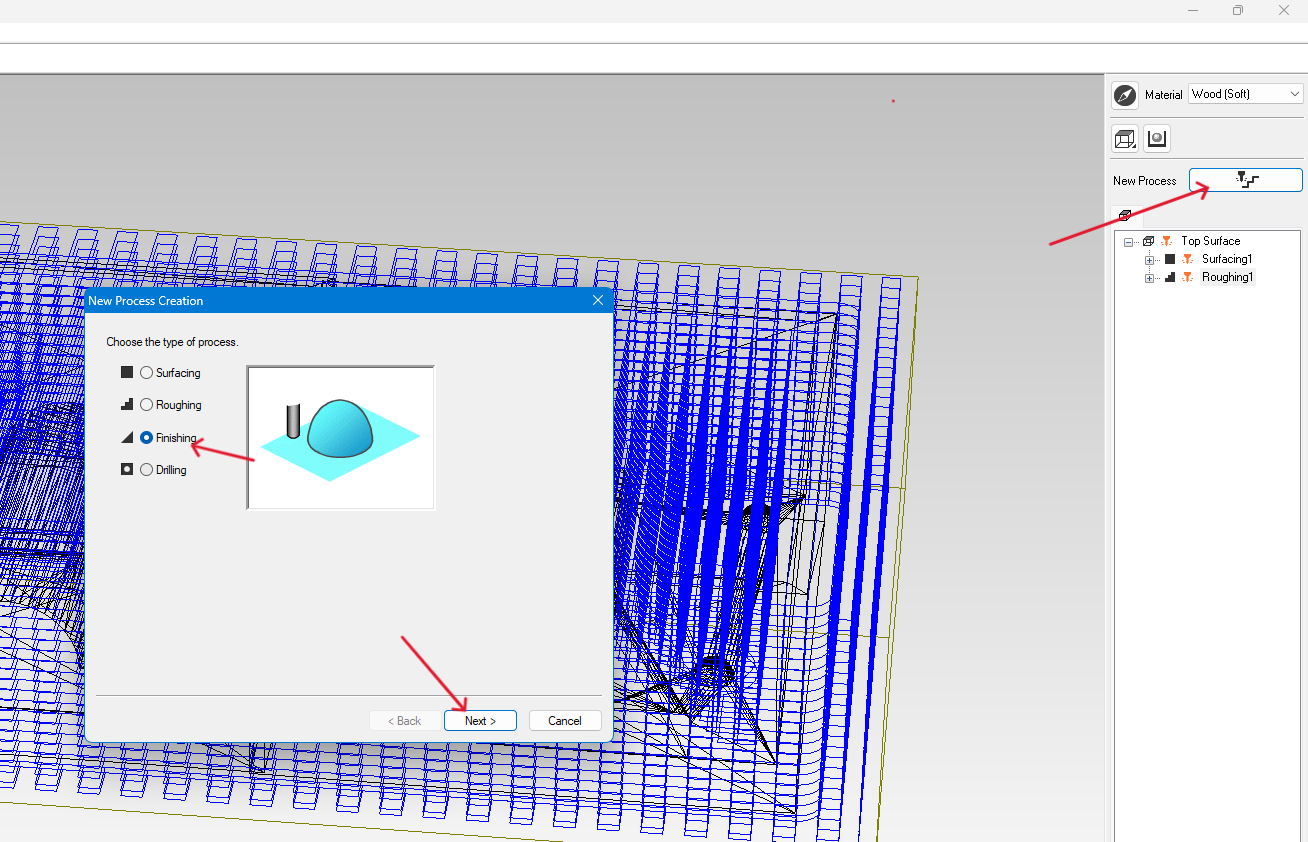
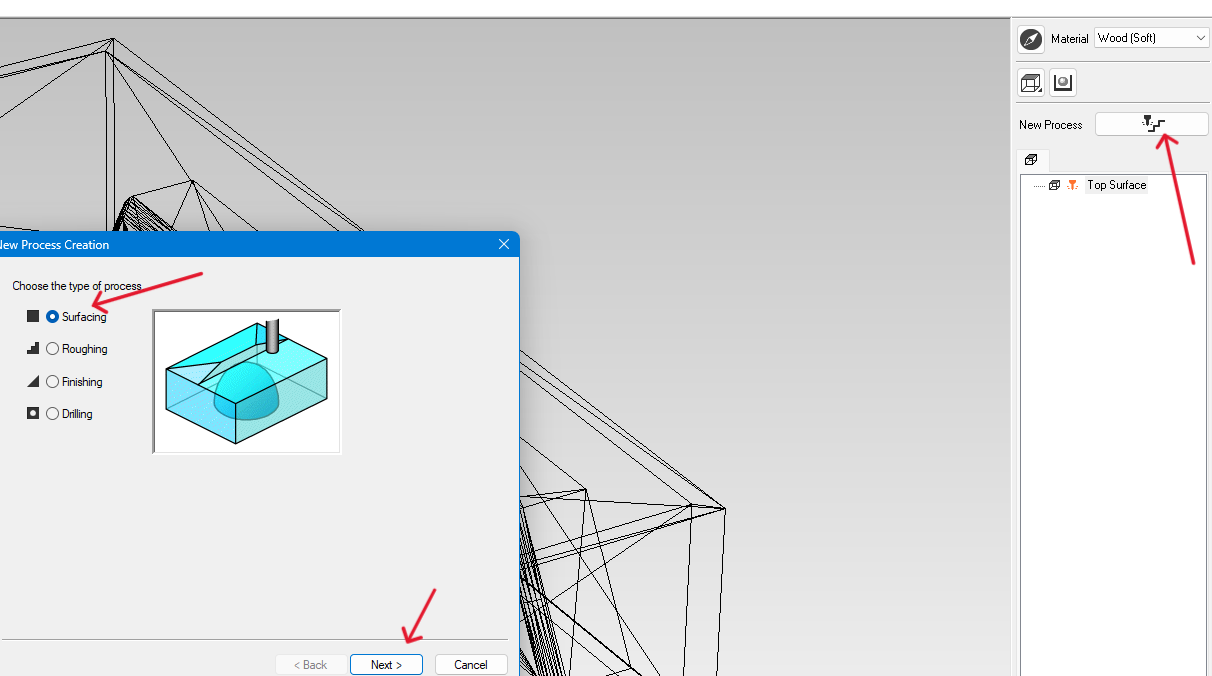 Click on "New Process", select "Surfacing" and click "Next" |
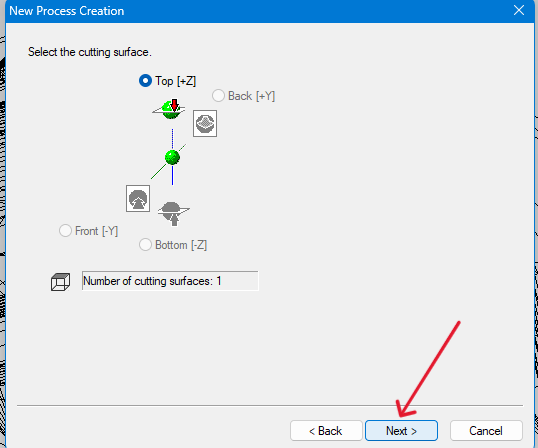 Click Next |
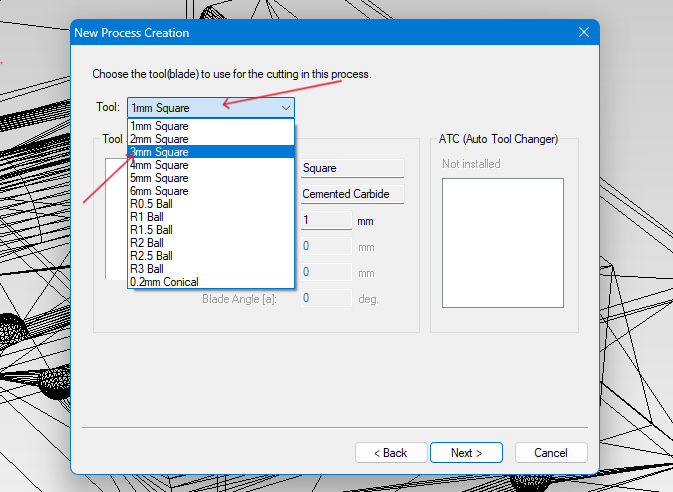
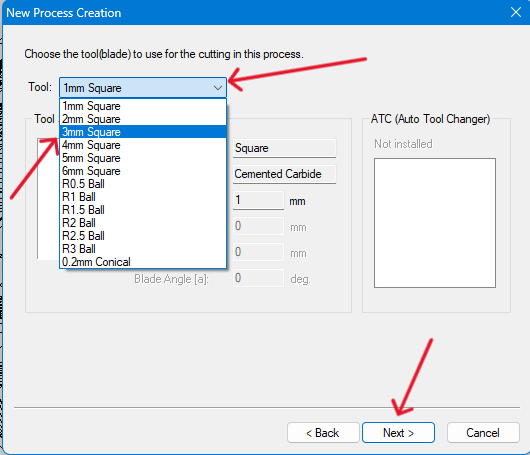 Click on Tool, select 3mm square bit, and click Next |
 Click on Specified Area, crop unnecessary part, and click Next |
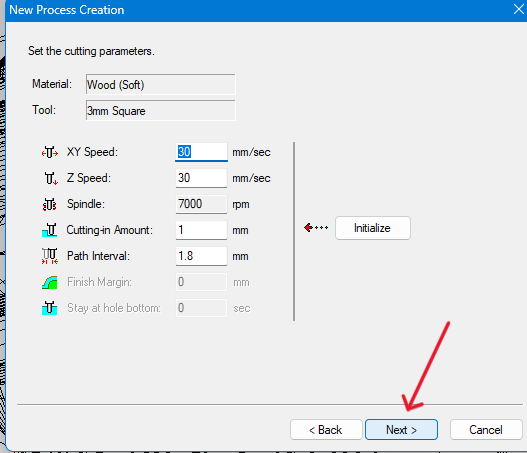
 Click Next |
 Click Next |
 Click Next |
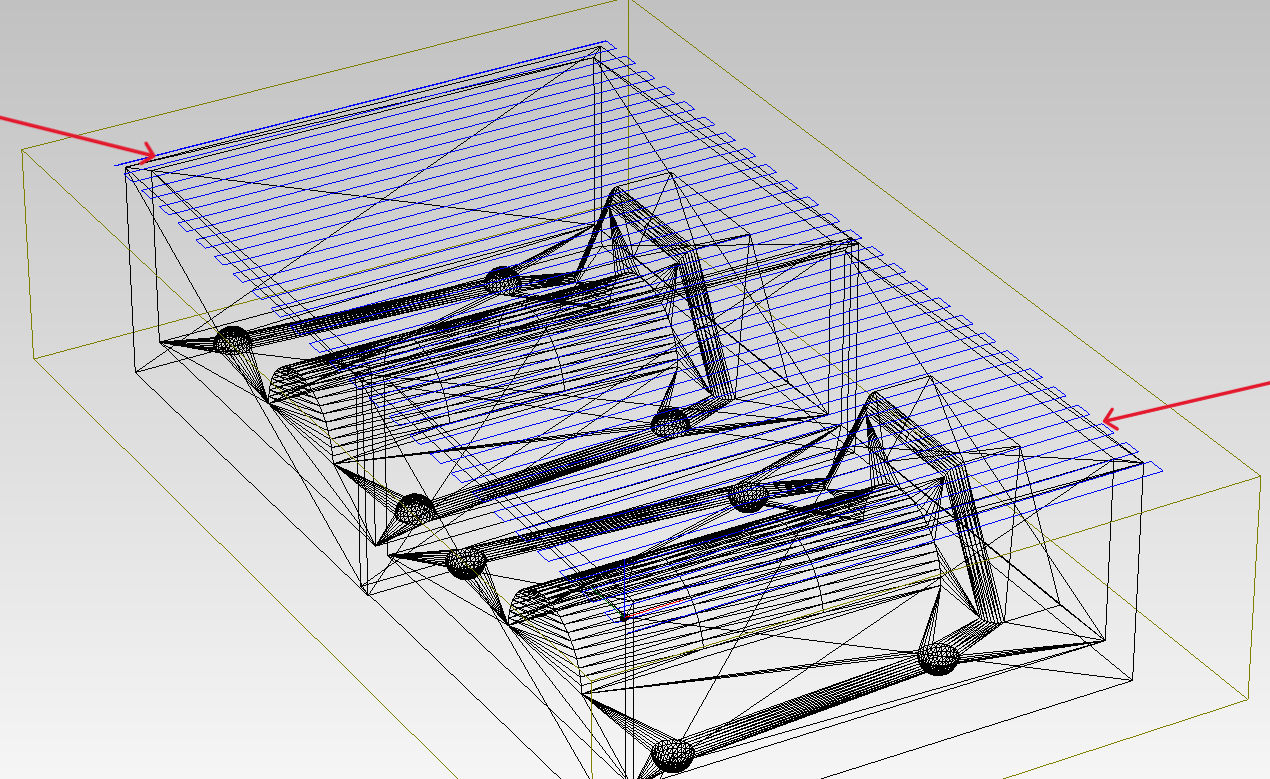 Surfacing G-code is generated as shown |
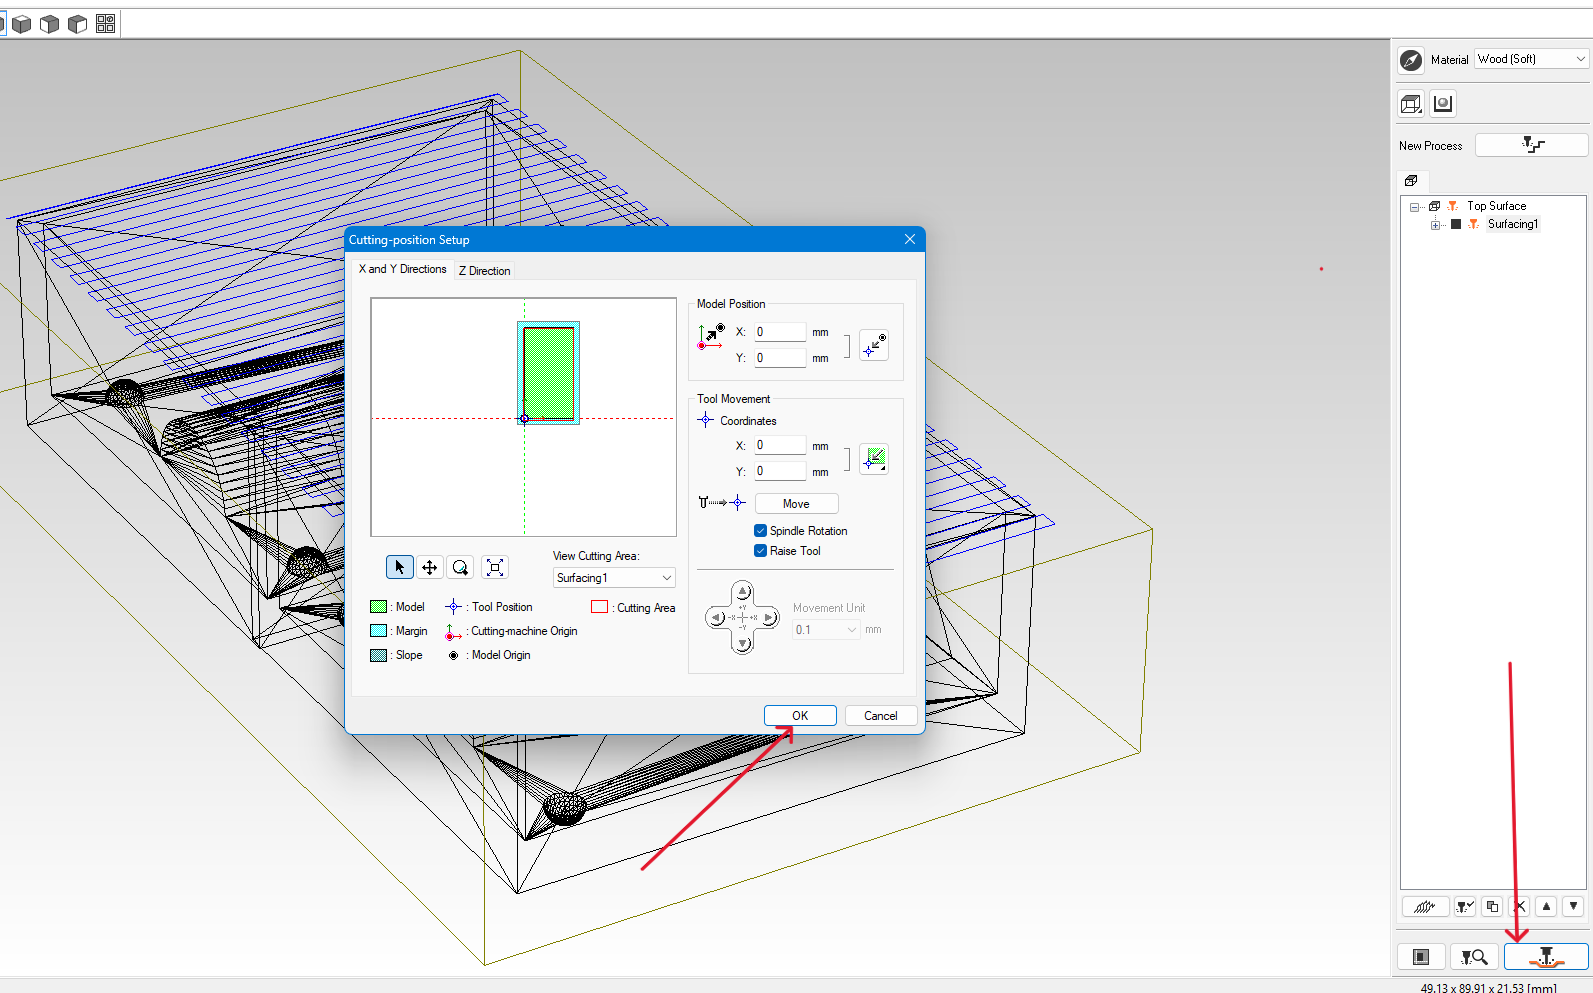 Click on Cutting Position Setup and then OK |
 Click OK |
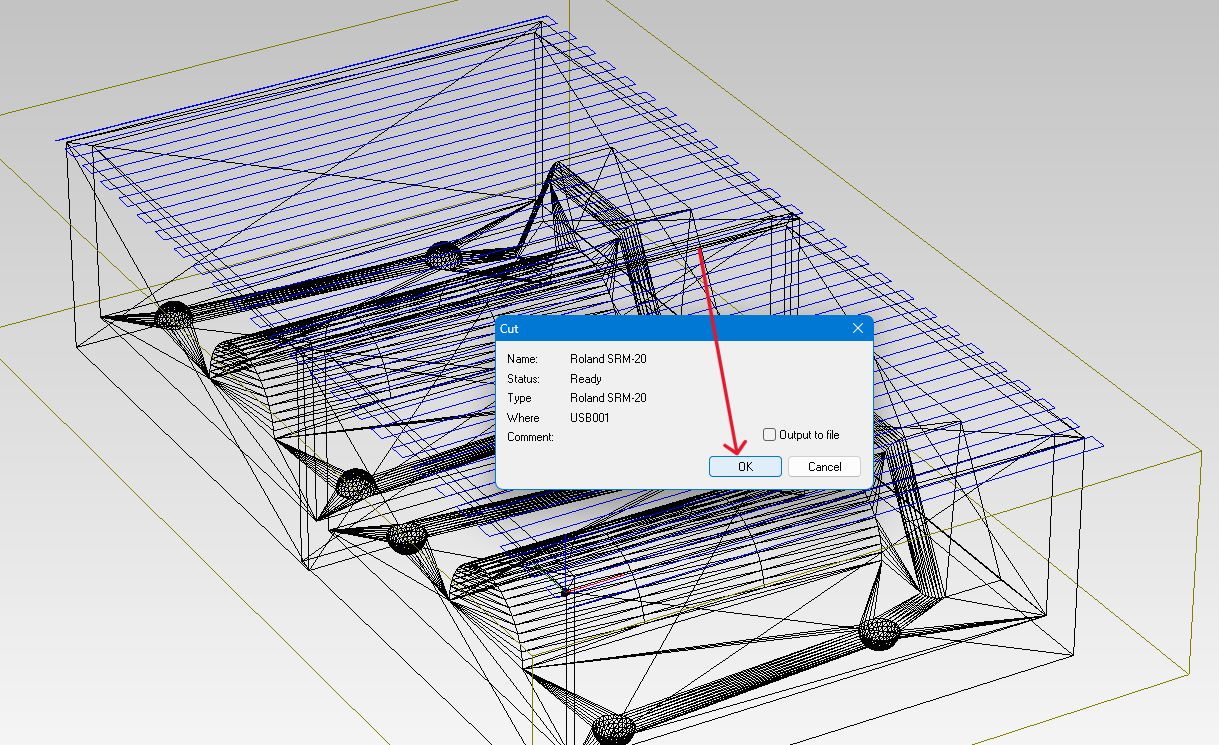
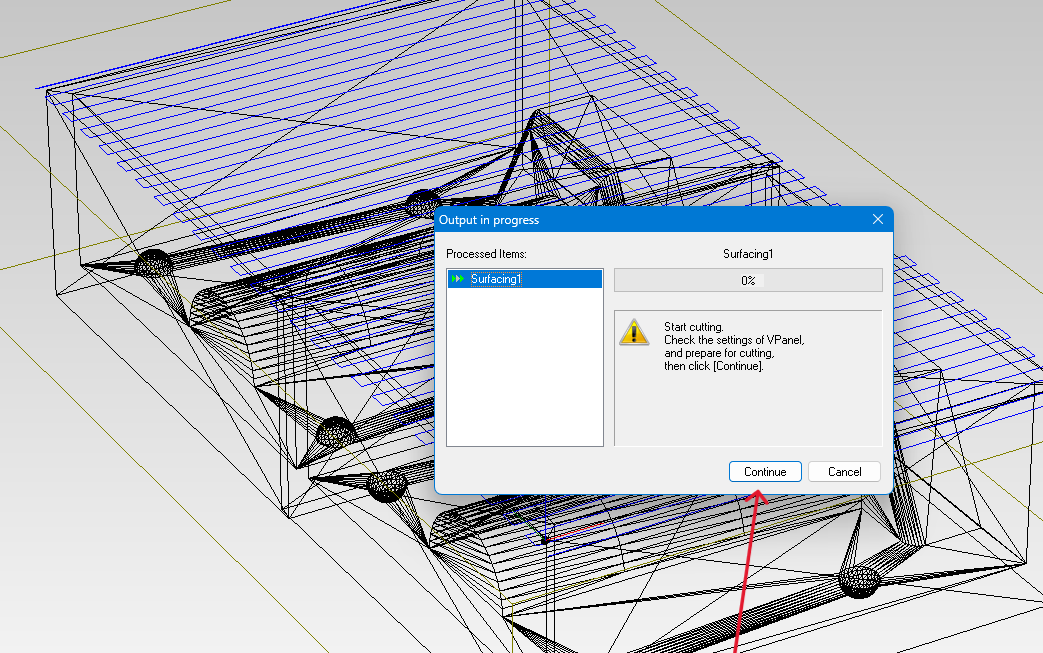 Click Continue |
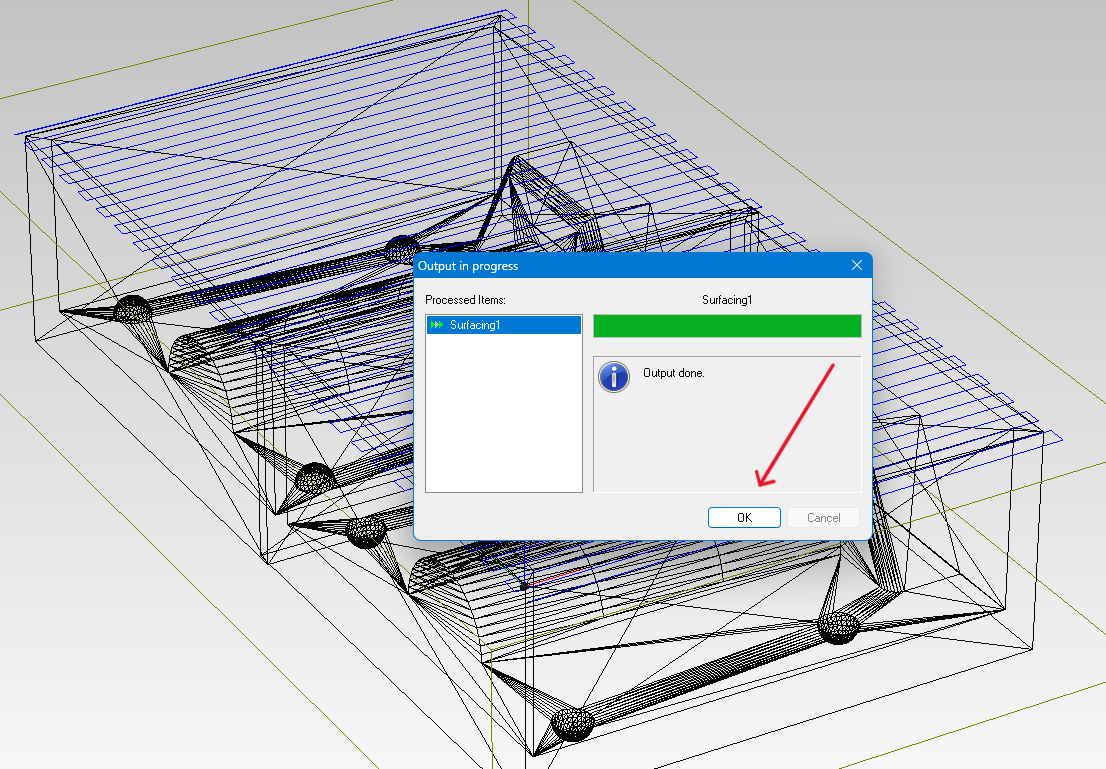 Click OK, then the milling machine will start designing |
ToolPath generate for roughing process
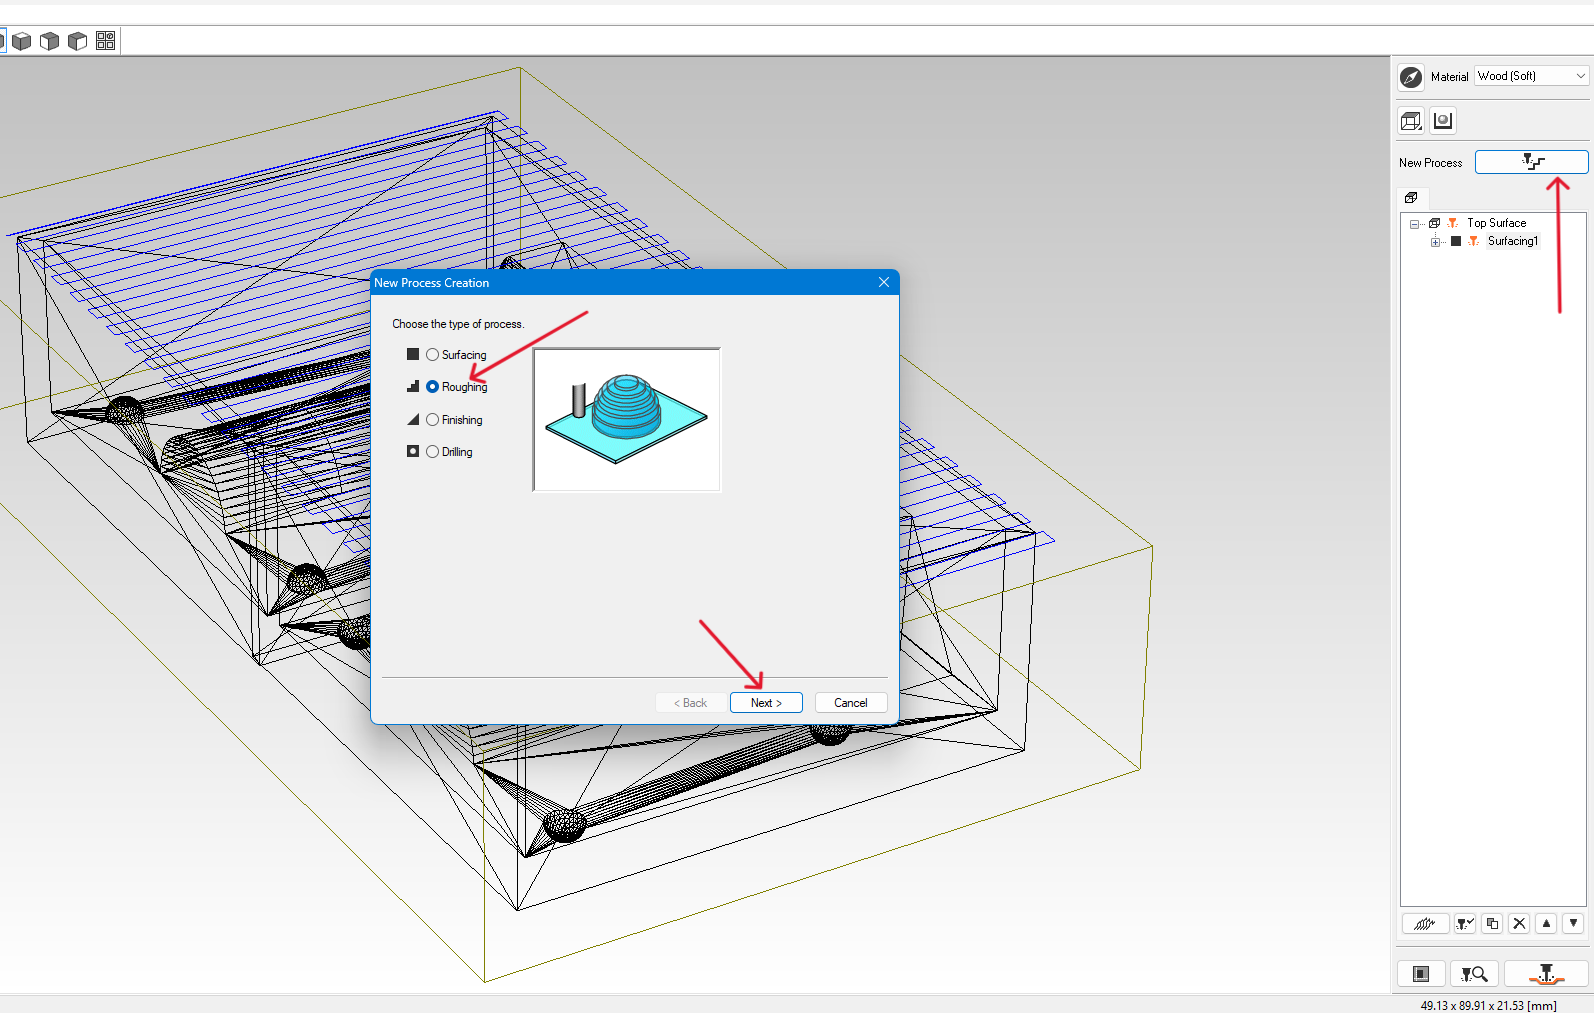
This process is the same as the surfacing process, but with some changes, which you can see in the images below.
 |
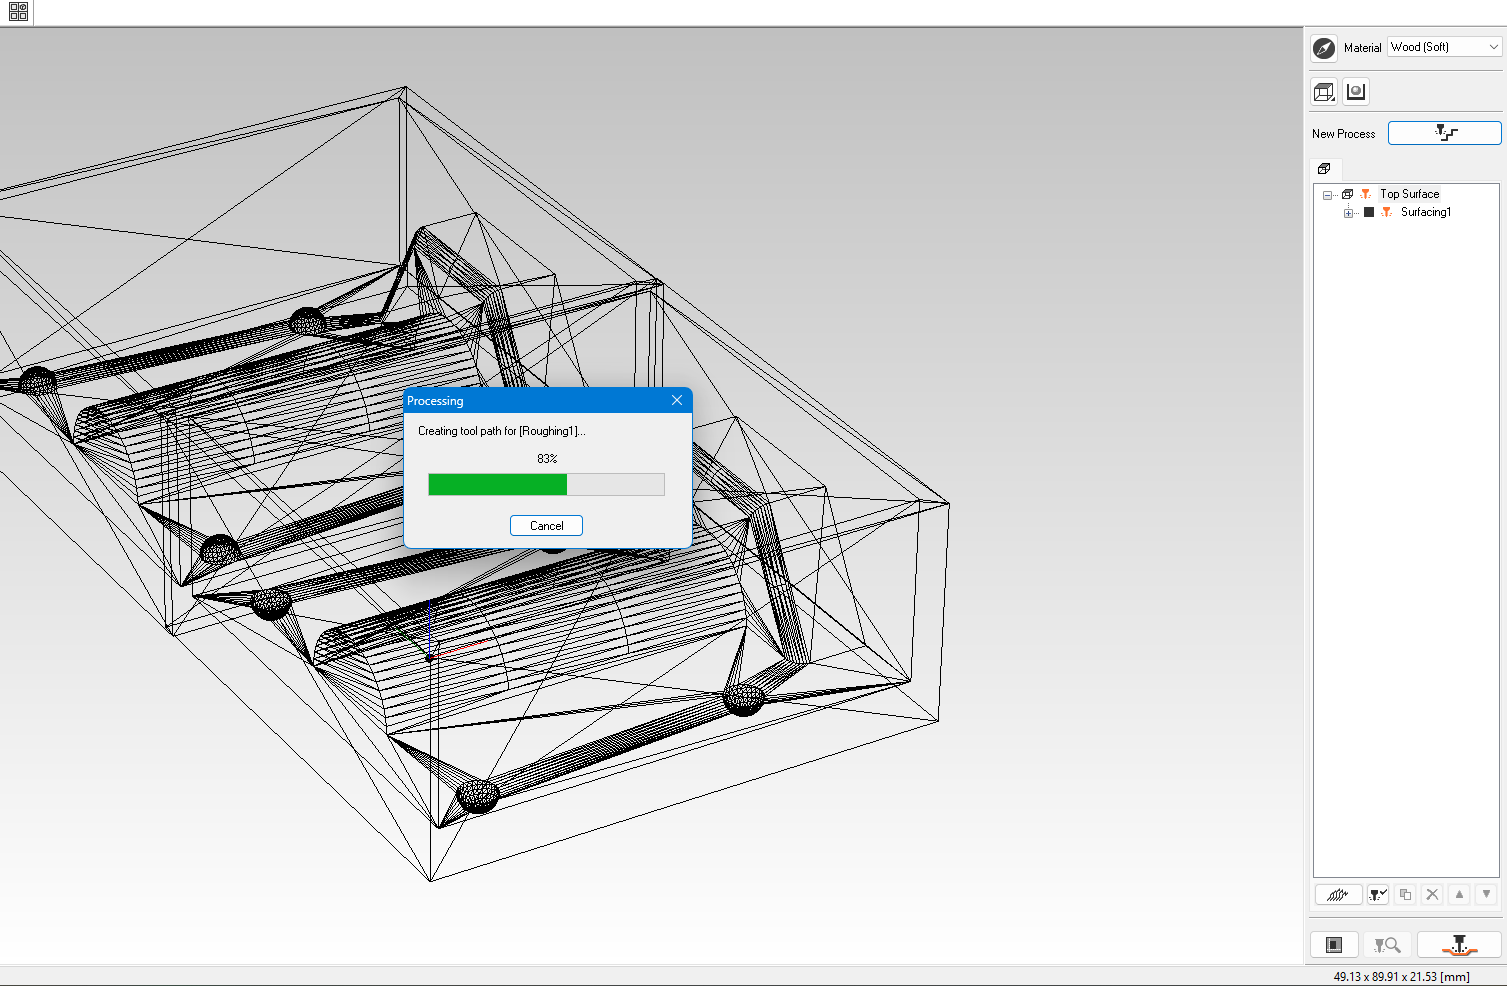 |
| Click on 'New Process', select 'Roughing', and click 'Next'. | Now the roughing process is being set up. |
 |
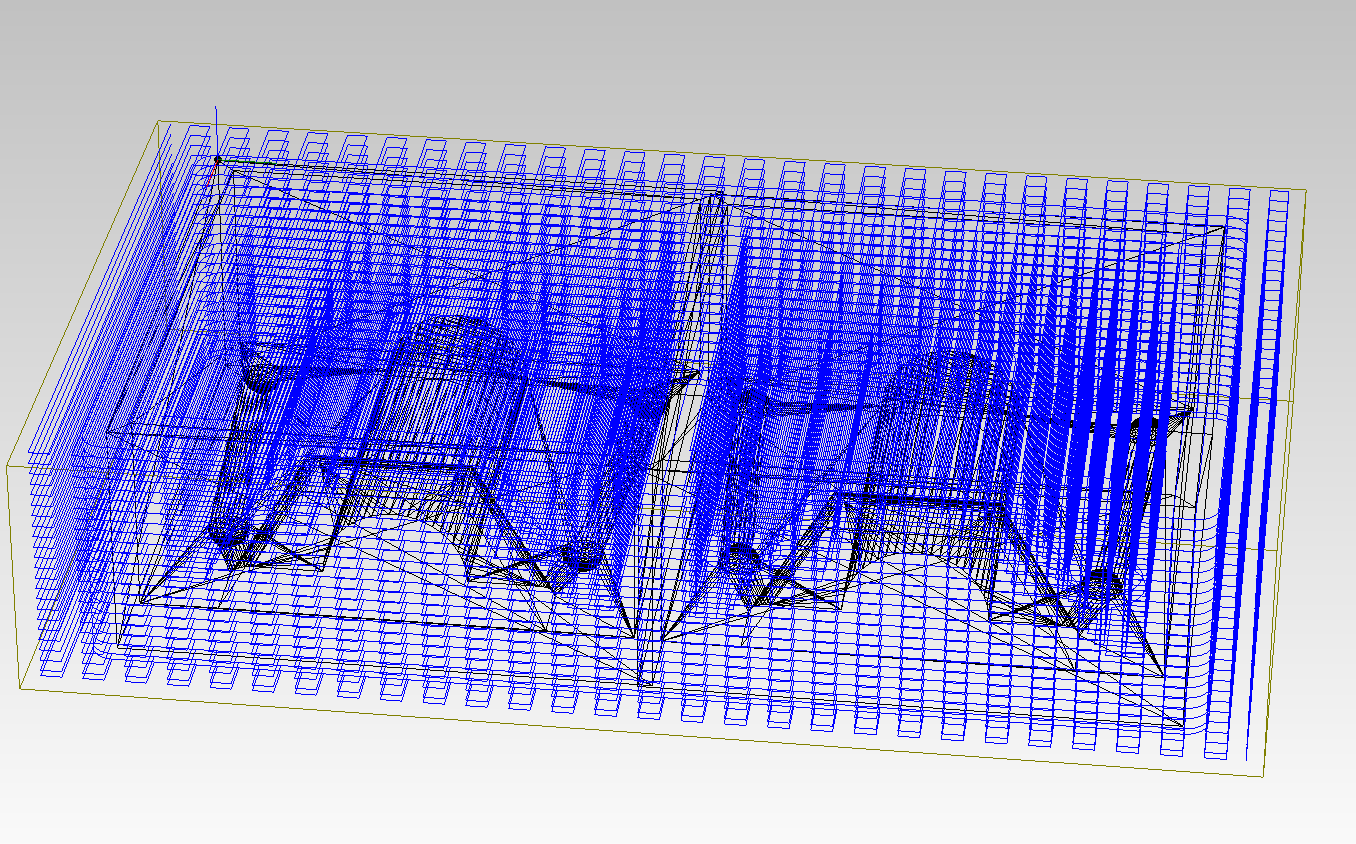 |
| Click on 'Tool' and select the same bit as used previously. | You can now see the generated roughing toolpath. |
Toolpath Generation for Finishing Process
This process is the same as the surfacing process, but with a few changes as shown in the images below.
 |
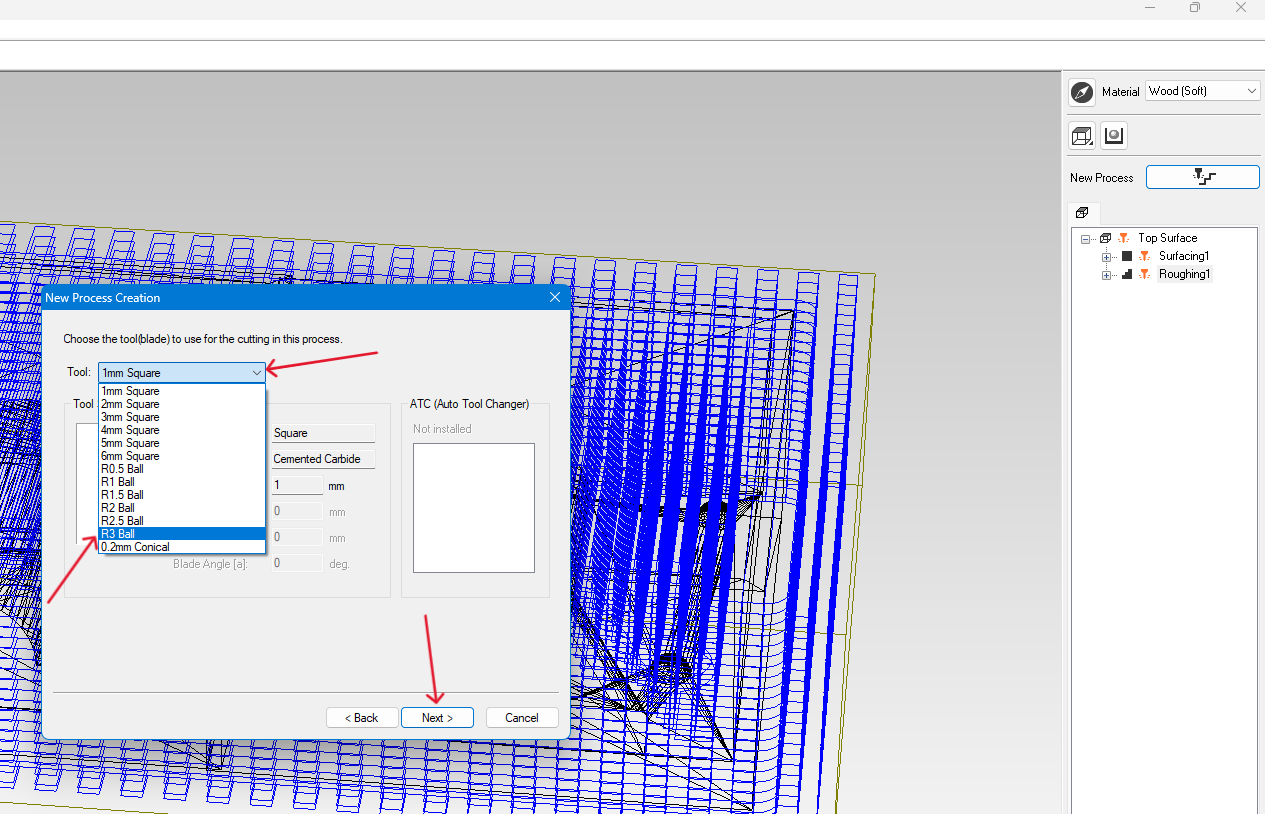 |
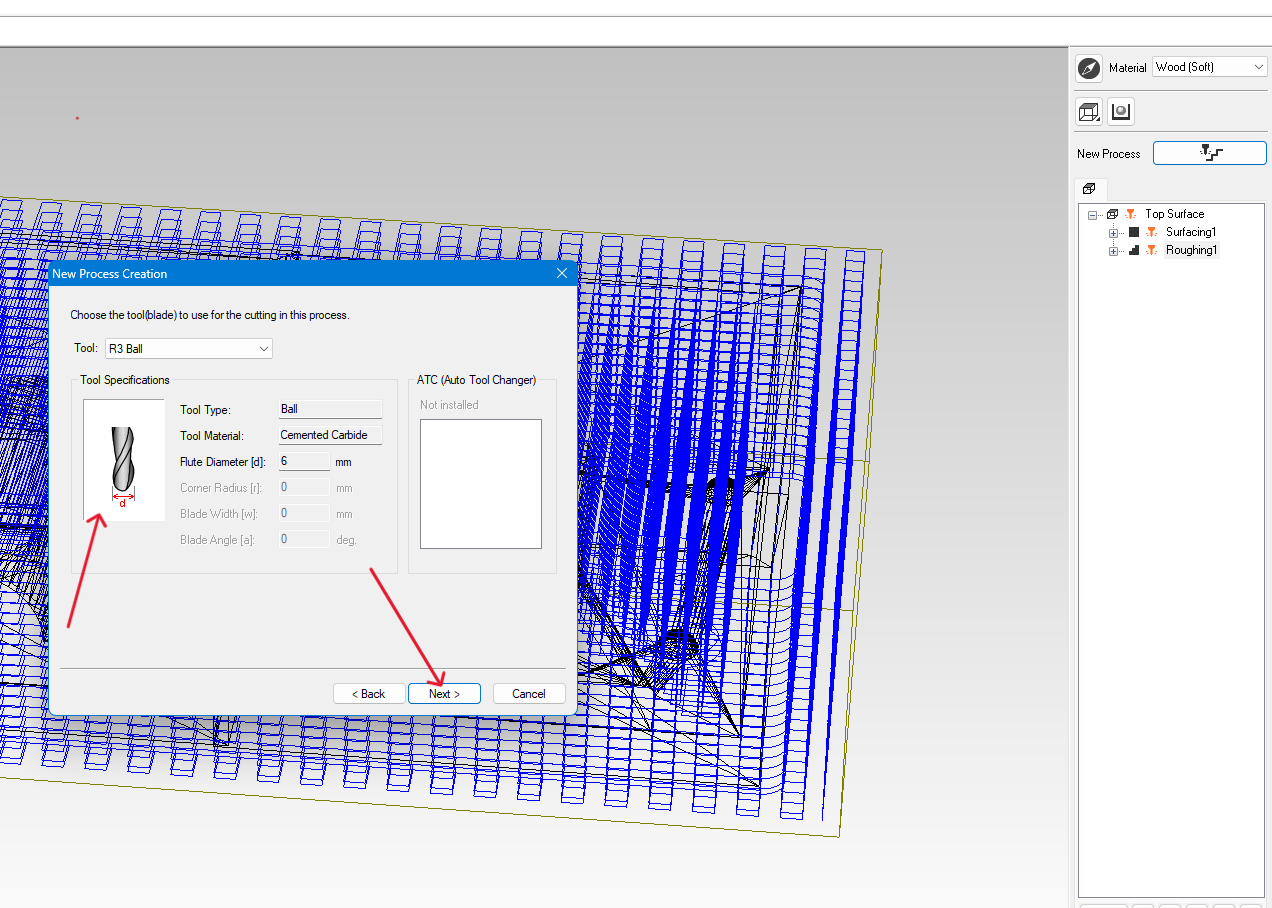
| Click on 'New Process', select 'Finishing', and click 'Next'. | Click on 'Tool' and select the R3 ball bit. |
 |
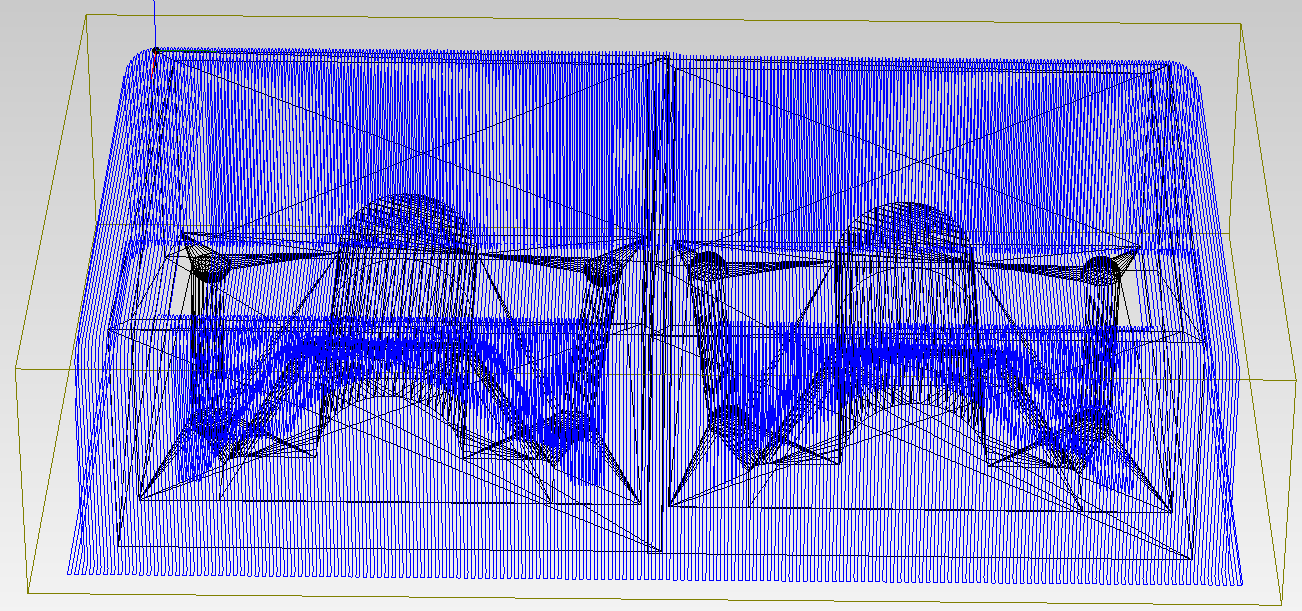 |
| The bit is changed. Click 'Next'. | The finishing toolpath is now generated. |
 |
|
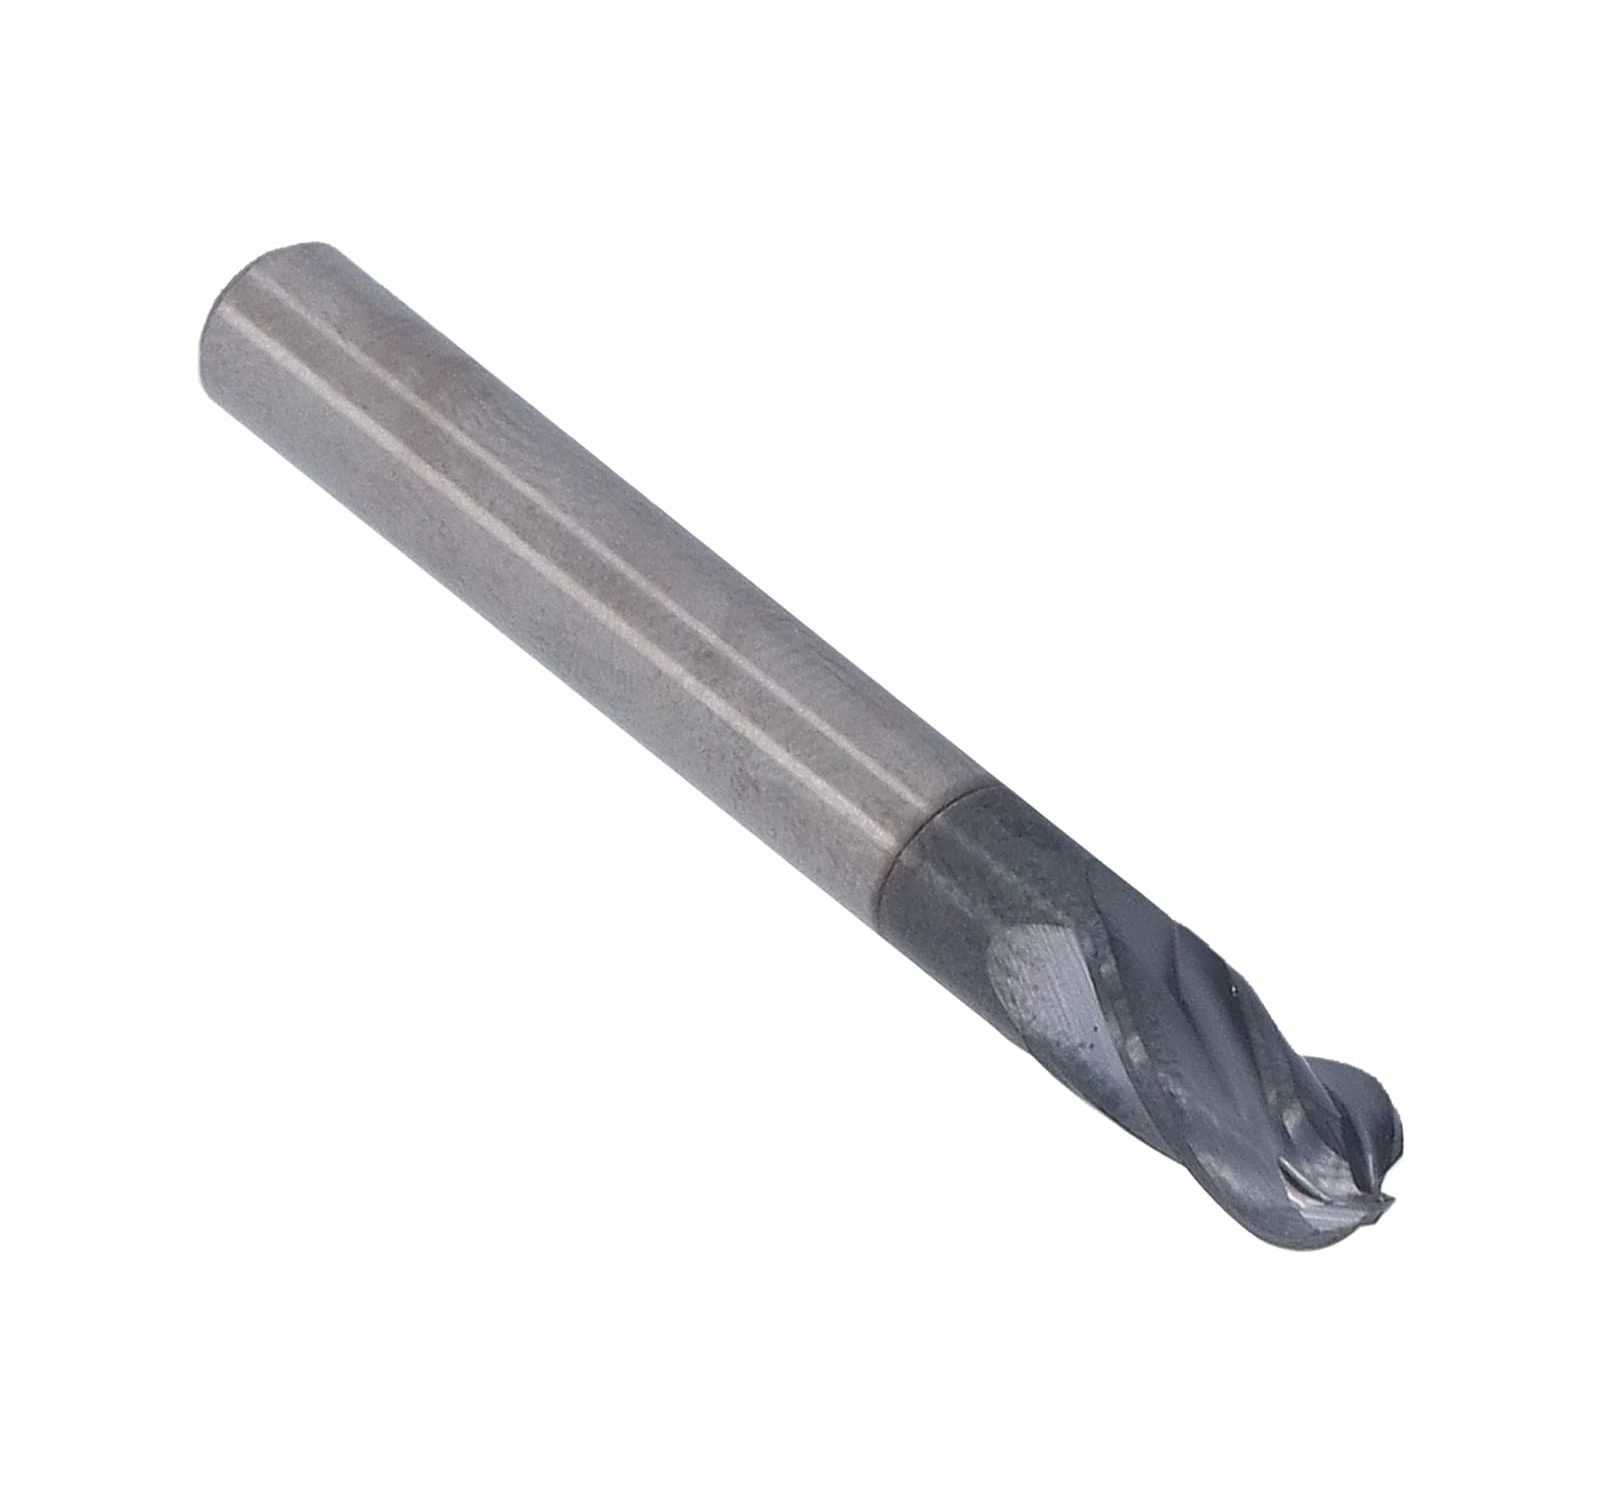
| R3 ball bit for finishing (Reference) |
Plywood Mold Macking Process with SRM 20 Milling Machine
 |
 |
 |
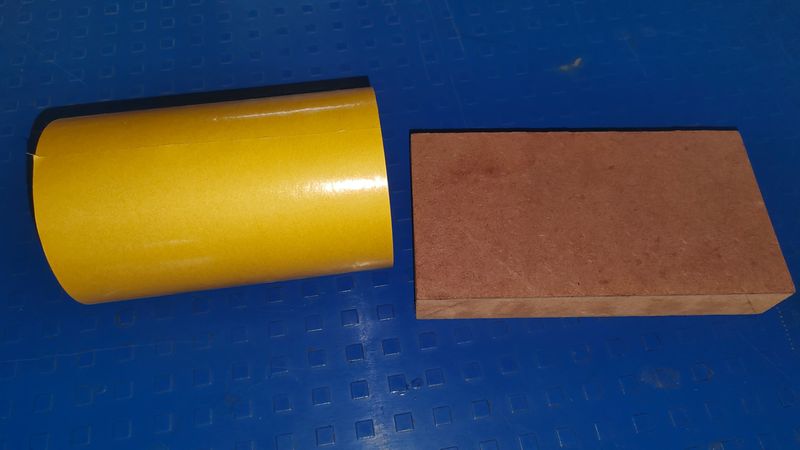
| Masking tape with plywood | Putted masking on plywood | Fitting plywood on milling machine bed |
 |
 |
 |
| Fitted plywood using glue | Putting 3mm square bit and started machine | Mold completed |
 |
||
| Final output of plywood mold | Surfacing | Roughing and finishing mold |
Plywood Mold Casting Process
 |
 |
| To determine the amount of Mold Shell and CAT required, I filled the mold design with water and used the weight of the water as a reference. |
 |
 |
| I poured the water from the mold into a measuring cylinder and measured its weight to find out how much material would be needed for casting. | Now, take out the CAT for casting and weighing it |
 |
 |
| After this, carefully and slowly transfer the molded mixture into a cup, ensuring precision and weighing it. | After this, thoroughly combine the CAT and the molded mixture together. |
 |
 |
| Now, apply a small amount of Vaseline to the mold design, so the molded mixture can be easily removed afterward. | Filling the molded mixture into the mold design while wearing a mask and hand gloves for safety, ensuring proper protection throughout the process. |
 |
 |
| Now, carefully fill the design molds completely with the mixed molded mixture. | Now that the molded mixture is fully in the mold design, leave it in a safe place to dry or set properly. |
 |
 |
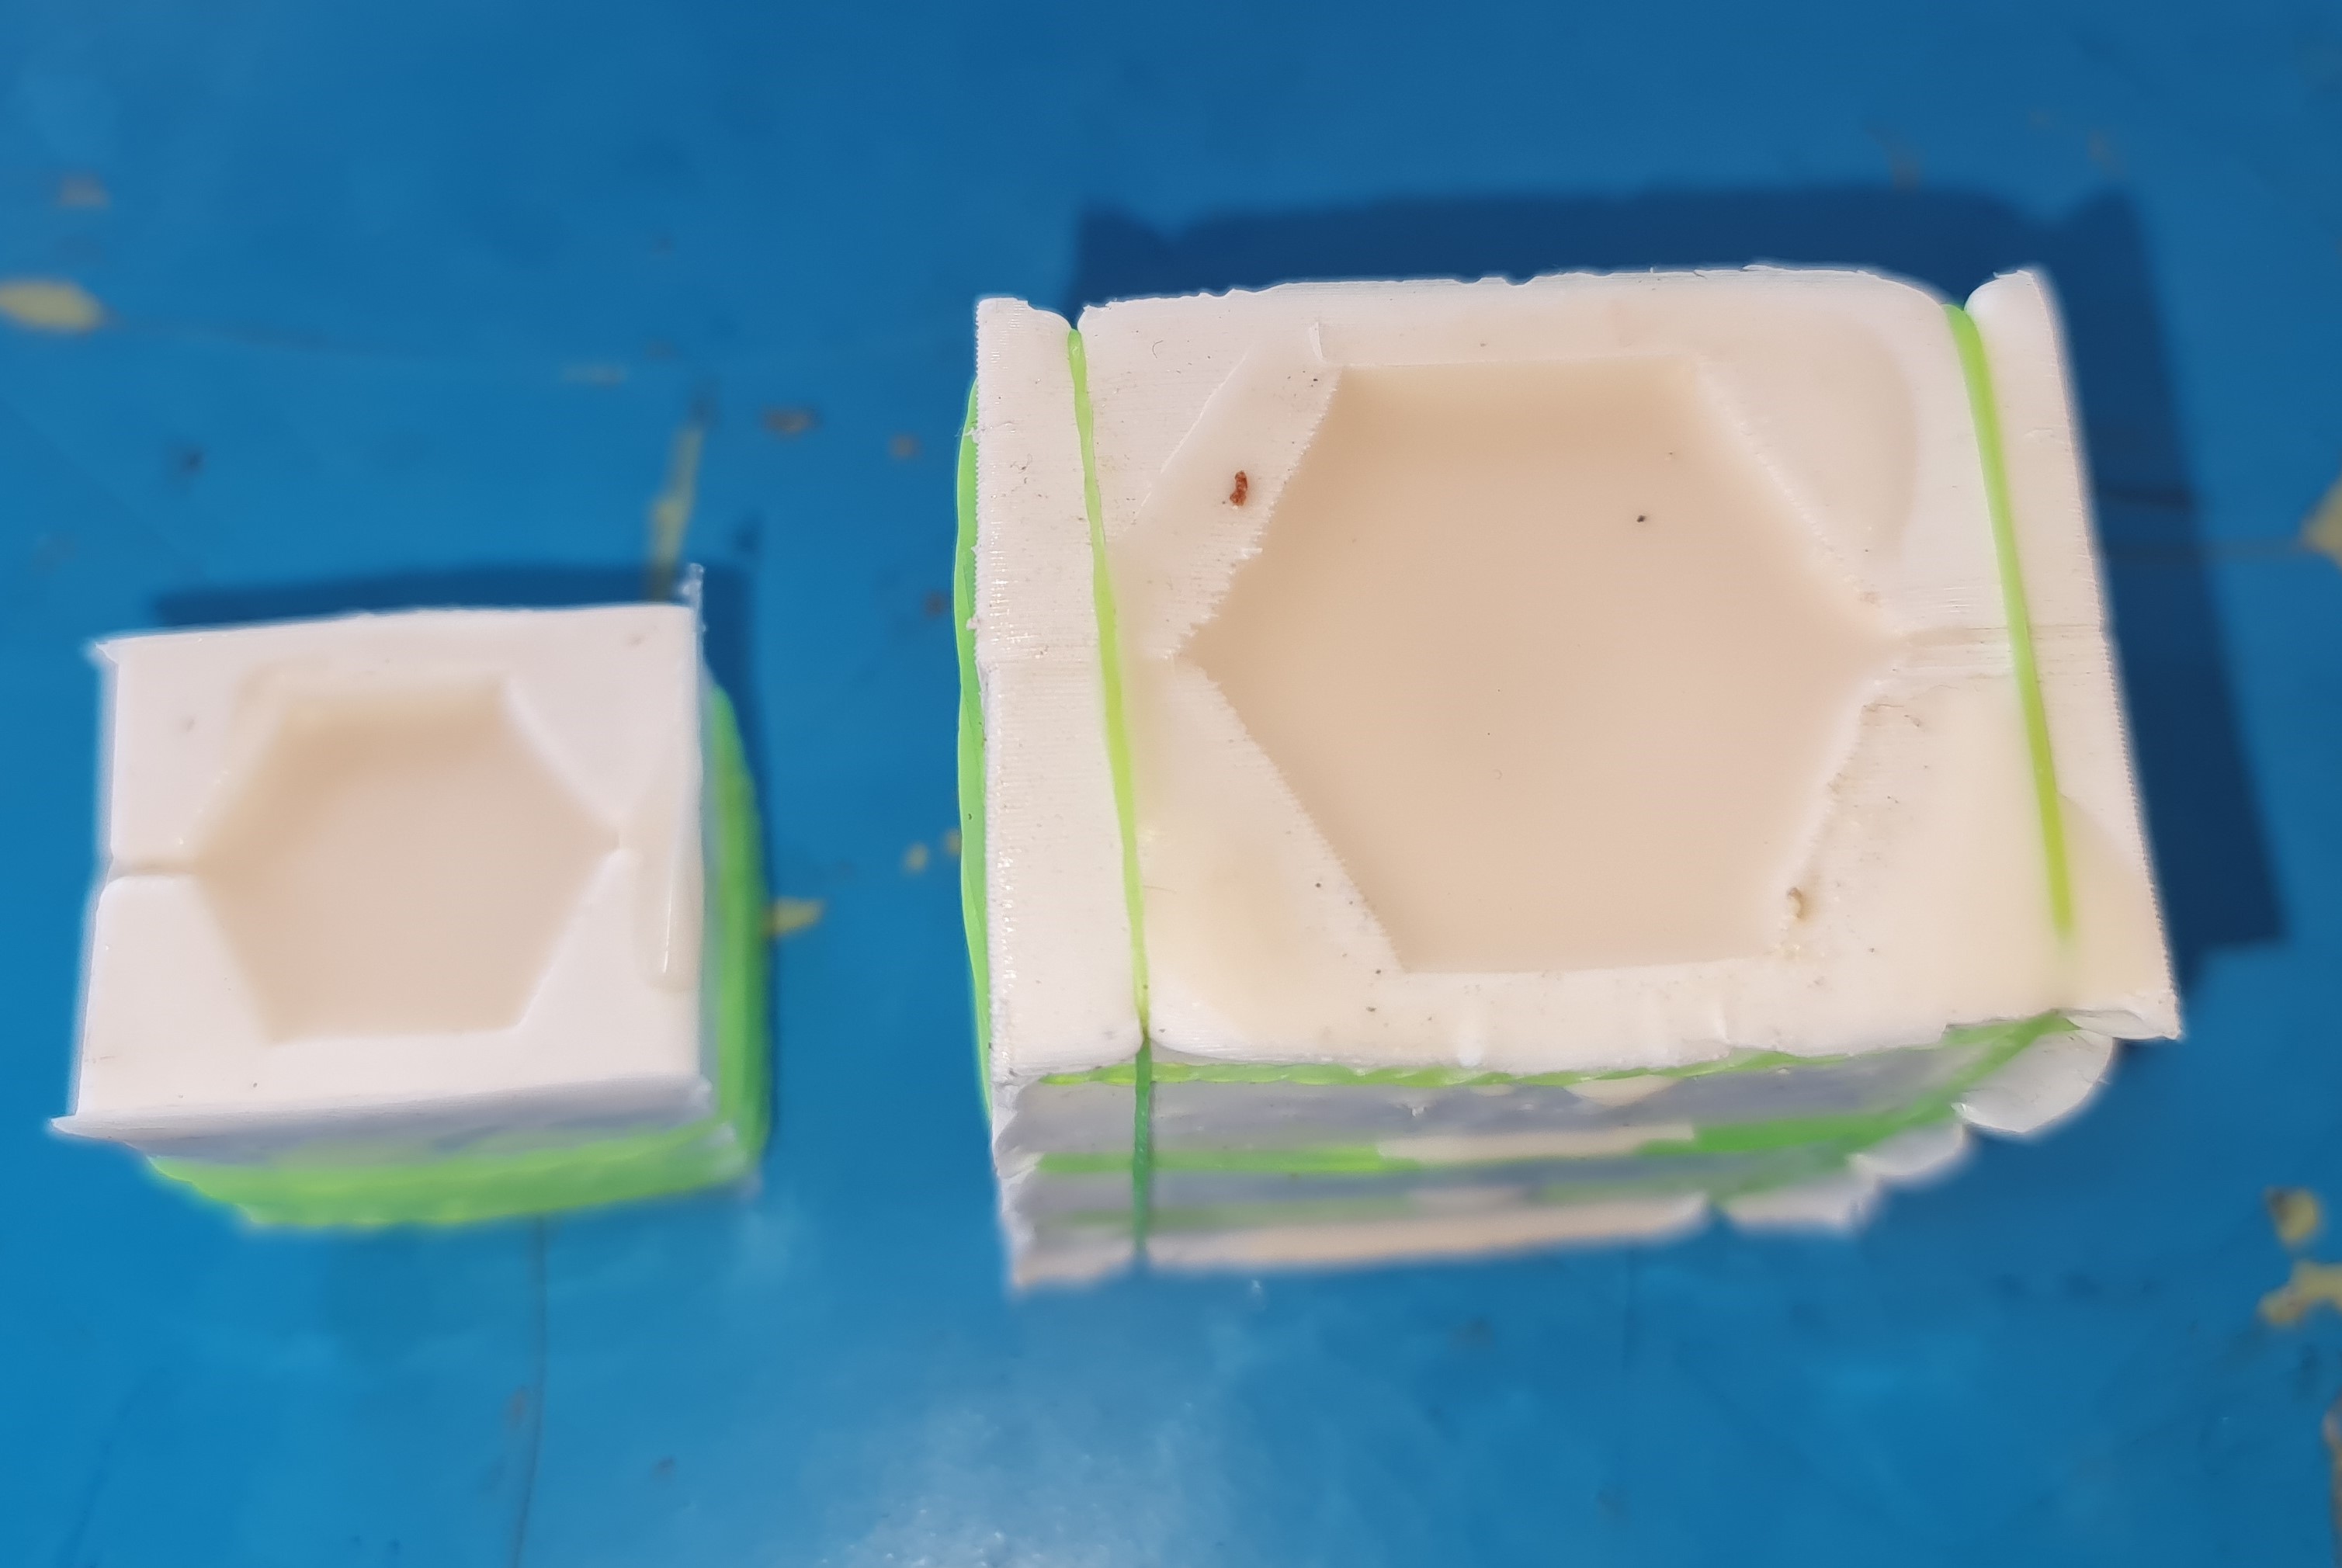
| After that, I left the mixed mold to dry for approximately 24 hours. Once the drying period was complete, I carefully removed the mold. At this stage, the nut-shaped mold had properly set and taken the desired shape. | Then, the same process was followed as shown in the 3D mold casting. A layer of Vaseline was applied again to ensure easy removal of the final casting once it dried |
 |
|
| Now, the mixed resin and hardener were carefully poured into the nut mold,After that, the mold was set aside to dry. |
 |
 |
| After 24 hours of mixing the resin and hardener, the material has fully set and taken the perfect shape of the nut mold. |
3D Mold in modeling wex
i used molding vex for macking nut mold.
Tool Path Generate
To create a mold in modeling wax, we need to follow the same toolpath generation steps as used for the soft wood mold. The only difference is that, during the toolpath setup, we must select 'Modeling Wax' as the material instead of wood. This ensures the correct cutting settings for the wax. An example of this selection is shown in the image below.
 |
|
| Go on material and select Modeling Wax |
|
Mold Macking Process with SRM 20 Milling Machine
 |
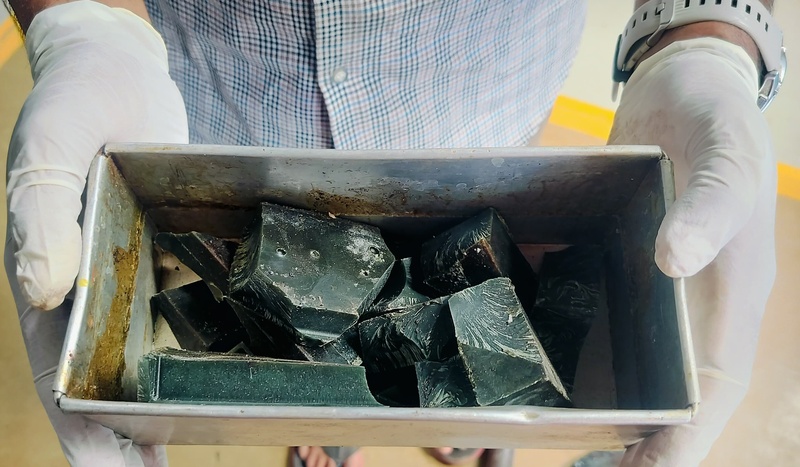 |
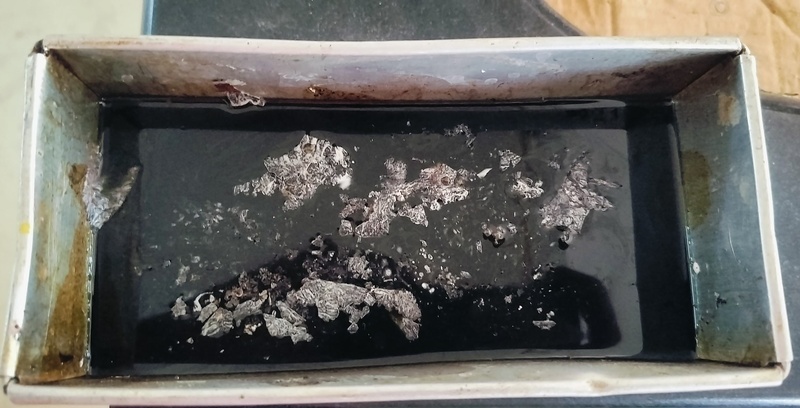
| First, I began by breaking the modeling wax into small pieces to make it easier to melt and work with during the process. |
After that, I placed all the wax pieces into a mold to form them into the desired shape. |
 |
 |
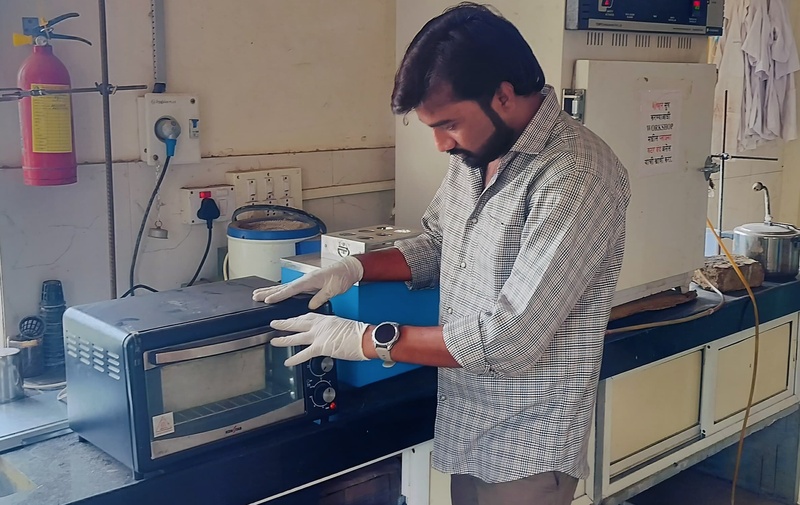
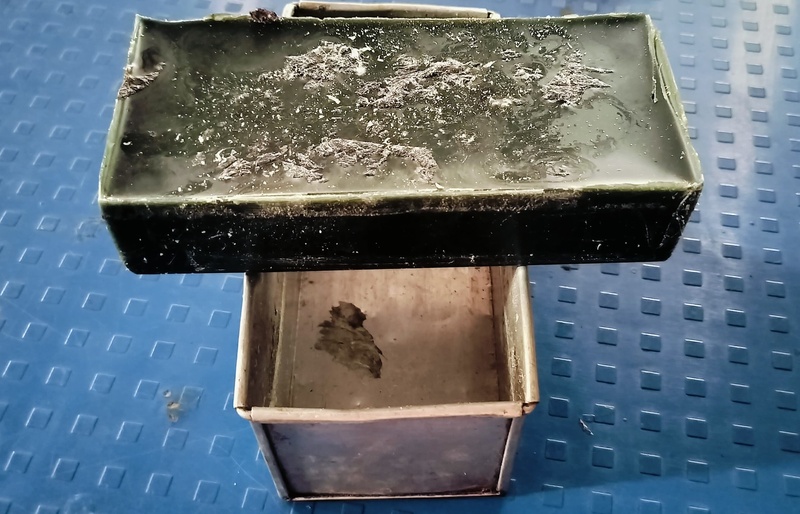
| After that, I placed the mold filled with wax into the oven to melt it evenly and prepare it for the next step. |
The wax has completely melted and is now ready for the next stage of the process. |
 |
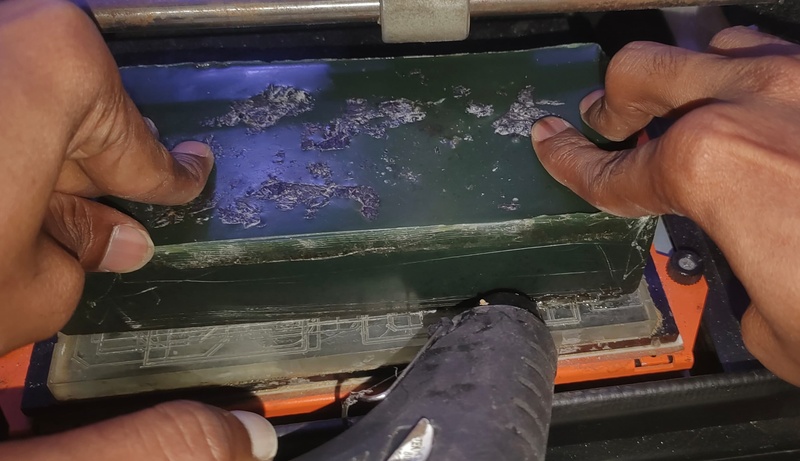 |
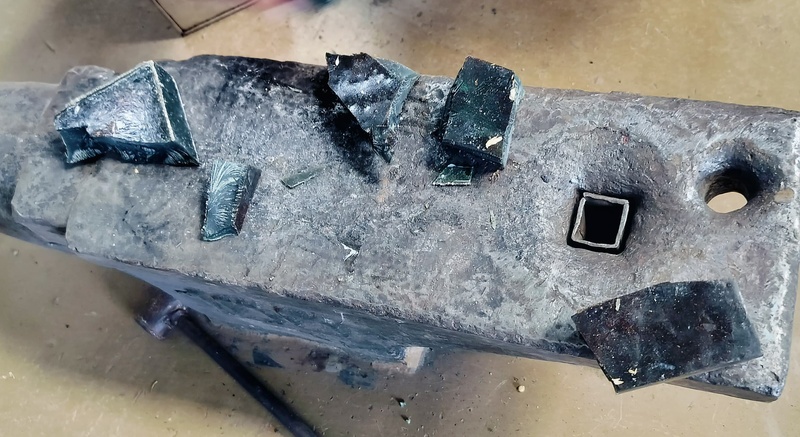
| Now, I carefully removed the wax-formed shape from the mold. |
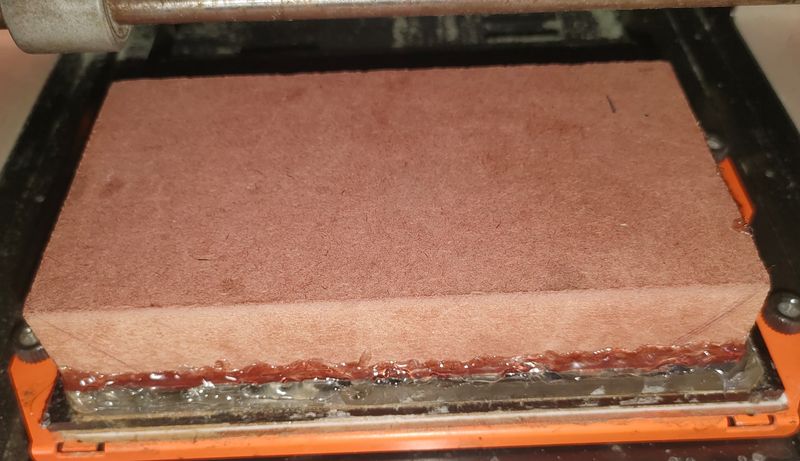
I properly secured the wax shape onto the milling machine bed, ensuring it was firmly and accurately positioned for precise machining. |
 |
 |
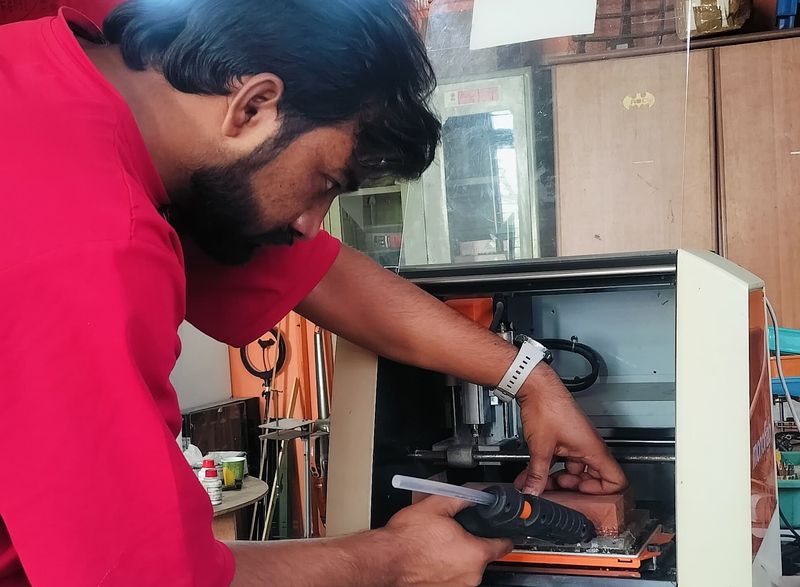
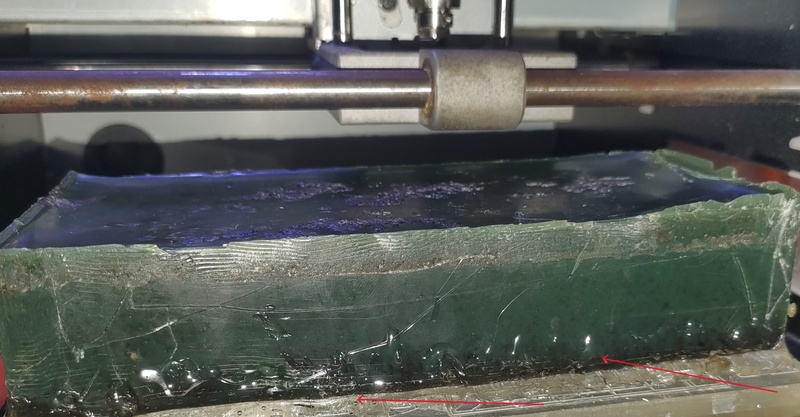
| After securing the wax shape, I used a glue gun to apply hot glue around its perimeter to prevent any movement once the machine started. Then I powered on the milling machine and began cutting the mold. |
Mold completed |
| Surfacing |
Roughing and finishing mold |
Modeling wex casting process
 |
 |
| To determine the amount of Mold Shell and CAT required, I filled the mold design with water and used the weight of the water as a reference. |
I poured the water from the mold into a measuring cylinder and measured its weight to find out how much material would be needed for casting. |
 |
 |
| Now, take out the CAT for casting and weighing it |
After this, carefully and slowly transfer the molded mixture into a cup, ensuring precision and weighing it. |
 |
 |
| After this, thoroughly combine the CAT and the molded mixture together. |
Now, carefully fill the design molds completely with the mixed molded mixture. |
 |
 |
| Now that the molded mixture is fully in the mold design, leave it in a safe place to dry or set properly. |
After that, I left the mixed mold to dry for approximately 24 hours. Once the drying period was complete, I carefully removed the mold. At this stage, the nut-shaped mold had properly set and taken the desired shape. |
 |
 |
| Then, the same process was followed as shown in the 3D mold casting. A layer of Vaseline was applied again to ensure easy removal of the final casting once it dried |
Now, the mixed resin and hardener were carefully poured into the nut mold,After that, the mold was set aside to dry. |
Note - The first batch of Resin and Hardner didn’t set properly because the material was slightly old and had passed its expiration date. So, I repeated the process with a "Paraffin Wax", poured it into the mold, and waited half hour. This time, it solidified perfectly, forming the exact shape of the nut.
 |
 |
| First, the paraffin wax was melted thoroughly and then carefully poured into the mold to take shape as it cooled and solidified. |
The wax solidified properly within approximately 20 to 30 minutes, forming a smooth and well-defined shape. |
 |
|
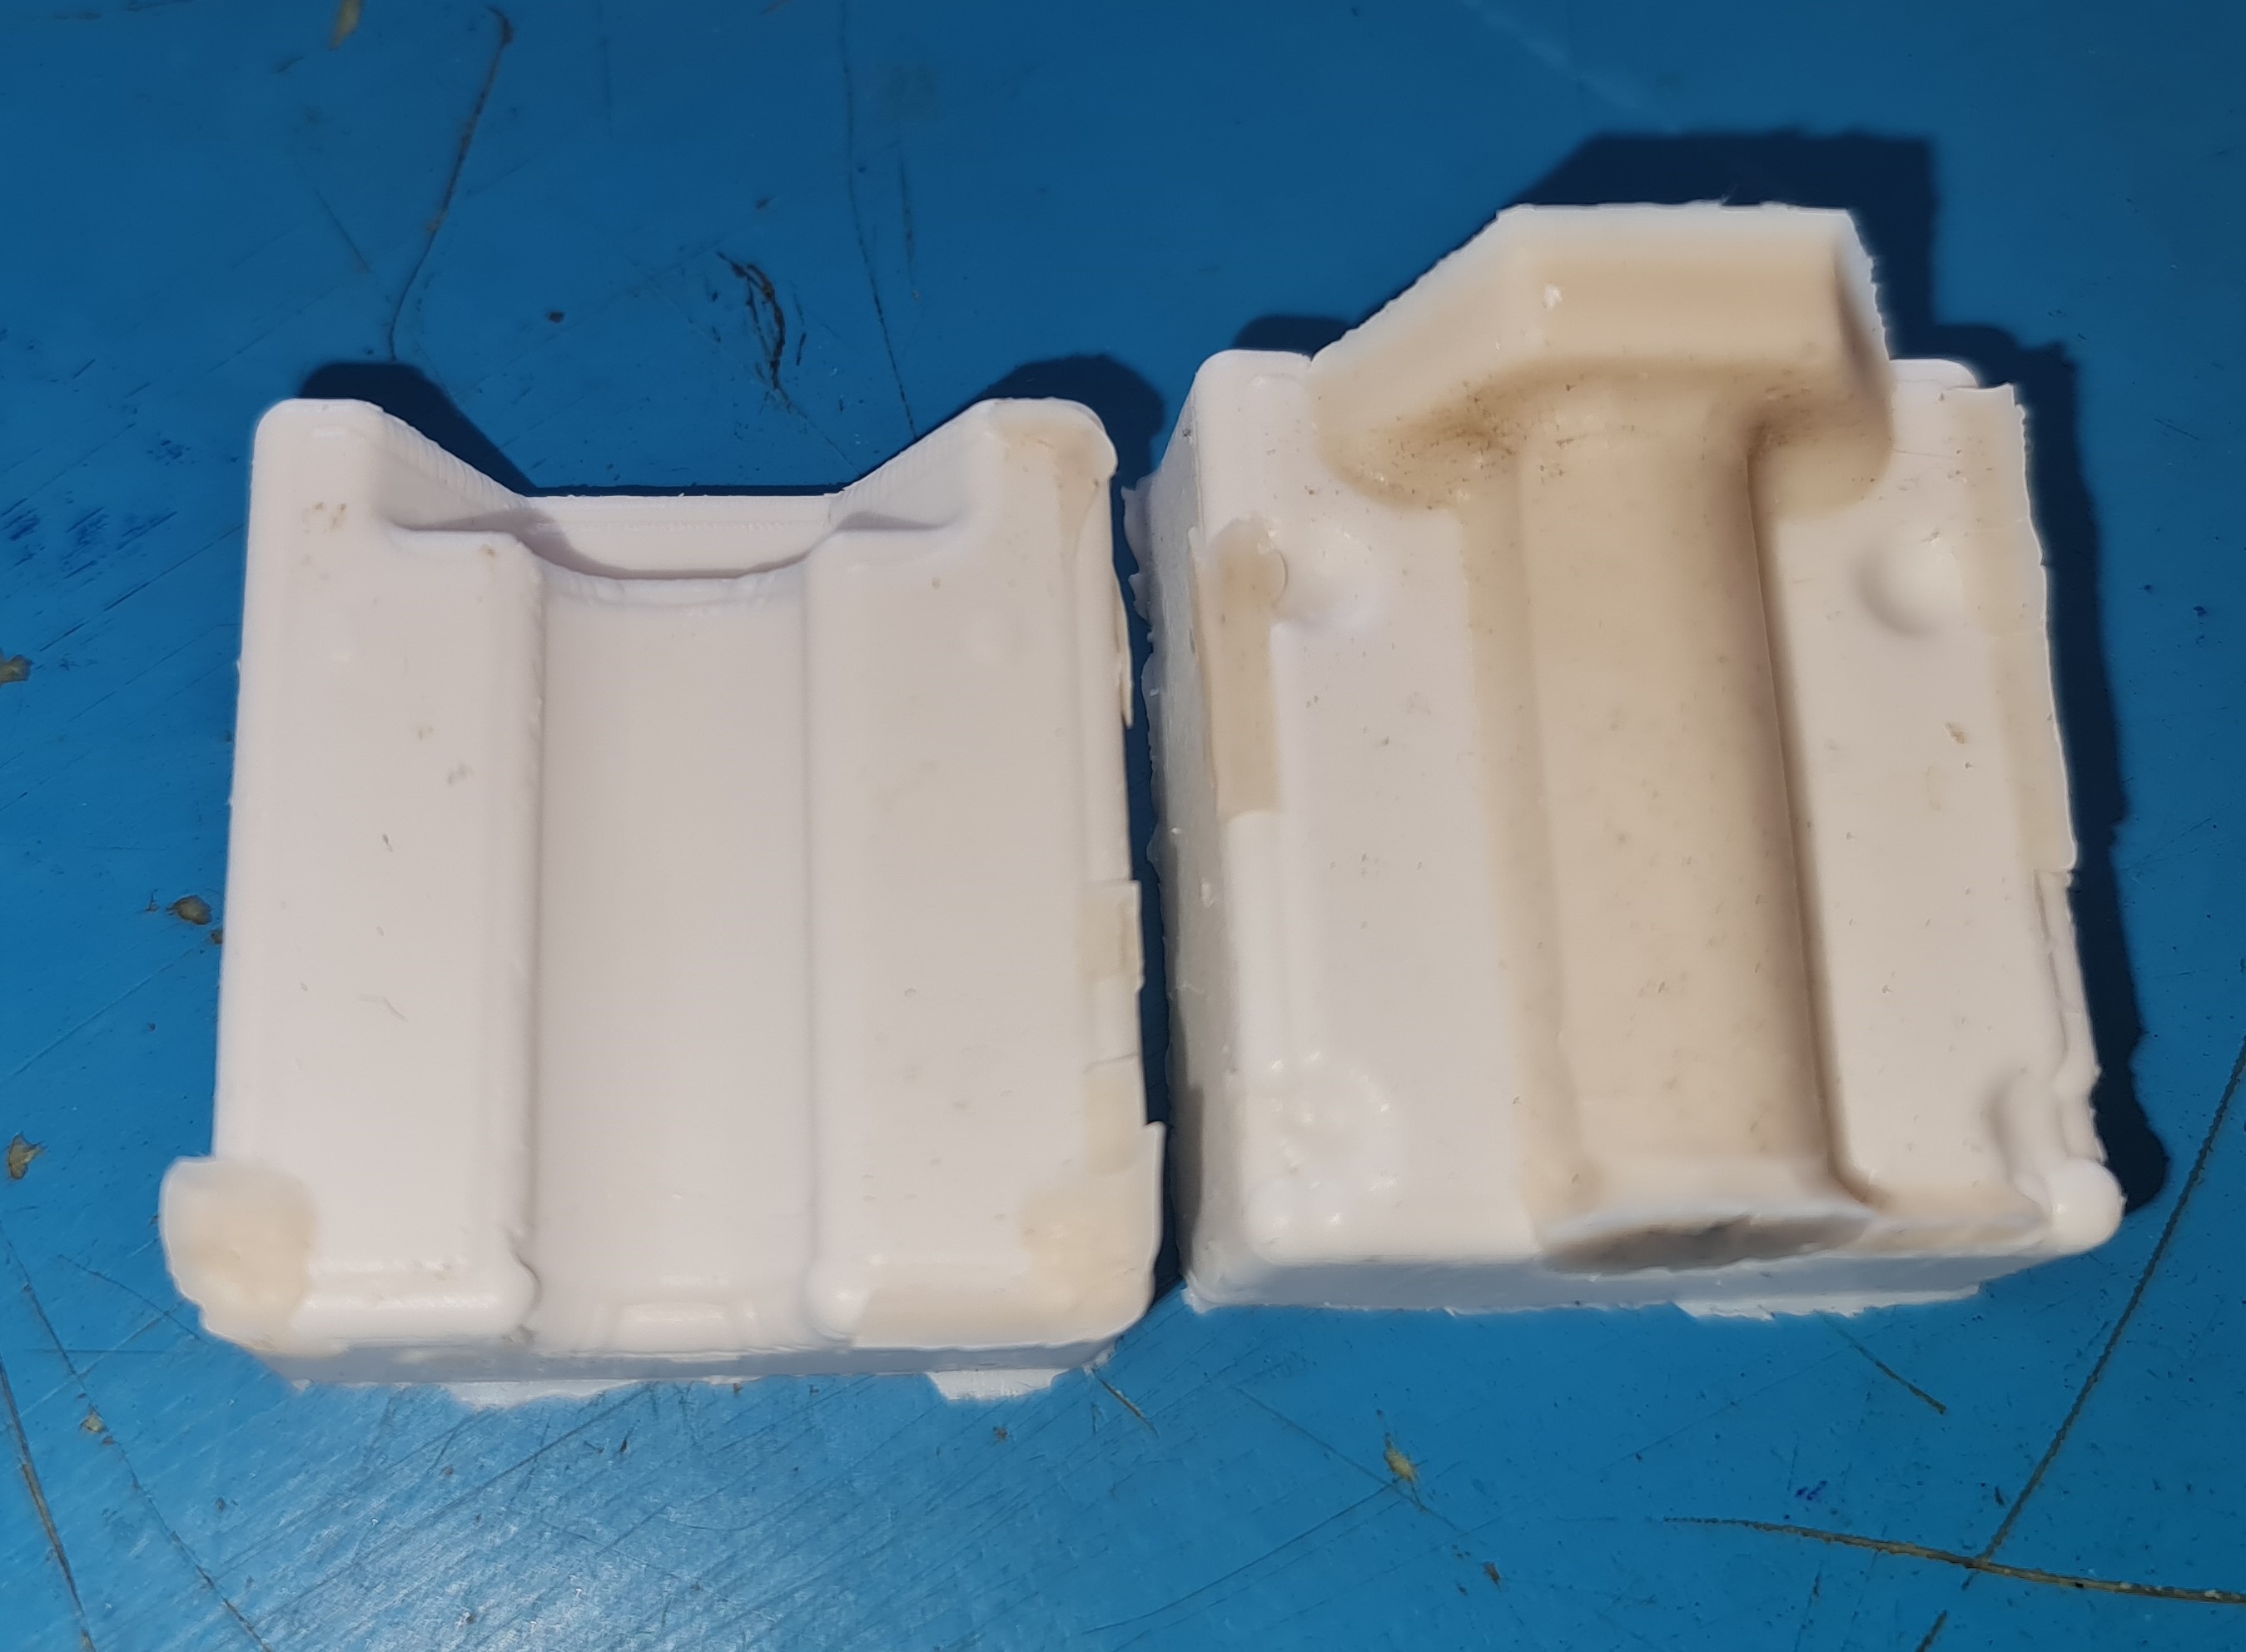
| Then, the two halves of the mold were carefully separated to reveal the fully formed wax shape, ensuring that no edges were damaged during the process. |
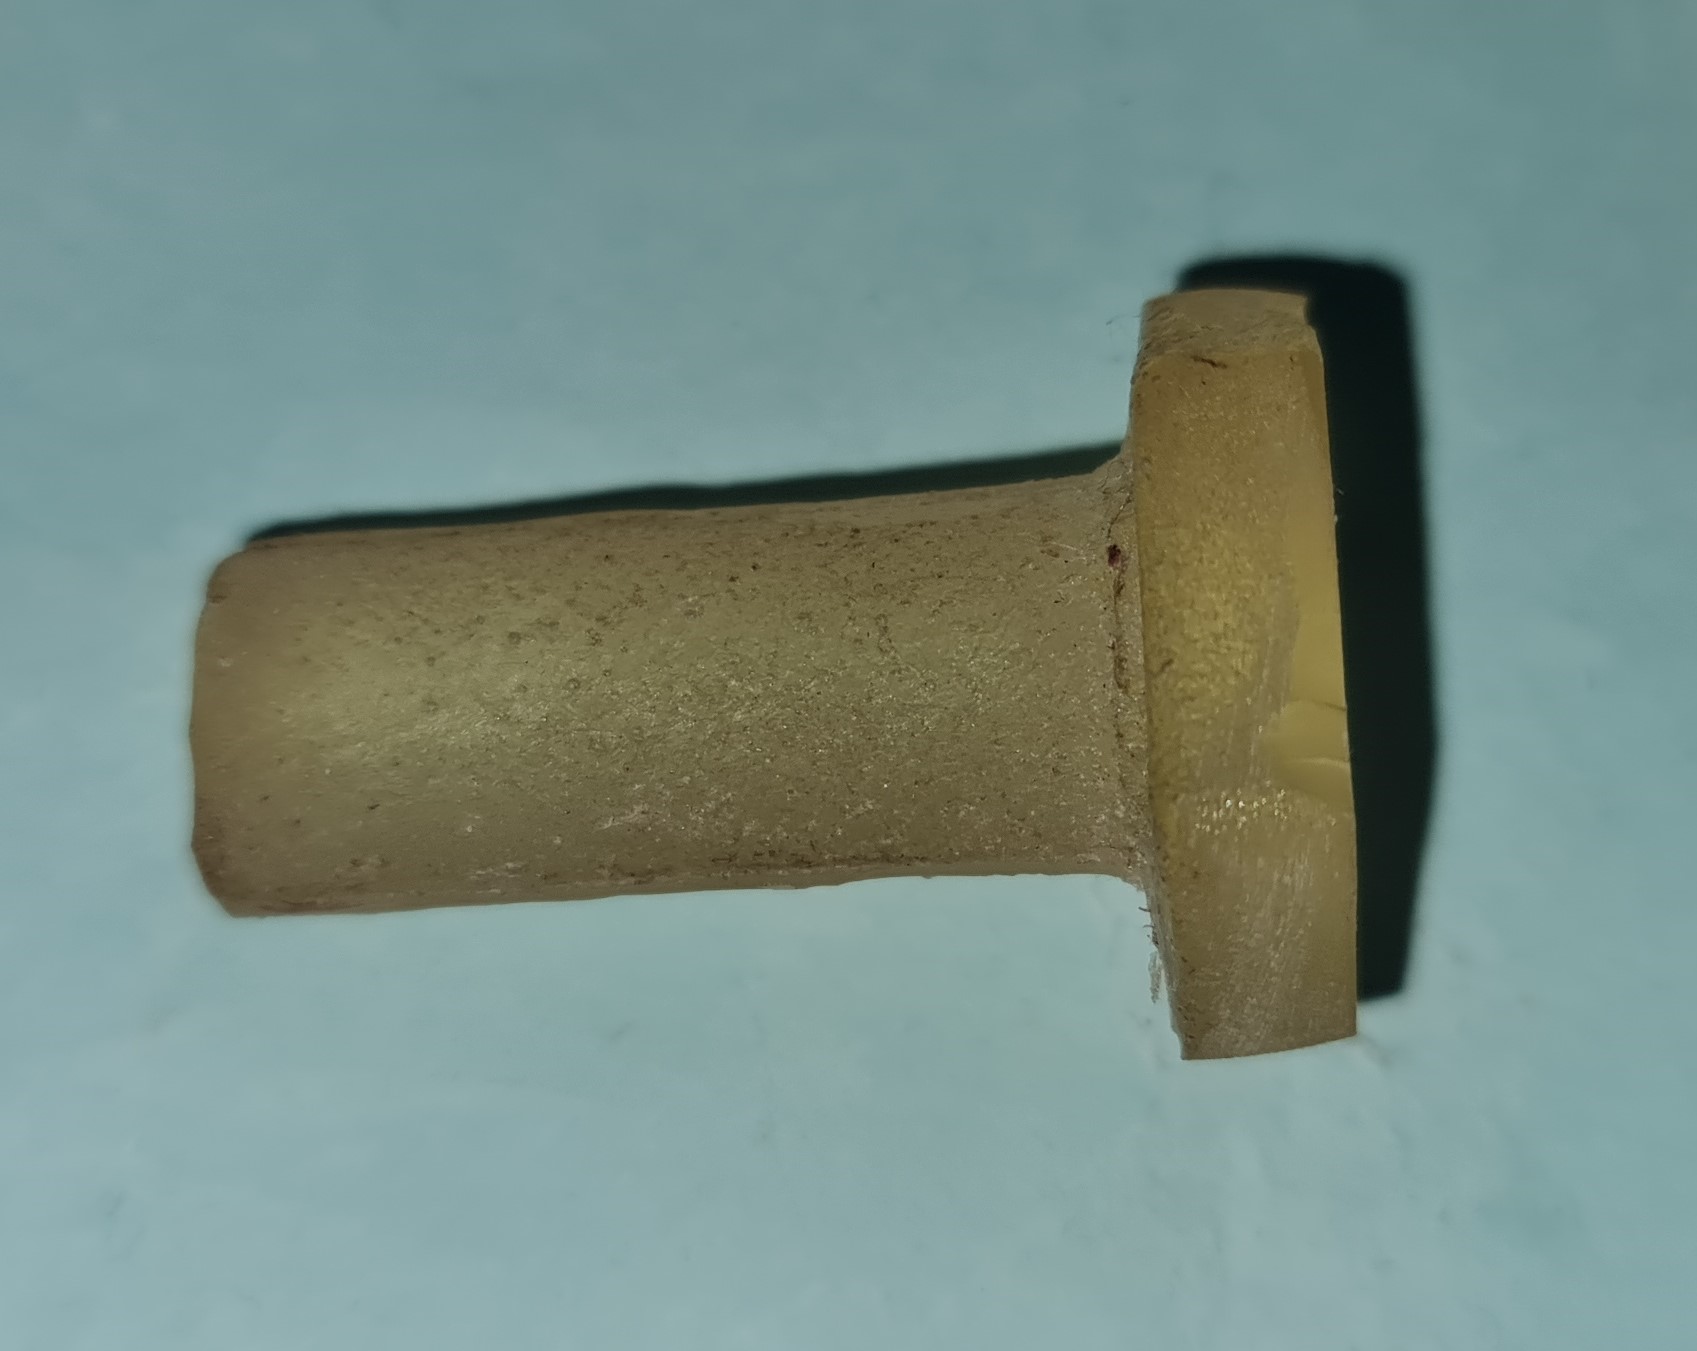
Next, the shape of paraffin wax nut removed from the mold, and the edges were carefully trimmed and cleaned to give it a neat and finished look. |
 |
|
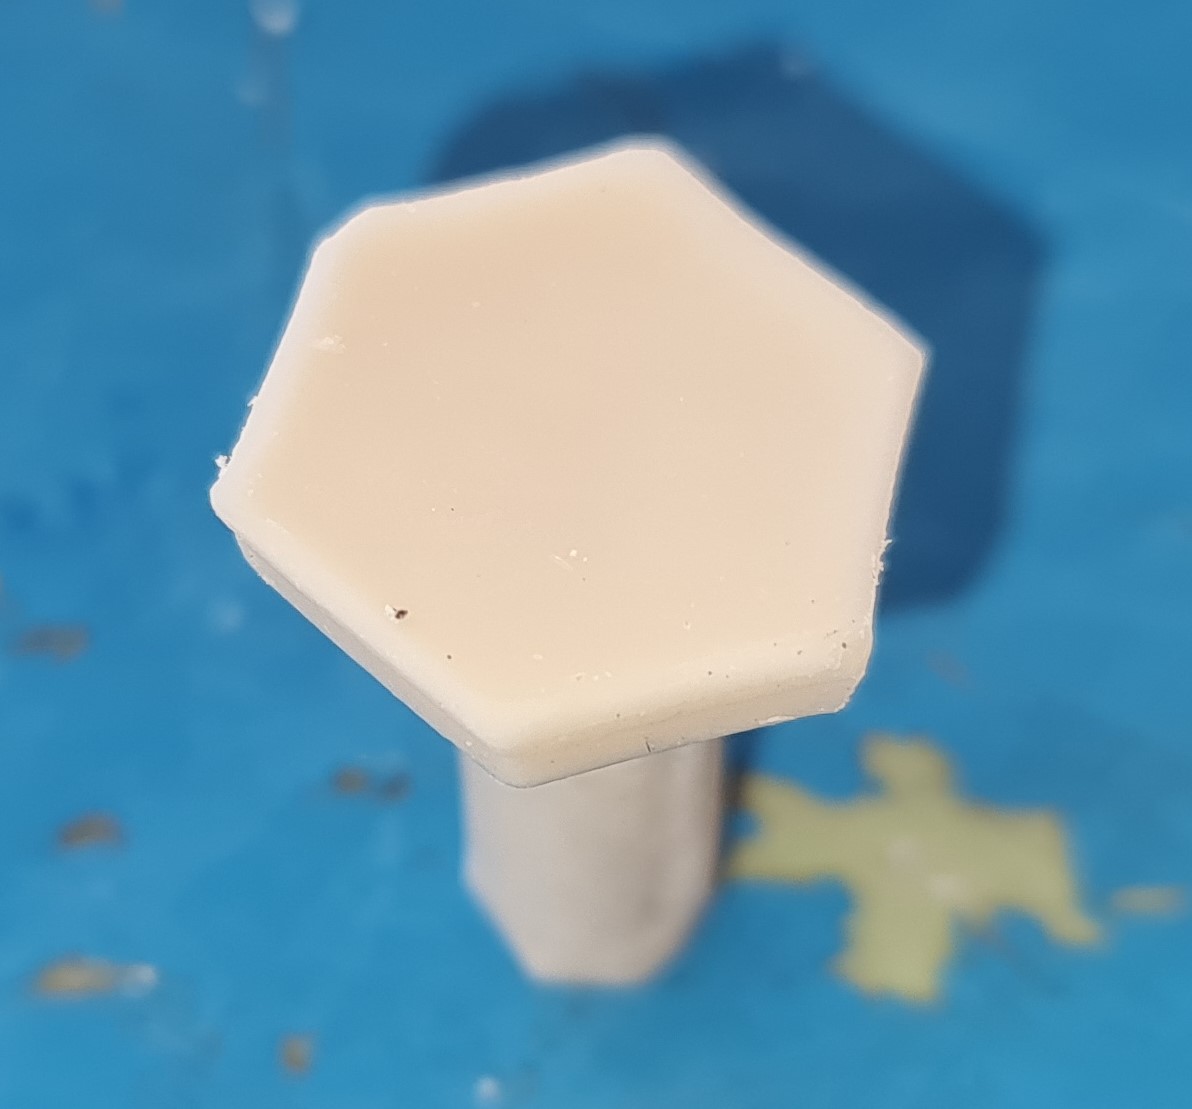
| Now, final product as nut mold is completely finished and ready. |
|
Design Parameters
3D printed Mold
Wood printed Mold
Wax printed Mold
3D Printing Parameters
Original File's Given Below -
Summary
The assignment involved creating the same mold using three different materials:
Conclusion
Through this assignment, I gained hands-on experience in:
This week helped me build a strong foundation in mold-making and casting techniques, as well as understand the importance of material choice and toolpath accuracy in the fabrication/molding process.