
About this week
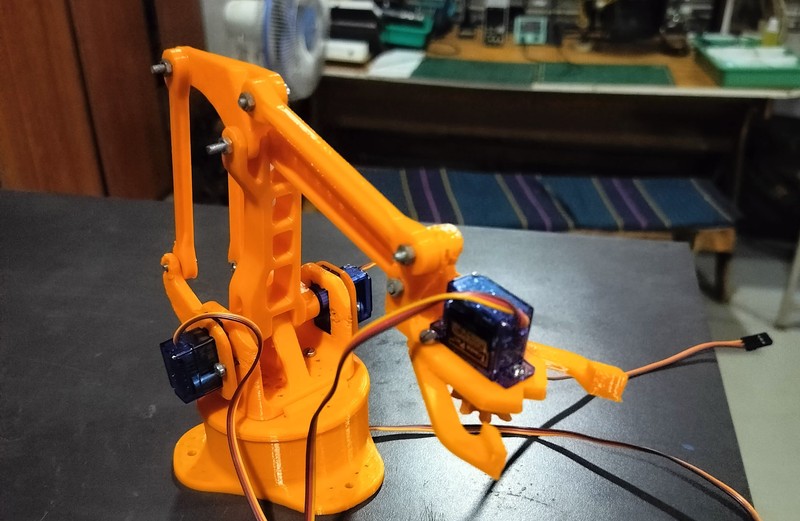
This week, we explored how to design and develop a robotic machine capable of operating along the X, Y, and Z axes. As part of our group assignment, we began by constructing a prototype robotic arm. The primary objective of this arm was to pick up an object from one location and place it at another with accuracy and control.
To enhance its functionality, we integrated a webcam for real-time object detection. This allowed the robotic arm to identify the object, align itself correctly, and perform the pickup and placement task autonomously. Our testing phase was successful, proving the efficiency of our concept.
Following this achievement, we proceeded to build the final version of the robotic arm, which featured better precision, smoother movement, and improved control mechanisms. This project not only strengthened our technical knowledge in robotics and automation but also boosted our teamwork and problem-solving skills. It was a valuable step forward in our Machine Week journey.
Heroshot of the Assignment
 |
 |
|
|
|
 |
 |
|
|
|
Objctive of the Assignment
1. Group Assignment -
2. Individual Assignment
Tasks Handled by Me in the Group Assignment
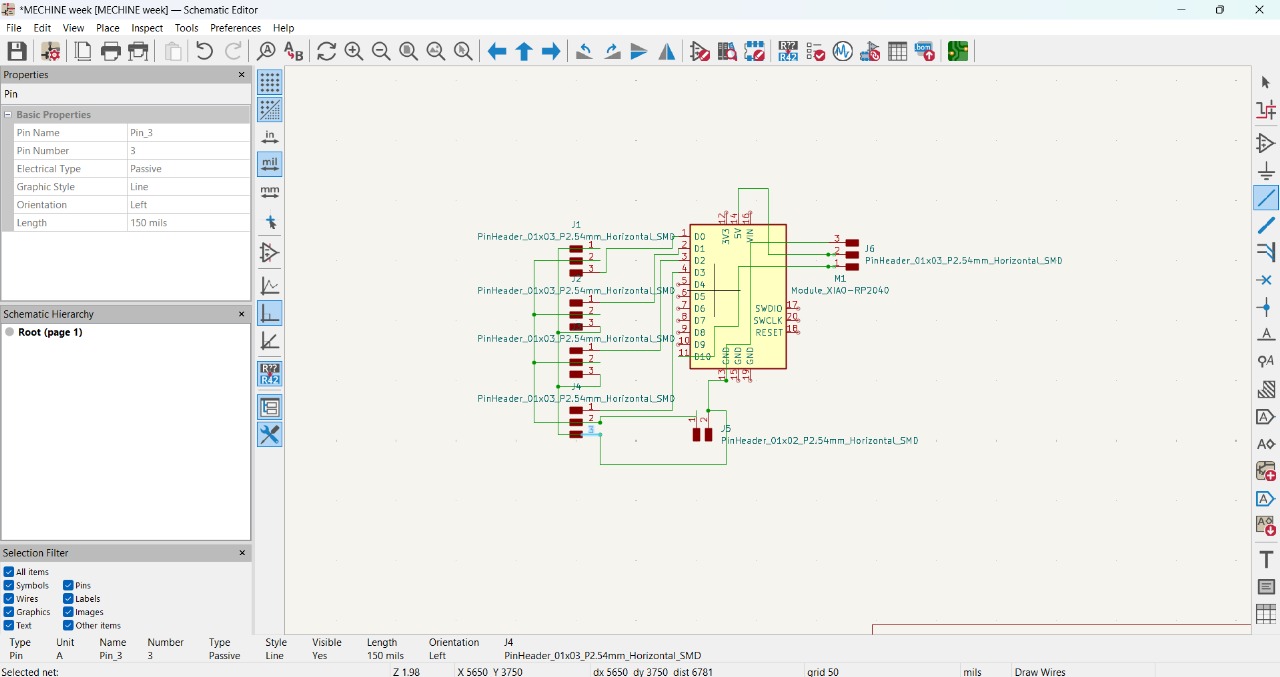
PCB Design
 |
|
| Creating the Schematic Design using KiCad |
|
 |
|
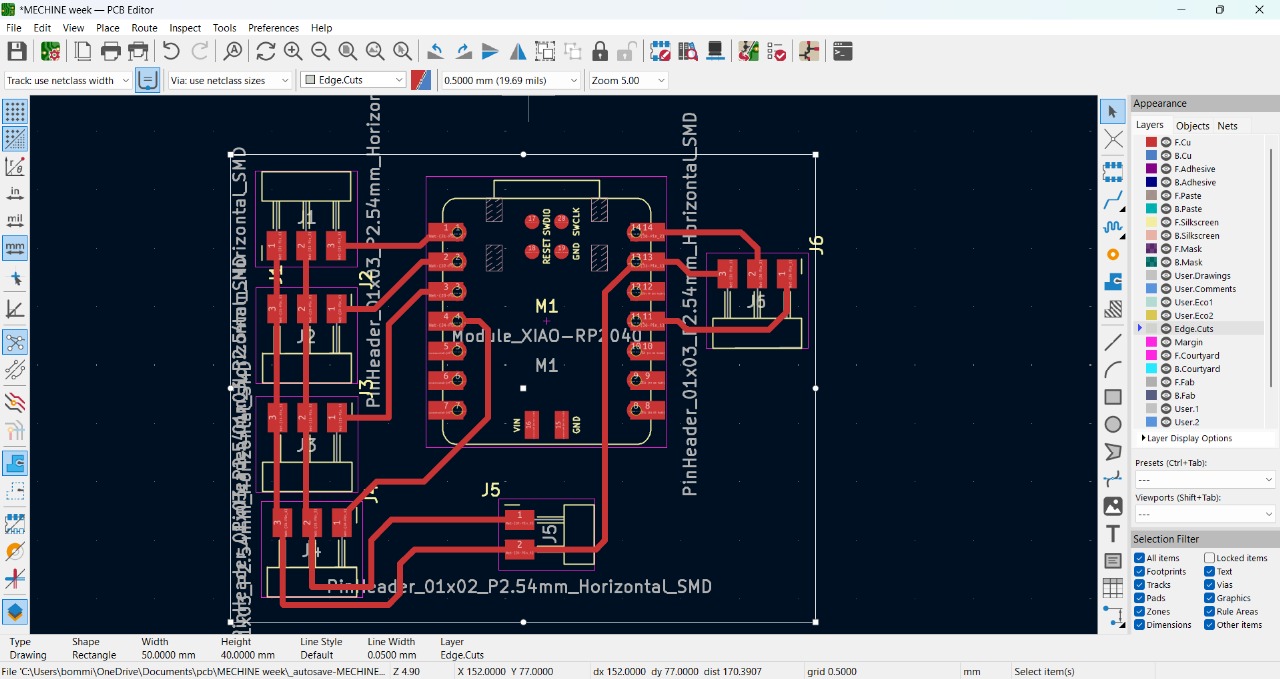
| Switched to the PCB Editor to create connections and trace the circuit layout |
|
 |
|
| All connections and traces have been completed. Here's the 3D view of the PCB design. |
|
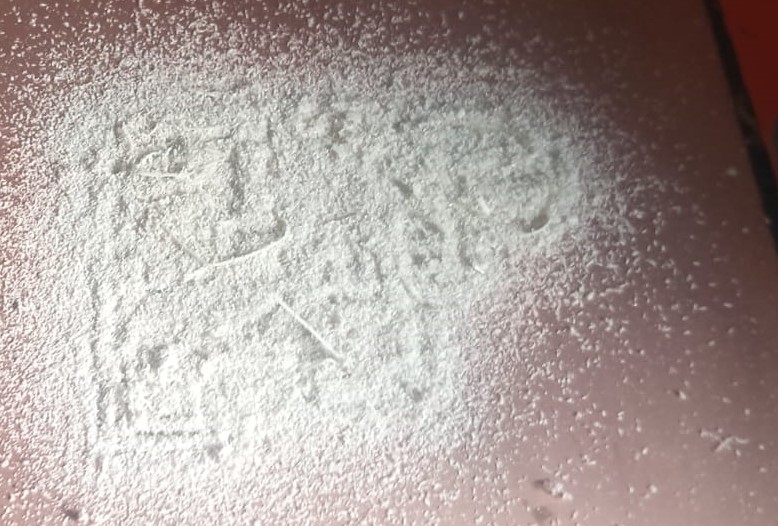
PCB Milling
| Started PCB milling |
|
 |
|
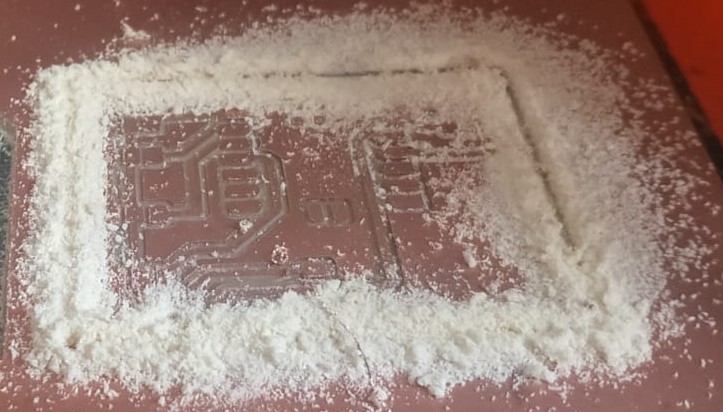
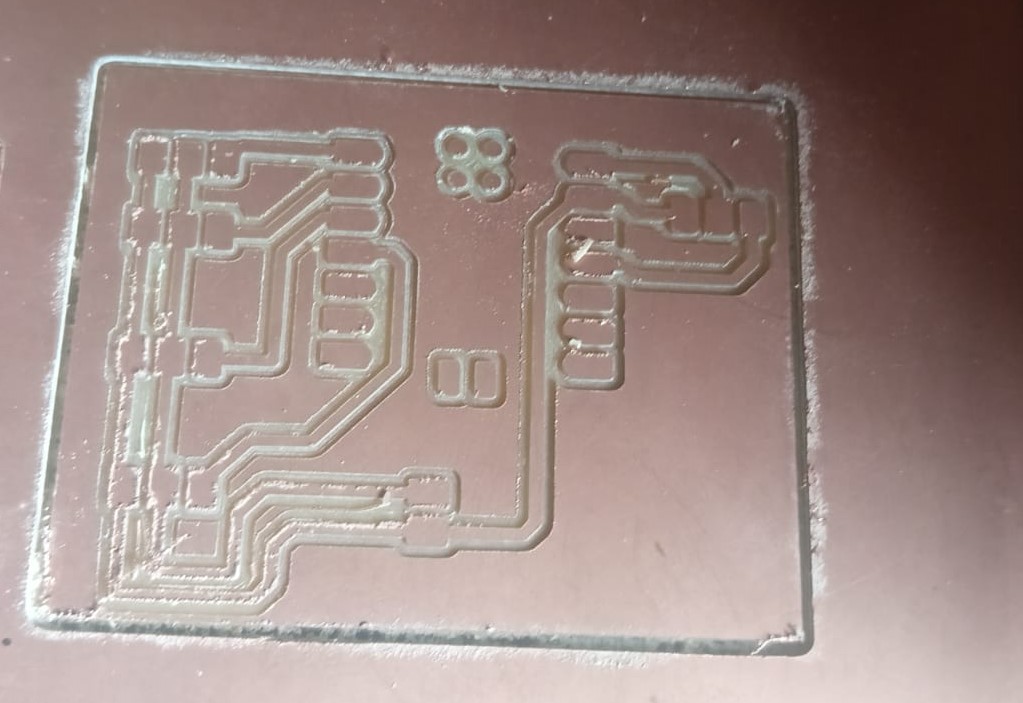
| Trace cutting has been completed. |
|
 |
|
| Completed the edge cutting step of the PCB |
|
 |
|
| Completed PCB milling, and the board has been removed from the machine. |
|
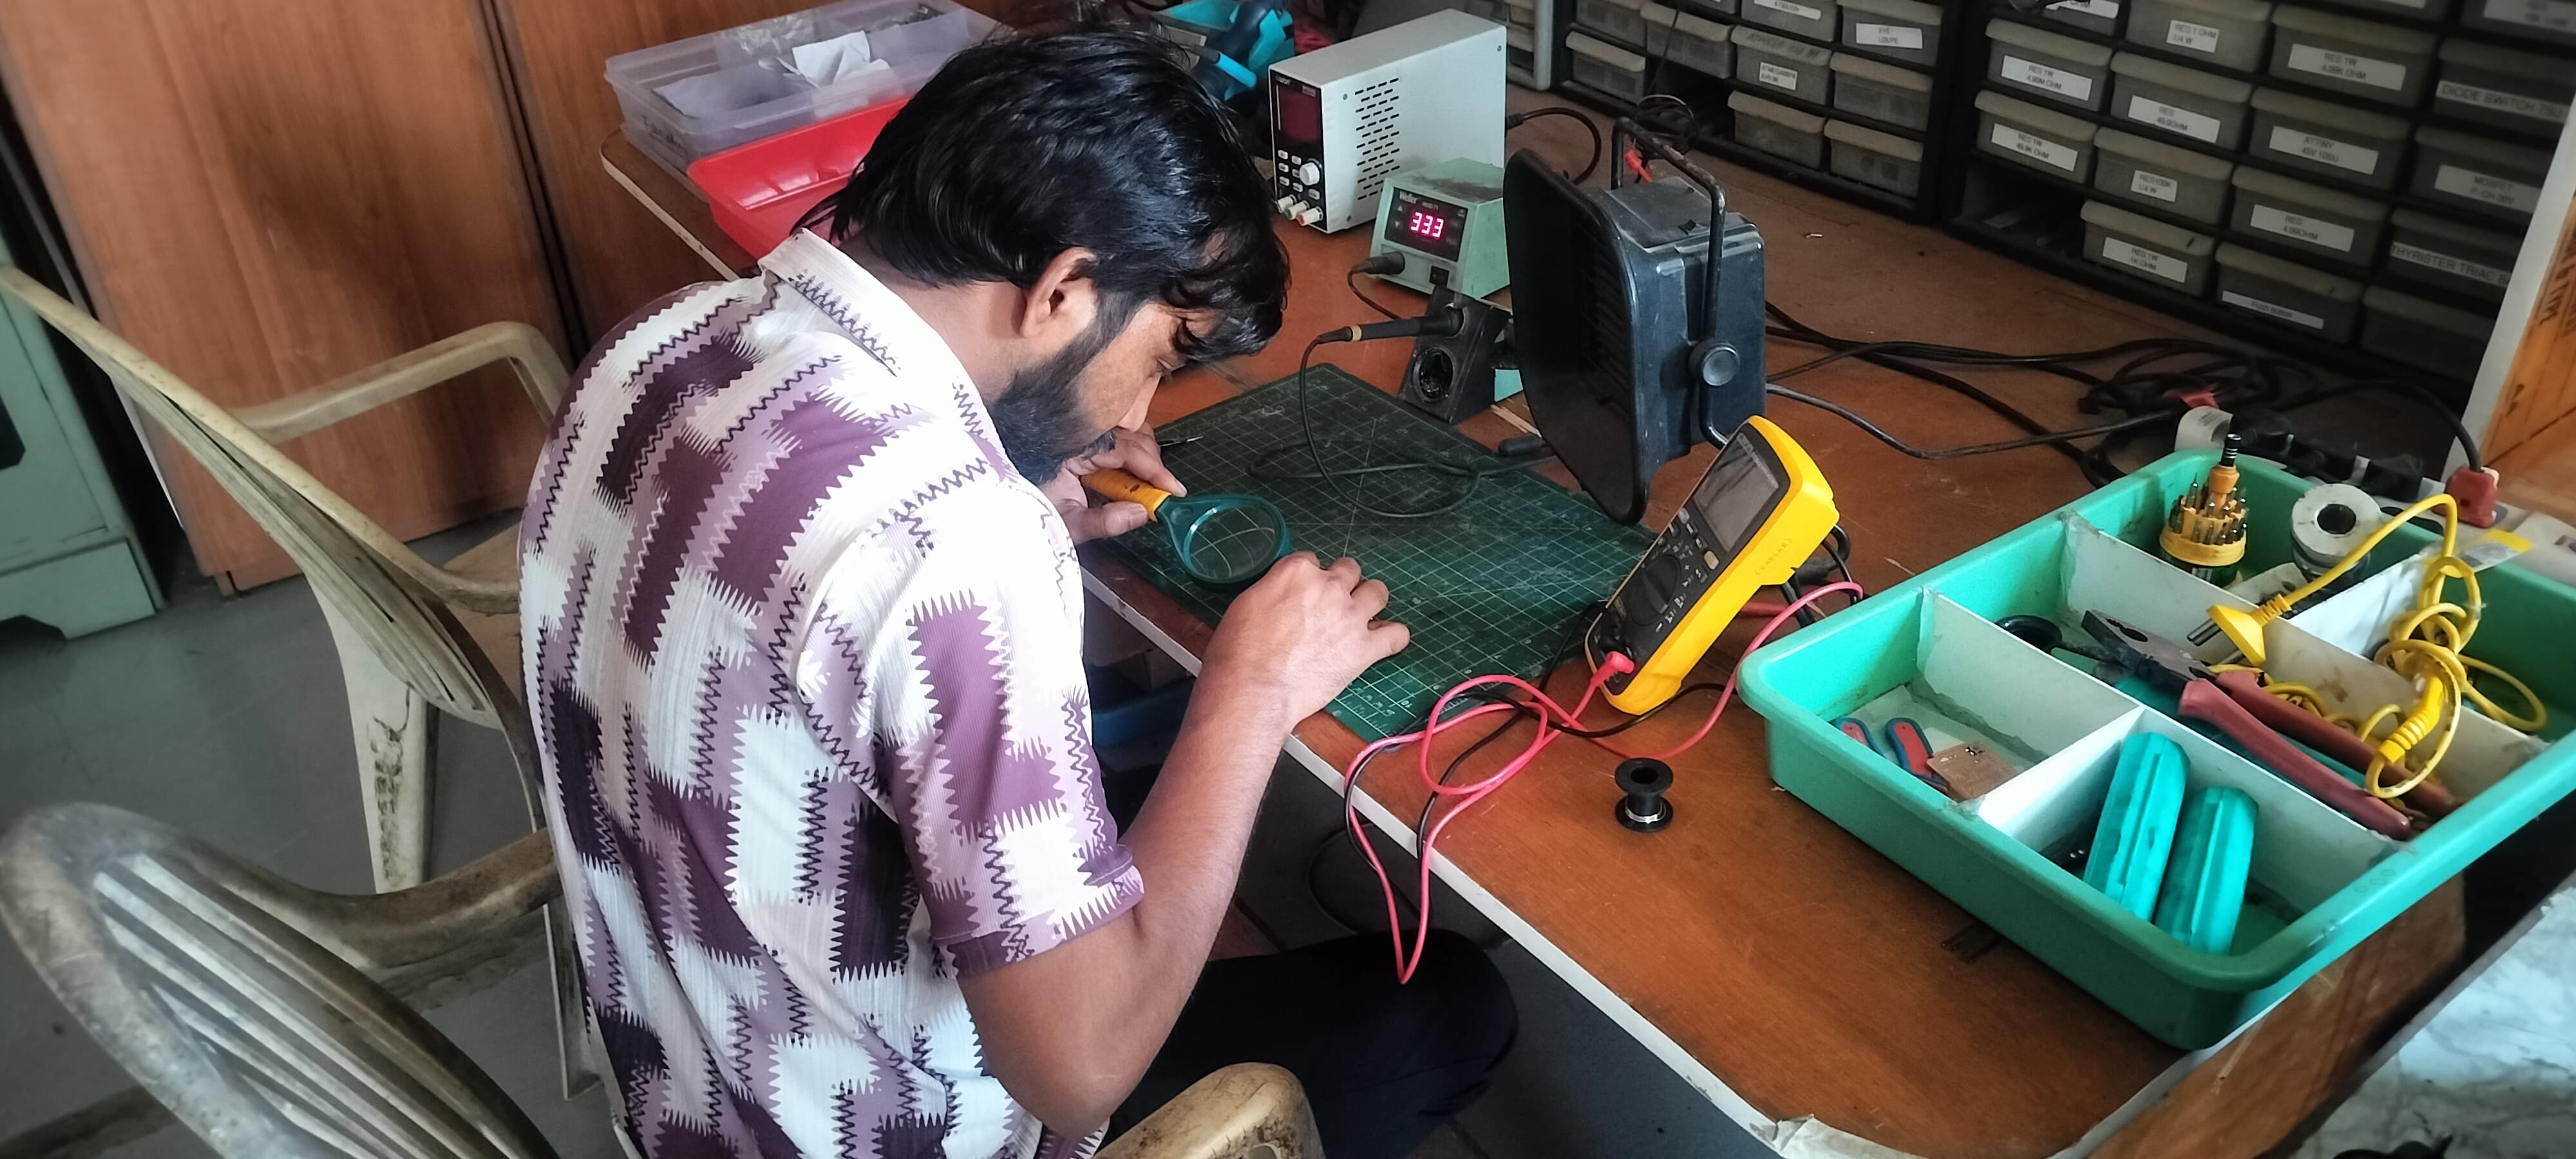
Soldring and assembling the PCB.
 |
|
| Component placement and soldering on the PCB. |
|
| |
|
| Soldering and component placement are complete, here's the final circuit |
|
| Placing and assembling electronic parts |
|
Video Editing
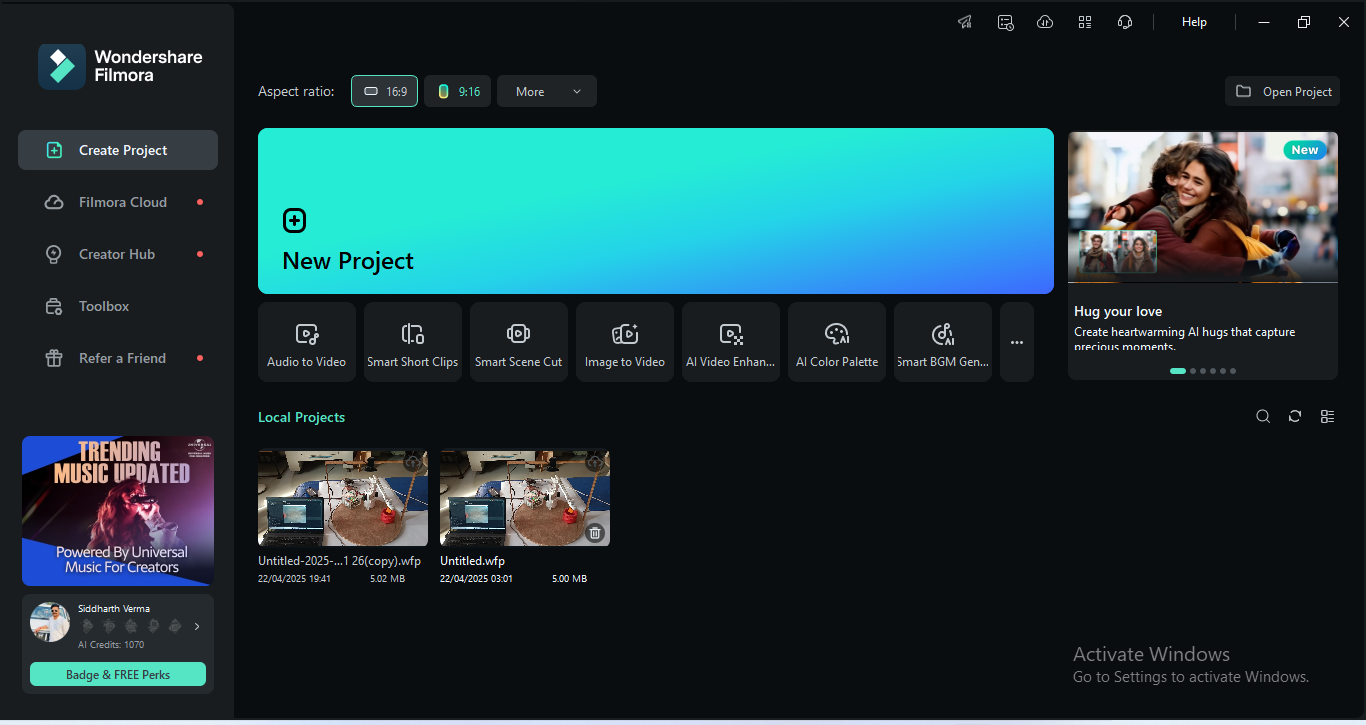
For video editing, I used Filmora software, which is a powerful and user-friendly tool. It offers a wide range of features like transitions, effects, audio mixing, and easy drag-and-drop editing, making it perfect for creating professional-looking videos with minimal effort.
To use this software without limitations, a subscription is required. Without a subscription, any exported video will have a Filmora watermark, which can affect the professional look of the final video. Subscribing unlocks all features and removes the watermark, allowing for high-quality, polished video production.
 |
|
| Download filmora click here |
|
 |
|
| First open the filmora software and click on new project |
|
 |
|
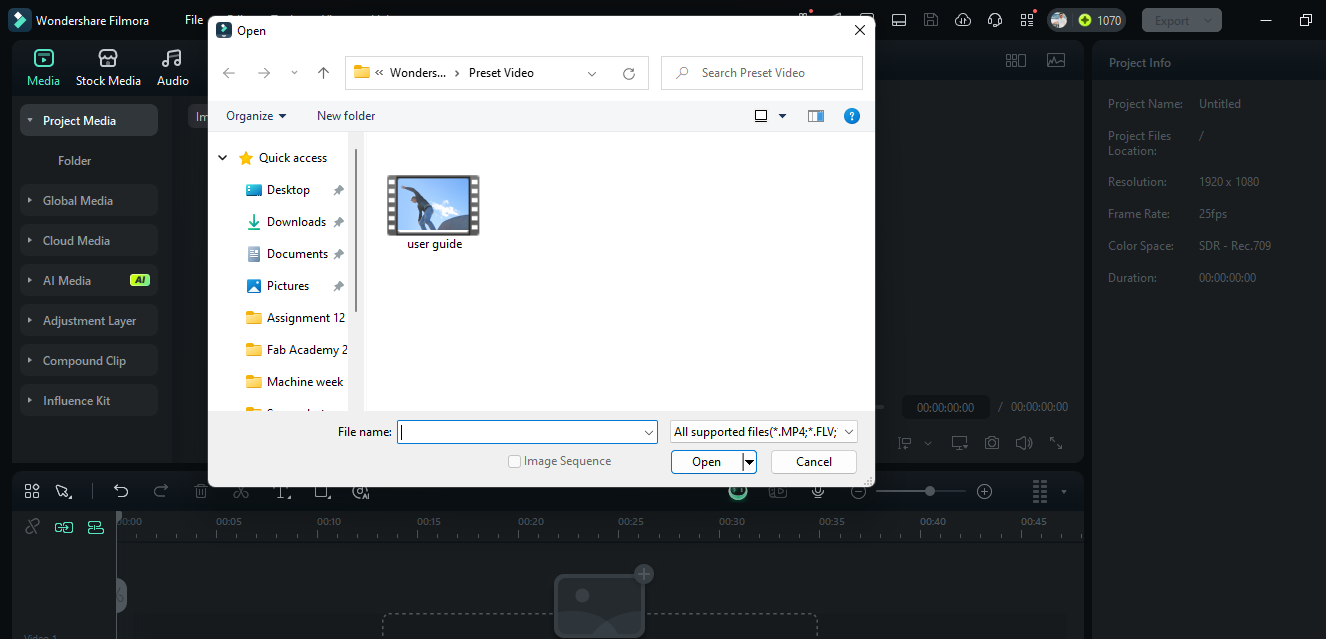
| Click on Import to add file. |
|
 |
|
| Now select the video you want to edit and click on open. |
|
 |
|
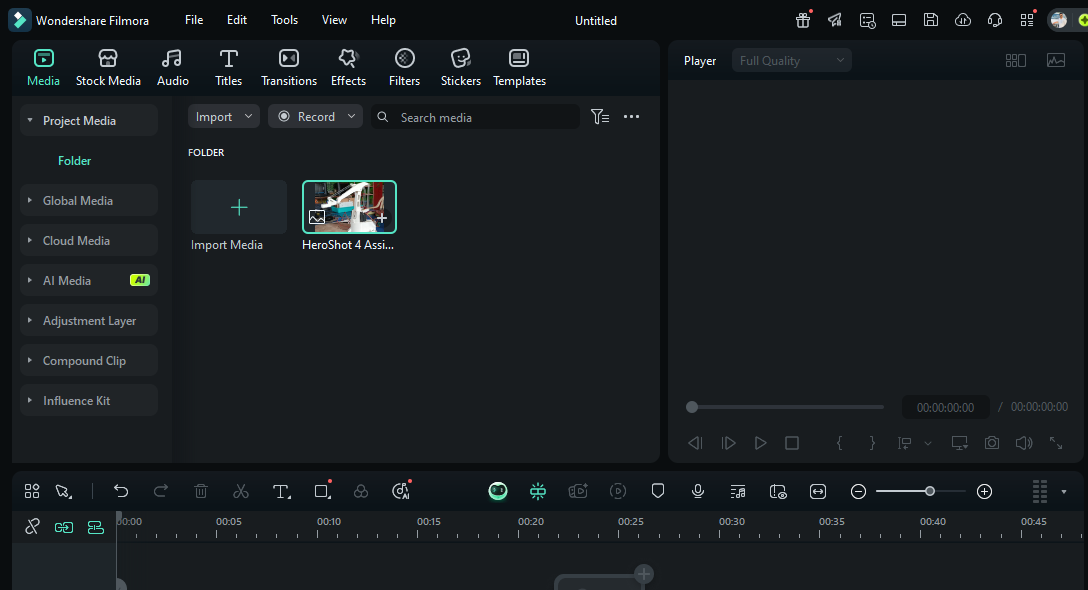
| Now the file is added in the dashboard. |
|
 |
|
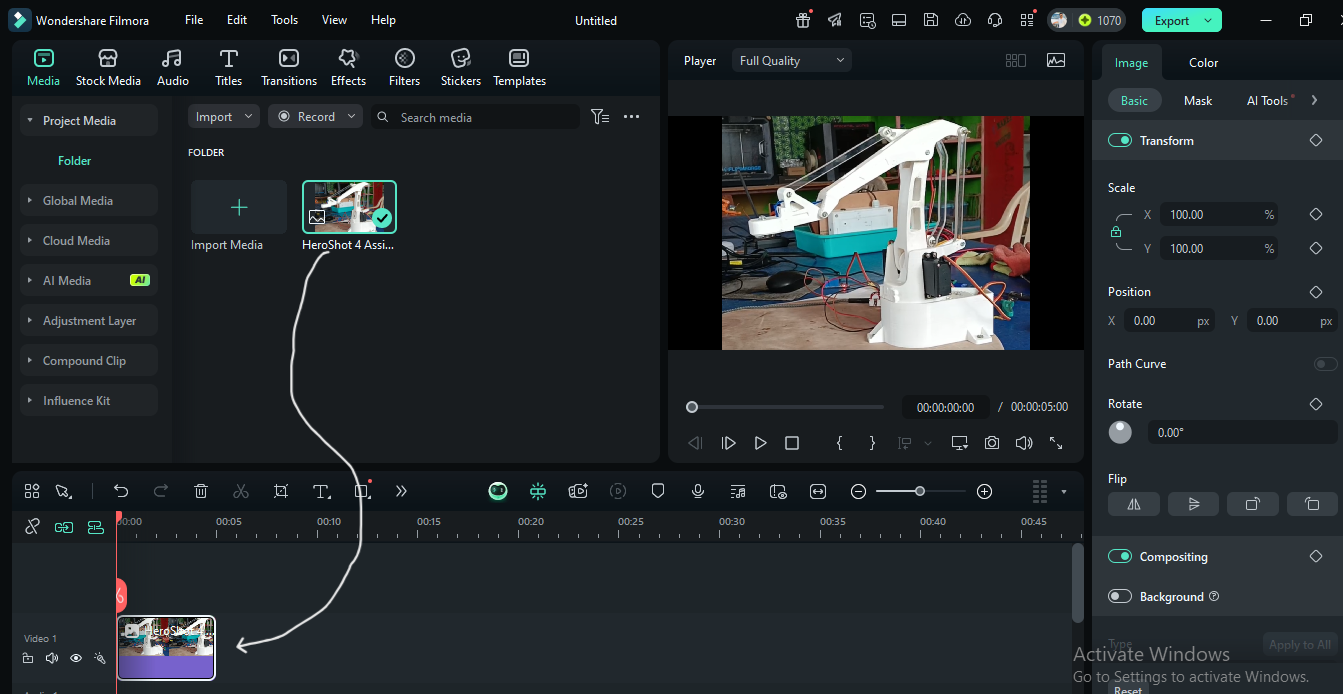
| Drag and drop the video into the Filmora workspace to start editing |
|
 |
|
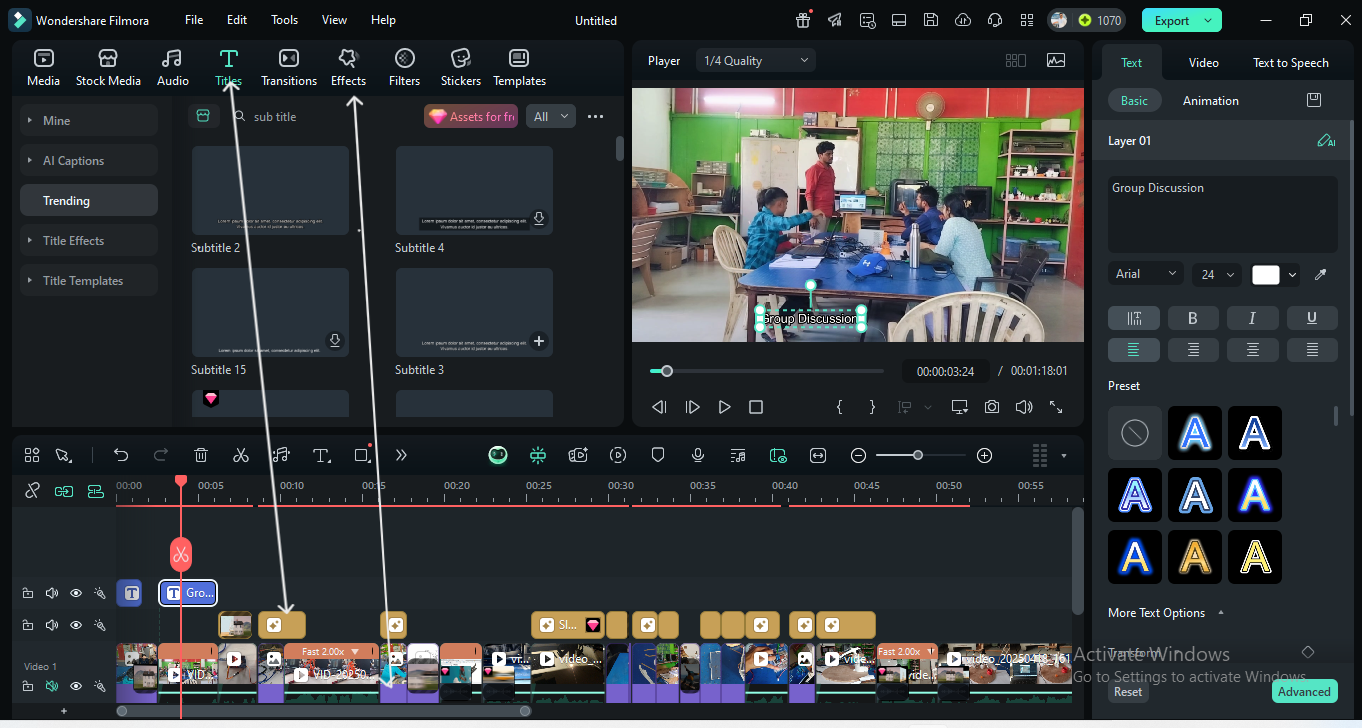
| Now, follow the same process to drag and drop effects, music, and other elements into the workspace if you need. |
|
 |
|
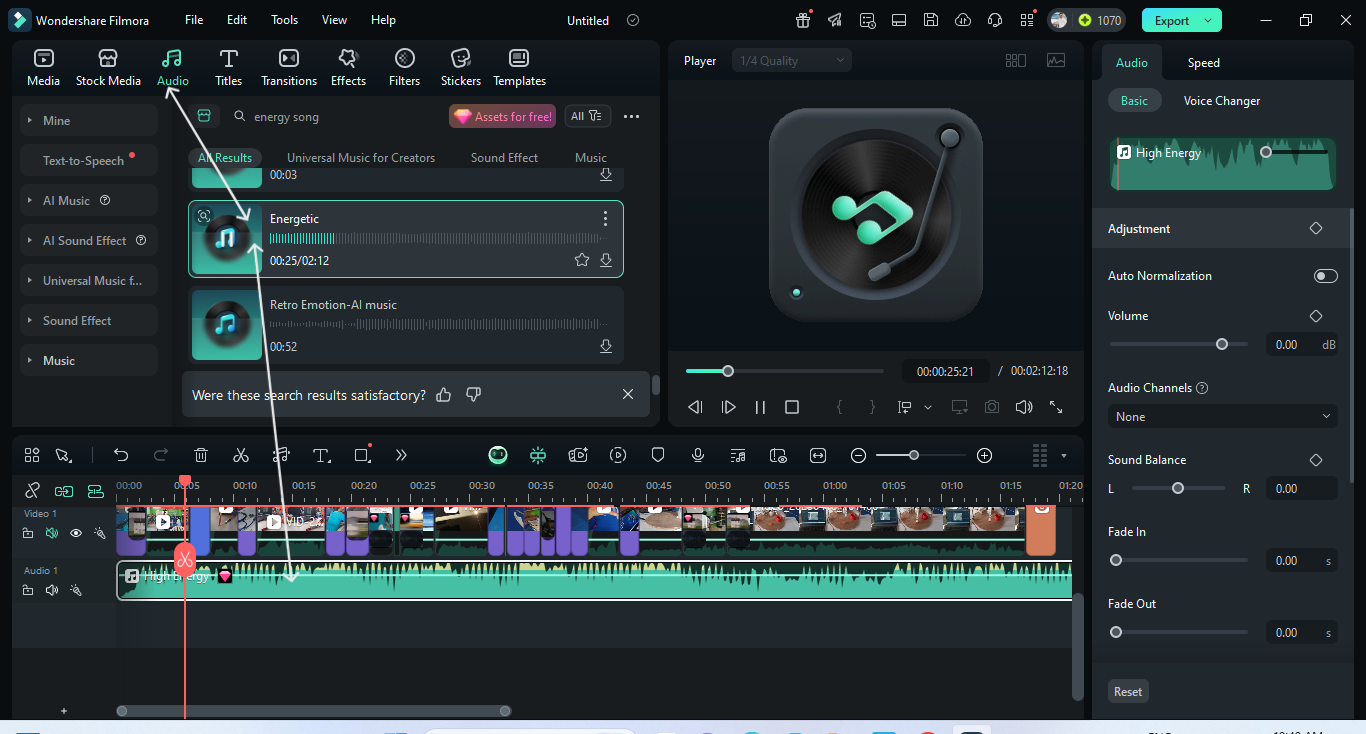
| Click on the 'Music' tab, search for the track you want, then drag and drop it into the workspace. Once you've finished editing your video, click on the 'Export' button at the top to download your final project. |
|
Original File Given Below -
Kicad File
Summary
During our machine week, we learned how machines operate along the x, y, and z axes and how they are built. As part of our group assignment, we began by creating a sketch of our machine. The machine we designed was a robotic arm intended for industrial use. Its primary function was to pick up objects from one location and place them in another.
To enhance the functionality of our machine, we incorporated a web camera that could detect objects. Once the objects were detected, the robotic arm would pick them up and place them to the antoher location. For this task, we used a DC electronic magnet to lift the objects. The robotic arm worked across all three axes: x, y, and z.
We named our robotic machine "Magno Grip" due to its unique feature of using an electronic magnet for object manipulation. The project successfully demonstrated how the combination of a robotic arm, object detection system, and a lifting mechanism could be utilized for industrial purposes.
Conclusion
Our project, Magno Grip, highlights the effective use of robotic technology for industrial applications. By combining a robotic arm, object detection via a web camera, and a DC electronic magnet, we were able to create a machine capable of picking up and relocating objects. This experience provided valuable insight into how machines can be controlled along three axes and how various components work together to perform a specific task.