Computer-Aided Design
Learning Experience
For 2D and 3D modeling, I explored several CAD software tools and learned their functions. I worked with FreeCAD, Fusion 360, Inkscape, XnConvert, and GIMP. These tools helped me understand various techniques, including parametric modeling, and the importance of raster and vector graphics. I also learned how to resize images effectively and focused on file optimization for efficient documentation and storage.
Skills & Achievements:
✔️ Edited raster images using GIMP for enhanced visual quality.
✔️ Created vector graphics with Inkscape, leveraging precise design techniques.
✔️ Developed 3D models using parametric modeling in FreeCAD and Fusion 360.
✔️ Optimized photos to maintain high quality while reducing file size for better performance.
Task: Computer-Aided Design:
Model (raster, vector, 2D, 3D, render, animate, simulate, …) a possible final project, compress your images and videos, and post a description with your design files on your class page
Introduction
This week, I explored several computer-aided design (CAD) tools for both 2D and 3D modeling. CAD is essential for creating digital prototypes of physical products. It allows designers to build accurate and detailed models, which improves the design process, enhances collaboration, and helps reduce overall costs.
What is 2D/3D Design
2D Design refers to the creation of digital images in a two-dimensional space, using elements like shapes, text, and pictures. These designs have length and width but no depth. Common examples of 2D design include illustrations, logos, and digital art.
3D Design, on the other hand, involves creating models or objects in a three-dimensional space, which includes length, width, and depth. It allows for the visualization of objects from multiple angles and is widely used in industries like product design, animation, architecture, and medical imaging.
Key Differences
2D Design: Flat, with only length and width.
3D Design: Includes length, width, and depth, offering a realistic representation.
Key Differences Between 2D and 3D Design
| Aspect |
2D Design |
3D Design |
| Dimensions |
Length and Width |
Length, Width, and Depth |
| Appearance |
Flat, lacks depth |
Has depth, volume, and can be viewed from multiple angles |
| Software Used |
Photoshop, Illustrator, GIMP, Inkscape |
Fusion 360, FreeCAD, Blender, AutoCAD |
| Common Applications |
Graphic design, logos, print media |
Product design, architecture, animation, medical imaging |
| Creation Process |
Drawing and shaping on a flat plane |
Modeling objects with depth, adjusting meshes and textures |
What is CAD
Computer-Aided Design (CAD) refers to the use of computer software to develop, modify, analyze, or improve a design. It is widely utilized by professionals in fields such as engineering, architecture, and manufacturing to create accurate and detailed digital models of real-world objects or structures.
Advantages of CAD
- Precision and Accuracy: CAD allows for highly accurate and detailed designs.
- Enhanced Efficiency: Automation in CAD speeds up the design process significantly.
- Improved Visualization: 3D models help designers visualize the final outcome more clearly.
- Cost Reduction: It reduces the need for physical prototypes, saving on labor and material costs.
- Collaboration: CAD files are easily shareable among team members, fostering better collaboration.
Software Investigated
3D Design: Fusion 360, FreeCAD;
2D Design: GIMP, Inkscape
Design Tools Comparison
| Category |
GIMP |
Inkscape |
Fusion 360 |
FreeCAD |
| 📷 Image Editing & Retouching |
GIMP is a robust raster graphics editor widely used for photo manipulation and retouching. It provides features such as cropping, resizing, adjusting brightness, and advanced tools like clone and healing brushes. The use of layers allows for complex edits.
|
Inkscape is primarily a vector graphics editor, so it doesn’t specialize in image retouching. However, it offers some image manipulation capabilities when working with vector art.
|
Fusion 360 is focused on 3D design and modeling, not image editing. While it doesn't offer tools for image retouching, you can incorporate image textures into 3D models.
|
FreeCAD is primarily designed for 3D modeling, particularly for engineering and architectural purposes. It does not provide image editing or retouching tools.
|
| 🎨 Digital Painting & Drawing |
GIMP offers a wide range of digital painting tools, including customizable brushes, textures, and pens. It is popular for digital painting, concept art, and illustrations.
|
Inkscape specializes in vector graphics and offers precise drawing tools ideal for creating scalable designs, such as logos, diagrams, and illustrations.
|
Fusion 360 focuses on 3D modeling and mechanical design, and is not used for digital painting or drawing.
|
FreeCAD is not designed for digital painting or drawing, as it is centered on parametric 3D modeling of real-world objects.
|
| ✂️ Background Removal & Manipulation |
GIMP excels in background removal, offering features like masking, selection tools, and layer management. It is widely used for creating composite images, including background changes and removals.
|
Inkscape allows for some manipulation of backgrounds, especially in vector illustrations such as logos, using vector paths for editing.
|
Fusion 360 does not focus on background removal, as it is geared towards product design and engineering models, where background manipulation isn't relevant.
|
FreeCAD is focused on technical 3D modeling, not background removal or image manipulation.
|
| 🔧 3D Modeling & Prototyping |
GIMP does not support 3D modeling, as it is a raster-based editor intended for 2D image editing.
|
Inkscape is a vector-based tool, mainly used for 2D designs, and does not offer 3D modeling capabilities.
|
Fusion 360 is an industry-leading tool for 3D modeling and prototyping. It integrates CAD, CAM, and CAE in a cloud-based platform, making it ideal for product design, testing, and simulation.
|
FreeCAD is an open-source parametric 3D CAD tool suitable for product design, mechanical engineering, and architectural modeling. It supports easy design manipulation and prototyping.
|
| 📂 File Compatibility & Sharing |
GIMP supports a wide variety of file formats such as JPEG, PNG, GIF, TIFF, and PSD. It allows easy file sharing for editing and collaboration across different platforms.
|
Inkscape primarily uses SVG (Scalable Vector Graphics) format, which is widely compatible with other design tools. It can also export to formats like PNG, PDF, and EPS.
|
Fusion 360 supports multiple file formats, including STEP, IGES, STL, and DWG. It is optimized for sharing within manufacturing and engineering environments.
|
FreeCAD supports formats like STEP, IGES, STL, and its native FCStd format. It offers high compatibility with other CAD tools for seamless integration in engineering and manufacturing processes.
|
Software
GIMP
1. GIMP Official Website:
I visited the official GIMP website (gimp.org), where I found the phrase "GNU Image Manipulation Program" displayed on the homepage. The site provides detailed release notes and download options for the program.
2. GIMP Main Window:
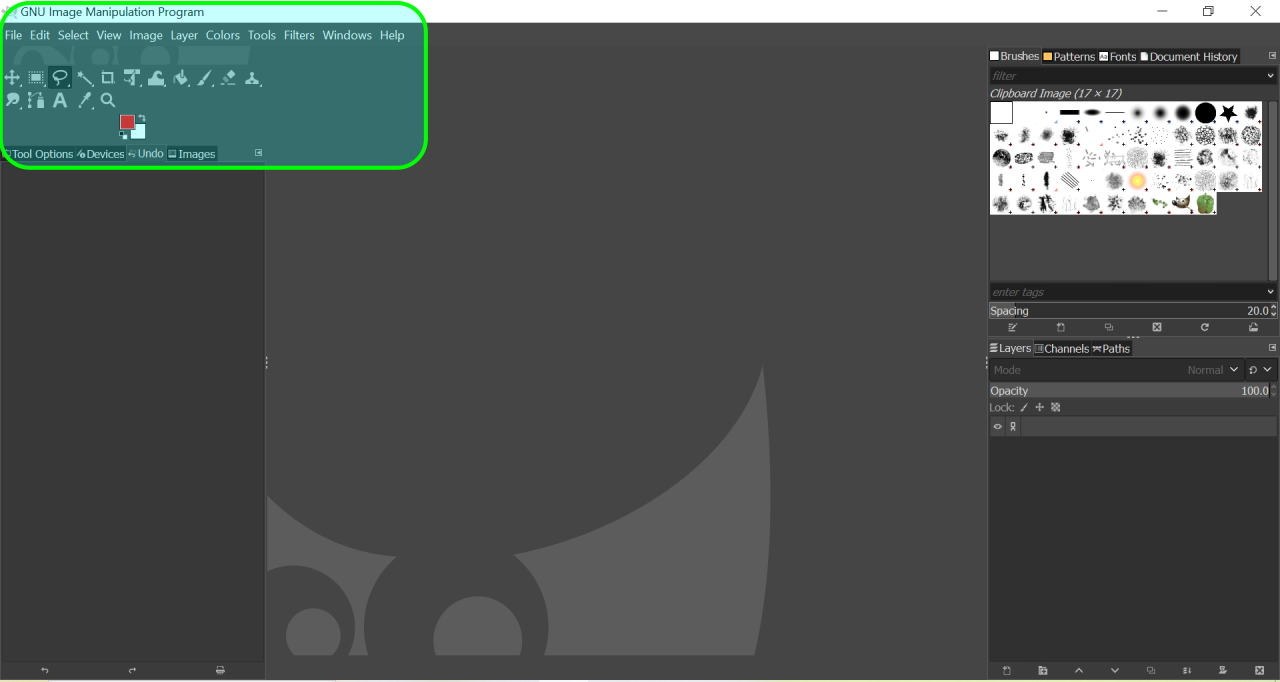
When GIMP starts up, the main window appears with all the necessary tools for image manipulation. It also provides access to document history, brushes, patterns, and fonts.
3. Launching a Document:
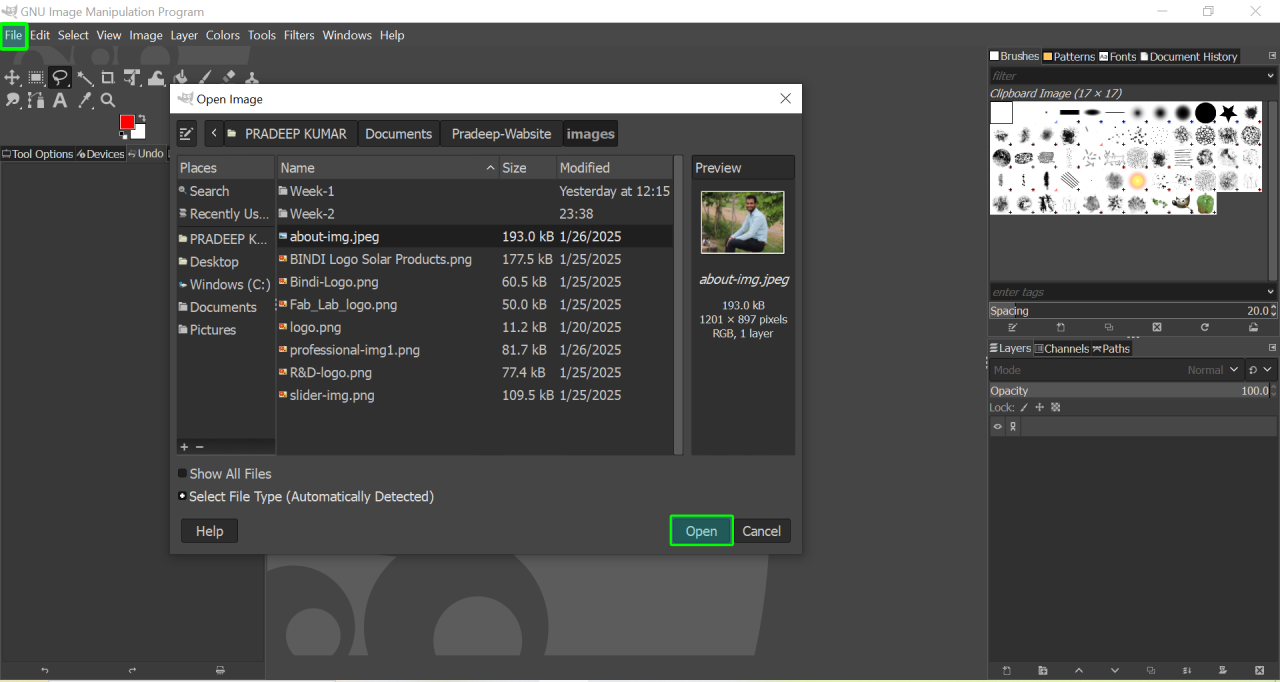
Upon opening GIMP, the program directs you to a directory from which you can select the image you want to work on. You have the option to either open the image or cancel the action.
4. Accessing the Picture:
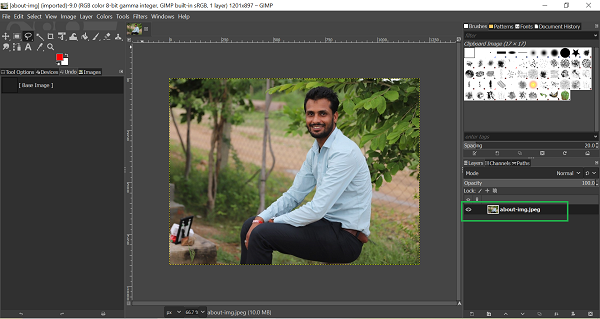
Once you load the base image in GIMP, you have several options for working with layers. You can toggle visibility for each layer as needed.
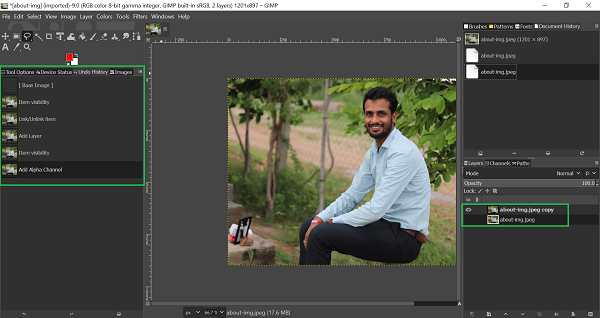
5. Duplicating Image Layers:
GIMP provides options for creating duplicate layers. You can also adjust visibility settings for each layer. Multiple images can be layered on top of one another in the workspace.
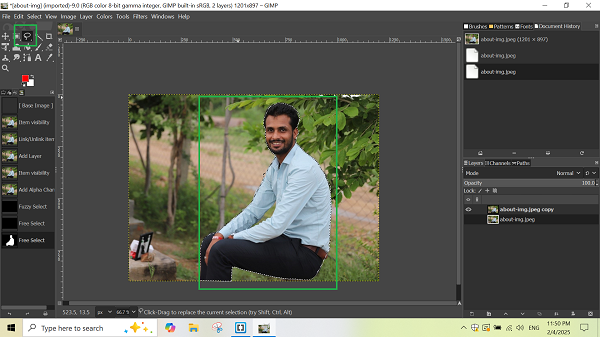
6. Removing the Background:
The "Fuzzy Select" tool is used to select and remove the background from the image. The removal tool is located in the left bar of the interface.
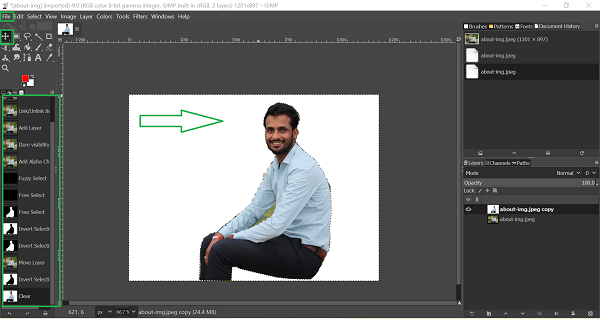
7. Background Removal (Revised):
Using the "Fuzzy Select" tool, I successfully isolated and removed the background from the image. The image was duplicated before the background was deleted, leaving a transparent or white background. After editing, the file can be exported and saved.
Inkscape

Install Inkscape: To install Inkscape, visit the official website and download the software from the provided link.
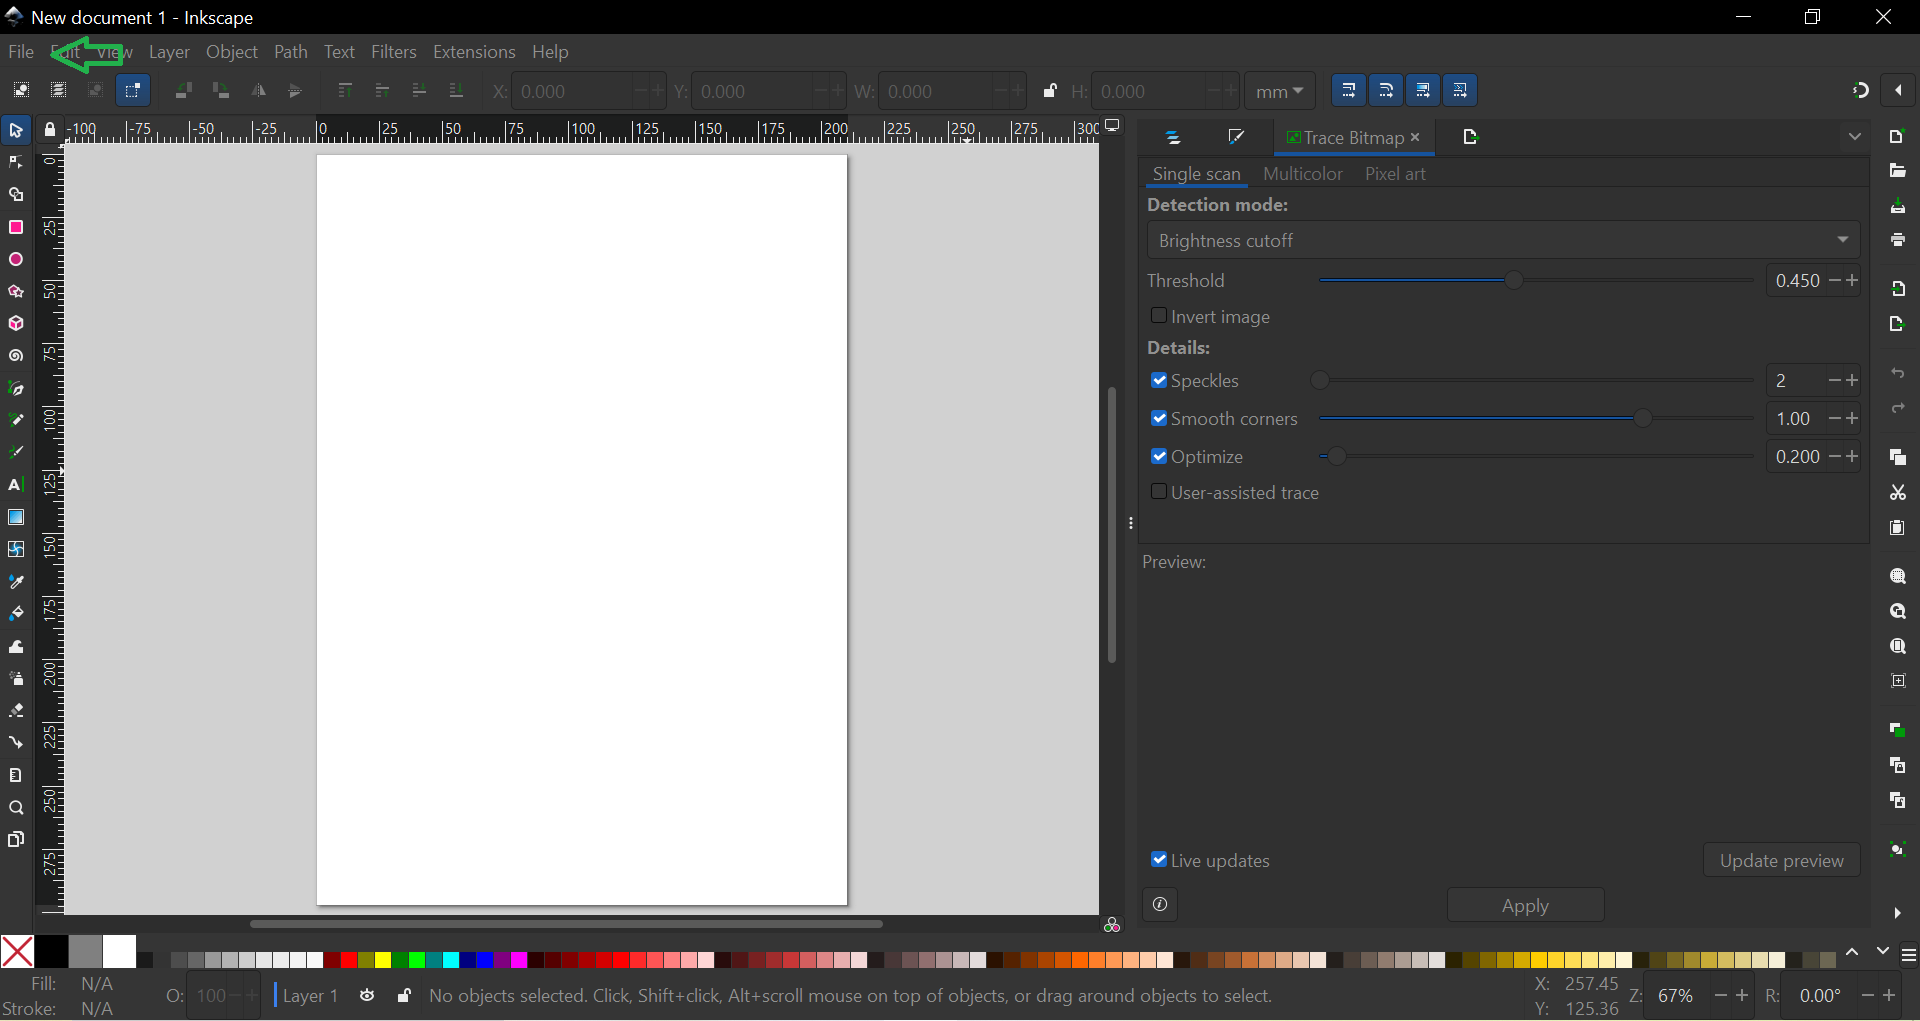
Document Creation in Inkscape: After opening a new file in Inkscape, the Trace Bitmap tool is selected. There are two options available: "Single Scan" and "Multicolor."

Importing and Tracing an Image: In this document, the "BINDI Solar Logo" is used. To import the image, simply open the document and upload the image. You can either open or cancel the upload.
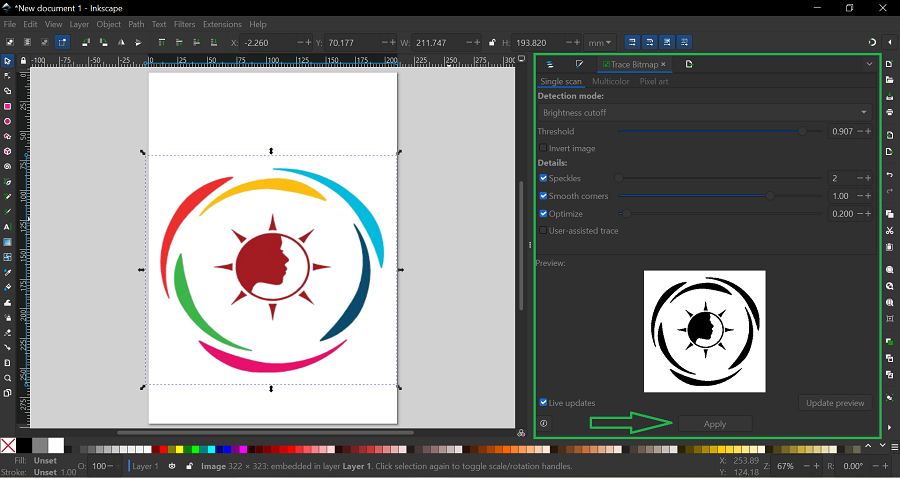
Using Traced Bitmaps: For this project, a single scan is performed with the "Brightness Cutoff" set to 0.907. A live preview is shown to visualize the changes.
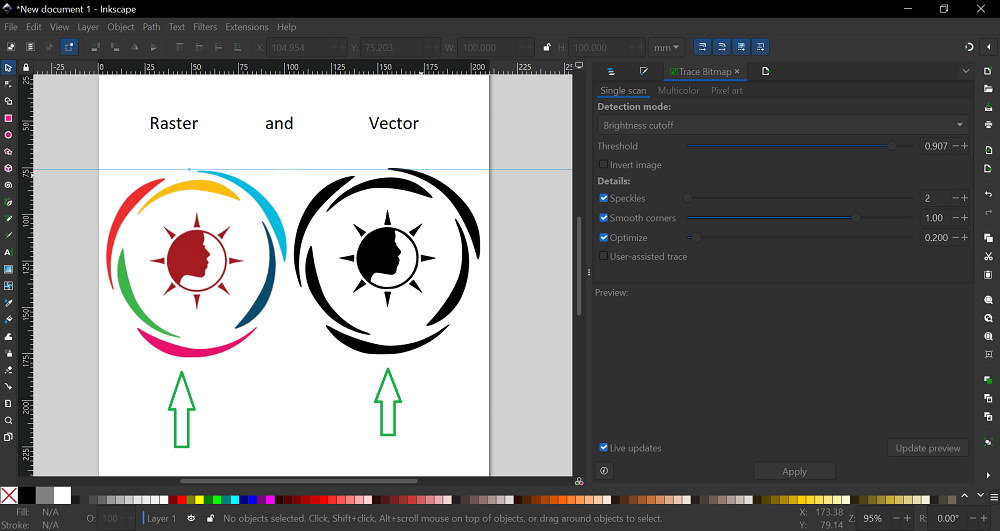
Completing the Trace: Once the trace is complete, the colored graphic and bitmap are visible. The threshold and other details are verified to ensure accuracy.
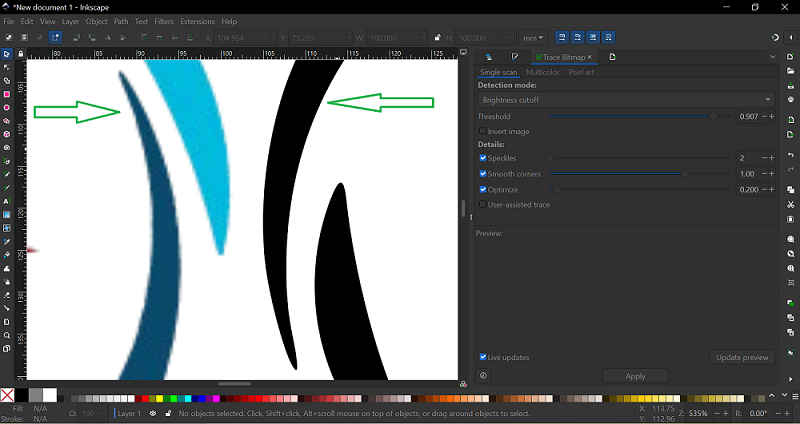
Zoomed-in View: In this view, the black lines of the traced image become clearer. The background of the document shows varying colors and tones due to the applied trace.
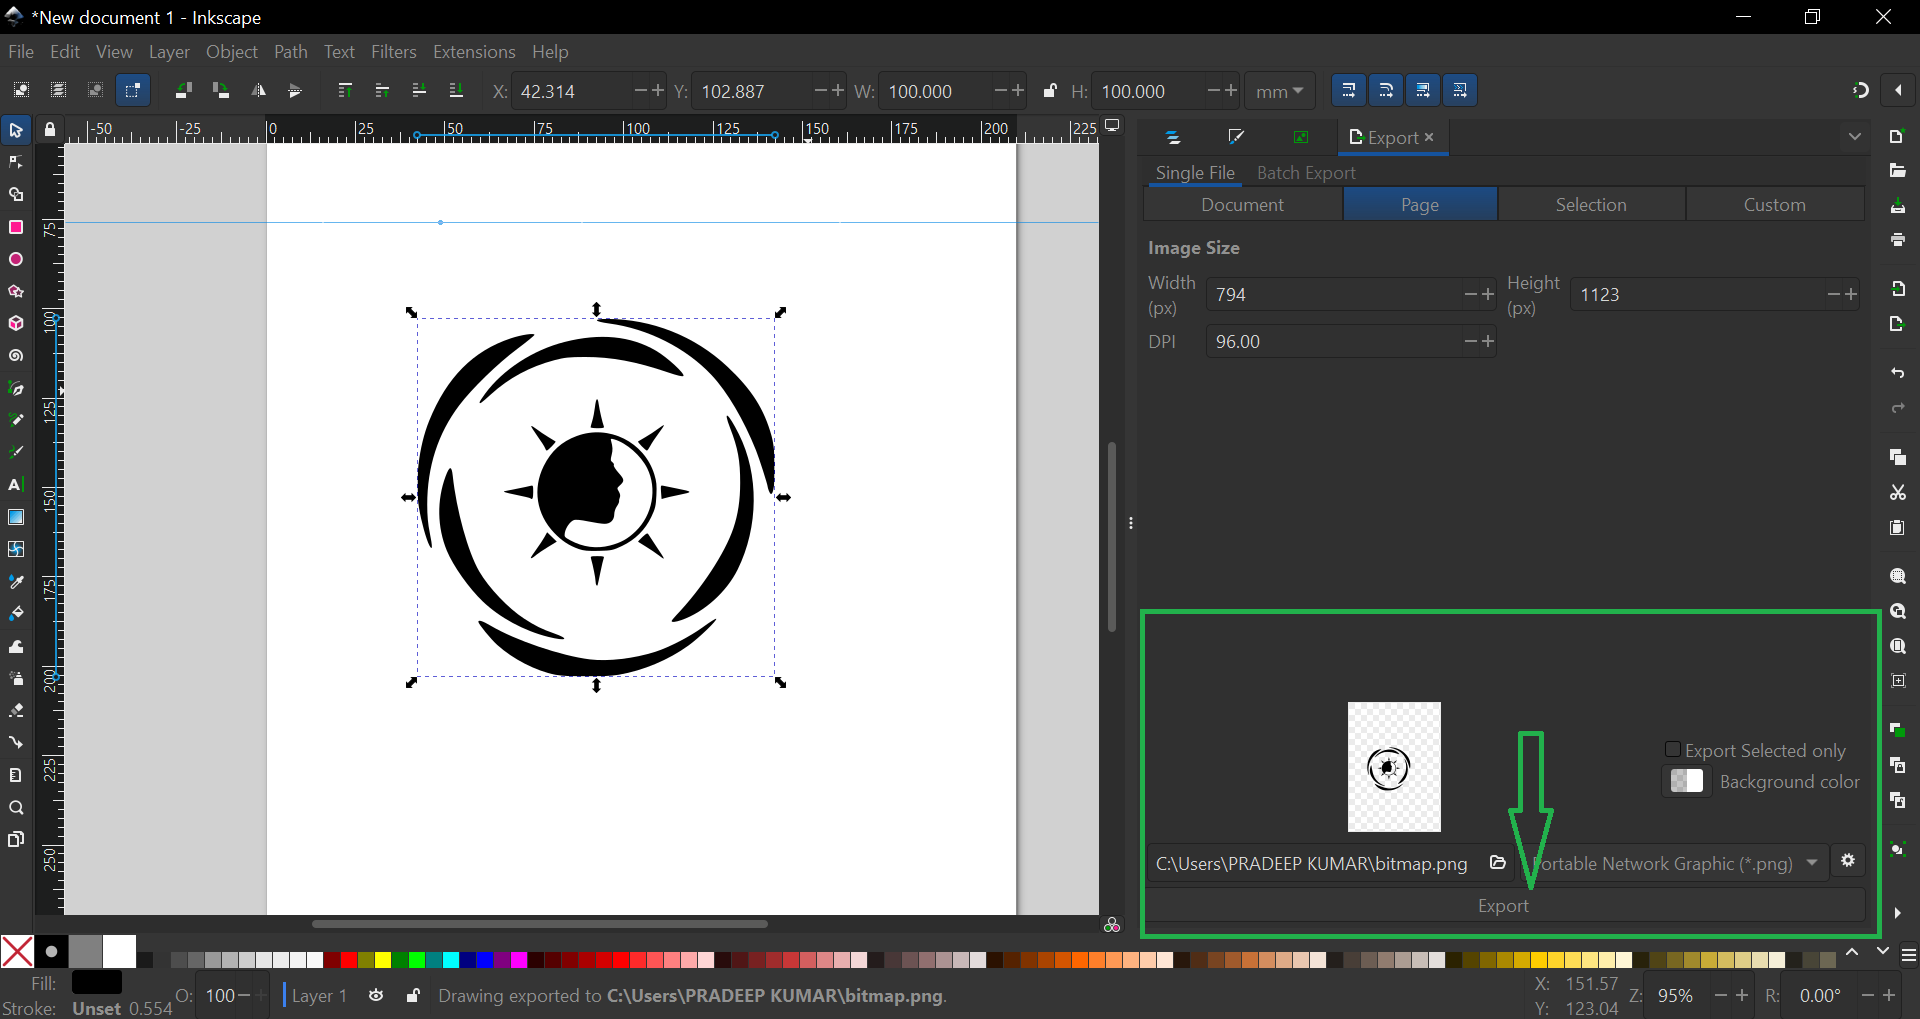
Exporting the Image: Once satisfied with the image, it can be exported. You can choose the image size and DPI, and the export file format is selected as "bitmap."
Fusion 360
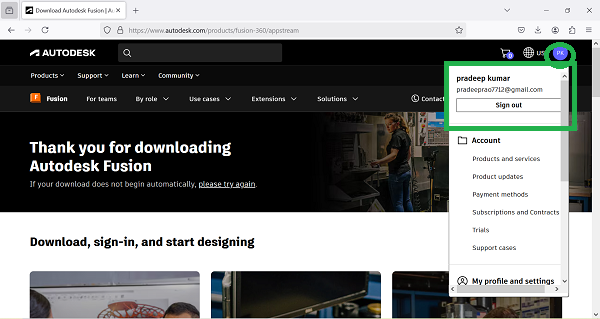
Starting Fusion 360: I accessed the Autodesk Fusion 360 download page and logged into my Autodesk account. After logging in, I confirmed my account details in the top-right corner, where my name, Pradeep Kumar, appeared.
Launching Fusion 360: Upon launching the program, I observed the loading screen as various modules loaded, preparing the interface for use.
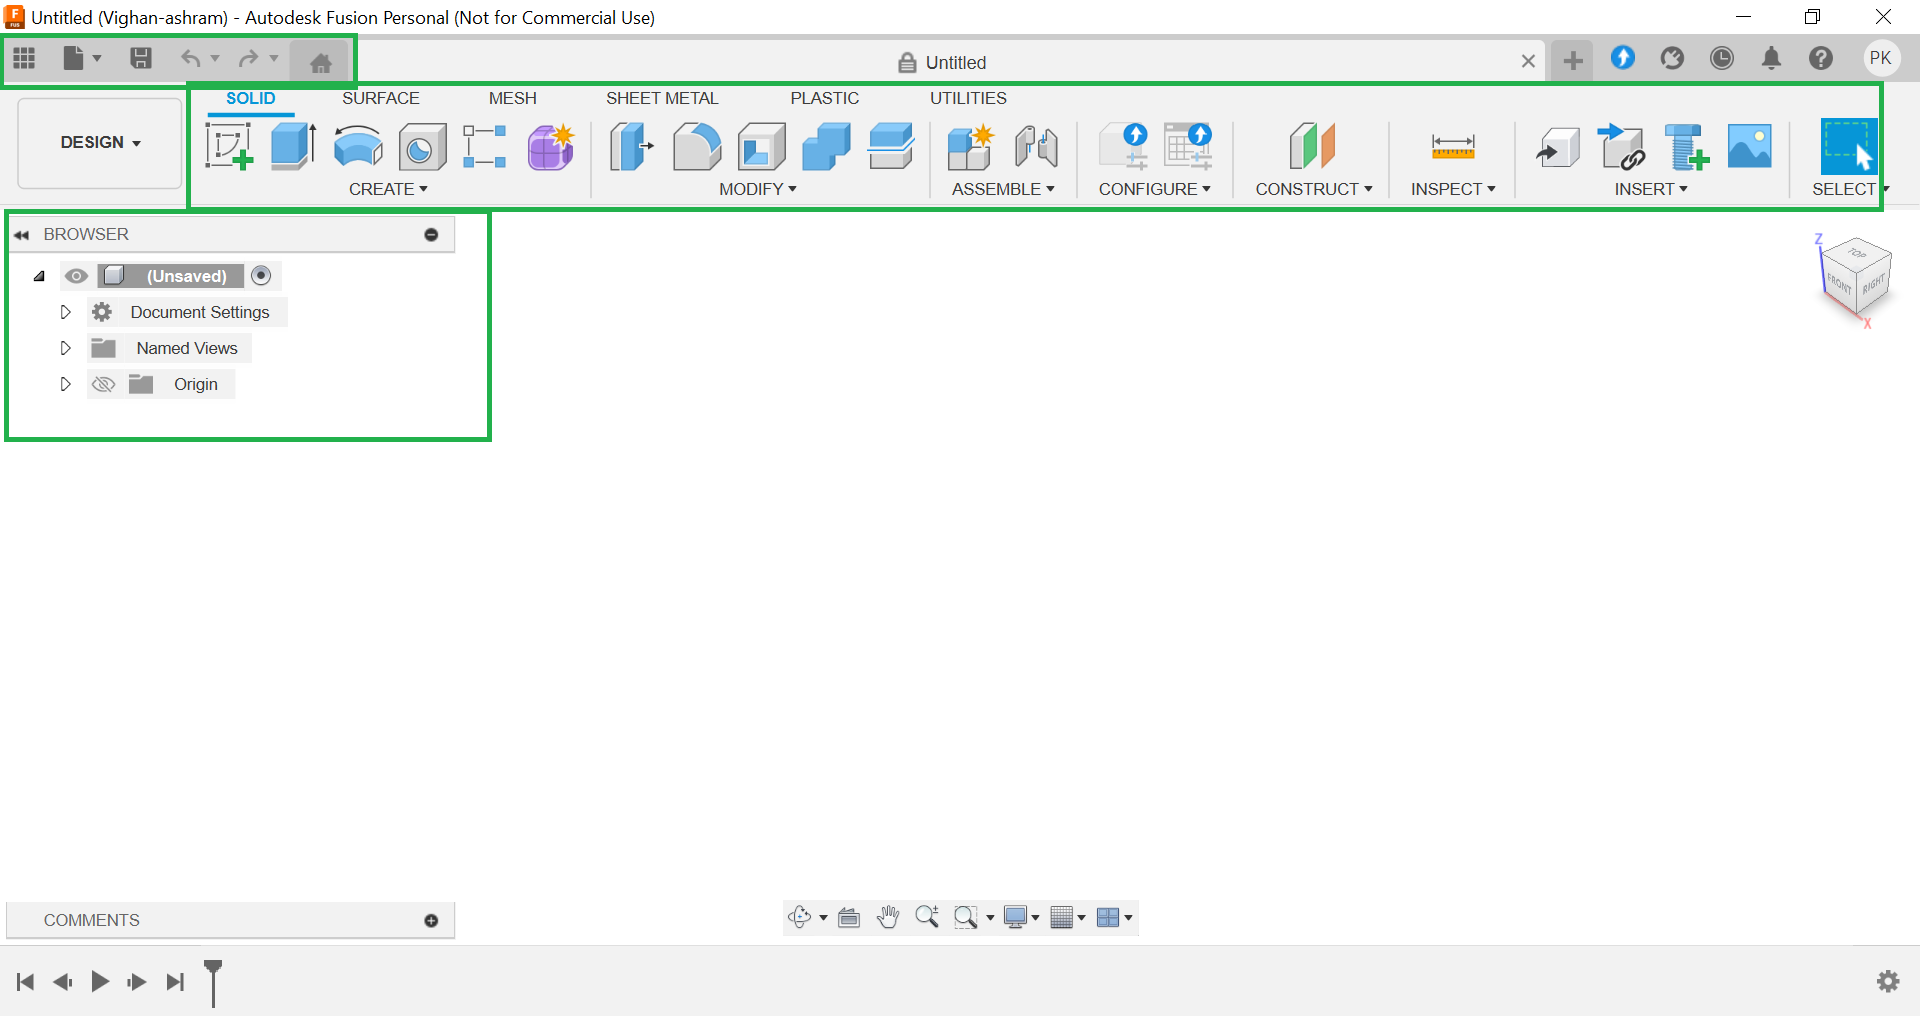
Using the Fusion 360 Design Environment: Fusion 360's updated design environment is ready for modeling. By default, the SOLID modeling tab is selected. The toolbar displays functions such as Create, Modify, Assemble, and Inspect, which provide essential tools for the design process.
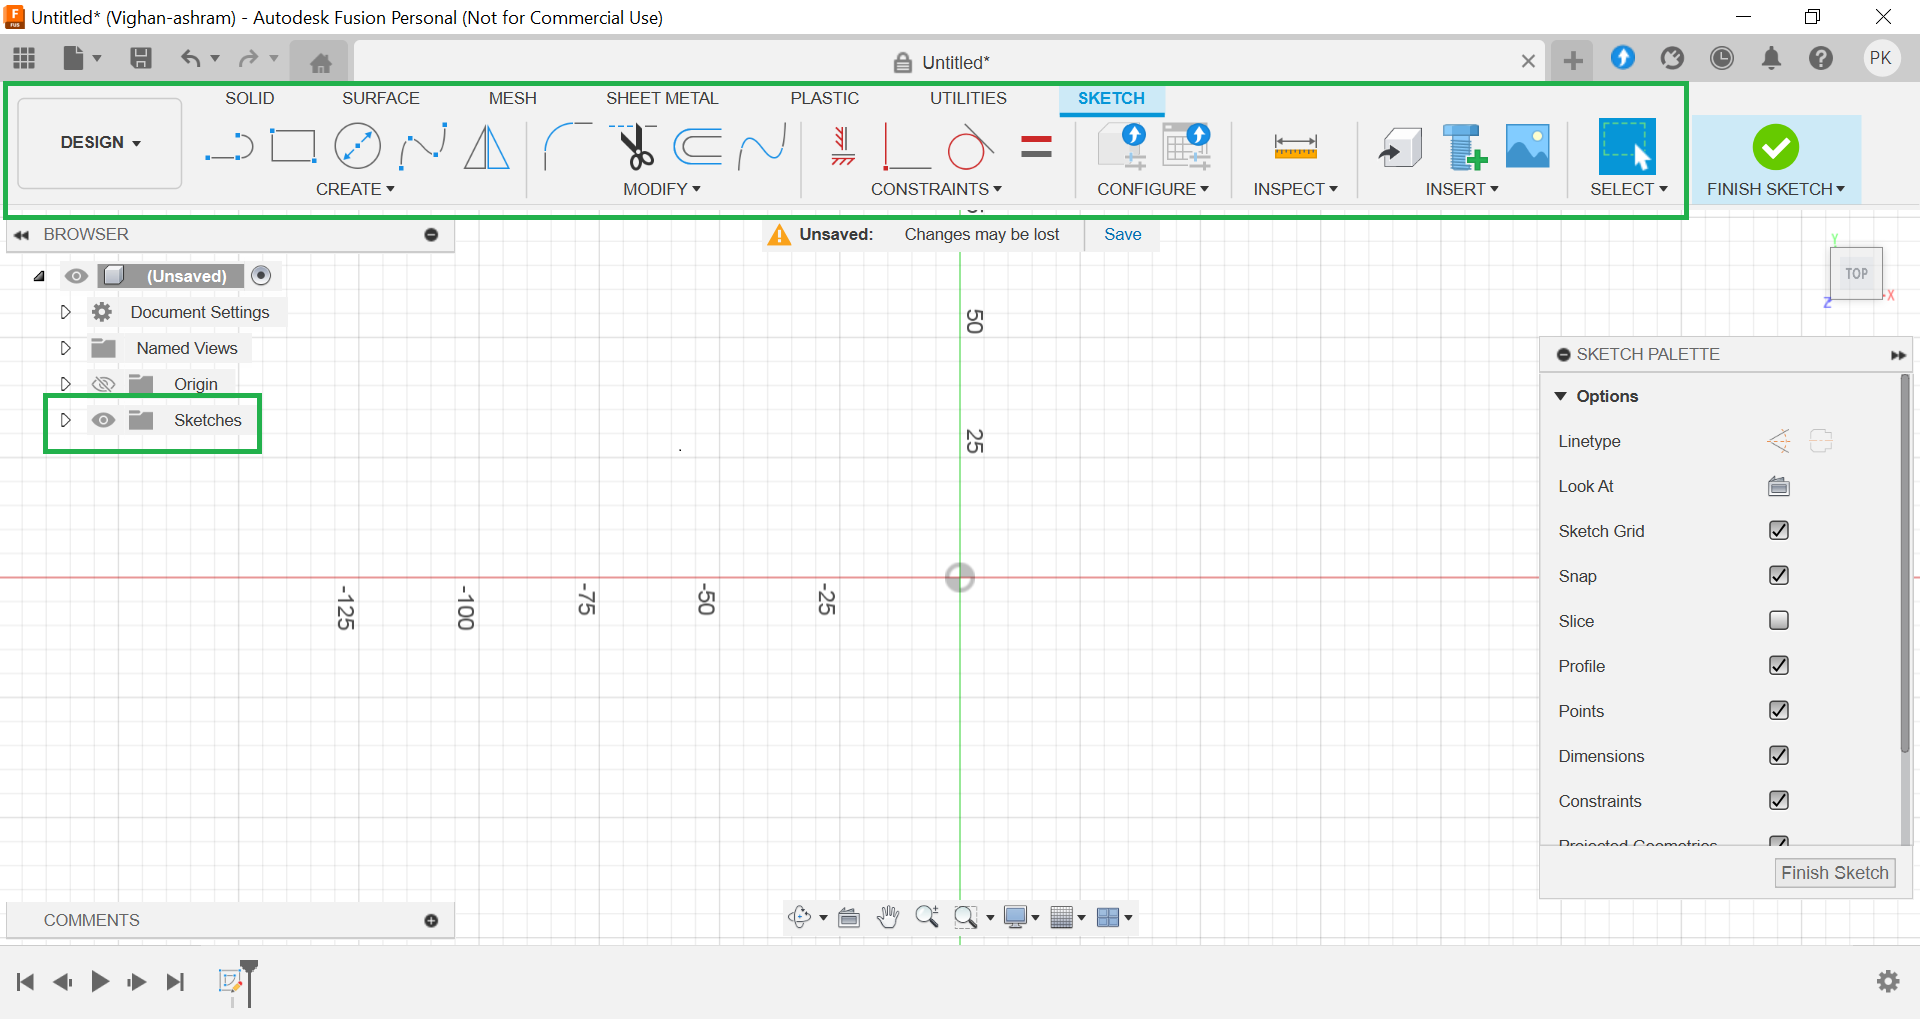
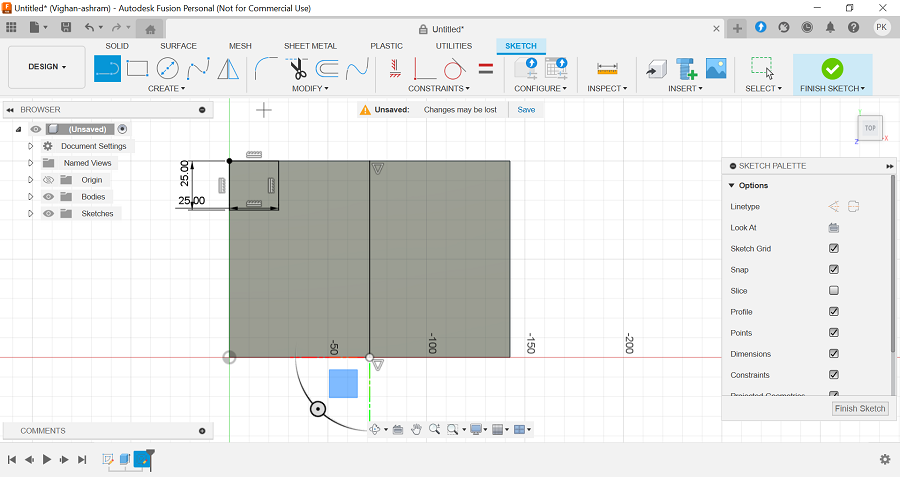
Creating a New Sketch: To start a new sketch, I selected the Sketch option. The origin and sketch grid are clearly visible, offering a reference for drawing. The Sketch Palette displays various drawing tools available for the sketch.
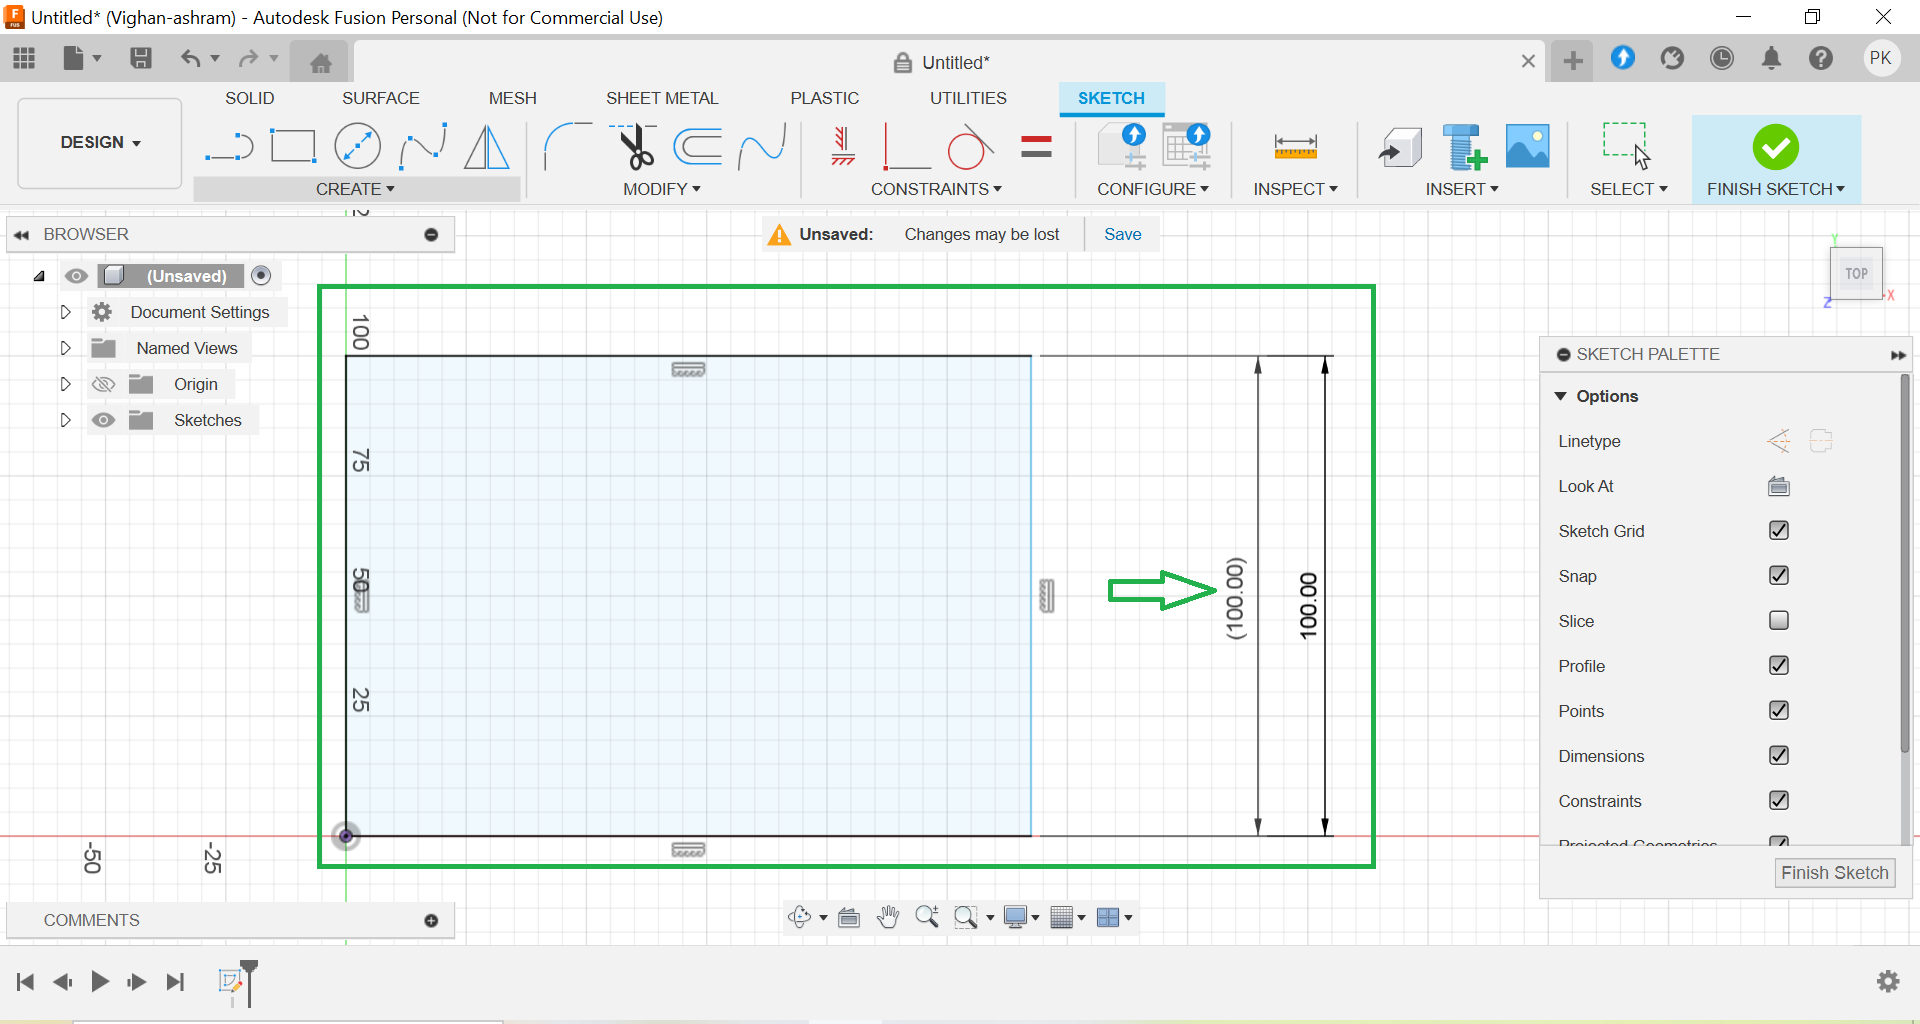
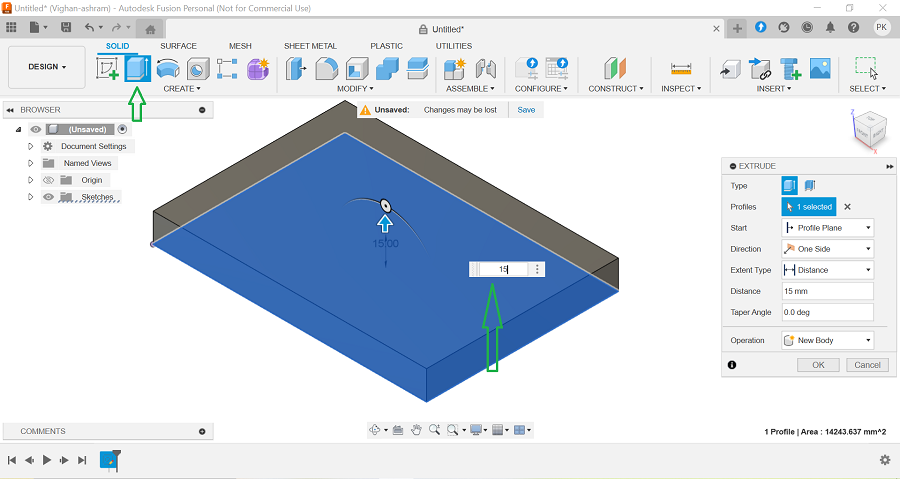
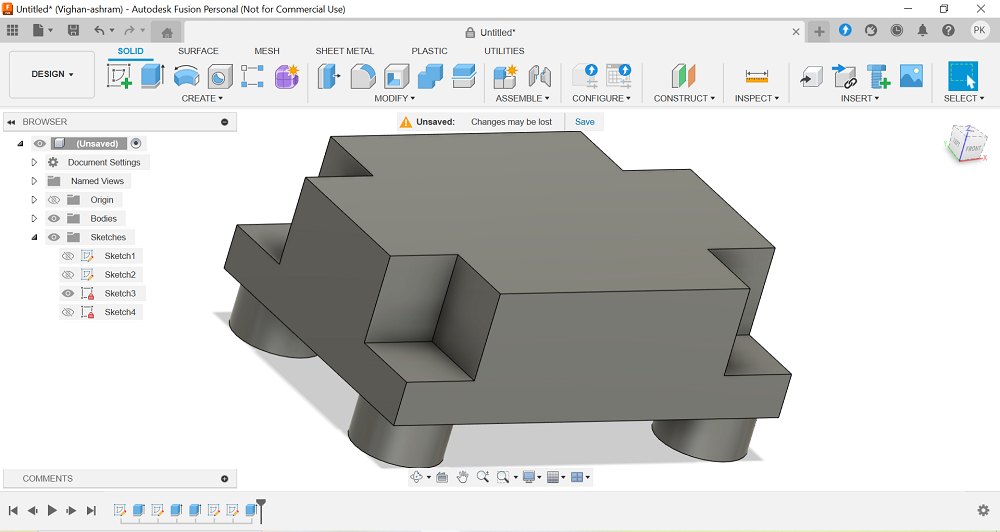
Drawing and Extruding the Shape: I drew a rectangle with dimensions 100 x 100 mm on the drawing plane. Using the Extrude tool, I converted the 2D rectangle into a 3D solid. The extrusion distance was set to 15 mm.
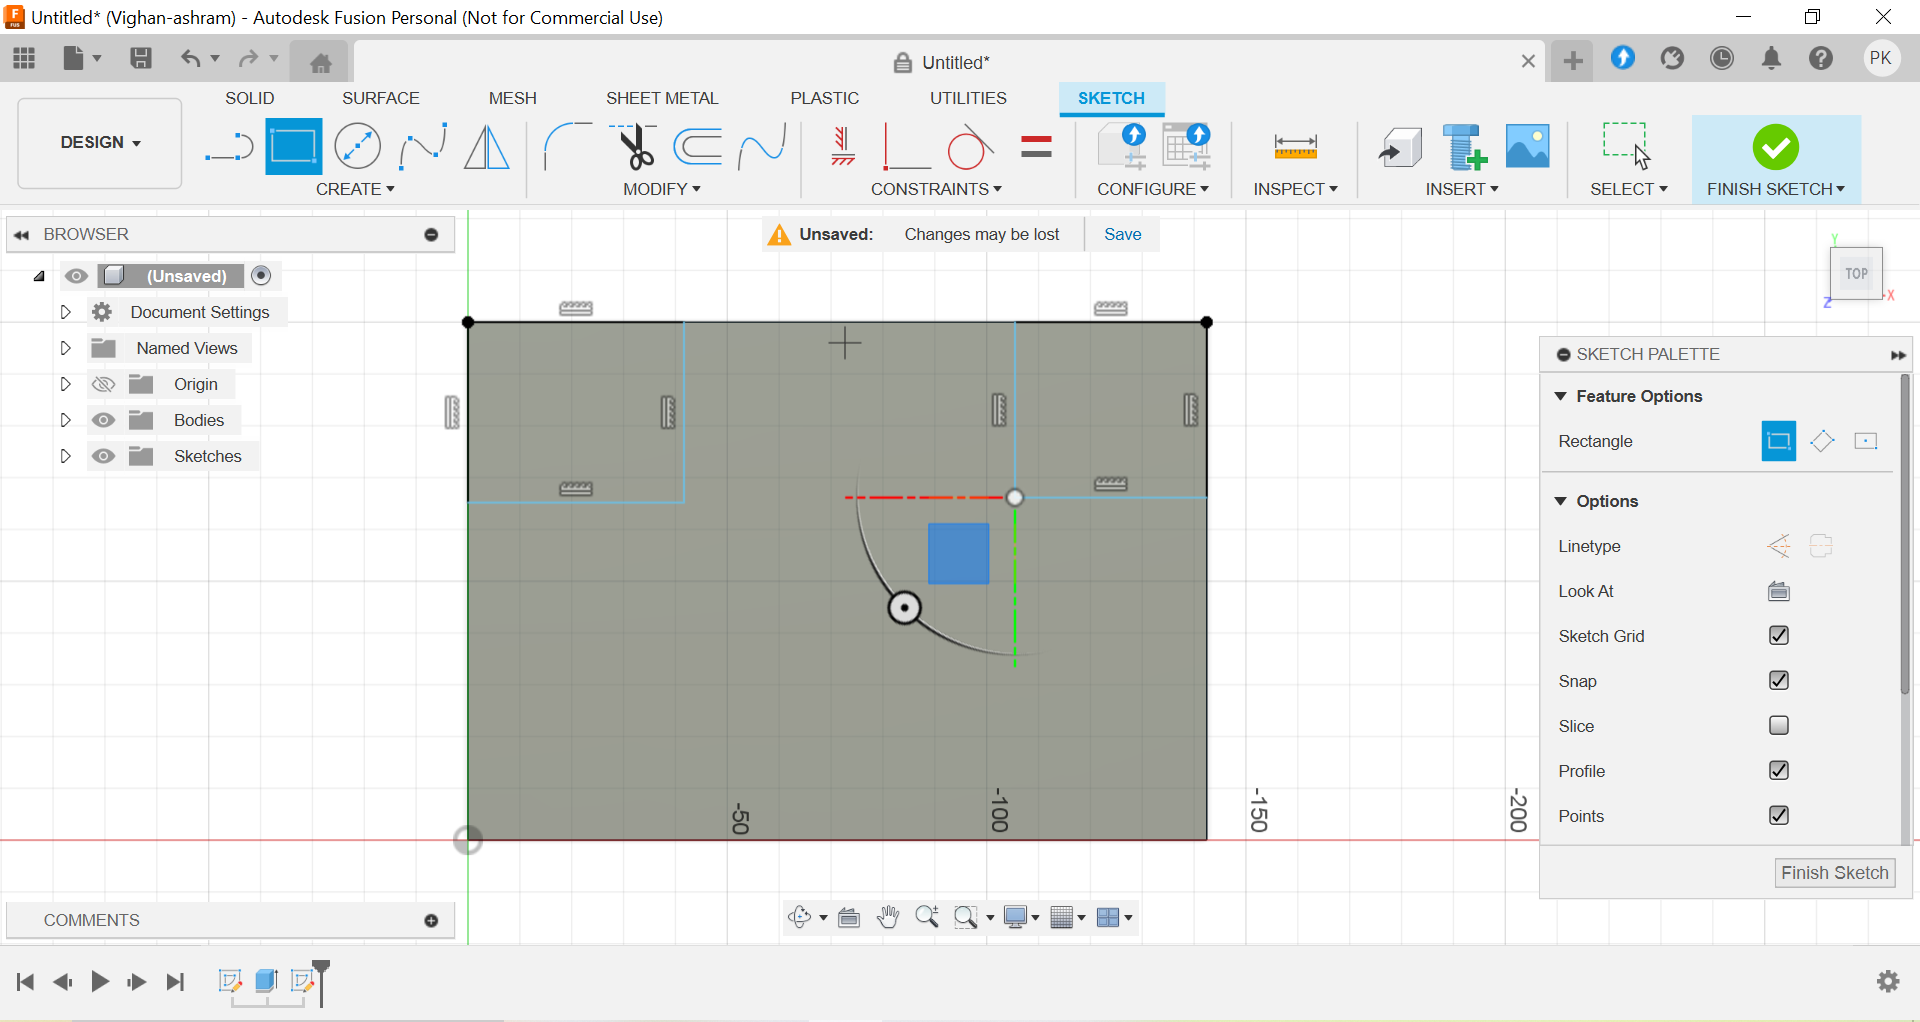
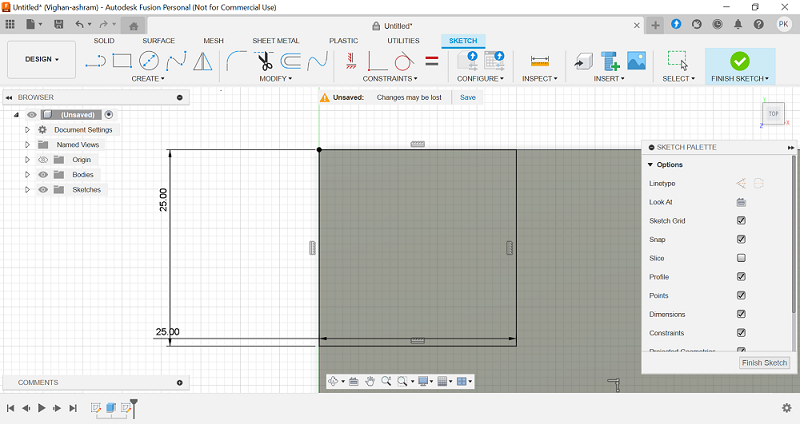
Adding Extensions and Mirroring: Rectangles were added at the corners of the base to create extensions. Each rectangle was 25 mm long. The Mirror tool was used to duplicate the corner rectangles, ensuring symmetry.
Extruding the Corner Extensions: The Extrude tool was used to extend the corner features by 100 mm, creating raised structures. This created the desired basic shape with four cuboid extensions.
Adding Cylindrical Feet: Circles with a 15 mm radius were added to the corners of the model's base to form cylindrical feet.
Reviewing the Model: The completed 3D model, including the cylindrical feet and base, was reviewed. The model can be rotated and examined from different angles.

Final Model Export: To finalize the design, I used the "Extrude" tool for 3D modeling and downloaded the design in STL format and other formats.
FreeCAD
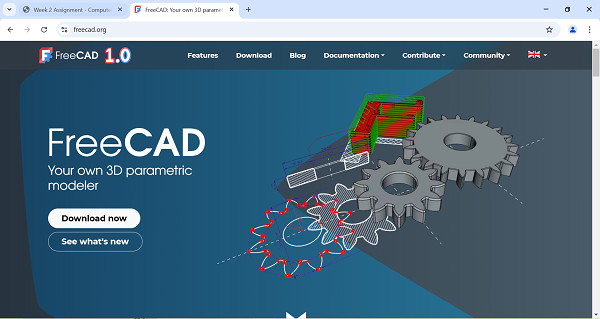
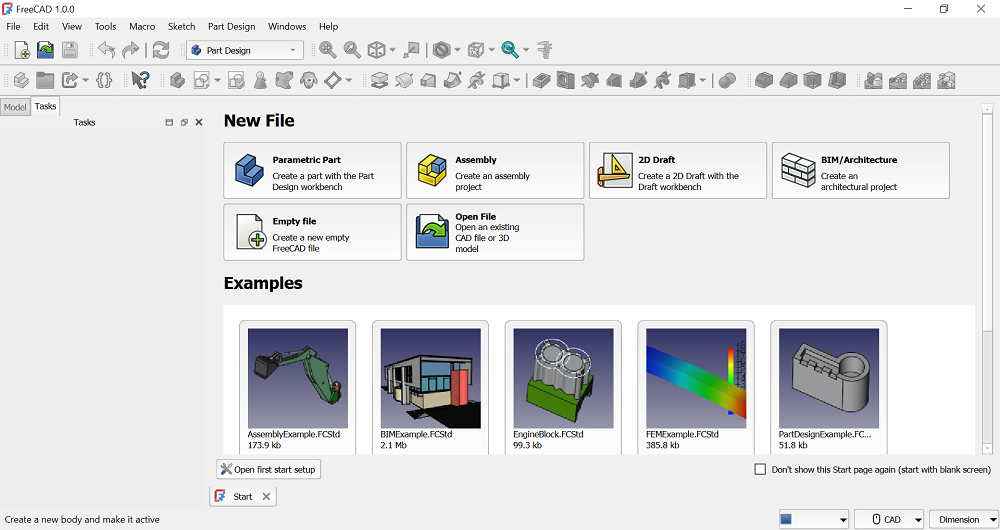
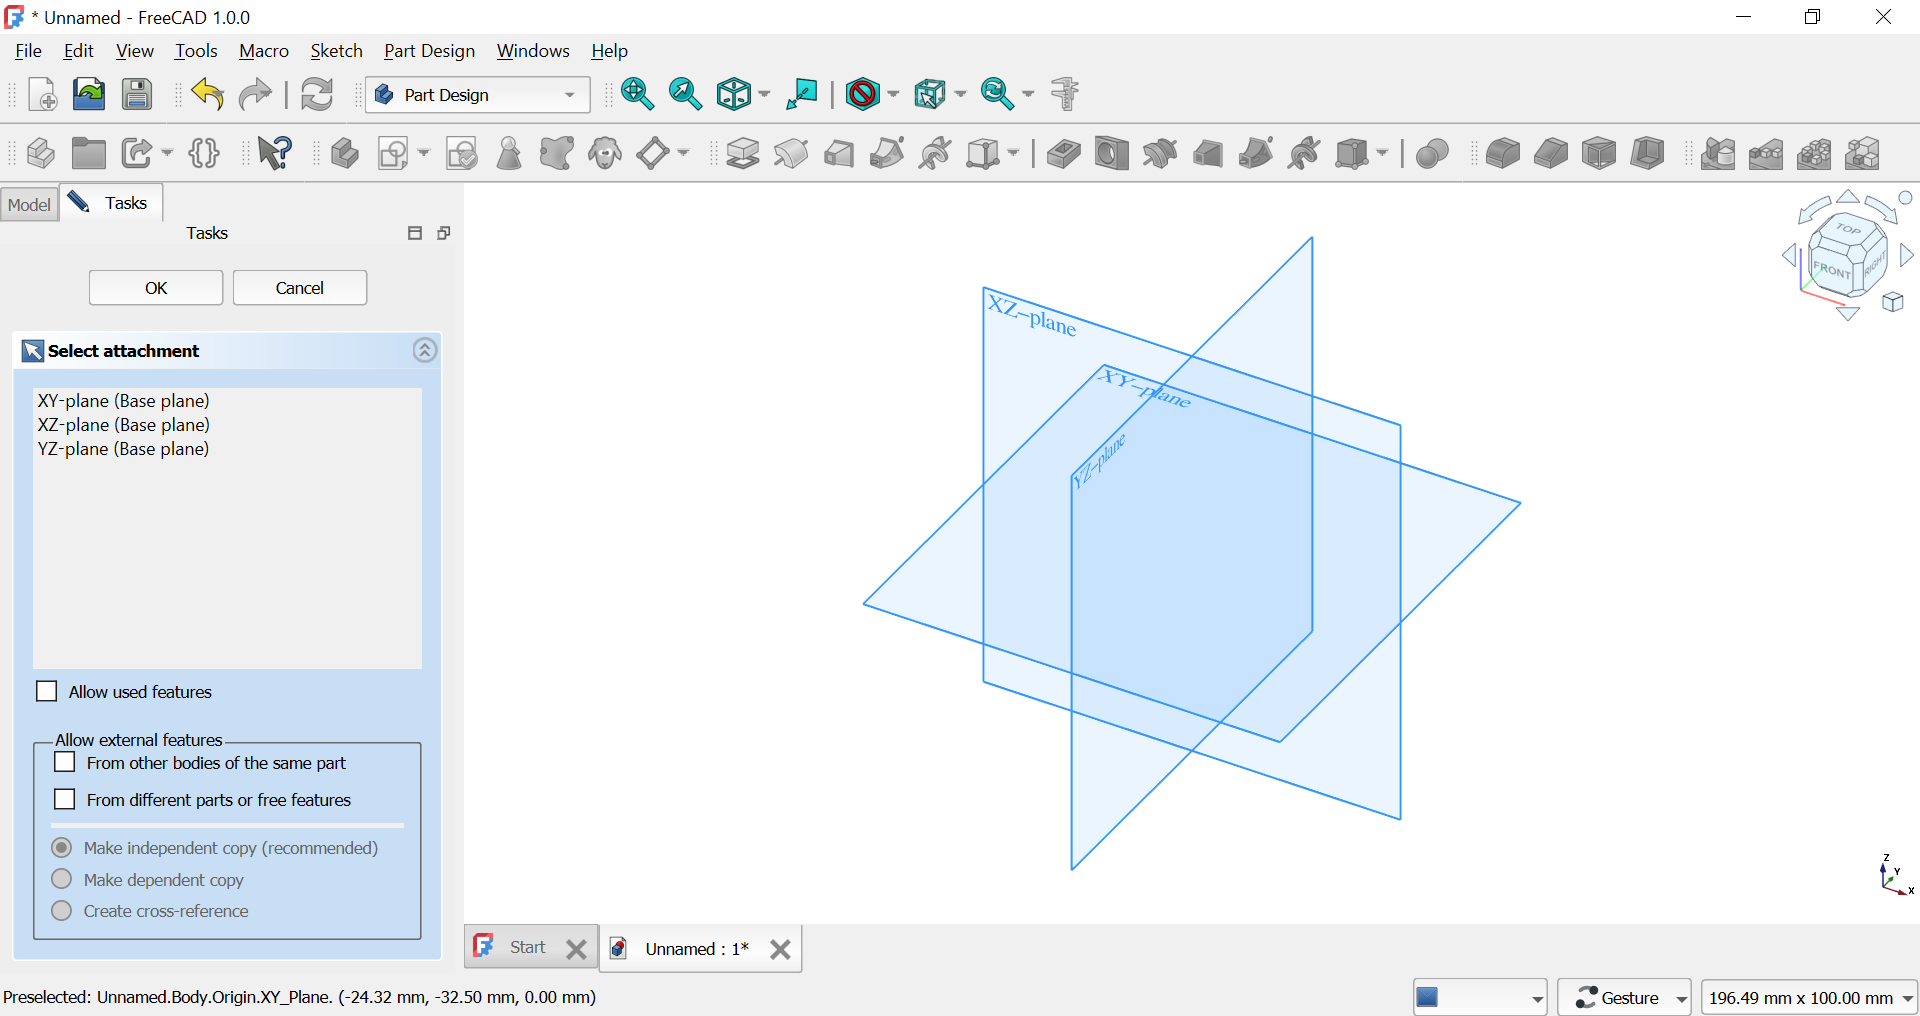
Downloading and Launching FreeCAD: I visited freecad.org, the official website, and downloaded FreeCAD. Upon launching the program, the "New File" options were displayed, allowing me to choose various workflows and explore CAD processes.
Starting a New Design: A new design was created in FreeCAD with the XY plane selected as the foundational workspace. The Sketch Mode was then entered to create precise 2D shapes.
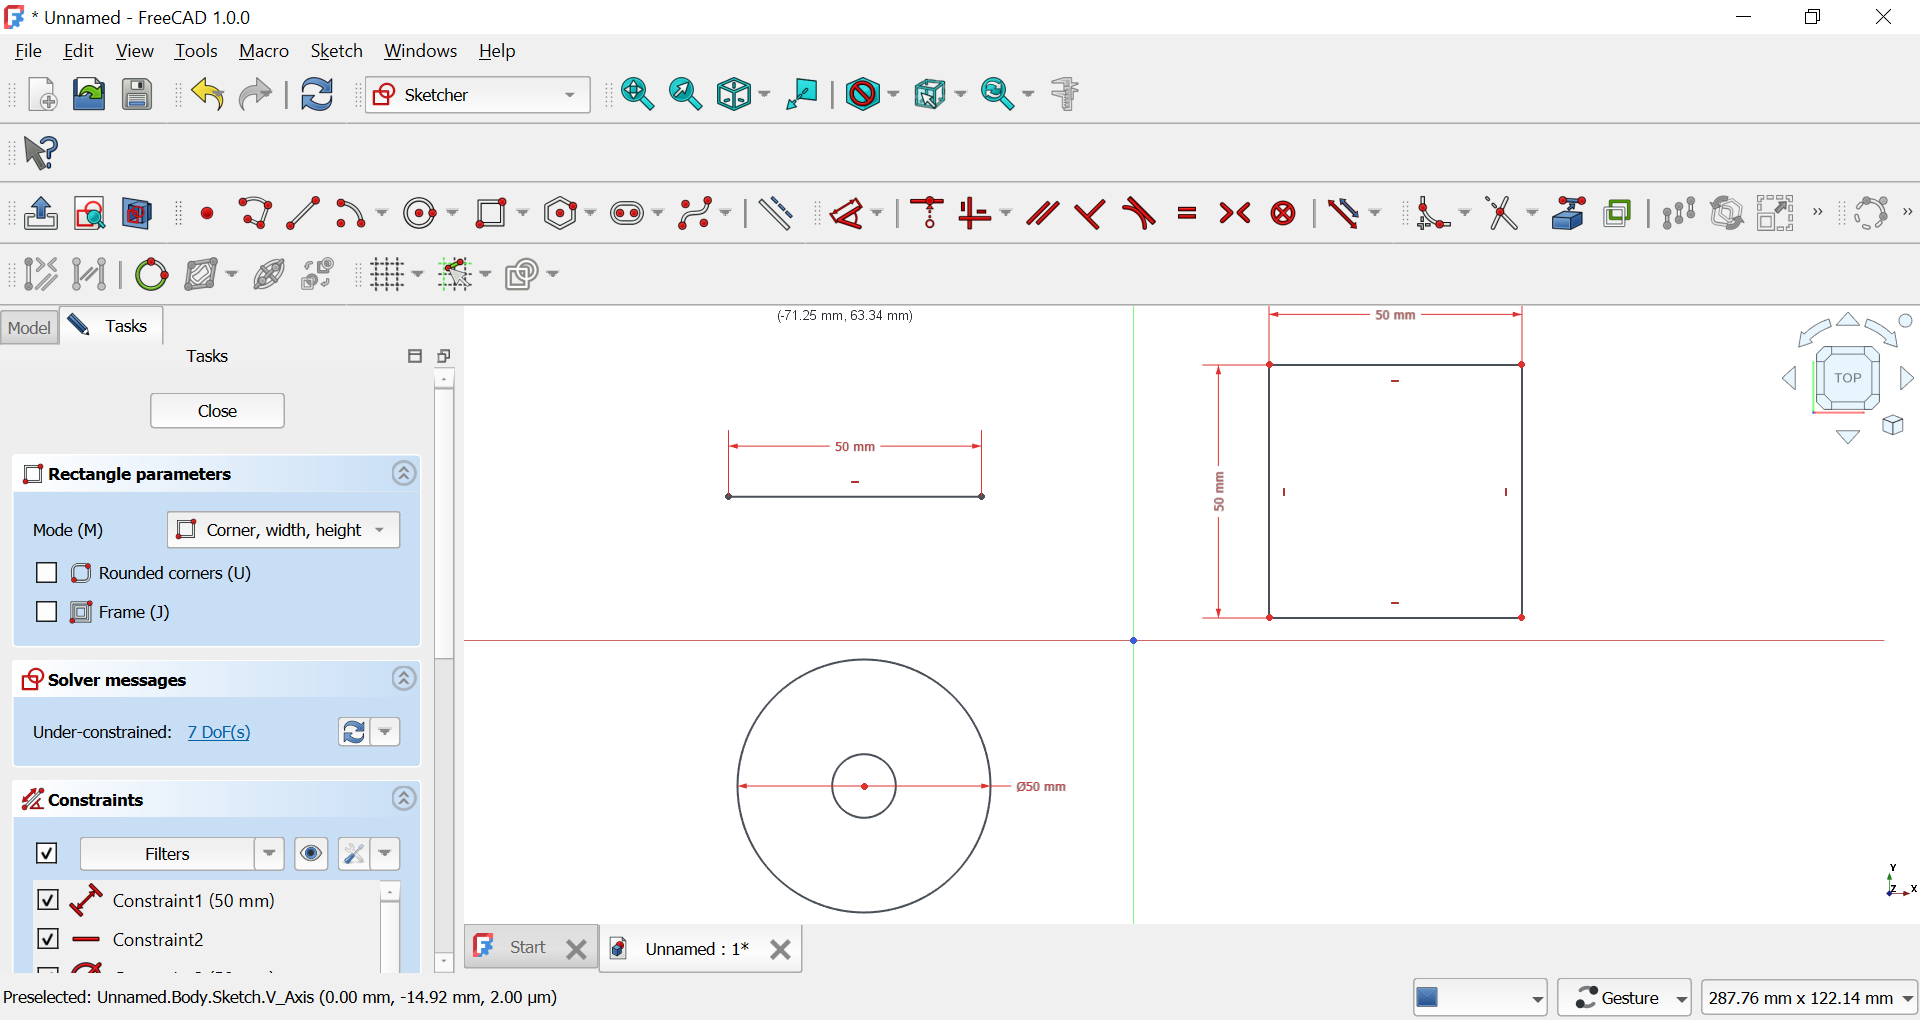
Creating the Foundation Plan: I created a 50 x 50 mm square as the foundation. A message indicated that all dimensions and constraints were properly defined, ensuring accurate design.
Extruding the Shape: The Rectangle Pad feature was used to form a cuboid, with the length set to 10 mm. This solidified the design's base.
Exporting the File: The design can be exported for further use or adjustments.
Optimizing Media
To enhance website performance, resize and compress all images using tools like XnConvert.
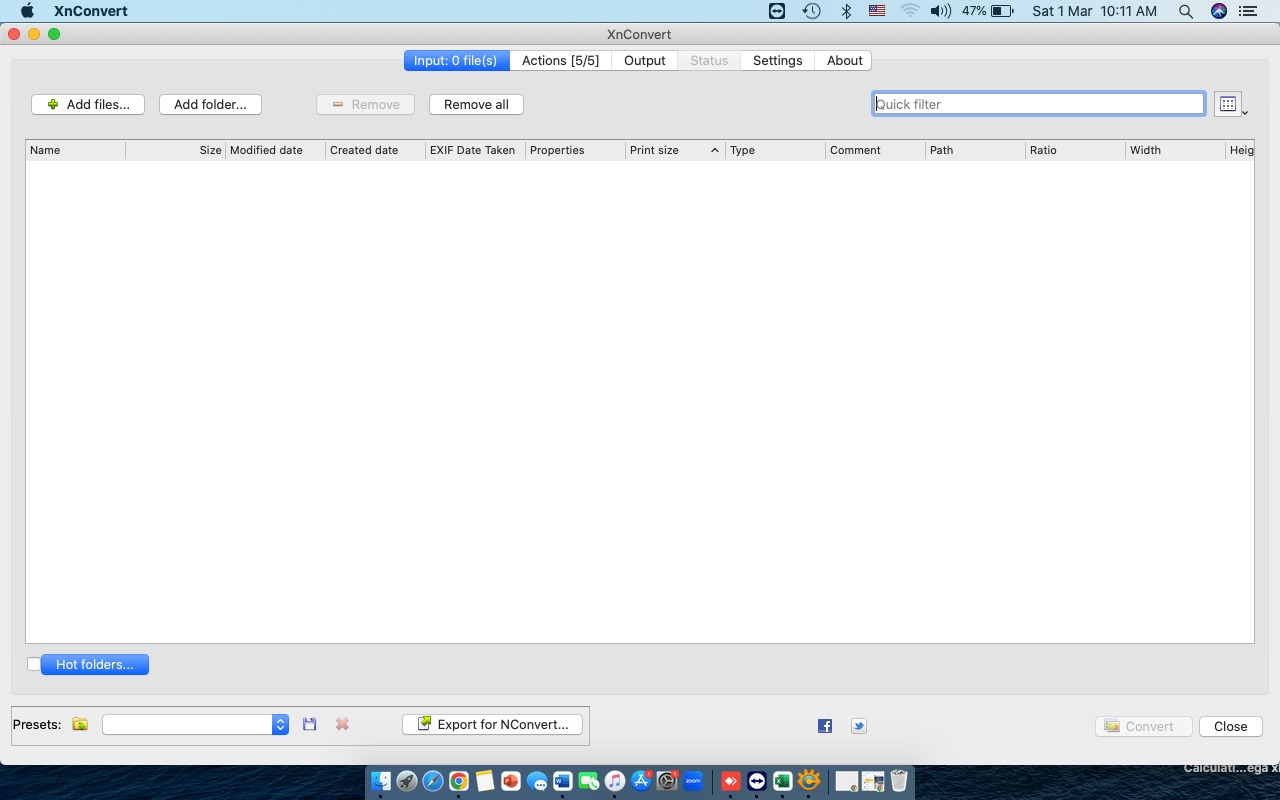
Start by opening the XnConvert software.
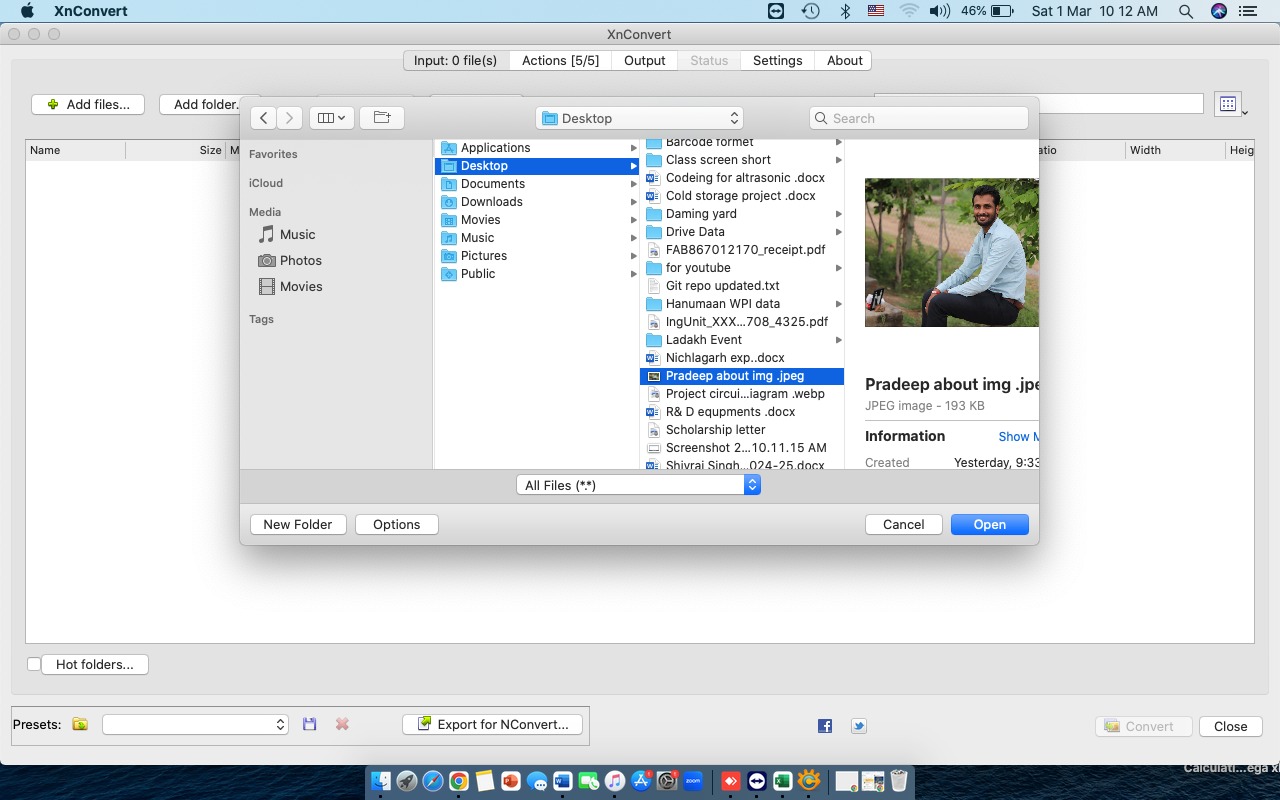
Click on "Add File" and select the image file from your device.
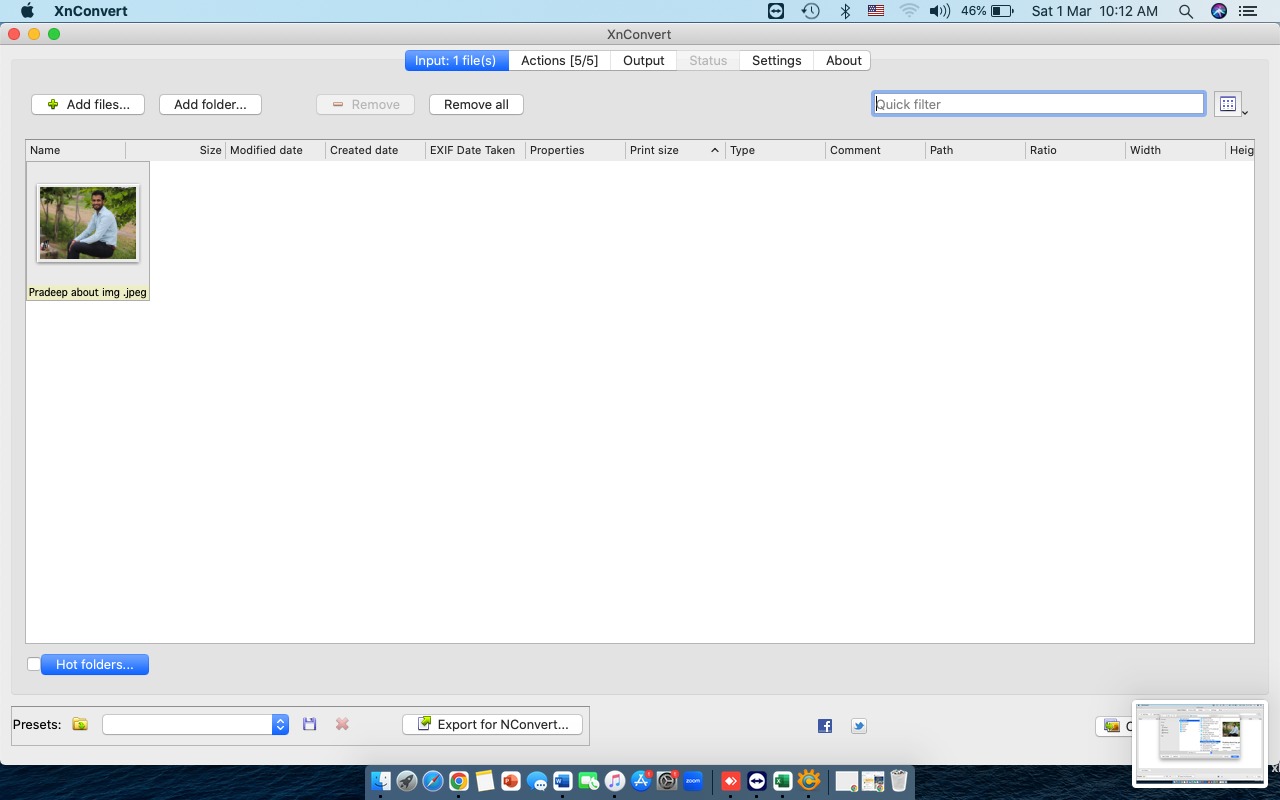
Once the file is uploaded, it's ready for editing.
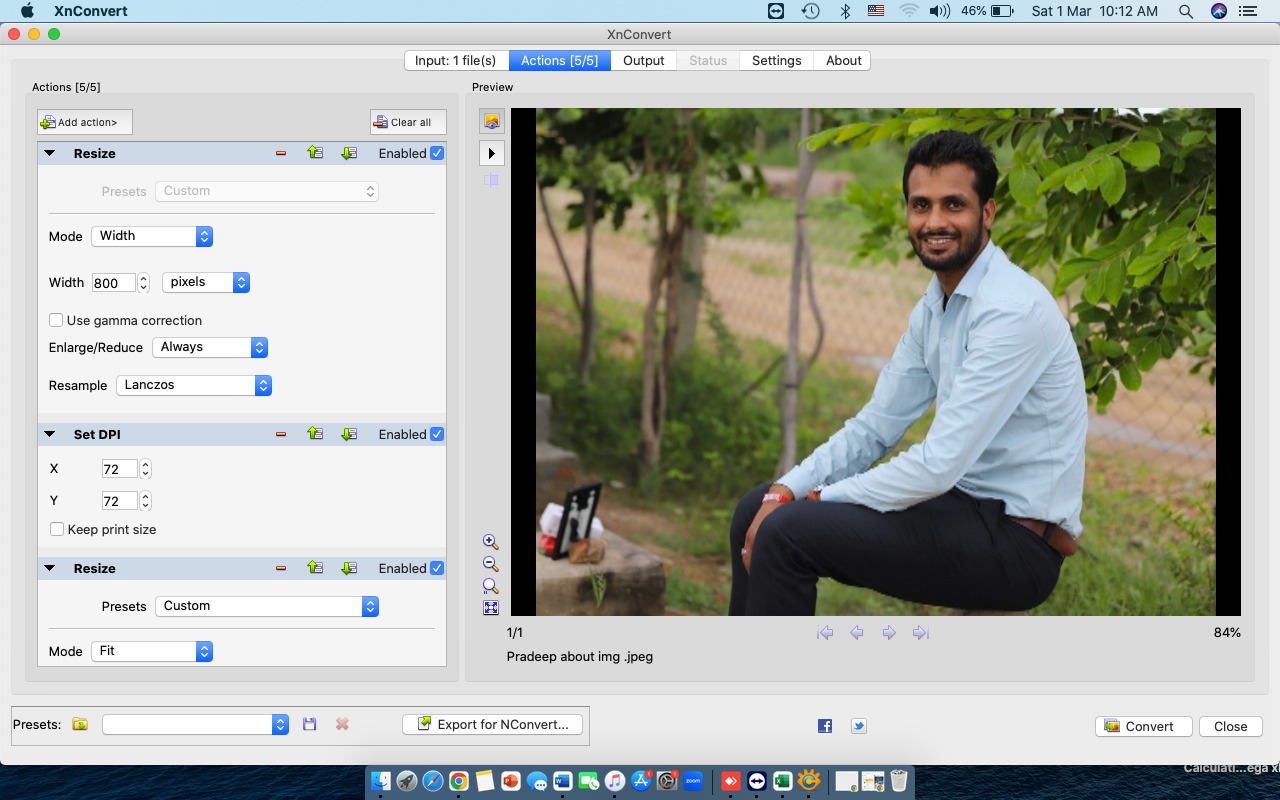
Click "Add Action" and set parameters such as width and height.

Next, click "Add Action" again, select the "Transform" option, and choose "Resize."
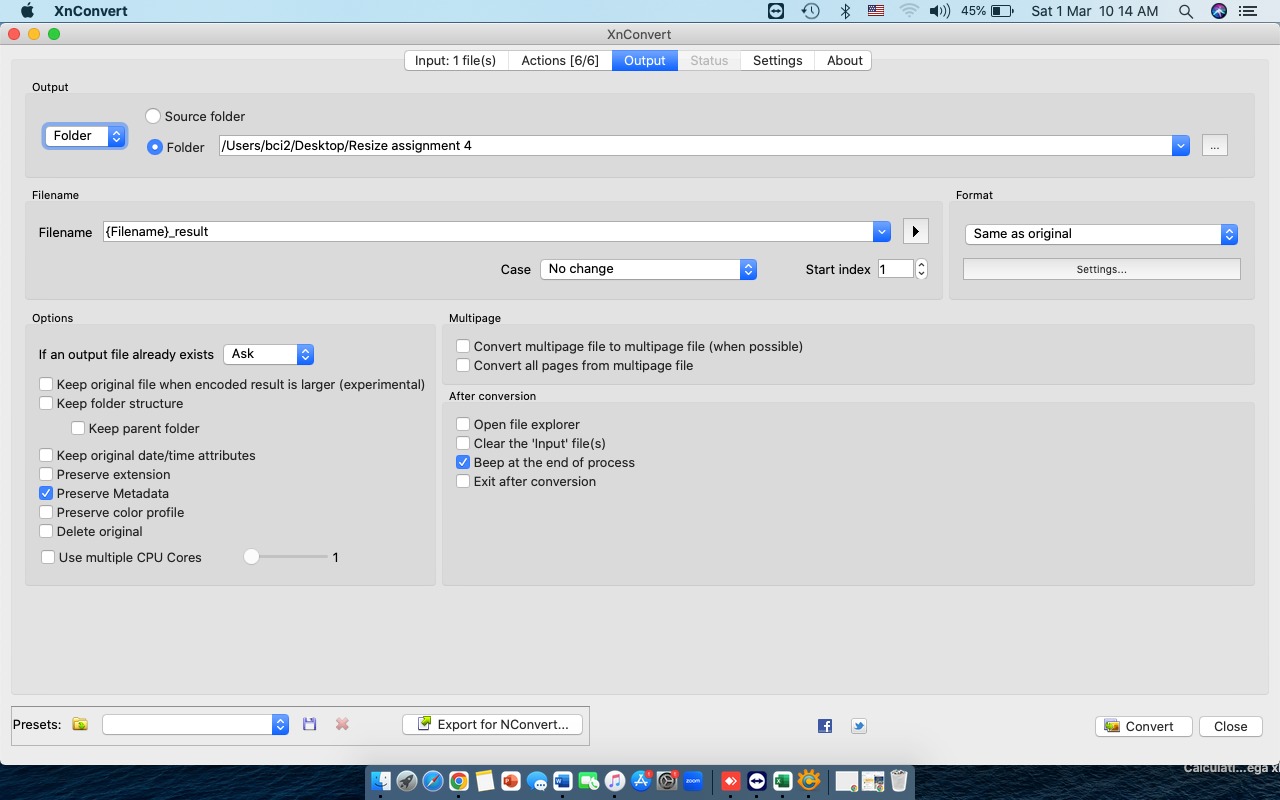
In the "Output" section, click "Settings" to adjust the image quality.
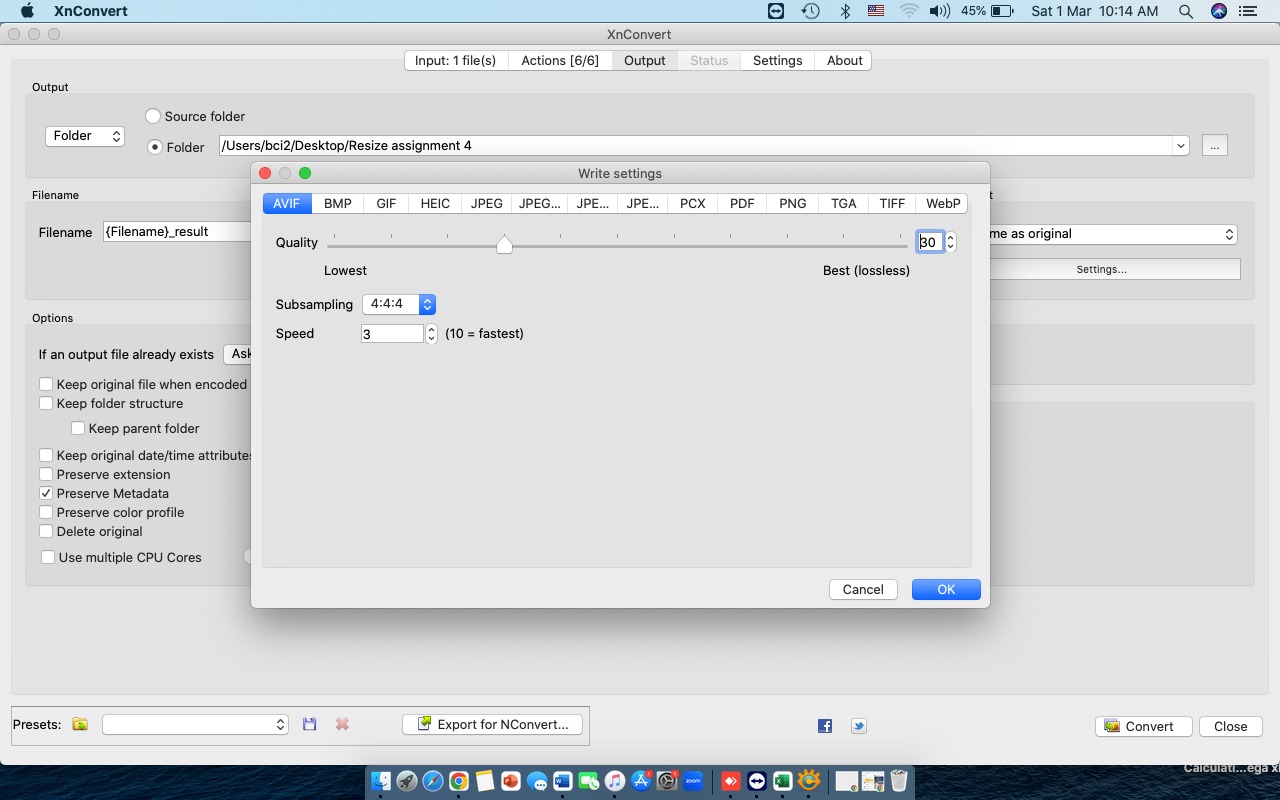
After adjusting the settings, click "OK" to resize and compress the image.
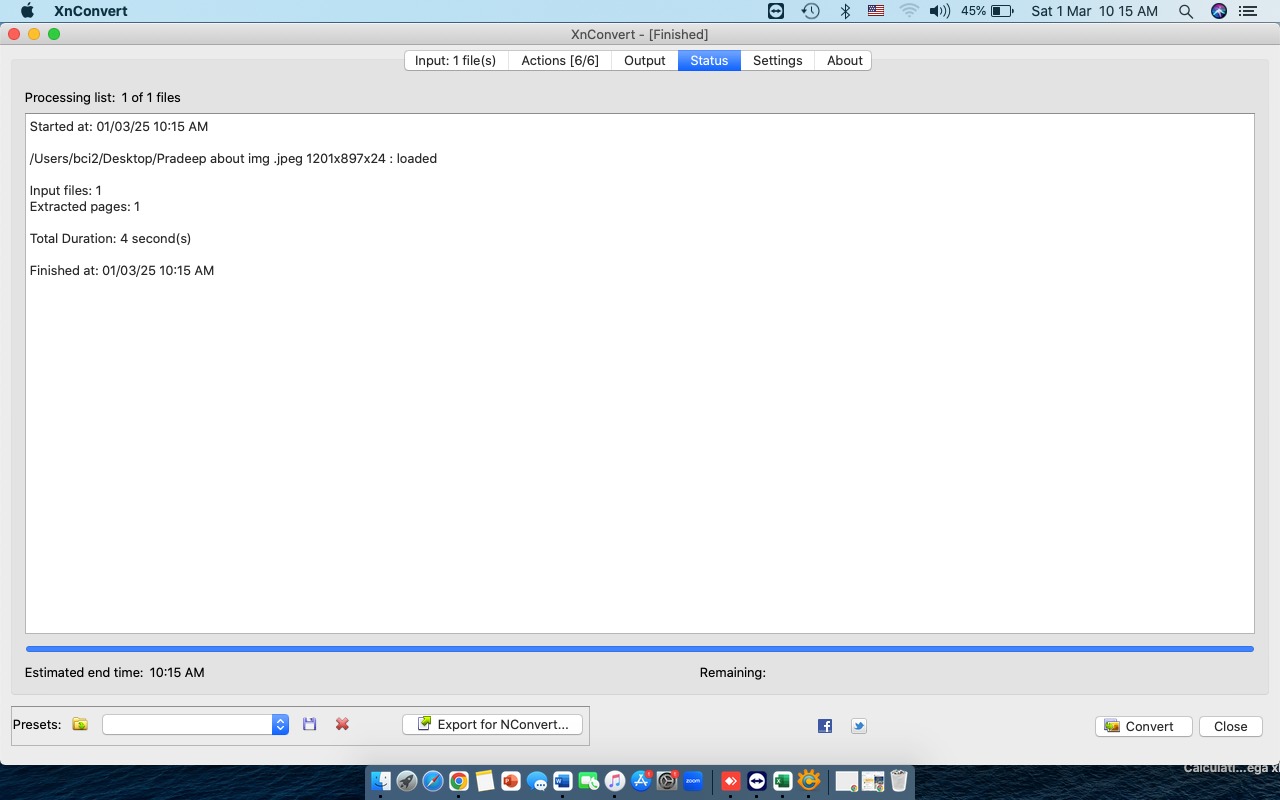
Finally, the image is resized and saved to your device.
Tools I Used
- For image format conversion, I used XNConvert.
- Raster image editing was done with GIMP.
- Vector graphic design was created using Inkscape.
- 3D modeling and CAD design were completed in Fusion 360.
- Parametric 3D modeling was executed with FreeCAD.
- Concept by me structured by ChatGPT.
Download the Original Files Here: