Introduction
A global platform called Fab Academy connects students interested in manufacturing and innovation. Through the program, we can explore digital manufacturing further, honing our talents by producing, learning, and sharing something new each week. Under the direction of MIT's Center for Bits and Atoms, it encourages us to comprehend technology and apply it to benefit society.
I am very excited to learn something new
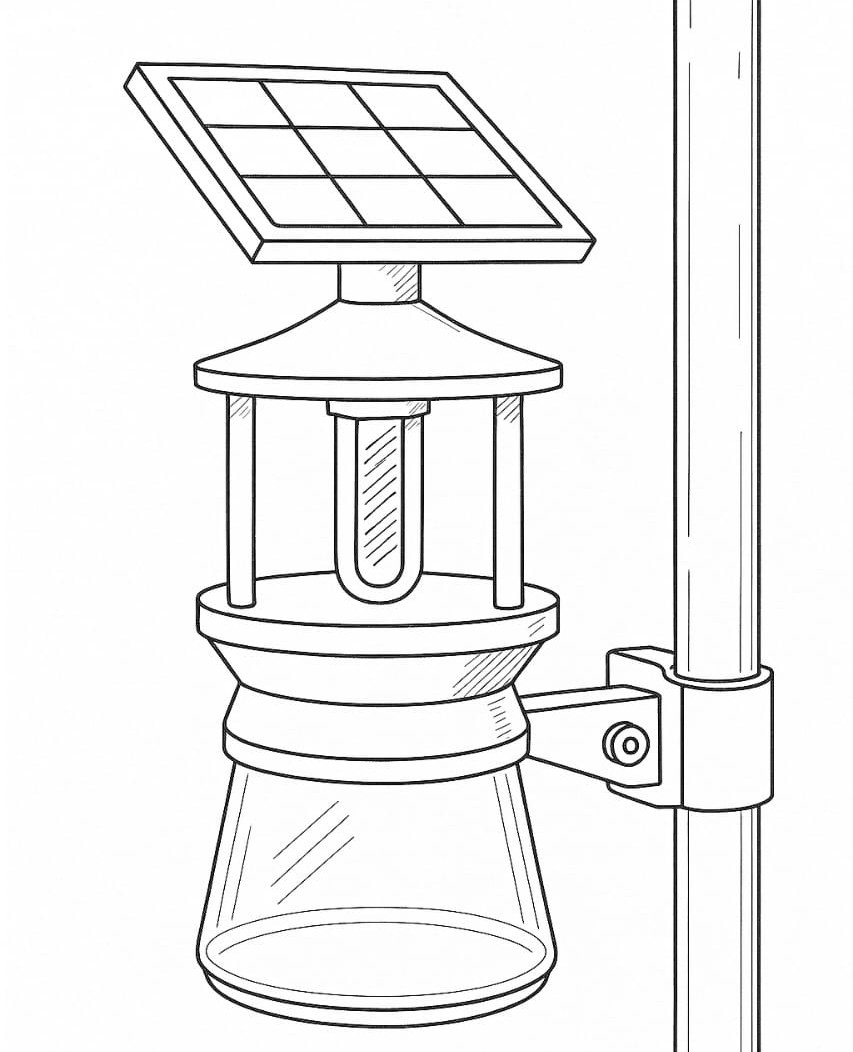
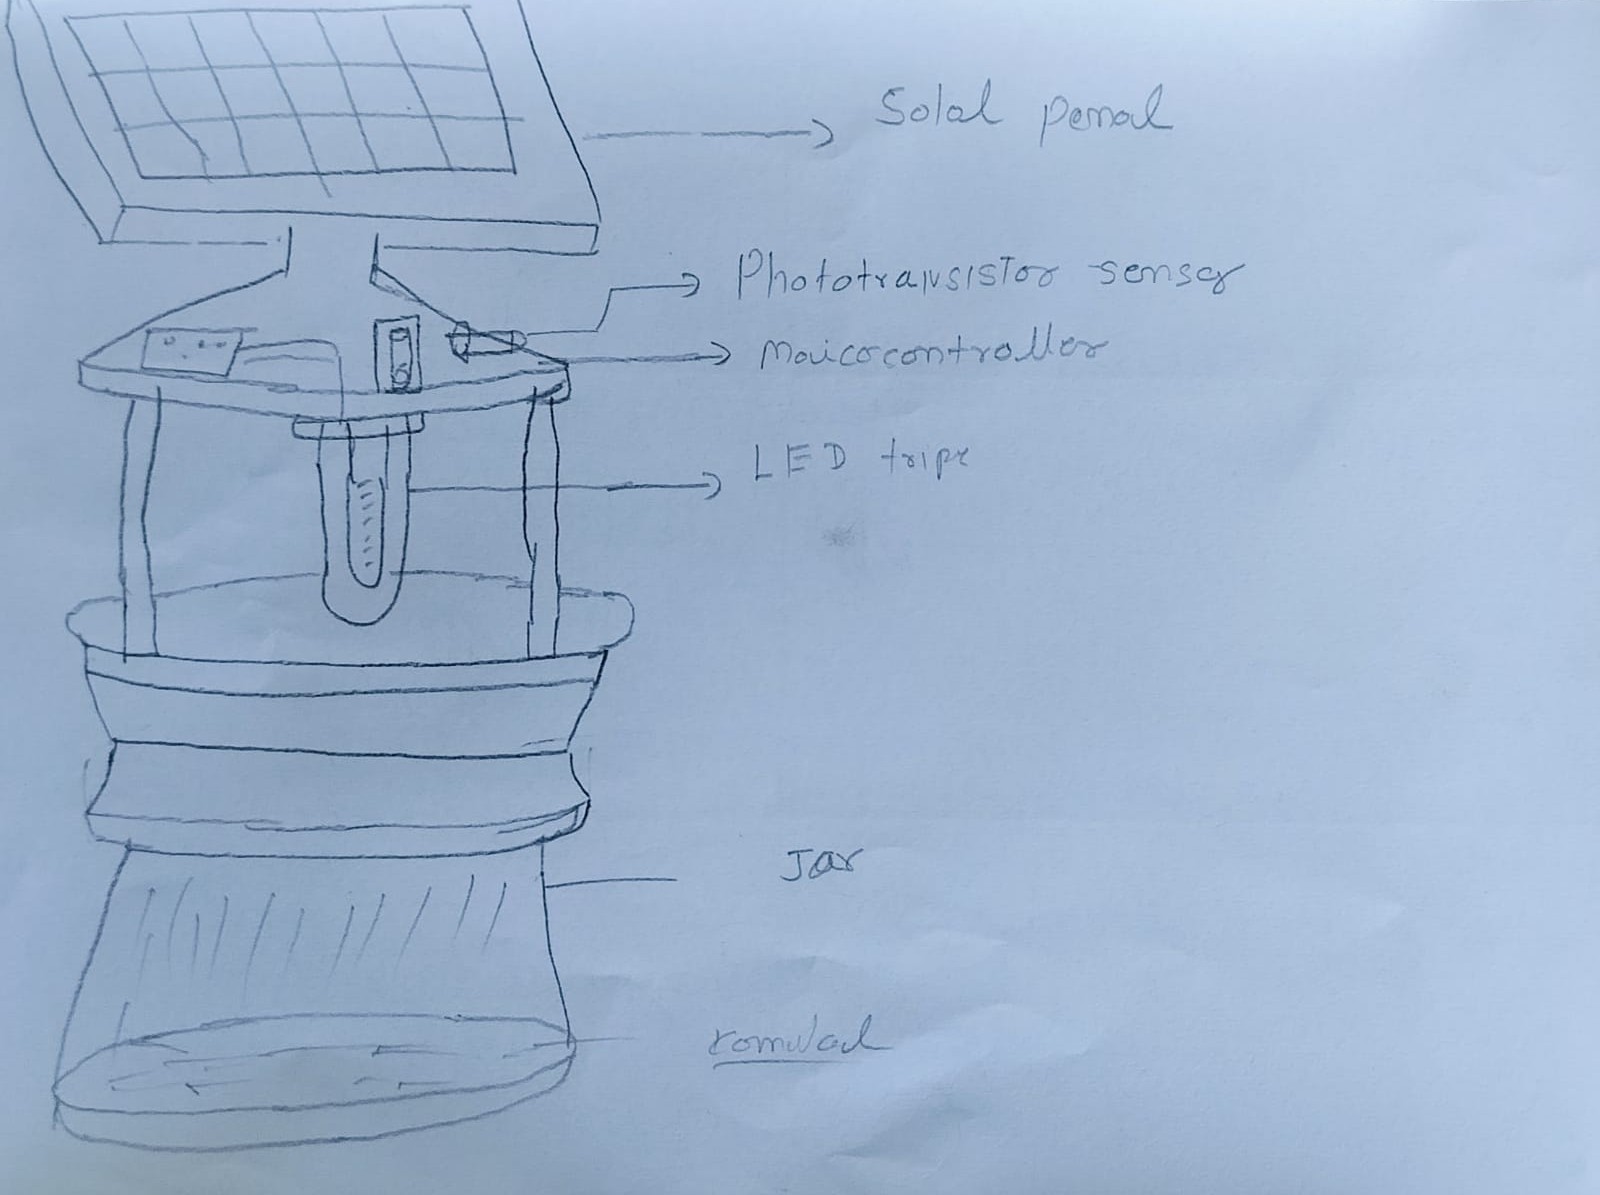
Final Project: E-Charging Station
I am working on a solar energy campaign with my organization, I decided to make a solar e-charging station for my final project. Since our solar experts frequently walk great distances to fix and maintain solar home lighting systems, our R&D department has created an e-cycle. In order to sell solar items, they also have to travel to neighboring towns or cities, but there aren't many transit options in these places.We are establishing a rural electronics workshop where solar items can be fixed in order to solve this problem. We intend to set up a 300-watt solar system in this workshop to supply electricity for soldering irons and other electrical equipment. In order to enable women to charge their e-bikes and enable villages to purchase e-bikes and utilize the charging station, my proposal is to construct a solar e-charging station. This will optimize the usage of solar energy and encourage environmentally friendly rural transportation.
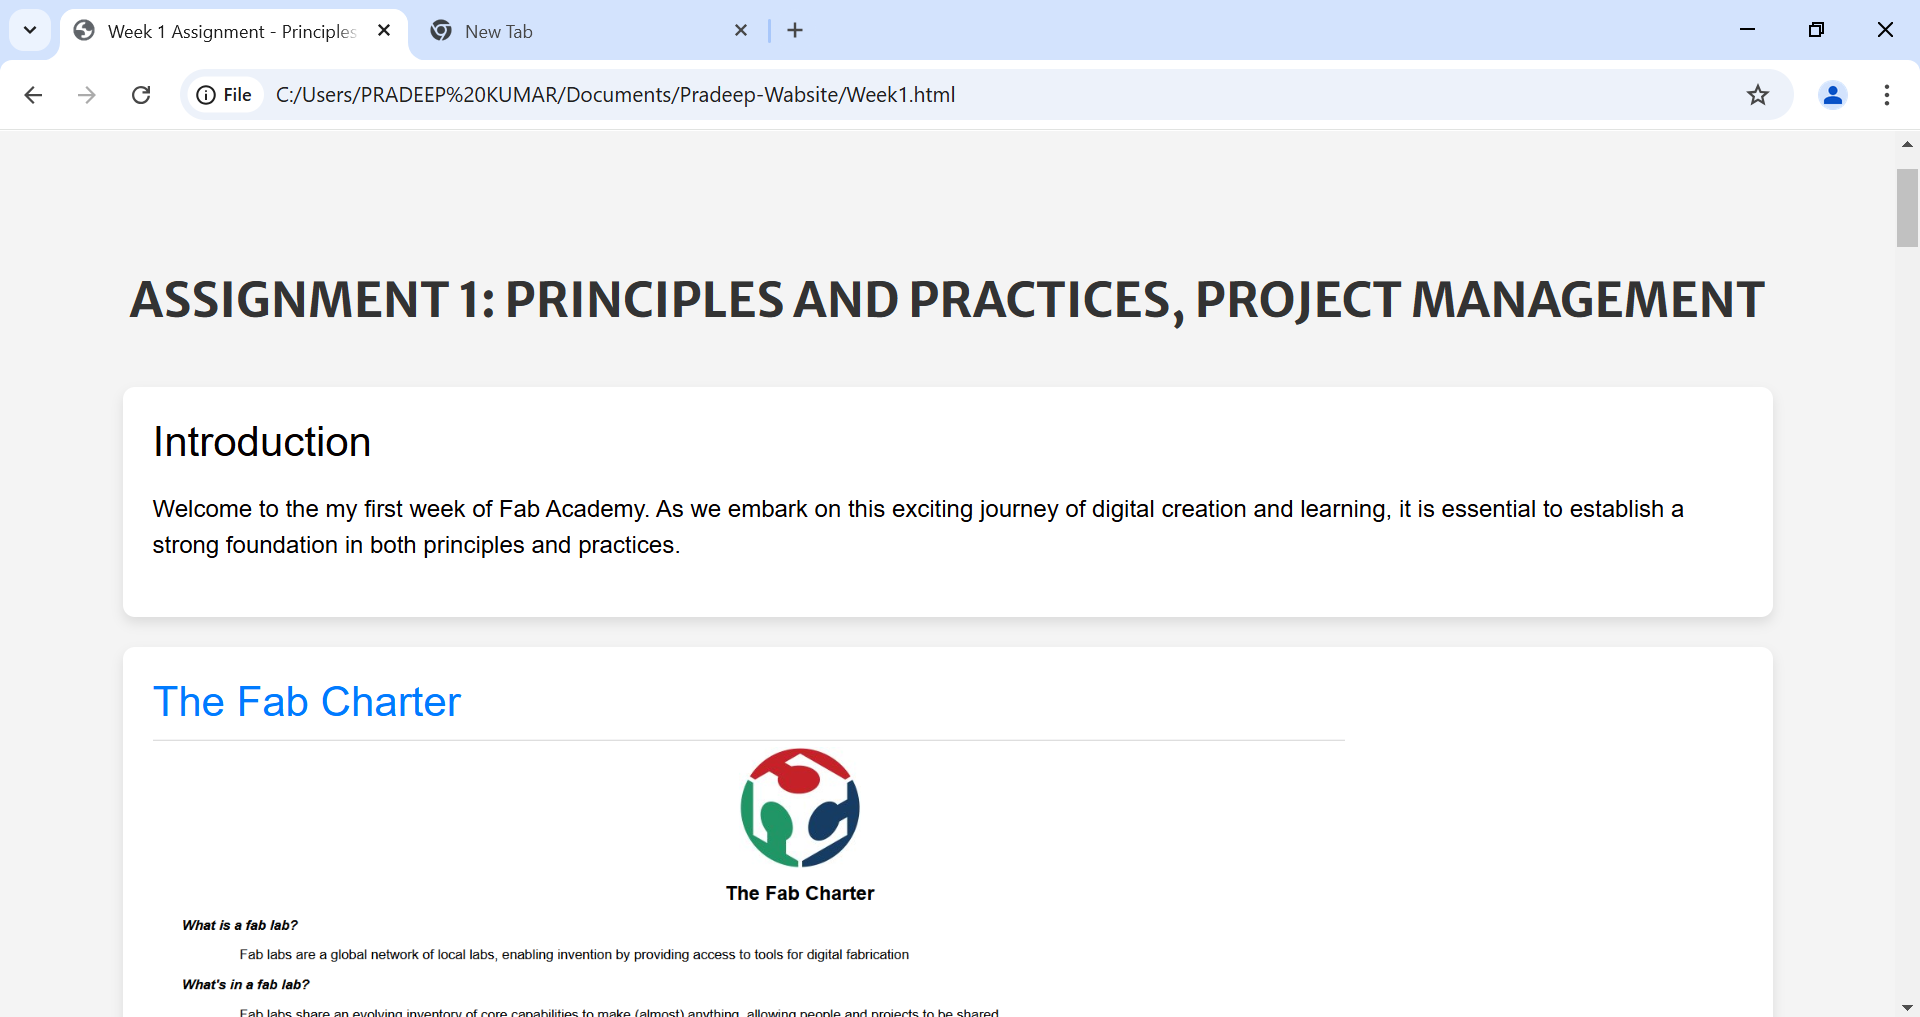
About the Git
Software projects can be tracked with Git, a free and open-source distributed version management system. It enables developers to handle several file versions, work together on code, and roll back to earlier iterations as necessary. Git is regarded as a contemporary standard and is frequently used in software development.
The option to go back to earlier iterations
Facilitates teamwork
Enables team collaboration
Local full copy of the repository
Features for branching and merging
Pulling and pushing to distant repositories
Backup code
Website Development
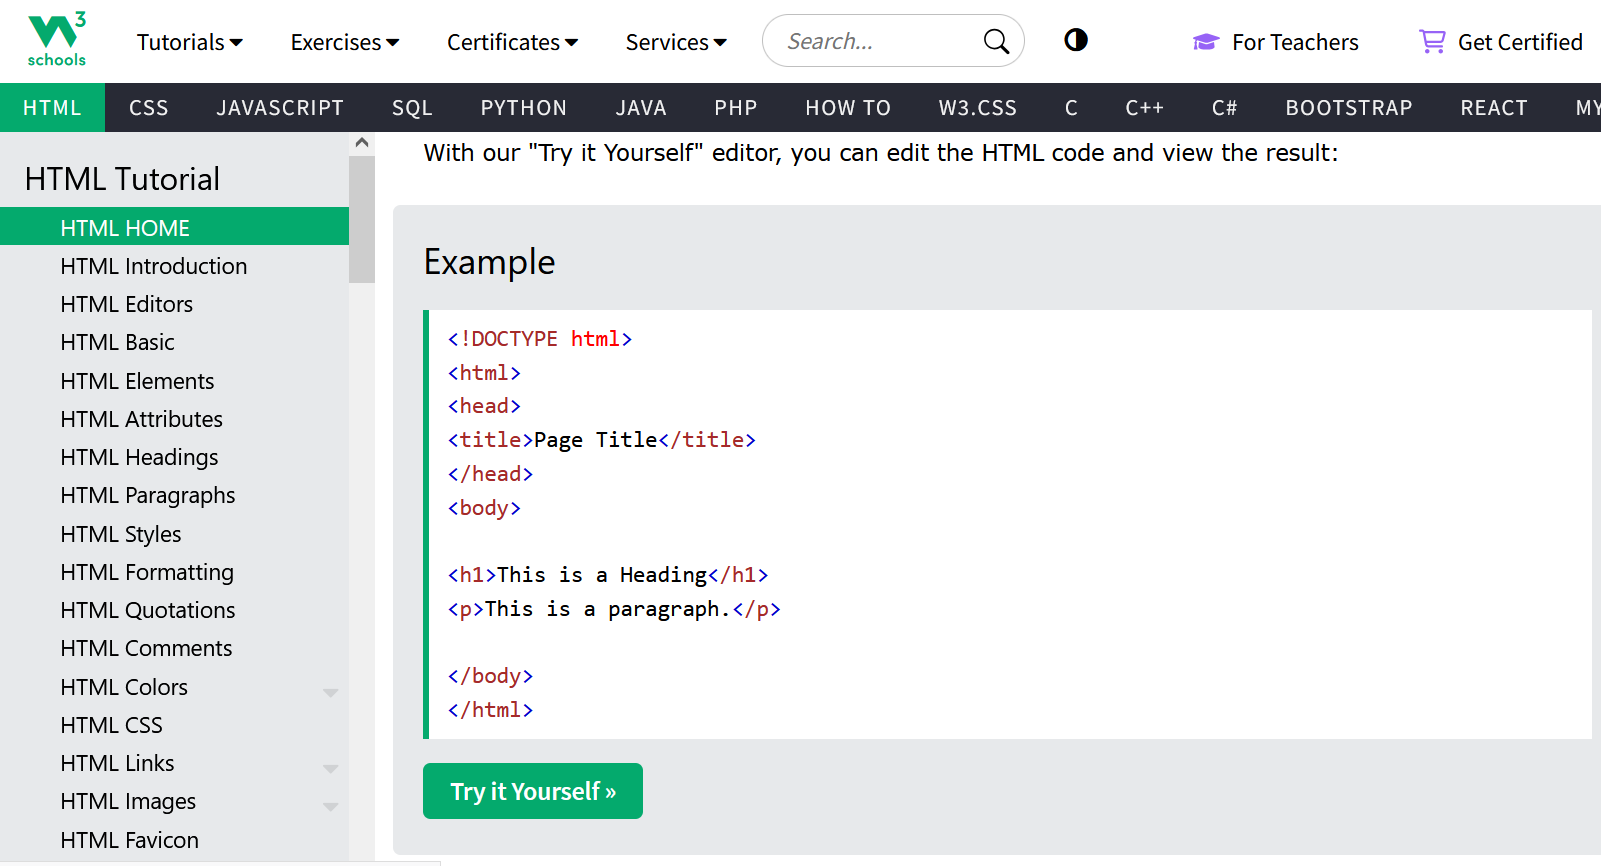
For website development, I learned how to create a website by studying online. I gained knowledge from W3Schools and improved my coding skills with the help of my friends. W3Schools taught me more than just code—it gave me the confidence to build and explore on my own.
- Learned HTML Code by W3Schools.
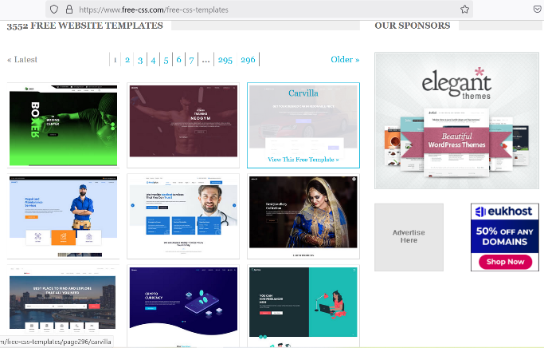
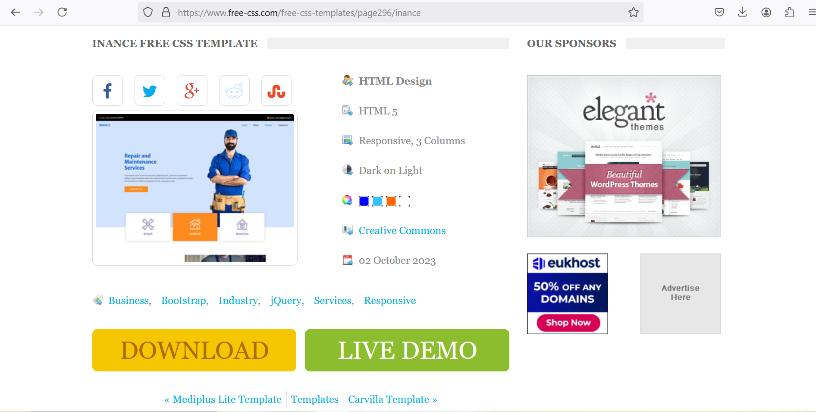
- Explored 5-6 free templates on platforms like Free CSS.
- Selected one template and customized it to suit my project needs.
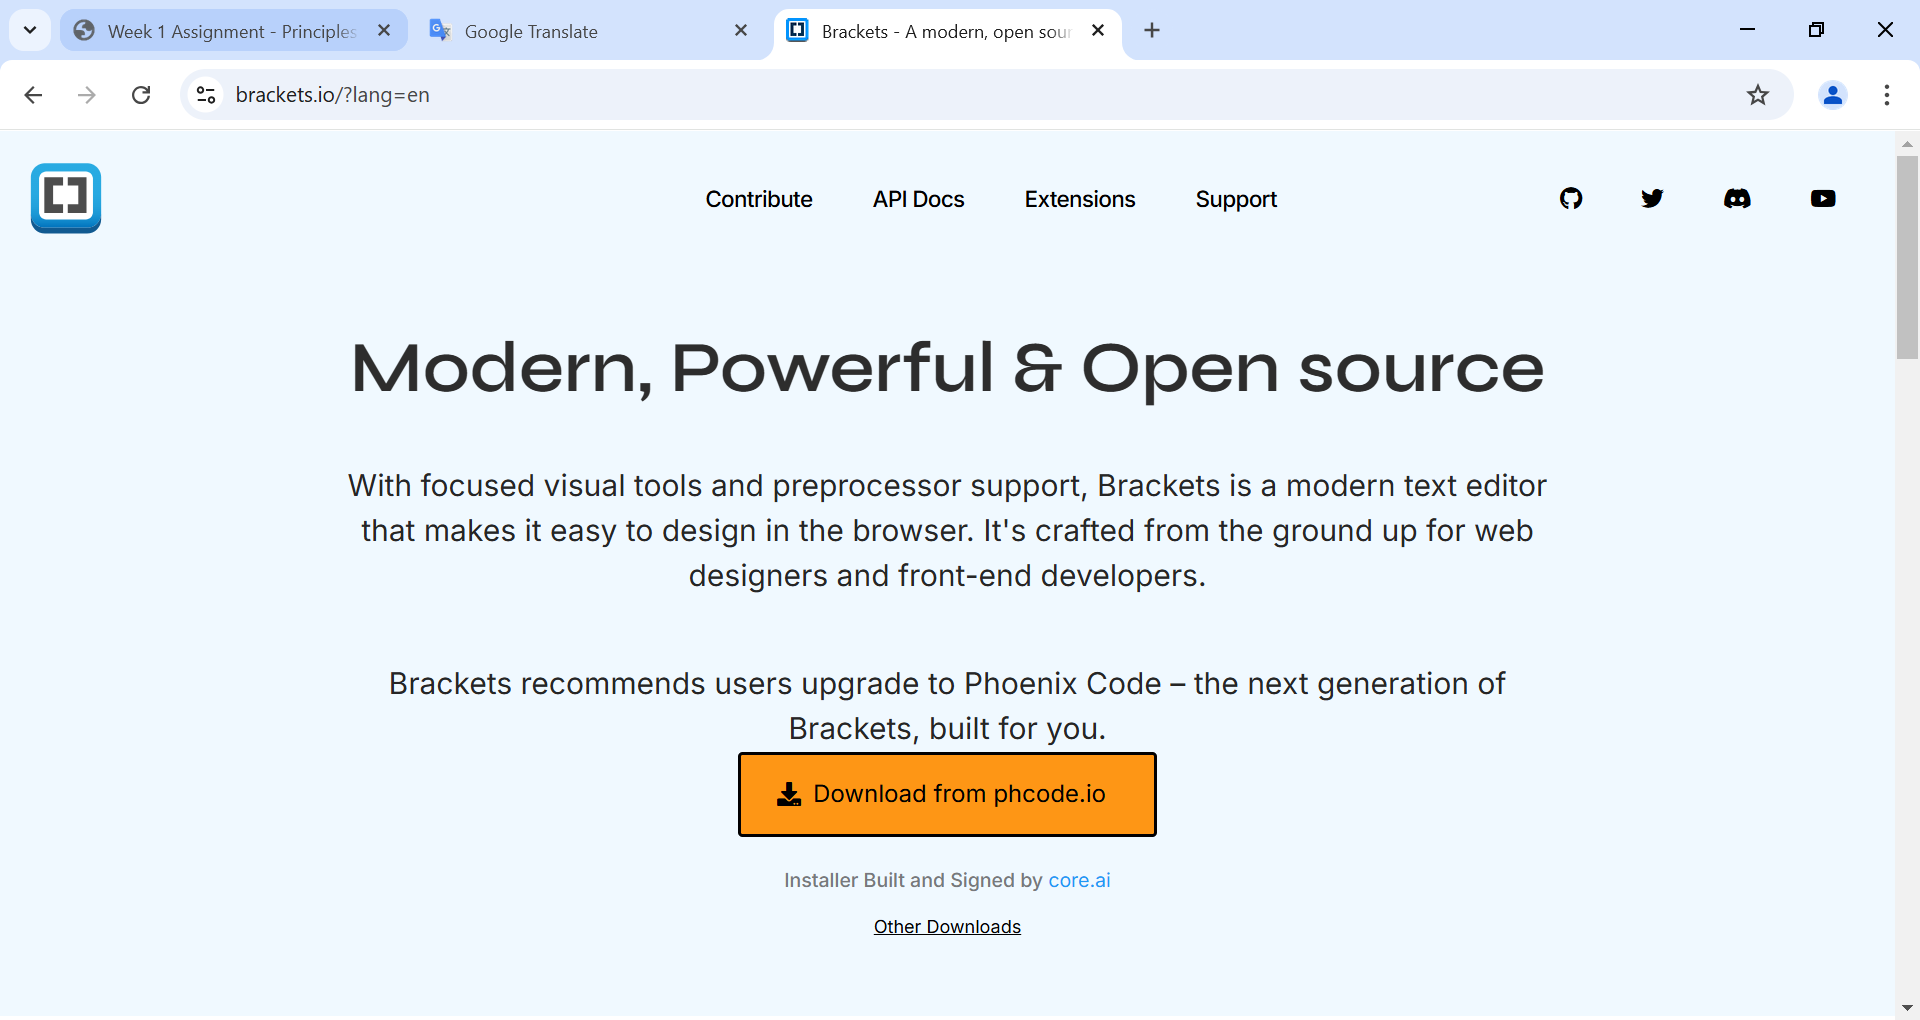
I used Brackets because it’s a great software for coding. It automatically closes tags while writing code, which makes coding easier. The best part is that it’s open-source and has a live preview system. That’s why I chose Brackets for writing my code.
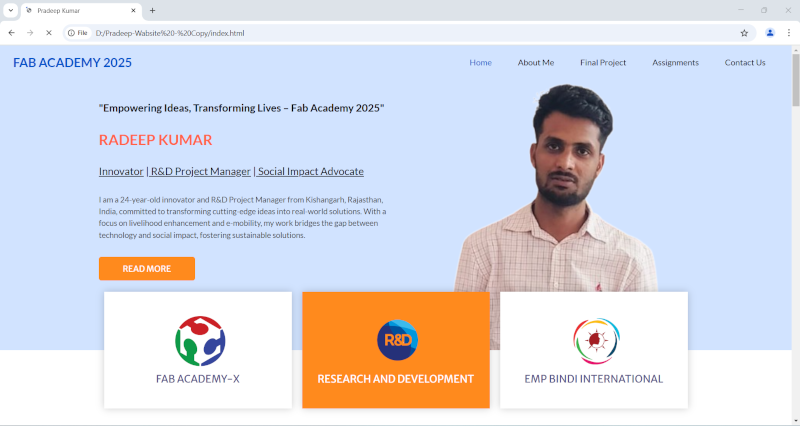
I used a template to build multiple sections of my website, including the Homepage, About Me, Contact, Assignments, and Final Project pages. I learned basic coding from W3Schools and made changes accordingly. I created a draft version of my Fab Academy website, and I felt very happy while working on it. I realized that customizing the template was easier than I expected, and I tried my best to make the website both professional and visually appealing. I made many changes to improve the design and layout, aiming to create something I'm truly proud of.
| I used a software called Brackets for writing and editing my website code. |
I designed a Home Page that includes sections like Assignments, Final Project, and About Me. I also added my photo to give it a personal touch. |
 |
 |
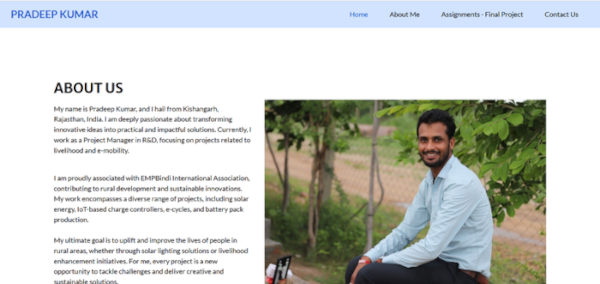
| To write about myself, I opened the About Me page in Brackets and described my background, interests, and goals. |
➡️ Below is the view of my About Me page. |
 |
 |
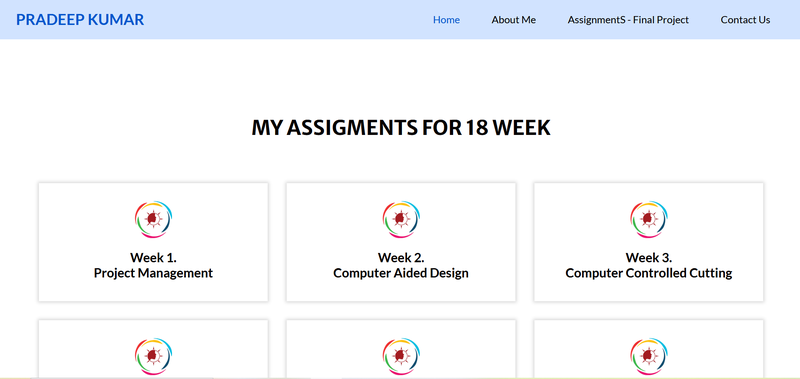
| While working on the Assignments section, I faced several challenges. However, with the help of W3Schools, I successfully created and customized my own assignment page. |
➡️ Here is the view of my Assignments page. |
 |
 |
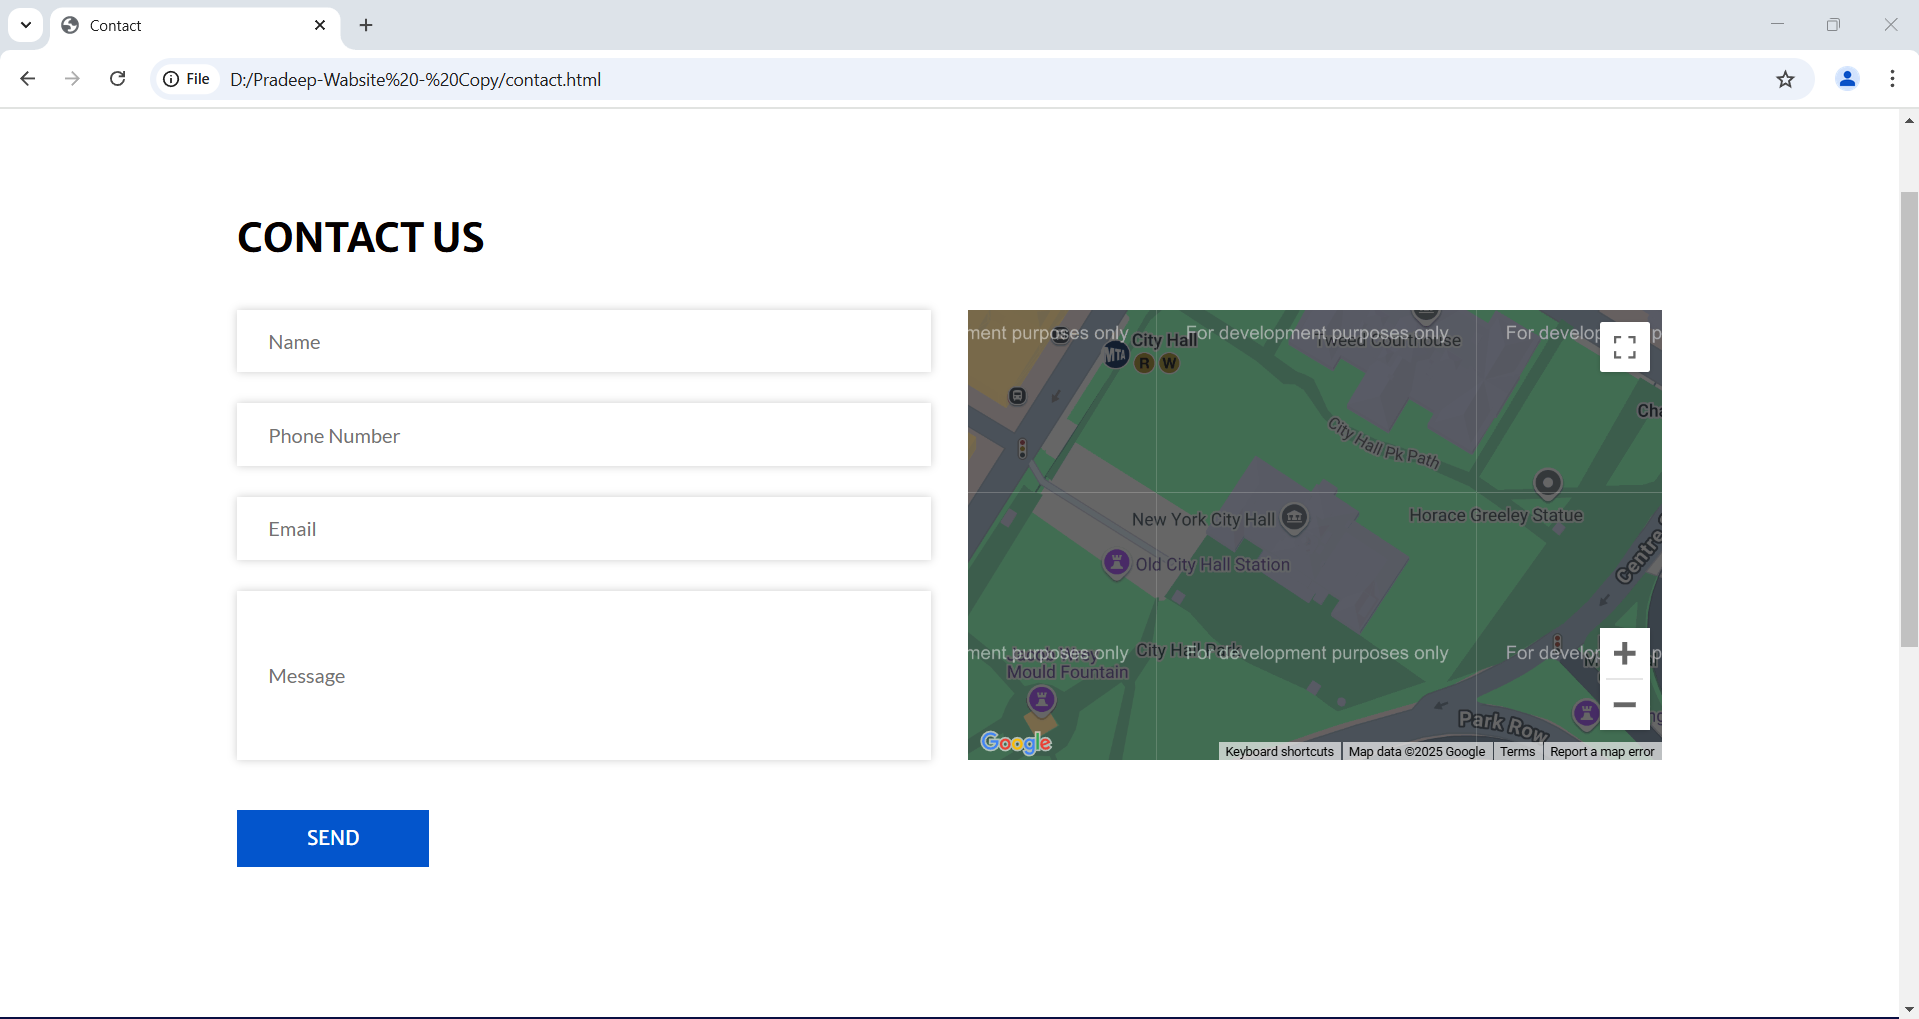
| I also worked on the Contact page—updated the layout and embedded a map. Some improvements are still pending. |
➡️ This is the view of my Contact page. |
 |
 |
| For Week 1, I created a separate page and linked it with the main Assignments section under the title Assignment 1 |
➡️ Here is the view of my Week 1 page. |
 |
 |
What I Learned
- To gain a better understanding of website design, I studied the basic principles of HTML and CSS. With the help of W3Schools, I also improved my coding skills and learned various code structures.
- I learned how to customize templates according to project requirements.
- Additionally, I gained proficiency in Git version control, including file management and repository setup.
Checklist
- ✅ Prepared a sketch and description of the final project.
- ✅ Built a personal website with sections for "About Me," "Assignments," and "Final Project."
- ✅ Set up a Git repository and documented the process.
- ✅ Pushed all work to the class GitLab repository.
- ✅ Signed and uploaded the Student Agreement.