Appearance
Manufactue- Driver Takeover Monitoring System
Computer Controled Cutting
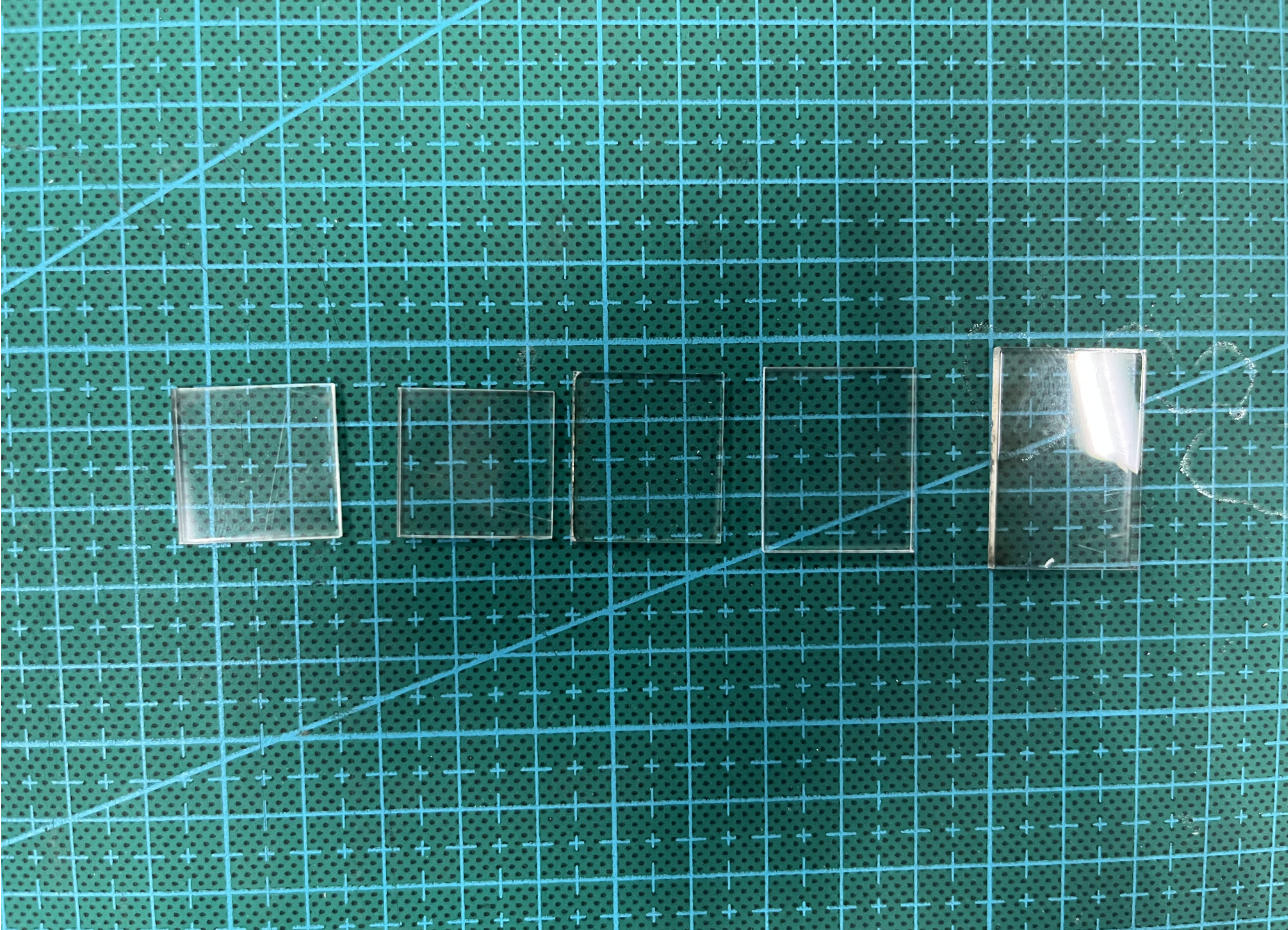
CNC laser-cut
I used laser cutting to produce acrylic square pieces for surface decoration. 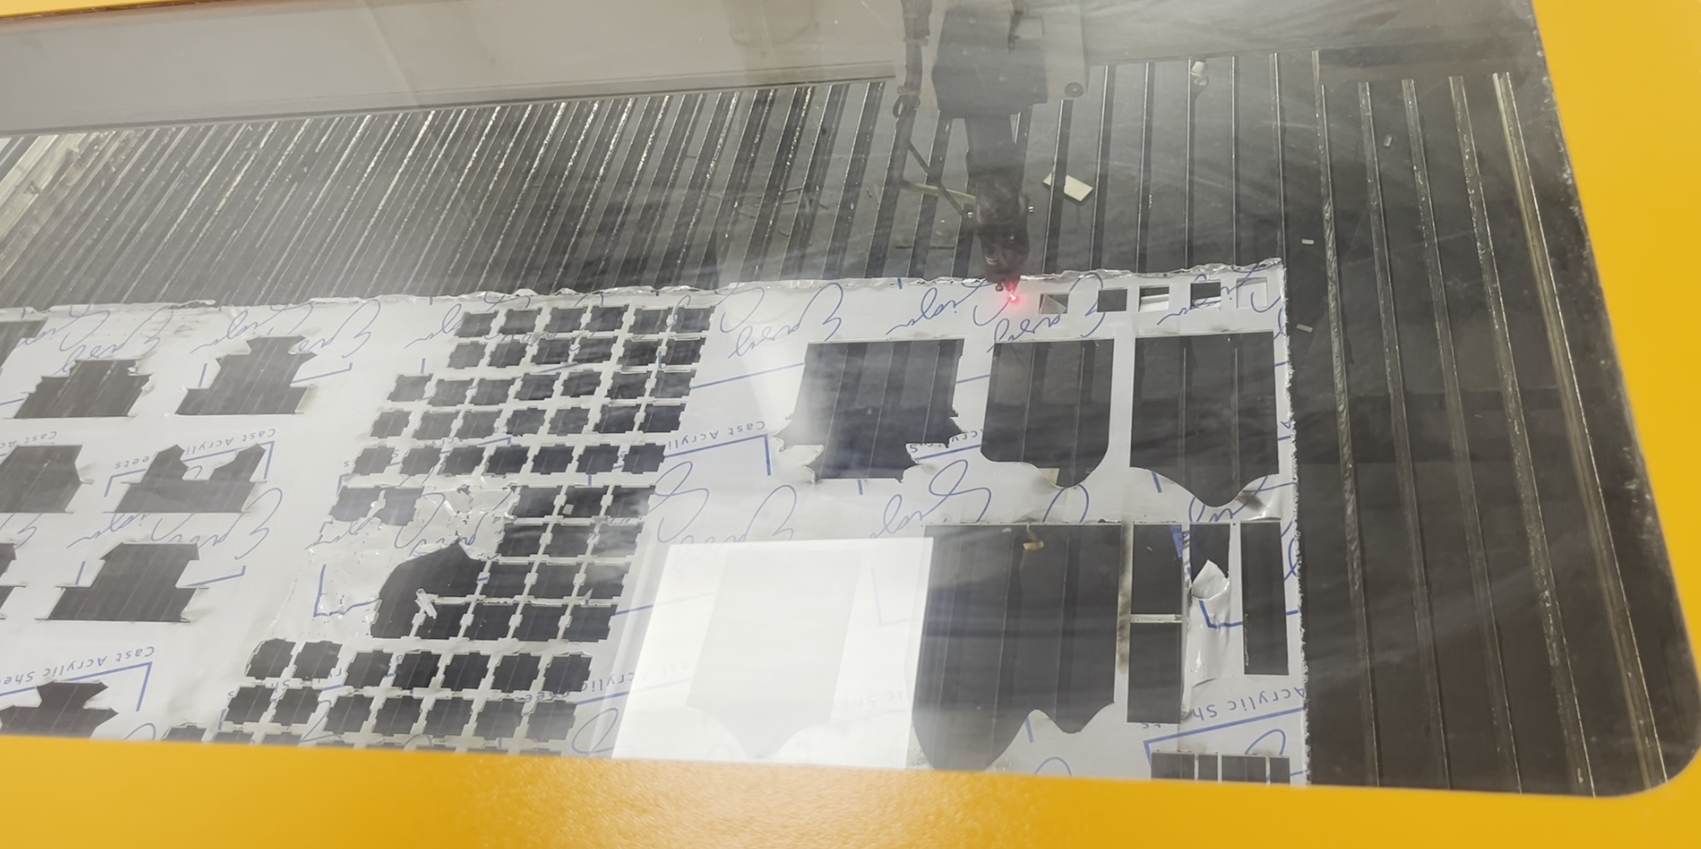
3D Printing
Sensor housings and external enclosures were printed using FDM technology with PLA and PETG materials. High-resolution printing (0.2 mm layer height) ensured mechanical accuracy for integrating components such as LEDs, magnets, and microcontrollers.
I printed models of different thicknesses to test the suction force of the magnetic rings. 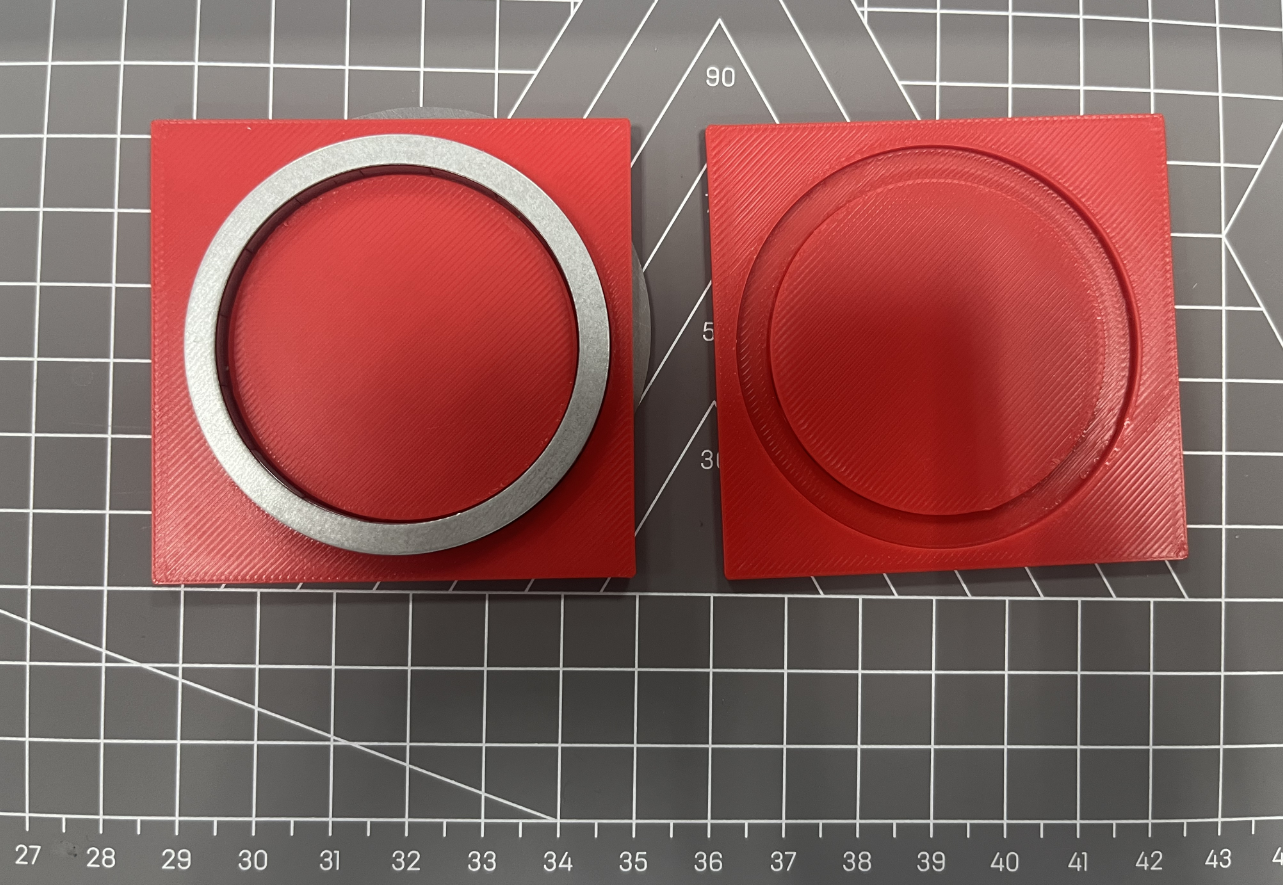 The picture below shows the final version of the unremoved support pattern.This version employs the technique of pausing printing.
 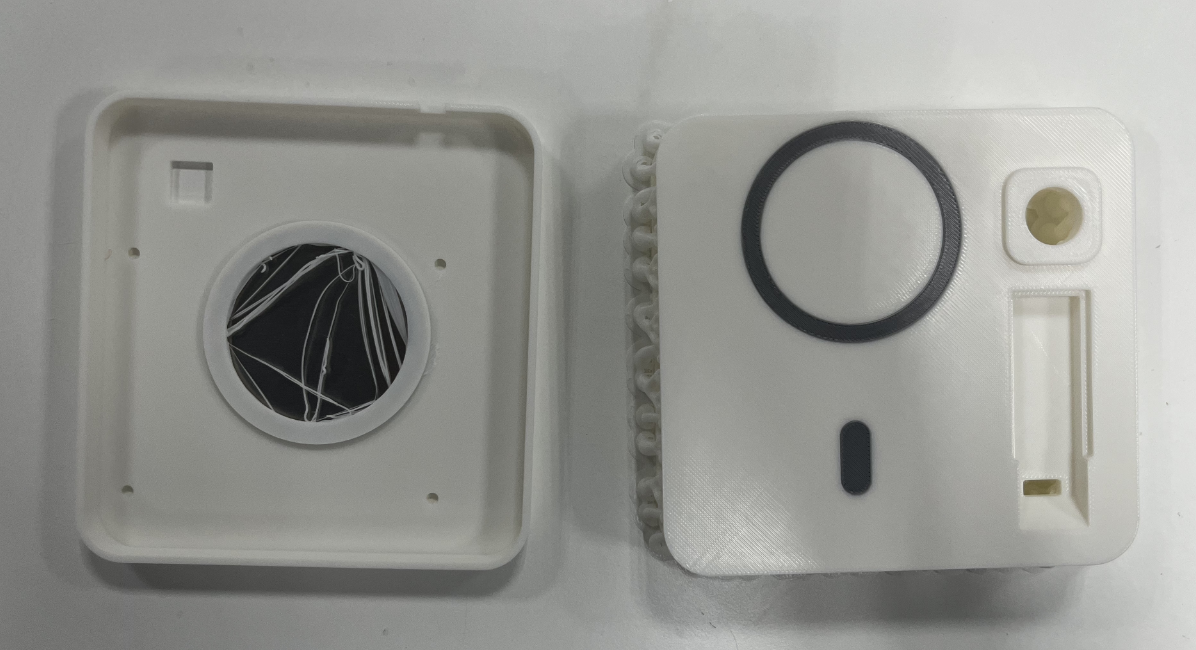 Below are all the 3D printed pieces from the project's version iterations, using various colors of PLA and PETG transparent materials.
 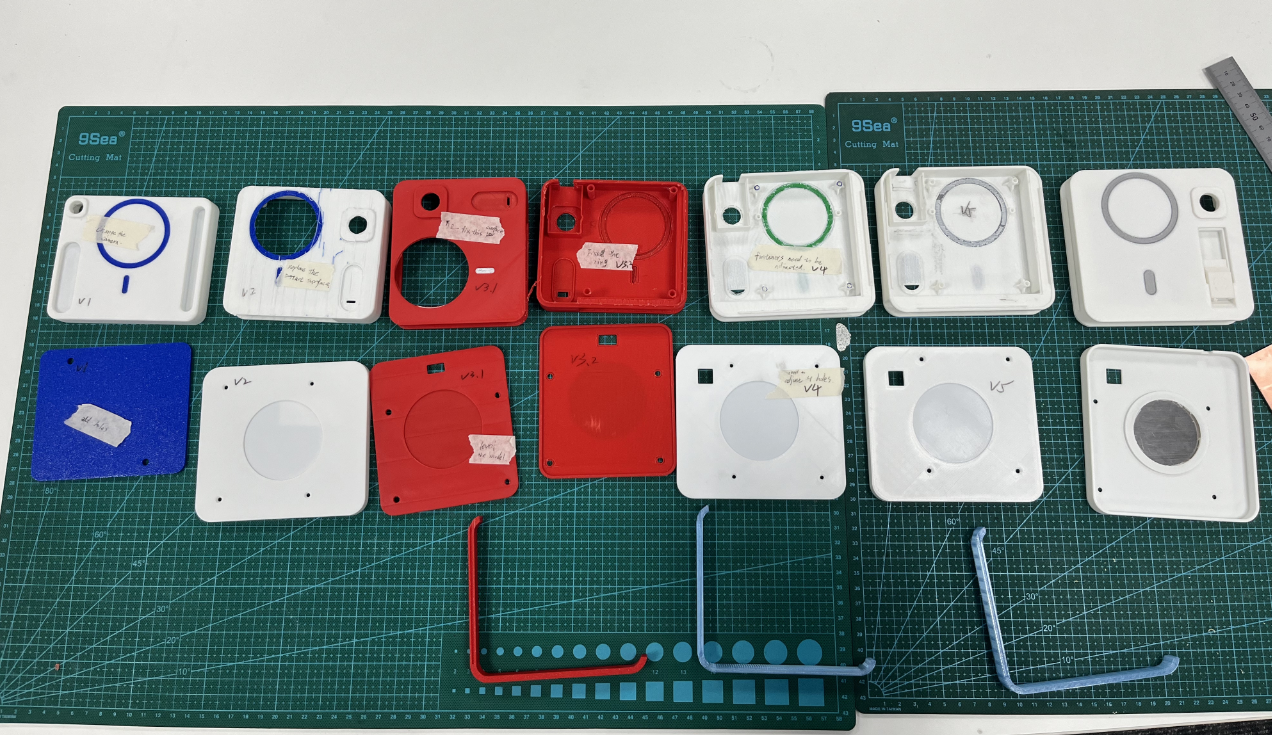 The following video shows the 3D printing records I made, and also demonstrates how to pause the printing process and insert the parts.
PCB Fabrication and Assembly
Submit a PCB design to a broad house and Assemble electronic components
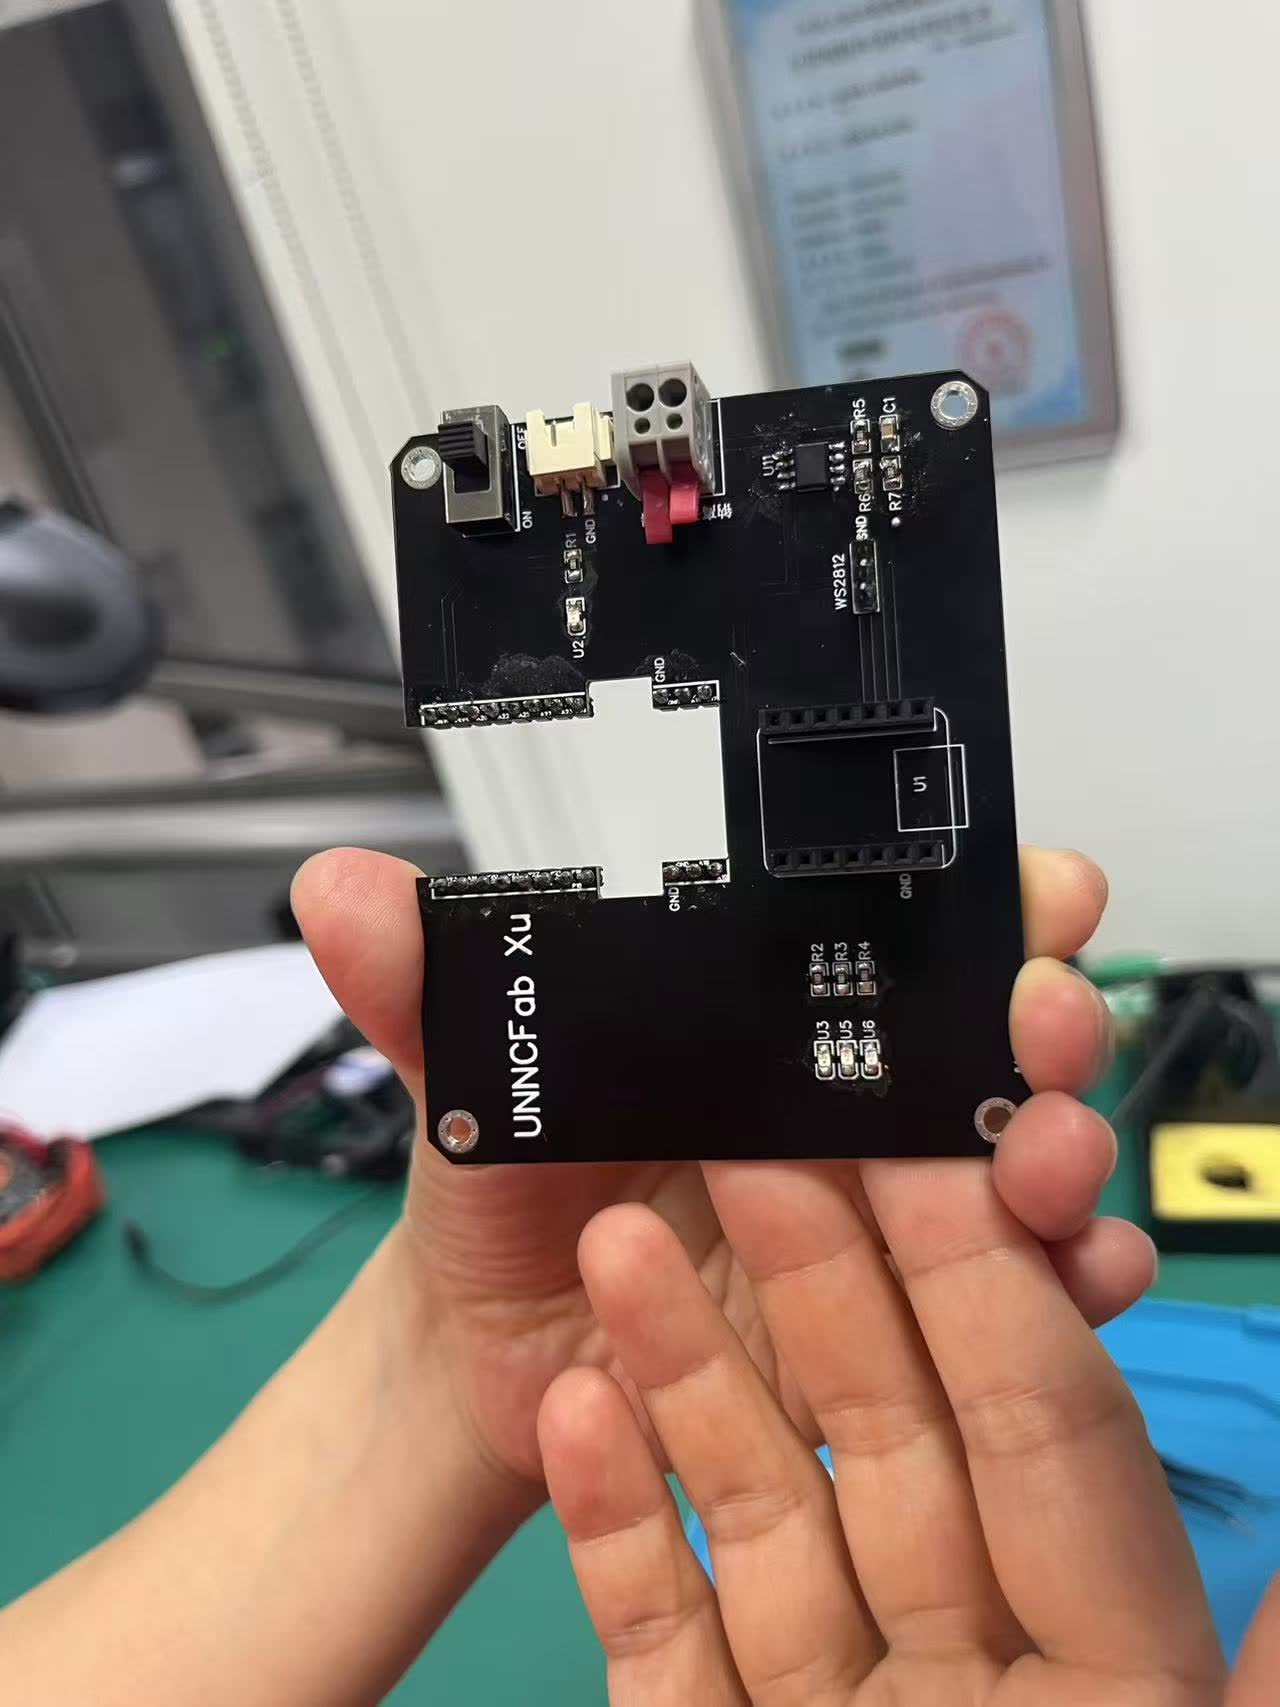
Control boards were designed in JLCEDA and ordered directly from JLCPCB. After fabrication, components were soldered manually to assemble fully functional sensor and control modules.
To optimize the external appearance of the device, the camera module was relocated from the center of the PCB to the side, connected via DuPont jumper wires. This adjustment improved the compactness and aesthetics of the enclosure while maintaining stable signal transmission.
 Soldering the components on the board on the workbench.
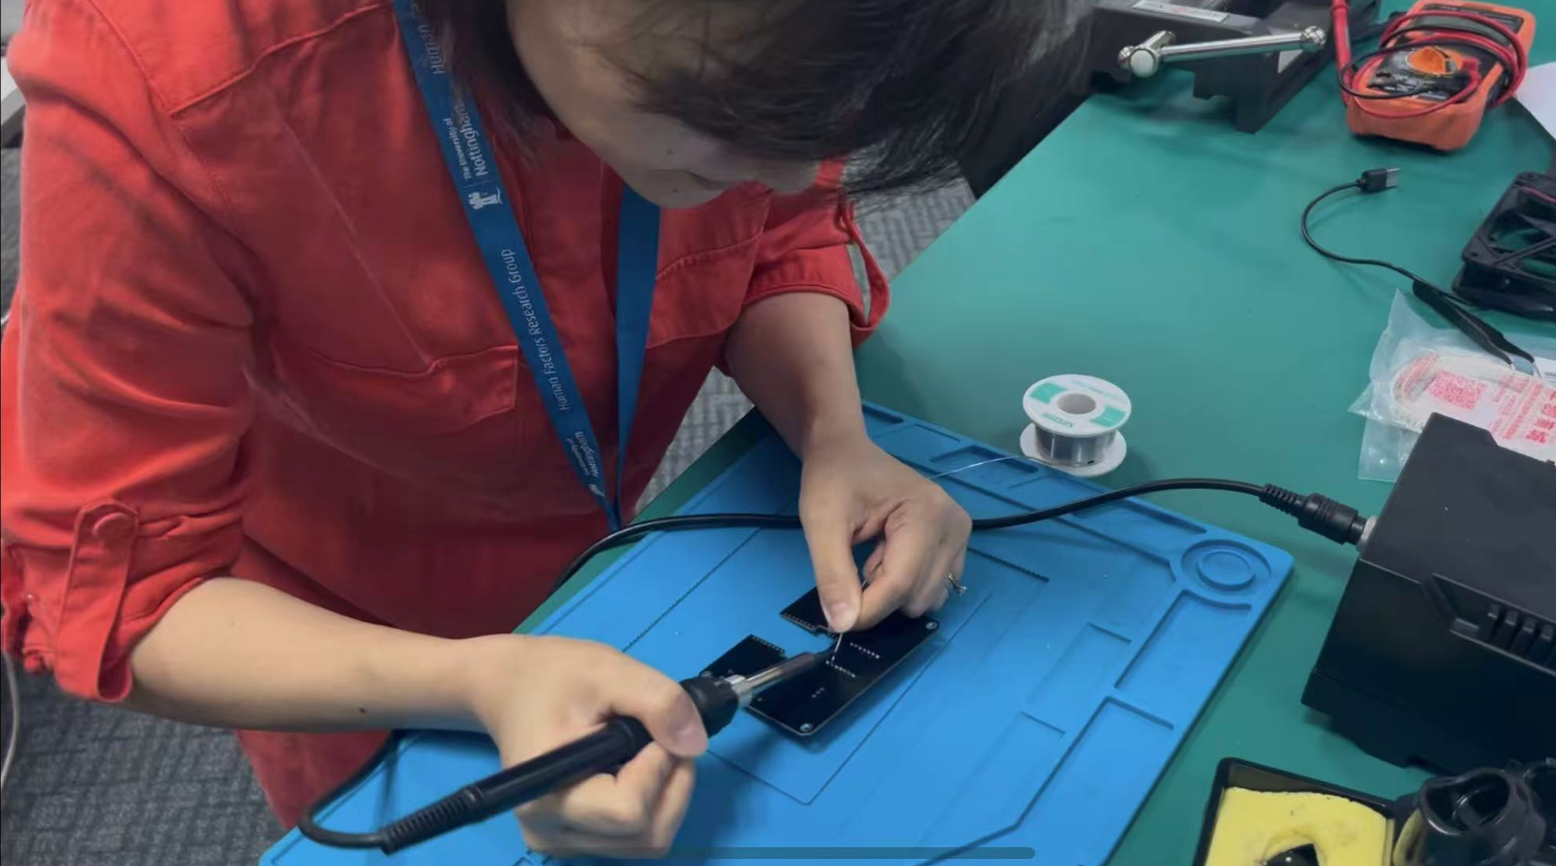
Manufacture the PCB with Roland and soldering it
The image below shows the completed LED light board after milling and manual soldering. The PCB was fabricated using the Roland MDX-40 CNC milling machine, which precisely etched the copper-clad board based on the exported Gerber files from Fusion 360. This subtractive process enabled rapid prototyping without the need for external fabrication services.
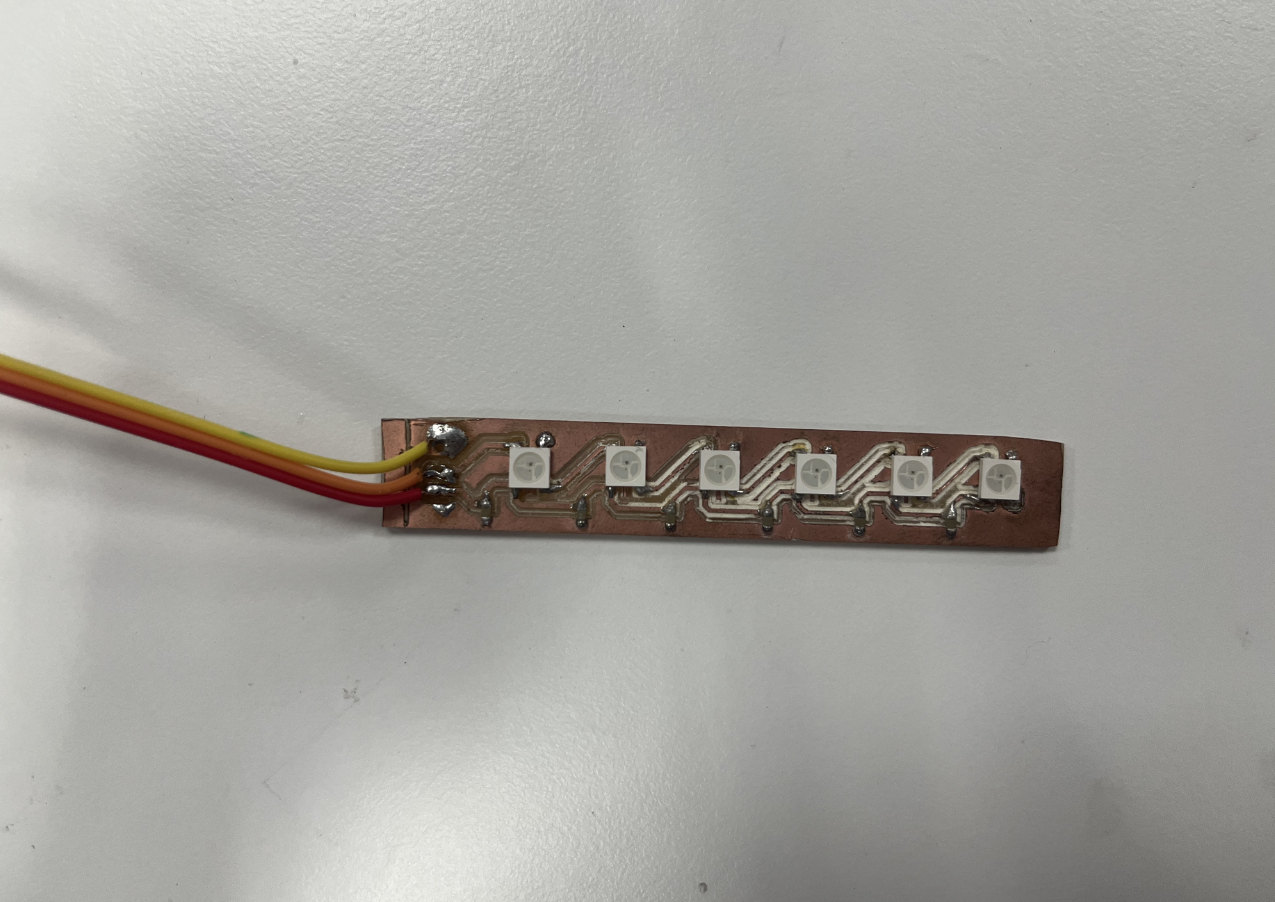
Once the milling was complete, electronic components such as SMD LEDs and resistors were manually soldered onto the board. The compact design fits seamlessly into the 3D-printed casing and provides clear visual output as part of the device's stress-feedback system.
The video below shows the complete PCB milling and soldering workflow.
Sodium-Selective Electrode Fabrication
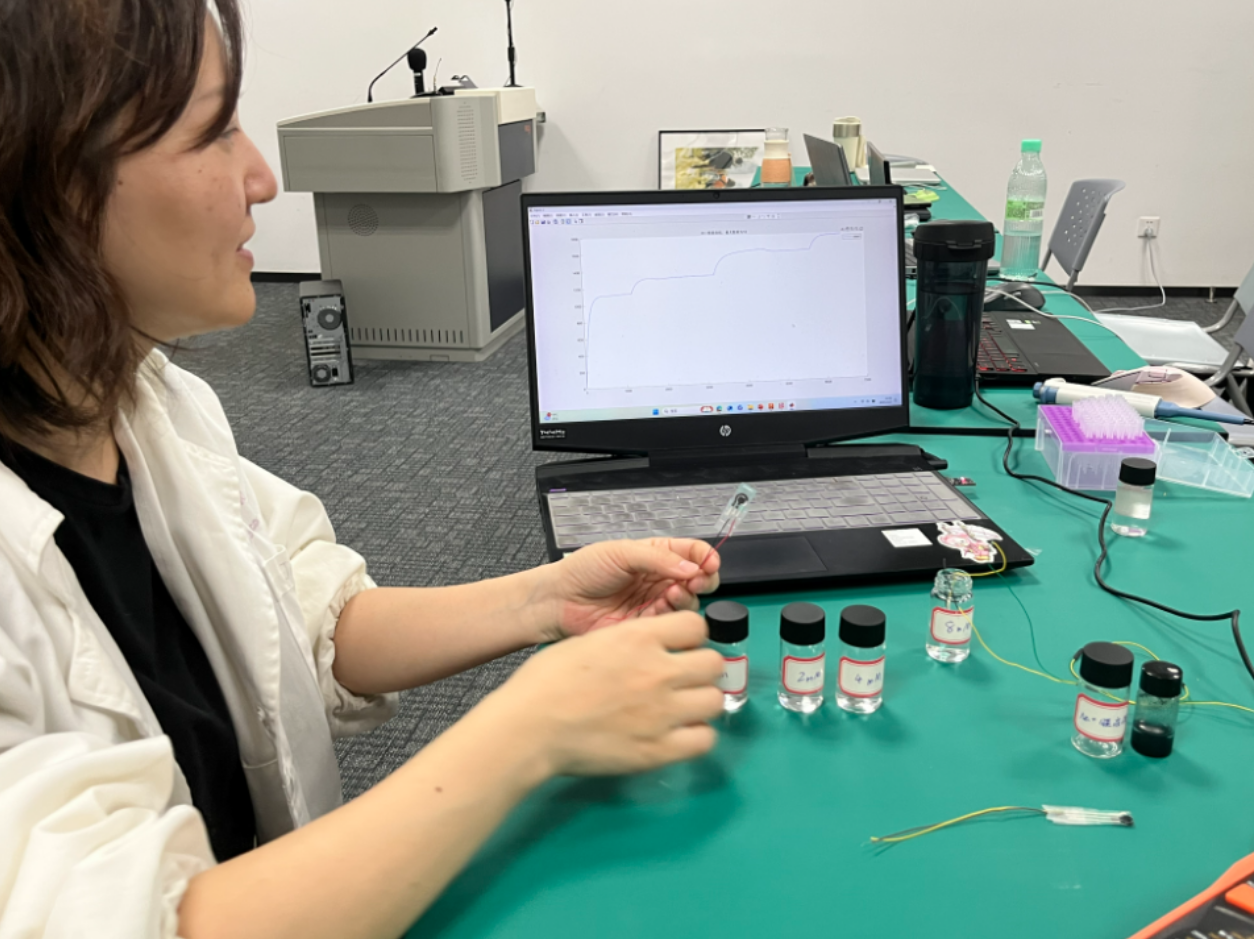
The salivary sodium ion sensor was fabricated by coating the Chitosan-Based Prussian Blue Nanocomposite (ChPBN) and a sodium ion-selective membrane onto a screen-printed electrode. 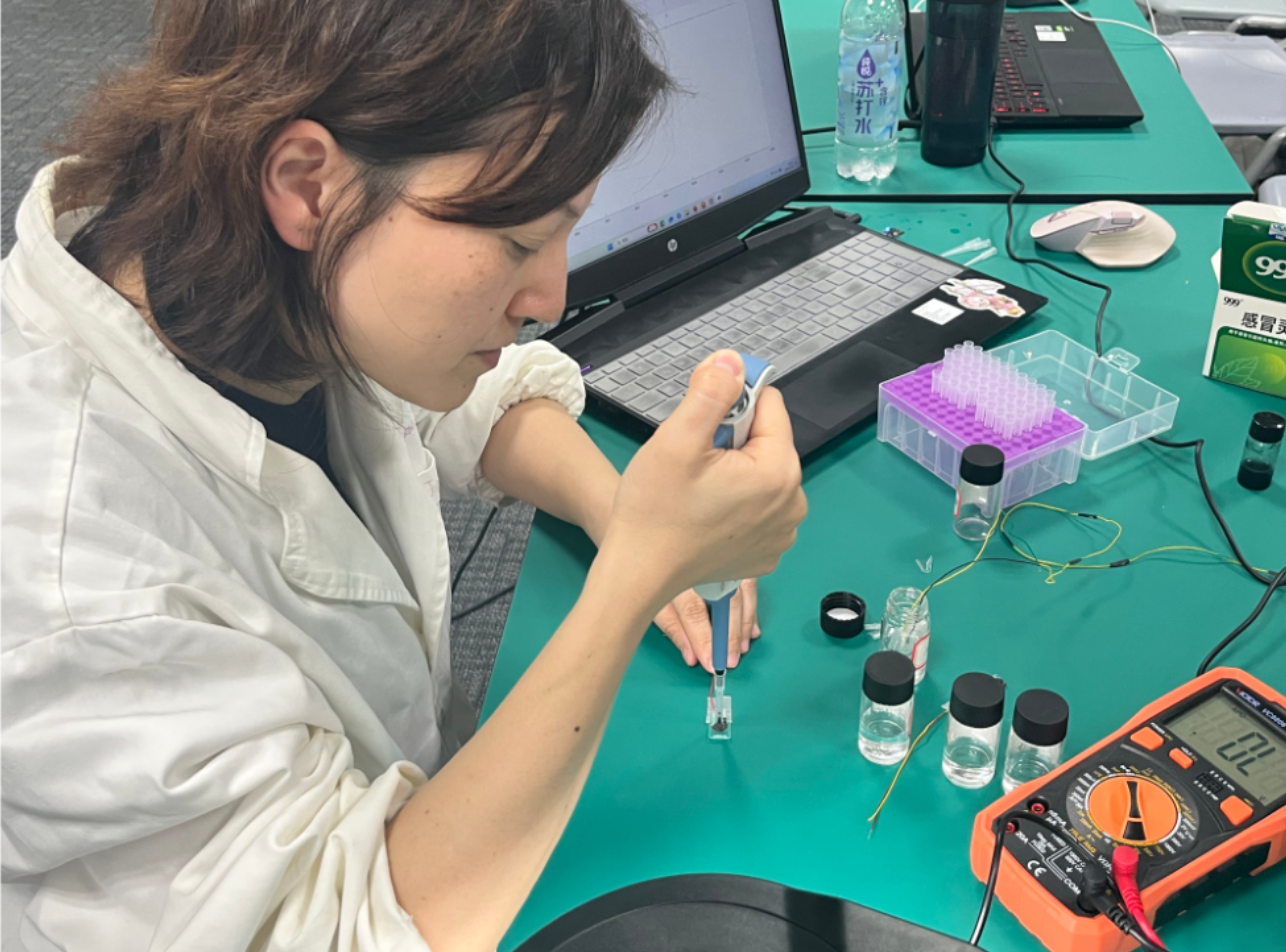

This electrochemical biosensor enabled real-time and continuous monitoring of salivary sodium ion levels at a sampling rate of 10 Hz. Upon testing the sensor in NaCl solutions with gradient concentrations, a linear relationship between potential response and sodium ion concentration was established.