Assignments
Part I
- Design a machine that includes mechanism+actuation+automation+application
- Build the mechanical parts and operate it manually
- Document the group project and your individual contribution
Part II
- Actuate and automate your machine
- Document the group project and your individual contribution
Individual apport
I took care of the design stage from the ideas we had in common and made the form of the machine. Then we separate the mechanisms in 2. Where I was in charge of making the base mechanism roll, and stop where it was required. I did the update after the presentation to improve the machine. Also I was in charge of making the presentation material.
the FLIP architecture Scanner
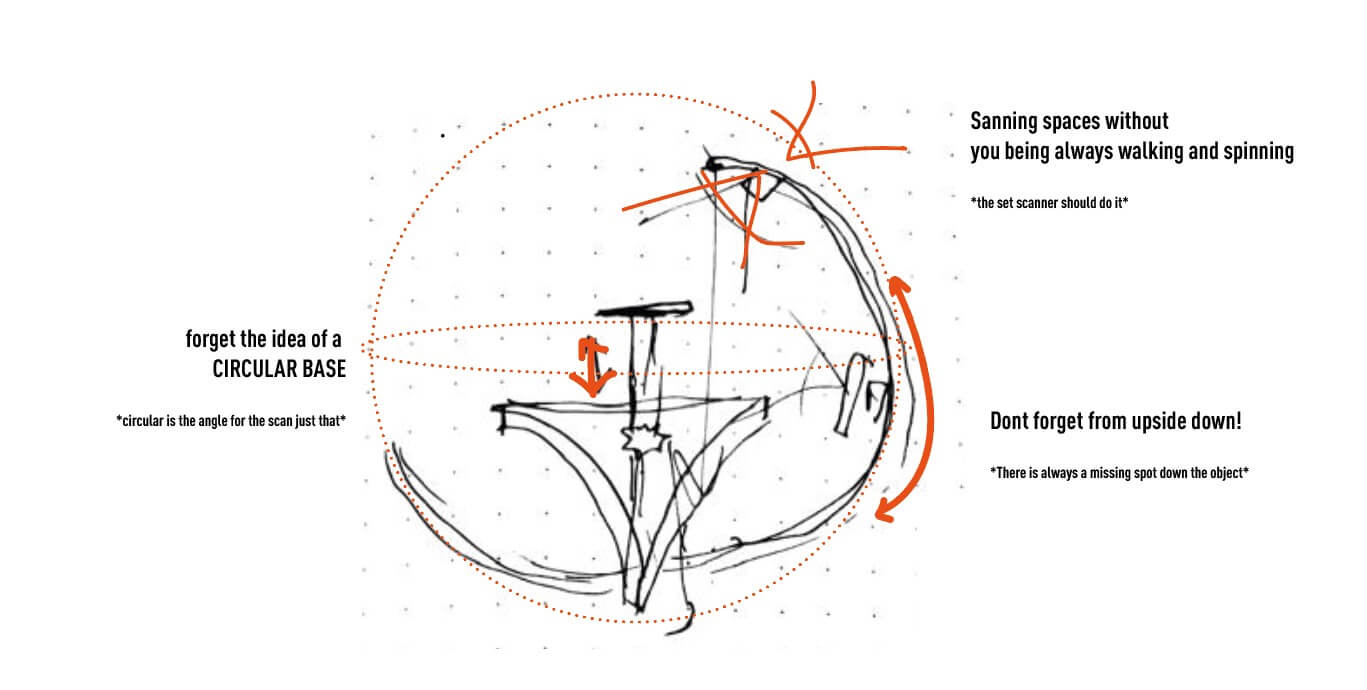
We enjoyed week 4 3D scanning task but didn't end satisfied with what we saw potential to scan in architecture. So we thought about making a set for scanning objects but that also could scan spaces. Check the group page!
t h e i d e a
the idea
brainstorming in the lab
t h e d e s i g n
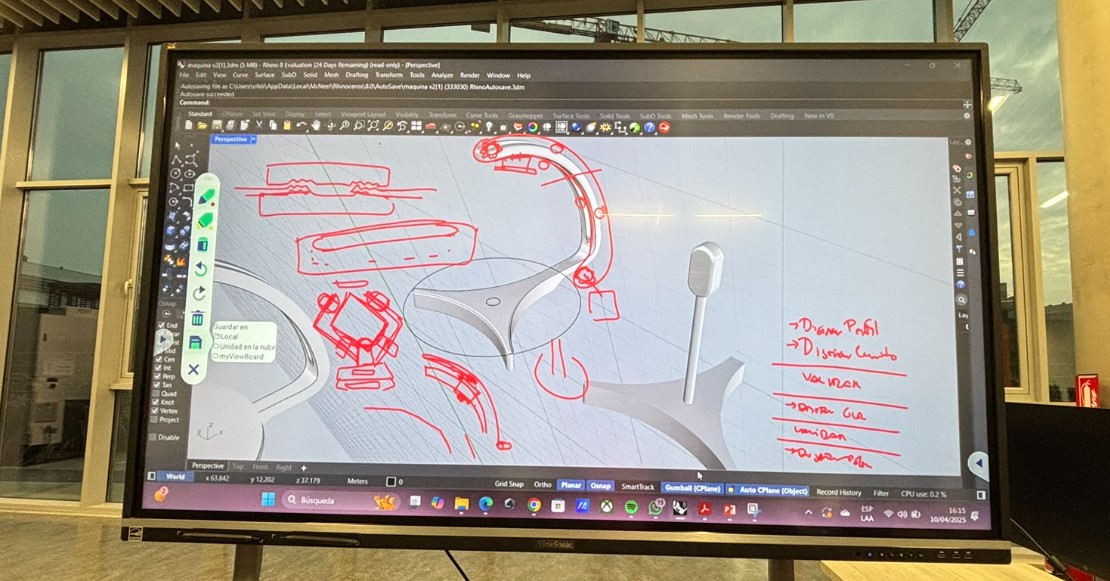
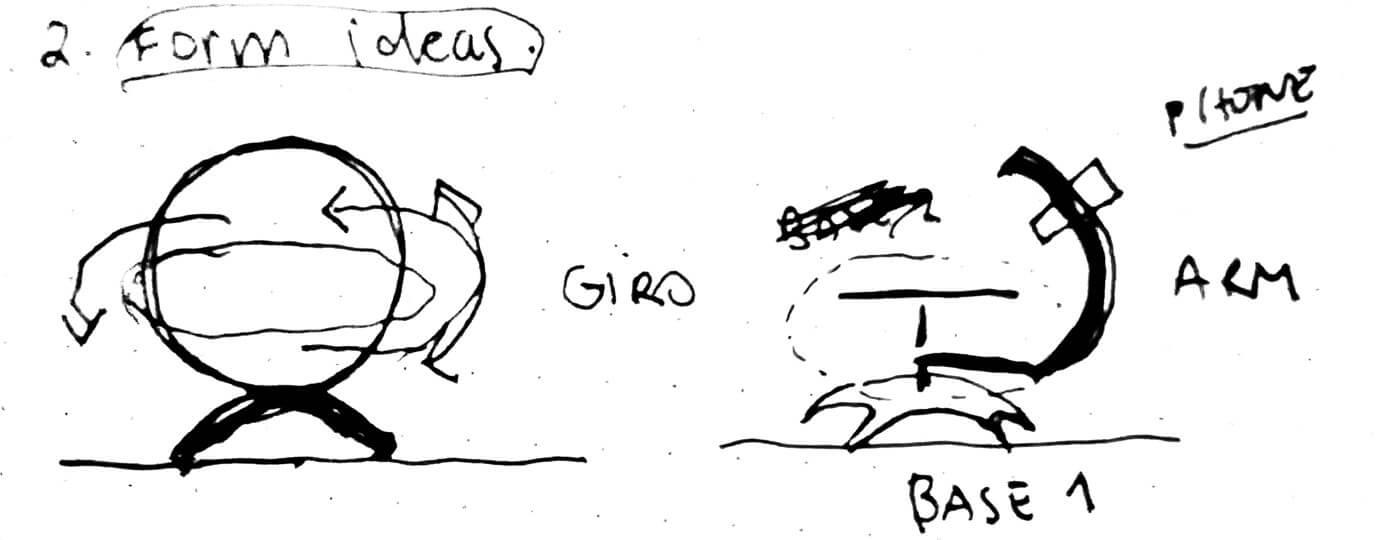
The design I was in charge of took the concept of the circular all axis to the very base form. As designers both wanted an smooth result of a machine like a finish object. So I tought about making a half circular arm and base that rotating makes the complete circle.
the idea
m e c h a n i s m s
This scanner needs to solve the problem of scanning the back of the object twice and to scan spaces. That is why we divide the mechanism in 2 big parts:
- the arm
Where the phone will go up and down while rotating around the object. For this piece we designed a kind of slot that can guide the movement piece around the arm and that can support the curve.
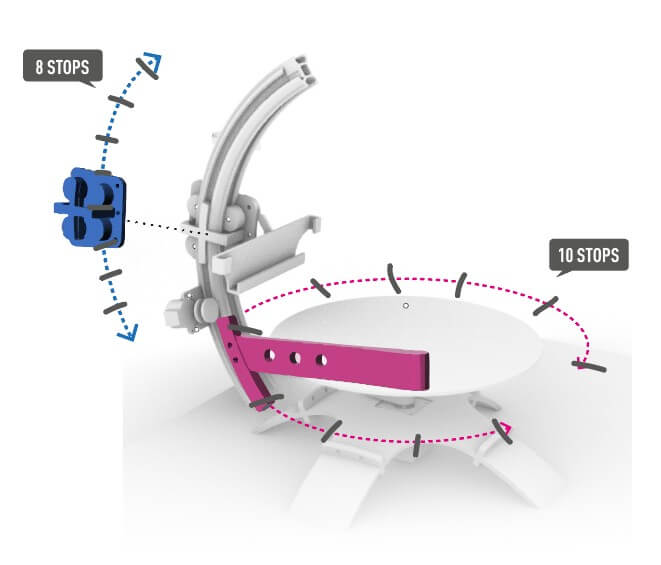
- the base
The piece of the base needs to support the rotation of the arm AND the support for the object that does not move.
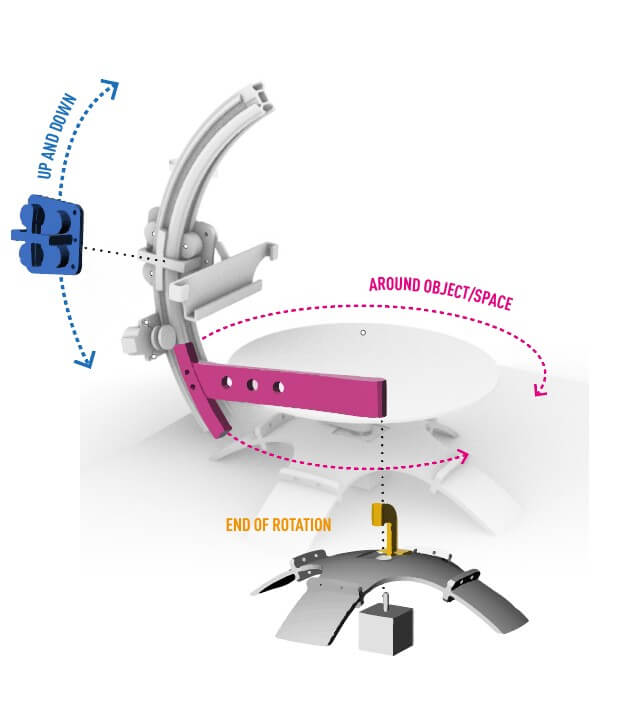
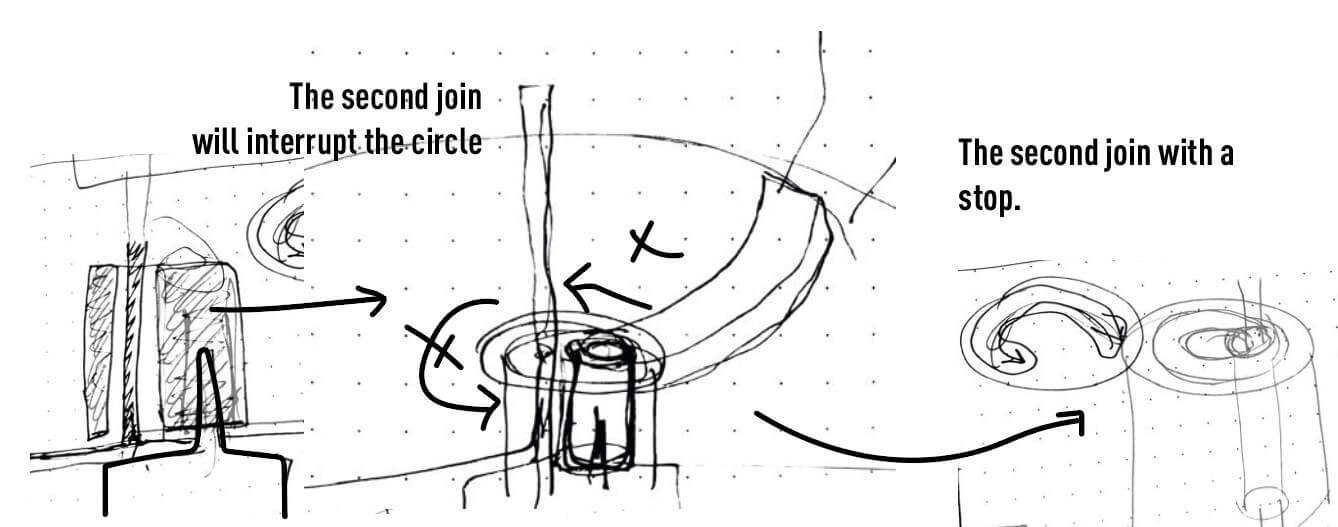
The challenge for the base was to have a base that could rotate WHILE ALSO stay in its place to support the object in the inside mode.. That is why at the end we put a kind of support that also indicates the future programmation that the scanner has end its circuit.

Mechanical test of the base rotation

Design reference for rotation settings
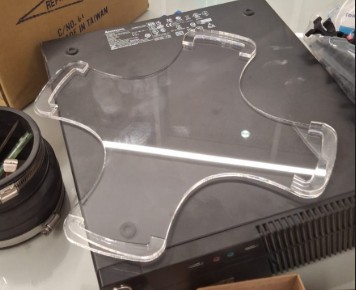
p i e c e s
The final pieces design was
f a b r i c a t i o n
I 3D printed the base and the rotation components. Ernesto assembled everything. The stepper motor fits inside the base, but to prevent it from sitting directly on the desk alongside the scanner, we had to add an extra piece to elevate the base.
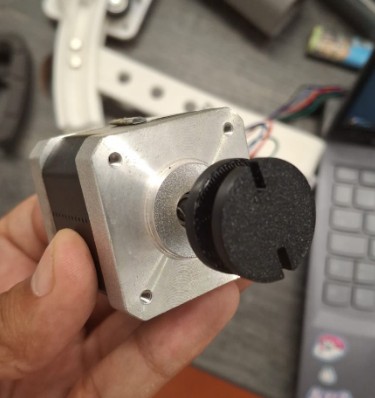
Stepper motor used for the base rotation
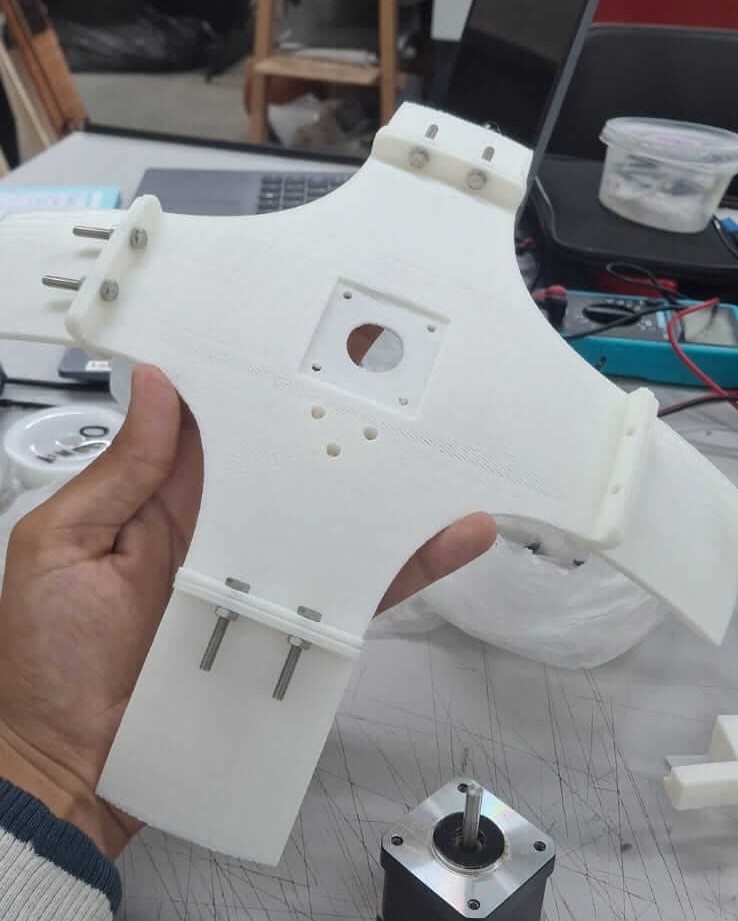
Base fabrication
Acrylic base fit for the stepper motor
First test of the base rotation with the cellphone holder:
I still have to fix the bouncing at the end of the rotation cycle. And also programm the motor to rotate every certain times of each angle determine by us.
P R E S E N T A T I O N
I made the slide presentation where is explained all the mechanisms, parts and process of the flip scanner.

And the video where th process is shown from the idea and fabrication to the final tests.
What's next?
I have to personally see the code for the base rotation since I could not make it to the day the programmation was made.