Assignments
- design a machine that includes mechanism+actuation+automation+application
- build the mechanical parts and operate it manually
Individual apport
- Ernesto: Design the arm system, the rotation code and fabricate its parts.
- Ofelia:Design the form of the machine, the base mechanism and video repo.
THE FLIP ARCHITECTURE SCANNER
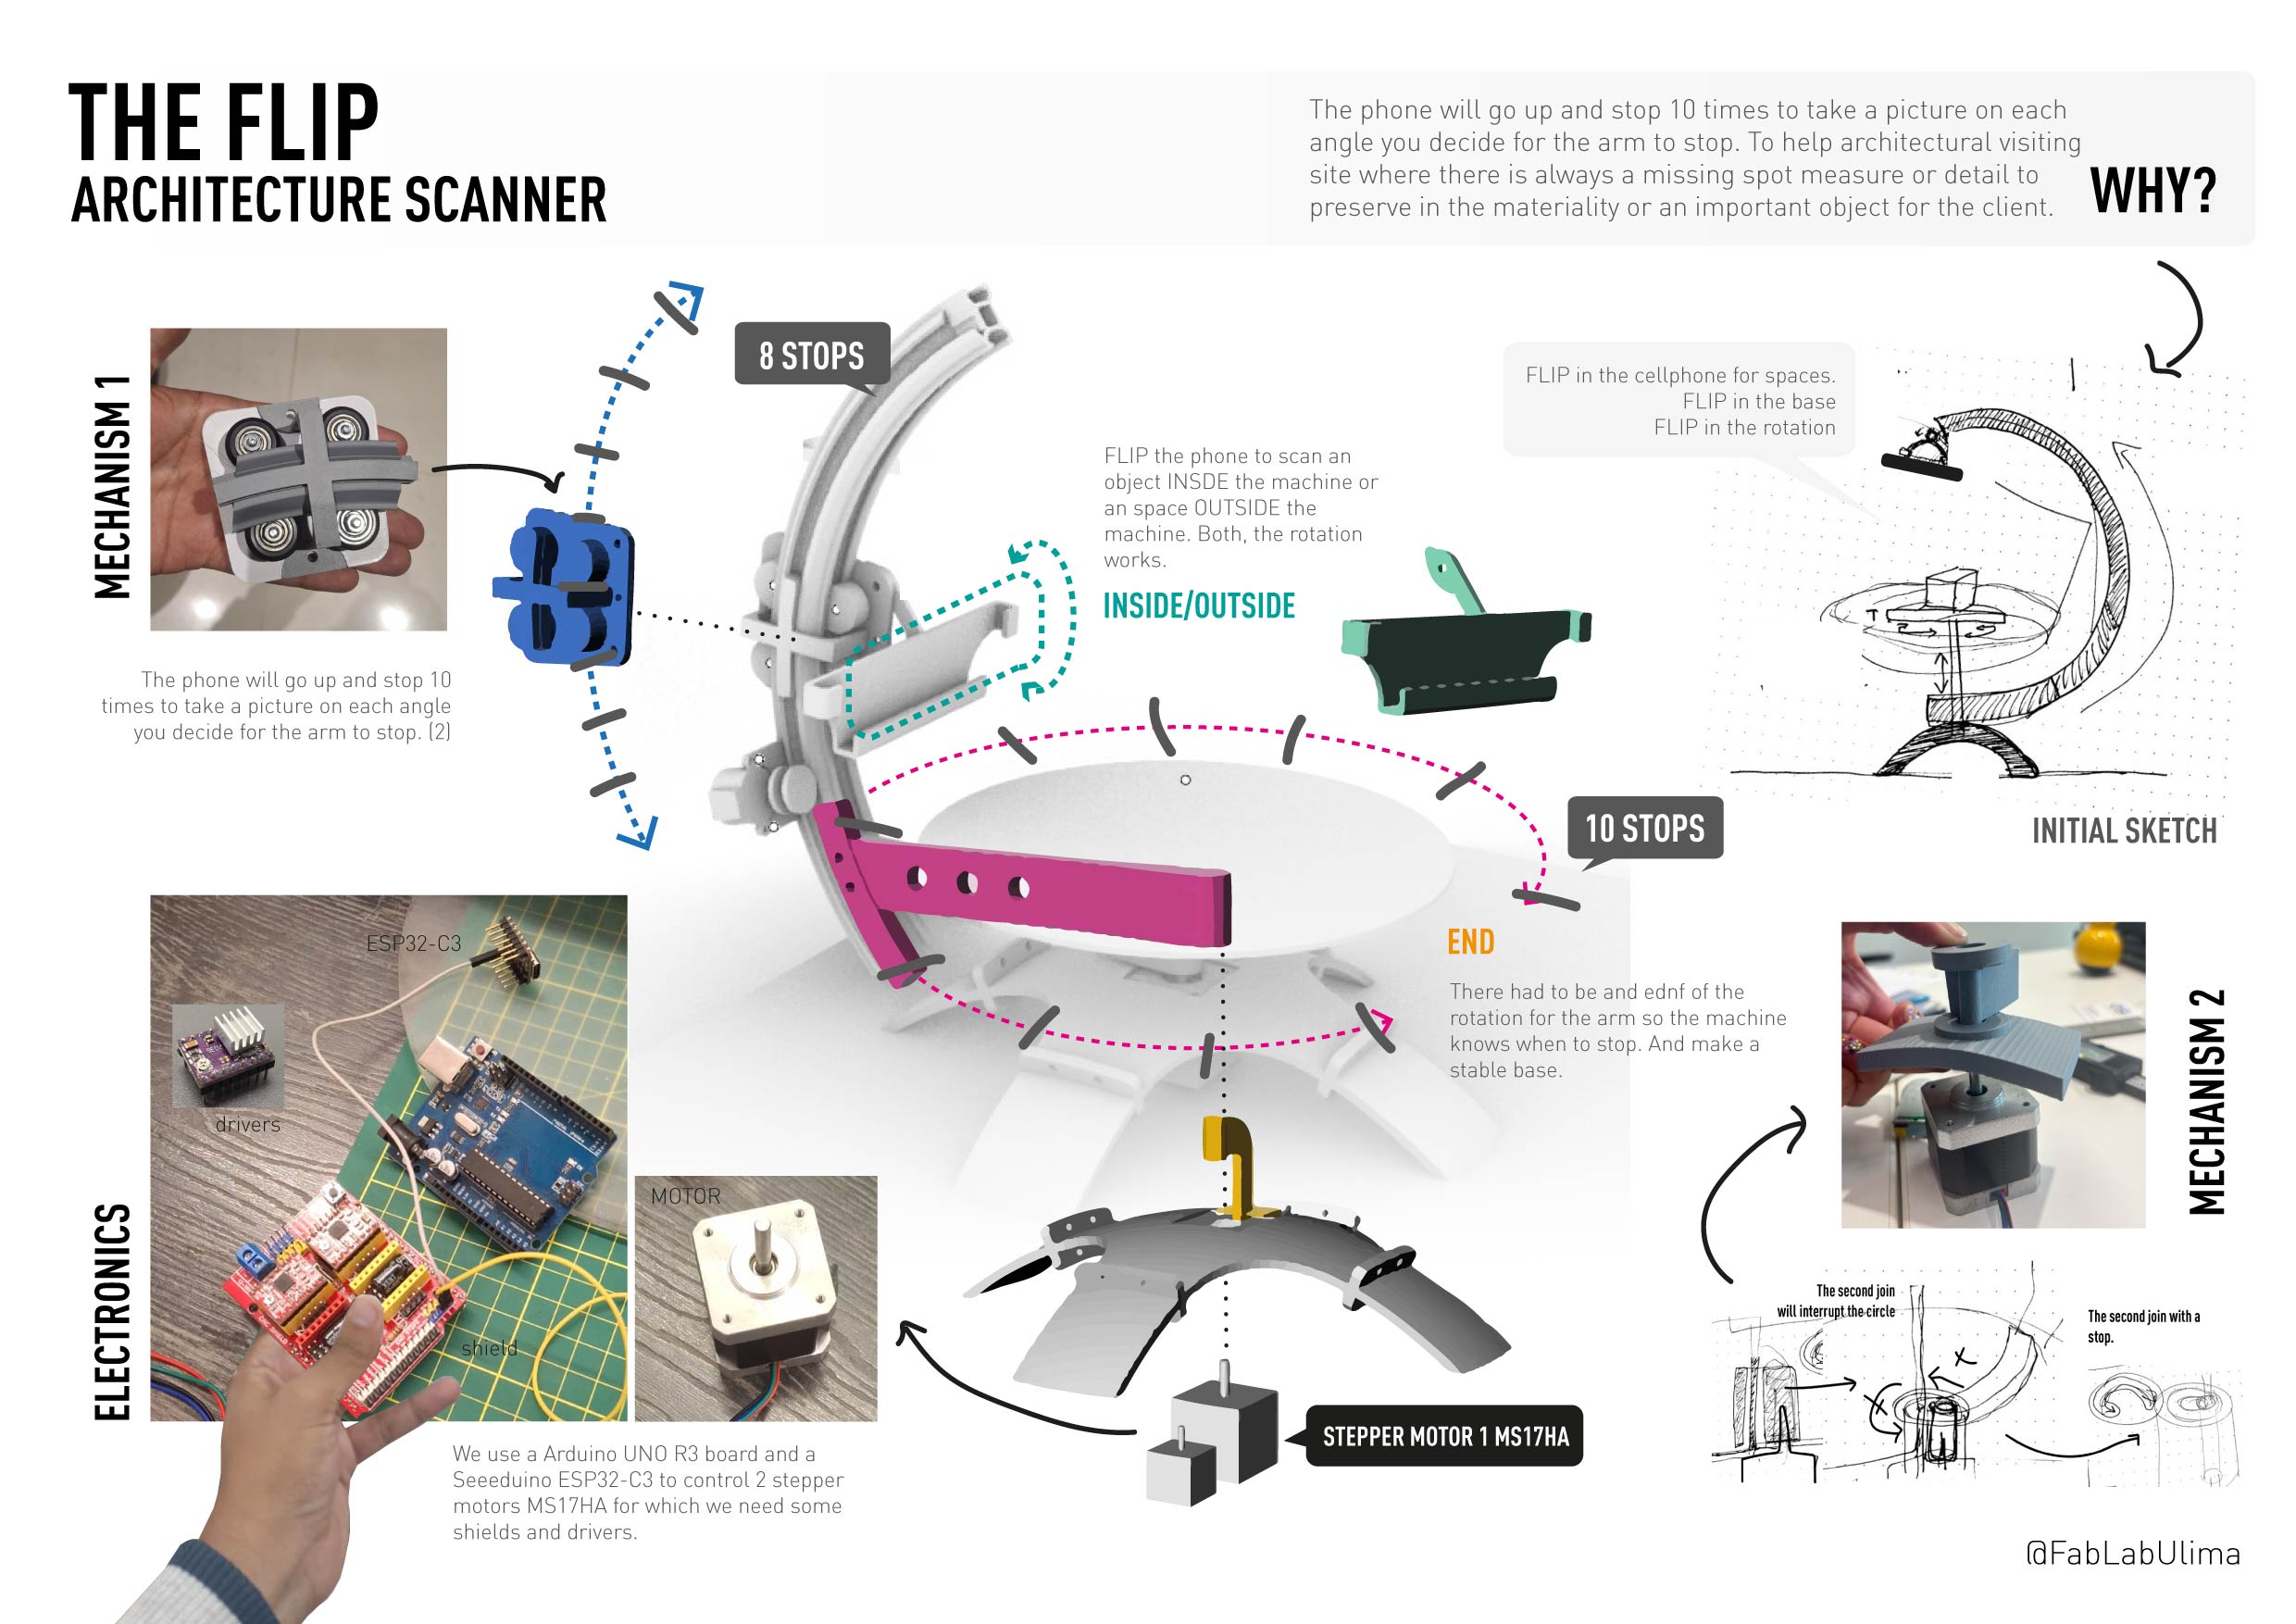
We enjoyed week 4 3D scanning task but didn't end satisfied with what we saw potential to scan in architecture. So we thought about making a set for scanning objects but that also could scan spaces.
PROCESS AND IDEA
After lots of brainstoming about our own experiences with handy scanners and photogrammetry this were the main design ideas for this machine:
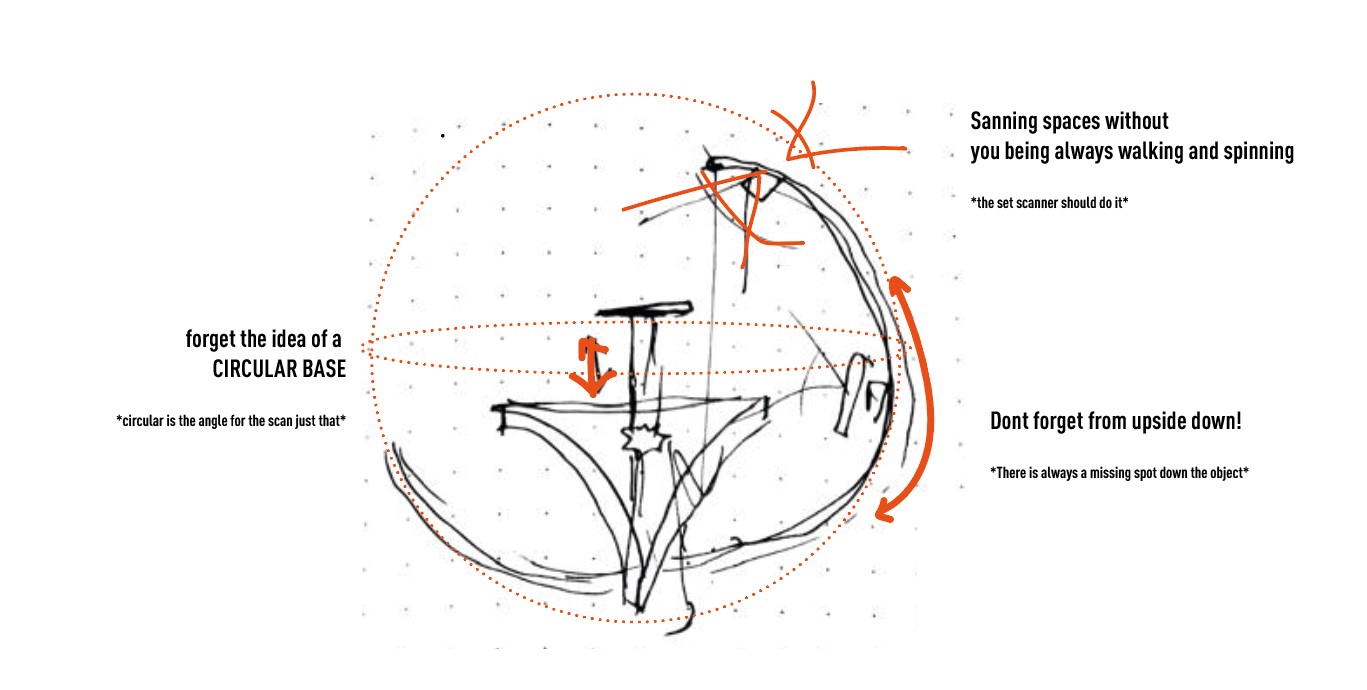
the idea
MECHANISMS
This scanner needs to solve the problem of scanning the back of the object twice and to scan spaces. That is why we divide the mechanism in 2 big parts:
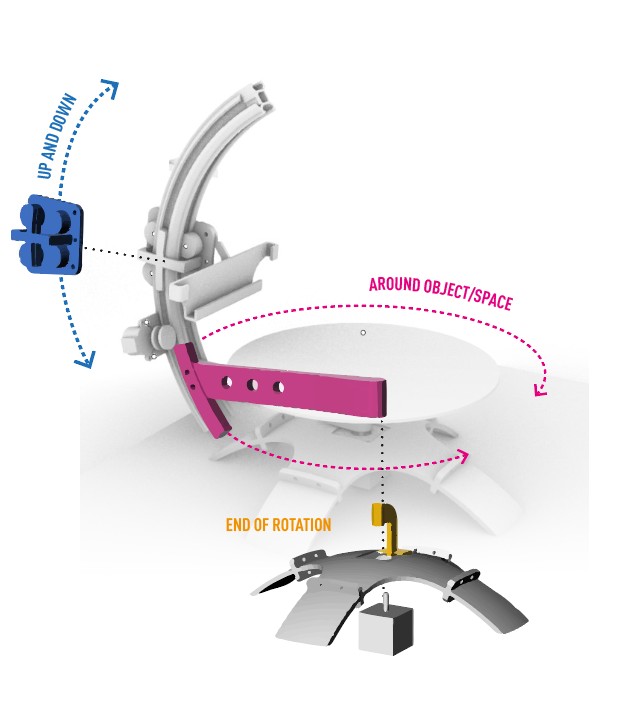
The arm:
Where the phone will go up and down WHILE rotating around the object. For this piece we designed a kinf of vsolt that can guide the movement piece around the arm. And that can support the curve.The base:
The piece of the base needs to support the rotation of the arm AND the support for the object that does not move


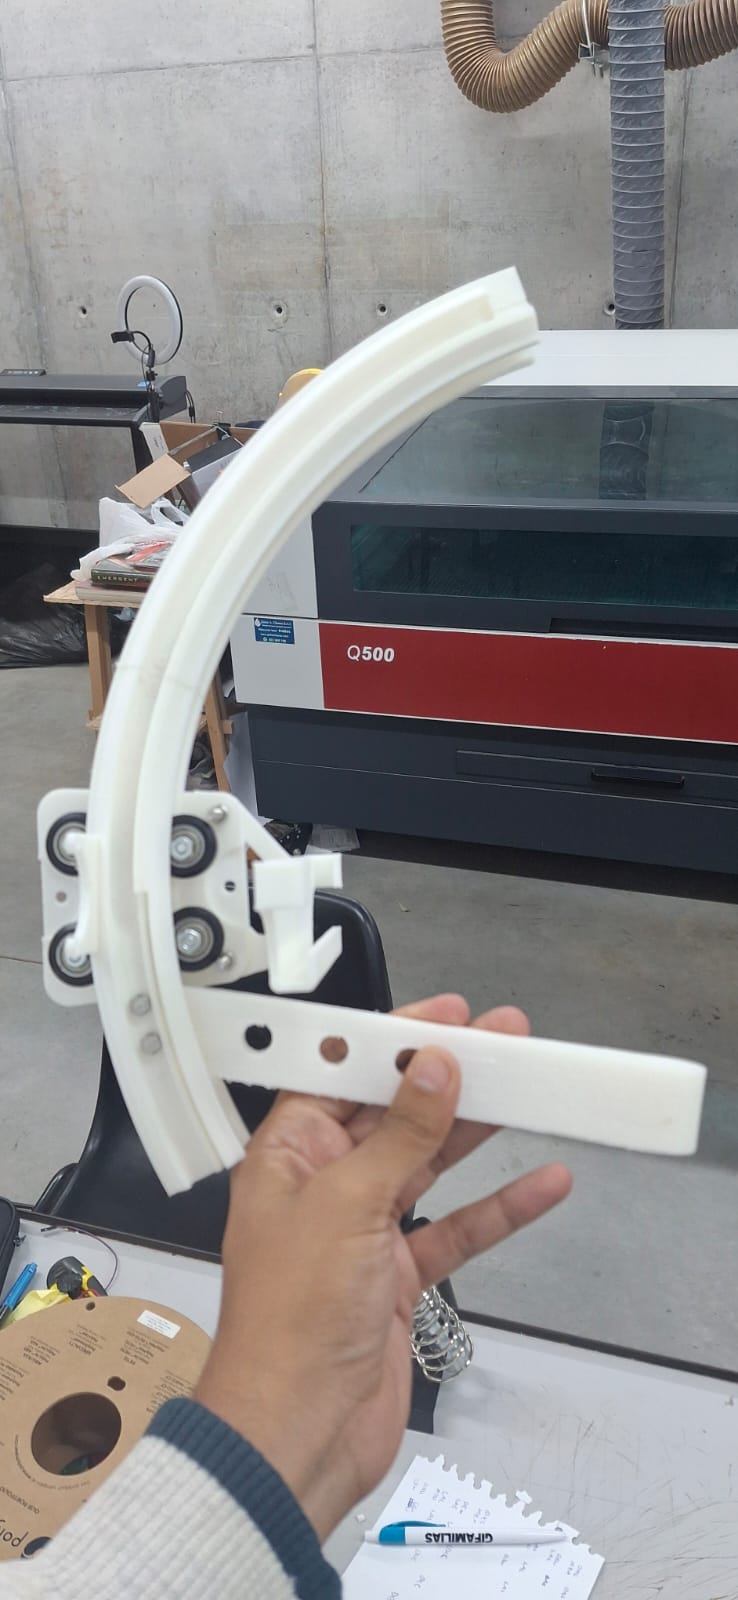
Mechanical test for the arm rail movement piece. For this piece we strated from a vsolt conventional profile which we redesign in curve so that the camera that will be joined here can detect the object almost from above.
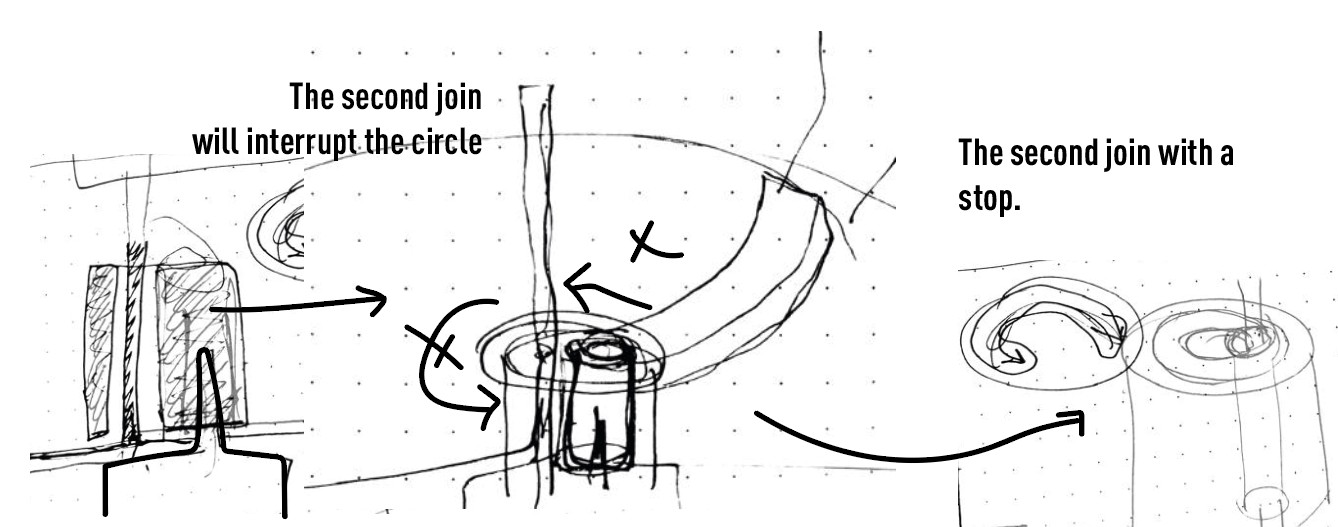 Here the challenge was to have a base that could rotate WHILE ALSO stay in its place to support the object in the inside mode.. That is why at the end we put a kind of support that also indicates the future programmation that the scanner has end its circuit.

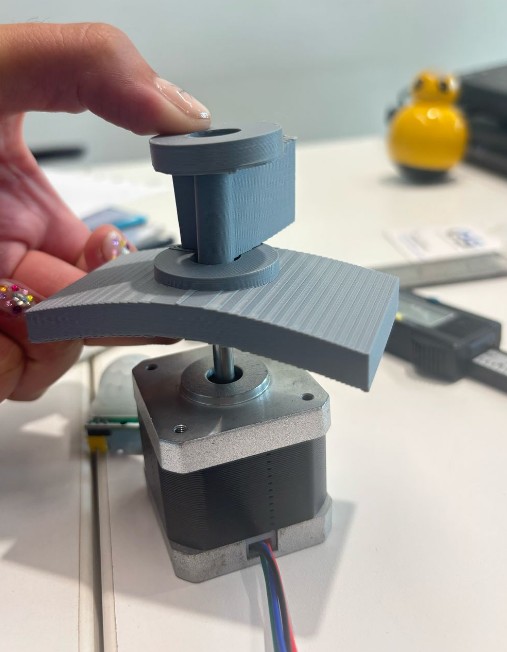
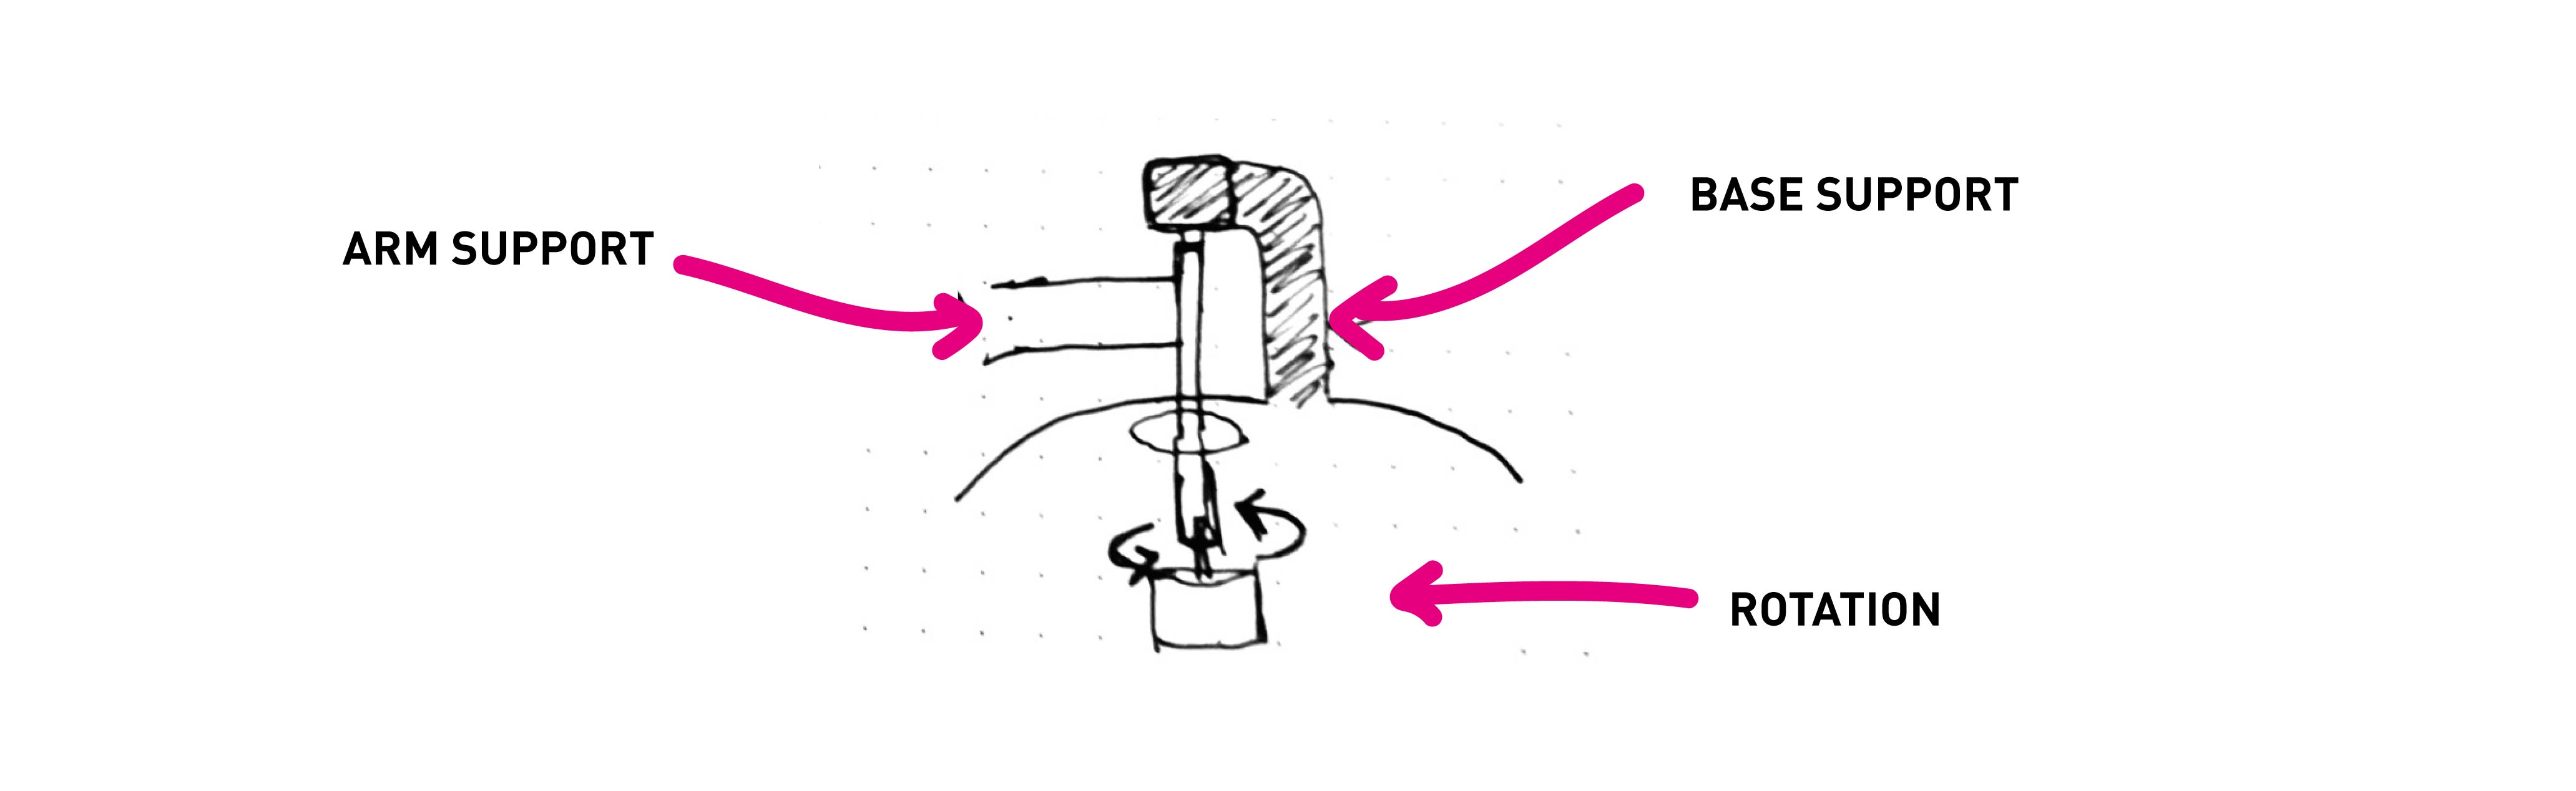
Mechanical test for the base rotation. Made two different pieces that never join but are together from the base. The base is separated from the stepper motor and creates a stable base for the upper surface. In between there is an arm support that has the rotation angle directly from the stepper motor.
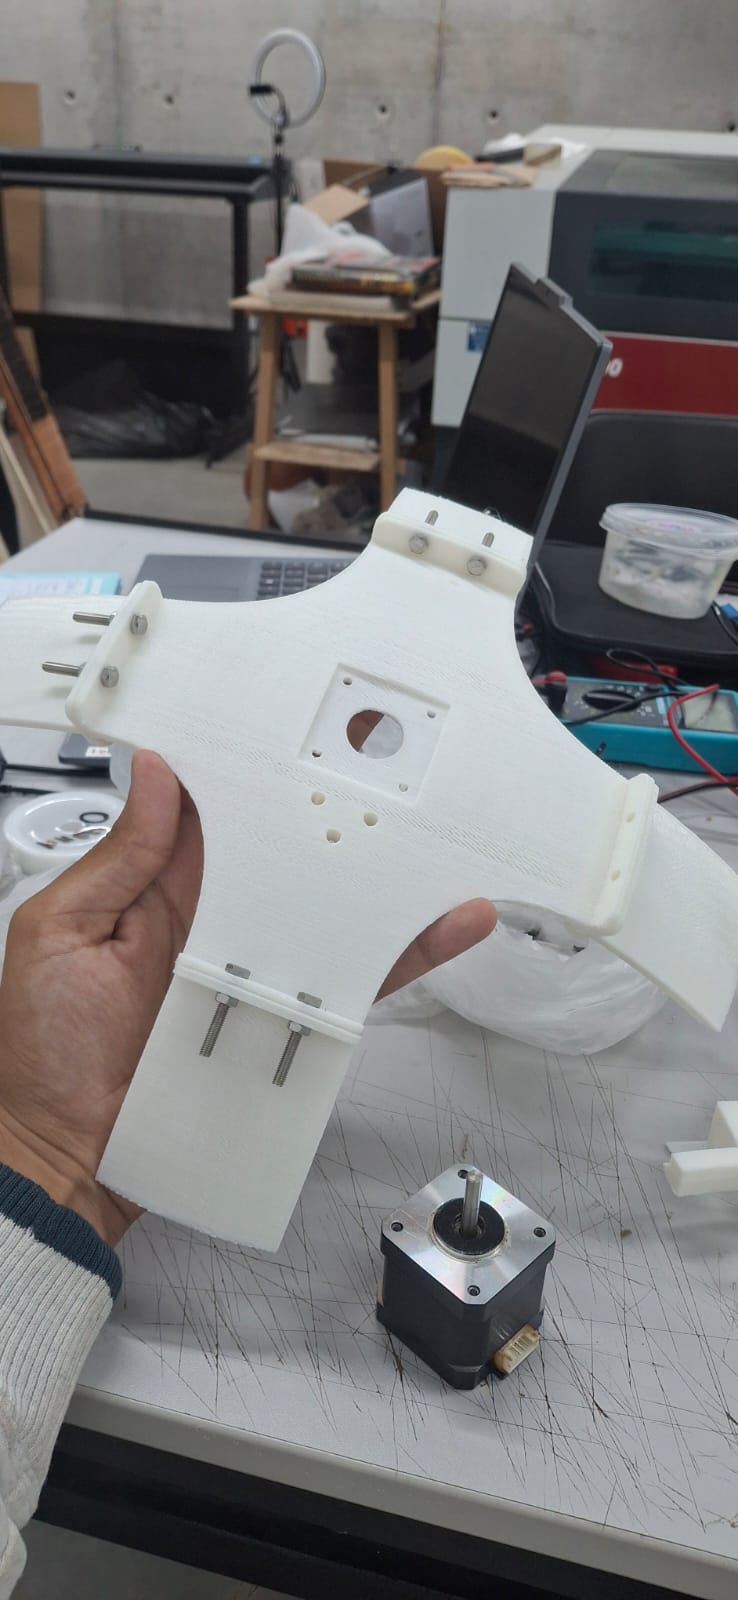
PIECES
We divide the machine in almost 10 pieces. Starting from the base. The round base, the rotation mechanism of 2 pieces, the acrilic base, the phone holder, the arm and its the up and down pieces.
Assembly scheme
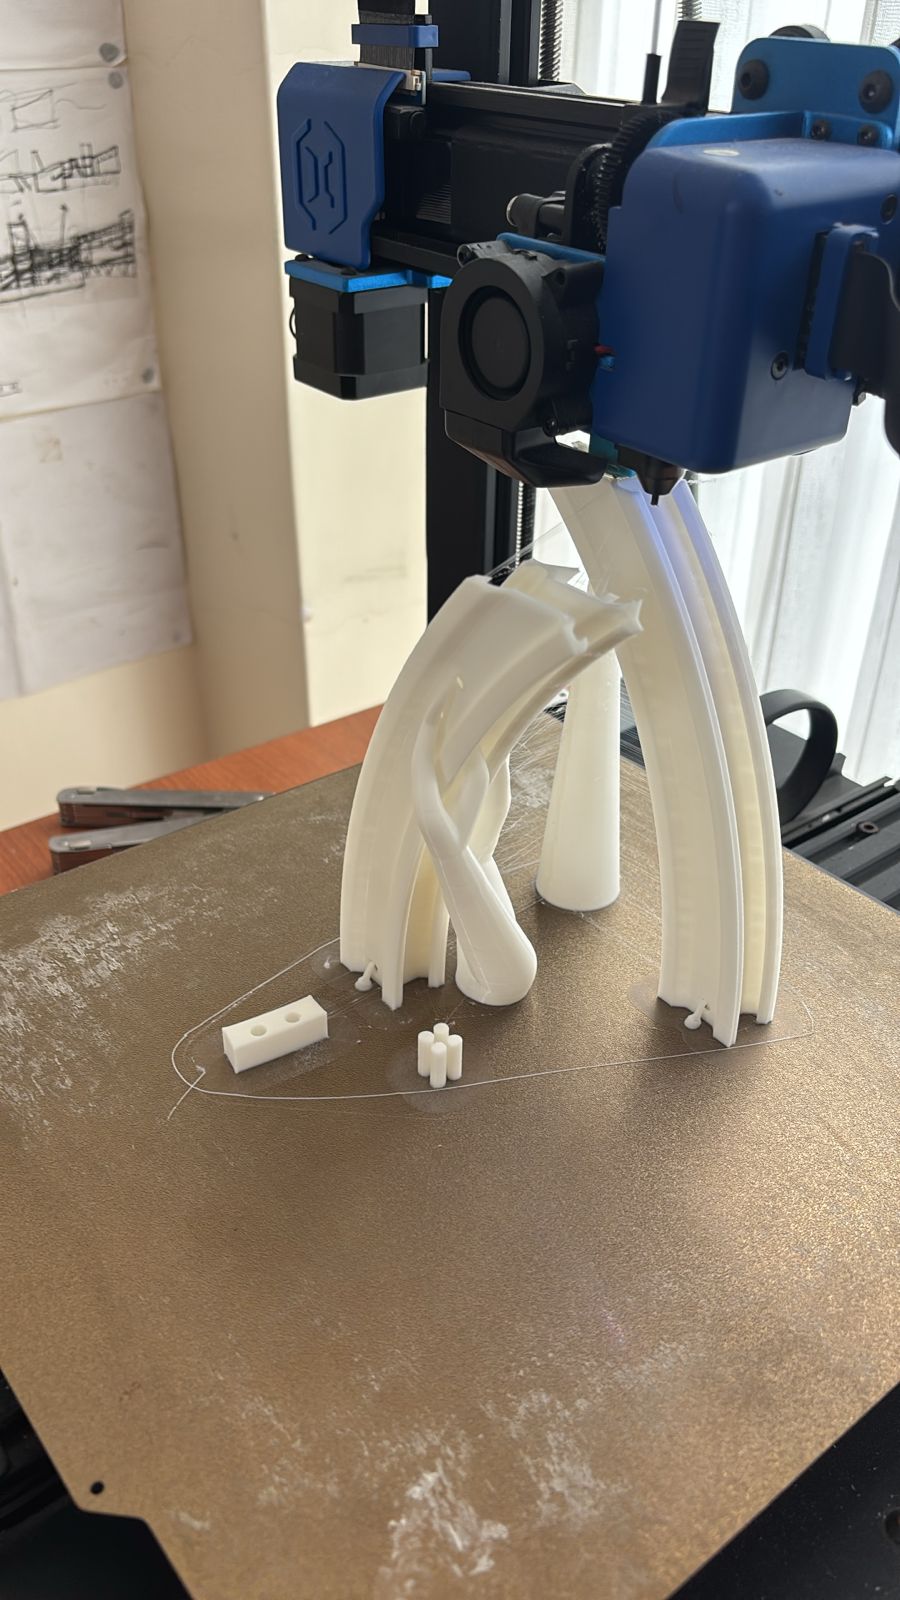
FABRICATION
We 3D printed almost all the pieces sin the arm was a curve vsolt and the base was also curve to be apart from the motors. We cutted an aditional piece in acrilic in the cnc router to gave more stability to the base.
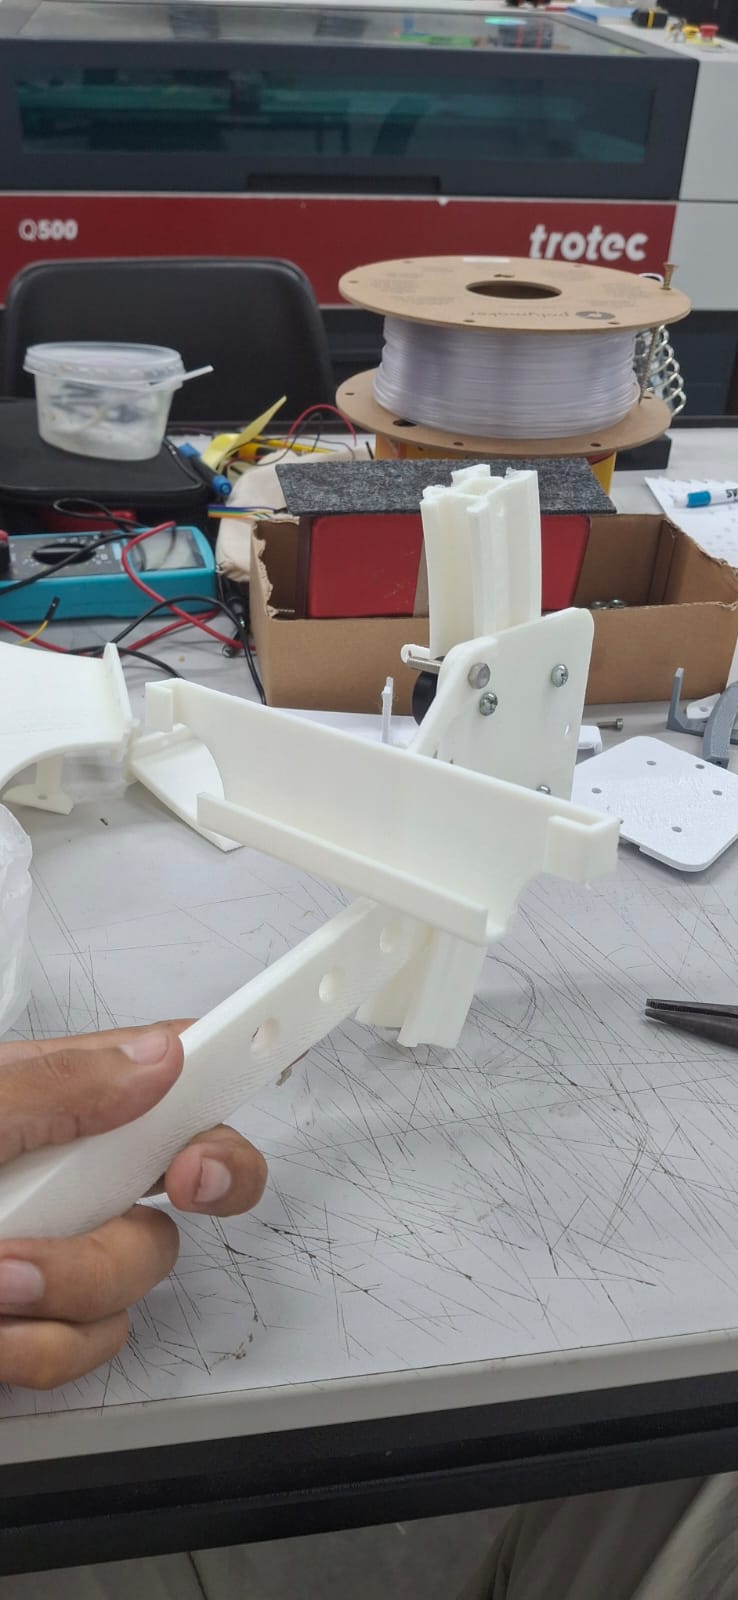
Mechanical test joins
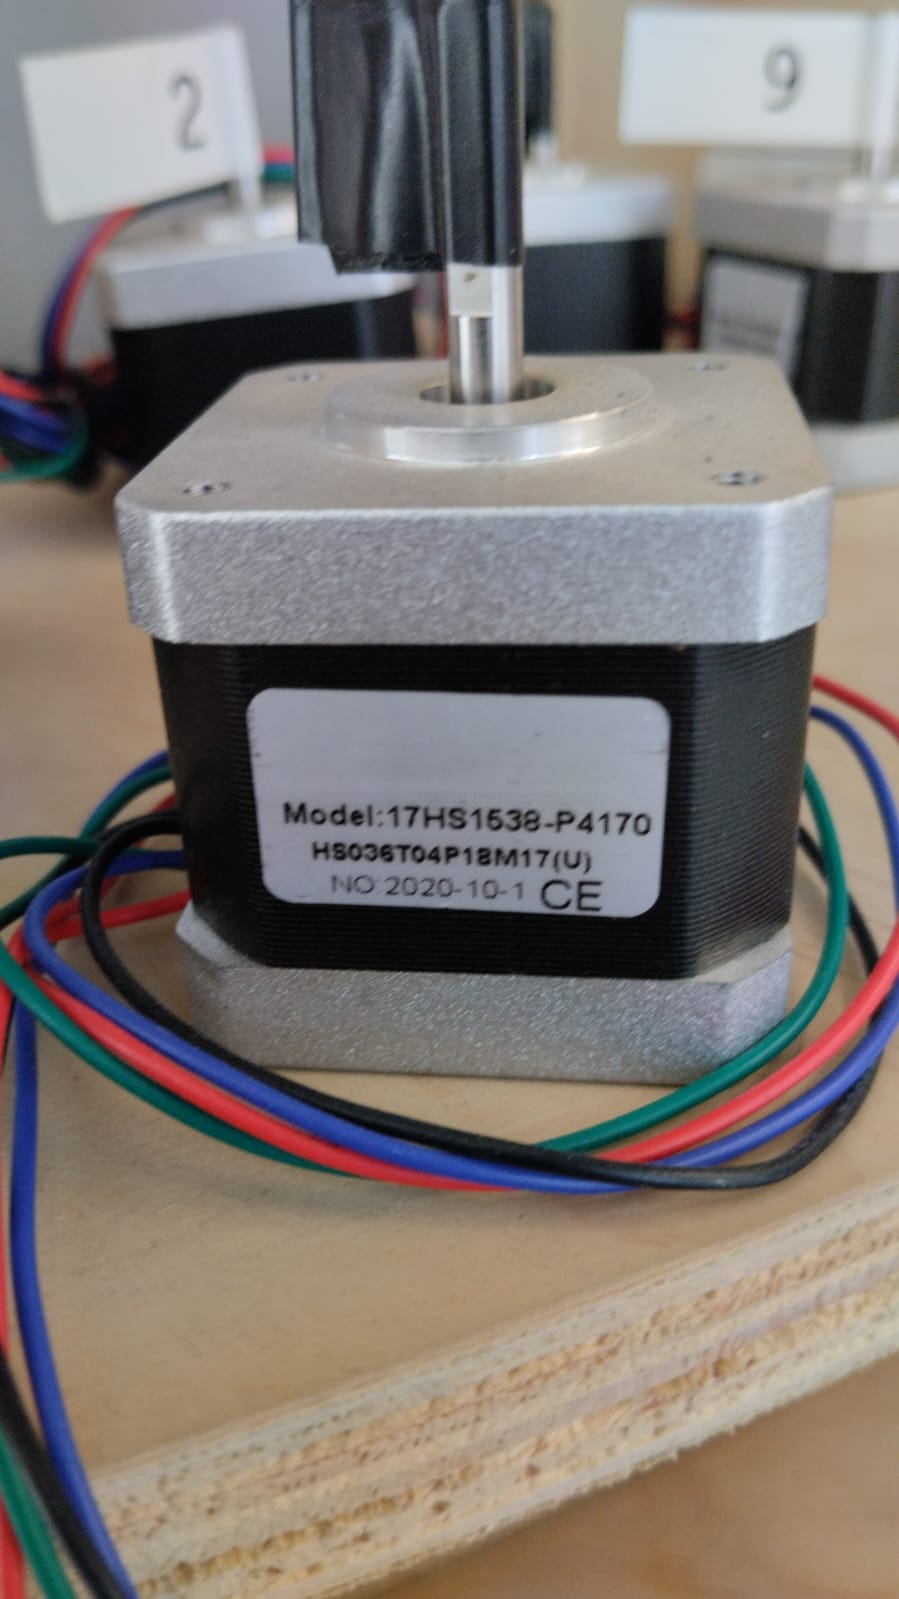
Once we had everything already set up we test manually every mechanism works so we can add the electronics. we used an ARDUINO UNO R3 board connected with one of our ESP32C3 to give energy to the stepper motors. We used the 17HS1538-P4170 stepper motor to control the rotation axis.
CODE
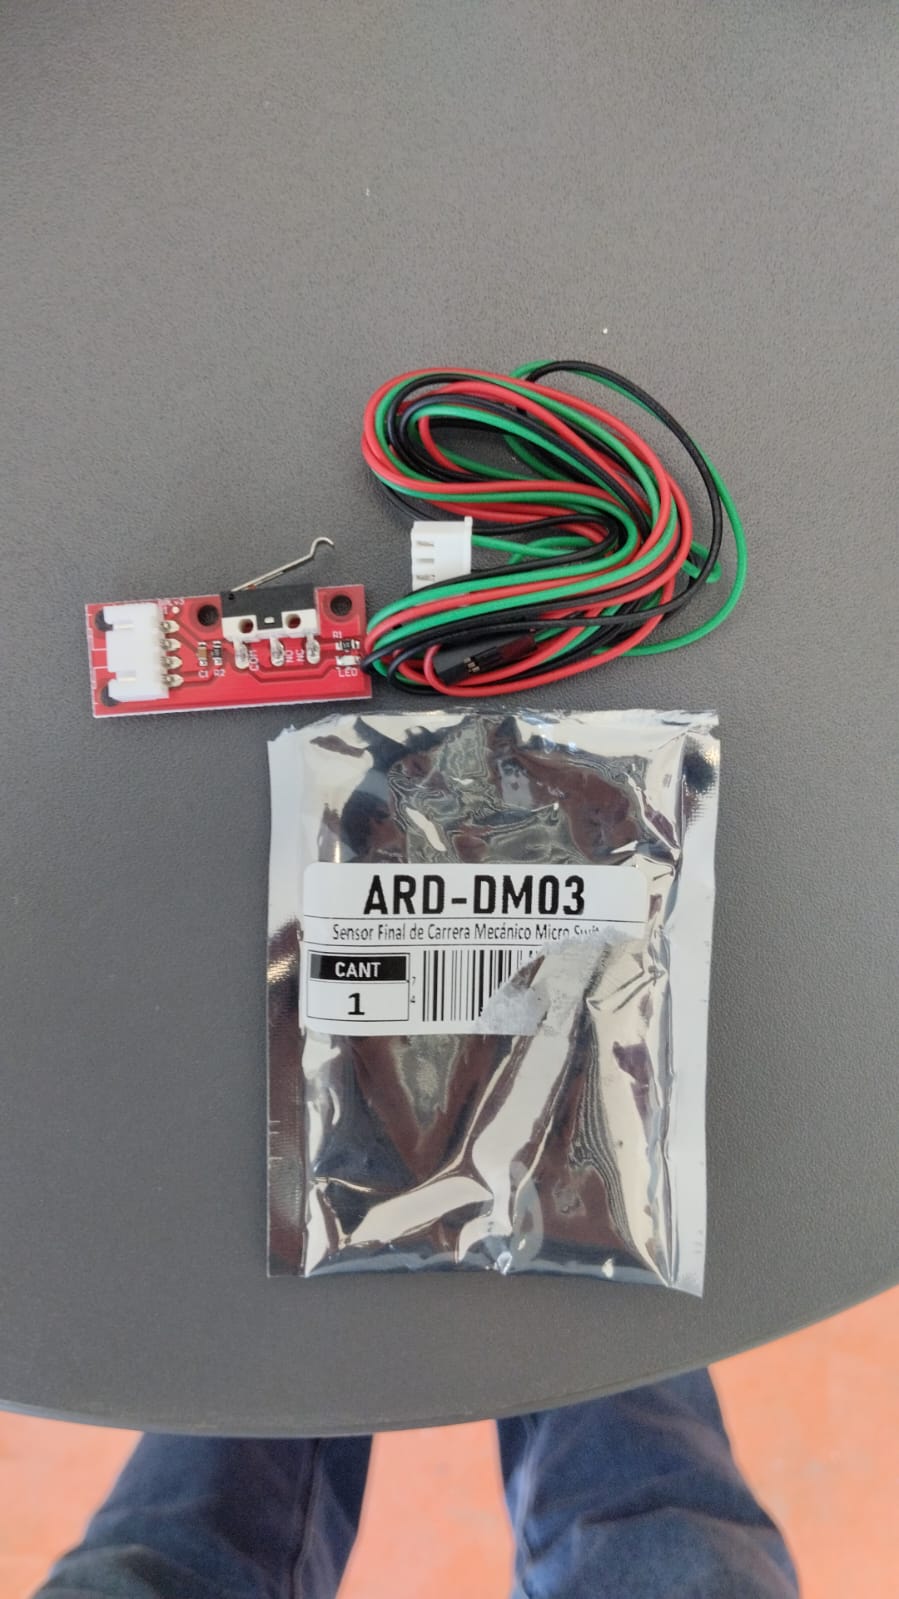
We made a code to control the stepper motor using the AccelStepper library. We set up two stages: Homing: Moves the motor until it hits a limit switch (endstop), then resets position to zero. Rotation: Moves the motor a specific number of degrees (up to 300°). It also listens for commands via Serial Monitor: "start", "home", and "stop
#include <AccelStepper.h> // === AJUSTES DE HARDWARE === const int motorStepsPerRev = 200; const int microstepping = 1; const float gearRatioRot = 1.0; const float stepsPerRev = motorStepsPerRev * microstepping; const float ROT_STEPS_PER_DEGREE = (stepsPerRev * gearRatioRot) / 360.0; const int MAX_ROTATION_DEG = 300; const int ROT_DIR_PIN = 5; const int ROT_STEP_PIN = 2; const int ROT_ENDSTOP_PIN = 9; AccelStepper stepperRot(AccelStepper::DRIVER, ROT_STEP_PIN, ROT_DIR_PIN); bool stopRequested = false; void setup() { Serial.begin(9600); pinMode(ROT_ENDSTOP_PIN, INPUT_PULLUP); stepperRot.setMaxSpeed(50); stepperRot.setAcceleration(50); Serial.println("🔧 Listo. Escribe 'start' para mover, 'home' para hacer homing o 'stop' para detener."); } void loop() { if (Serial.available()) { String command = Serial.readStringUntil('\n'); command.trim(); if (command == "start") { stopRequested = false; Serial.println("🚀 Iniciando movimiento angular..."); homeRotation(); delay(500); runRotation(); Serial.println("✅ Movimiento completado."); } else if (command == "home") { Serial.println("🔄 Homing de rotación..."); homeRotation(); Serial.println("✅ Homing completo."); } else if (command == "stop") { stopRequested = true; Serial.println("🛑 Movimiento detenido."); } else { Serial.println("❓ Comando no reconocido. Usa: start | home | stop"); } } } void homeRotation() { stepperRot.setMaxSpeed(50); stepperRot.setAcceleration(50); stepperRot.moveTo(-1000); while (digitalRead(ROT_ENDSTOP_PIN) == HIGH) { stepperRot.run(); } stepperRot.setCurrentPosition(0); stepperRot.move(10 * ROT_STEPS_PER_DEGREE); while (stepperRot.distanceToGo() != 0) { stepperRot.run(); } stepperRot.setCurrentPosition(0); } void runRotation() { long rotSteps = MAX_ROTATION_DEG * ROT_STEPS_PER_DEGREE; stepperRot.moveTo(rotSteps); while (stepperRot.distanceToGo() != 0 && !stopRequested) { stepperRot.run(); } }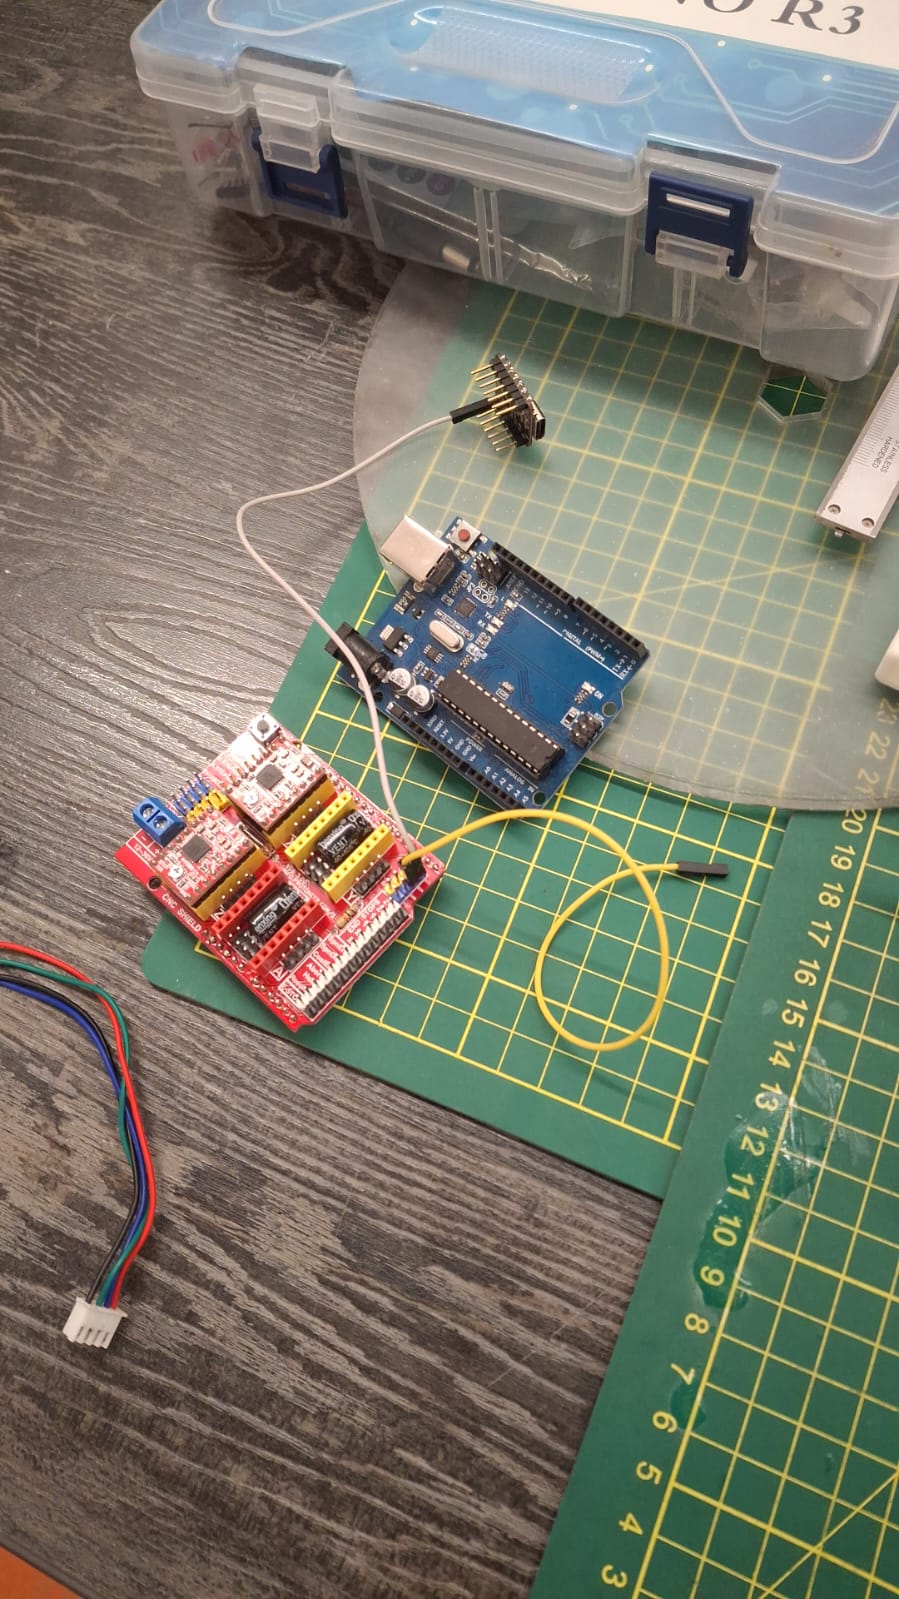
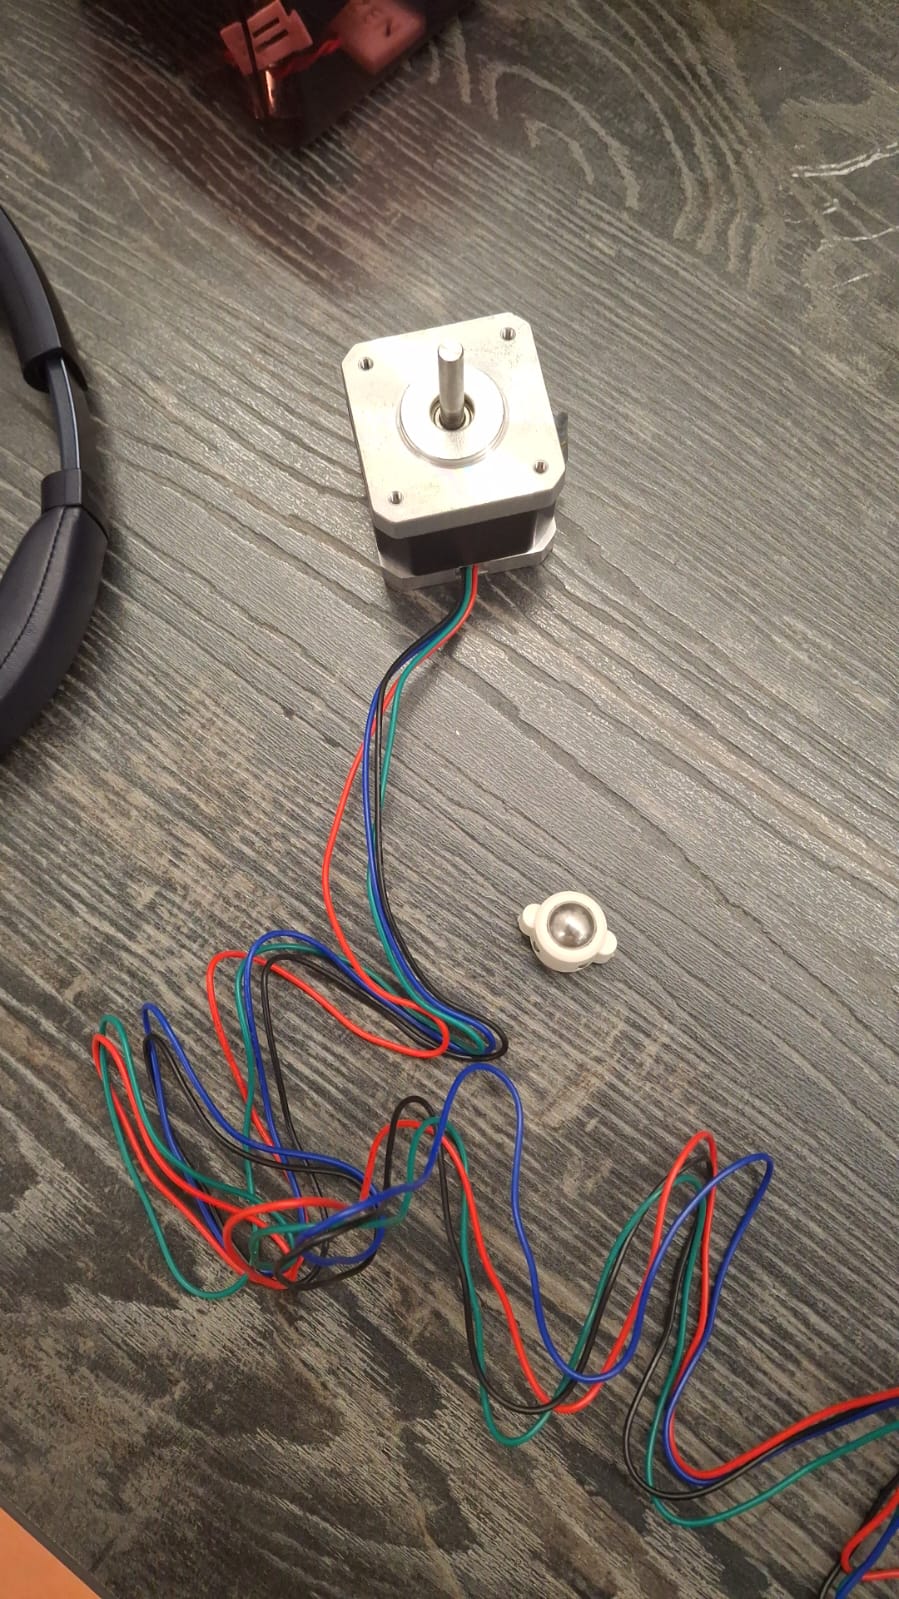
We made another test with each mechanism programmation to see if the code was working. Still with the cables out we wanted to test the button works to start the machine.
Programmation test
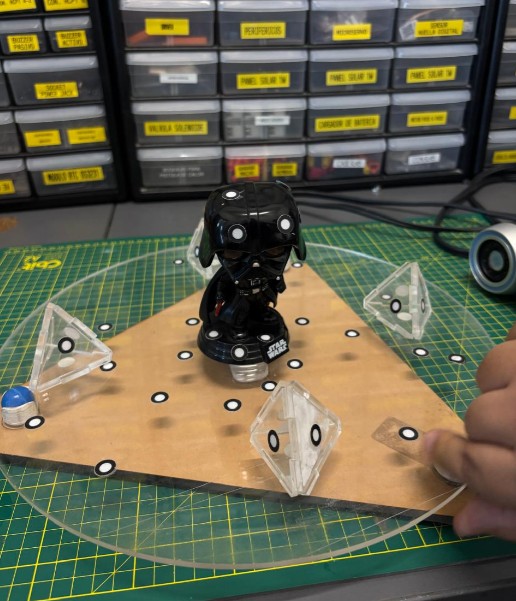
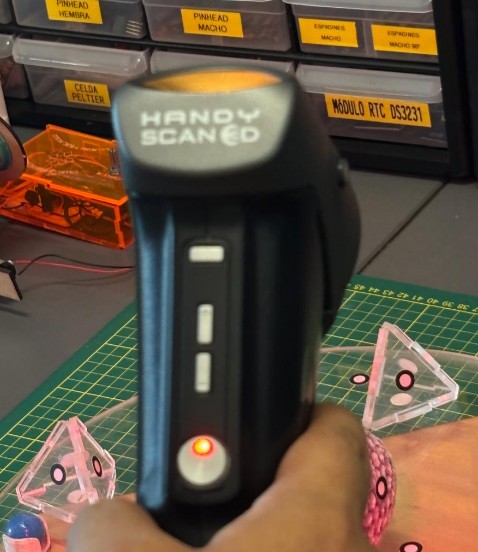
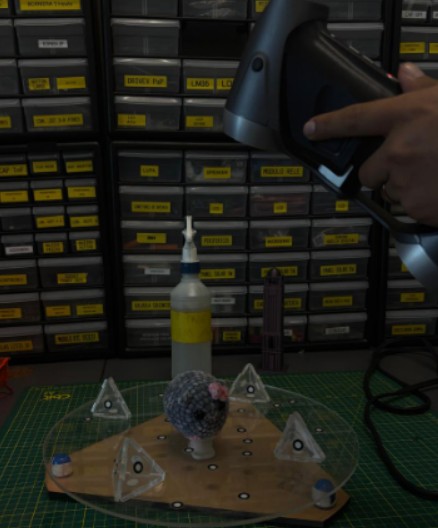
SCAN TEST
Finally we tried to scan an object. A thng we didn't consider was the fact that the camera in cellphones are not centered. So the camera angle was not precise since it appered at the left of the scanning. However if we used the cellphone in vertical it scan the object correctly.
Scan test with cellphone in vertical
Scan test with cellphone in horizontal
We still have to make more tests for the cellphone holder to be more precise and stable so we can actually flip for the outside. However the mechaisms worked and the arm support in curve (that was what worriedus the most) worked fine.
PRESENTATION
THE FLIP ARCHITECTURE SCANNER
video presentation
FILES