Wireless Communication
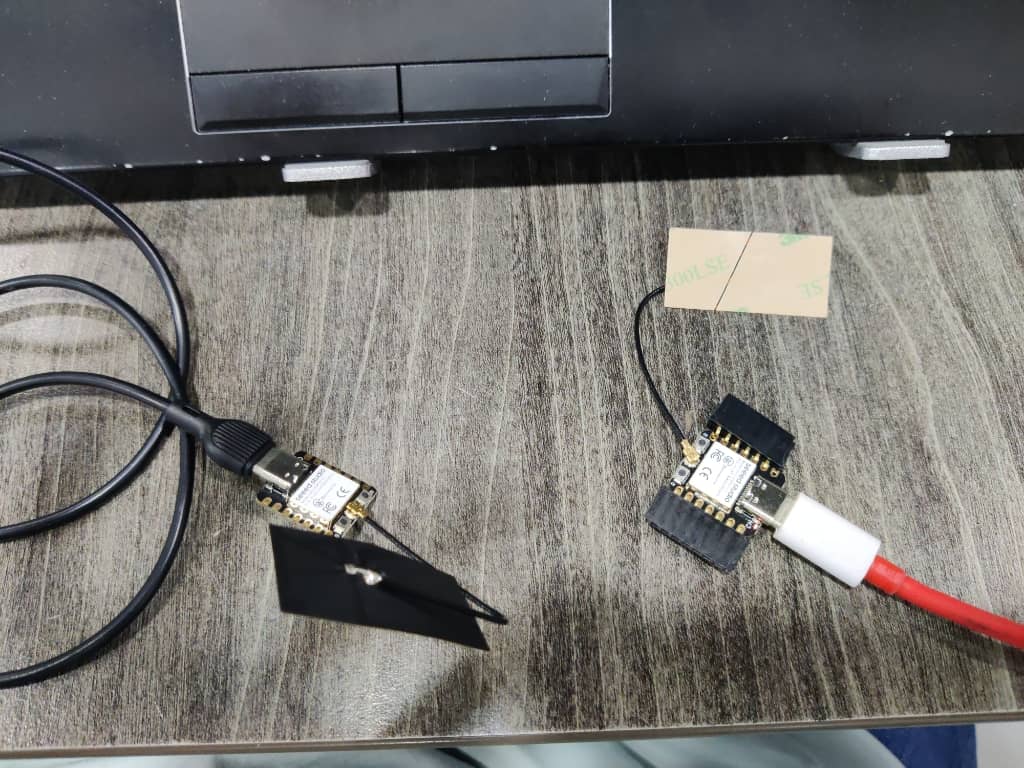
Hero Shot

Summary
In this assignment, I explored ESP32 to ESP32 communication over Wi-Fi. I configured one ESP32 as a Wi-Fi Access Point and TCP Server, and the other as a Wi-Fi Station and TCP Client. The server listens for connections and prints any received data; the client connects to the server and sends data.
Work Process Detail
1️⃣ Connect two ESP32 boards to your computer.
2️⃣ Open Arduino IDE with ESP32 board definitions installed.
3️⃣ On the Server ESP32 (acts as Wi-Fi Access Point + TCP Server), upload the Server Code.
🟢 ESP32 #1 → WiFi Access Point + TCP Server
#include <WiFi.h>

WiFiServer server(80);  // TCP server on port 80

void setup() {
  Serial.begin(115200);
  WiFi.softAP("ESP32_SERVER", "12345678"); // AP SSID & Password
  Serial.println("Access Point Started");
  server.begin();
}

void loop() {
  WiFiClient client = server.available();
  if (client) {
    Serial.println("Client Connected");
    while (client.connected()) {
      if (client.available()) {
        String data = client.readStringUntil('\n');
        Serial.print("Received: ");
        Serial.println(data);
      }
    }
    client.stop();
    Serial.println("Client Disconnected");
  }
}
This ESP32 creates a Wi-Fi network (like a mini router) and waits for the other ESP32 to send messages.
📝 Line by line explanation
#include <WiFi.h>
👉 Add the Wi-Fi library so ESP32 knows how to work with Wi-Fi.
WiFiServer server(80);
👉 Tell ESP32 to listen for connections on port 80 (just a standard communication port).
void setup() {
👉 Setup runs once when you turn on the board.
Serial.begin(115200);
👉 Open communication with your computer, so you can see messages in Serial Monitor.
WiFi.softAP("ESP32_SERVER", "12345678");
👉 Start a Wi-Fi network called ESP32_SERVER. Password is 12345678.
(This is the Wi-Fi your client will connect to.)
server.begin();
👉 Start waiting for devices (clients) to connect.
void loop() {
👉 This runs over and over forever.
WiFiClient client = server.available();
👉 Check if another ESP32 (a client) is trying to connect.
if (client) {
👉 If someone connects:
while (client.connected()) {
👉 While that device is still connected:
if (client.available()) {
👉 If the client sends any message:
String data = client.readStringUntil('\n');
👉 Read the message and save it in data.
Serial.println(data);
👉 Print the message on the computer screen (in Serial Monitor).
client.stop();
👉 When client finishes, disconnect.
✅ What it does:
- It makes a Wi-Fi network.
- It waits for the client ESP32 to connect.
- It reads messages sent from the client and prints them.
4️⃣ On the Client ESP32 (connects to AP + sends data), upload the Client Code.
🟢 ESP32 #2 → WiFi Station + TCP Client
#include <WiFi.h>

const char* ssid = "ESP32_SERVER";
const char* password = "12345678";

WiFiClient client;

void setup() {
  Serial.begin(115200);
  WiFi.begin(ssid, password);
  while (WiFi.status() != WL_CONNECTED) {
    delay(500);
    Serial.print(".");
  }
  Serial.println("\nConnected to Server");
  client.connect("192.168.4.1", 80);   // ESP32 AP IP address
}

void loop() {
  if (client.connected()) {
    client.println("Hello from CLIENT");
    Serial.println("Message Sent");
    delay(2000);
  }
}
This ESP32 connects to the server’s Wi-Fi and sends a message every 2 seconds.
📝 Line by line explanation
#include <WiFi.h>
👉 Add Wi-Fi capability.
const char* ssid = "ESP32_SERVER";
const char* password = "12345678";
👉 These must match the server Wi-Fi name & password.
WiFiClient client;
👉 Create a client object (a device that connects to a server).
void setup() {
Serial.begin(115200);
👉 Open communication with your computer (Serial Monitor).
WiFi.begin(ssid, password);
👉 Connect to server’s Wi-Fi.
while (WiFi.status() != WL_CONNECTED) {
delay(500);
Serial.print(".");
}
👉 Wait here until Wi-Fi connection is successful.
👉 Print dots (.) while waiting.
client.connect("192.168.4.1", 80);
👉 After Wi-Fi connects, talk to the Server ESP32.
👉 192.168.4.1 = always the IP of the ESP32 server.
void loop() {
👉 This part repeats forever.
if (client.connected()) {
client.println("Hello from CLIENT");
👉 If connection is good → send the message “Hello from CLIENT” to Server.
Serial.println("Message Sent");
👉 Tell you that the message was sent.
delay(2000);
👉 Wait 2 seconds and repeat.
✅ What it does:
- It connects to the ESP32 server Wi-Fi.
- Every 2 seconds, it sends “Hello from CLIENT”.
- The Server ESP32 prints that message.
5️⃣ Open Serial Monitors on both boards and watch the communication!
Learning Outcome
From this project, I learned:
- How to configure one ESP32 as a Wi-Fi AP + Server and another as Wi-Fi Station + Client.
- How to create a TCP socket connection between ESP32s.
- The basic usage of Wi-Fi and TCP libraries on ESP32.
- Practical implementation of device-to-device communication over Wi-Fi.
- How this technique can be expanded for sensor networks or multi-device robotics.