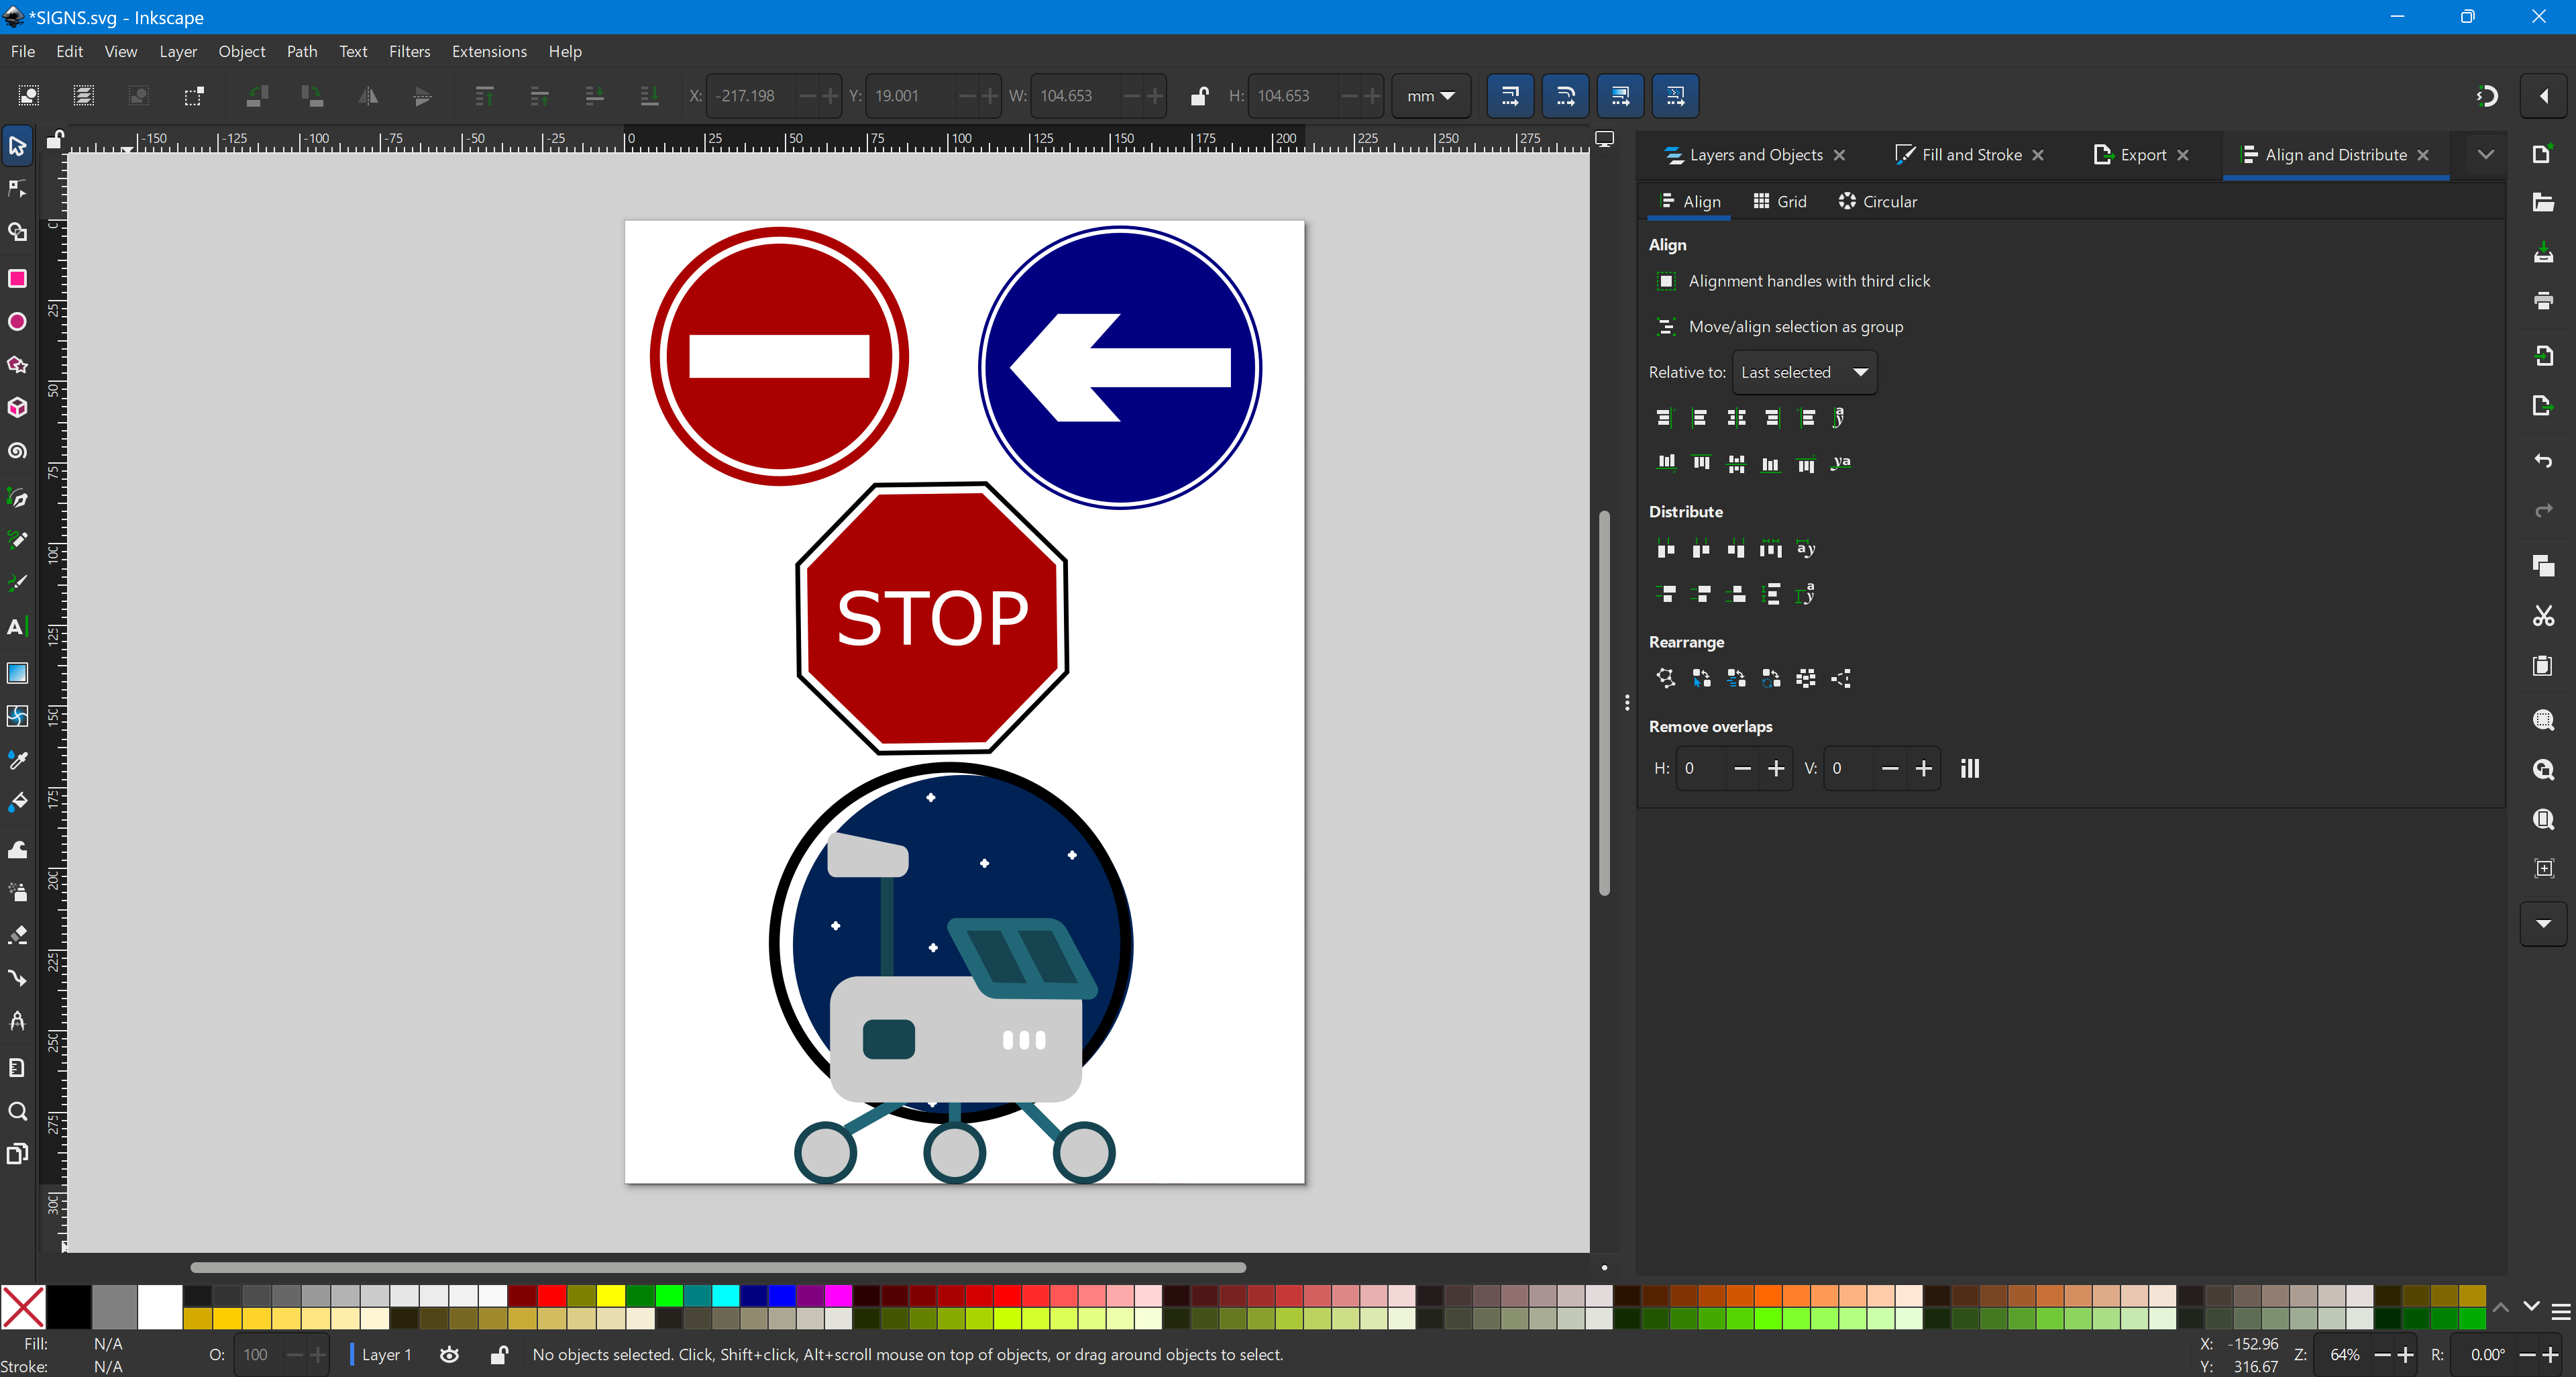
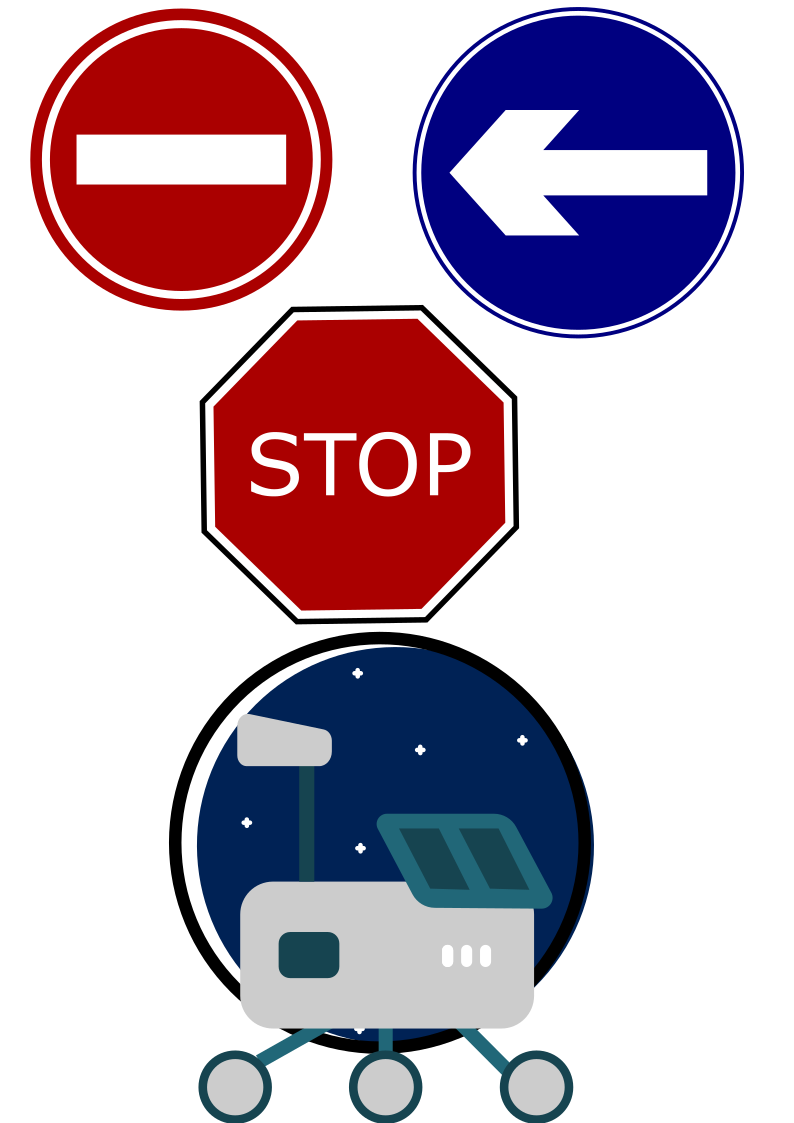
In this documentation, I detail the process of using the Roland GS-24 vinyl cutter in the lab. I began by researching the machine and learning how to operate it through online resources and tutorials. Using Inkscape, I designed a simple street sign, utilizing various shape tools, alignment techniques, and grouping functions to create a clean vector design.
After preparing the vinyl cutter by calibrating the blade and loading the material, I used CutStudio to convert and send the file for cutting. Once cut, I transferred the vinyl using duct tape or transfer tape to ensure proper alignment. Additionally, I experimented with a multi-layered stop sign, cutting separate layers for different colors and using a laser cutter to create a precise backing. This experience reinforced the importance of calibration, design preparation, and transfer techniques for achieving high-quality vinyl stickers.
Work Process Detail
Using the Roland GS-24 Vinyl Cutter – Step-by-Step Guide
1. Understanding the Machine
The vinyl cutter available in the lab is a Roland GS-24.
To learn how to use it, I researched online and found two helpful YouTube videos:
Video 1: How to operate the Roland GS-24 machine.
Video 2: How to use CutStudio, the software that controls the machine.
After watching and understanding both videos, I proceeded to create a test design.
Hold CTRL + SHIFT to resize while keeping it centered.
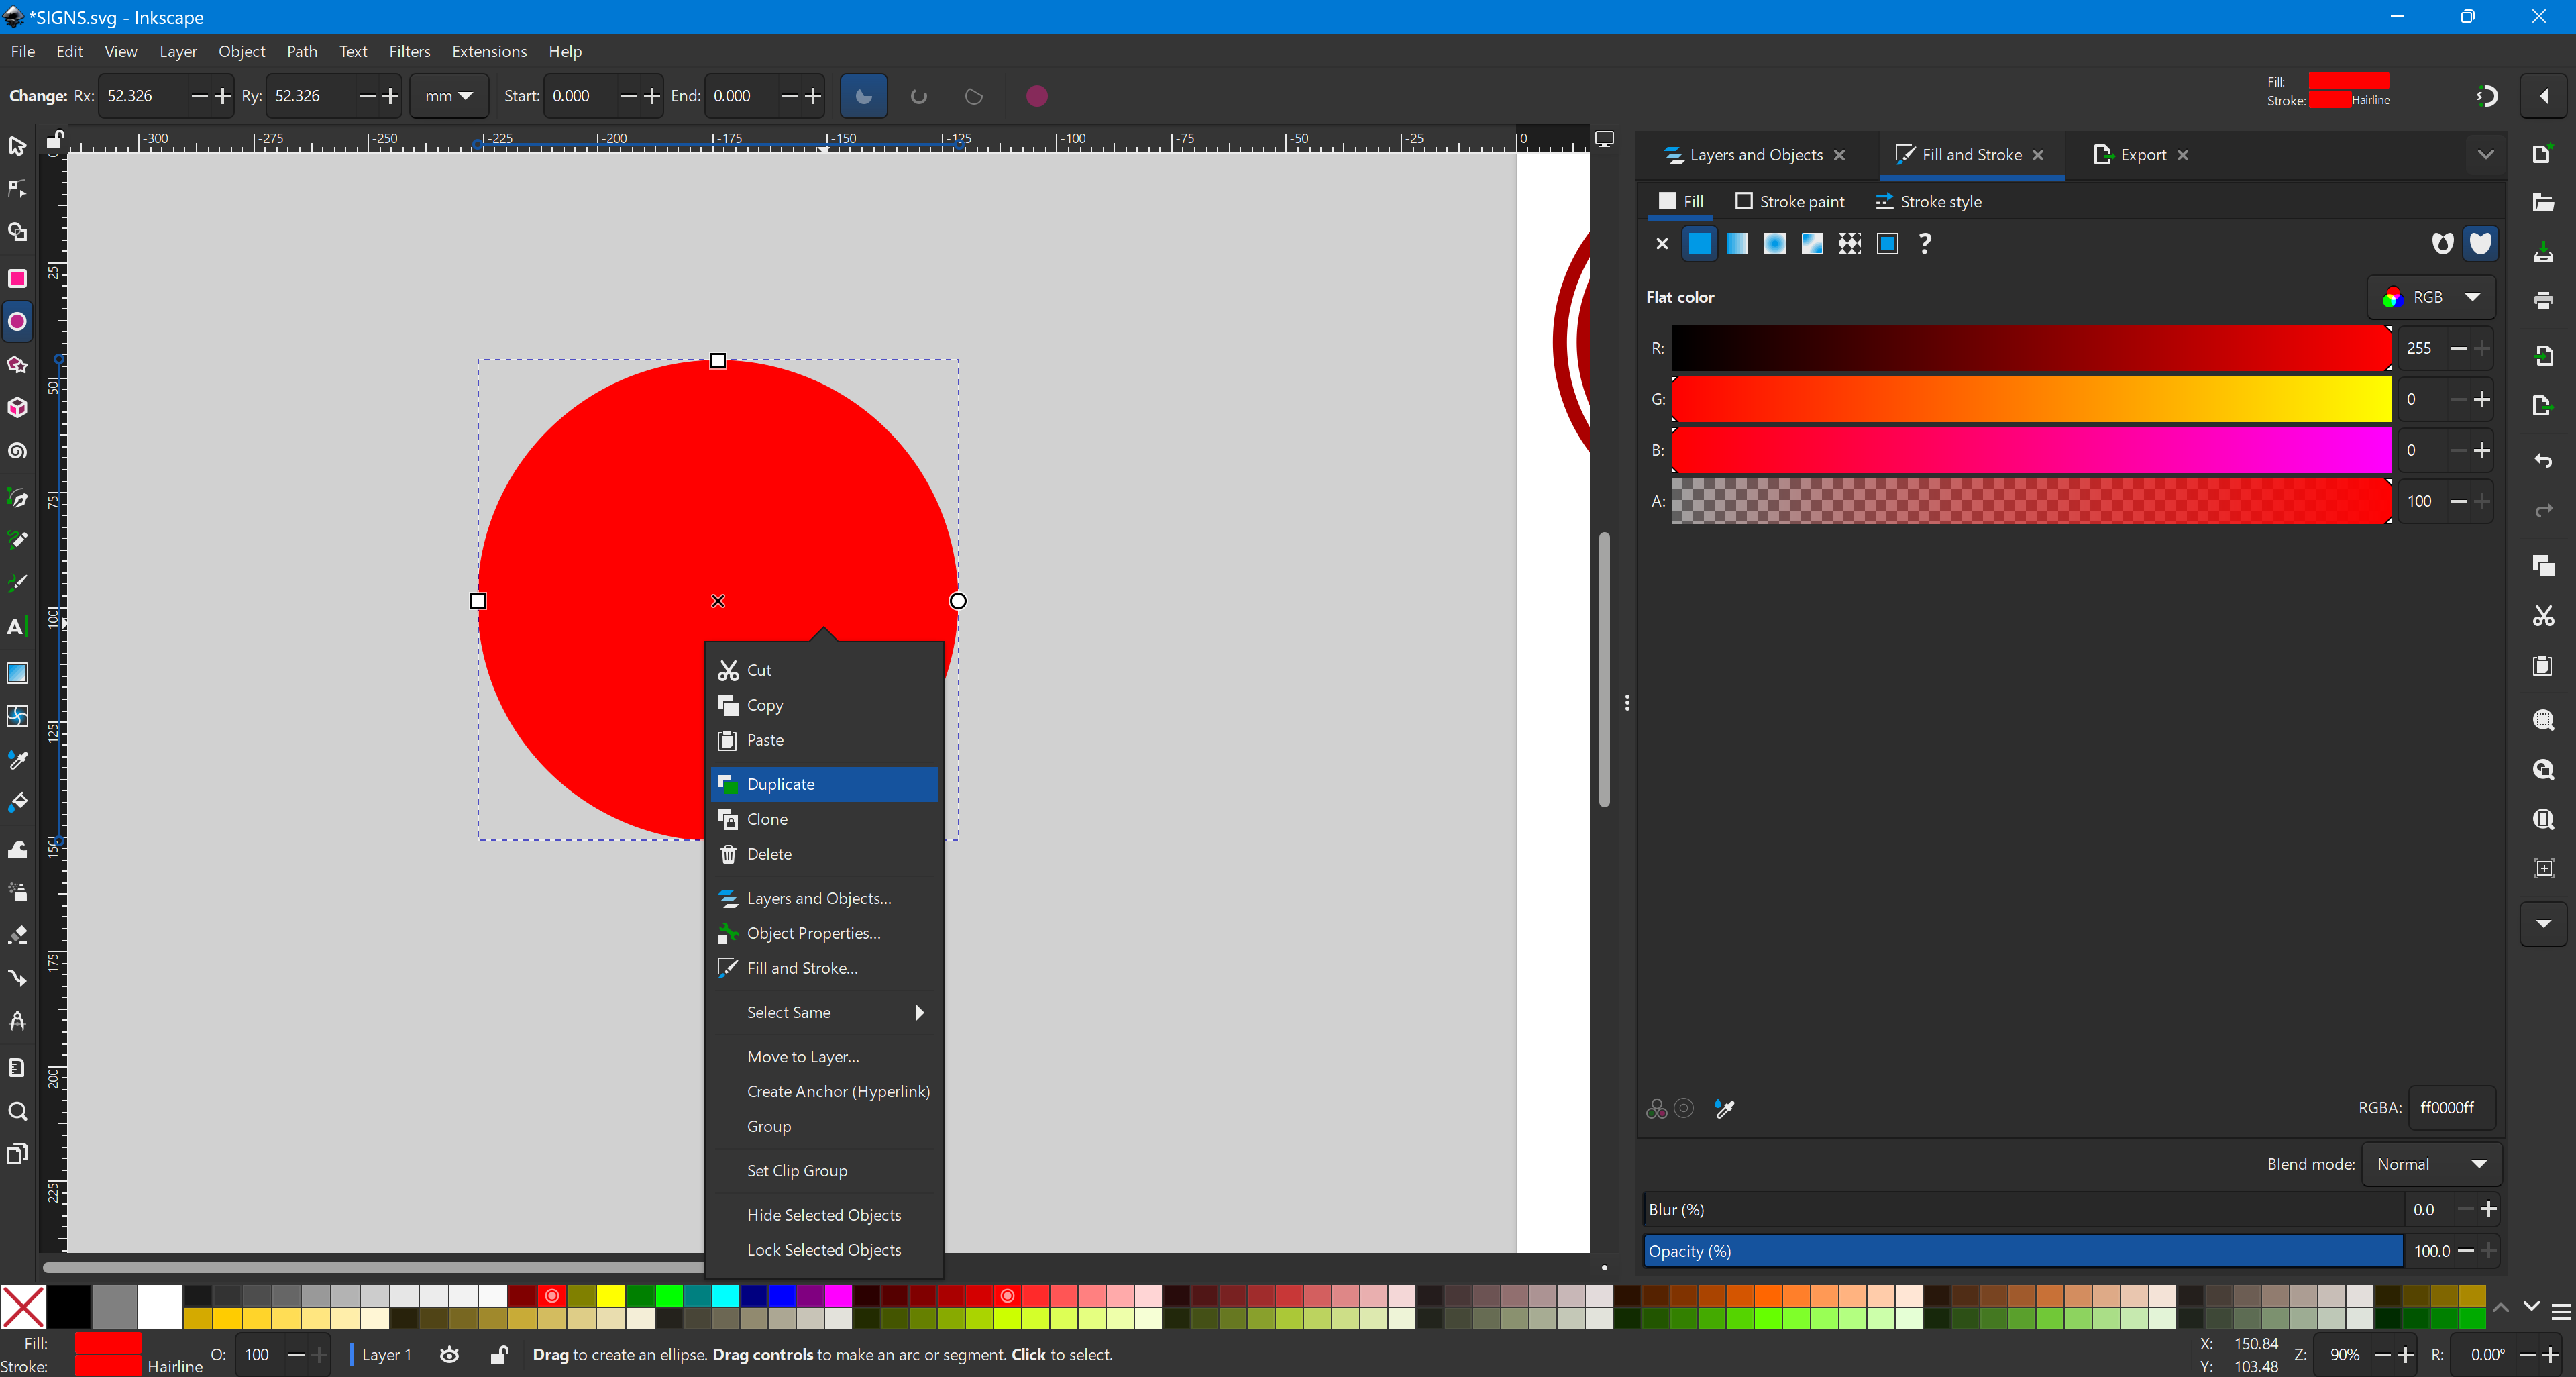
Duplicate the ellipse by right-clicking → Duplicate (instead of CTRL+C, CTRL+V).
This keeps the new shape aligned to the center of the original.
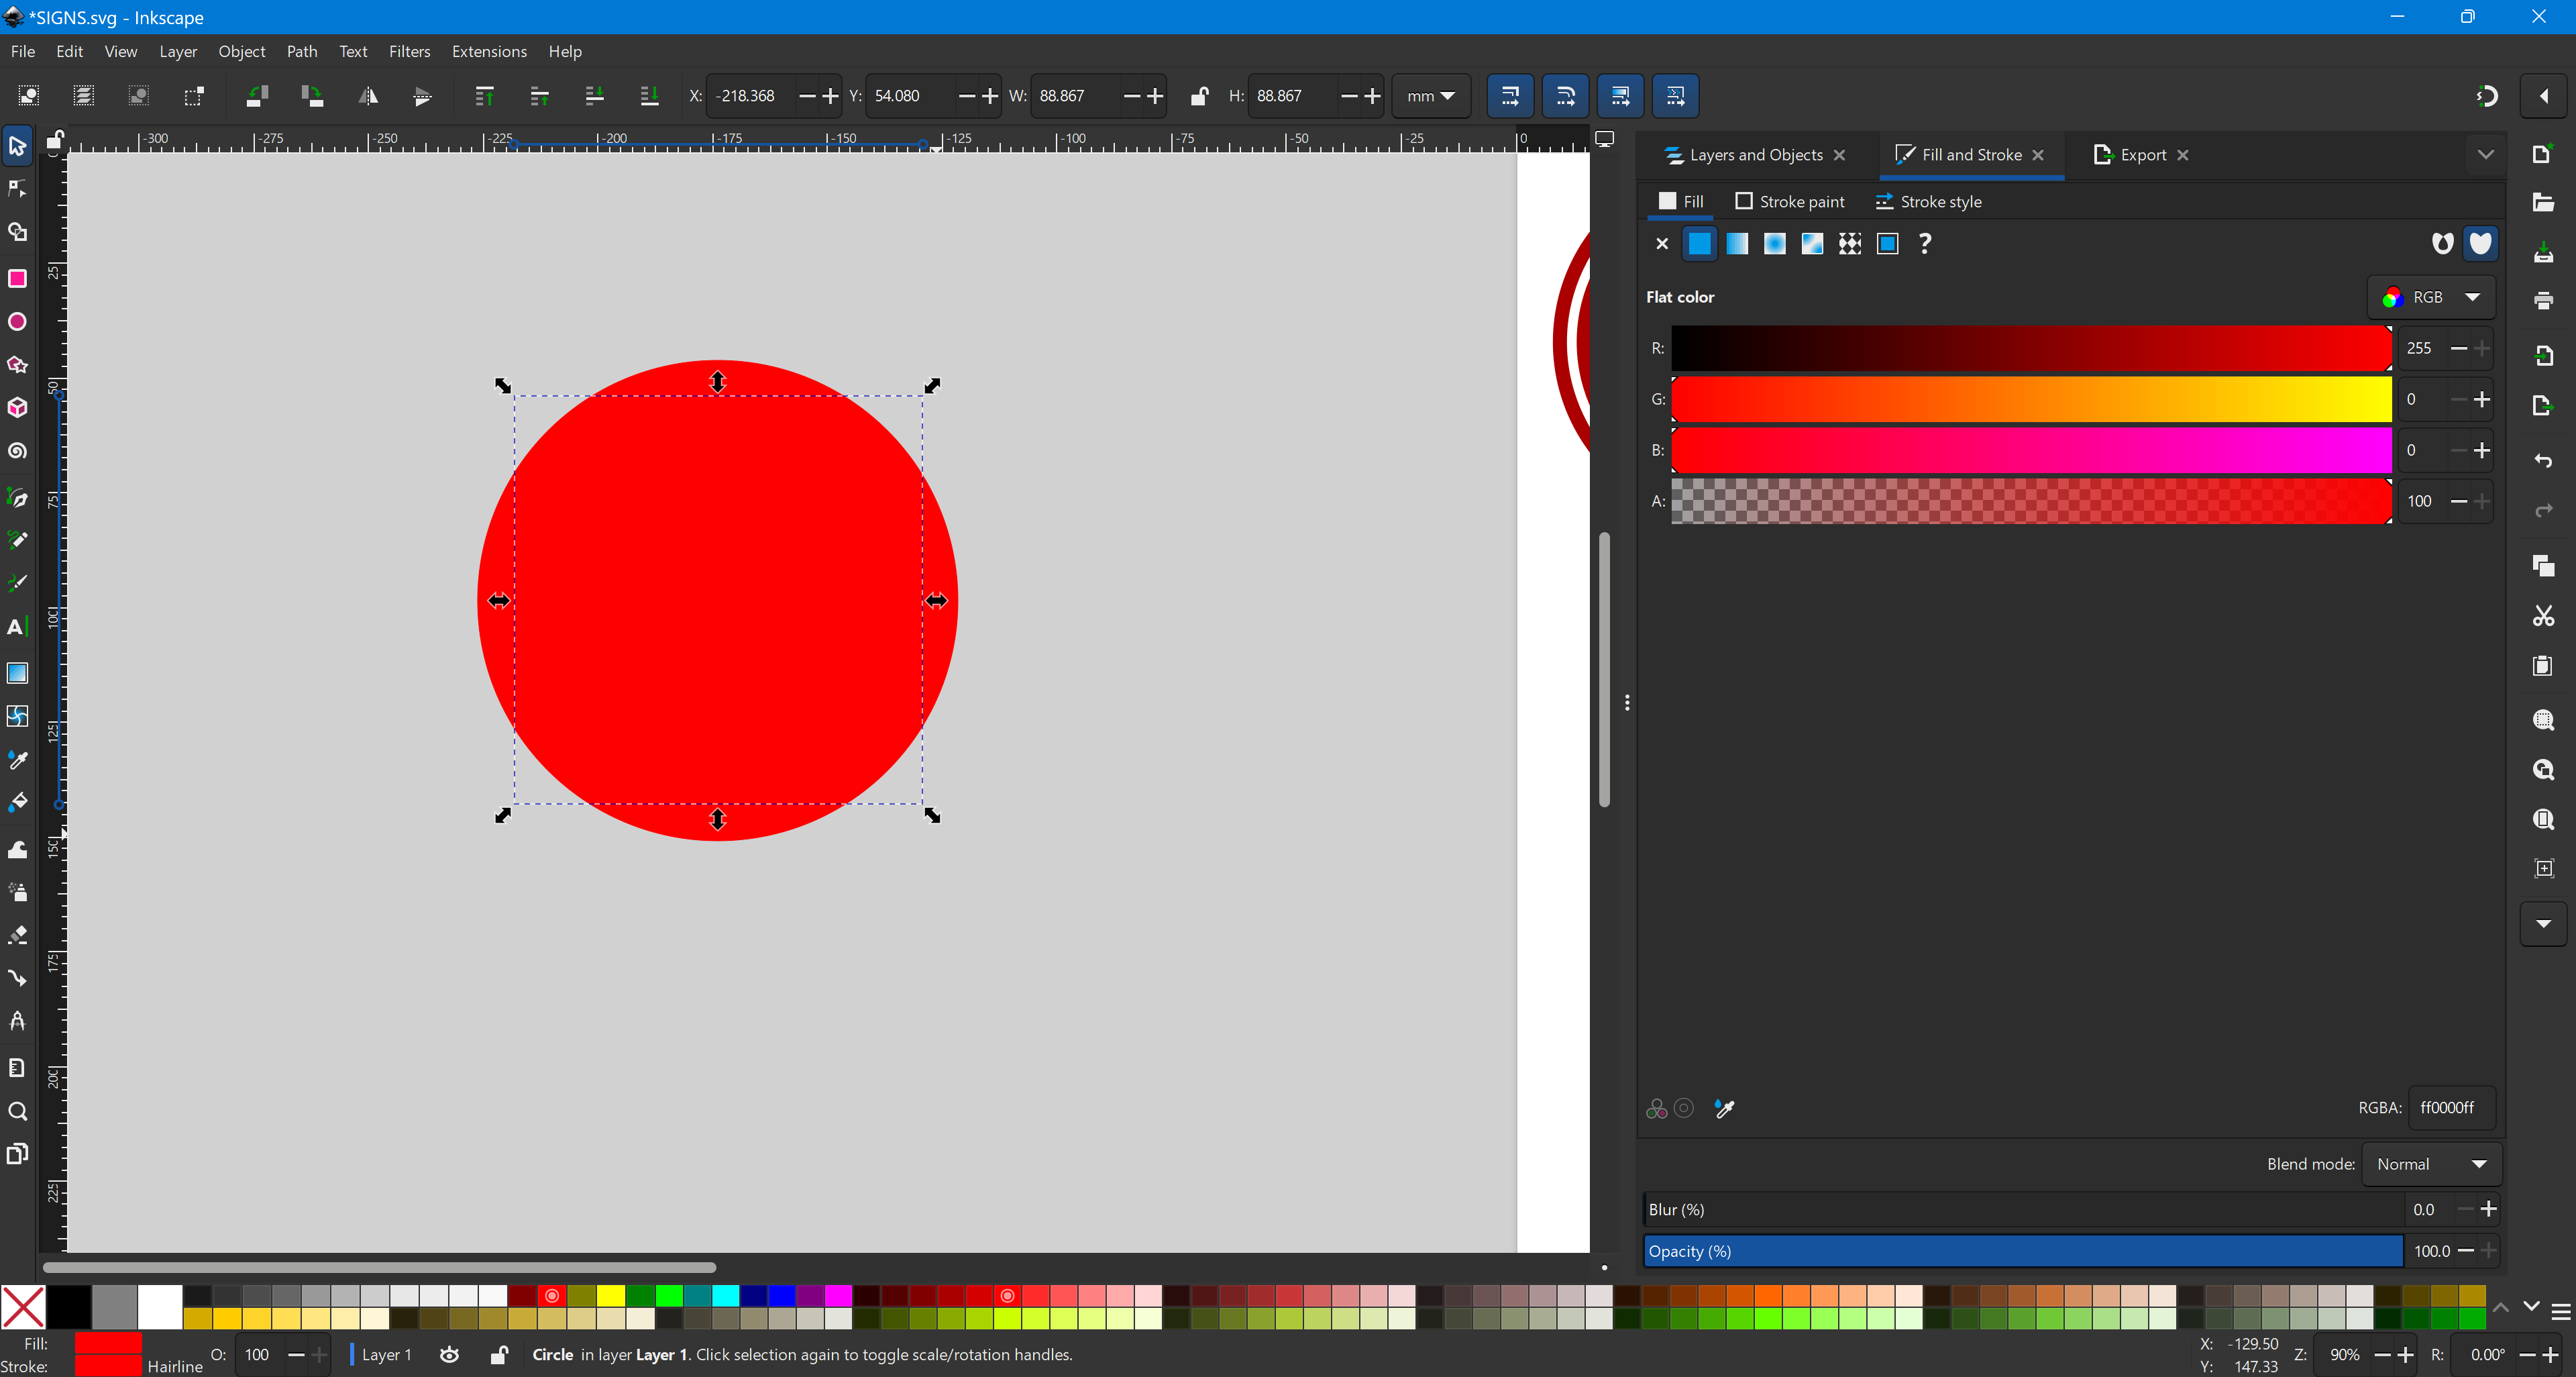
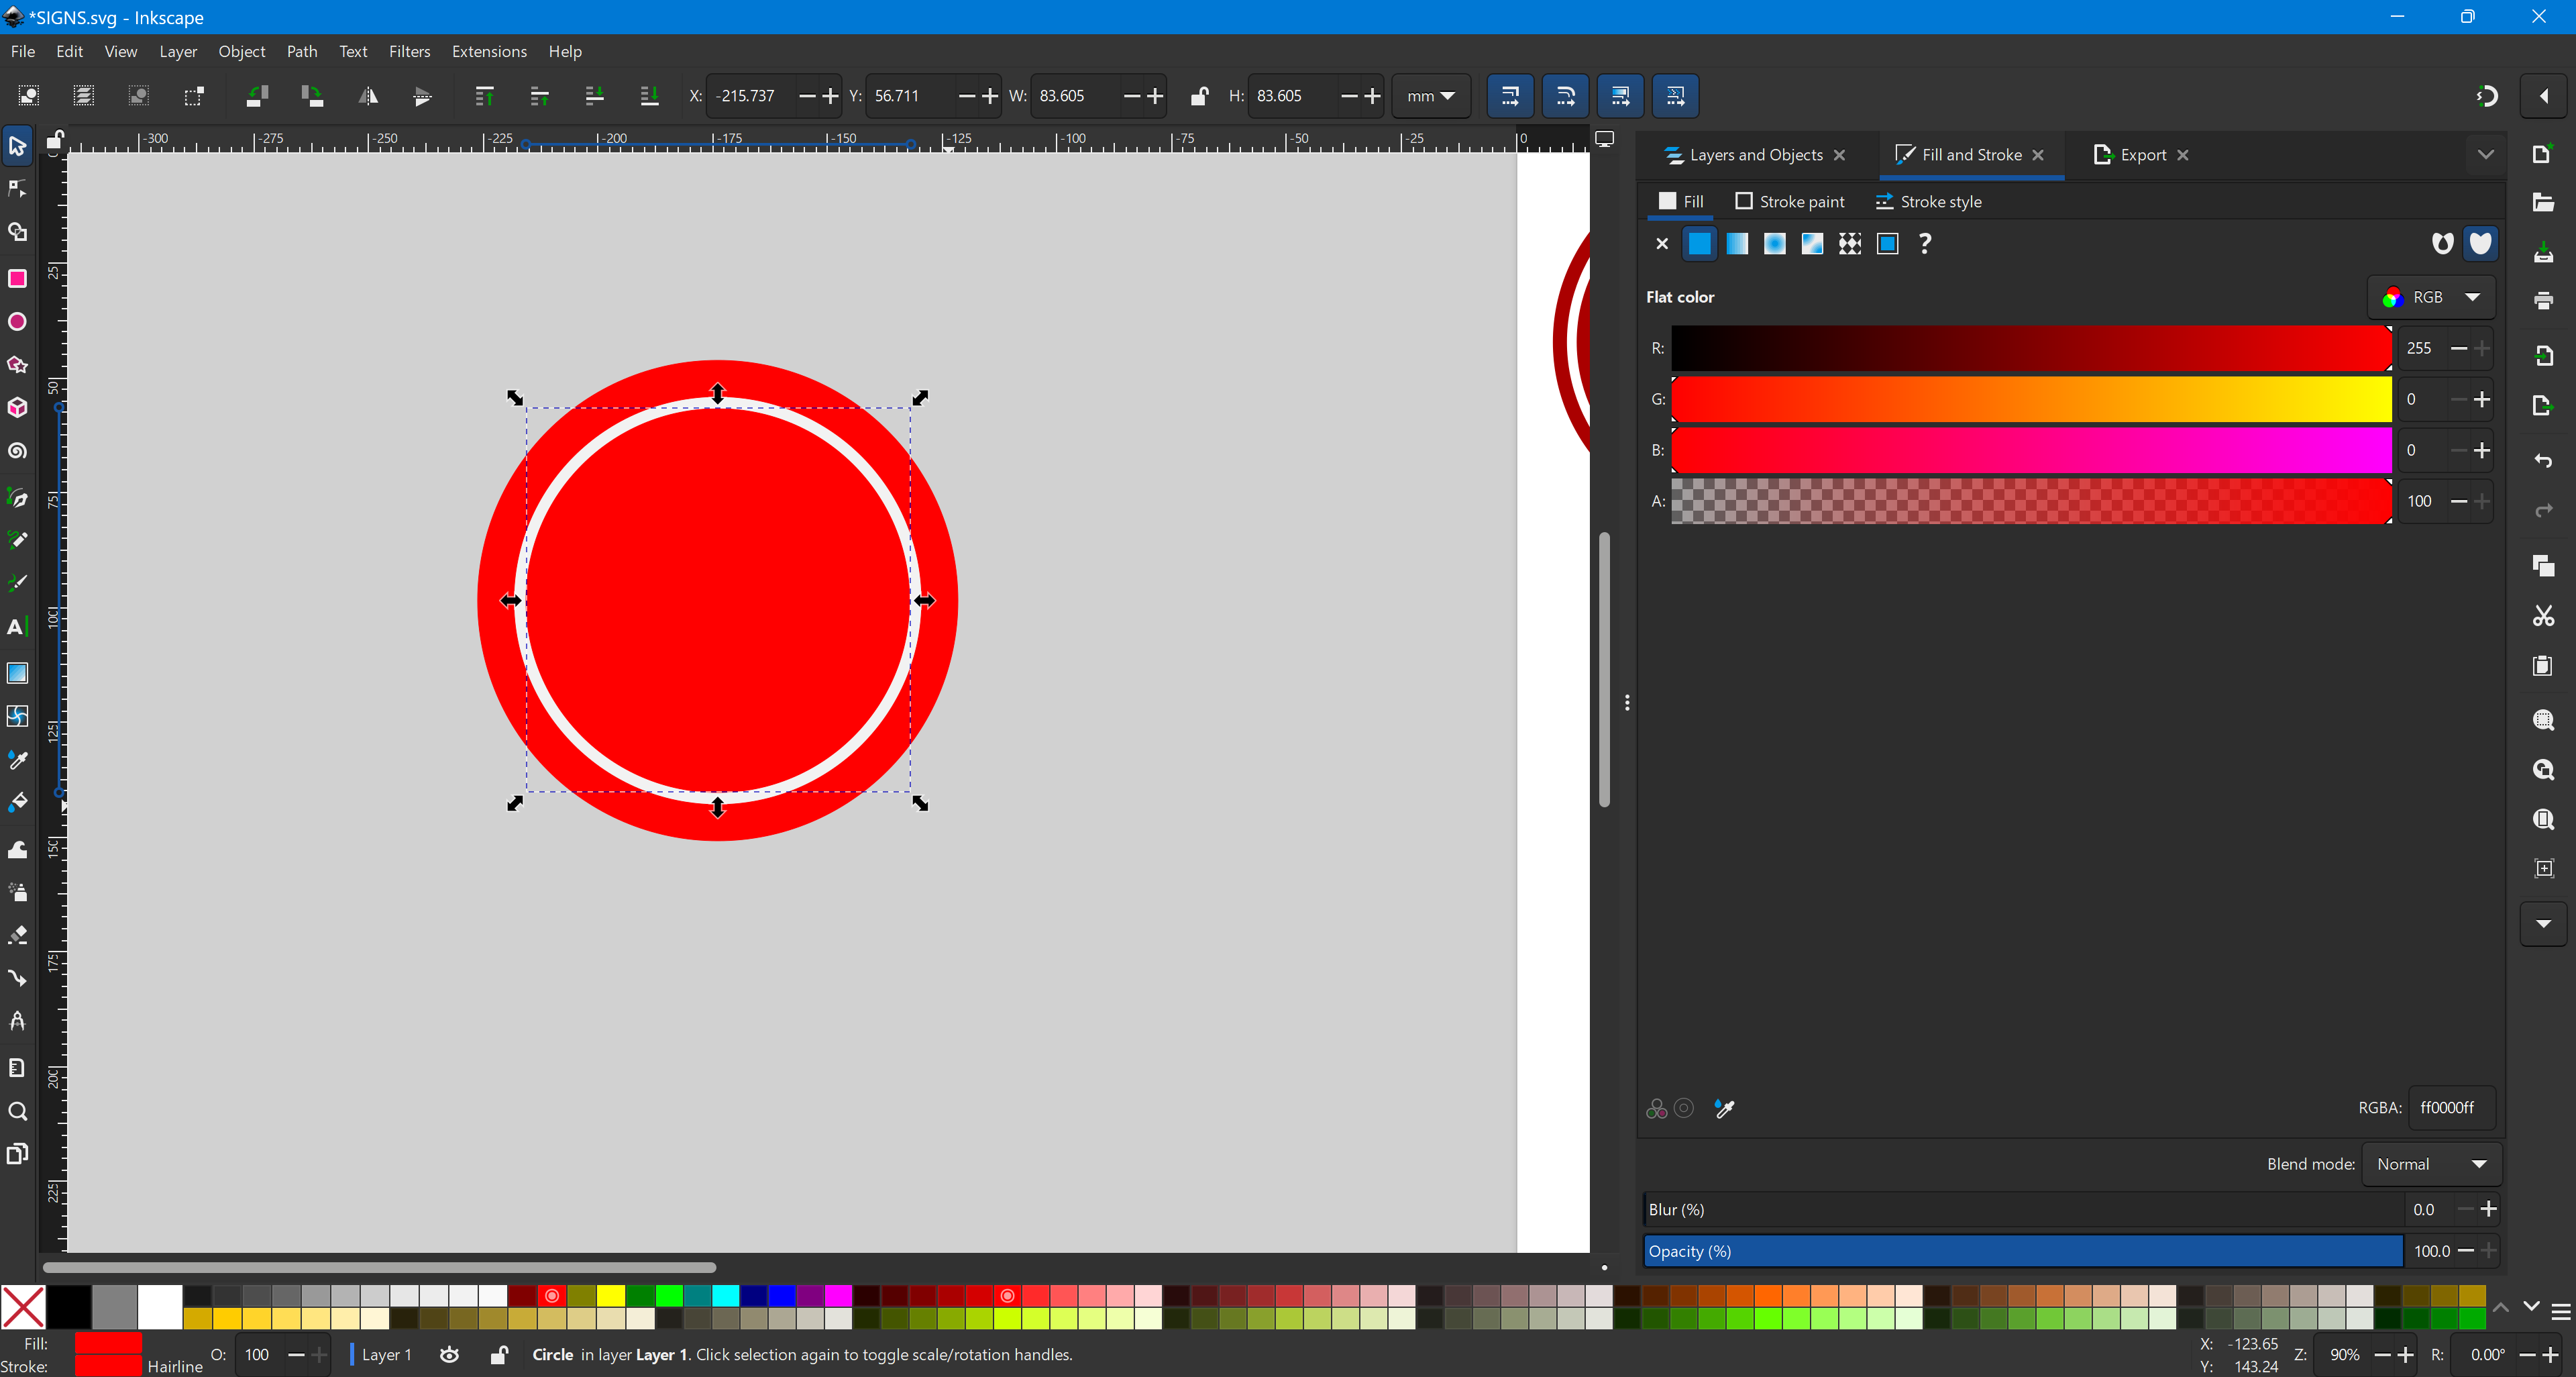
Resize the duplicate to be slightly larger or smaller as needed.
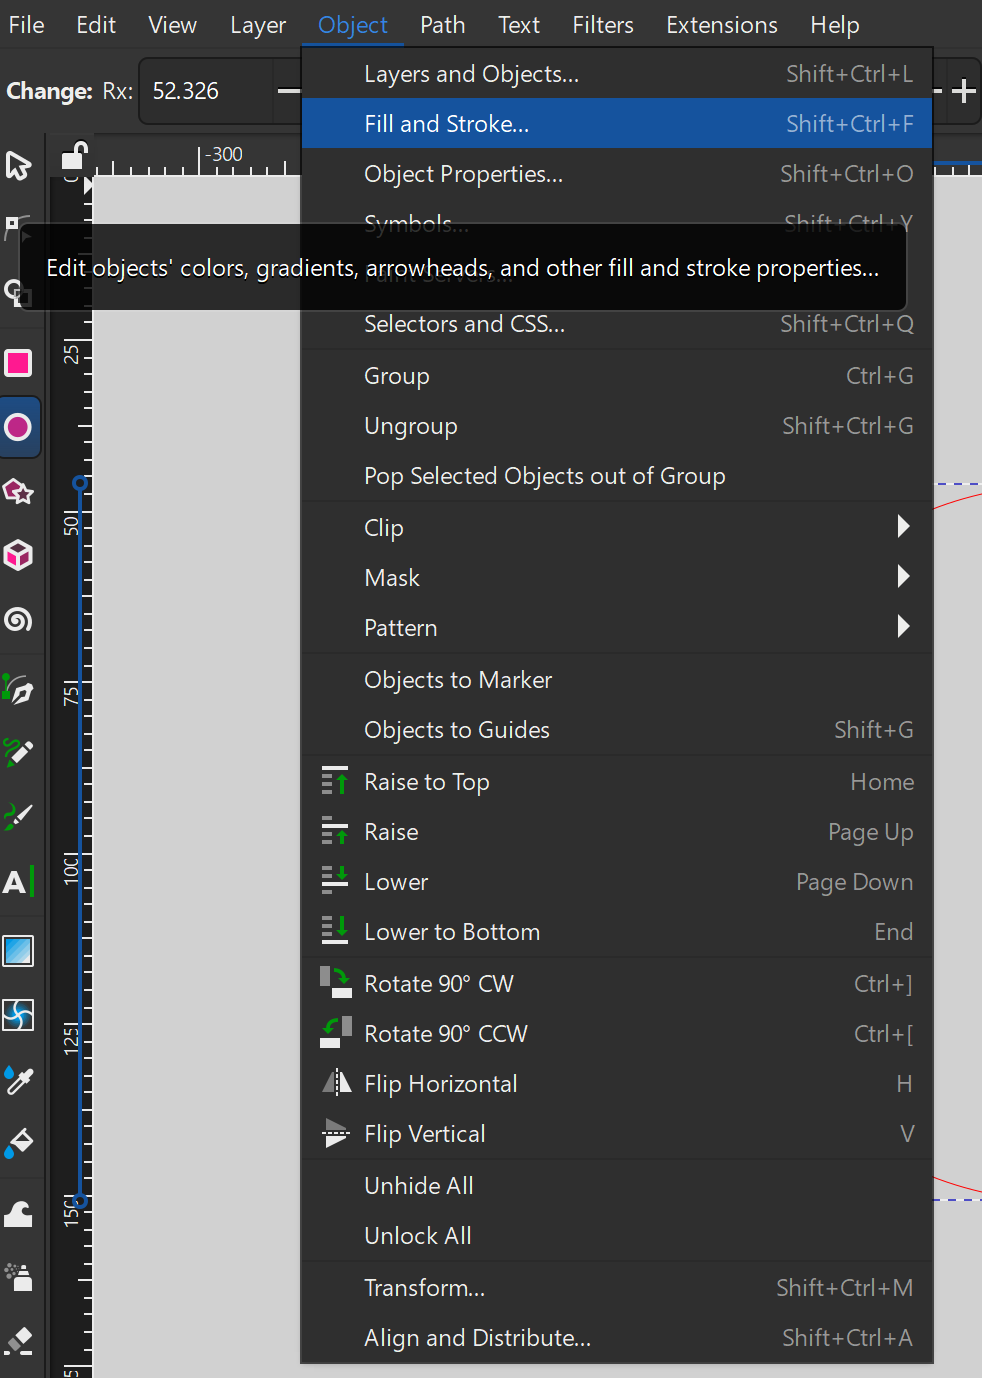
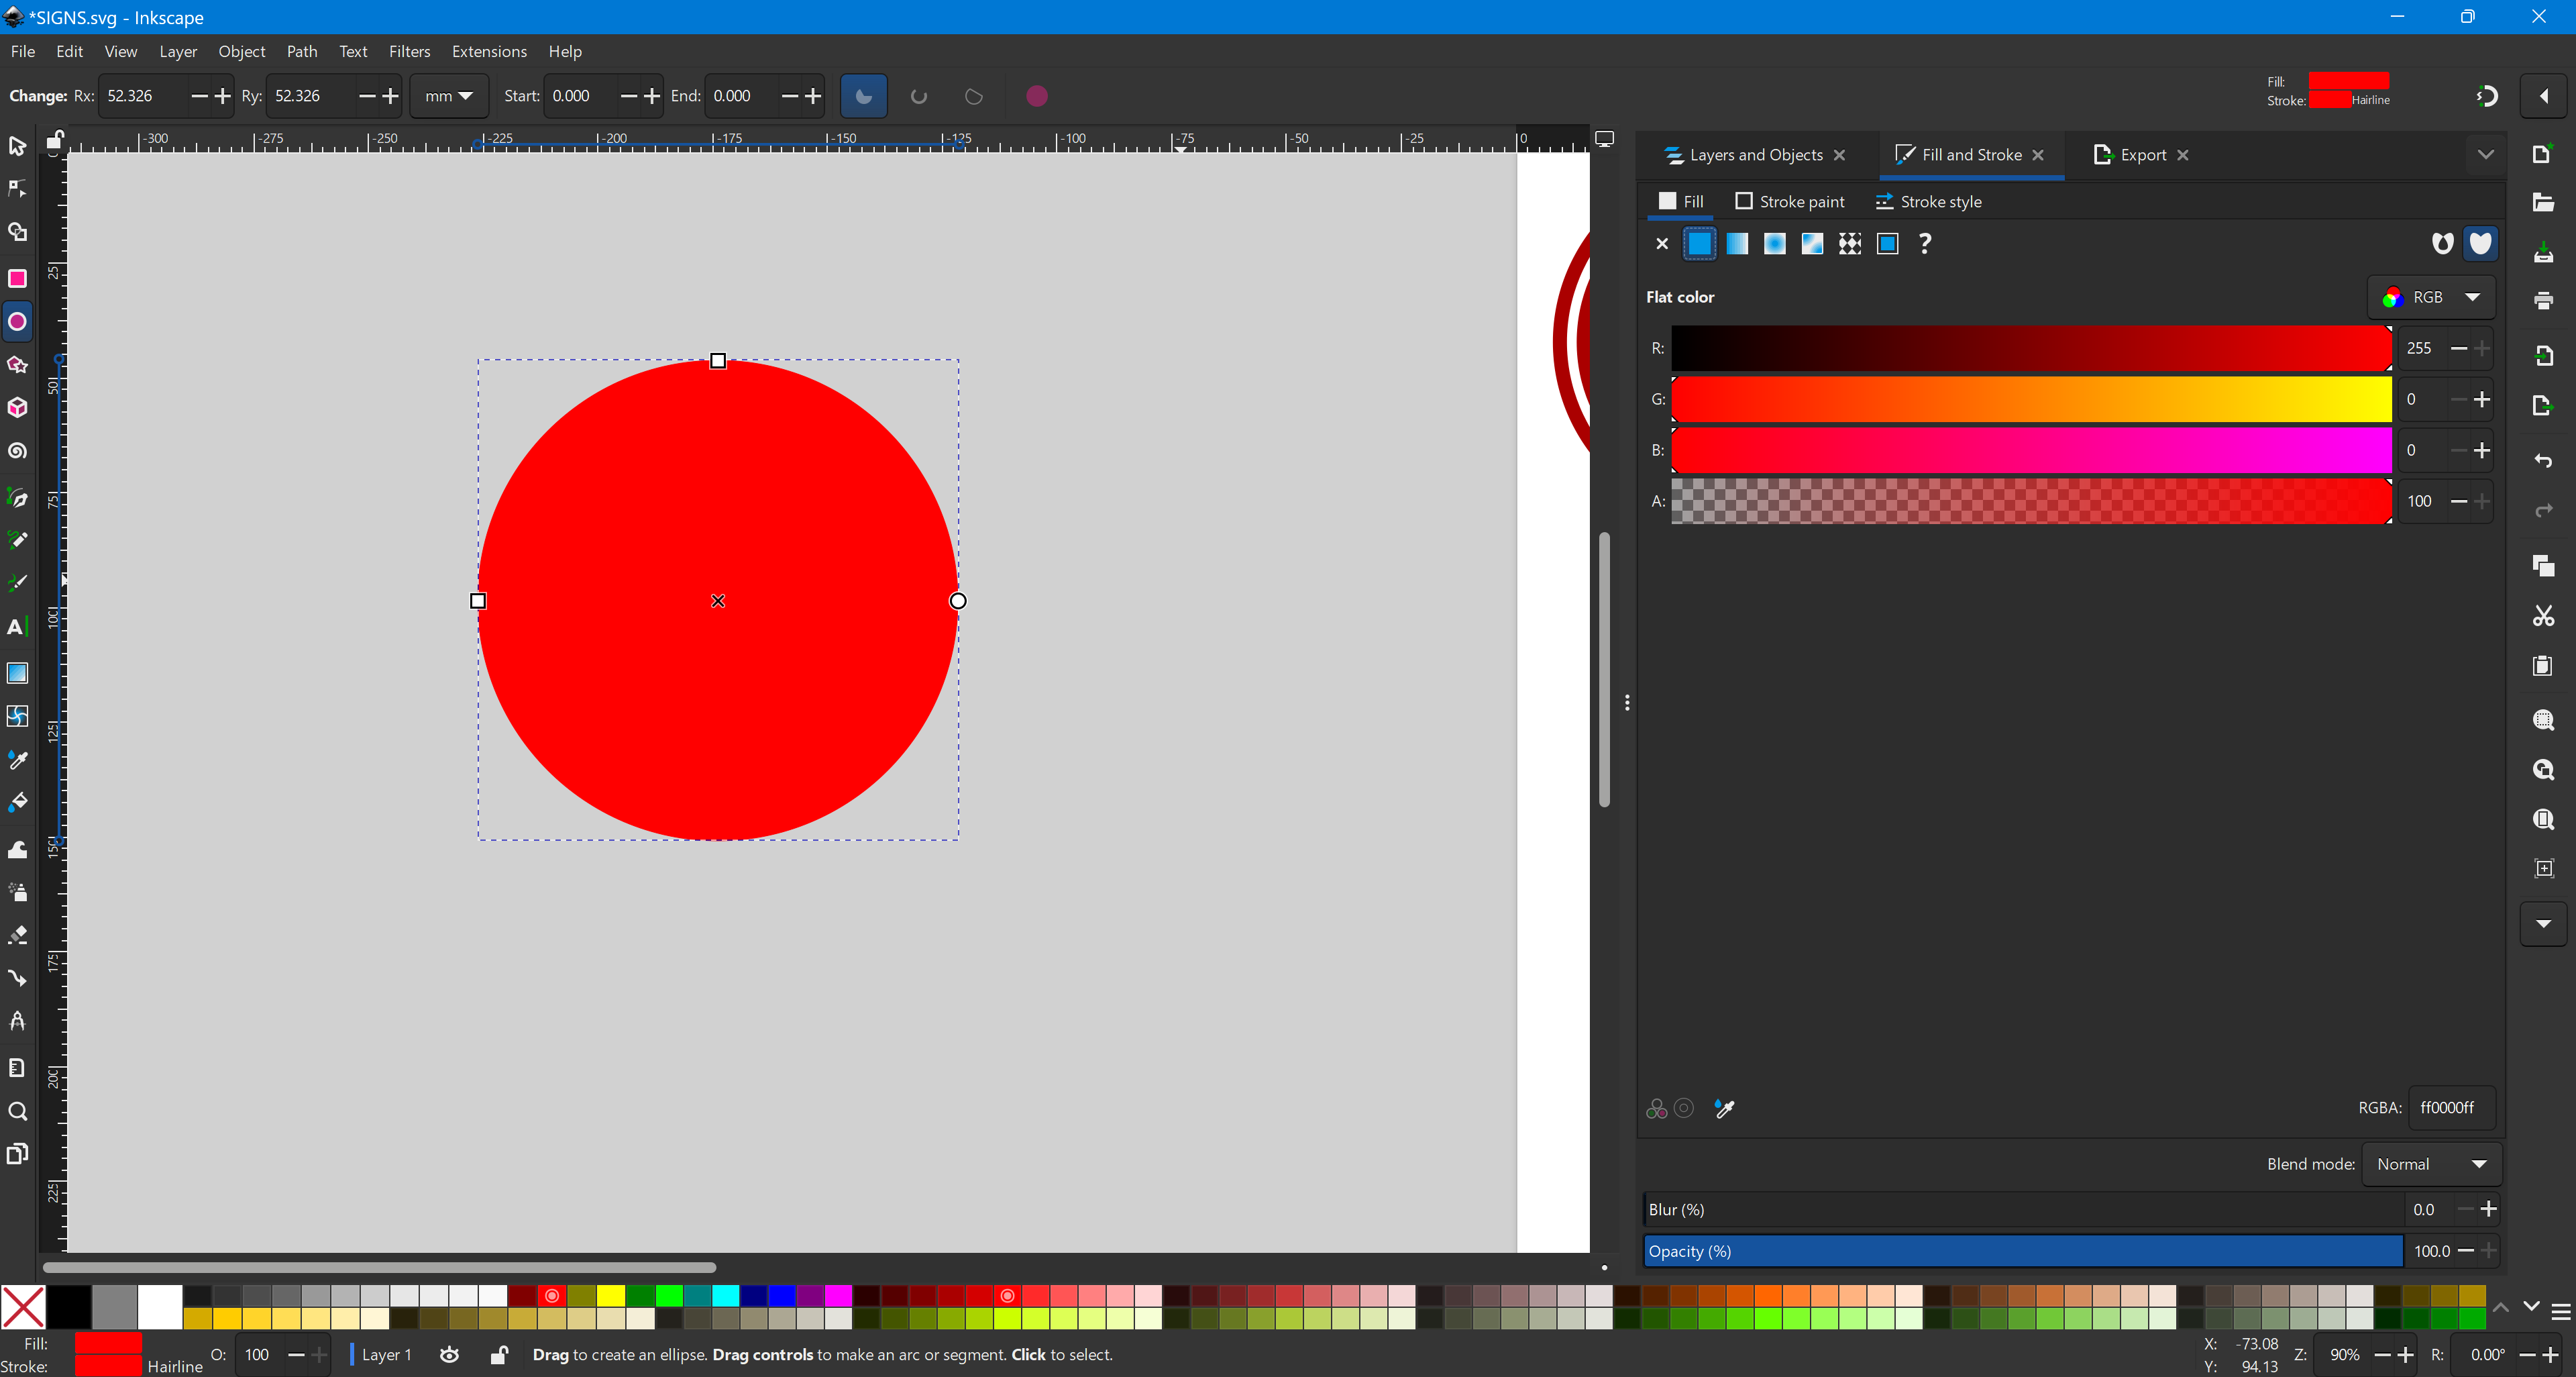
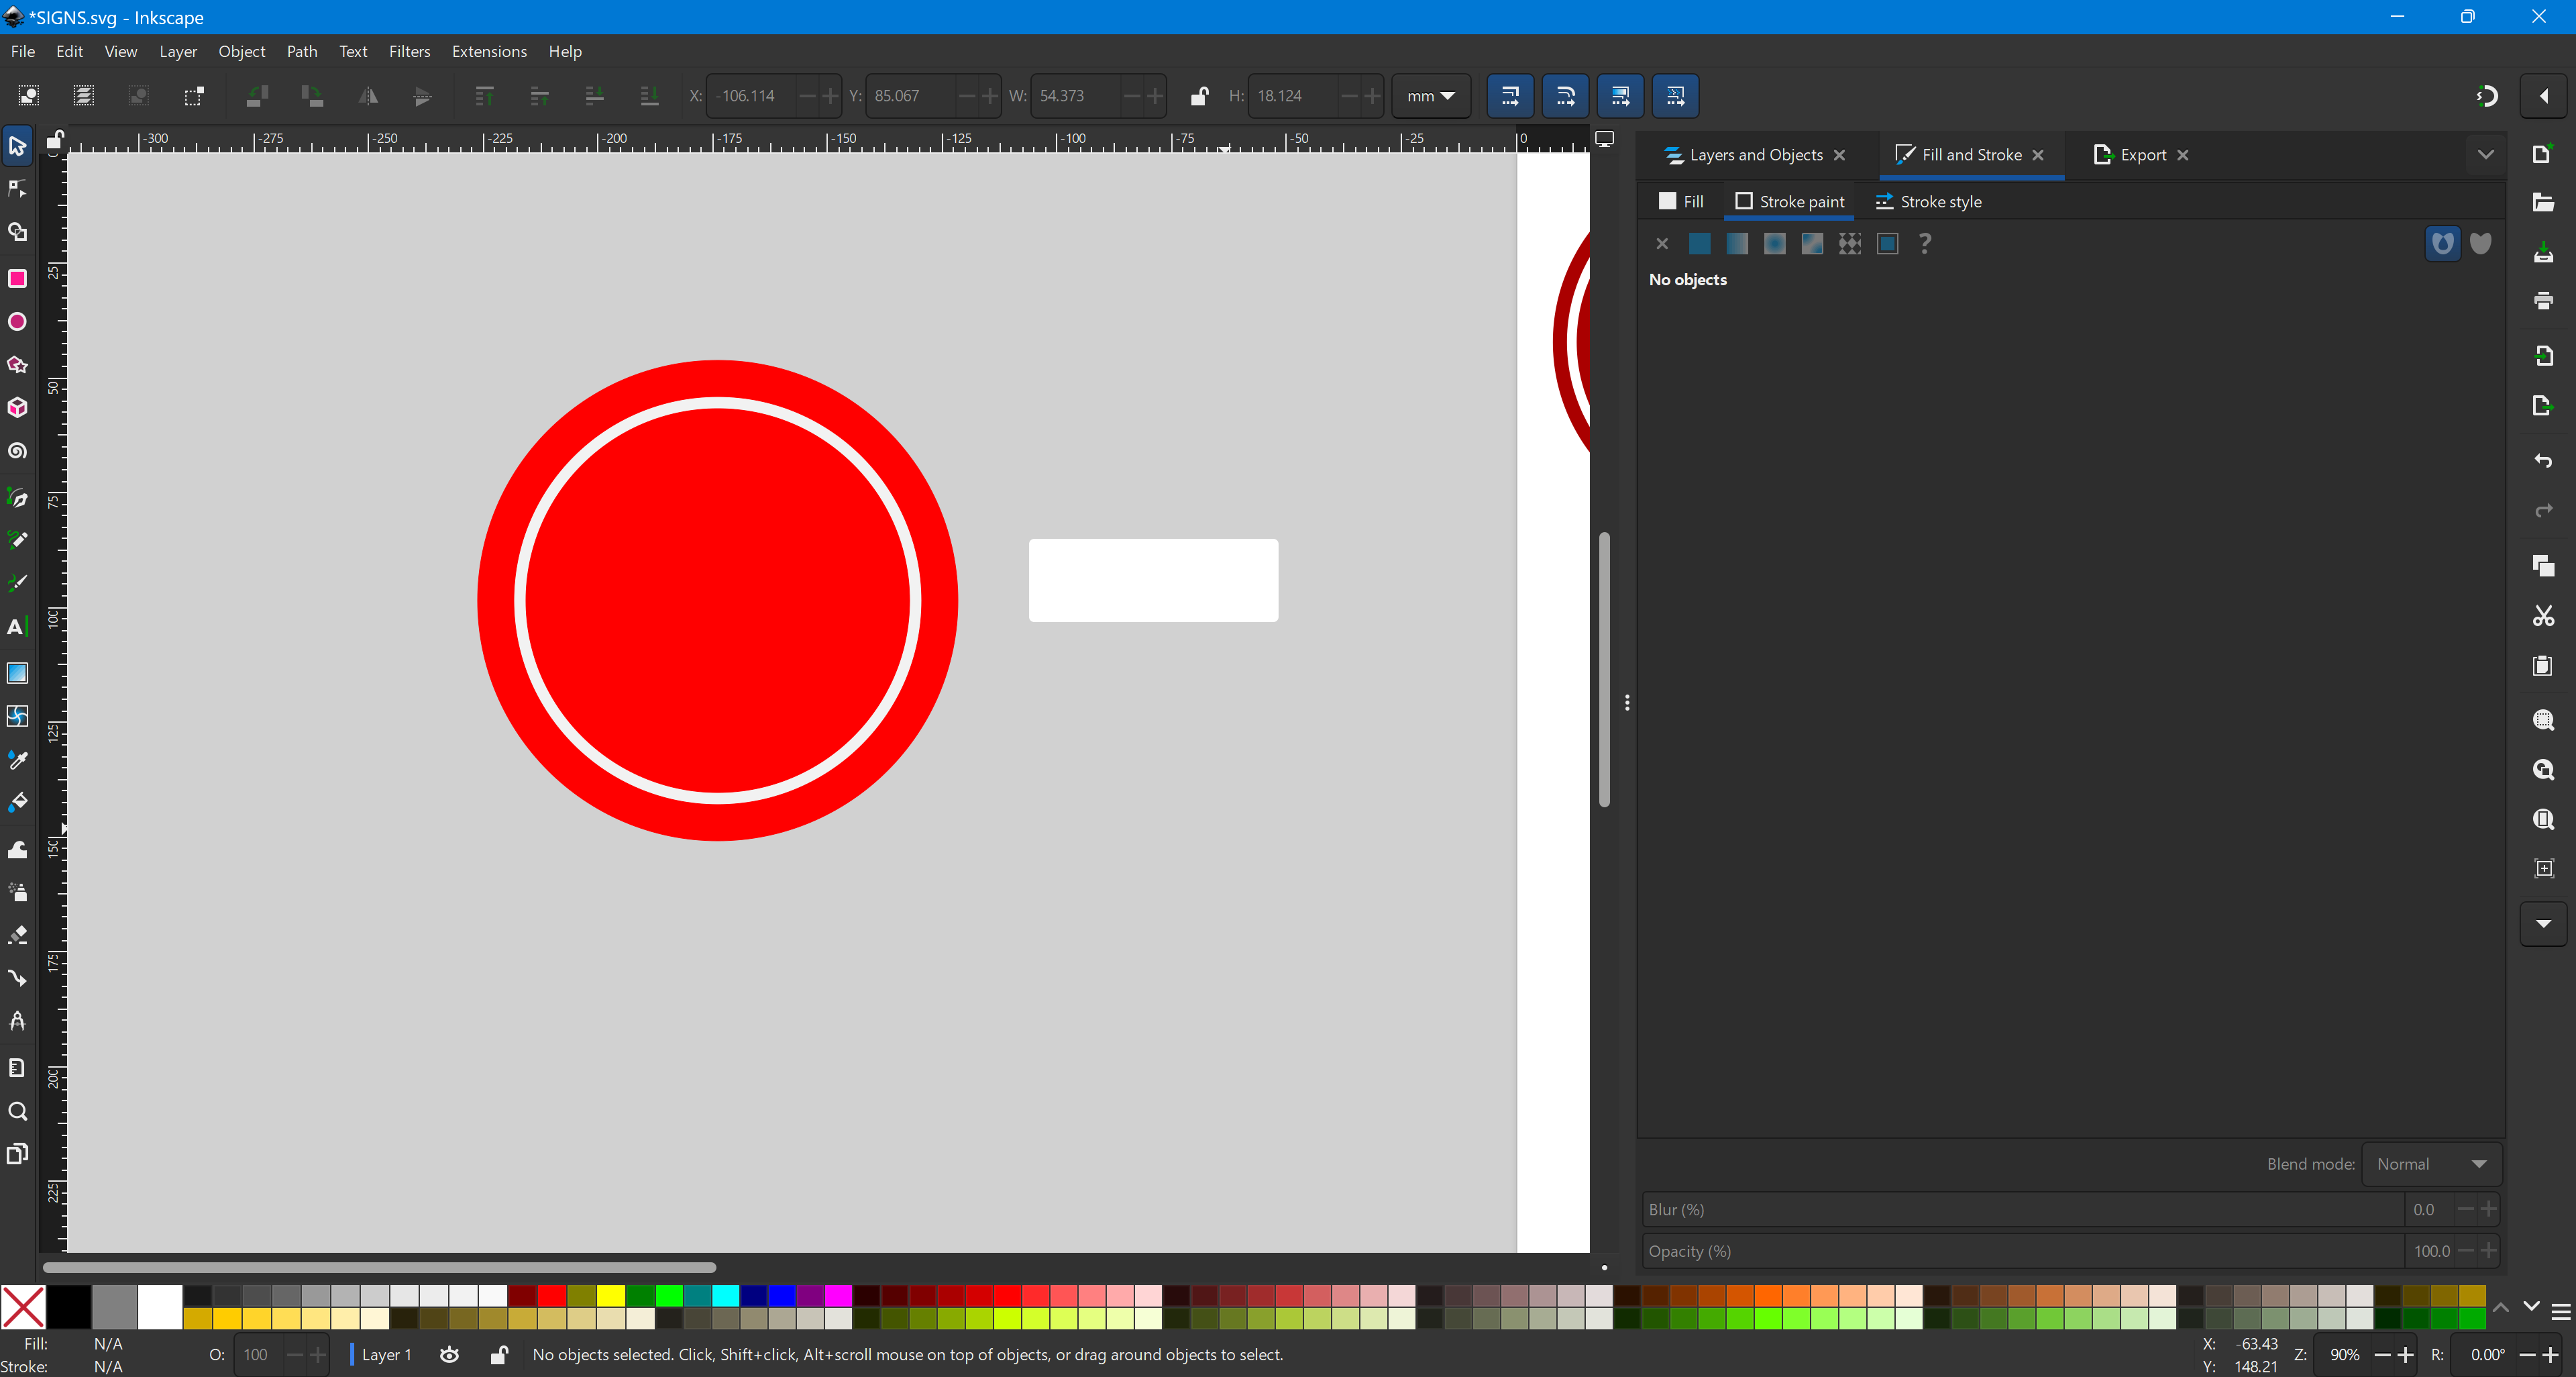
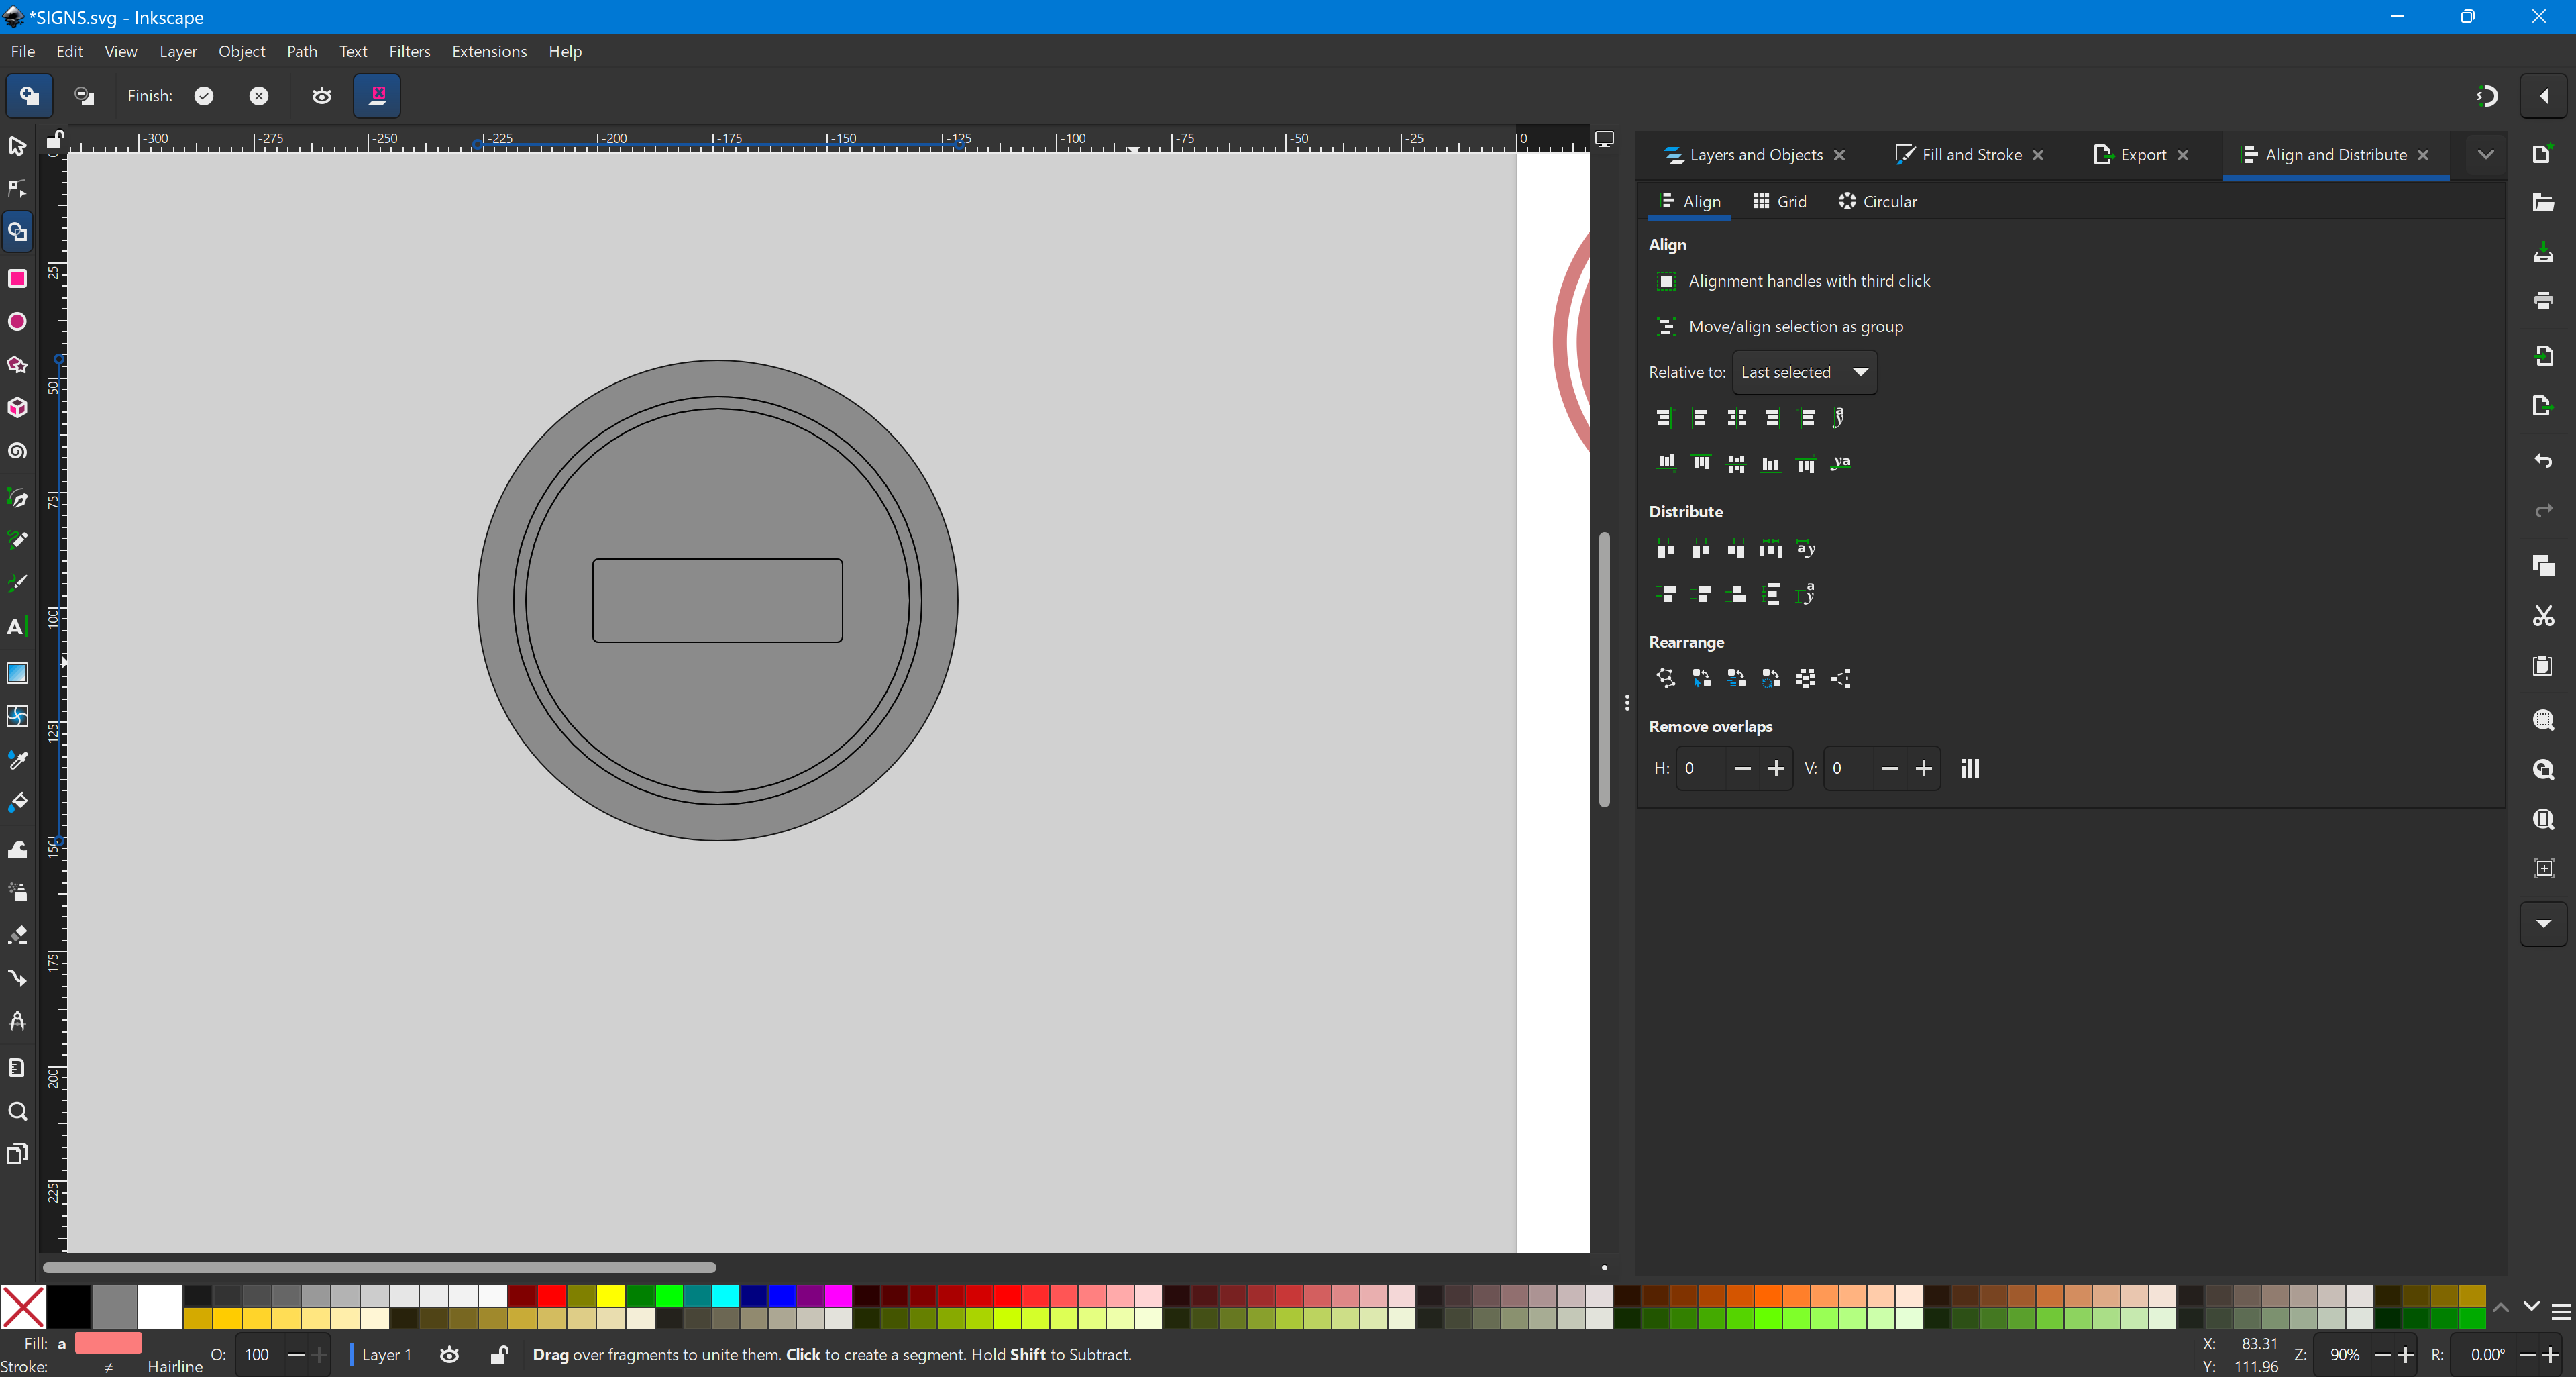
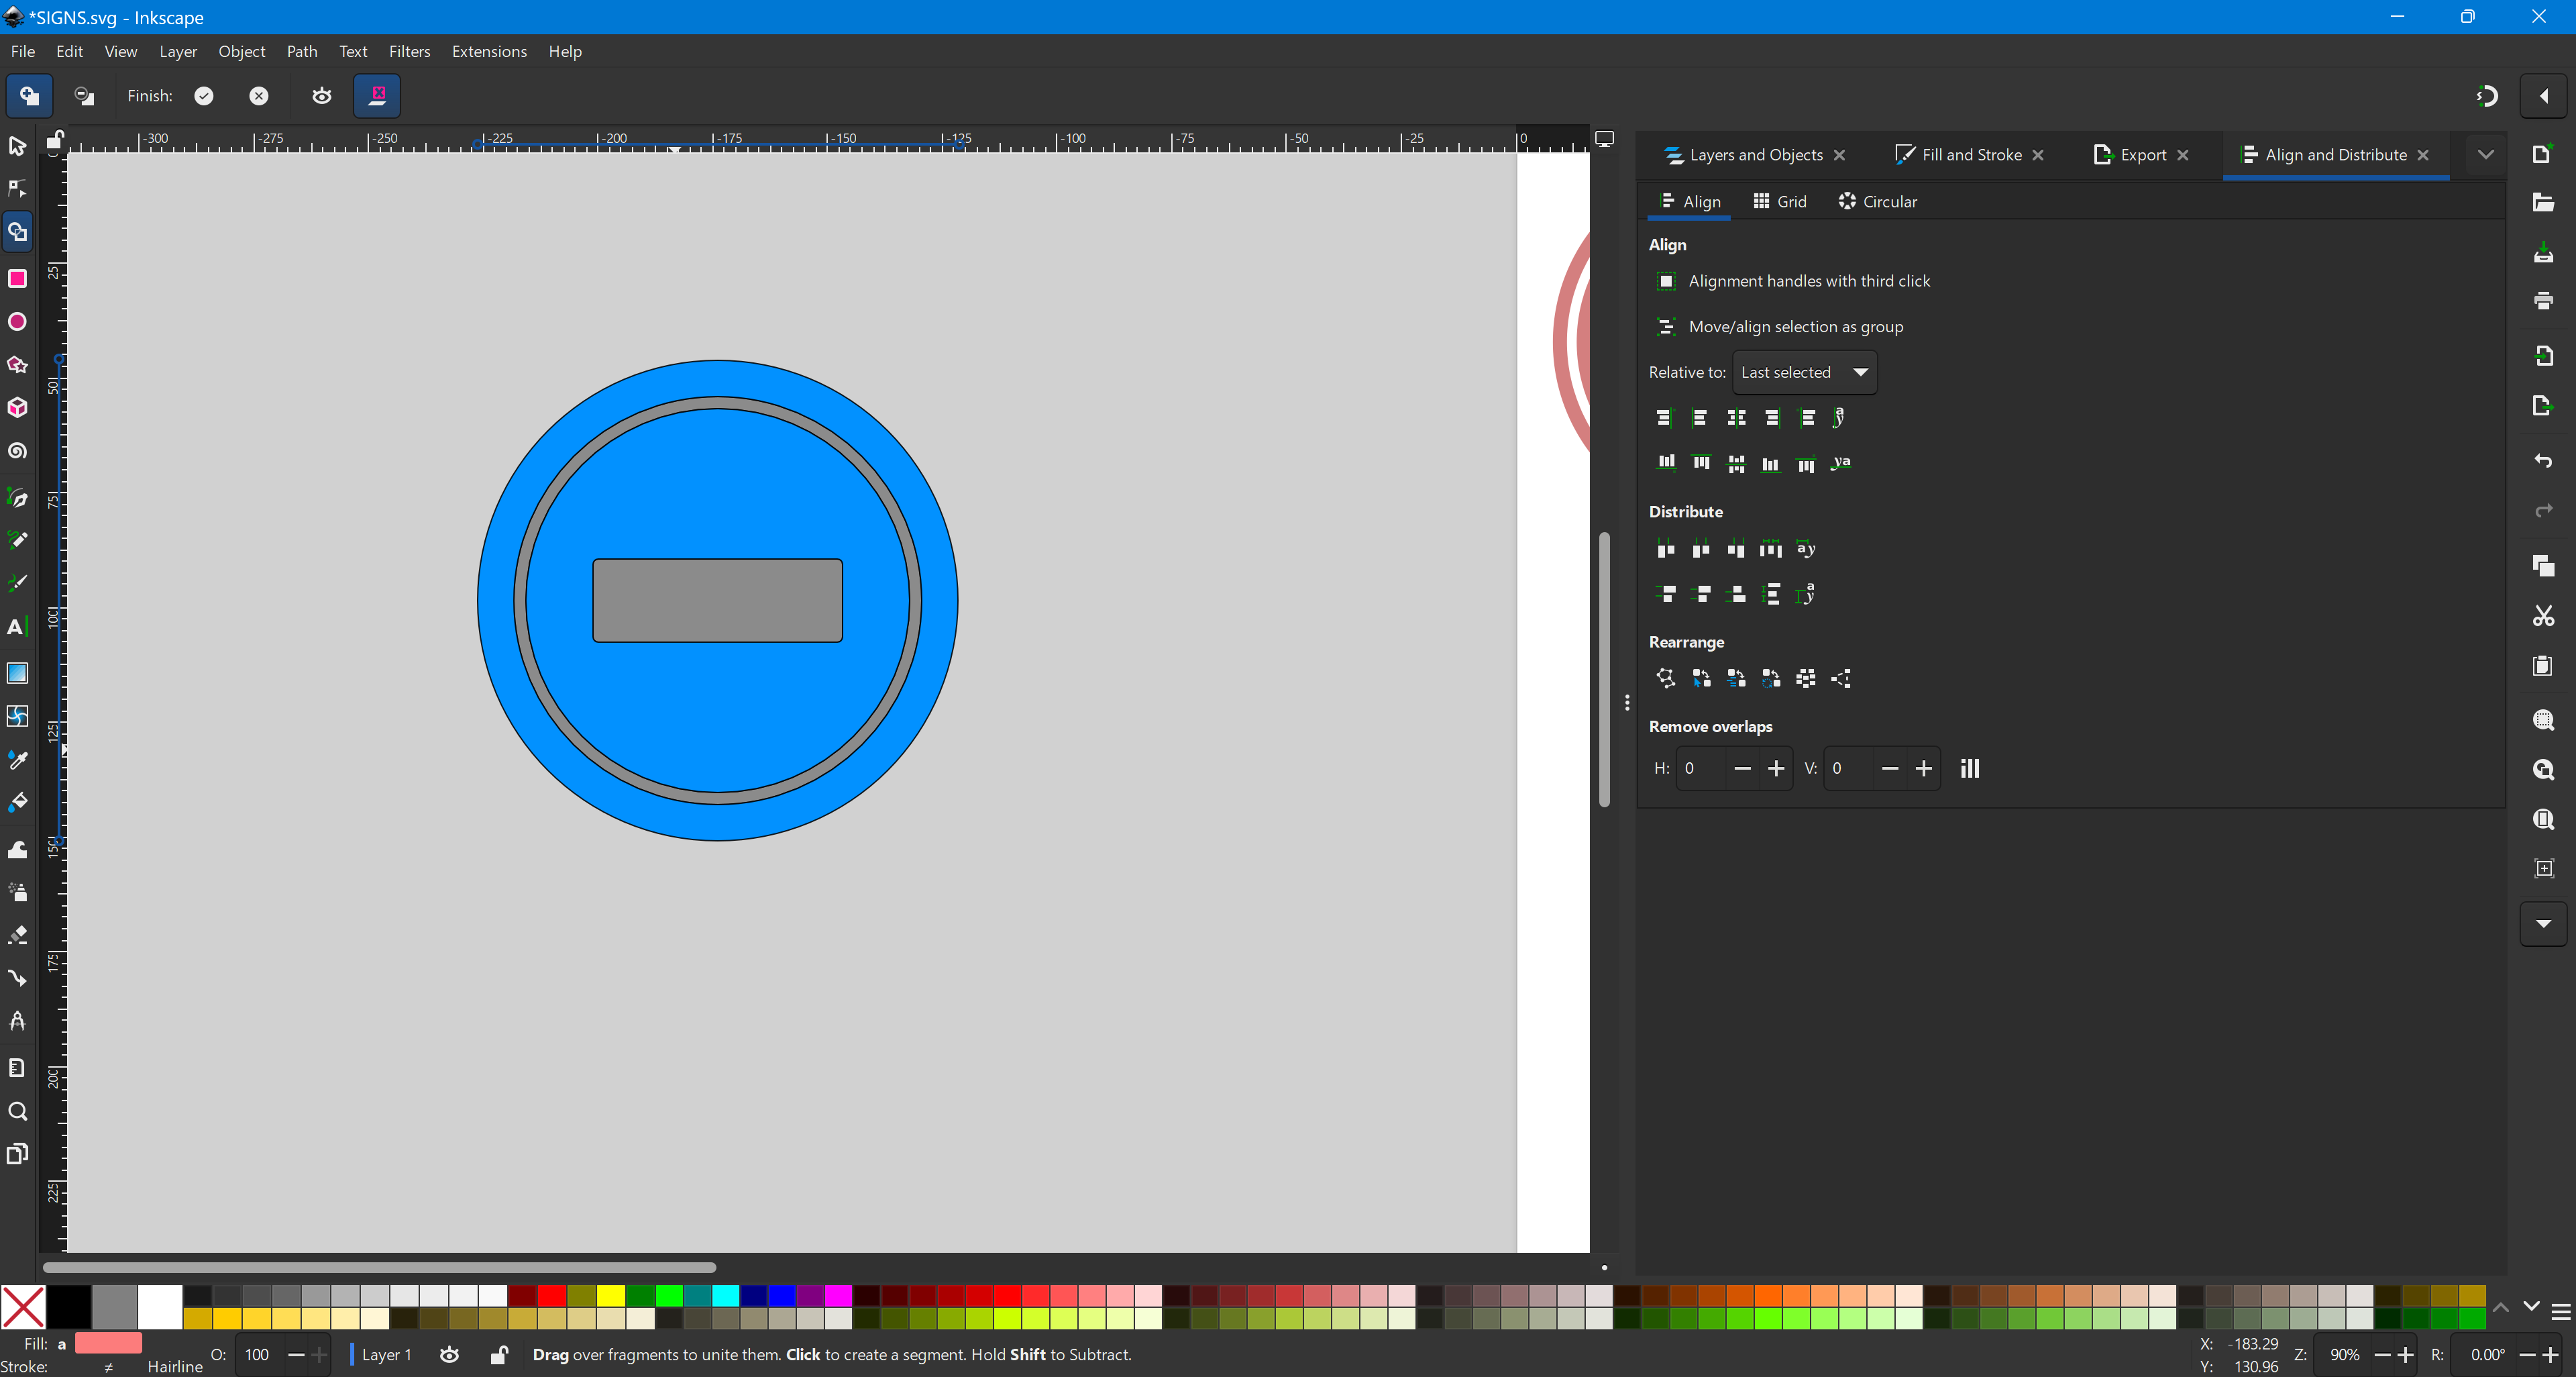
Change the color of each shape using the Fill & Stroke panel.
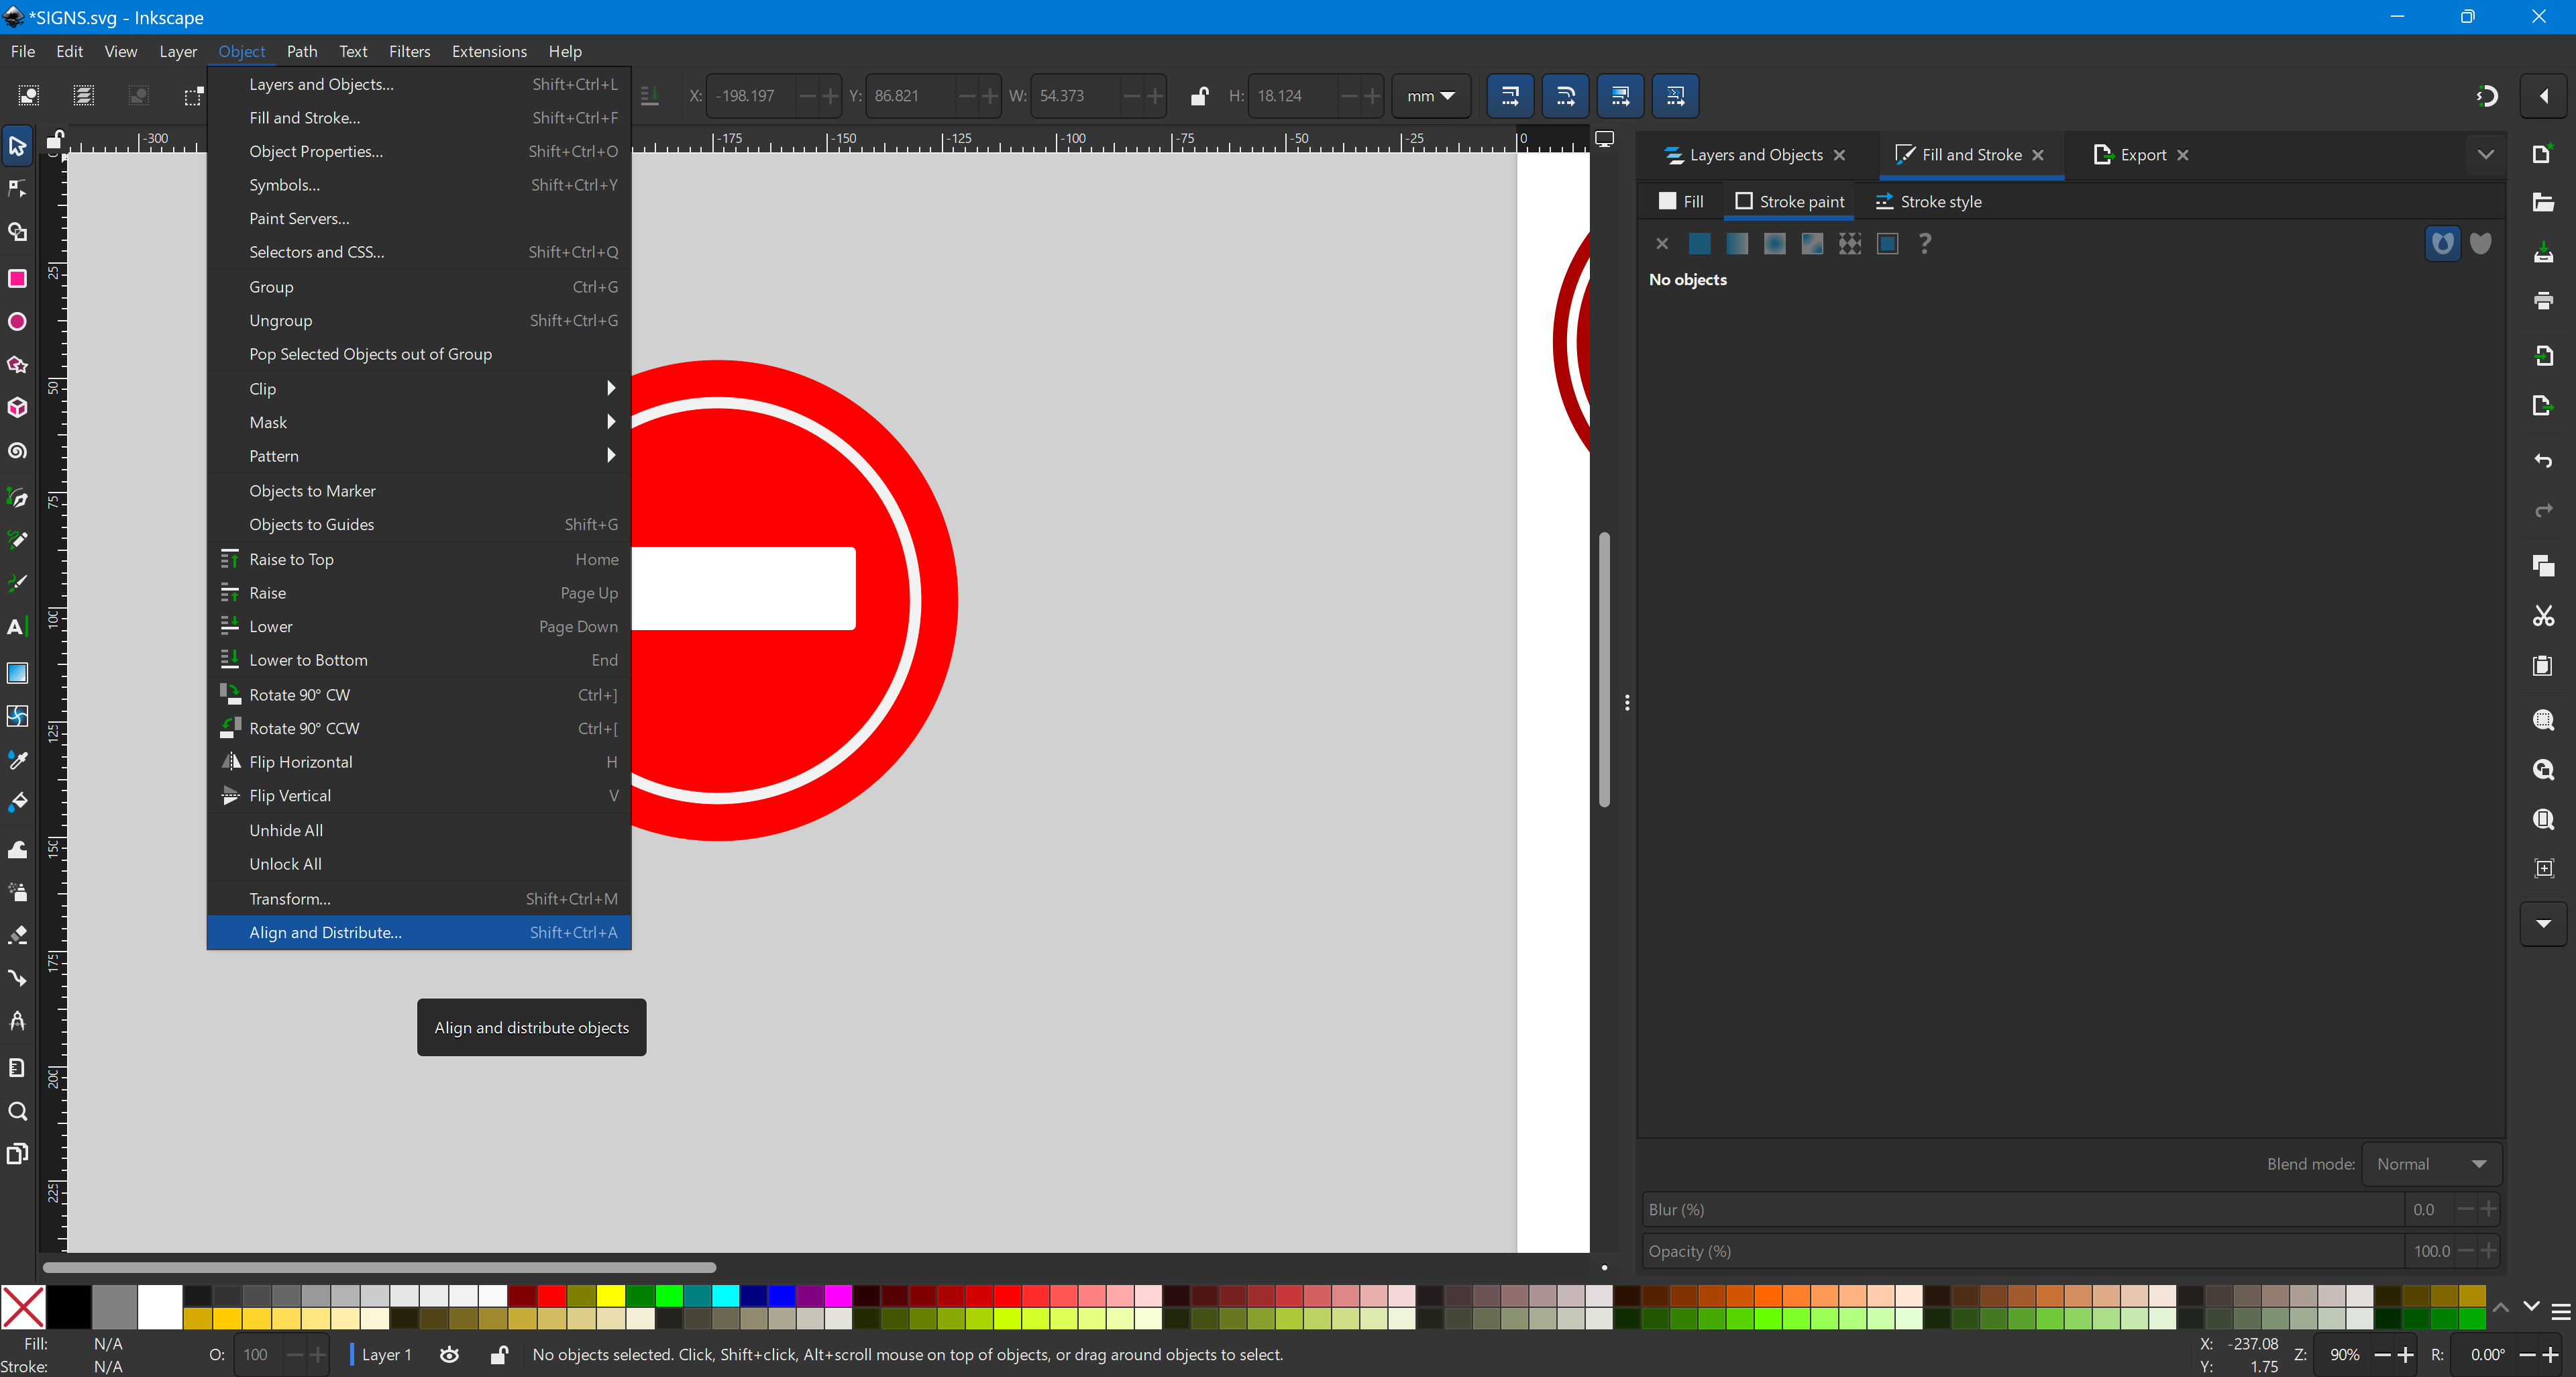
Add a rectangle (for text or symbols) and place it in the center using the Align Tool.
Use the Shape Builder Tool to merge all elements into a single shape.
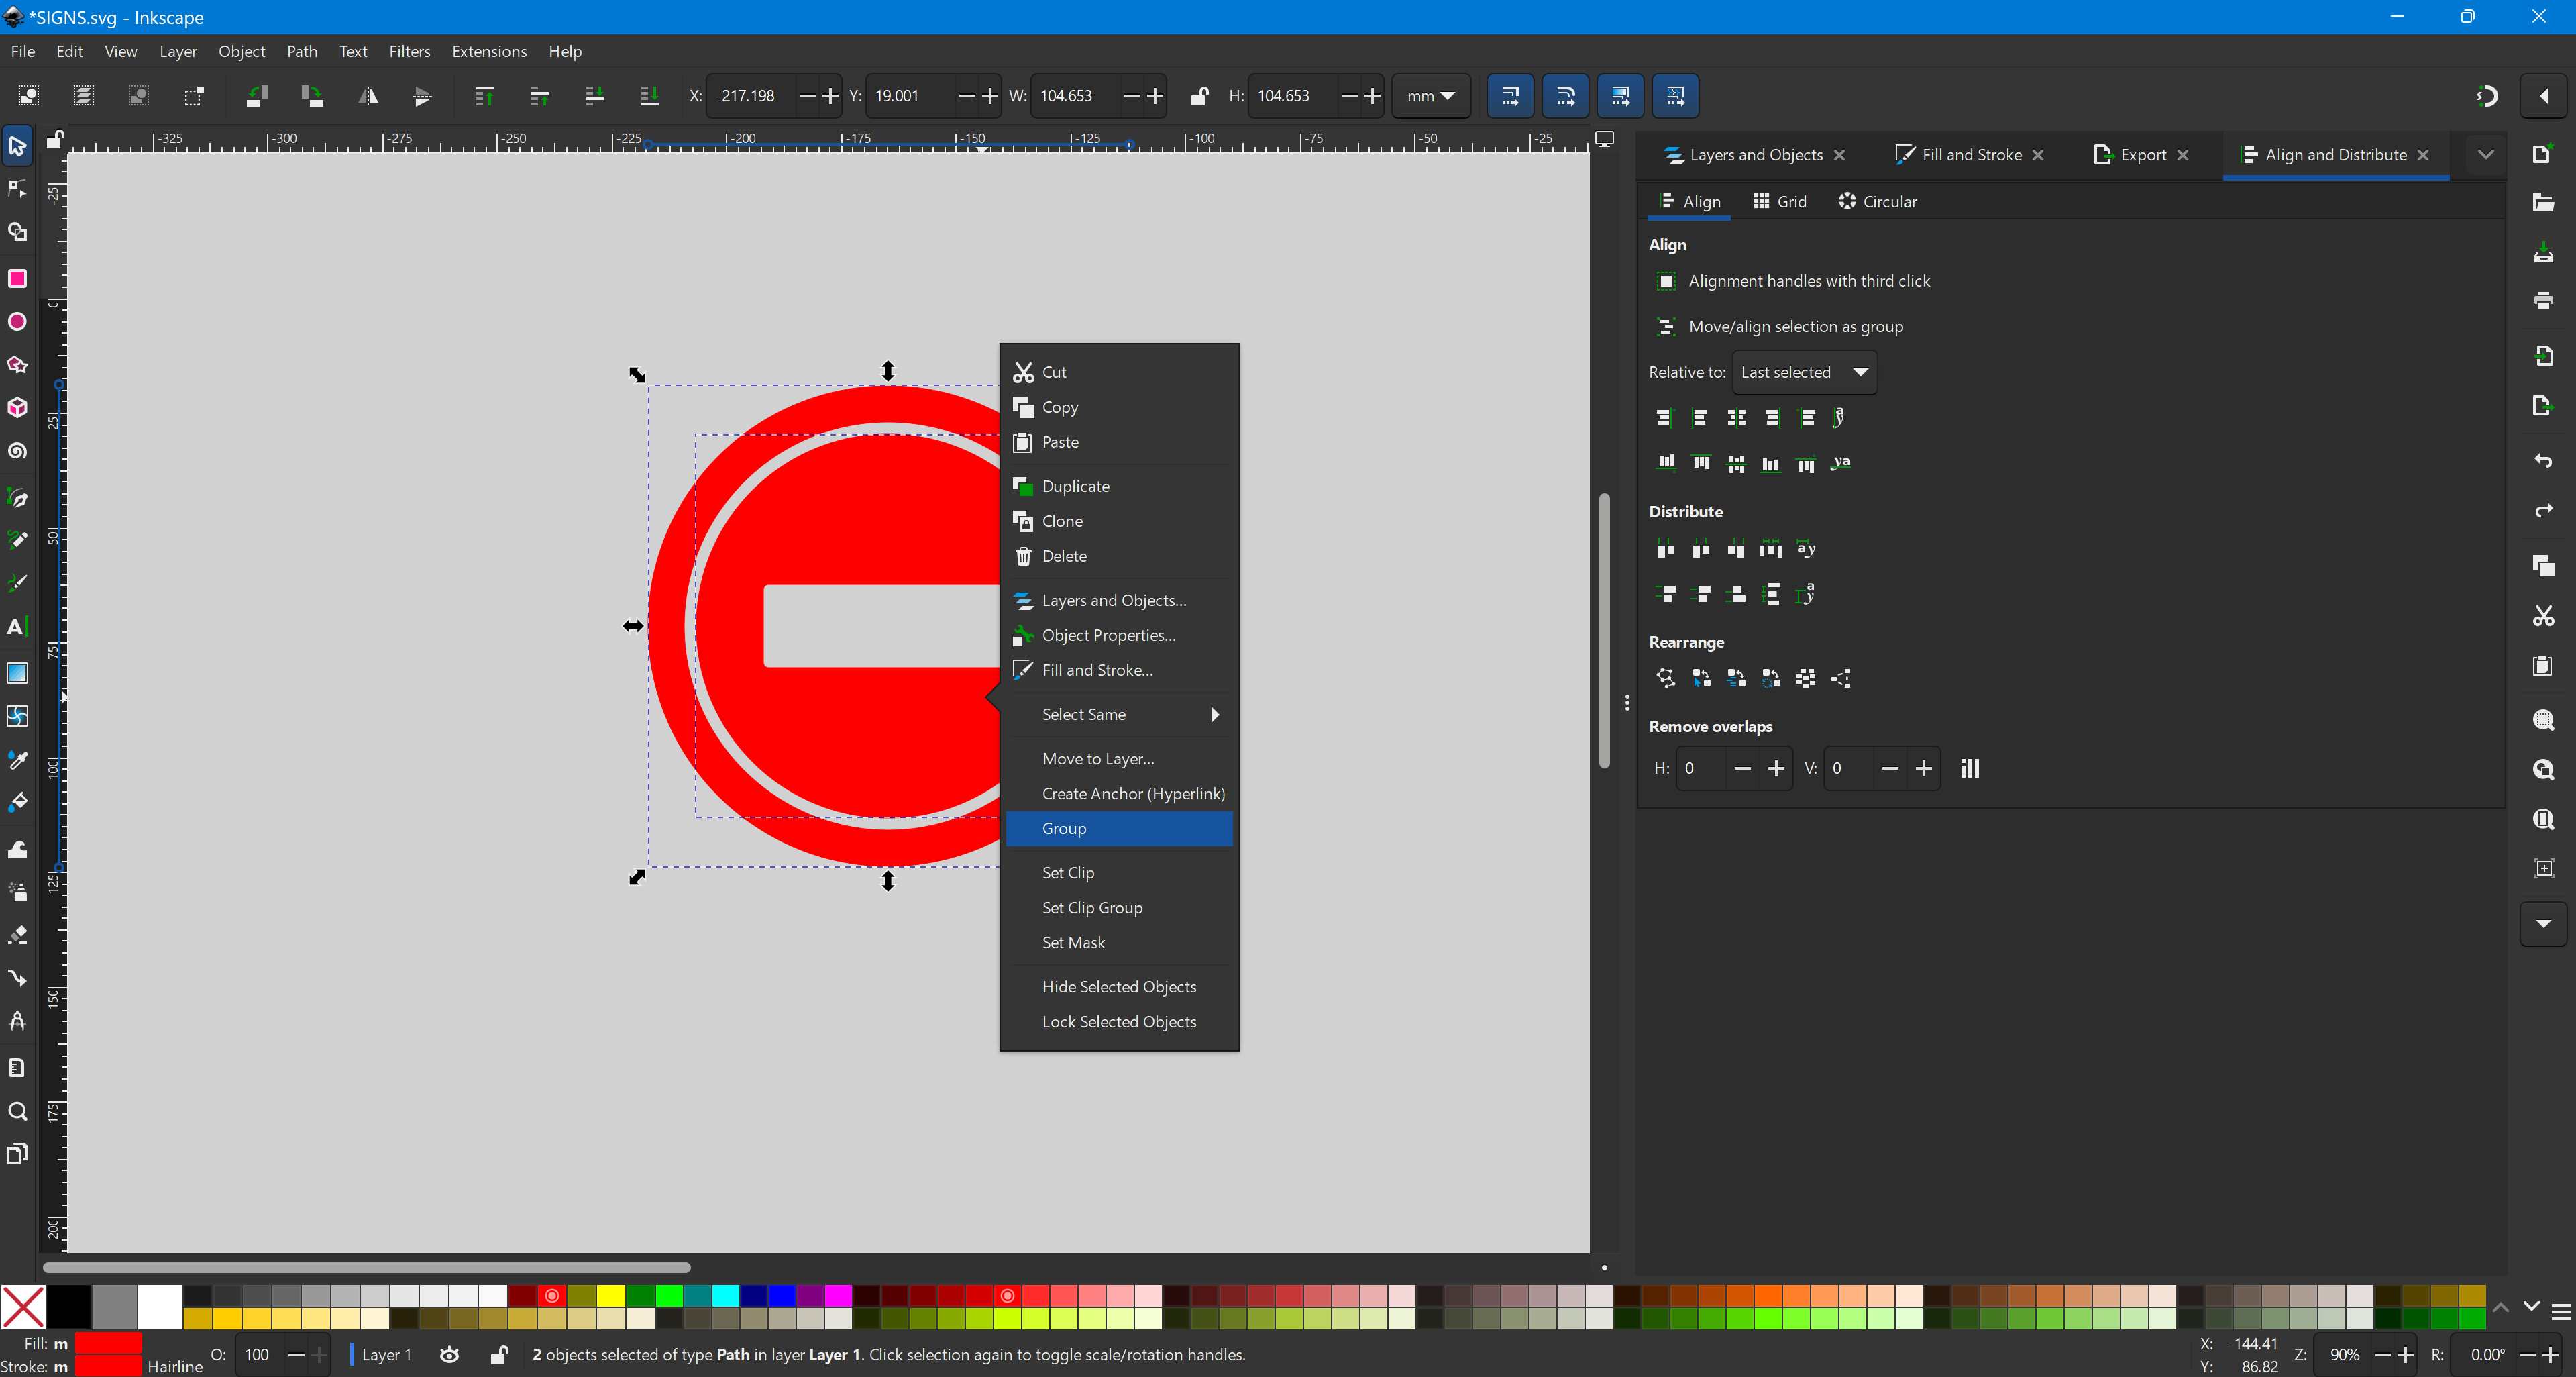
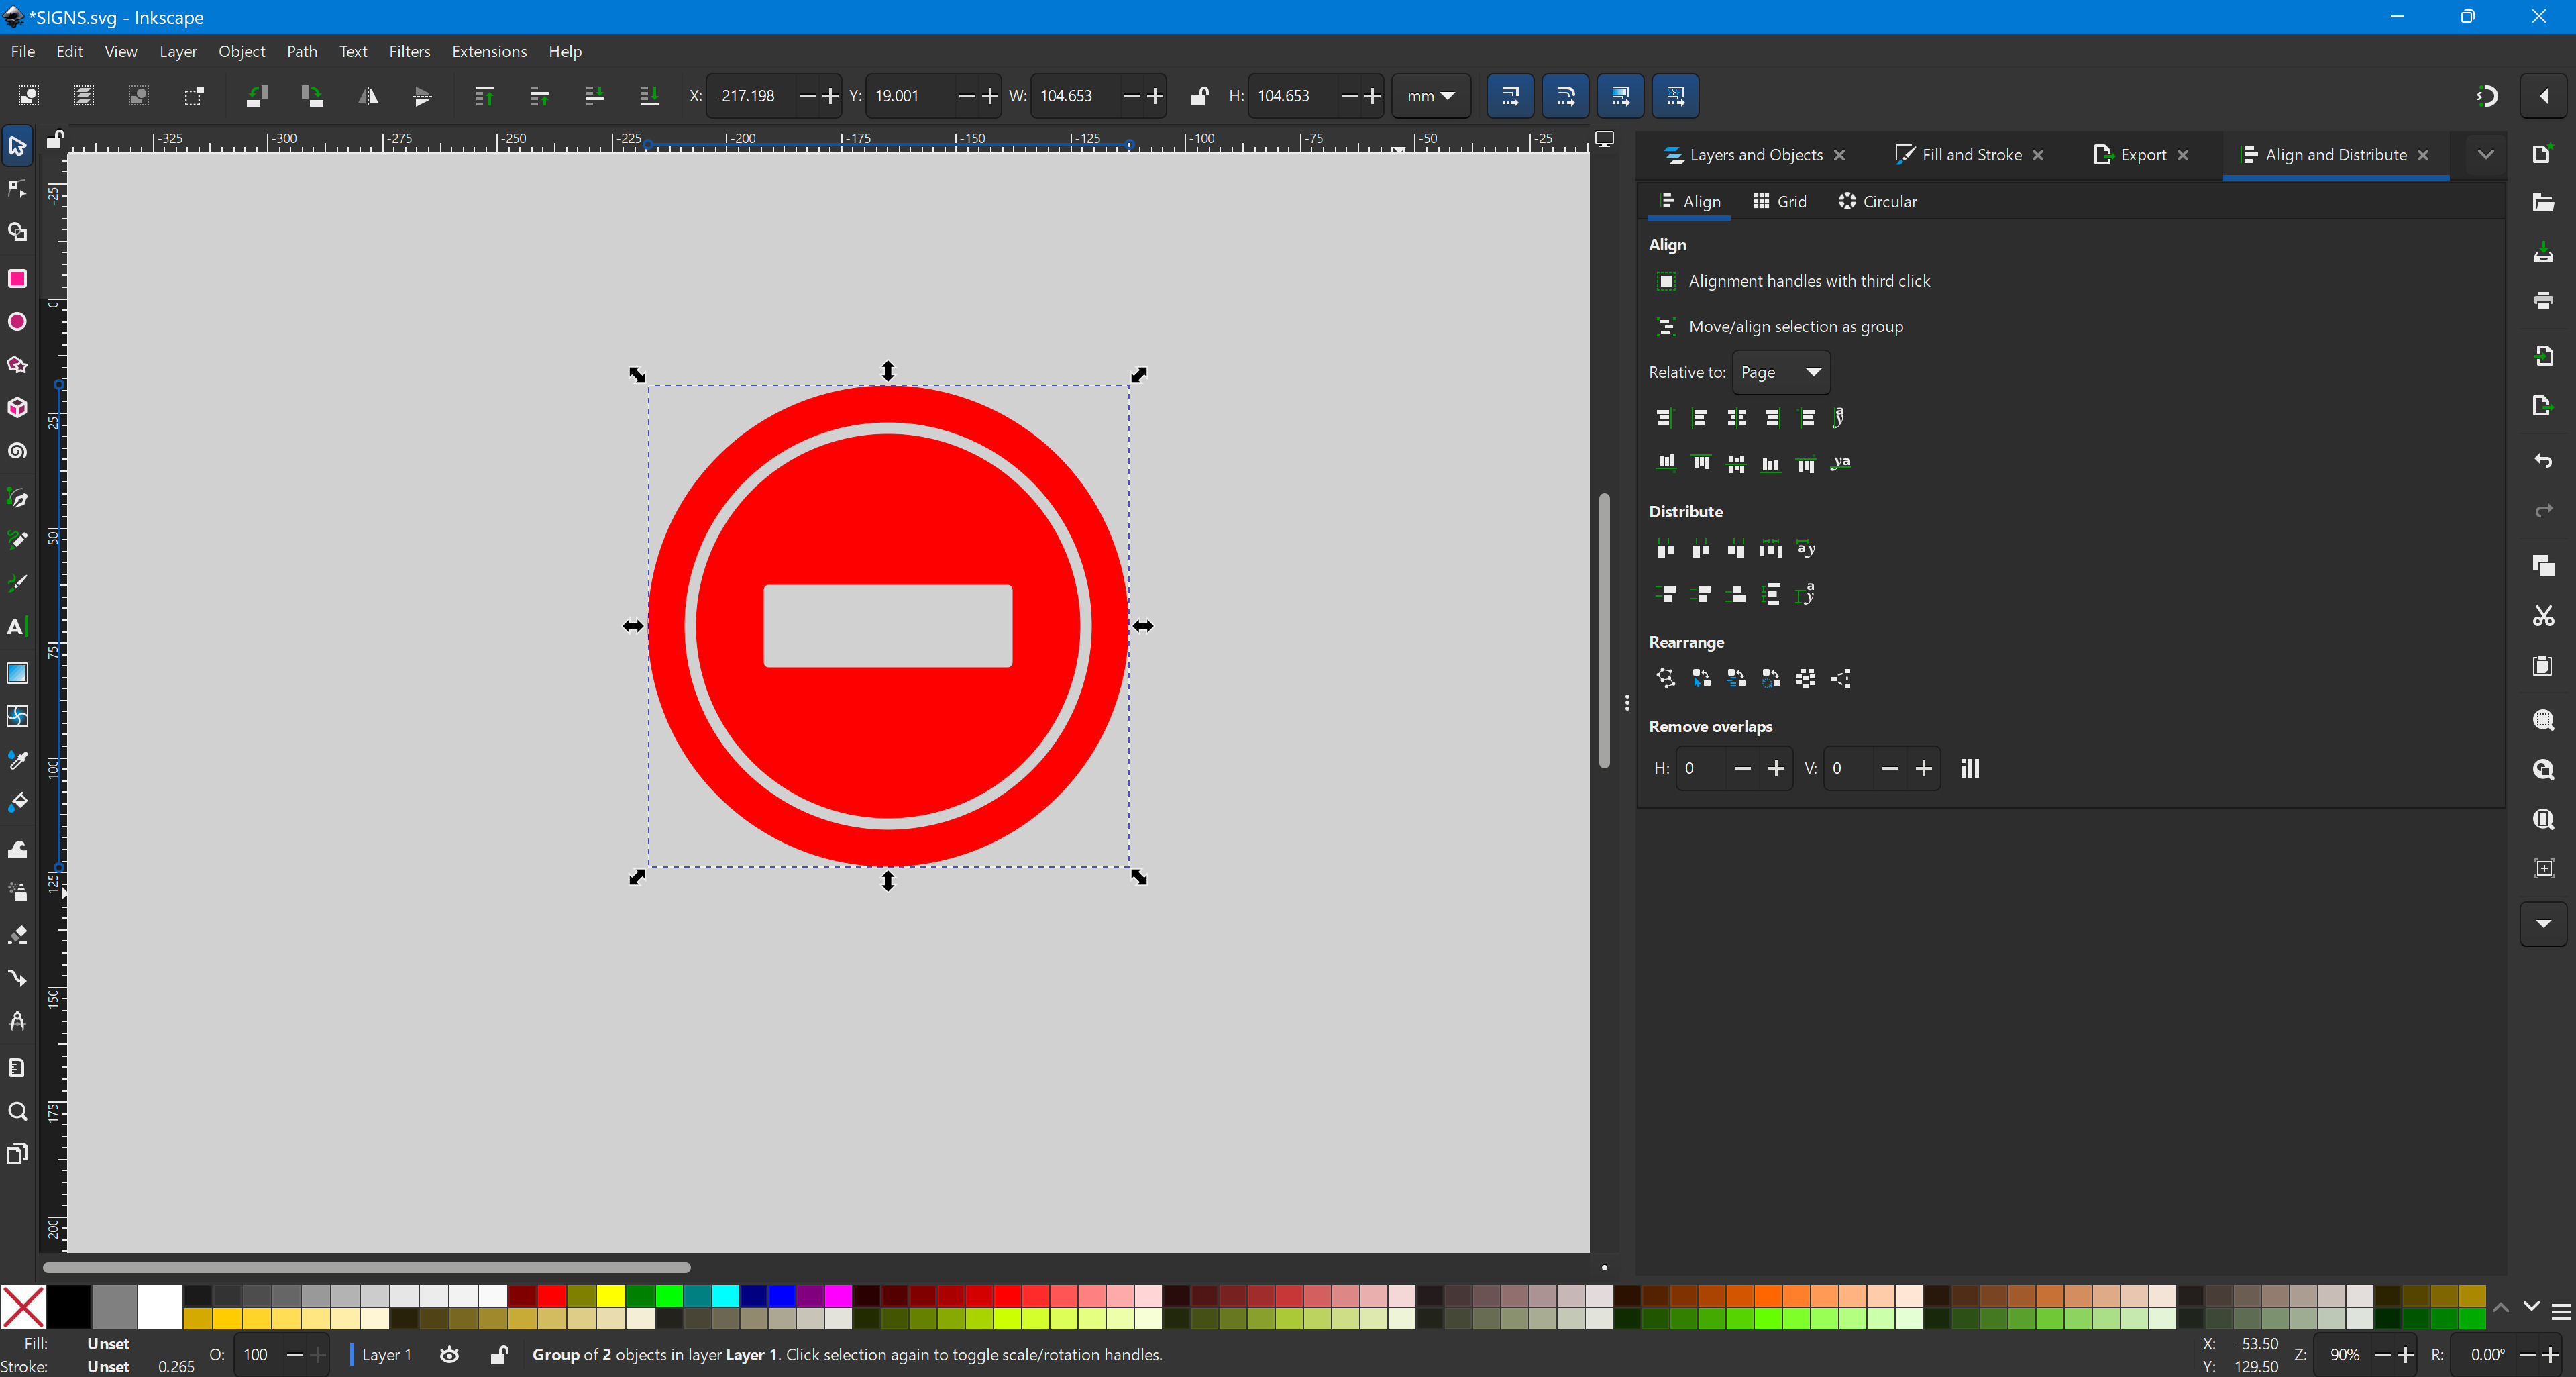
Group the design (right-click → Group) to keep everything together.
Repeat the process for additional signs, including my final project logo.
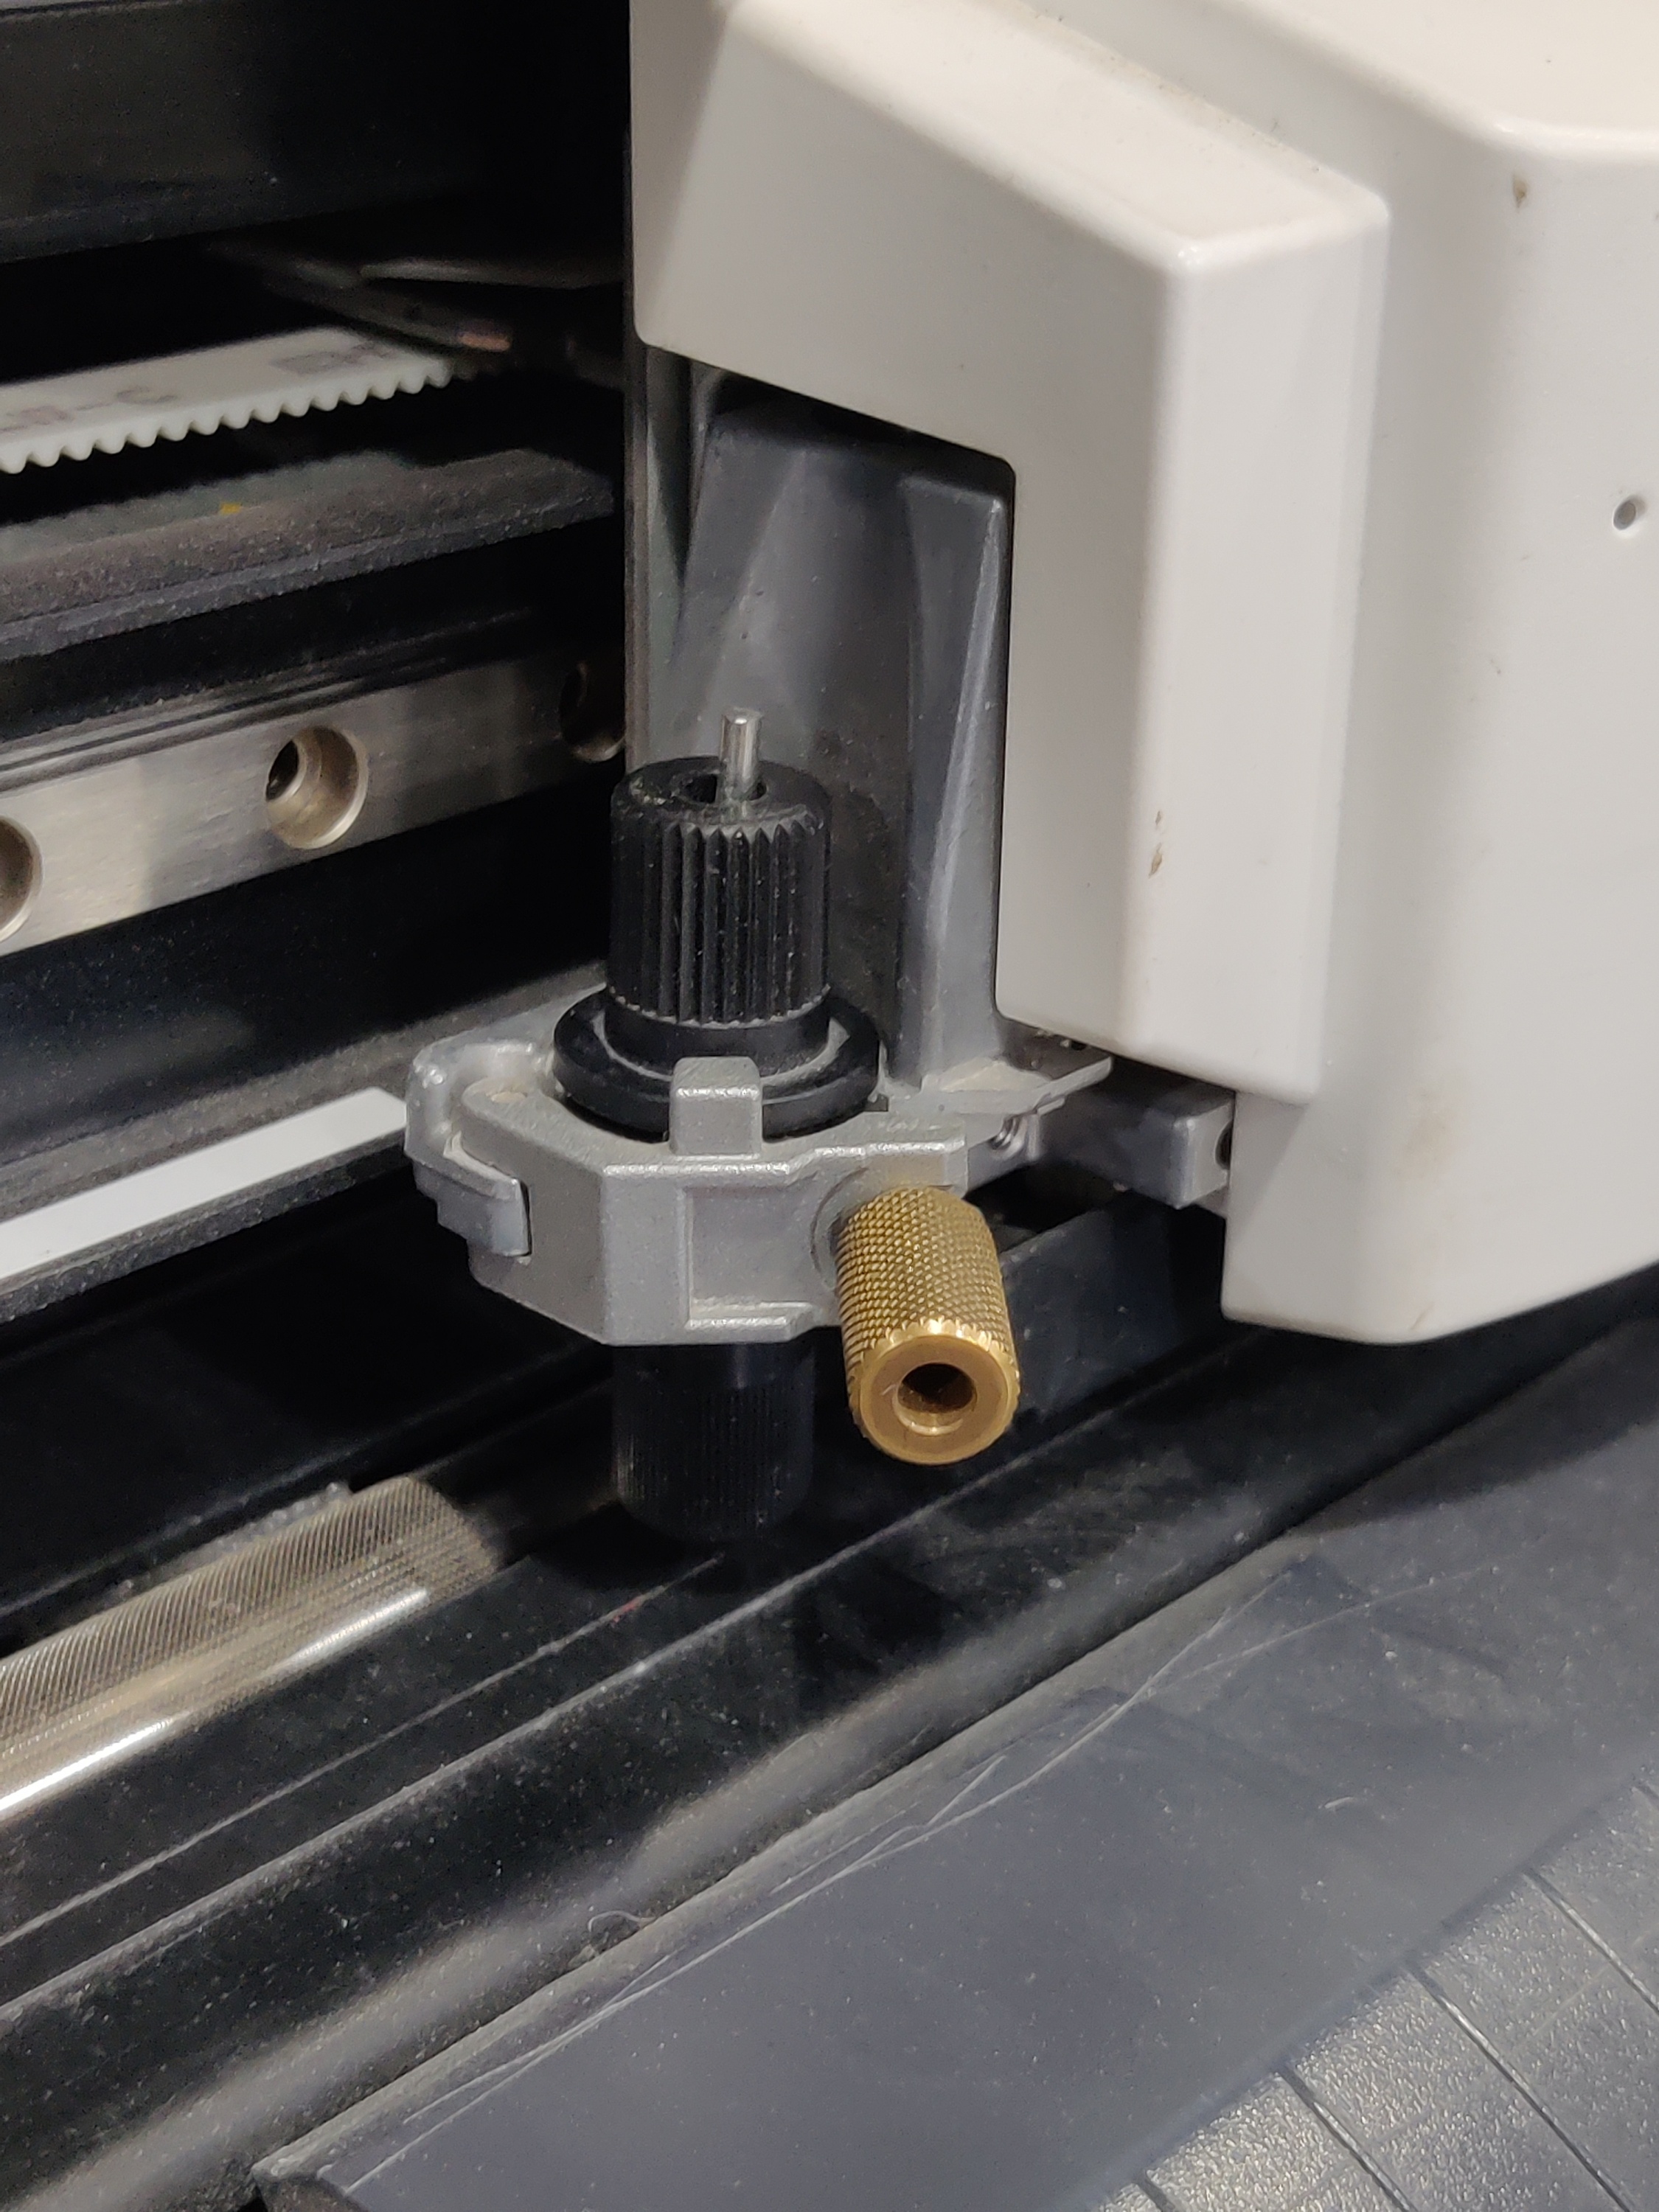
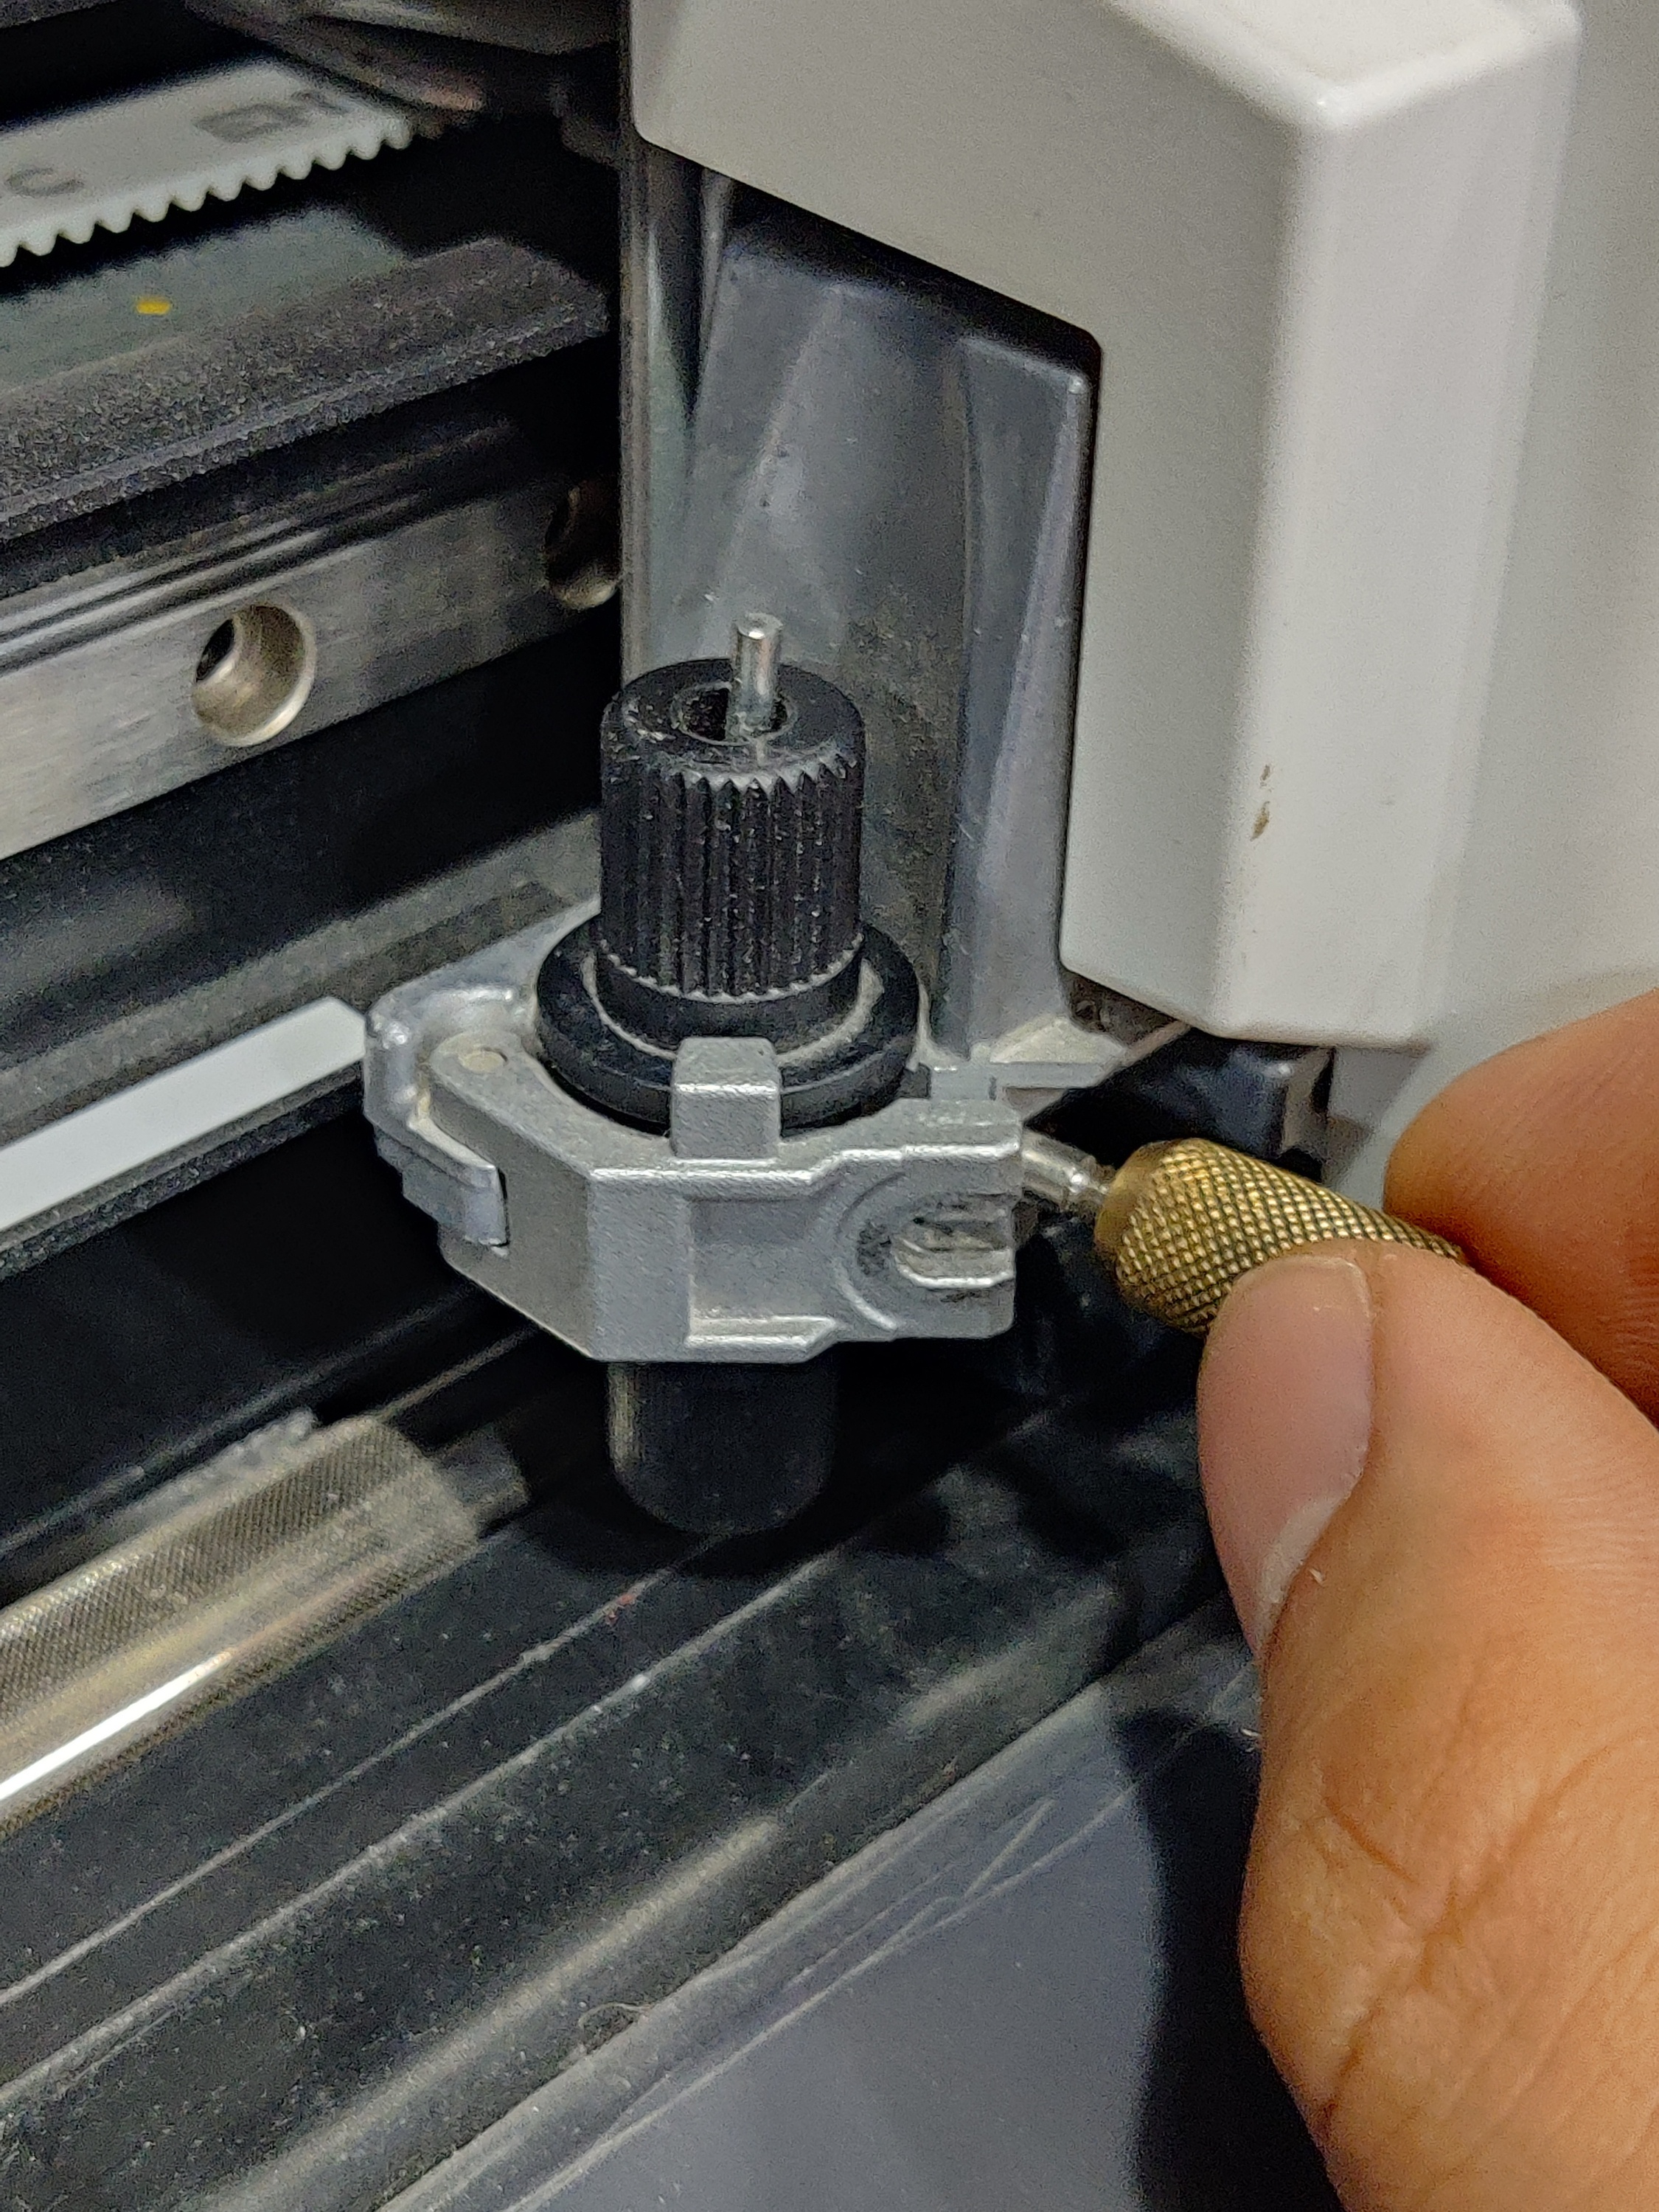
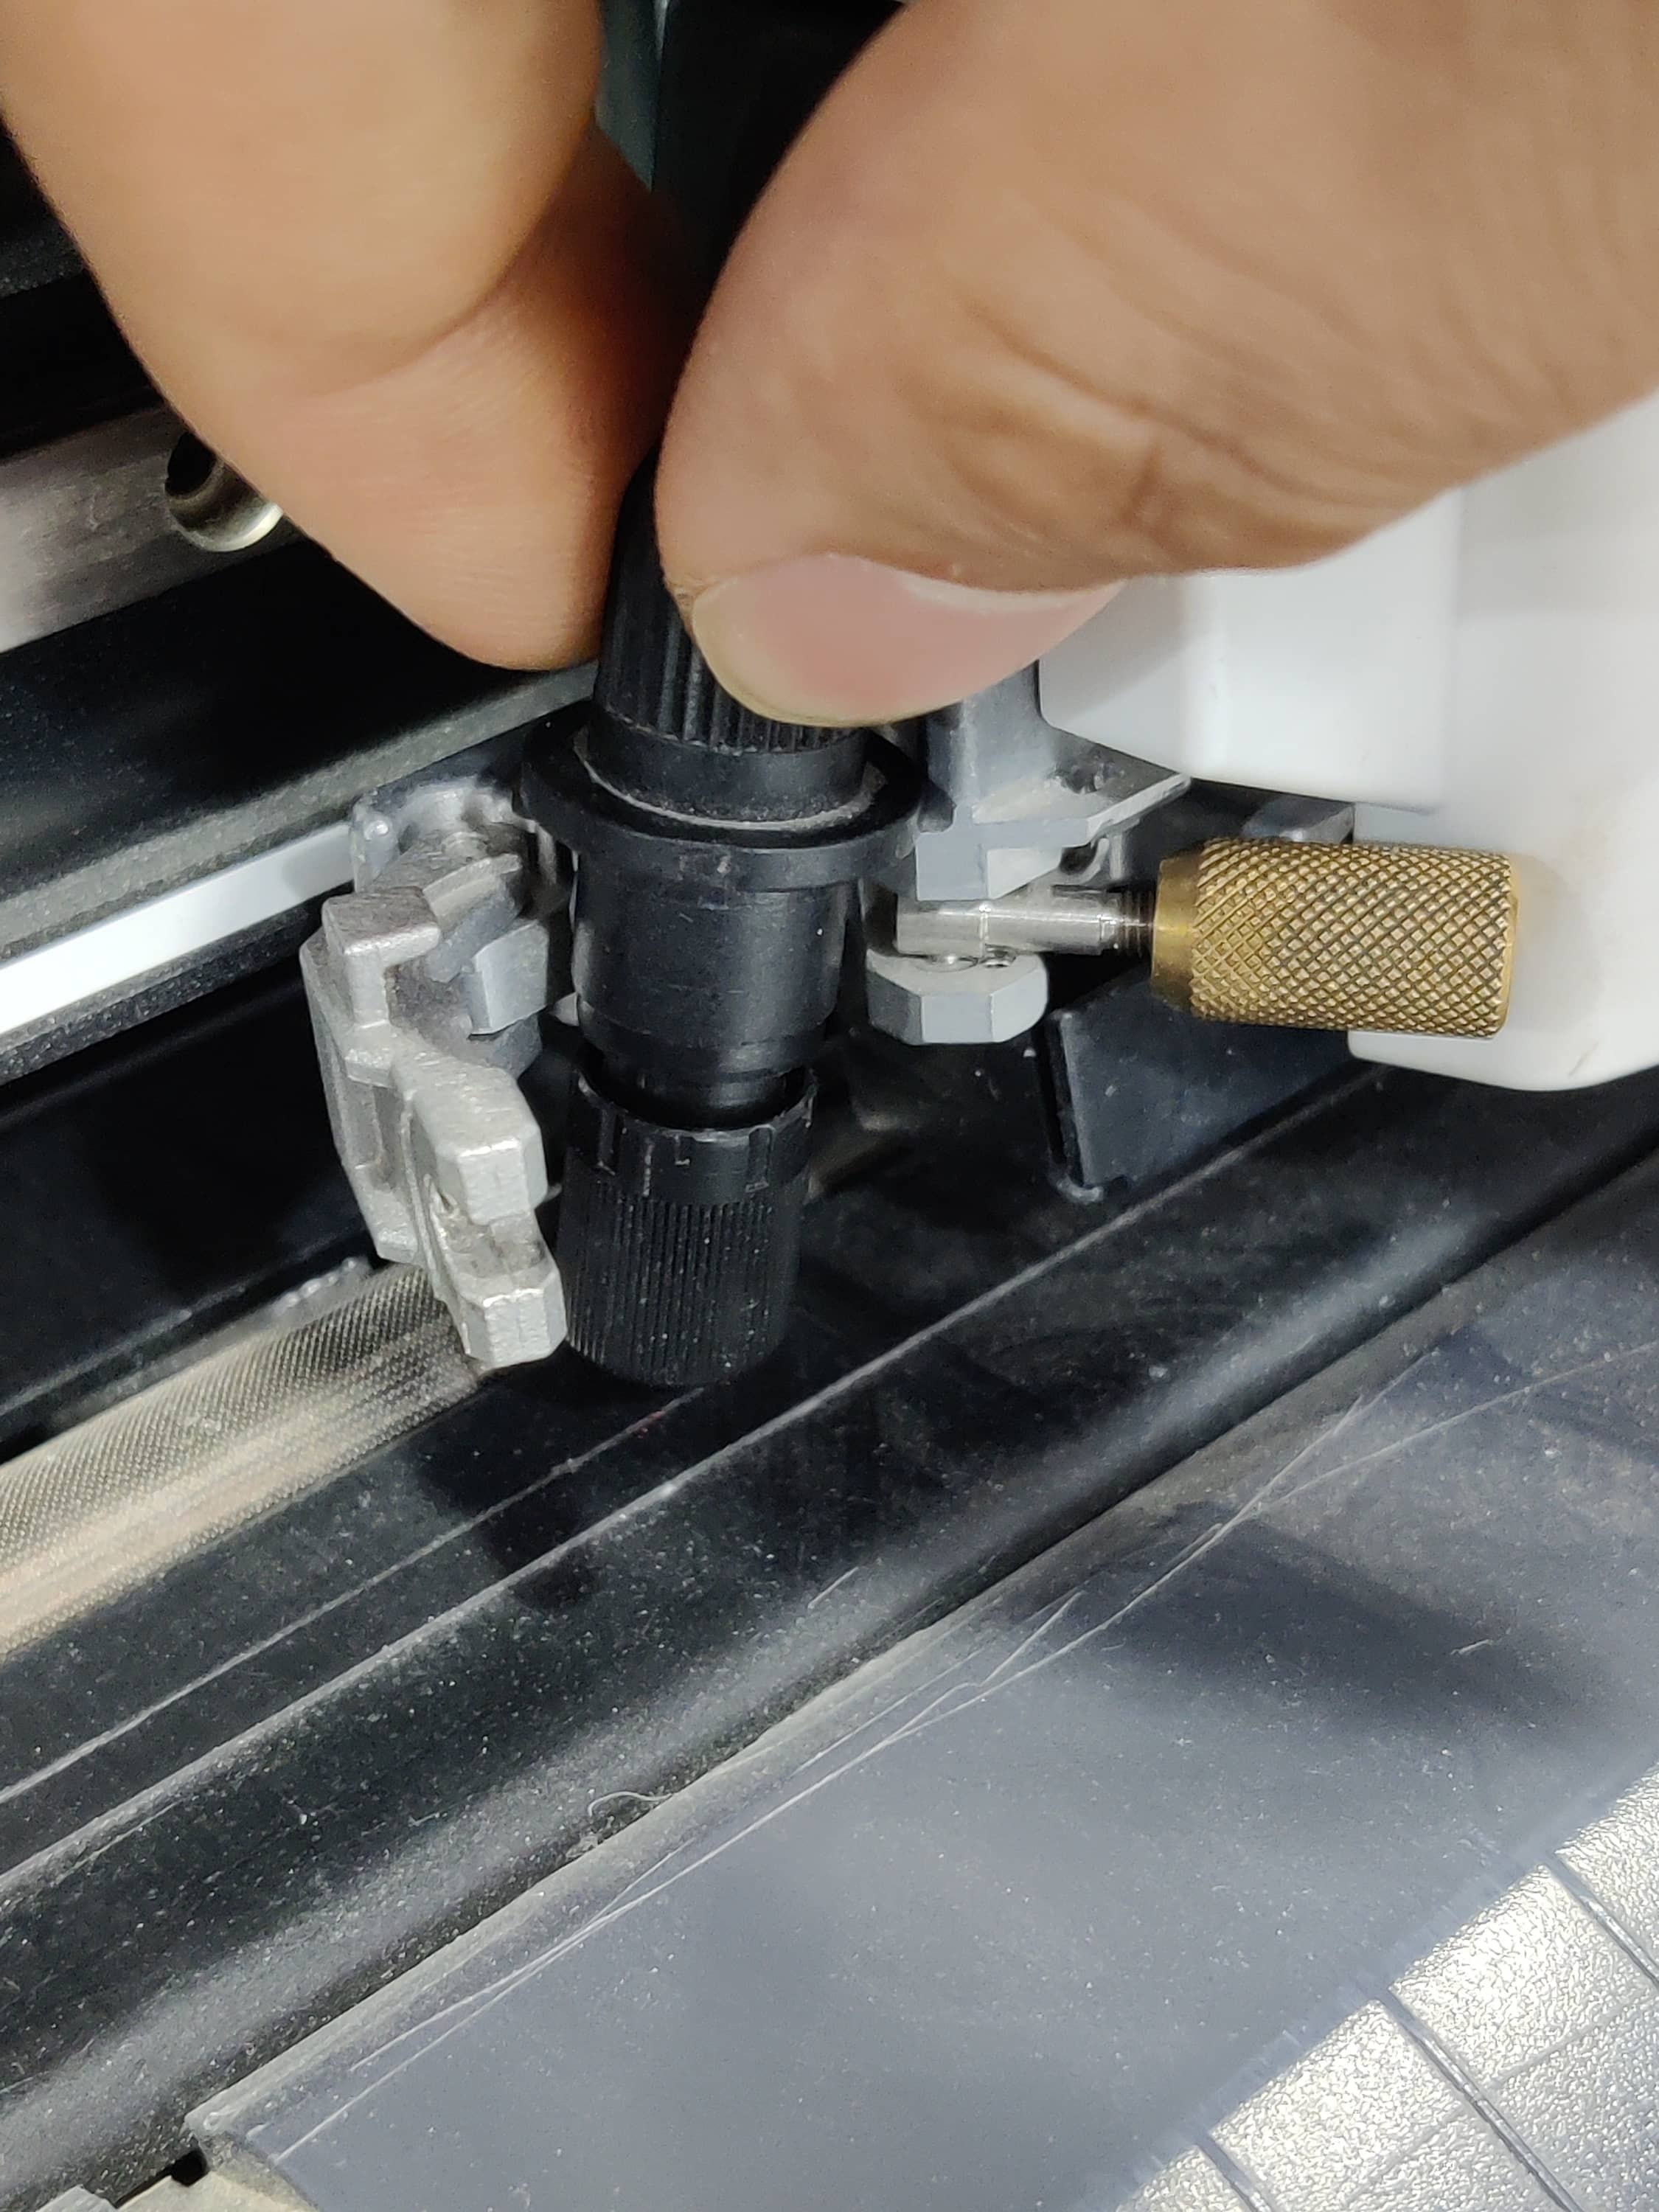
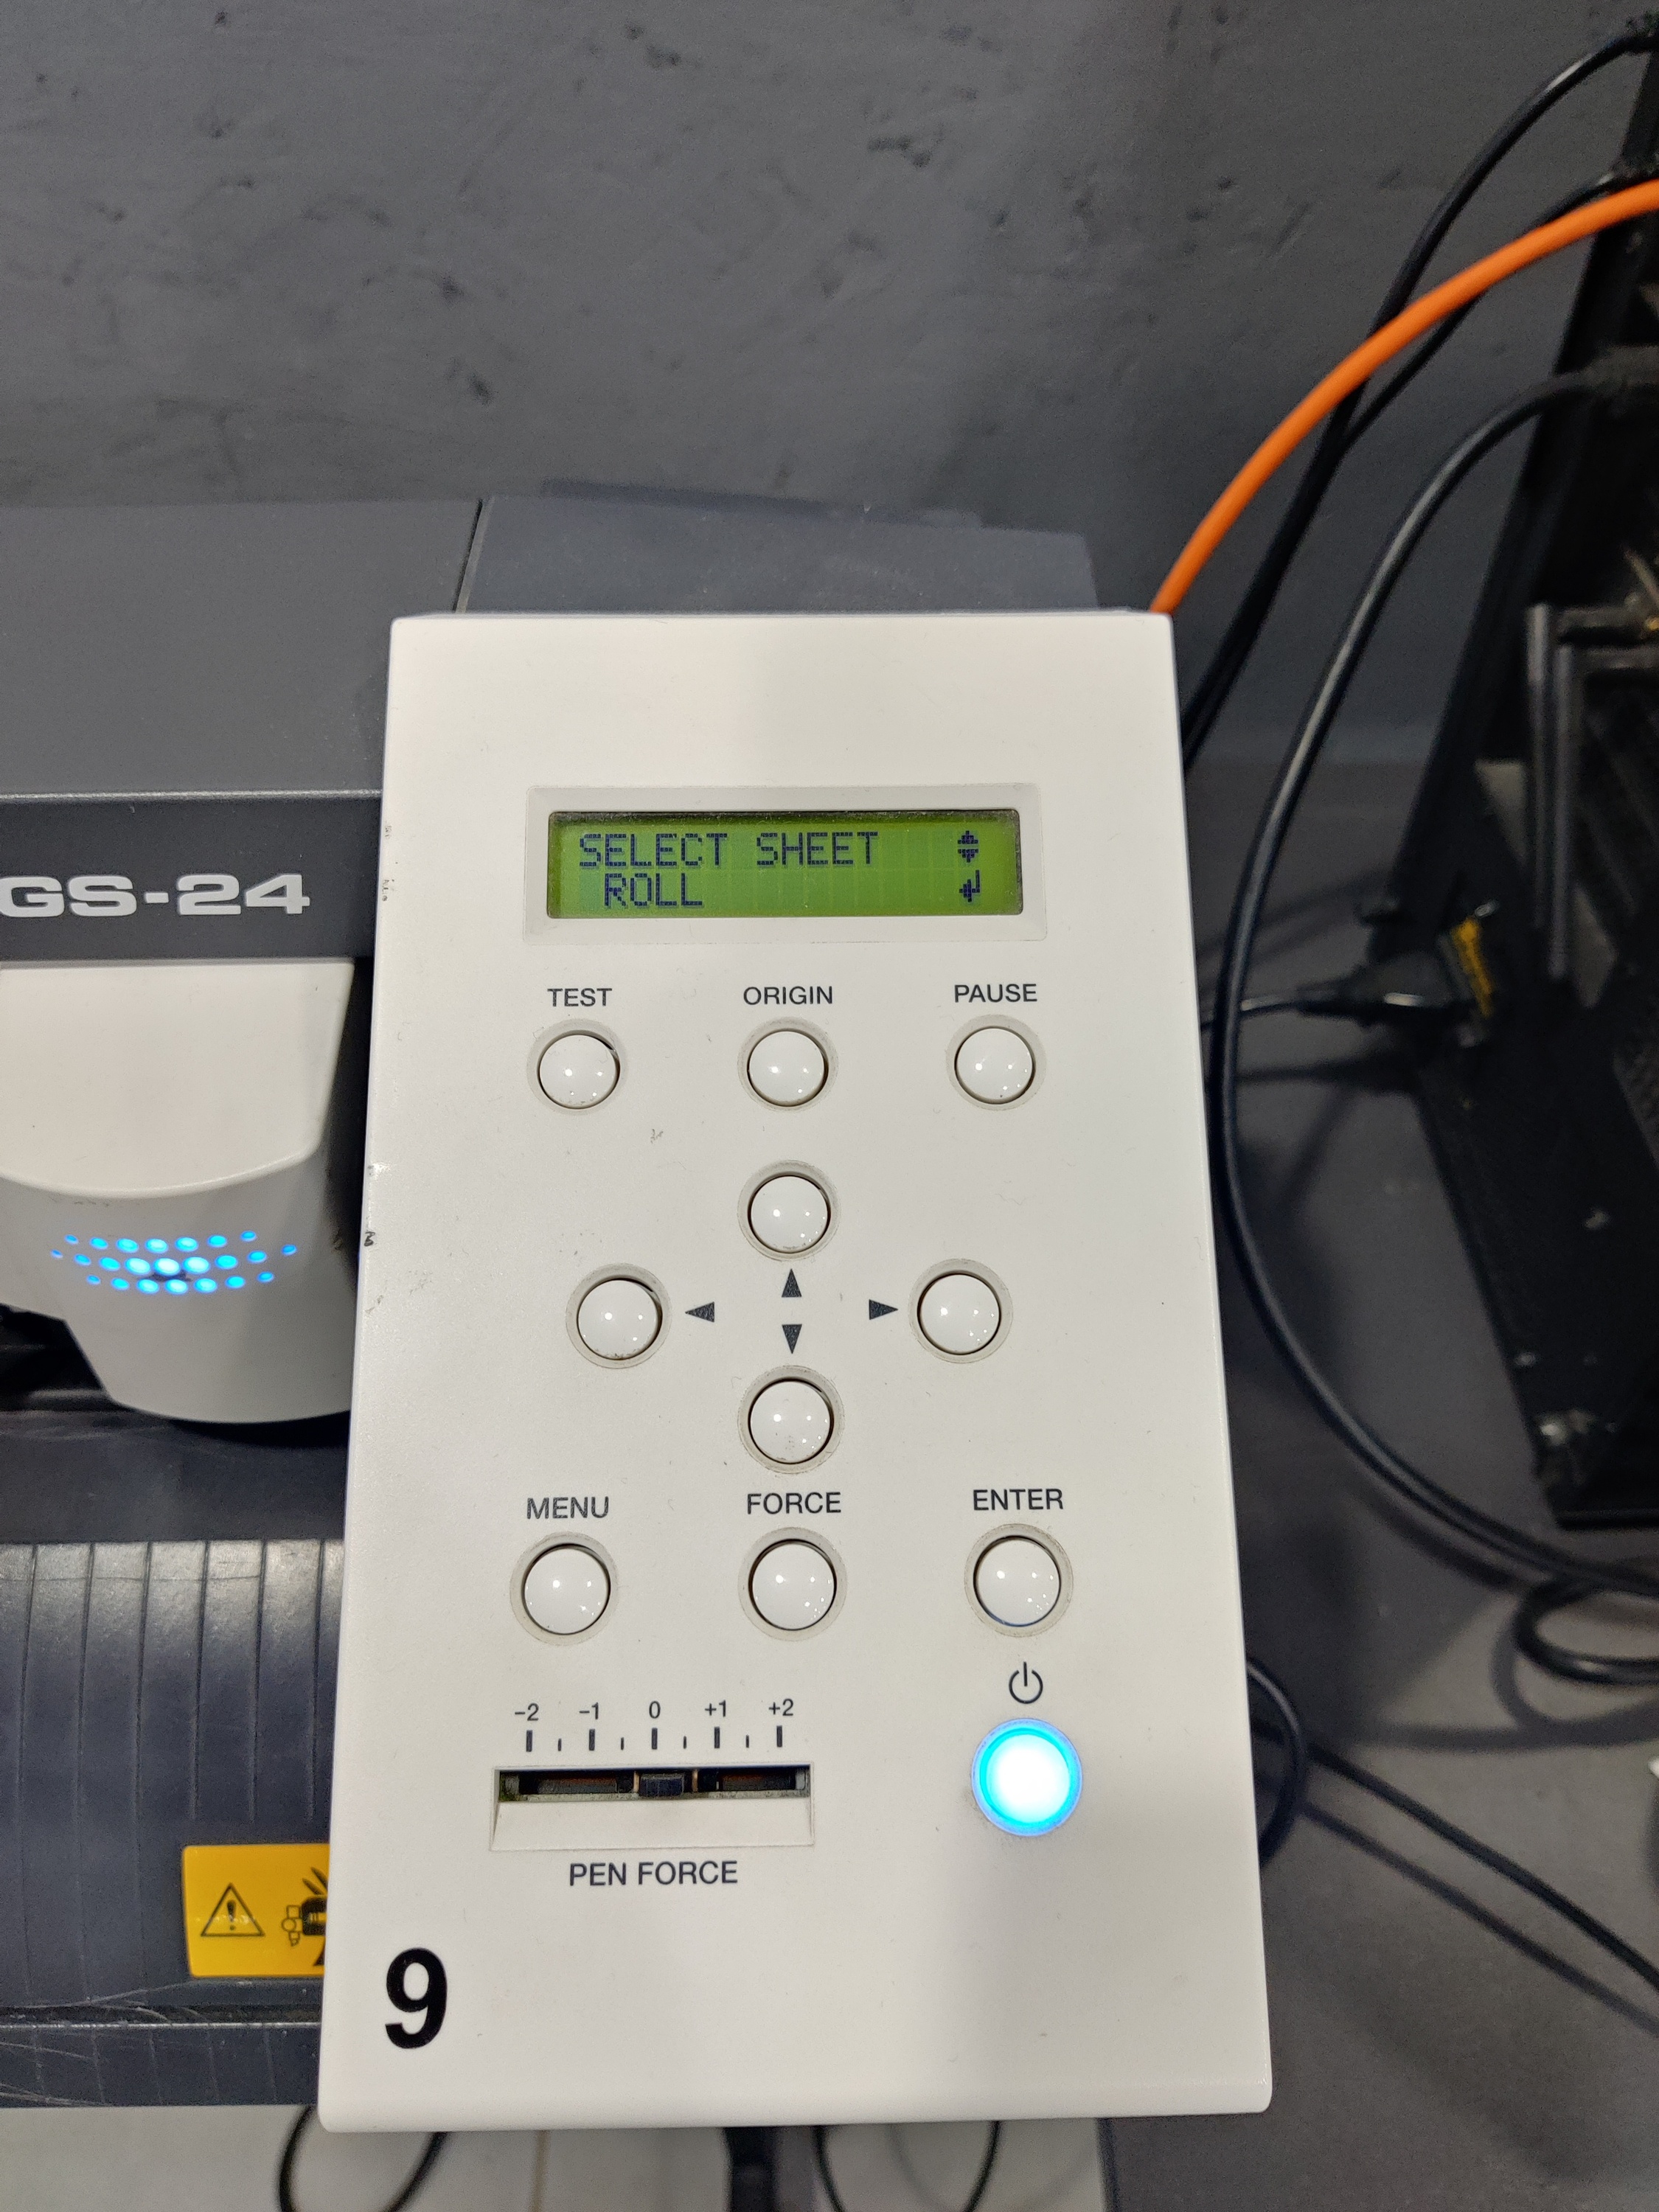
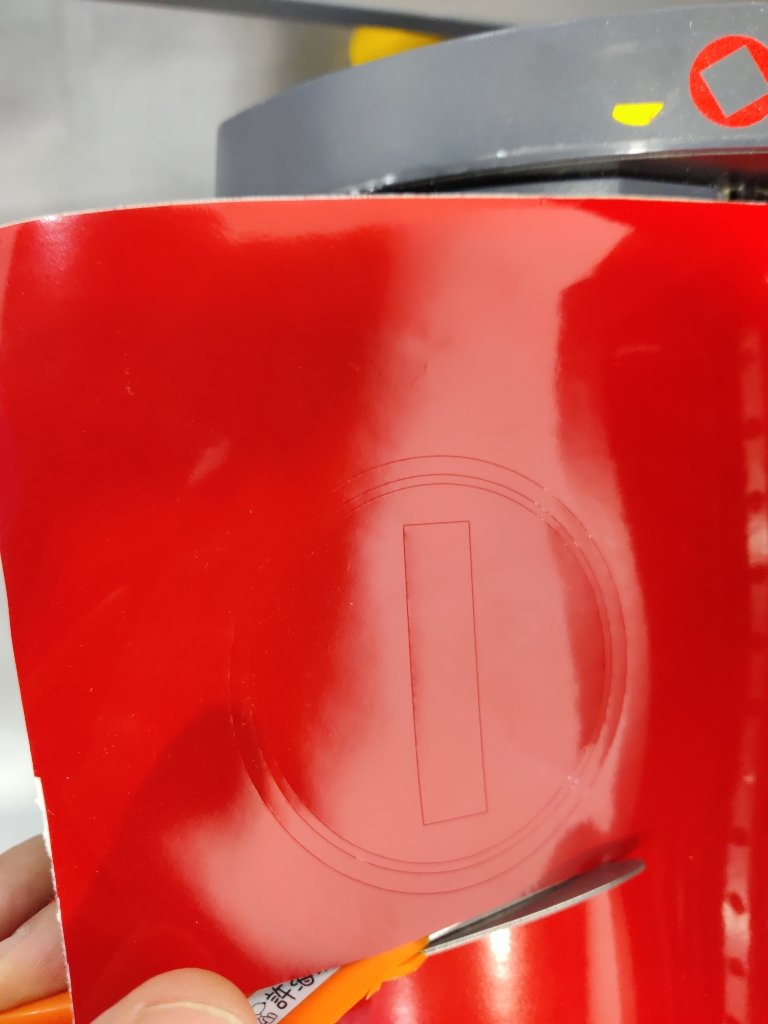
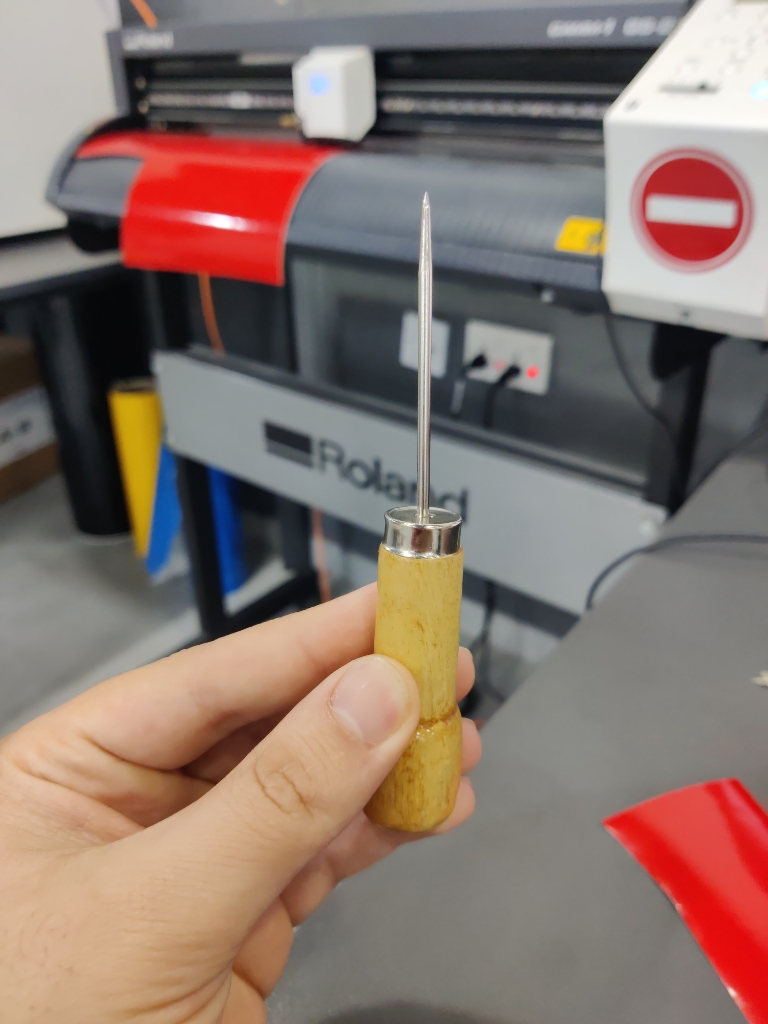
3. Preparing the Vinyl Cutter
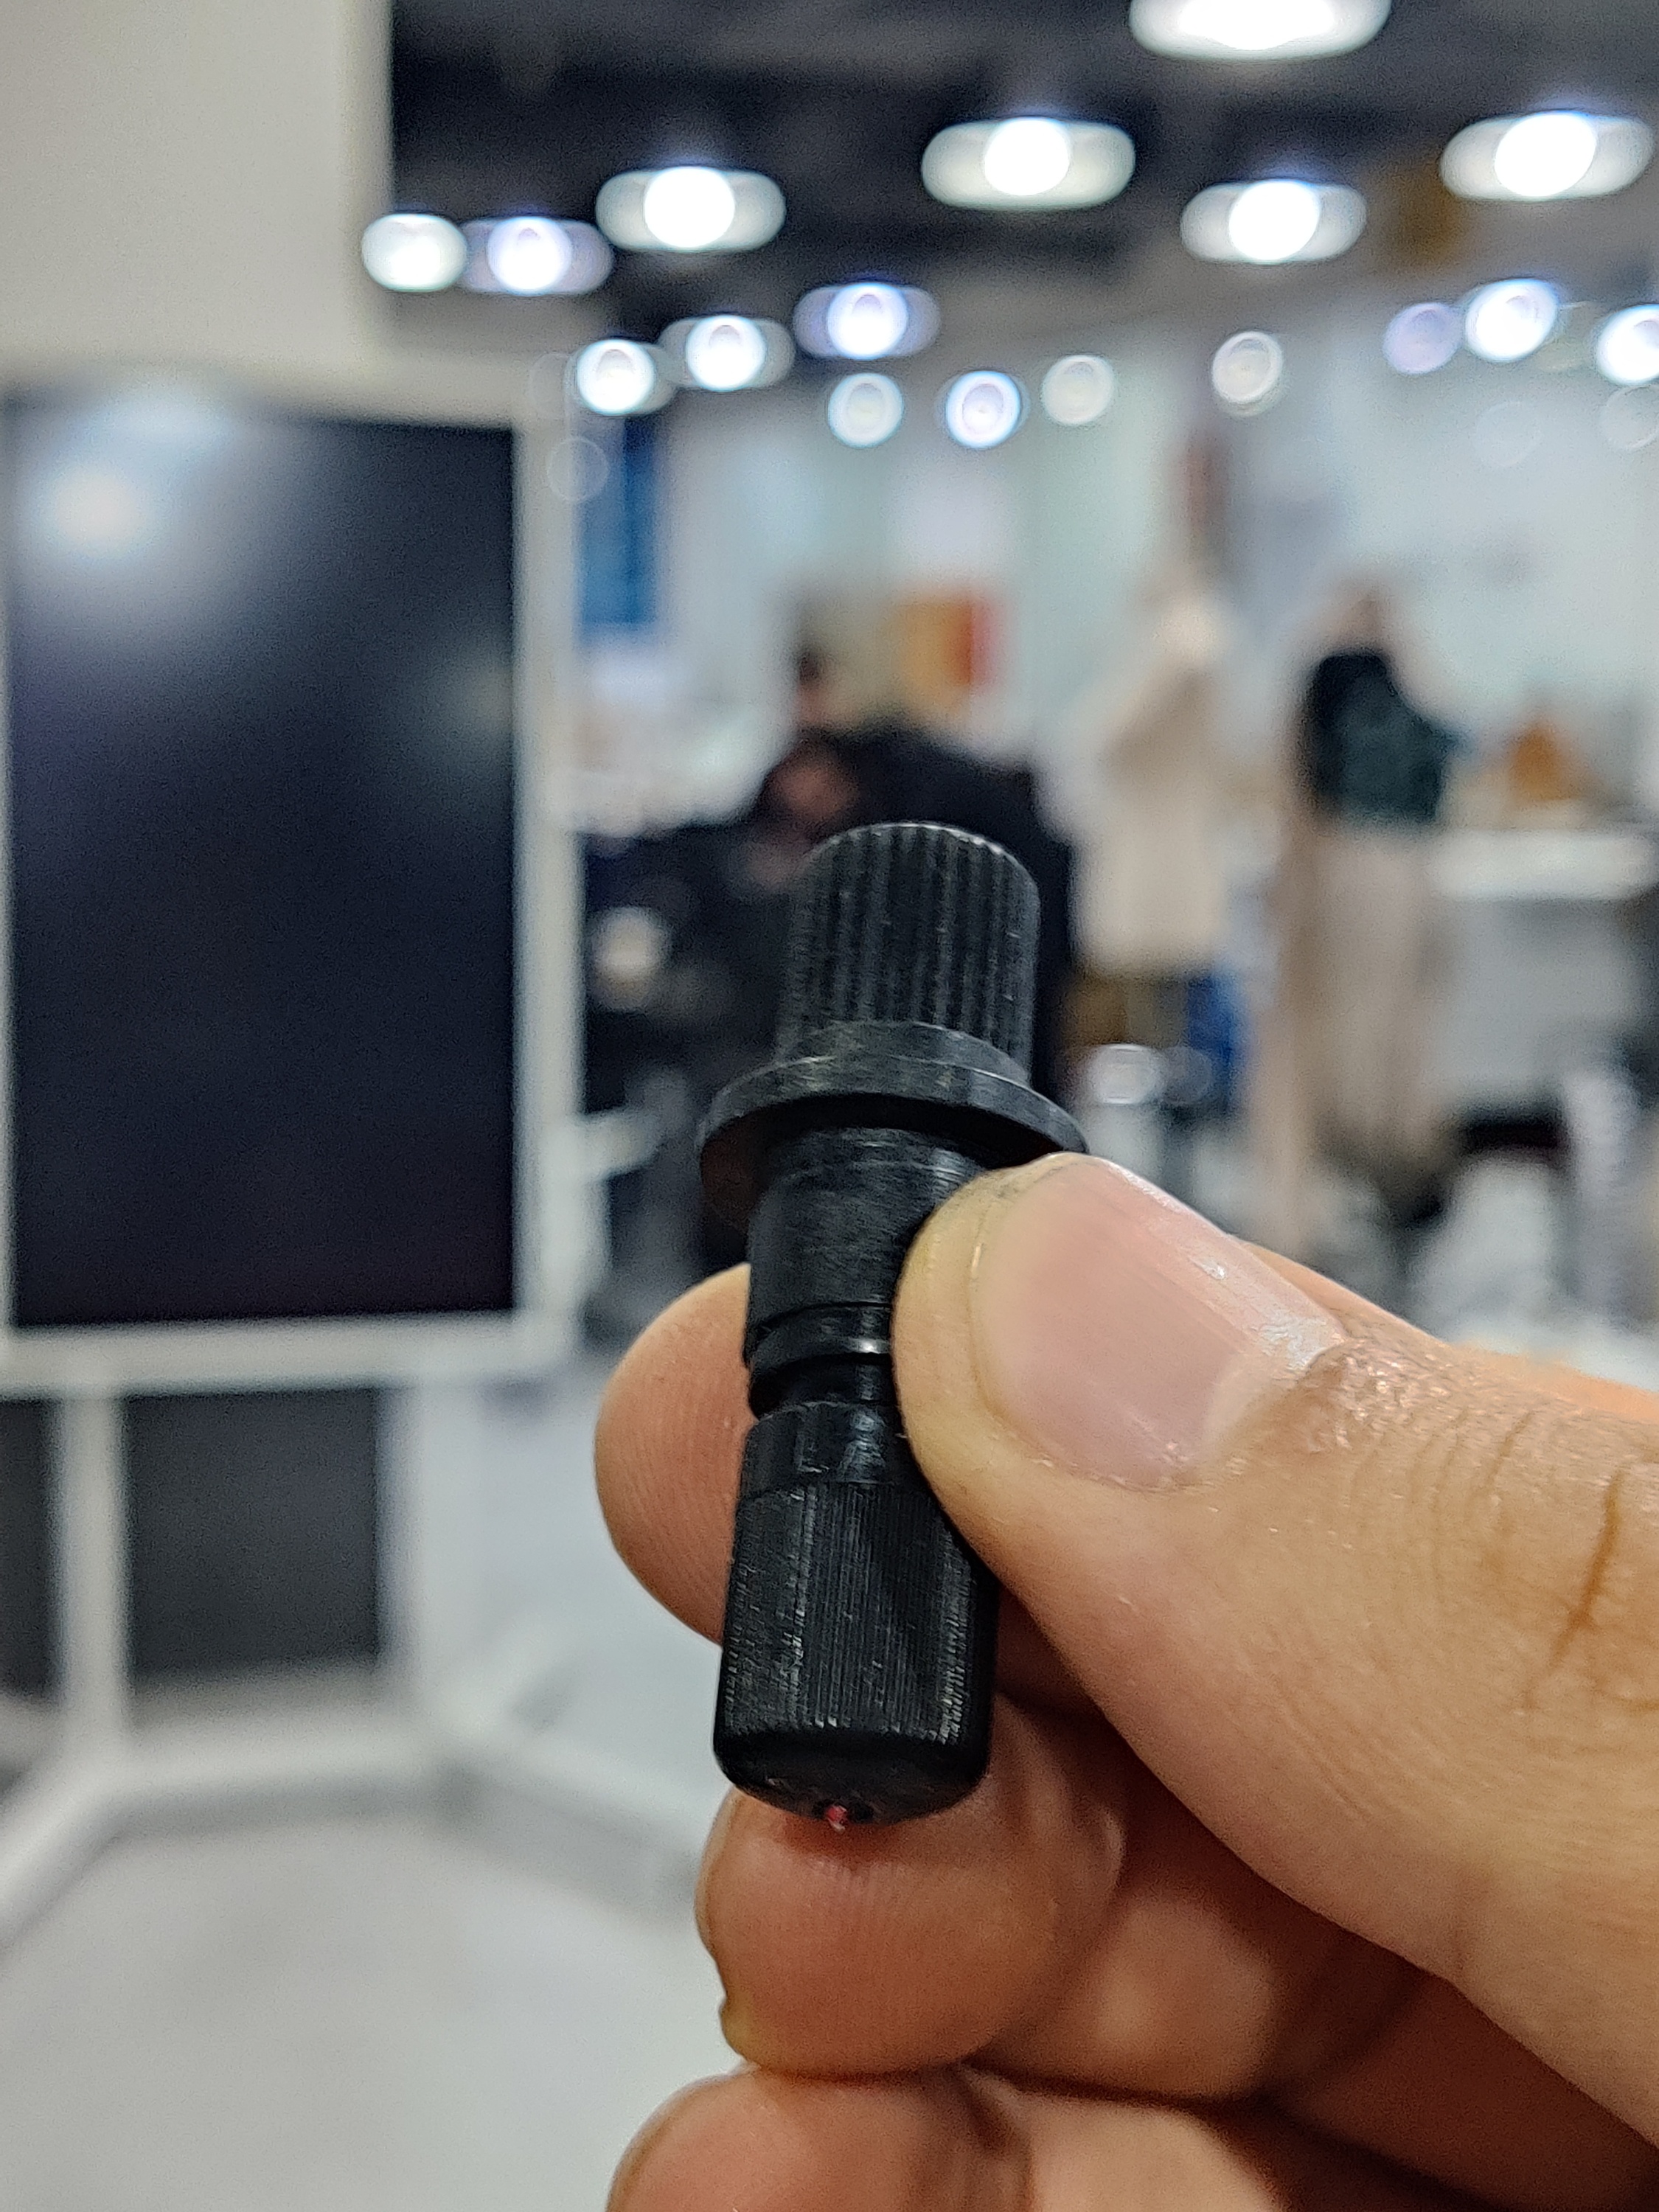
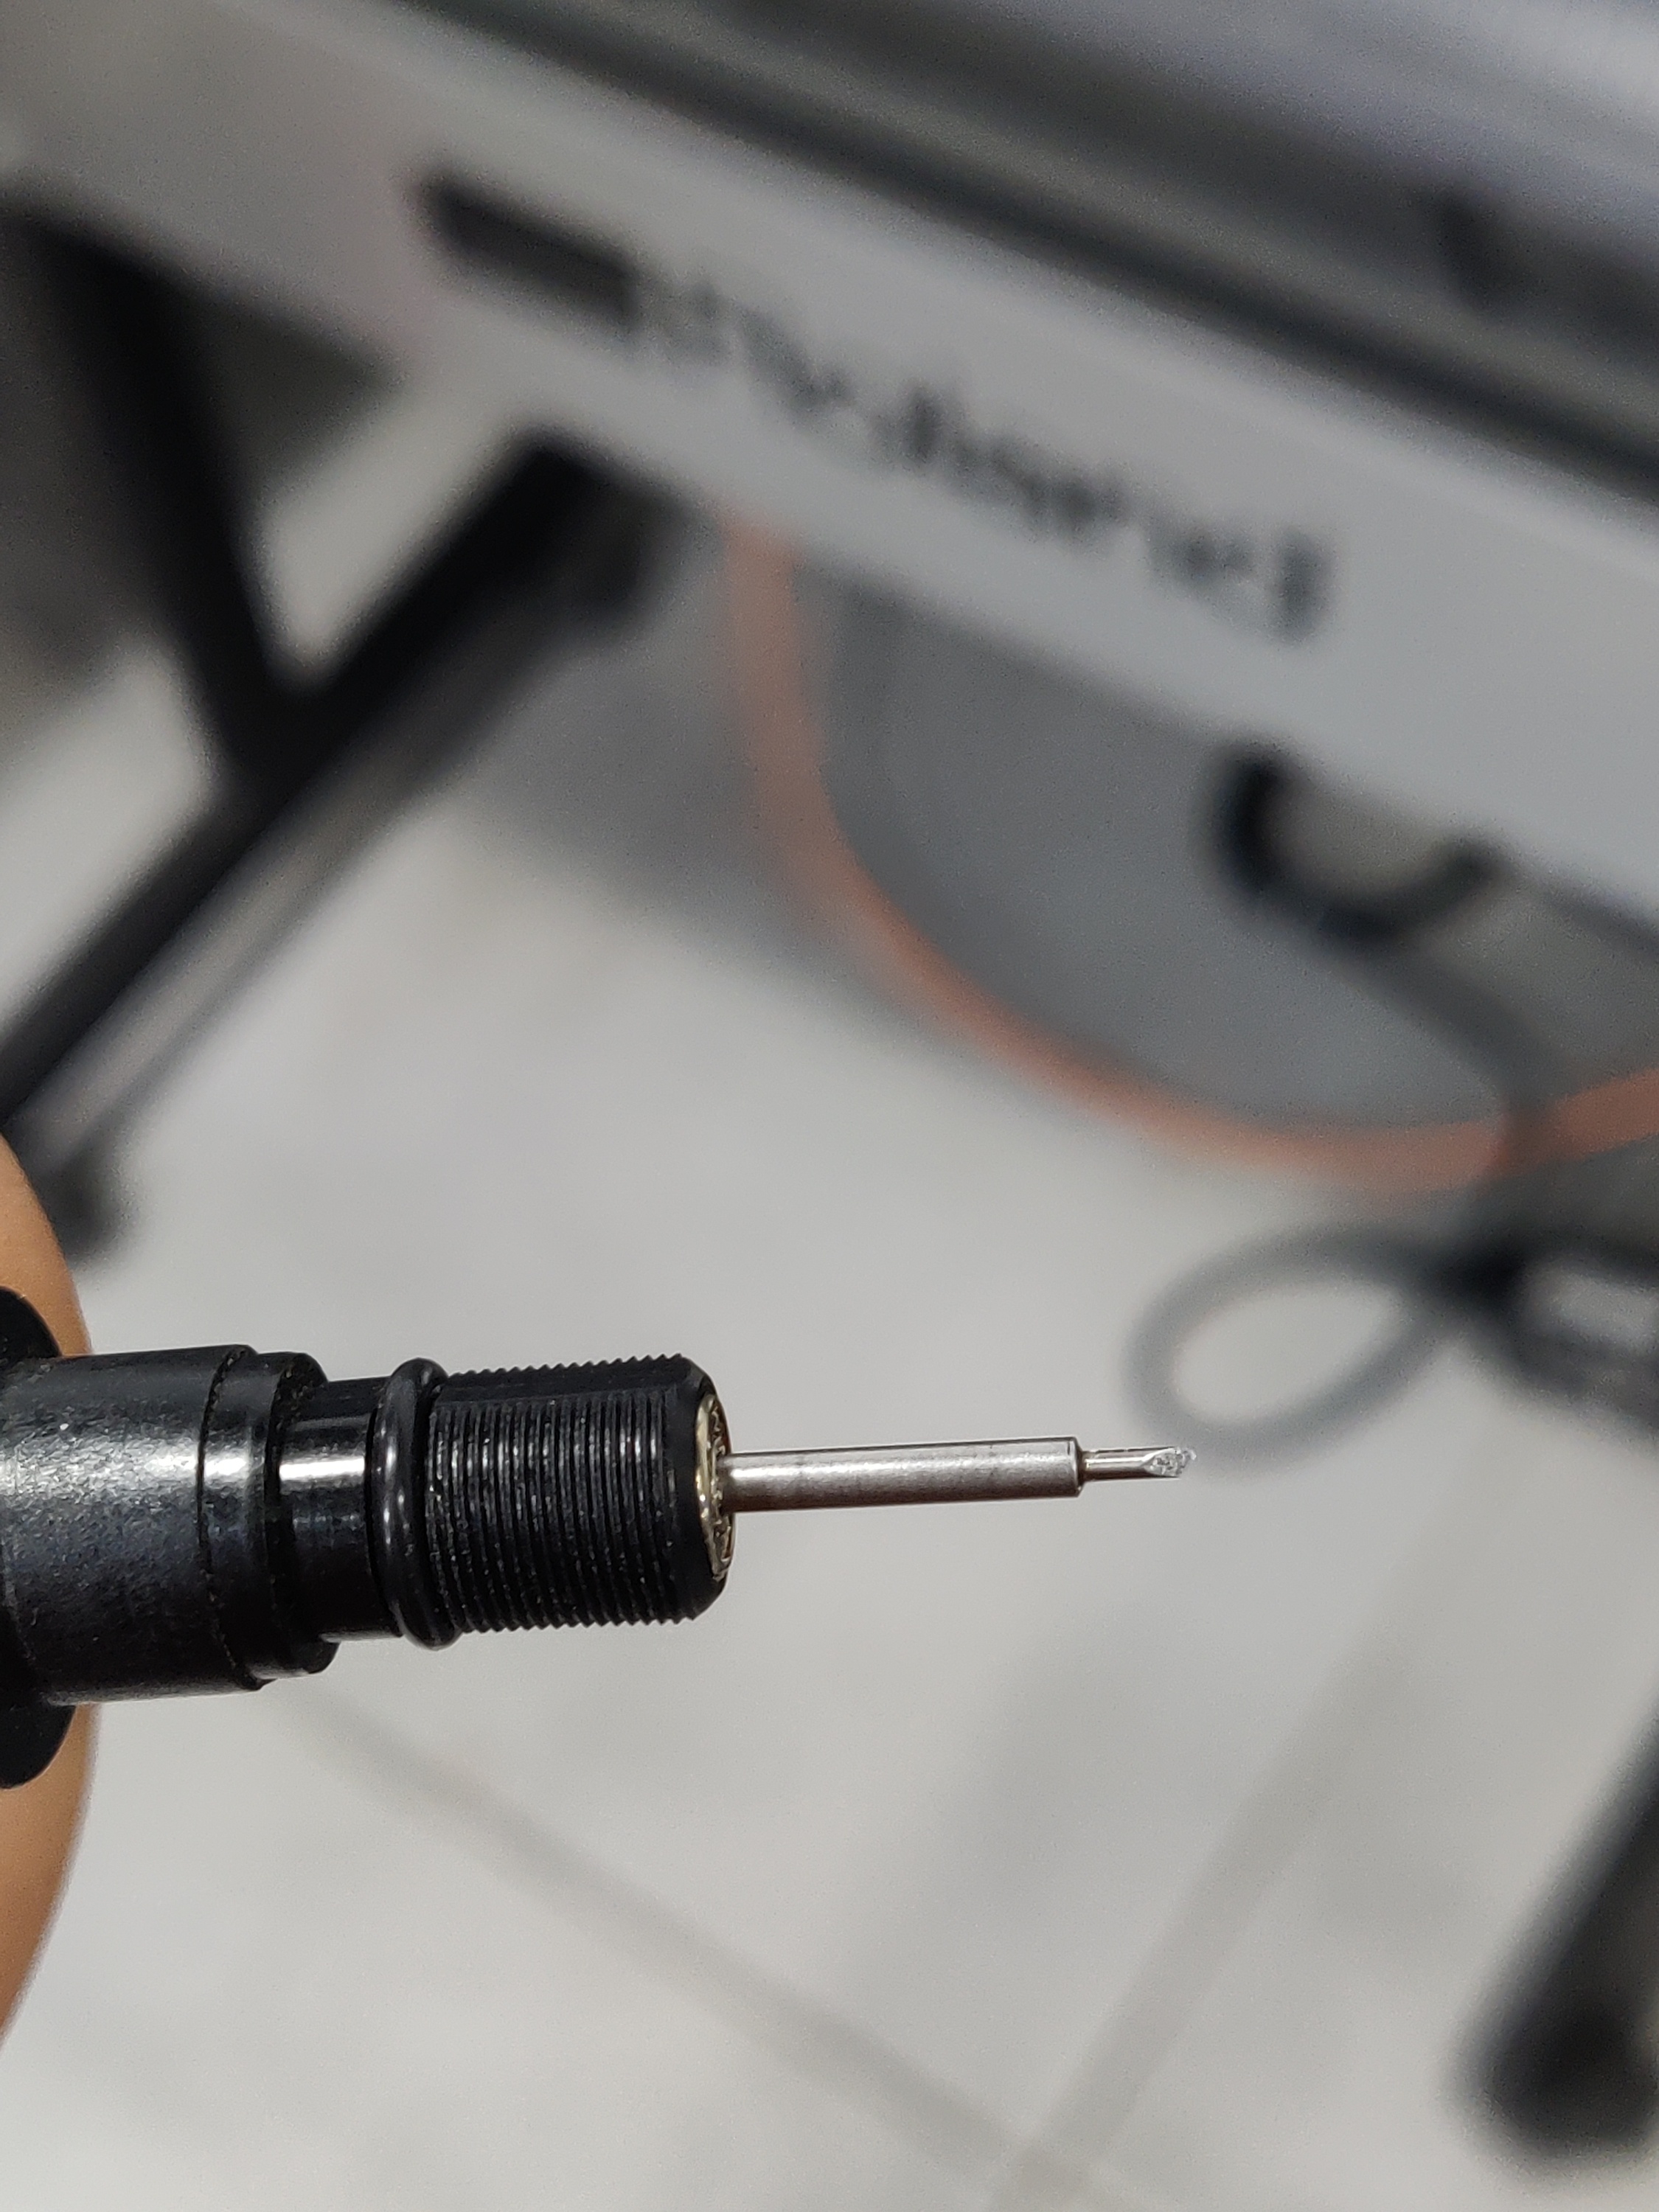
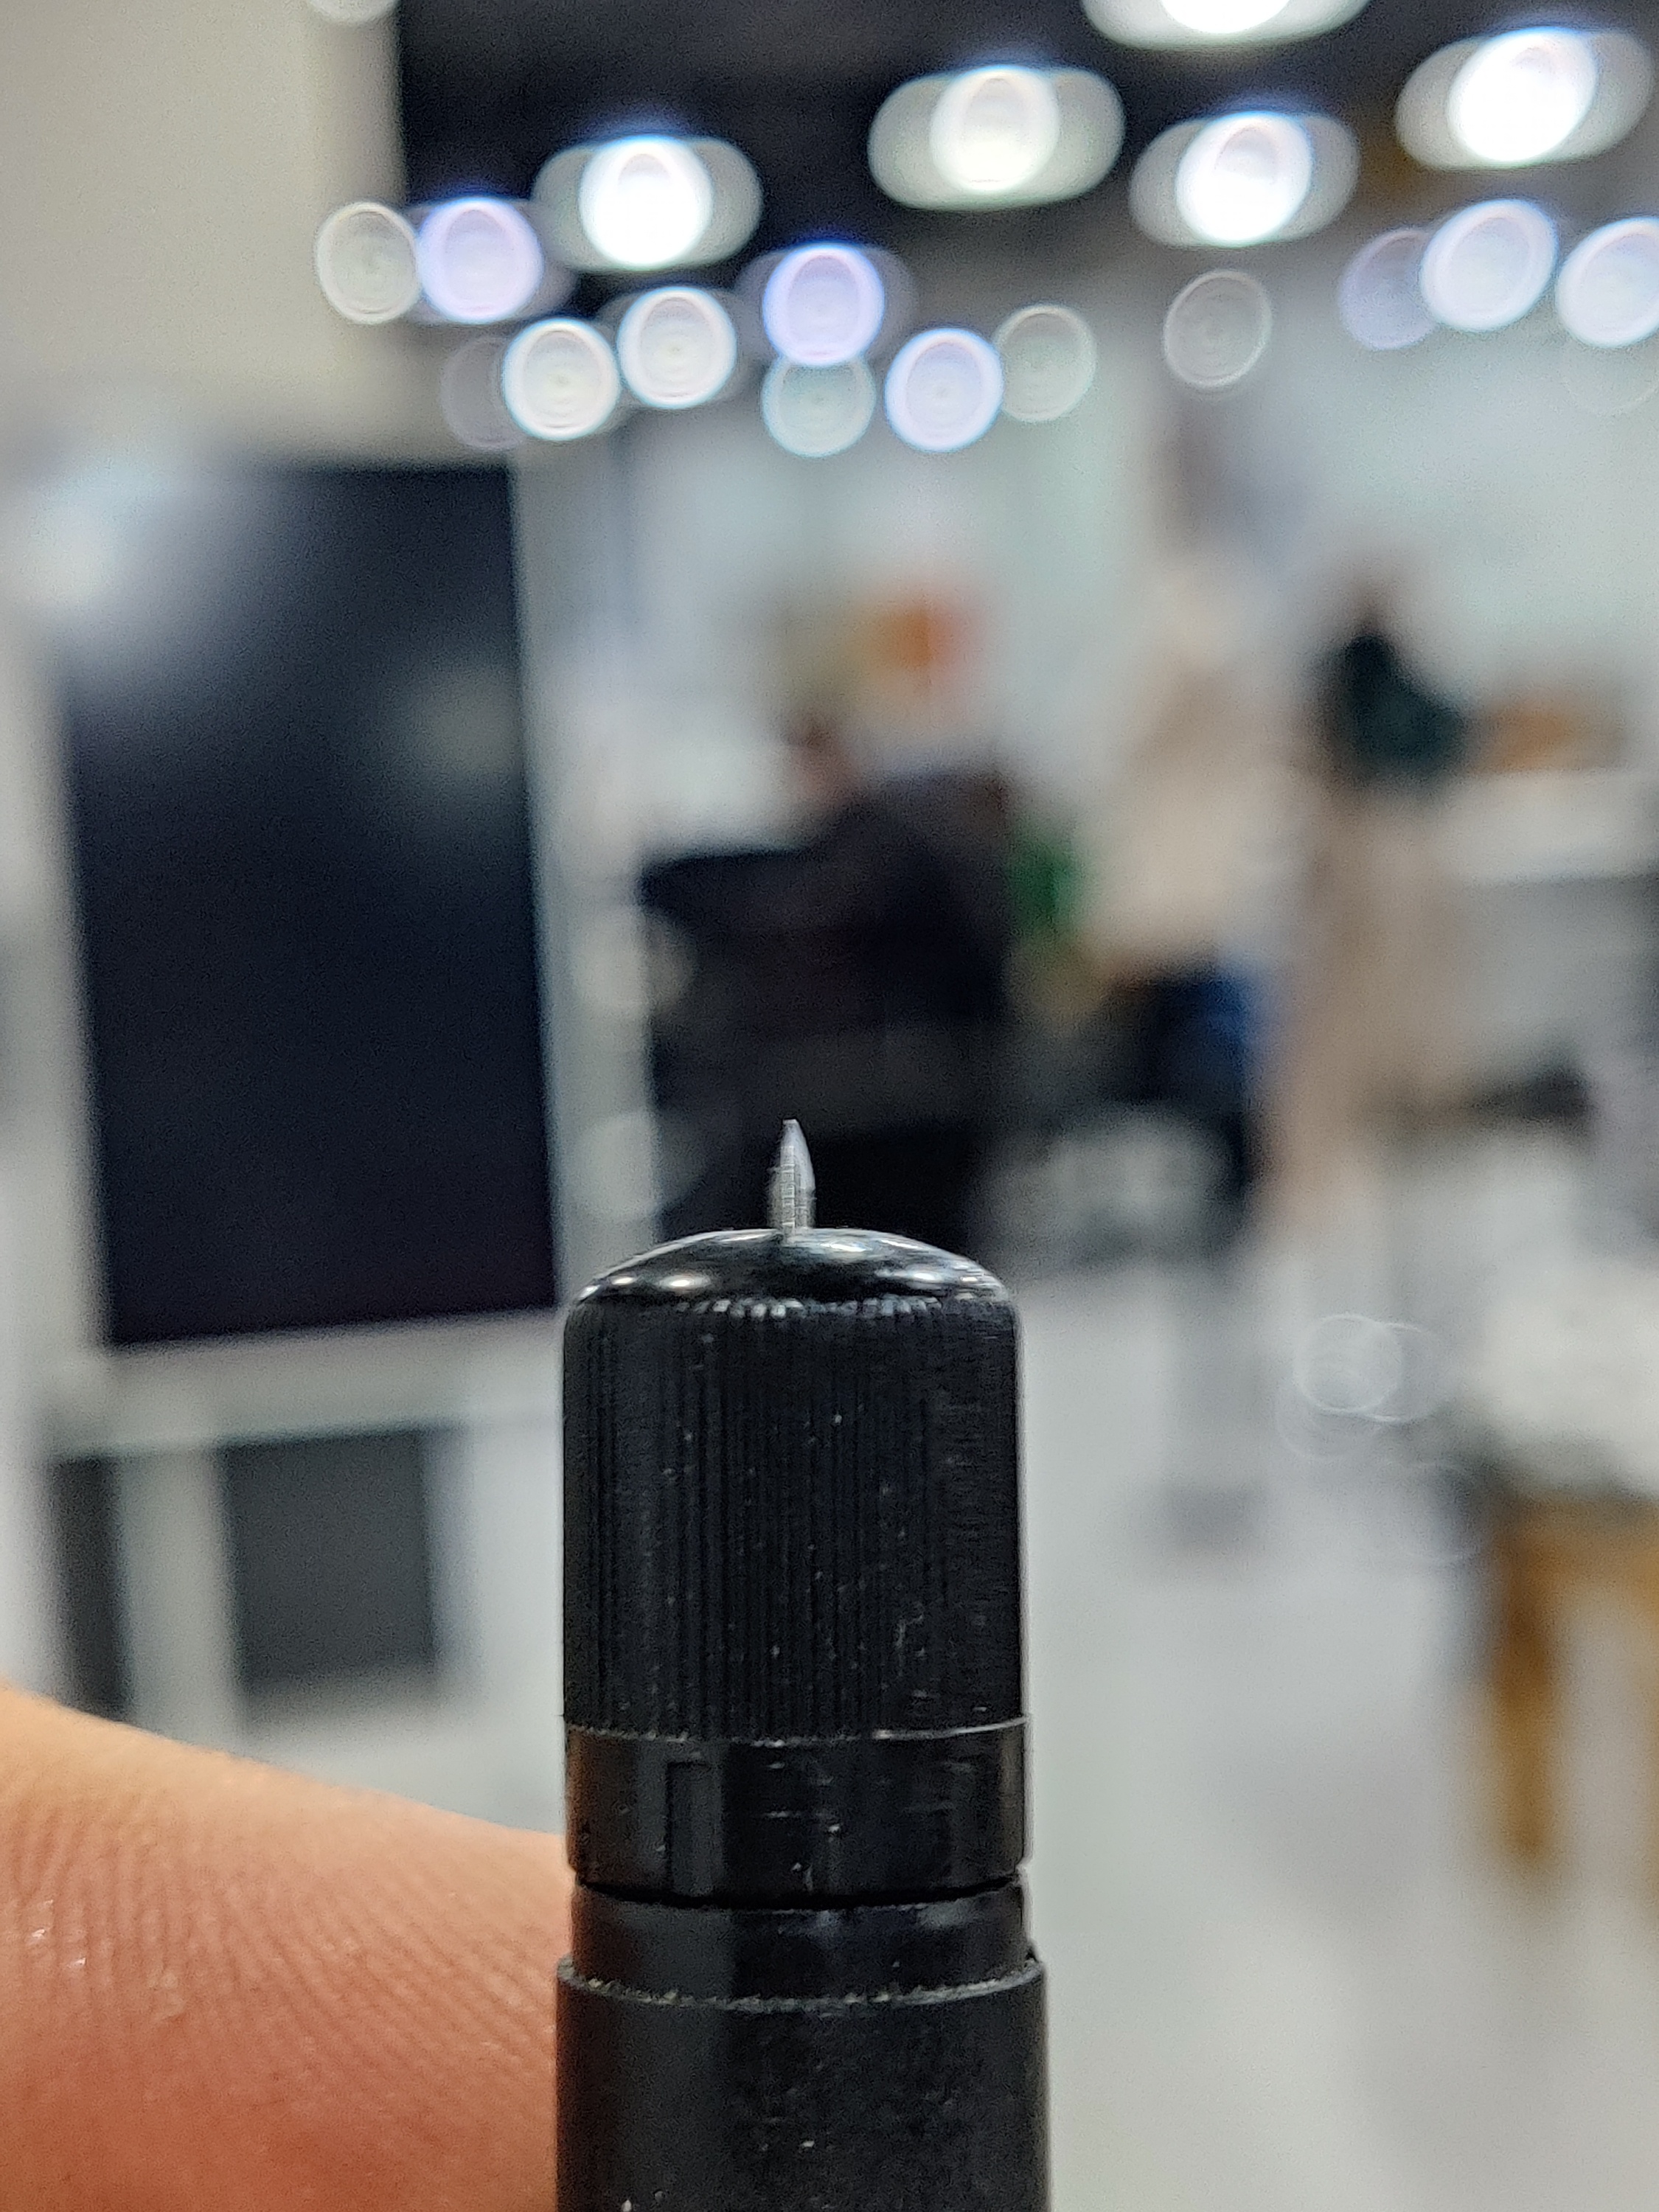
Check machine calibration:
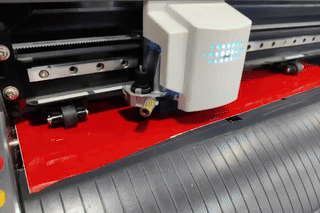
Disassemble the knife (blade) and adjust its height to match the vinyl thickness.
Load the vinyl roll into the cutter, ensuring it is properly aligned.
Use CutStudio to prepare the design for cutting:
Convert the SVG file into cutting lines.
Send the file to the vinyl cutter.
Start the cutting process step by step as shown in the instructional videos.
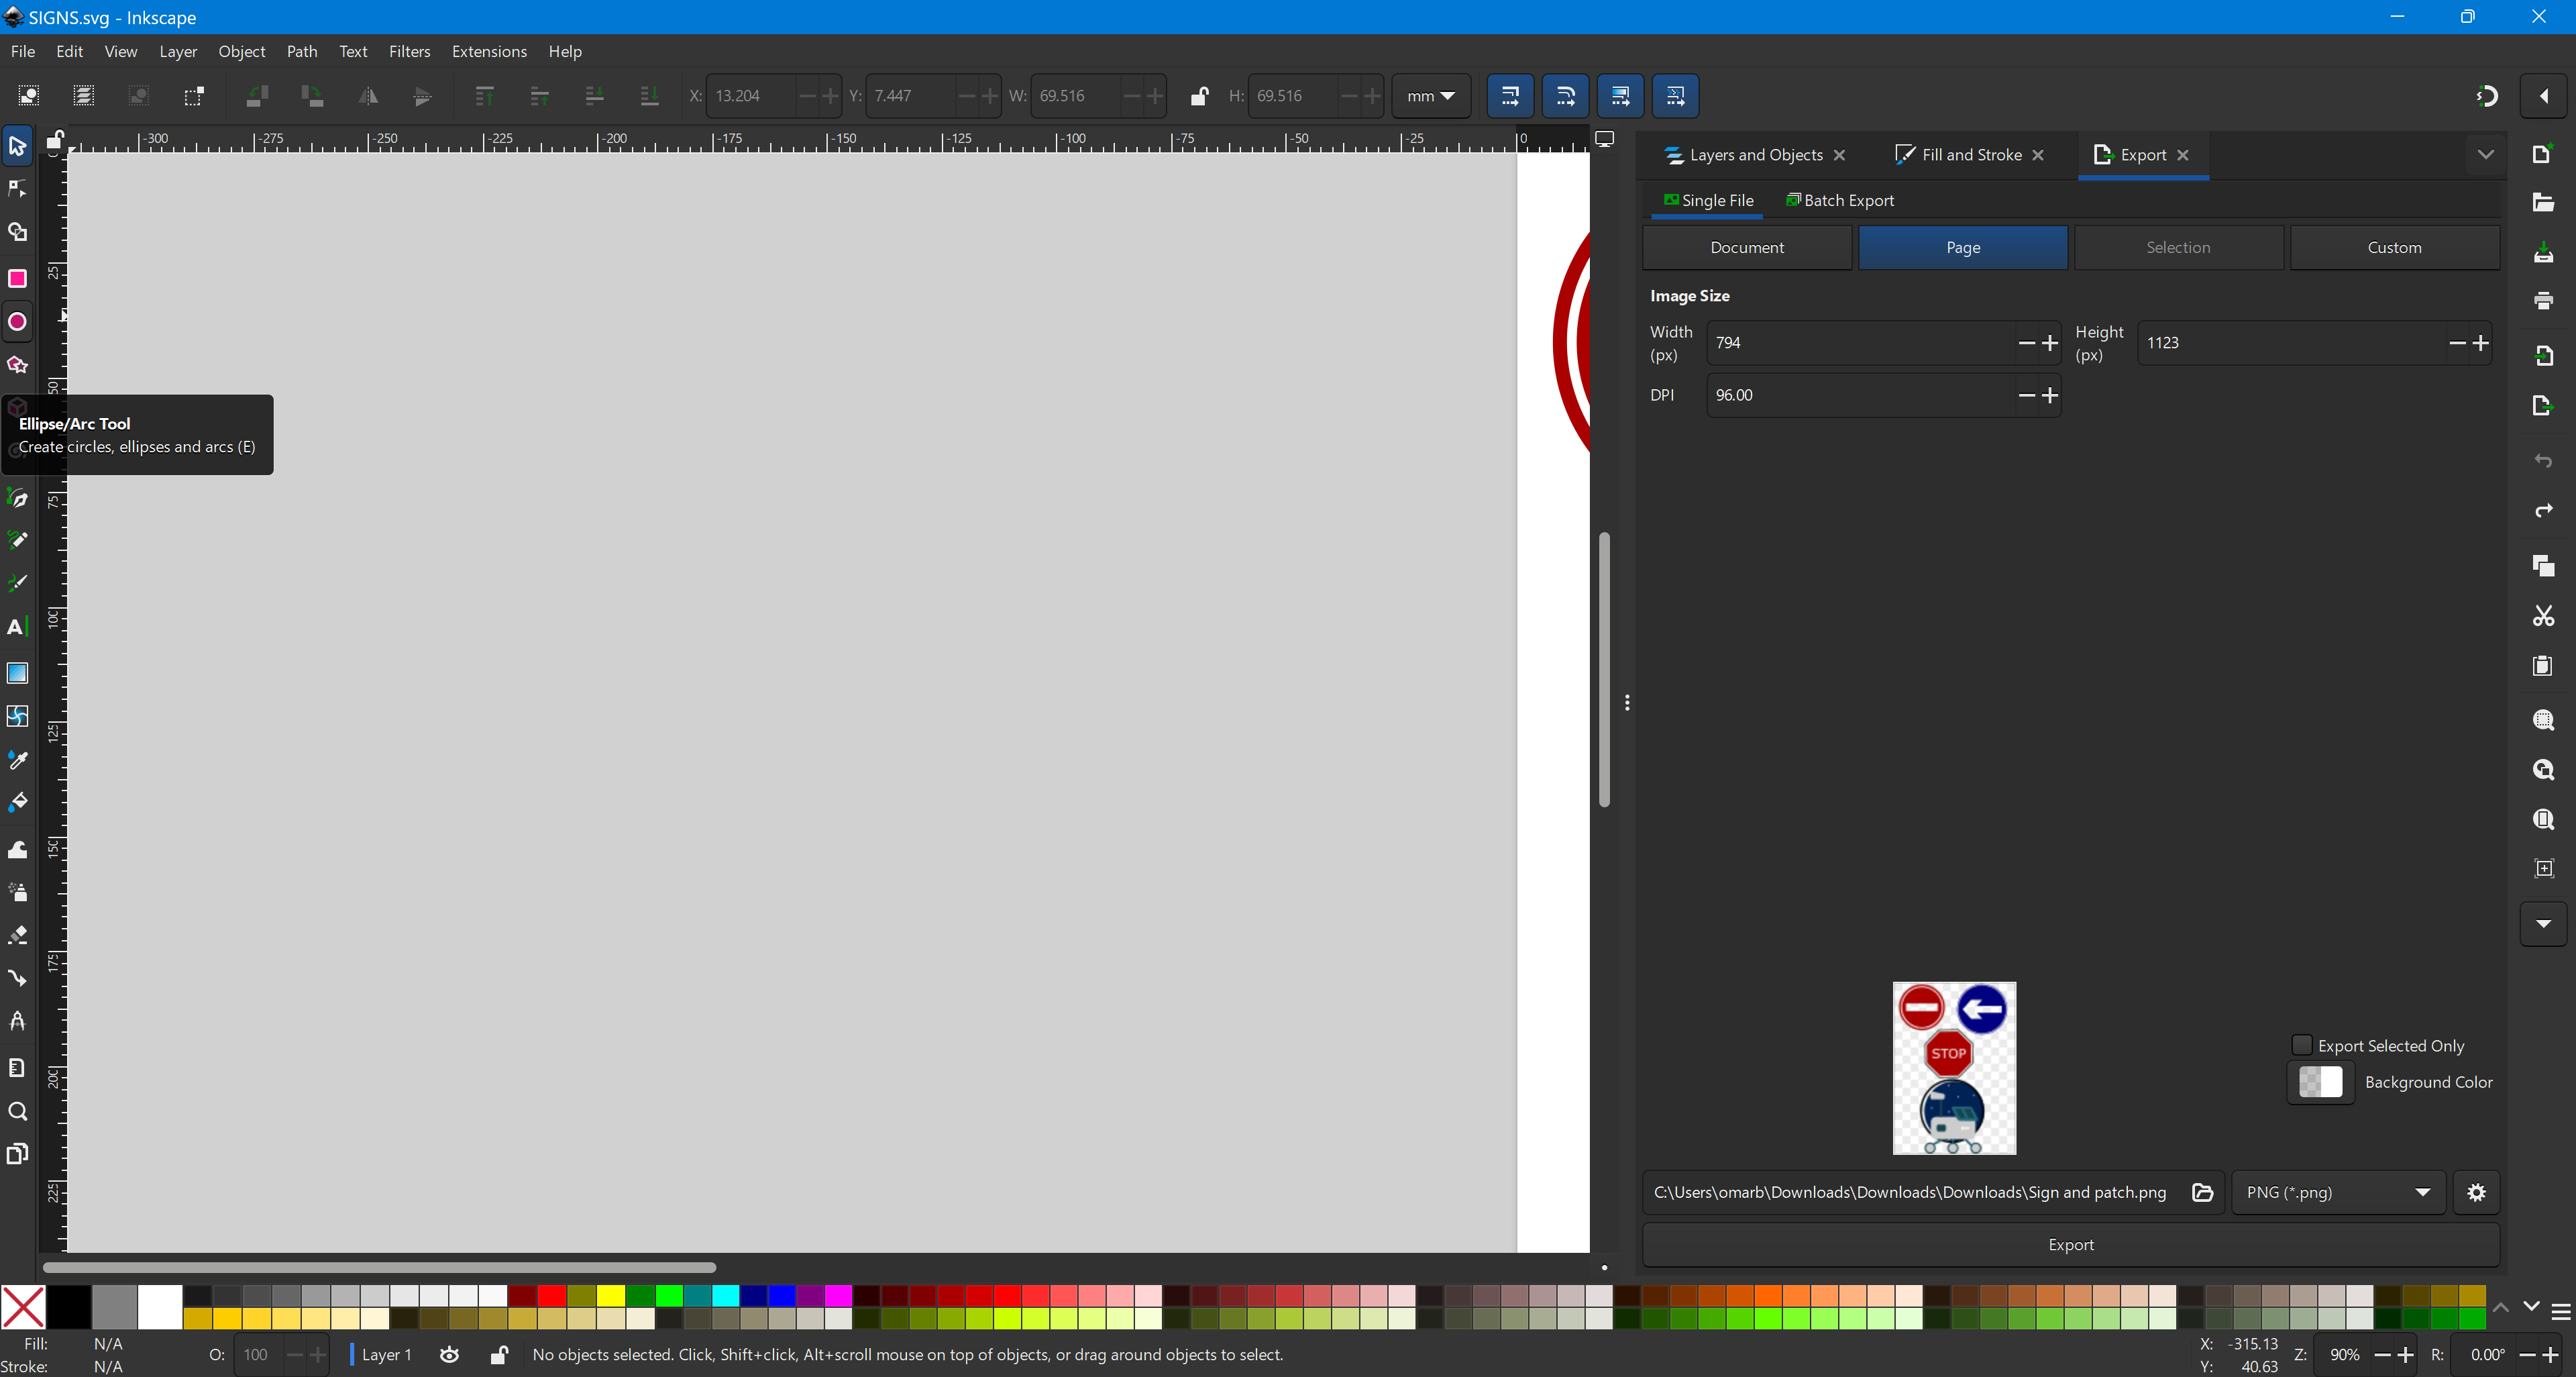
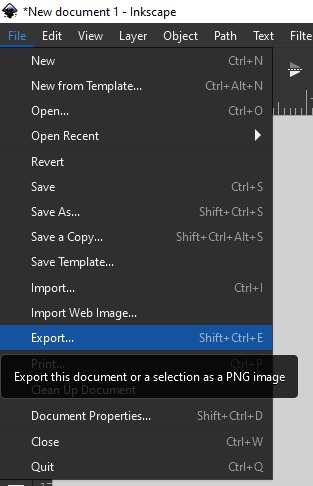
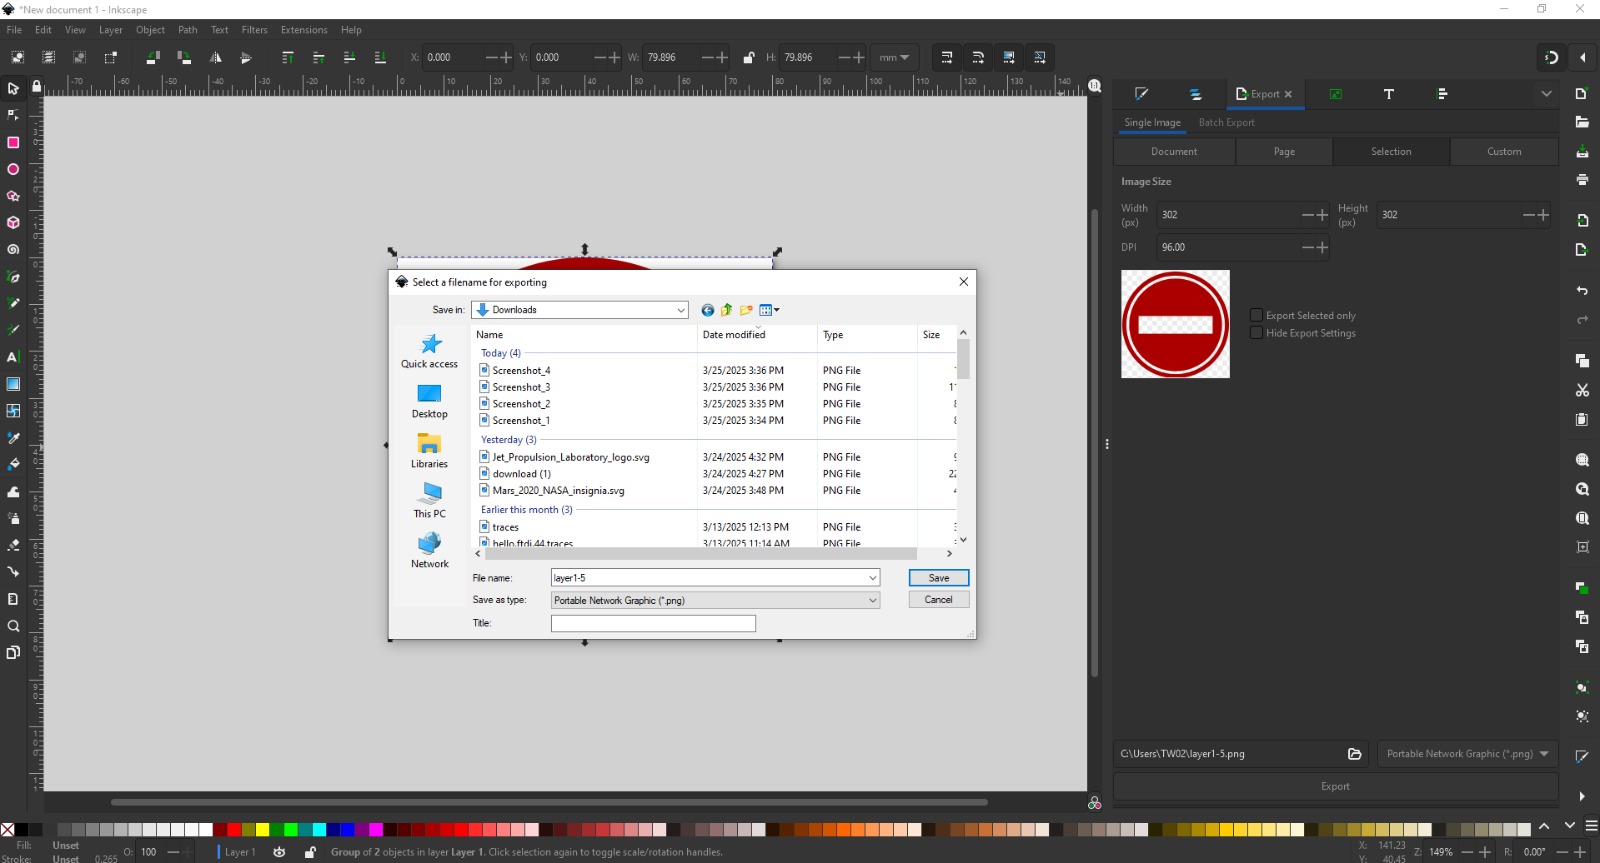
Export Design from Inkscape
After designing your artwork in Inkscape, export it as an SVG file.
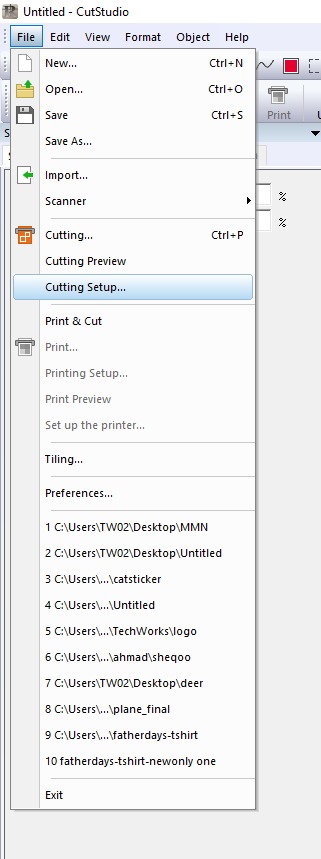
Open CutStudio Software
Launch Roland CutStudio on your computer.
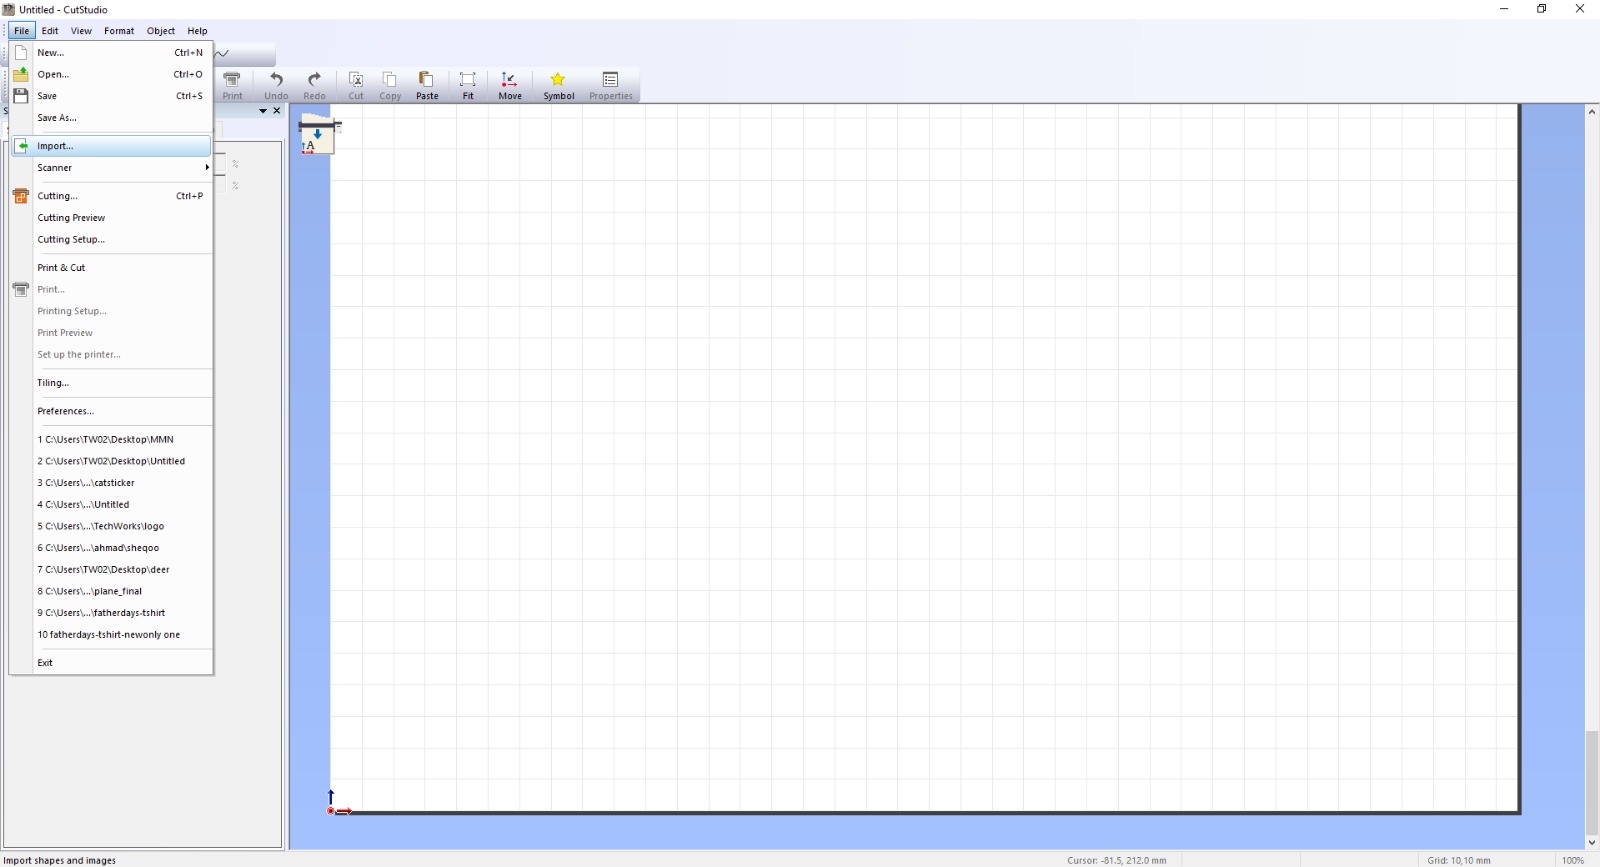
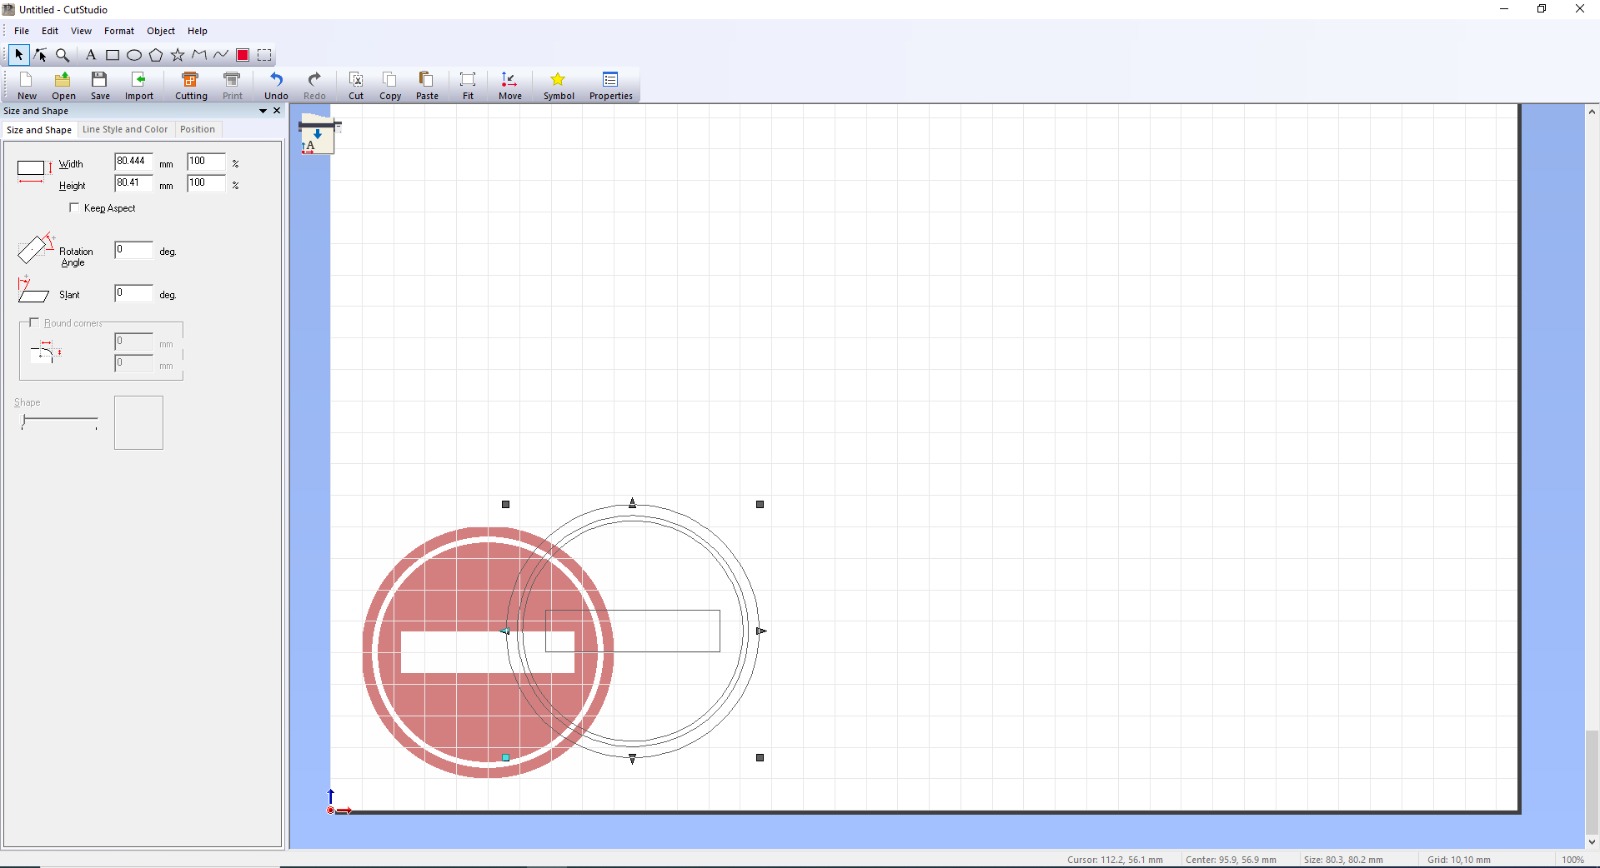
Import the SVG File
Right-click inside the workspace and select Import.
Choose your exported SVG file.
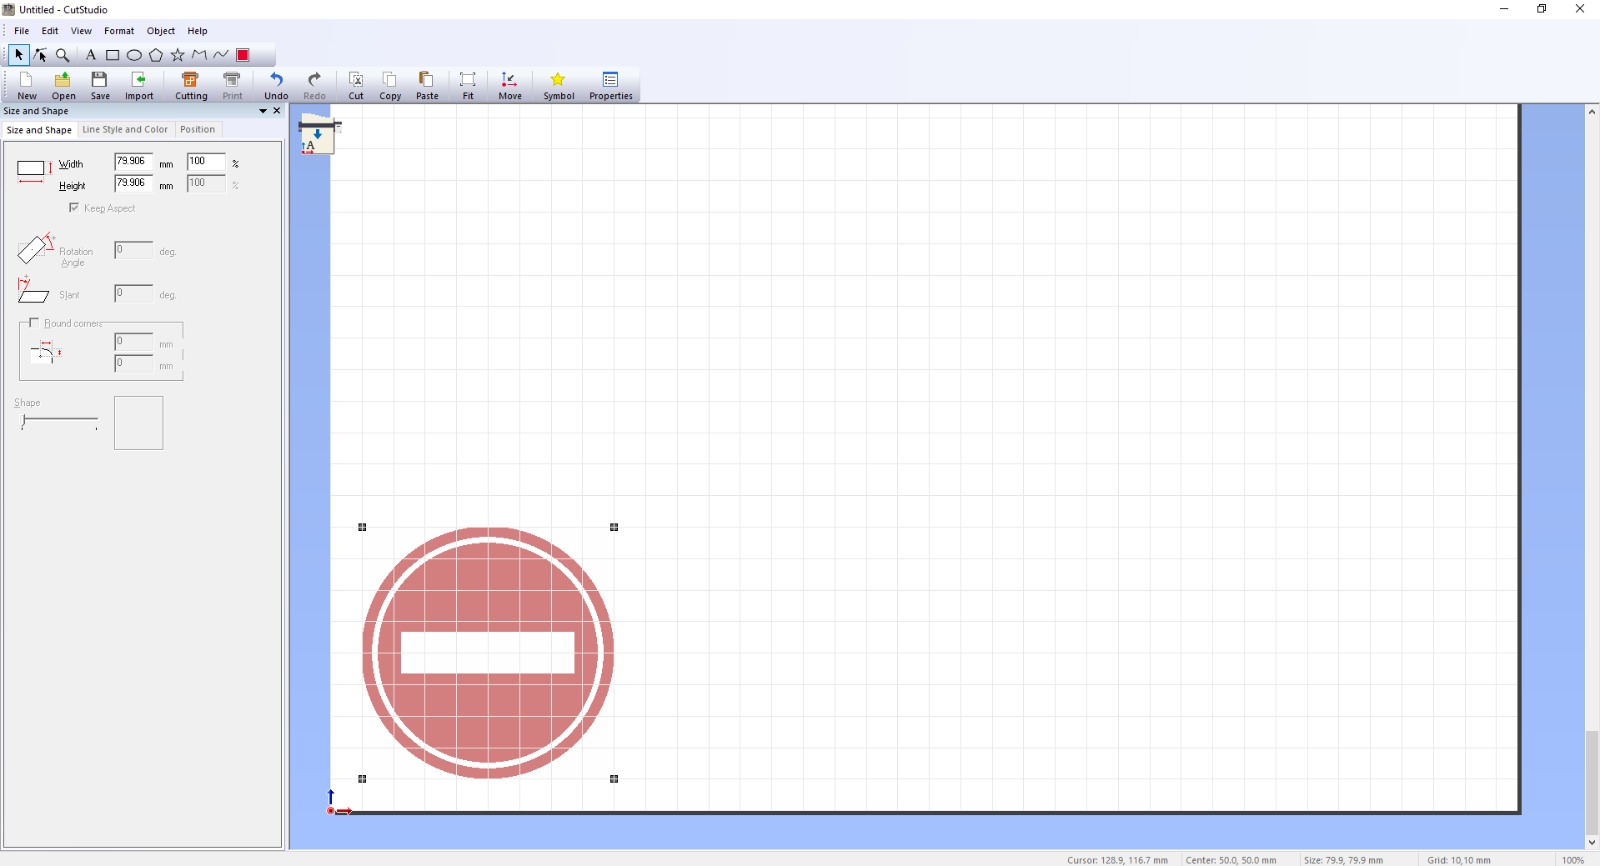
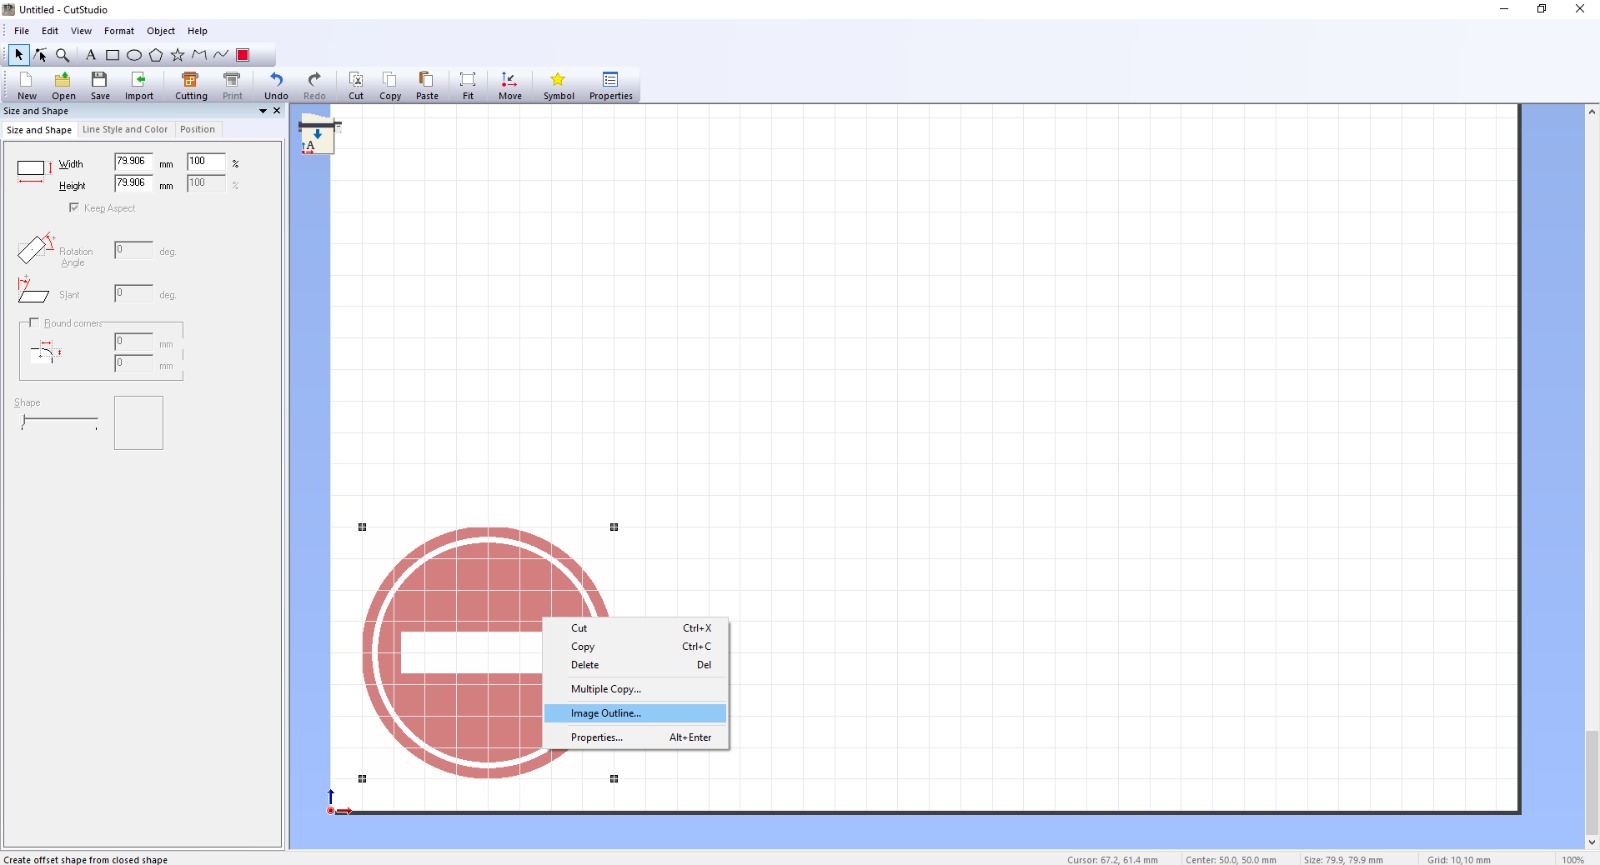
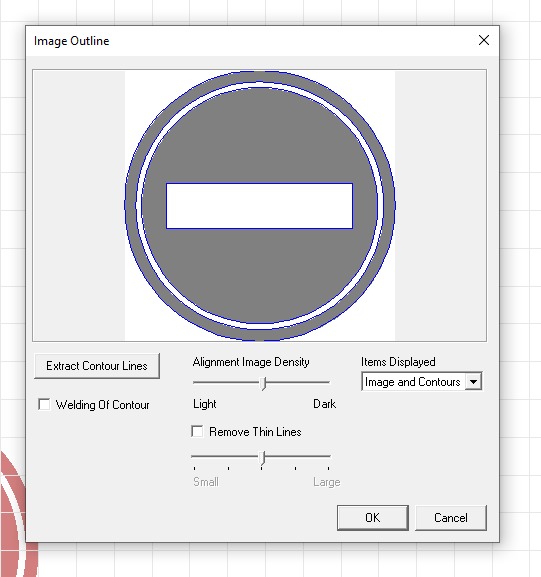
Outline the Image
After importing, right-click on the image and choose Image Outline (this converts your design into cuttable paths).
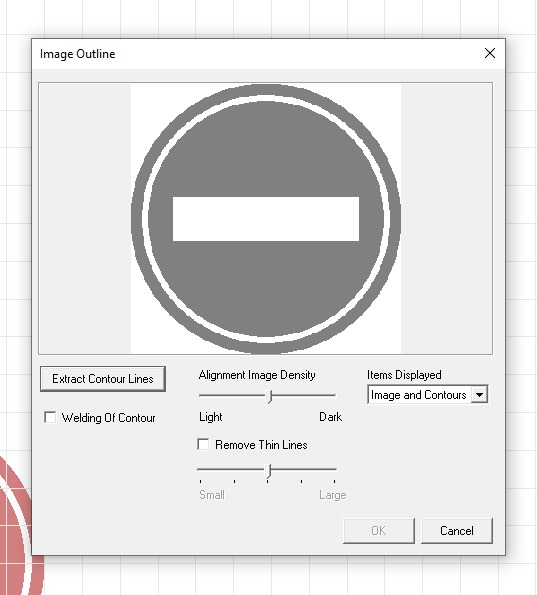
Trace the Outline
In the image outline settings:
Adjust the alignment and image density if necessary.
Confirm to generate the traced outlines.
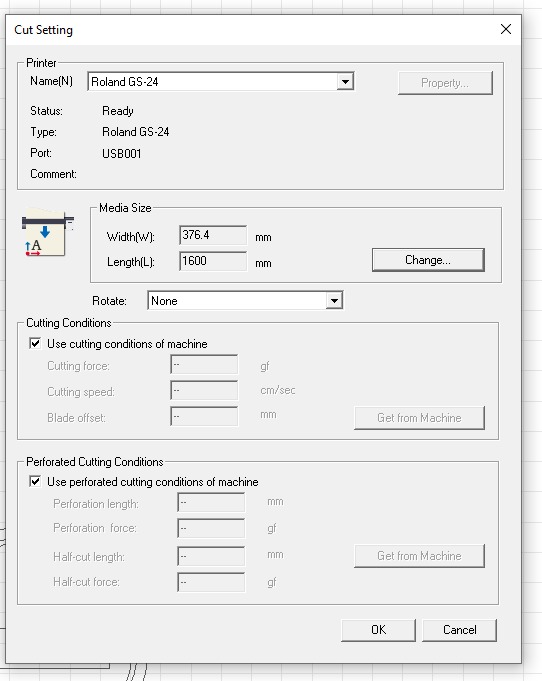
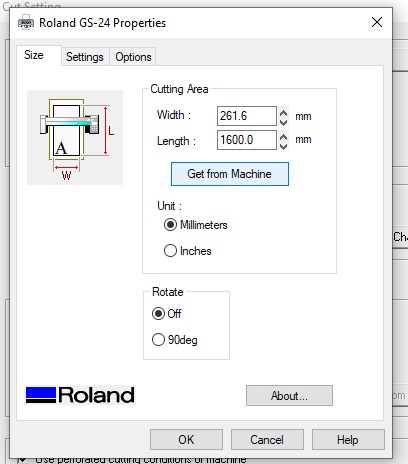
Adjust Media Settings
Go to File > Cutting Setup or toolbar settings.
Select Get from Machine to fetch the correct media size (width and length).
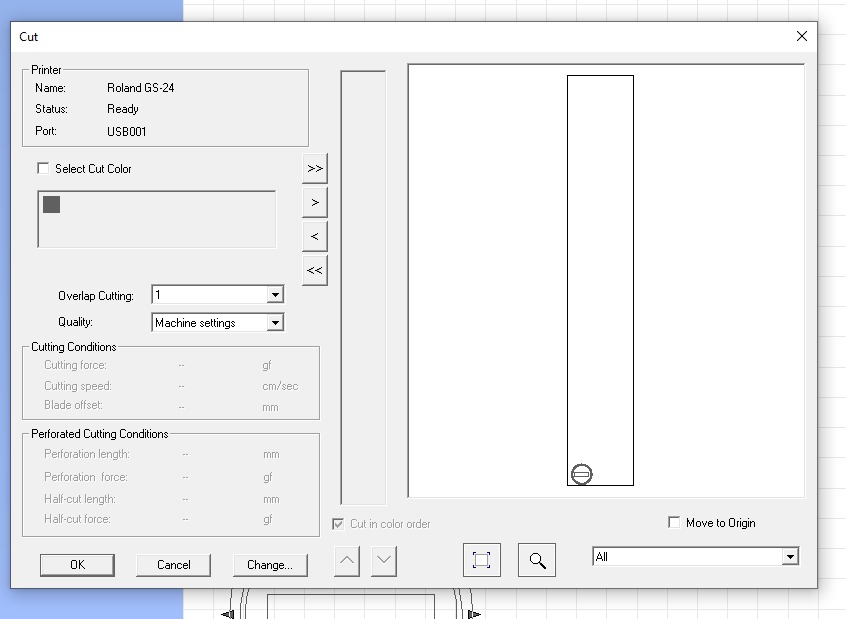
Send to Cut
Once your layout is ready and aligned within the media size, click Cutting in the toolbar.
Confirm settings and start the cutting process.
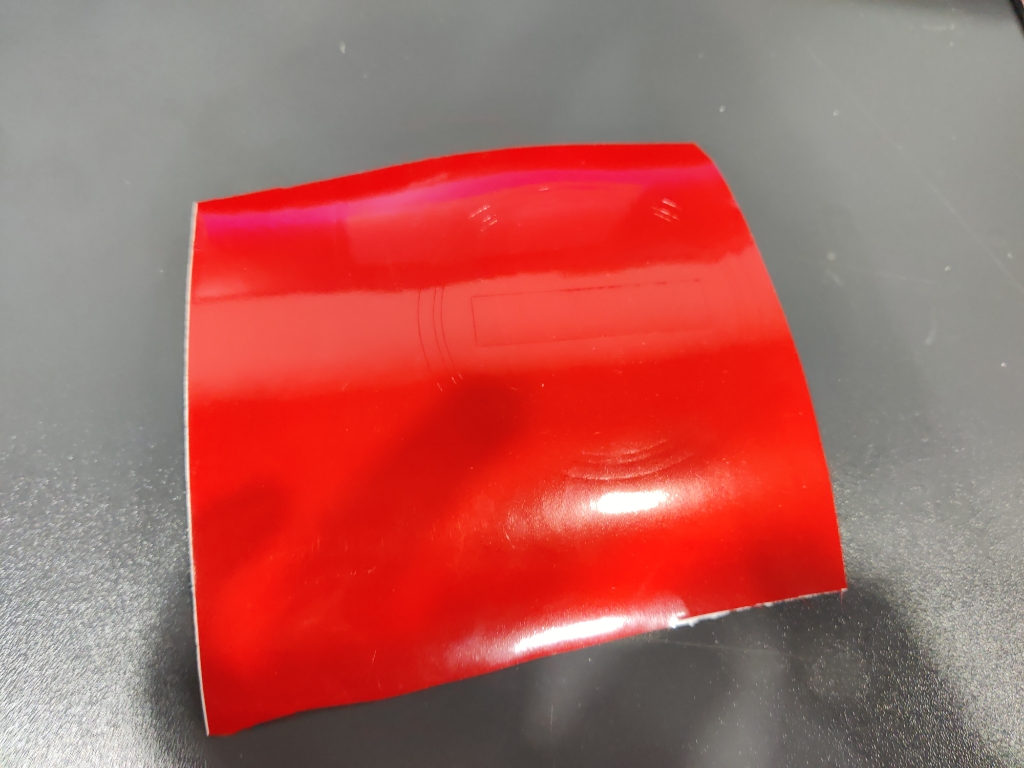
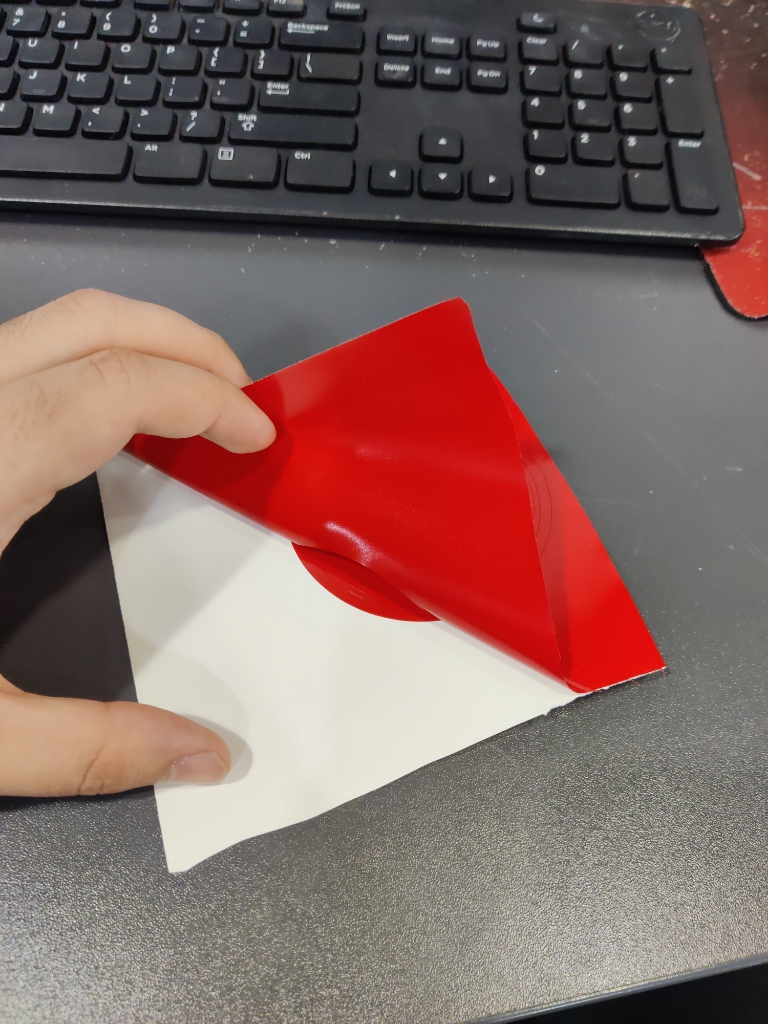
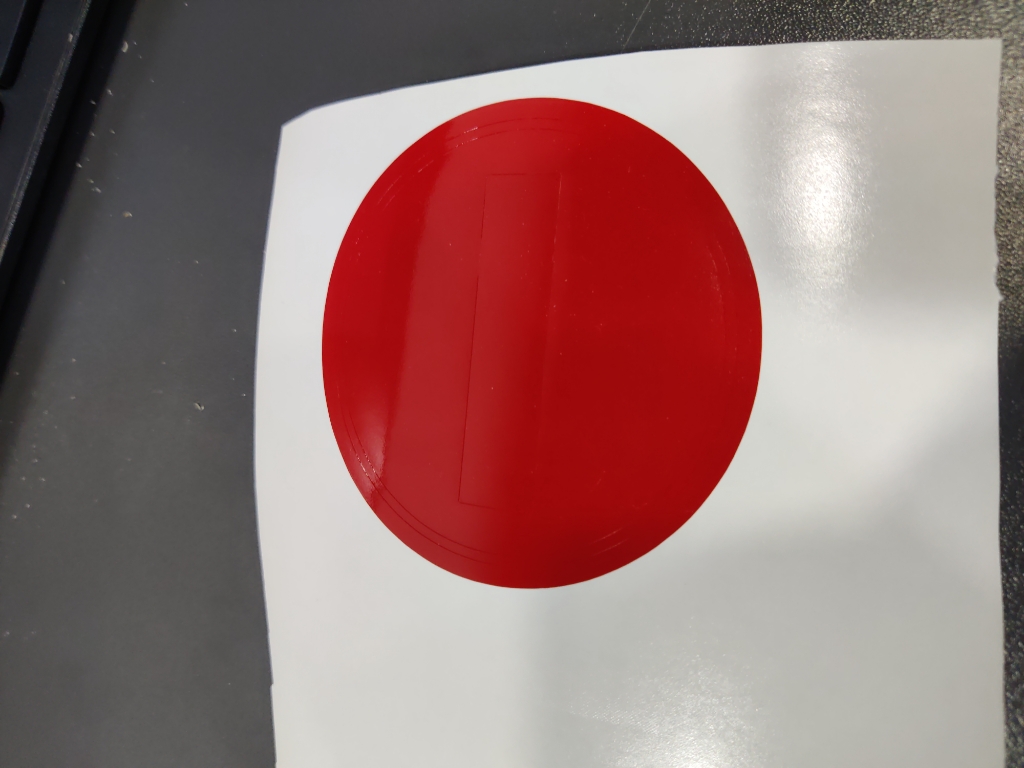
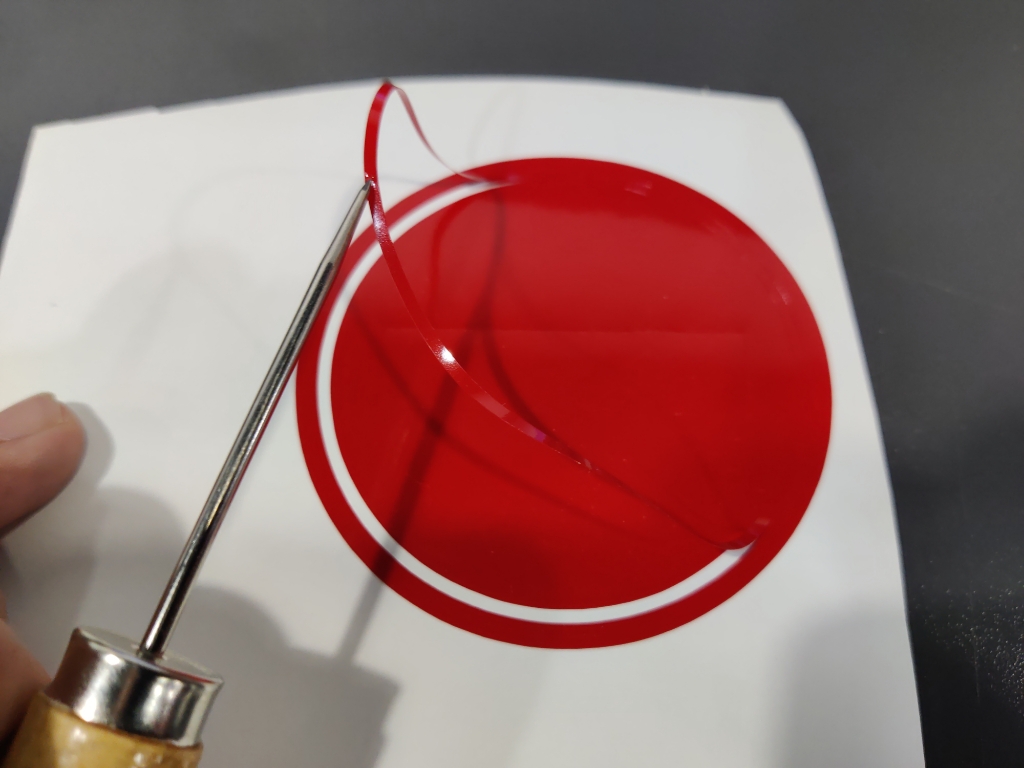
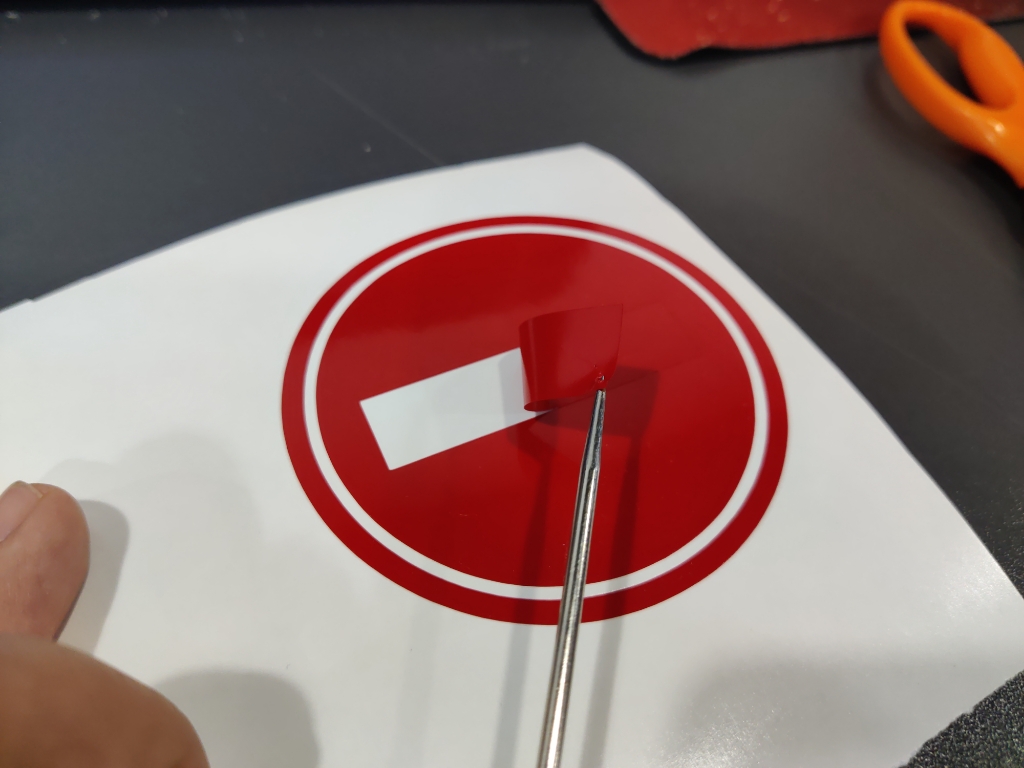
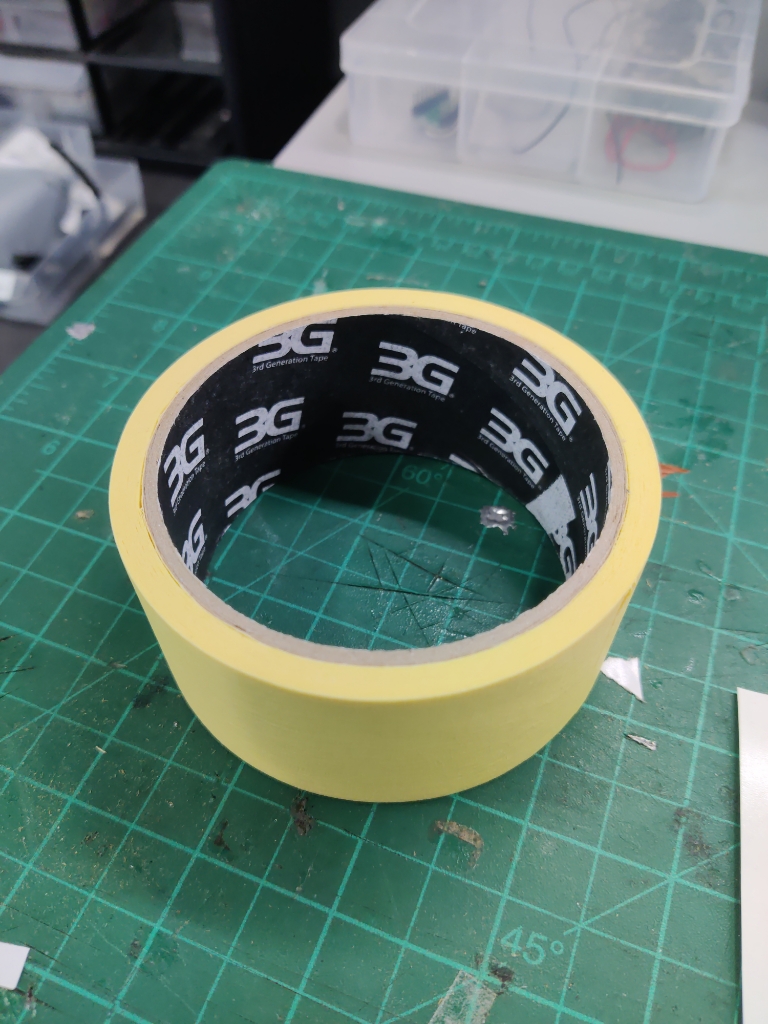
4. Transferring the Vinyl Design
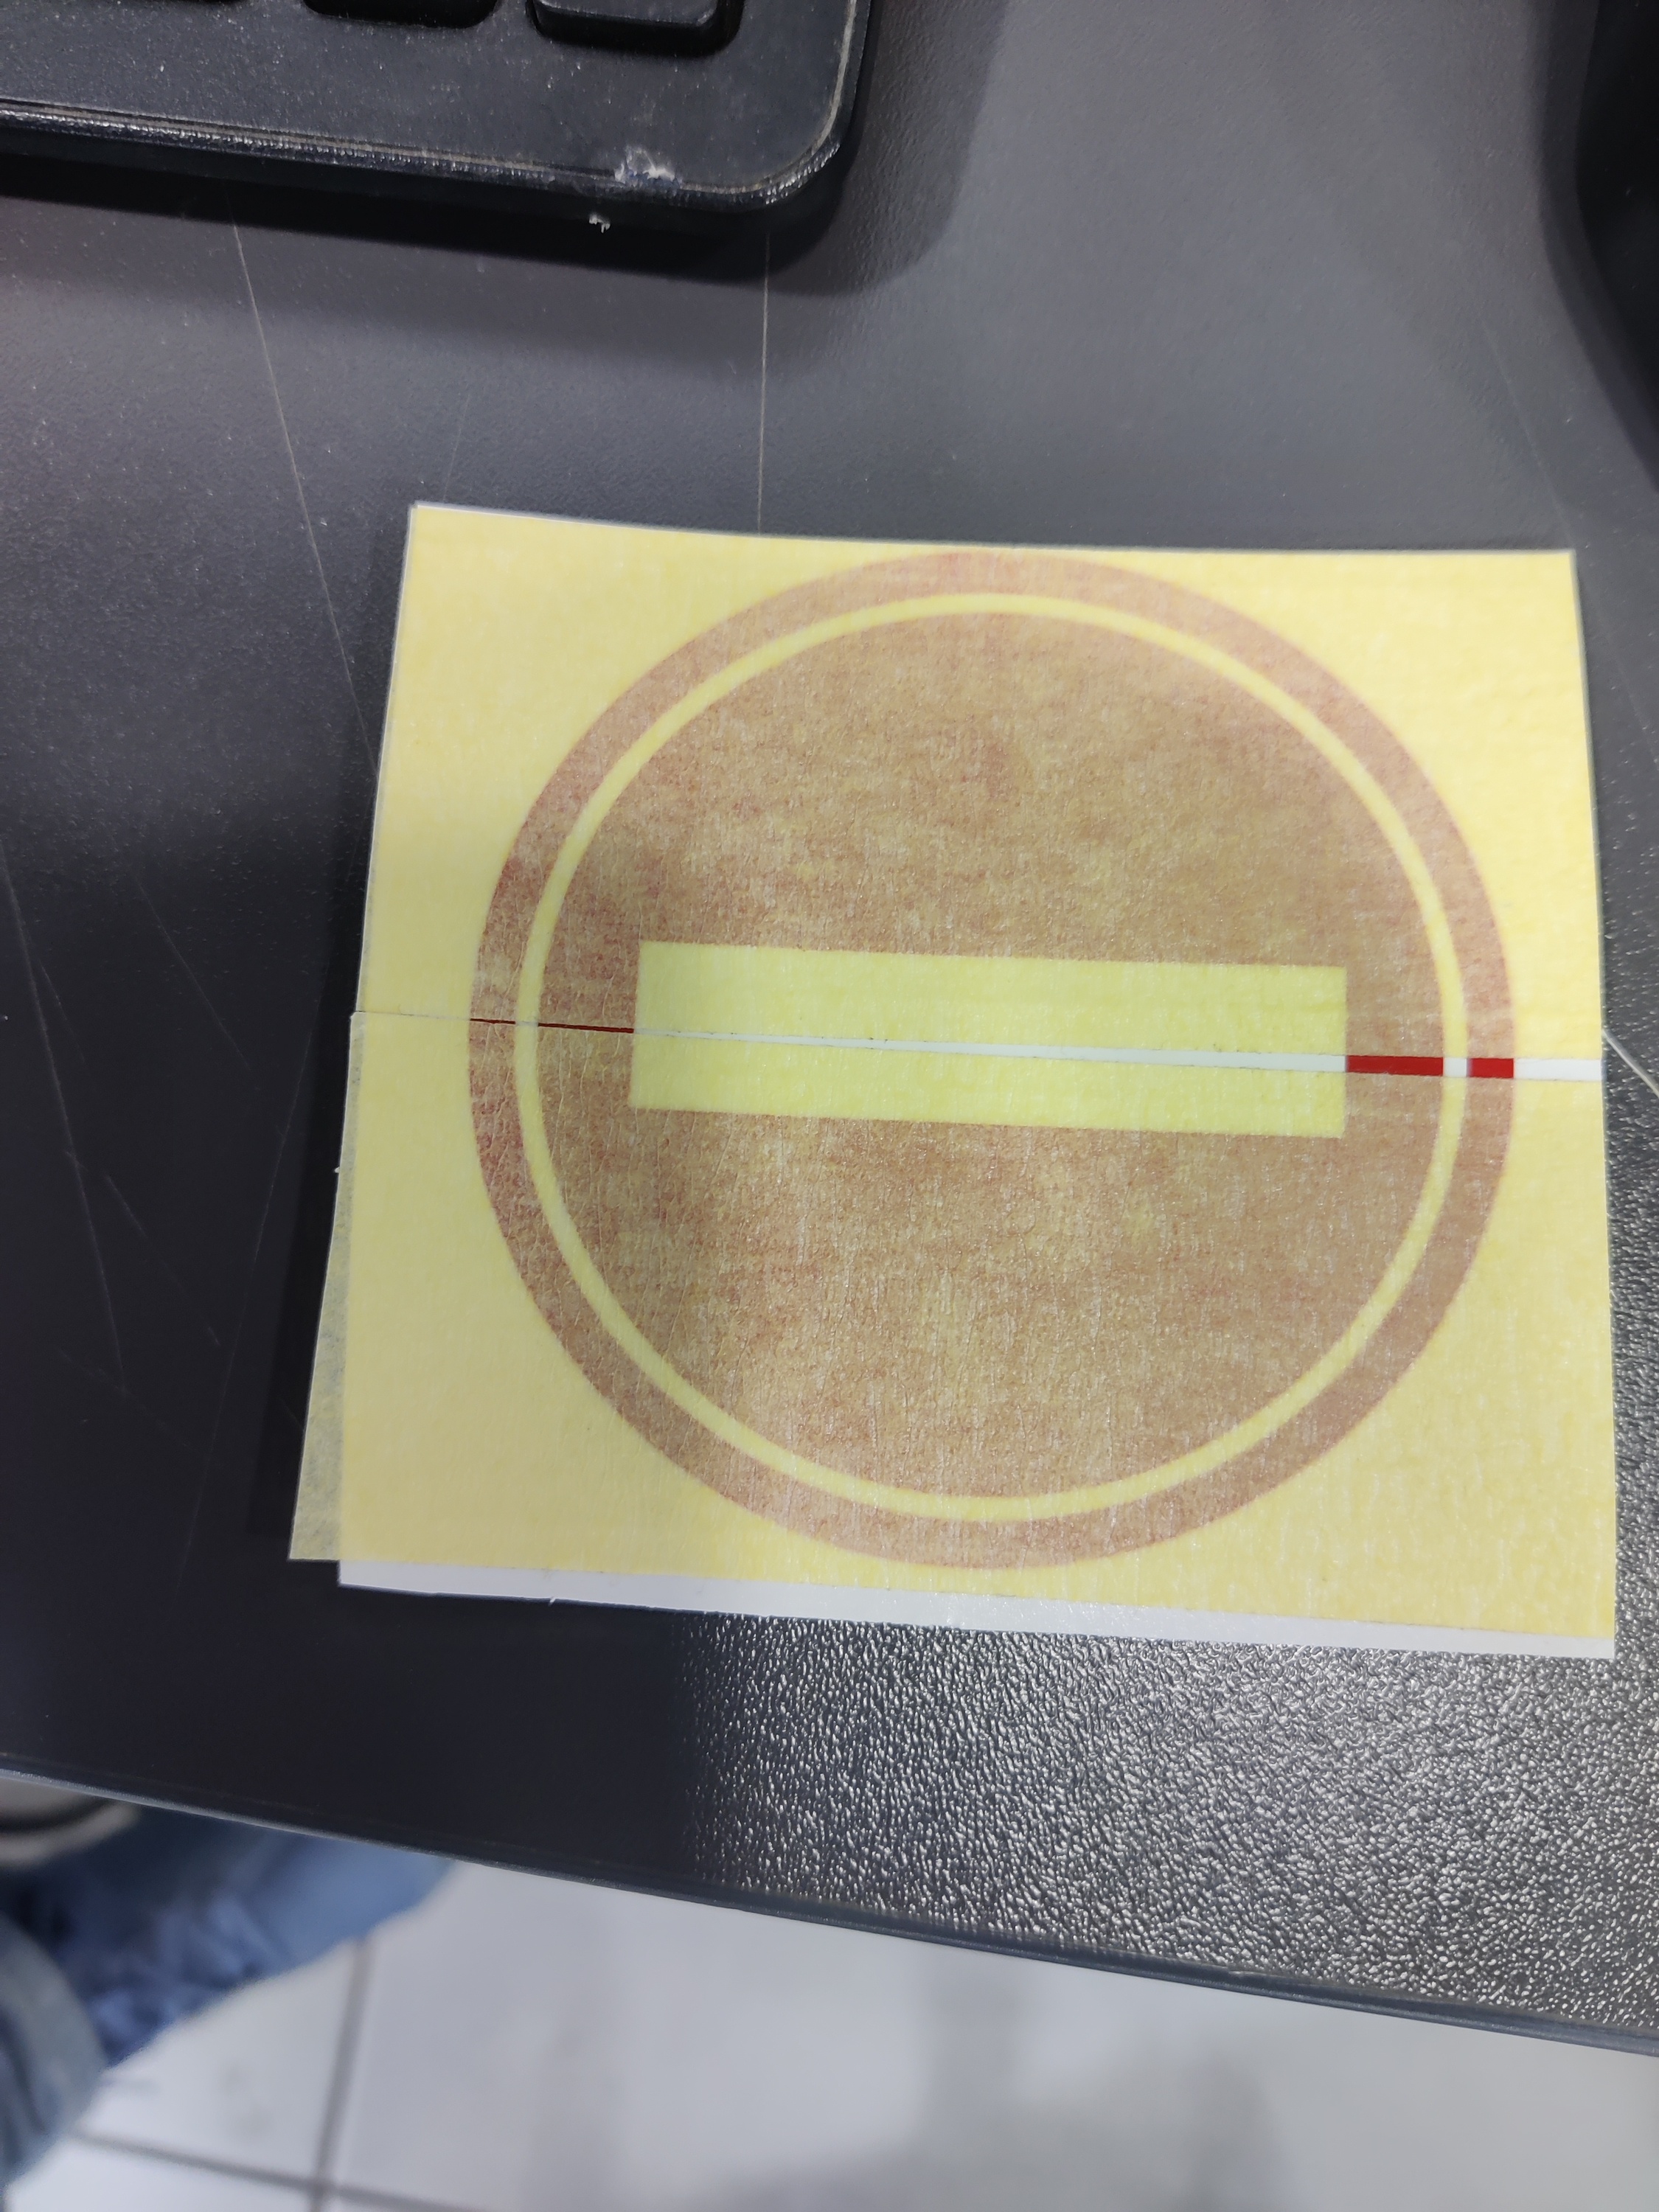
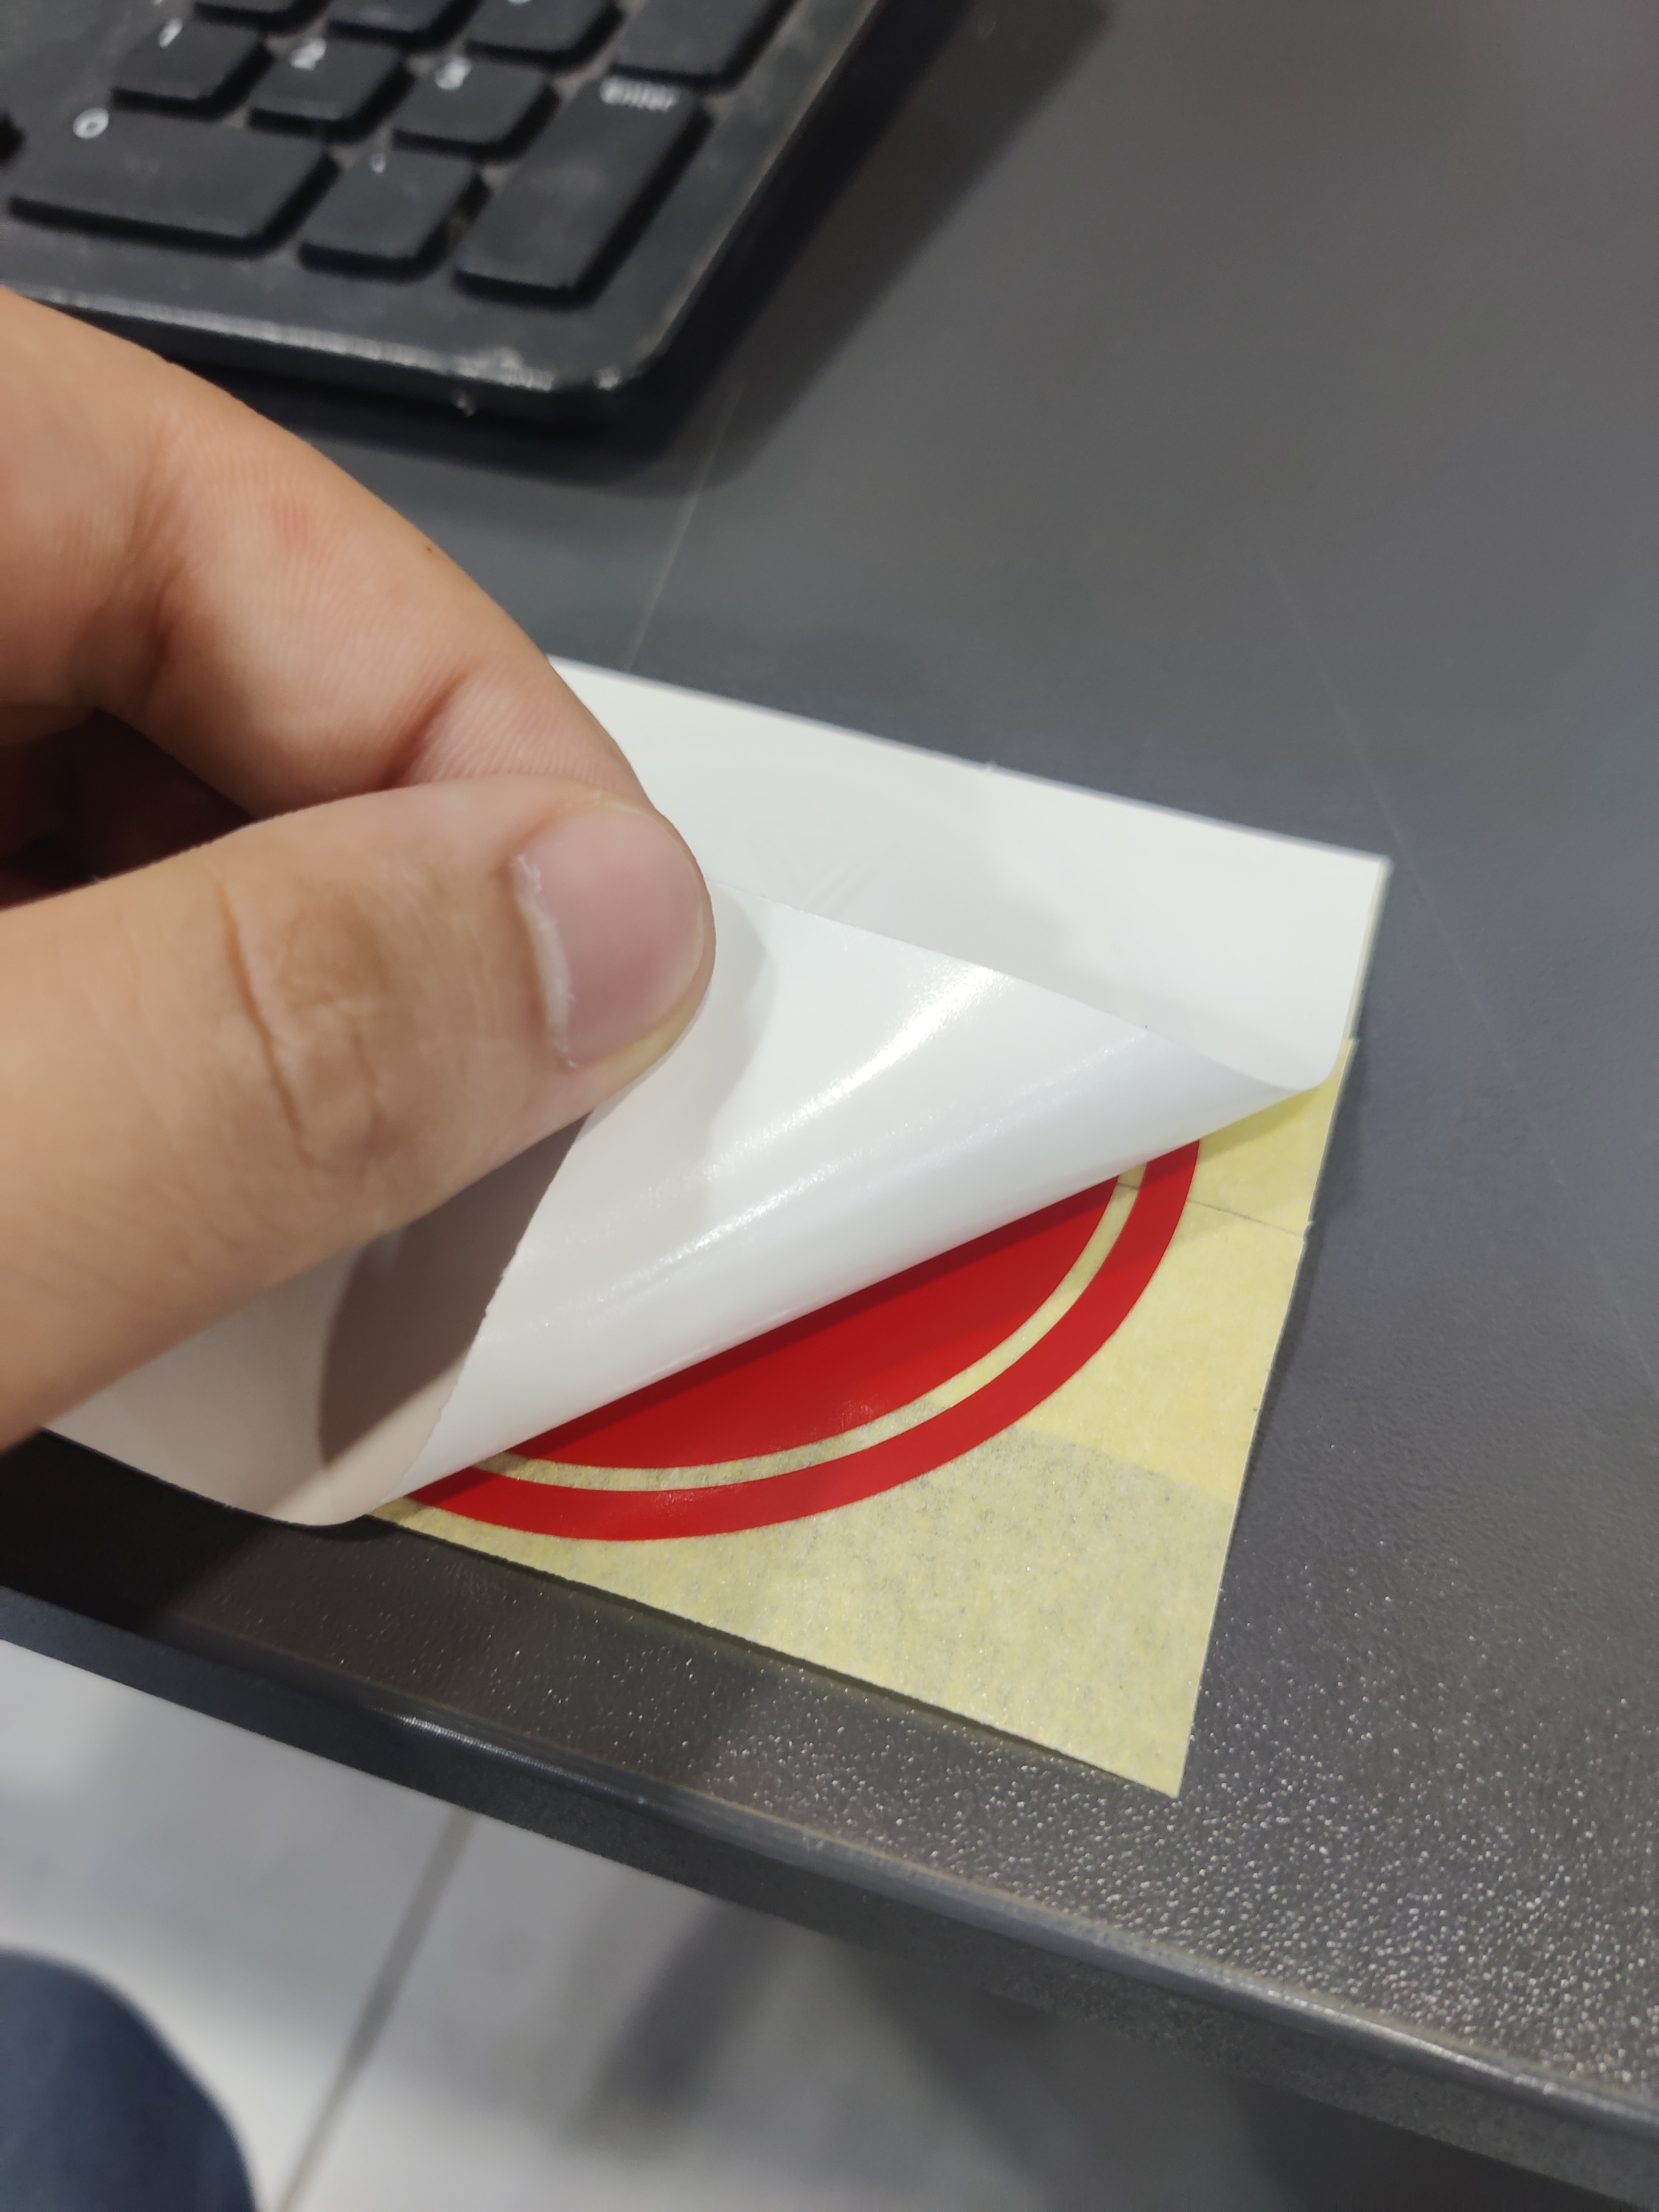
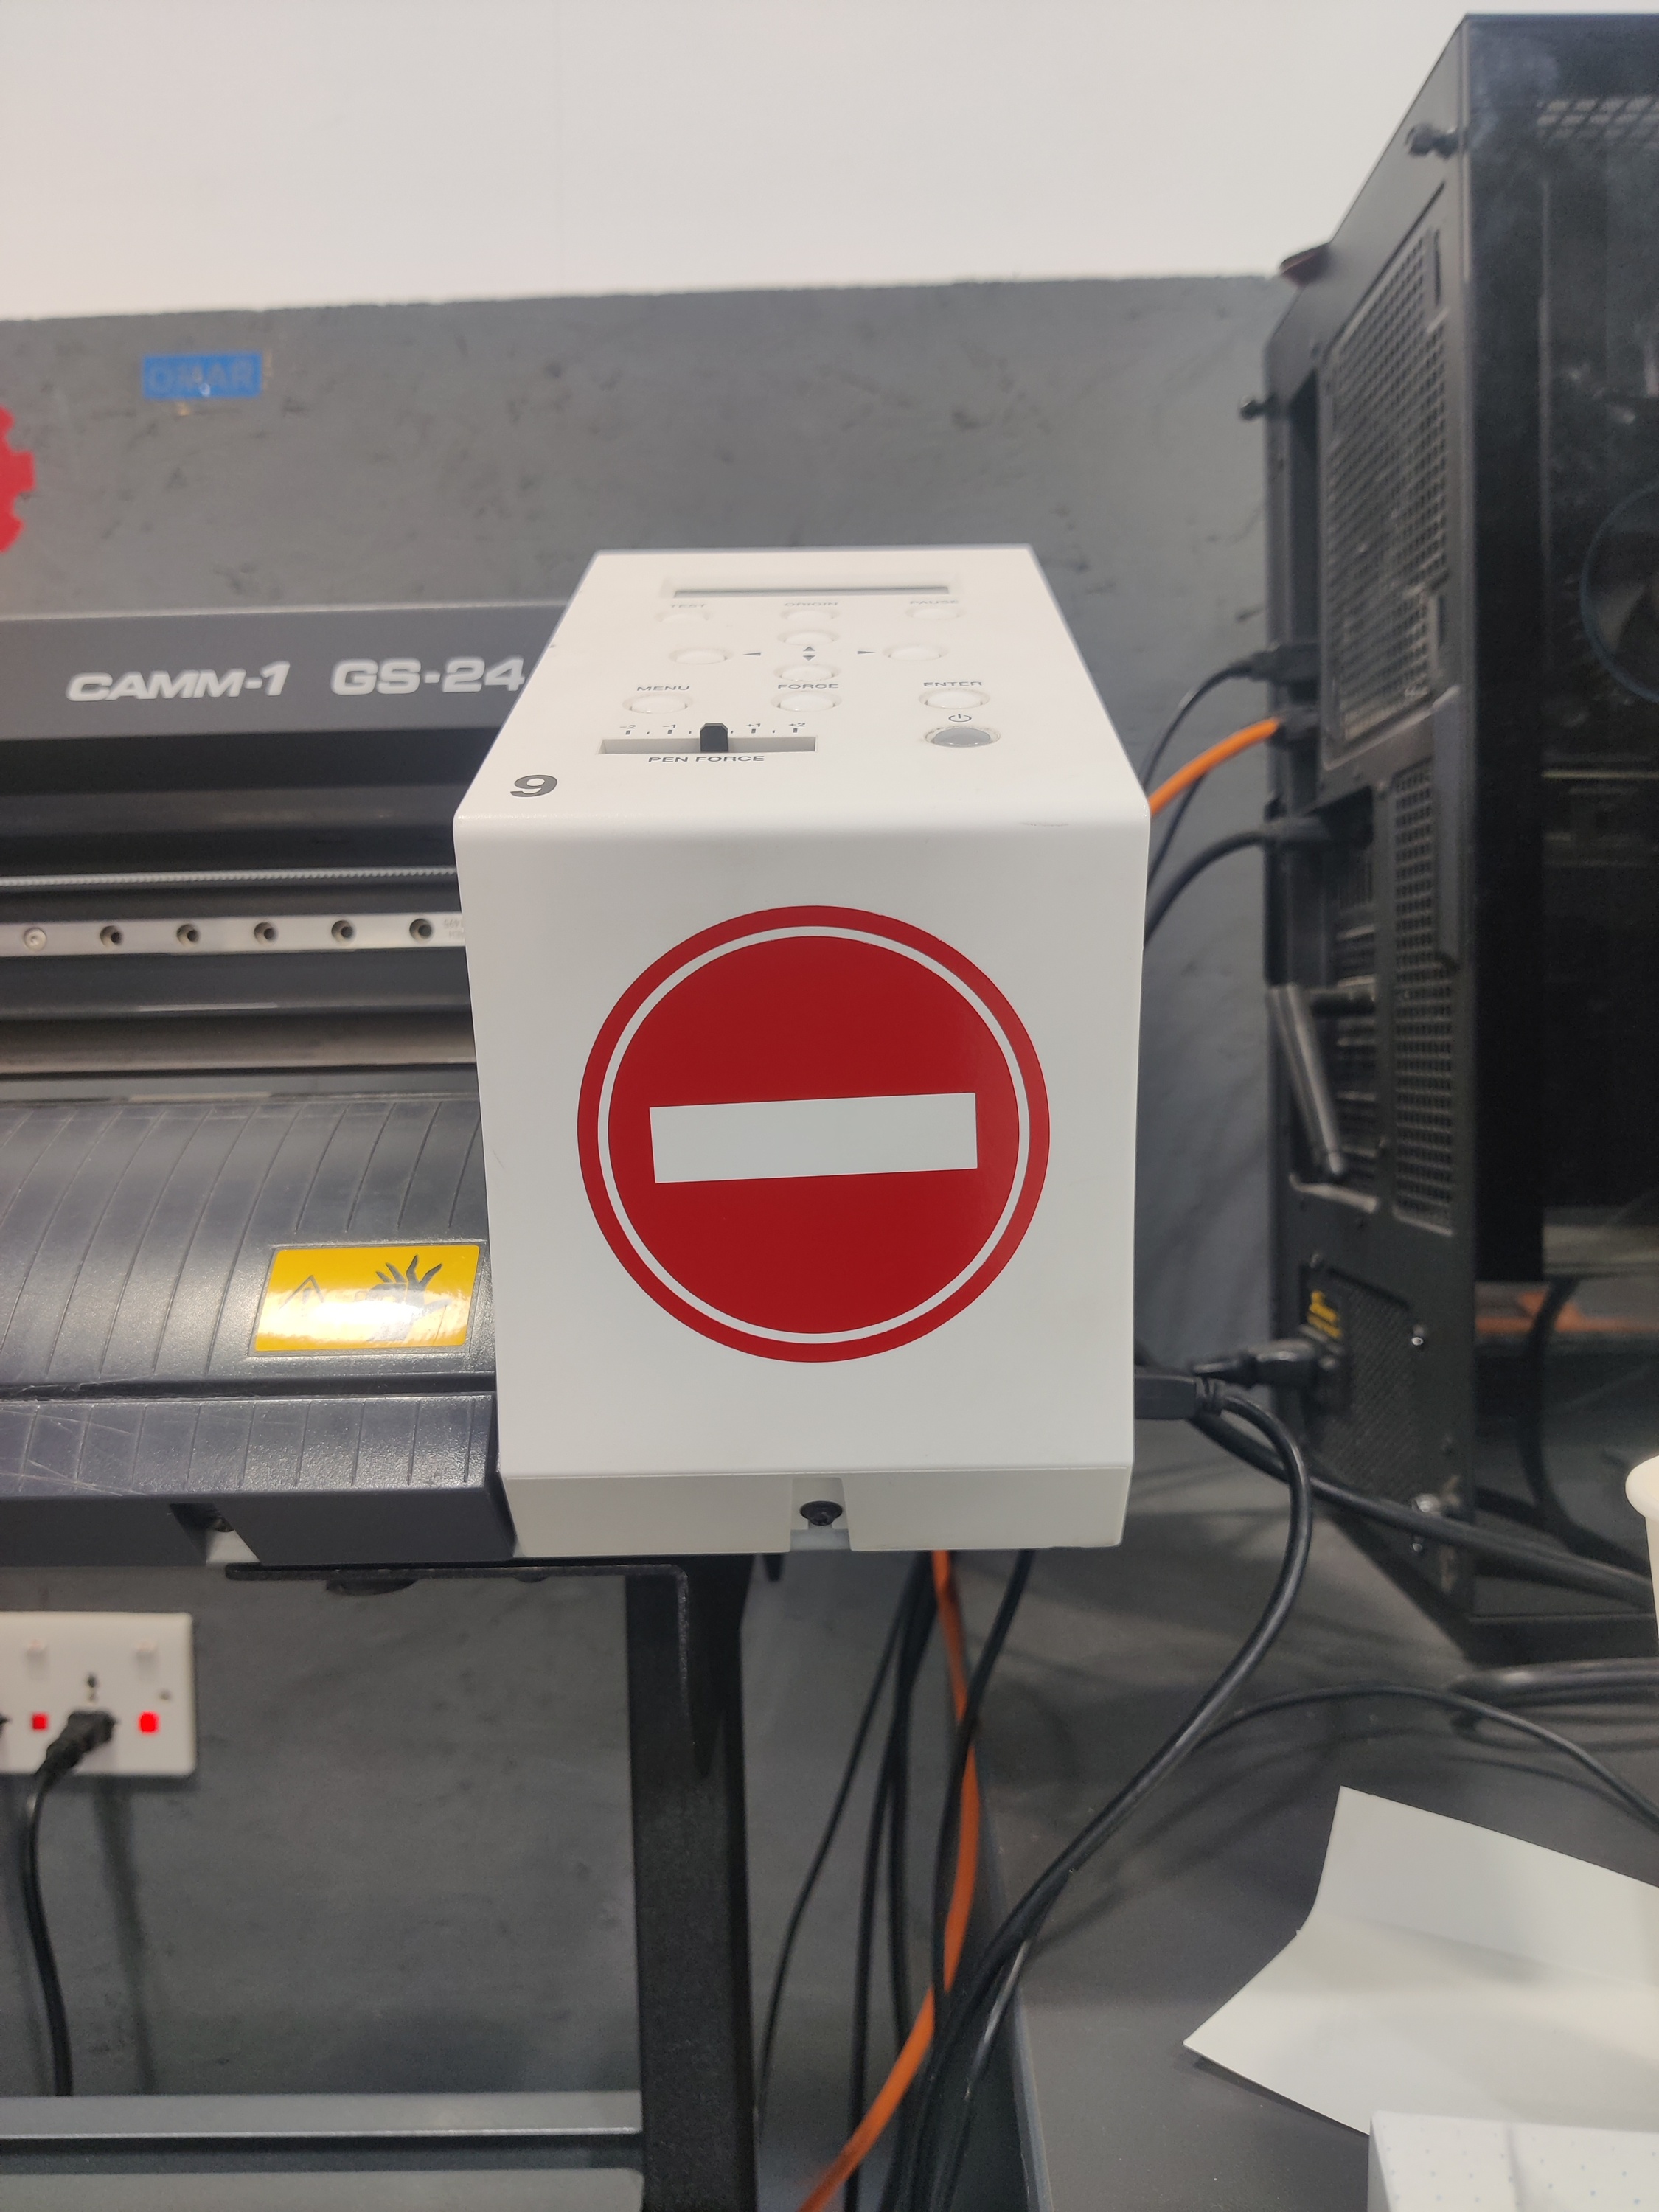
Use duct tape or transfer tape to lift the vinyl design while keeping it aligned.
Carefully apply the sticker to the final surface to prevent air bubbles or misalignment.
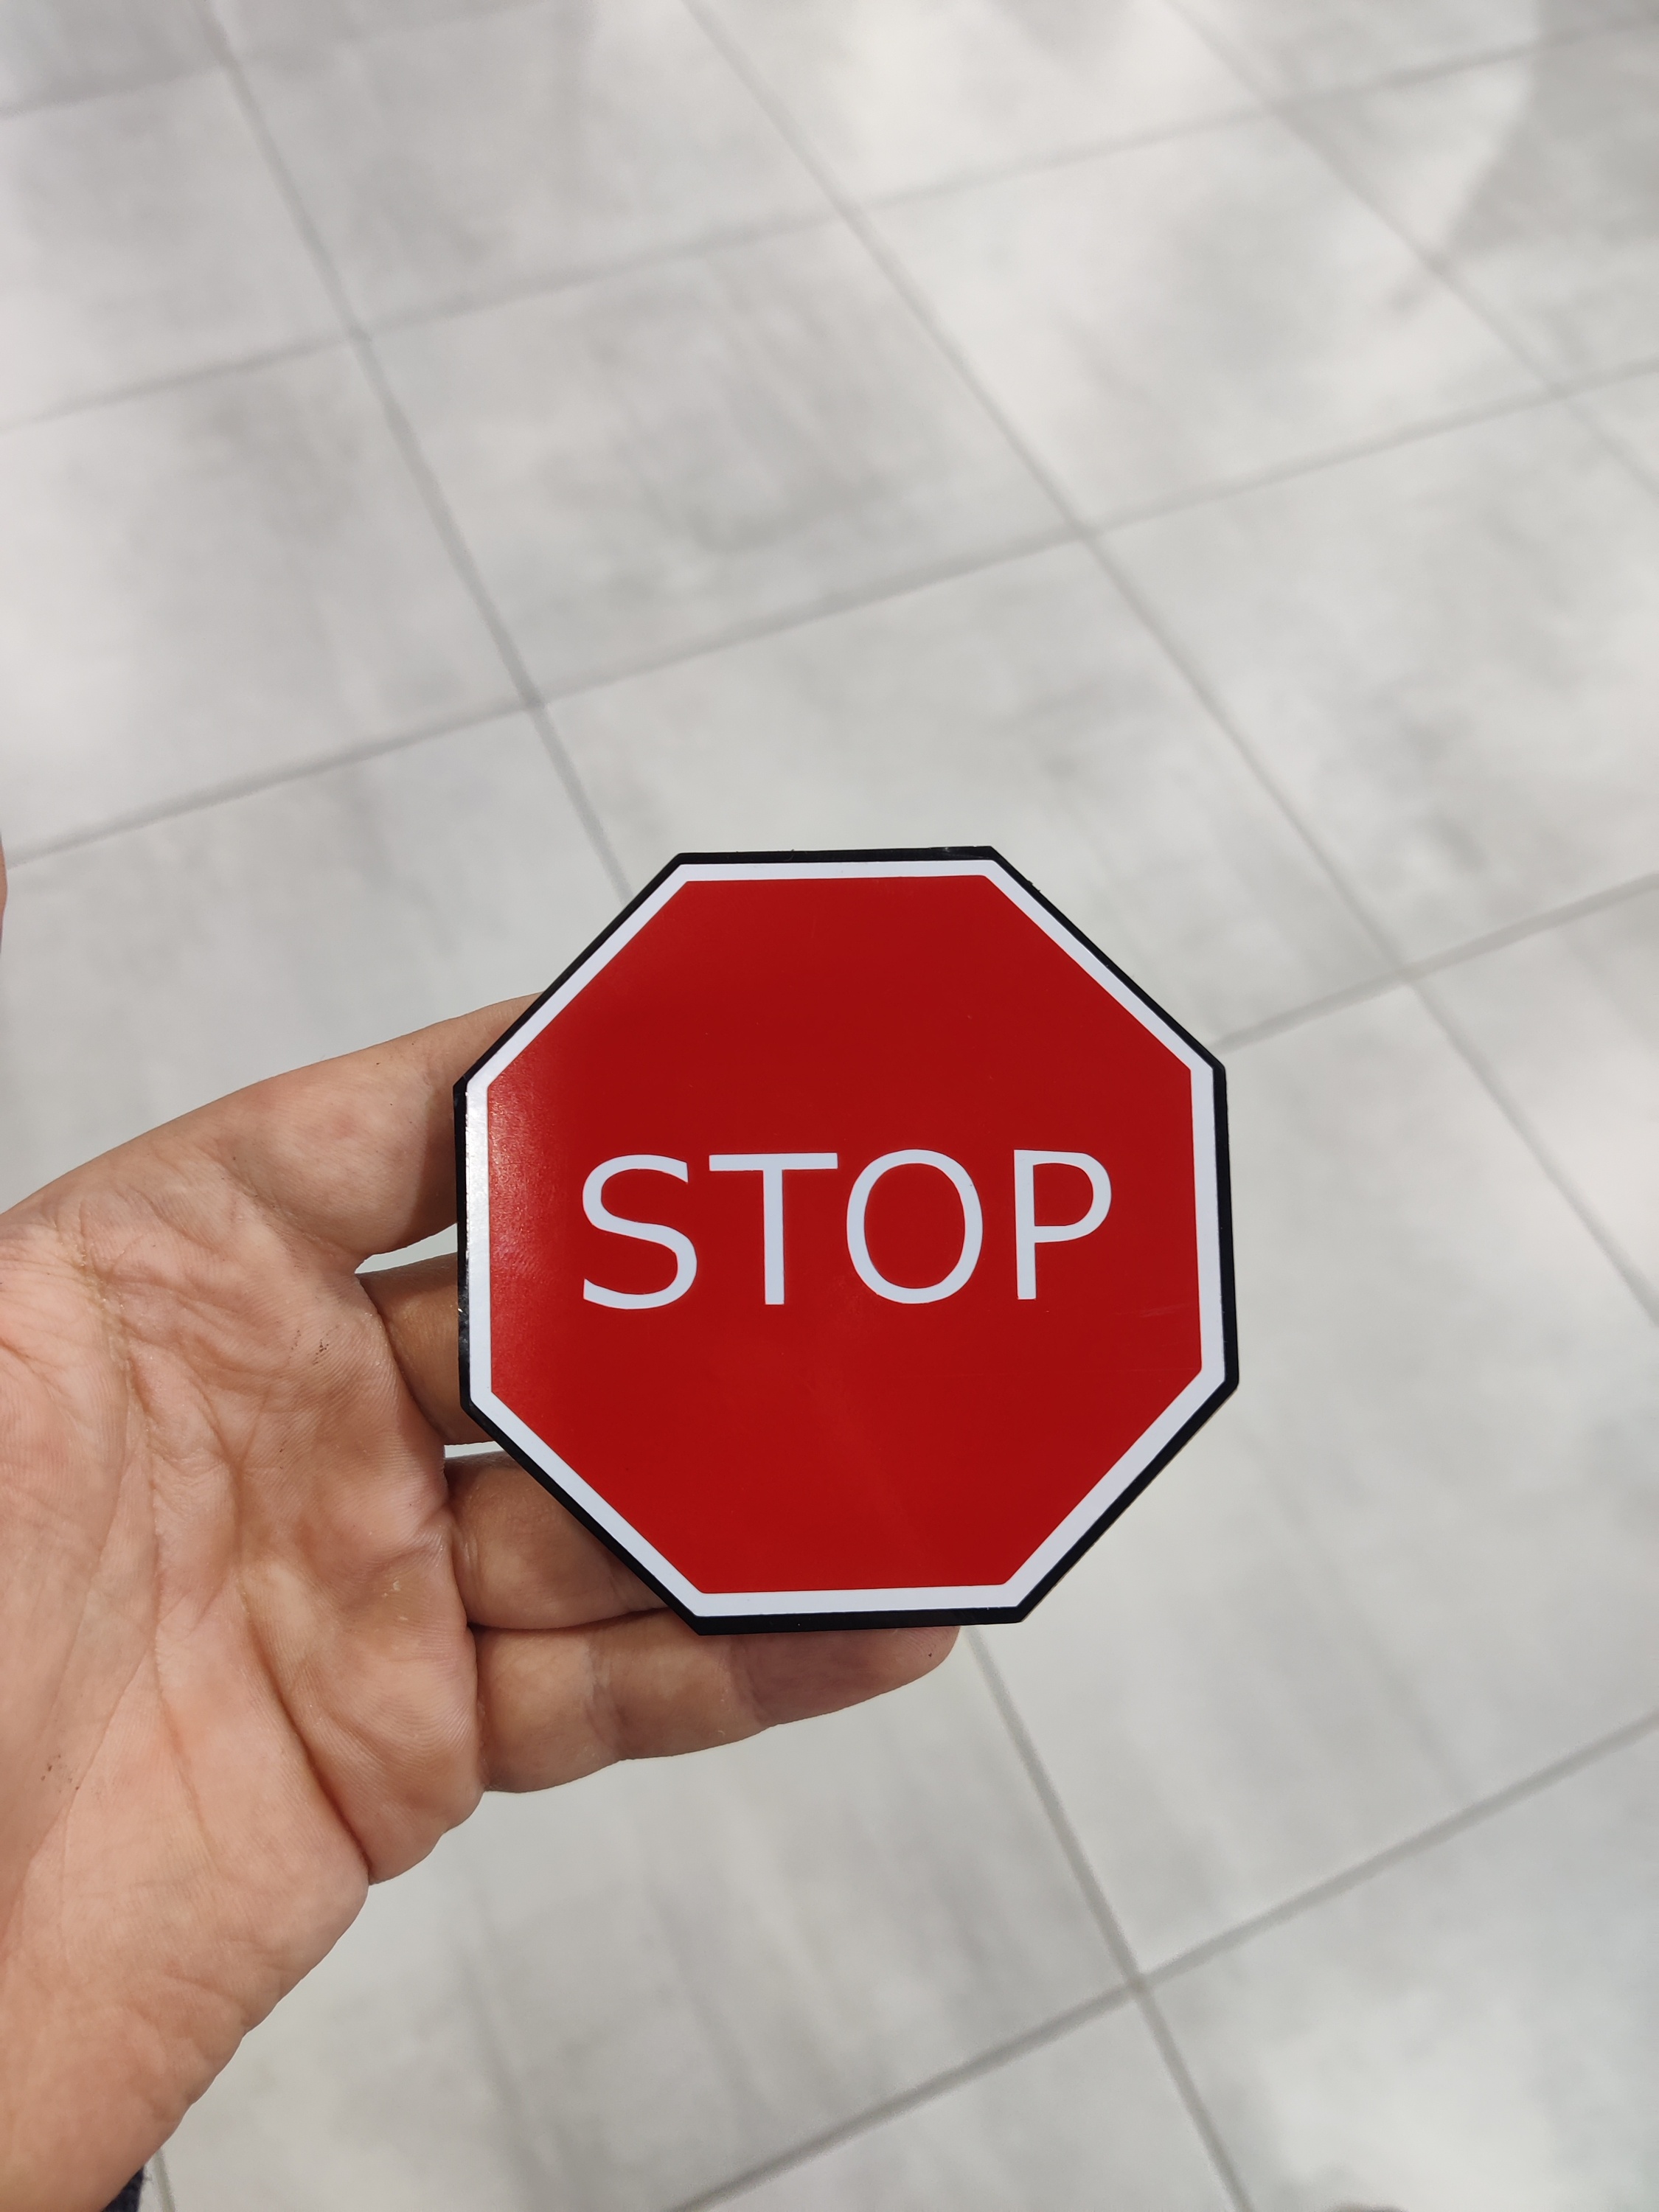
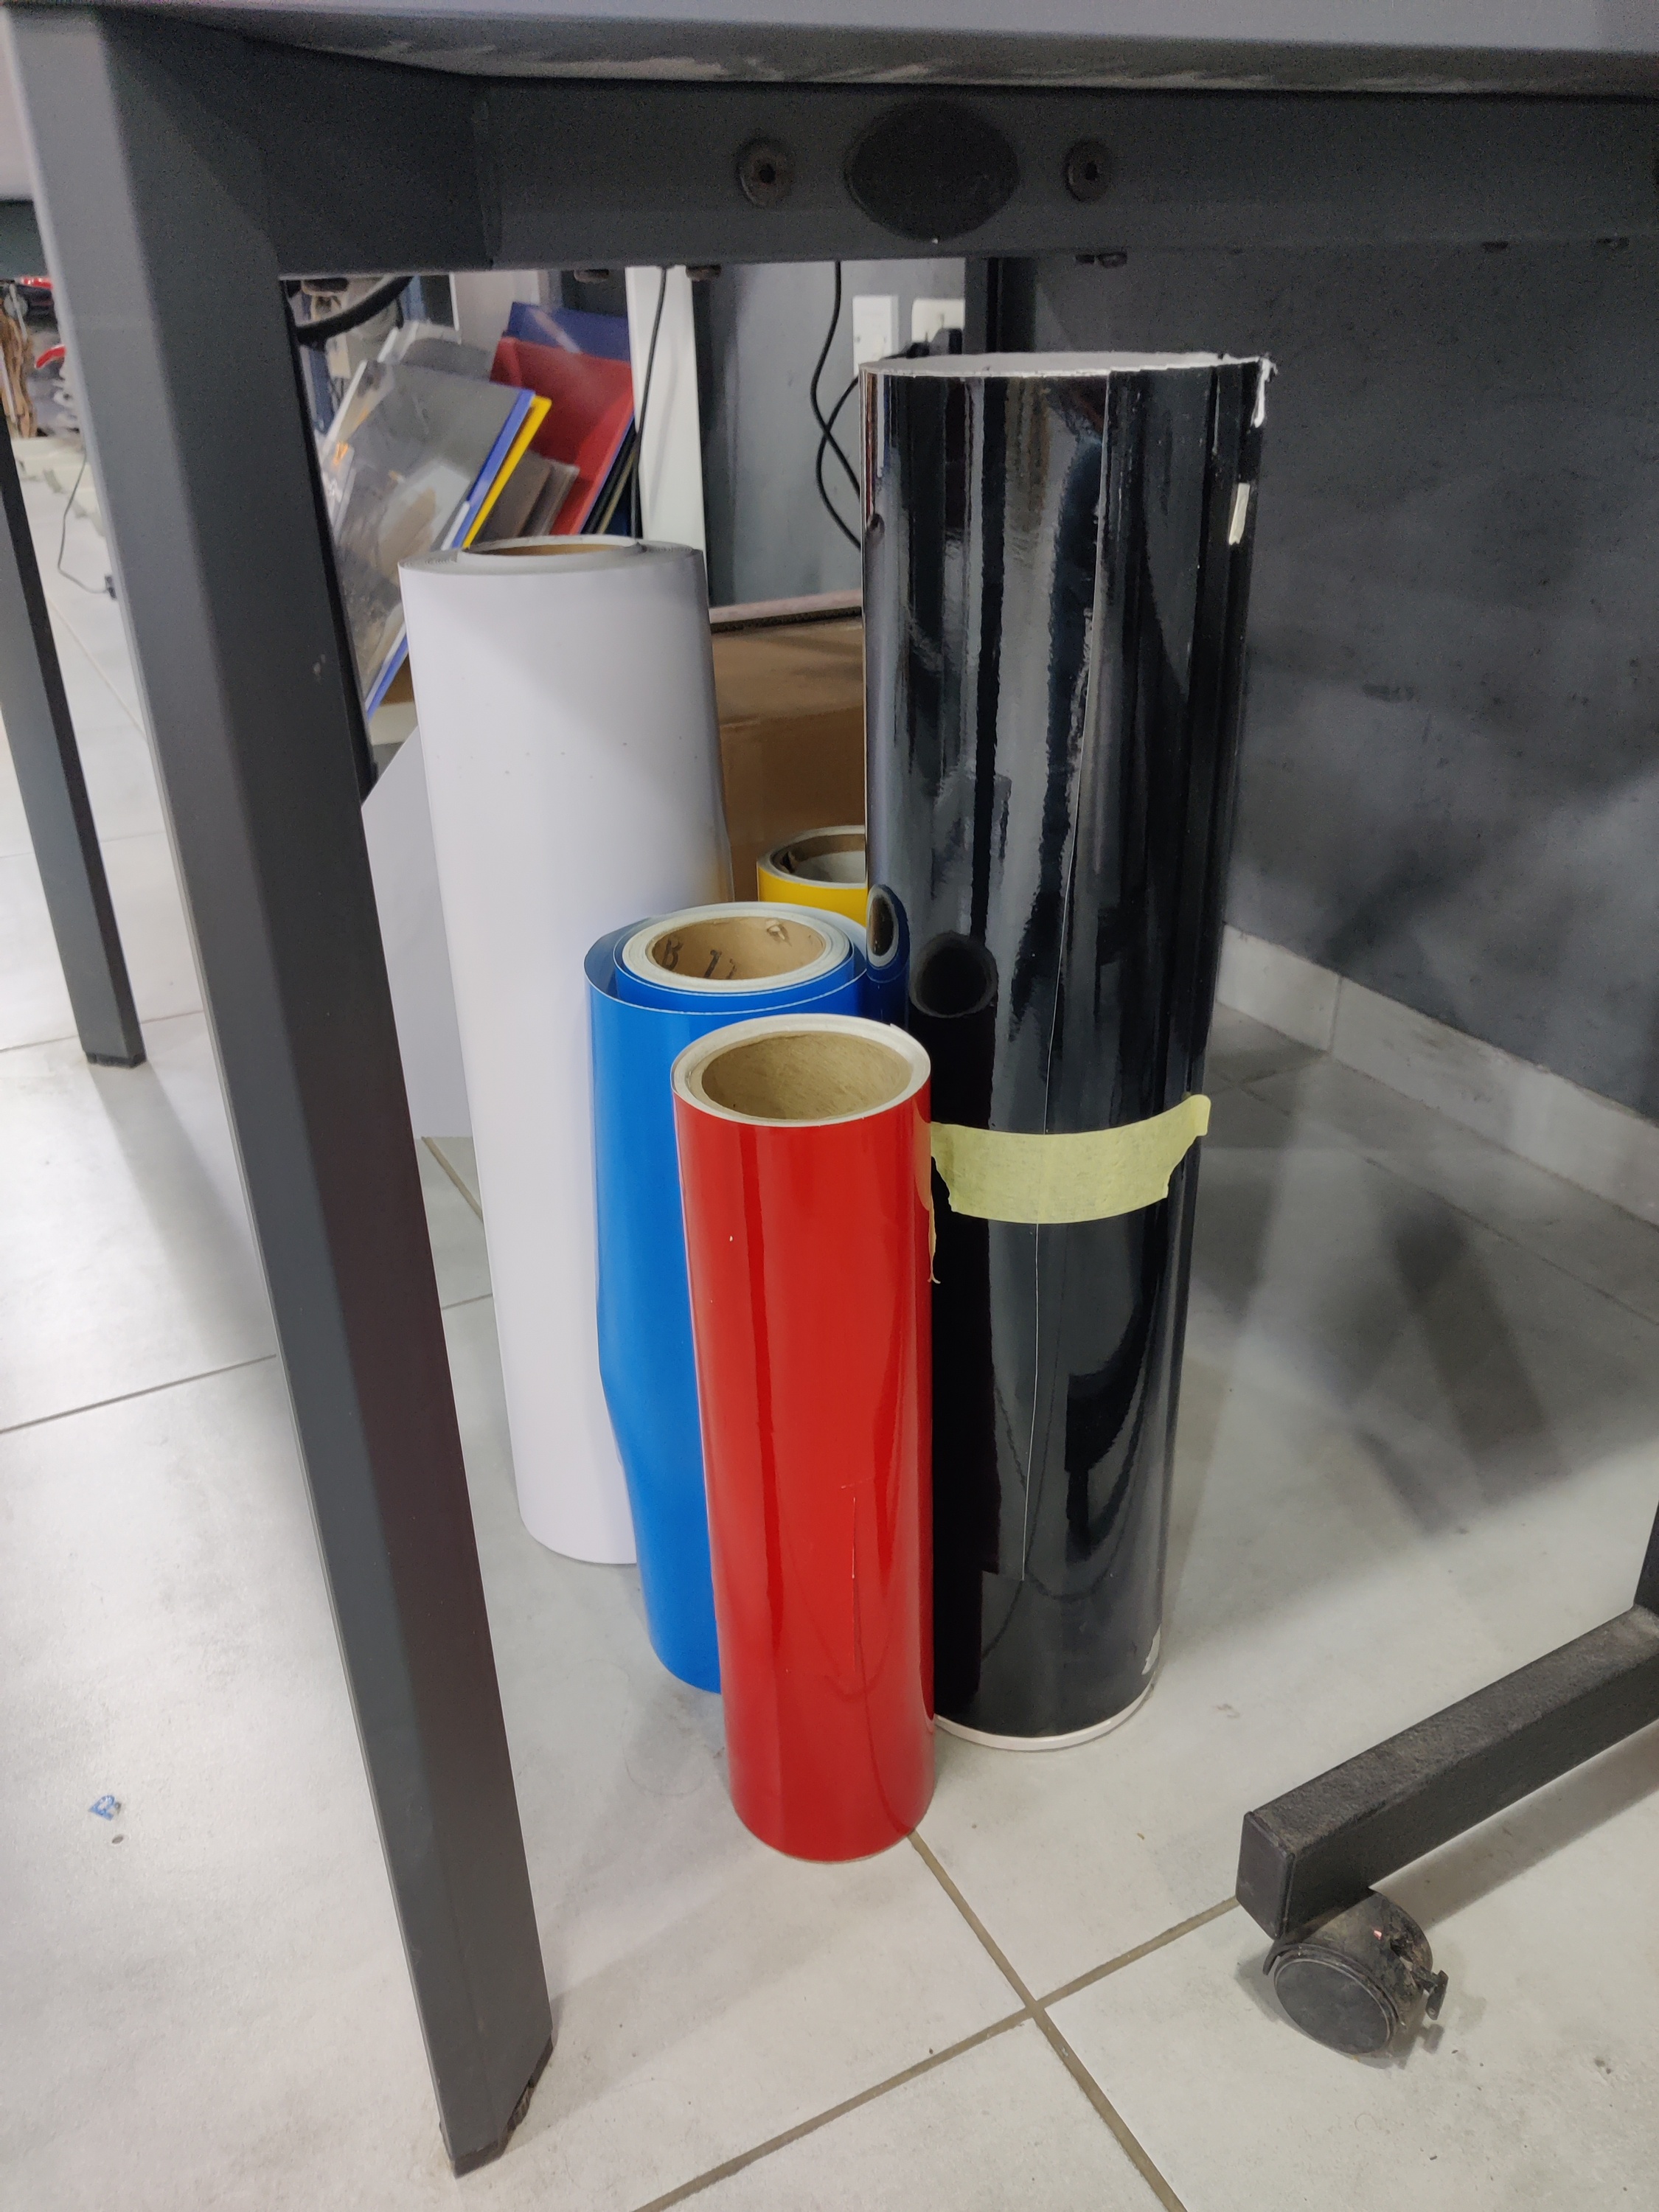
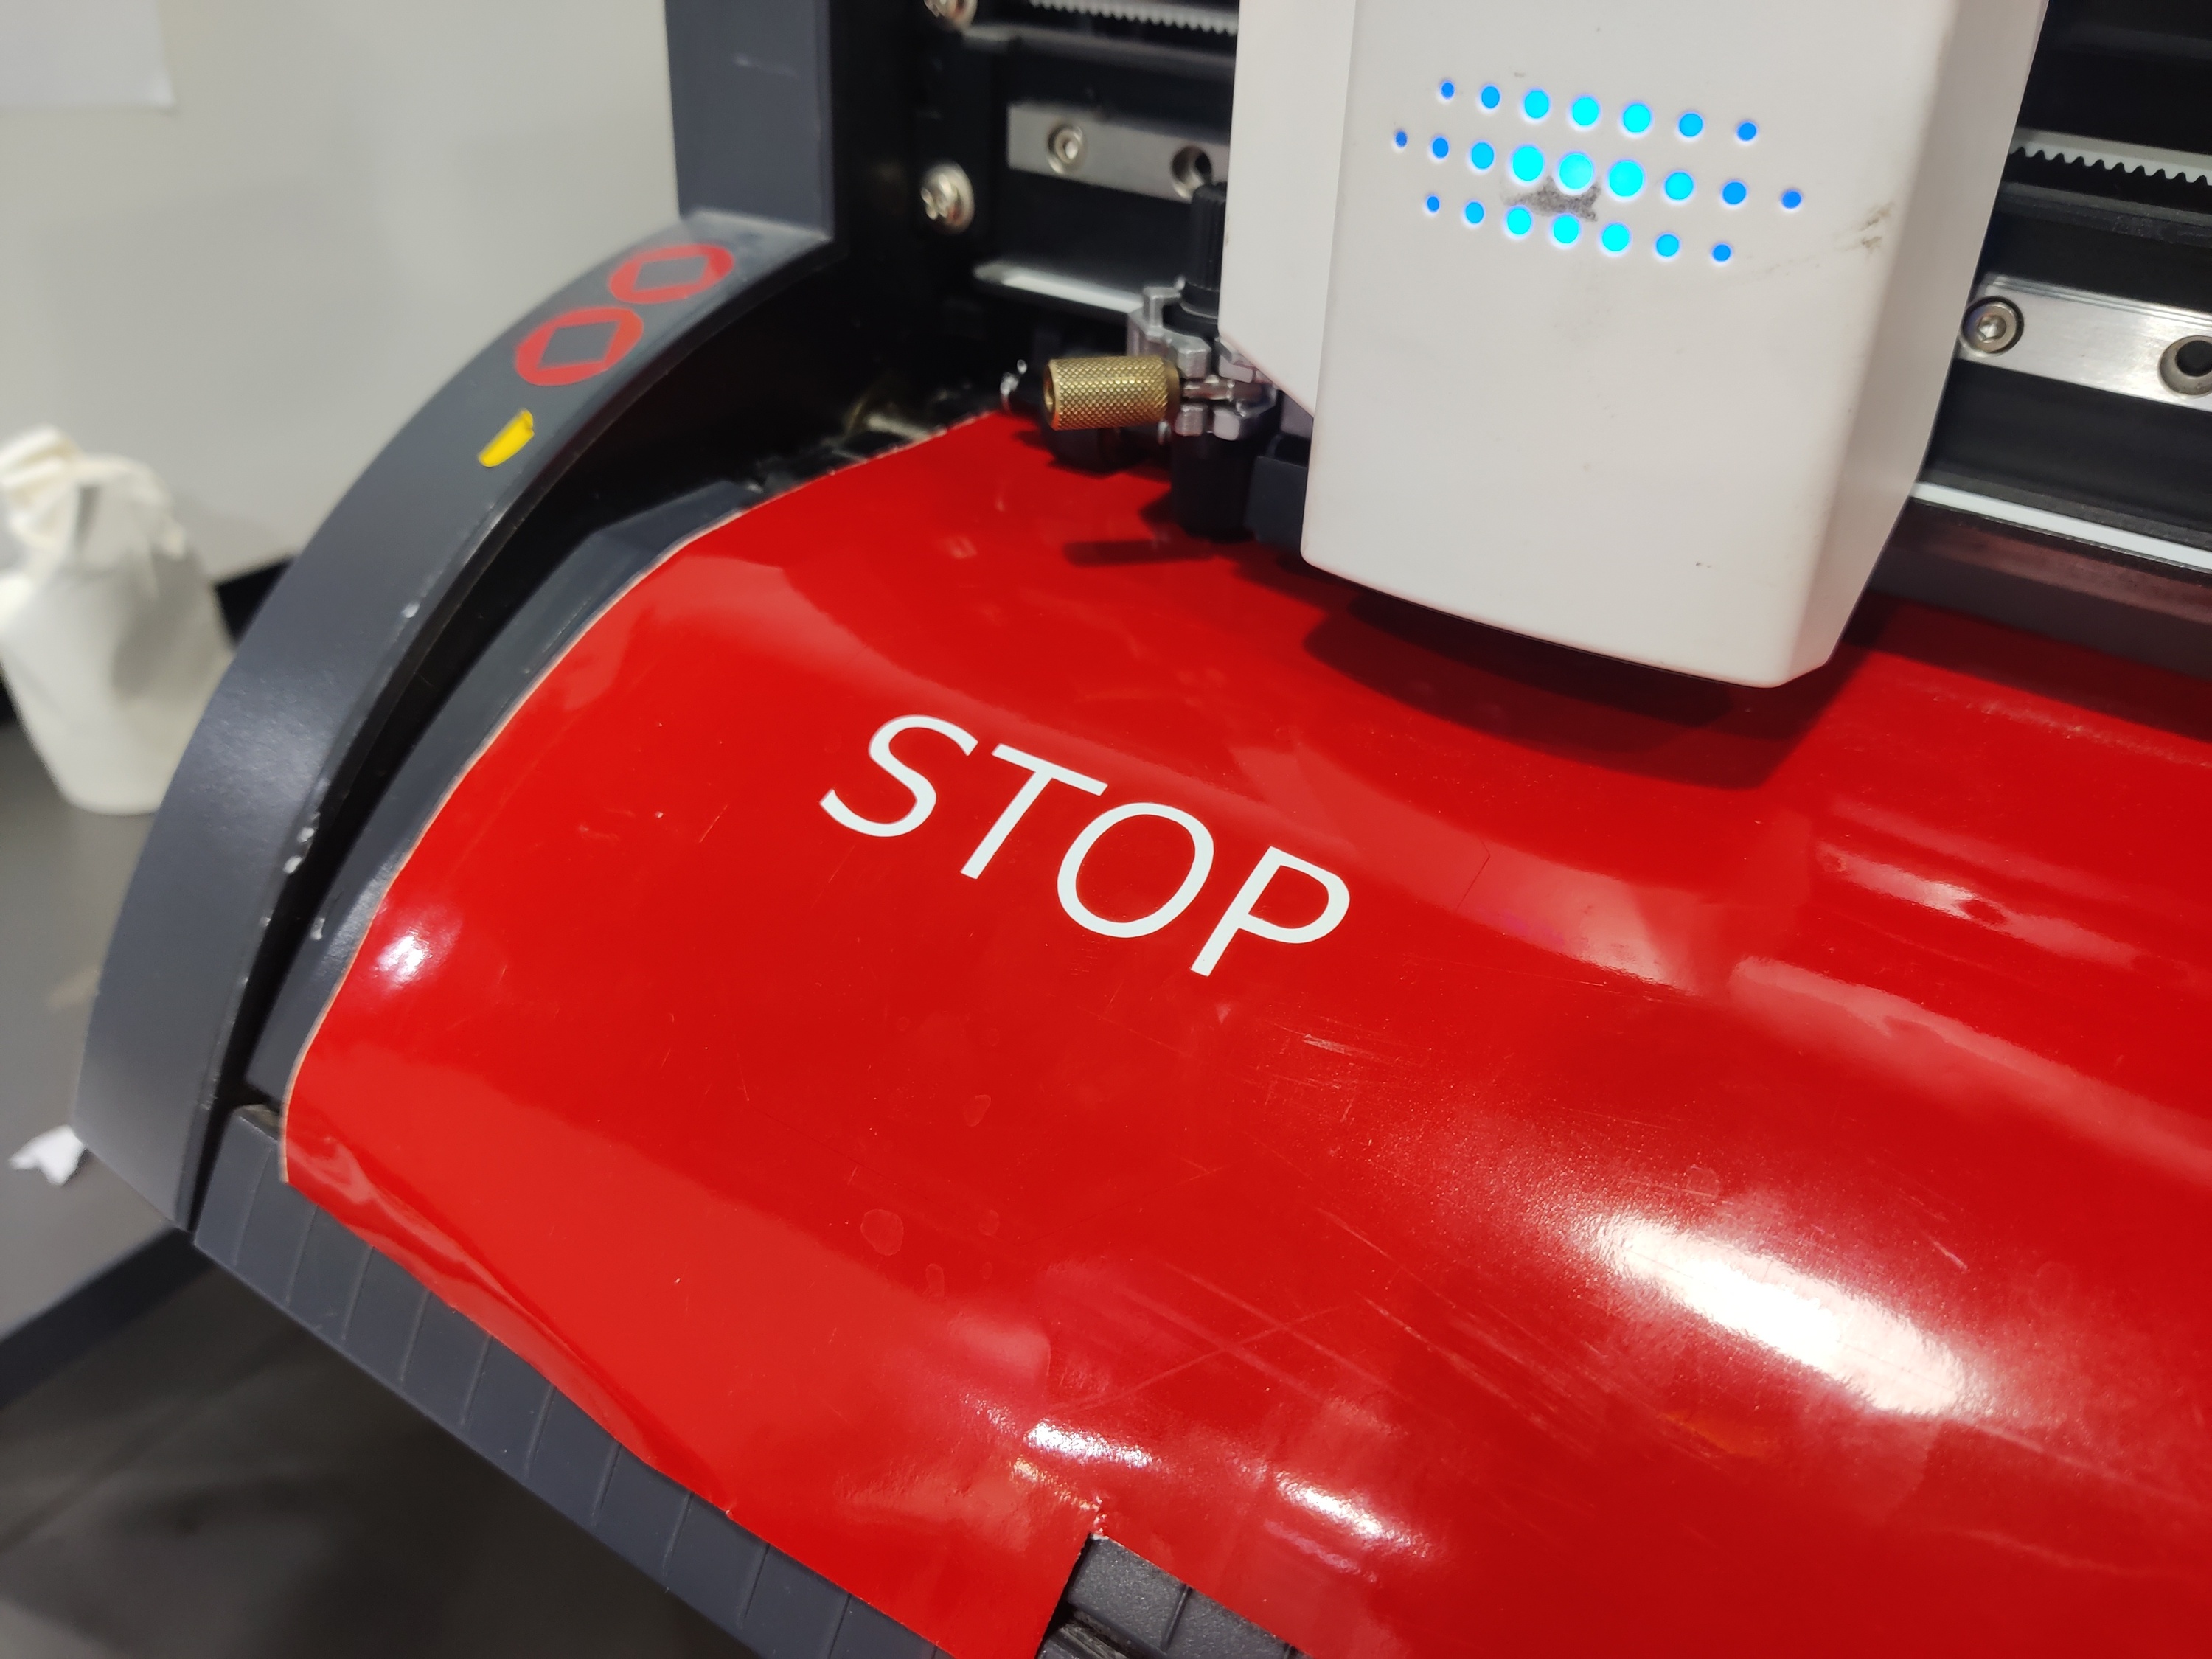
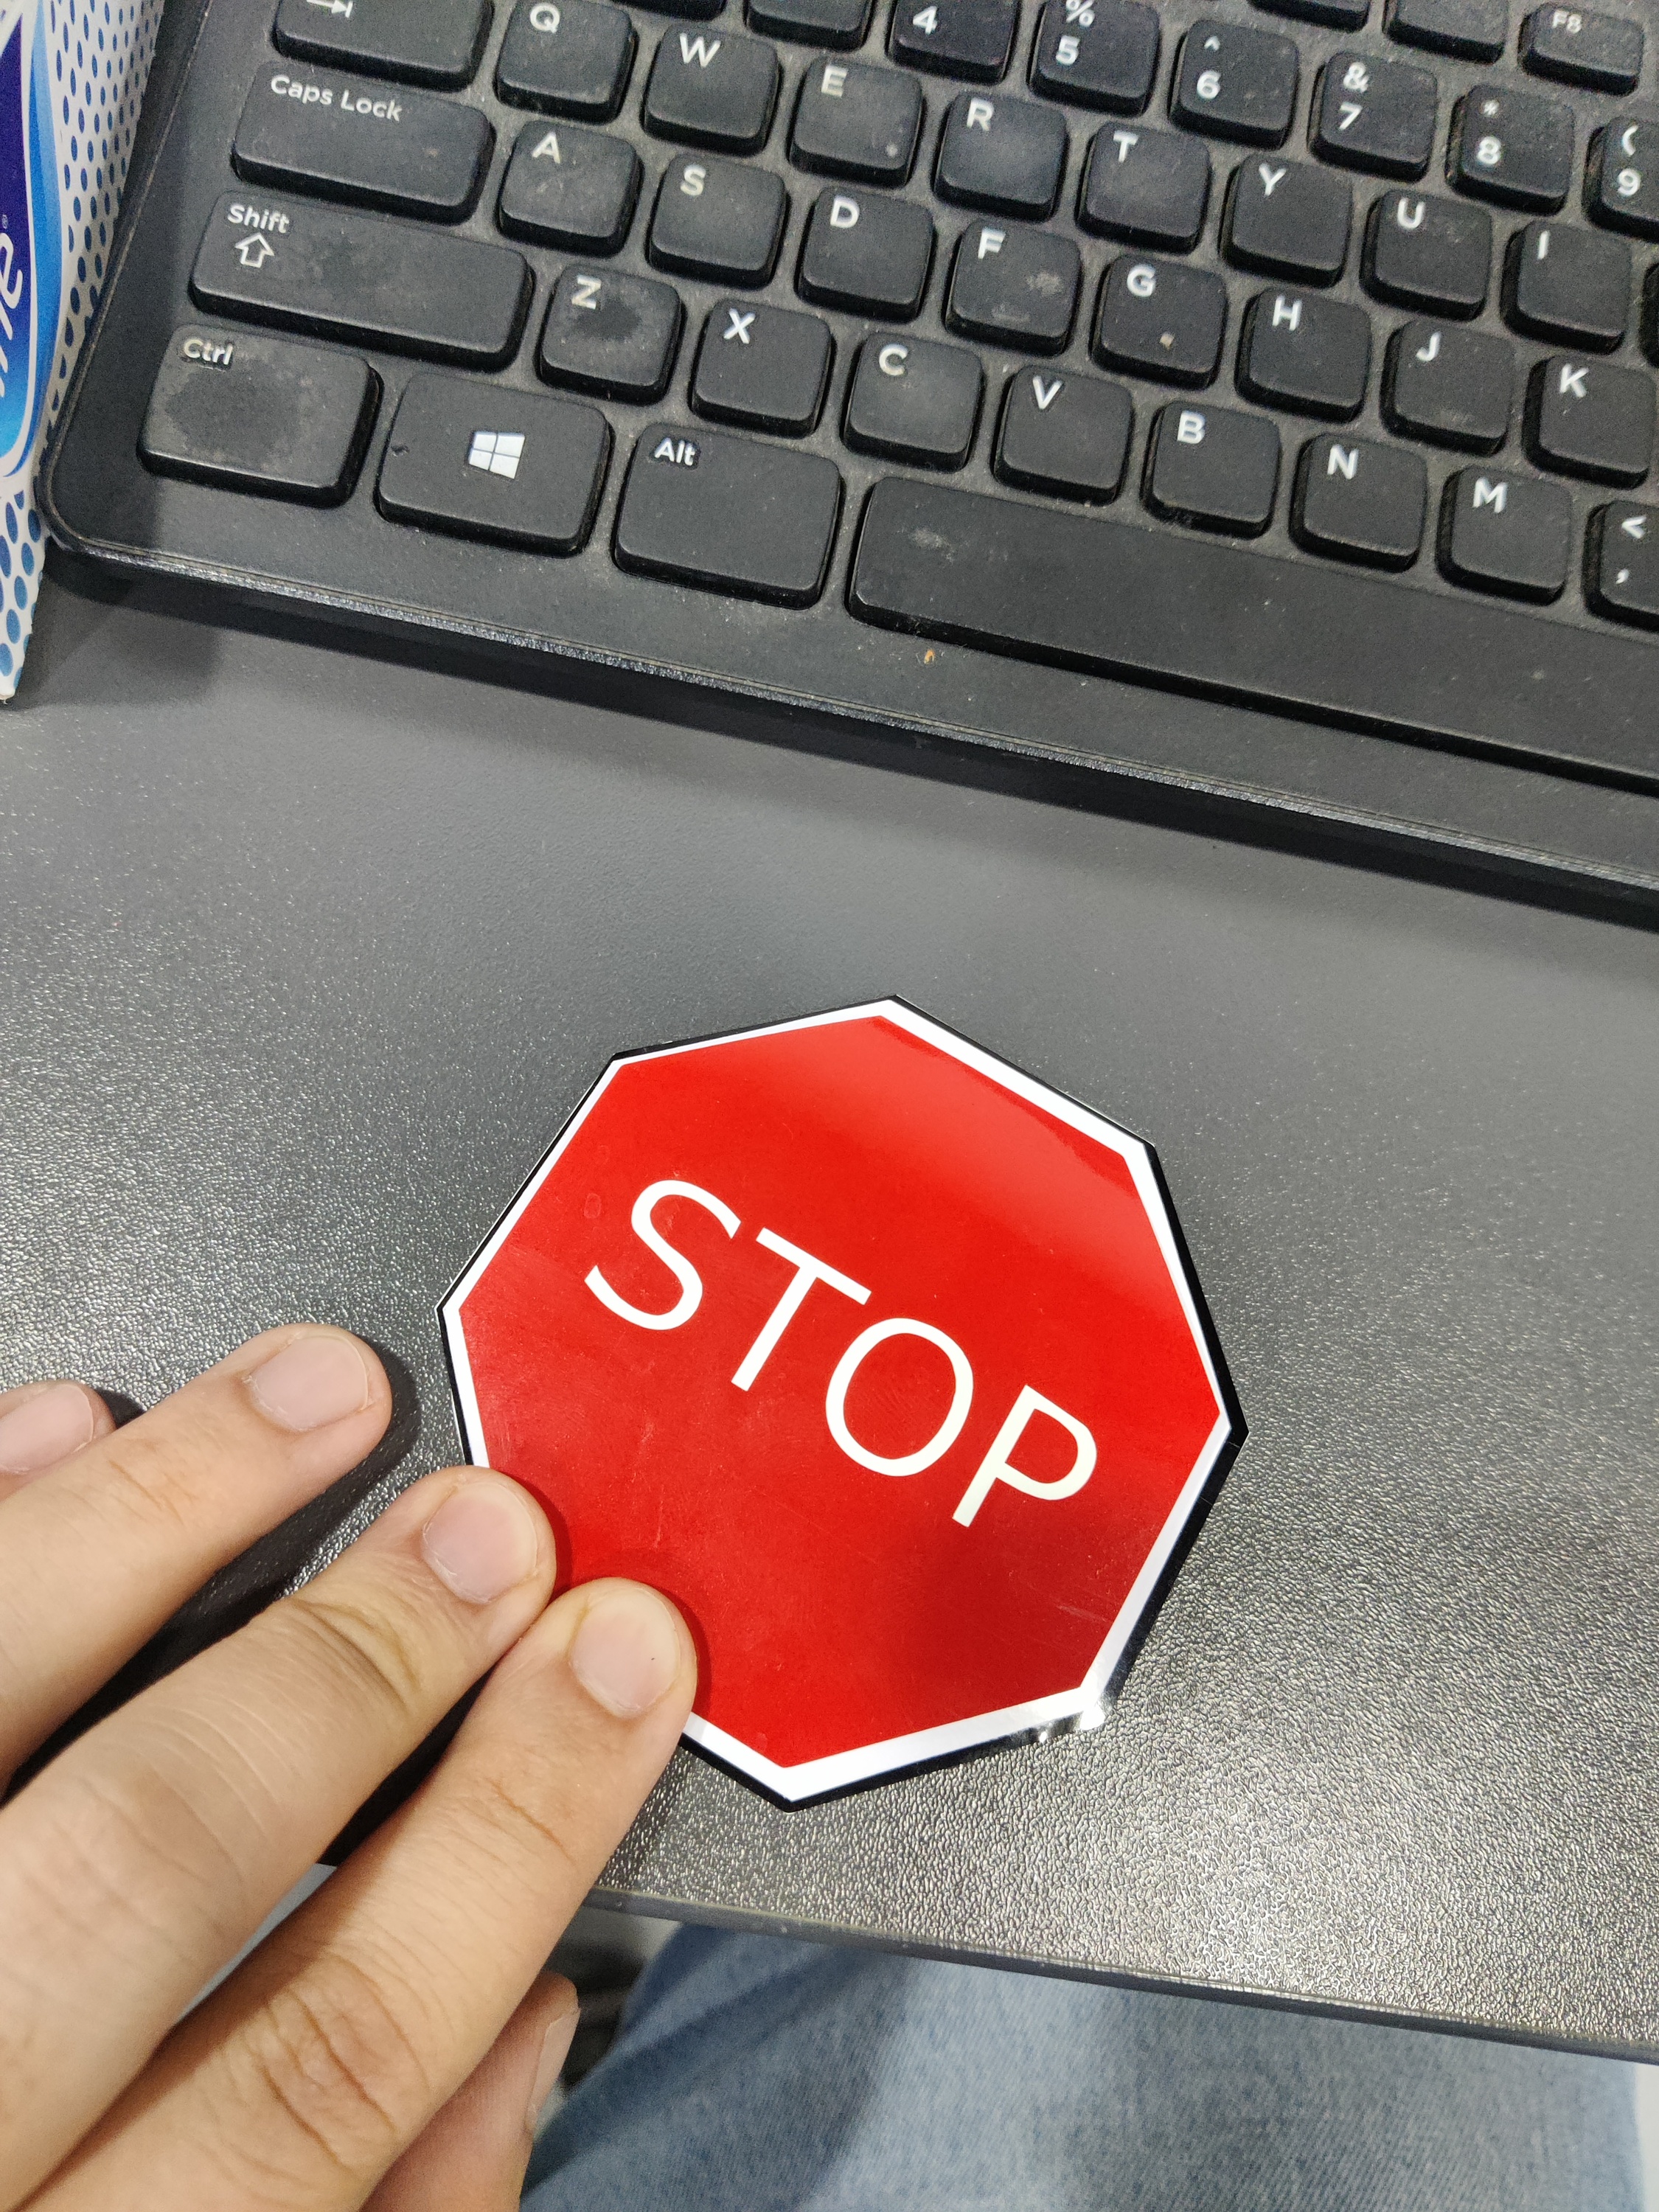
5. Creating a Stop Sign (Multi-Layered Design)
Unlike the first single-color design, the stop sign required multiple layers.
I repeated the same steps but cut separate layers for each color.
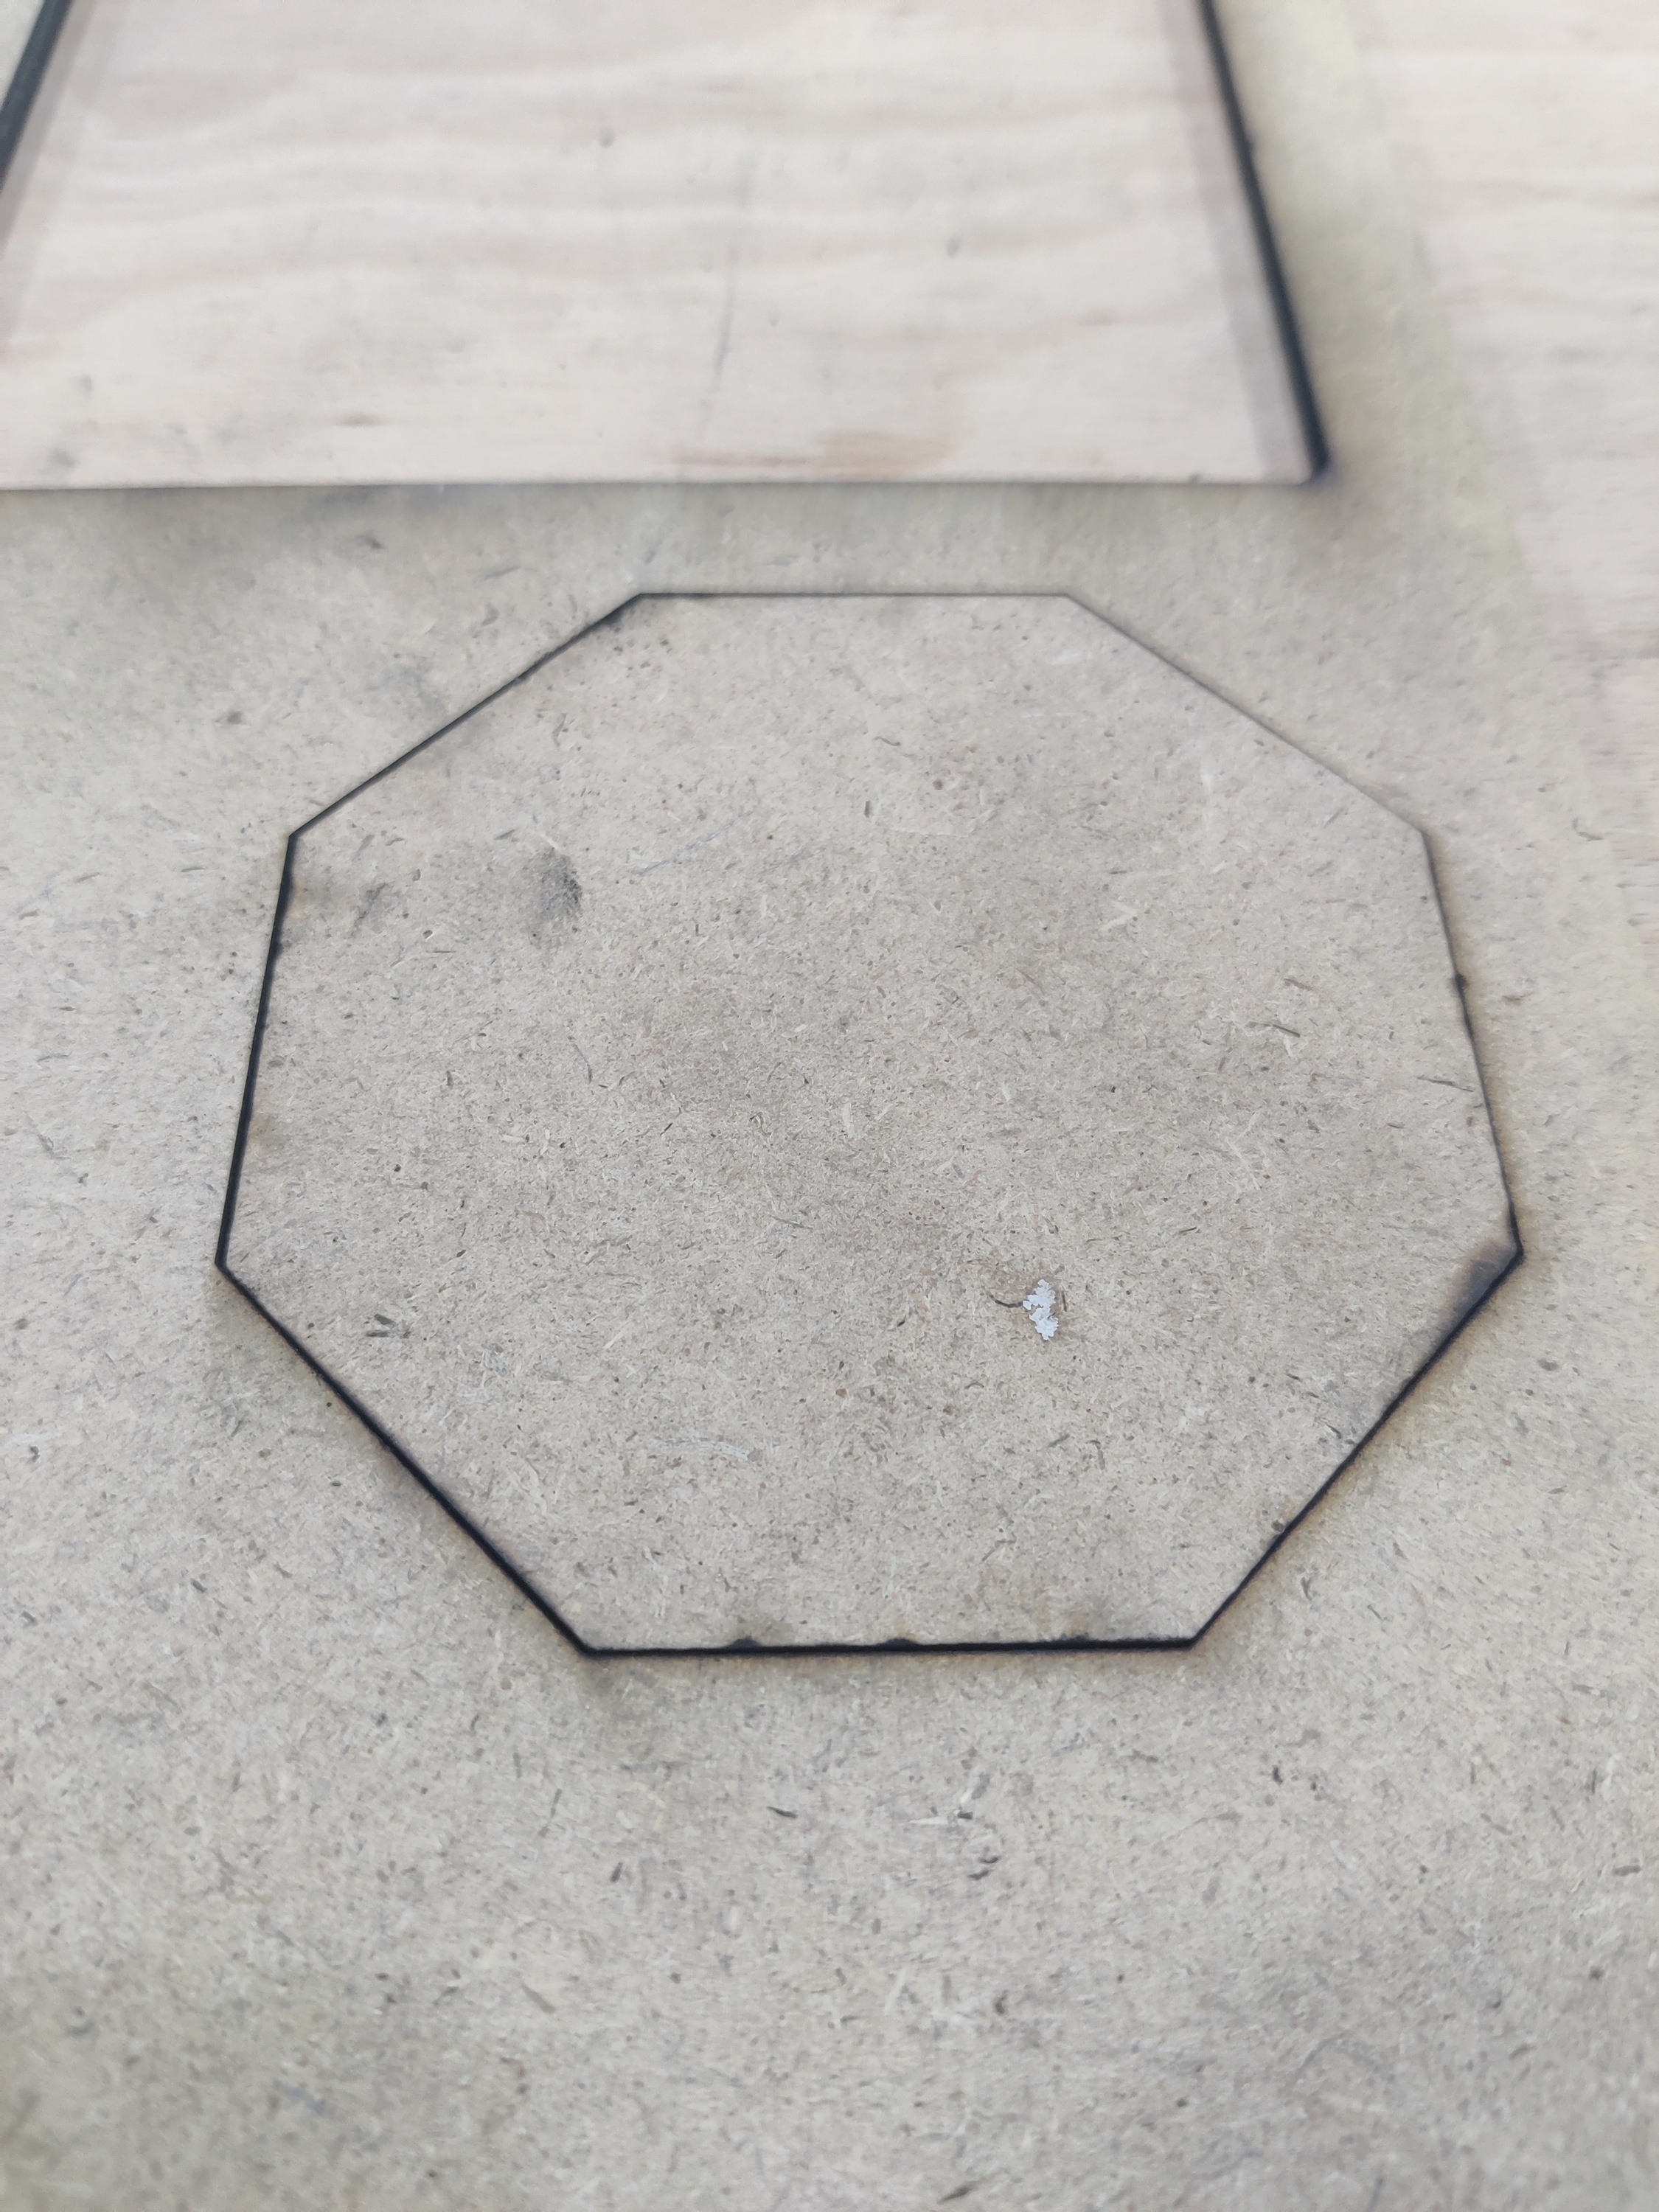
After aligning the layers using transfer tape, I cut the final sign shape using a laser cutter.
Finally, I stuck the vinyl sticker onto the laser-cut base for a clean finish.
Learning Outcome
Through this experiment, I gained hands-on experience with the vinyl cutter, a powerful tool for creating stickers, logos, and layered designs. I learned the importance of calibrating the knife to ensure clean cuts and precise results. Additionally, I explored its applications in various industries, including custom t-shirt printing, signage, paper cutting, and even origami prototyping like making valley folds. This process also helped me understand layer-by-layer design techniques, improving my skills in alignment, vector preparation, and working with multi-layered graphics.


