Render
Summary
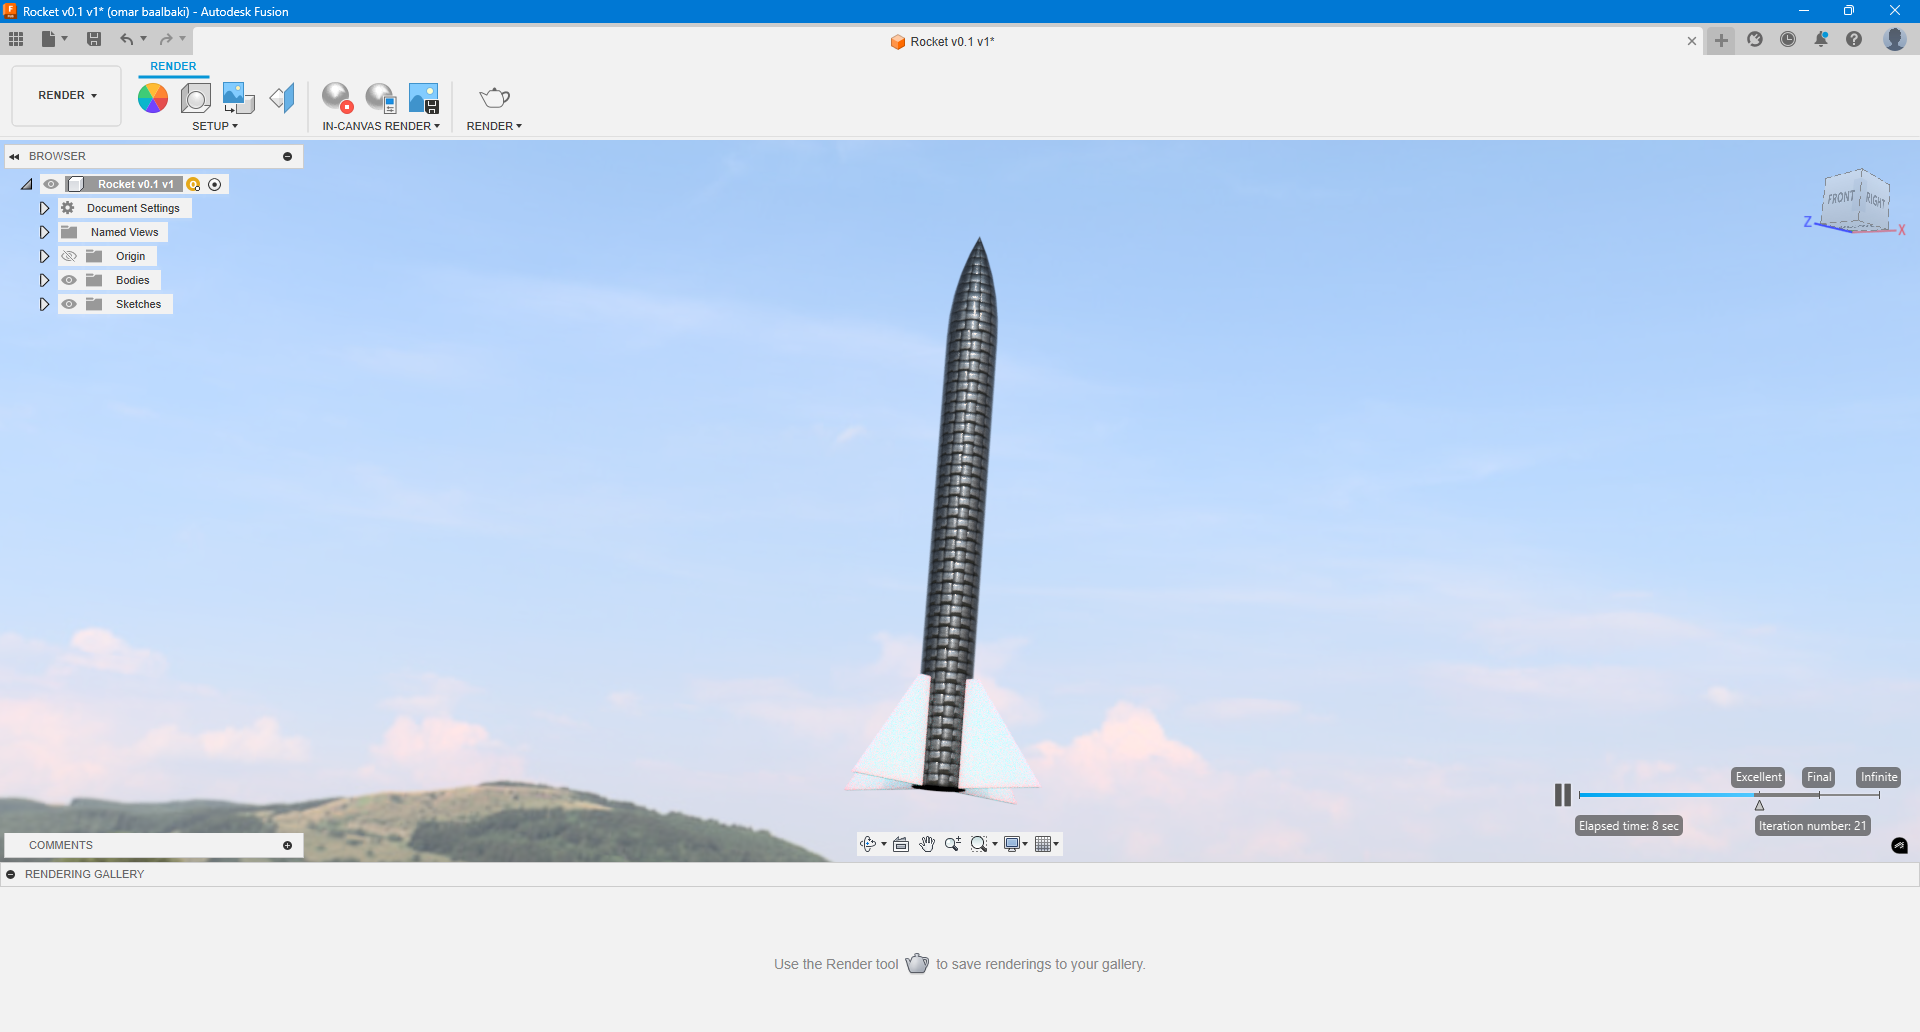
To visualize the rocket design more realistically, I utilized the Rendering workspace in Fusion 360. This helped produce a polished and professional presentation image of the model with accurate lighting and material reflections.
Work Process Detail
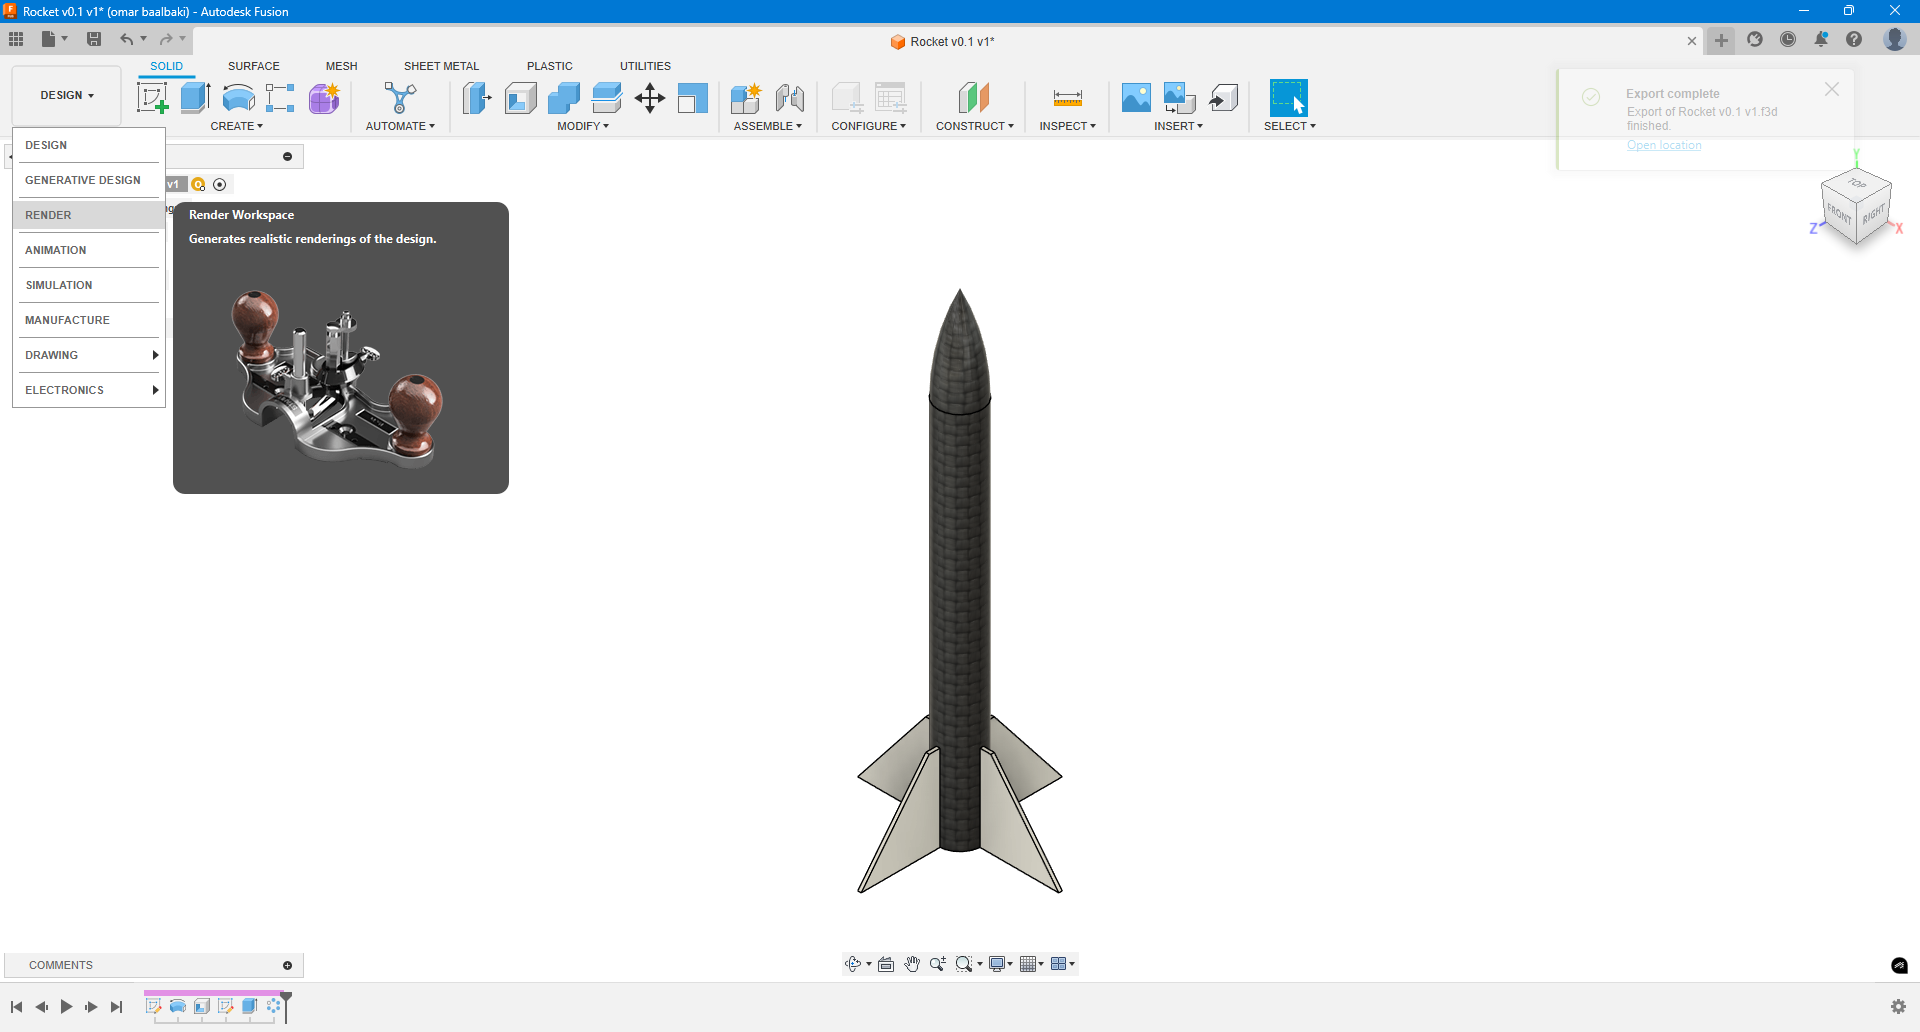
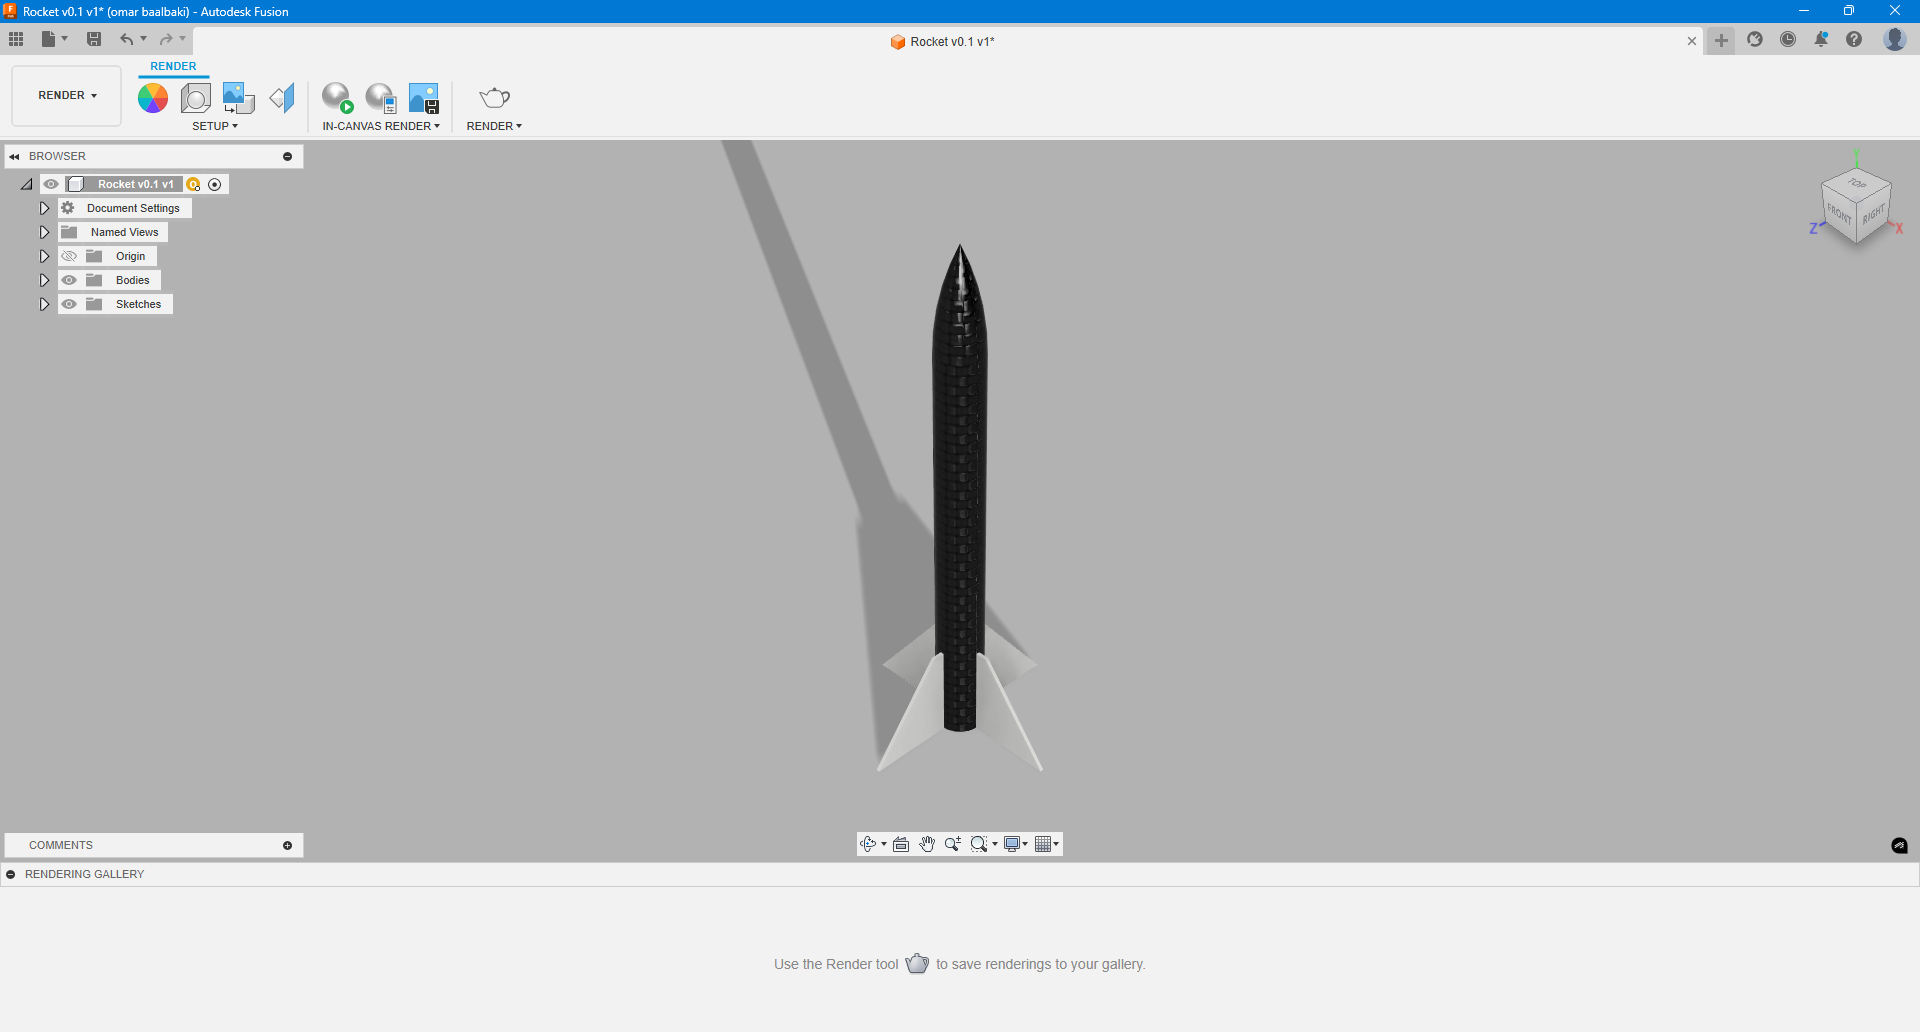
- Switch to Rendering Workspace
- Opened the Rendering environment in Fusion 360 after completing the rocket model.
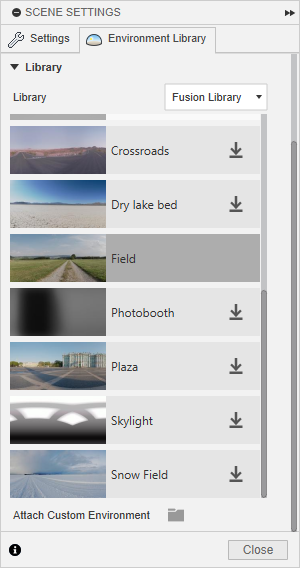
- Set the Environment
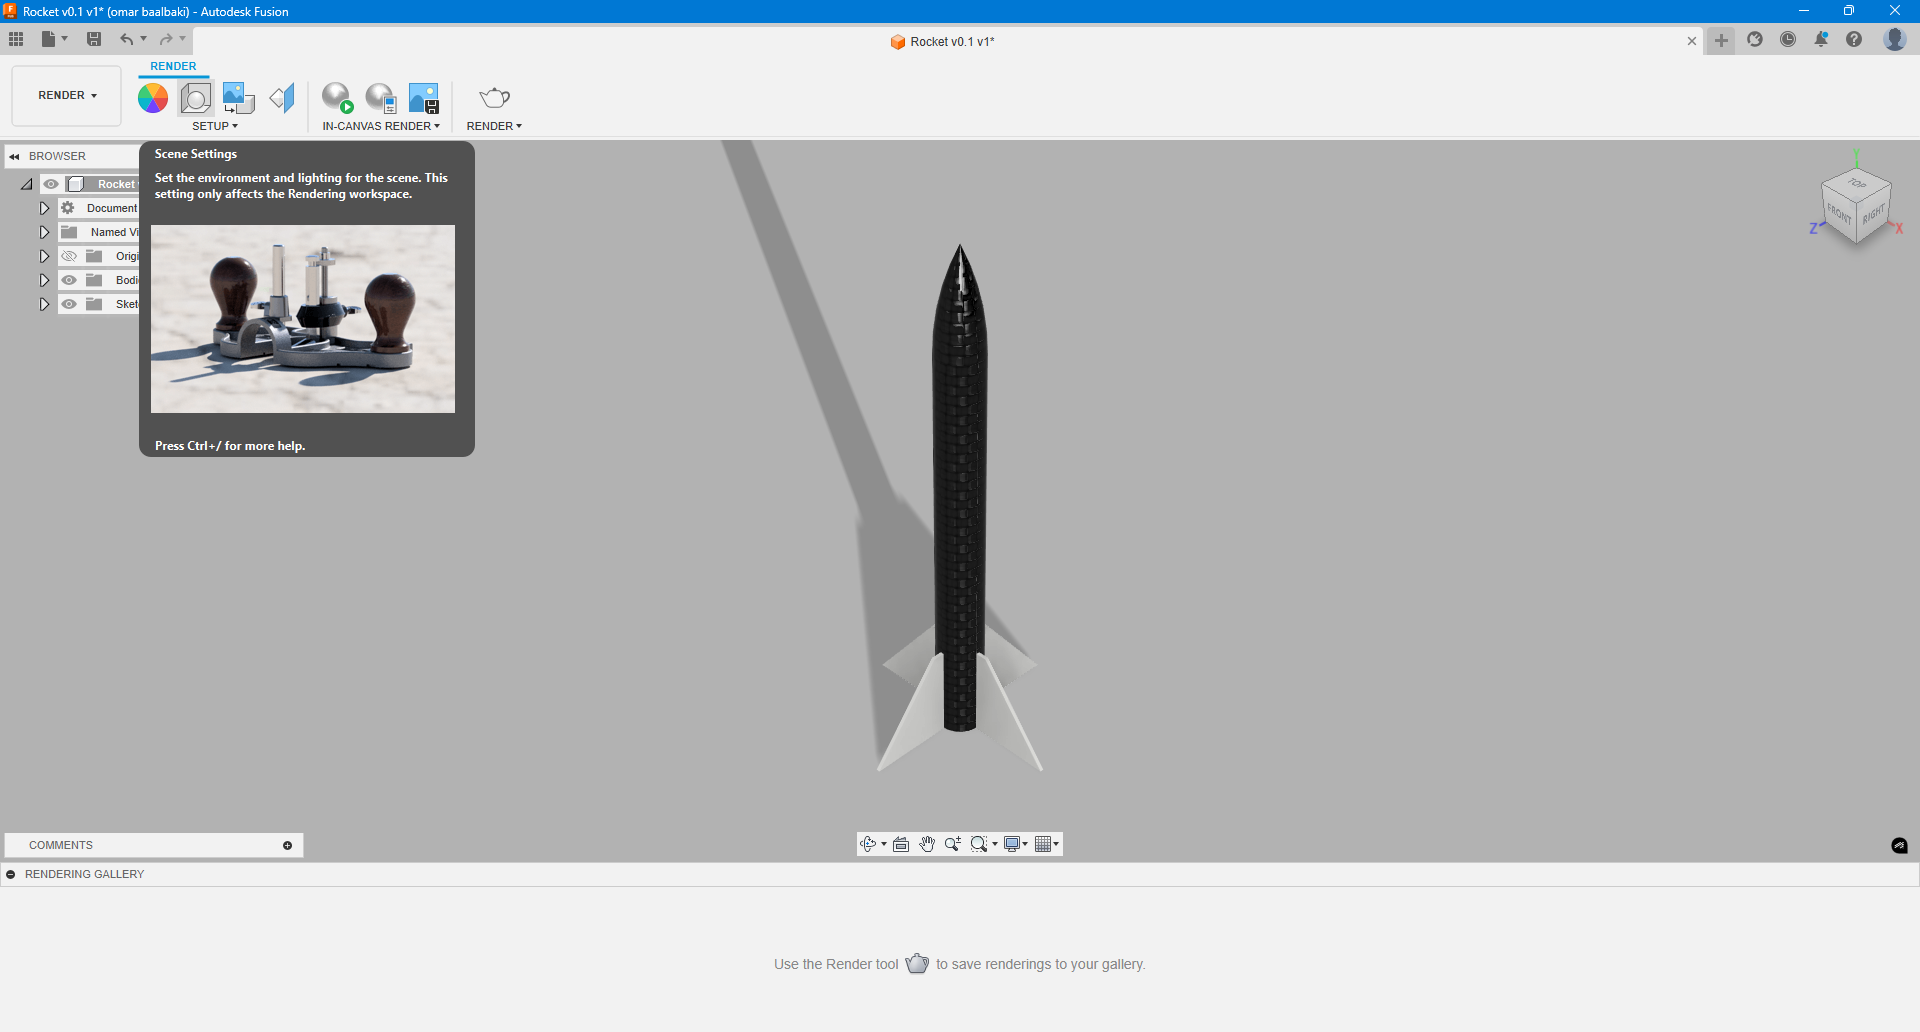
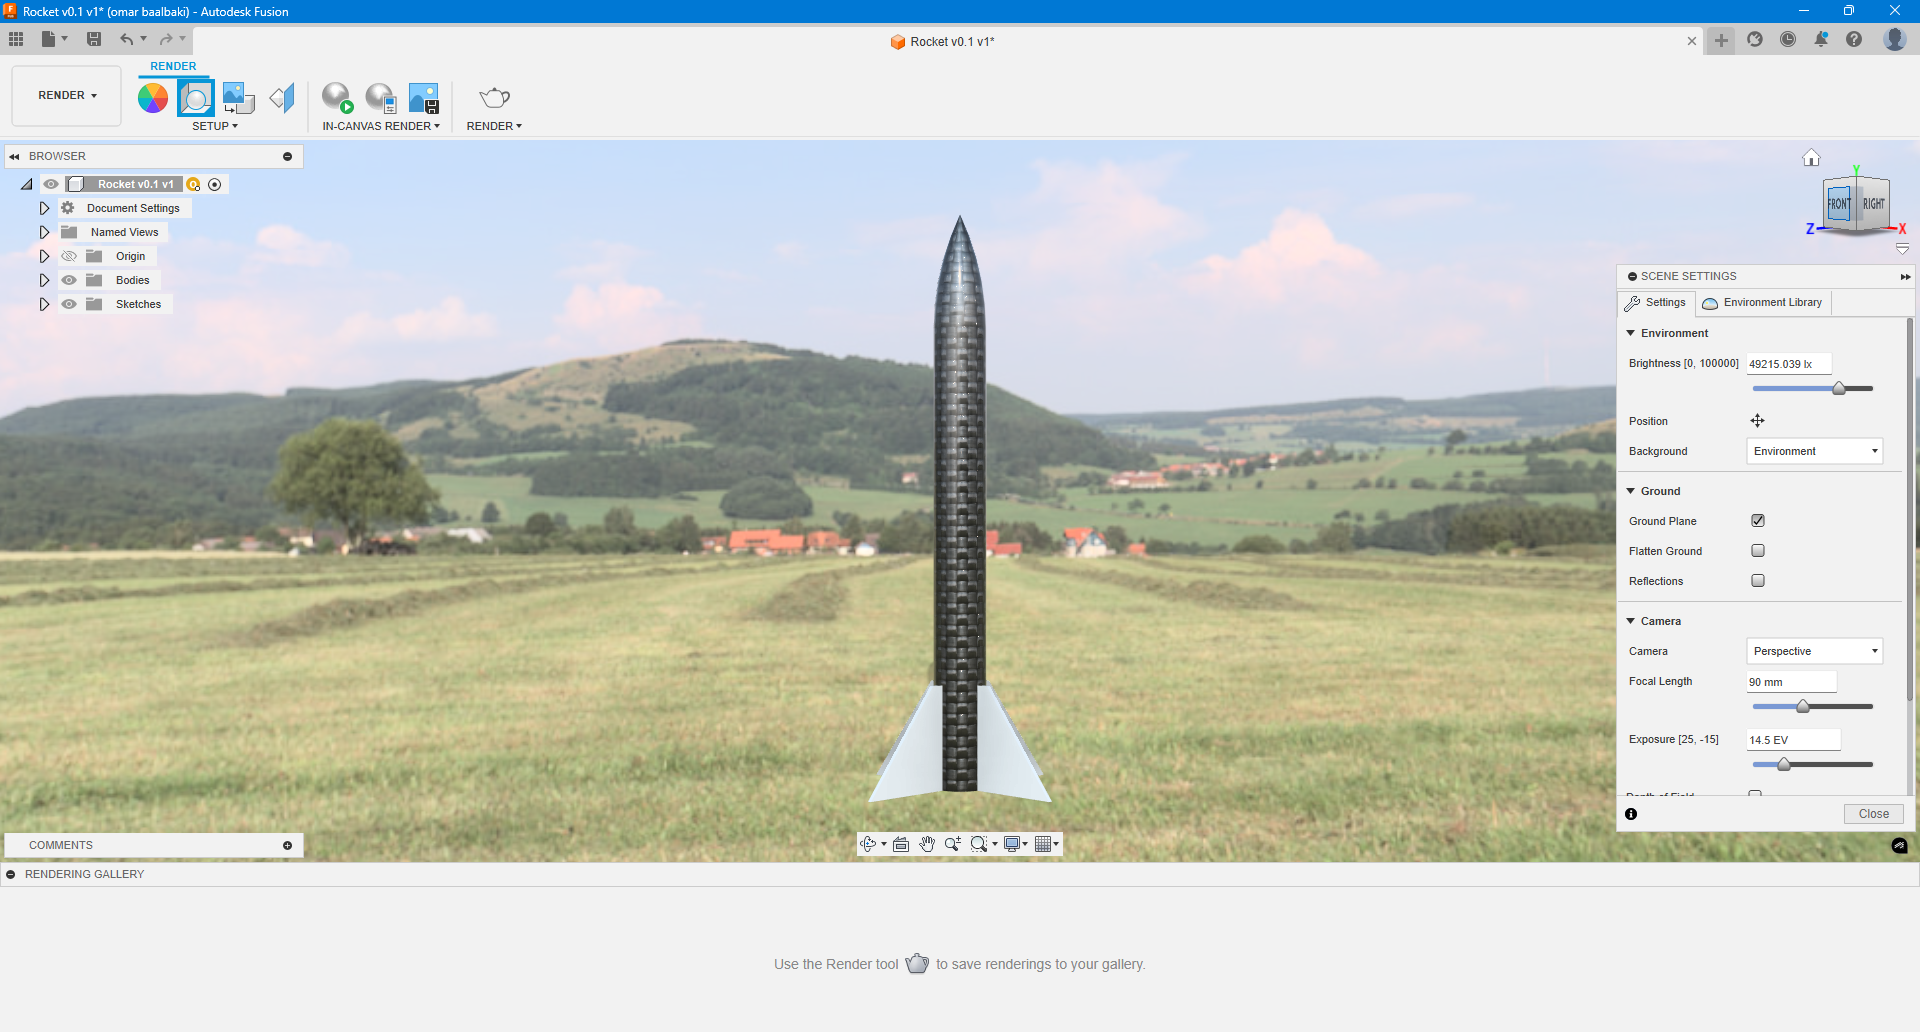
- Changed the scene environment to a Field for a more natural lighting effect.
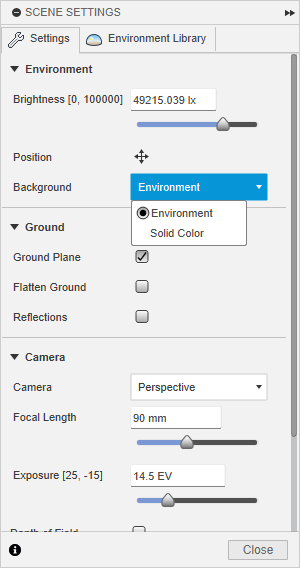
- Adjust Background Settings
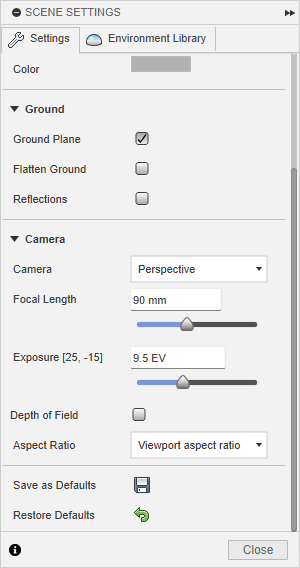
- Opened the Scene Settings and switched the background option from Solid Color to Environment, allowing the lighting to reflect the field scene.
- Render the Model
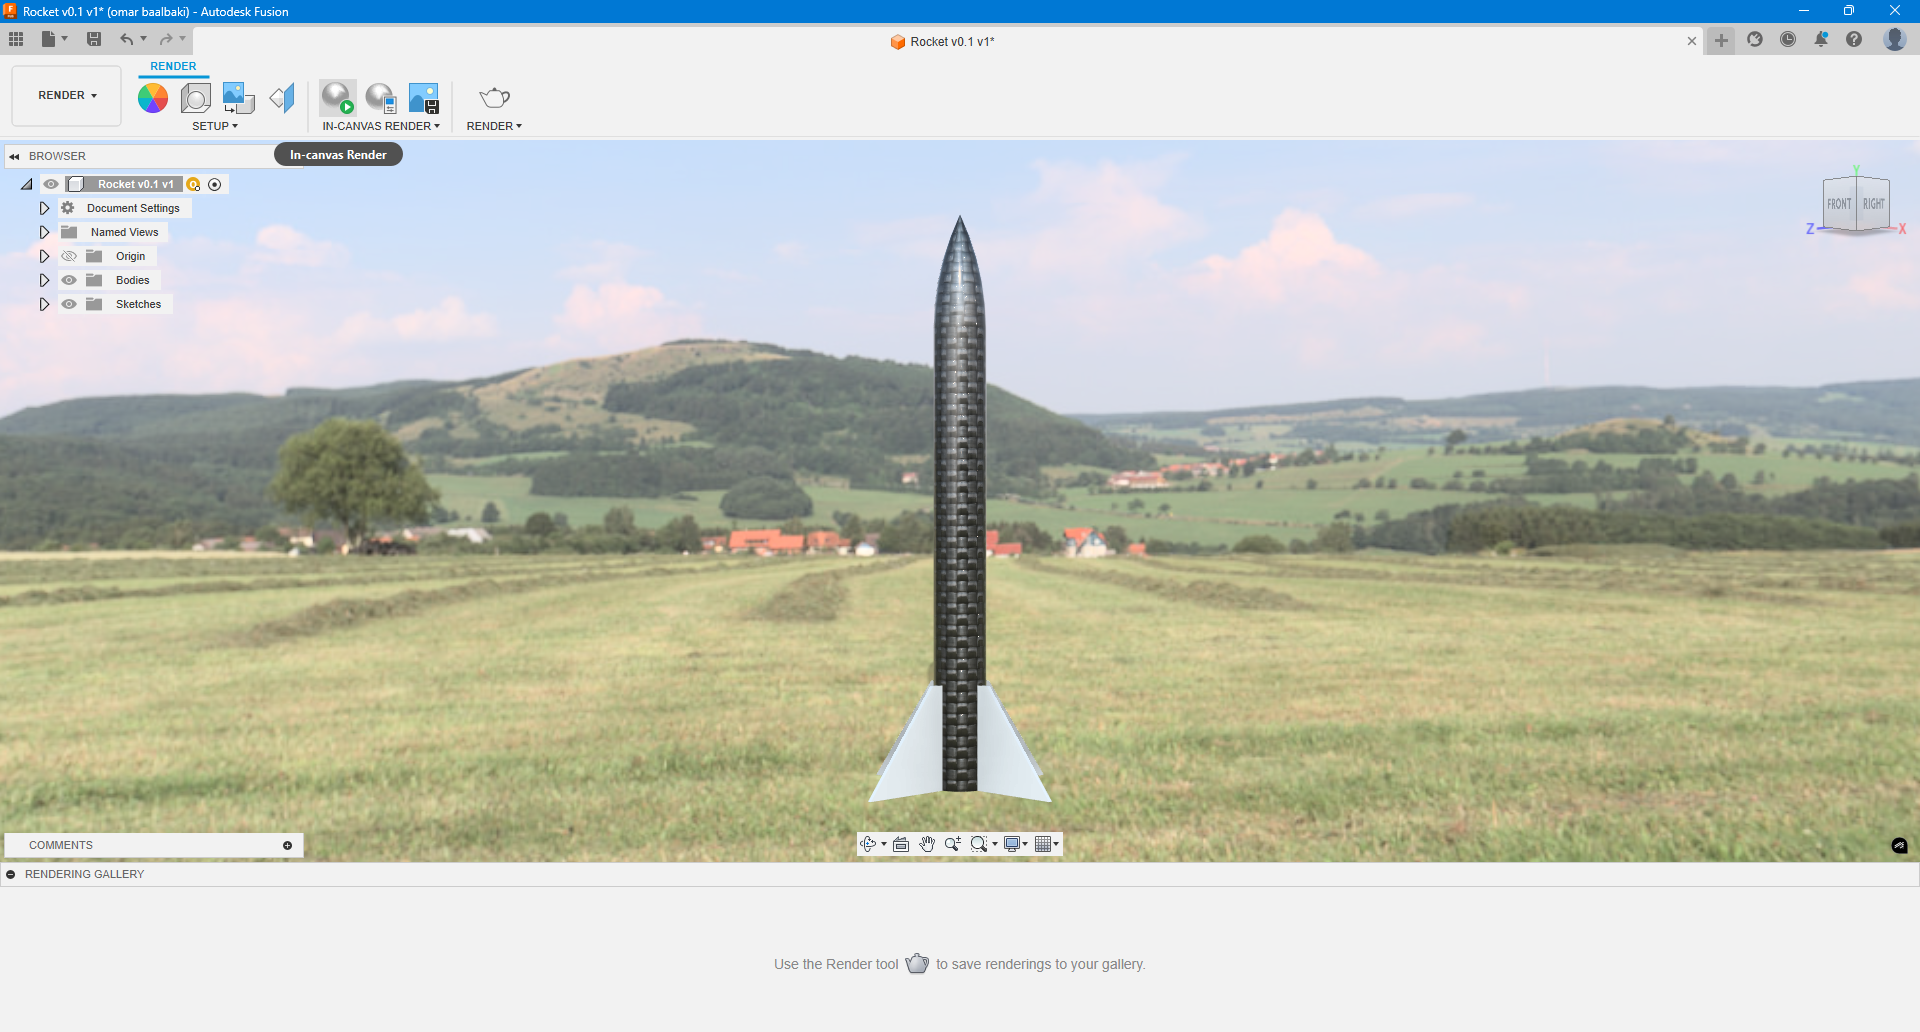
- Clicked on In-Canvas Render to preview the model with the applied environment and materials.
- Capture and Save the Image
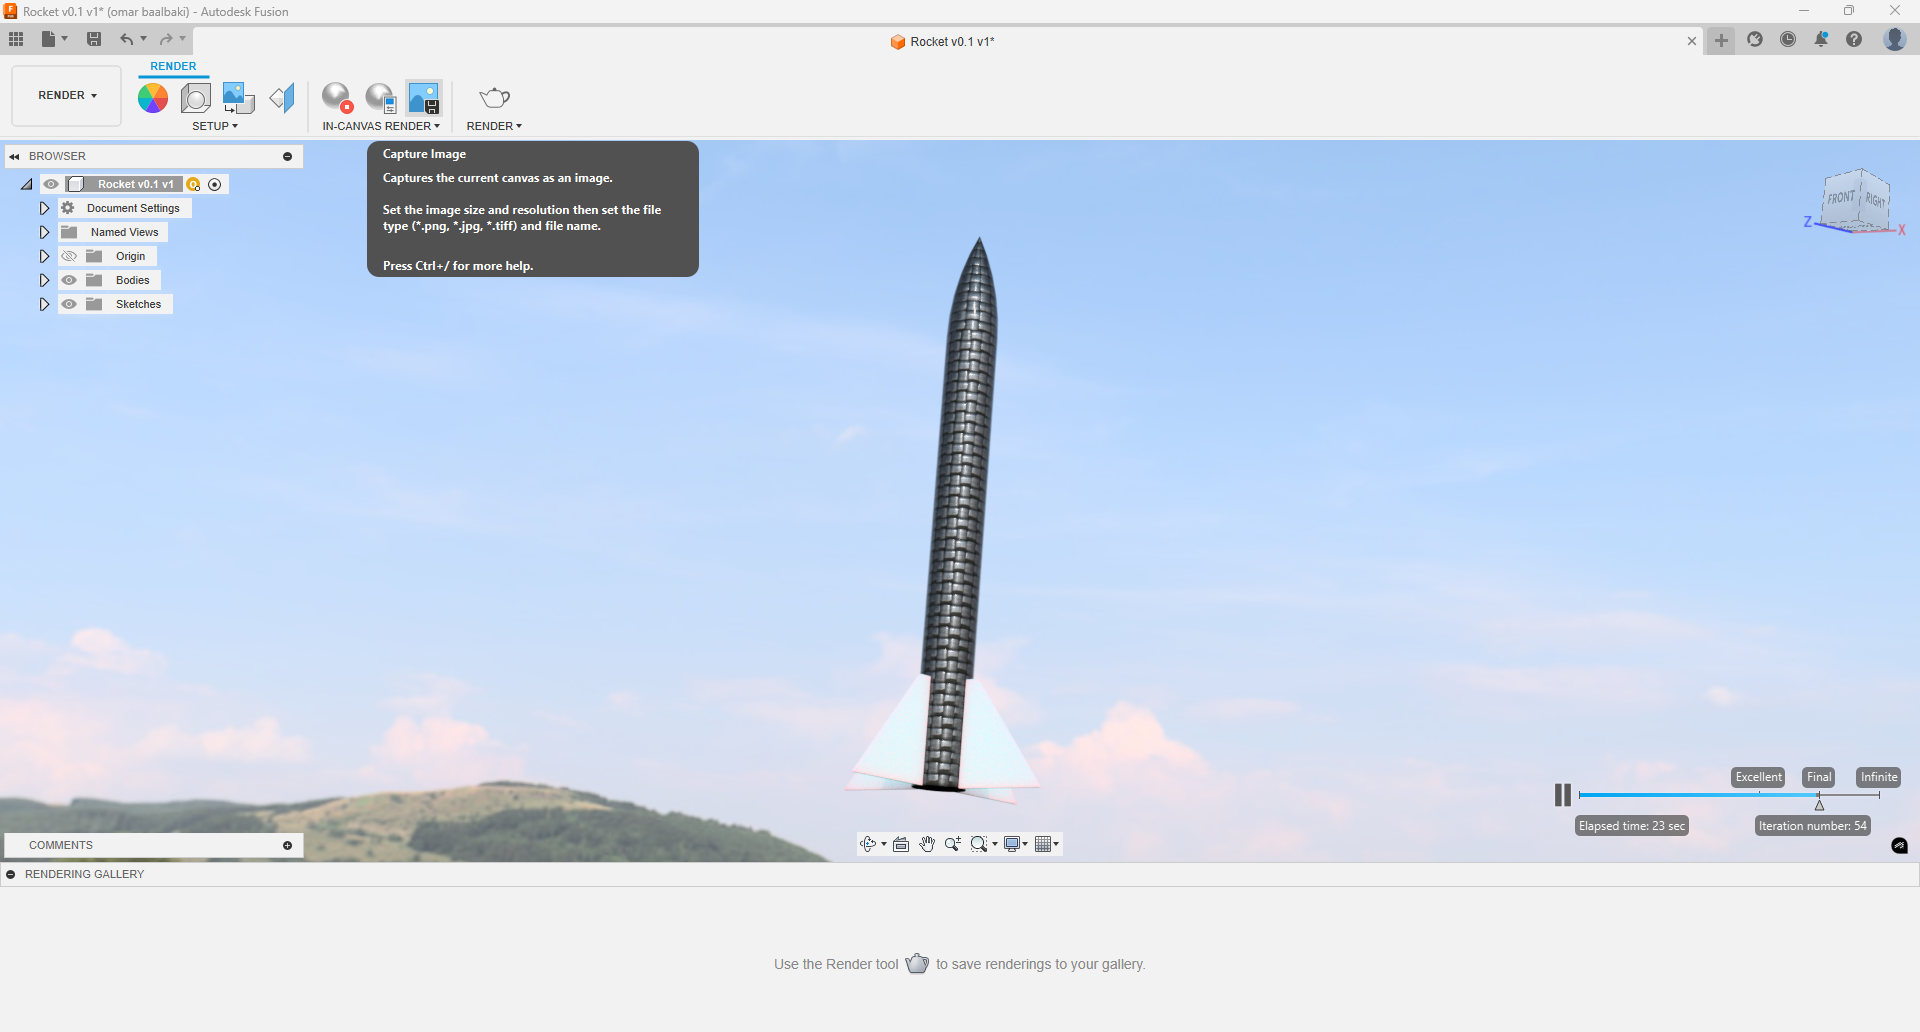
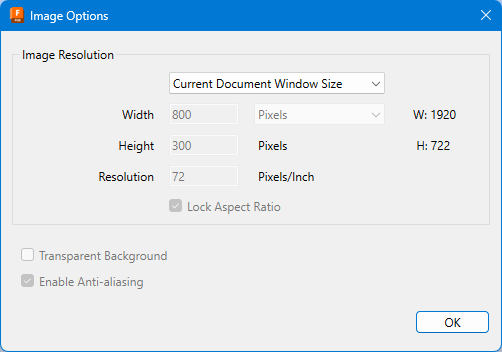
- Once rendering was complete, used the Capture Image feature.
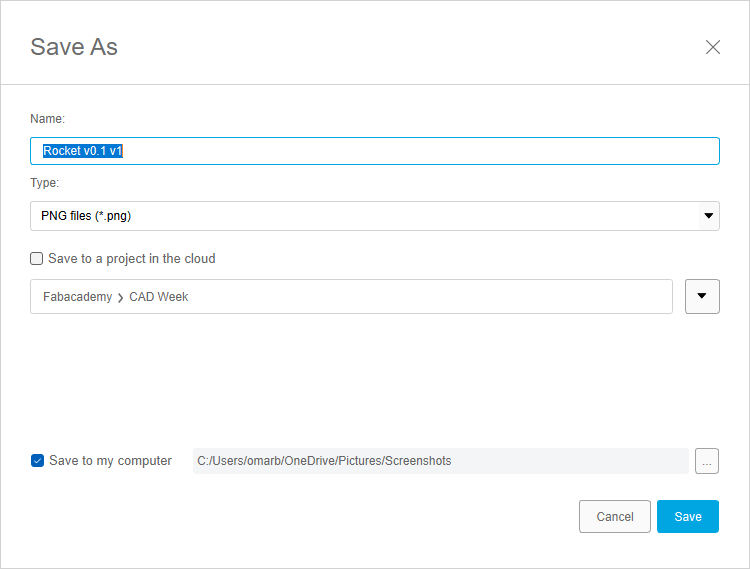
- Saved the rendered image using the correct file name and directory path.
Learning Outcome
This step taught me how to utilize Fusion 360's rendering tools to bring designs to life with environmental lighting and texture mapping. I learned how to fine-tune the scene settings and generate high-quality visual outputs for presentations and documentation purposes.
