
RP2040
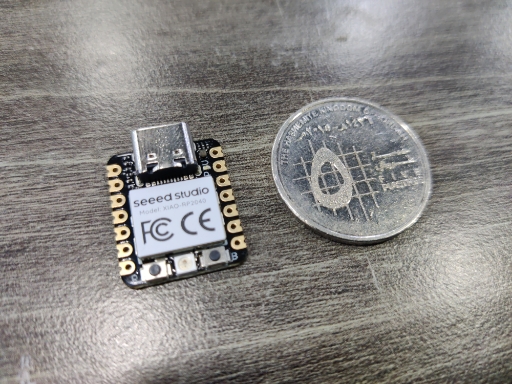
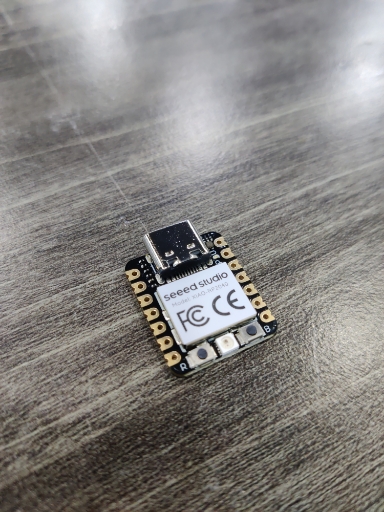
Hero Shot
Summary
This week, I explored the XIAO RP2040 microcontroller by understanding its architecture and testing its functionality using Arduino IDE and MicroPython (Thonny IDE).
My main objective was to successfully program the board and verify its operation by running a basic LED blink program in both environments.
This helped me understand the setup process, toolchain differences, and programming workflows for embedded systems.
Work Process Detail
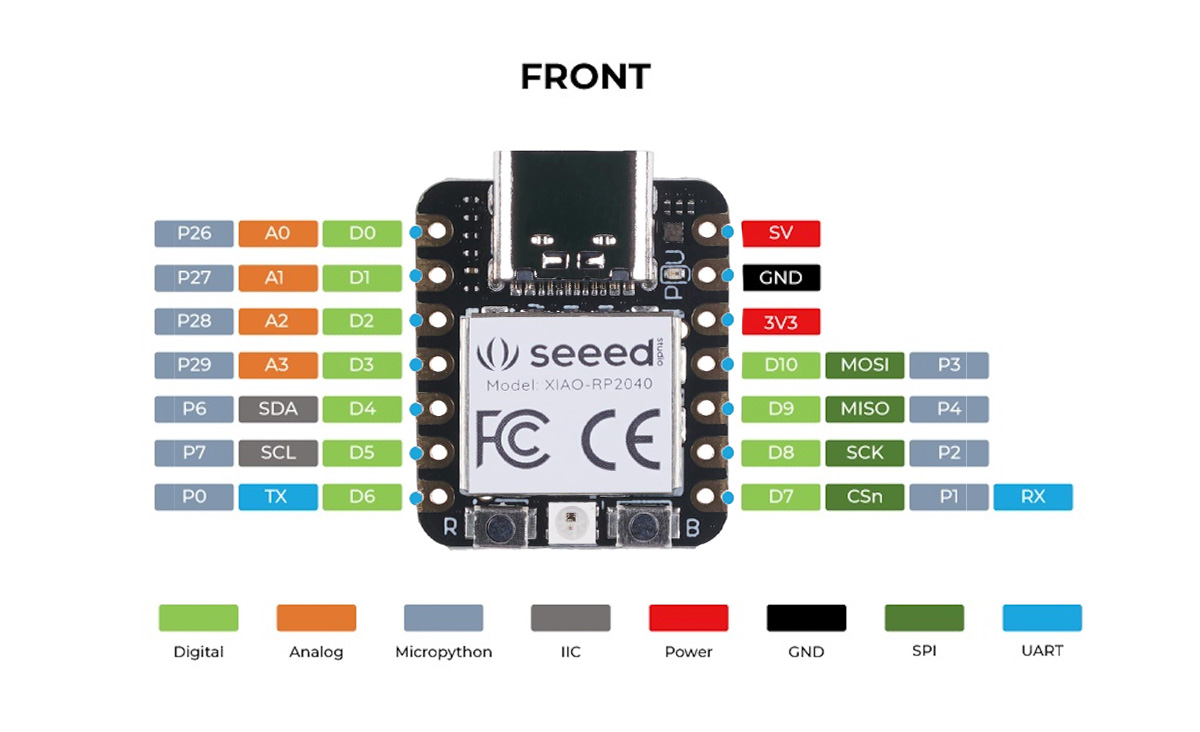
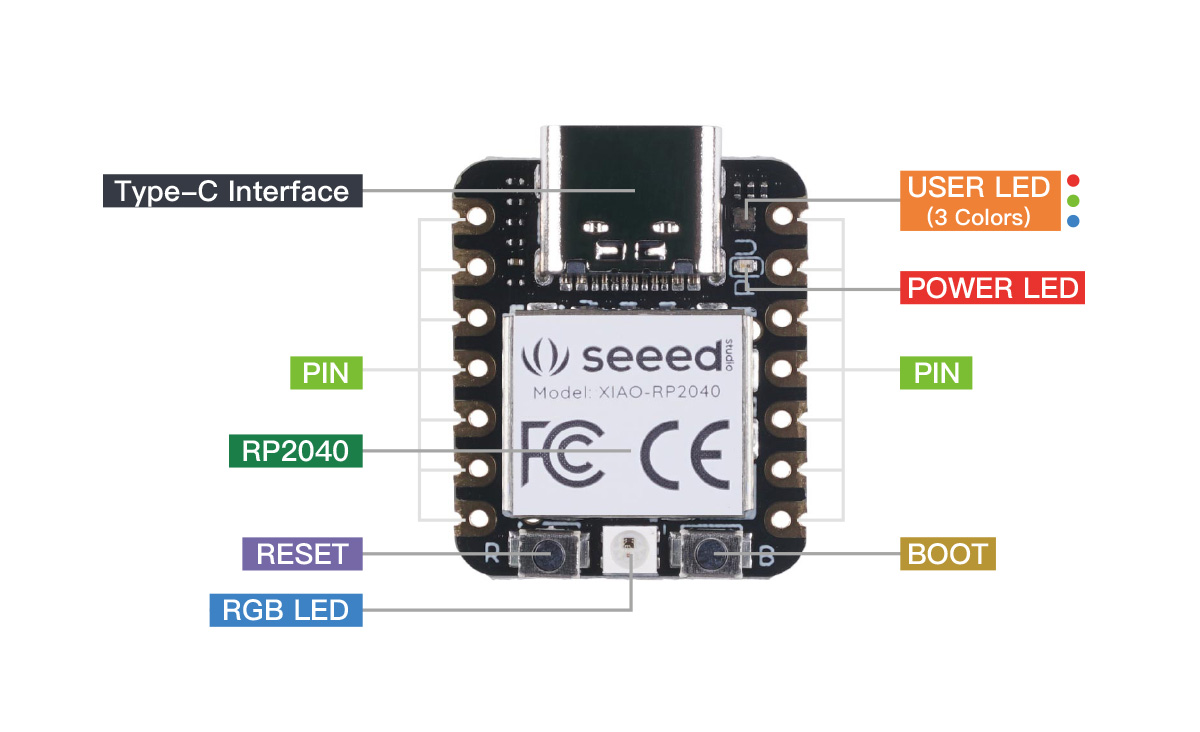
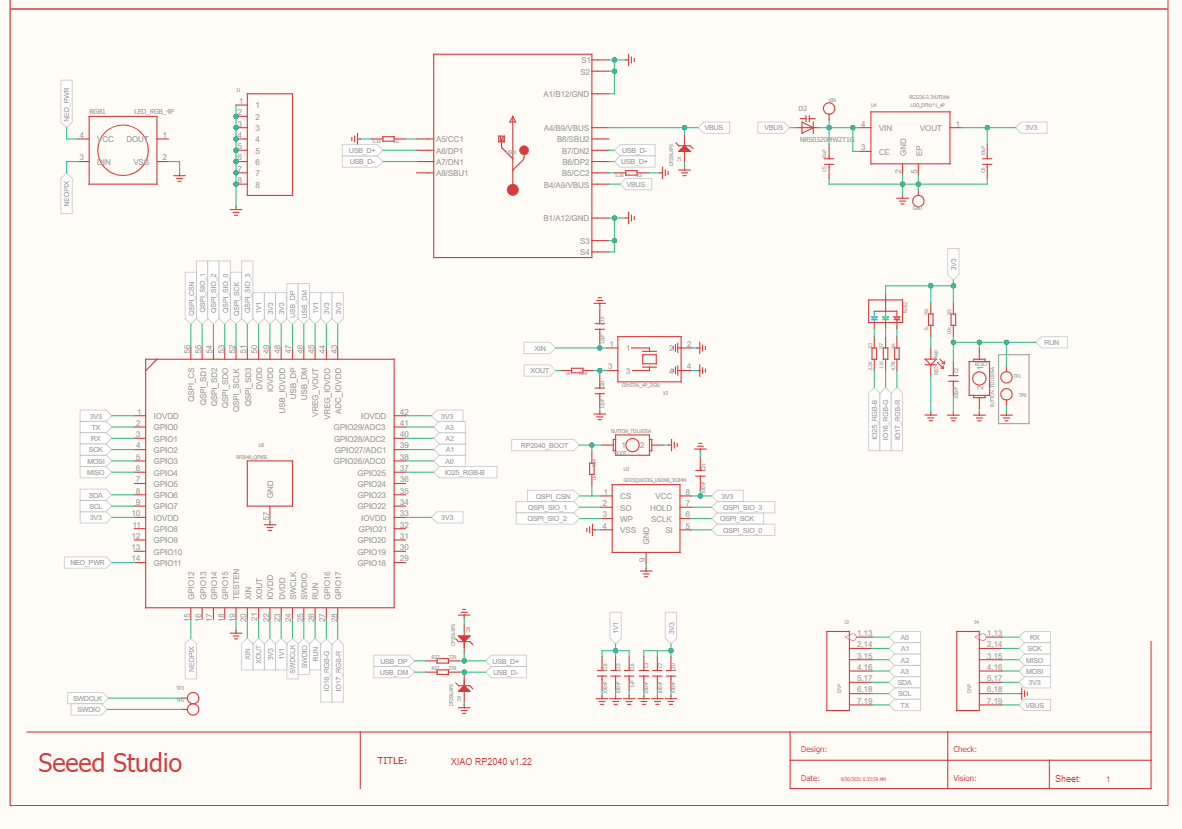
1. Understanding the XIAO RP2040 Architecture
I started by reviewing the XIAO RP2040 specifications from the Seeed Studio documentation, learning about:
Specification
| Item | Value |
|---|---|
| CPU | Dual-core ARM Cortex M0+ processor up to 133MHz |
| Flash Memory | 2MB |
| SRAM | 264KB |
| Digital I/O Pins | 11 |
| Analog I/O Pins | 4 |
| PWM Pins | 11 |
| I2C interface | 1 |
| SPI interface | 1 |
| UART interface | 1 |
| Power supply and downloading interface | Type-C |
| Power | 3.3V/5V DC |
| Dimensions | 21×17.8×3.5mm |
This gave me a foundational understanding of how the microcontroller operates before programming it.
2. Simulate Blinking an LED Using wokwi
- Open Wokwi Website
- Go to Wokwi Simulator.
- Start a New Project
- Click "New Project" and select "RP2040 Project" (Raspberry Pi Pico).
- Confirm the project creation.
- Select the Microcontroller
- In the components list, search and choose "Raspberry Pi Pico."
- Drag and place the Pico onto the simulation workspace.
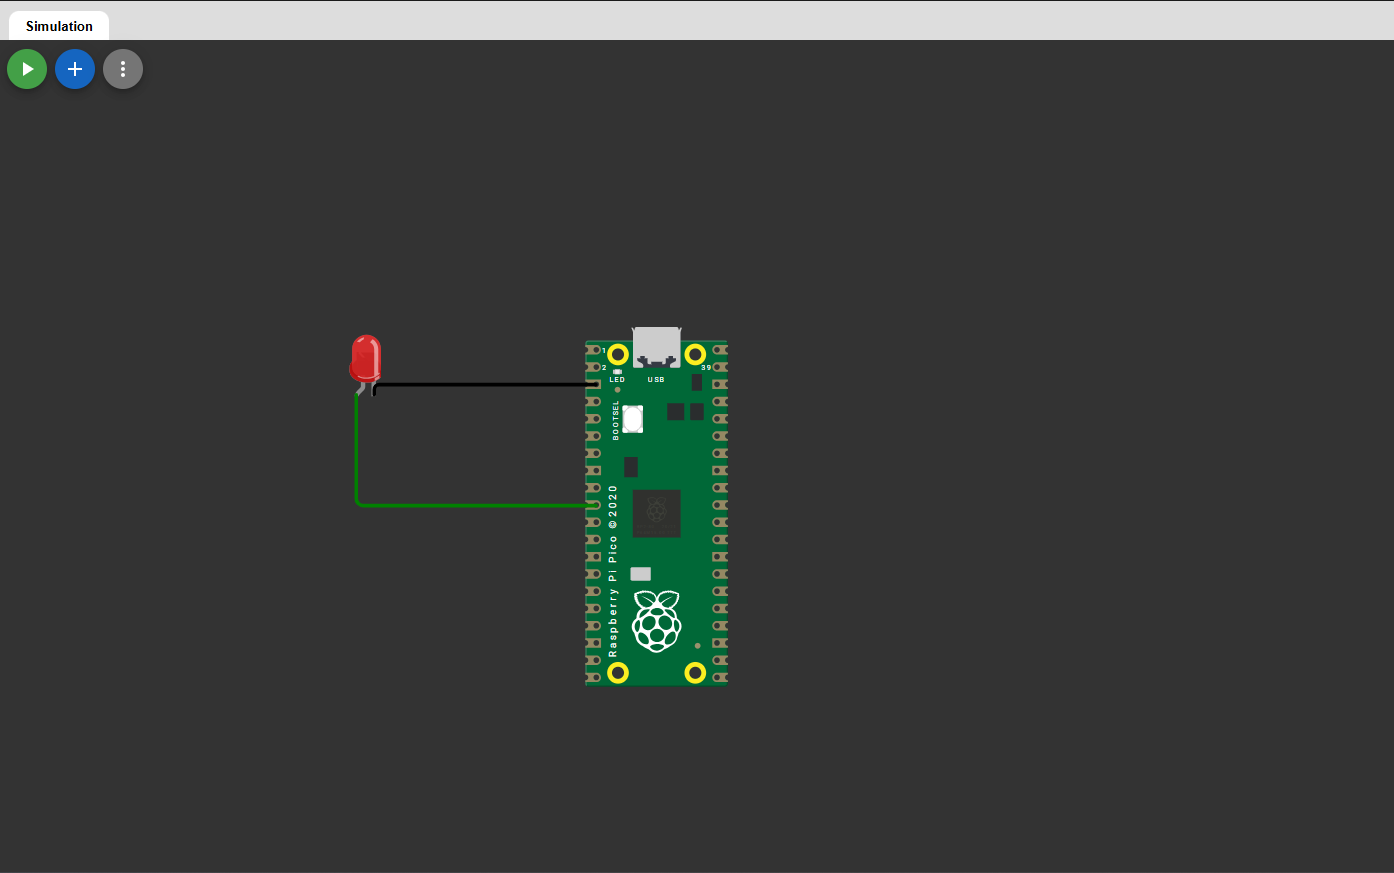
- Add the LED Component
- Search for "LED" in the components list.
- Place the LED onto the workspace.
- Connect the LED
- Connect the positive (anode) leg of the LED to a GPIO pin (e.g., GP15).
- Connect the negative (cathode) leg of the LED to GND.
- Write the Code (C++)
- Open the code editor inside Wokwi.
- Write a simple C++ code to blink the LED:
#define RED 7


void setup() {
  pinMode(RED, OUTPUT);

}

void loop() {
  digitalWrite(RED, HIGH);
  delay(300);
  digitalWrite(RED, LOW);
  delay(300);

}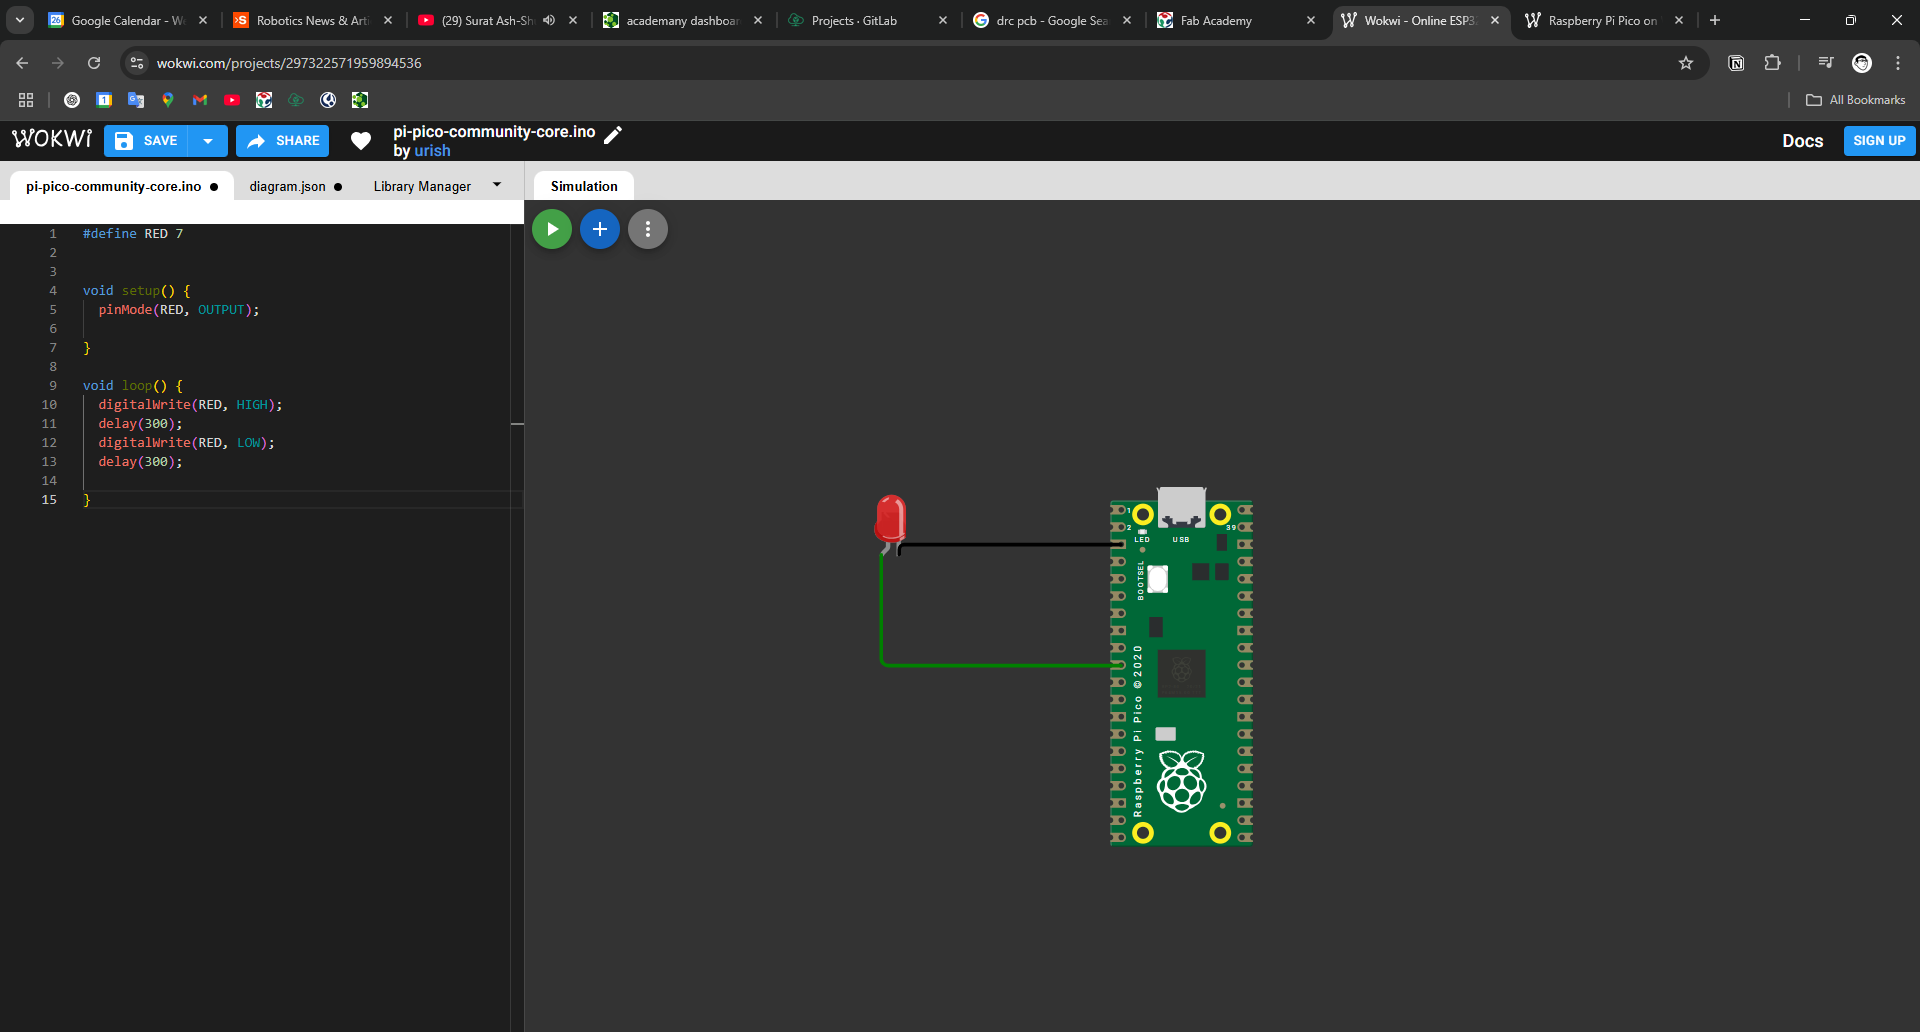
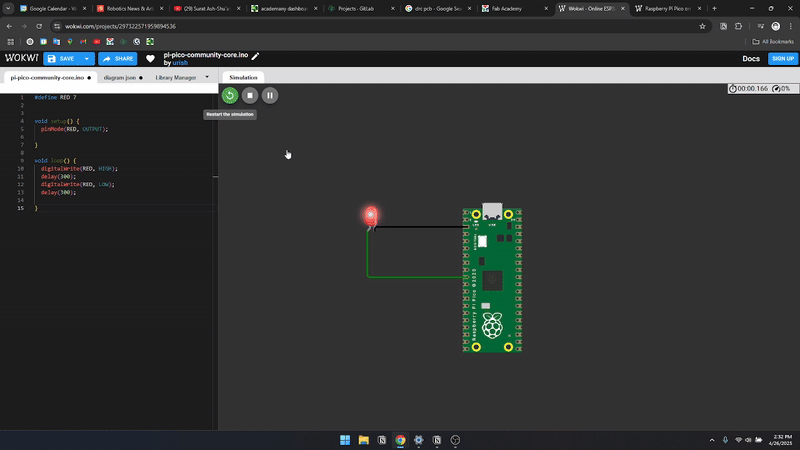
- Simulate the Circuit
- Click the "Start Simulation" button.
- Watch the LED blink ON and OFF every 300 milliseconds.
- Optional Testing
- You can adjust the sleep time to make the LED blink faster or slower.
- Try adding more components (like resistors) for more realistic behavior.
3. Blinking an LED Using Arduino IDE
I followed the official Arduino setup guide and performed the following steps:
✅ Installed the necessary board support package for RP2040 in Arduino IDE.
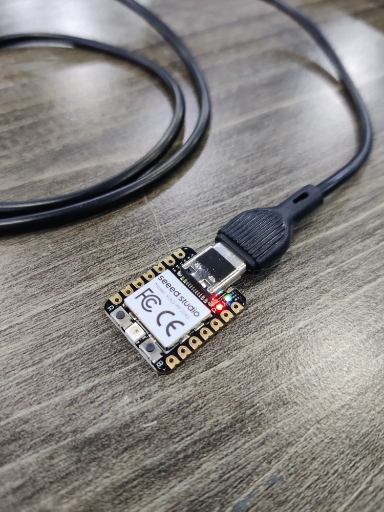
✅ Connected the XIAO RP2040 via USB-C and selected the correct board.
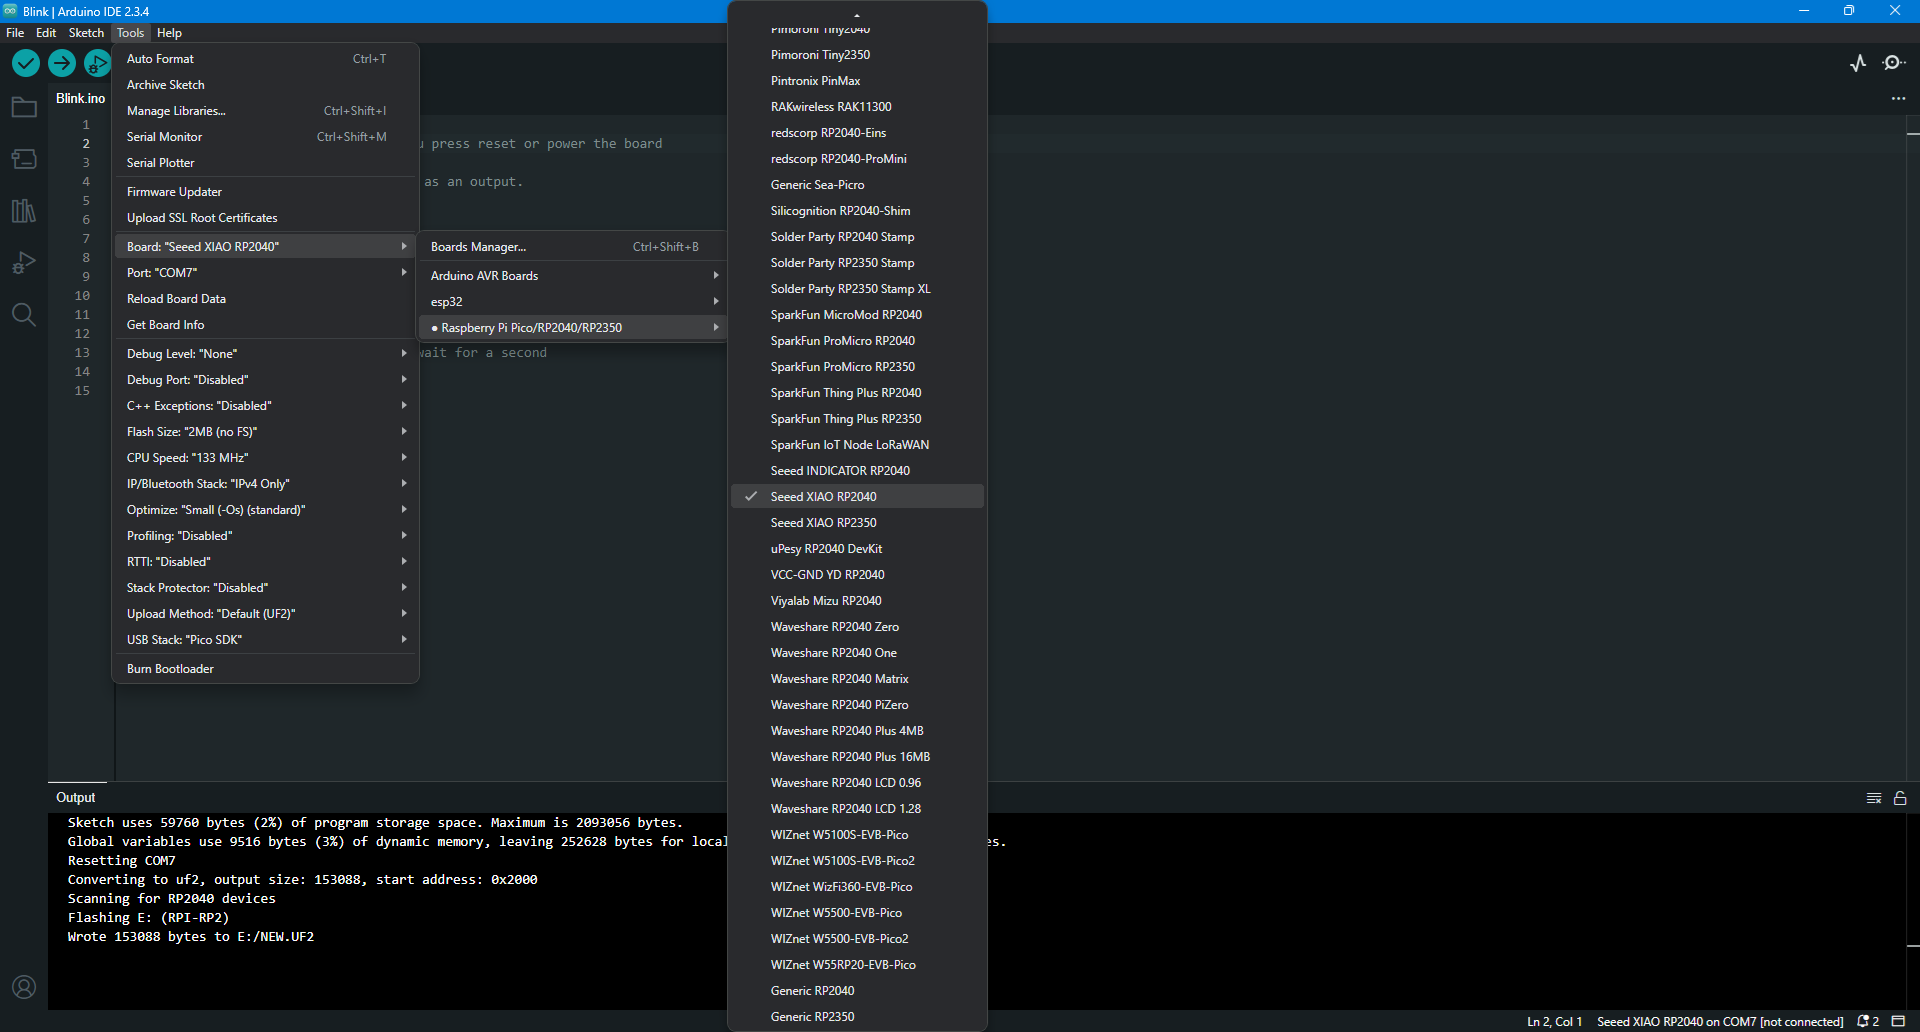
✅ Uploaded the Blink Sketch to toggle the onboard LED every second.
Code Used in Arduino IDE (C++)
void setup() {
  pinMode(LED_BUILTIN, OUTPUT); // Set onboard LED as output
}

void loop() {
  digitalWrite(LED_BUILTIN, HIGH); // Turn LED on
  delay(1000); // Wait for a second
  digitalWrite(LED_BUILTIN, LOW); // Turn LED off
  delay(1000); // Wait for a second
}
✅ The LED blinked as expected, confirming that the setup was successful.
4. Blinking an LED Using MicroPython (Thonny IDE)
Next, I followed the MicroPython setup guide and tested the same LED blink functionality using Thonny IDE.
✅ Flashed the MicroPython firmware onto the XIAO RP2040.
✅ Installed Thonny IDE and connected the board via USB.
✅ Wrote and executed the Blink script in Python.
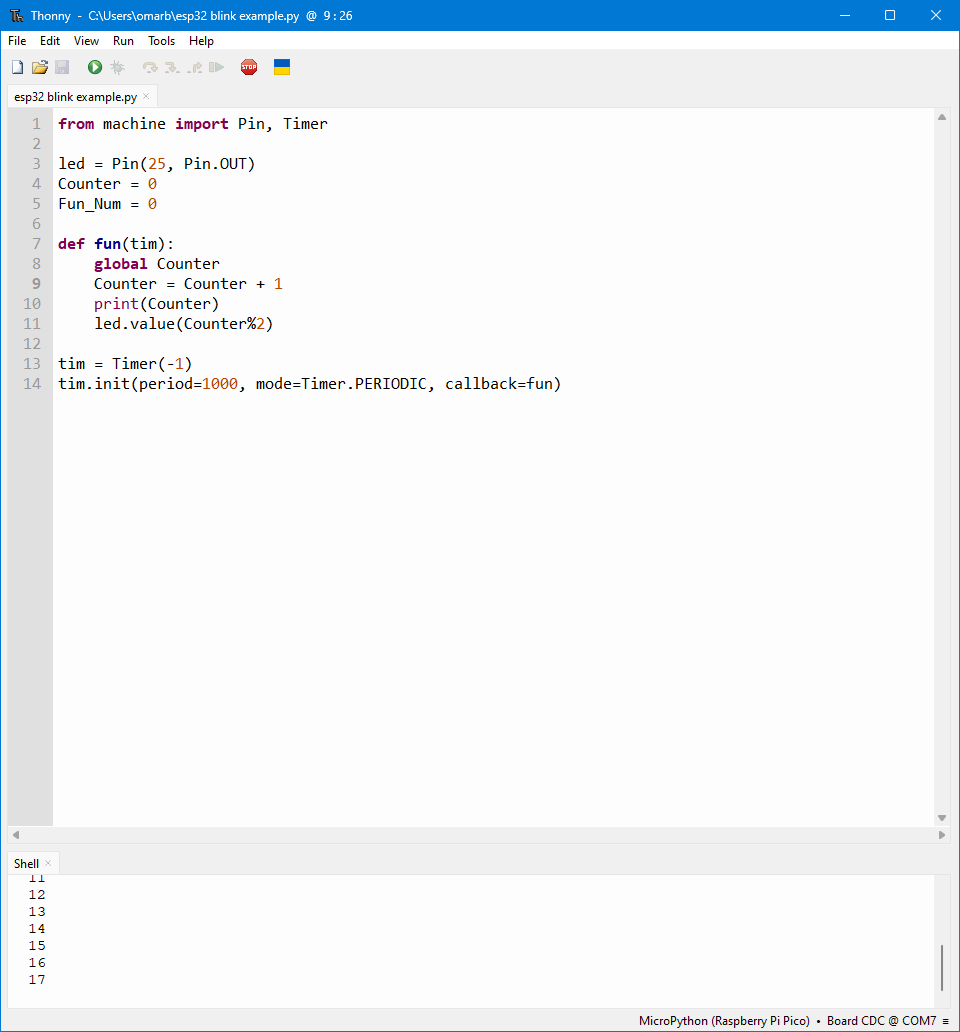
Code Used in MicroPython (Python)
from machine import Pin, Timer

led = Pin(25, Pin.OUT)
Counter = 0
Fun_Num = 0

def fun(tim):
    global Counter
    Counter = Counter + 1
    print(Counter)
    led.value(Counter%2)

tim = Timer(-1)
tim.init(period=1000, mode=Timer.PERIODIC, callback=fun)
✅ The LED blinked with a counter successfully, confirming that MicroPython was set up correctly.
Learning Outcome
This week’s experiment was a simple yet crucial step in understanding how to program the XIAO RP2040. Successfully blinking an LED in both Arduino and MicroPython proved that the board was functioning correctly, and I became comfortable using both development environments. Moving forward, I plan to interface input devices (such as buttons) and experiment with communication protocols to expand my embedded programming skills. 🚀