
Molding and casting
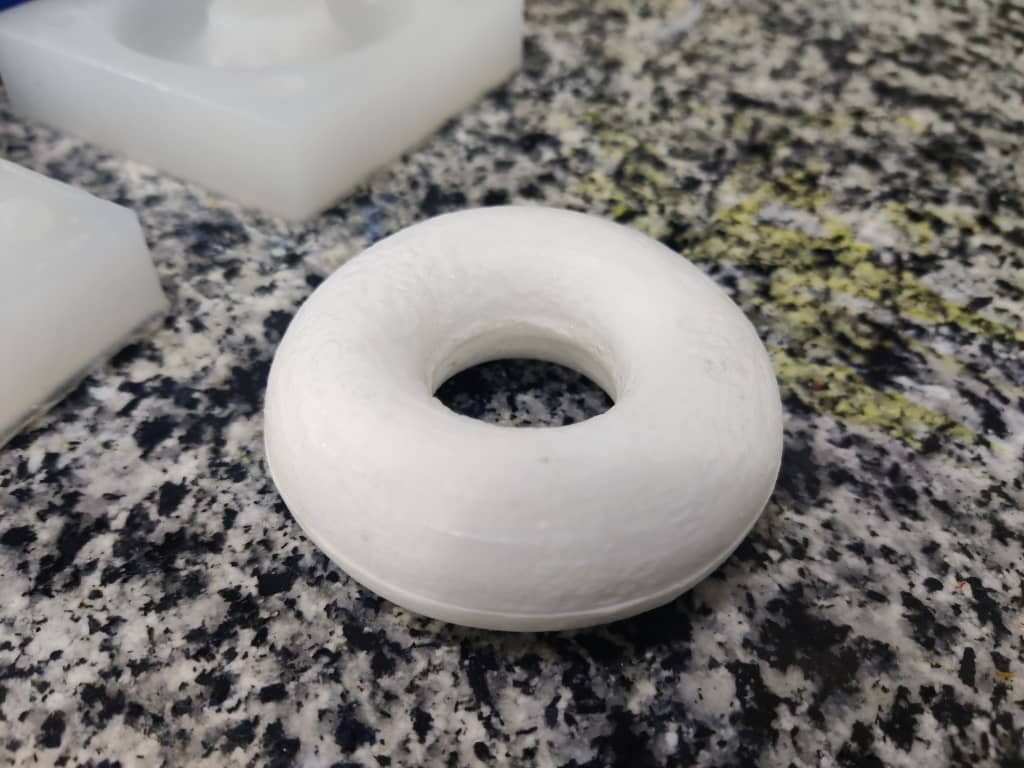
Hero Shot
Summary
This assignment gave me full exposure to the end-to-end workflow of designing, molding, casting, and finishing a complex part. I learned the technical and safety aspects of each step, along with troubleshooting (e.g., stuck wax walls). The final result was a high-quality two-part molded plastic donut shape, showcasing precise geometry and surface smoothness
The group assignment Page :
Work Process Detail
1. Group Work: Material Exploration and Safety
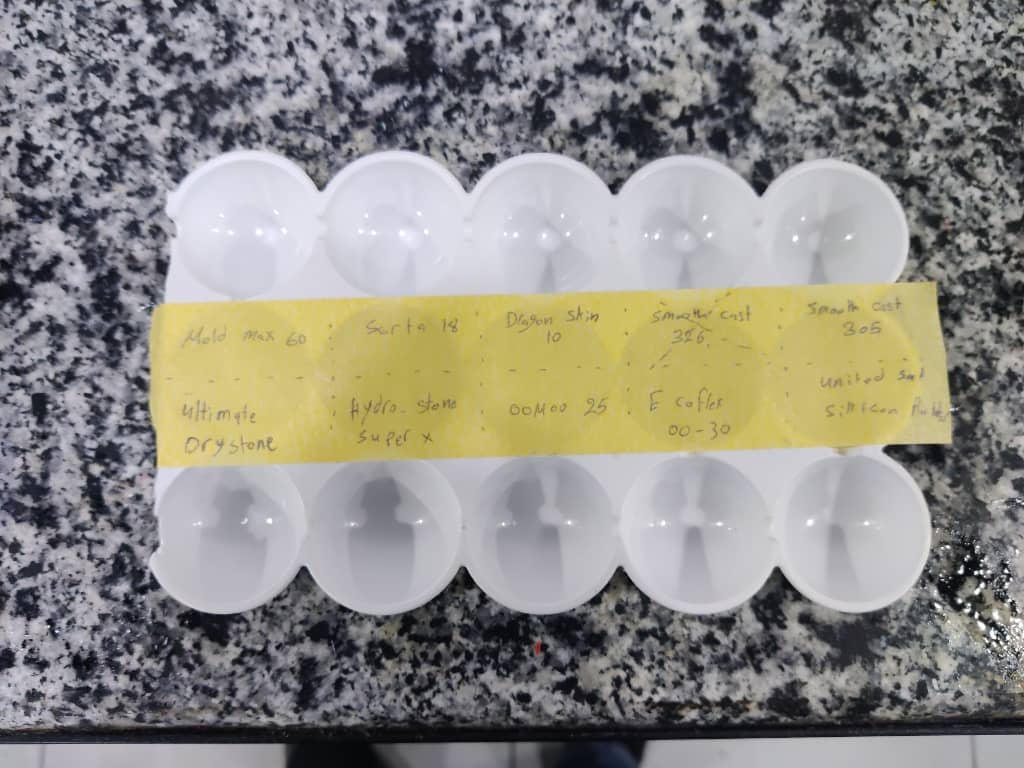
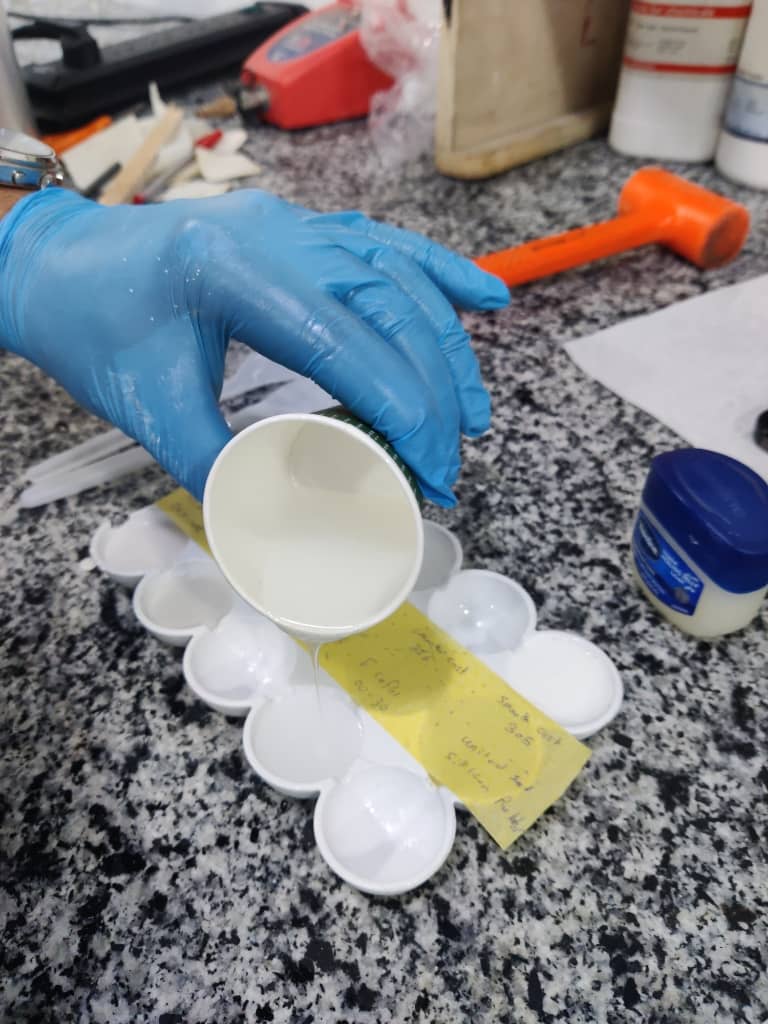
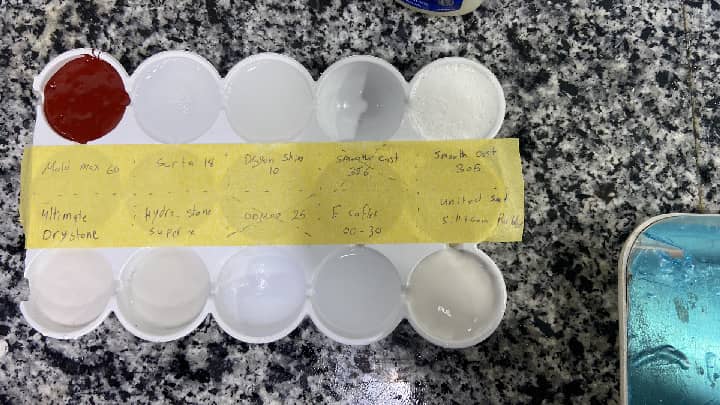
- Gathered and tested 8 types of silicones and liquid plastics available in the lab.
- Created a comparison table summarizing material specifications and best-use recommendations.
- Recorded differences in properties: mix ratio, pot life, cure time, color, and typical use cases.
| Material Name | Type | Mix Ratio | Pot Life | Cure Time | Color | Special Properties |
|---|---|---|---|---|---|---|
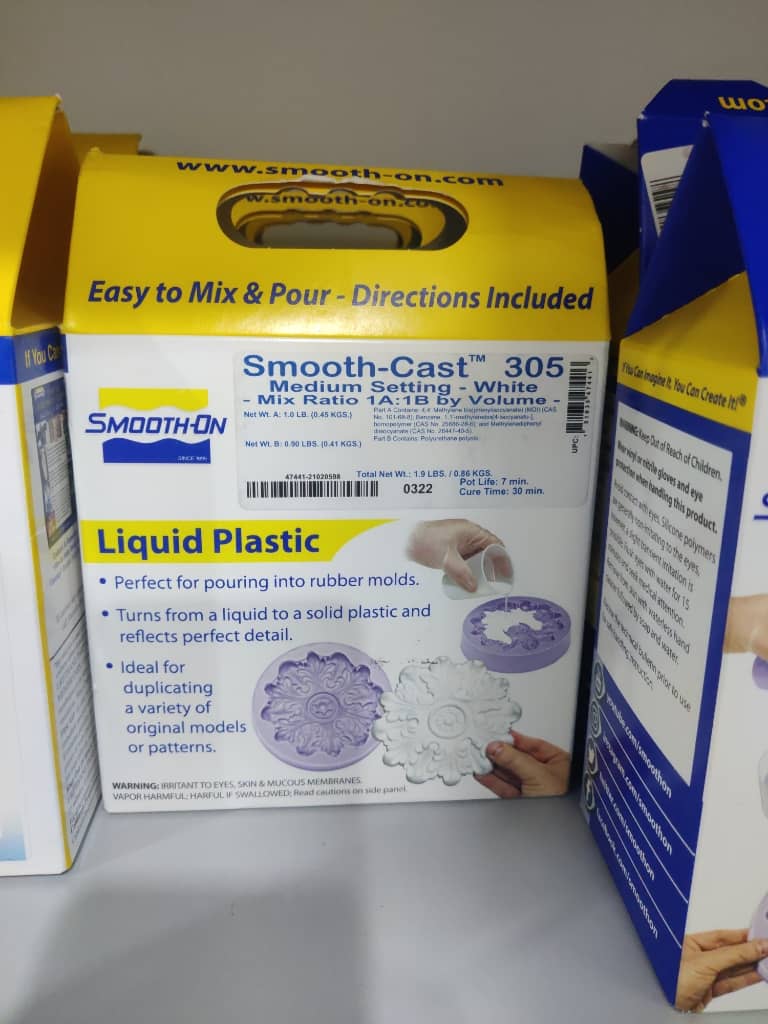
| Smooth-Cast 305 ✅ | Liquid Plastic | 1A:1B by Volume | 7 min | 30 min | White | Fast setting, good for detail casting |
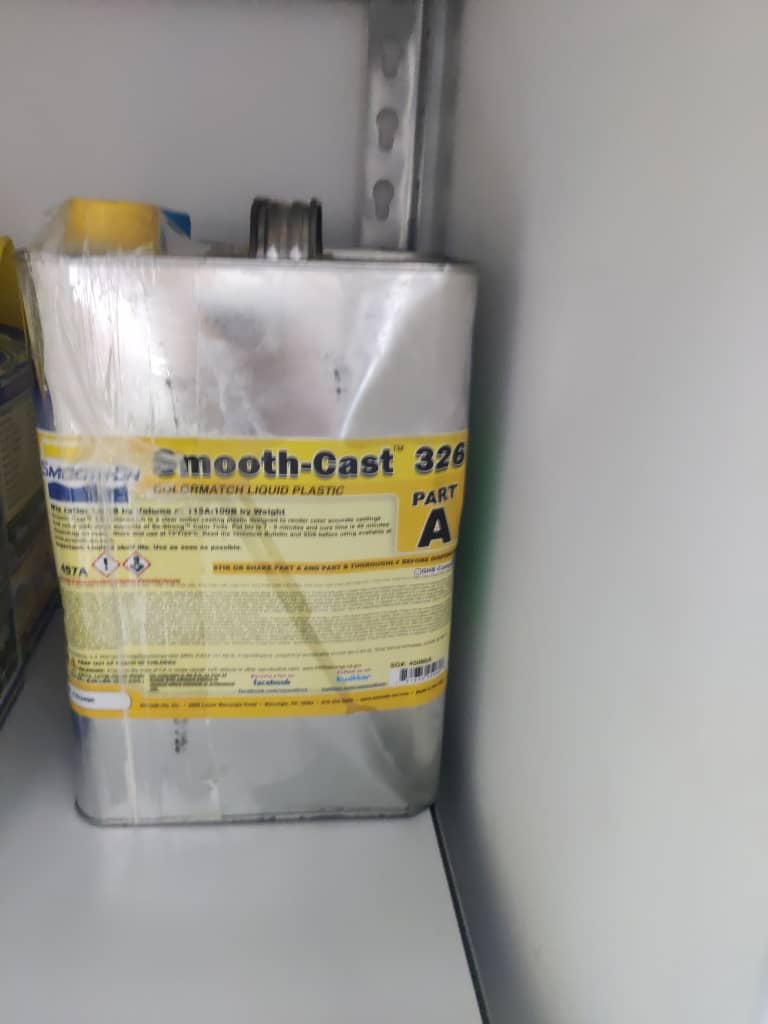
| Smooth-Cast 326 ✅ | Liquid Plastic | 1A:1B by Volume | 7 min | 60 min | Off-White | Color-match, slower set for large casts |
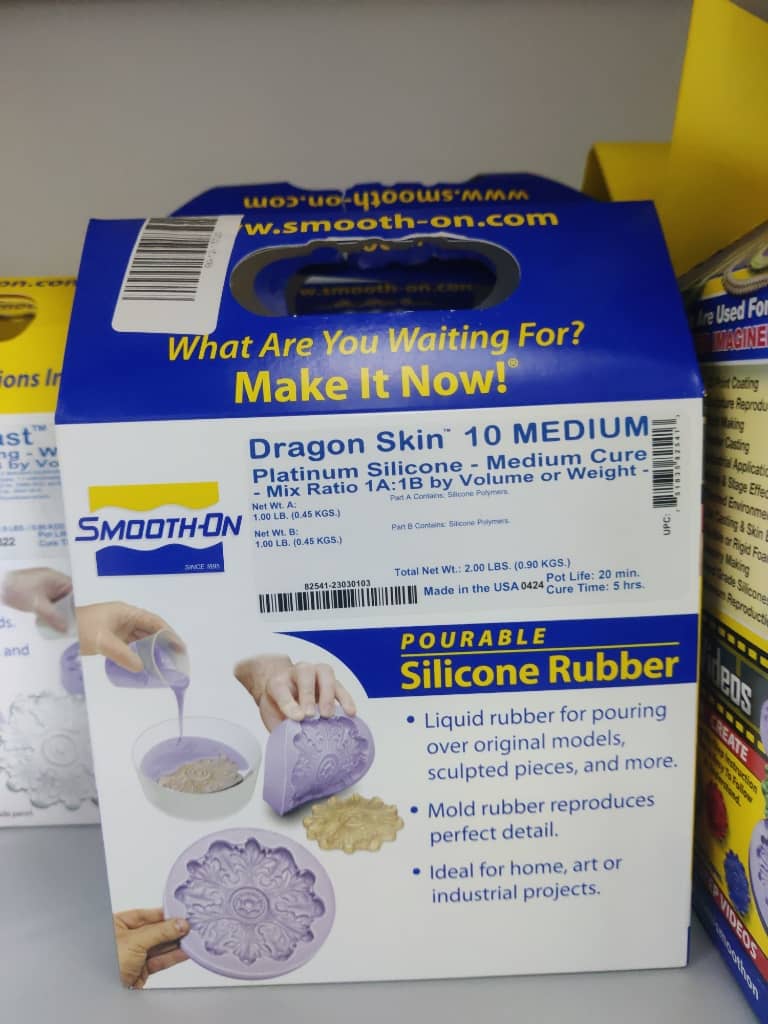
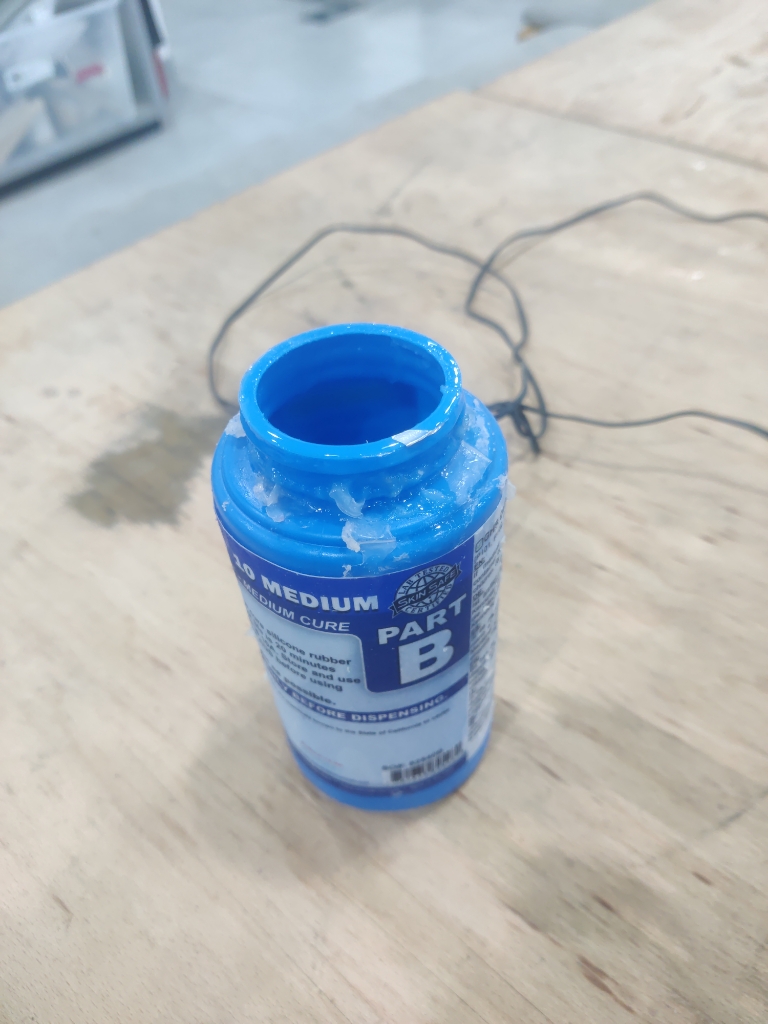
| Dragon Skin 10 Medium ✅ | Silicone Rubber | 1A:1B by Volume or Weight | 20 min | 5 hours | Translucent/Purple | Very flexible, highly tear-resistant |
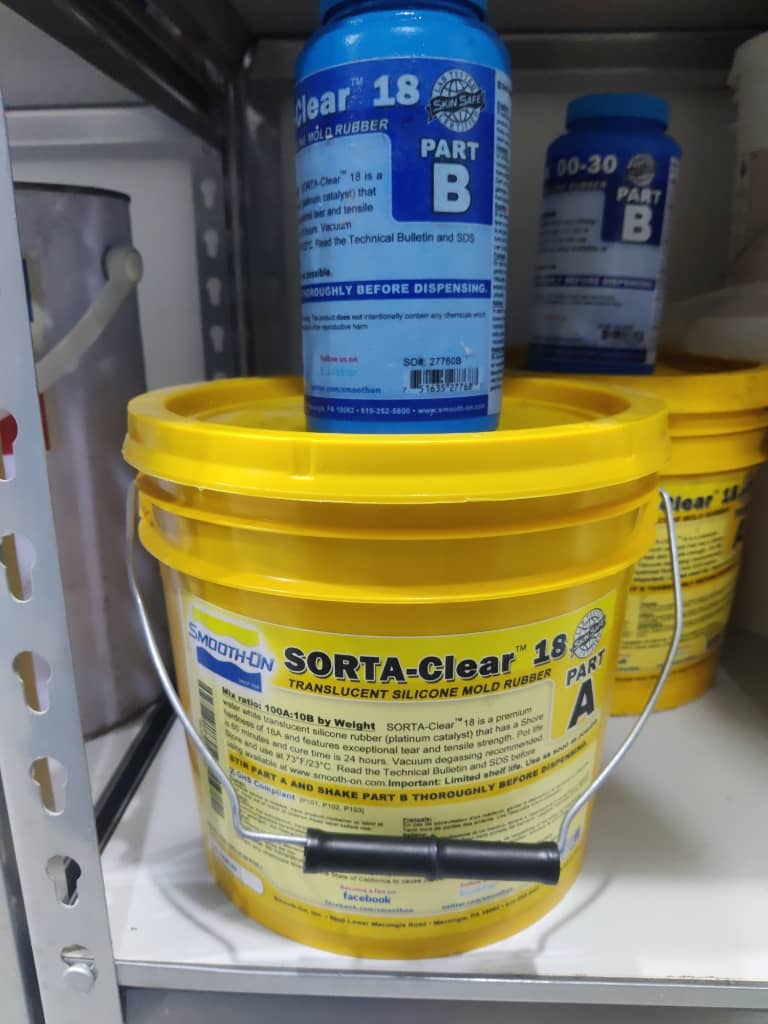
| Sorta-Clear 18✅ | Silicone Rubber | 100A:10B by Weight | 60 min | 24 hours | Clear | Skin-safe, translucent, needs vacuum degassing |
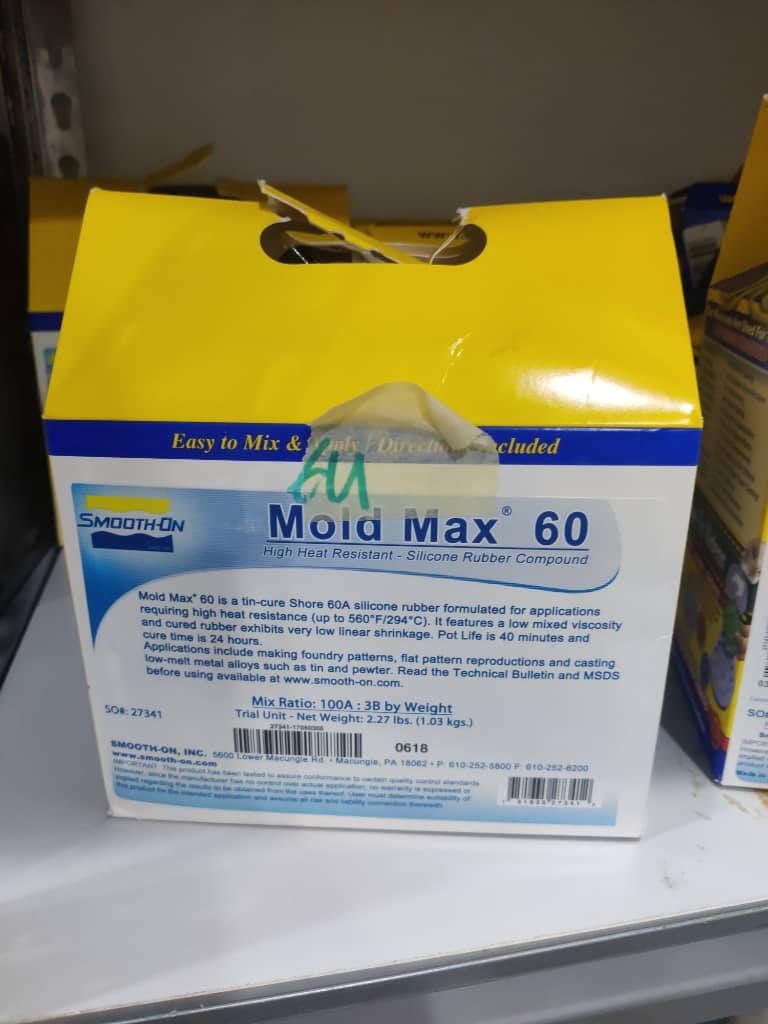
| Mold Max 60 ✅ | Silicone Rubber | 100A:3B by Weight | 40 min | 24 hours | Pink | High heat resistance (up to 560°F/294°C) |
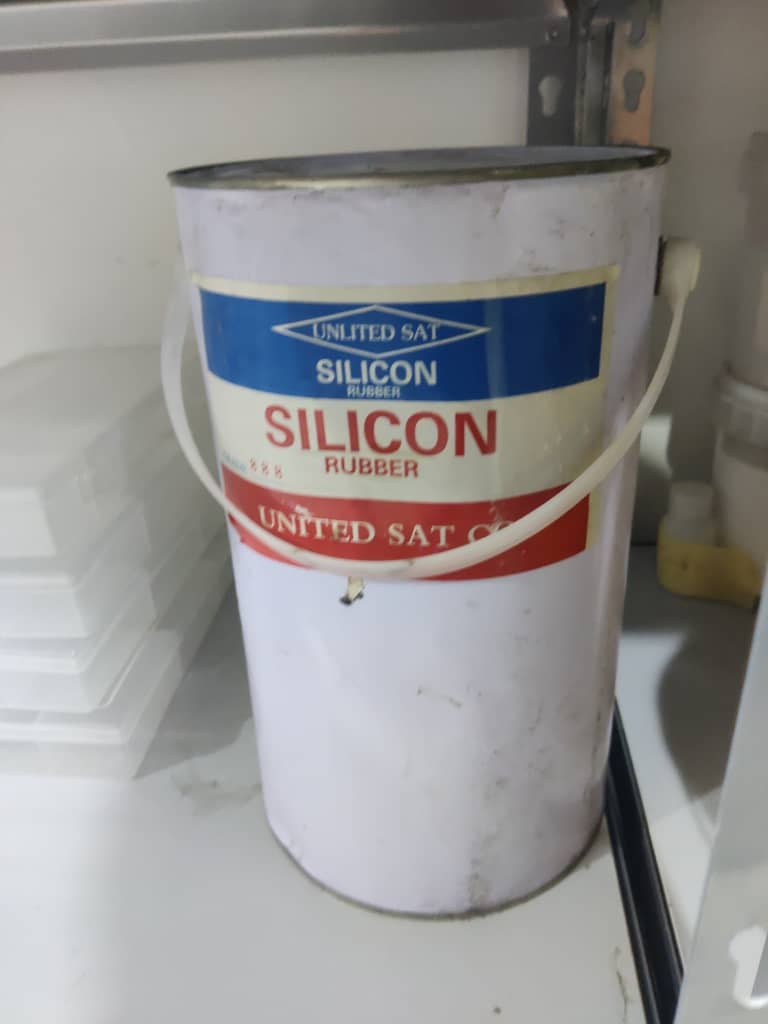
| UNITED SAT Silicon Rubber✅ | Silicone Rubber | Not specified | Not specified | Not specified | Likely White/Clear | Likely basic molding silicone, general use, no detailed spec available |
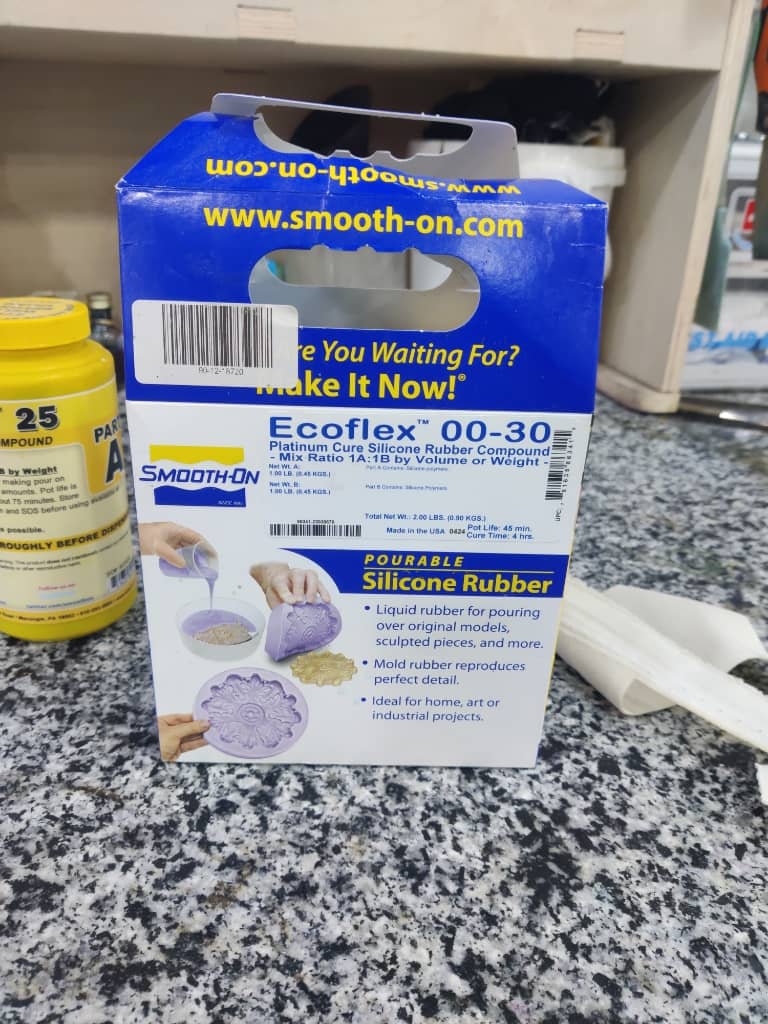
| Ecoflex 00-30 ✅ | Platinum Silicone Rubber | 1A:1B by Weight | 45 min | 4 hours | Translucent | Extremely soft, stretchy, skin-safe |
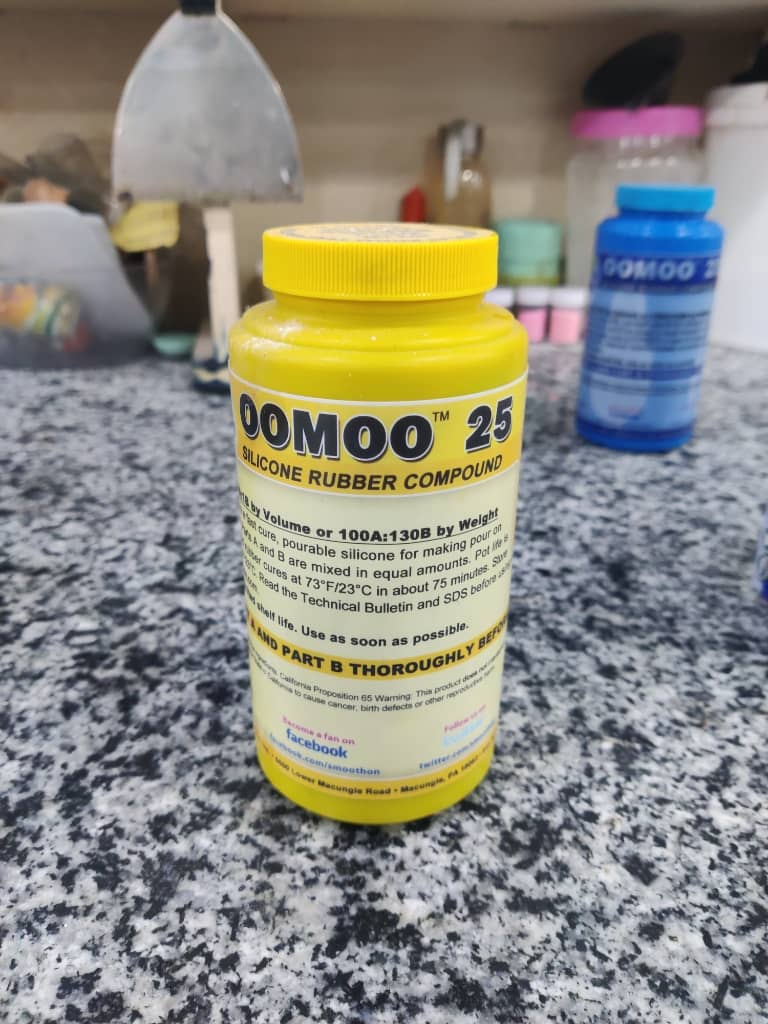
| OOMOO 25 ✅ | Tin Silicone Rubber | 1A:1B by Volume | 15 min | 75 min | Blue | Easy to use, flexible, no degassing needed |
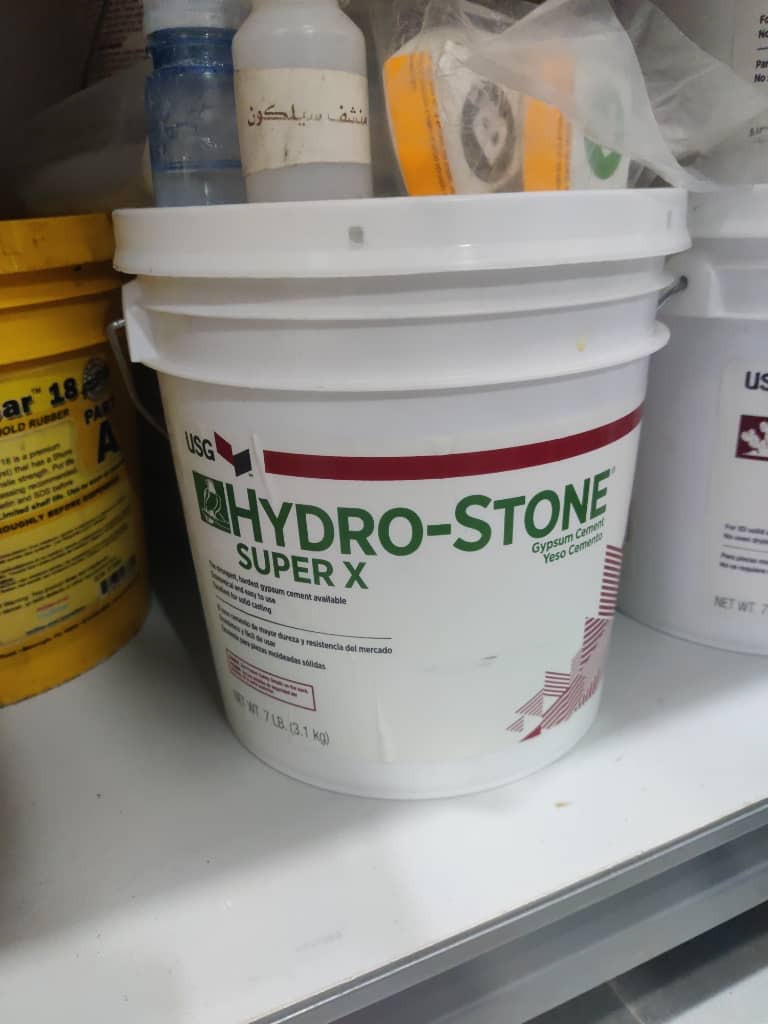
| Hydro-Stone Super X ✅ | Gypsum Cement | Water mix (depends on use) | N/A | 17–20 min | White | Very strong gypsum cement, durable |
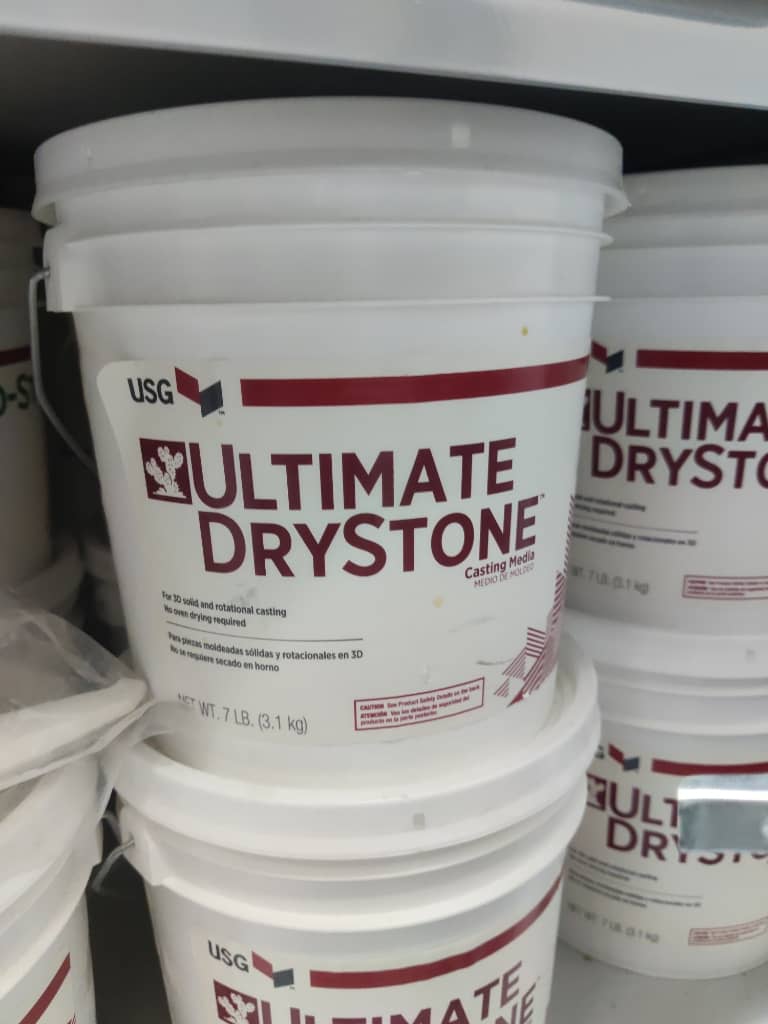
| Ultimate Drystone ✅ | Casting Media (Gypsum) | Water mix (specific ratio) | N/A | 17–20 min | White | Ultra-hard, lightweight gypsum |
Safety and Technical Datasheets
https://fabacademy.org/2020/labs/techworks/students/aziz-wadi/assignments/week16/
Each material used is accompanied by a technical and safety datasheet. The technical datasheet provides important information such as material specifications, recommended processing methods, and operational guidelines. The safety datasheet outlines potential hazards, safety precautions, and risk levels associated with handling the material.
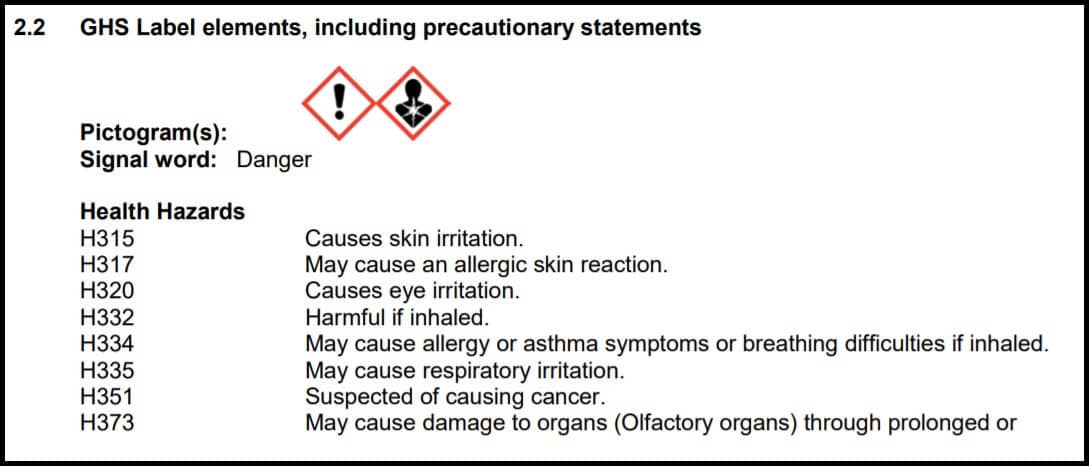
For example, the following risks are listed in the safety datasheet of Smooth-Cast® 305.
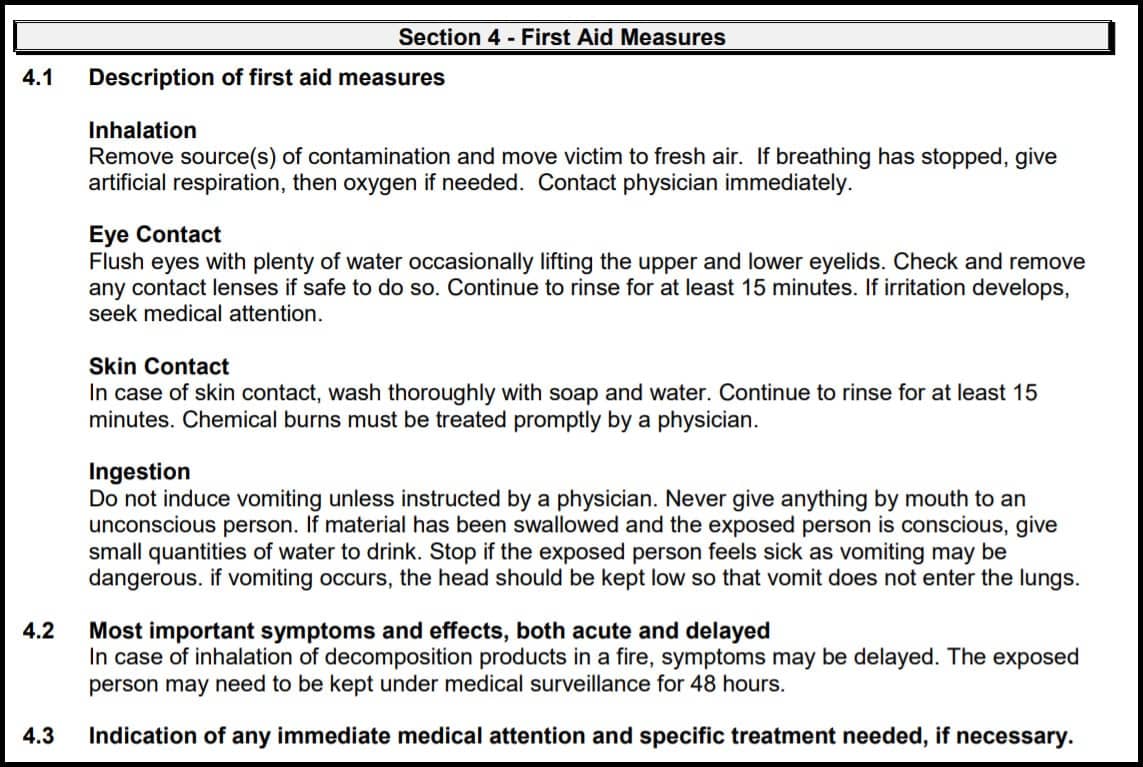
And also, the following first aid measures are listed in the safety datasheet for the same material.
In the technical datasheet information about working on the material could be found. For example, for OOMOO™ 25 the following guidelines are listed (in addition to safety ticket!).

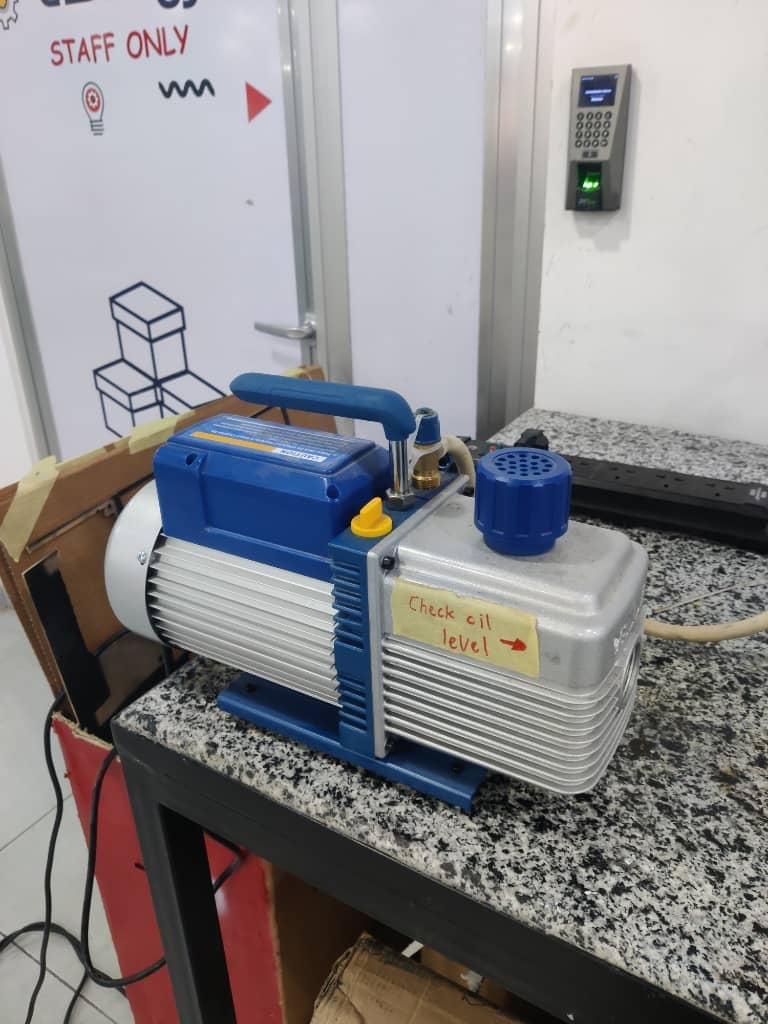
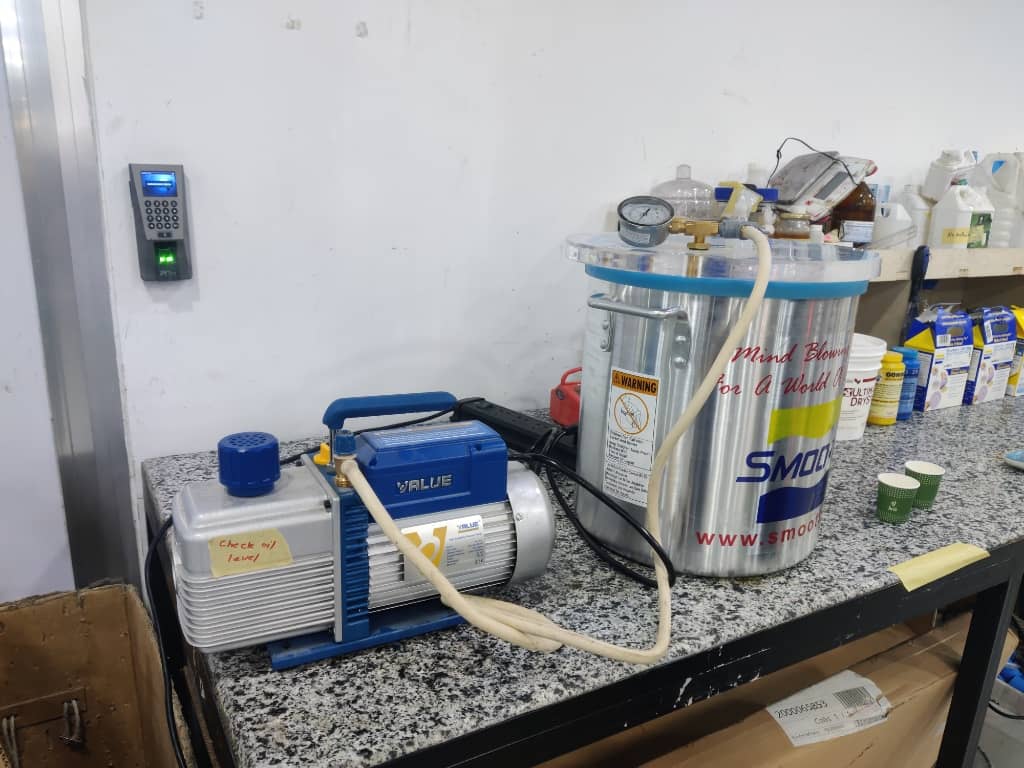
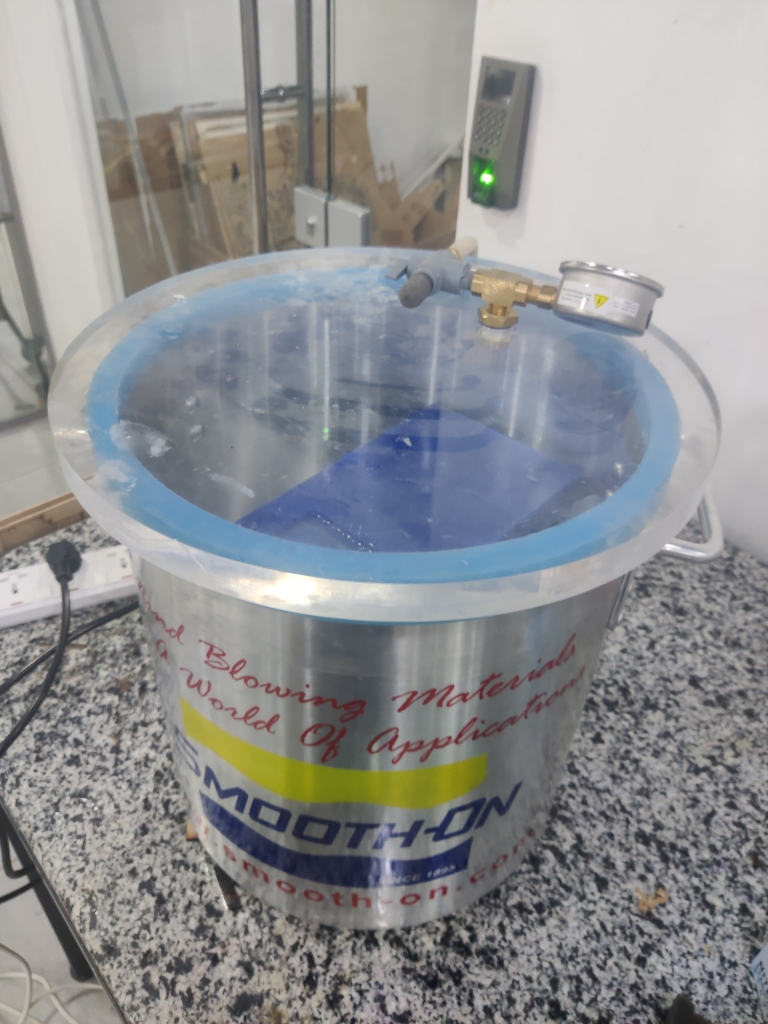
- Learned how to safely operate the vacuum pump and compressor, including checking PSI levels and oil levels before use.
https://www.smooth-on.com/products/vacuum-chamber/
2. Material Preparation and Curing
- Divided materials between team members for individual trials (I tested 4 materials).
- Poured, vacuumed, and cured samples over 24 hours.
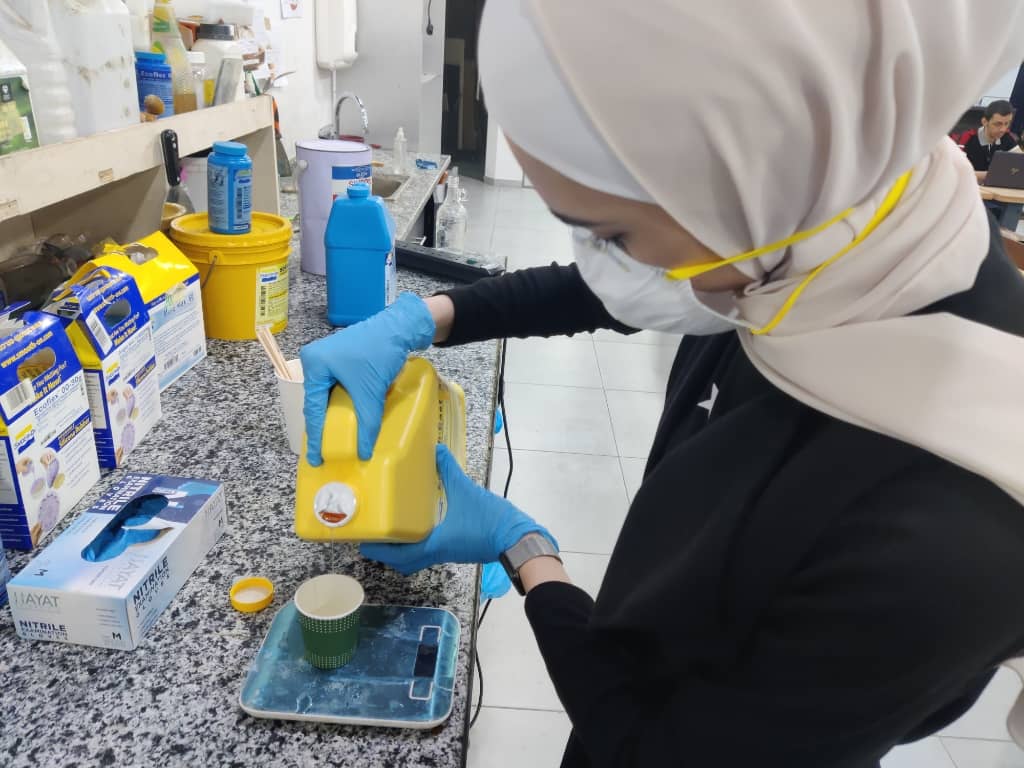
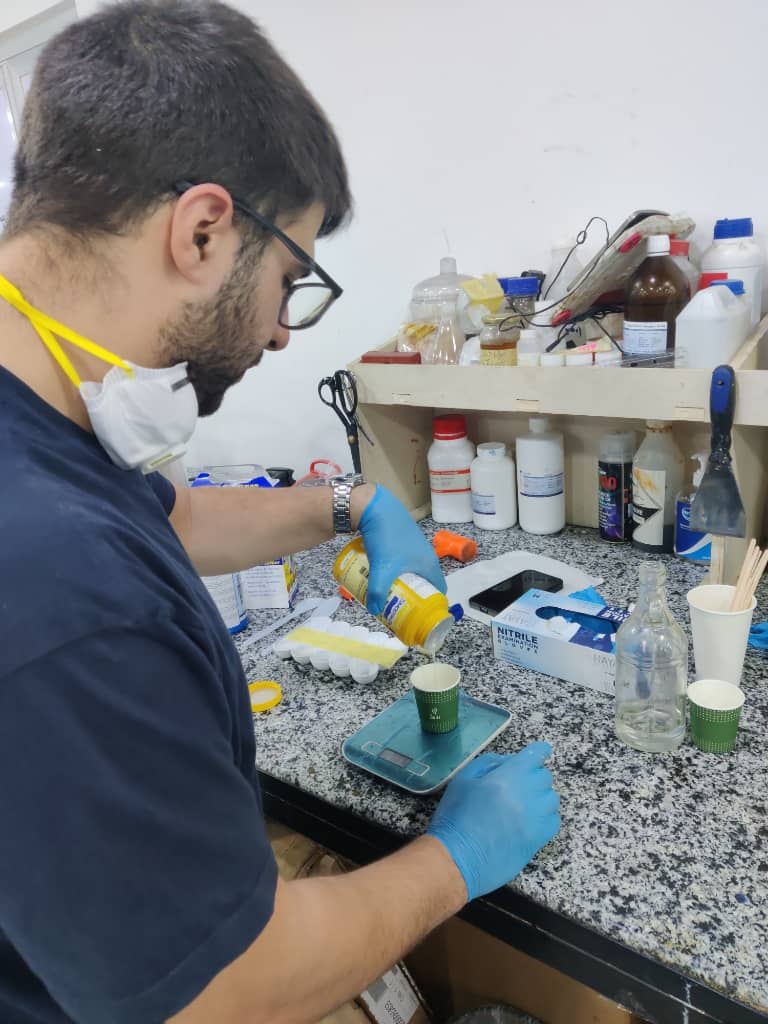
- Results were shared and analyzed to understand surface quality, curing behavior, and ease of demolding.
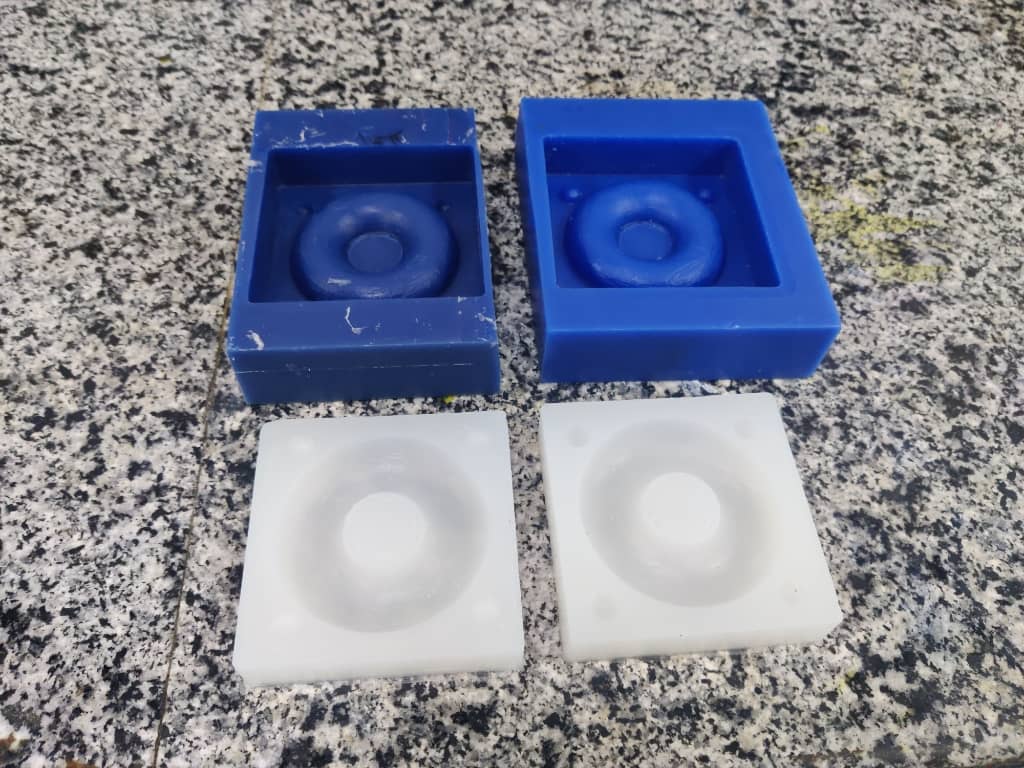
3. Individual Assignment: Design and Manufacture of a Two-Part Mold
3.1. Design Phase
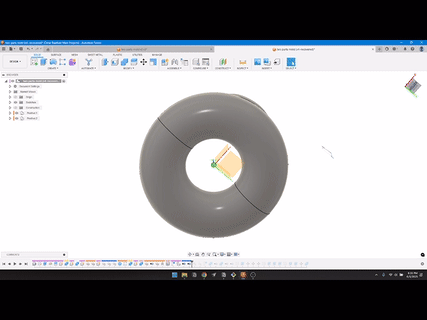
For this design, I followed a YouTube channel called
Product Design Online. I used a step-by-step guide to create two forms in Fusion 360 — a donut and an iPhone stand. I started from a pre-made file and carefully followed the instructions to complete the design.
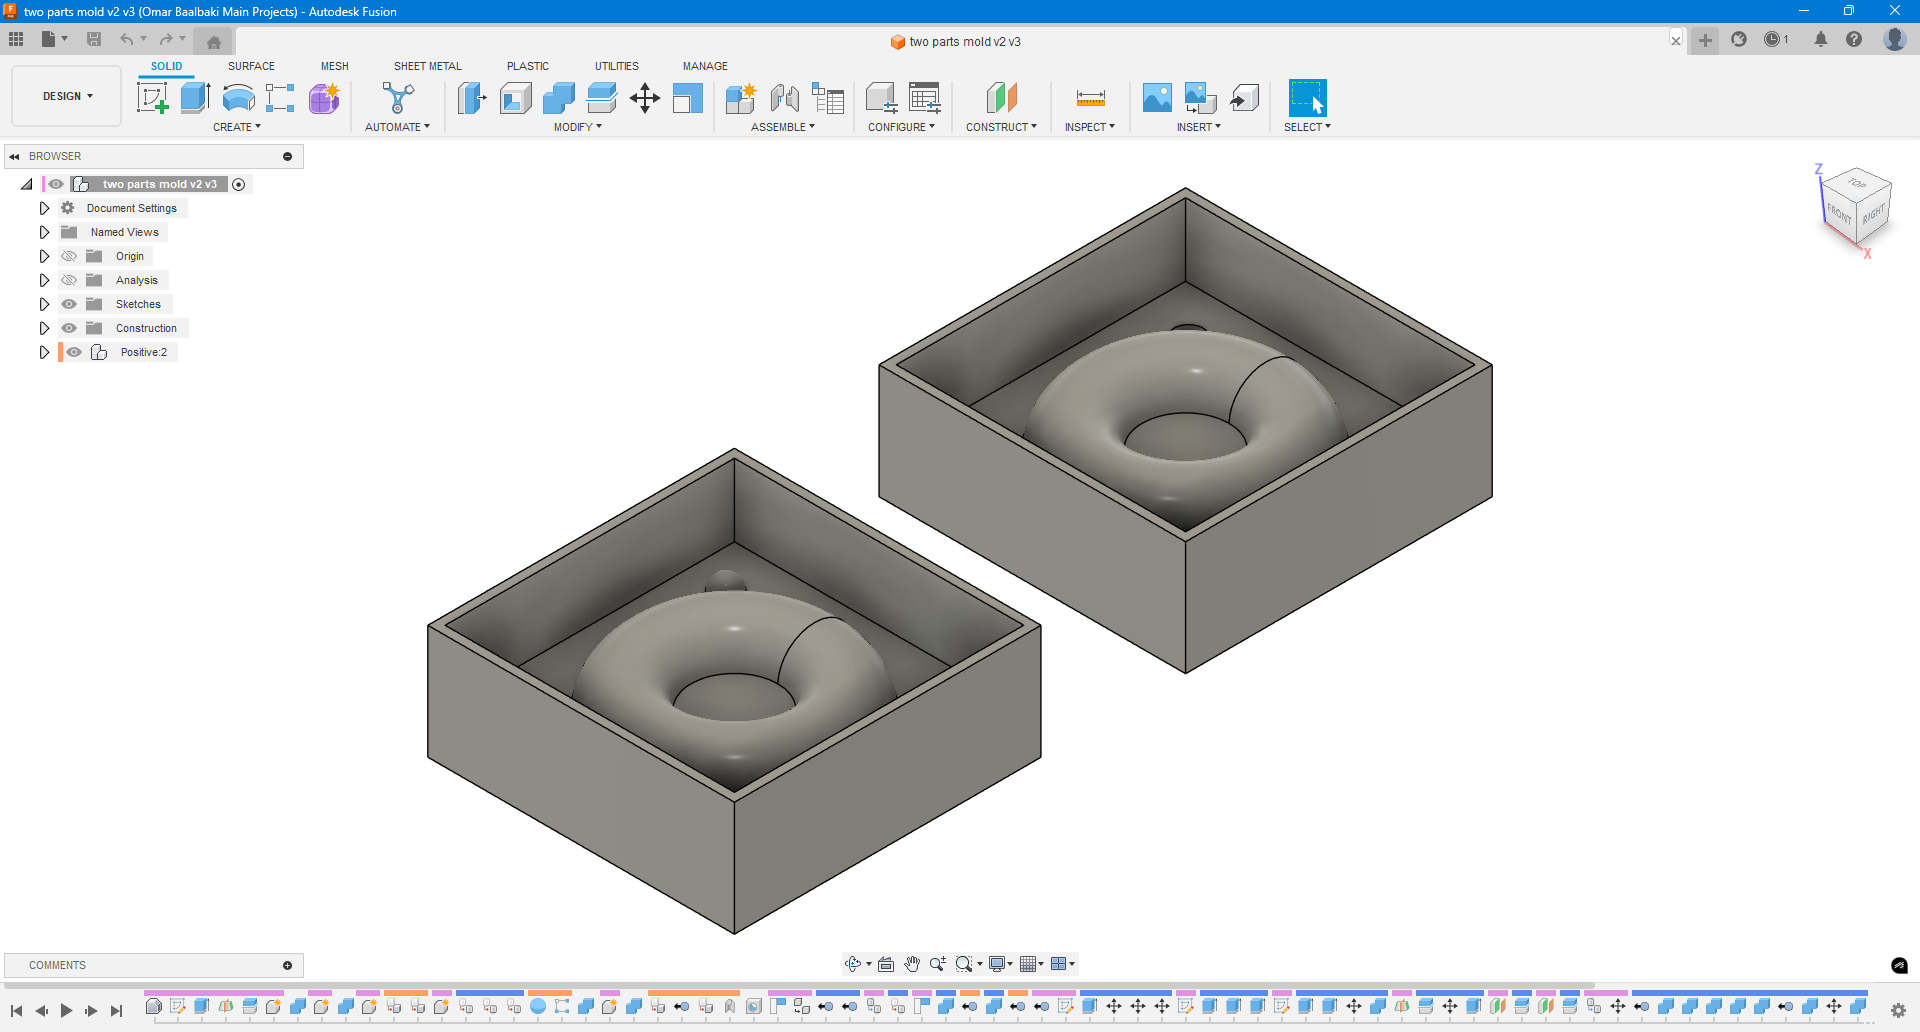
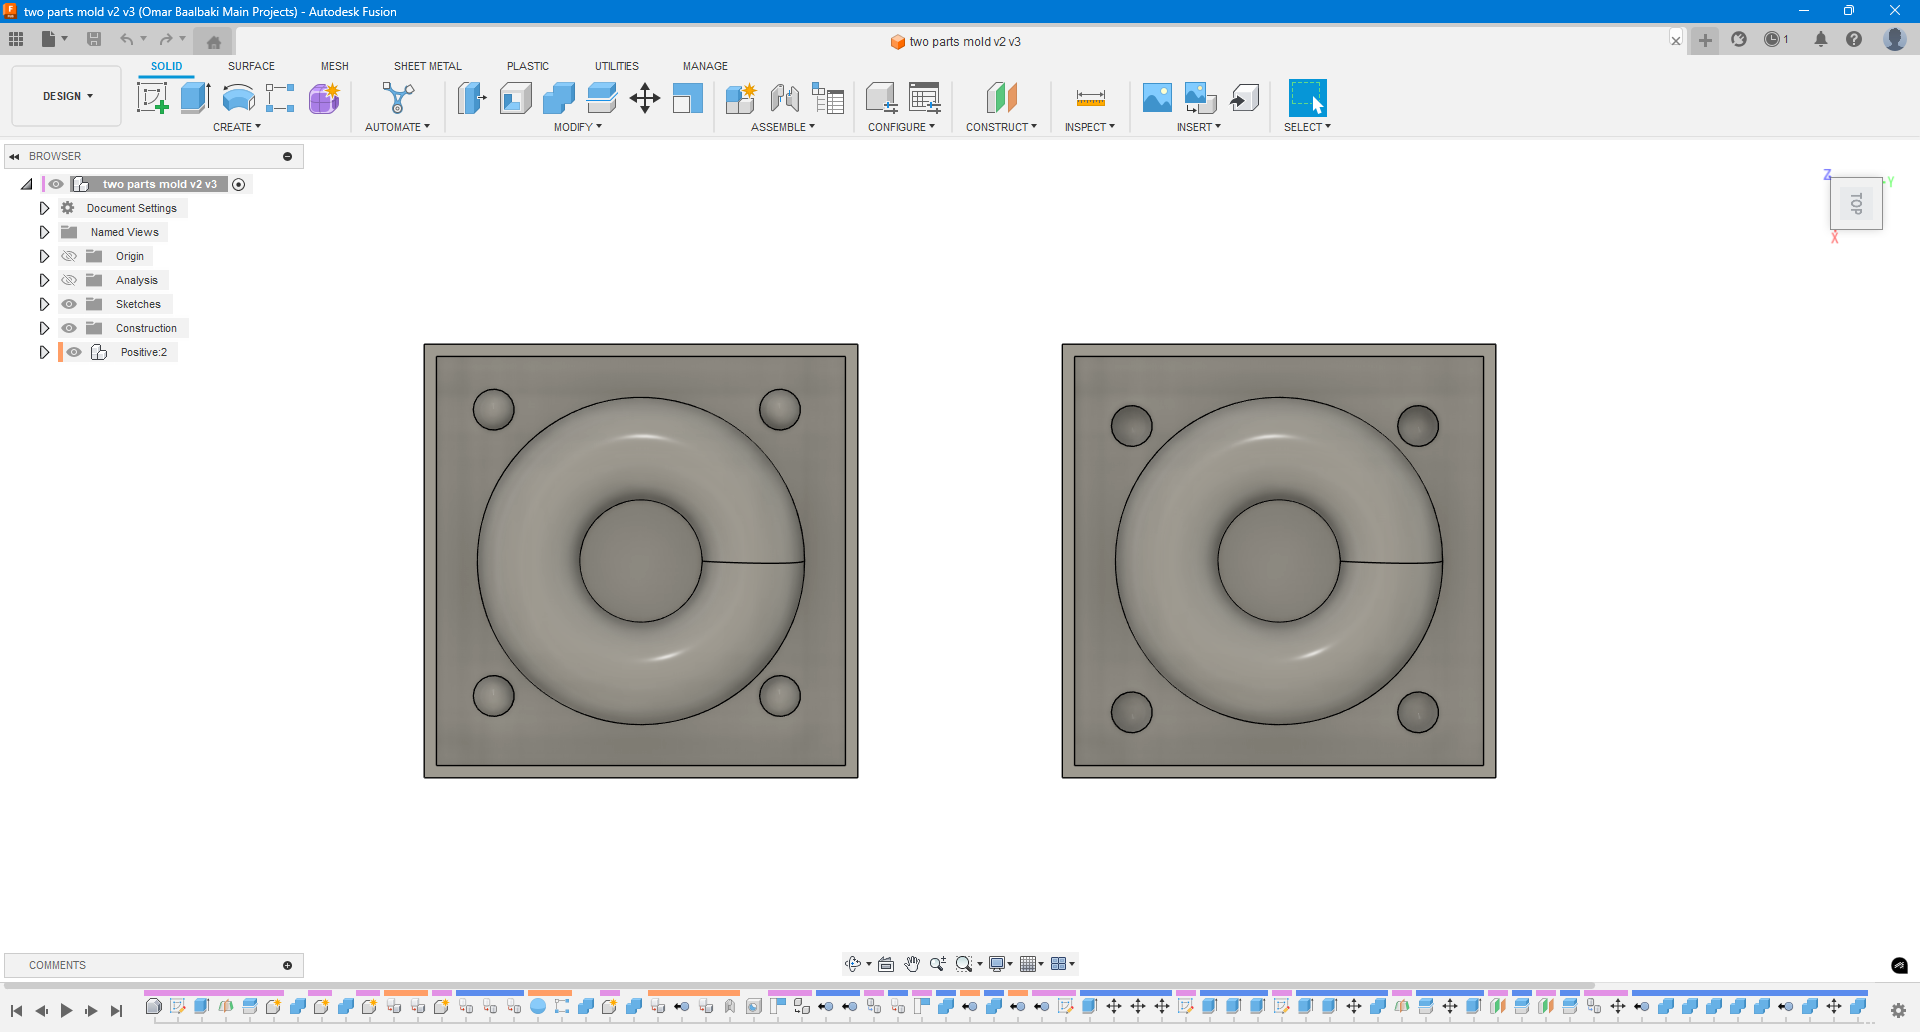
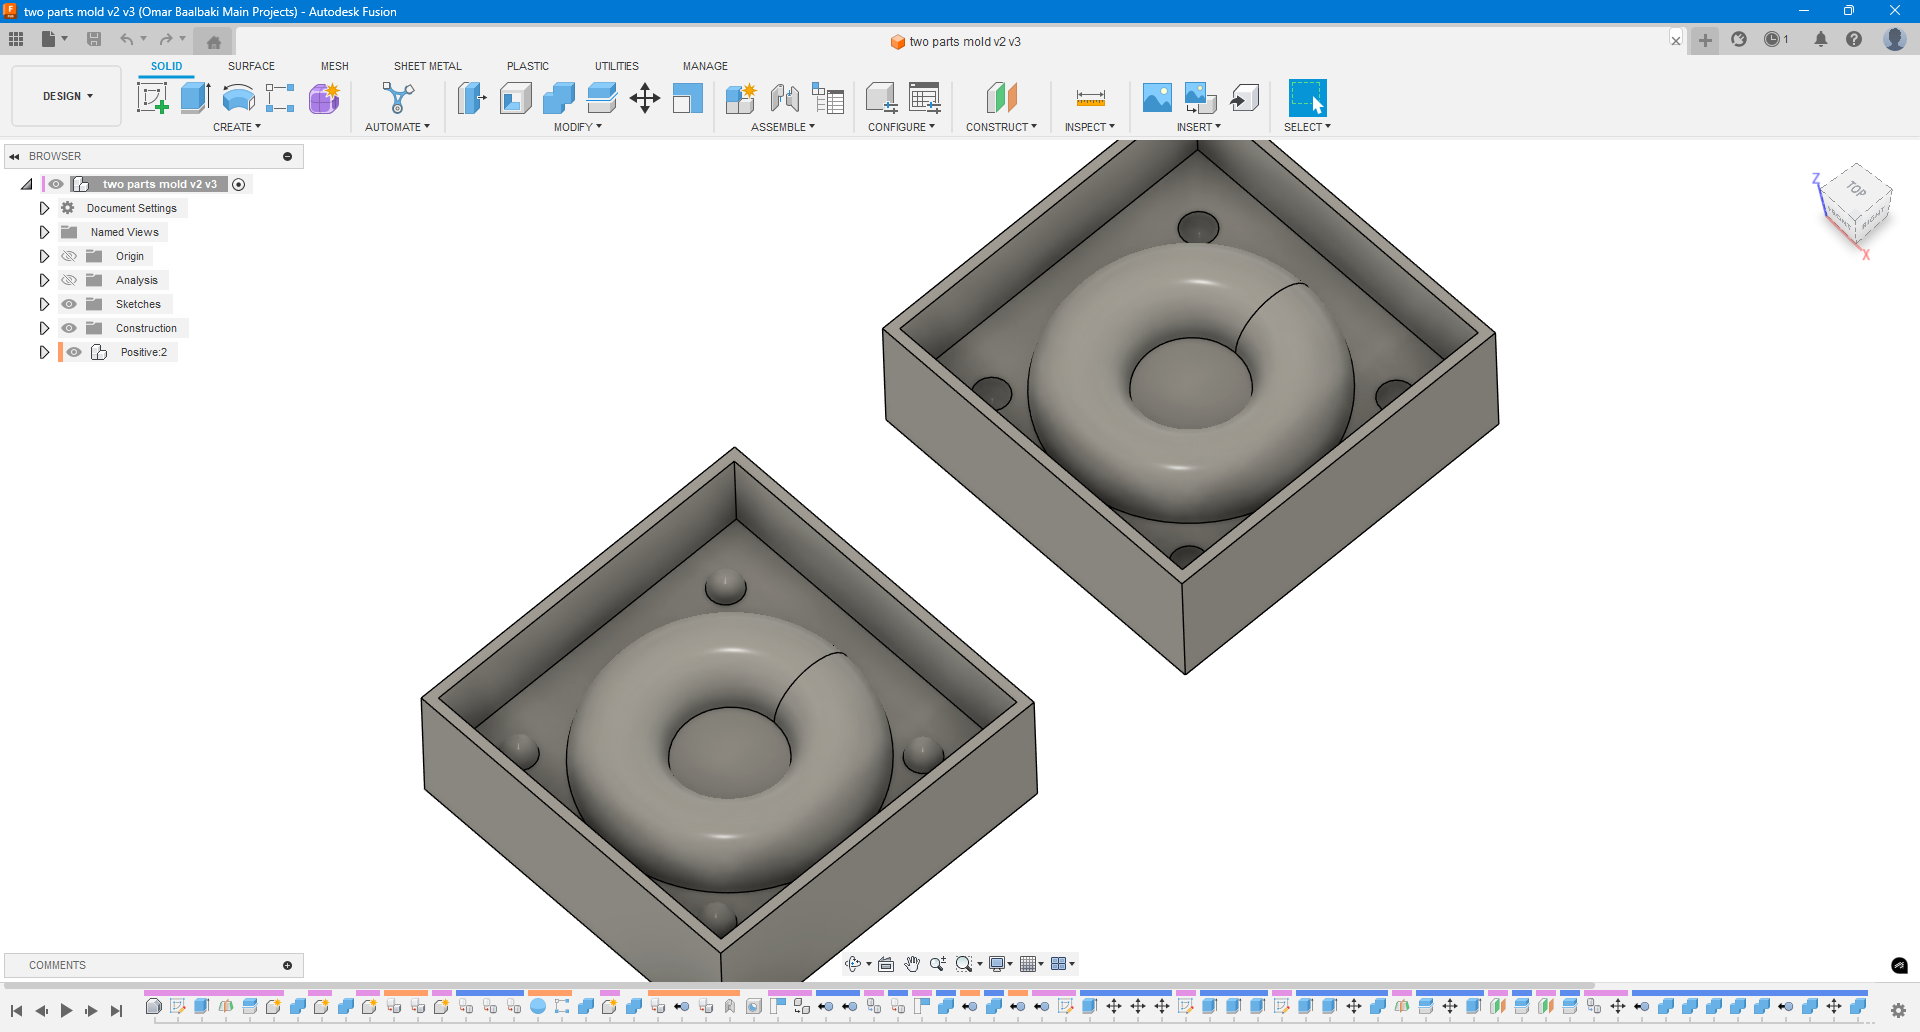
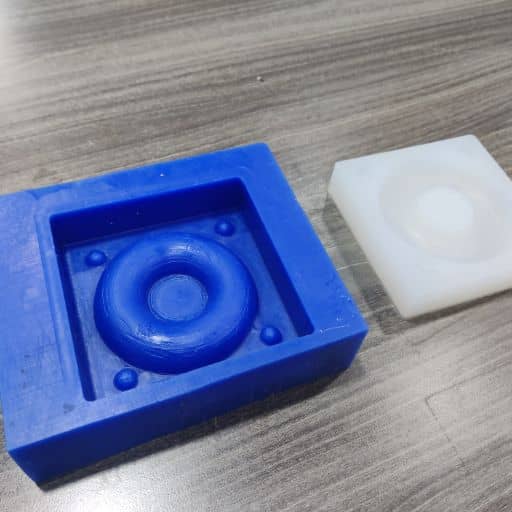
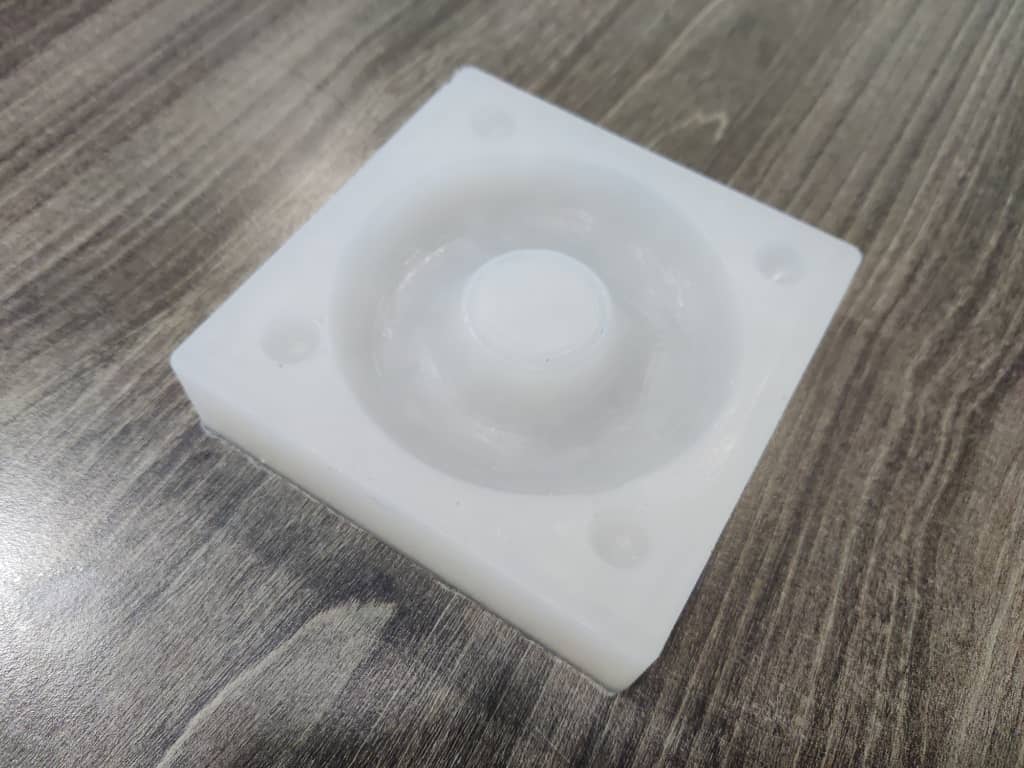
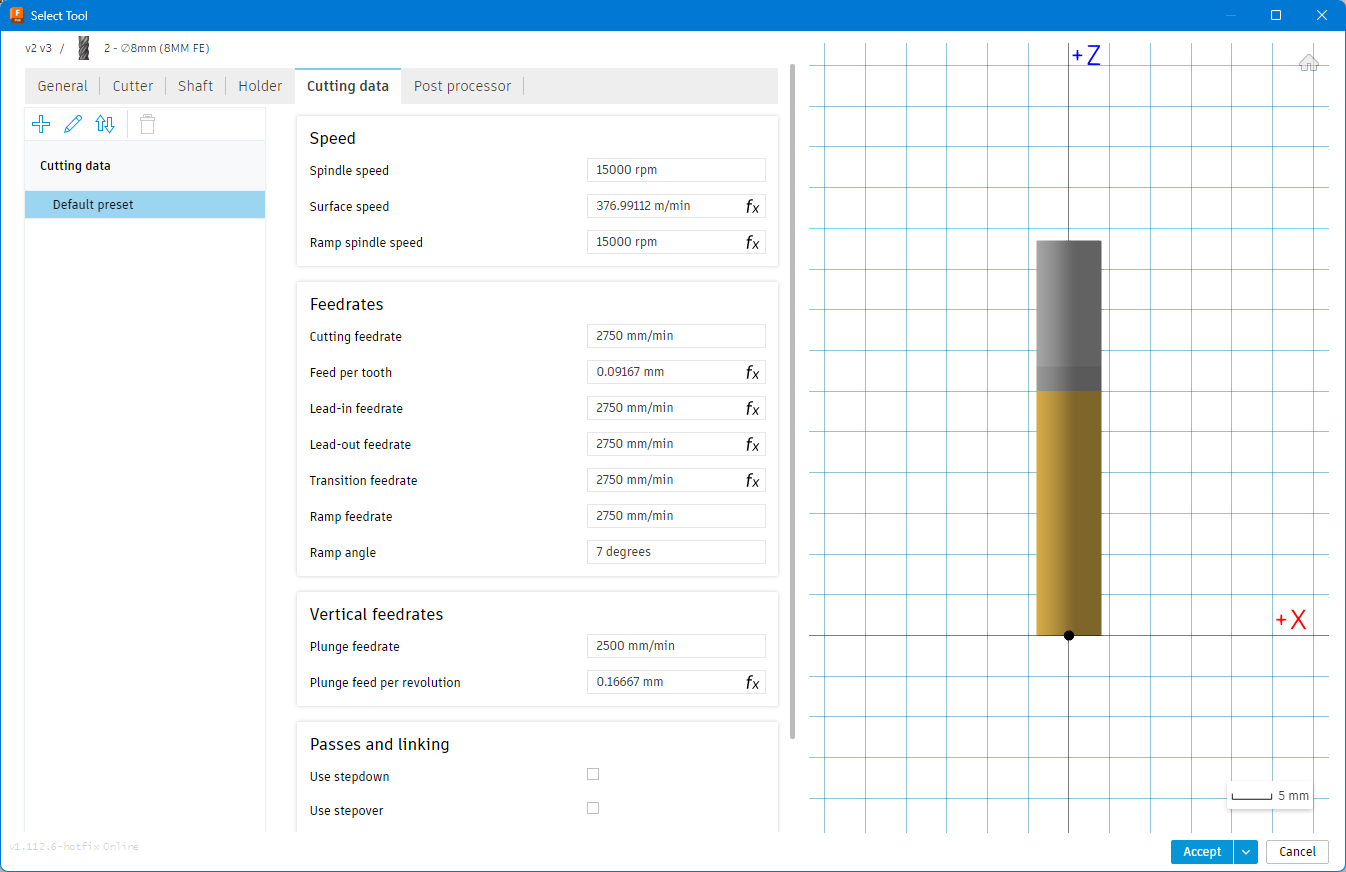
- Designed a two-part mold with a donut cavity using Fusion 360.
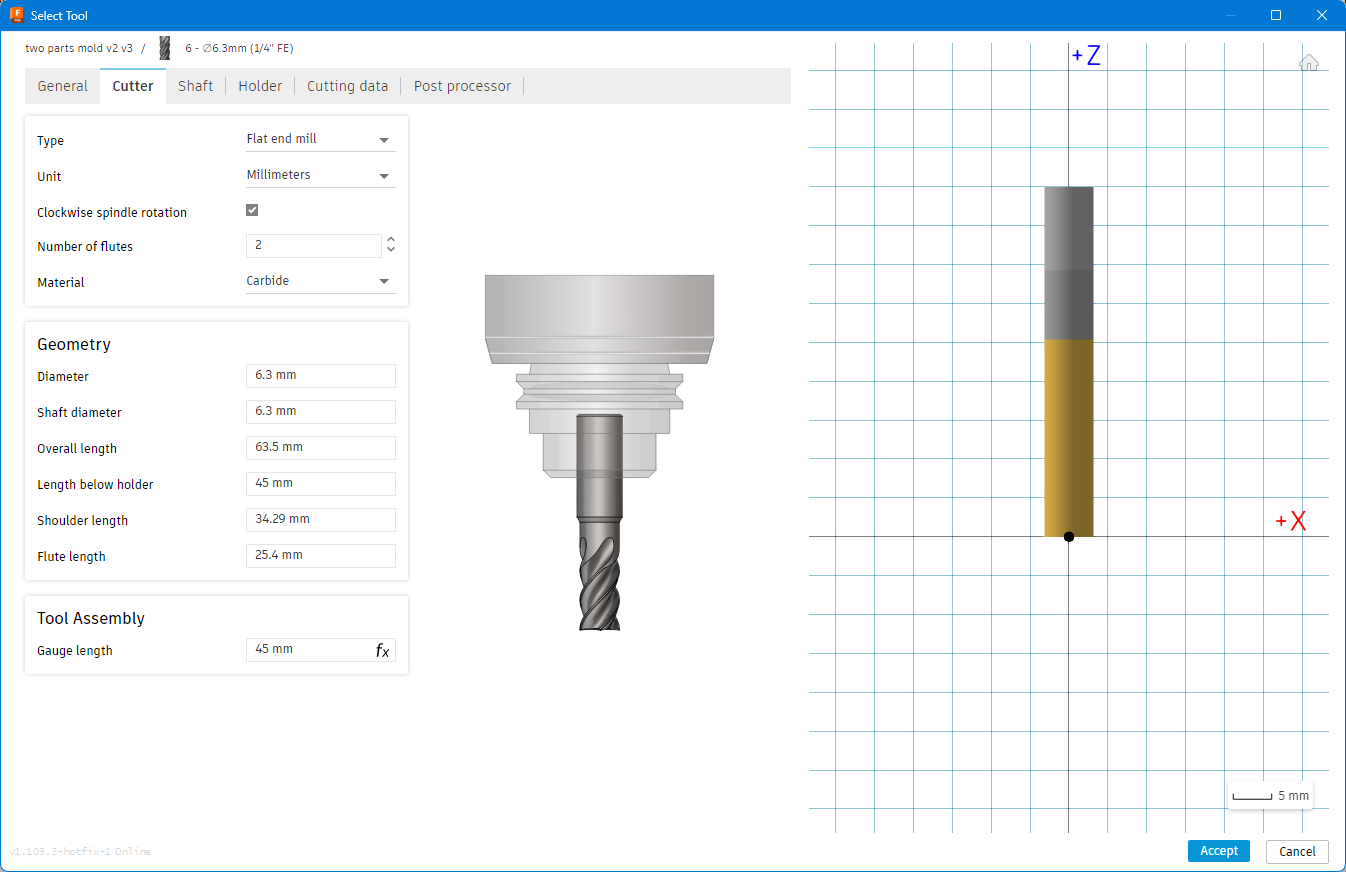
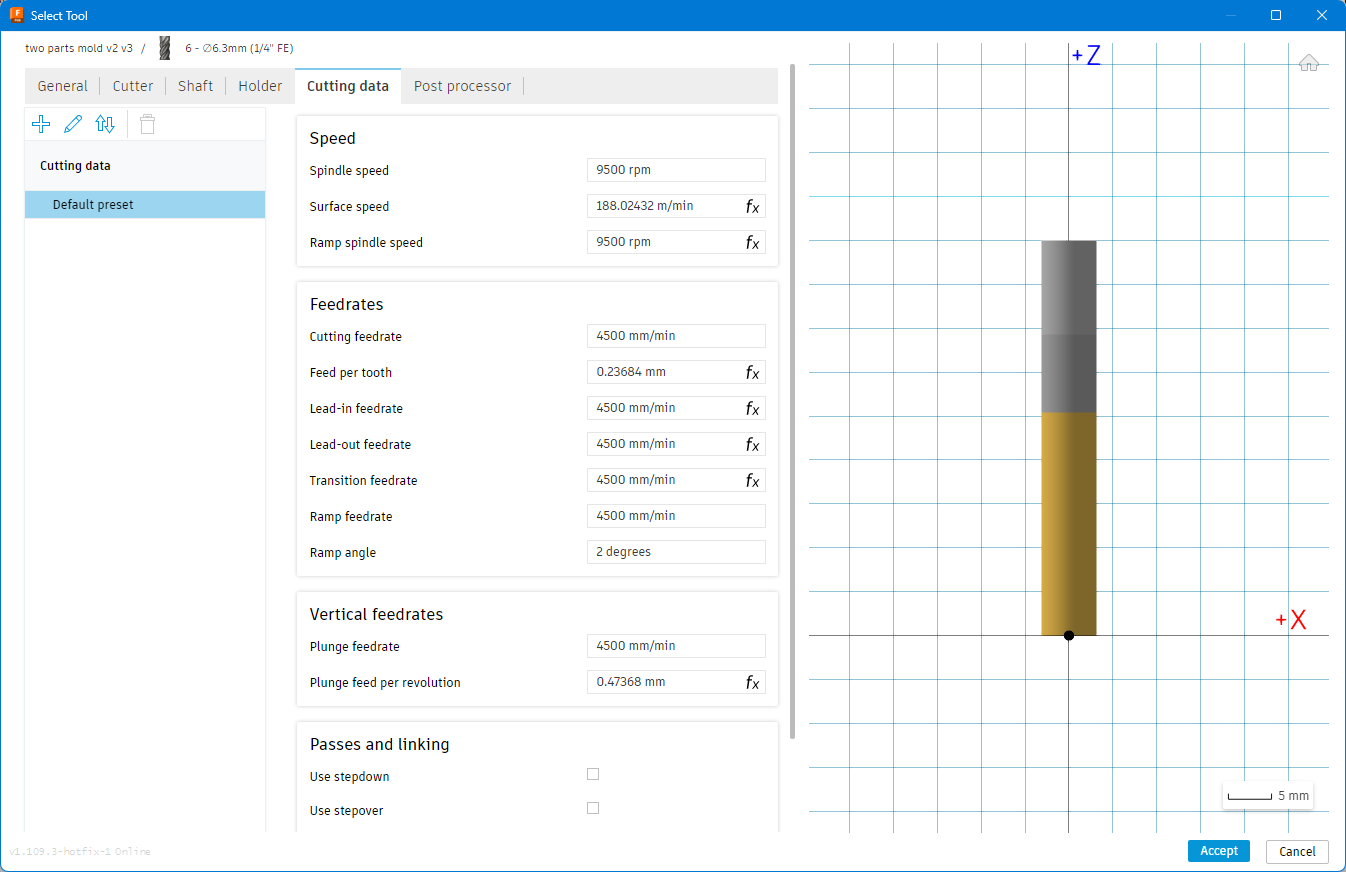
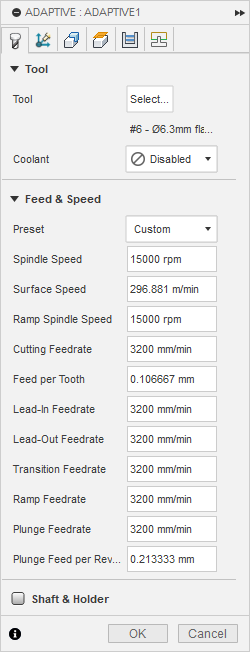
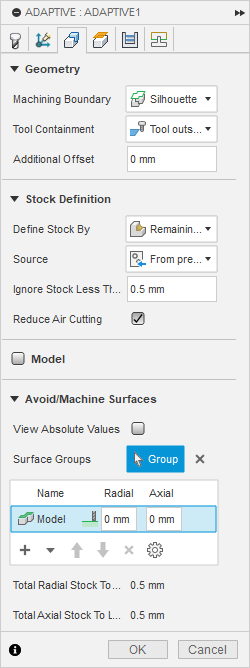
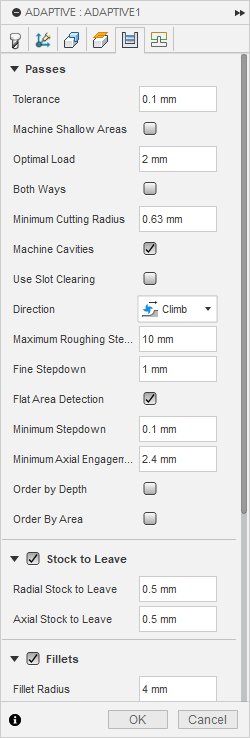
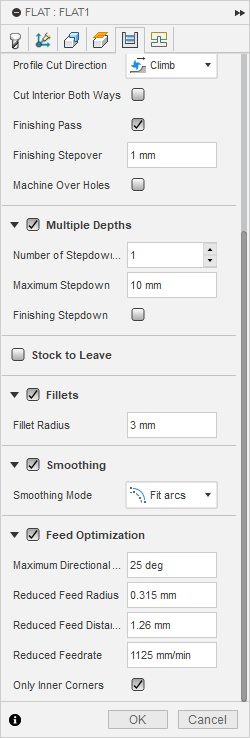
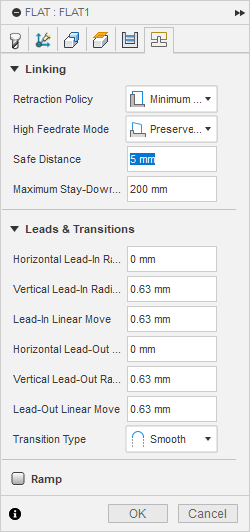
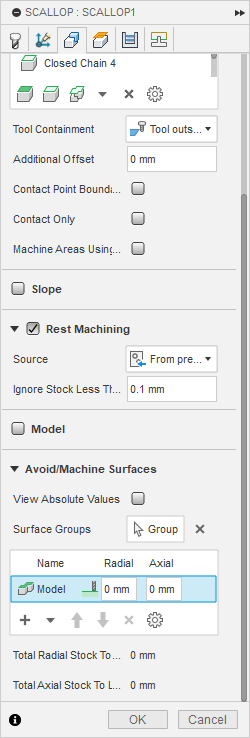
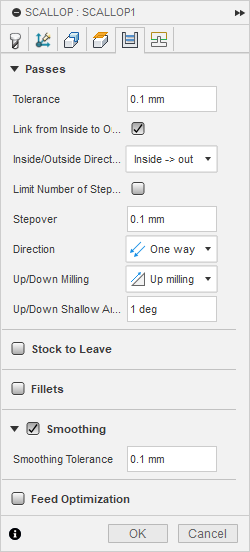
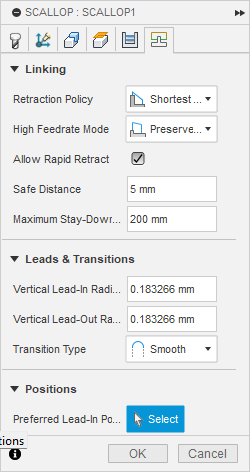
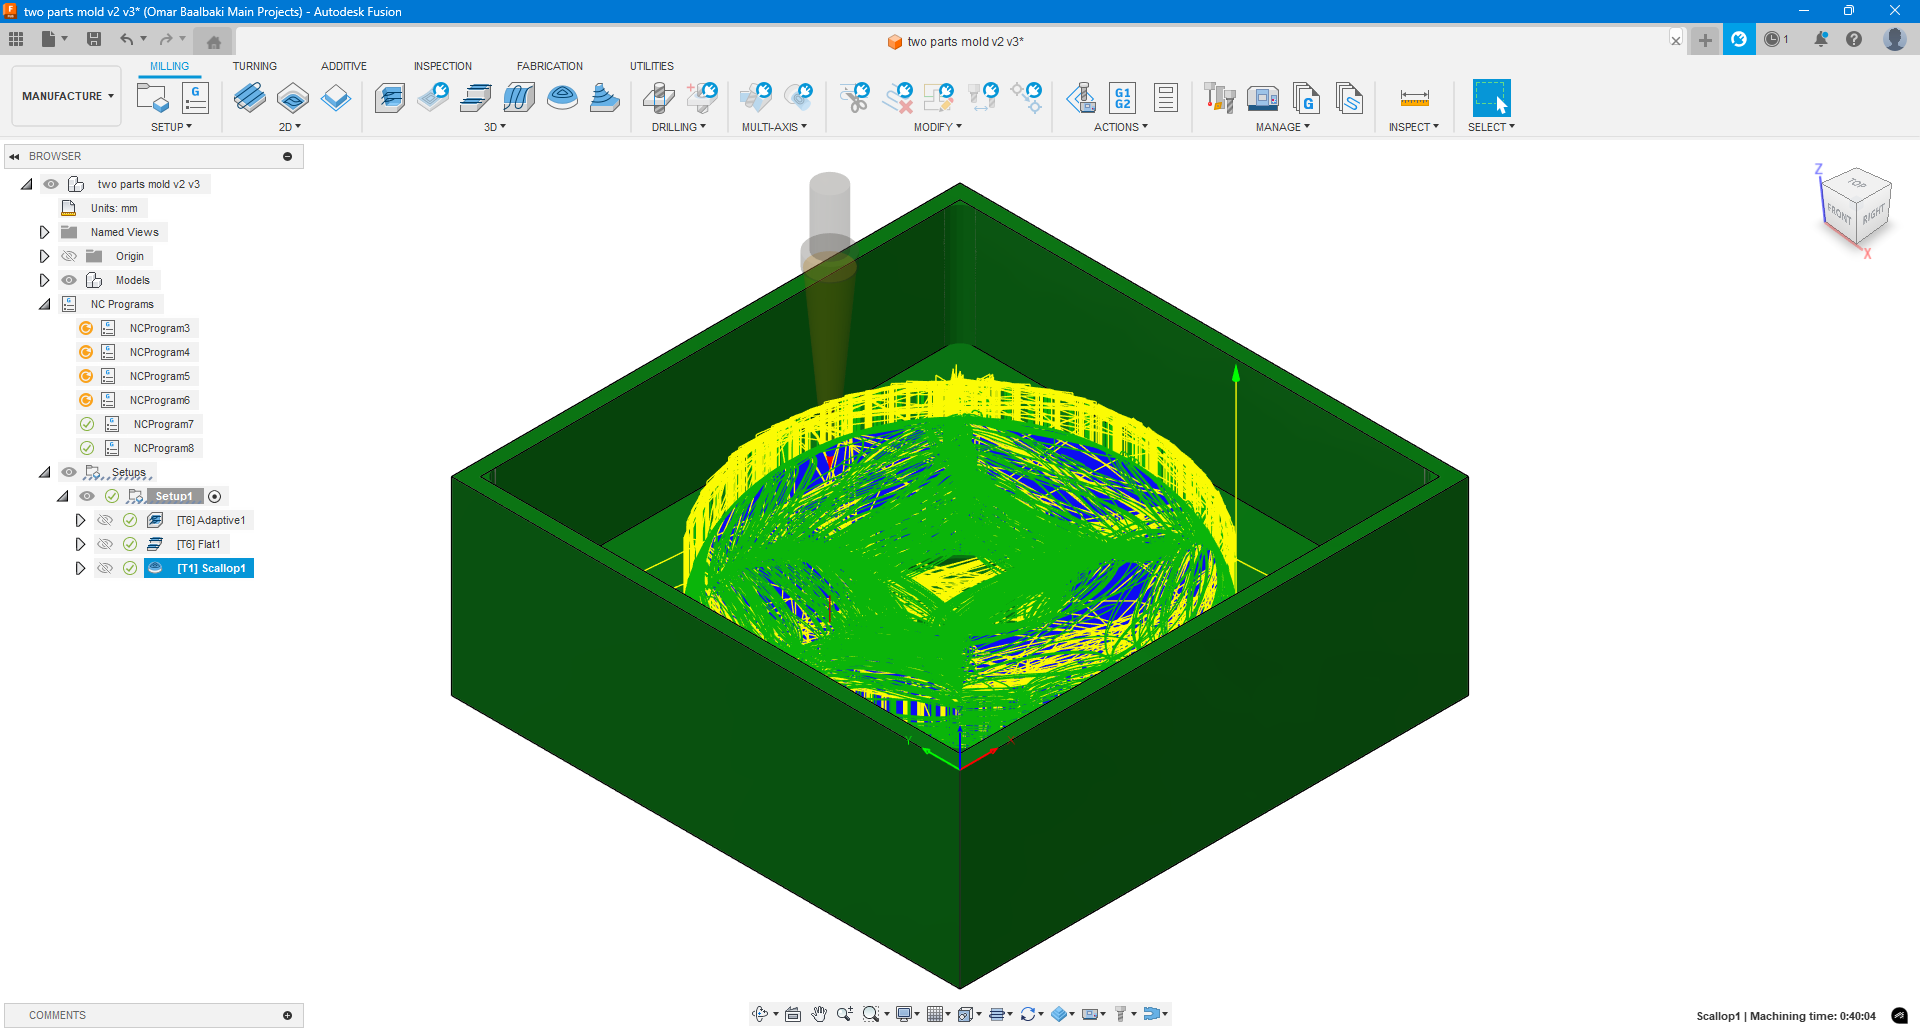
- Prepared CAM setup in Fusion, selecting proper tool paths and tool types.

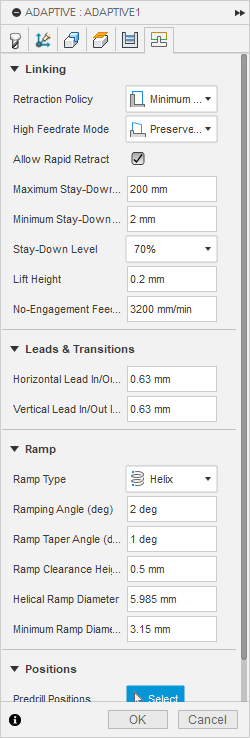
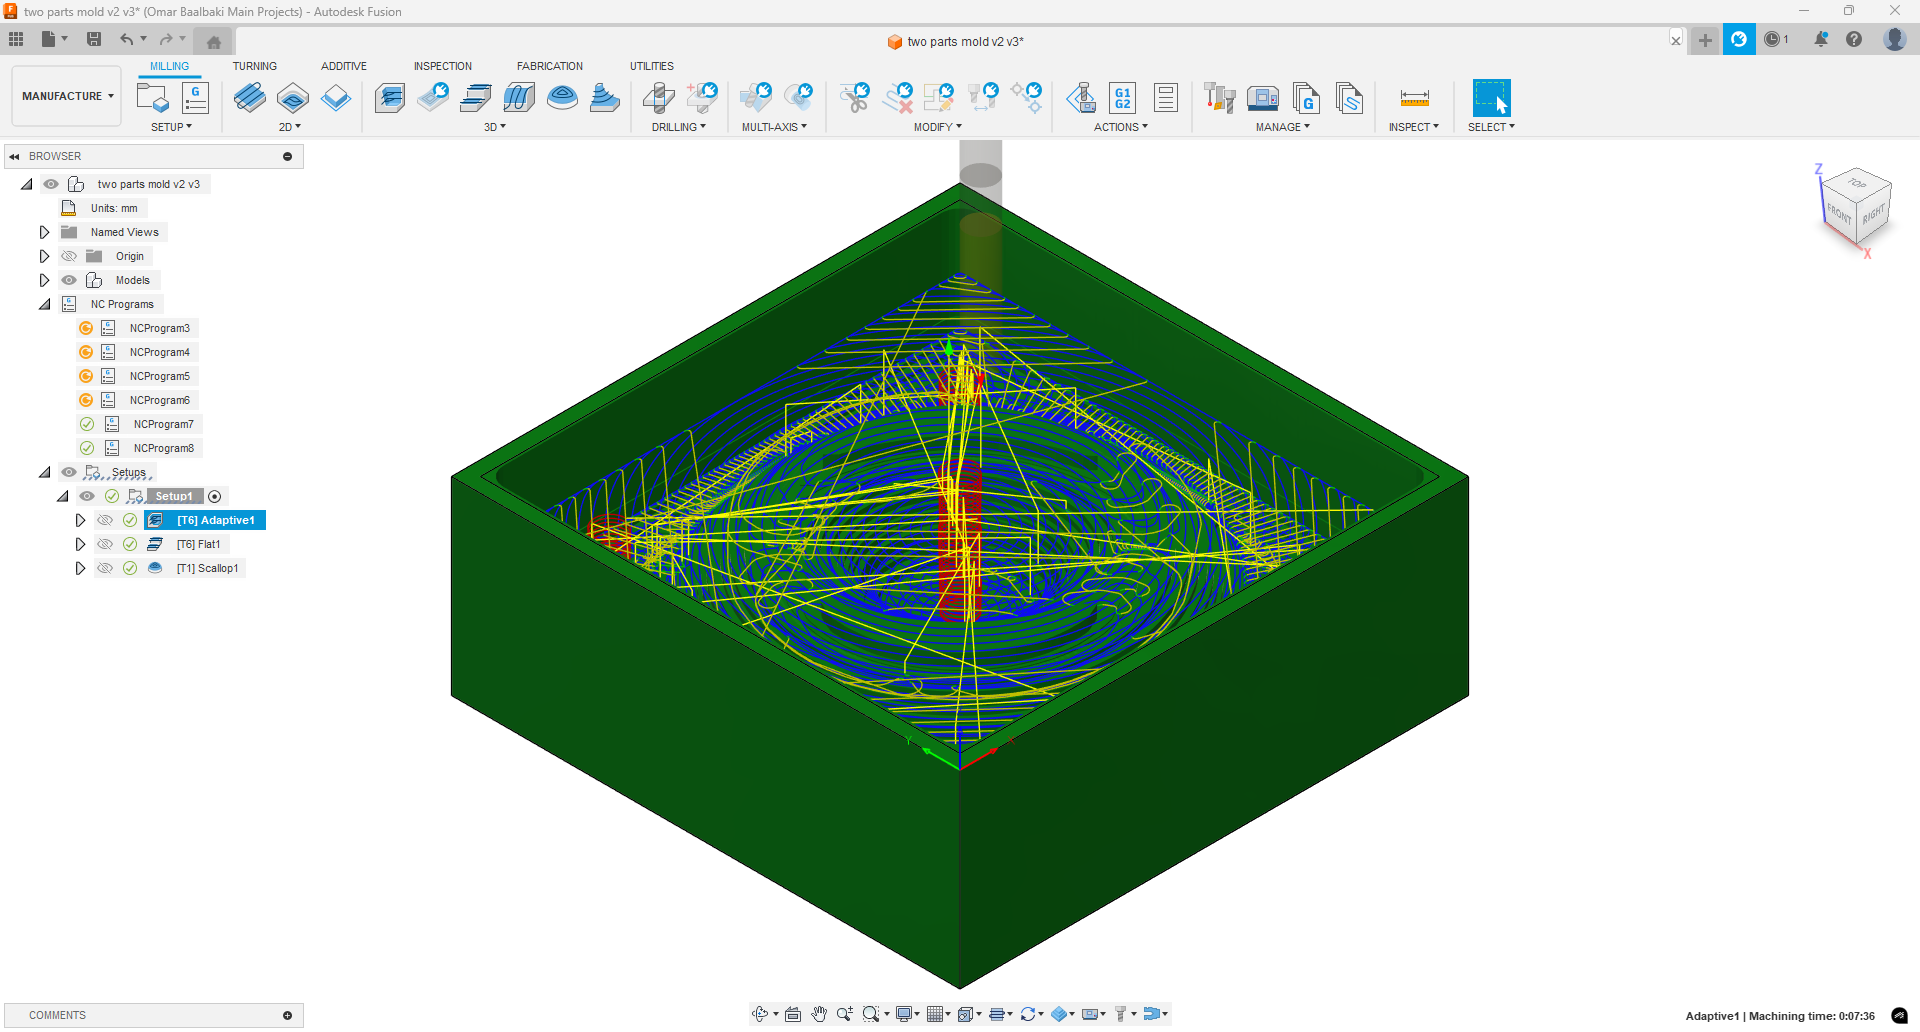

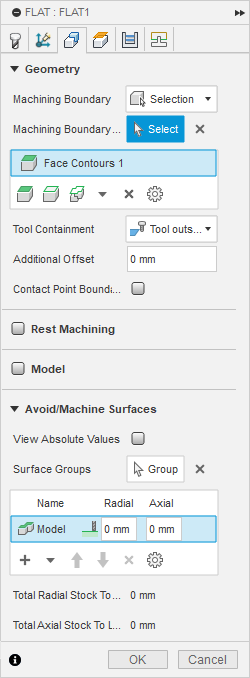
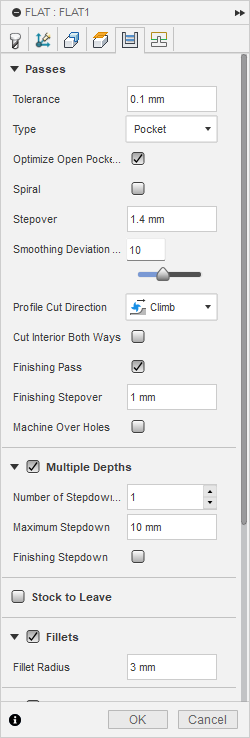


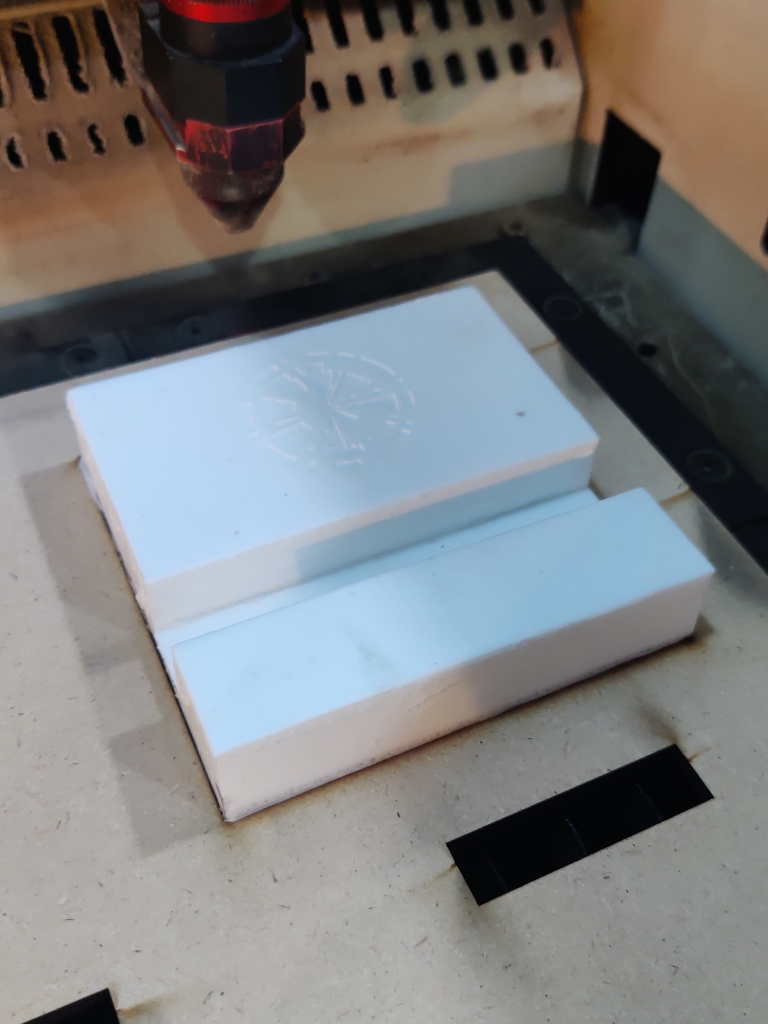
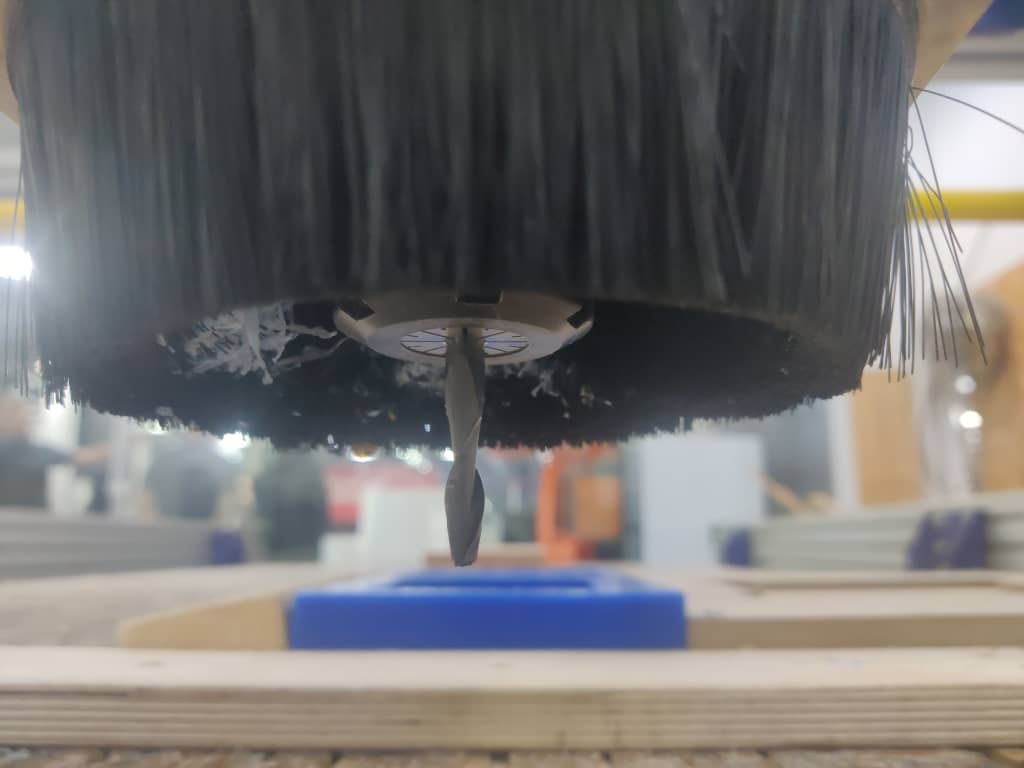
3.2. CNC Machining Phase
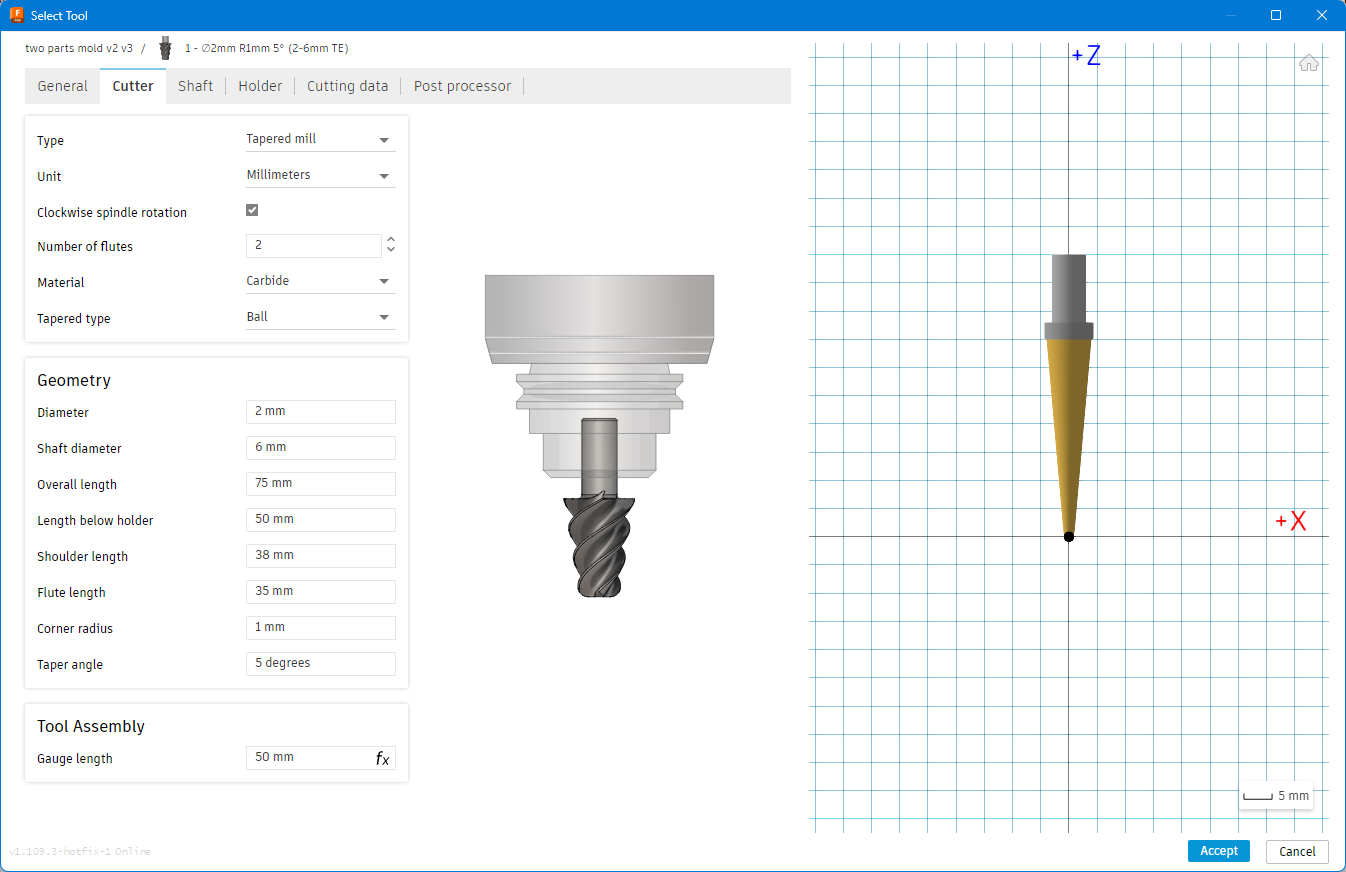
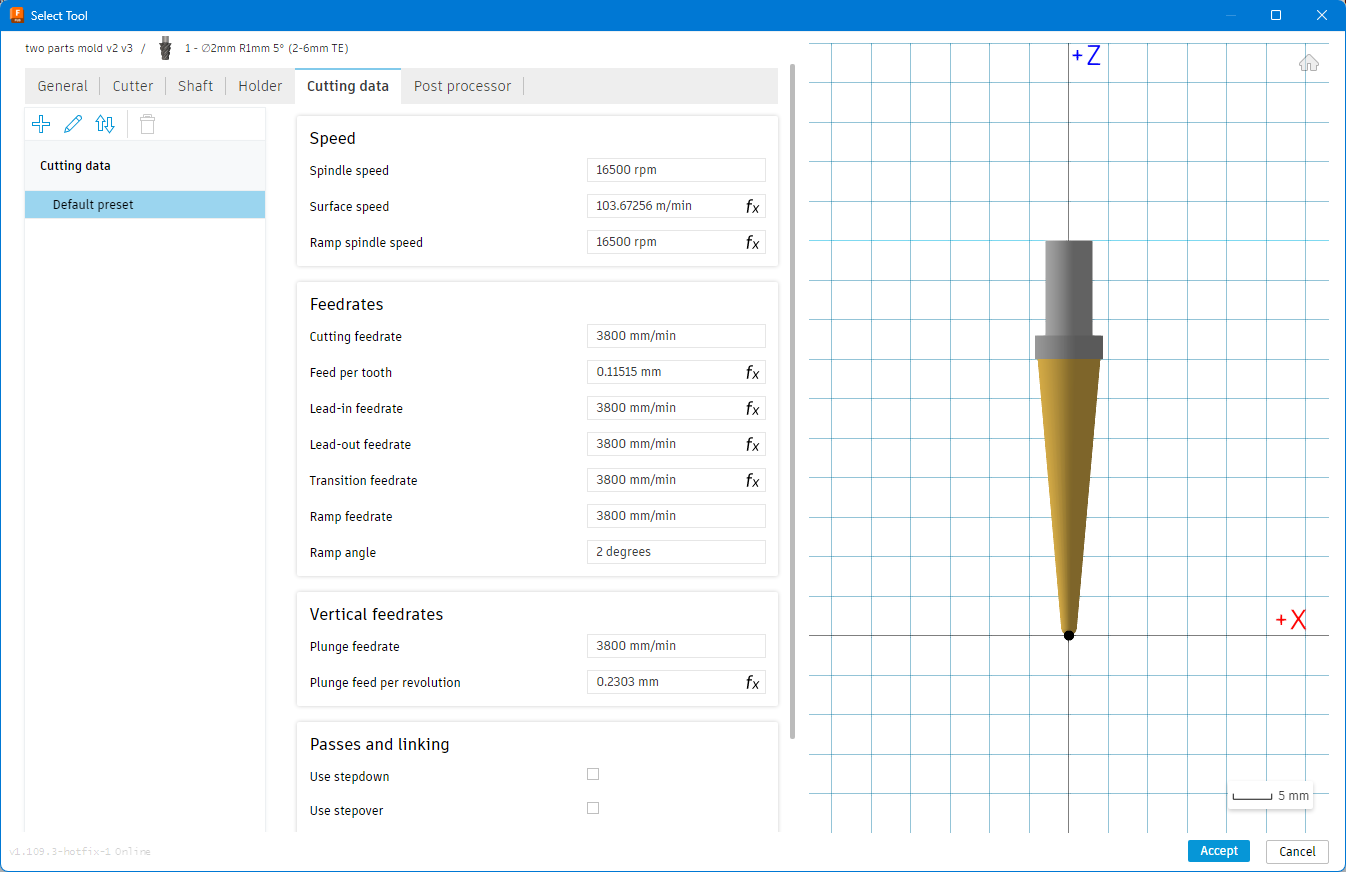
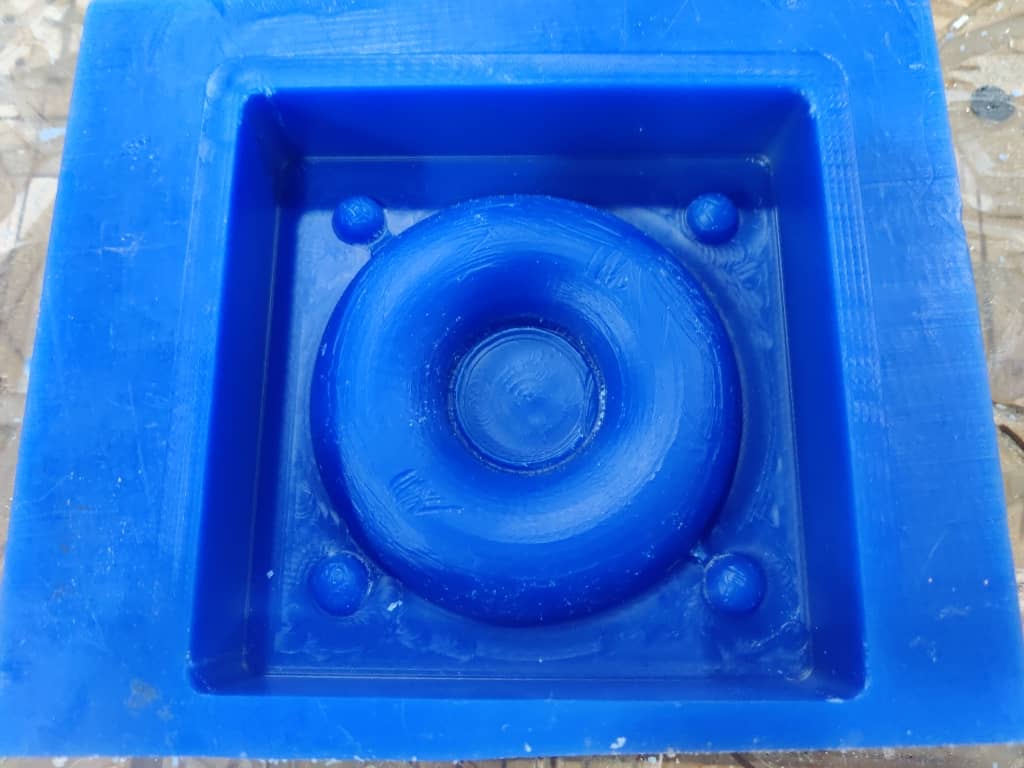
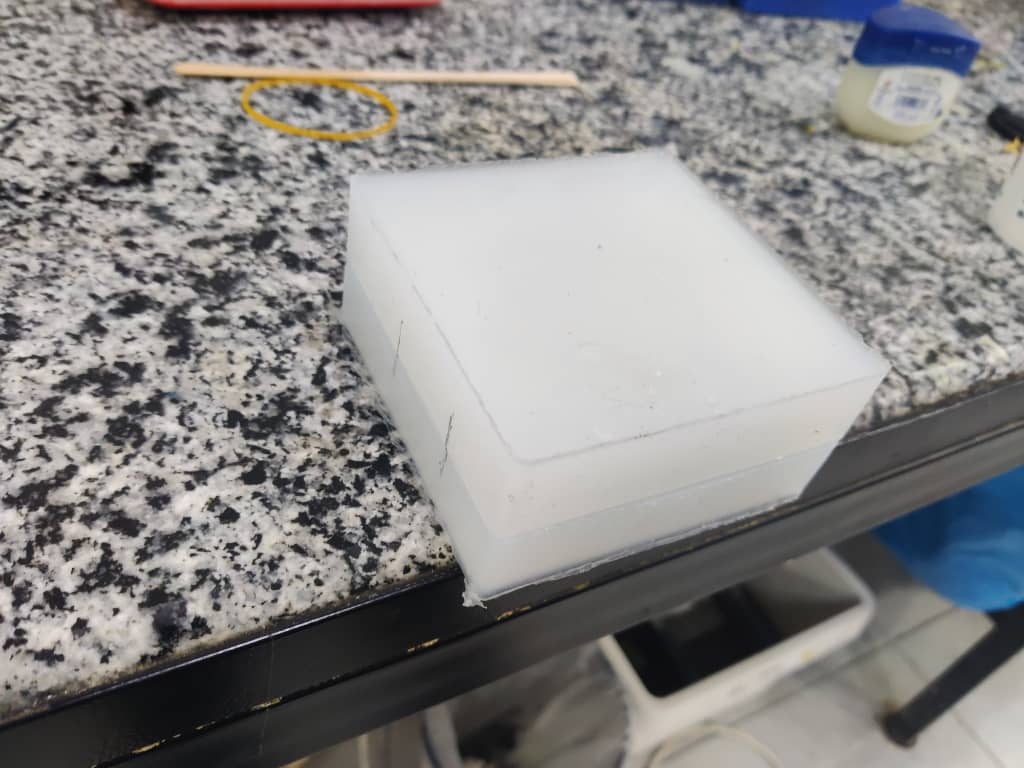
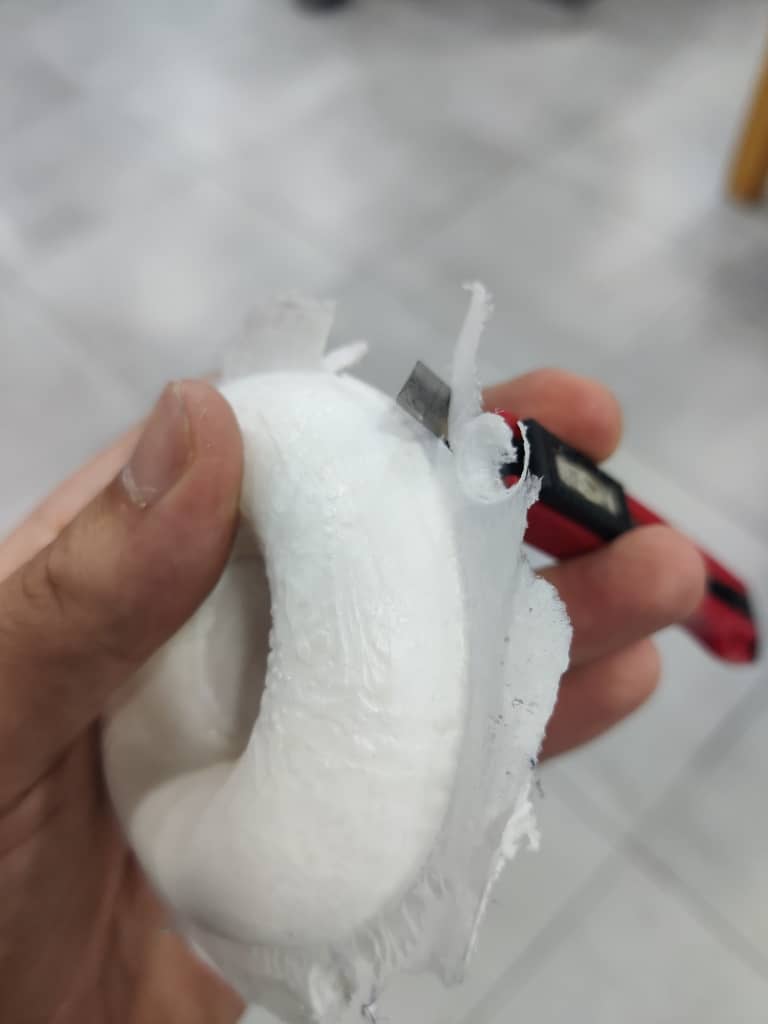
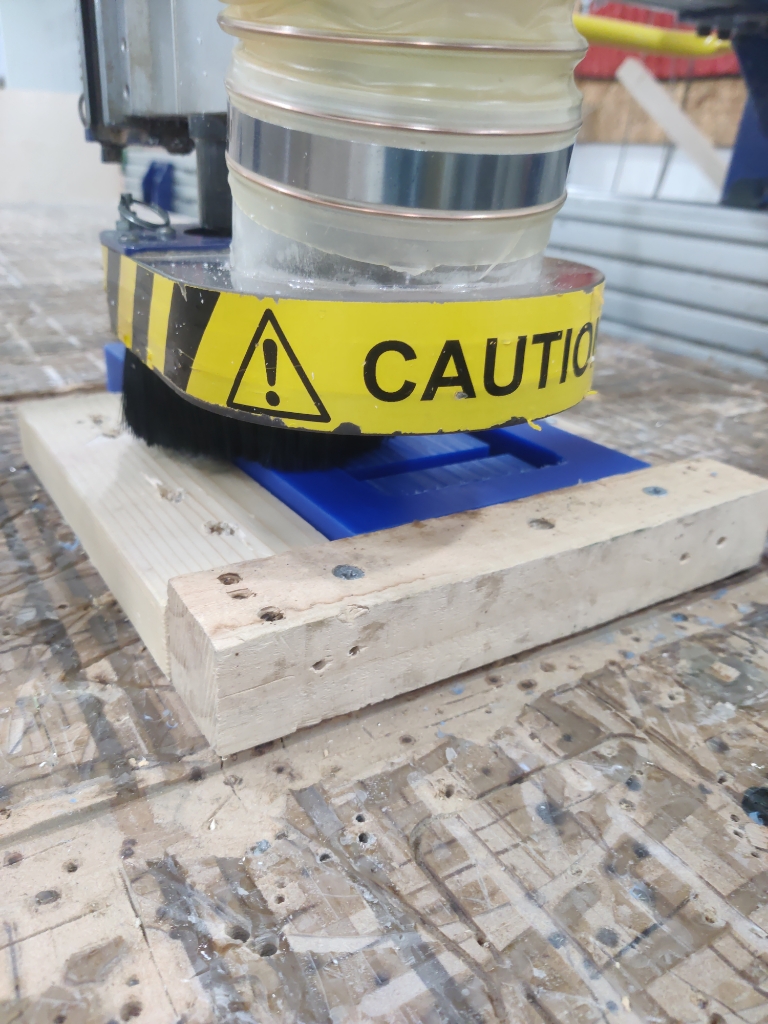
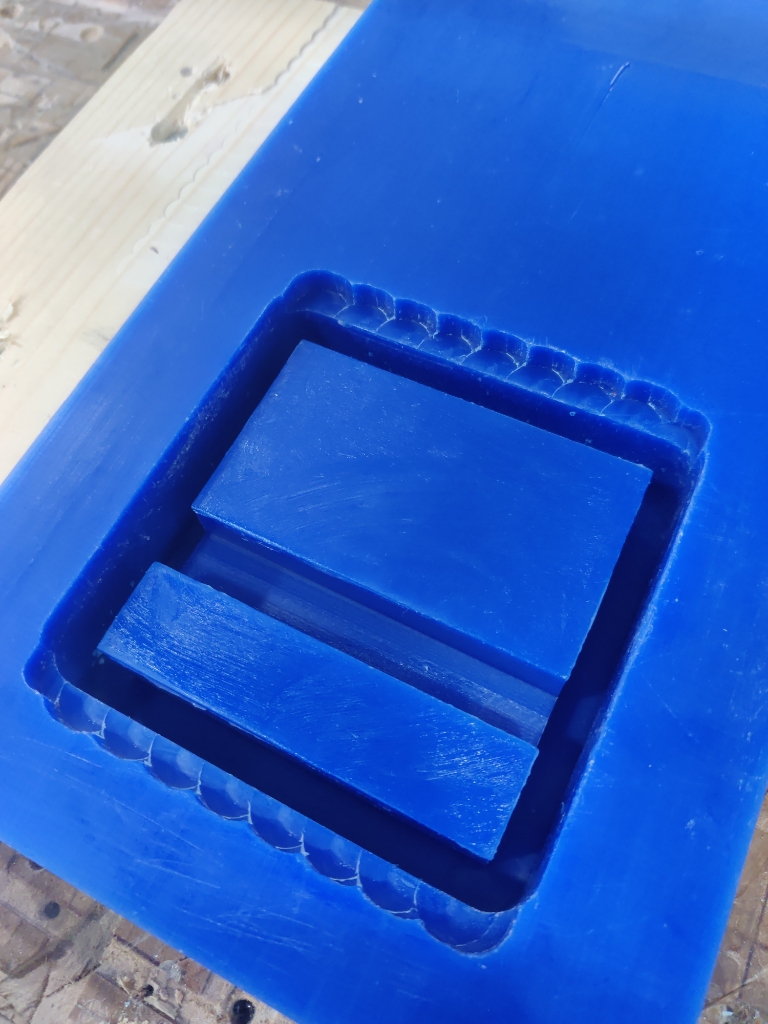
- Used ShopBot CNC to cut the mold from wax:
- Roughing pass with 6 mm flat-end mill.
- Finishing pass with tapered ball mill for detailed surfaces.
- Adaptive cleaning, flat finishing, and scallop finishing were applied for a smooth surface.
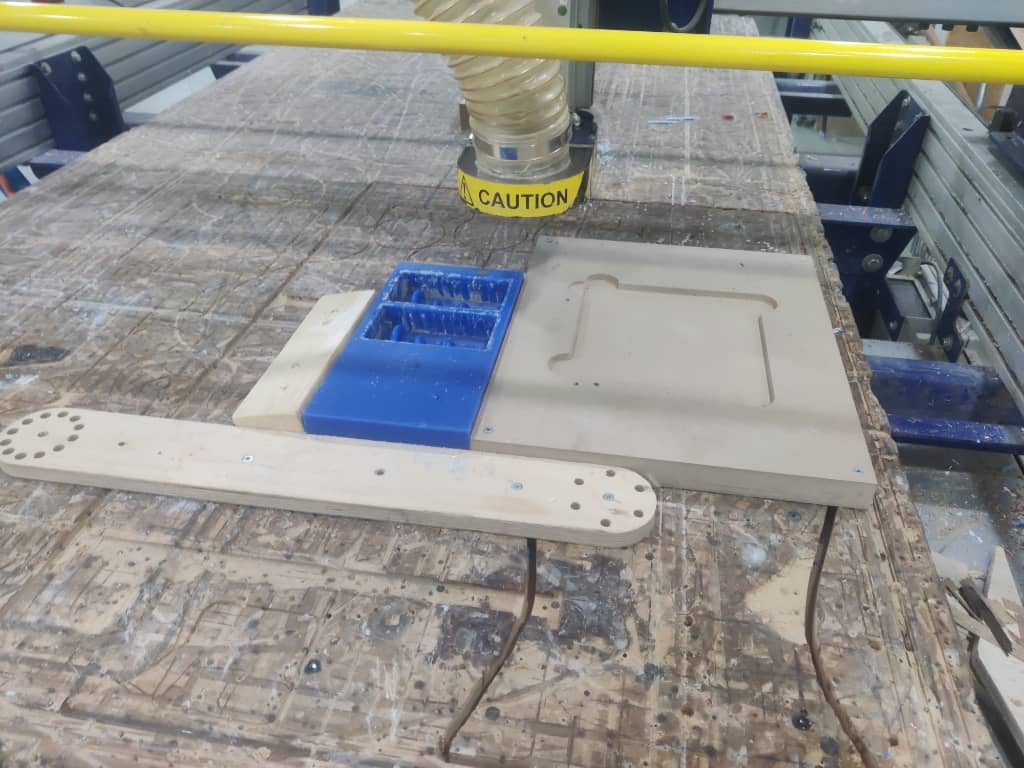
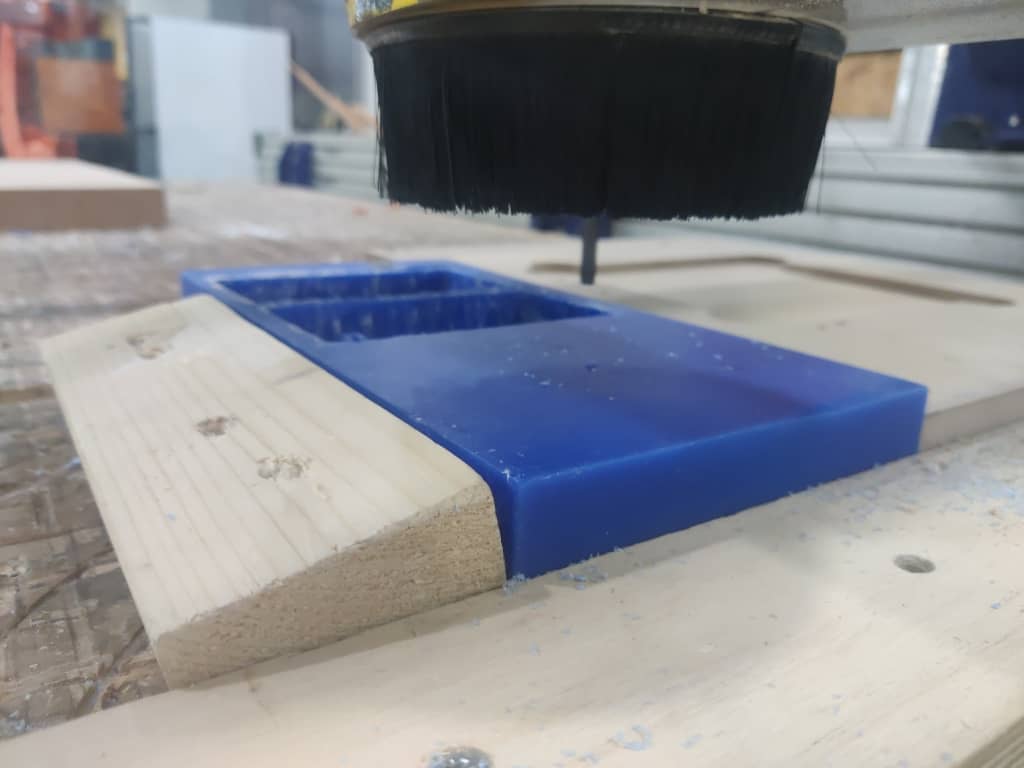
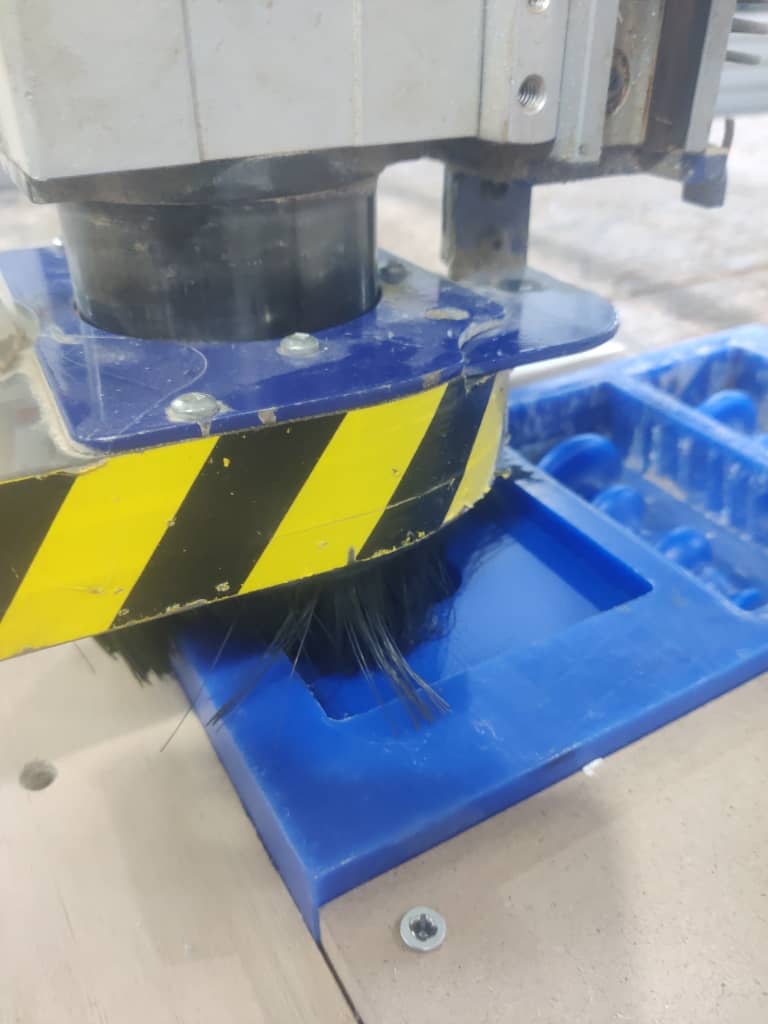
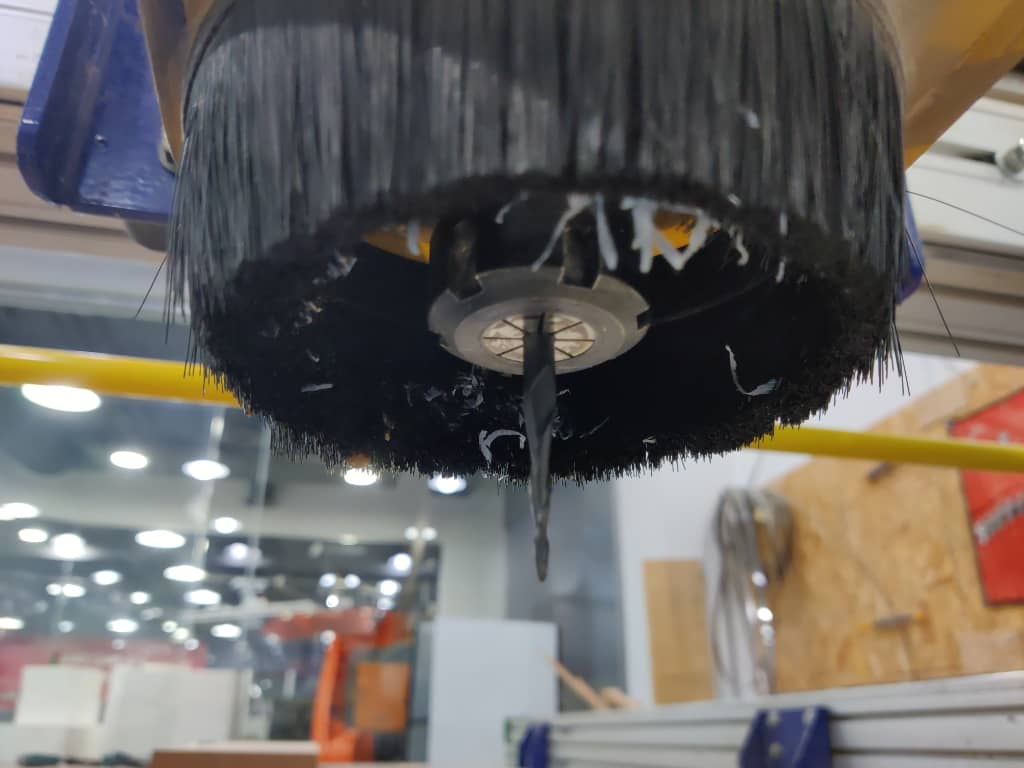
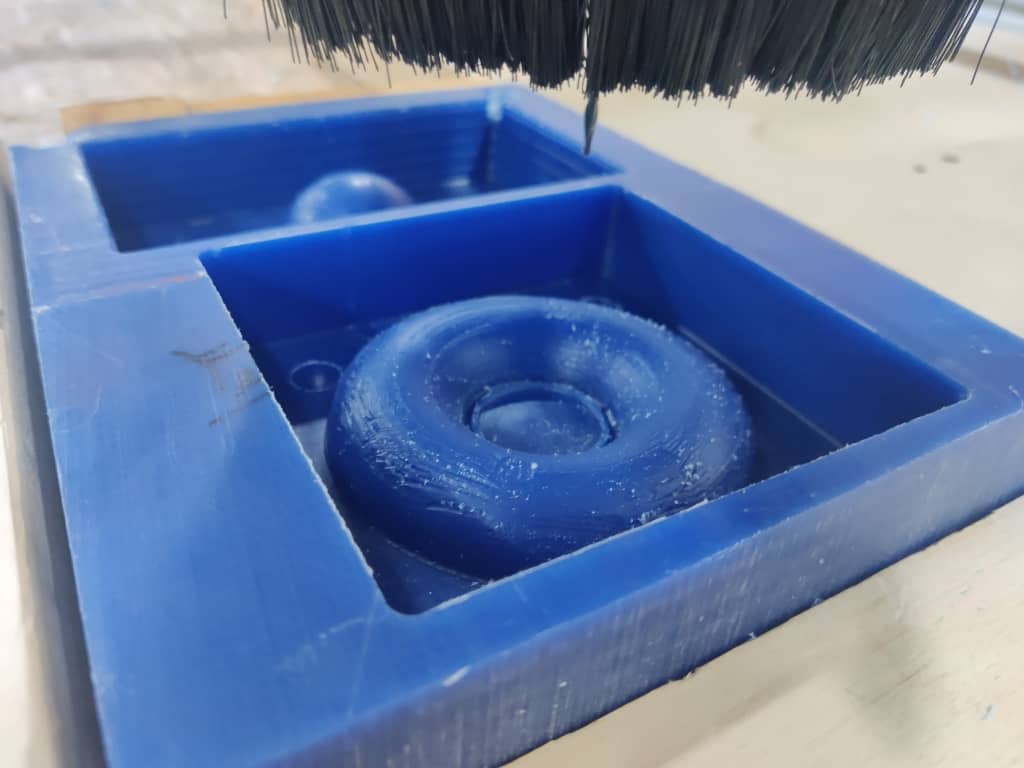
- Problem: After machining, manually cleaned up small stuck pieces with a sharp blade.

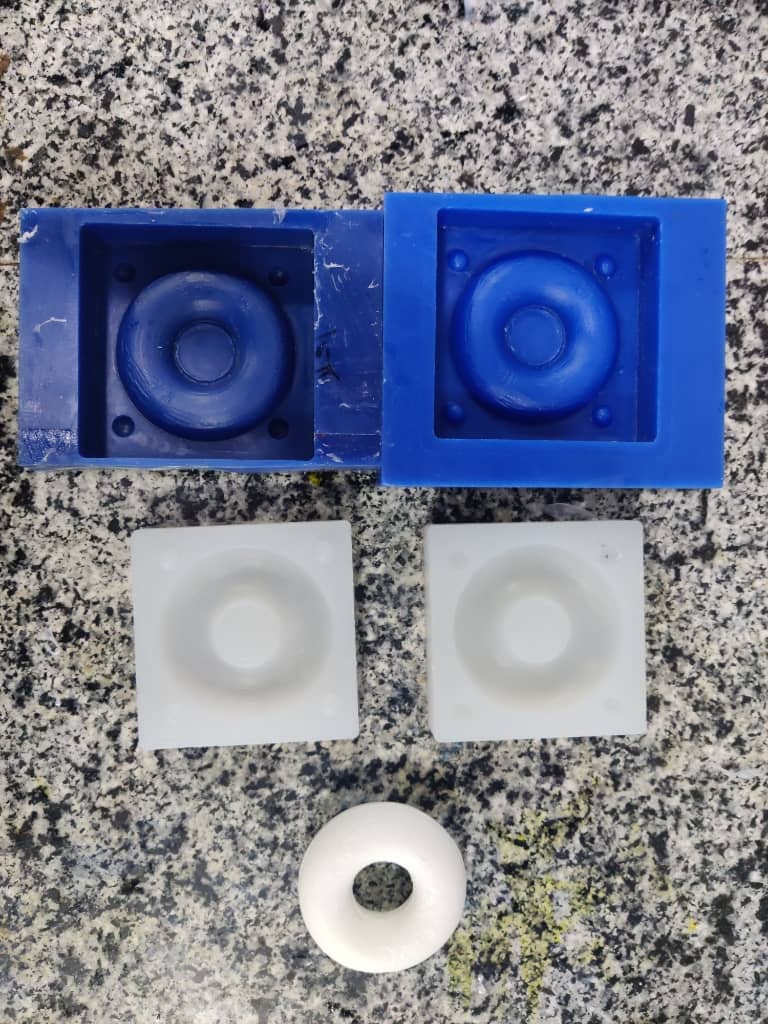
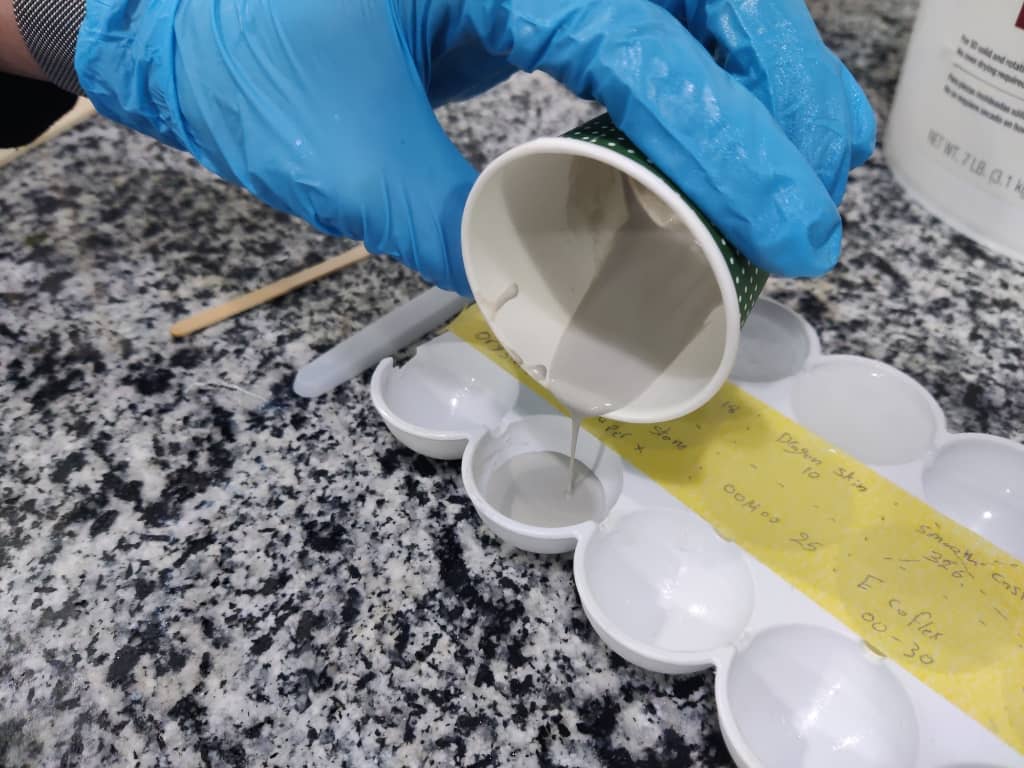
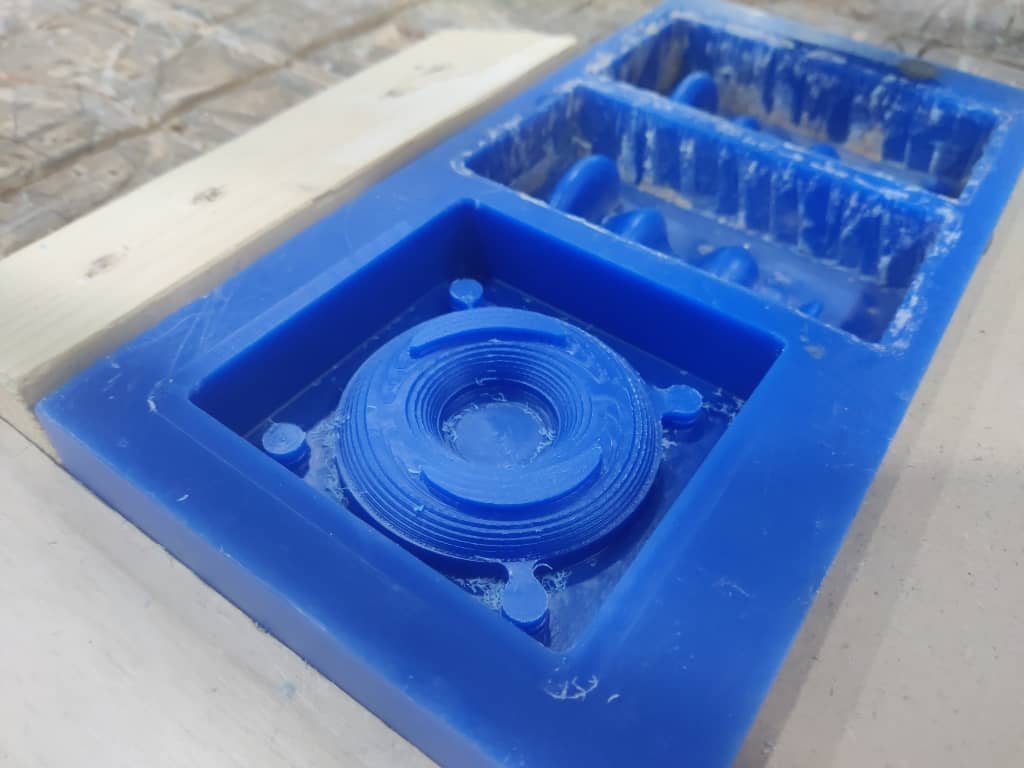
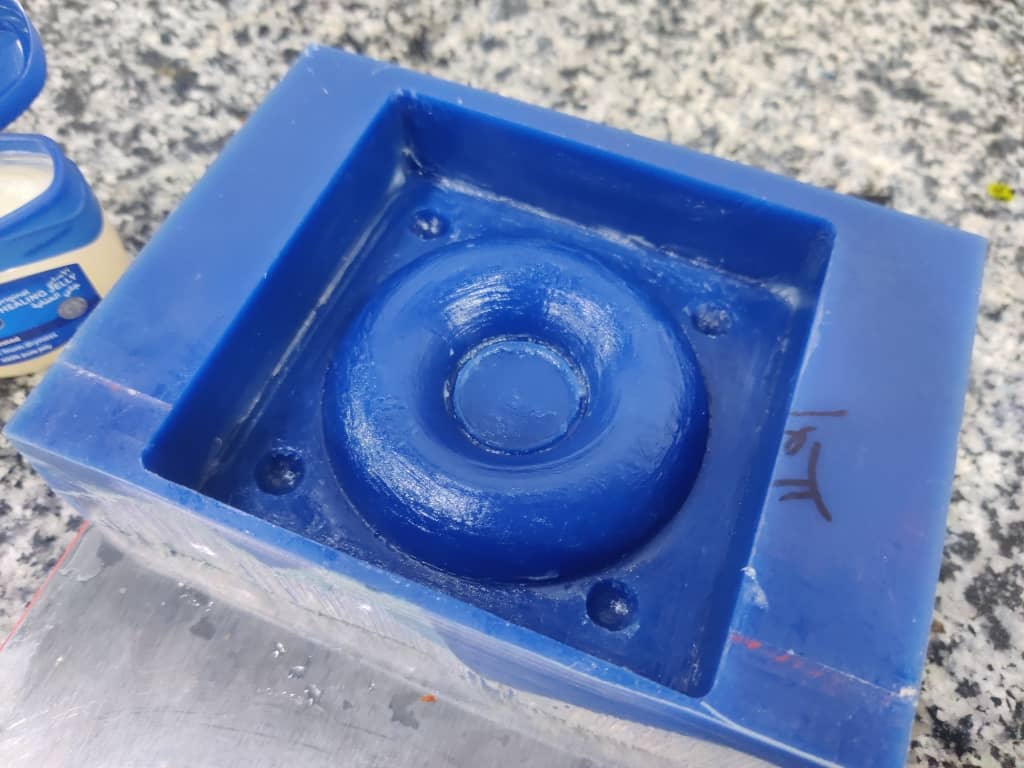
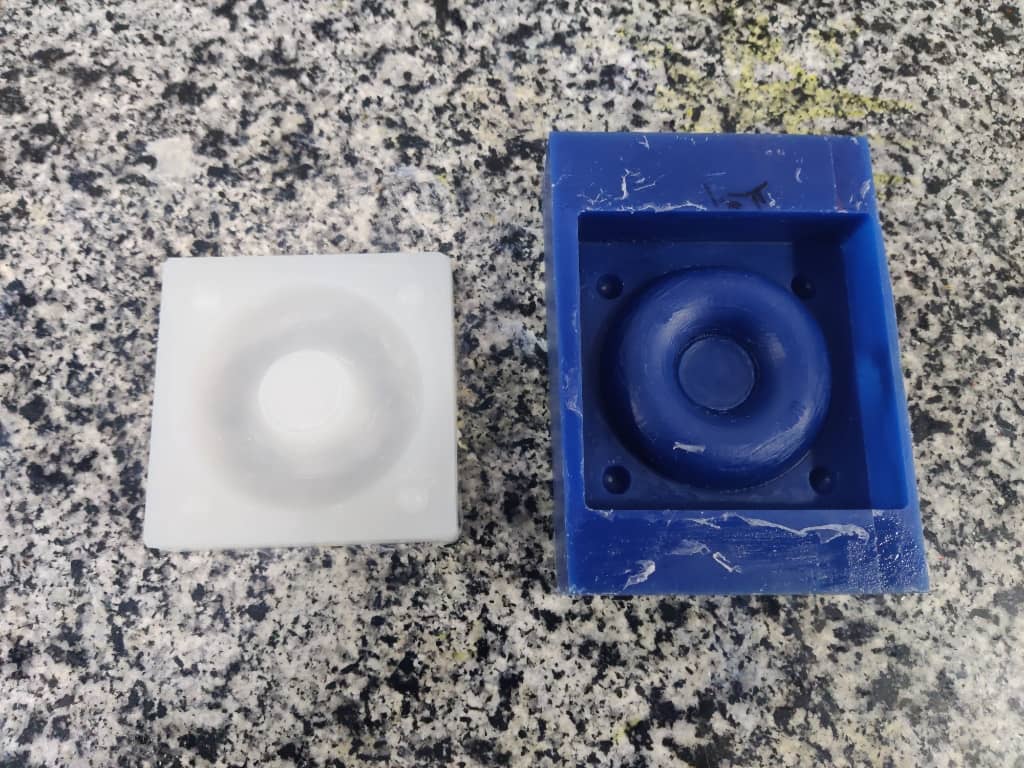
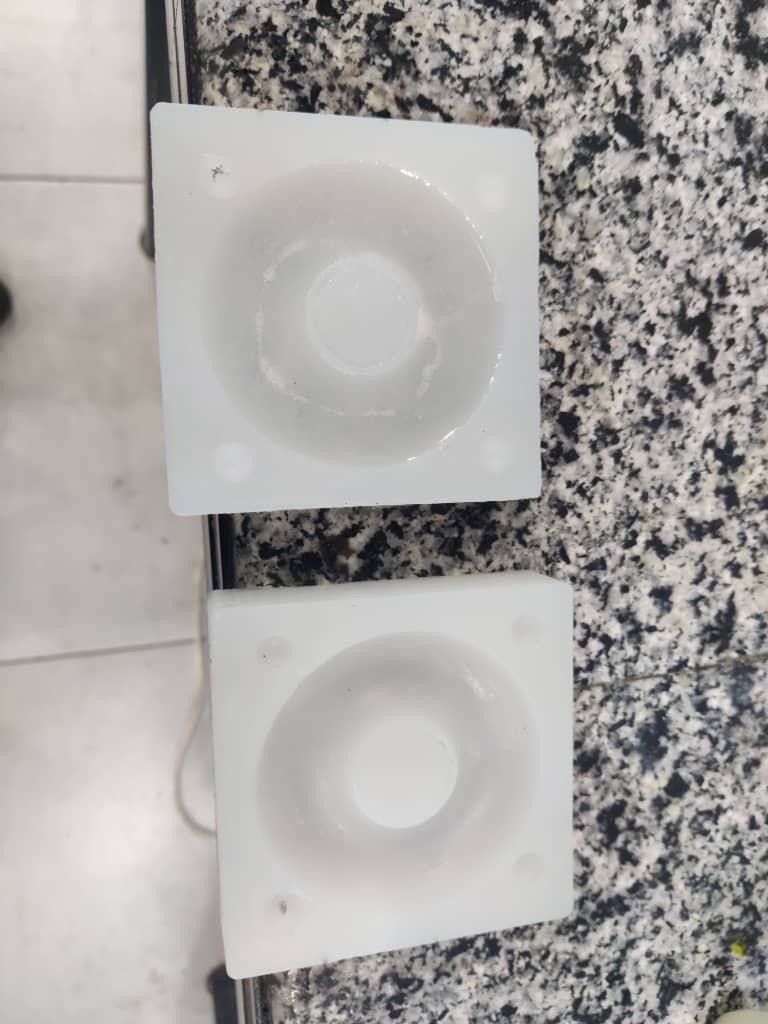
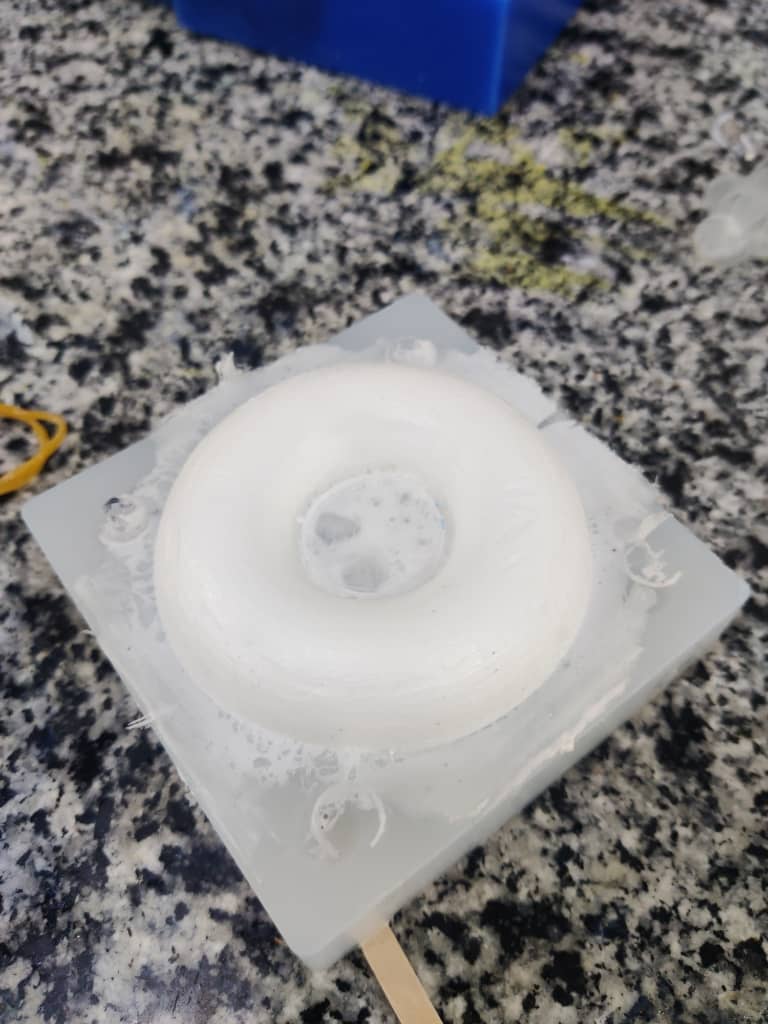
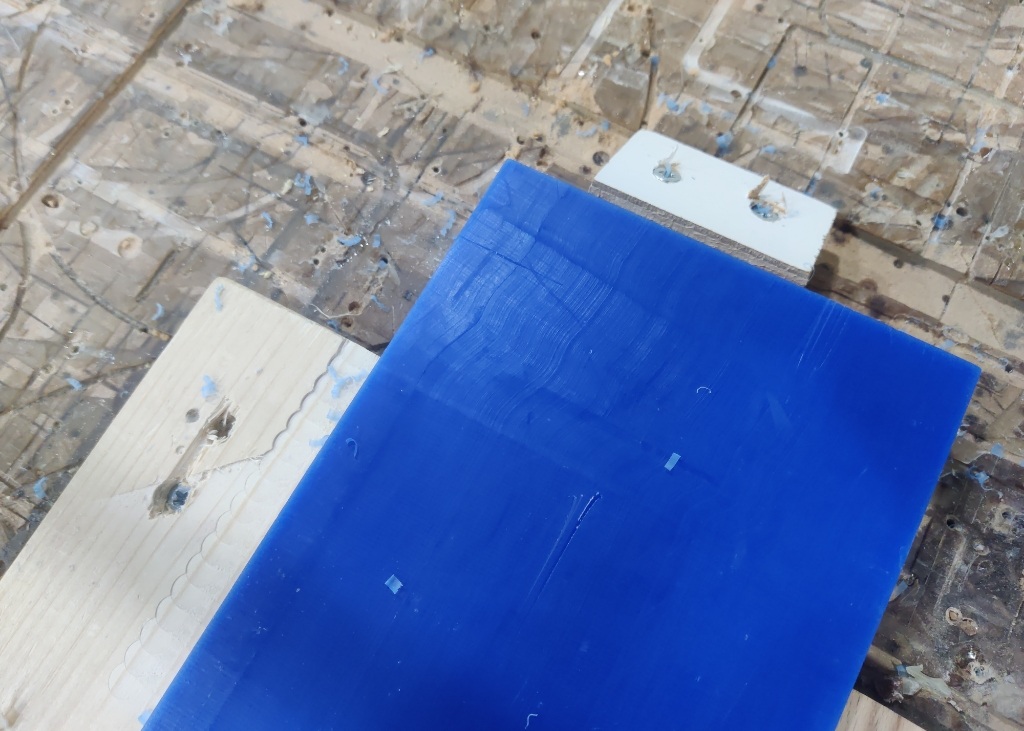
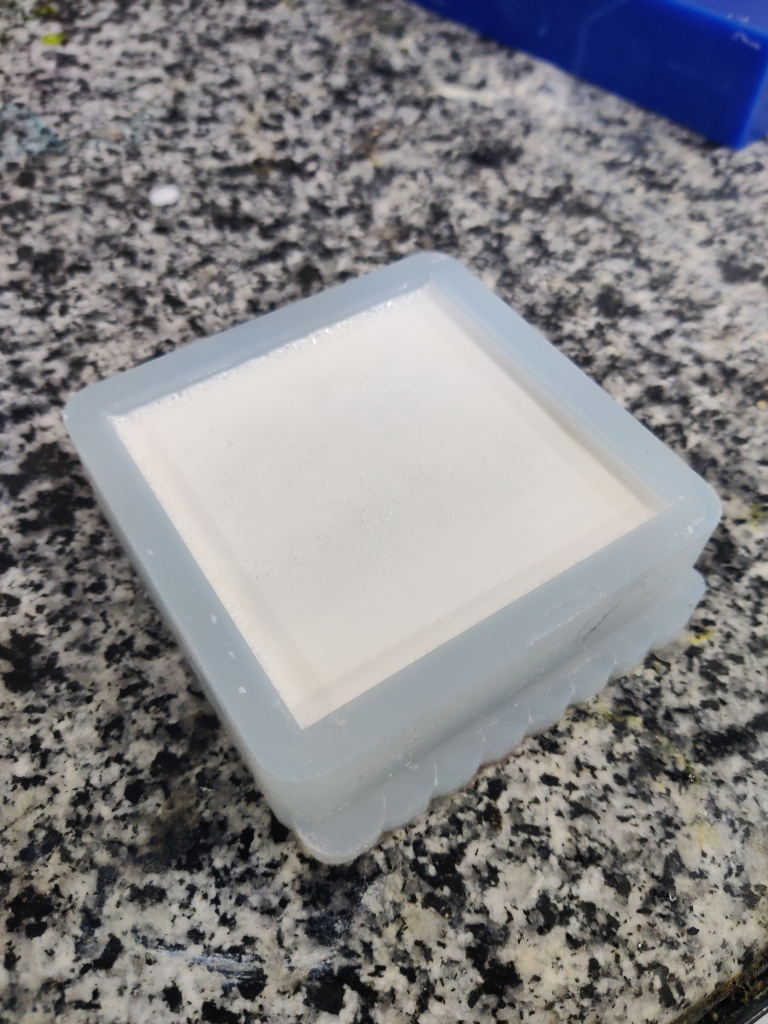
3.3. Silicone Mold Making
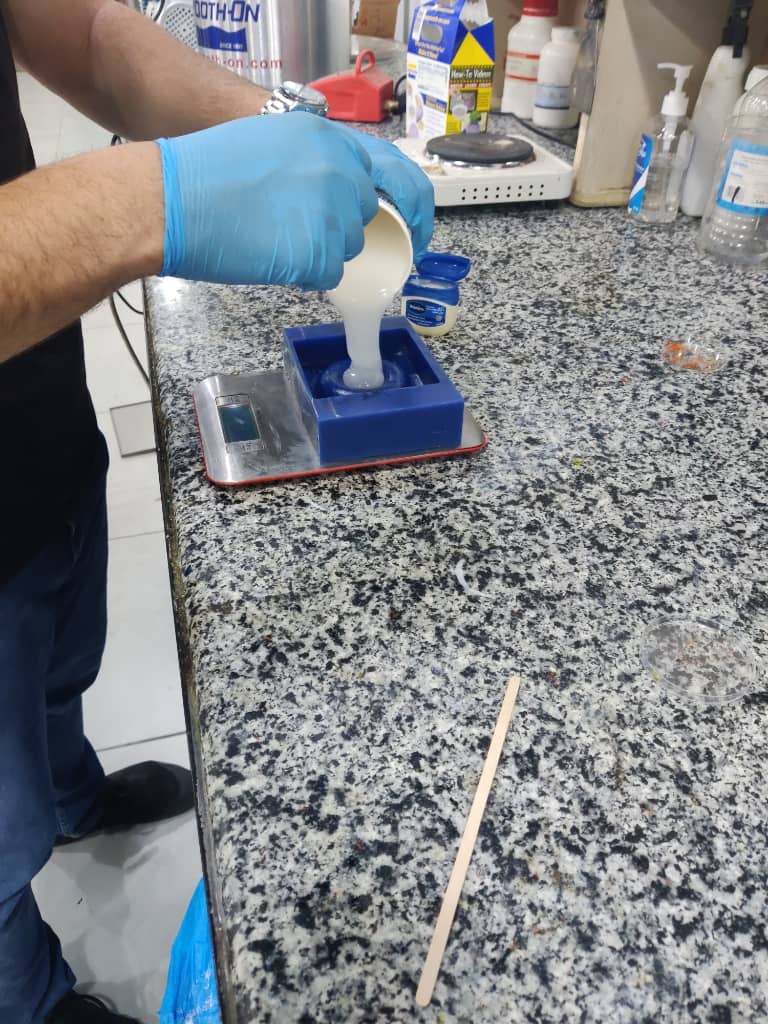
- Applied Vaseline as mold release agent.
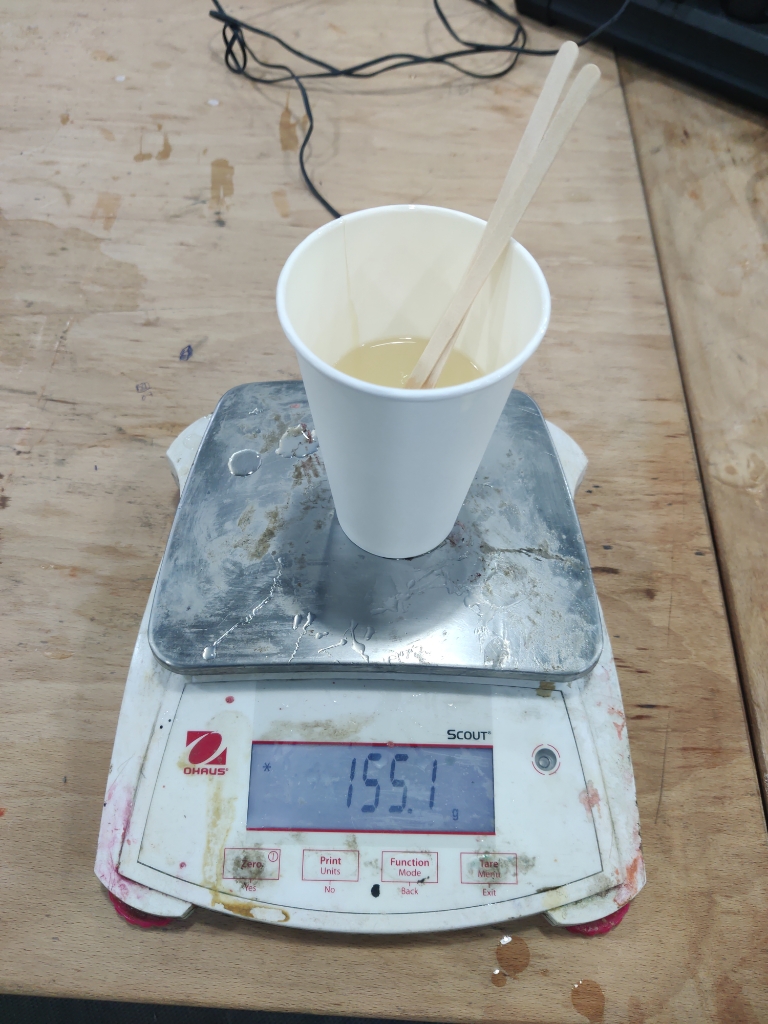
- Measured and poured 103 ml of silicone into the mold.
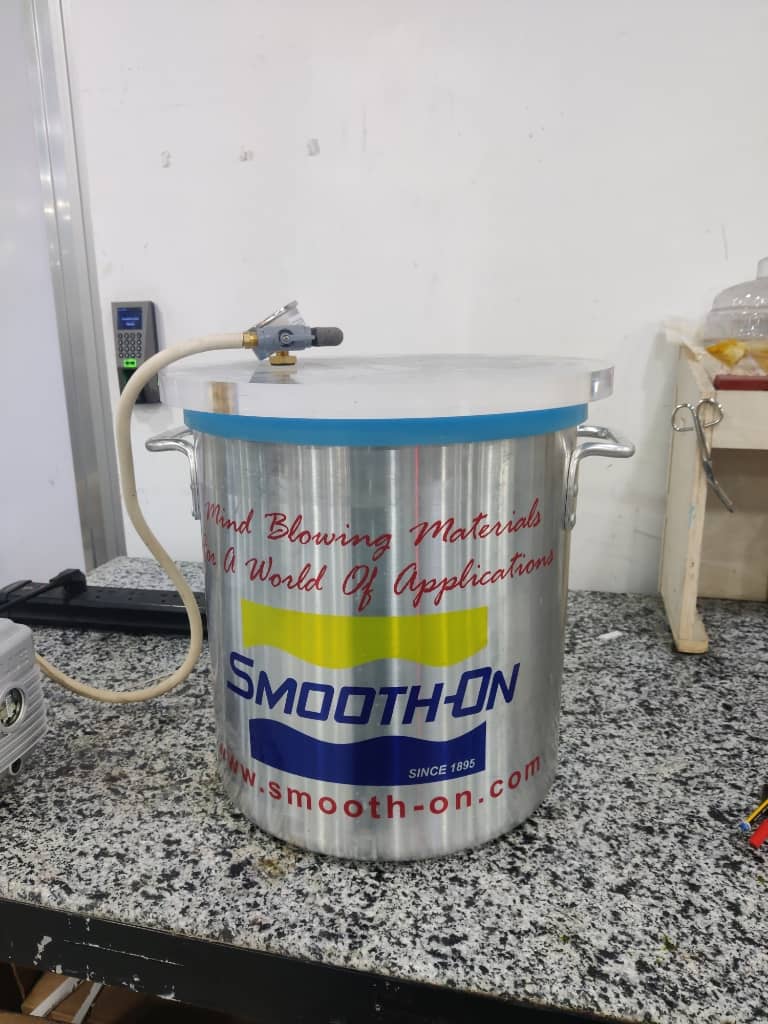
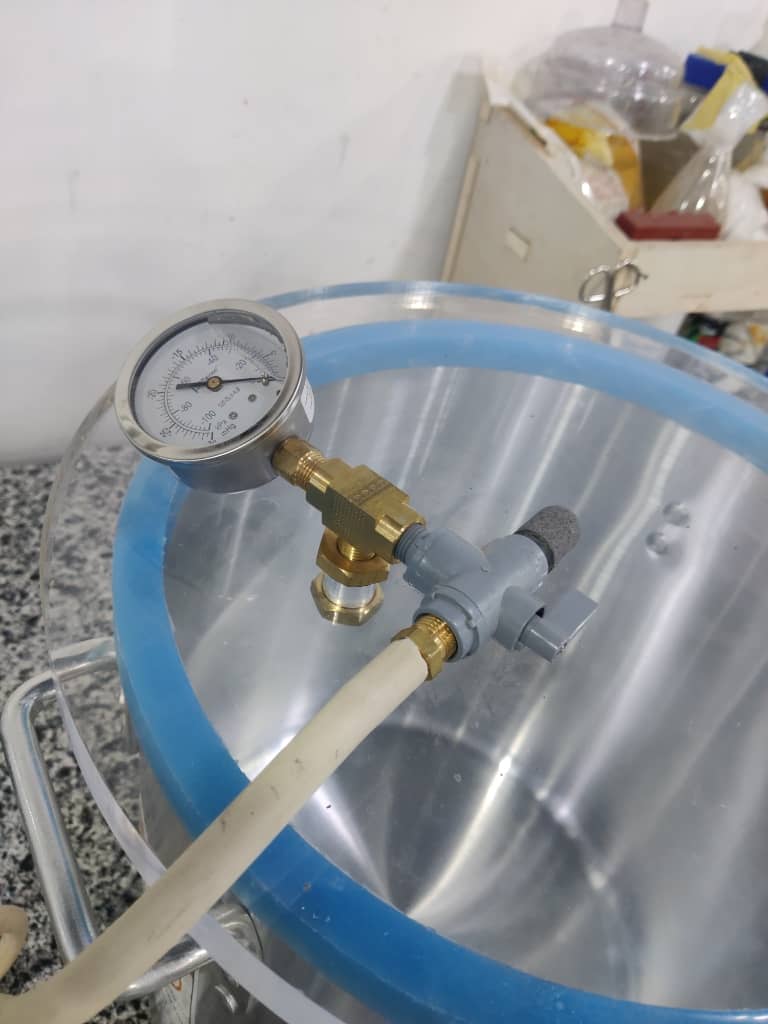
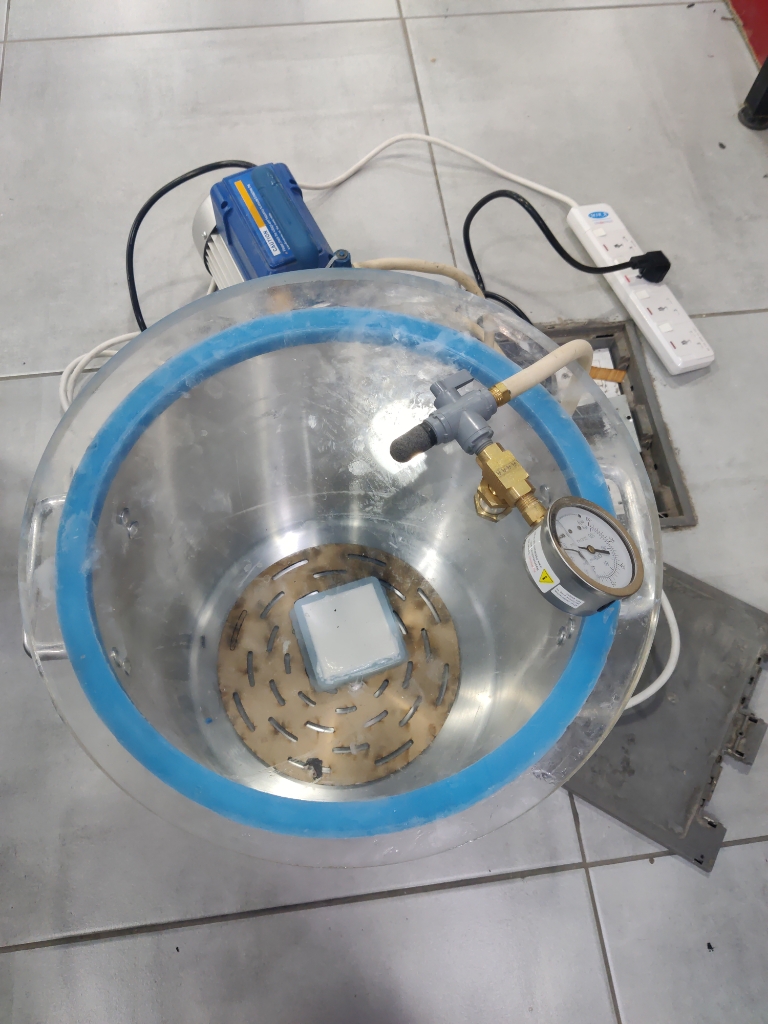
- Used vacuum chamber to degas bubbles before final curing.
- Achieved a high-quality, smooth silicone mold.


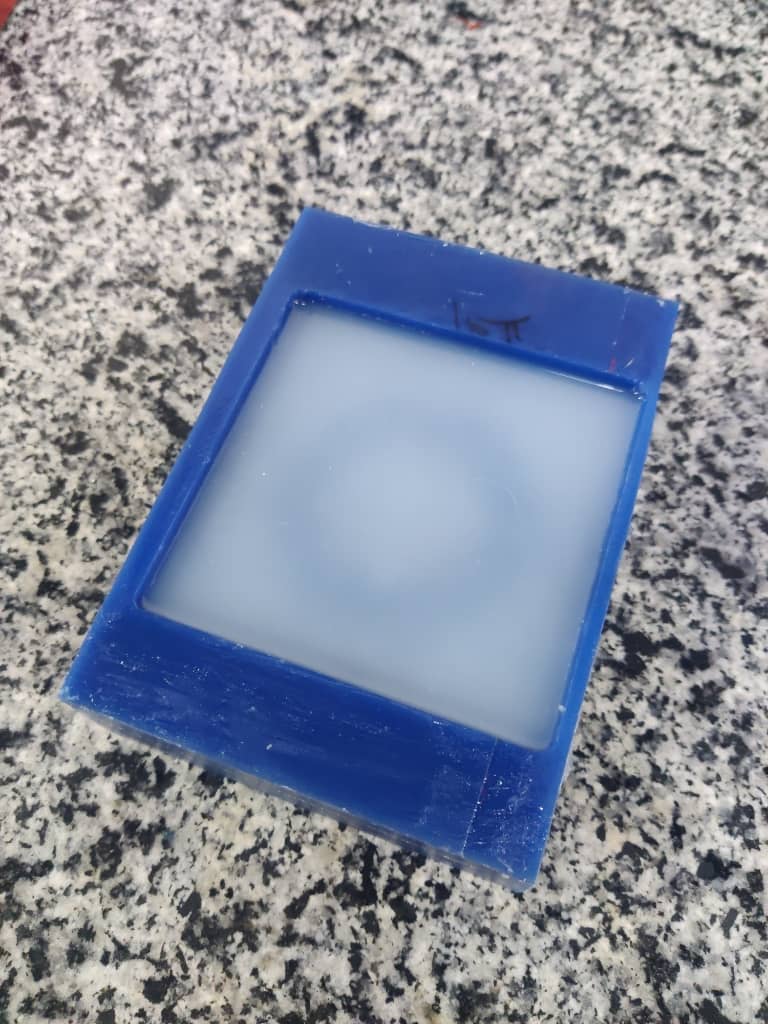
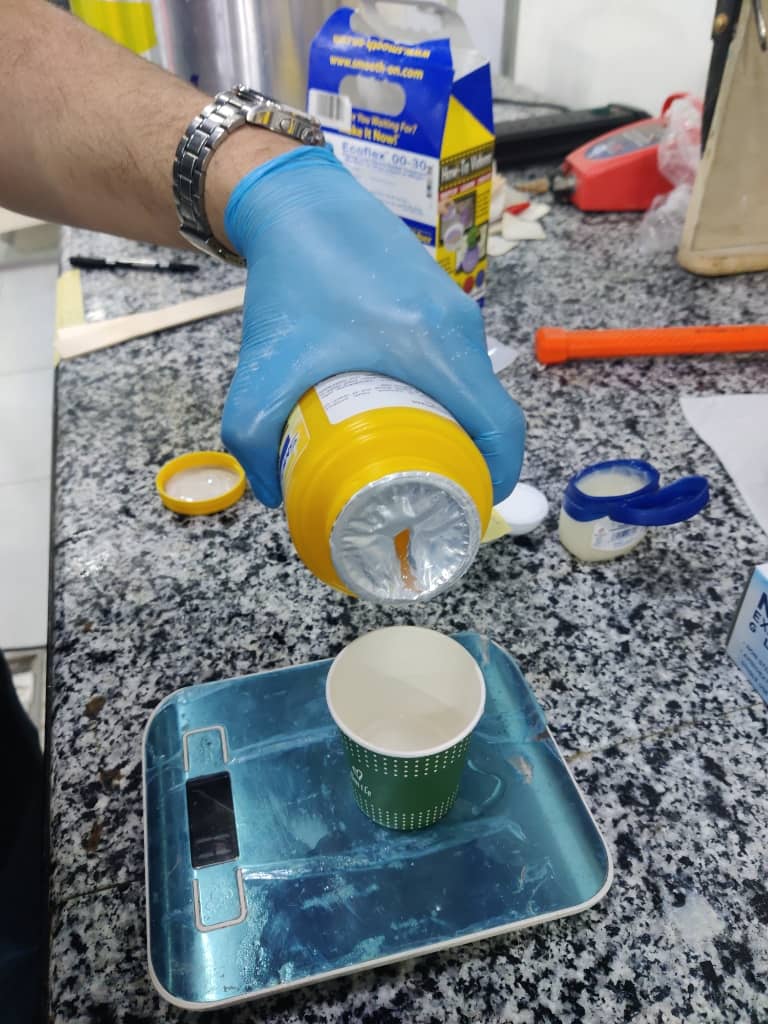
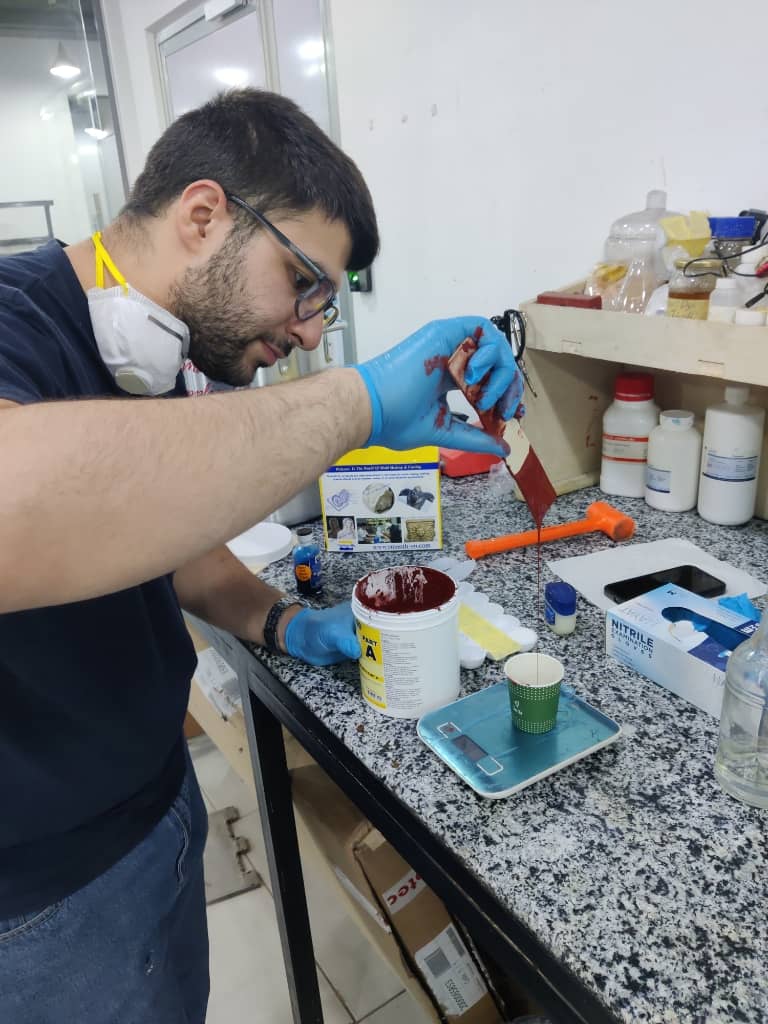
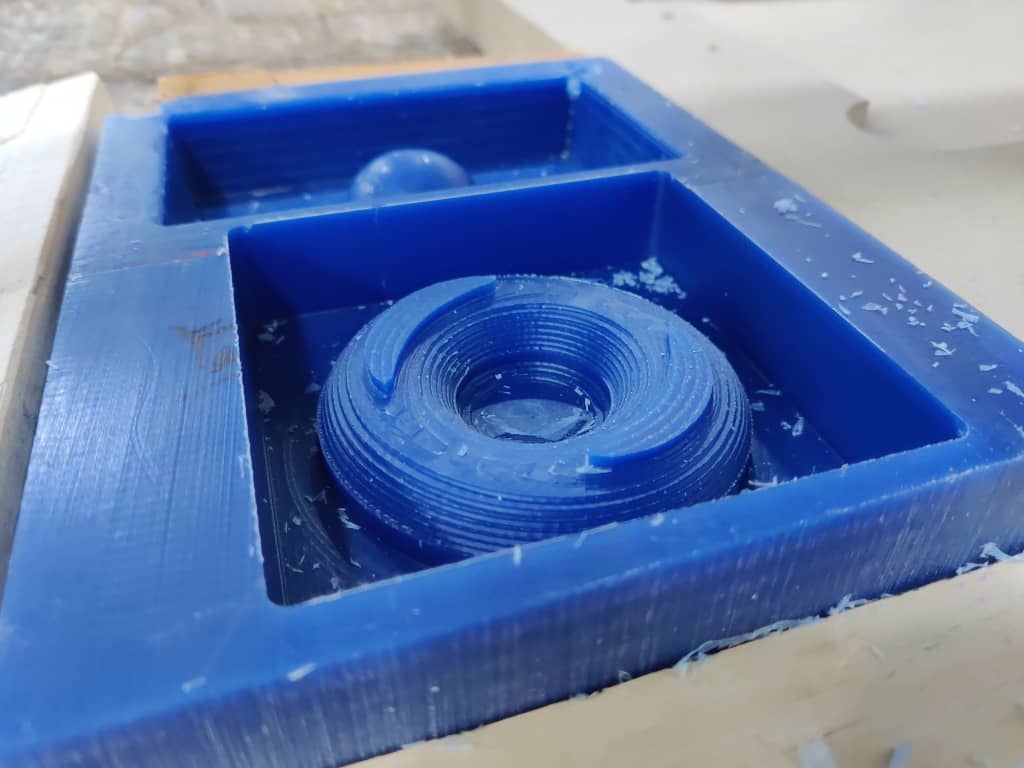
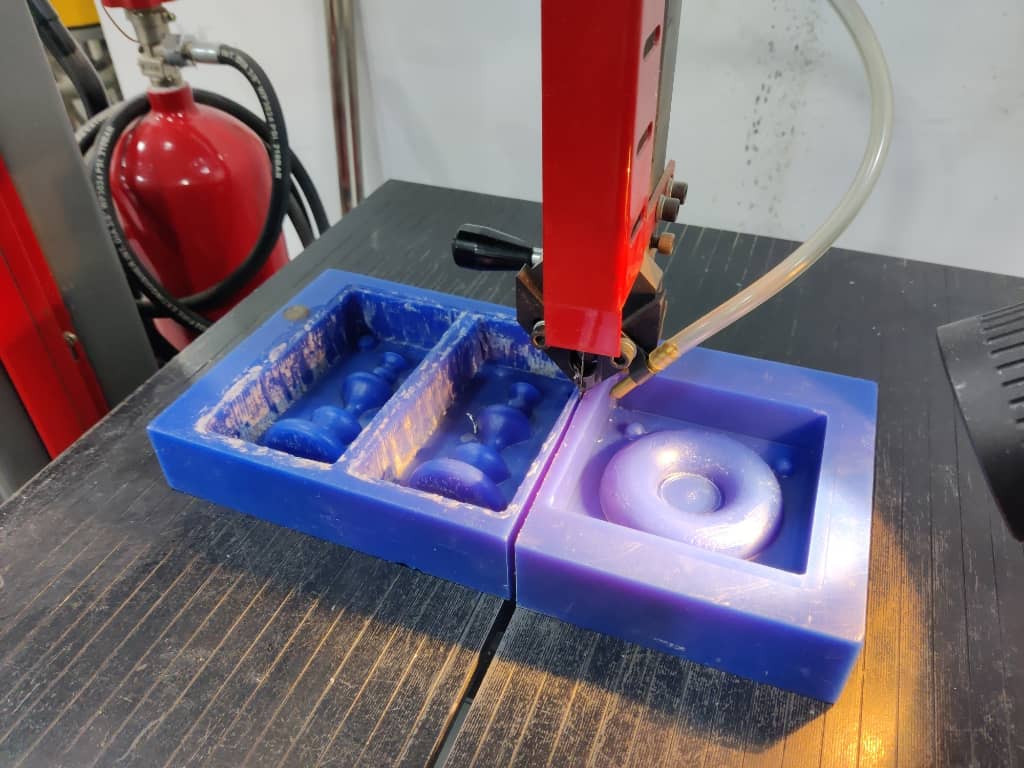
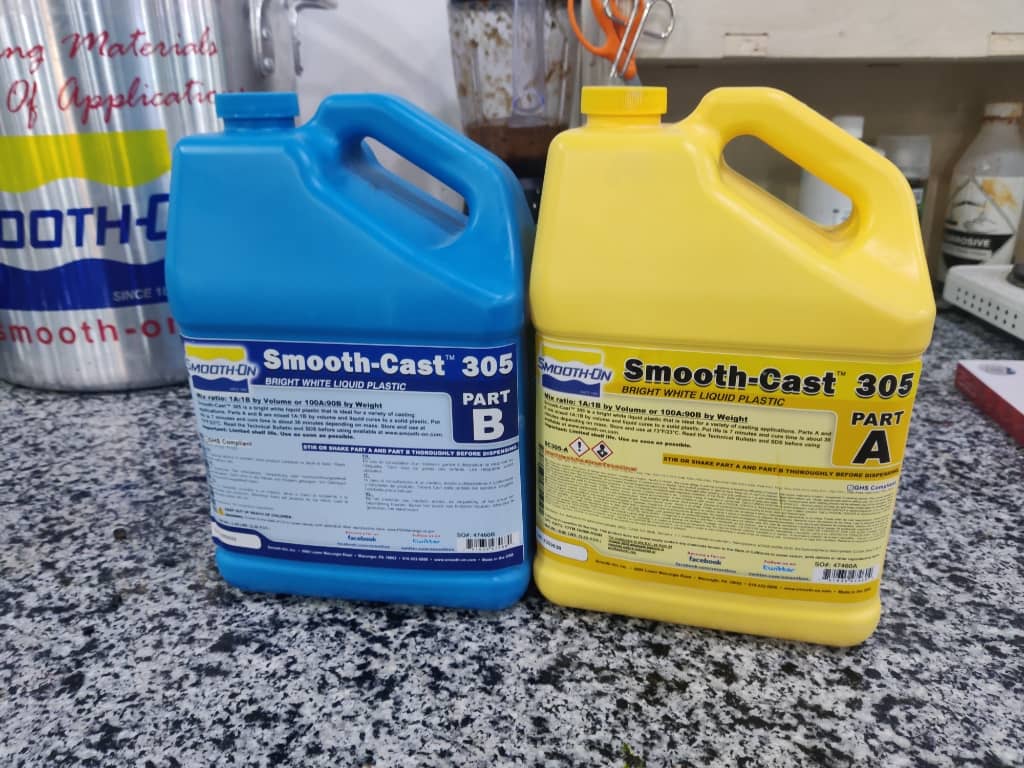
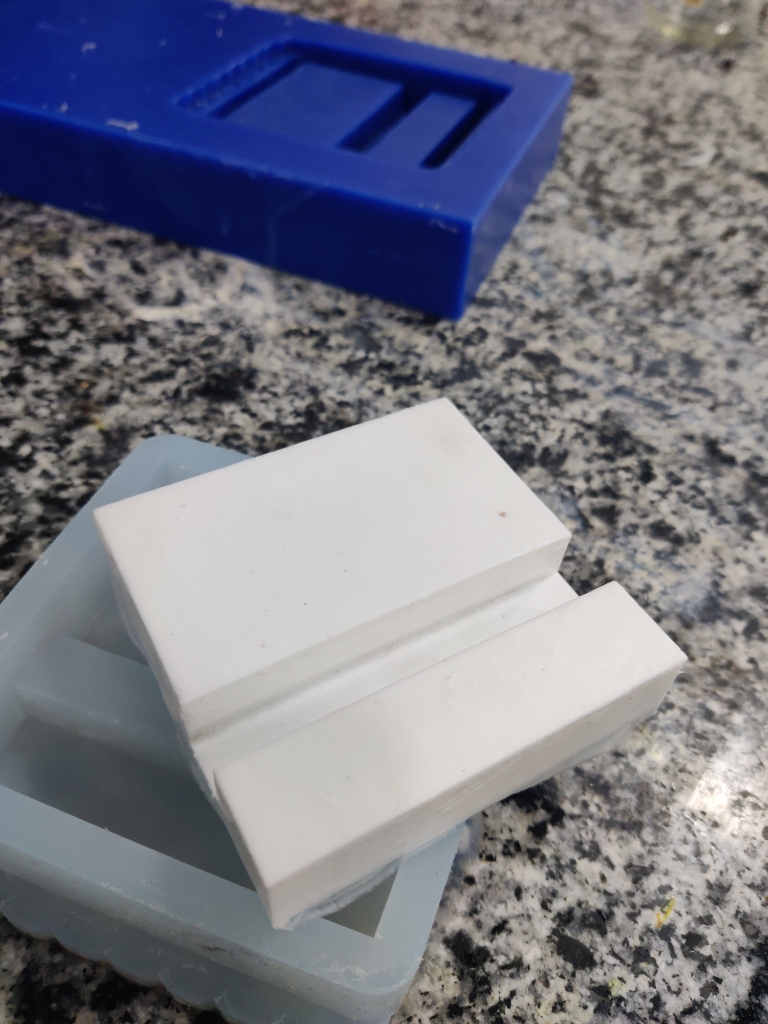
4. Casting the Final Part
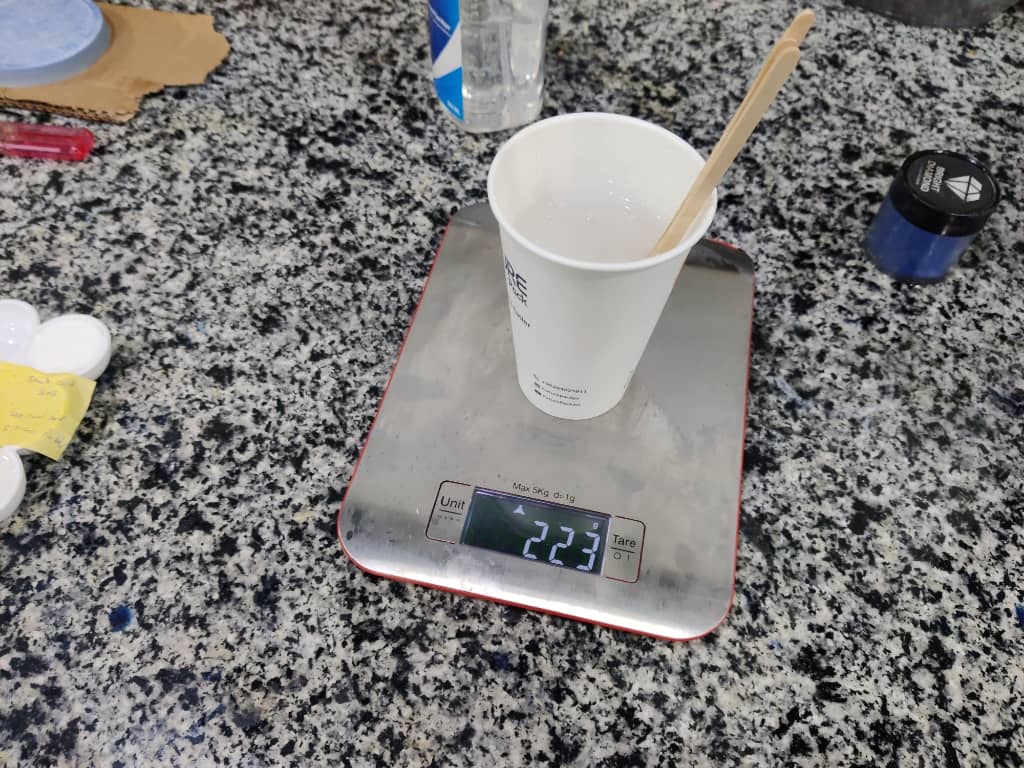
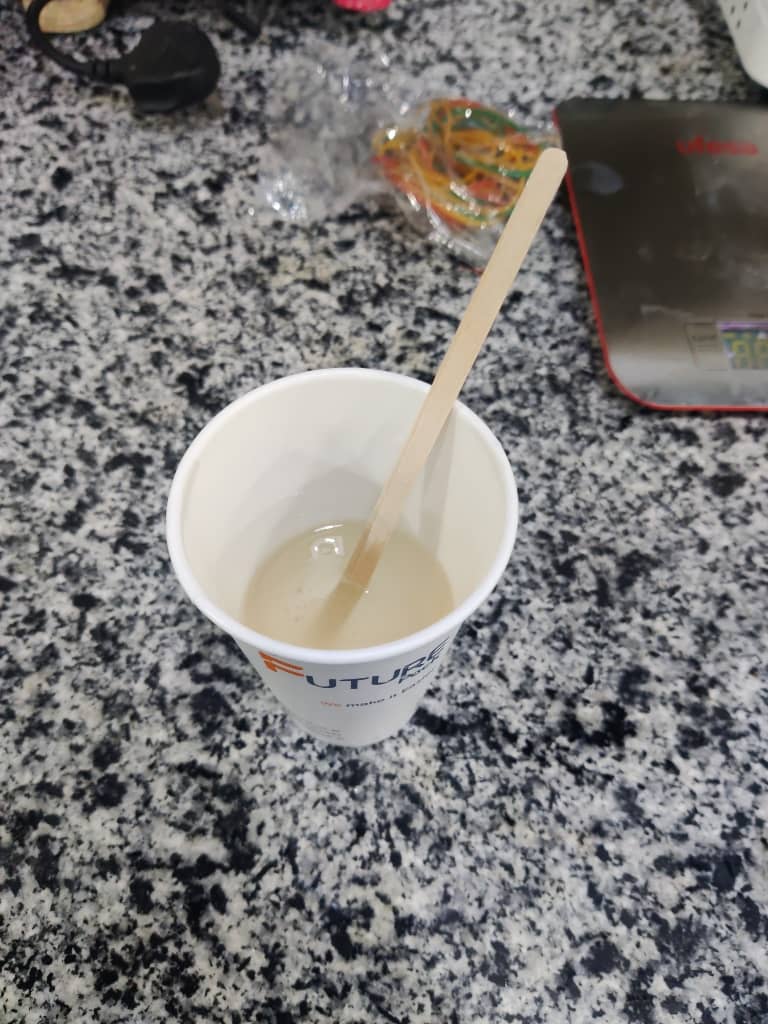
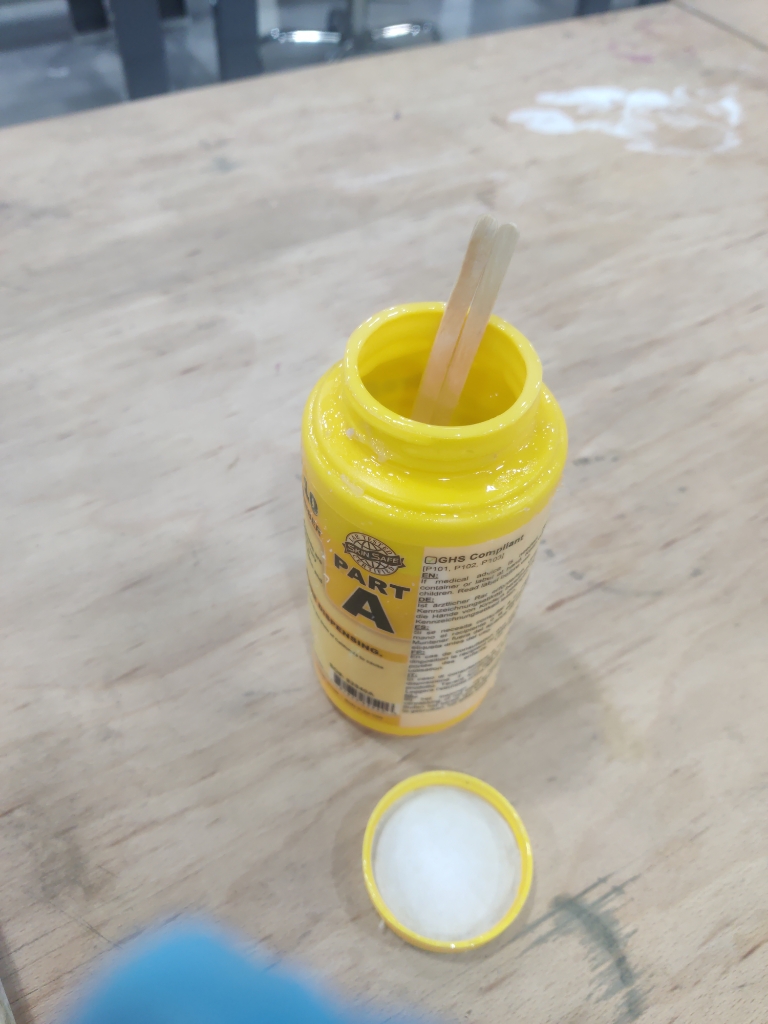
- Prepared Smooth-Cast 305 liquid plastic:
- Carefully measured and mixed parts A and B.
- Poured into the closed silicone mold, secured with rubber bands.
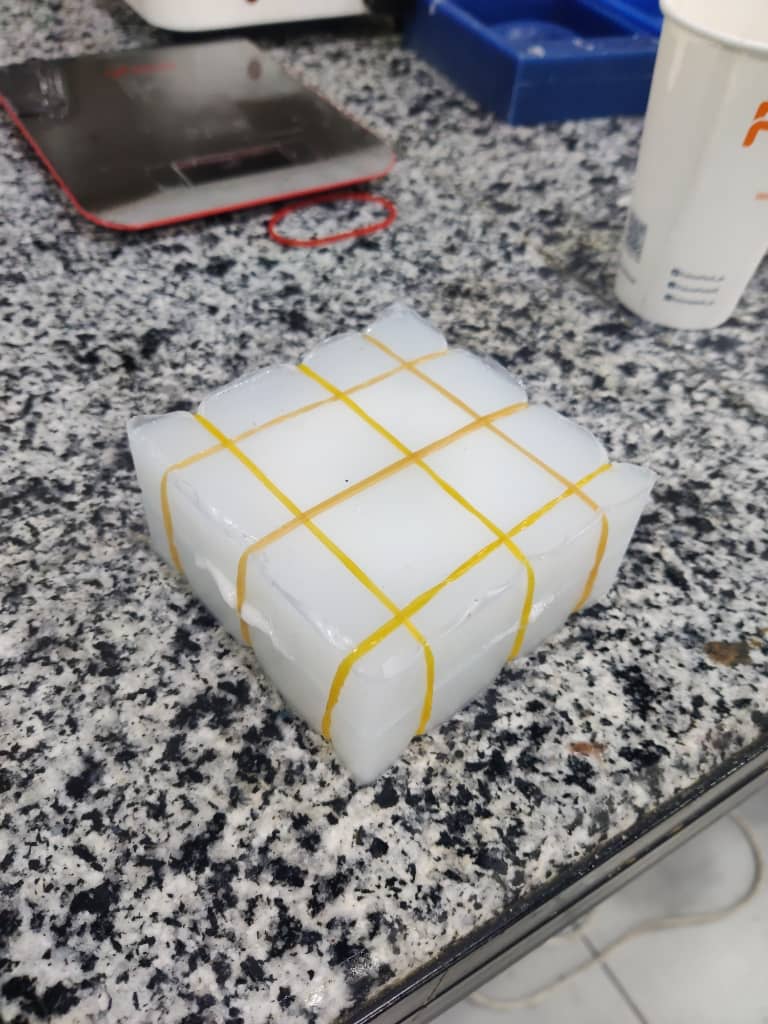
- Allowed 1 hour curing time.
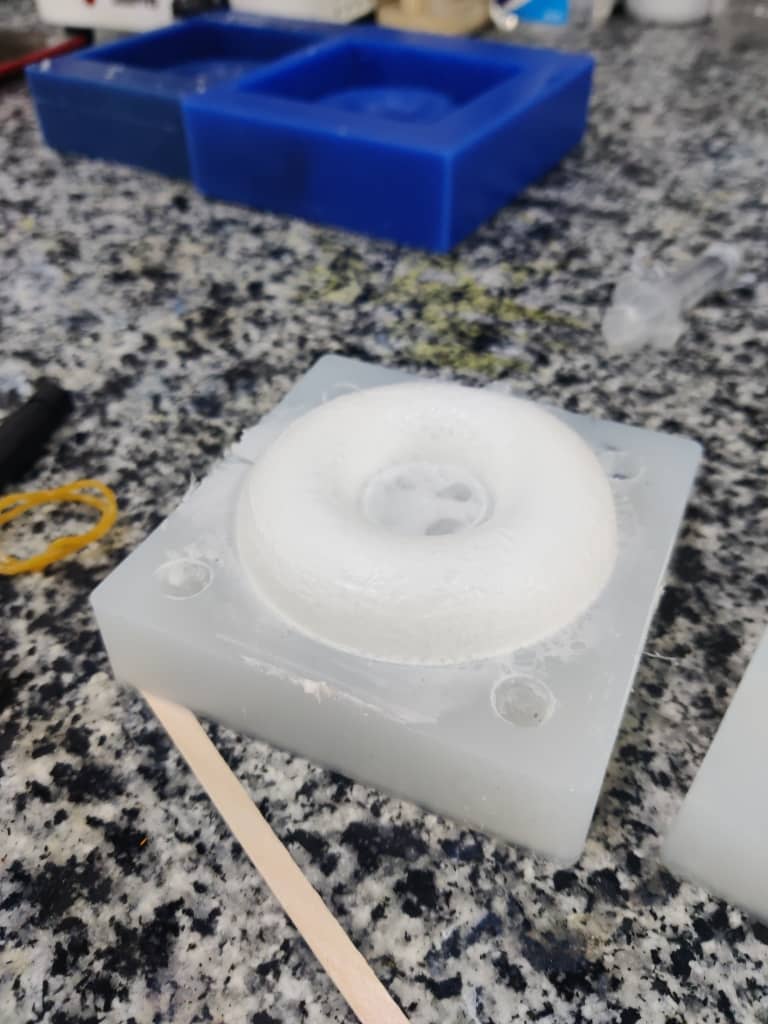
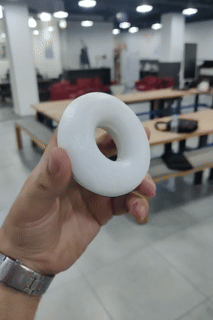
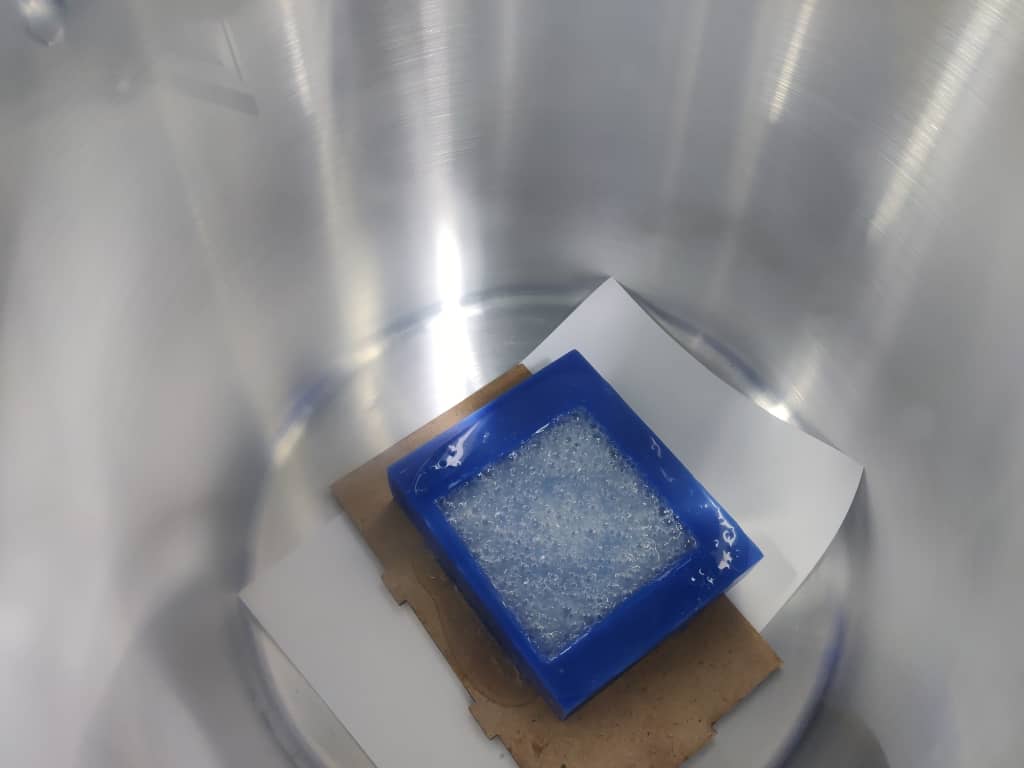
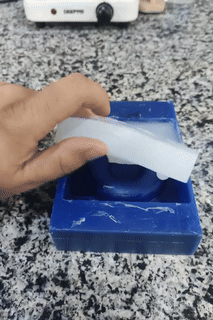
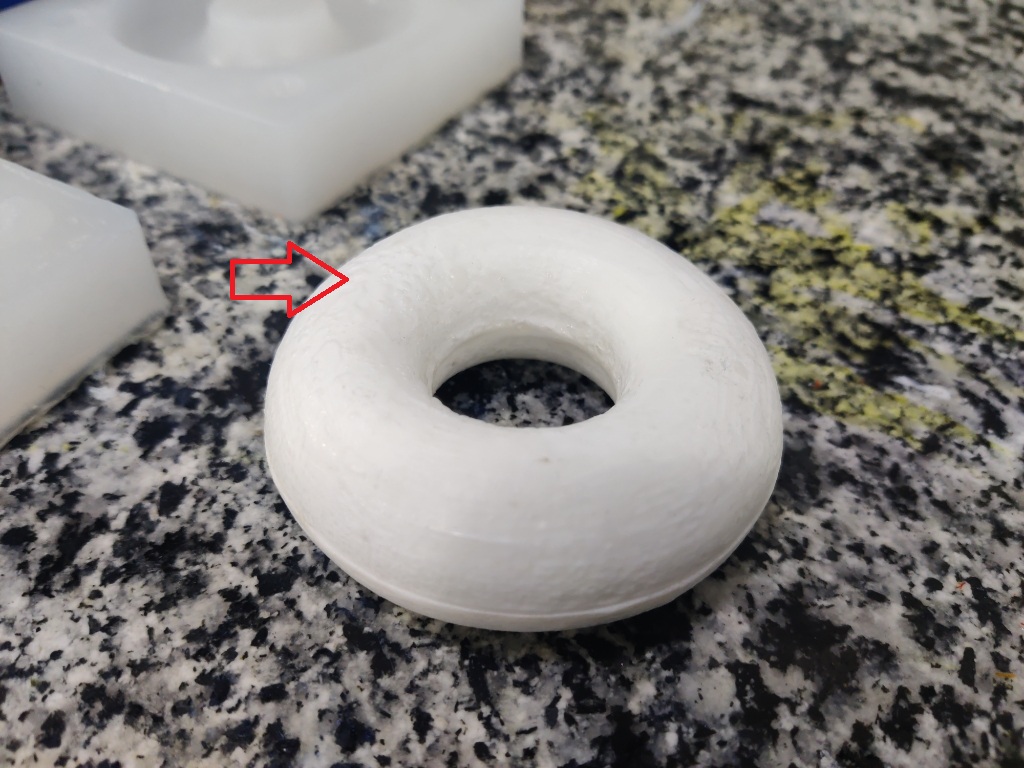
- Opened the mold and removed the finished part, which had a smooth, round surface with excellent detail.

Results:
After completing the two-part mold for casting the donuts, I noticed that the final surface finish wasn’t as smooth as expected. I rechecked the original donut design in Fusion 360 and confirmed that the model itself was smooth, so the issue seemed to be in the casting process.
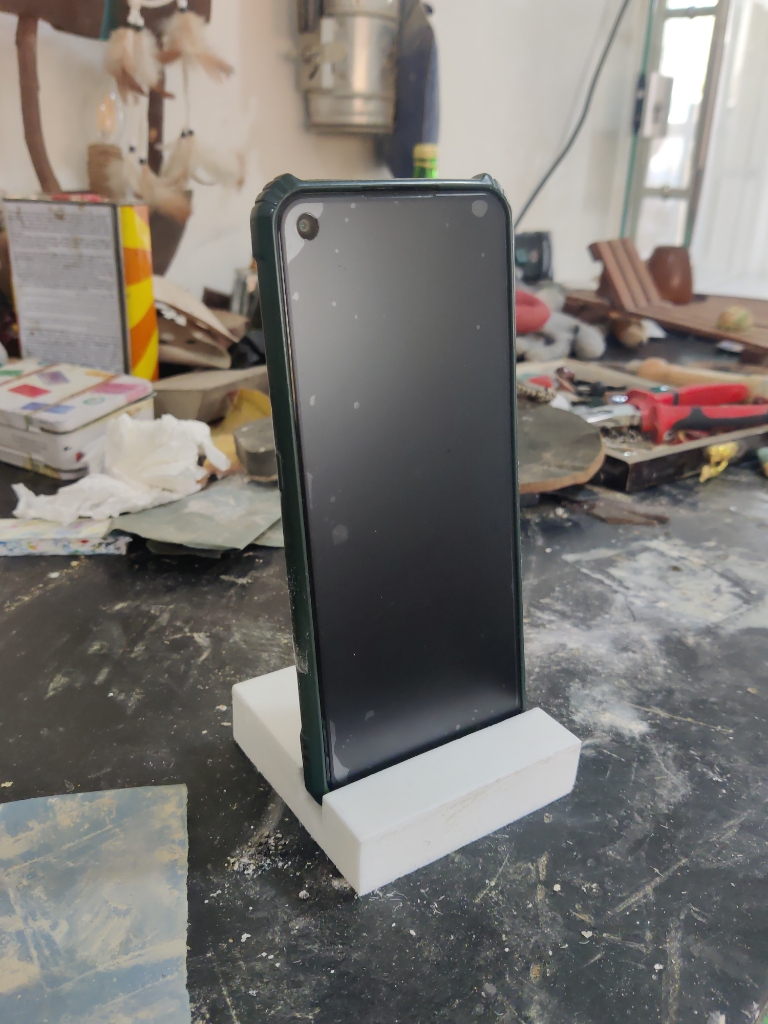
This led me to explore a new idea: creating an "Dare Mighty Things" By NASA JPL phone stand—something symbolic to remind me to always step out of my comfort zone in both space and industry contexts.
For the next attempt, I plan to repeat the same molding and casting process, but with a new design of my own and extra attention to achieving a high-quality surface finish.
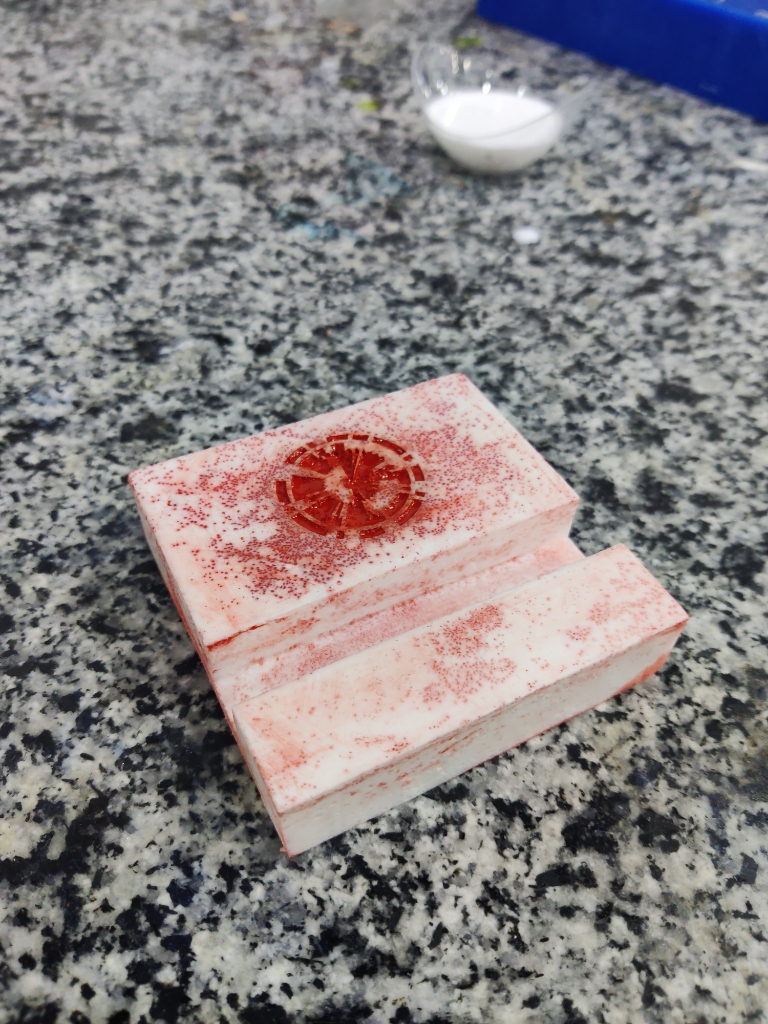
“Dare Mighty Things” Mobile Stand :
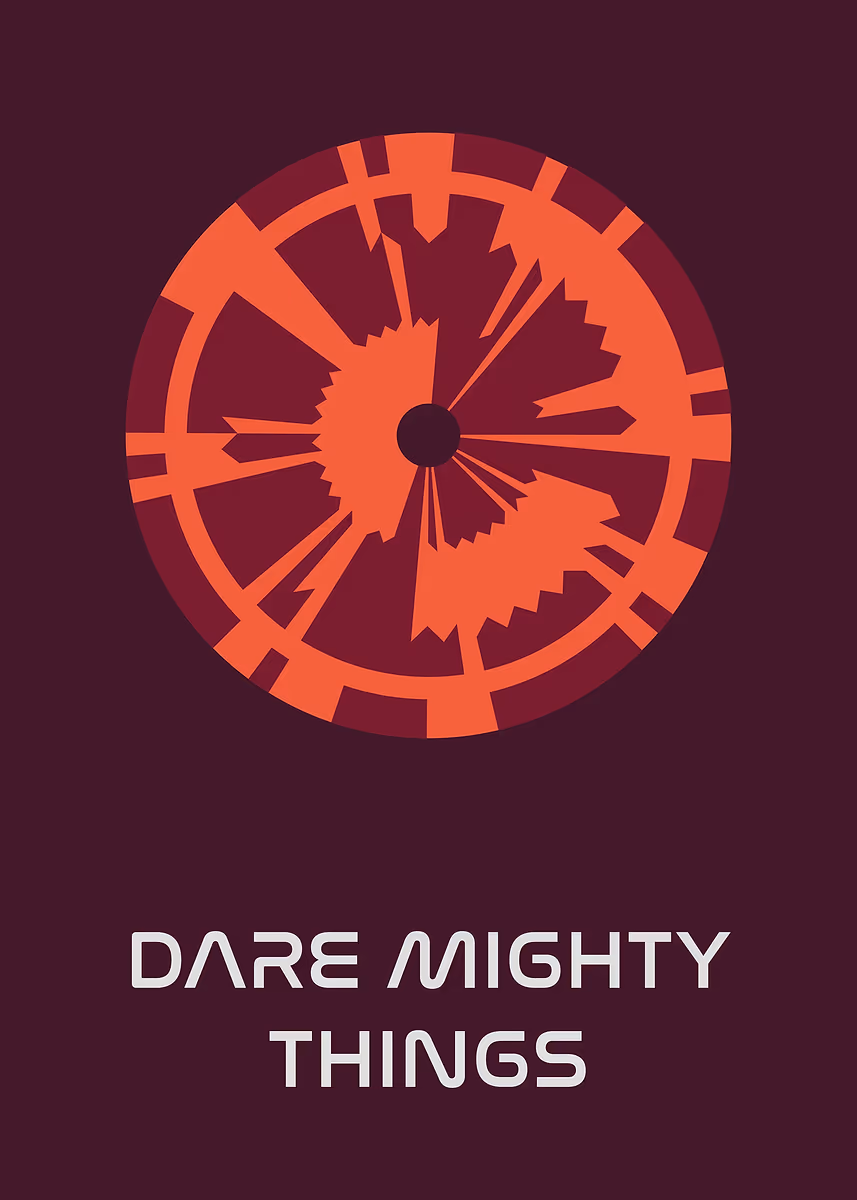
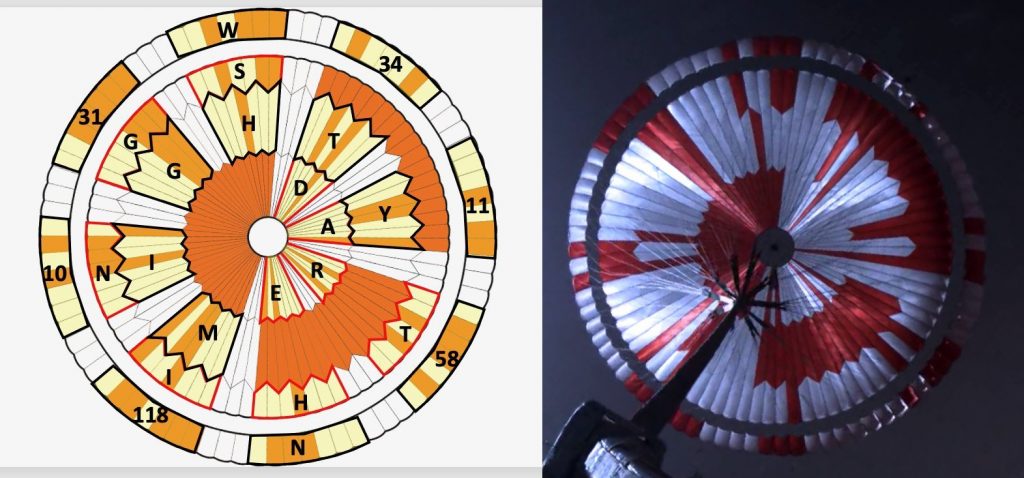
"Dare Mighty Things" – JPL Parachute Brief:
The phrase "Dare Mighty Things" is a famous motto used by NASA’s Jet Propulsion Laboratory (JPL). It appeared as a secret binary message encoded in the parachute of the Mars 2020 Perseverance rover during its entry, descent, and landing on Mars.
- The red and white pattern in the parachute wasn't random — it was a binary code.
- When decoded, the outer ring spelled "Dare Mighty Things", and the inner ring included the GPS coordinates of JPL in Pasadena, California.
- The phrase itself comes from a speech by U.S. President Theodore Roosevelt:
"Far better is it to dare mighty things, to win glorious triumphs..."
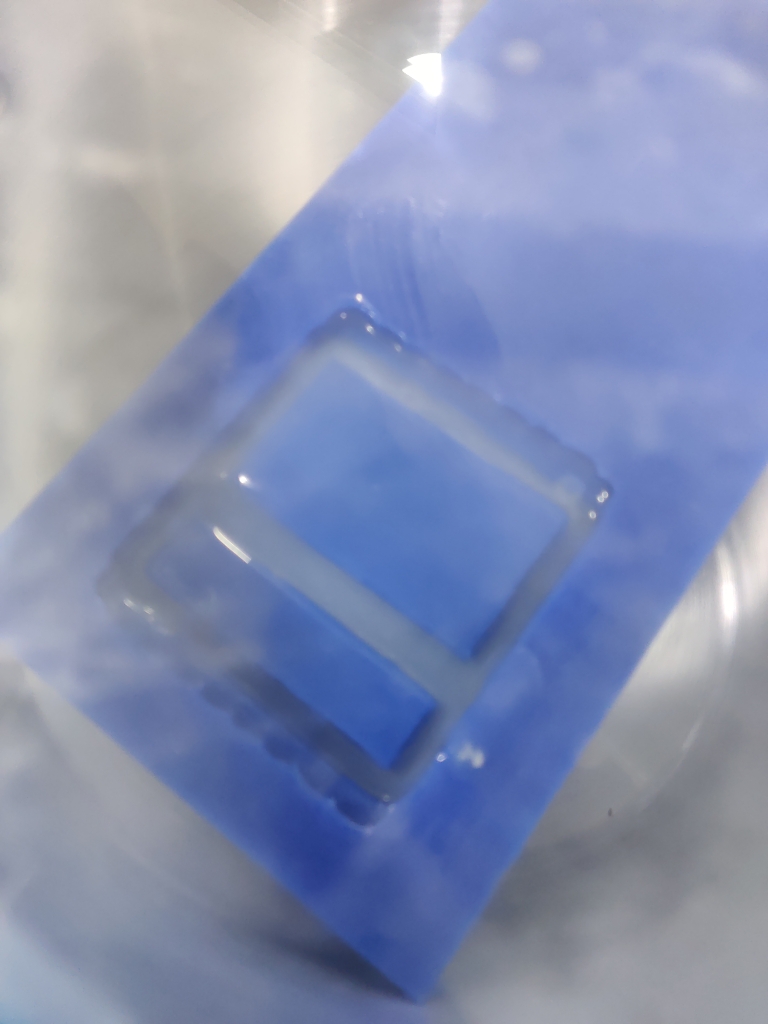
Following the same process as before, I began by designing the phone stand in Fusion 360.
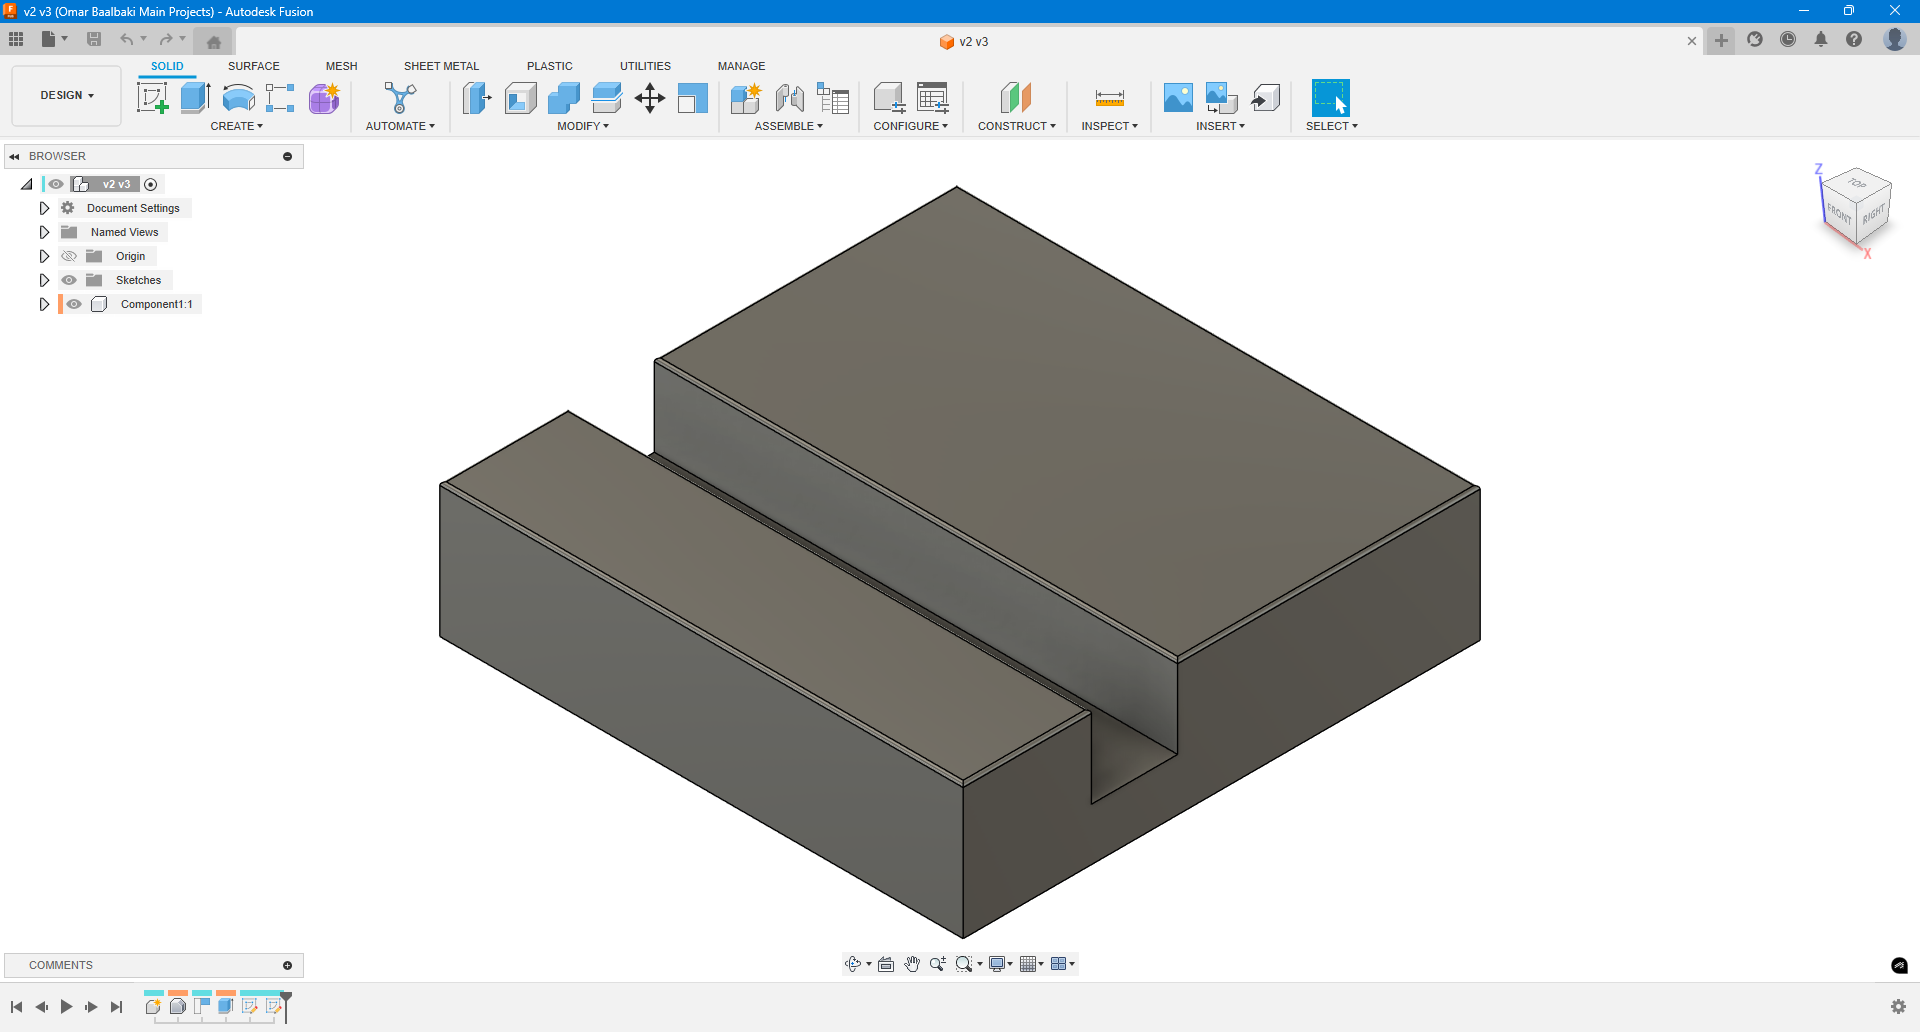
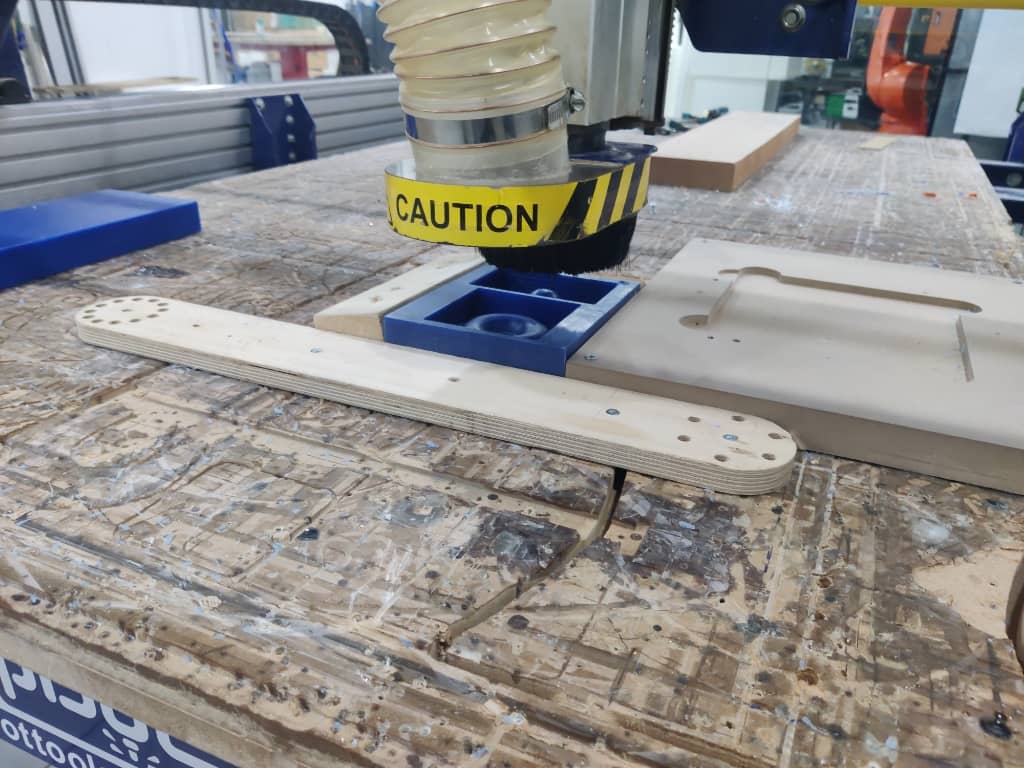
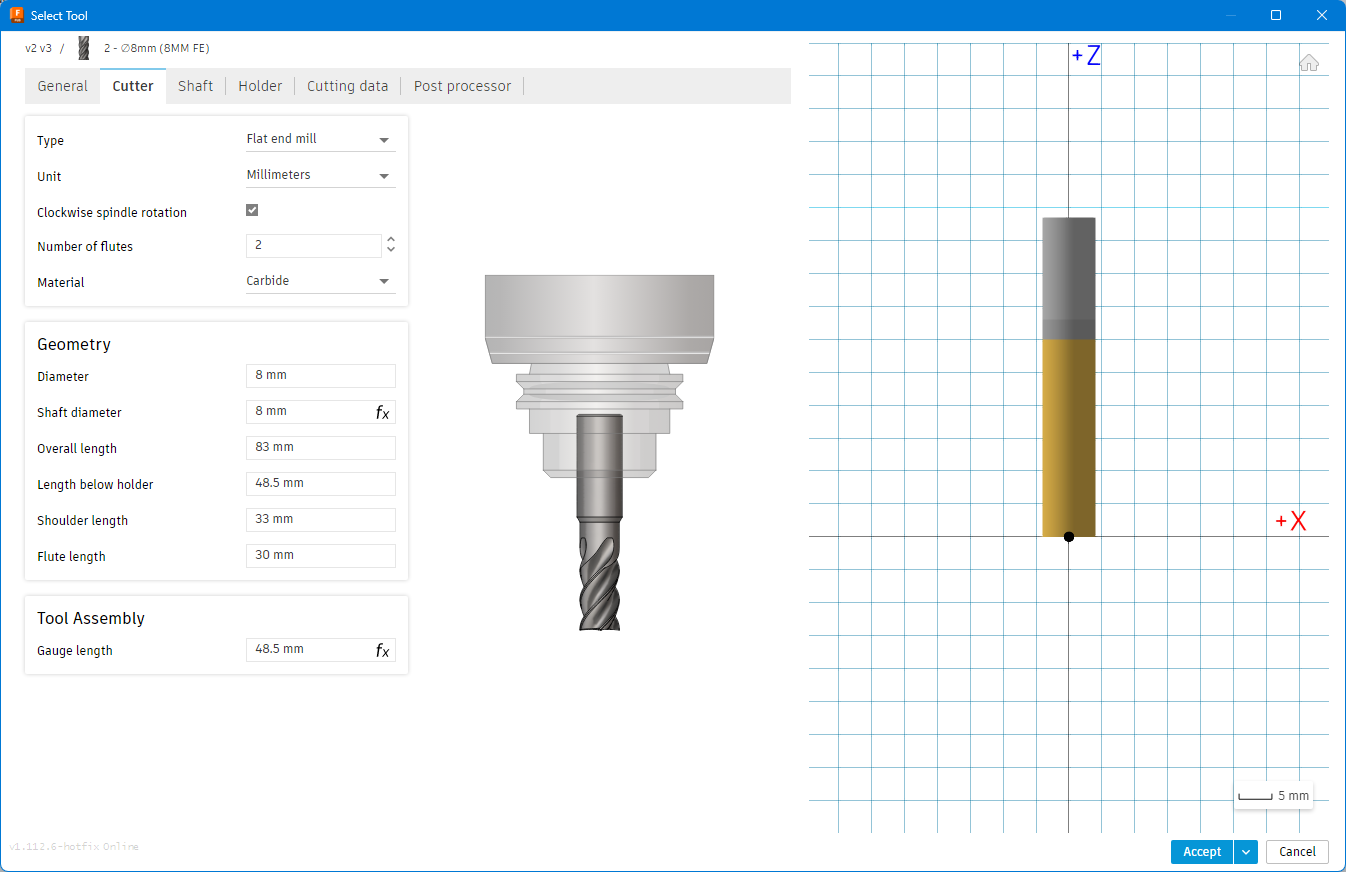
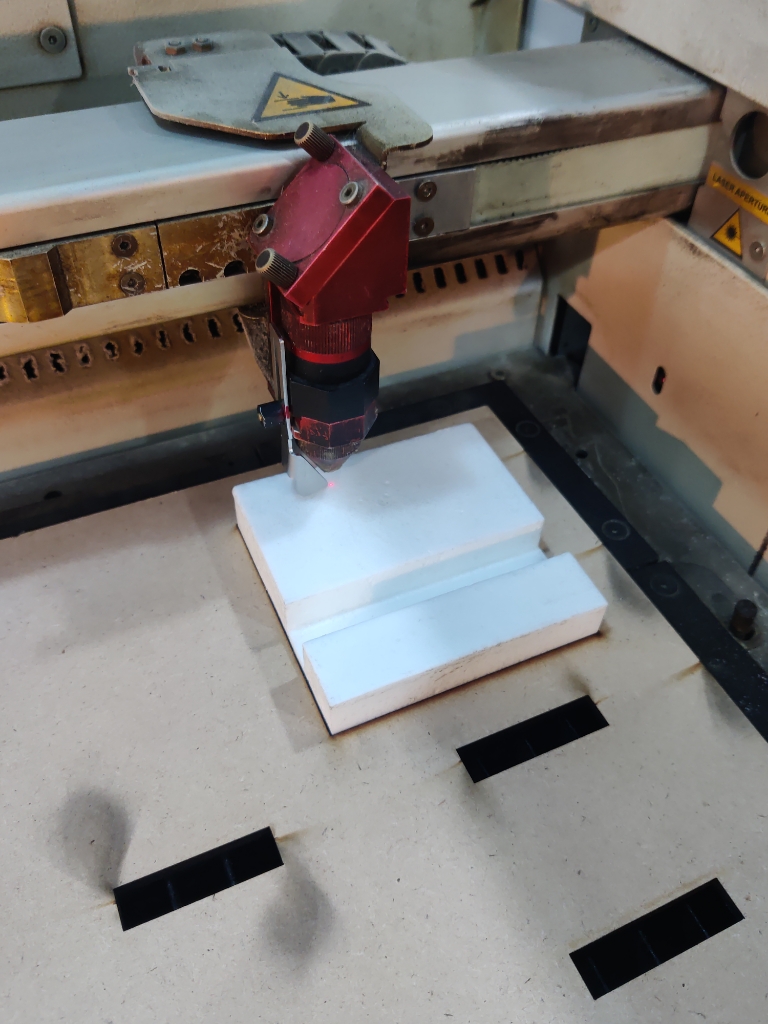
Once the design was finalized, I moved to the manufacturing workspace to generate the toolpaths for CNC machining the mold using the ShopBot. I paid special attention during the post-processing stage to avoid any collisions between the cutting tool and the material—particularly during tool retractions, which was an issue in my earlier attempts. Proper clearance was set to ensure safe and clean transitions between cutting paths.
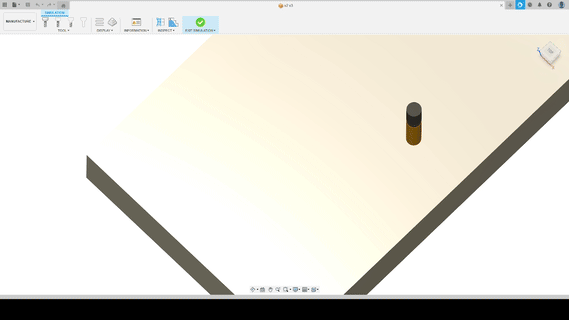
After preparing the toolpaths, I secured the wax block onto the ShopBot bed using wooden brackets, ensuring it was well-aligned and firmly attached. The machining process went smoothly, and the resulting surface quality was excellent.
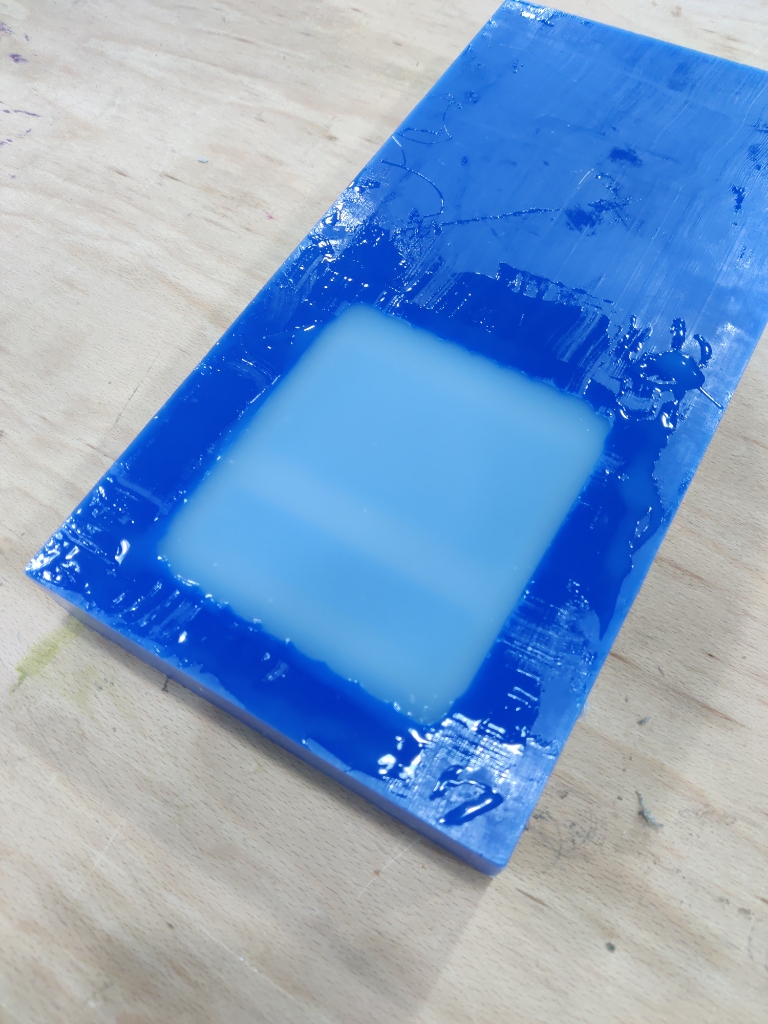
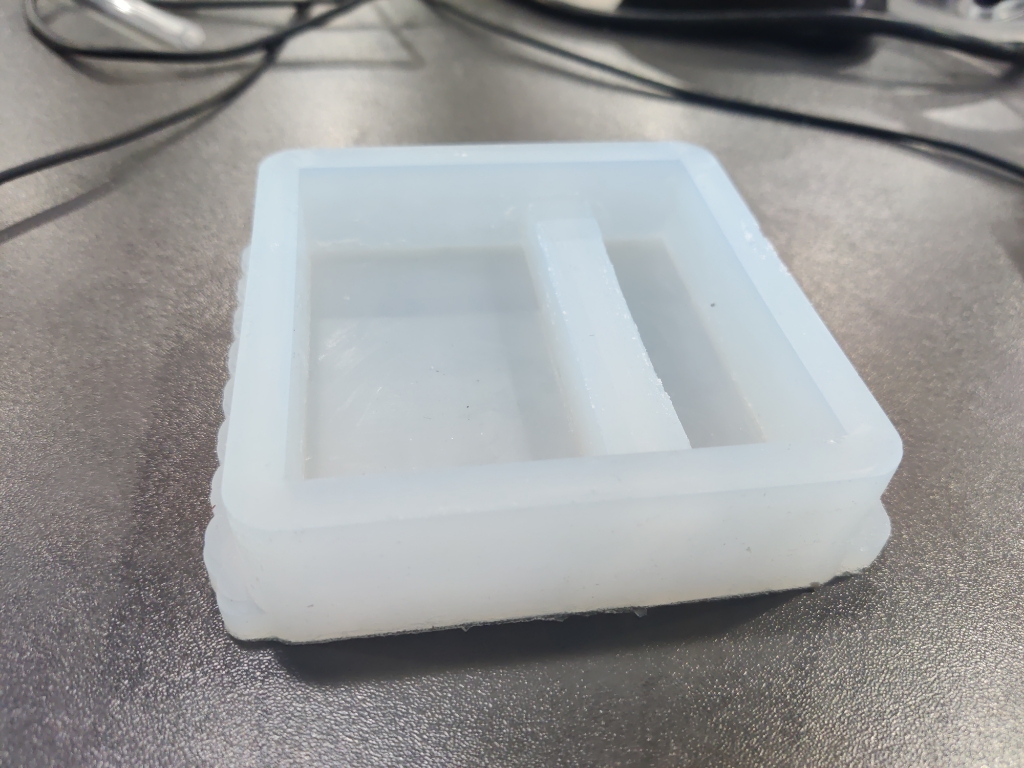
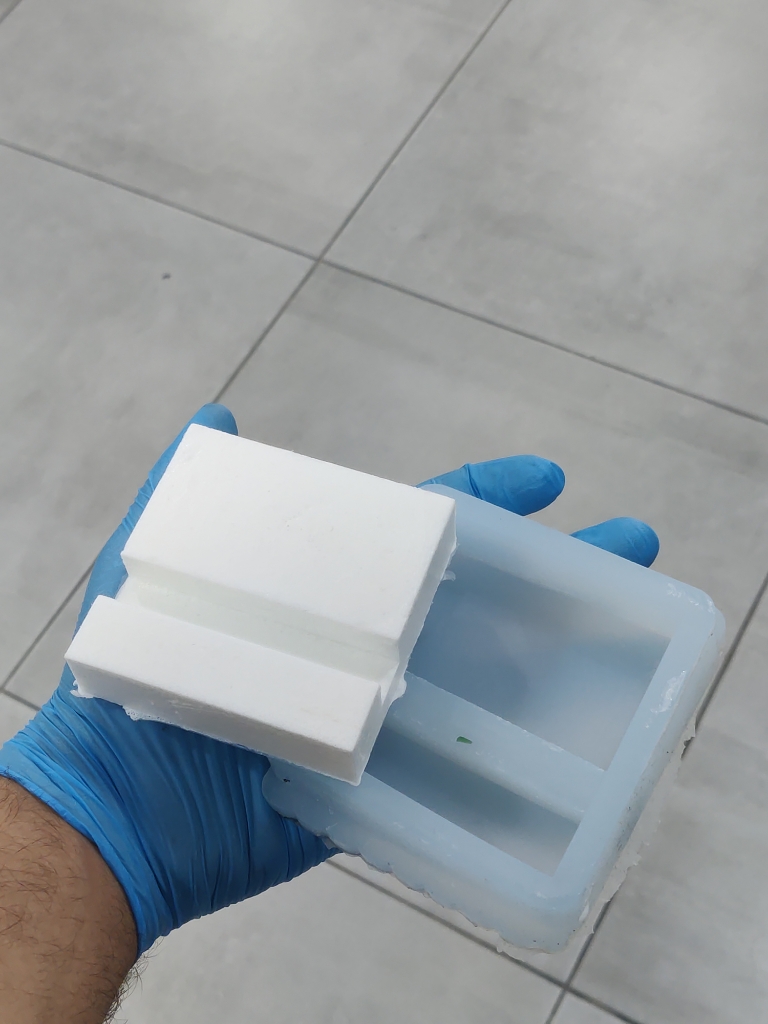
I then applied Vaseline as a release agent and poured a 1:1 mix of silicone (Part A and B), totaling around 100g. The mold was placed in a vacuum chamber and degassed over several cycles to eliminate any trapped bubbles. After 12 hours of curing, I demolded the silicone and was pleased with the clean, smooth result.

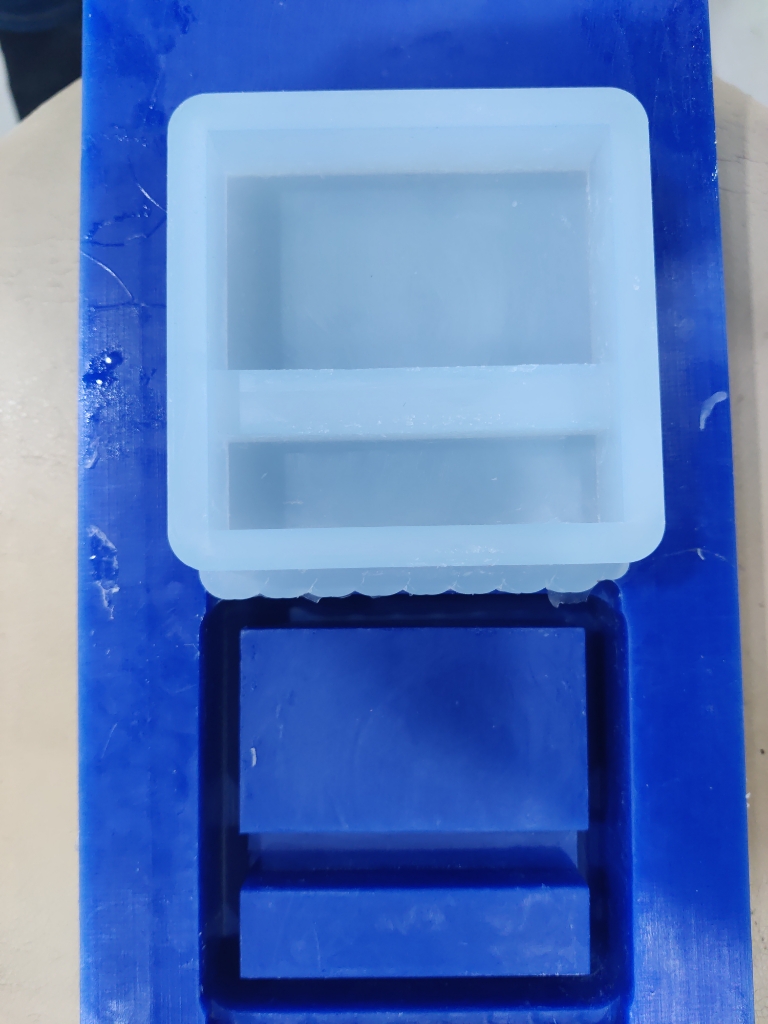
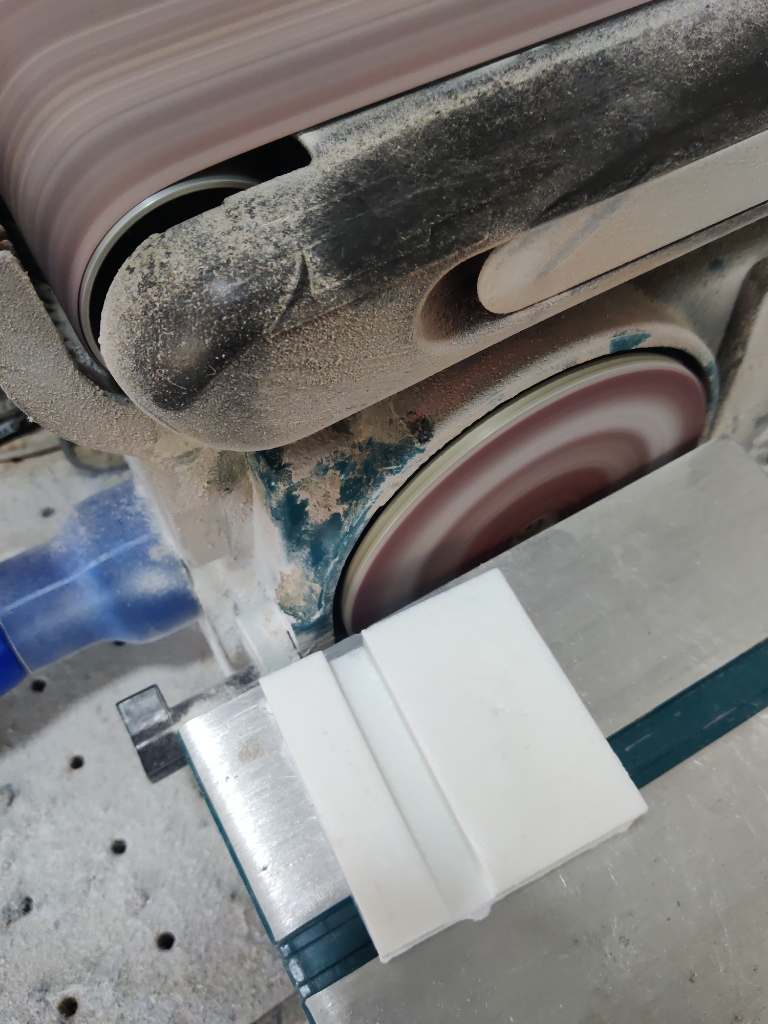
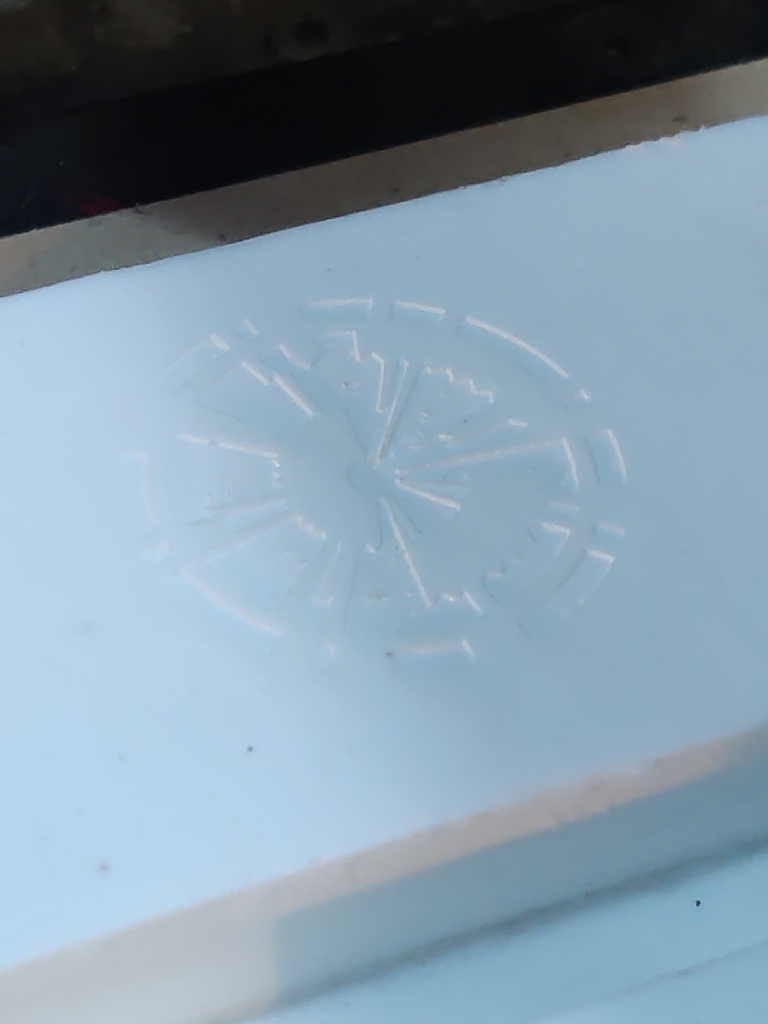
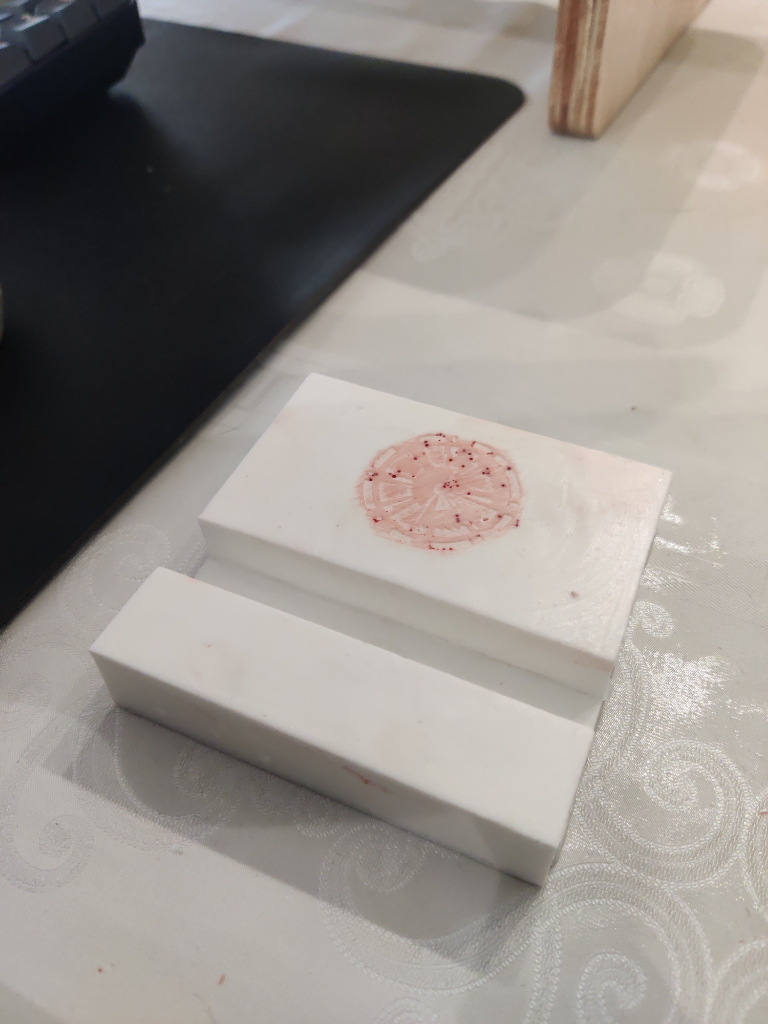
Next, I poured liquid plastic into the silicone mold and again used a vacuum process to remove air bubbles. After letting it cure for an hour, I demolded the final positive and sanded the edges. While the result was clean and accurate, the surface looked not smooth. Based on feedback from peers, I decided to engrave the phrase "Dare Mighty Things" onto the stand to give it more character.
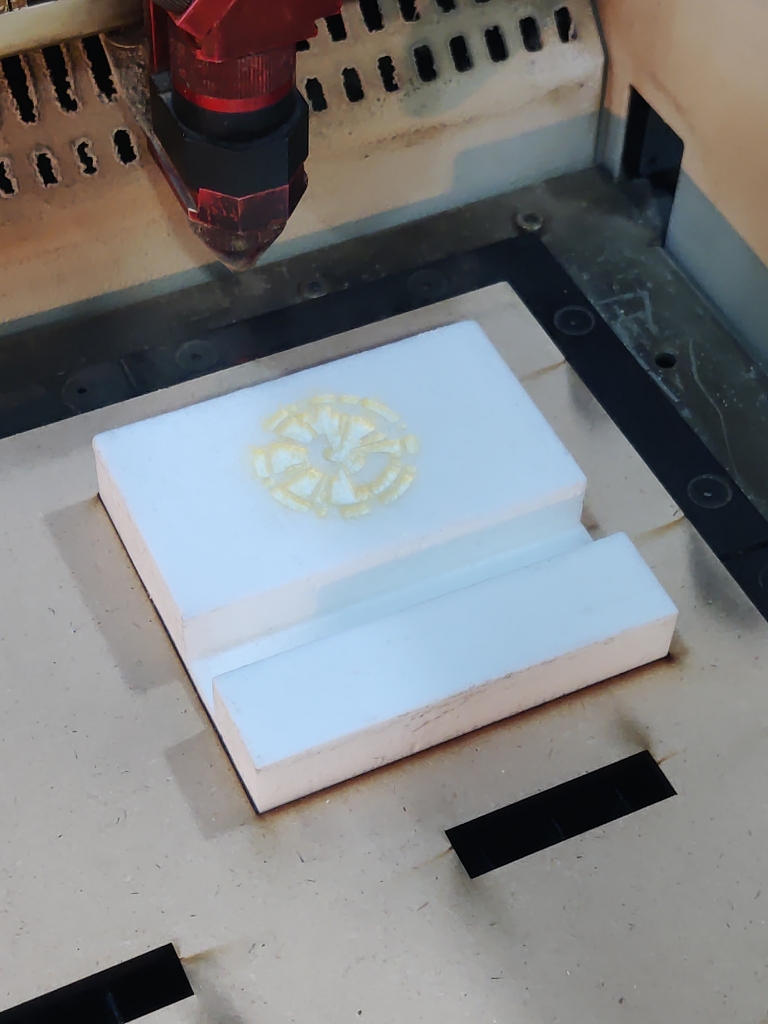
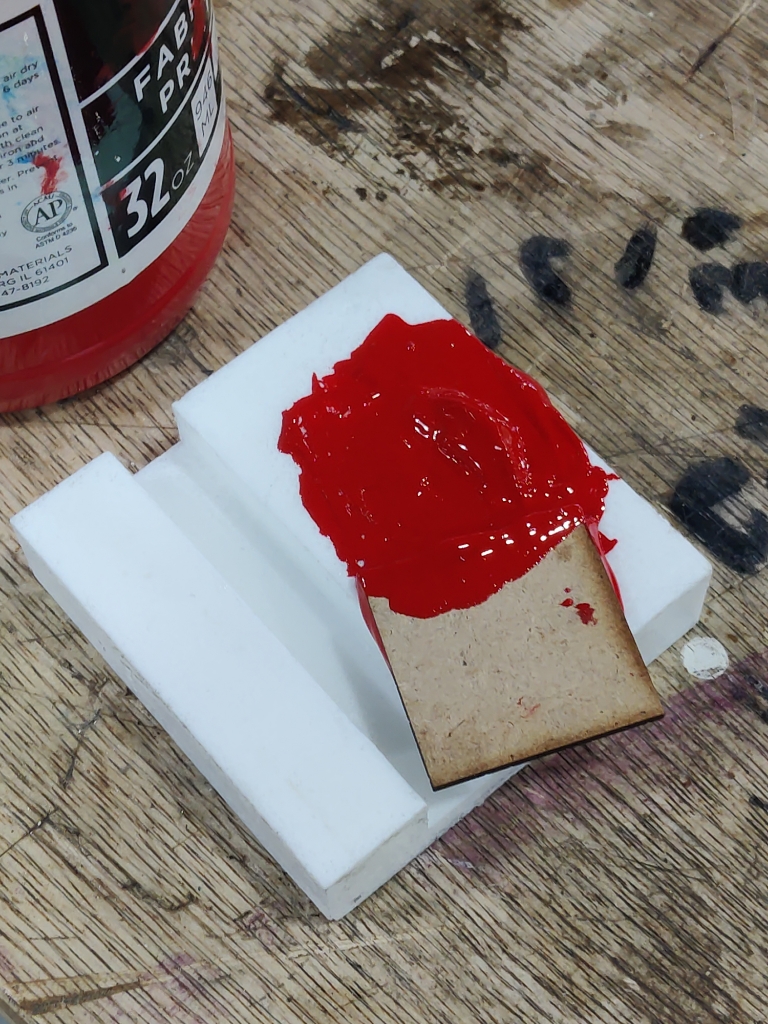
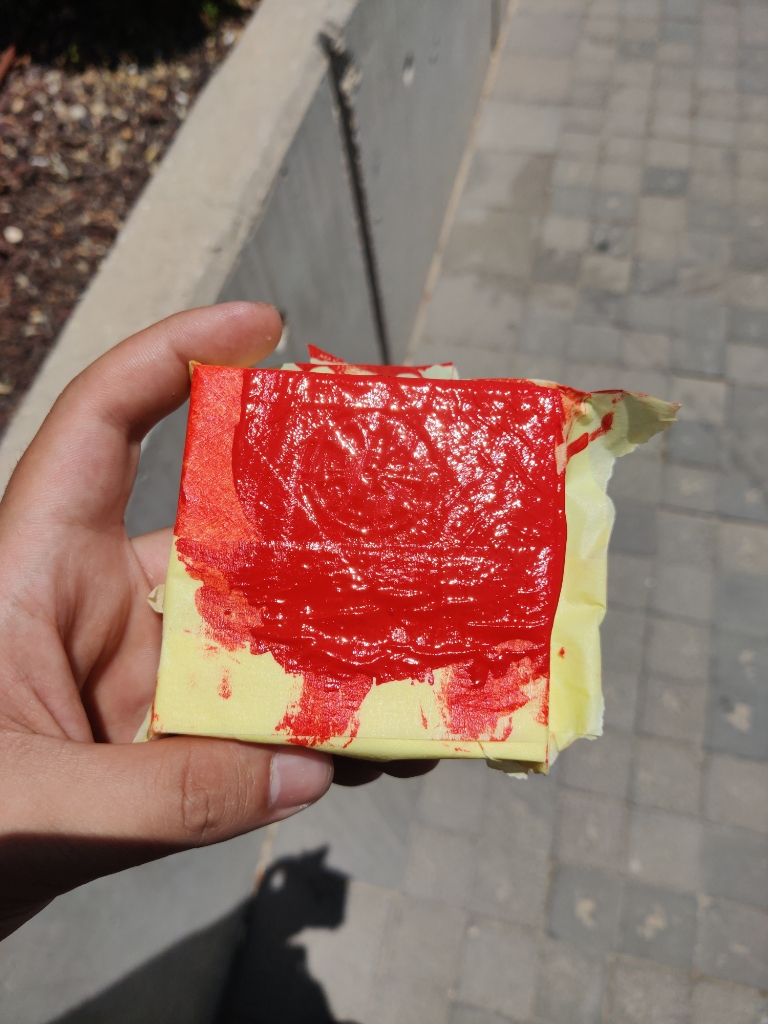
To do this, I carefully aligned the part using MDF and calibrated the laser cutter to engrave at 100% power and 30% speed. While the engraving was successful, the result appeared too dark and burnt. I tried enhancing the visual effect by filling the engraved area with acrylic paint, but some paint seeped into small surface bubbles—revealing a need for better plastic degassing.
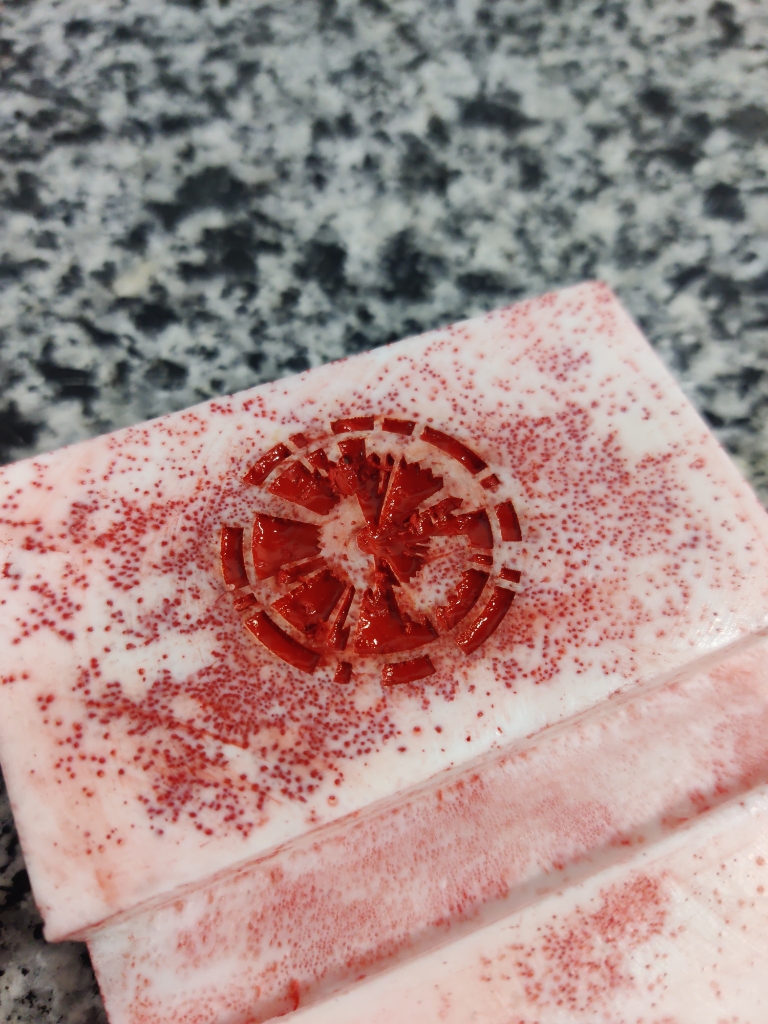
To improve the outcome, I repeated the entire process, this time running five separate vacuuming cycles for a total of 15 minutes. The improved casting had an even, smooth surface. I then re-engraved the stand, this time using 25% laser power and 30% speed, which produced a much cleaner and more subtle result.
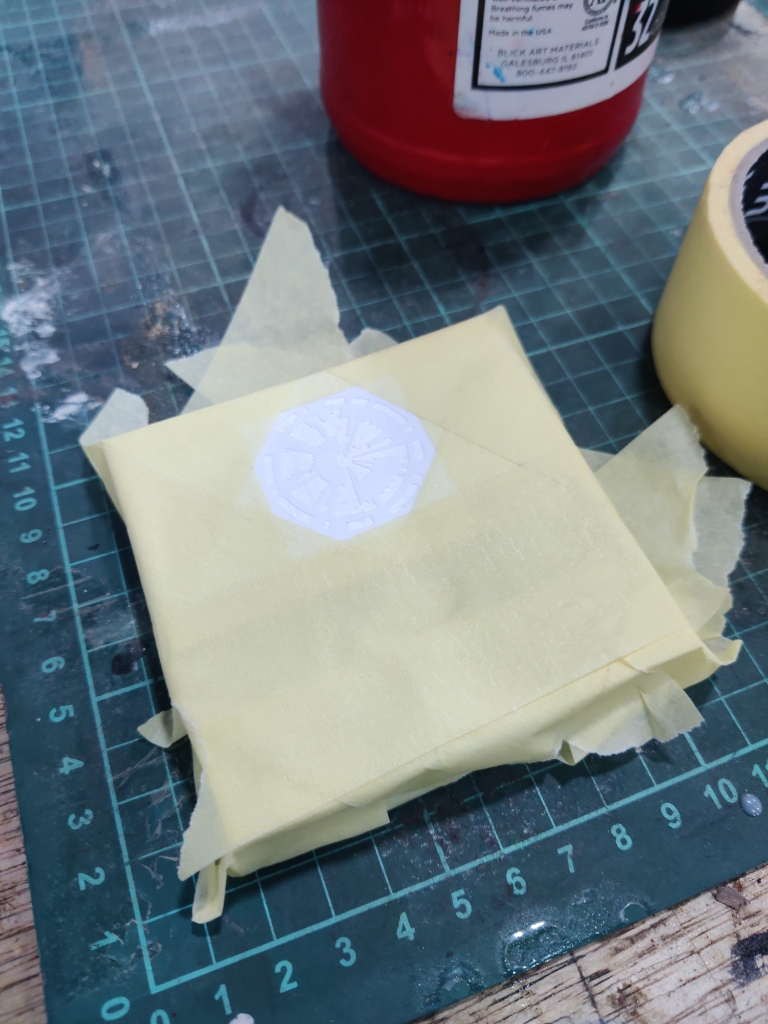
I masked off the parachute logo, filled the engraving with acrylic paint, and lightly sanded the surface to reveal a crisp, white contrast.
Learning Outcome
This week gave me a deep understanding of the molding and casting process, covering both group and individual work. I learned the safety considerations of working with silicones and resins, the properties of different molding materials, and the practical techniques of vacuum degassing and CNC mold creation. I also developed hands-on experience in designing, fabricating, and casting a two-part mold using a combination of digital design, CNC machining, and molding techniques. I understood the critical importance of material properties, mix ratios, pot life, cure times, and surface finishing techniques to achieve professional-quality results.