Low poly paper-art
Hero Shot
Summary
This guide outlines the process of creating low-poly paper art using Pepakura Designer, including my past experience and recent exploration of the technique.
Work Process Detail
1. Revisiting My Experience with Low-Poly Paper Art
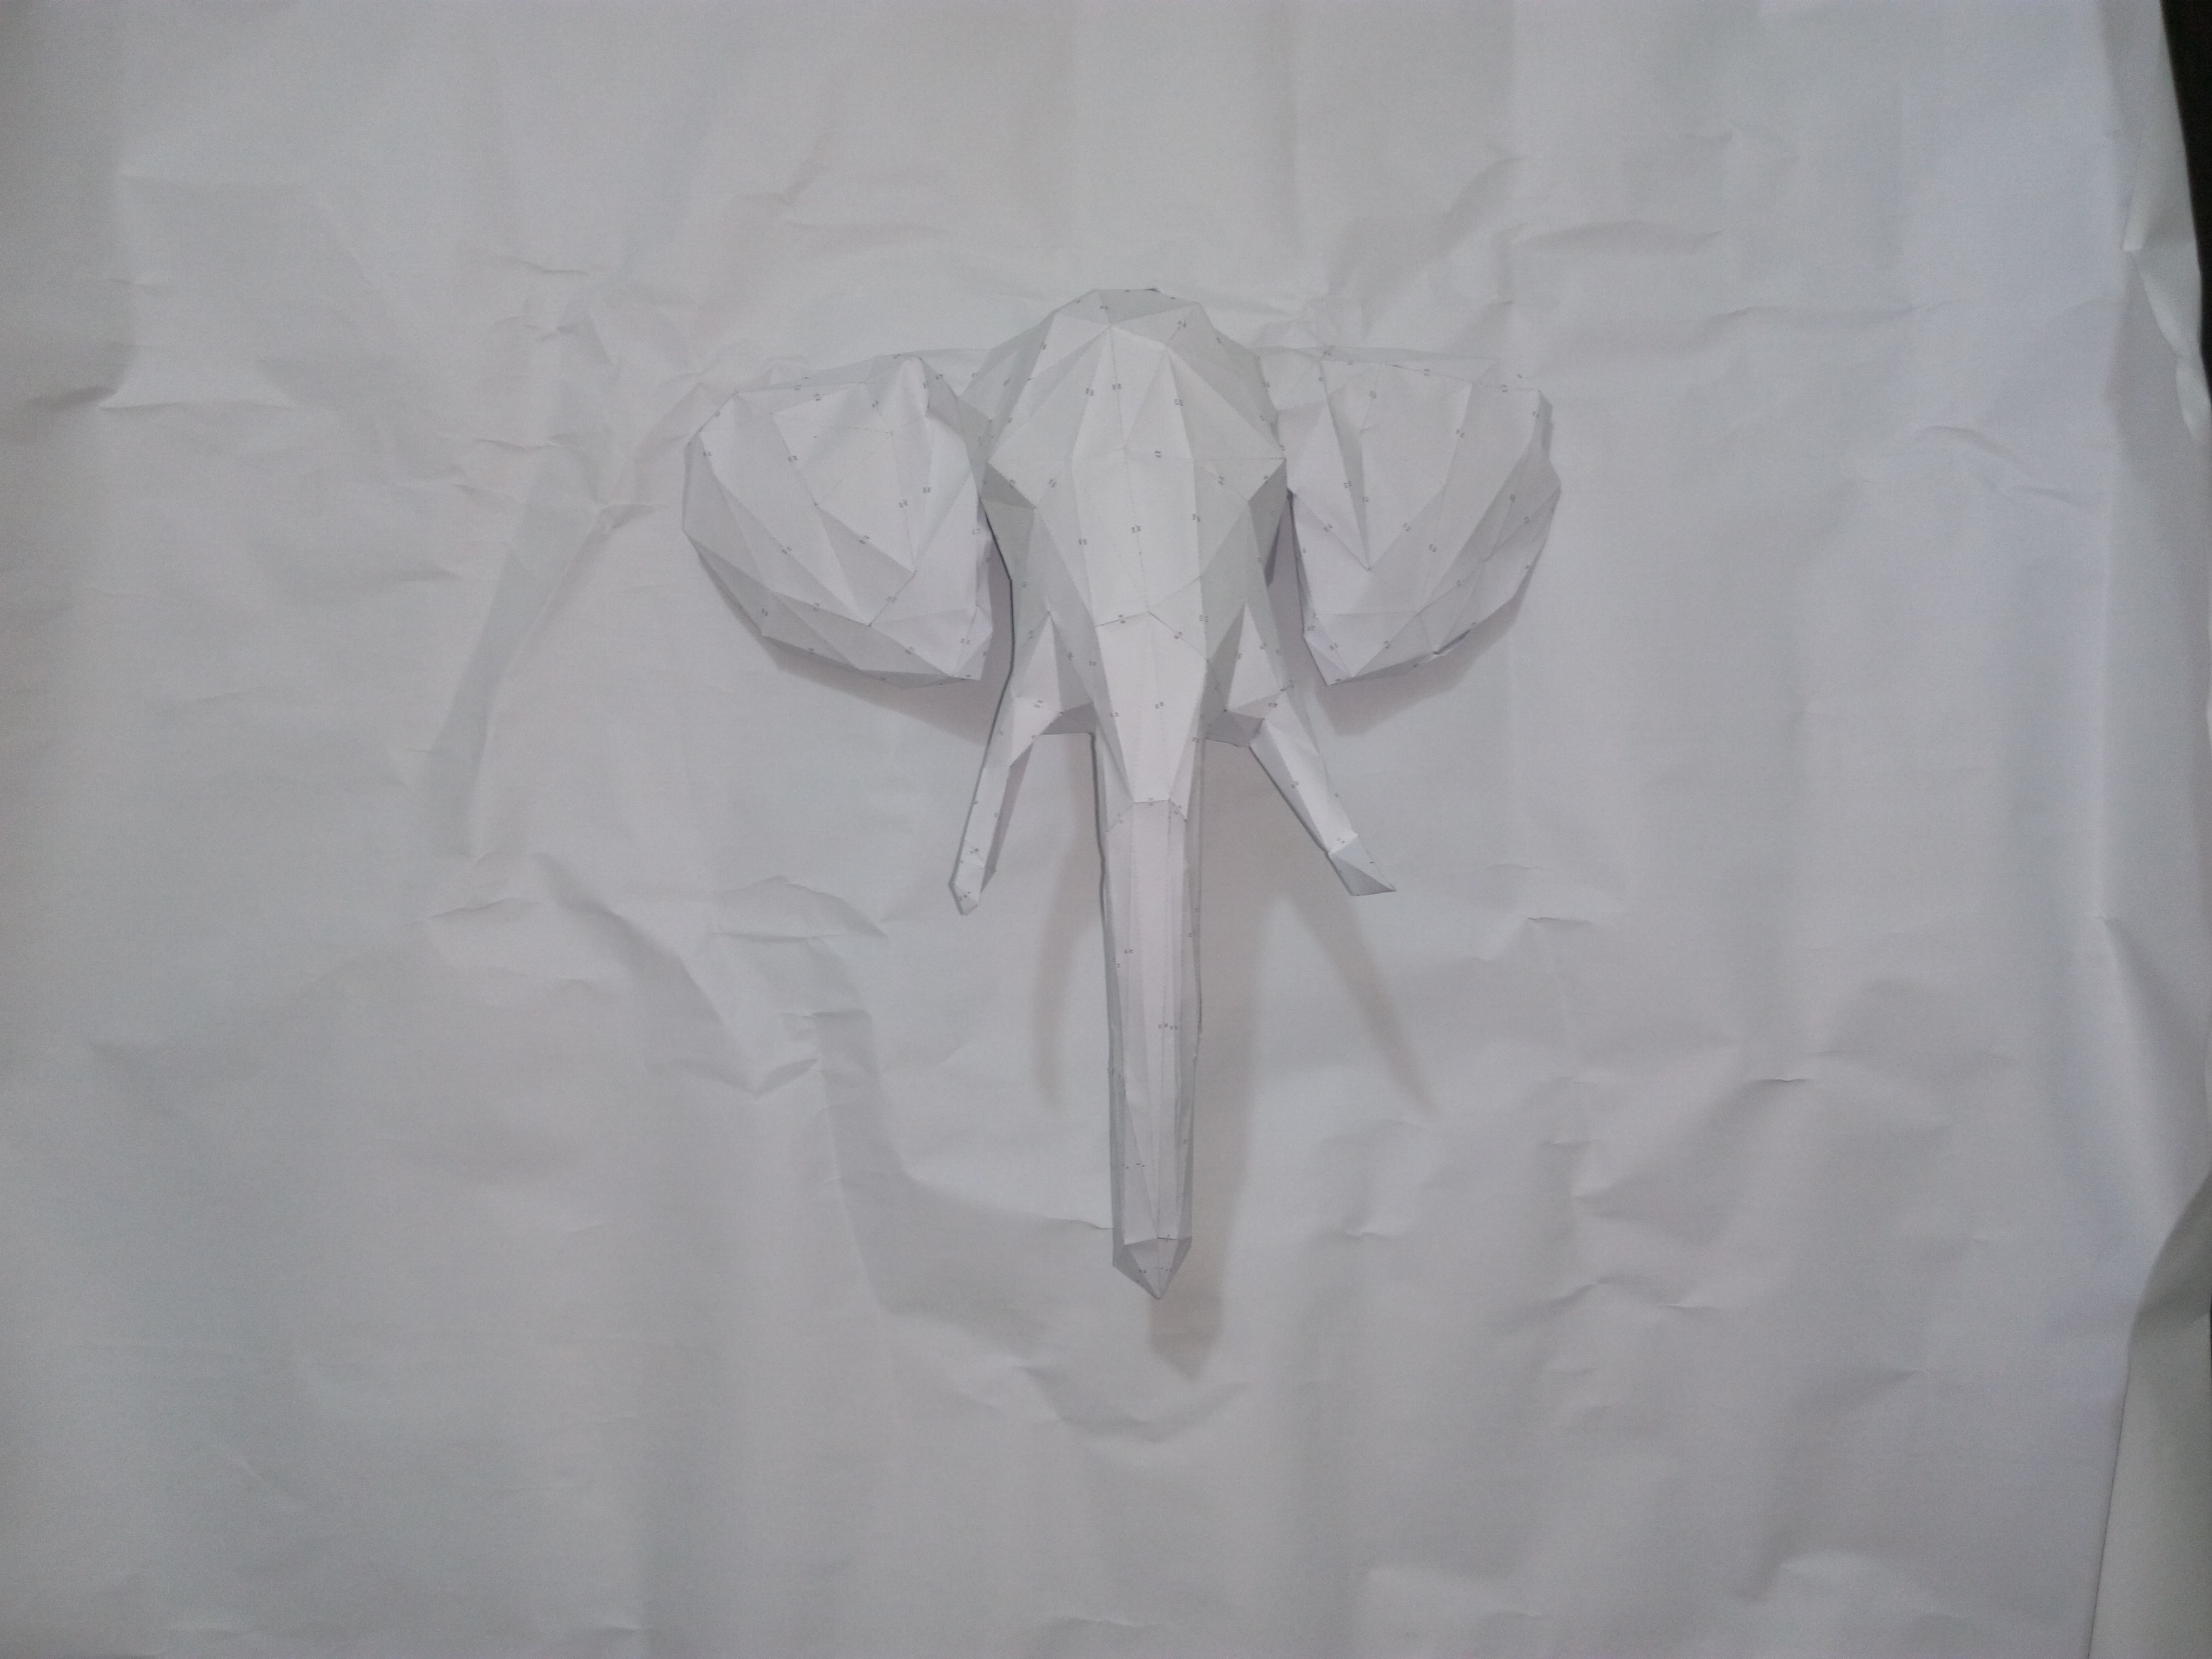
- My interest in low-poly paper models started when I was 13 years old, when I found a YouTube tutorial on making a 3D paper heart.
- I was fascinated by how simple flat pieces could be folded into a 3D structure.
- Remembering this, I wanted to recreate and refine the process using better tools and techniques.
https://tamasoft.co.jp/pepakura_designer/
https://www.youtube.com/watch?v=zE4AS0xBH_8&ab_channel=ProductDesignOnline
2. Rediscovering the Software (Pepakura Designer)
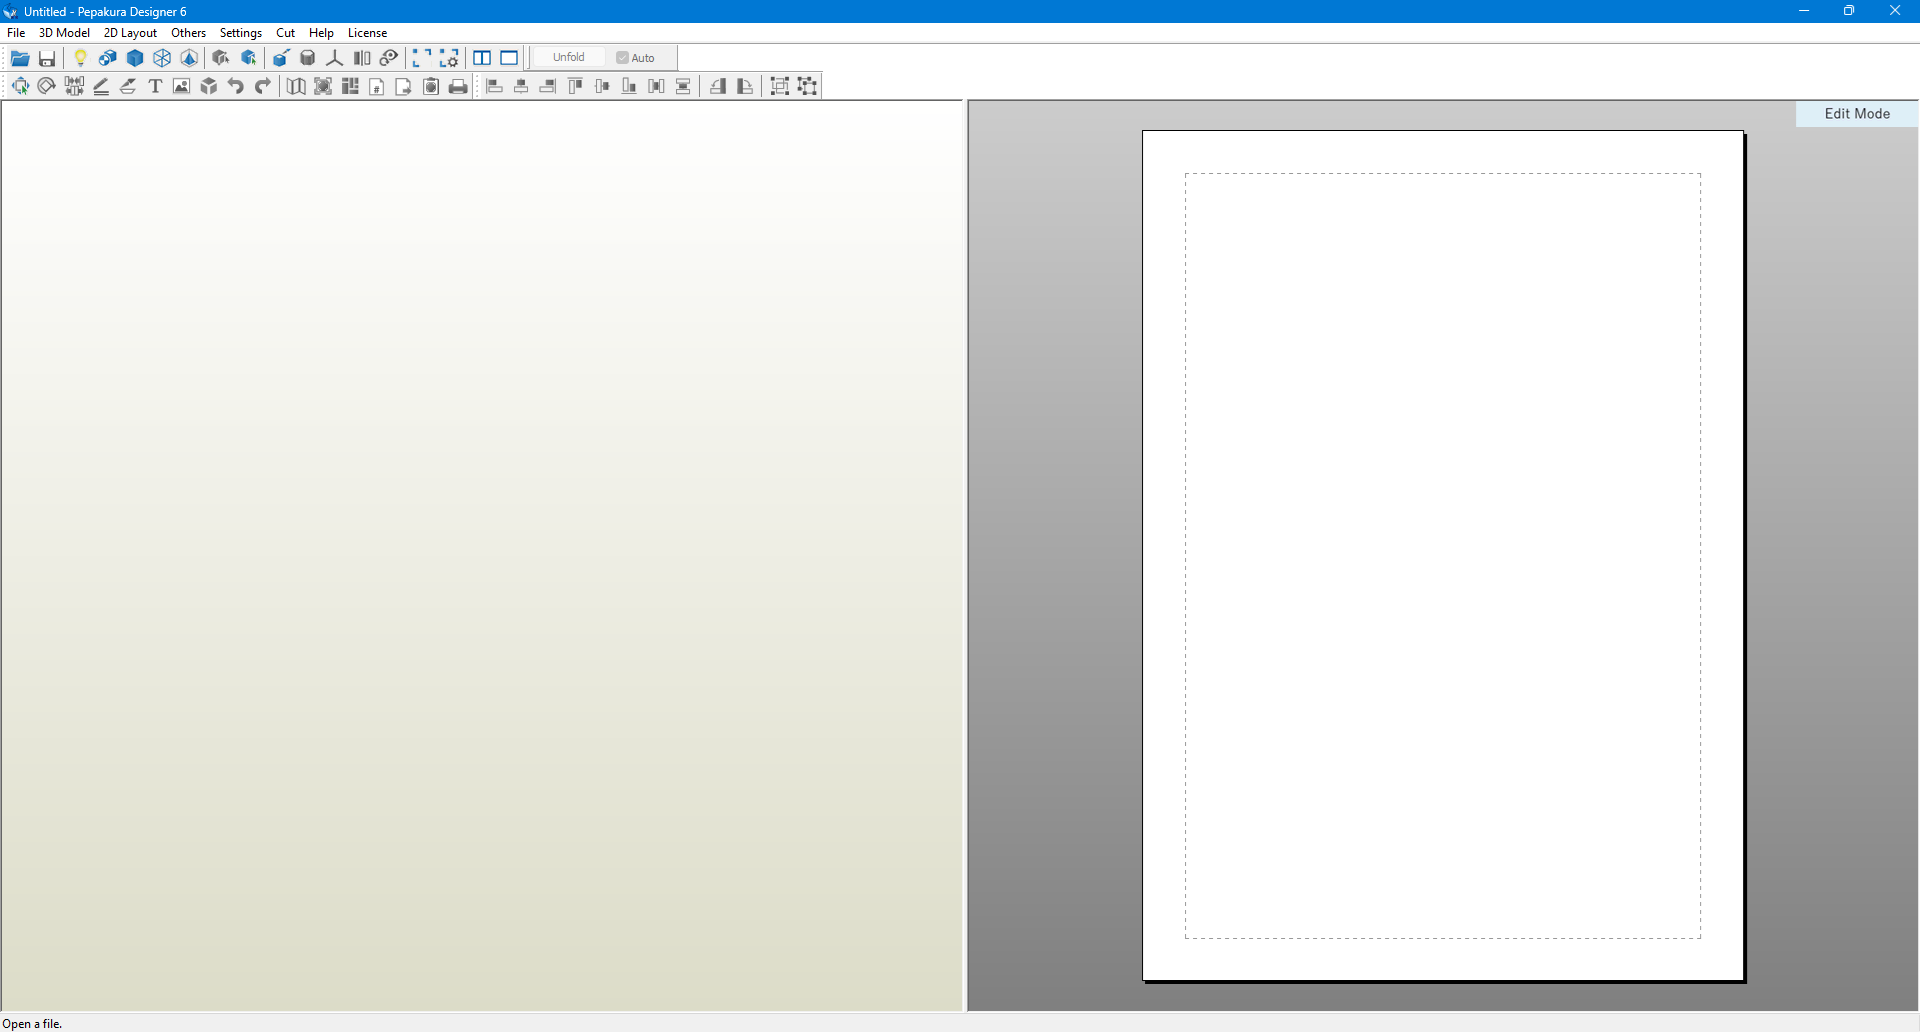
- I researched the software I had used in the past and found that it was Pepakura Designer.
- Downloaded and reinstalled Pepakura Designer to refresh my knowledge.
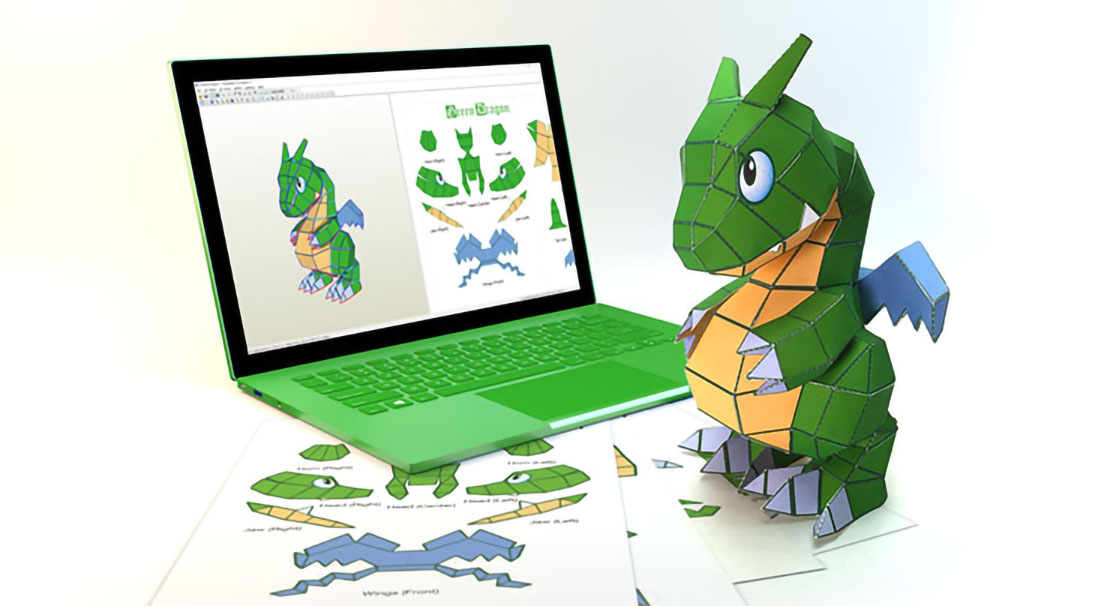
- Reviewed YouTube tutorials on how to convert 3D models into low-poly designs using the software.
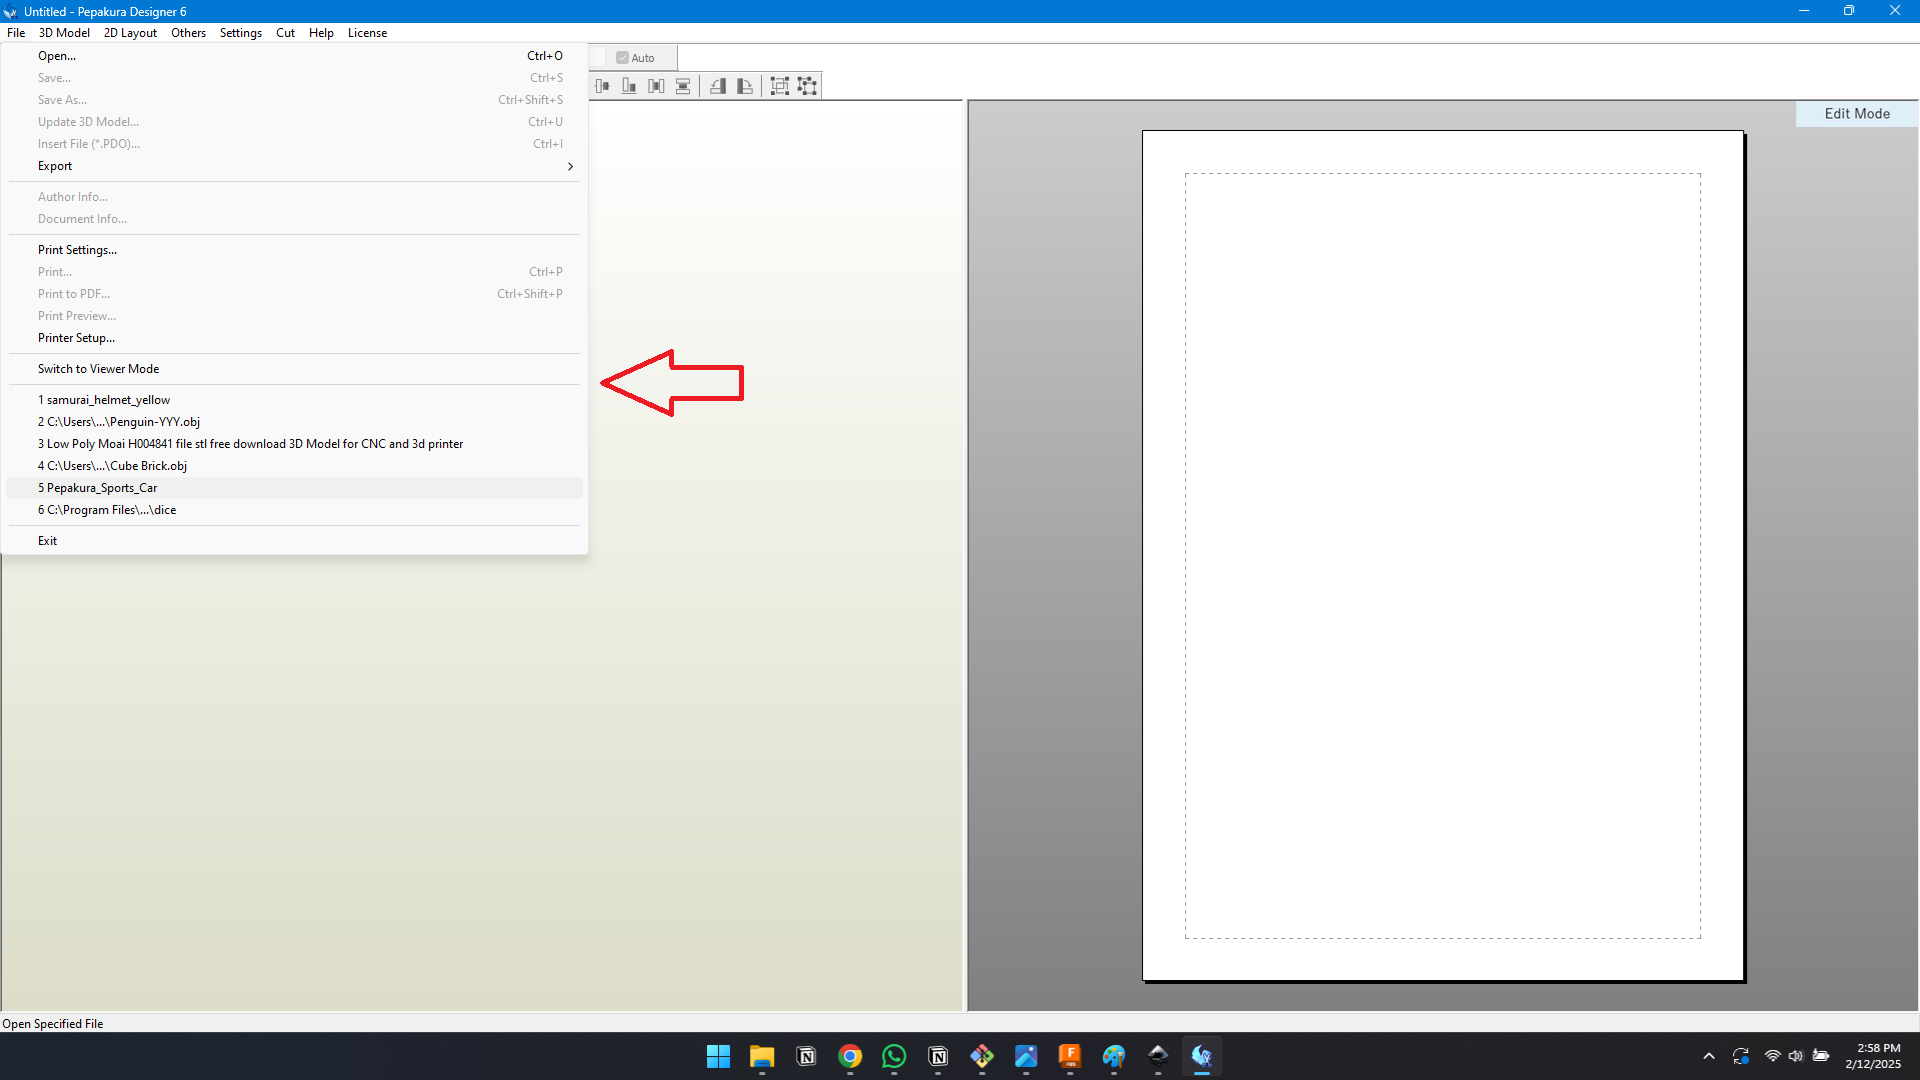
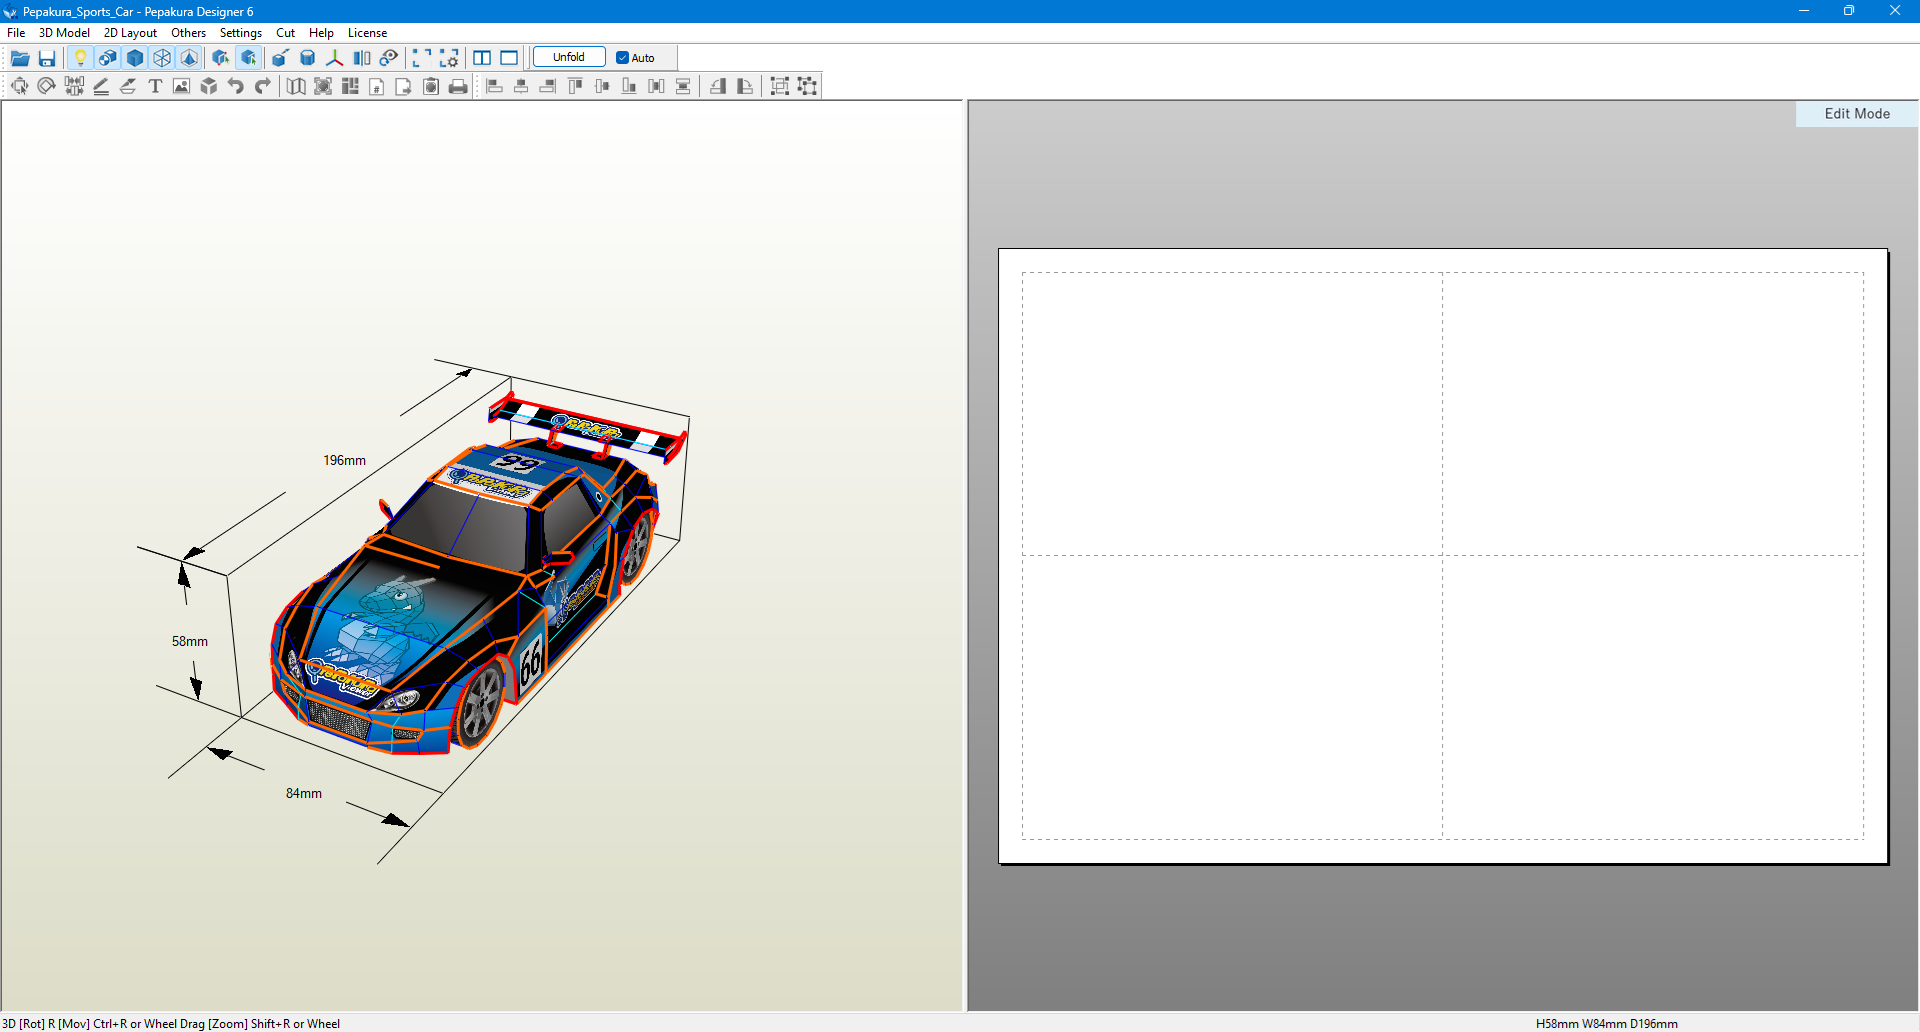
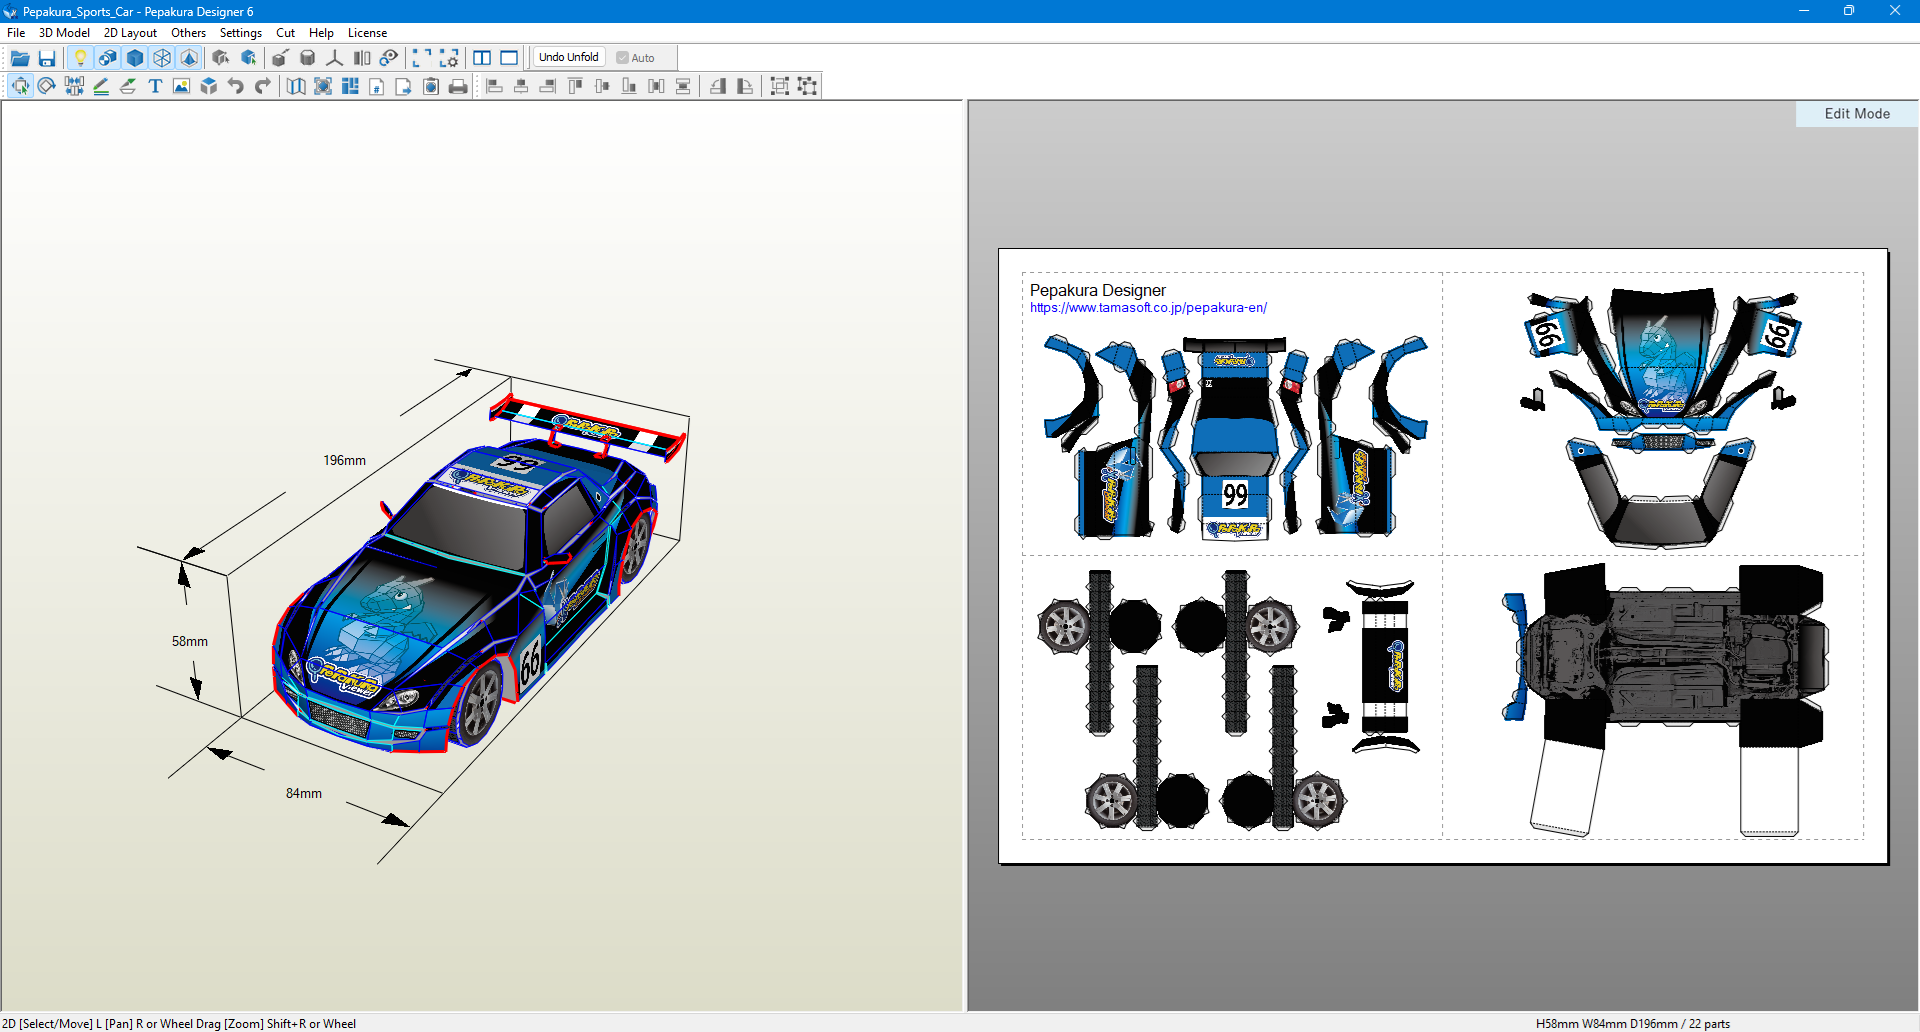
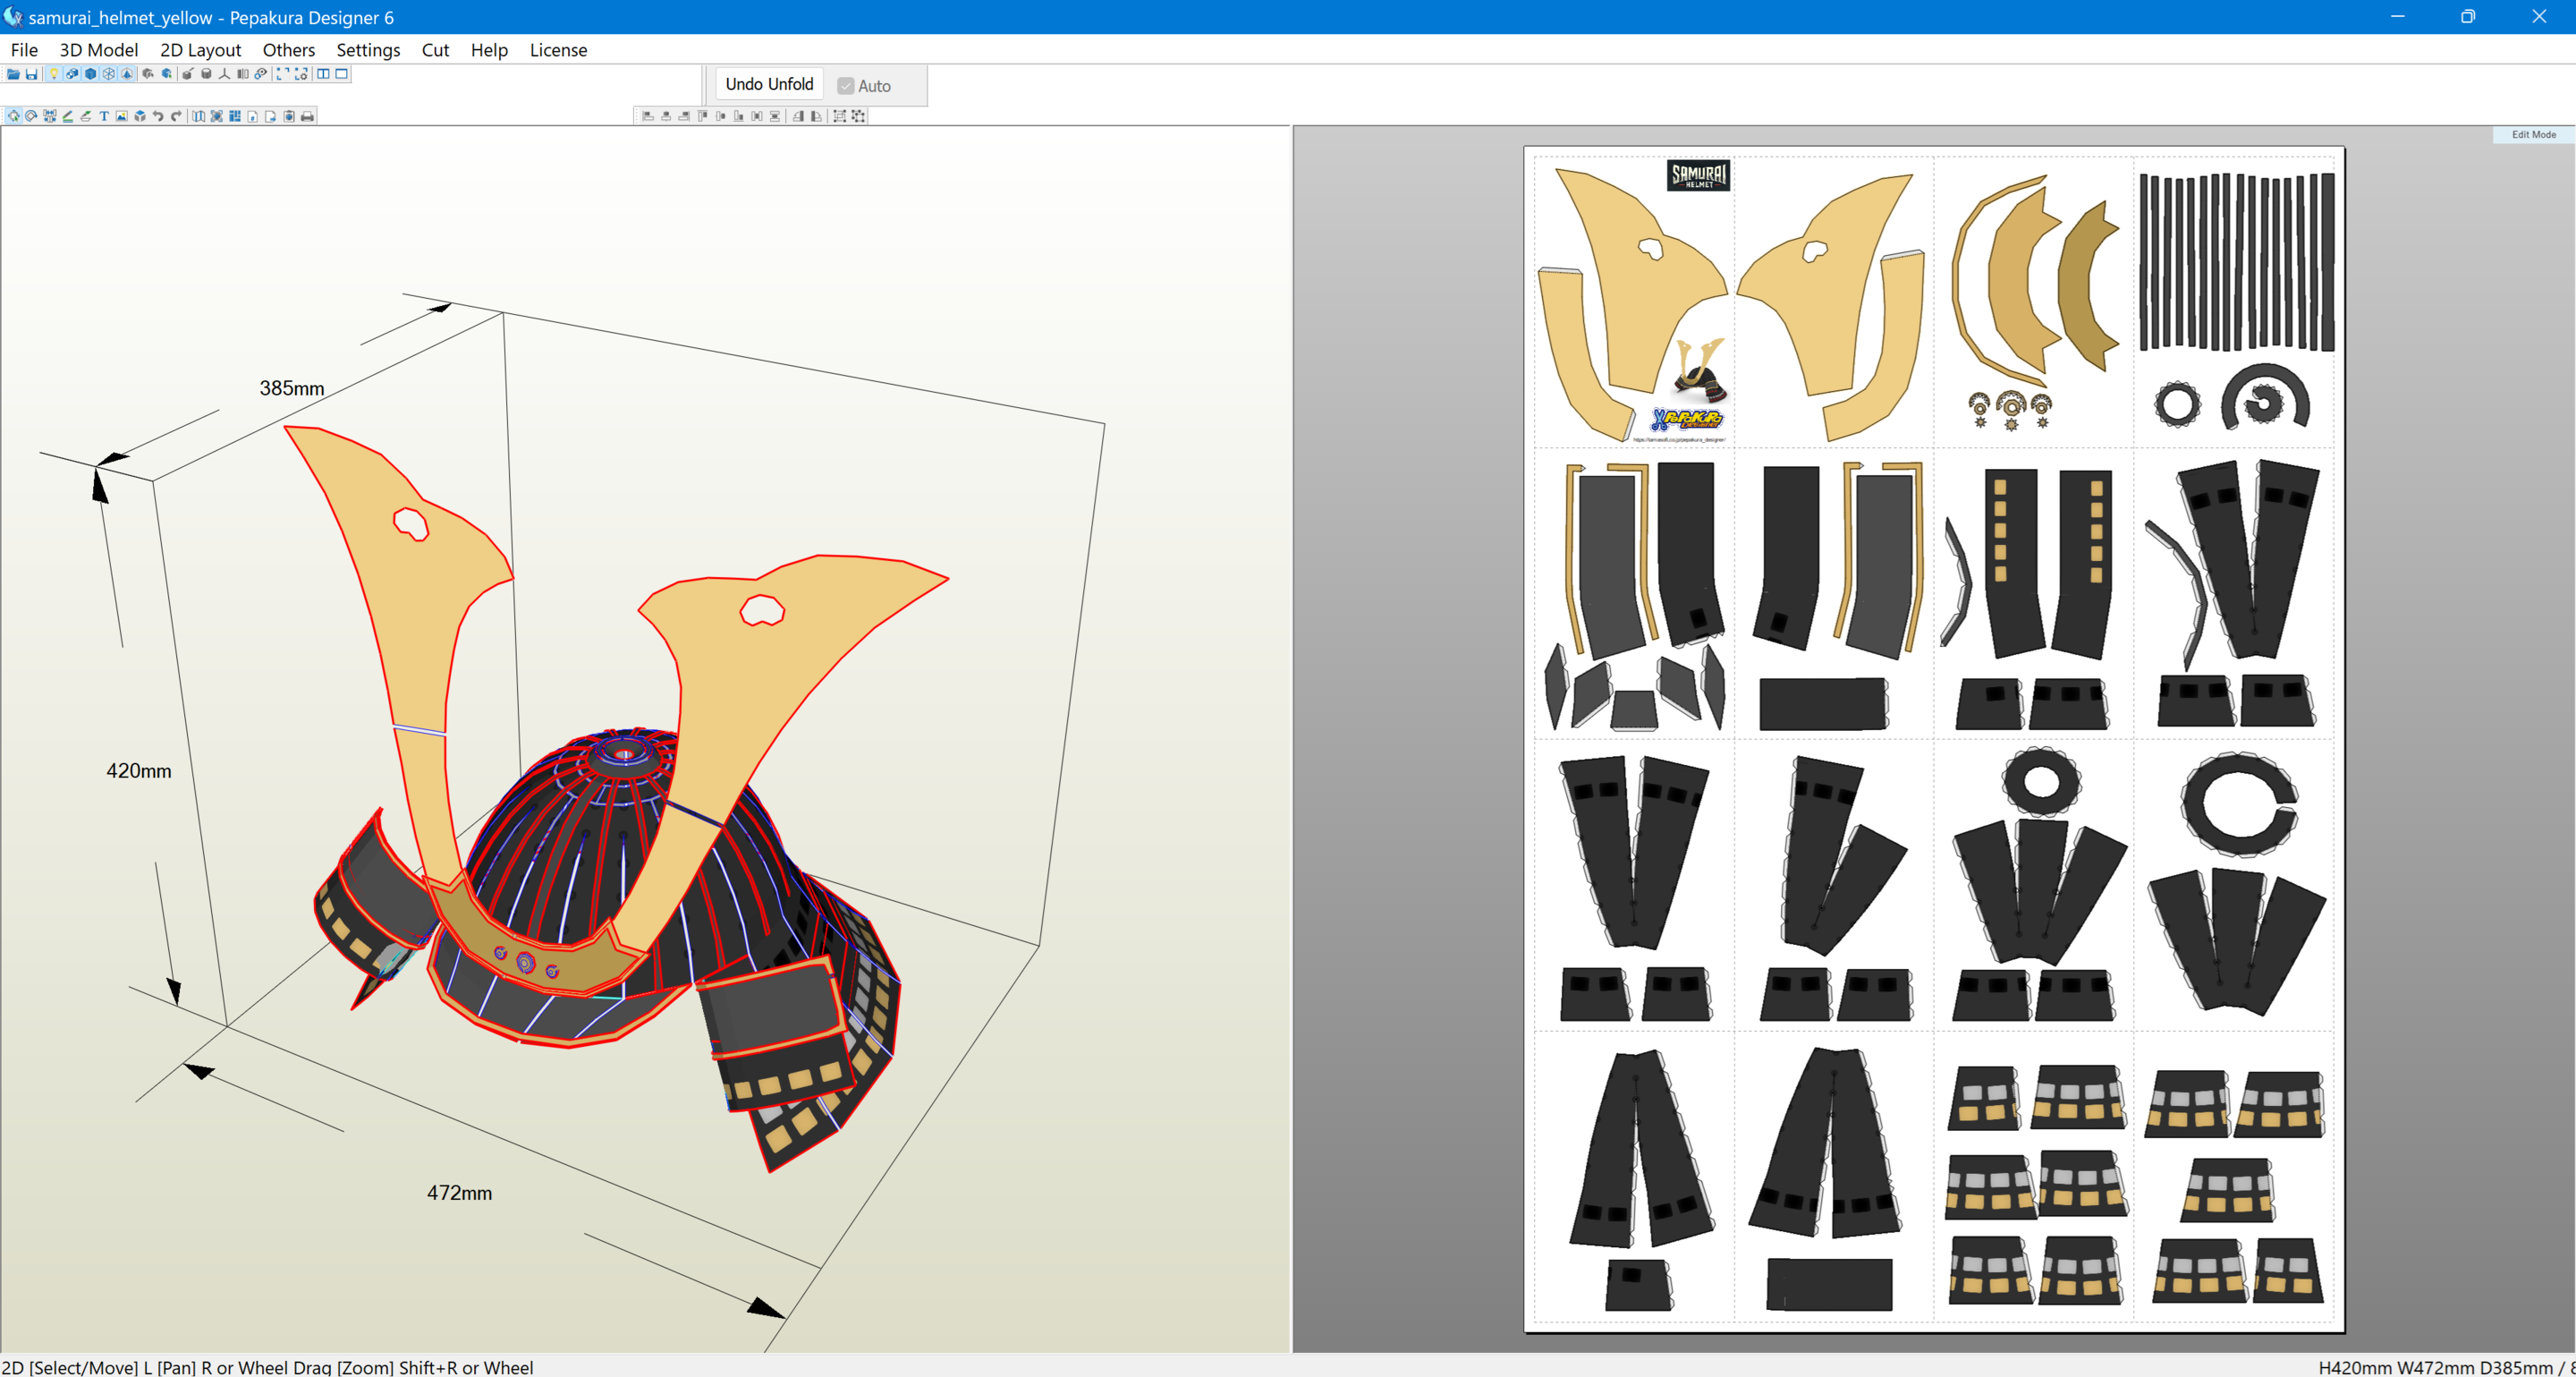
3. Testing Pre-Made Low-Poly Files
- Before creating my own model, I experimented with pre-existing low-poly templates provided by Pepakura Designer.
- This helped me understand how folding patterns, tabs, and assembly worked.
- It served as a great refresher on how paper structure affects stability and form.
Learning Outcome
Revisiting low-poly paper art reminded me of how simple materials can create complex 3D structures. Using Pepakura Designer, I was able to convert 3D models into foldable patterns, reinforcing my understanding of digital-to-physical fabrication. This process helped me prepare for future custom designs and refine my laser-cutting workflow.