Git
Summary
Introduction to Git
Git is a version control system designed to help track changes in files and facilitate collaboration. It provides:
- History: Keeps track of changes made to files.
- Collaboration: Enables teams to work together effectively.
Ways to Use Git
- Command Line: The most powerful and direct way to use Git.
- Integrated Development Environment (IDE): Many IDEs have built-in Git support (e.g., VSCode).
- Graphical User Interface (GUI): Tools like GitKraken simplify Git visually.
Work Process Detail
- Git Tutorial
How to Download and Install Git Bash
Git Bash is a command-line tool for Windows that allows you to use Git commands and Linux-like features. Follow these steps to download and install Git Bash:
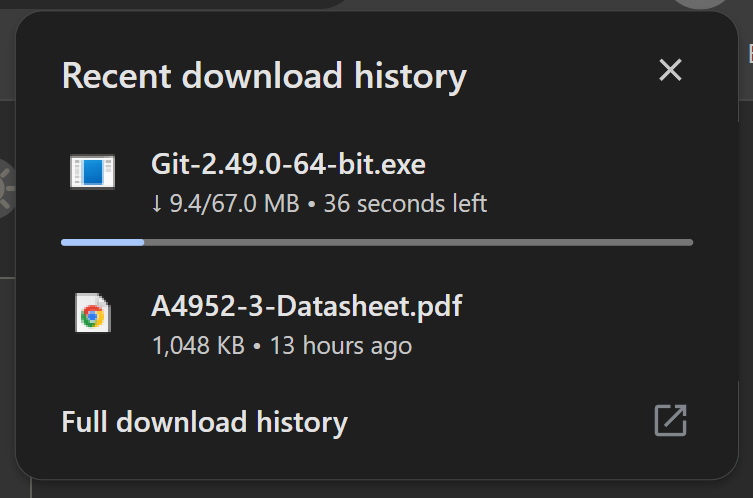
1. Download Git
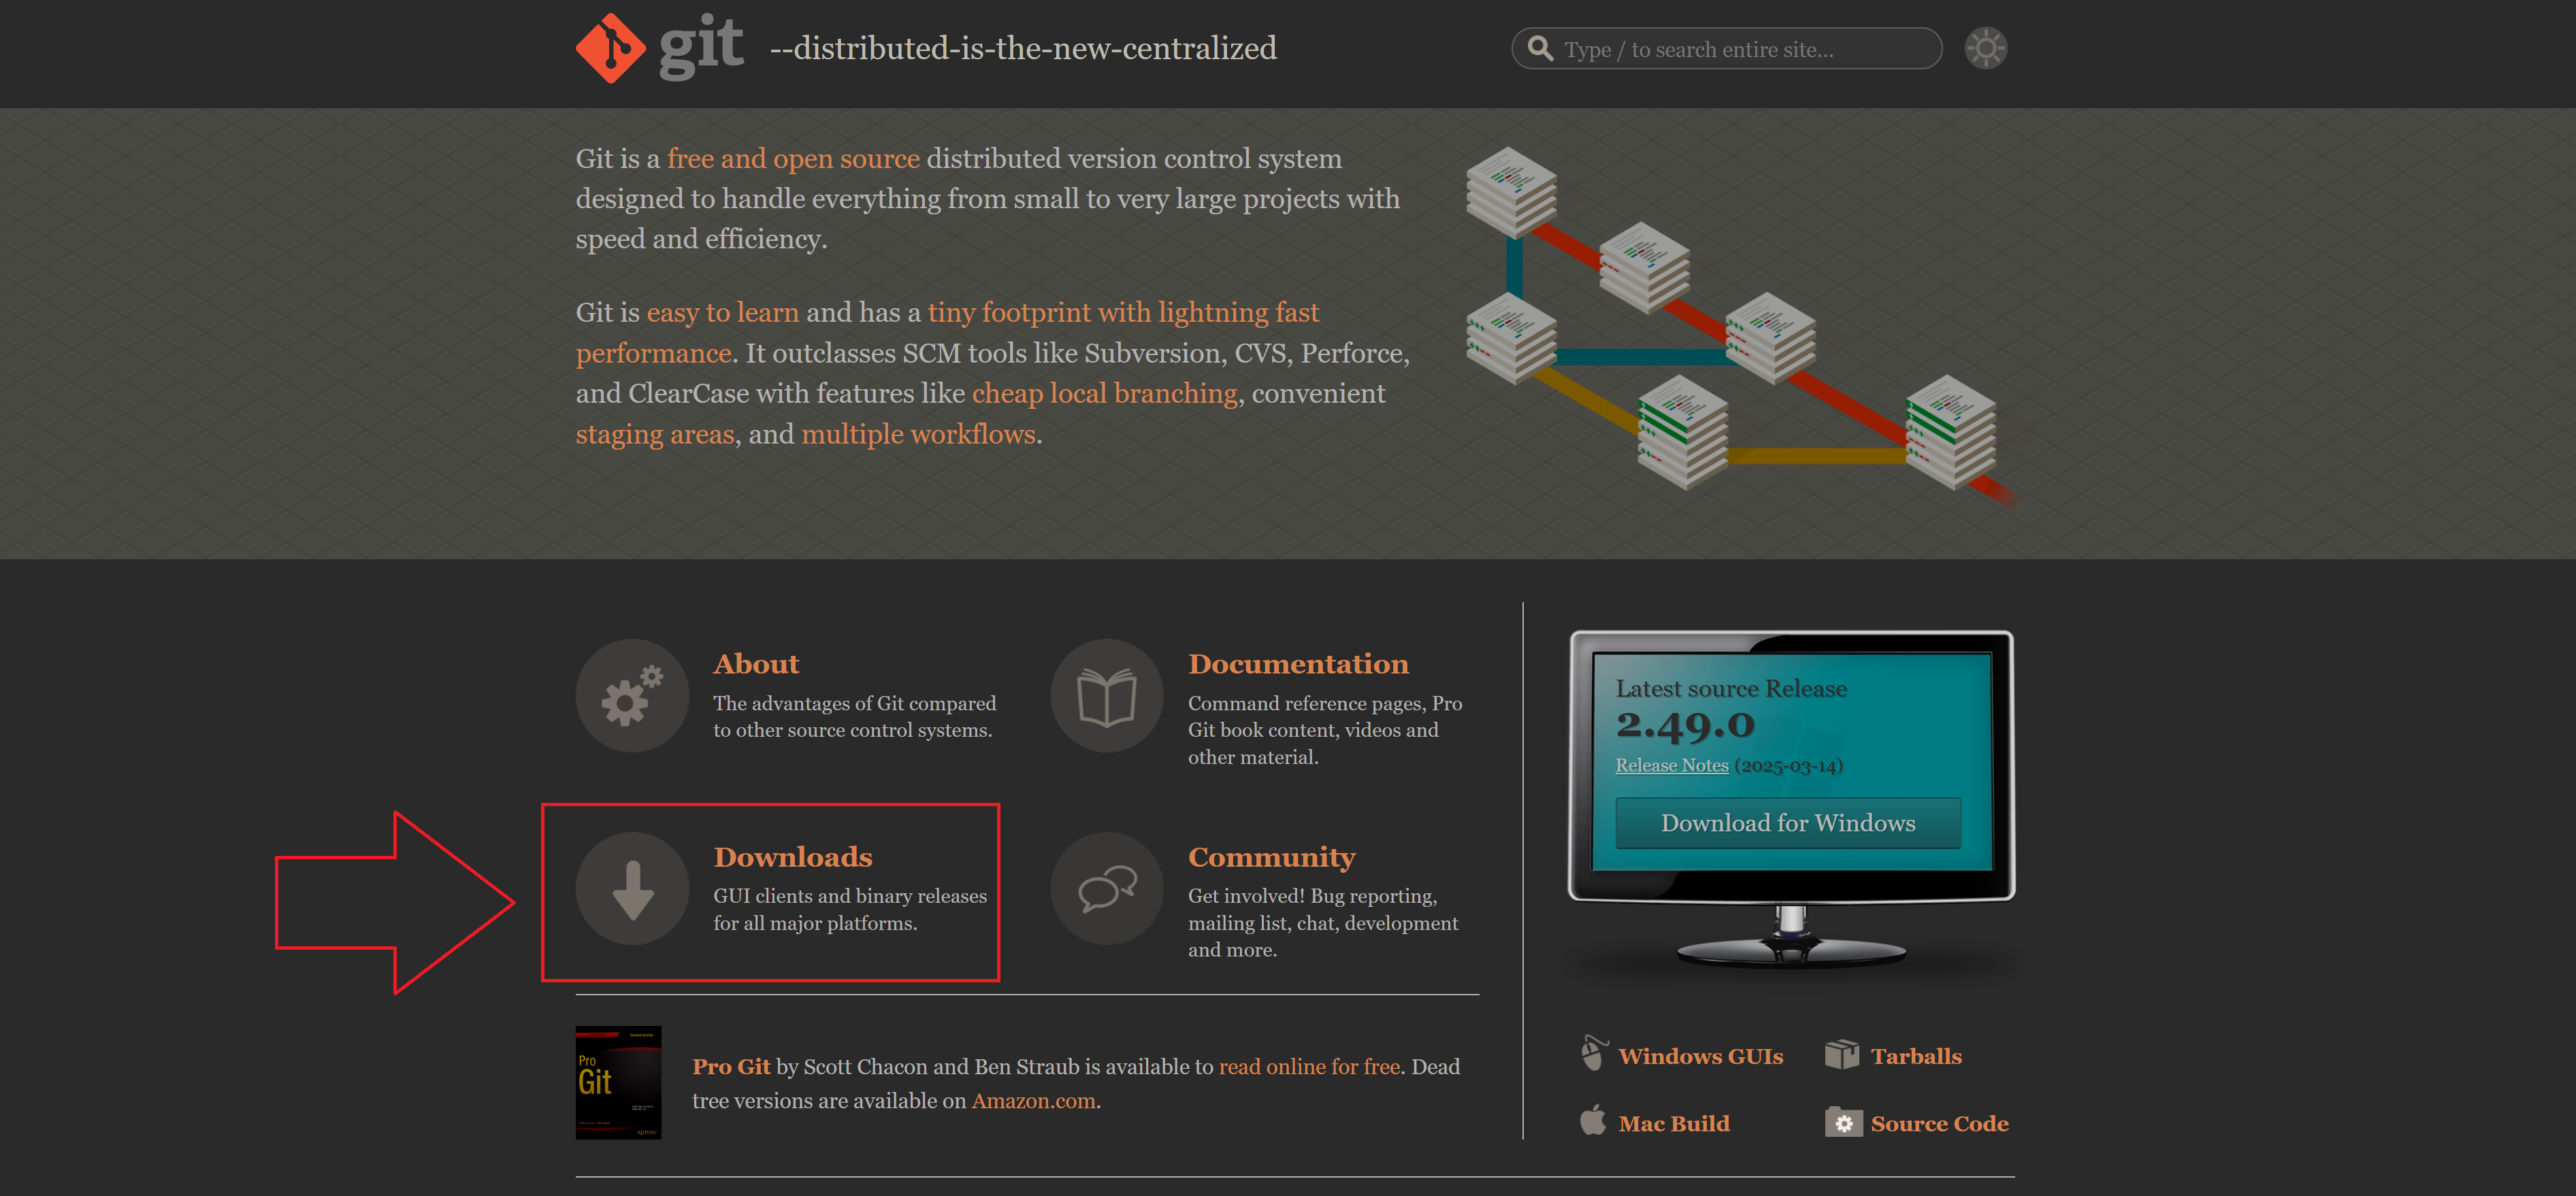
- Go to the official Git website: git-scm.com.
- Click on the Download button. The site will automatically detect your operating system (Windows, macOS, or Linux).
2. Install Git on Windows
- Once the file is downloaded, locate it (e.g.,
Git-x.x.x-x64.exe) and double-click to open the installer.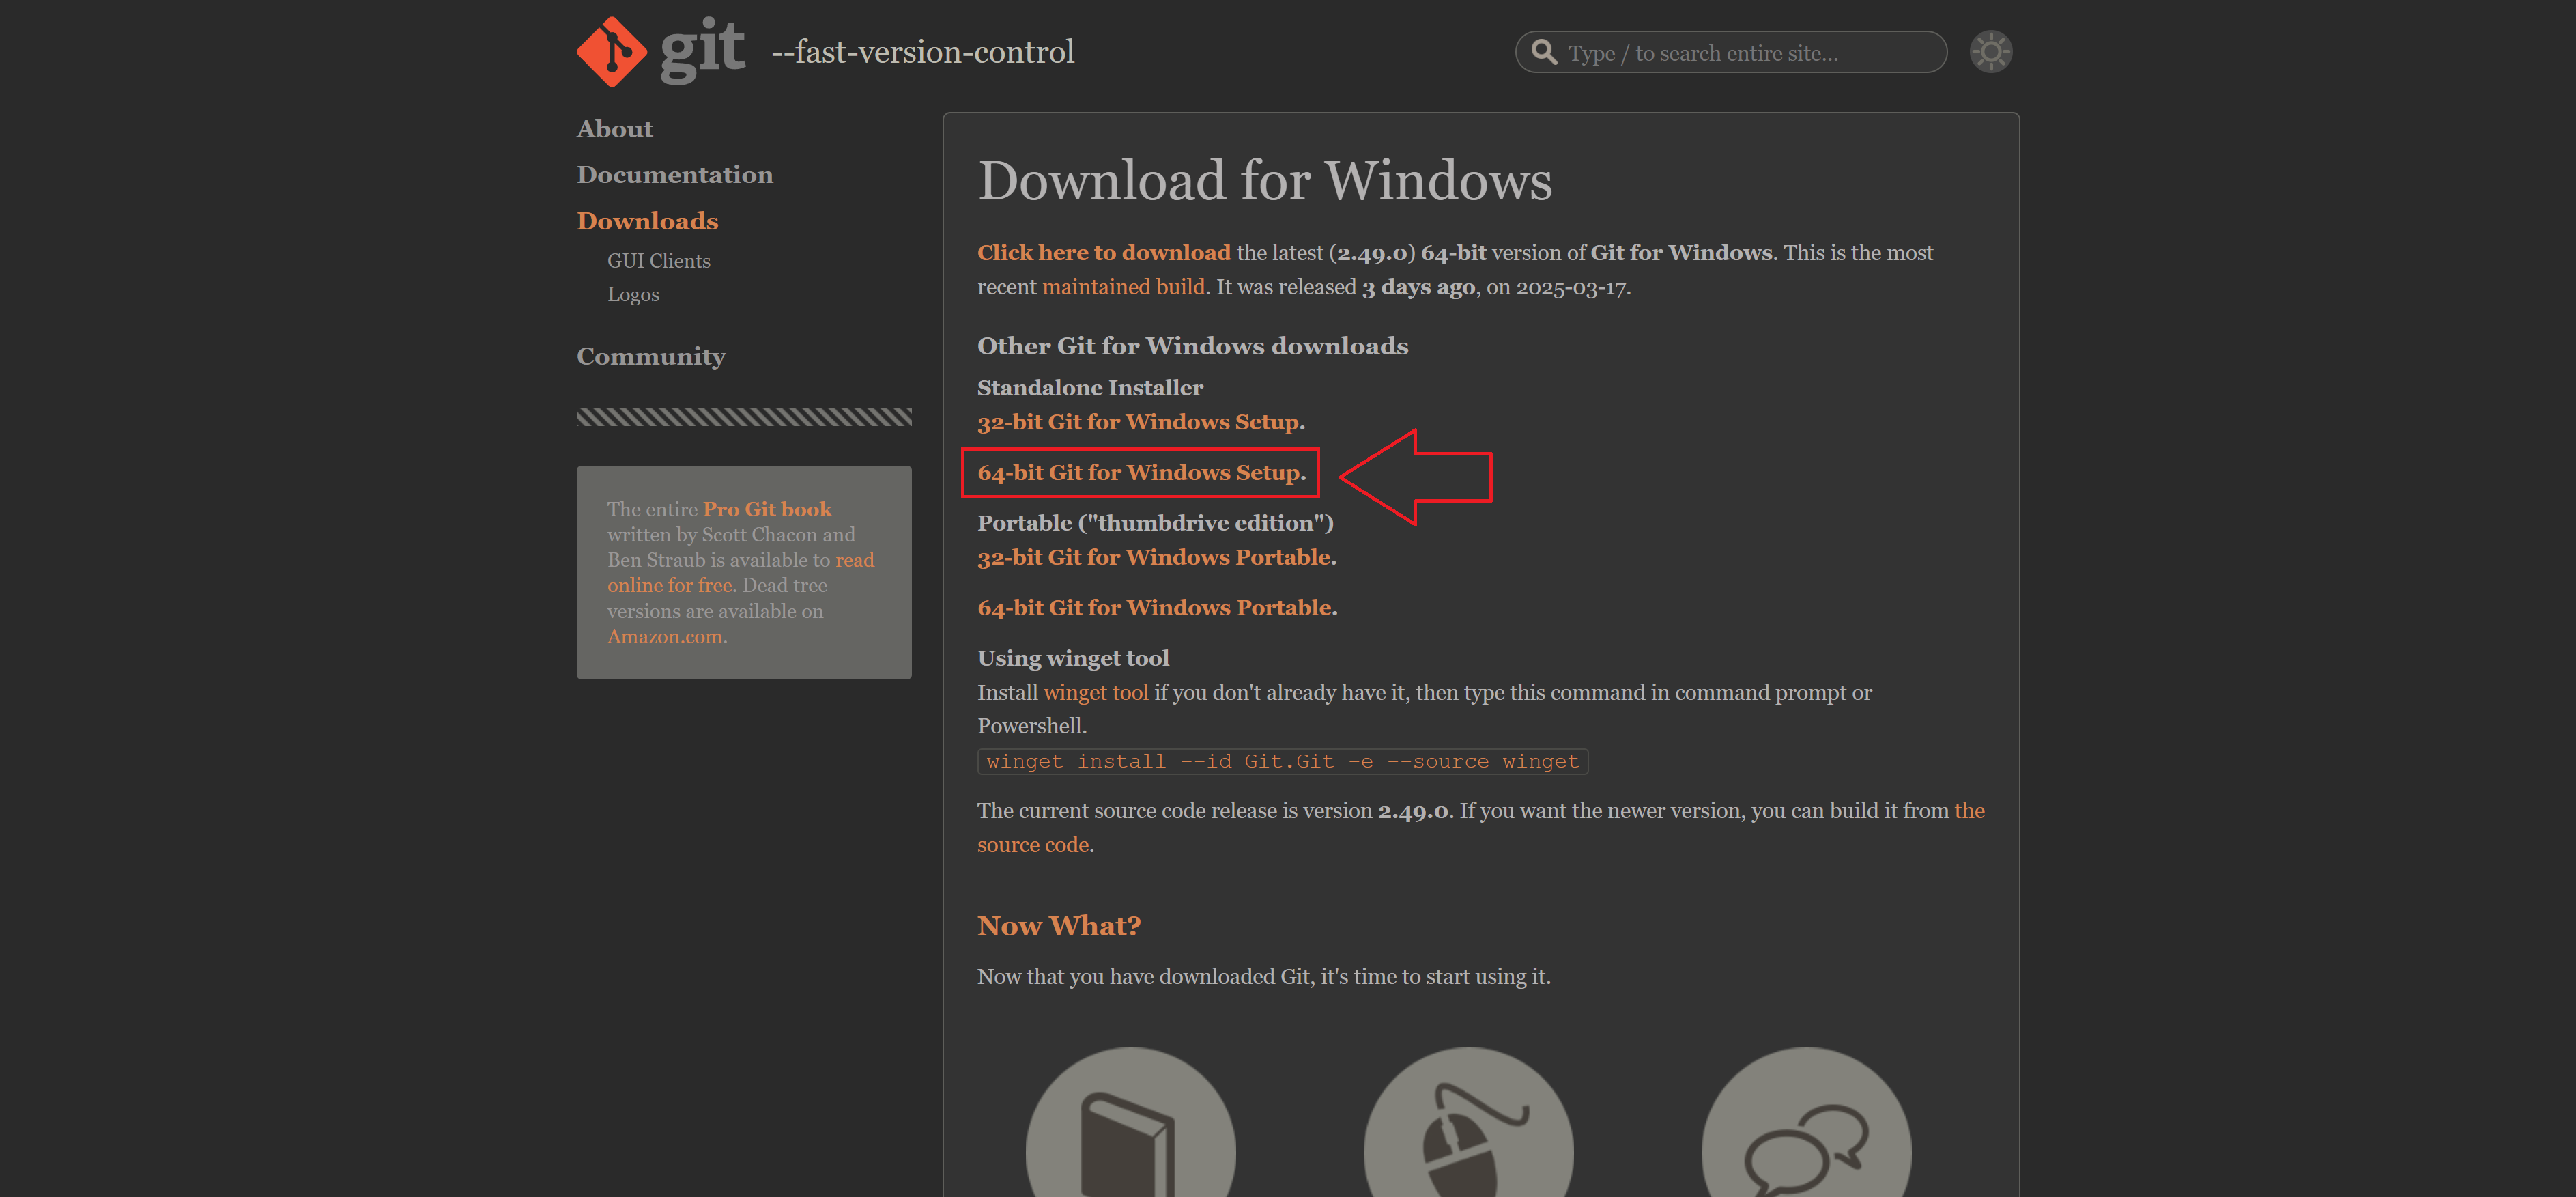
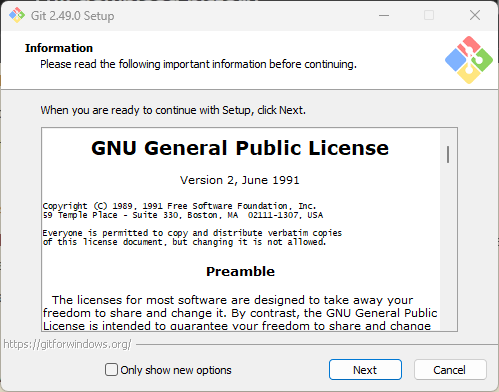
- Follow the installation wizard steps:
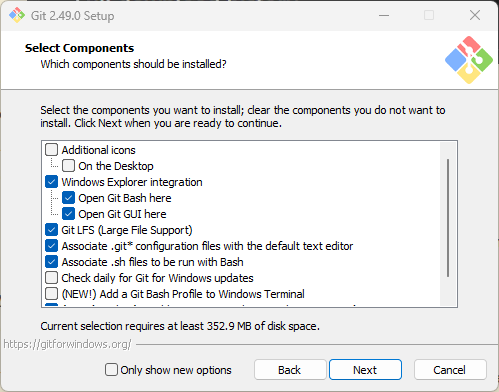
- Select Components: Ensure "Git Bash Here" and "Git GUI Here" are selected.
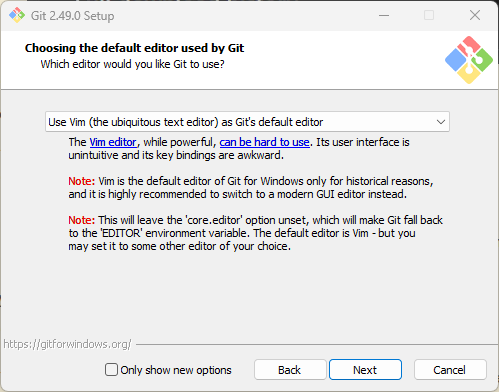
- Default Editor: Choose an editor for Git (e.g., VSCode or Nano).
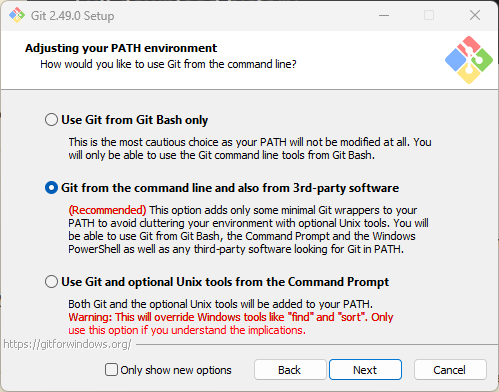
- Adjust PATH Environment: Select "Use Git from the command line and also from third-party software" (recommended).
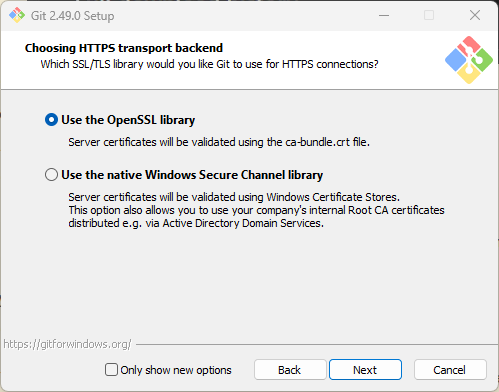
- HTTPS Settings: Leave the default option (Use OpenSSL).
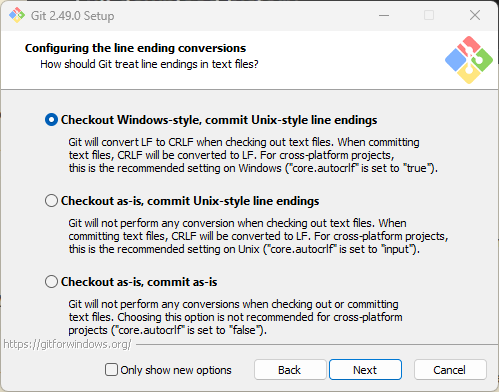
- Line Ending Conversions: Use the default option ("Checkout Windows-style, commit Unix-style line endings").
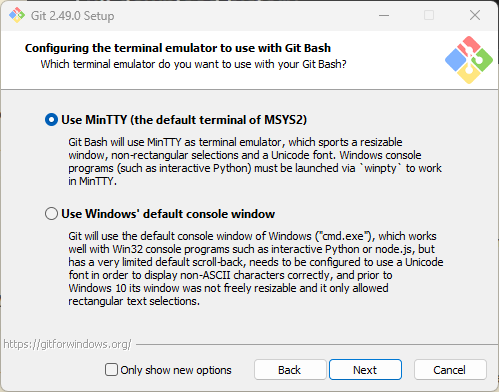
- Terminal Emulator: Select "Use MinTTY" (default terminal for Git Bash).
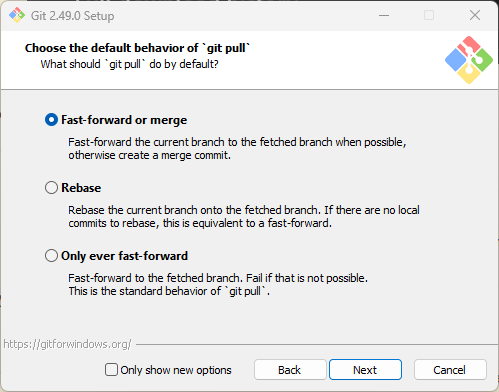
- Continue with the default options for the remaining steps unless you need custom configurations.
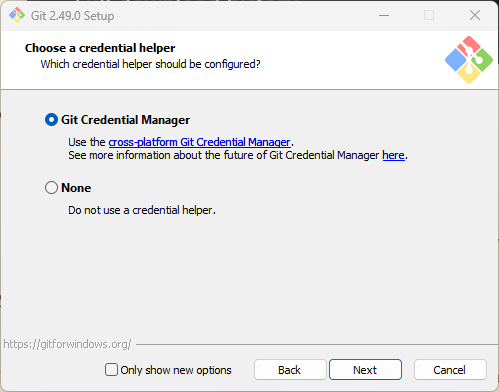
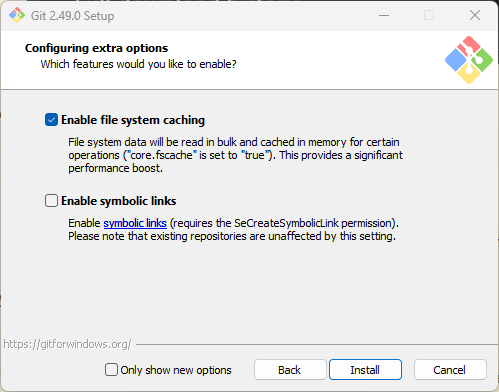
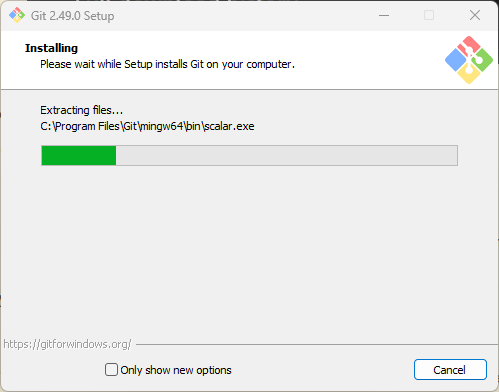
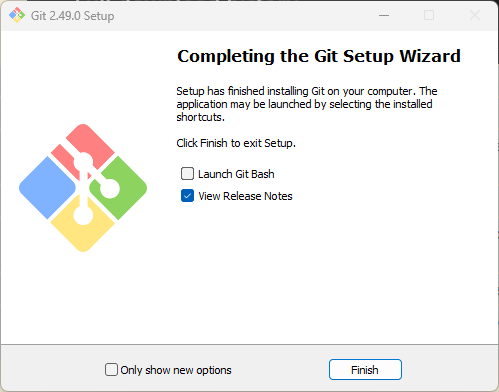
- Select Components: Ensure "Git Bash Here" and "Git GUI Here" are selected.
- Click Install and wait for the installation to complete.
3. Launch Git Bash
- After the installation is complete, click Finish.
- Open Git Bash:
- Use the Start Menu to search for "Git Bash."
- Alternatively, right-click anywhere on your desktop or in a folder, and select "Git Bash Here."
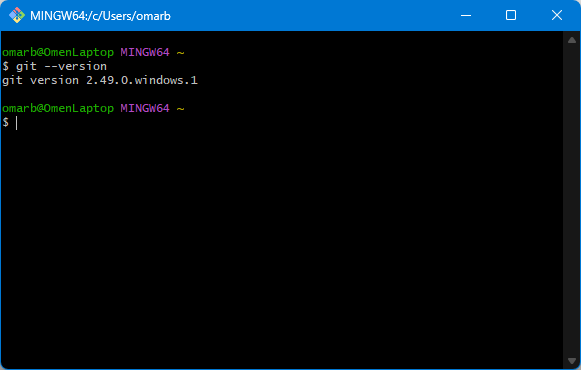
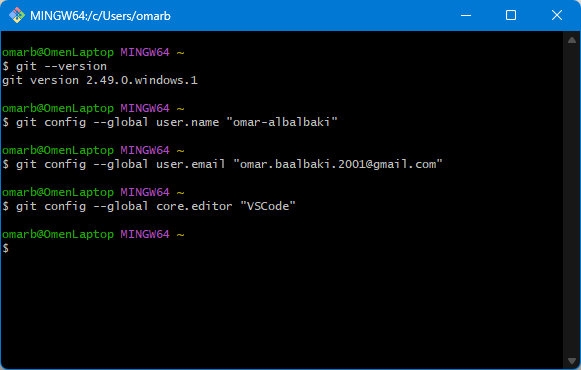
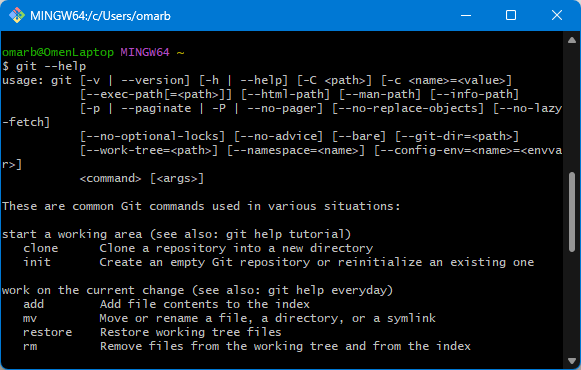
4. Verify Installation
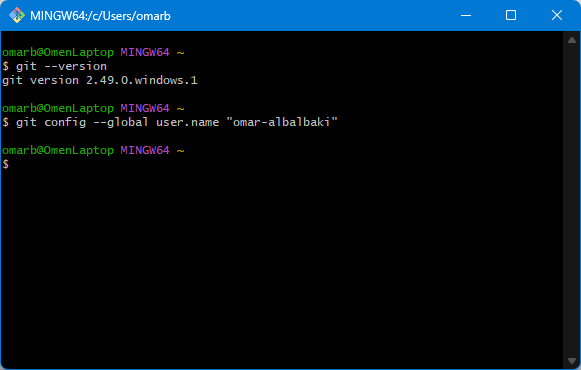
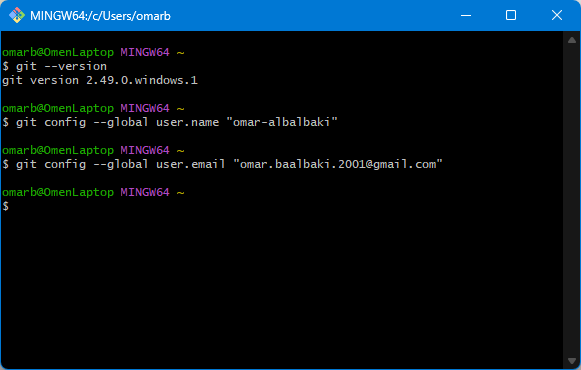
Setting Up Git
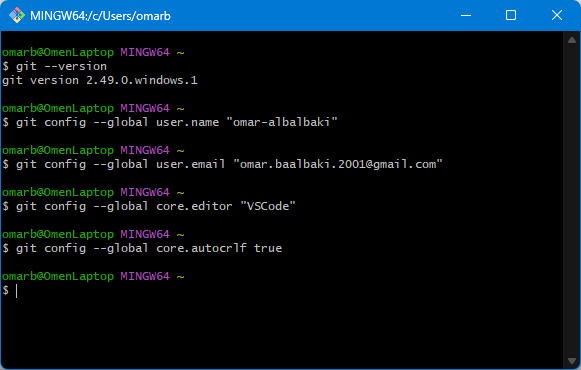
Configure Git for the First Time:
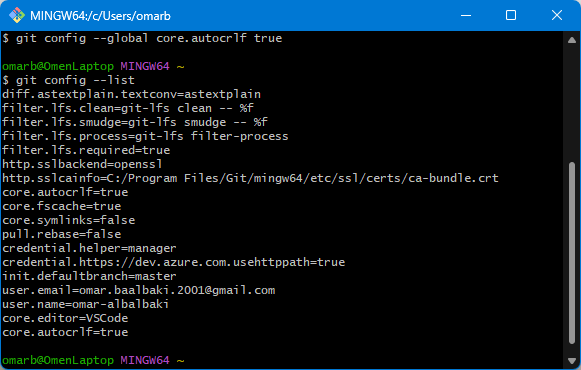
Check Git Configuration:
Basic Git Commands and Workflow
Initialize a Repository
- Create and navigate to a directory:
mkdir project_name
cd project_name
- Initialize Git in the directory:
git init
Workflow Steps
- Edit files as needed.
- Check the current status:
git status
- Add files to the staging area:
To add all changes:git add file_namegit add .
- Commit the changes:
git commit -m "Your commit message"
Understanding Git Workflow

- Files: The working directory contains files you are editing.
- Index: Staging area where changes are prepared for a commit.
- Repository: Where the final snapshot of your project is stored after a commit.
Removing Files in Git
- Delete a file from your working directory:
rm file_name
- Stage the removal:
git add file_name
- Commit the removal:
git commit -m "Removed file_name"
- Alternatively, remove and stage in one step:
git rm file_name
Visual Representation of Commit Sizes
- Small, incremental commits are preferred over large commits. They make tracking and debugging easier.
Uploading Weekly Documentation to GitLab
1. Cloning the Repository Locally
To begin, I cloned my GitLab repository to my local machine using the following command:
git clone <repository-http-link>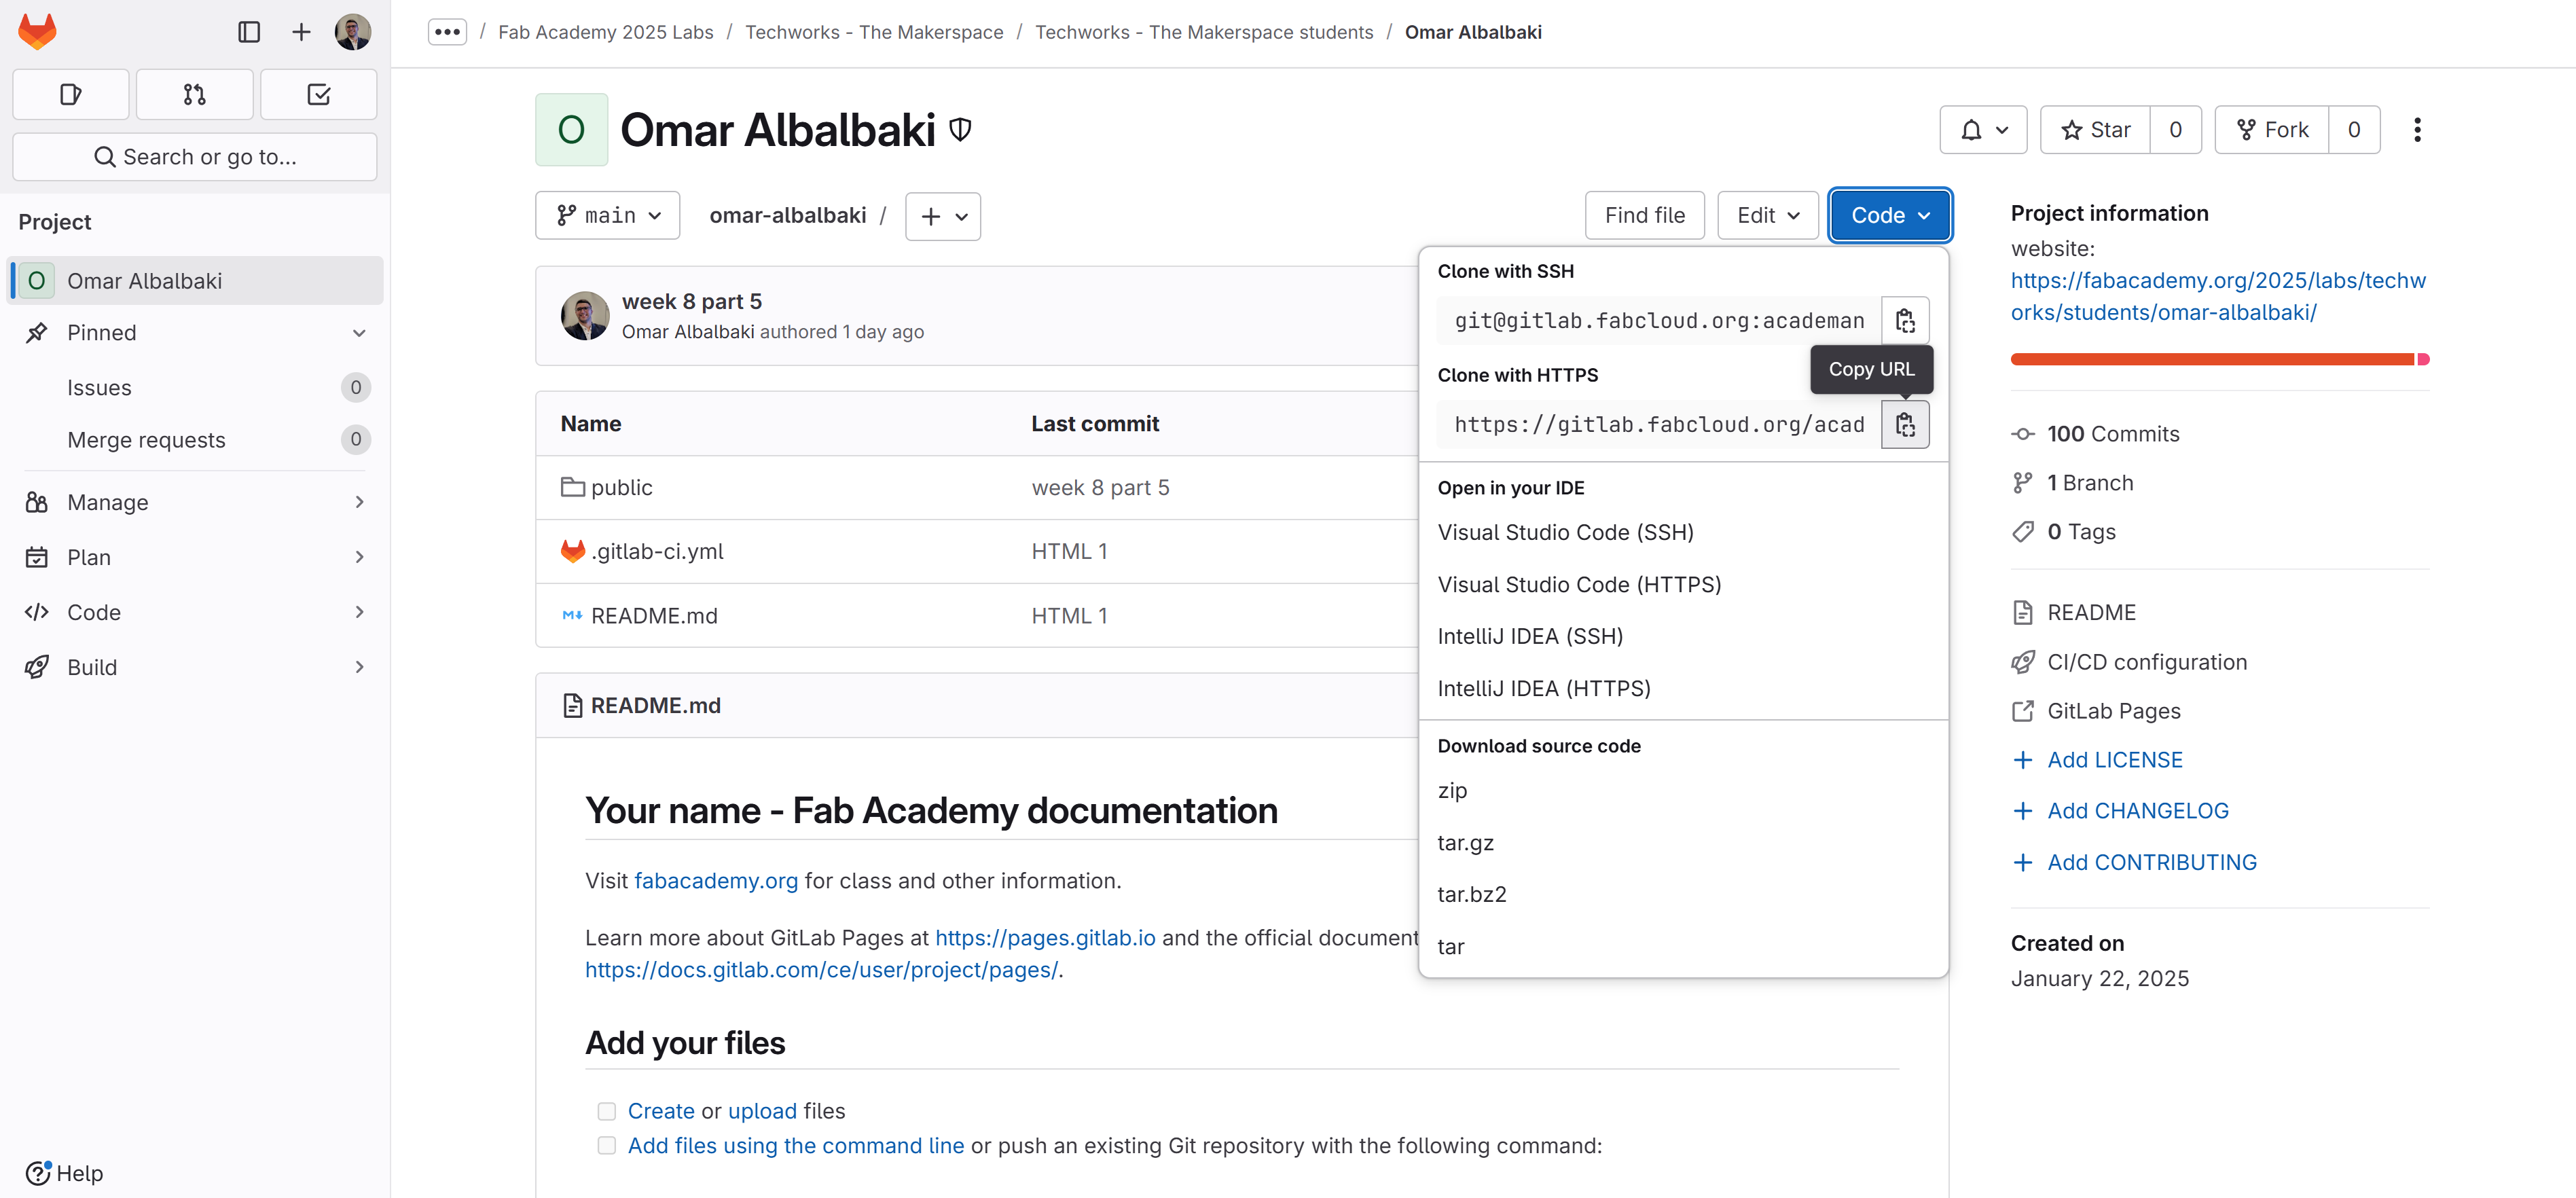
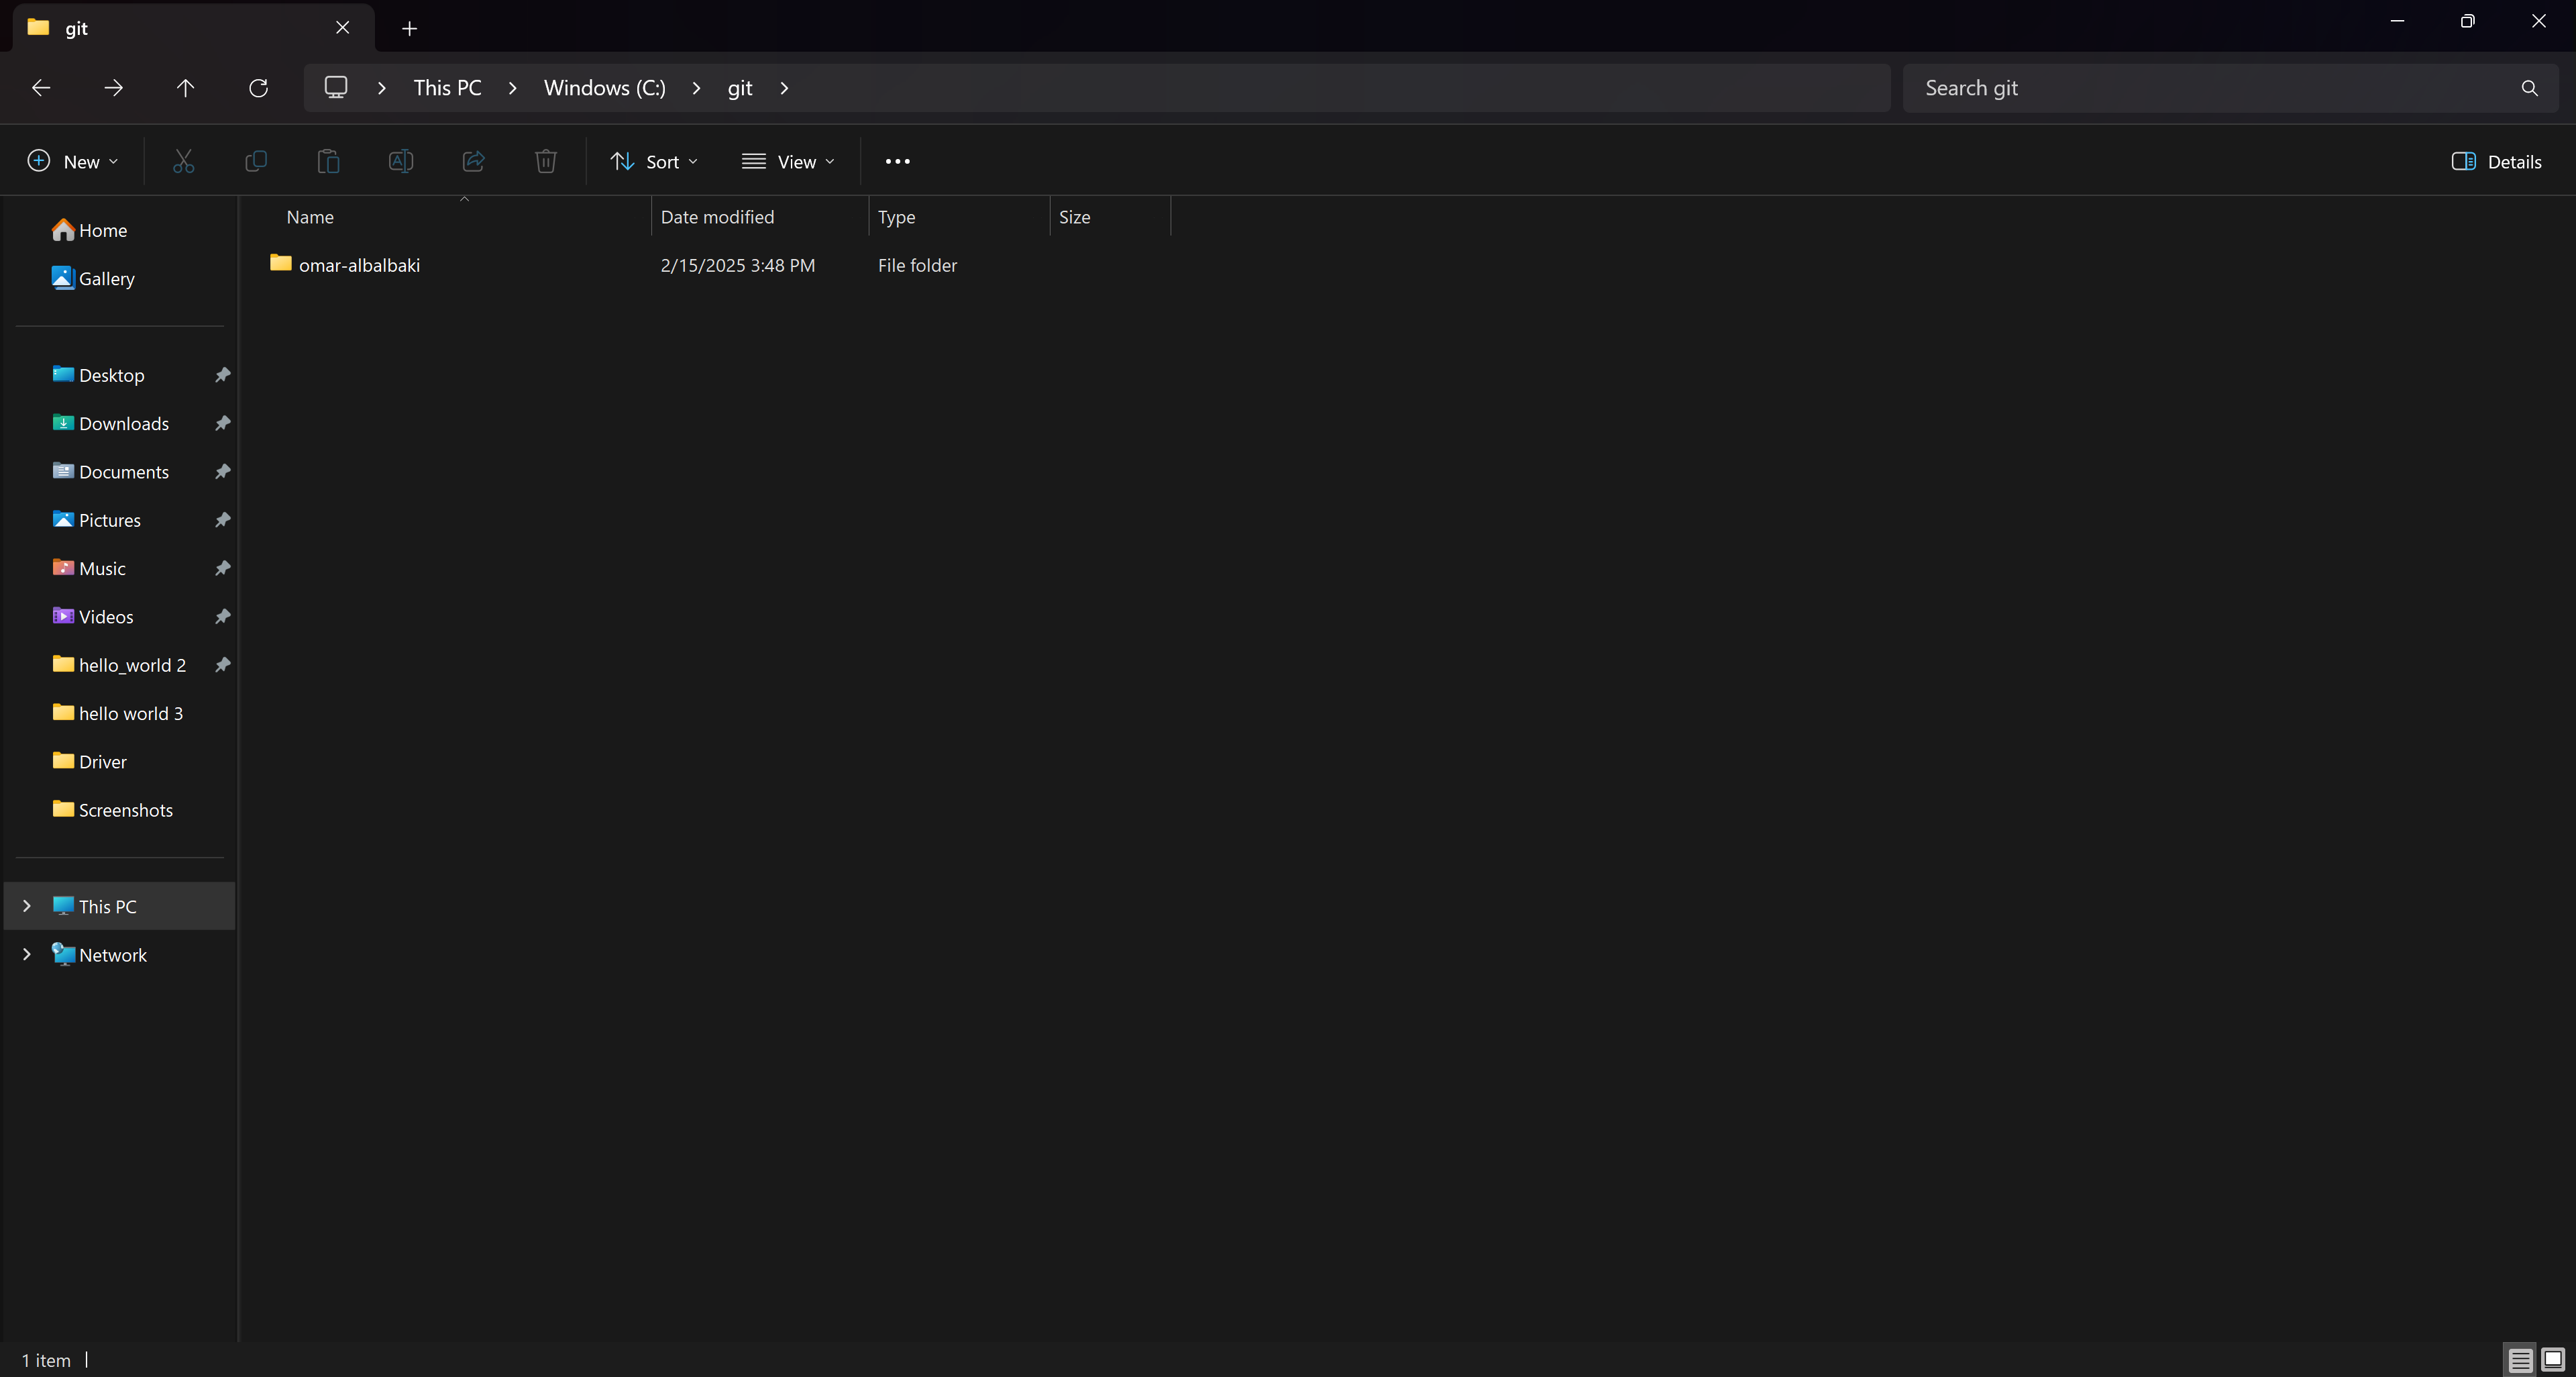
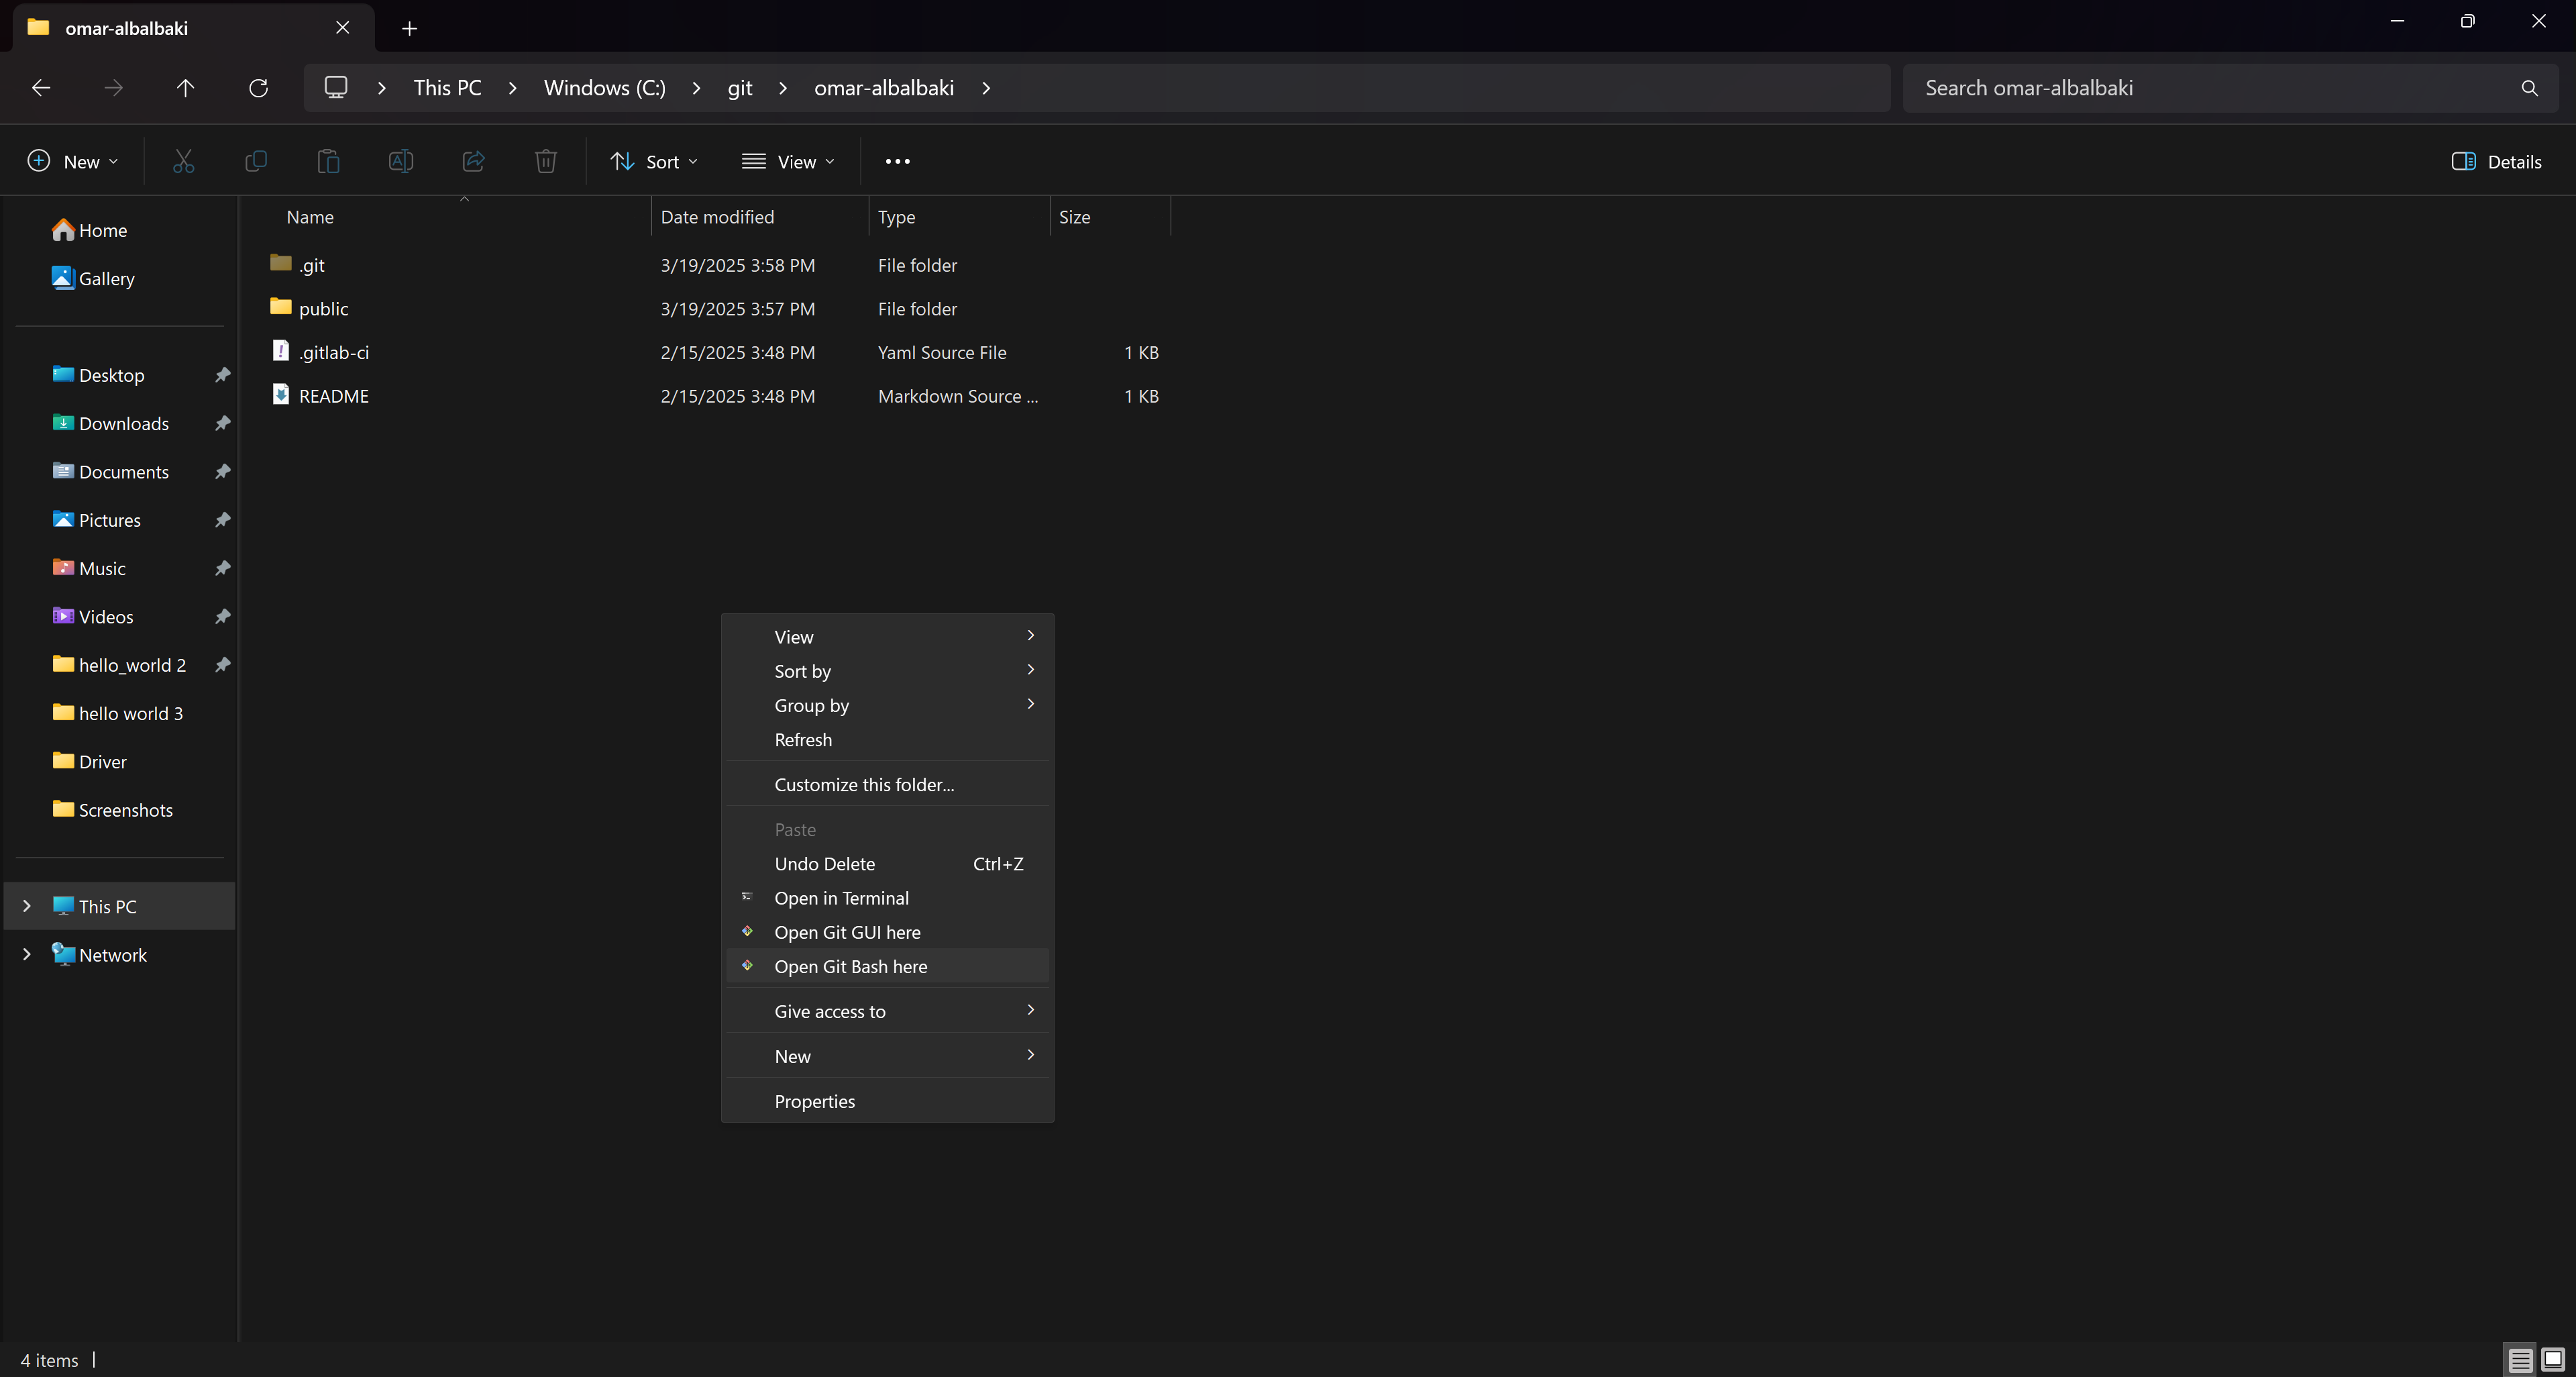
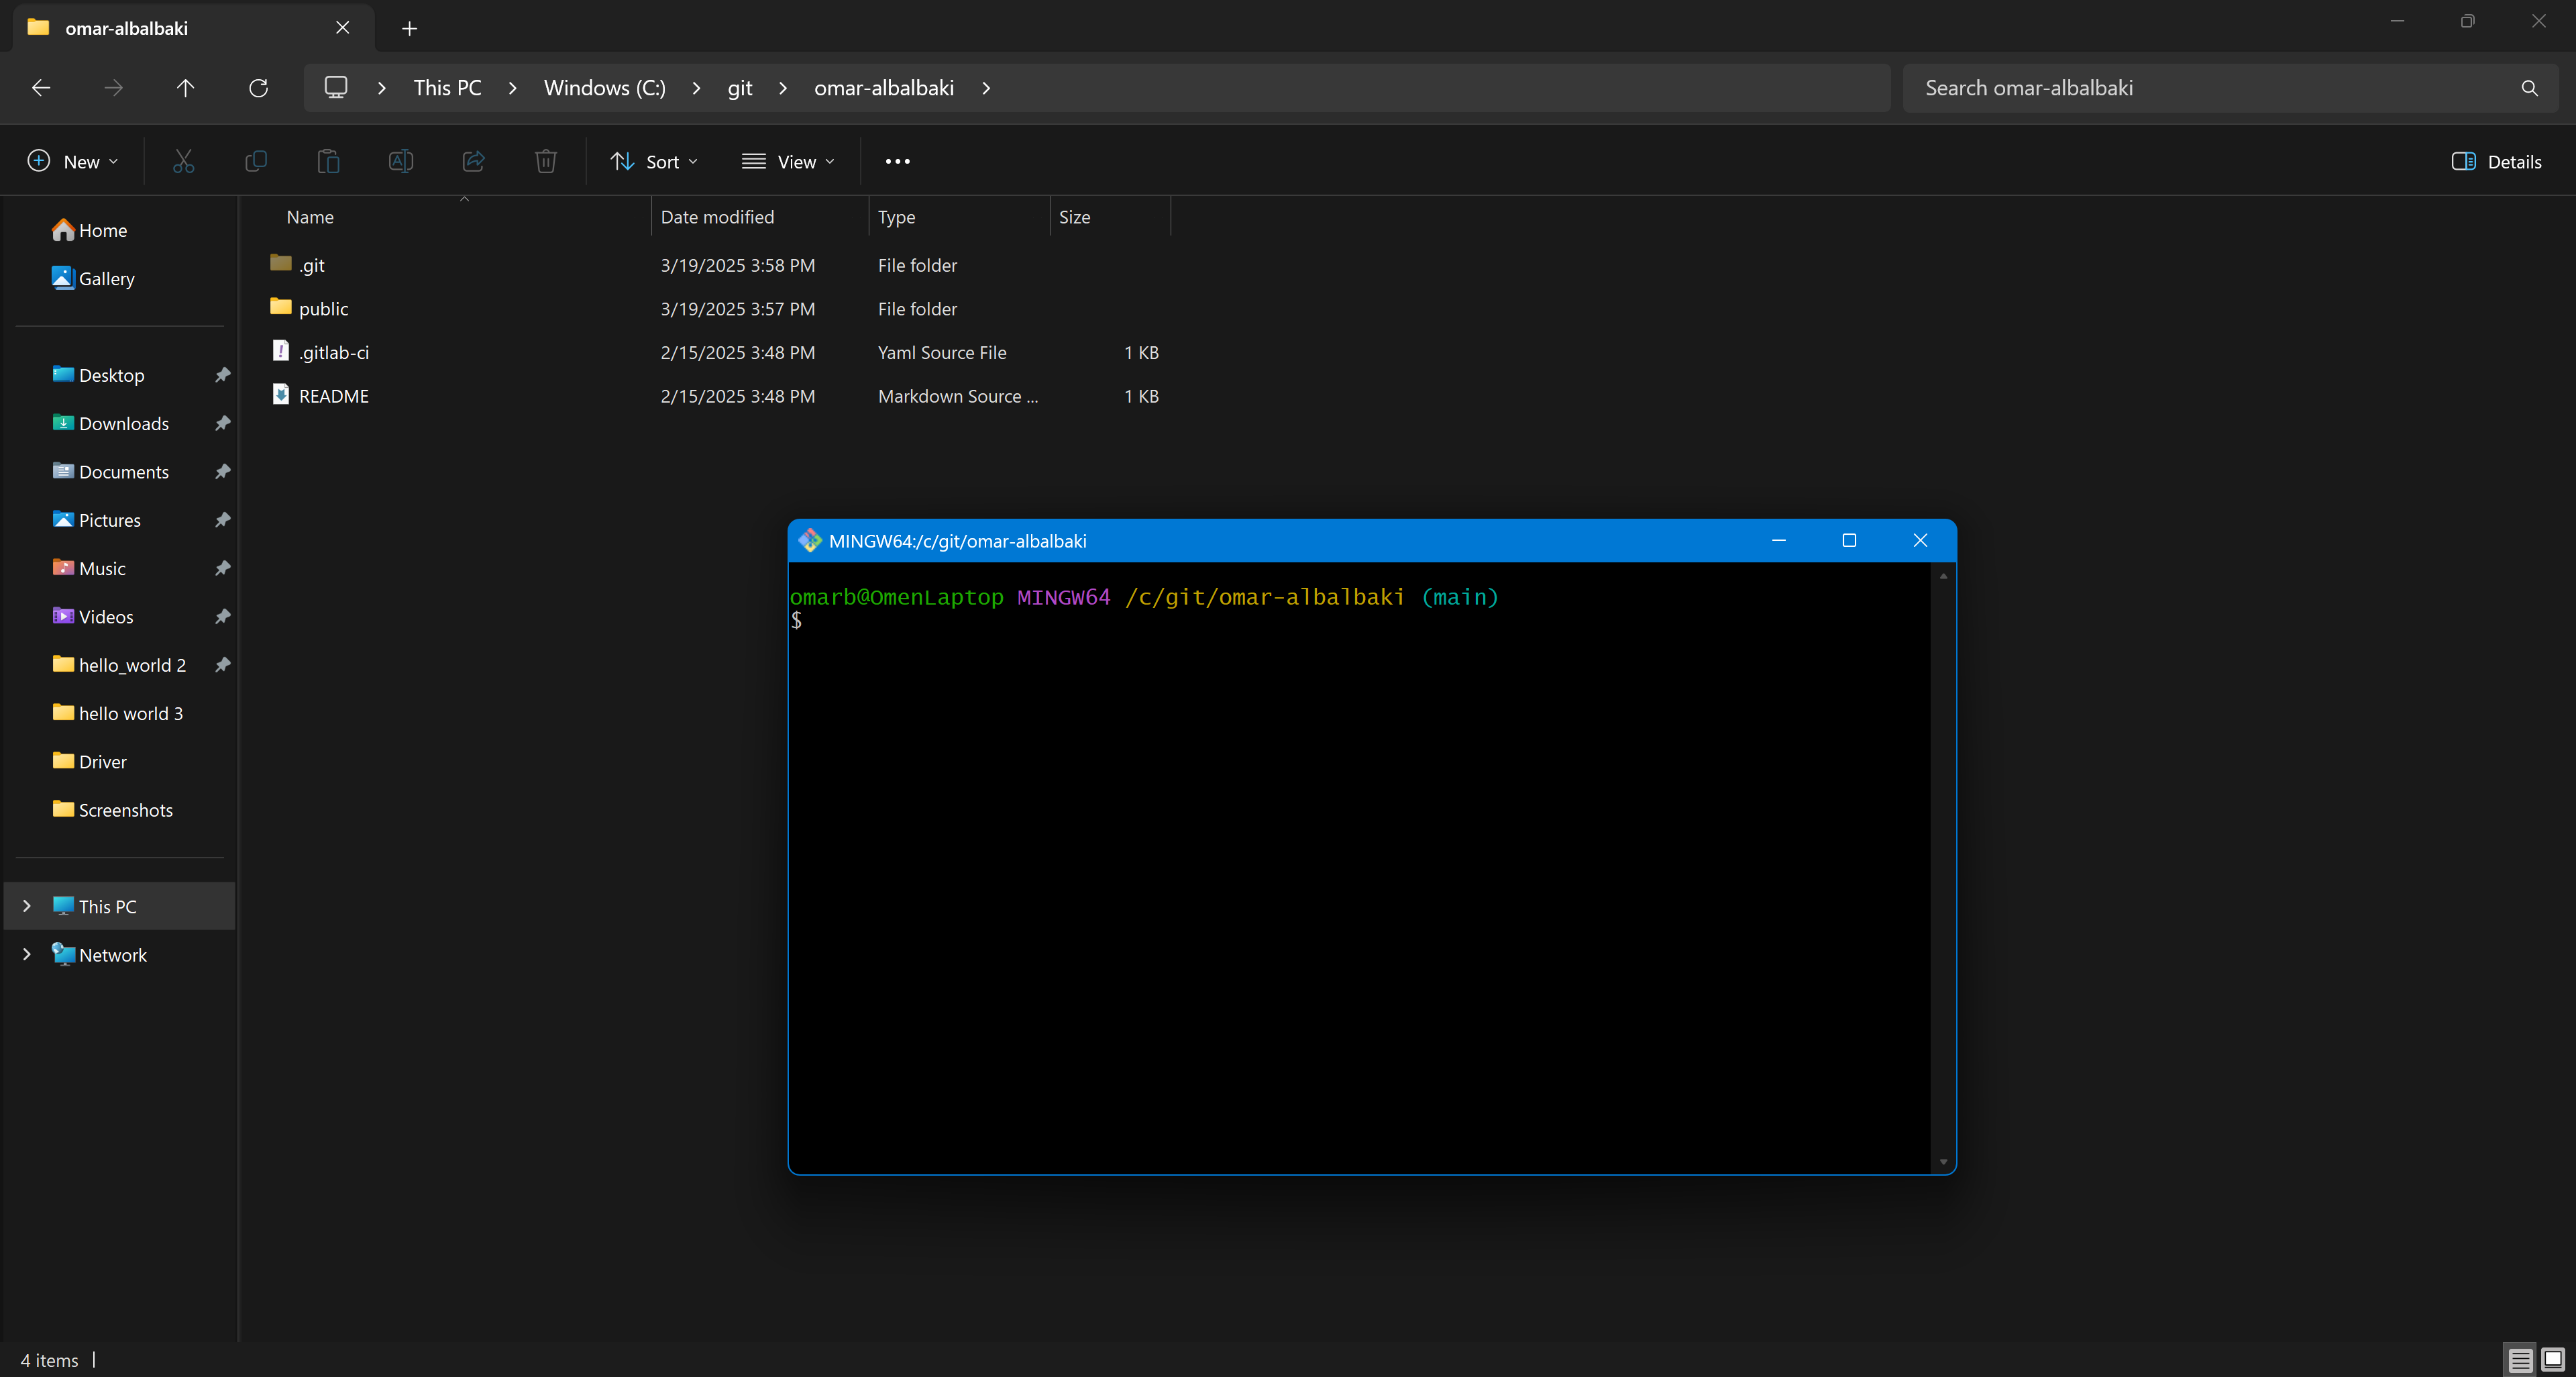
Replace <repository-http-link> with the actual HTTP URL of your GitLab repository. This downloads the entire repository to your local machine, allowing you to edit and upload files.
2. Uploading a File Less Than 10MB
- After making updates to my weekly documentation, I added a new file that was less than 10MB to the repository folder.
- This file contains my reports, images, or project files for the week.
3. Adding the File to Git Tracking
To stage the file before committing, I ran:
git add .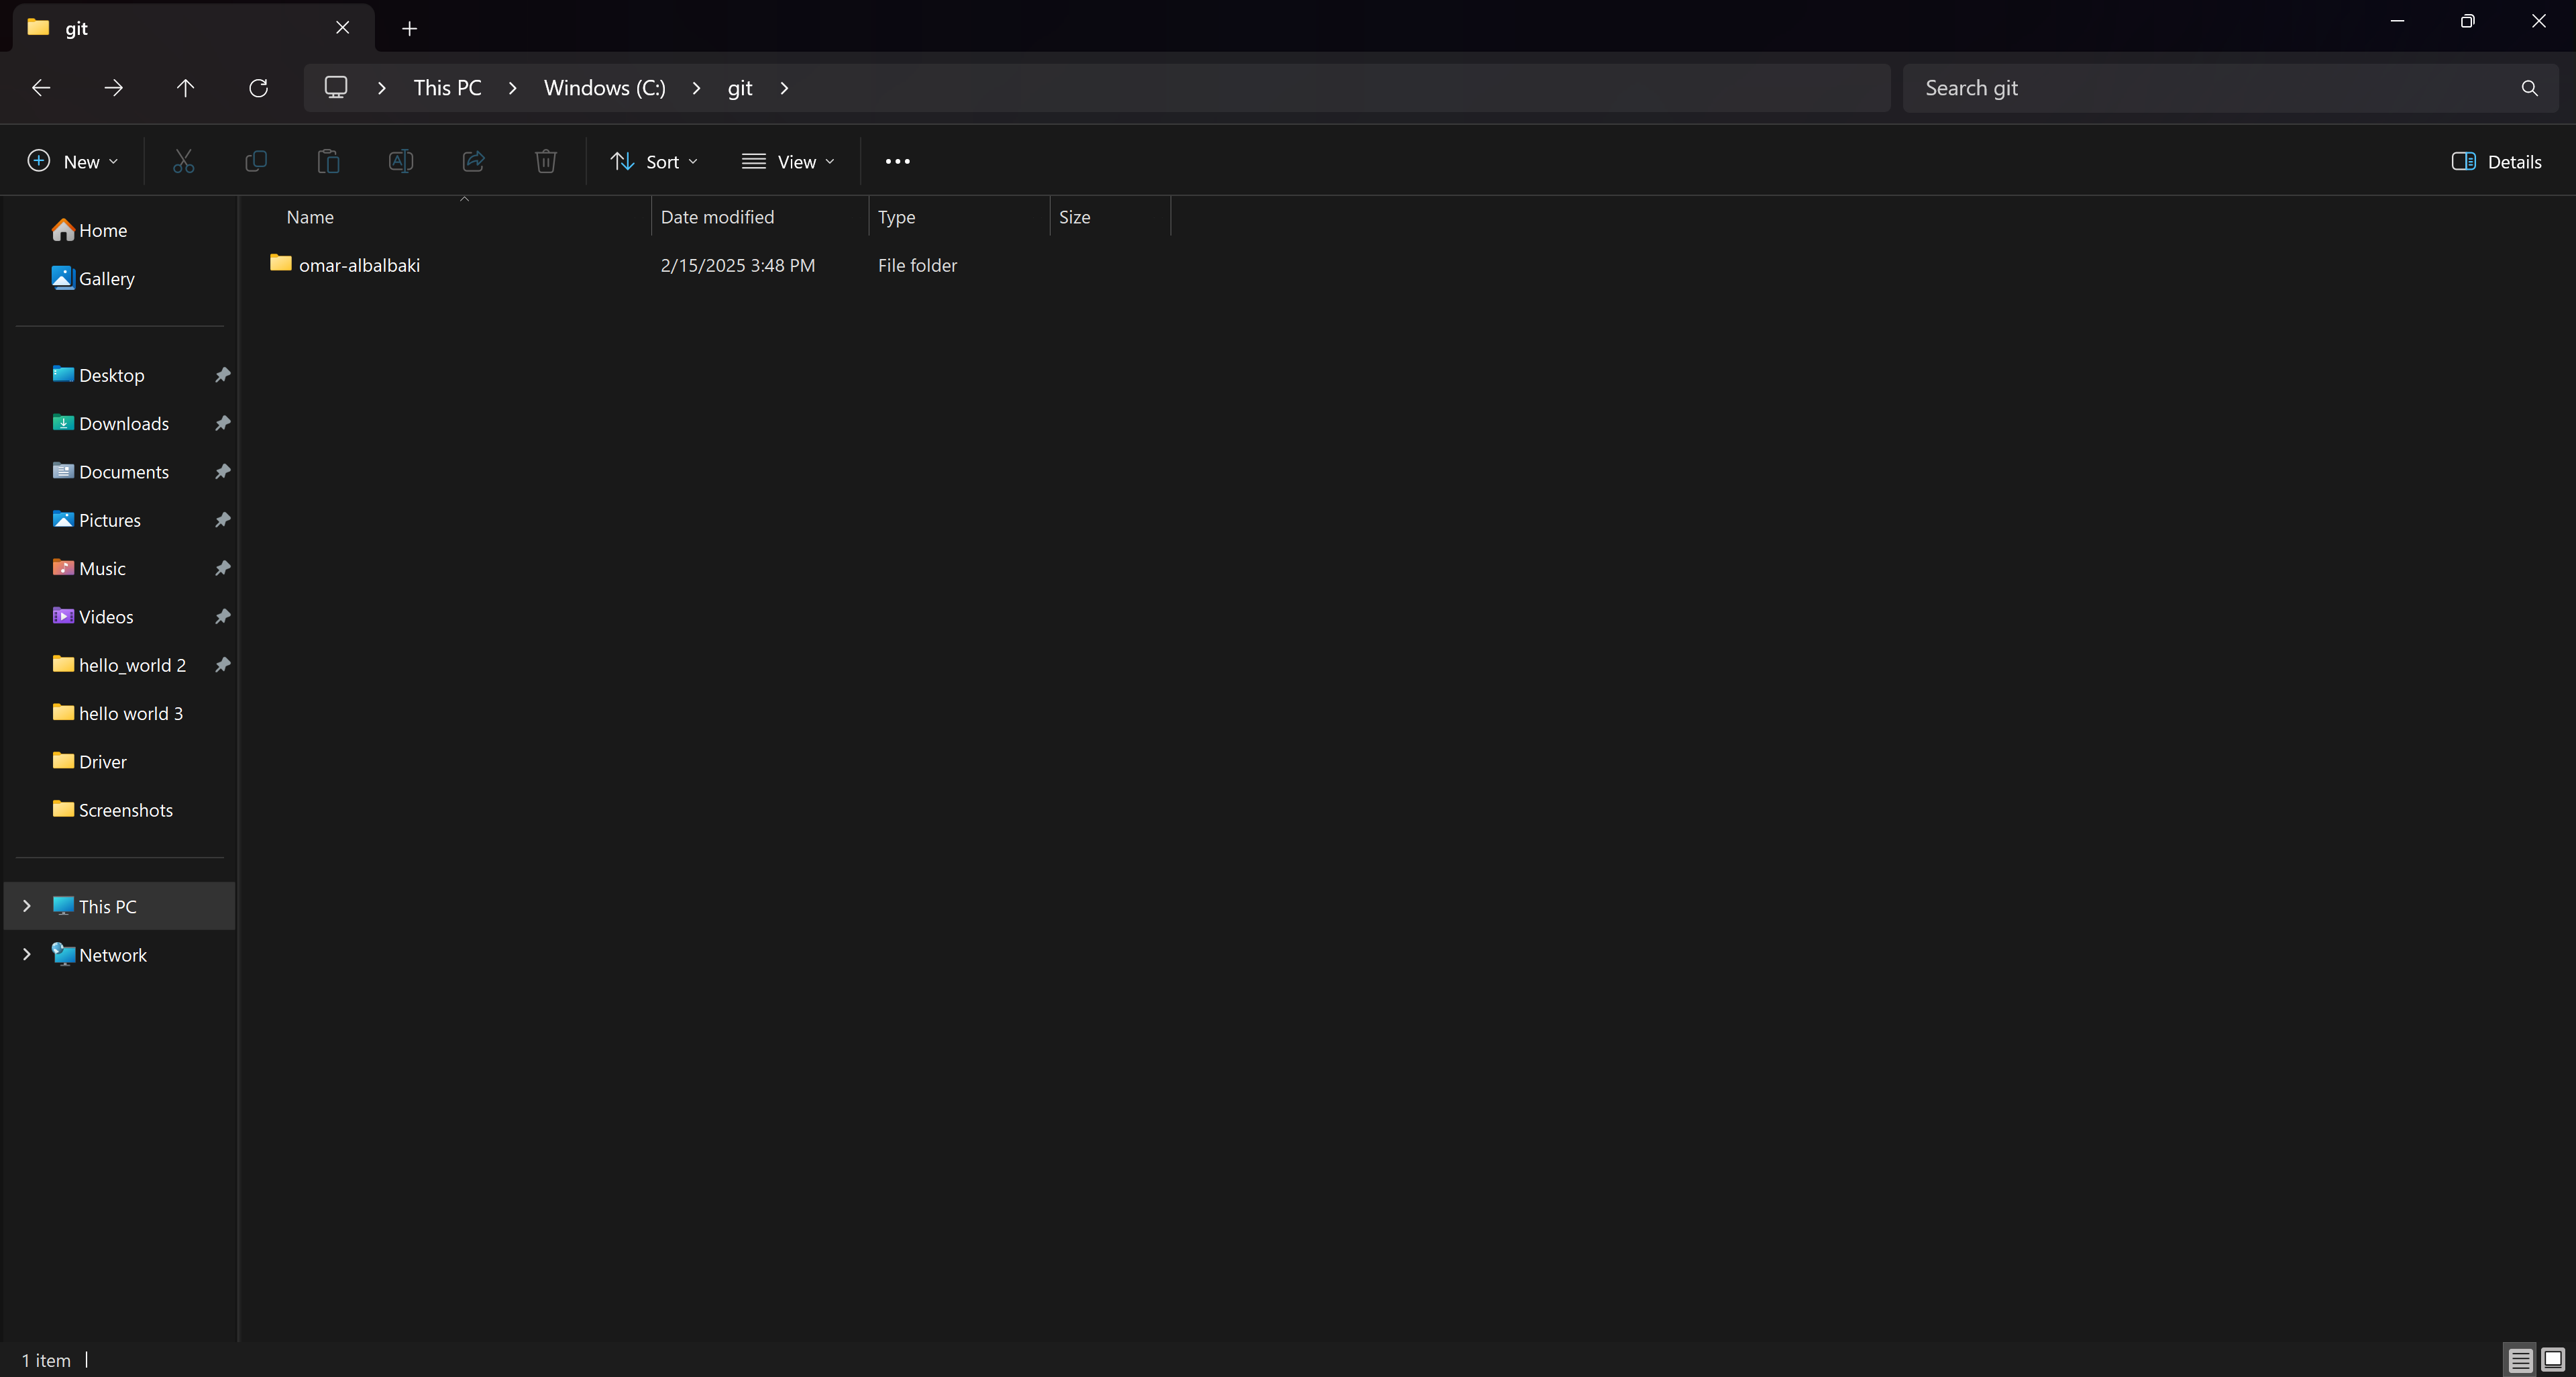
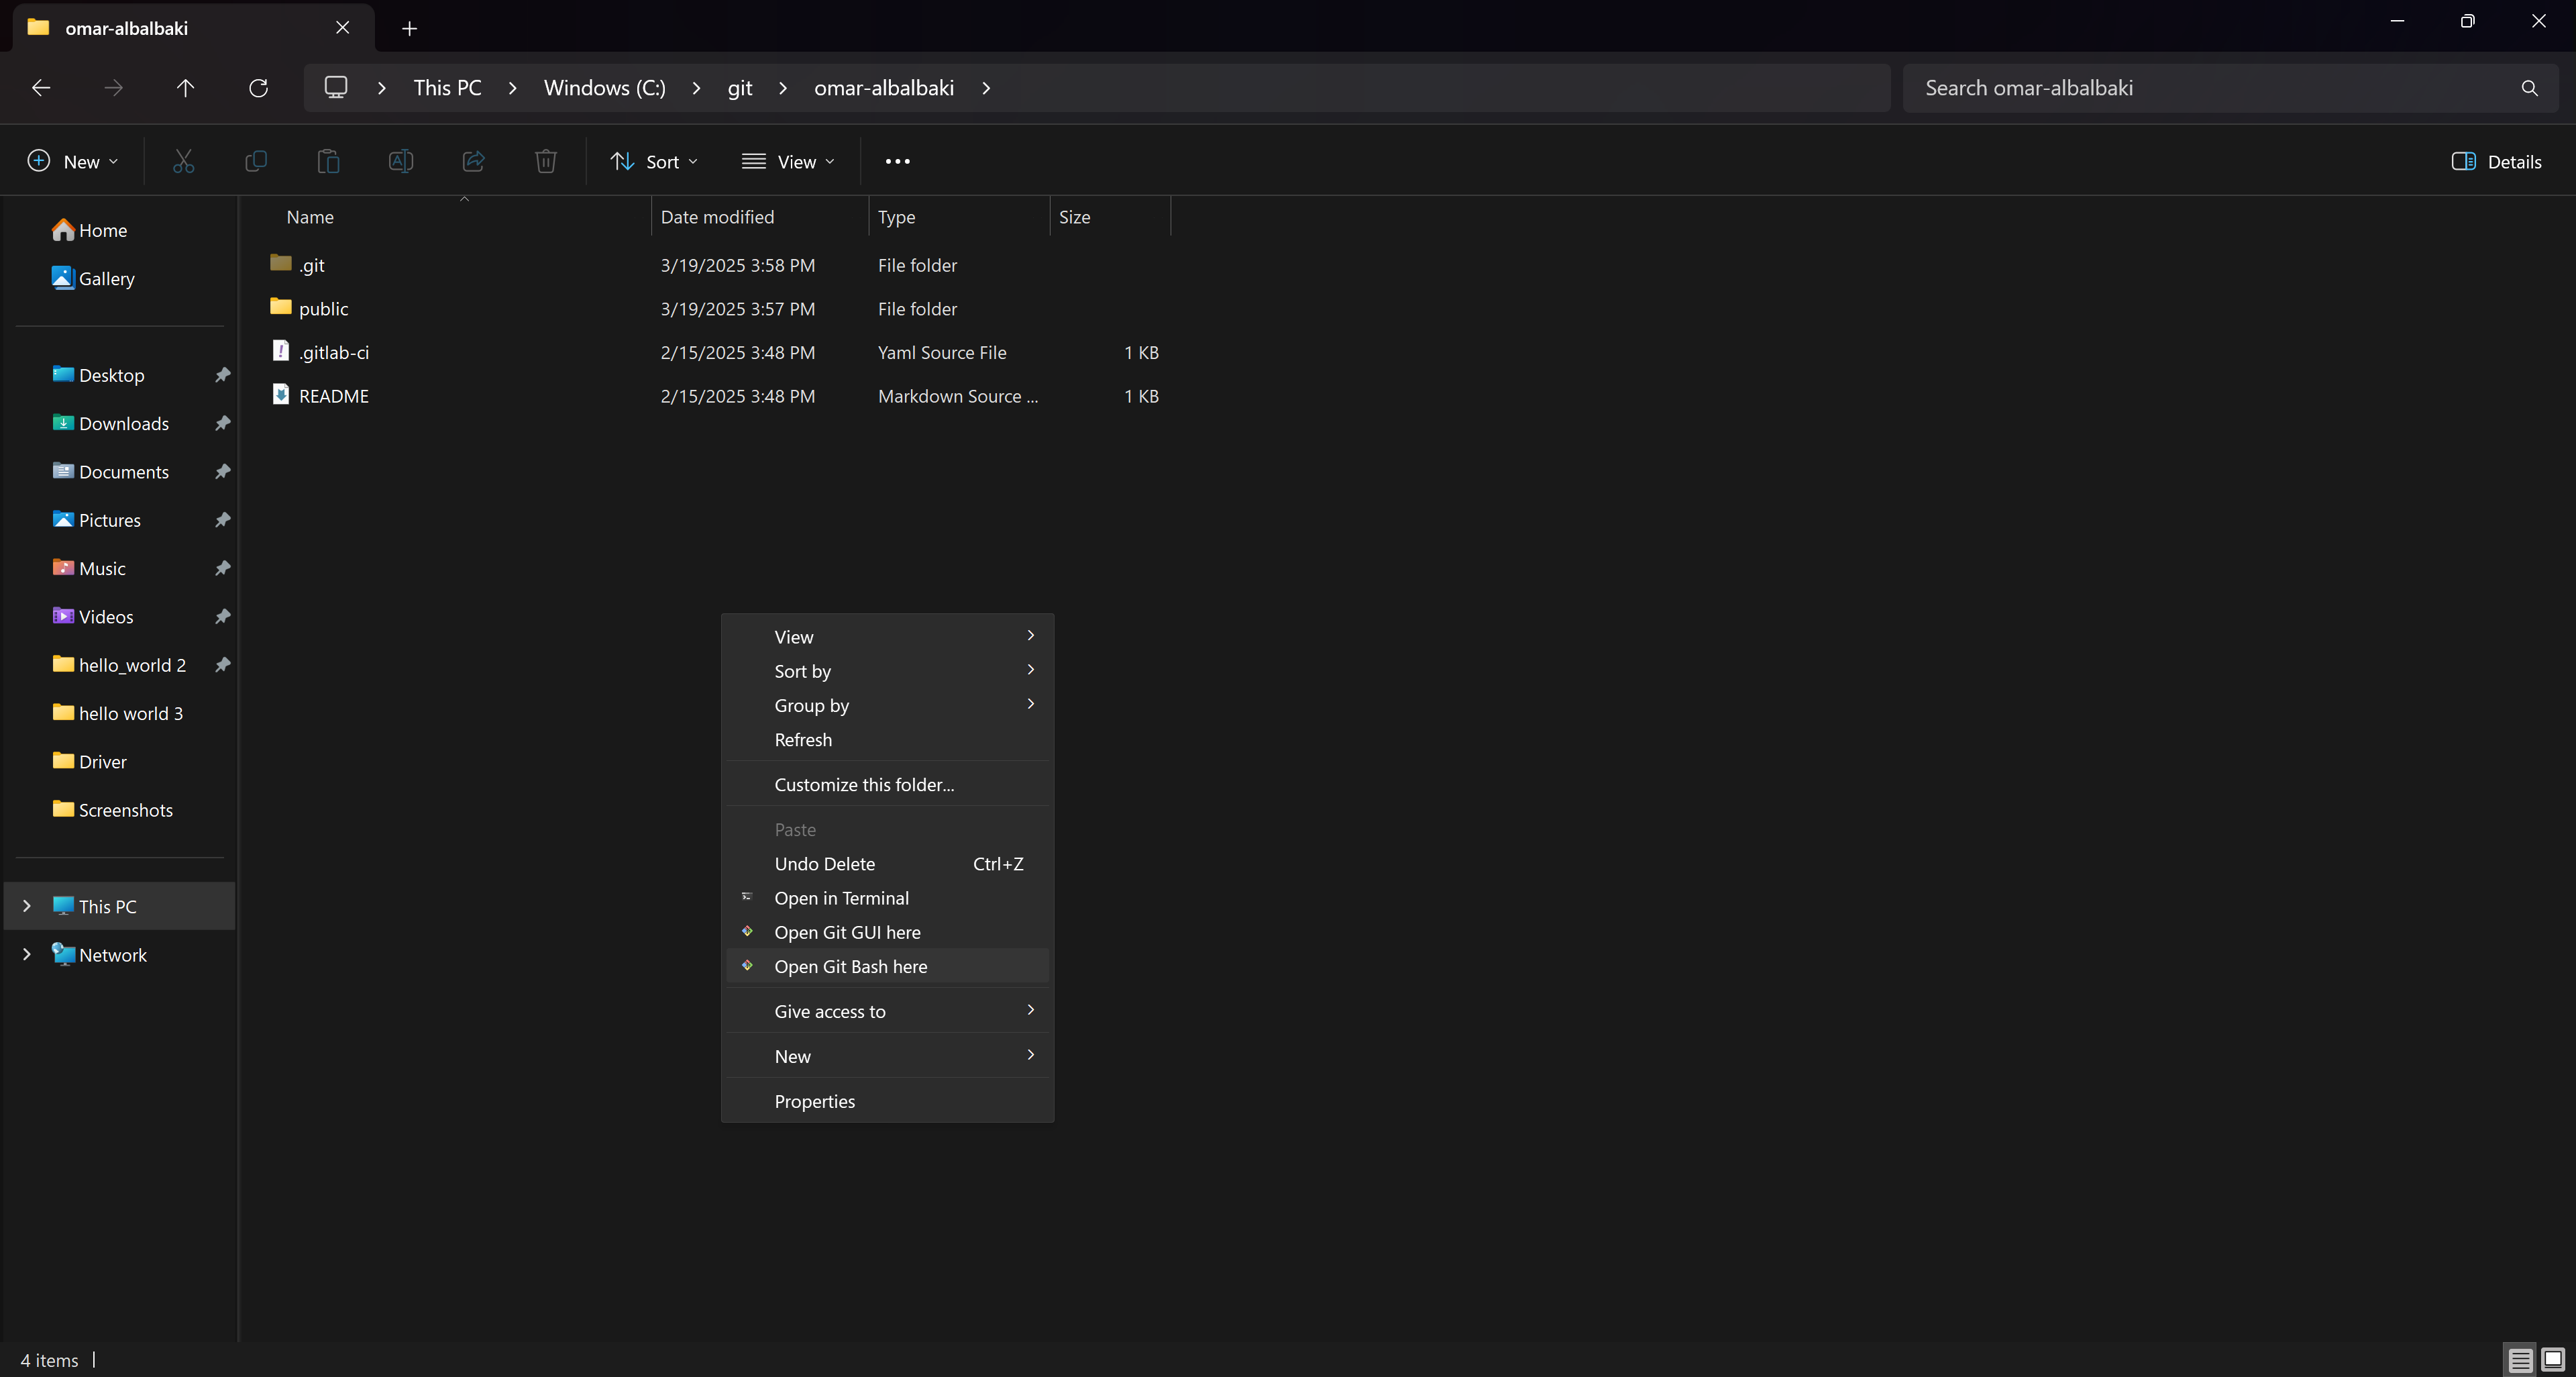
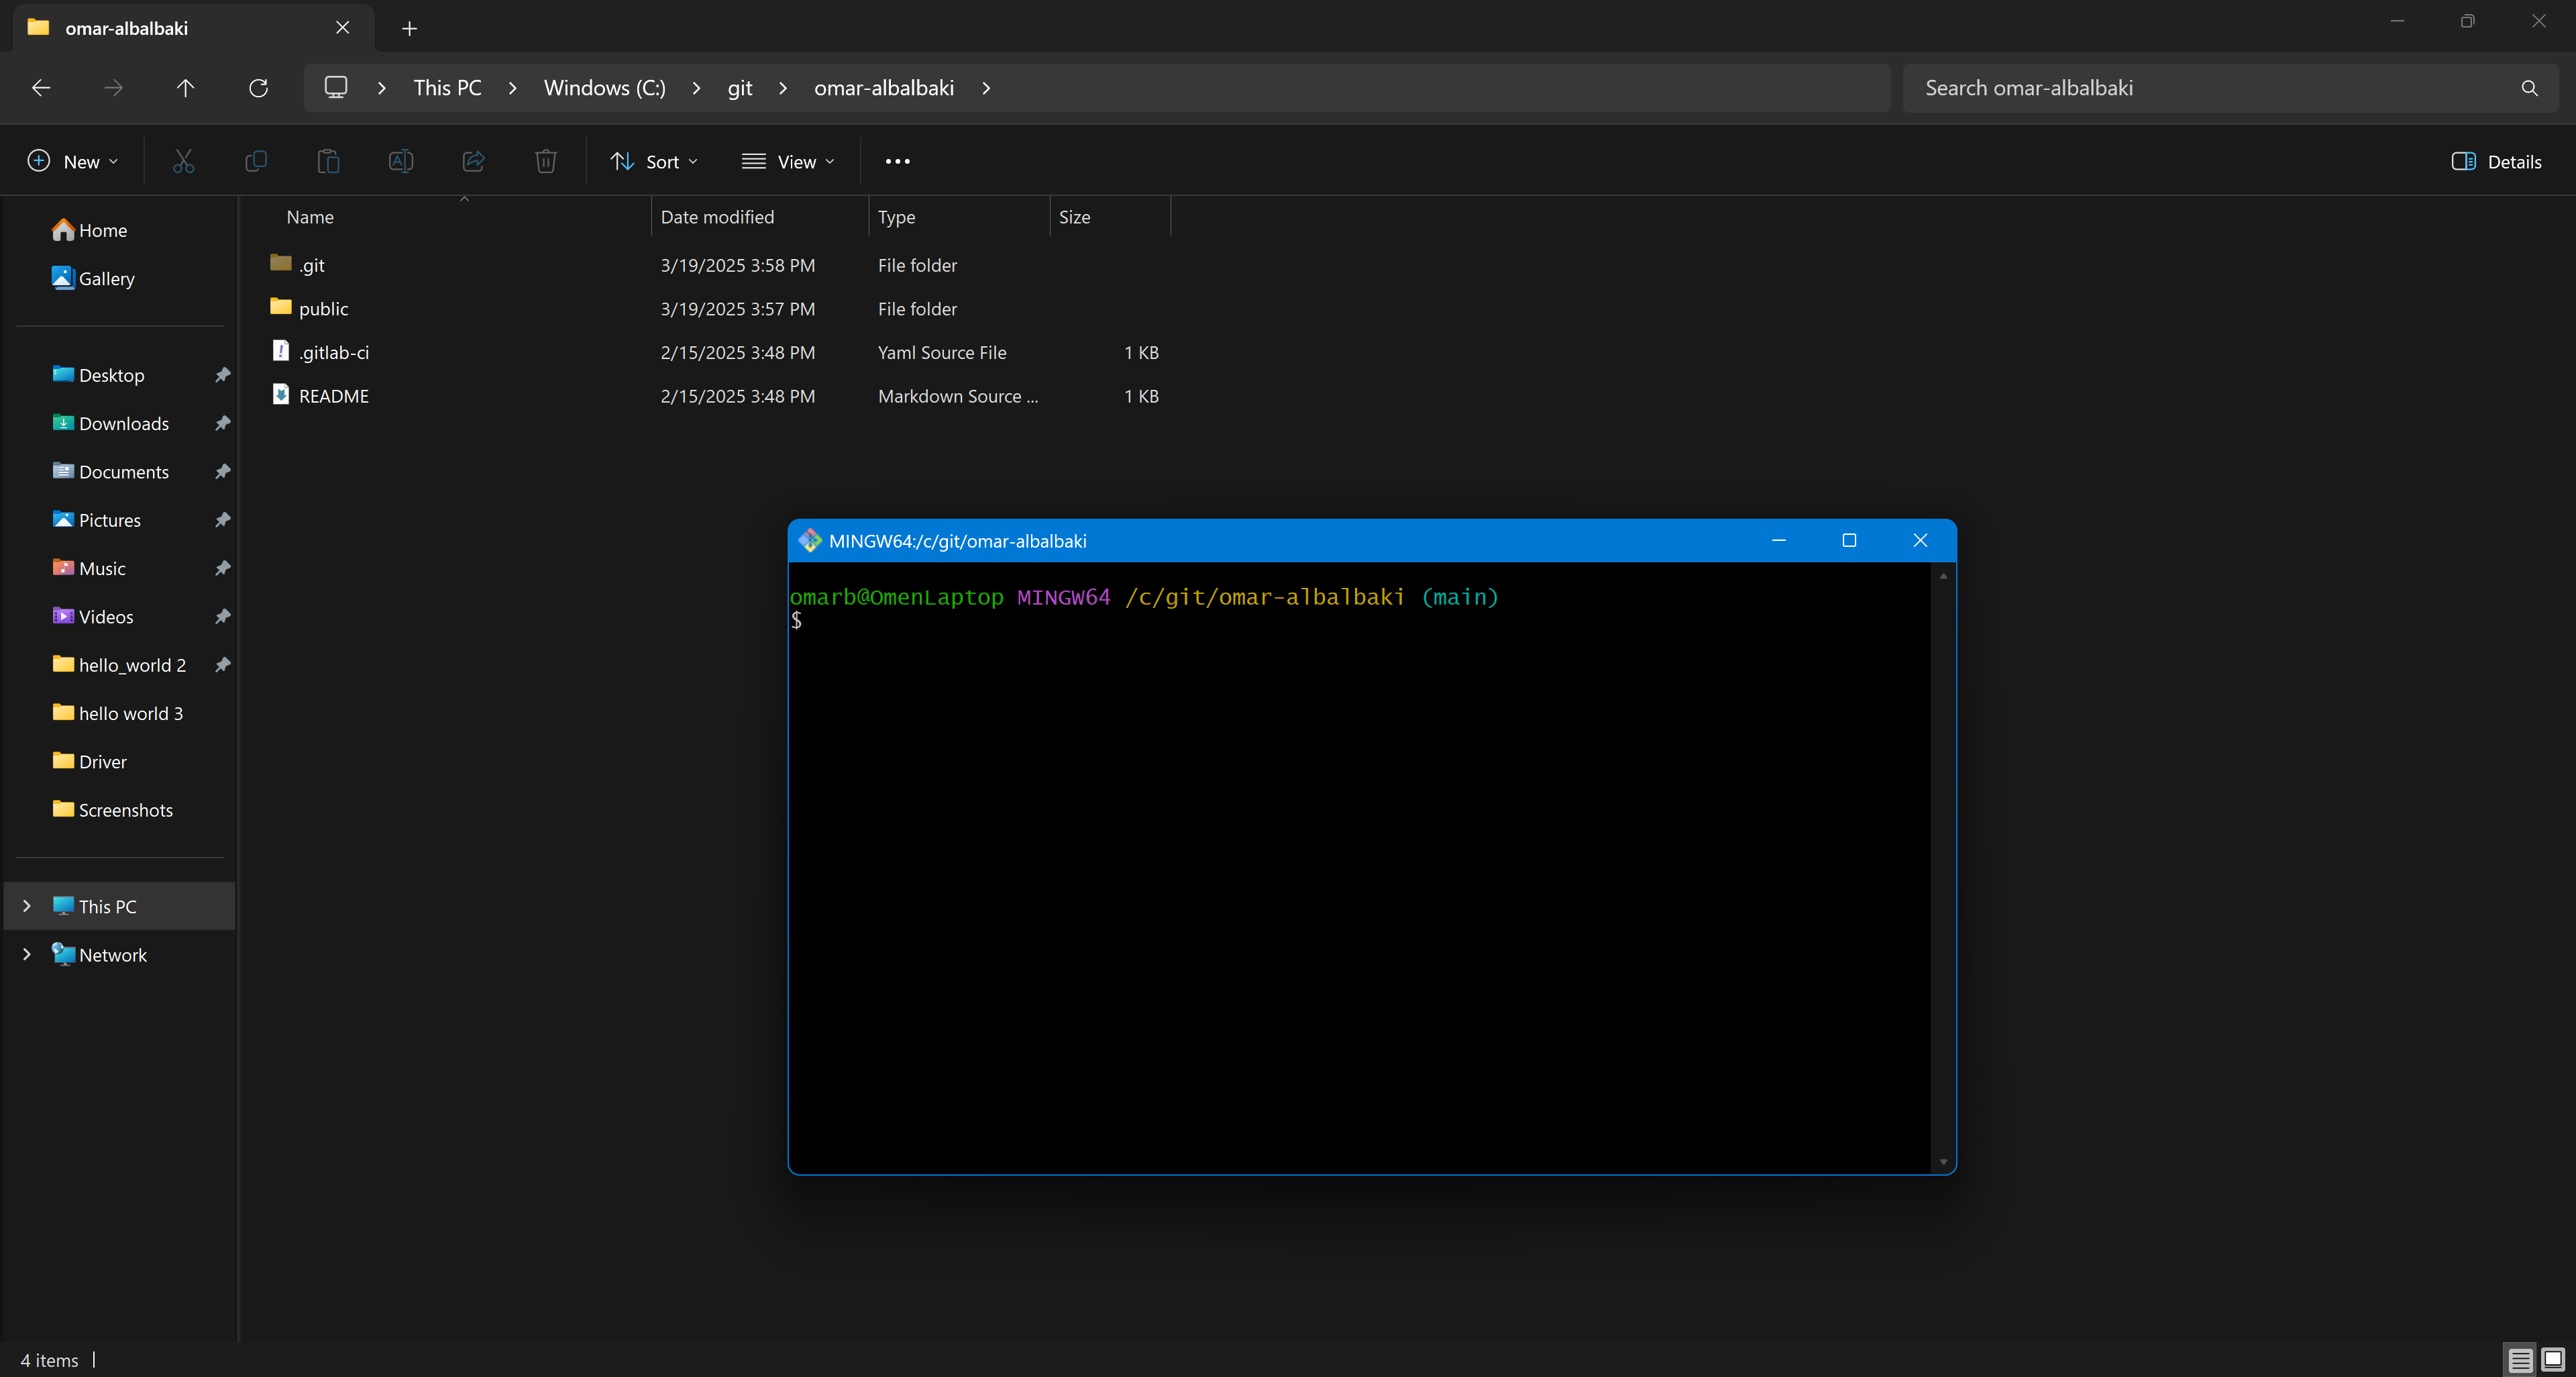
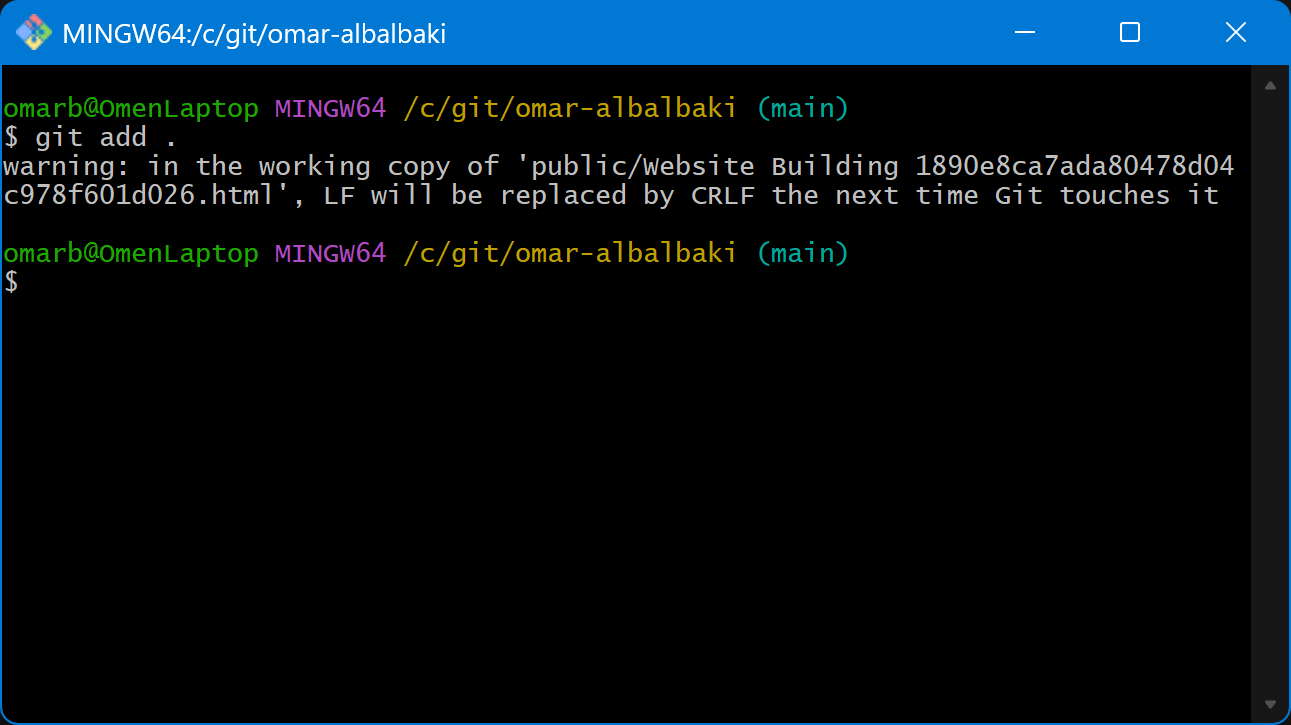
This command stages all modified and newly added files in the repository.
4. Committing the Changes with a Message
Next, I committed the changes with a descriptive message about the week's work:
git commit -m "Added Week X documentation and project updates"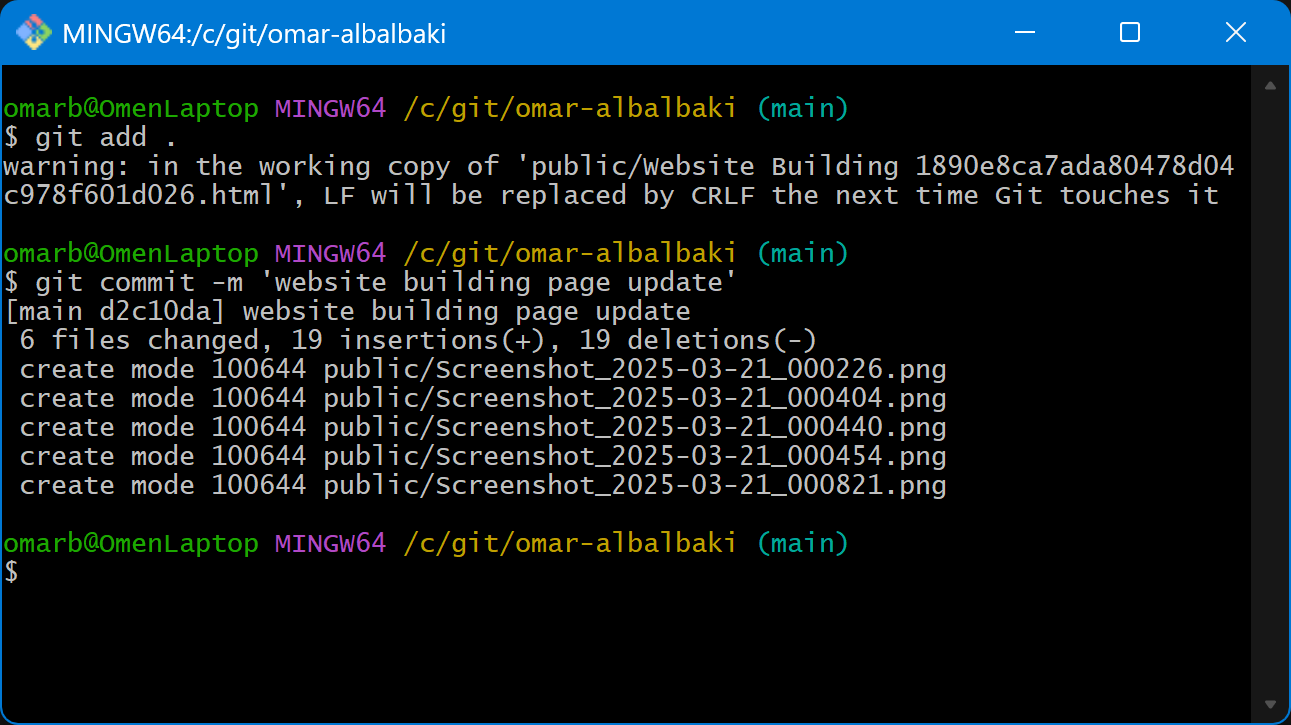
Replace Week X with the actual week number or relevant update. The commit message helps keep track of what changes were made.
5. Pushing the Changes to GitLab
Finally, I pushed the updates to the GitLab repository using:
git push origin main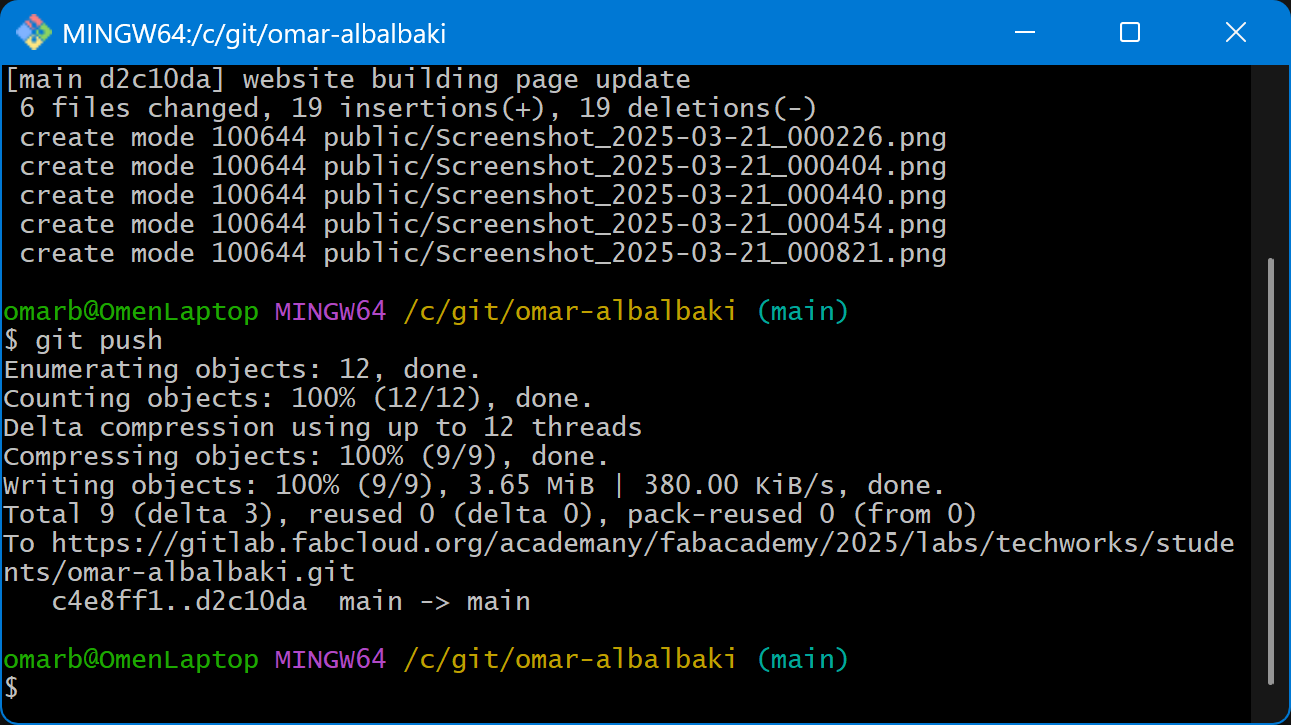
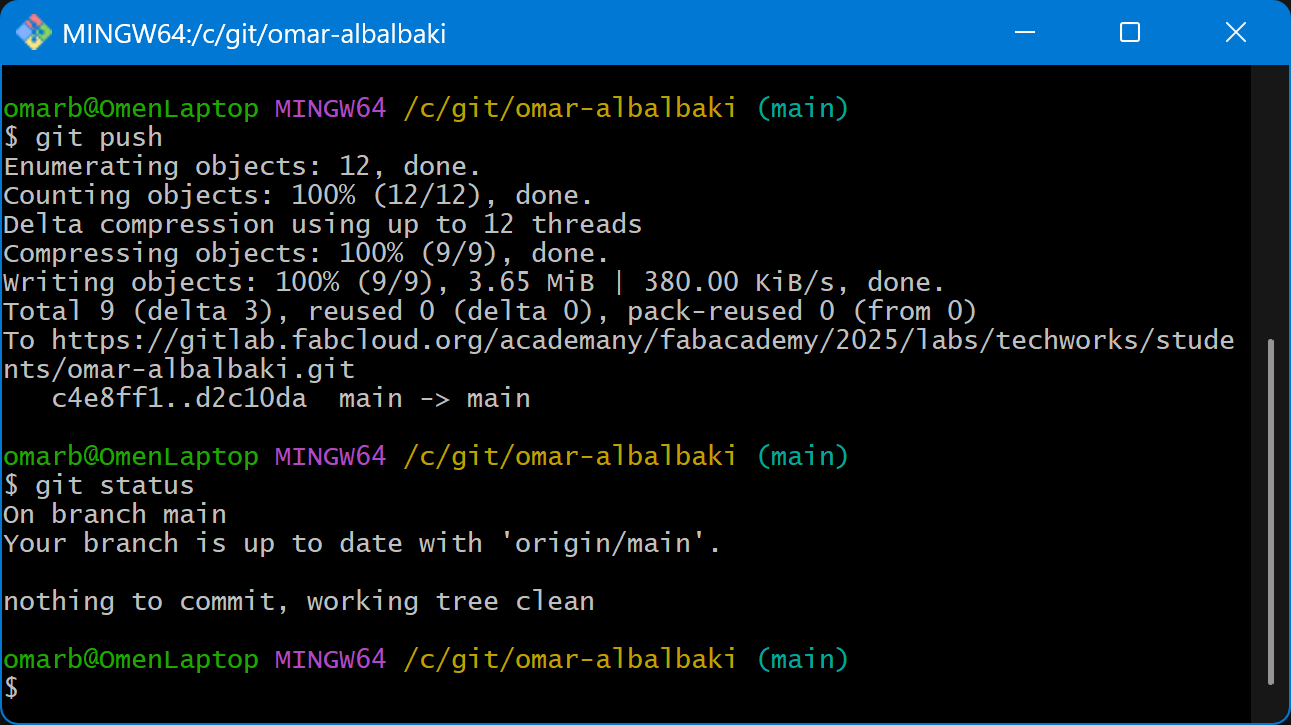
This uploads all committed changes to the remote GitLab repository. If using a different branch, replace main with the branch name.
Learning Outcome
Learning Git workflow is super impotent for team work and project development, and knowing how to use it will help the maker community to level up their development.
