FDM 3D Printer Slicing Parameters
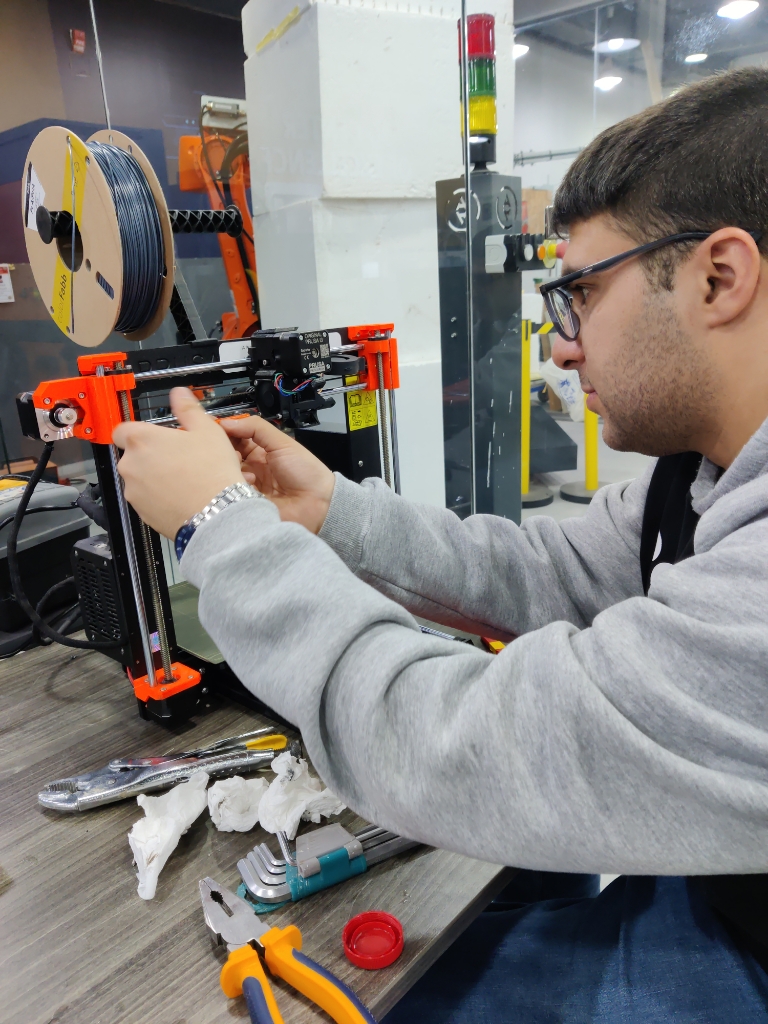
Hero Shot
Summary
During this week, I focused on understanding the slicing parameters for FDM 3D printers. This included testing the capabilities of two printers, the Prusa MK3 and the Ultimaker S5, to optimize design settings and ensure accurate prints. The main objective was to learn about printer calibration, tolerance testing, and how different parameters affect the quality of 3D-printed objects
The group assignment Page :
Work Process Detail
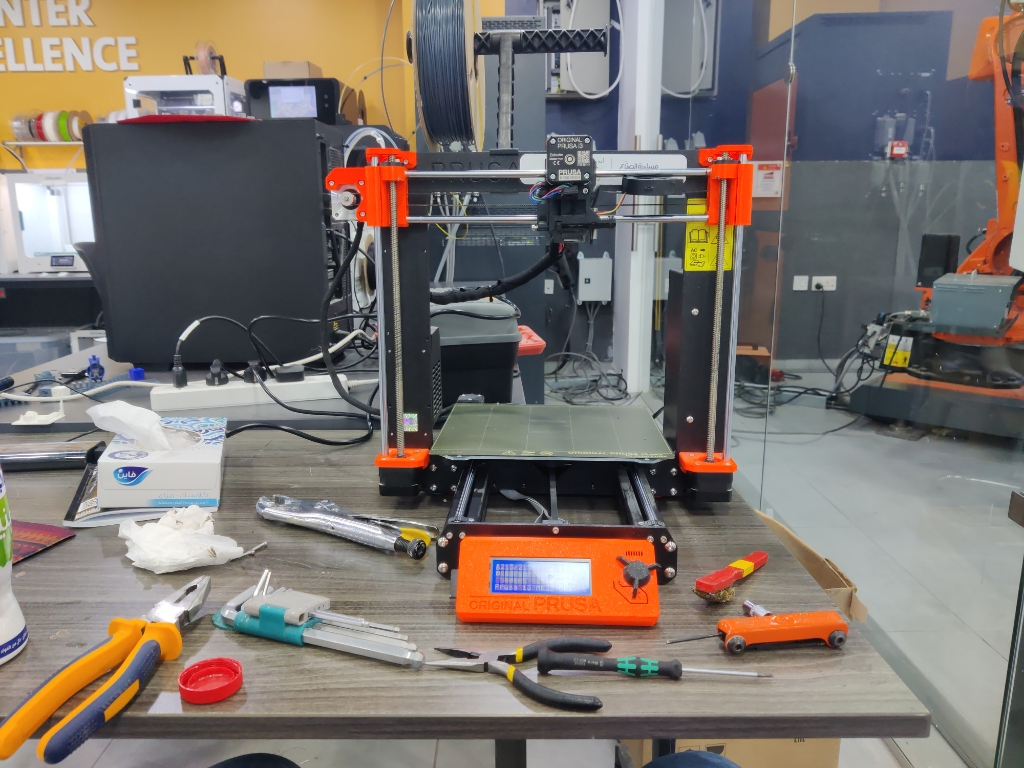
Printer Selection and Initial Testing:
- We started by understanding the parameters for FDM 3D printing and selected two printers: the Prusa MK3 and the Ultimaker S5.
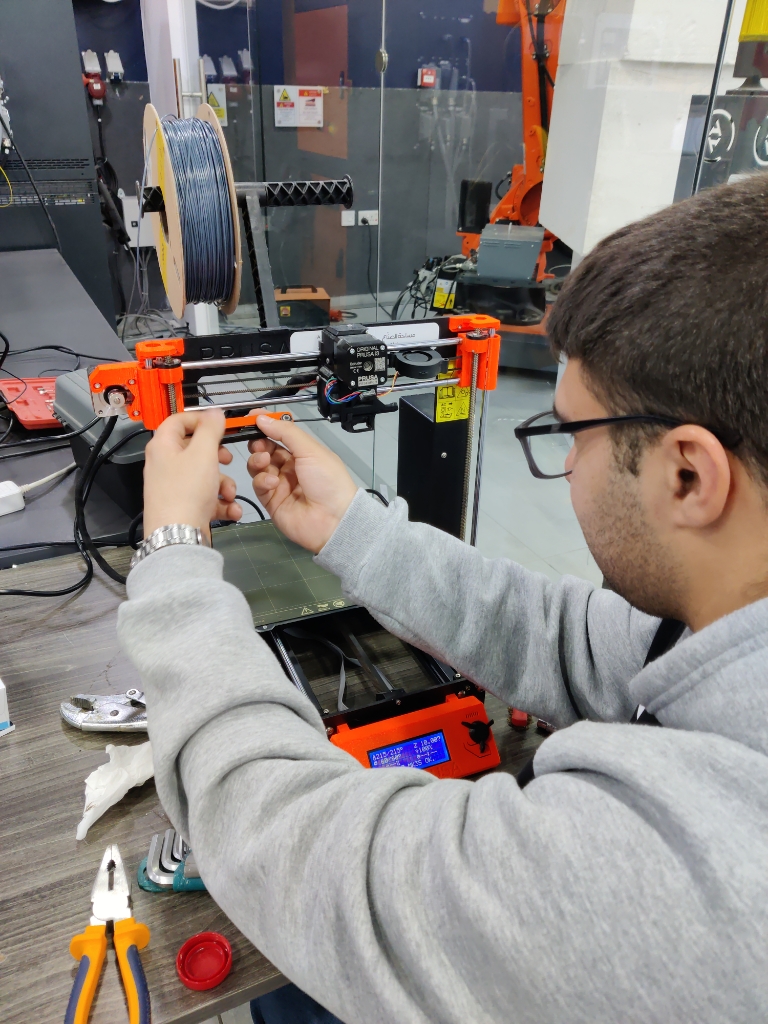
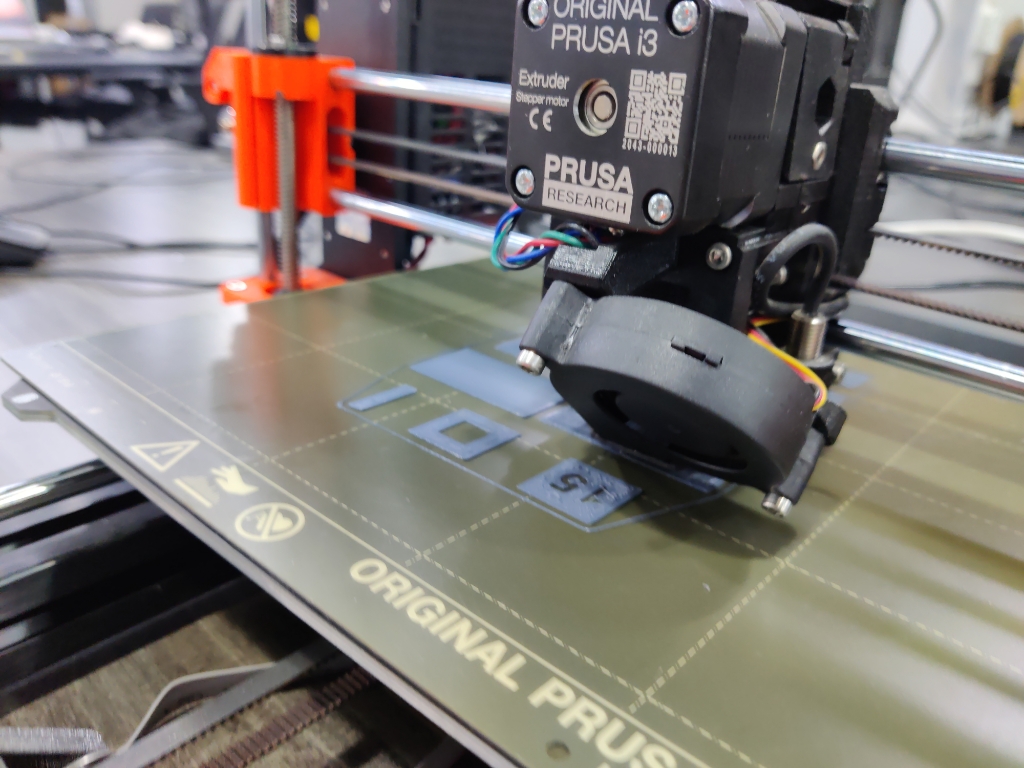
- I read about the Prusa MK3 printer and its design features before proceeding with the first test print.
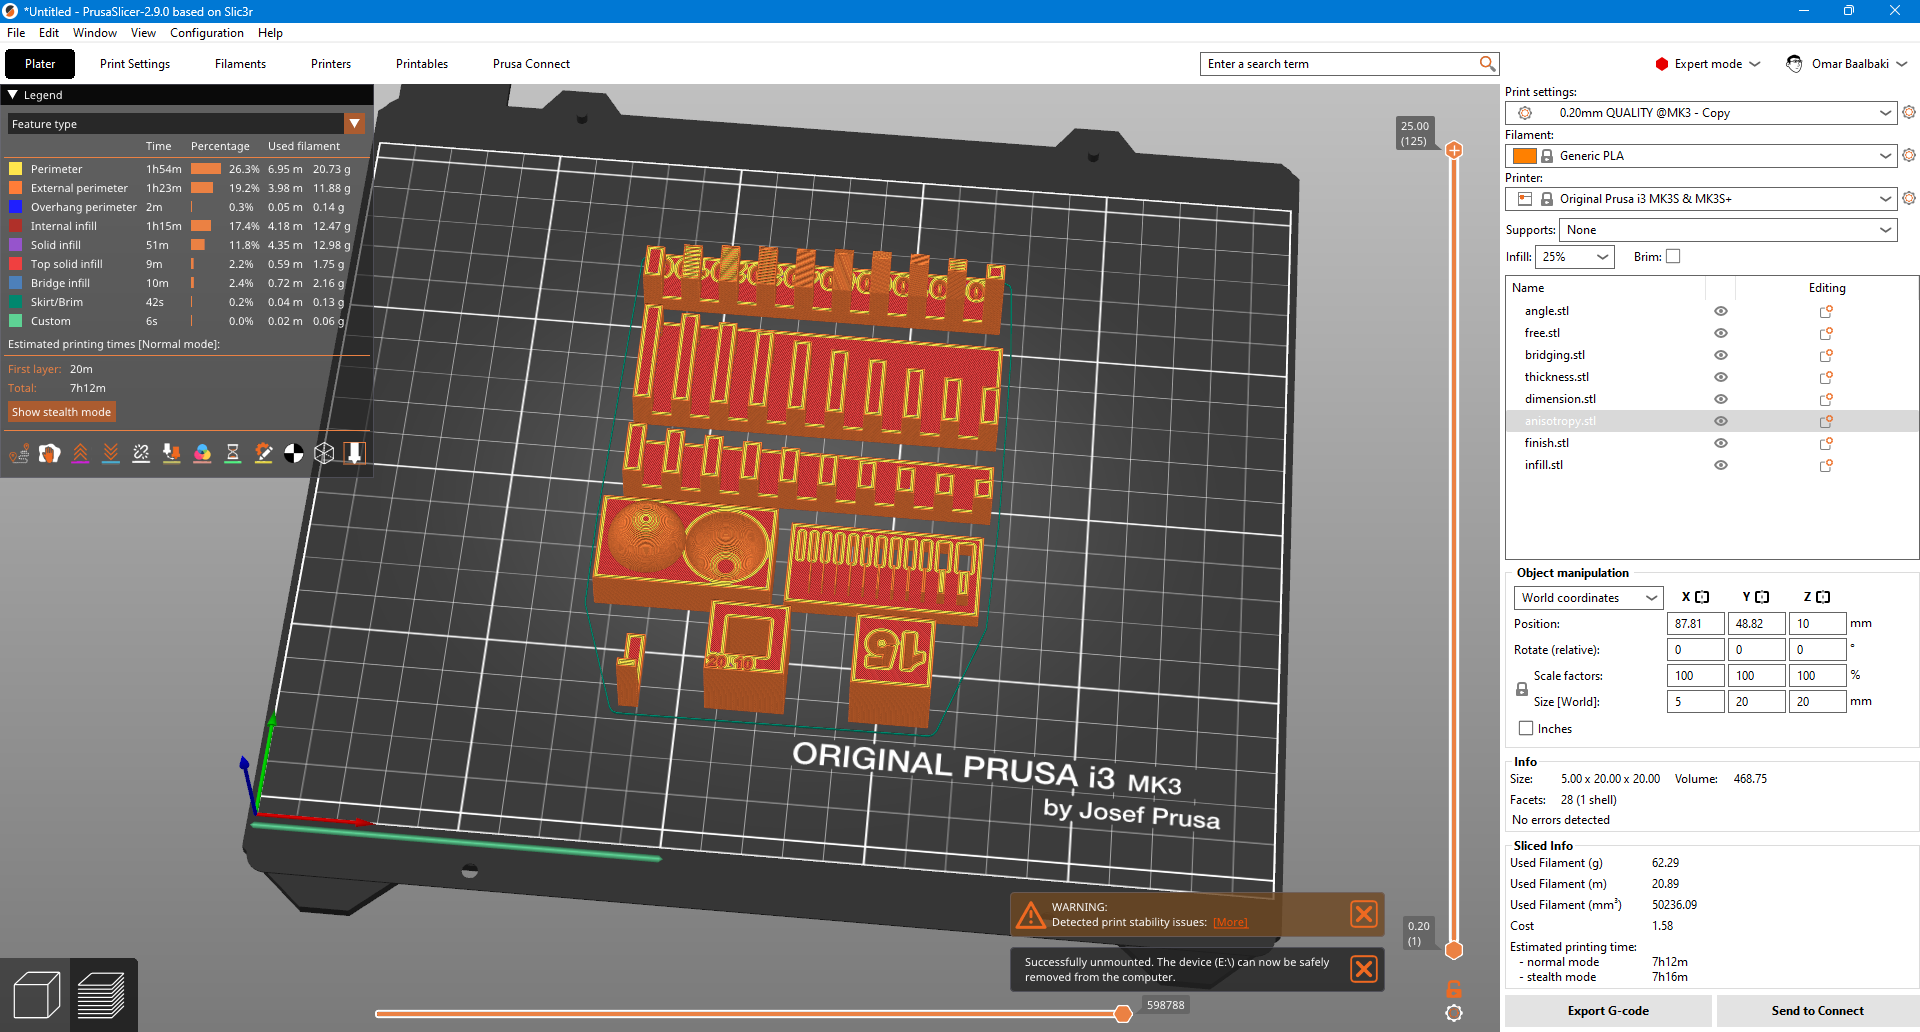
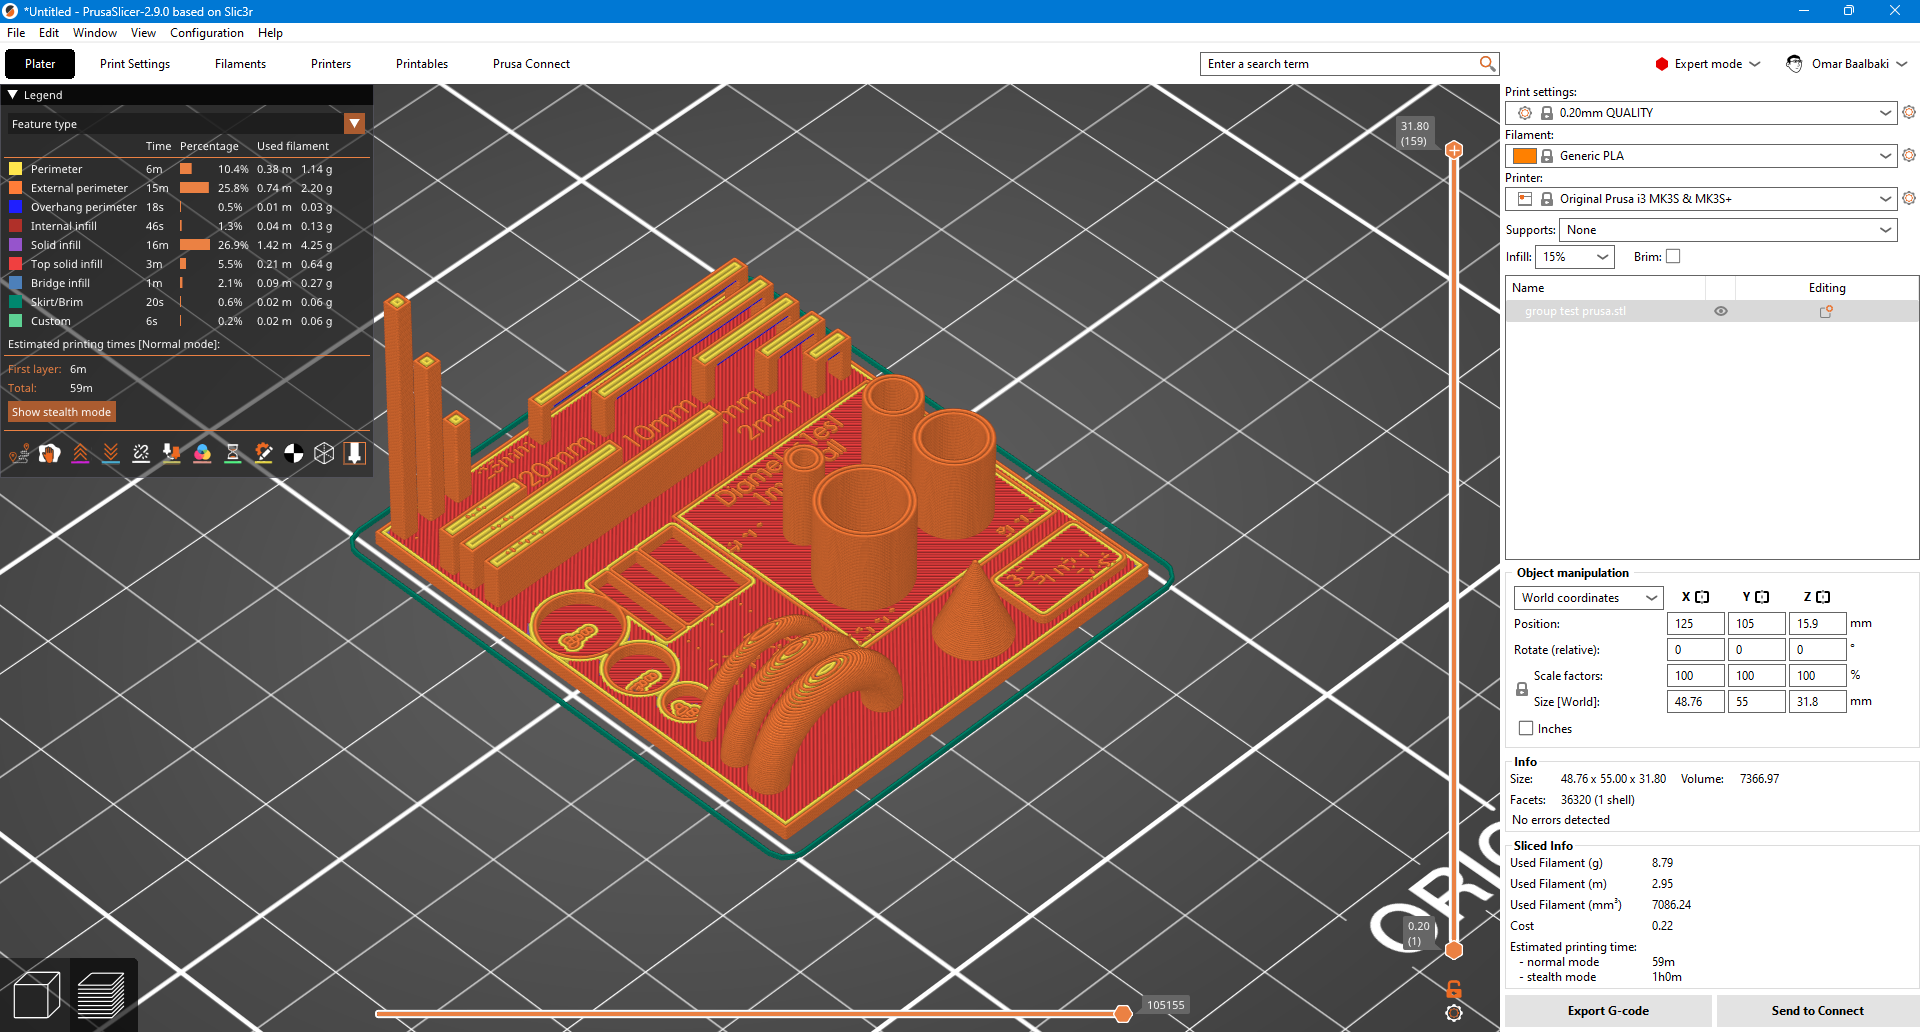
3D Printing Settings for the Test Prints
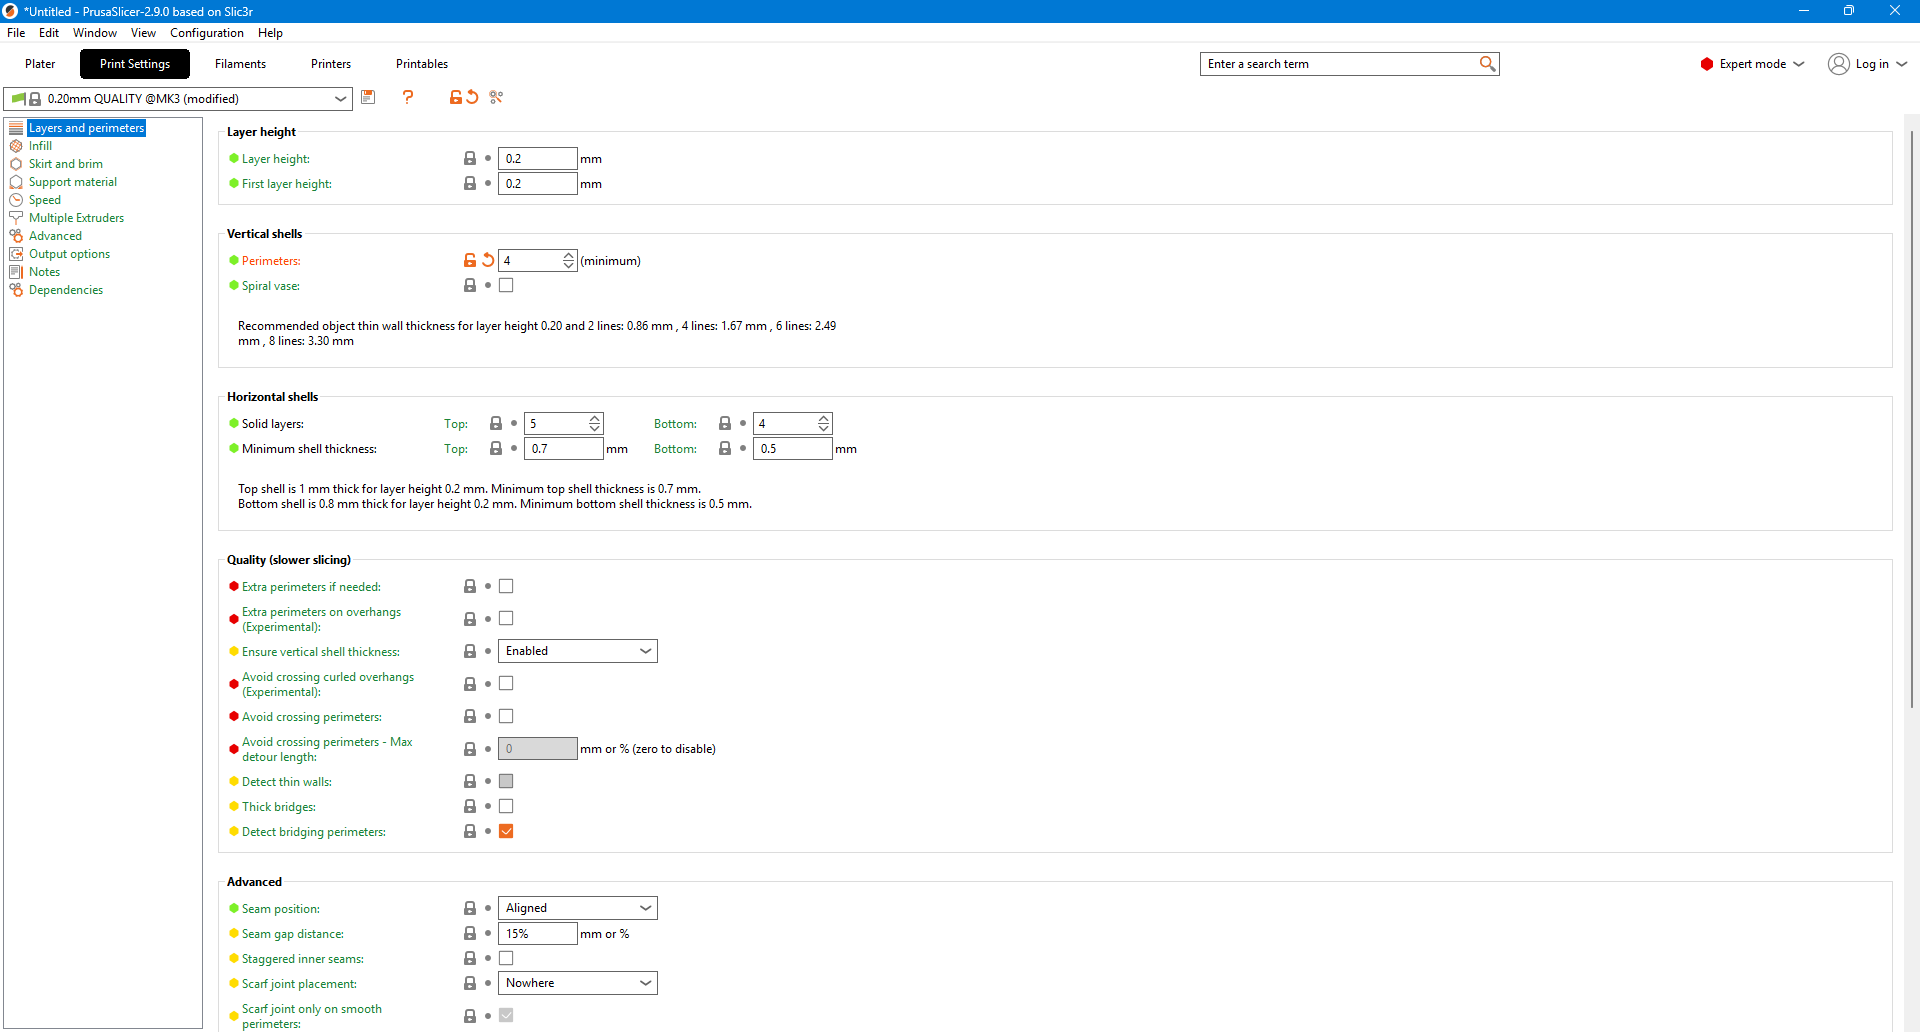
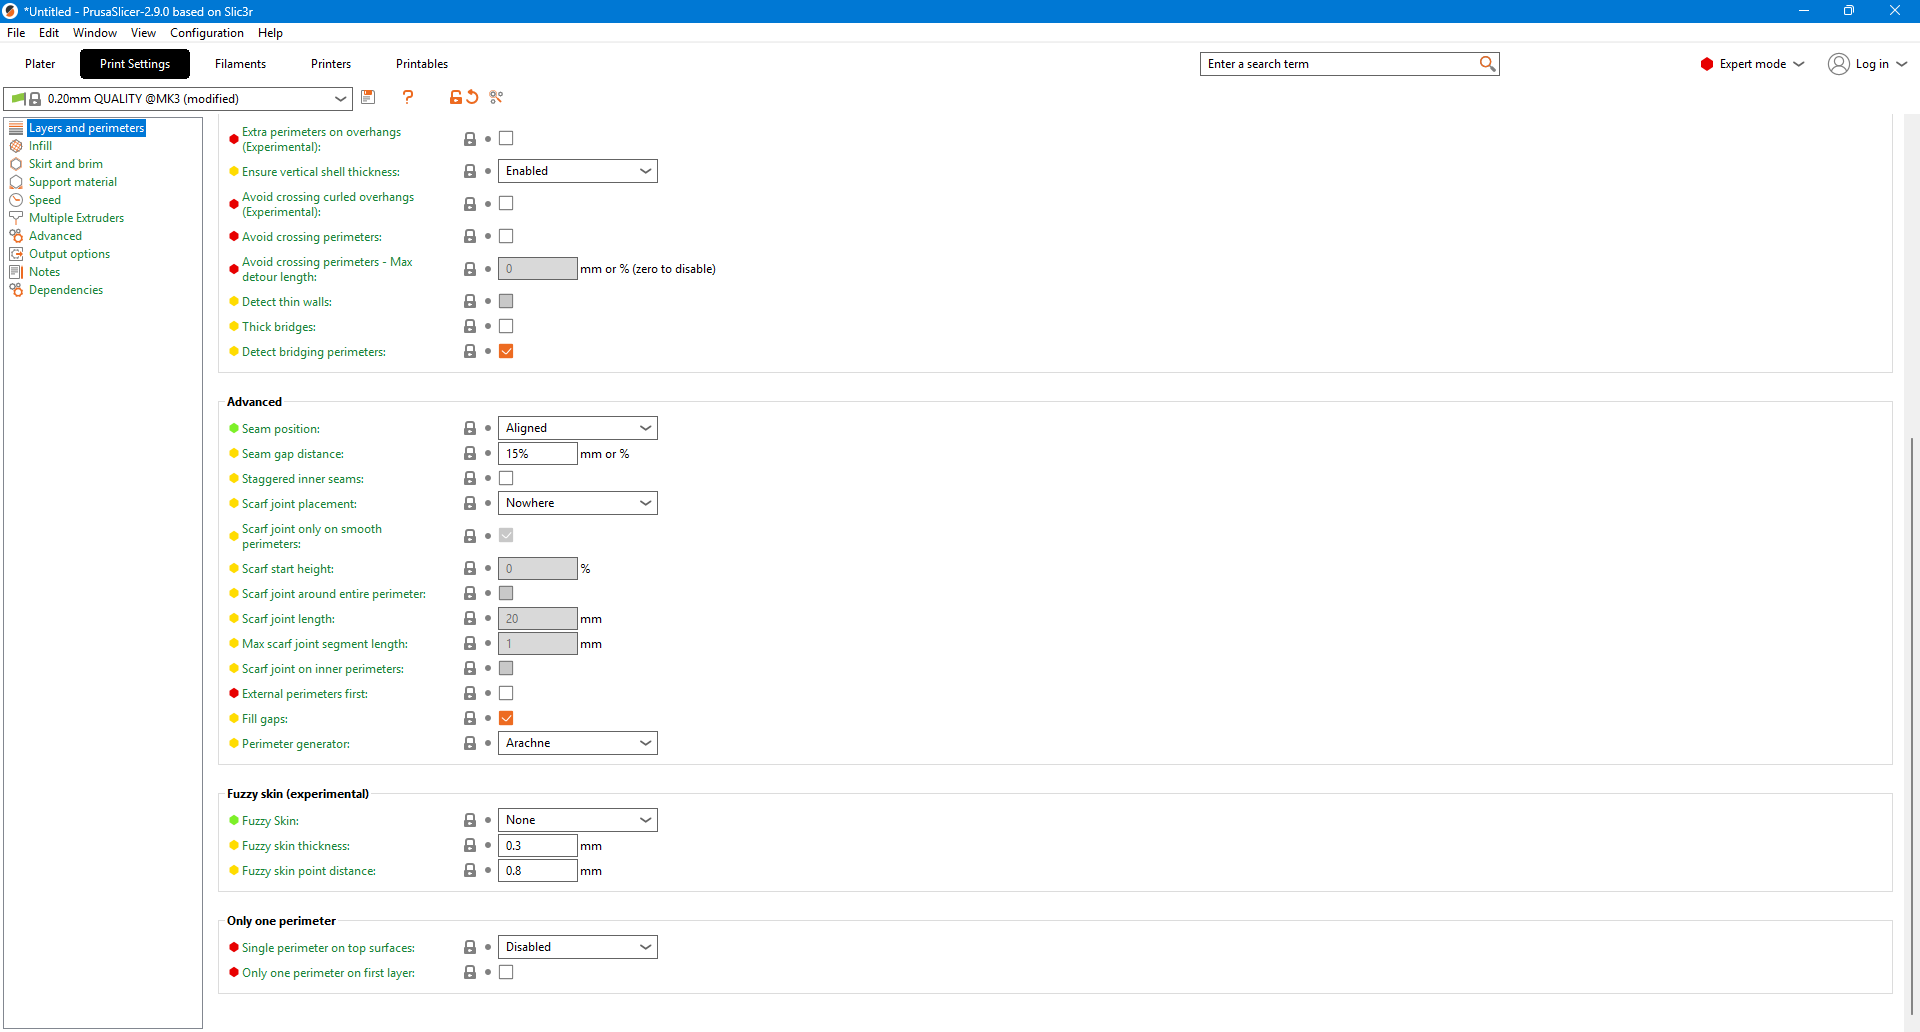
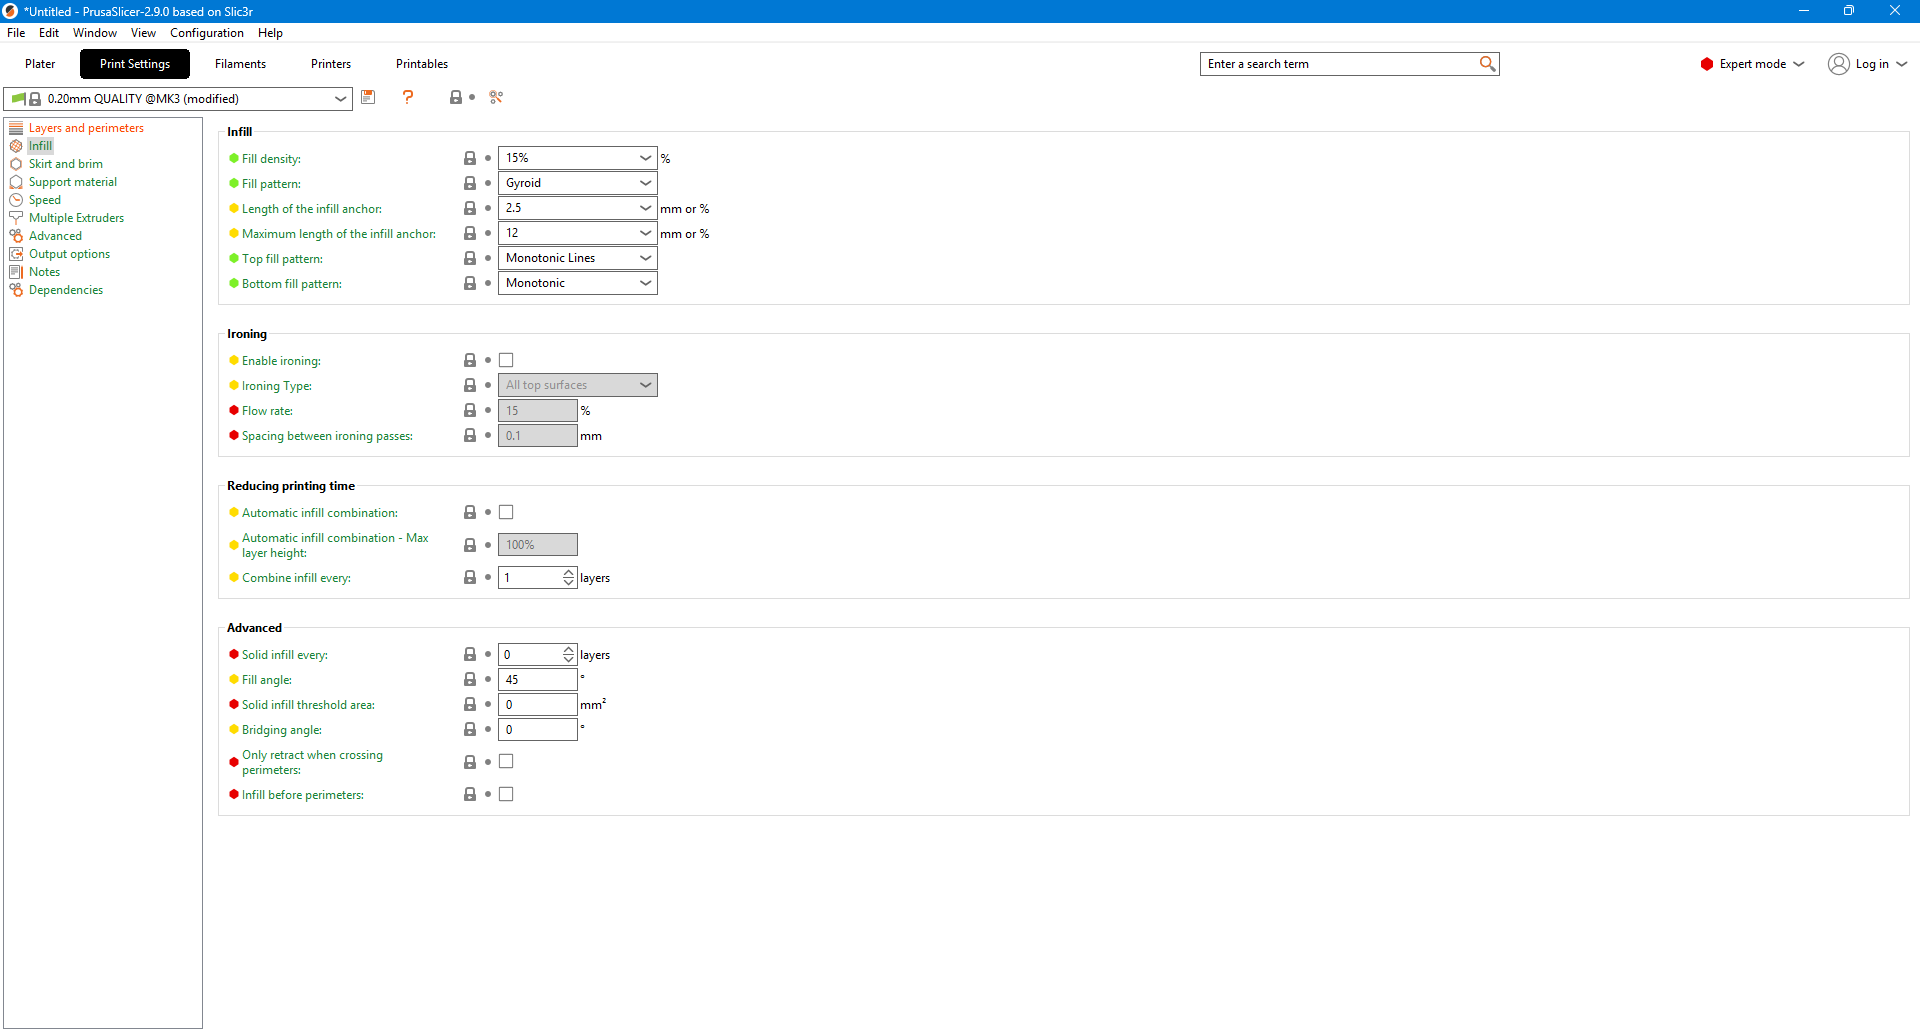
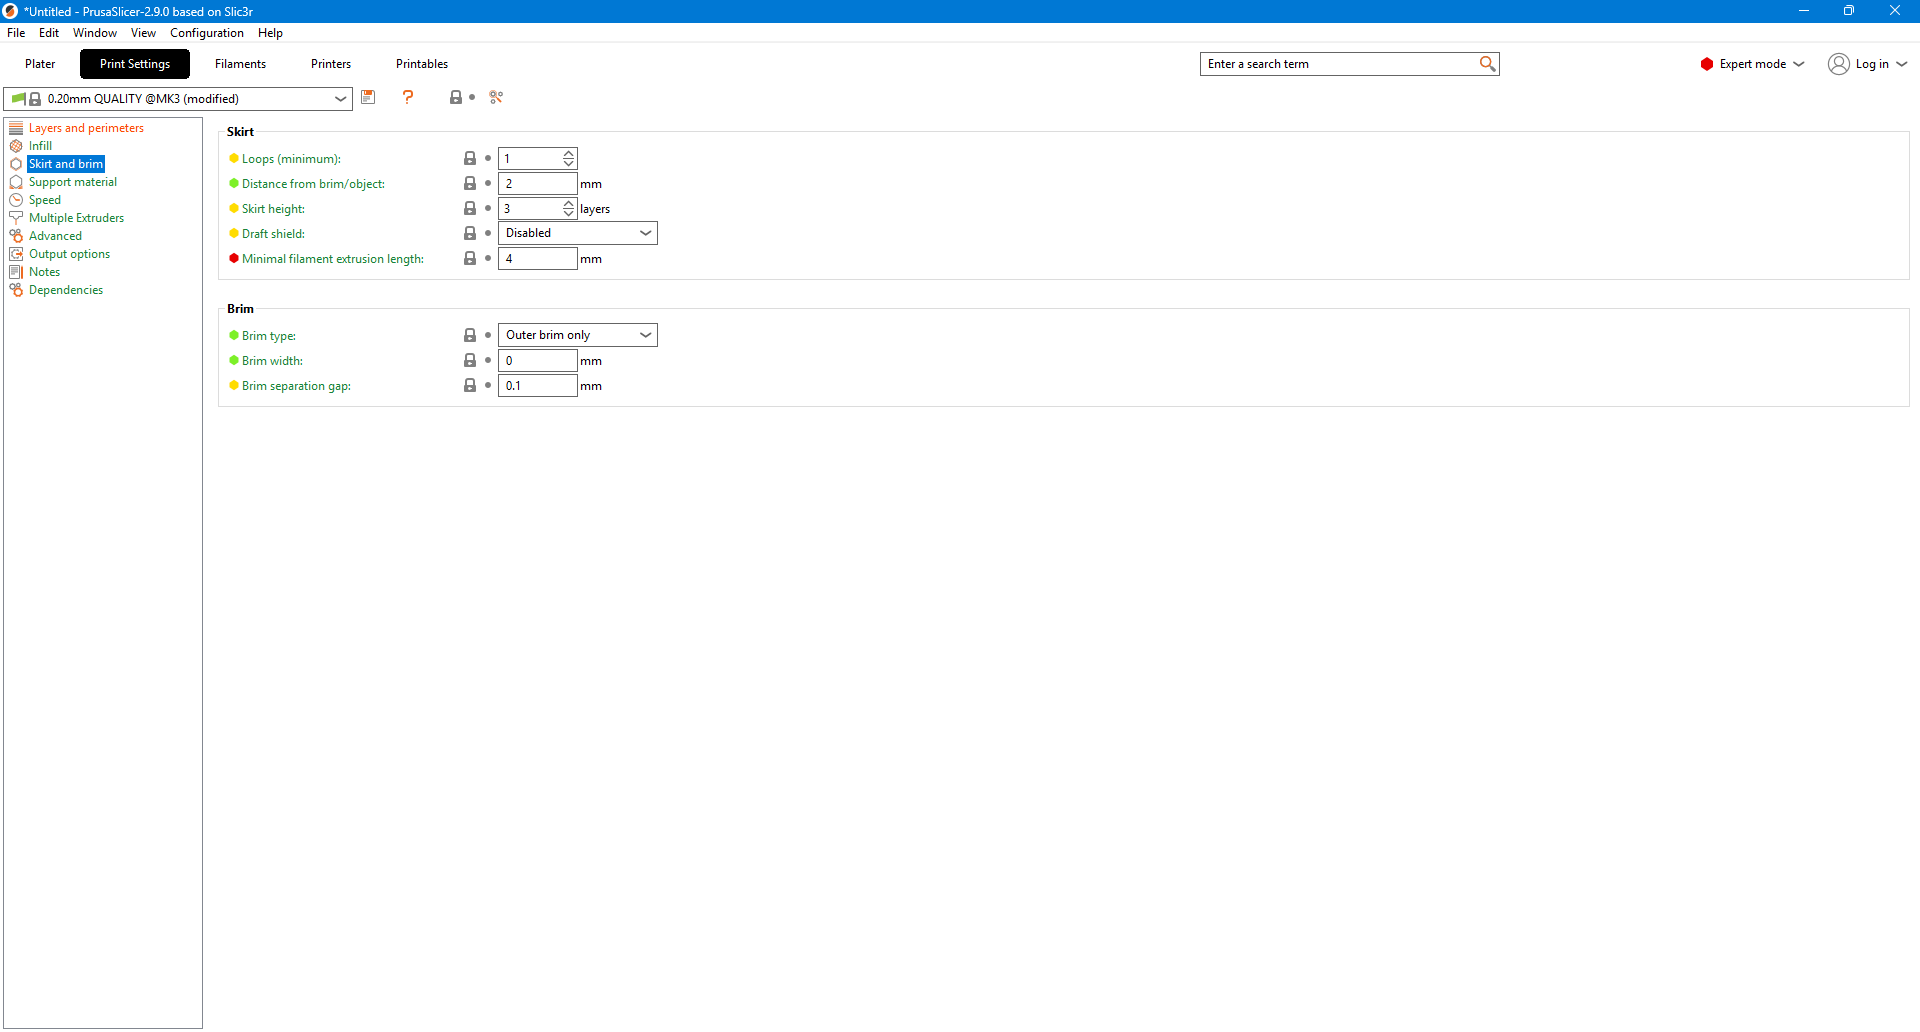
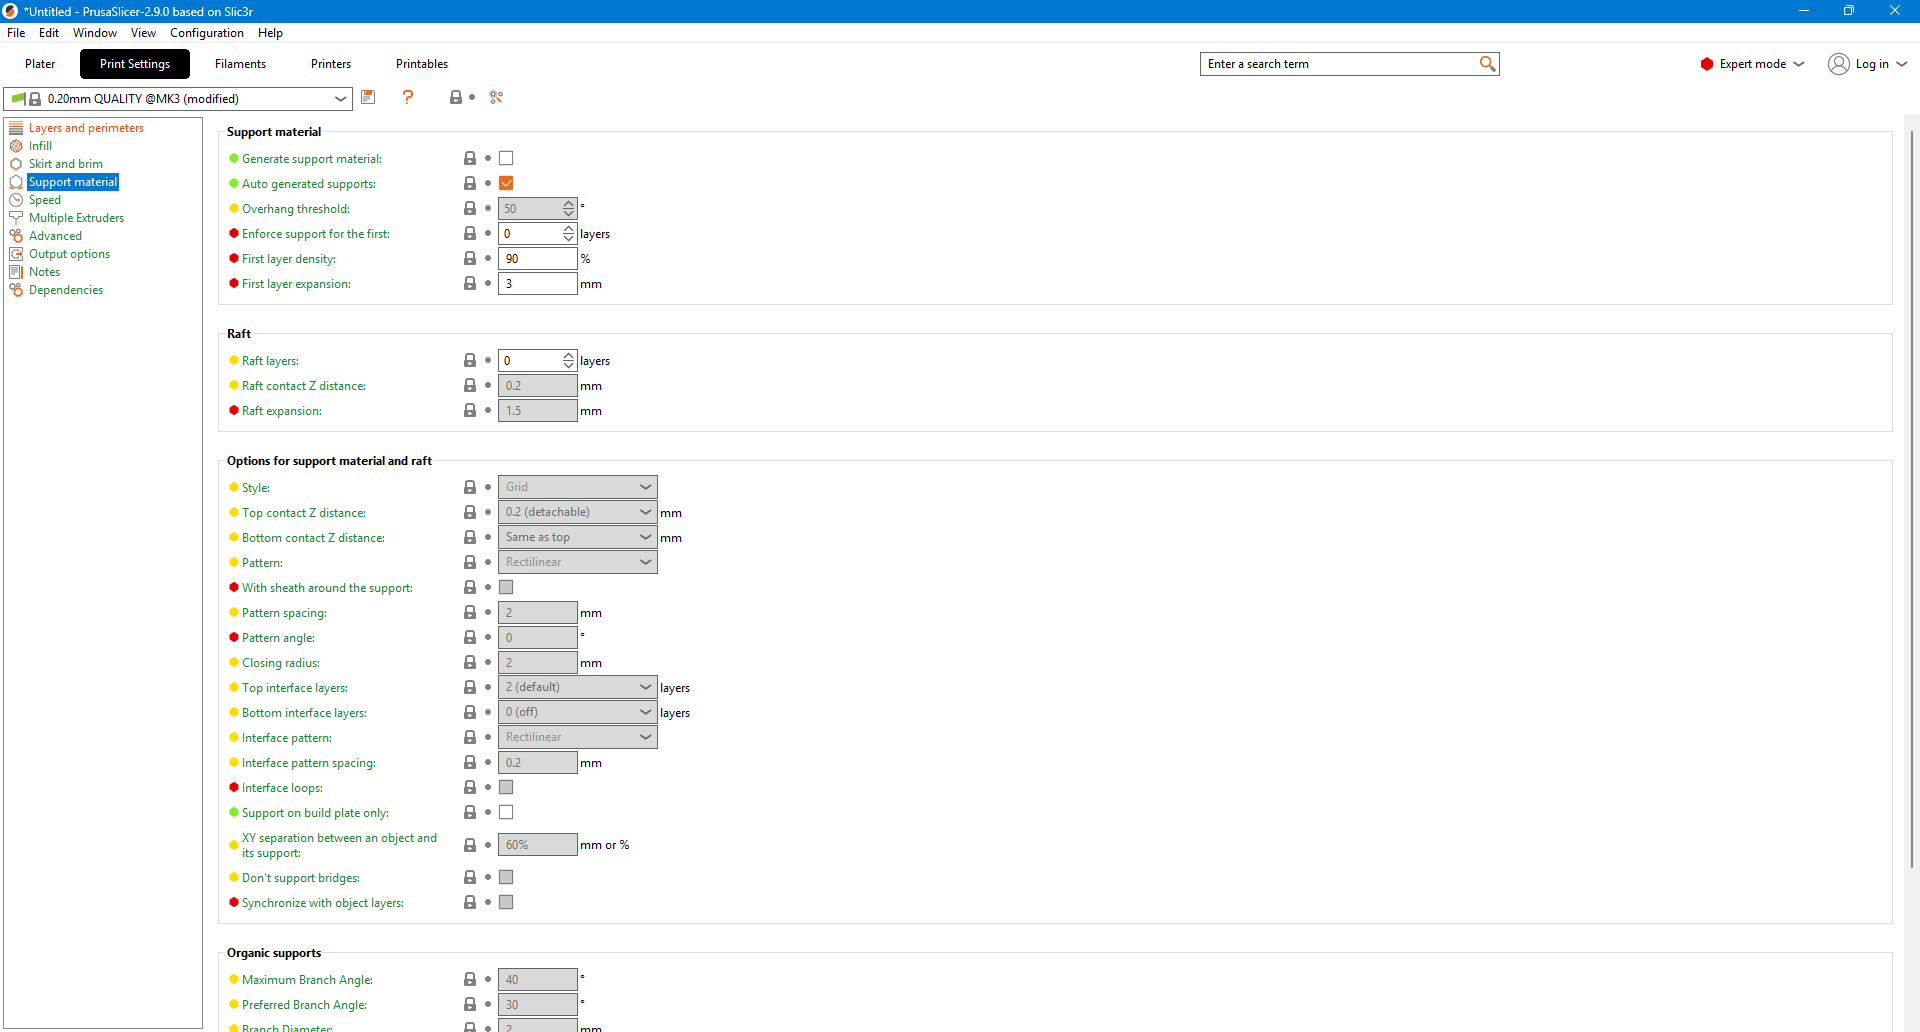
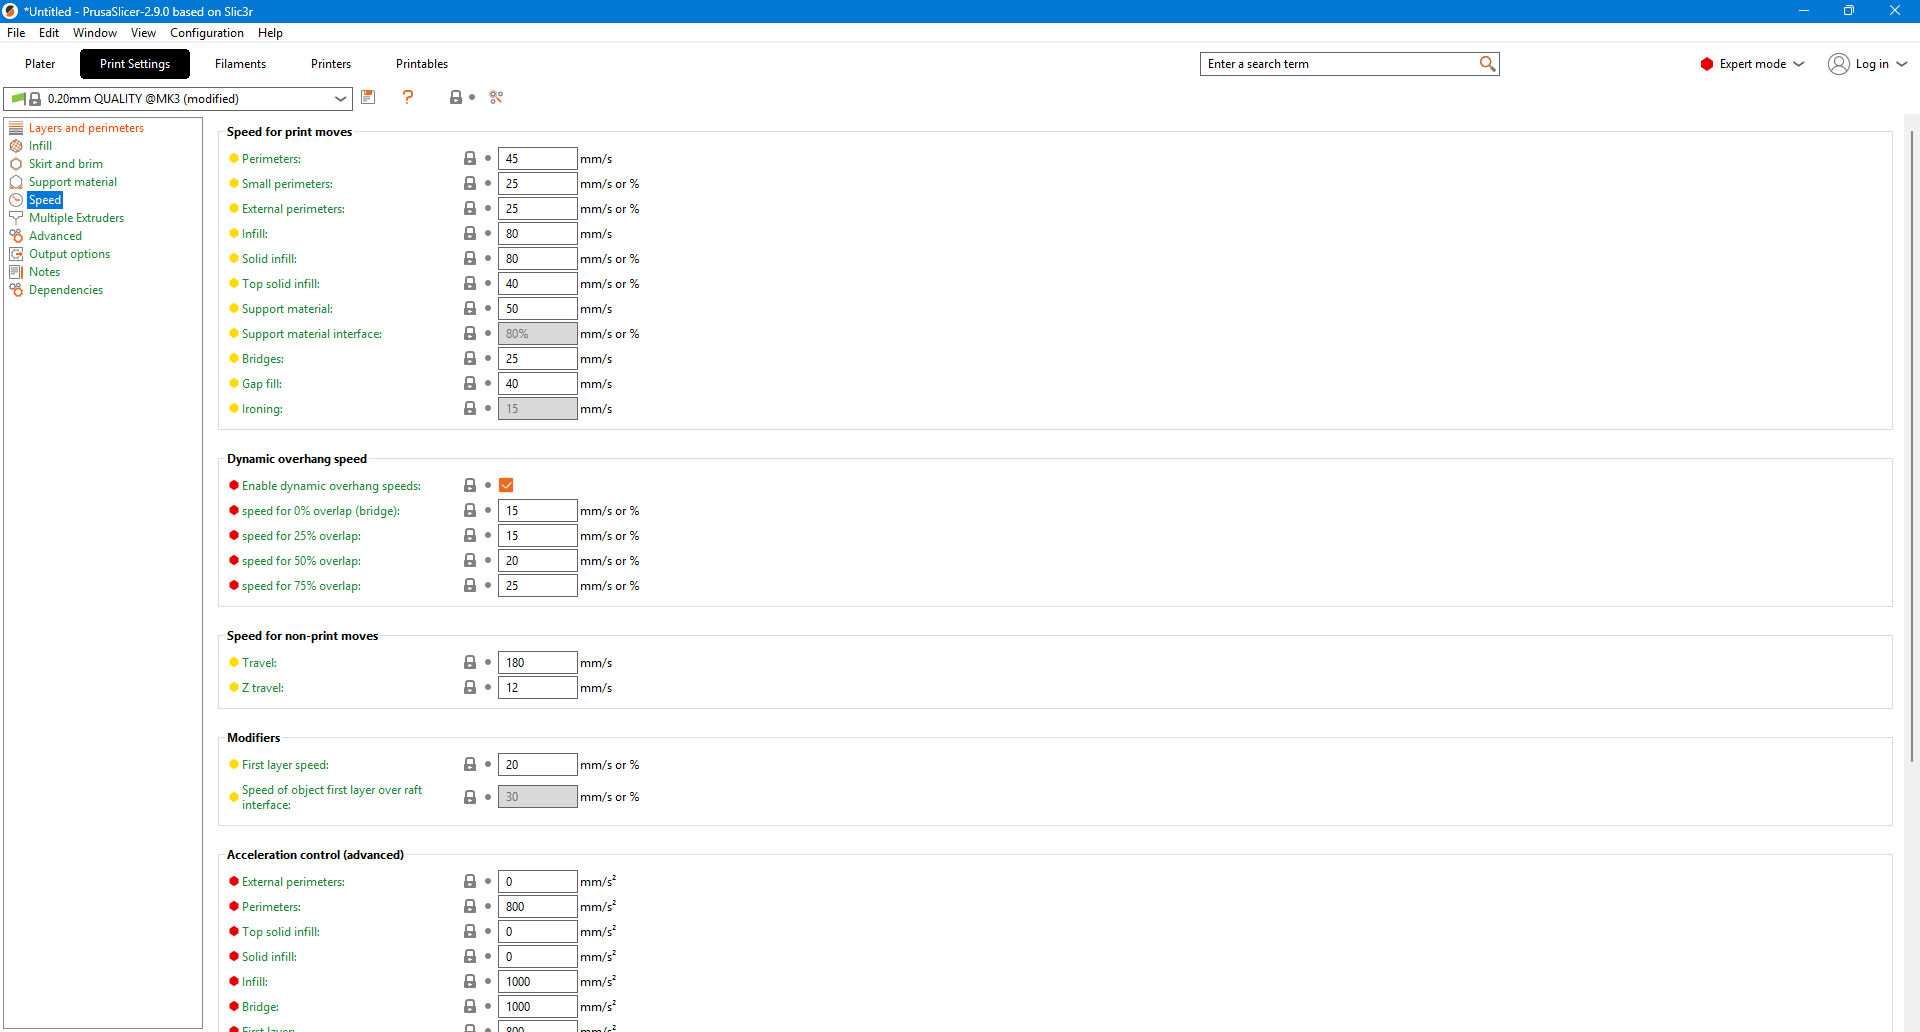
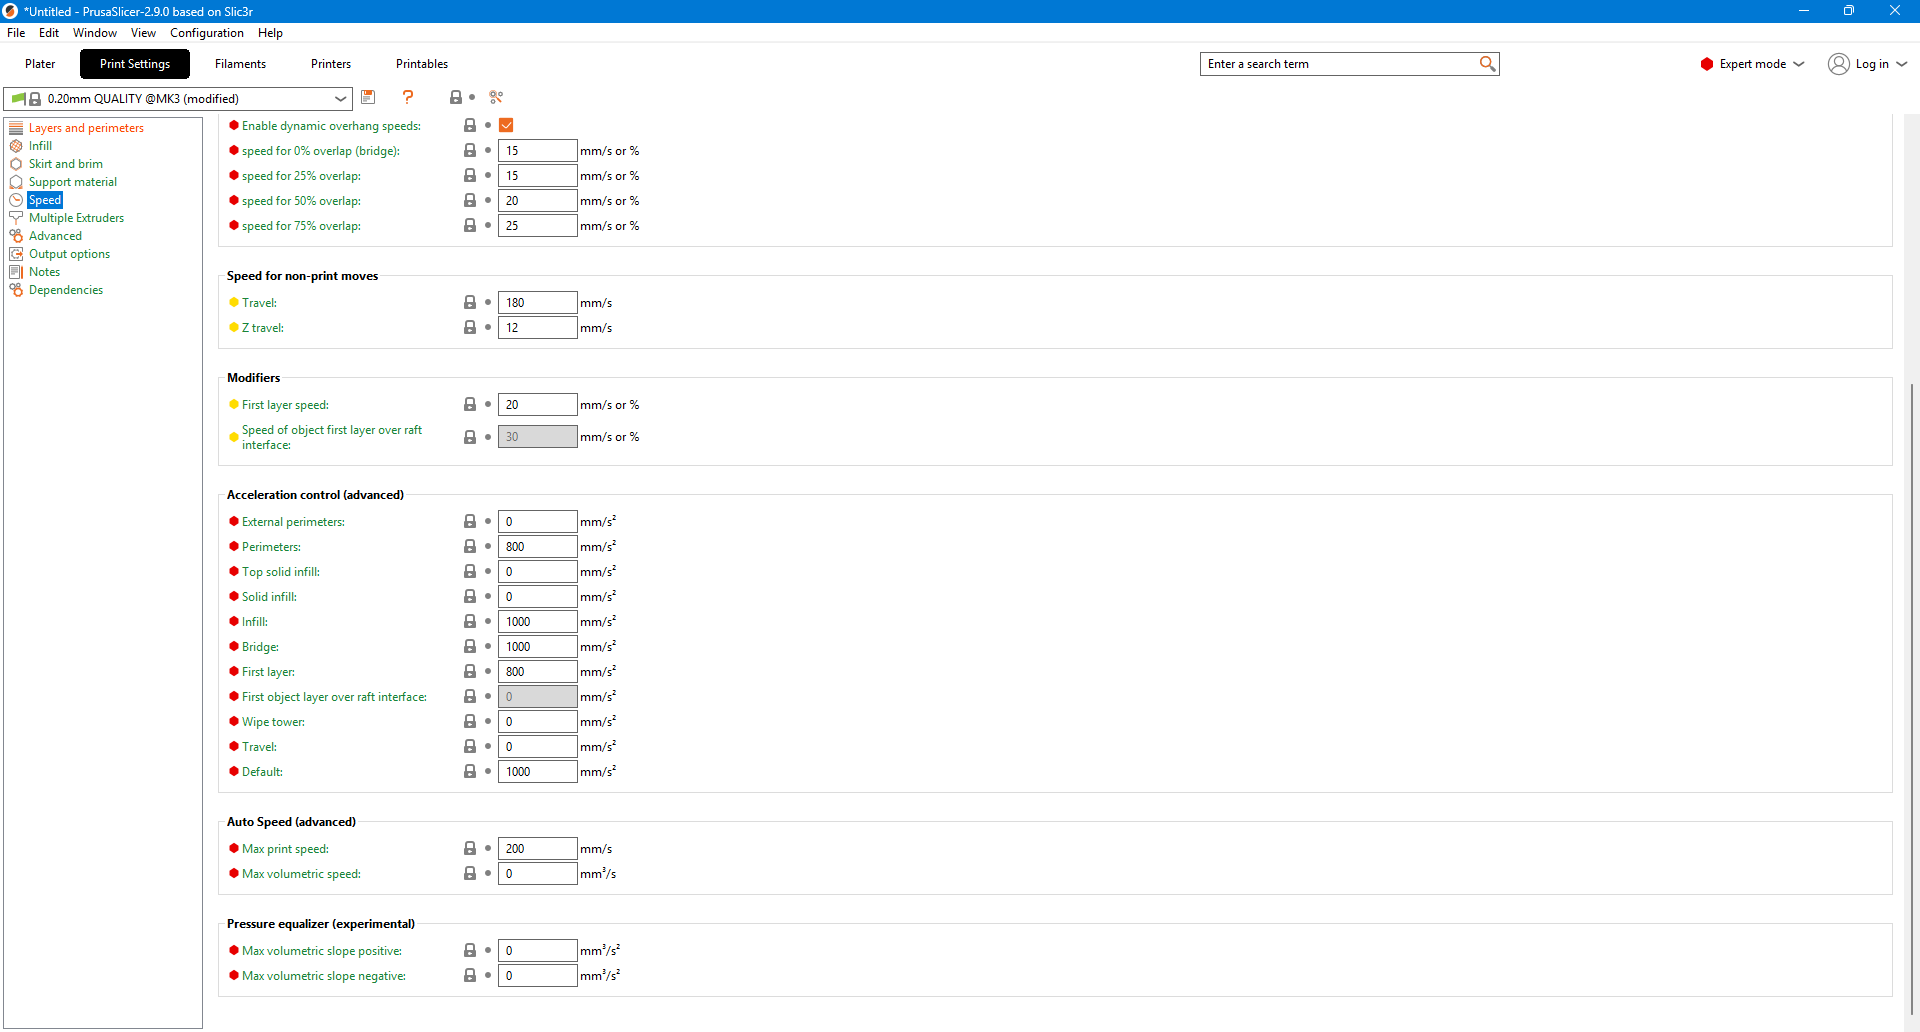
During the 3D printing week, I worked with three different printers. The first was the Prusa MK3S, where I used a 0.2 mm layer height and set the vertical shell parameter. I disabled supports since the design did not require them. The printing speed was set at 45 mm/s, and these settings were consistently applied to all test prints for the week.

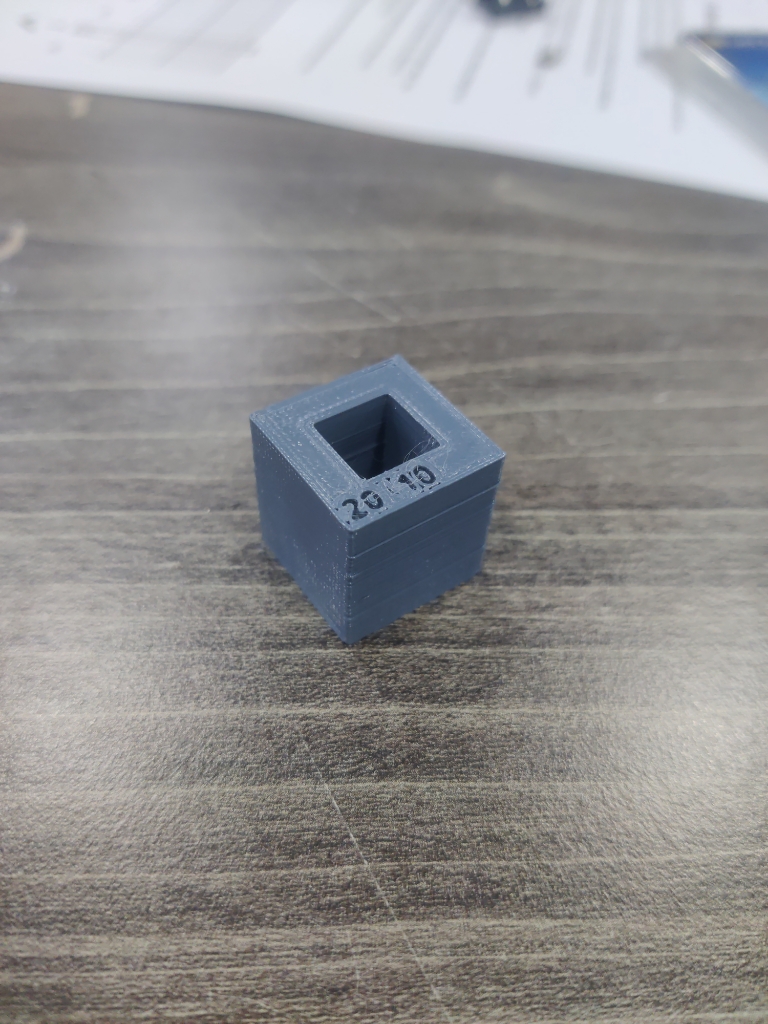
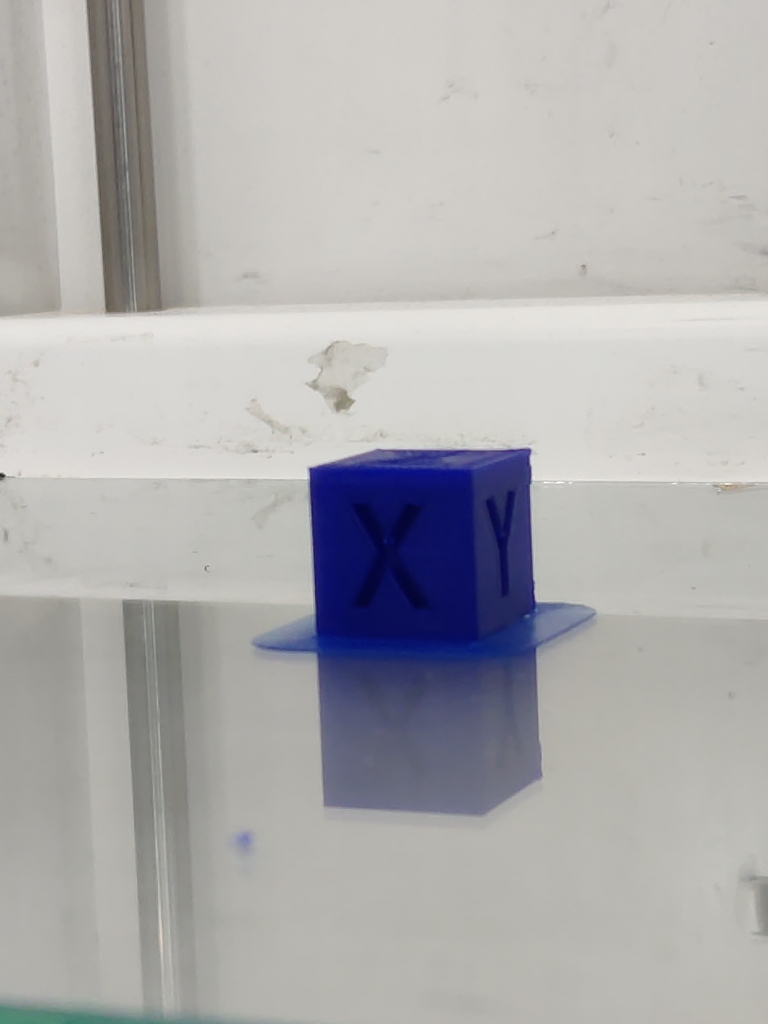
Design and Tolerance Testing:
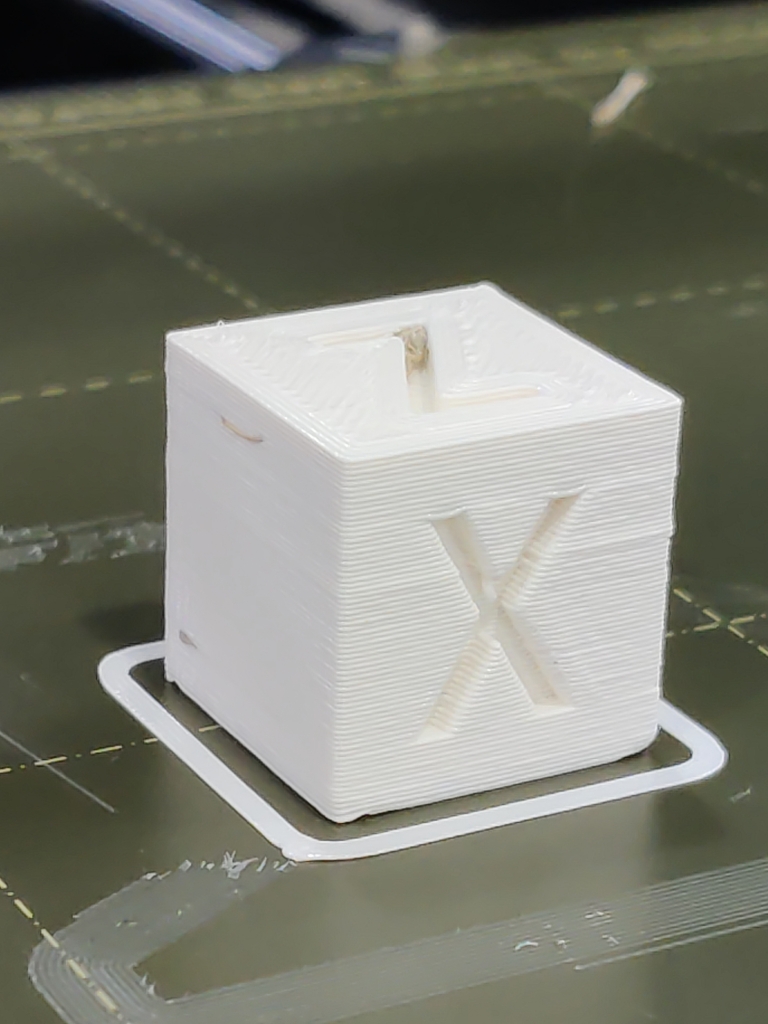
- We used a test file (called the "XYZ CUBE" model) to evaluate the tolerance of each axis.
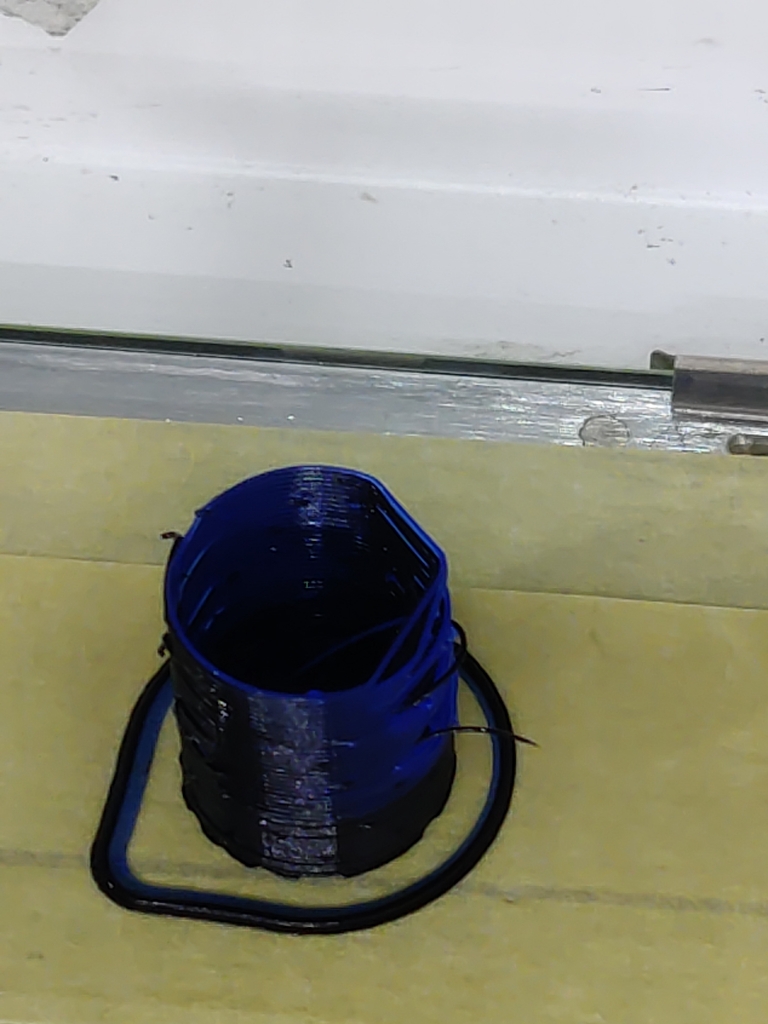
- After printing the test file, we identified an issue where the printer was burping excess filament at the tip of each layer.

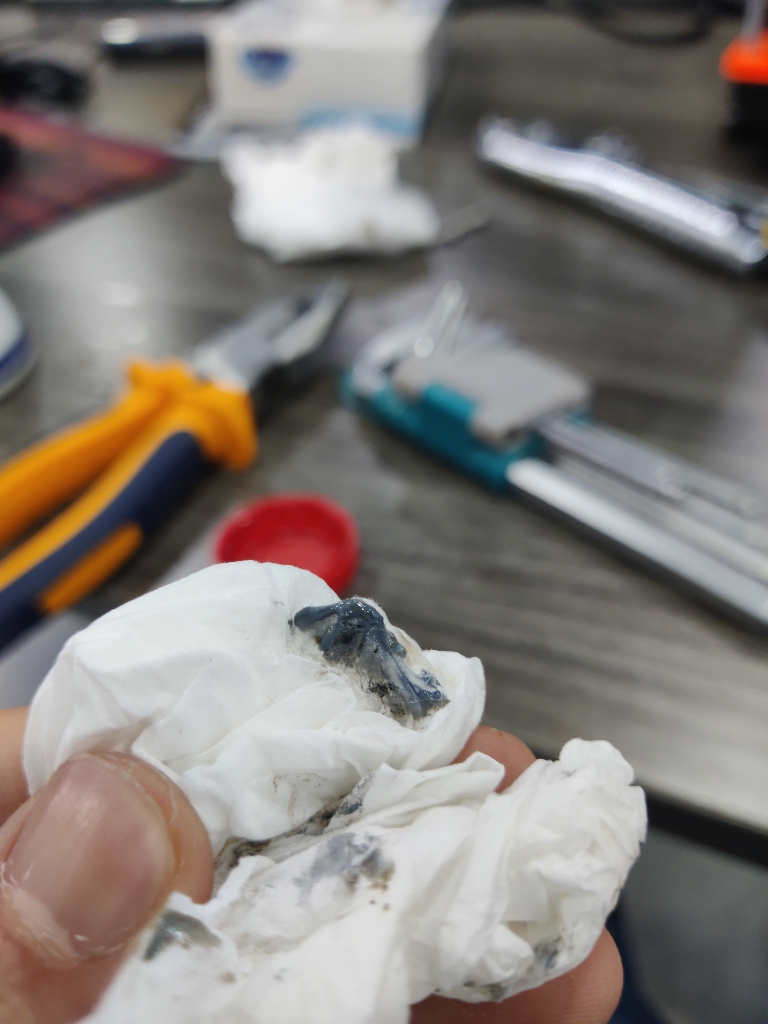
Troubleshooting and Calibration:
- To address the issue, I disassembled the print head, cleaned the nozzle, and ensured that the extruder and nozzle were properly tightened.
- I recalibrated the printer's first bed layer using the wizard calibration cycle, which resolved the issue.
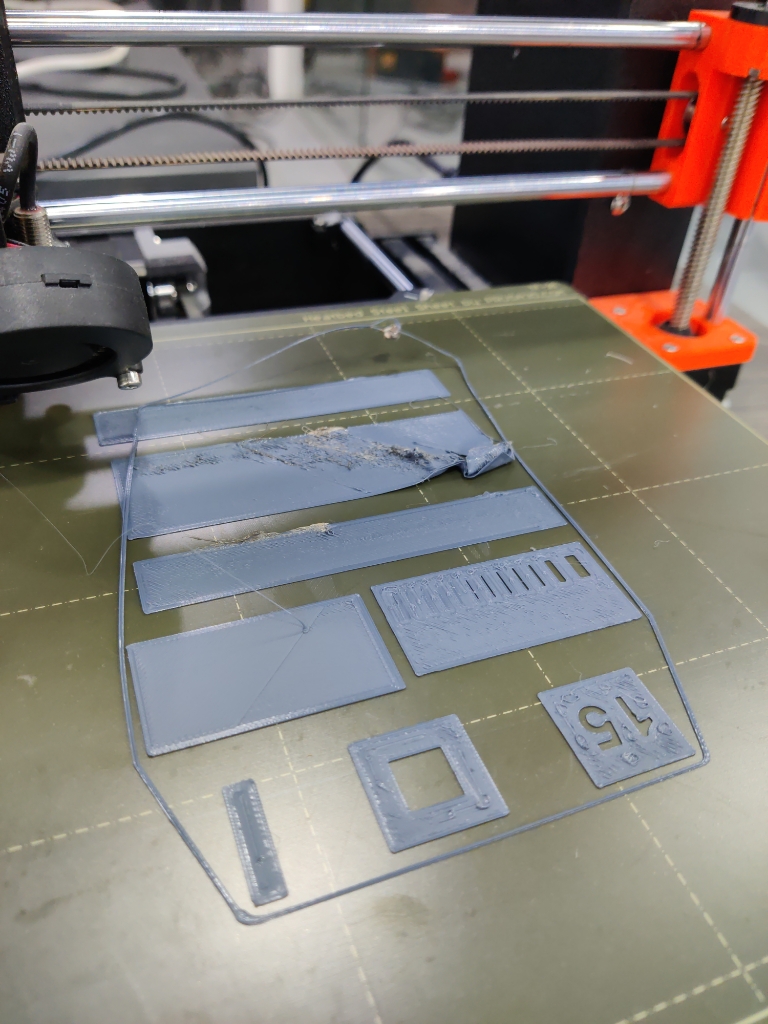
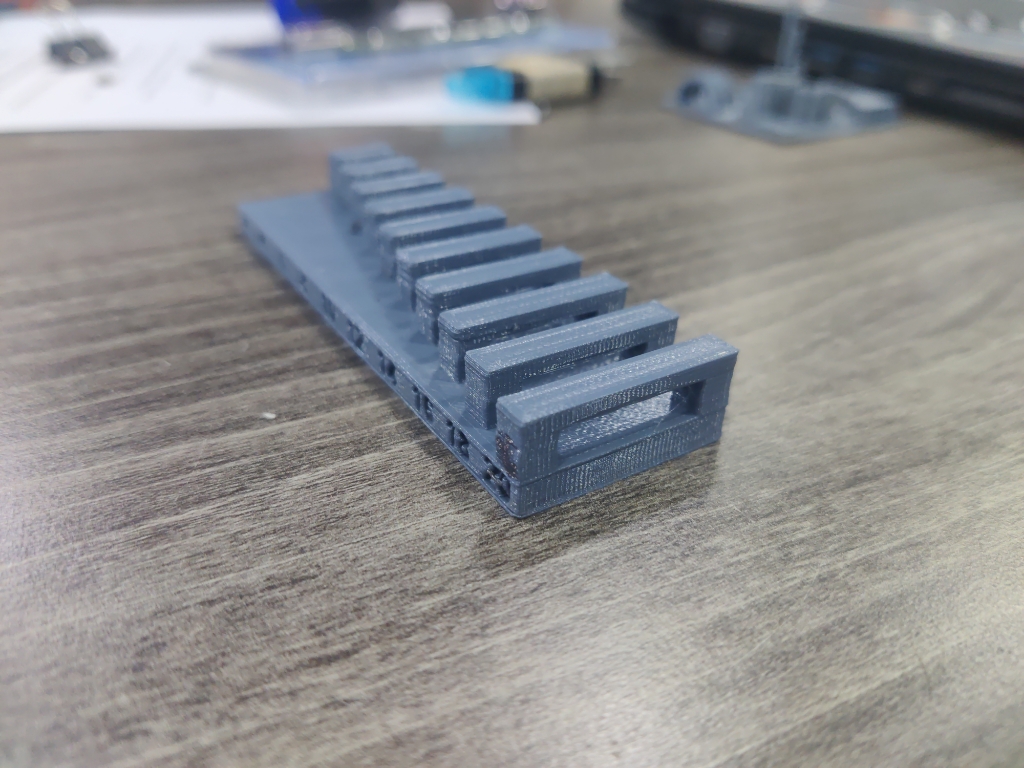
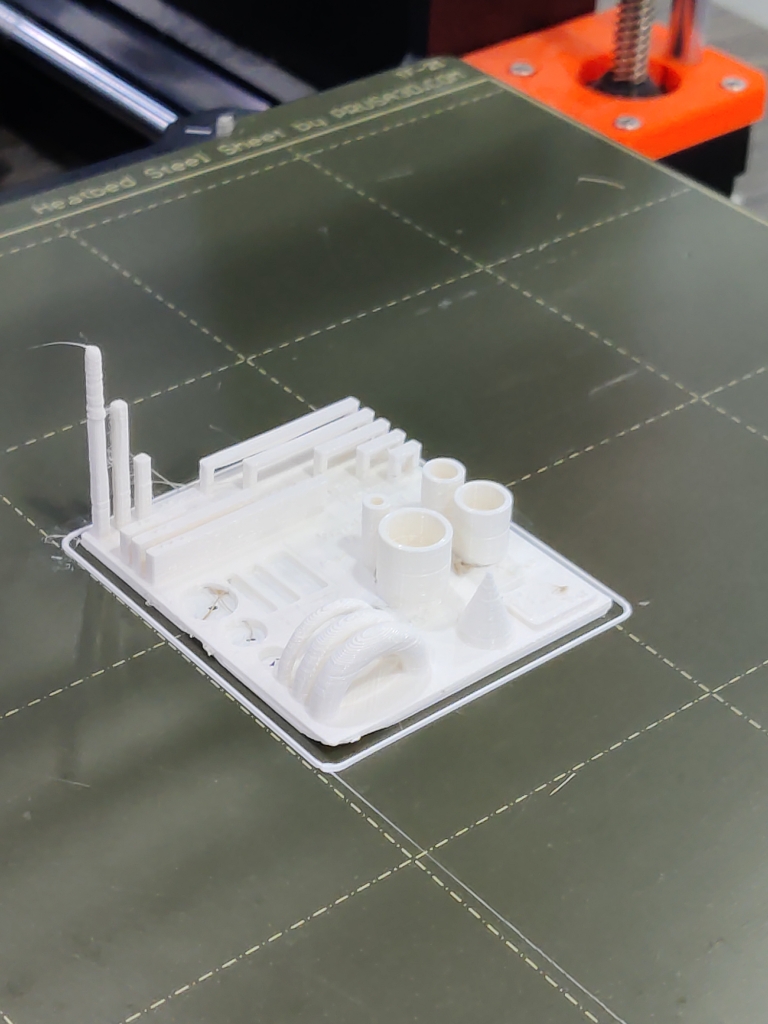
Testing Results:
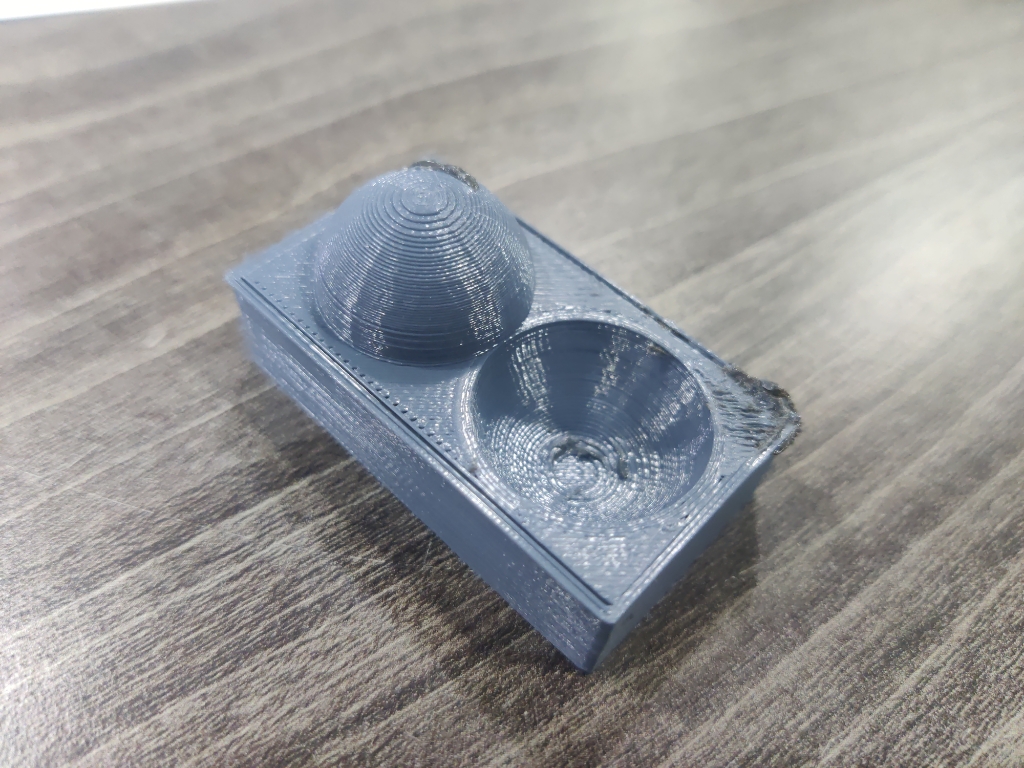
- The printed test file was re-evaluated for tolerance using a caliper, measuring the inner and outer diameters as well as hole thickness.
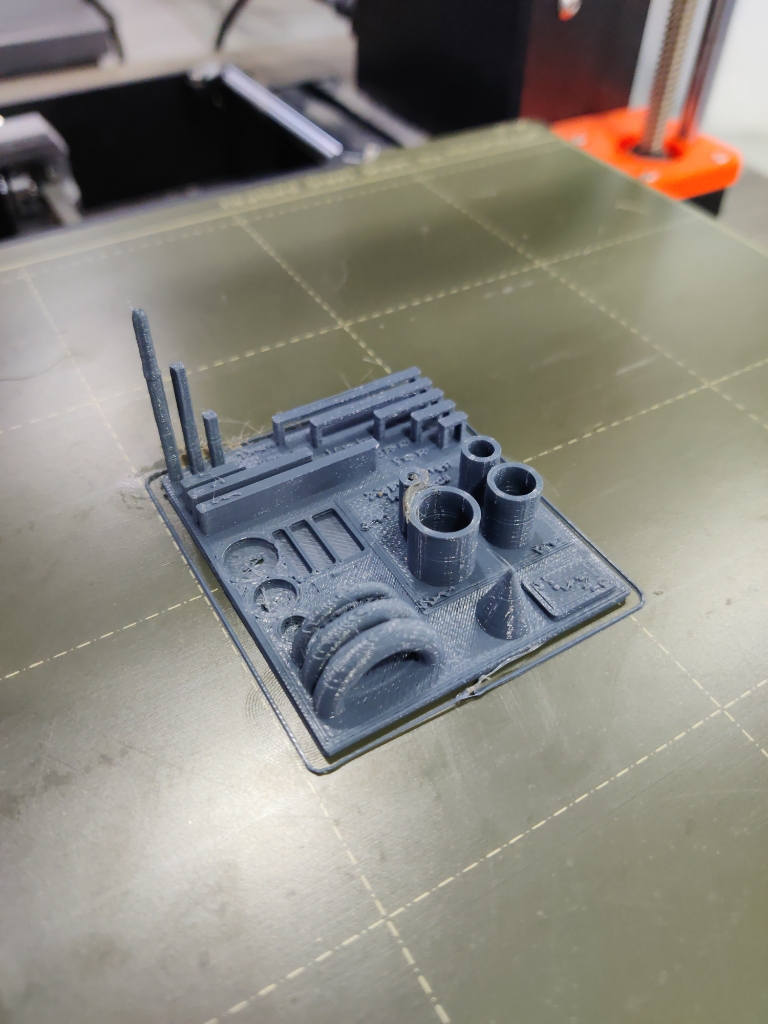
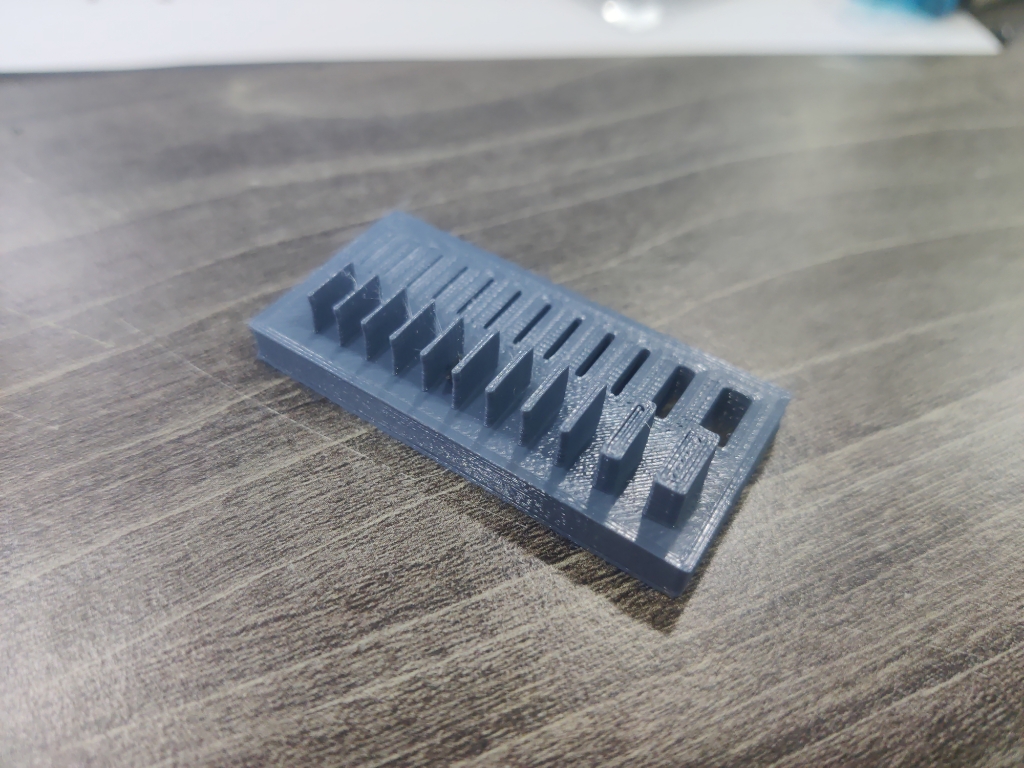
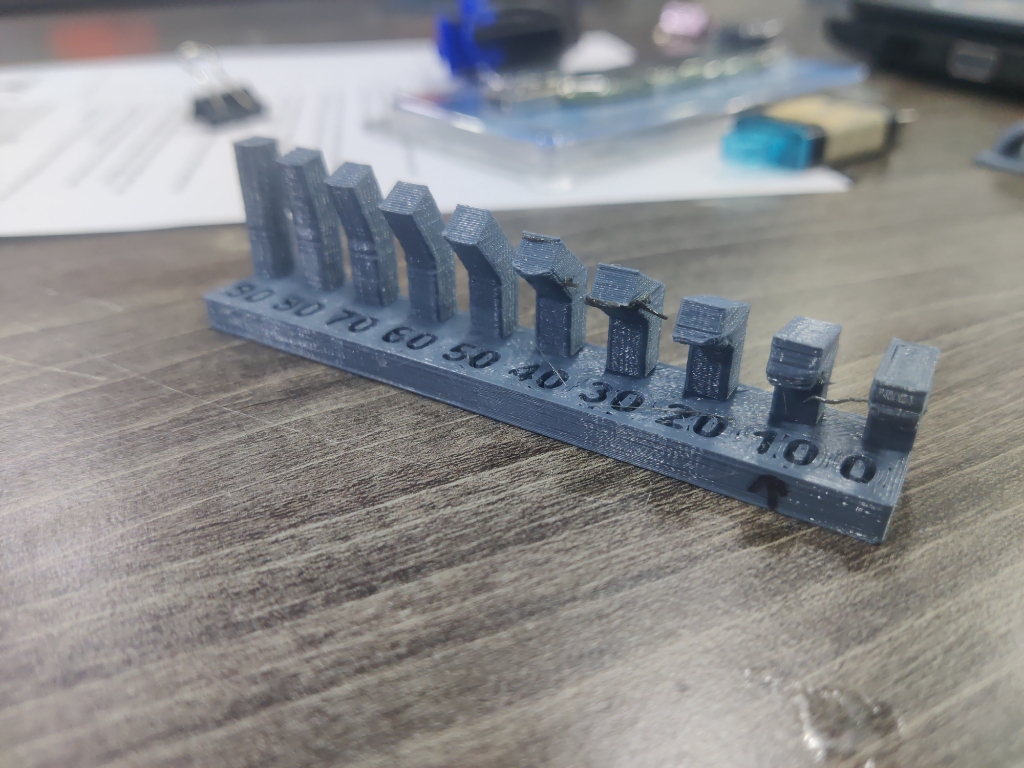
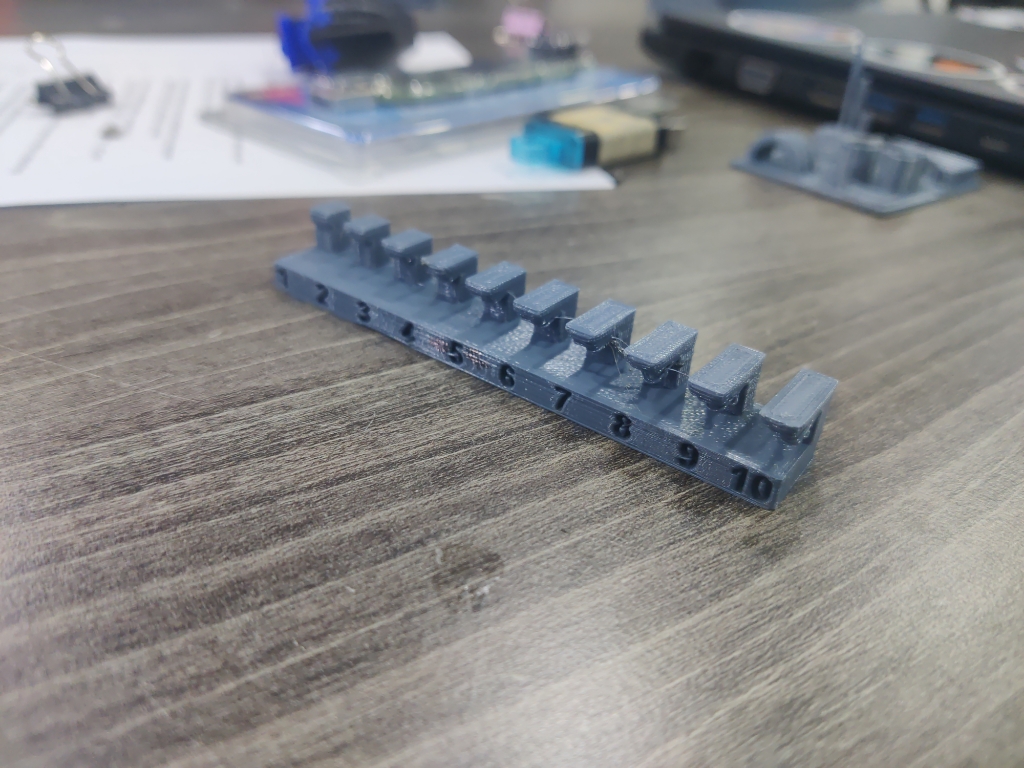
- We tested how the layer reacts to circular patterns and determined that a 10° overhang angle was the maximum the printer could handle.
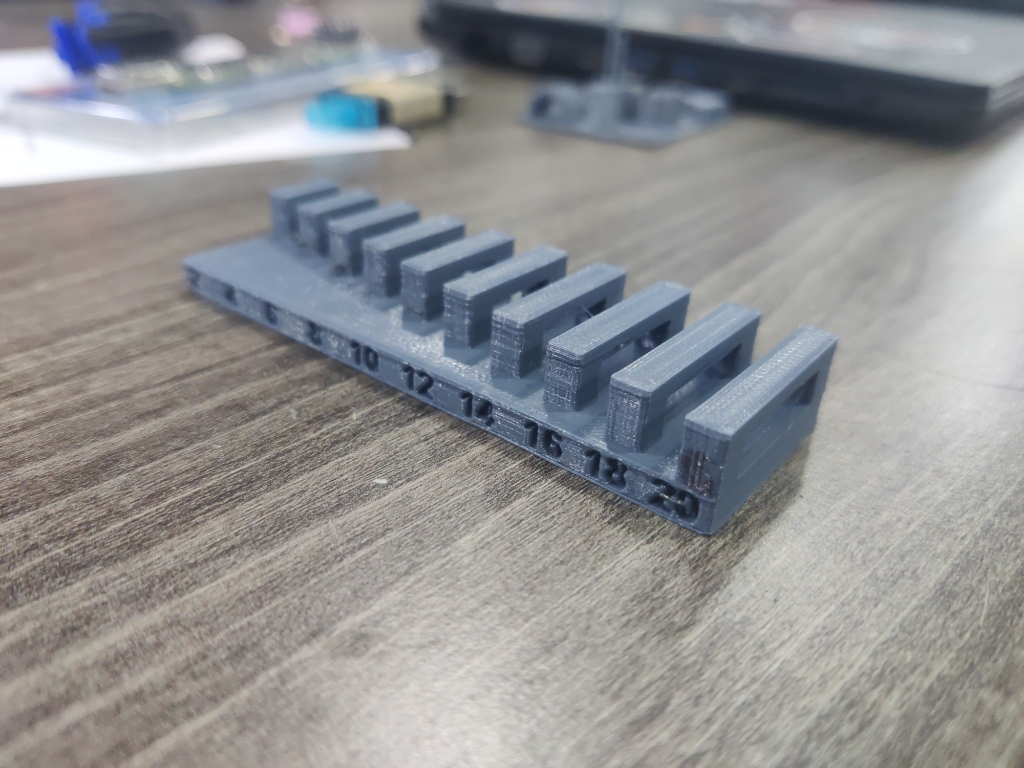
- The bridging test revealed that 20 cm was the maximum bridge length without sagging or defects.
Testing Advanced Multicolor Printing:
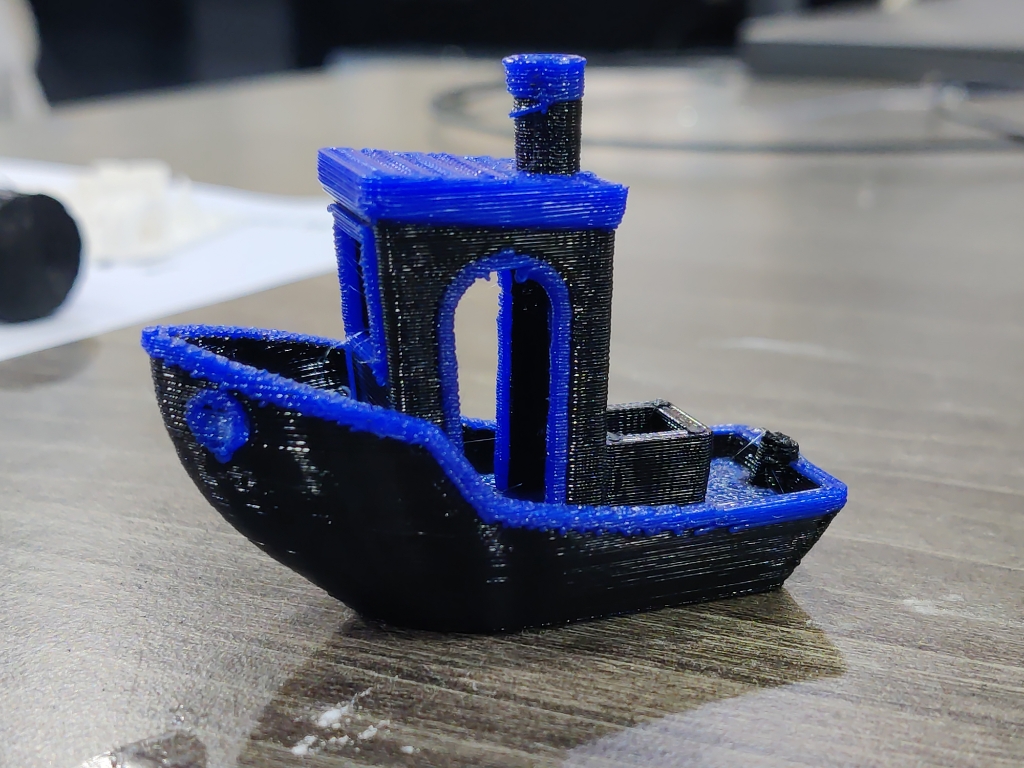
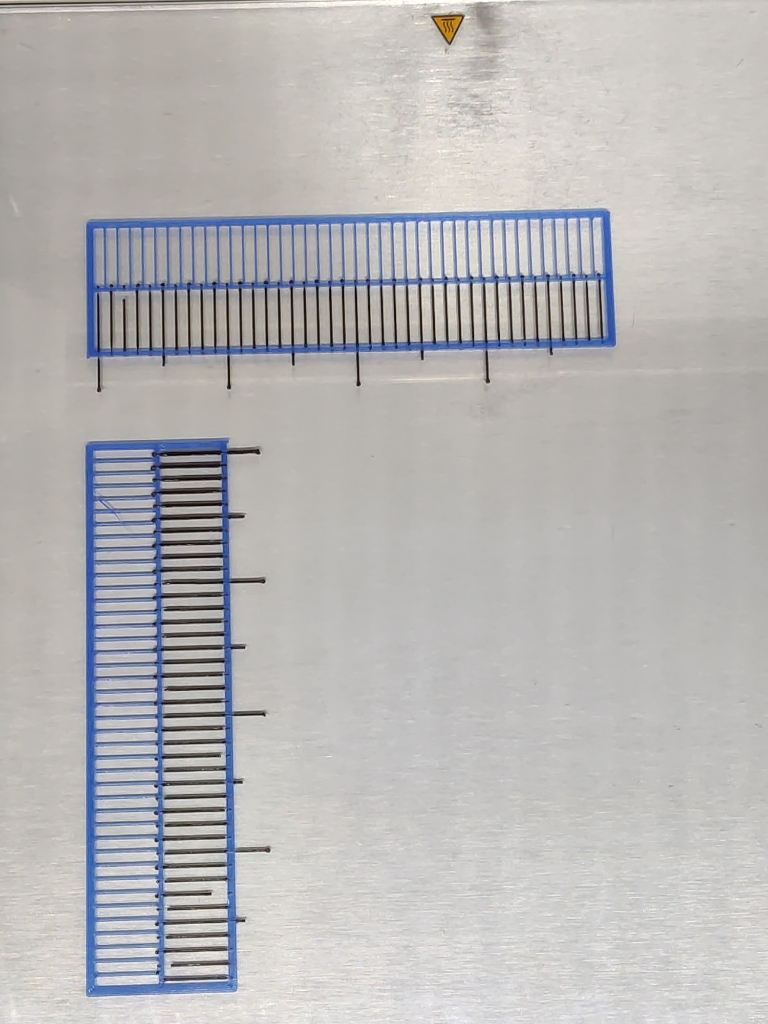
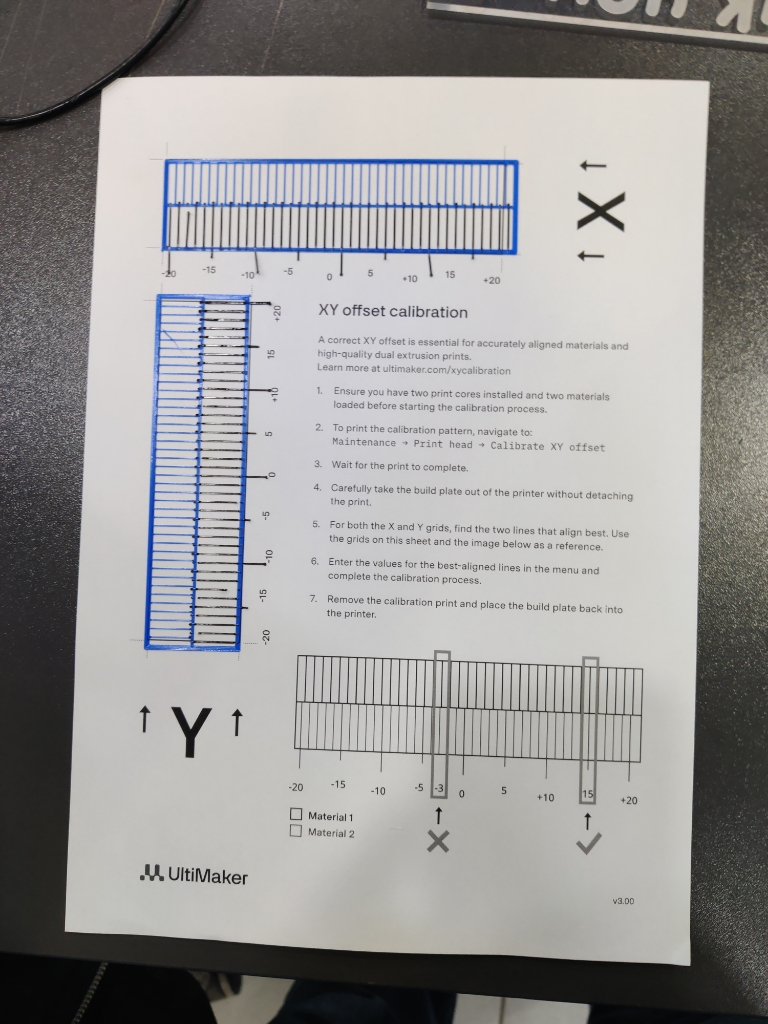
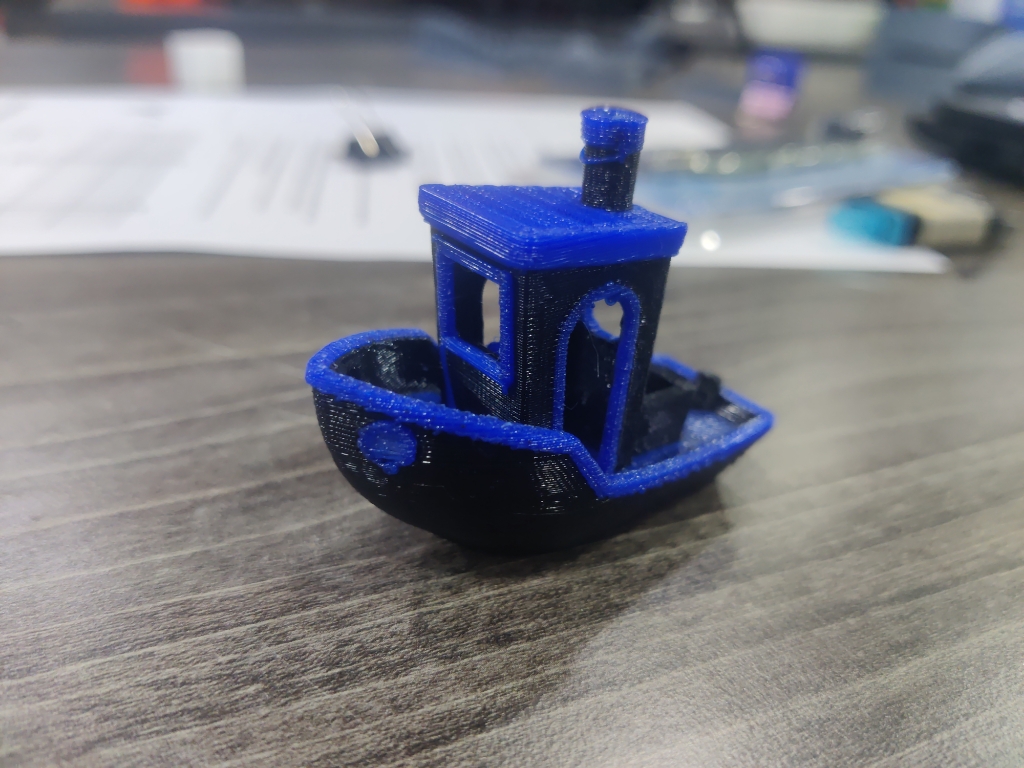
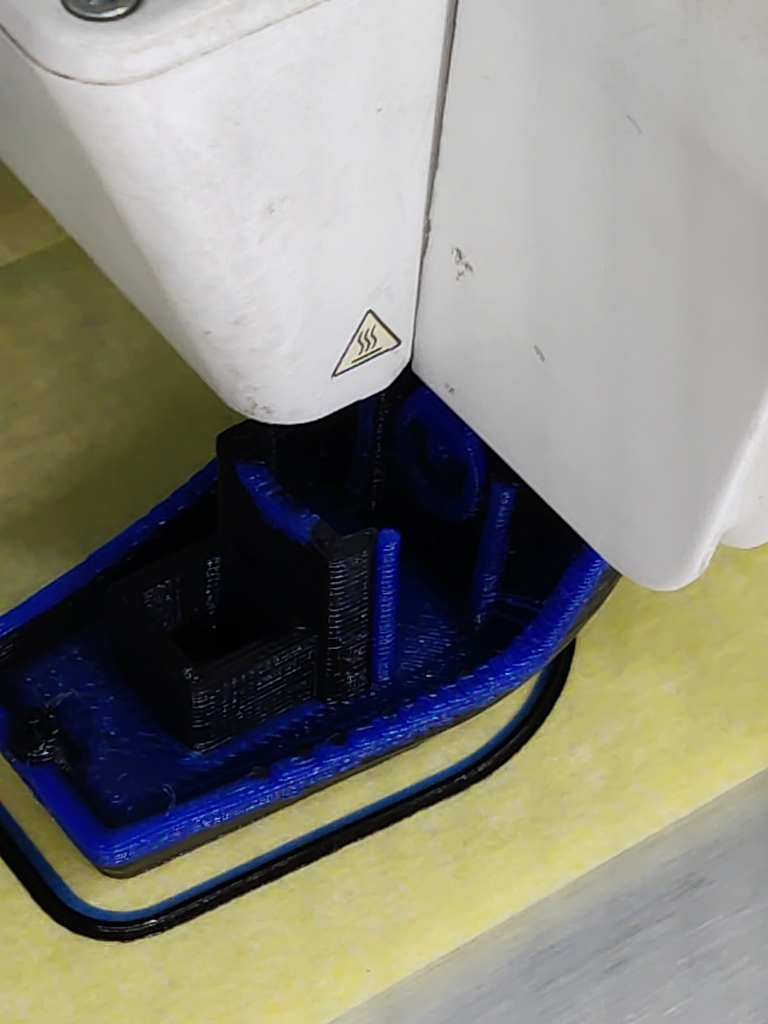
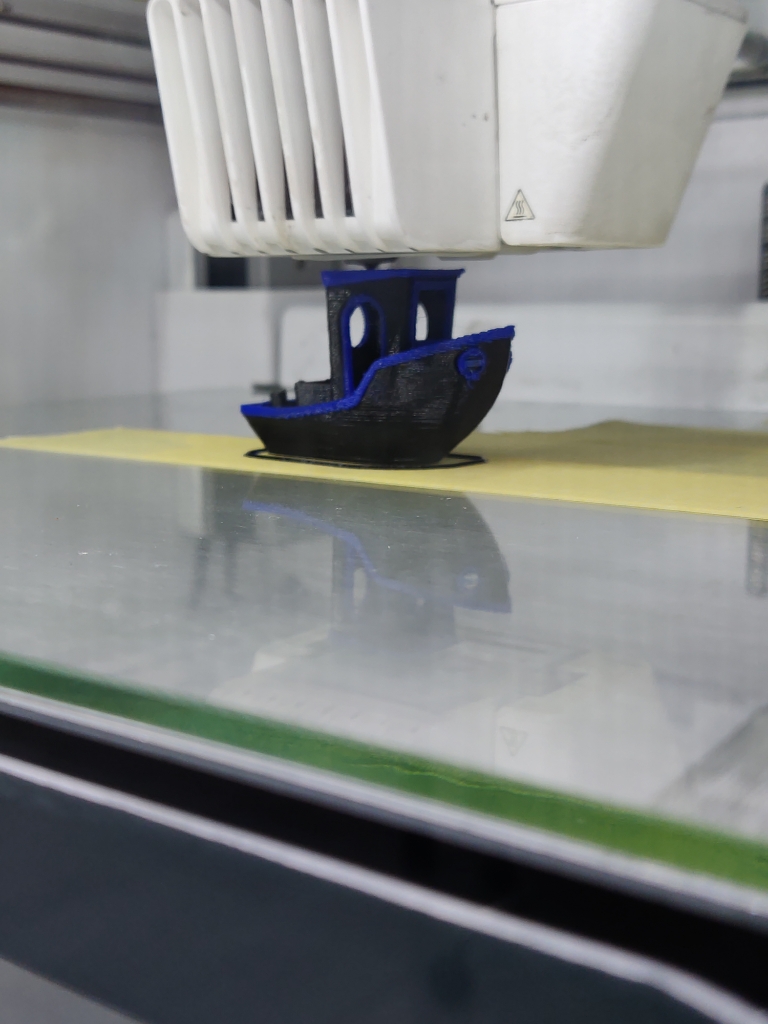
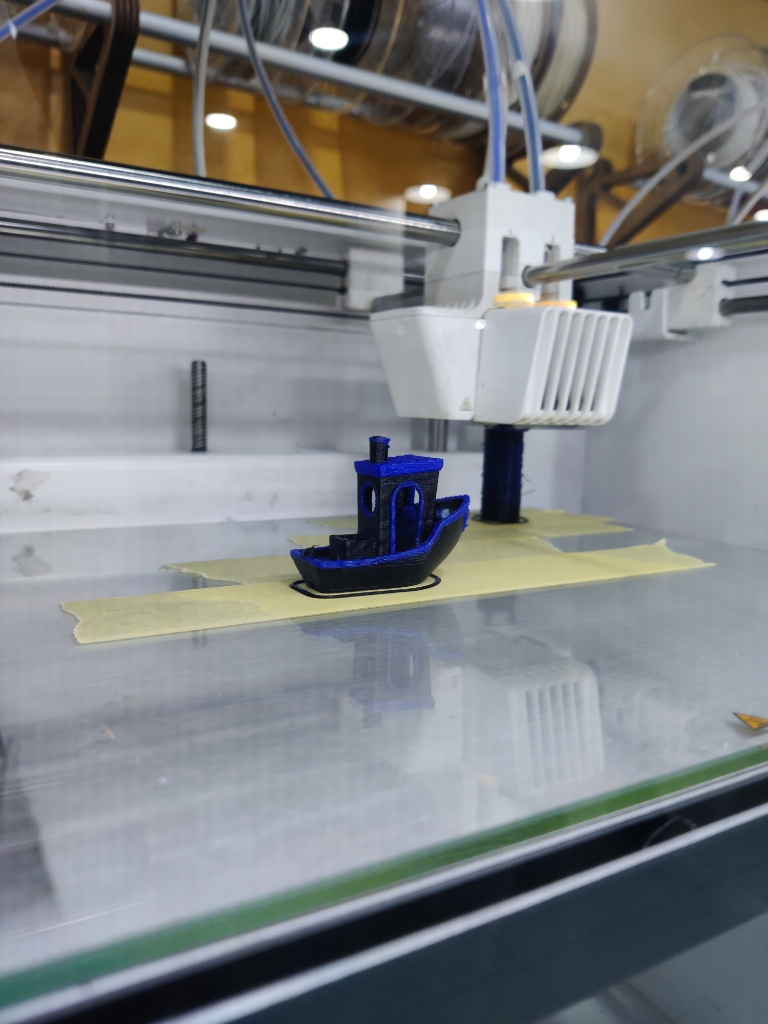
- We moved on to the Ultimaker S5, which has a dual extruder setup for multicolor printing.
- After calibrating the offset between the X and Y axes for the two nozzles, we printed a multicolor Benchy model.
- Although the print quality was impressive, we noticed a significant amount of material waste due to frequent color changes between layers.
3D Printing Settings for the Test Prints
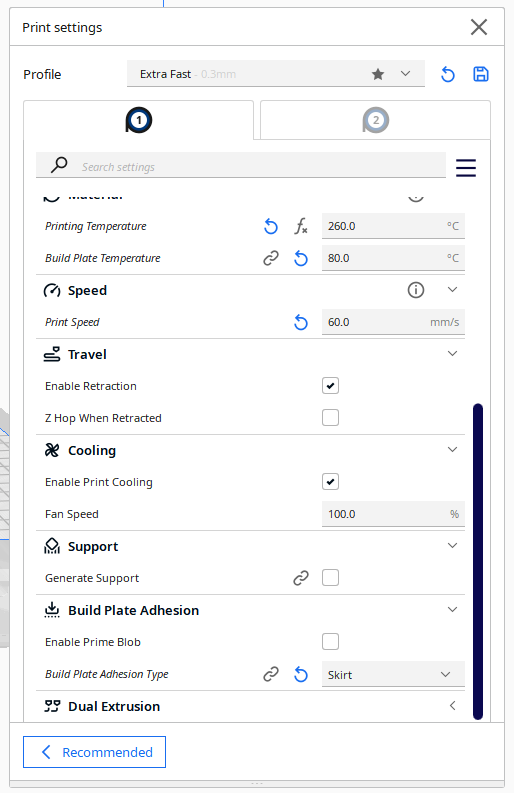
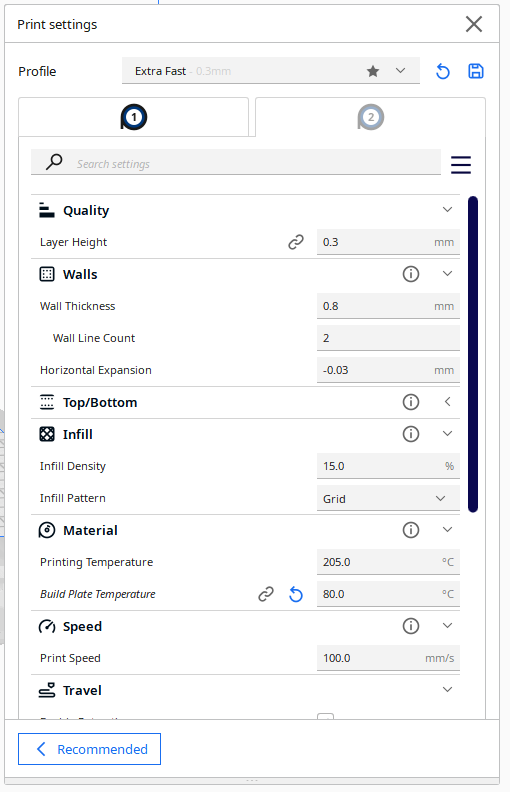
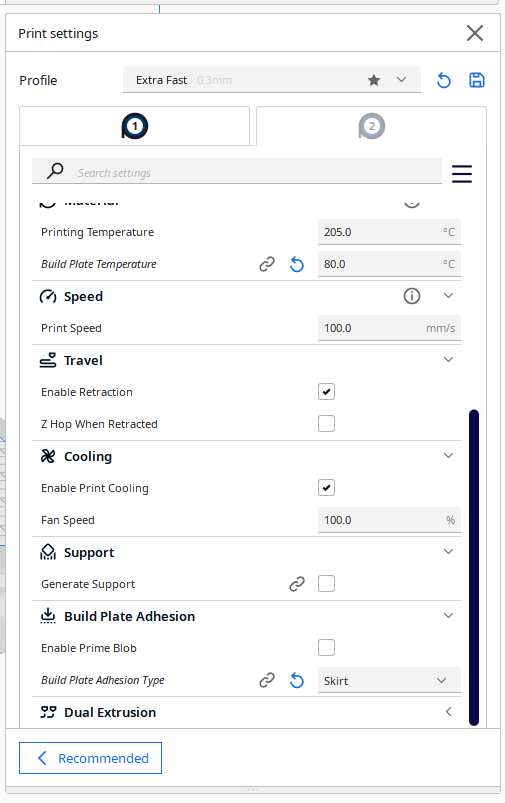
For the Ultimaker, I customized aesthetic settings that I plan to keep for future prints. Using Cura slicer, I selected a 0.3 mm layer height, set the wall line count to 4, and used an infill density of 30%. The nozzle temperature was set to 260°C, and the build plate temperature to 80°C. I kept the feed rate at 100%, chose skirt as the build plate adhesive, and applied these settings to both blue and black filament prints.


Learning Outcome
Throughout this process, I learned the importance of understanding the slicing parameters for FDM 3D printers and how they impact print quality. I developed practical skills in printer calibration, troubleshooting nozzle issues, and measuring tolerance levels using a caliper. Additionally, I gained insights into advanced 3D printing techniques such as multicolor printing and the challenges of material waste when using dual-extruder setups. This experience has provided me with a deeper understanding of how to optimize 3D printing processes for better results.