ESP32-C3
Summary
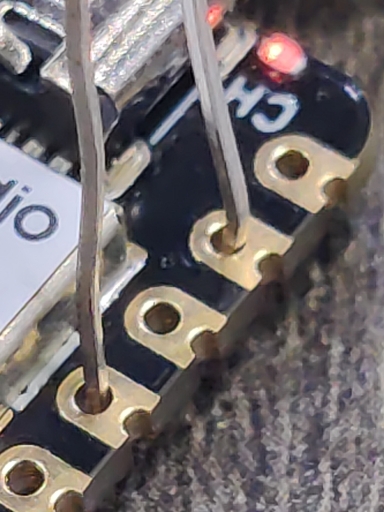
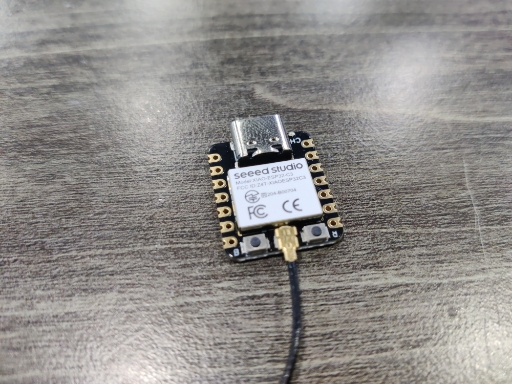
This week, I explored the XIAO ESP32C3, an RISC-V-based Wi-Fi and Bluetooth-enabled microcontroller.
My focus was on understanding its architecture and programming it using both Arduino IDE and MicroPython.
To validate my setup, I conducted a simple LED blinking test in both environments. This documentation outlines my process, challenges, and key learnings from working with the XIAO ESP32C3.
Work Process Detail
1. Understanding the XIAO ESP32C3 Architecture
I started by studying the technical specifications of the XIAO ESP32C3 using the official Seeed Studio documentation. Some key highlights:
Specifications comparison
| Item | Seeed Studio XIAO ESP32C3 |
|---|---|
| Processor | ESP32-C3 32-bit RISC-V @160MHz |
| Wireless Connectivity | WiFi and Bluetooth 5 (BLE) |
| Memory | 400KB SRAM, 4MB onboard Flash |
| Built-in Sensors | N/A |
| Interfaces | I2C/UART/SPI |
| PWM/Analog Pins | 11/4 |
| Onboard Buttons | Reset/ Boot Button |
| Onboard LEDs | Charge LED |
| Battery Charge Chip | Built-in |
| Programming Languages | Arduino/ MicroPython |
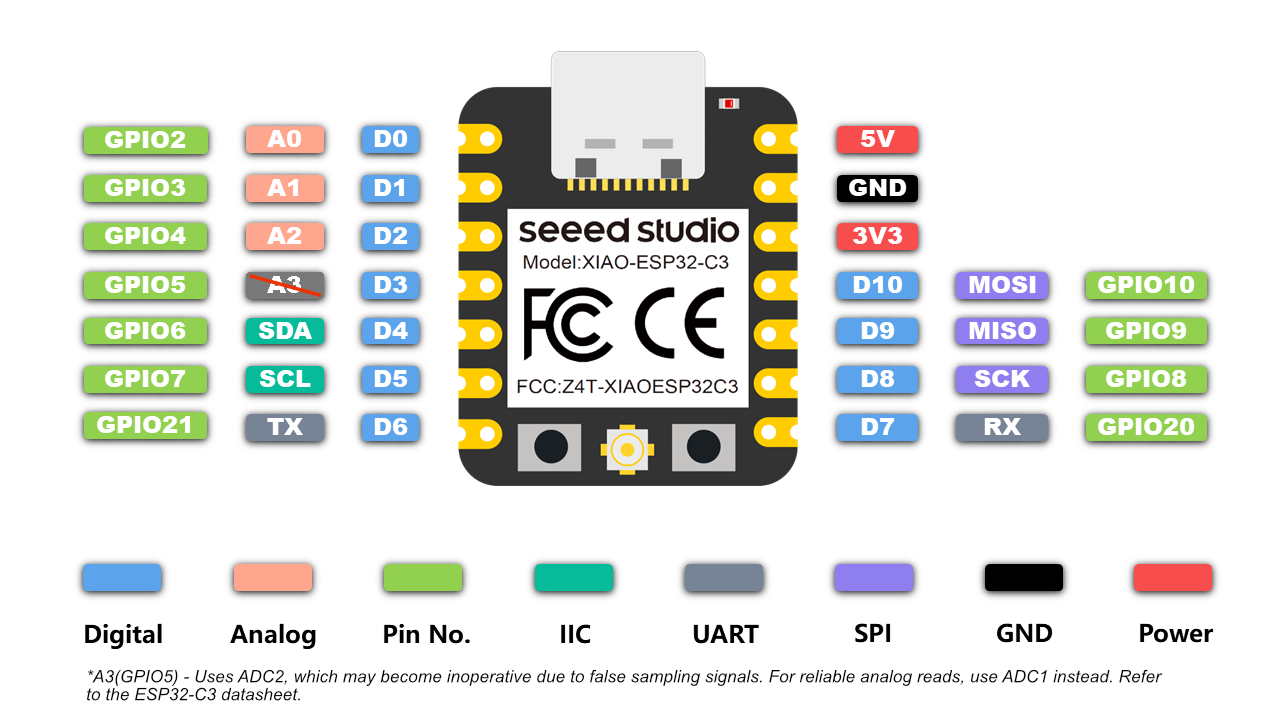
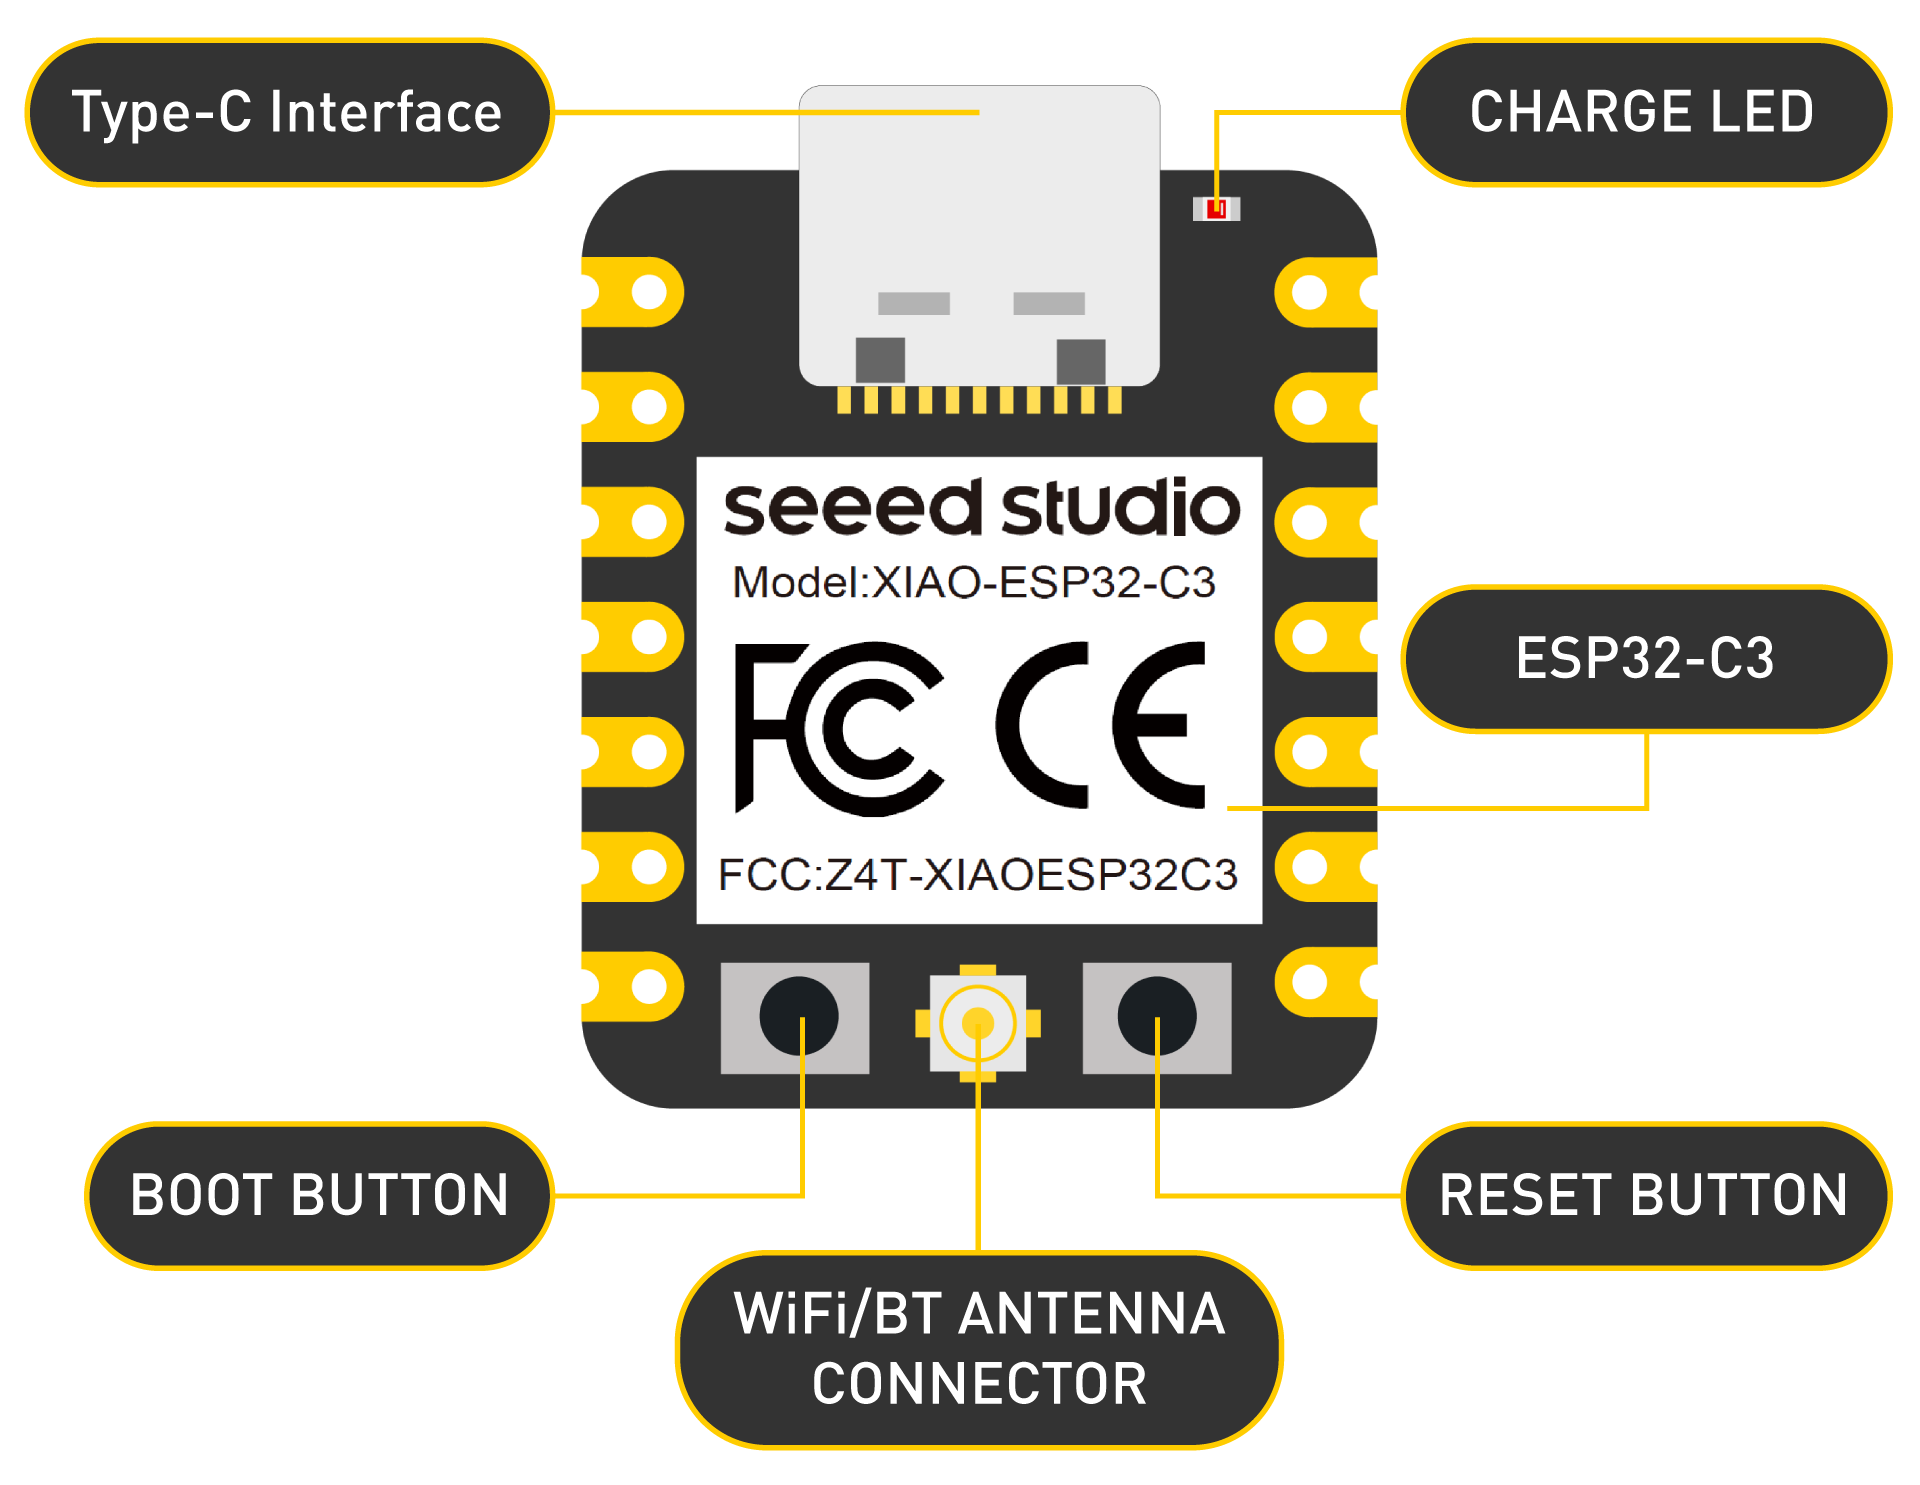
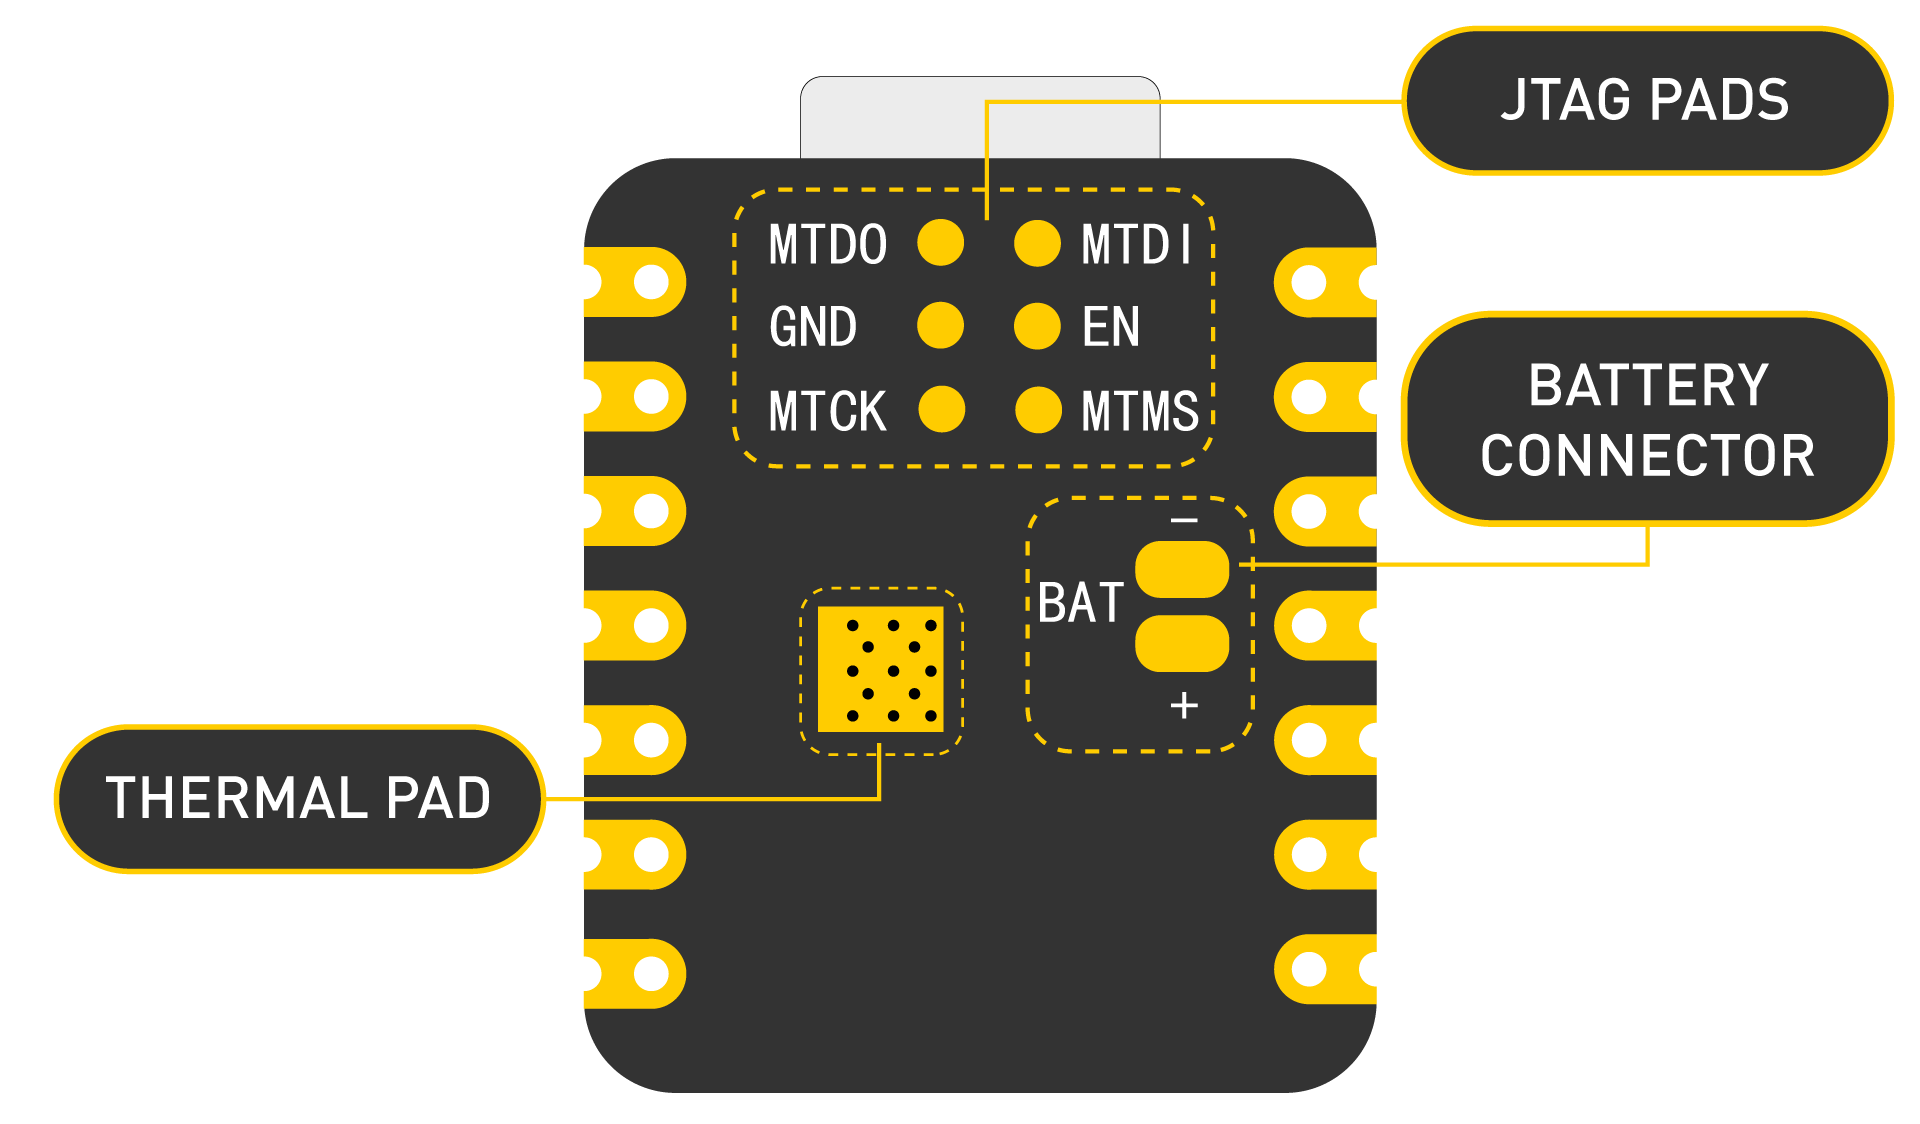
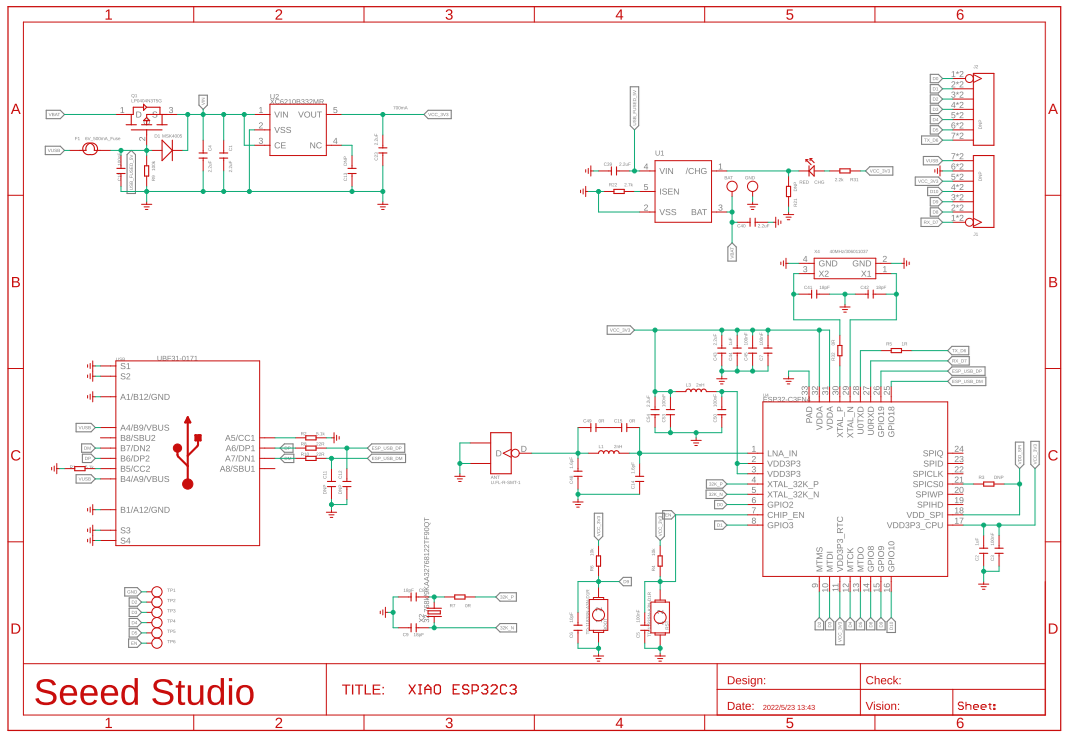
This gave me an overview of the capabilities and use cases of the XIAO ESP32C3, particularly for wireless applications.
2. Blinking an LED Using Arduino IDE
Following the official Seeed Studio setup guide, I performed the following steps:
🔹 Setting Up the Arduino IDE
✅ Installed Arduino IDE and added the ESP32C3 board support package.
✅ Connected the XIAO ESP32C3 via USB-C and selected the correct board.
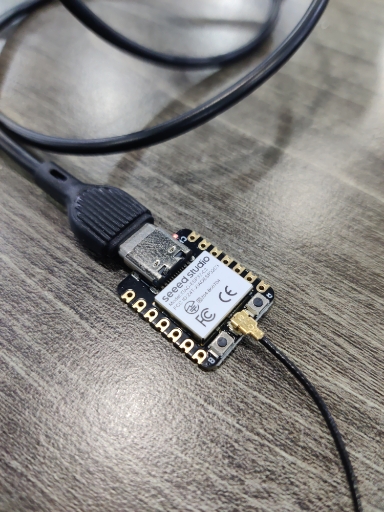
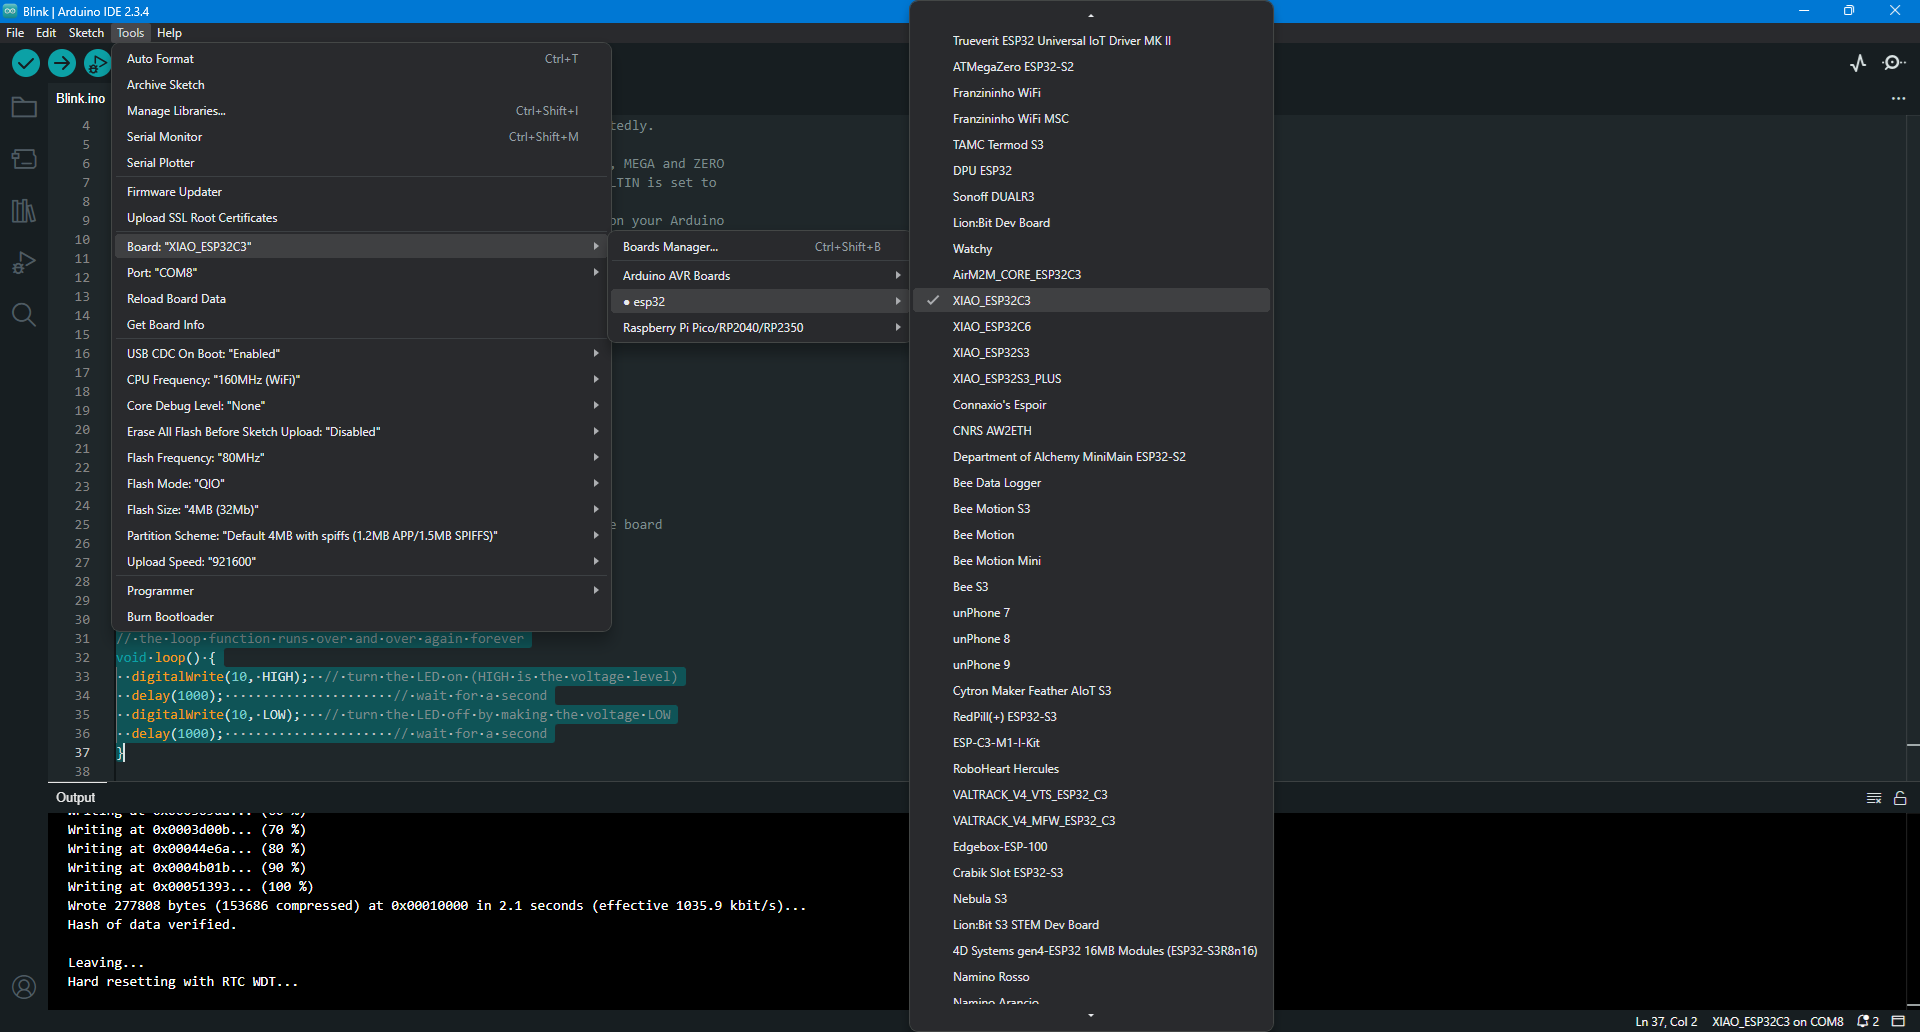
✅ Installed necessary drivers to ensure smooth communication.
🔹 Writing and Uploading the Blink Program
I wrote a simple LED blink program to test the microcontroller.
Code Used in Arduino IDE (C++)
void setup() {
  // initialize digital pin LED_BUILTIN as an output.
  pinMode(10, OUTPUT);
}

// the loop function runs over and over again forever
void loop() {
  digitalWrite(10, HIGH);  // turn the LED on (HIGH is the voltage level)
  delay(1000);                      // wait for a second
  digitalWrite(10, LOW);   // turn the LED off by making the voltage LOW
  delay(1000);                      // wait for a second
}
✅ Successfully uploaded the code, and the onboard LED started blinking, confirming that the setup was working.
3. Blinking an LED Using MicroPython (Thonny IDE)
After working with Arduino IDE, I moved on to MicroPython following this tutorial.
🔧 Step 1: Install esptool on Windows
- Open Command Prompt
Press
Windows + R, typecmd, and hit Enter.
- Install
esptoolusing pipRun one of the following commands:
pip install esptoolor
python -m pip install esptool
- Verify Installation
After the installation completes, check that
esptoolis working by running:python -m esptool
📥 Step 2: Download MicroPython Firmware
- Go to the official MicroPython page for the ESP32C3:
- Download the firmware specifically for Seeed Studio XIAO ESP32C3.
- Extract the firmware
.binfile to a known location on your Windows PC.(Example used:
esp32c3-usb-20230426-v1.20.0.bin)
🚀 Step 3: Flash MicroPython Firmware
- Connect the Board
Plug in your XIAO ESP32C3 using a USB-C cable.
- Navigate to Firmware Folder
In Command Prompt, navigate to the folder where the
.binfile is saved:cd C:\path\to\your\firmware
- Erase Existing Flash
Run this command (replace
COM13with your actual COM port):python -m esptool --chip esp32c3 --port COM8 erase_flash
- Flash the New Firmware
Then, flash the
.binfirmware with:python -m esptool --chip esp32c3 --port COM8 --baud 115200 write_flash -z 0x0 esp32c3-usb-20230426-v1.20.0.bin
🔹 Writing and Uploading the Blink Program in Thonny IDE
- Download and open Thonny IDE.
- Under Tools > Options > Interpreter, choose:
- Interpreter: MicroPython (ESP32)
- Port: Your actual COM port (e.g.
COM8)
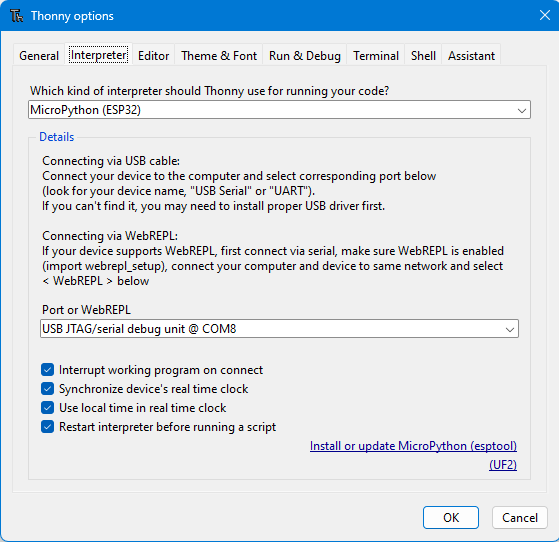
✅ Wrote the LED blink program and executed it.
Code Used in MicroPython (Python)
from machine import Pin
from time import sleep
myLED = Pin(10,Pin.OUT)
while 1:
myLED.on()
sleep(0.5)
myLED.off()
sleep(0.5)
✅ The LED blinked successfully, confirming that MicroPython was set up correctly.
Learning Outcome
Working with the XIAO ESP32C3 this week gave me a deeper understanding of how to set up and program an ESP32-based microcontroller. I learned how to configure Arduino IDE and MicroPython, understanding the differences between C++ and Python in embedded programming. The process of flashing MicroPython firmware using esptool.py helped me grasp the fundamental steps of working with firmware updates and debugging connectivity issues.By writing and testing a simple LED blink program, I became comfortable with basic GPIO control and how the microcontroller interacts with hardware components. The experiment also highlighted the importance of board selection, serial communication settings, and firmware compatibility when working with different programming environments.
Overall, this hands-on experience reinforced my confidence in working with ESP32-based boards, setting the foundation for future projects involving wireless communication, IoT applications, and advanced embedded programming.

