Design/Produce Motor Driver
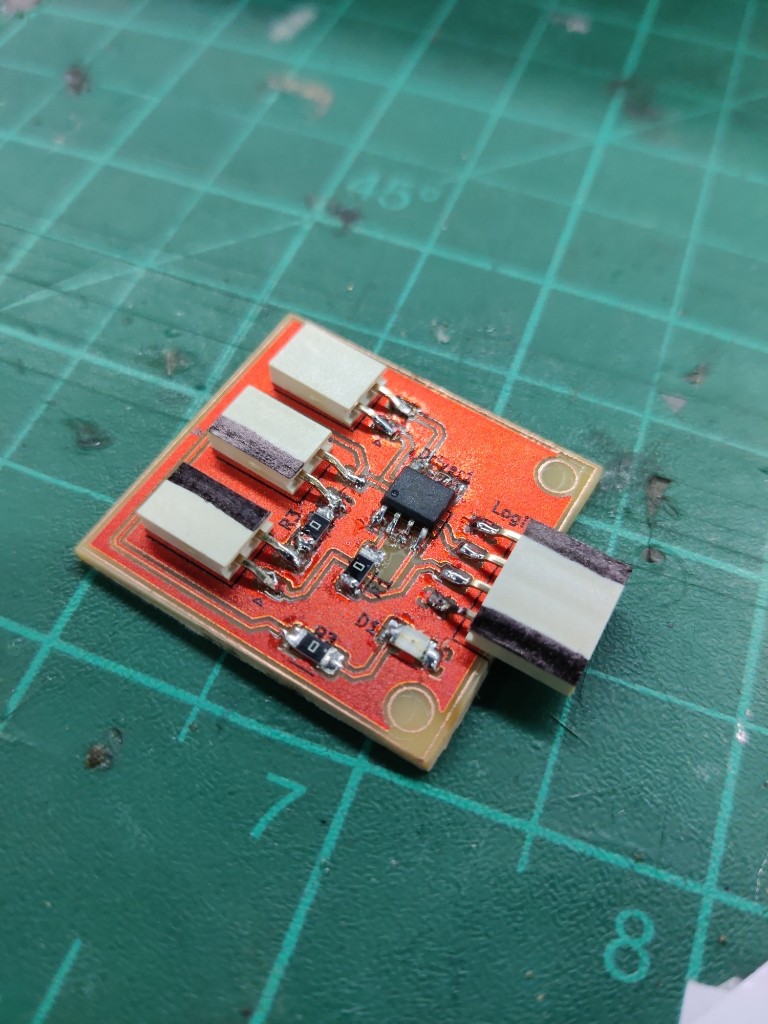
Hero Shot
Summary
For the output device assignment, I developed a motor driver board using an advanced etching method that includes both a circuit layer and a printed top mask layer. This approach improved clarity during soldering and future maintenance. The motor driver controls the rotation of a DC motor in both clockwise and counterclockwise directions through a designed interface.
Work Process Detail
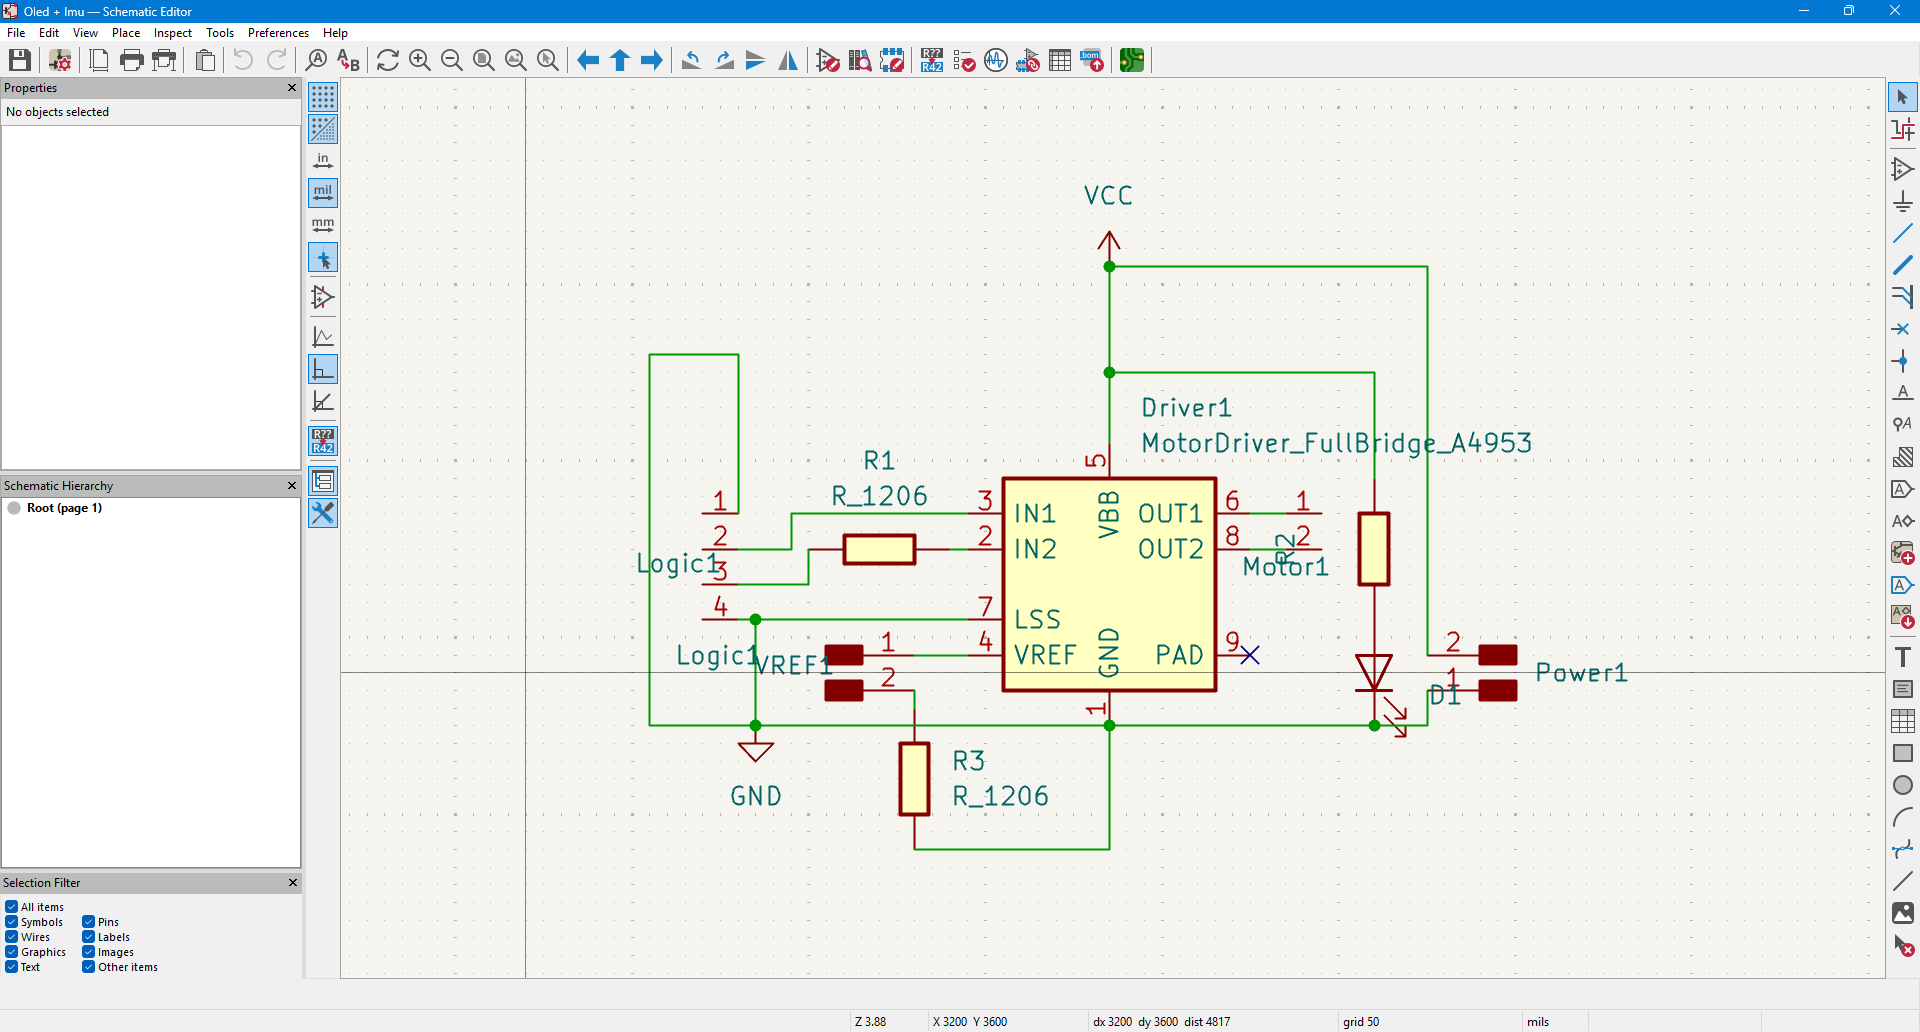
1. Schematic Design in KiCad
- Started by designing the motor driver schematic in KiCad.
- Selected components carefully to match available inventory and assigned proper footprints.
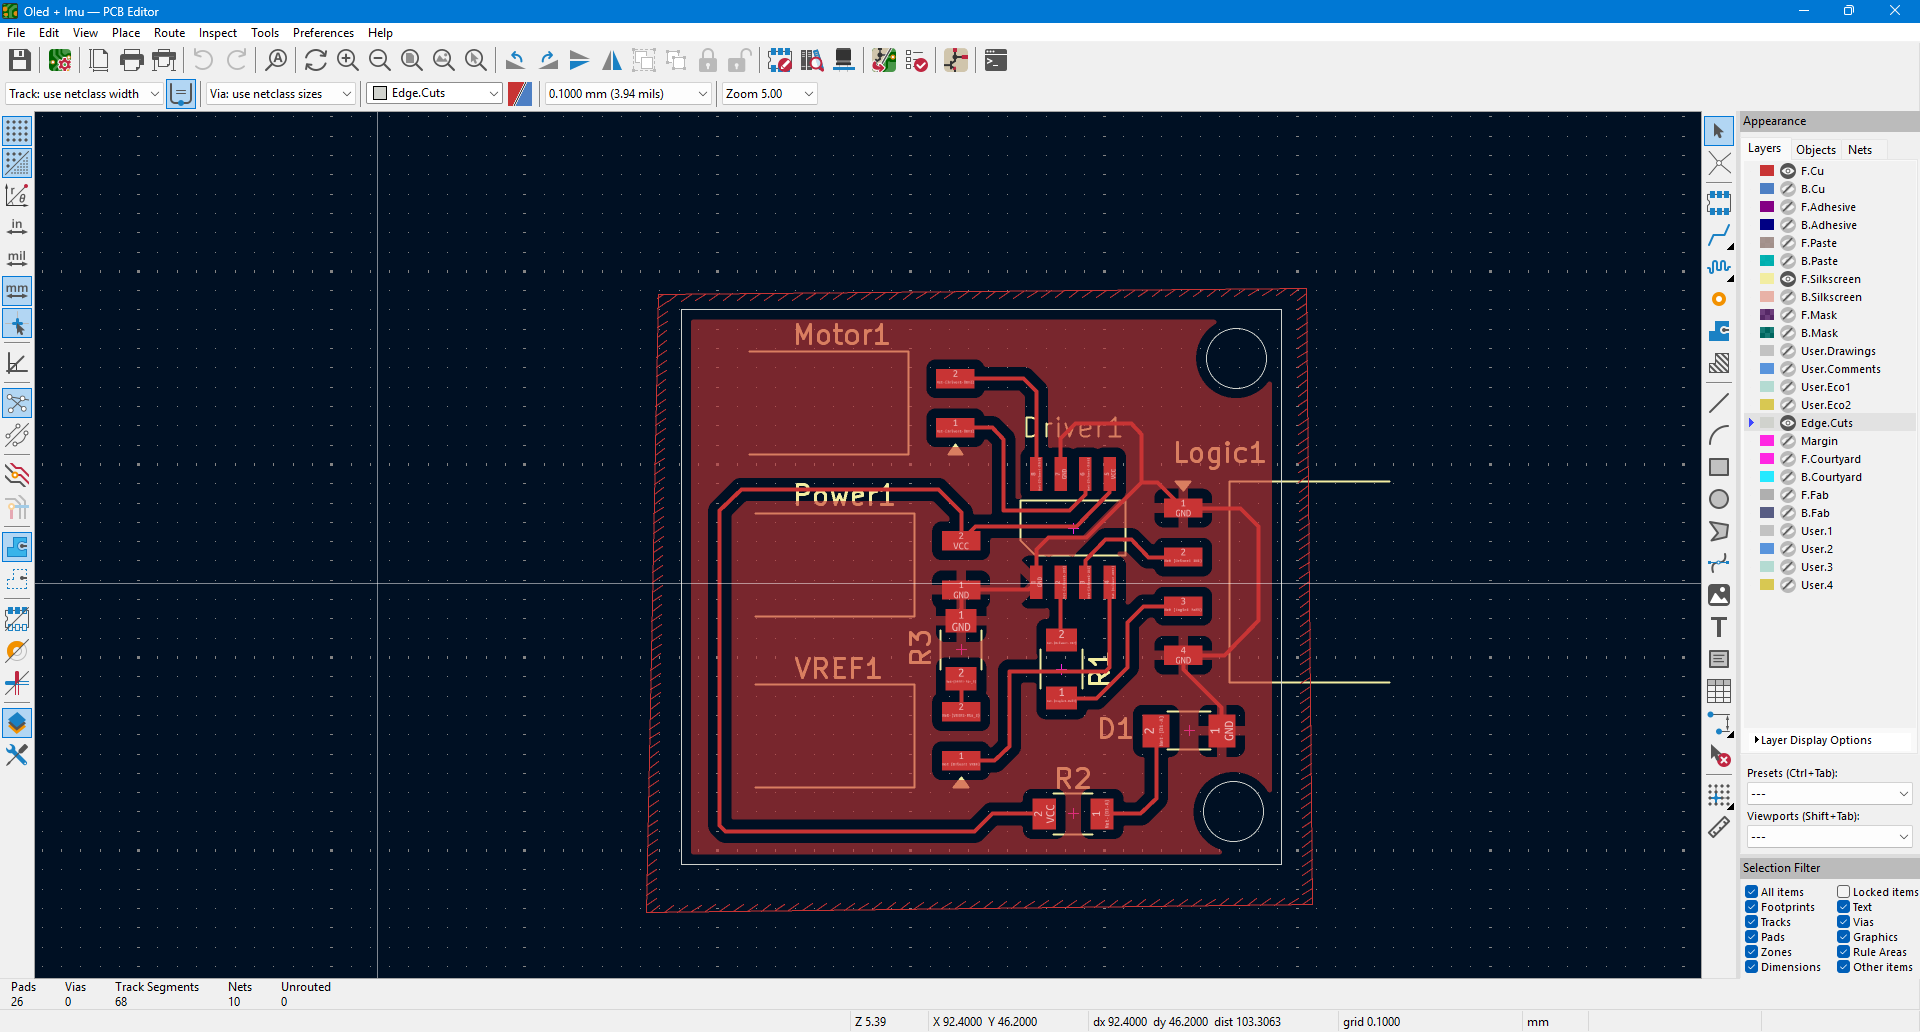
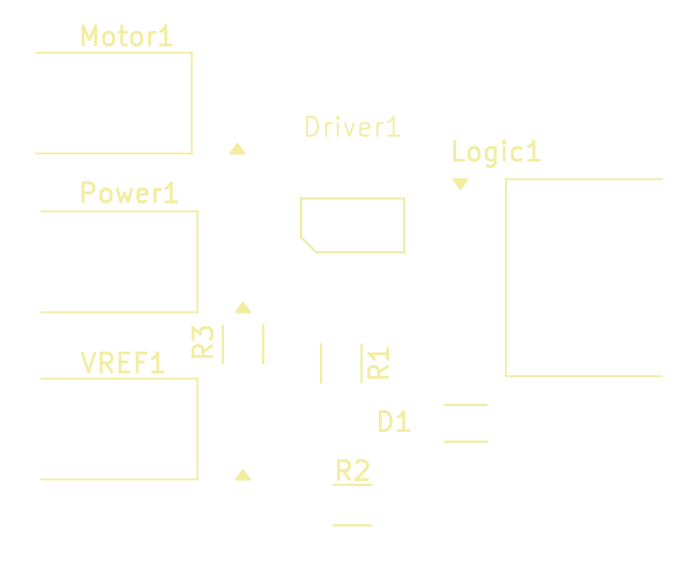
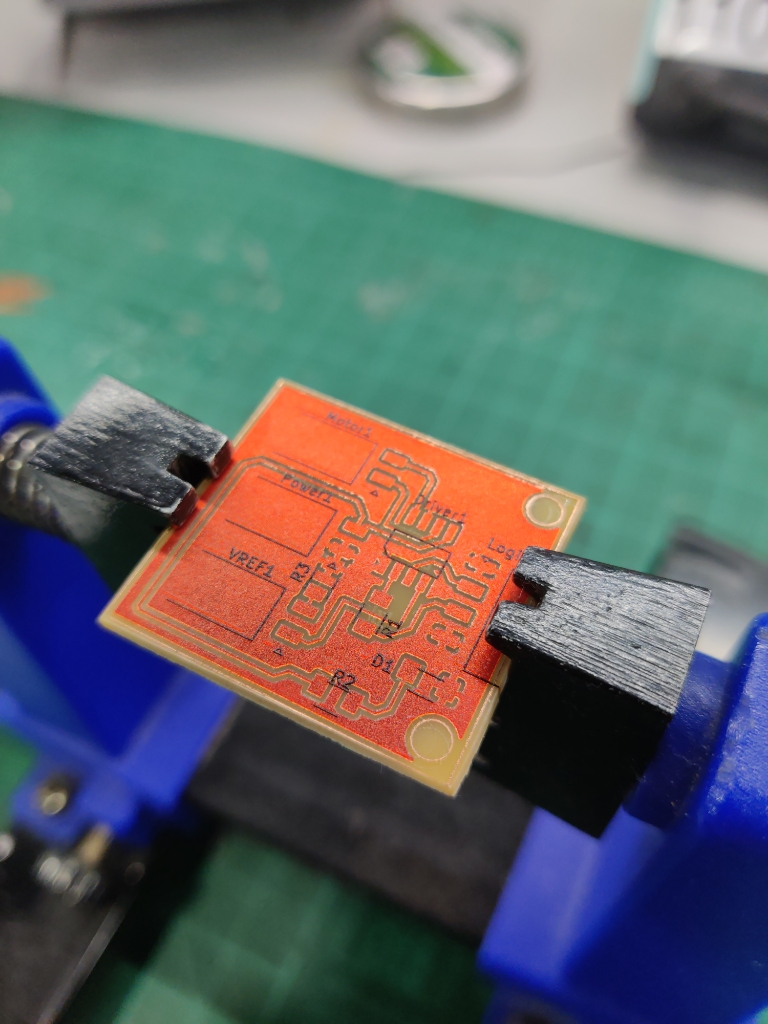
2. PCB Layout Preparation
- Designed a compact, single-sided PCB layout suitable for home fabrication.
- Color-coded two layers:
- First layer: Circuit traces (for etching).
- Second layer: Printed mask layer indicating pin names and functions.
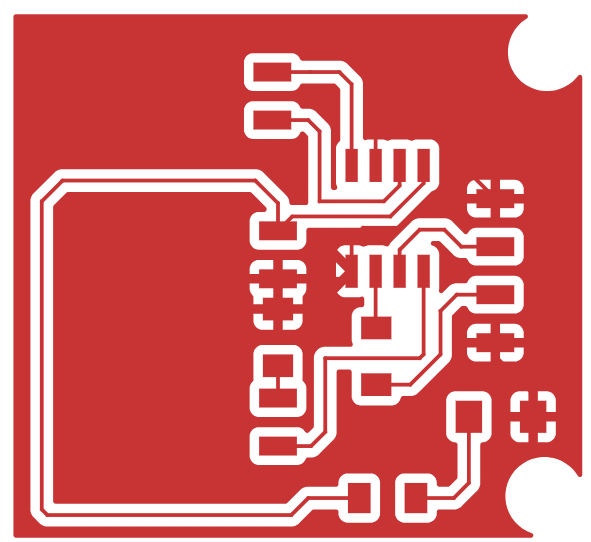
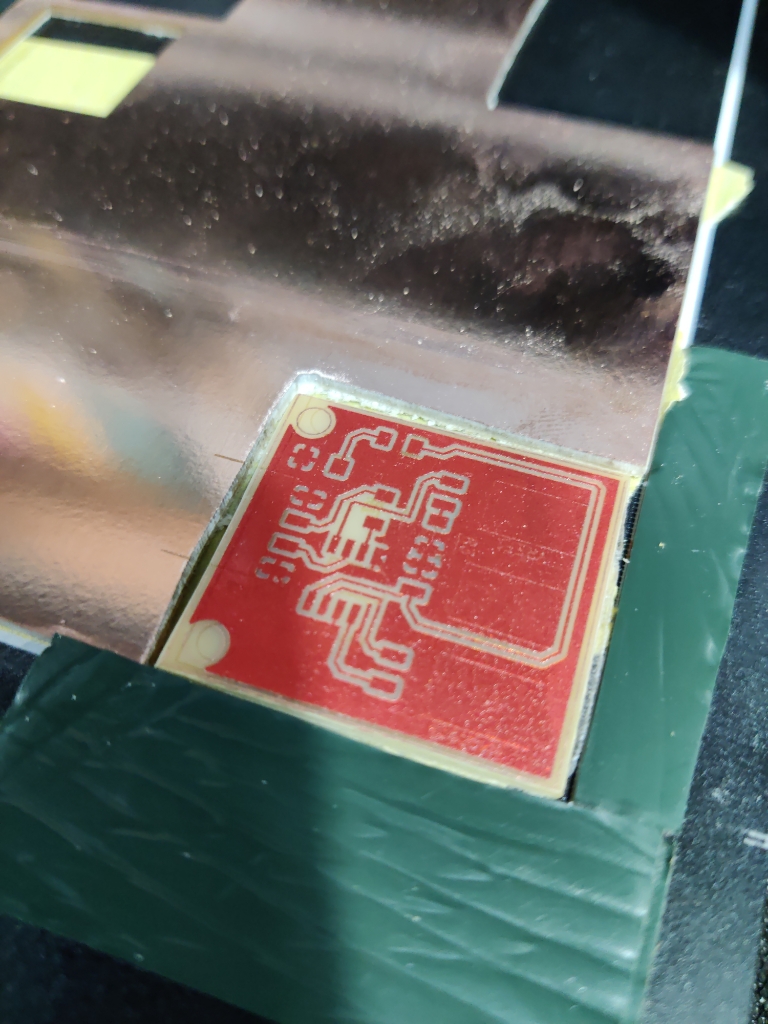
3. Exporting & Preparing for Etching
- Exported both layers as SVG files.
- Carefully aligned the PCB design to the center of the copper sheet before printing to ensure proper etching alignment.
- Used a UV printer to print the circuit pattern for etching.
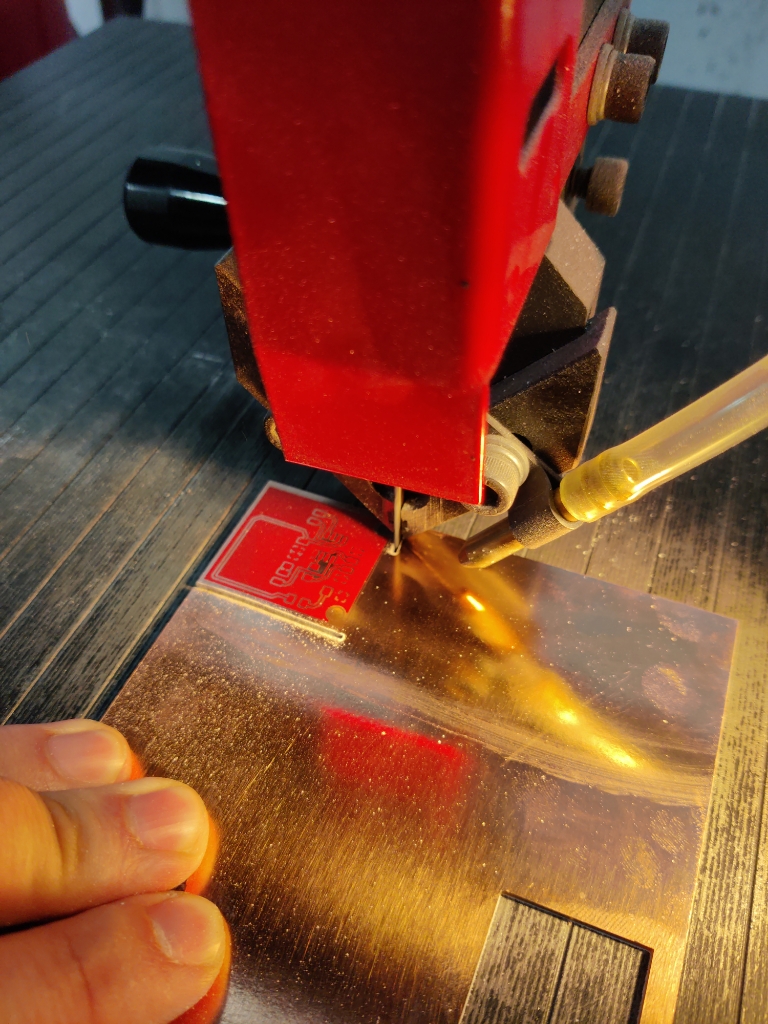
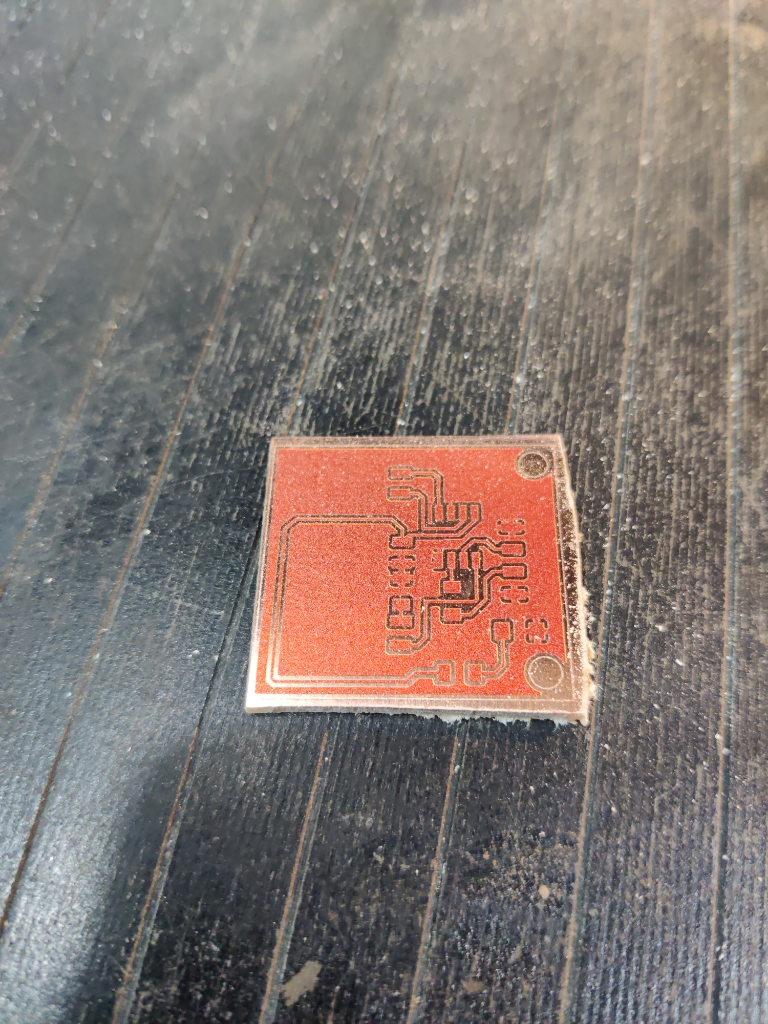


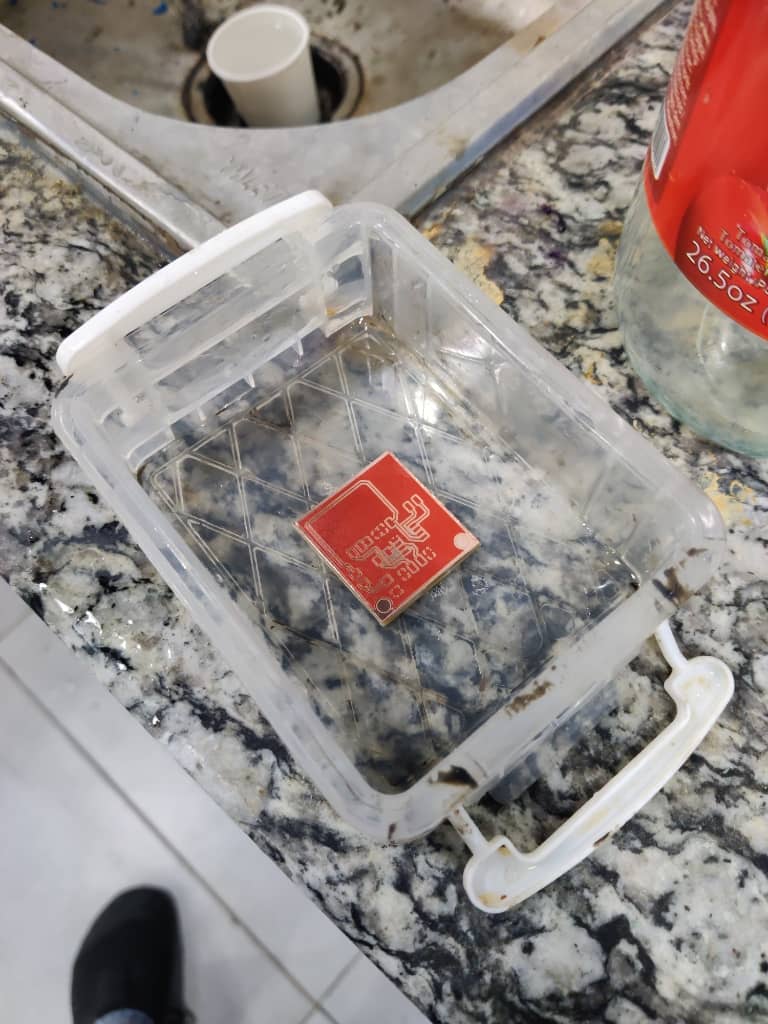
4. Etching Process
- Etched the copper to reveal the traces, ensuring precision and clean lines.
- Focused on achieving a uniform and clean result by correctly centering and timing the etching process.

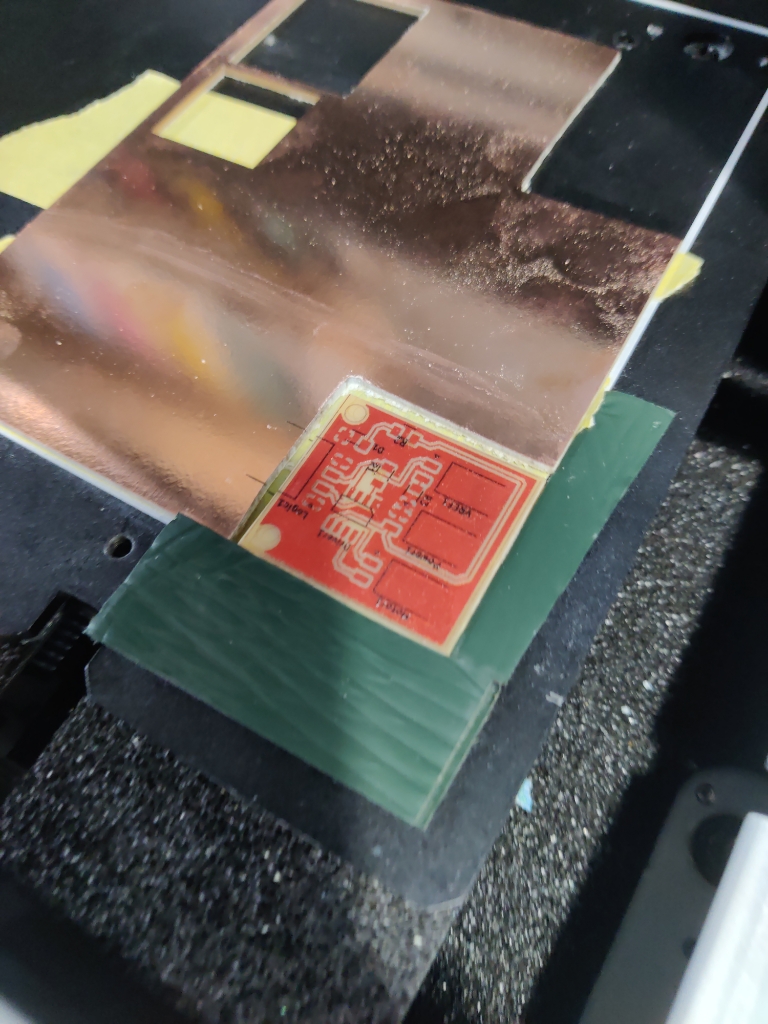
5. Mask Printing
- After etching, used the same board alignment in the UV printer.
- Printed the mask layer onto the PCB, showing labels for all pins, making assembly faster and easier.
6. Component Assembly
- Soldered all components onto the motor driver board following the printed mask.
- Ensured correct connections for the motor control pins.
7. Testing
- Connected a DC motor to the output terminals.
- Successfully controlled motor direction:
- Clockwise rotation.
- Counterclockwise rotation.
- Verified correct operation based on input signal changes.
Learning Outcome
Through this project, I learned:
- How to improve PCB manufacturing quality using a two-layer design (etch + mask).
- How proper alignment techniques during etching and printing dramatically enhance production precision.
- Best practices for motor driver circuit design and practical testing.
- The value of visual labeling (masking) on boards for easier soldering, future repair, and inspection.
This experience not only strengthened my understanding of output devices but also advanced my fabrication skills, combining manual precision with design strategy.

