
Applications and implications, project development
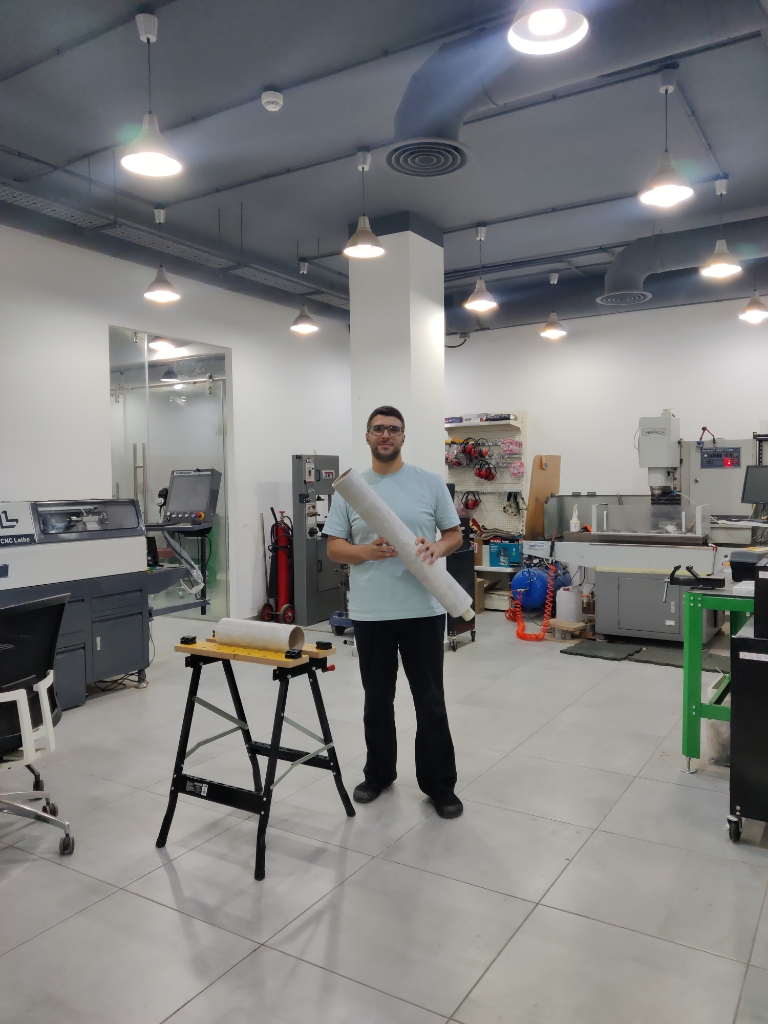
Hero Shot
Summary
Answering the final project development questions this week helped me realize the value of clarity and direction before starting to build anything. Often, we get lost in technical details or jump into fabrication without fully understanding the purpose or outcome. By reflecting on these questions, I was able to align my focus, avoid unnecessary confusion, and move forward with a clearer plan.
This process taught me that knowing exactly what you want to build—and why—is more important than having a vague idea and trying to figure things out along the way. It’s not just about learning through doing; it’s about thinking through doing.
Work Process Detail
What will it do?
This project is a model rocket focused on developing a parachute deployment mechanism to ensure a safe return to Earth. Once the rocket reaches its maximum altitude and begins descending due to gravity, a sensor will detect the downward motion. After a short delay, the system will trigger a parachute deployment mechanism to slow the rocket down and ensure it lands safely.
Who has done what beforehand?
There is a large community of enthusiasts working on high-power rockets, especially in the U.S., where certifications like L1, L2,L3 and experimental launches are common. Many individuals have shared tutorials on YouTube, showing how to build deployment systems using either electronic sensors or mechanical methods. These resources helped guide my understanding of how to approach this project.
What will you design?
I will design a rocket structure that integrates a deployment mechanism using electronics. The system will include an IMU sensor that detects tilt during descent. Once a specific angle is reached, and a delay has passed for safety, a servo motor will be triggered to release a spring-loaded mechanism and deploy the parachute.
What materials and components will be used?
- Rocket body: Recycled round cardboard tubes, fiberglass sheets, MDF and epoxy resin.
- Electronics:
- ESP32-C3 microcontroller
- BNO055 IMU
- Temperature sensor
- Barometric sensor
- Servo motor
- Rechargeable battery
Where will they come from?
- Cardboard tubes: Acquired from local recycling factories.
- Electronics: Purchased from online suppliers and local electronics stores(Mikroelectron).
- Fiberglass & epoxy: Sourced from local hardware stores or Fab Lab inventory (esco).
How much will they cost?
| Item Name | Resource | Quantity | Price (USD $) |
|---|---|---|---|
| Epoxy 1 liter | Smair & Ghassan | 1 | 20 |
| Brushes | Smair & Ghassan | 5 | 3 |
| Cardboard Tube | Recycled | - | Free |
| Fiber Glass Fabric | esco | 6 m^2 | 13 per Meter |
| MDF 3 mm | Maker space | 1m * 0.6m | 3 |
| MDF 5MM | Maker space | 1m * 0.6m | 3 |
| Epoxy Glue | esco | 2 | 7.5 |
| Hocks | esco | 5 | 1.7 |
| Shock Cord | esco | 10 meters | 1.4 |
| ESP 32 | Mikroelectron | 1 | 5 |
| IMU BNO055 | Mikroelectron | 1 | 42 |
| Braometer | Mikroelectron | 1 | 18.3 |
| Cooper Board | Mikroelectron | 1 | 9 |
| Servo 9 G | Mikroelectron | 1 | 17 |
| Plastic Shower Curtain (Parachute ) | esco | 2m * 1.8m | 2.3 |
| Threads | esco | 20 meters | 1.4 |
| Spring | esco | 1 | 6.6 |
What parts and systems will be made?
The central system includes a tilt-sensing unit mounted in the rocket. When a tilt is detected during descent, it waits a few seconds and then activates a servo that releases a spring-based deployment system. This physically separates the body of the rocket and allows the parachute to eject.
What processes will be used?
- Additive: 3D printing (e.g., nose cone)
- Subtractive:
- Laser cutting (e.g., fins and structural components)
- CNC milling (e.g., custom PCB for electronics)
- Assembly & finishing: Using epoxy and hand tools to integrate systems.
What questions need to be answered?
The key question is:
Will the deployment mechanism be reliable and efficient enough to consistently work in real-world recovery scenarios?
How will it be evaluated?
To evaluate the system, the rocket will be dropped from a building to simulate descent. After a short delay, the parachute should deploy automatically, and the rocket should land safely without damage. The evaluation criteria will include:
- Successful parachute deployment
- Structural integrity upon landing
- Accuracy of the sensor response
what tasks have been completed?
- Design a logo Patch
- Make Mission T-shirts, stickers, notebook
- Make the fiber glass tube and make it as a reference design foundation
- Use open rocket software and to draw the block diagram of the spaceship
- Simulate the Design With fluid analysis tolls (RasAero)
- Use Fusion 360 to make the design fabricable based on the foundation tube
- Laser cut the engine Mounter and Fins Center Rings
- Laser cut the fins
- Mount the fins on the fiber glass tube
what tasks remain?
- Mount the PVC engine and make sure it is stable with a lock ring
- 3D print the space ship nose
- Sand the nose and fill it and sand again then paint it with acrylic paint
- design the mother board of the starship: Servo, Altitude meter, IMU Remove before flight sys, Sound Indicator, led Indicator
- Design and build the mechanical Parachute Deployment mechanism
- Test the Deployment mechanism: title Angle | Altitude
- Make the wire system between stage one and two
- Laser cut the Parachute
- robe mounting on the parachute
- fold the parachute
- test the parachute + Electronics system +Deployment mechanism
- Design the Launch pad
- CNC the Launch pad
- 3d print the rail rings and mount them on the spaceship
what has worked? what hasn't?
So far, a few things have worked well in my final project. The process of applying epoxy and fiberglass to create a fire-resistant layer around the tube has been successful. The alignment mechanism for the fins is also functioning properly, and the epoxy layer remains intact, strong, and reliable.
On the other hand, there are still a couple of challenges I'm working on. I'm trying to determine the correct thrust ratio for the engine to ensure it can lift the rocket effectively. Additionally, I’m still exploring the best material to contain the solid engine—possibly aluminum, steel, or even carbon fiber.
what questions need to be resolved?
Is the mechanical system reliable enough for the rocket's parachute deployment?
what will happen when?
The rocket will be finalized and tested in collaboration with a local governmental agency to ensure safe launch protocols. The launch is planned for mid-July, with development and testing completed beforehand.
What is the timeline?
| Date | Day | Task |
|---|---|---|
| 15/May | Thursday | Local ⇒ W13(FP Schedule) ✅+ W14(Documentation)✅ + w15 (Practice) ✅| Global ⇒ W5 (Slicing Setting)c | Final Project ⇒ Finish Fiber Glass Resin tubes ✅ |
| 16/May | Friday | Local ⇒w15 Hardware | Documentation ✅ + W16 (Practice) | Global ⇒ TBC | Final Project ⇒ open rocket software and to draw the block diagram ✅ |
| 17/May | Saturday | Local ⇒W16 Documentation | Global ⇒ TBC | Final Project ⇒ Simulate the Design With fluid analysis |
| 18/May | Sunday | Local ⇒W18 Documentation✅ | Global ⇒ TBC | Final Project ⇒ Fusion 360 to make the design fabricable based |
| 19/May | Monday | Local ⇒W19 Documentation | Global ⇒ TBC | Final Project ⇒ Fusion 360 to make the design fabricable based |
| 20/May | Tuesday | Local ⇒W20 Documentation | Global ⇒ TBC | Final Project ⇒ Fusion 360 to make the design fabricable based |
| 21/May | Wednesday | Local ⇒Q4 Documentation | Global ⇒ TBC | Final Project ⇒ Laser cut the engine Mounter and Fins Center Rings |
| 22/May | Thursday | Local ⇒Q4 Documentation | Global ⇒ TBC | Final Project ⇒ Laser cut the fins |
| 23/May | Friday | Local ⇒Q4 Documentation | Global ⇒ TBC | Final Project ⇒ Mount the fins on the fiber glass tube |
| 24/May | Saturday | Local ⇒ W17 CNC Metal | Global ⇒ TBC | Final Project ⇒ Mount the PVC engine and make sure it is stable with a lock ring |
| 25/May | Sunday | Local ⇒ W17 CNC Metal | Global ⇒ TBC | Final Project ⇒ 3D print the space ship nose |
| 26/May | Monday | Local ⇒ W17 CNC Metal | Global ⇒ TBC | Final Project ⇒ Sand the nose and fill it and sand again then paint it with acrylic paint |
| 27/May | Tuesday | Local ⇒ W17 CNC Metal | Global ⇒ TBC | Final Project ⇒ design the mother board of the starship |
| 28/May | Wednesday | Local ⇒ W17 CNC Metal | Global ⇒ TBC | Final Project ⇒ design the mother board of the starship |
| 29/May | Thursday | Local ⇒ W17 CNC Metal | Global ⇒ TBC | Final Project ⇒ Design and build the mechanical Parachute Deploymen |
| 30/May | Friday | Local ⇒ W17 CNC Metal | Global ⇒ TBC | Final Project ⇒ Design and build the mechanical Parachute Deploymen |
| 31/May | Saturday | Local ⇒ W17 CNC Metal | Global ⇒ TBC | Final Project ⇒ Test the Deployment mechanism |
| 1/June | Sunday | Local ⇒ Q1 check | Global ⇒ TBC | Final Project ⇒ Make the wire system between stage one and two + Laser cut the Parachute +robe mounting on the parachute |
| 2/June | Monday | Local ⇒ Q1 check | Global ⇒ TBC | Final Project ⇒ test the parachute + Electronics system +Deployment mechanism |
| 3/June | Tuesday | Local ⇒ check | Global ⇒ TBC | Final Project ⇒ Design the Launch pad + CNC the Launch pad + 3d print the rail rings and mount them on the spaceship |
| 4/June | Wednesday | Local ⇒ check | Global ⇒ TBC | Final Project ⇒ Presentation + poster + documentation |
What have you learned?
I’ve learned that reliability is critical in any aerospace-related system, especially for safe return mechanisms. I also discovered the importance of combining multiple fabrication techniques—both additive and subtractive—to build a fully functional and robust system. Careful planning, testing, and integration of mechanical and electronic parts are essential for success.
Learning Outcome
I learned that successful project development depends on solid planning and intention.
In fact, I believe:
80% of the work lies in planning, and only 20% is in execution and fabrication.
This mindset will guide me in the weeks ahead as I build and refine my final project.