Individual Assignment
- Design and 3D print an object (small, few cm3, limited by printer time) that could not be made subtractively
- 3D scan an object (and optionally print it)
Pencil Holder Design in Fusion 360
Explain through the steps
- Create the Base Cylinder:
- Go to Solid → Create → Cylinder
- Set Diameter = 70 mm, Height = 90 mm
- Hollow the Cylinder:
- Click Modify → Shell
- Select the top face and set Thickness = 4 mm
- Create a Slot on the Cylinder:
- Click Solid → Create Sketch
- Choose a side view
- Use Slot (Center to Center Slot)
- Set Slot height from cylinder base = 15mm ,Height = 80 mm, Width = 12 mm, Angle = 60°
- Adjust Slot Position:
- Click Dimensions
- Select the bottom of the cylinder
- Adjust slot height to 15 mm from the bottom
- Cut the Slot on the Cylinder:
- Use Extrude (Cut) tool
- Set Cut Depth = 4 mm
- Create a Circular Pattern for Slots:
- Click Create → Pattern → Circular Pattern
- Select Features as the pattern type
- Choose the cylinder’s center axis
- Set the required Quantity
- Add Fillet to Smooth the Edges:
- Click Modify → Fillet
- Select the top circular edge
- Set Fillet Radius = 2 mm
- Finalizing for 3D Printing:
- Ensure all sketches are fully constrained
- Click on Export as STL for 3D printing


Steps for 3D Printing with Anycubic Kobra 2
1. Prepare the 3D Model
- Designed in Fusion 360.
- Download models from Thingiverse, Printables, or Cults3D.
- Save/export your design as an STL or OBJ file for 3d printing.

2. Slicing the Model
Use slicing software to convert the 3D model into G-code for the printer:
- Recommended slicer: Ultimaker Cura or PrusaSlicer.
- Used Slicer : Ultimaker Cura for my model
- Slicer steps are given in steps
- Steps:
- Import the STL file.
- Set up the printer profile for Anycubic Kobra 2.
- Configure print settings:
- Layer height: 0.2 mm (standard) / 0.1 mm (high quality).
- Infill density: 20% (for strength) / 10% (for faster prints).
- Supports: Enable if needed for overhangs.
- Temperature settings for various materials:
- we used only PLA: 200°C (nozzle), 60°C (bed) for printing pencil holder
- PETG: 230°C (nozzle), 70°C (bed)
- ABS: 240°C (nozzle), 100°C (bed)
- Slice and save the G-code to a microSD card.
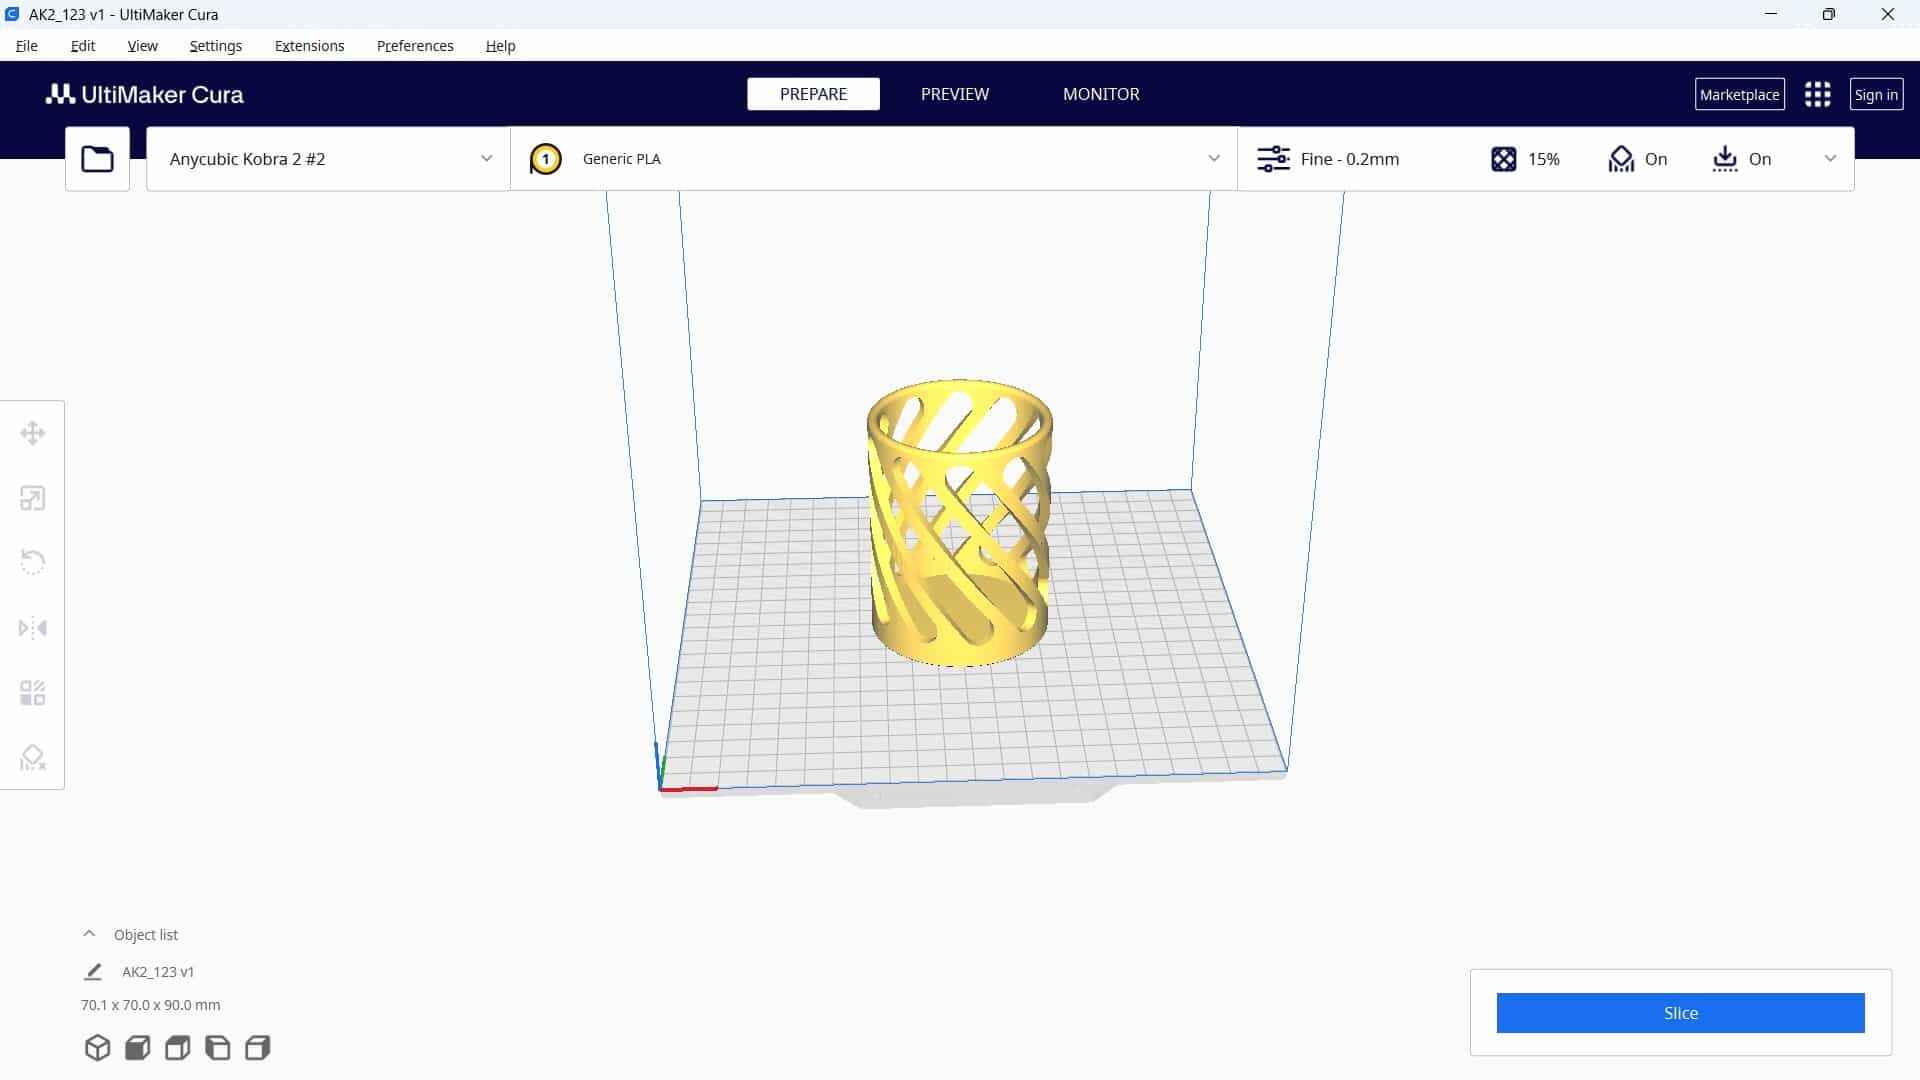

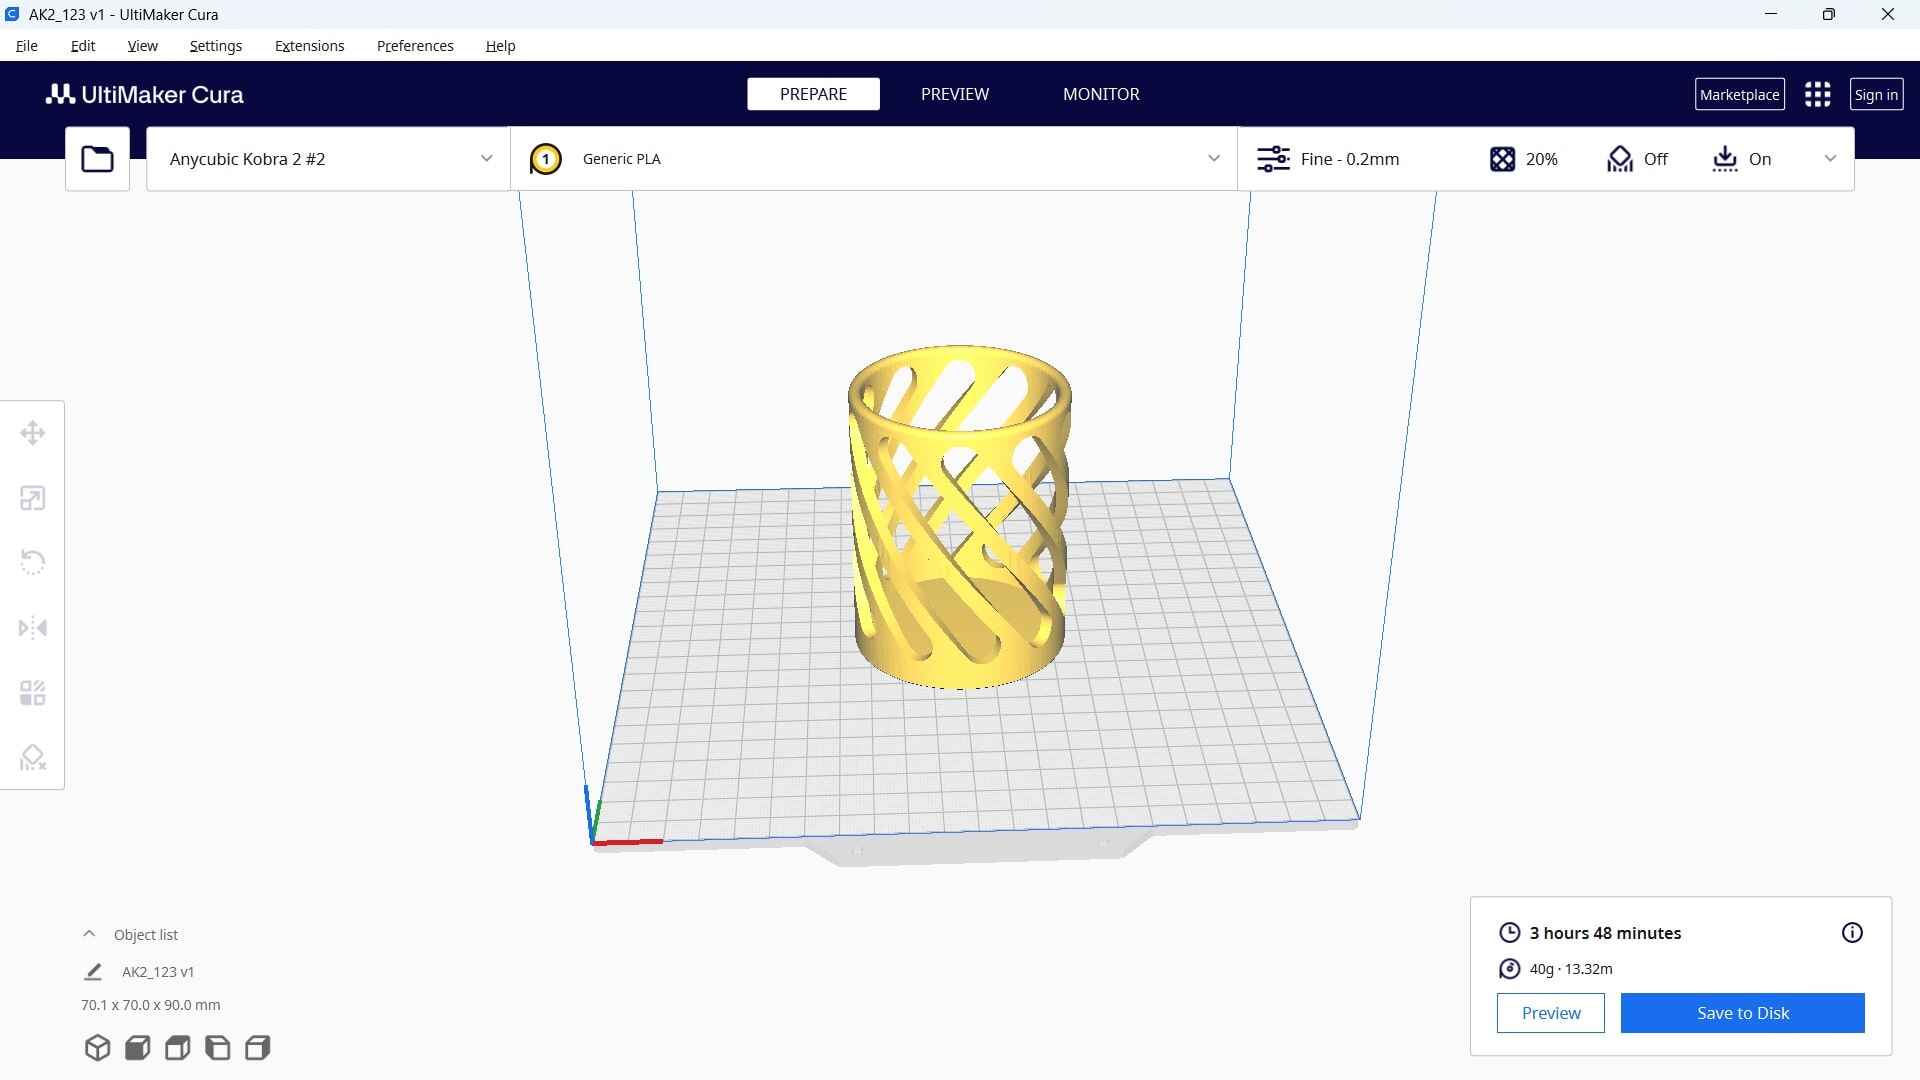
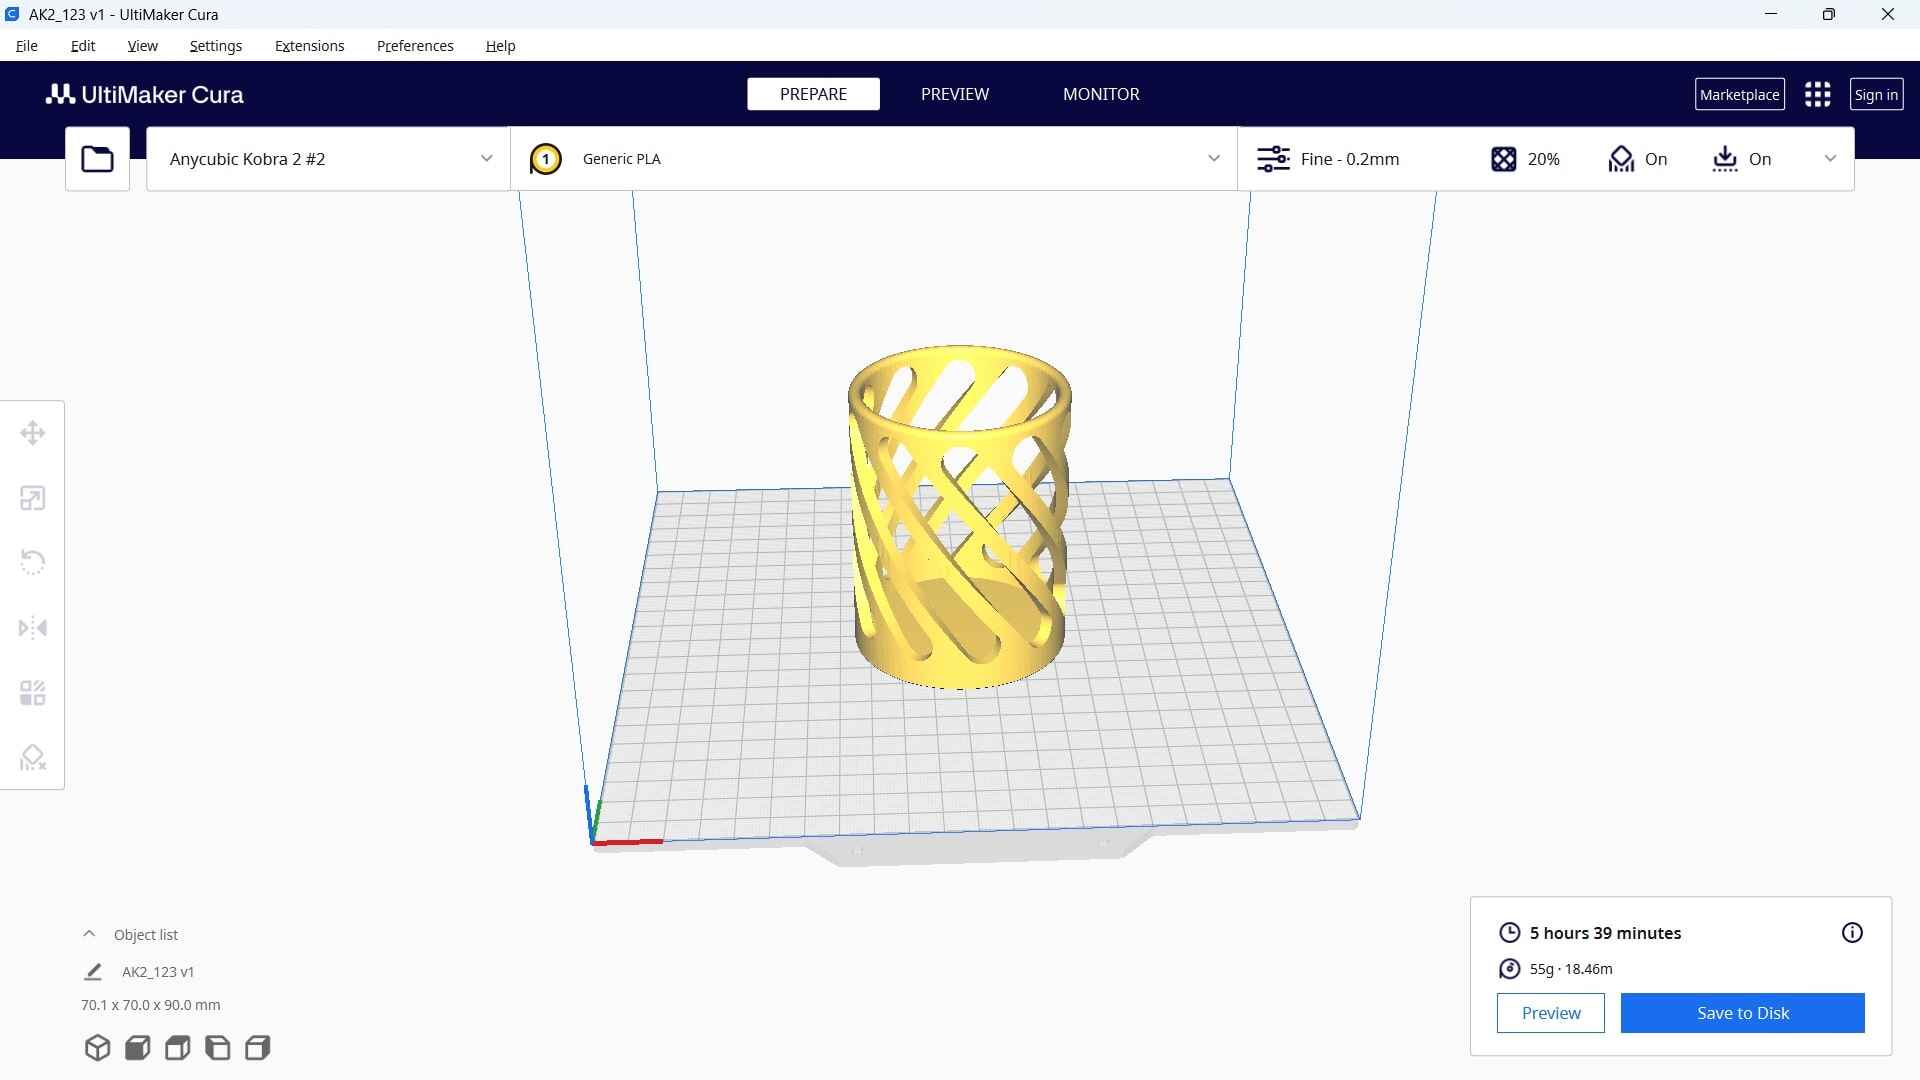
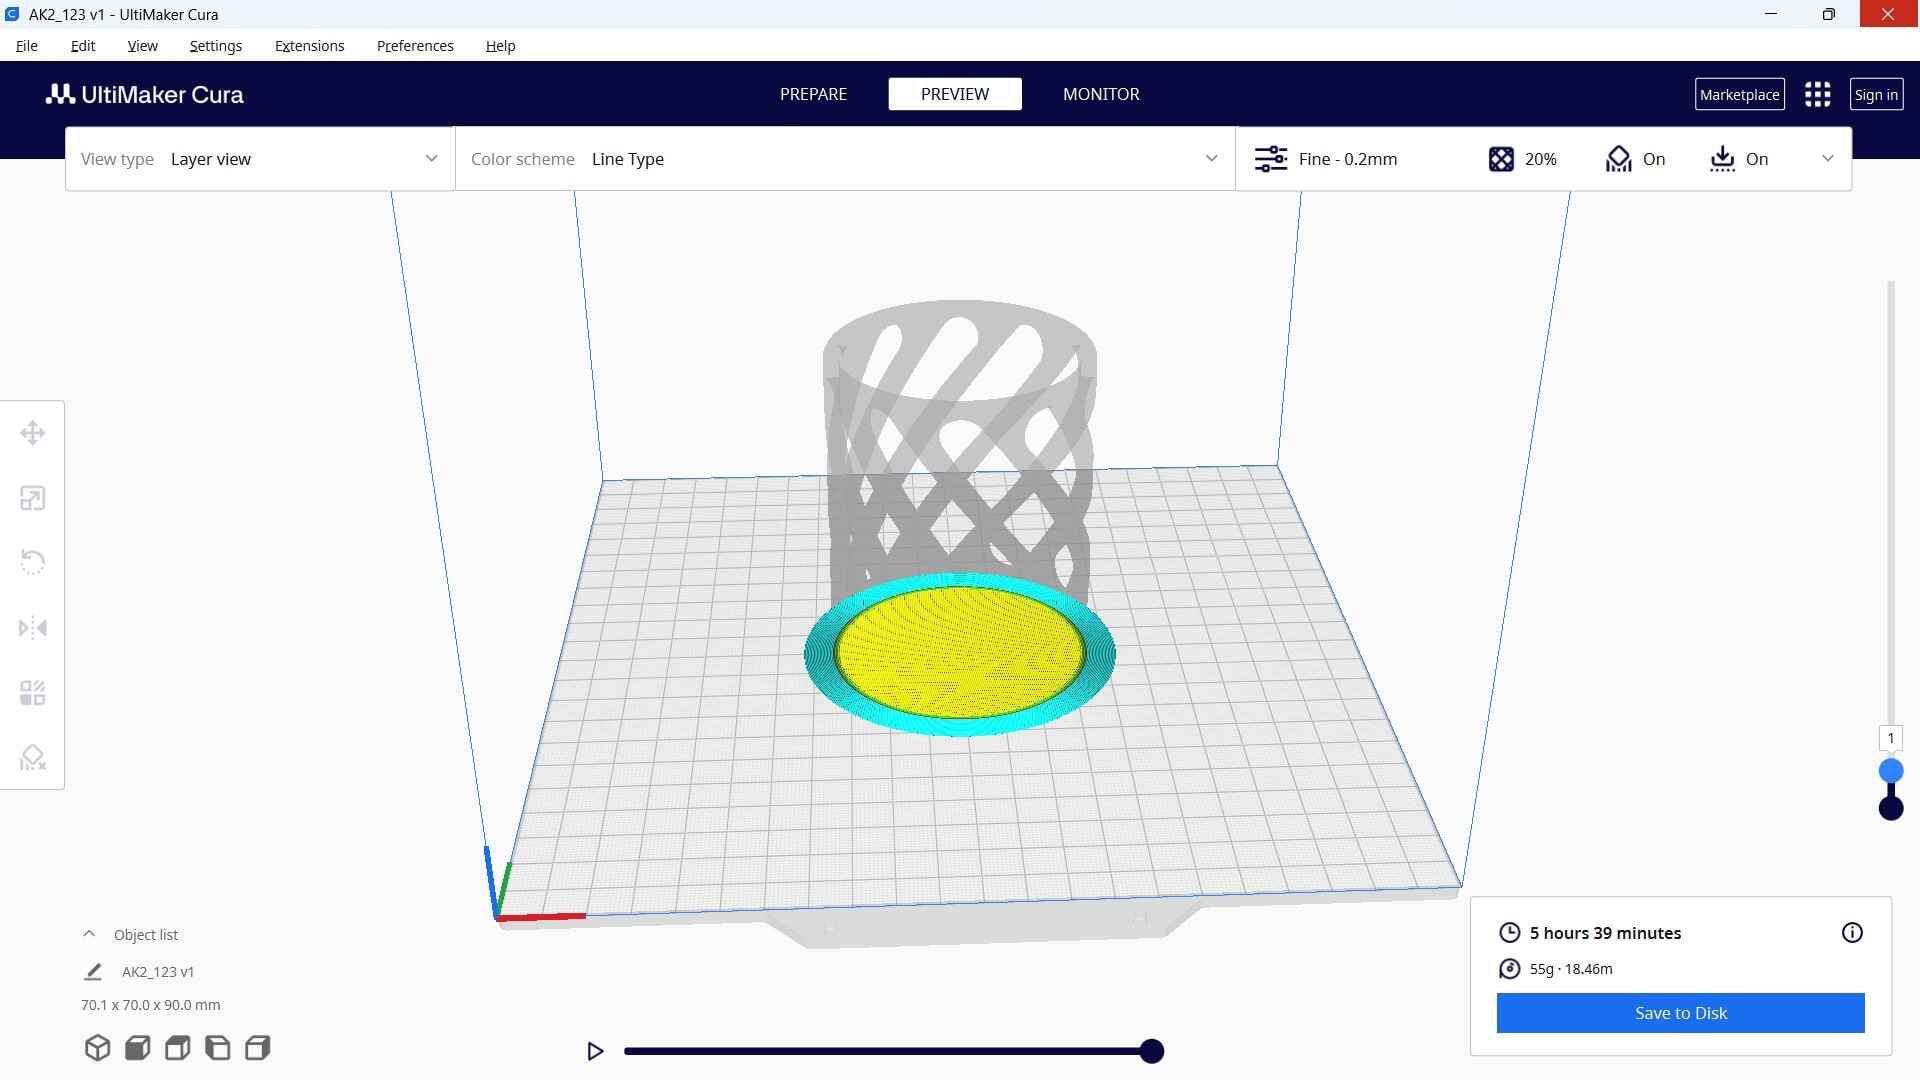
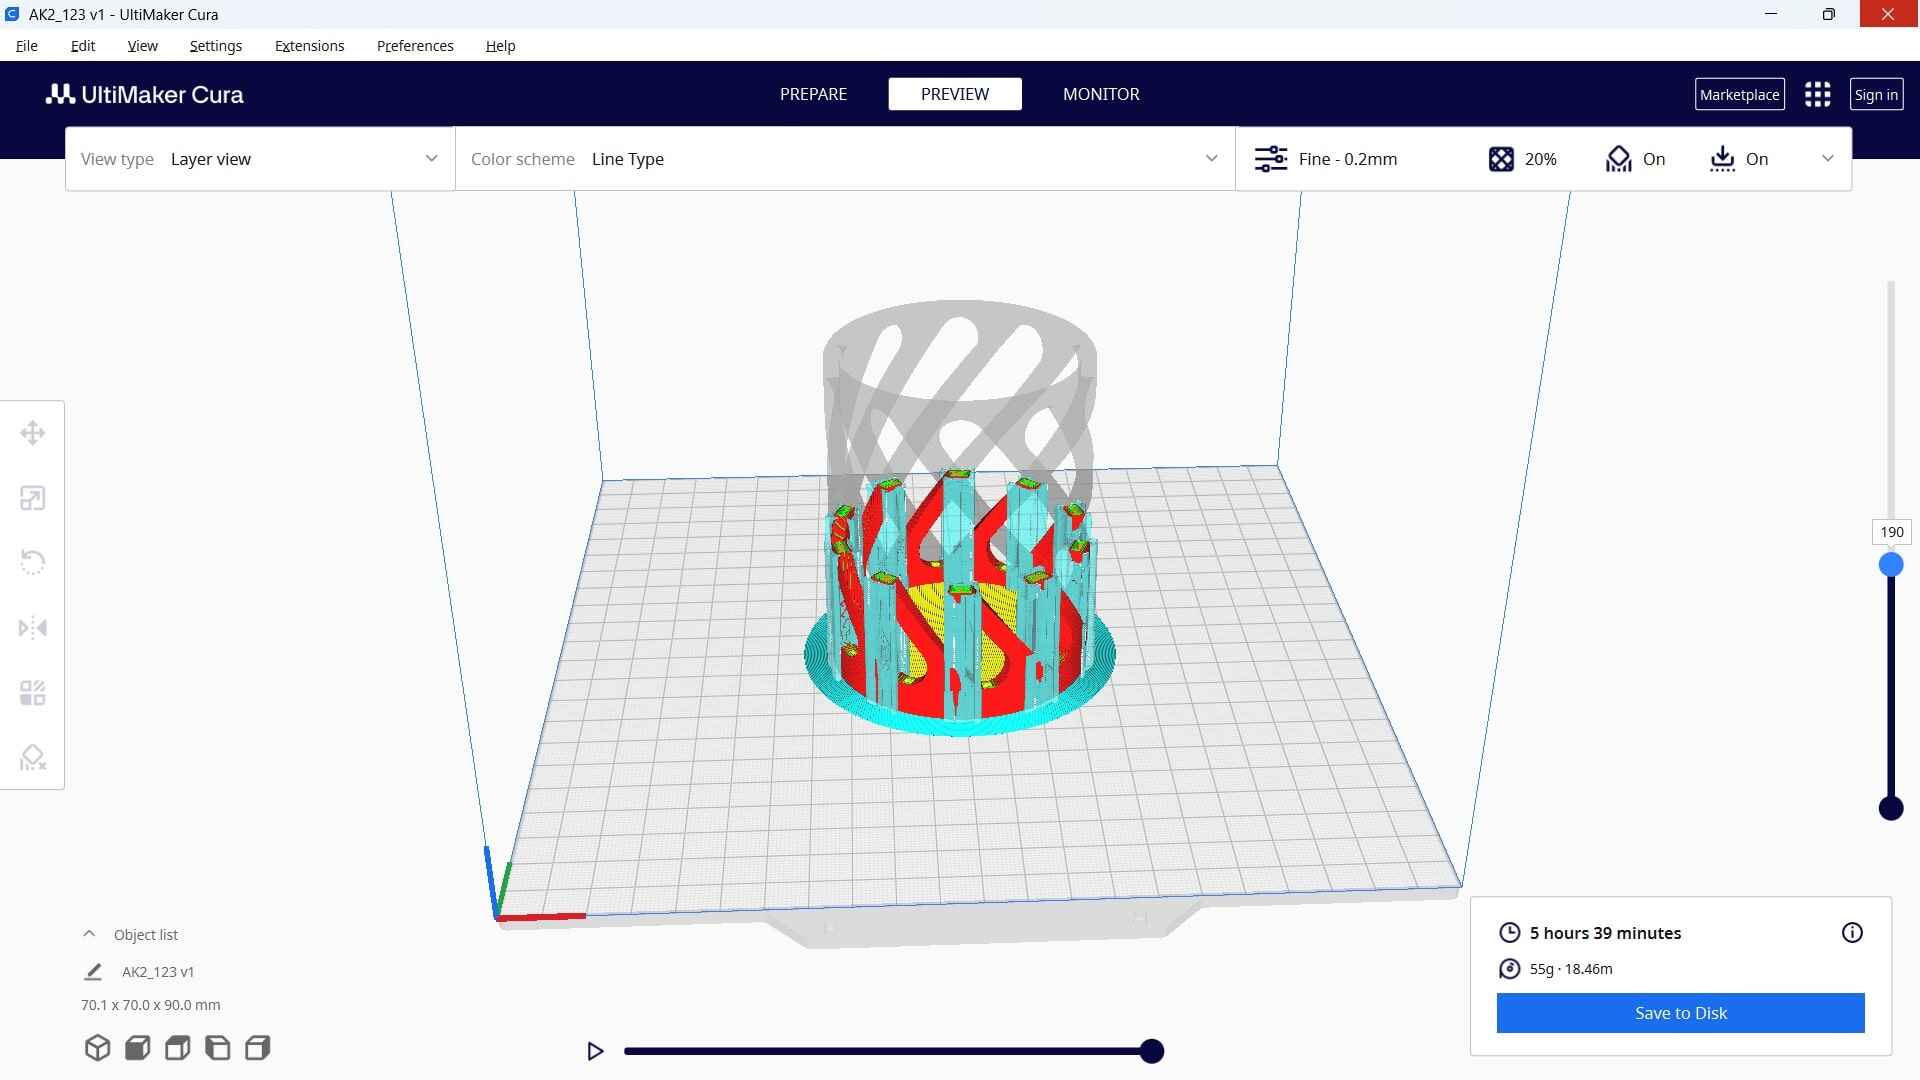
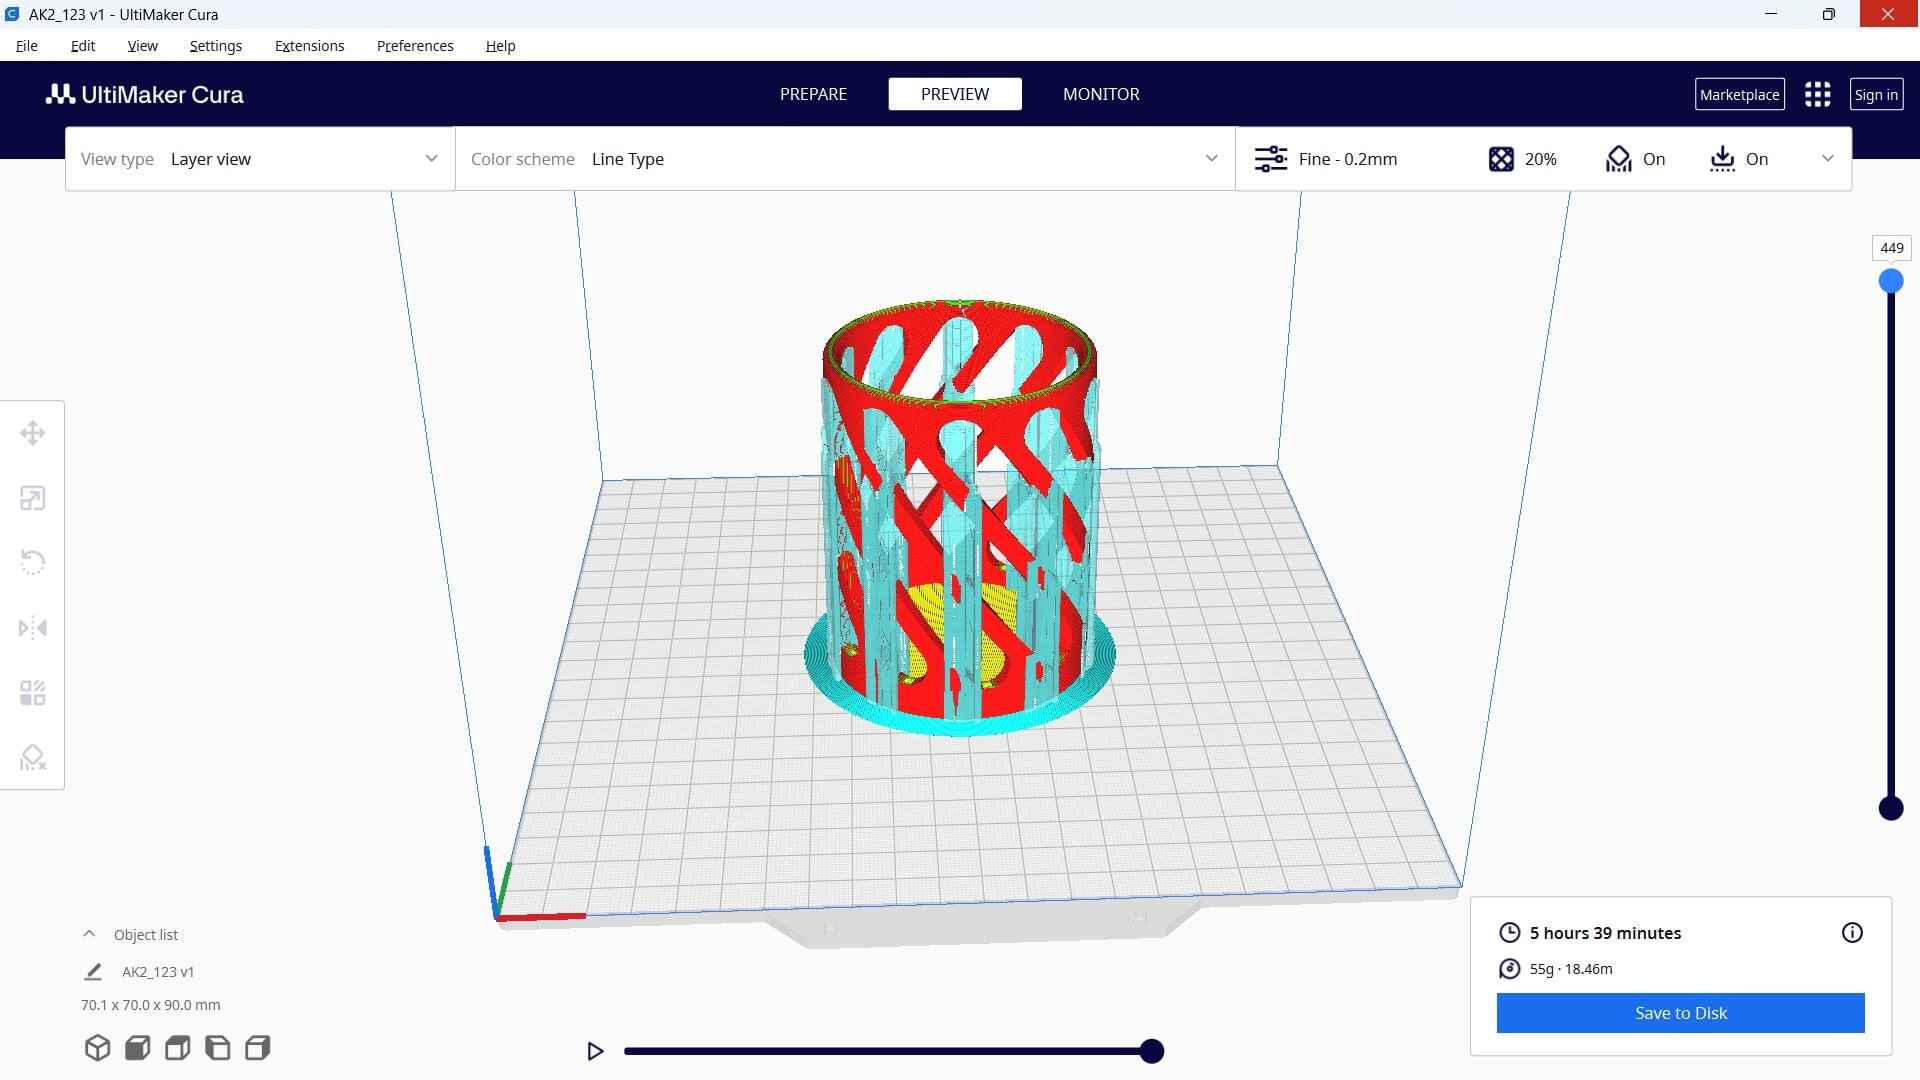
- Without support model takes time for print 3hrs 48min and with support it takes approx 5 hrs 39 min
3. Setting Up the Anycubic Kobra 2
- Power on the printer and insert the microSD card.
- Load filament:
- Preheat the nozzle to 200°C for PLA.
- Insert the filament and push until it extrudes.
- Automatic Bed Leveling:
- Use LeviQ 2.0 Auto-Leveling for accurate first-layer adhesion.


4. Start Printing
- Select the file from the printer’s touchscreen.
- Monitor the first few layers to ensure proper adhesion.
- Adjust Z-offset if needed.
- Total time taken for printing approximately 6 hours

After printing with structure support inclination towards the object


5. Post-Processing
- Removed all supports in the pencil stand
- Finished lookside view and top view of object


3D Object Scanning
Steps for 3D Scanning Using Polycam
- 1. Install Polycam App
Download and install Polycam from the Google Play Store (Android). Sign up or log in to access its features.
- 2. Select Scan Mode
Open the app and choose Photo Mode for photogrammetry-based 3D scanning.
- 3. Capture Images
Move around the object and take multiple overlapping photos from different angles. Ensure good lighting and avoid reflections for better scan quality.
- 4. Process the Scan
After capturing, tap Process Scan to upload images to Polycam’s cloud for reconstruction. Wait for the 3D model to be generated.
- 5. Edit & Refine the Model
Use in-app tools to crop, smooth, or refine the 3D model. Adjust textures and optimize the scan.6. Export the 3D Model
Export in formats like OBJ, STL, GLTF, or FBX for 3D printing or further editing. Share the model or import it into 3D software.

Video Representation of the scanned images using polycam
Learning of 3d scanning: In android mobile phone is not suitable for scanning 3d objects and free ware is not available
Hero Shots and Video
