Andrew's FabAcademy Journey

Week 1: Project Management and Git Tutorials

Git Tutorial

I worked through the Git tutorial to understand how version control works. Here's a brief breakdown of what I learned:

I was completely new in this kind of project management which was about documenting and tracking all progress of my work in Fab Academy. I started reading and reasearching about code editors and how to build a web page. I came to realise that there are several code editors that i could choose from but that I have to choose one that can meet the demands of digital fabrication with its use of enginering tools, software update extentions and can easily work with github. Below is a list of them:

Code Editors

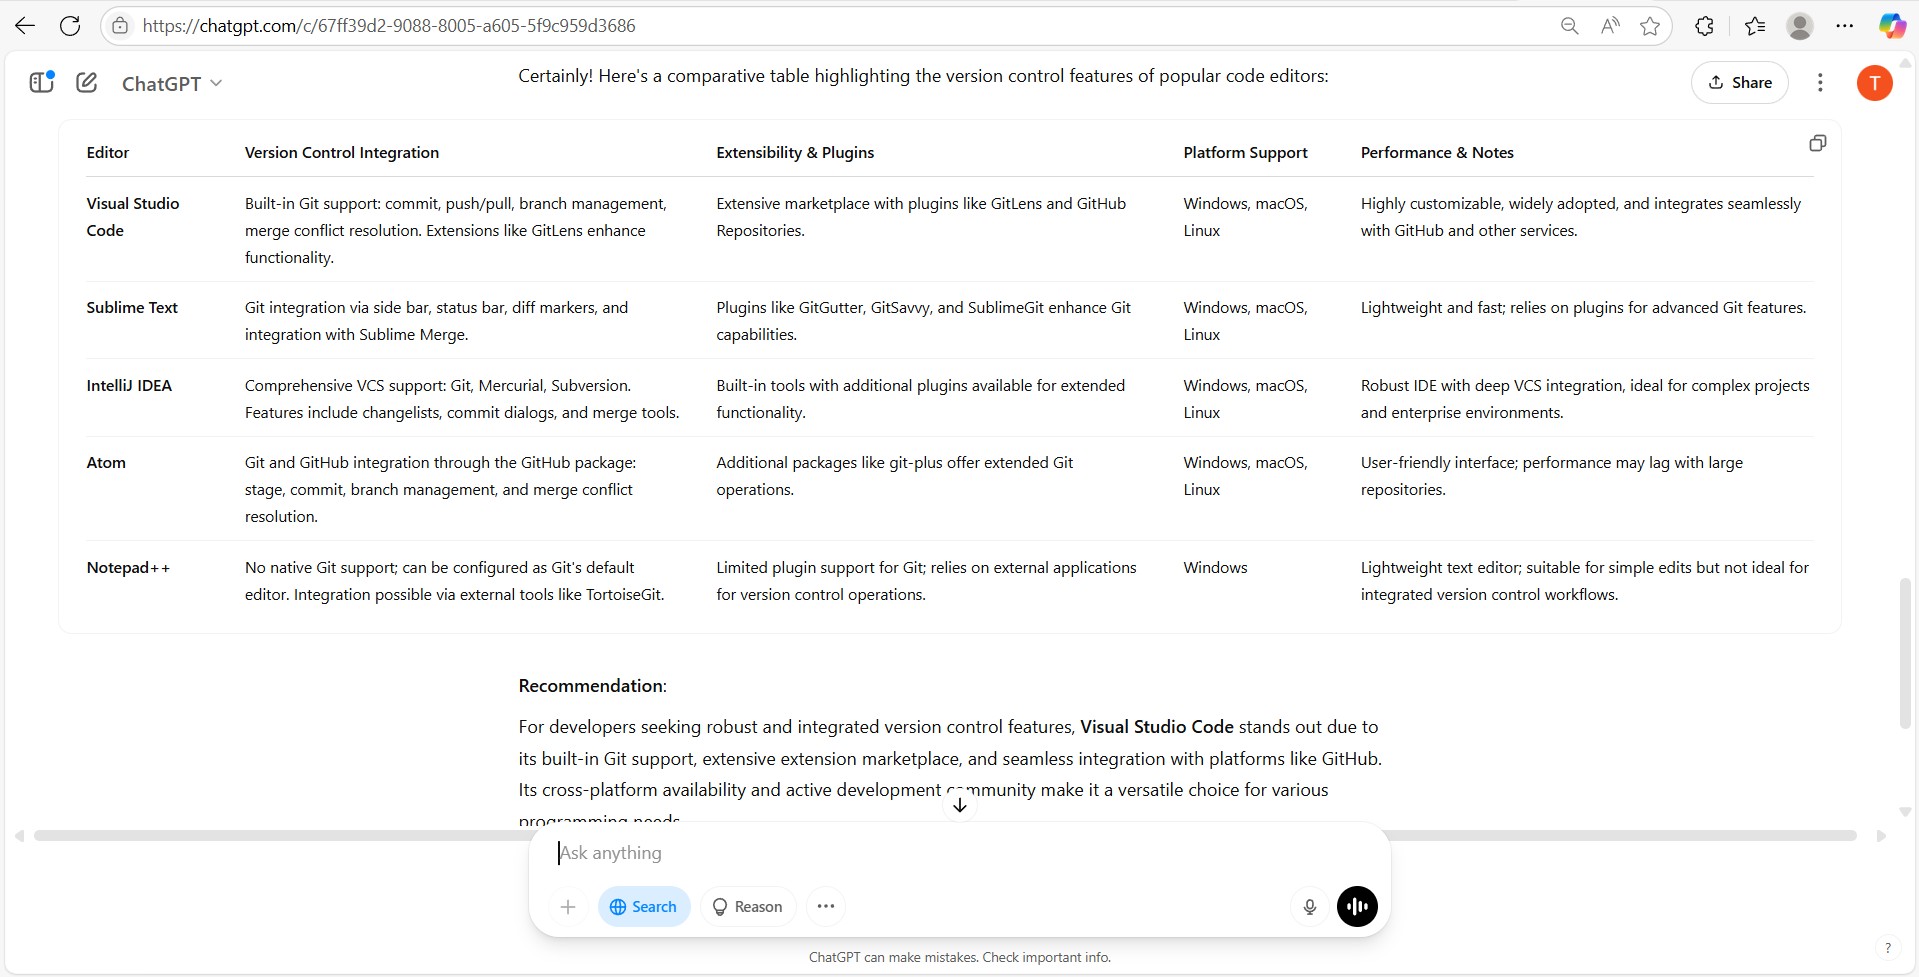
Click here for comparison of code editors

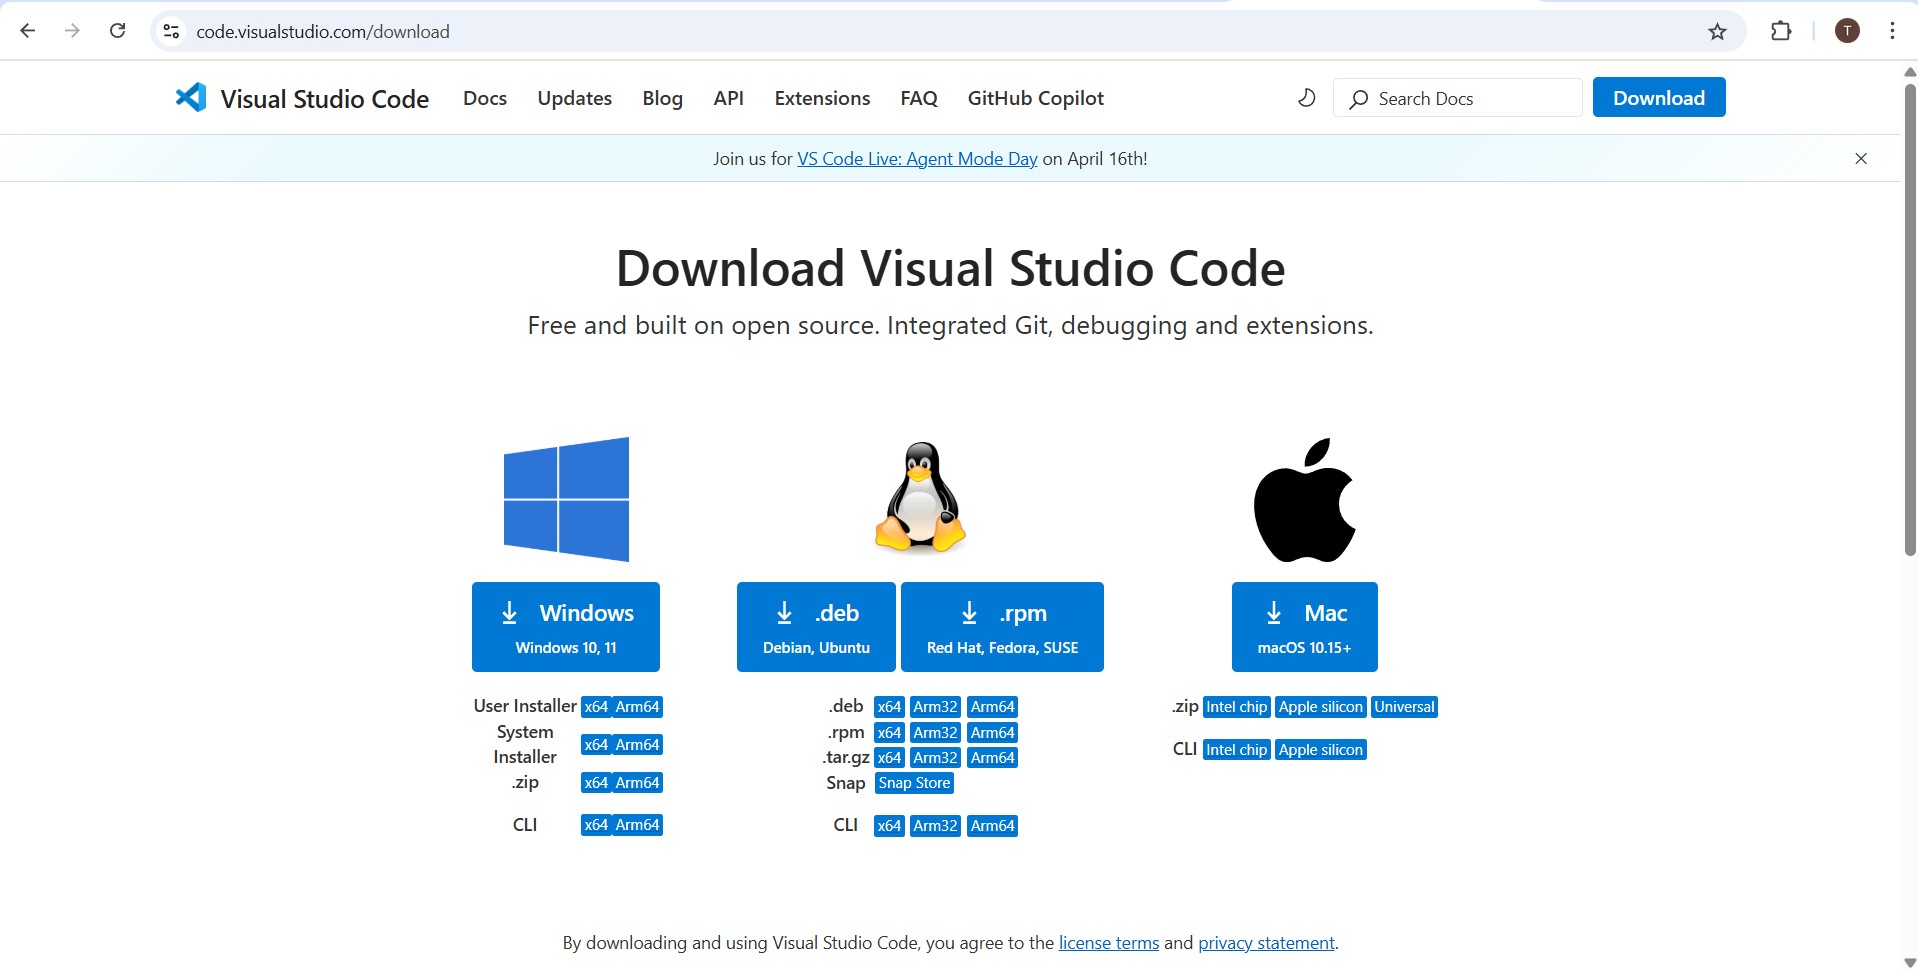
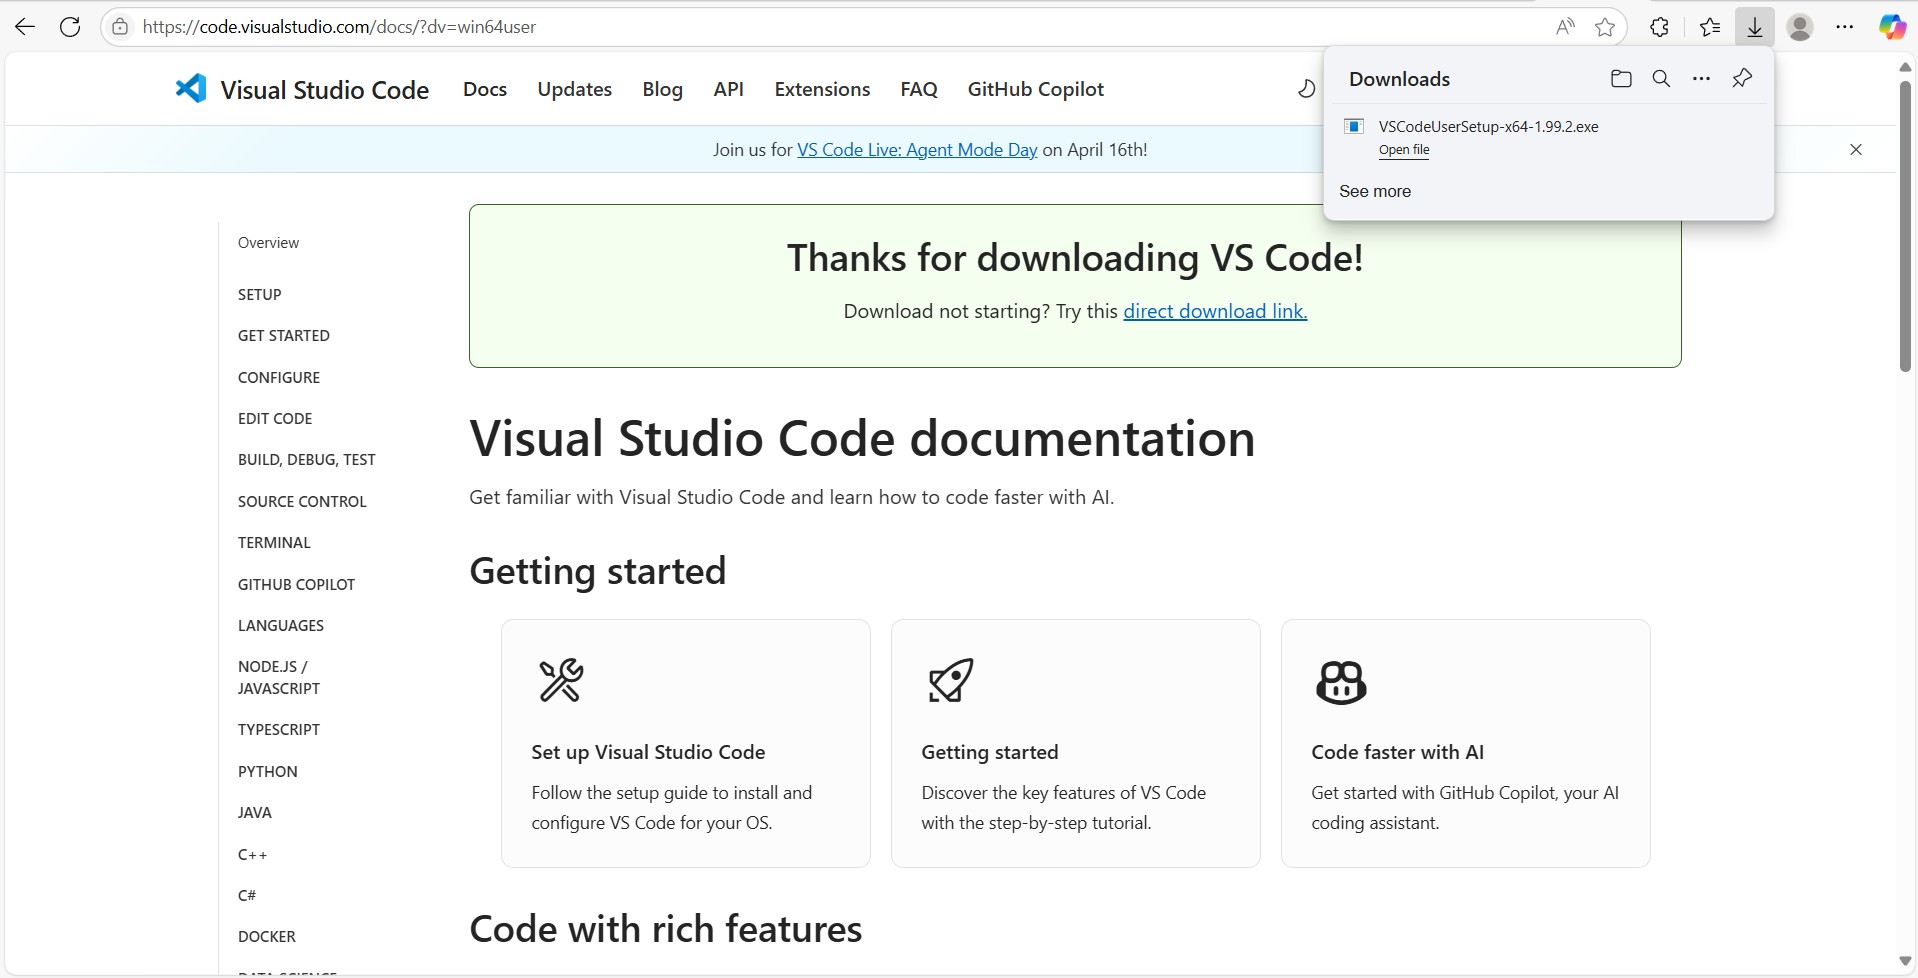
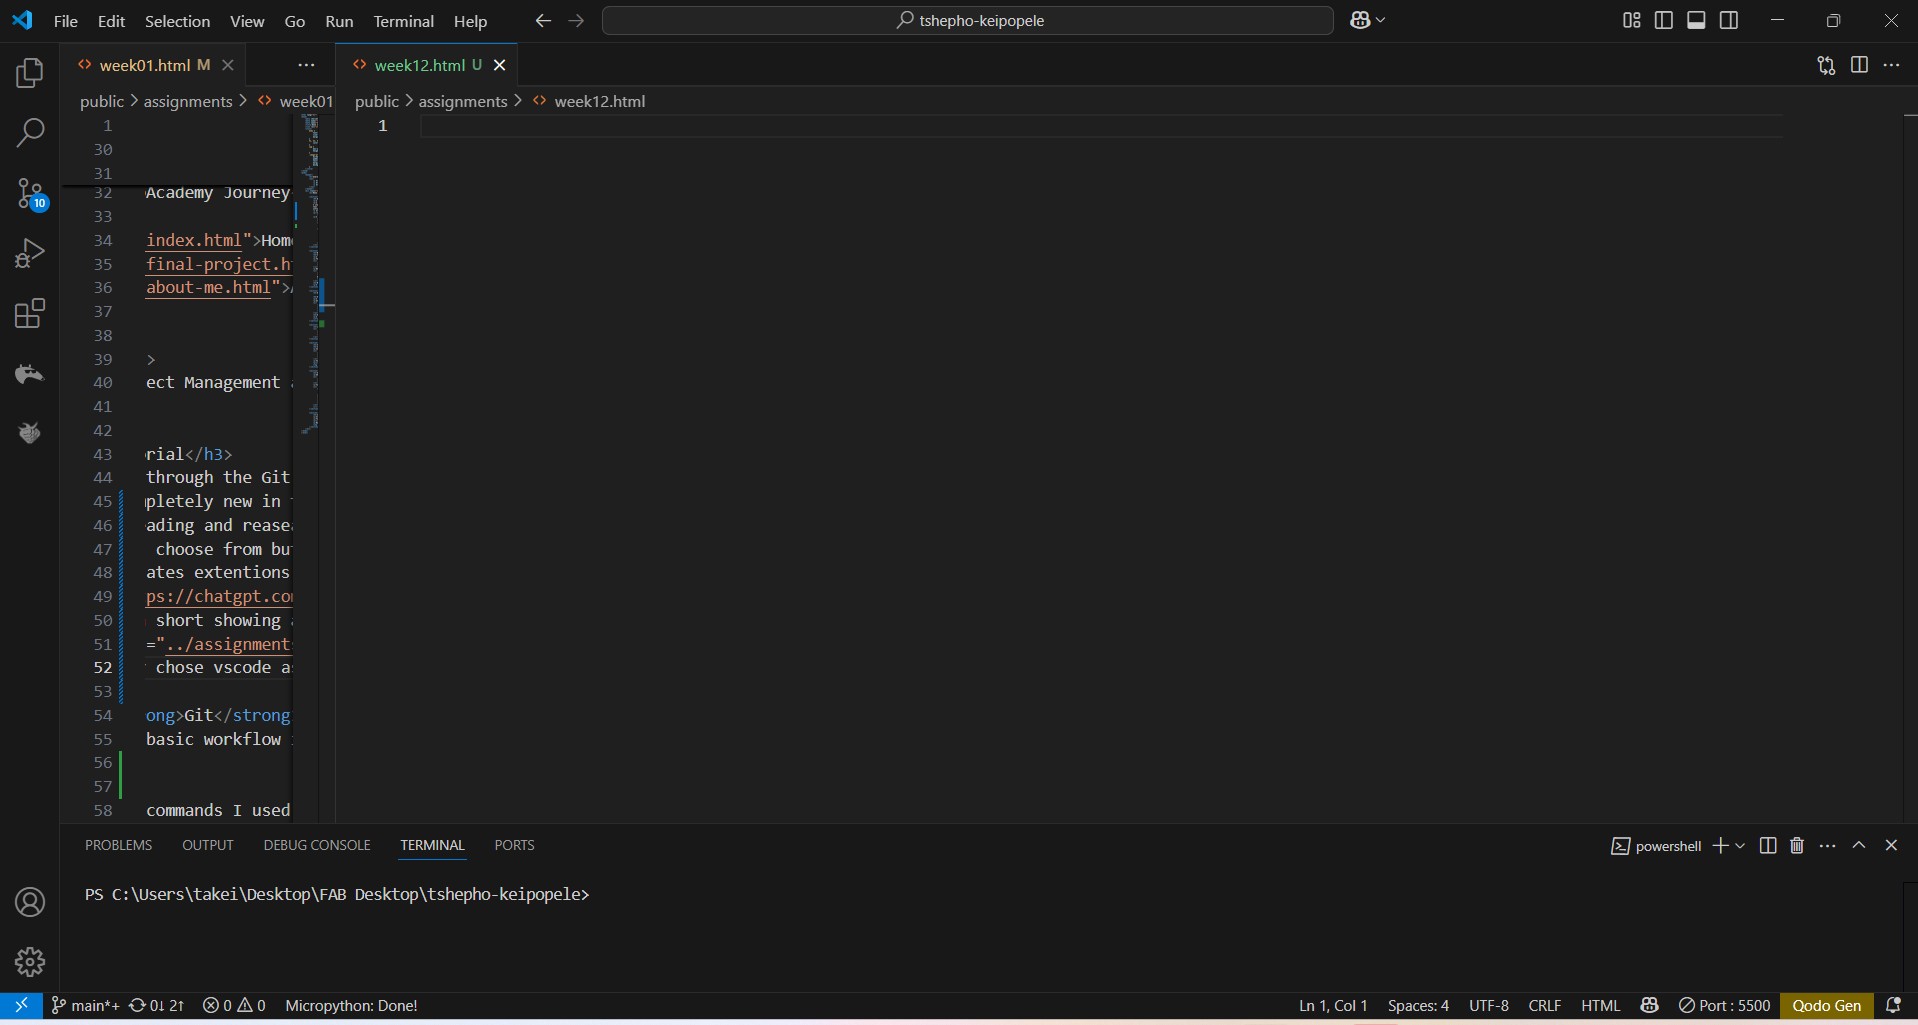
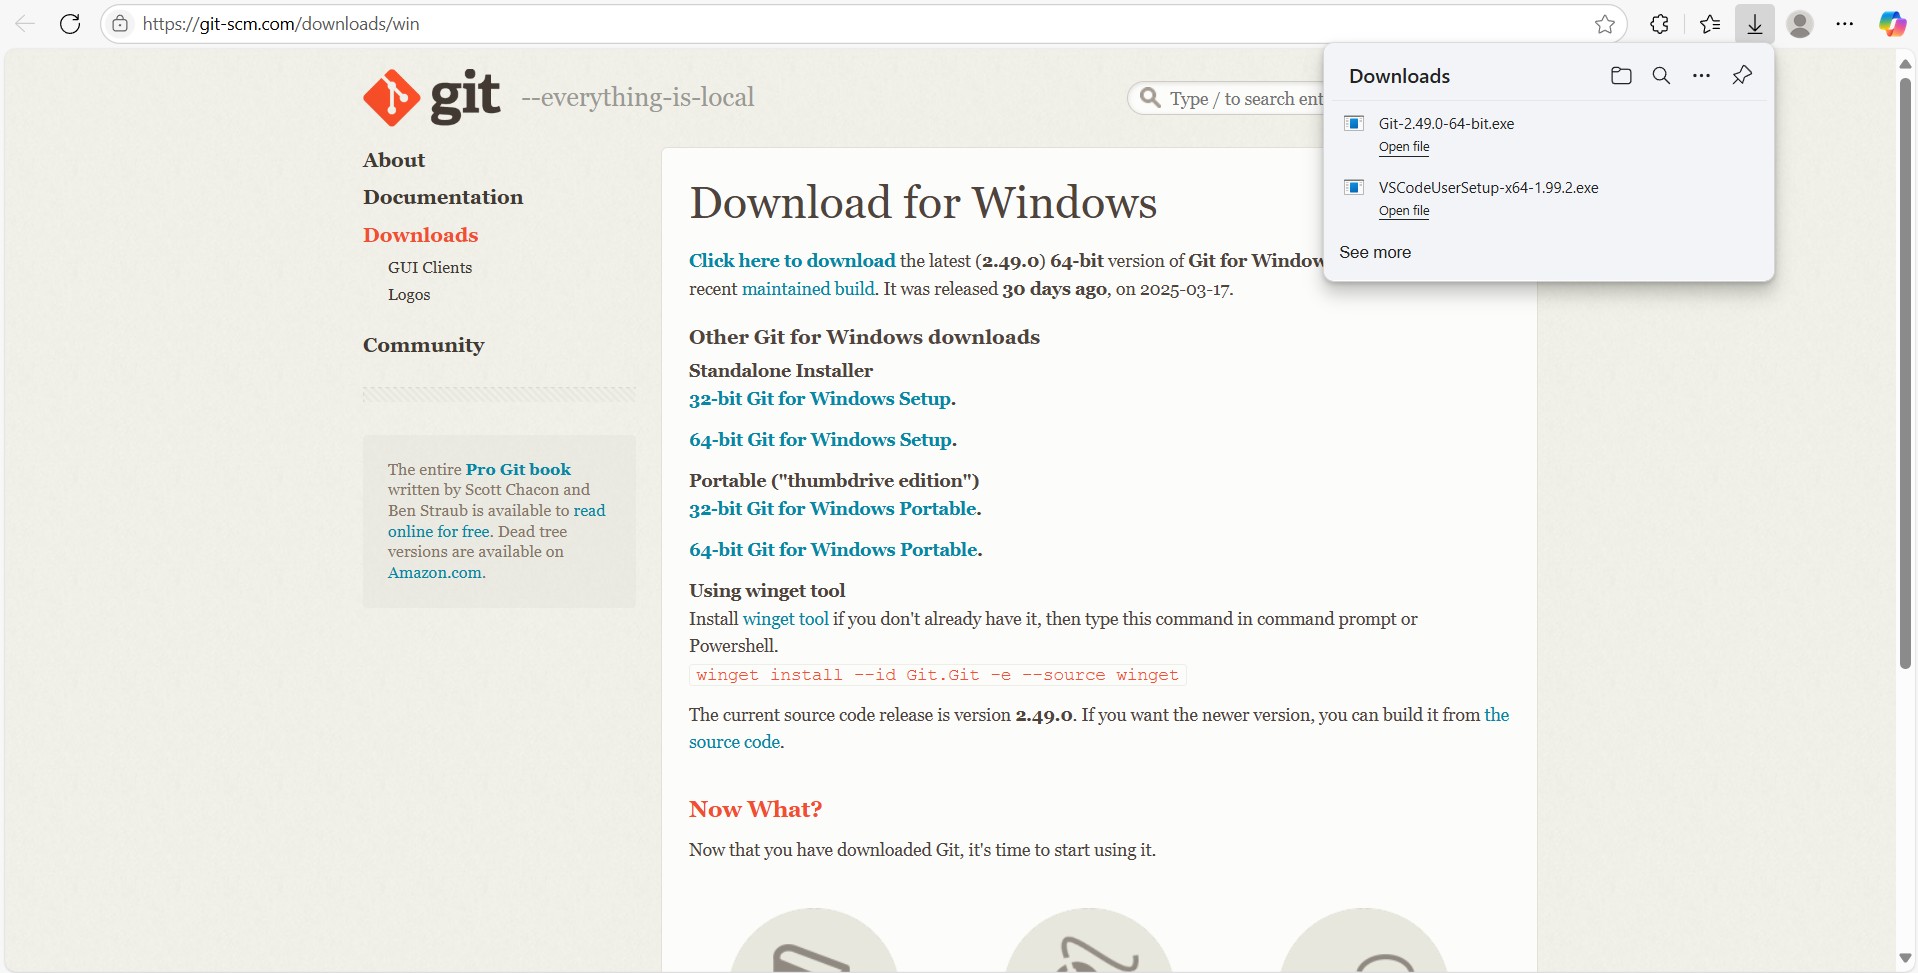
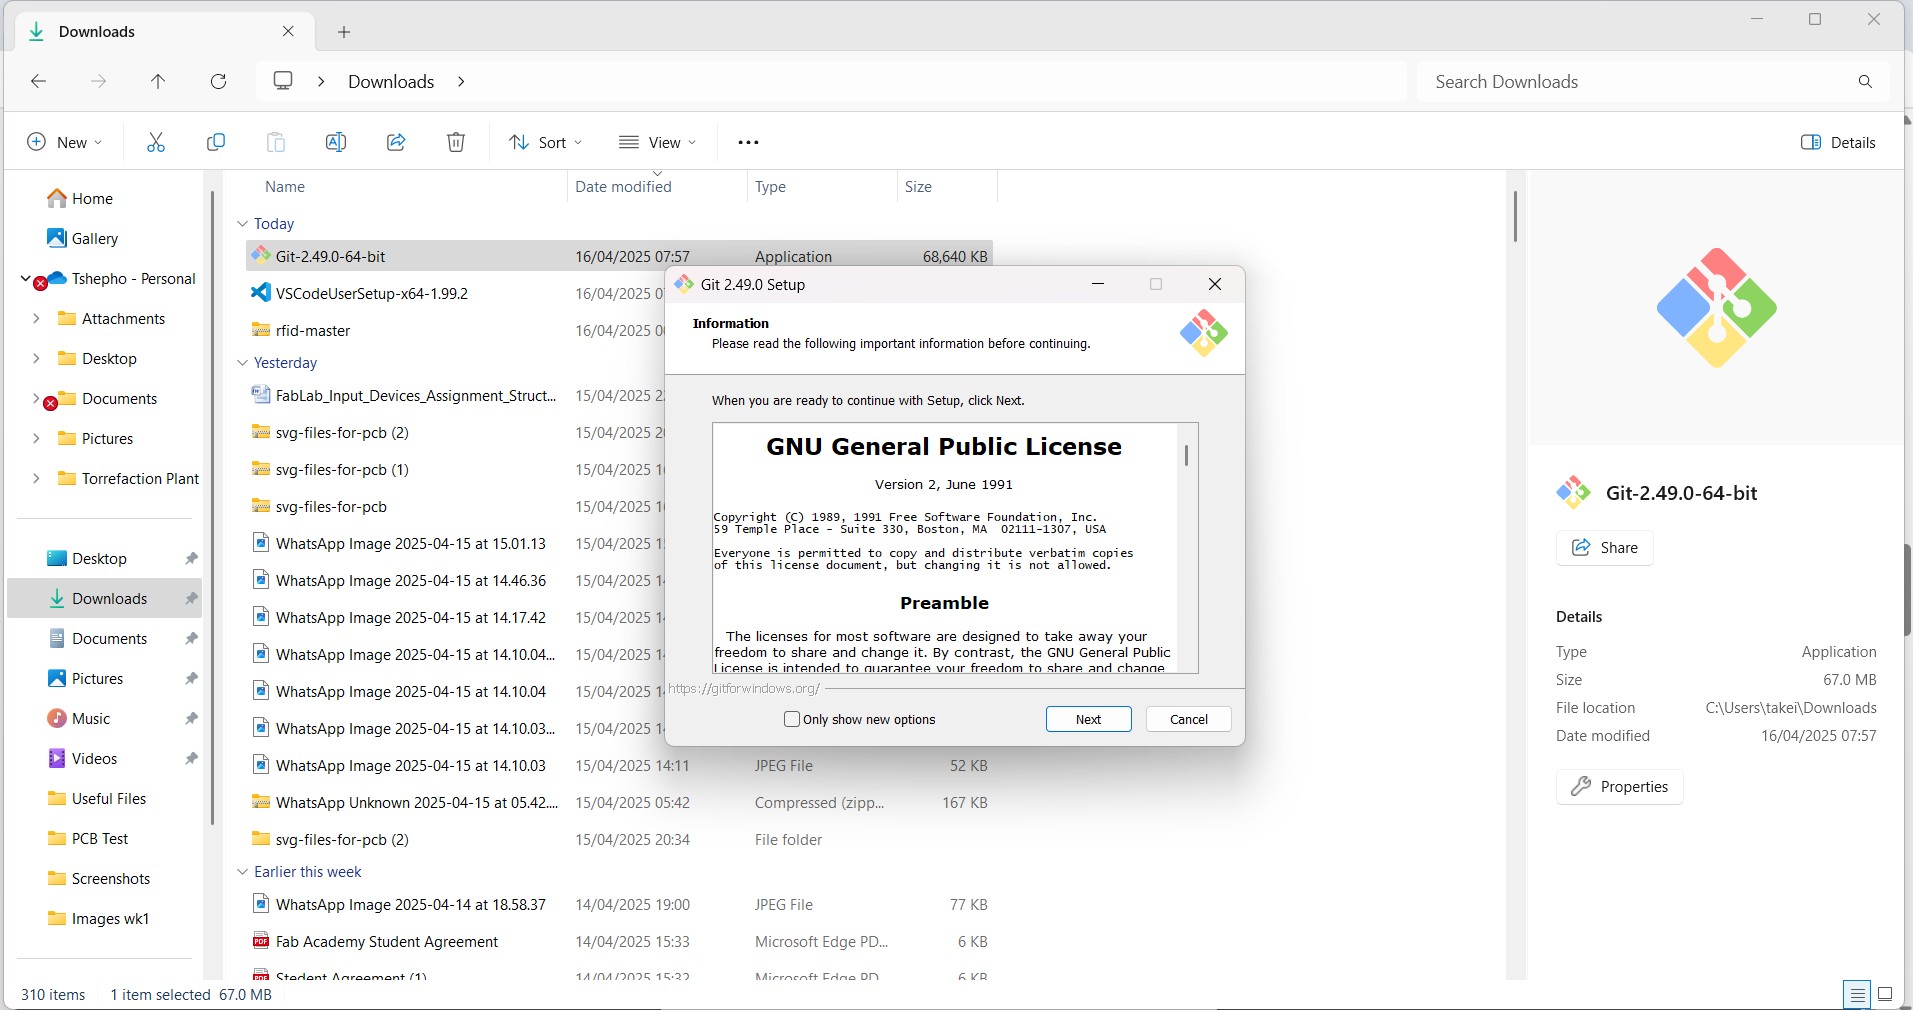
Screen short showing a comparison table for code editors and the final recommendation

Code editors comparison

I finally chose vscode as the code editor of choice and I downloaded it as follows:

  • Search and download VS-Code
  • Open vscode
  • Open VS-Code
  • Git is a tool that helps manage and track changes to files, especially for collaborative projects.
  • The basic workflow involves creating a repository, adding files, committing changes, and pushing them to a remote server (like GitLab).
  • I first downloaded github

  • Download github
  • I then installed it

  • installed github

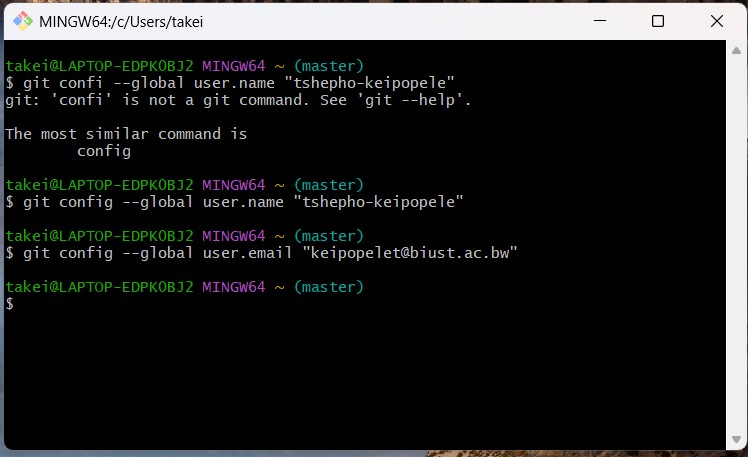
    Configuring Git and SSH Keys

    Configuring Email for Git

    Configuring your email in Git is essential for several reasons:

    To configure your email, use the following commands:

    git config --global user.email "keipopelet@biust.ac.bw"
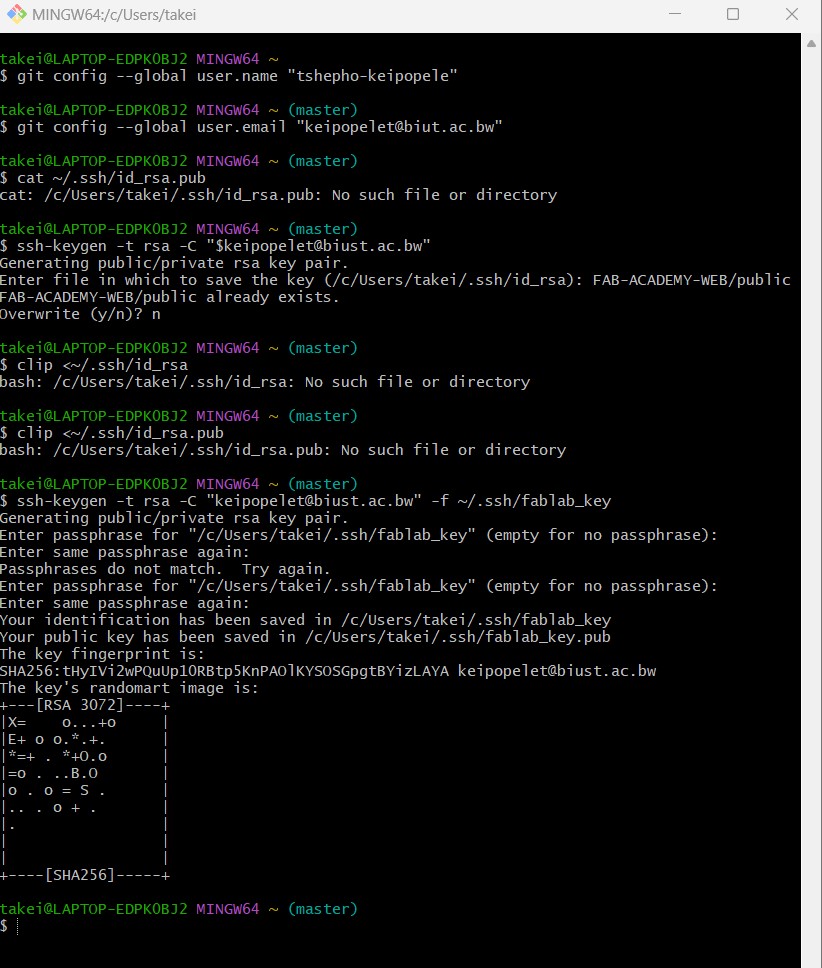
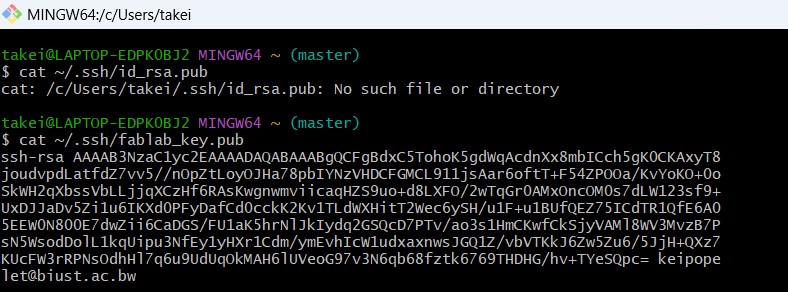
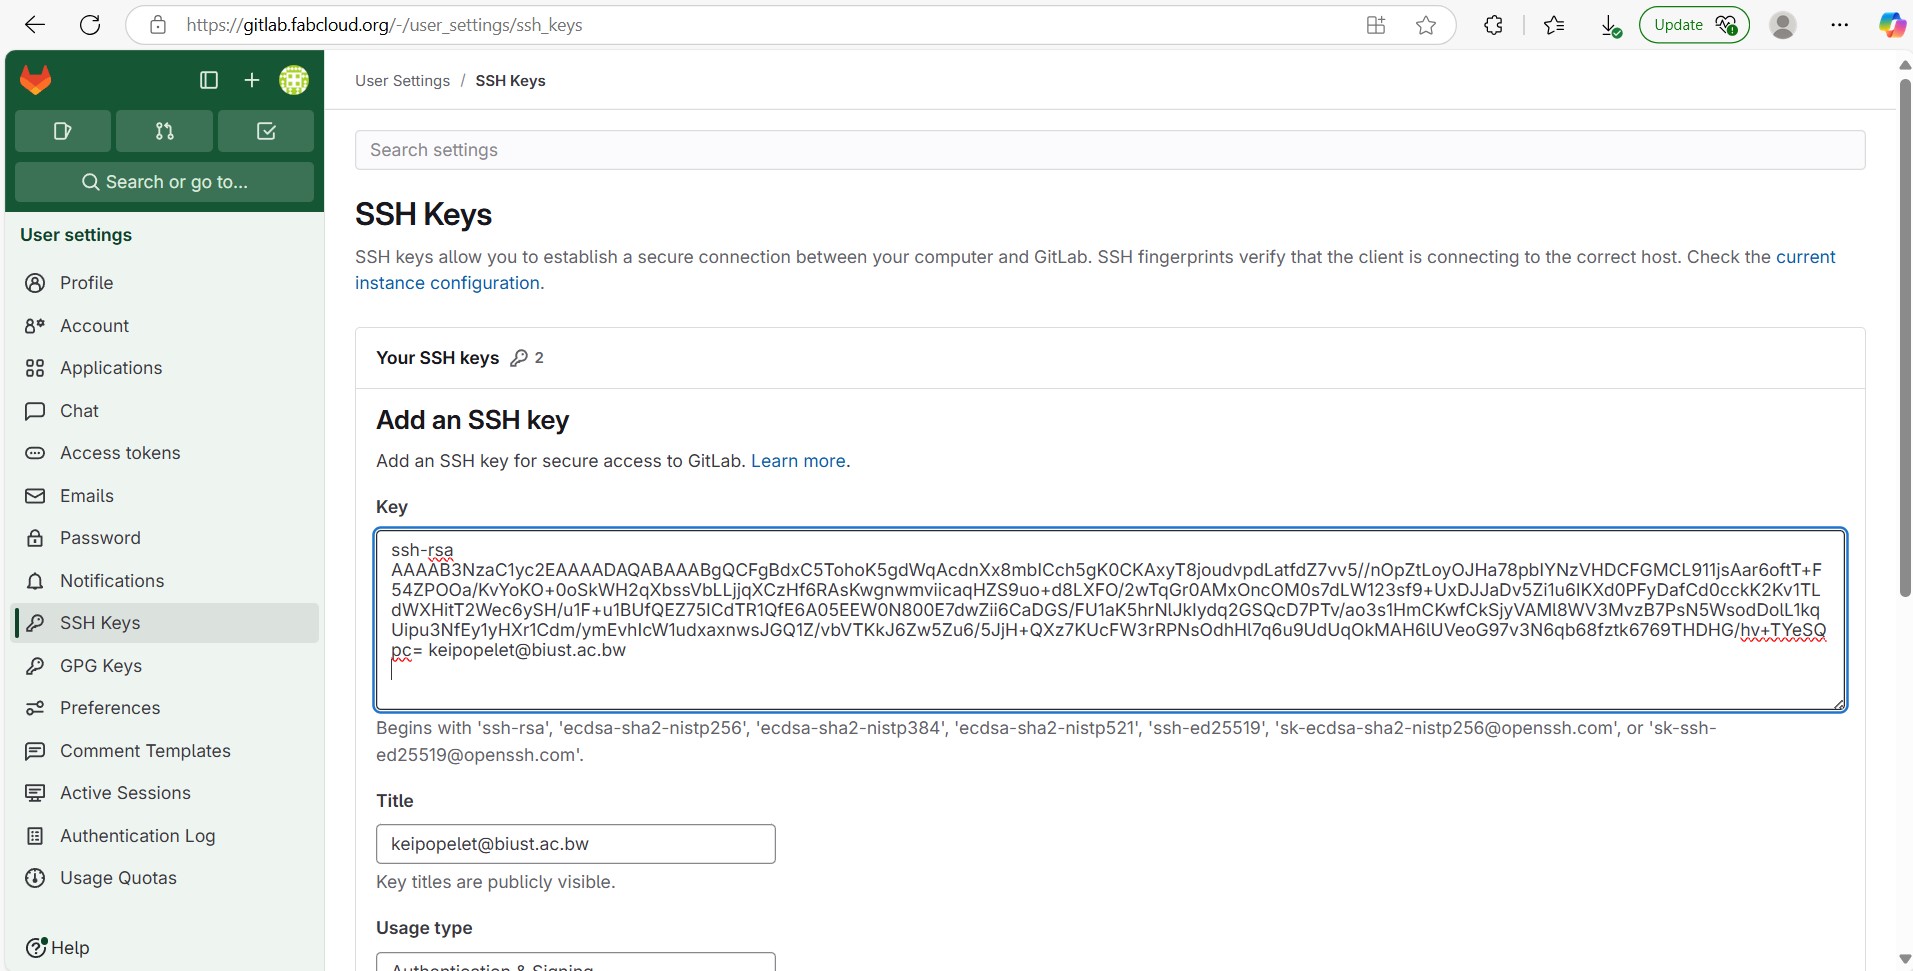
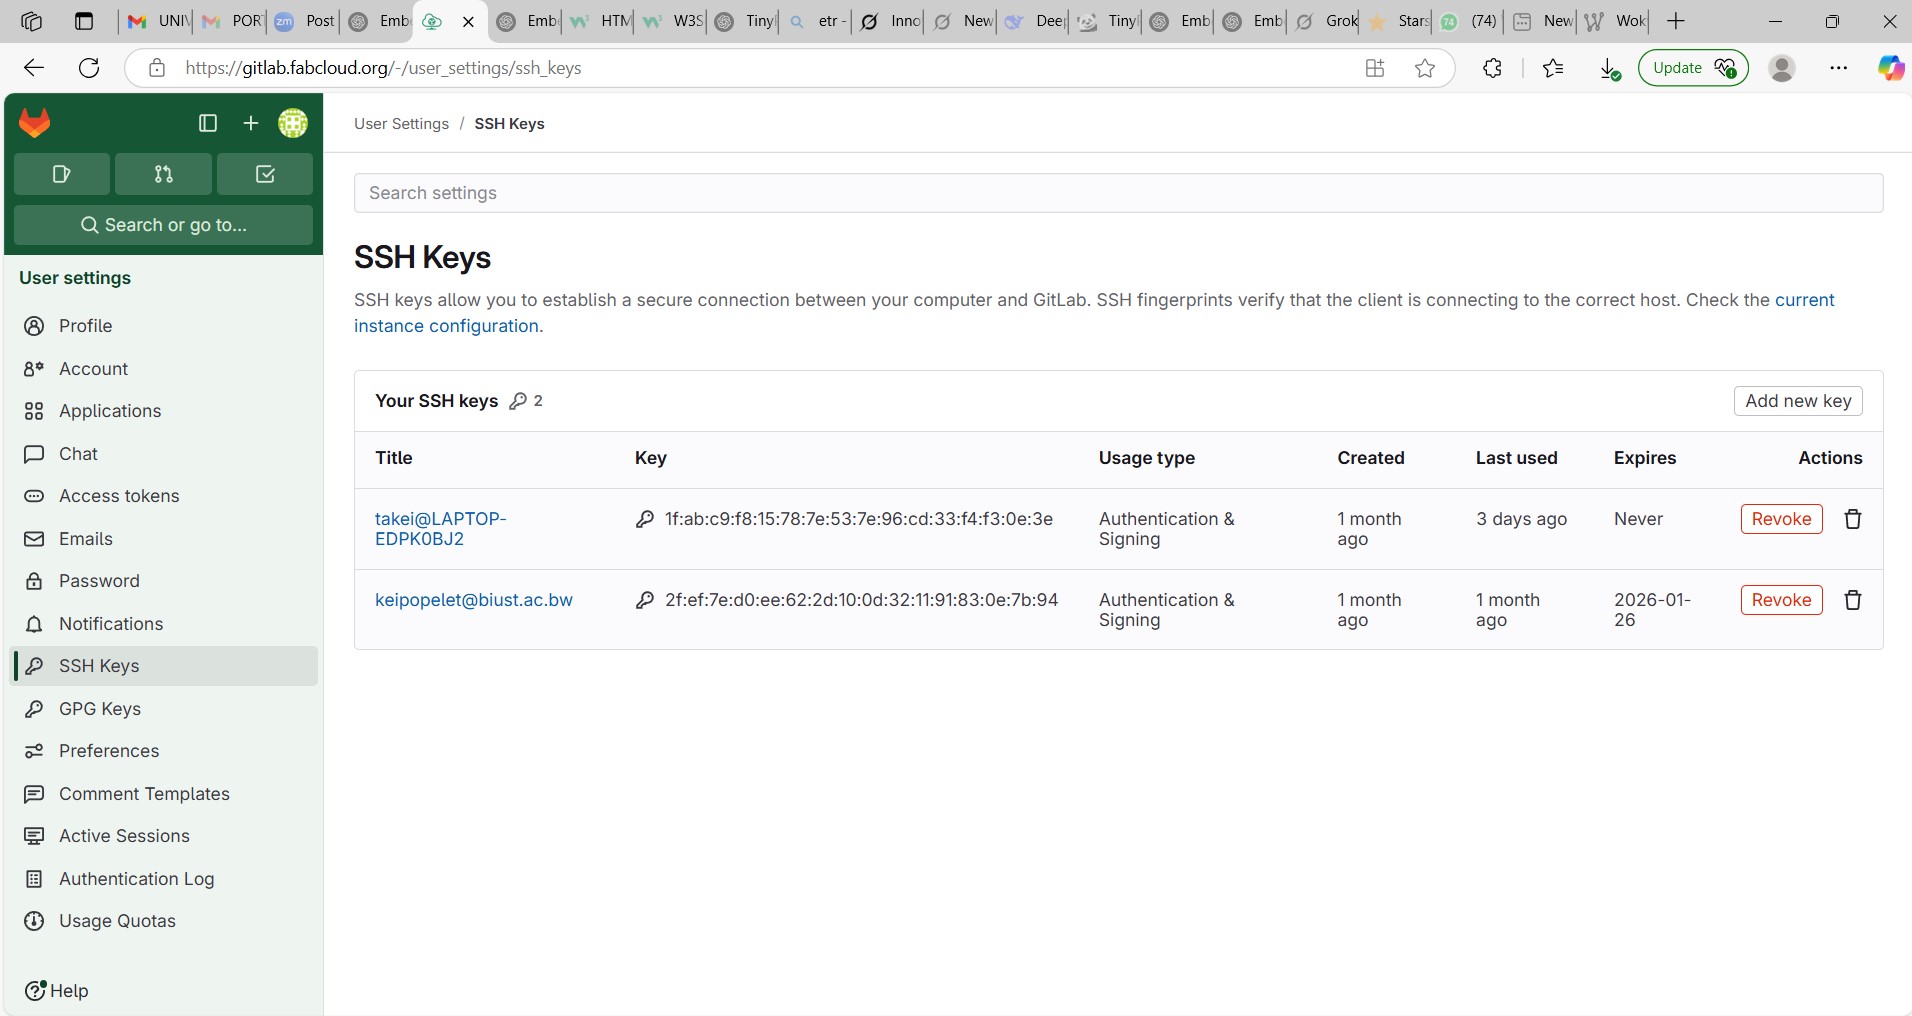
    congigure
    • Track Contributions: Git commits are associated with the email address configured in your Git settings. This ensures your work is tracked and contributions are attributed to you in the project repository.
    • Collaboration: In a collaborative environment like a Fab Lab, the repository may be shared by multiple users. Proper email configuration helps distinguish between different contributors.
    • Consistency: If you're pushing your changes to a public repository (such as GitLab or GitHub), your commits will show the correct identity, making it easier for instructors or teammates to review your progress.
    Git Email Configuration

    SSH Key Generation

    SSH keys are used to authenticate yourself securely to a remote server or service, such as a Git repository (GitHub, GitLab, etc.) or a web server, without using a password.

    • Instead of typing your password every time, use a public/private key pair to authenticate, which is much more secure.
    • The SSH key pair consists of a private key (which you keep securely on your machine) and a public key (which you share with the remote server).

    To generate an SSH key, follow these steps:

    1. Open your terminal and enter the following command:
      ssh-keygen -t rsa -b 4096 -C "cat ~/.ssh/fablab_key.pub"
      SSH Key
    2. When prompted, specify a file to save the key (press Enter to accept the default location).
    3. Enter a passphrase for added security (or press Enter to skip).
    4. Then add the SSH keys which allows me to establish a secure connection between my computer and GitLab. SSH fingerprints verify that the client is connecting to the correct host.

    5. Add SSH Key

      Saved SSH Keys

    Cloning a Repository

    Cloning a repository allows you to create a local copy of a remote repository on your machine. This enables you to work on the project locally and push changes back to the remote repository.

    To clone a repository, use the following command:

    git clone <repository-url>

    Replace <repository-url> with the URL of the repository you want to clone.

    Git Clone
  • The commands I used:
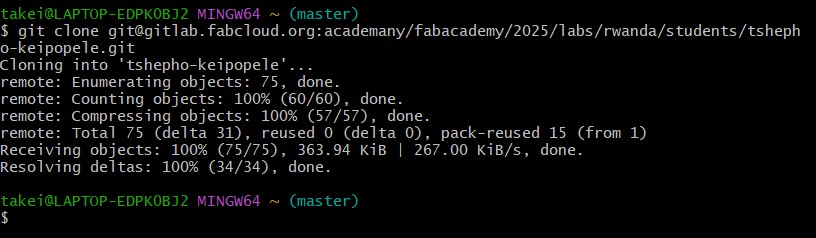
    • git init to initialize a new repository.
    • git add to stage files for commit.
    • git commit -m "message" to commit changes.
    • git push to upload changes to a remote repository.

Building a Personal Website

Creating the Website

I used Gitlab Template Pages to customize my personal website. This website will serve as my portfolio for the course, where I will document my progress, share my project ideas, and provide updates on what I learn.

Templates

br

The website includes:

  • A brief introduction about myself, including my background, interests, and goals.
  • A section detailing my final project idea, including the initial sketch, description, and who will use it.

Here's the structure of my website:

  • Home Page: Contains a brief introduction to myself and the program.
  • Final Project Page: Describes the Briquet maker and how to improve it by semi-atomating the lift up and down of the ram by the use of stepper mototors controlled by a microcontroller with accessories
  • About Me Page: Provides information about my skills, goals, and background in digital fabrication and design.

  • My Website

Website Development Tools Used

I used HTML and CSS to create and style my website. I also used Gitlab Pages to host it, ensuring my website is accessible to others in the class archive.

Uploading to Class Archive

Uploading to GitLab Repository

I cloned a Git repository in GitLab for my work. I uploaded my files, including the student agreement and website files, to the class archive repository.

Steps to set up Git and push the files:

  • Initialized a repository locally: git init.
  • Added the files: git add ..
  • Committed the changes: git commit -m "Initial commit with student agreement and website".
  • Pushed to GitLab: git push origin master.

Adding My Student Agreement

I uploaded the signed student agreement to my GitLab repository in the appropriate folder, following the instructions provided by the course.

Learning Outcomes

  • Communicating My Initial Project Proposal: I’ve sketched my final project idea, described its function and users, and uploaded all relevant information to my website and GitLab repository.
  • Utilizing Version Control: I’ve learned how to use Git for version control, and I applied this by committing my work and pushing it to the class repository.
  • Website Development: I built a simple website to showcase my project and personal information. I used HTML, CSS, and GitHub Pages to host the site. I documented all steps and included links to the final project and my student agreement.