Wildcard Week
- Design and produce something with a digital process (incorporating computer-aided design and manufacturing) not covered in another assignment, documenting the requirements that your assignment meets, and including everything necessary to reproduce it. Possibilities include but are not limited to wildcard week examples.
- Demonstrate workflows used in the chosen process
- Select and apply suitable processes (and materials) to do your assignment.
#.Individual assignment
Digital Embroidery with Ink/Stitch
For Wildcard Week, the challenge was to create something using a digital fabrication process not covered in previous assignments. This was a great opportunity to explore a new toolset and learn a different digital-making skill. The main goal was to design and produce something using computer aided design and manufacturing while documenting each step so it could be replicated.
After some consideration, I chose to experiment with digital embroidery. I had never tried it before, and it felt like an exciting combination of creativity and technology. My idea was to design a fun image specifically an emoji and pair it with a short caption underneath to give it character.
1. My Approach
I decided to create a simple yet fun design: an emoji wearing sunglasses with the phrase "Like a Boss" underneath. For the design, I used Inkscape with the Ink/Stitch extension, which converts vector paths into embroidery patterns. I sourced a free emoji SVG from Freepik and planned to stitch the final design onto fabric using a Janome embroidery machine . My workflow involved designing in Ink/Stitch, testing on stabilizer paper, and finally stitching onto black fabric.
2. The Journey: Challenges, Decisions & Results
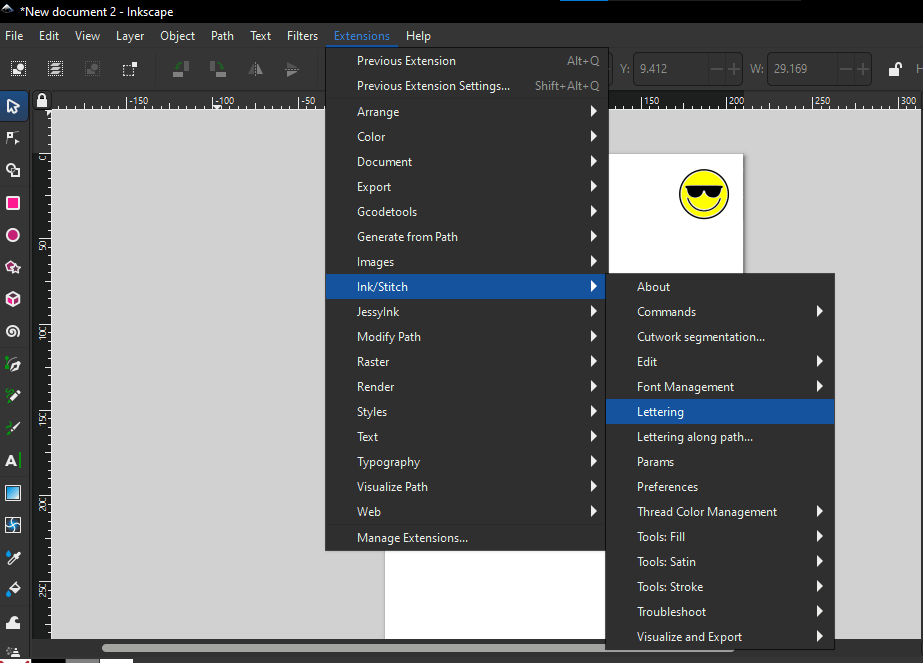
I decided to use Inkscape, a vector design program I was already familiar with. To enable embroidery functionality, I installed the Ink/Stitch extension, which allows users to simulate and export stitchable files. I followed the instructions on the official Ink/Stitch website and successfully added the extension to Inkscape.
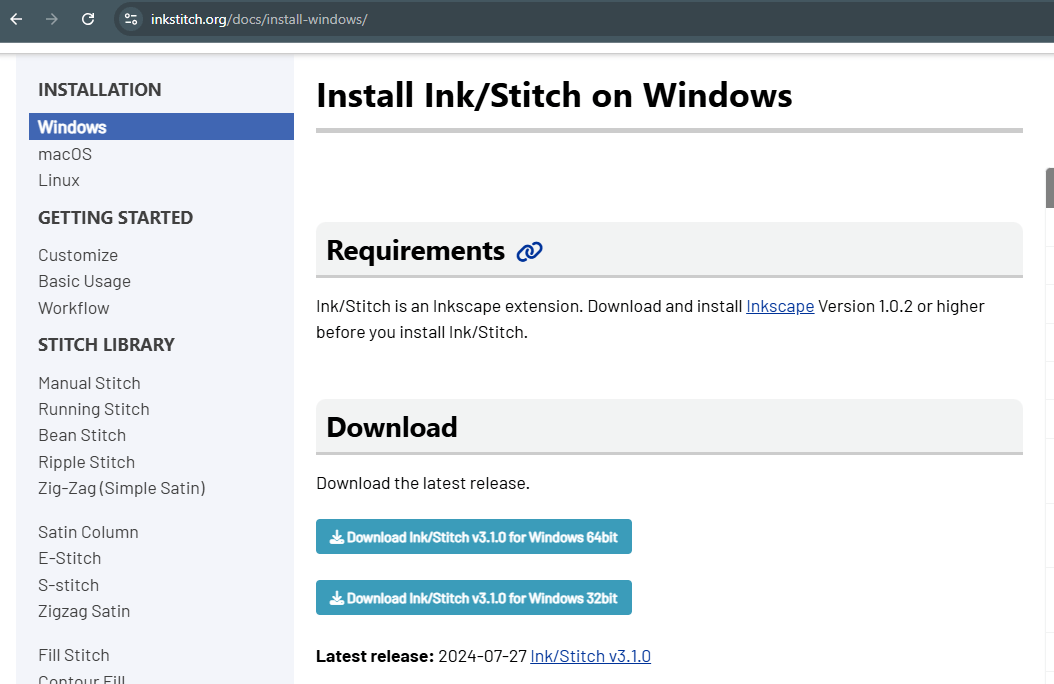
Downloading the Ink/Stitch extension

Installing the Ink/Stitch extension
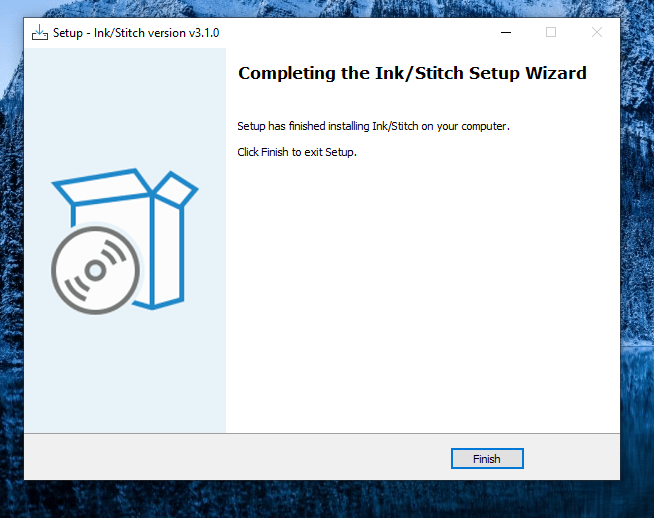
successfully added the extension to Inkscape.
Designing the Emoji and Adding the Text
To find an image, I used Freepik, a site offering free SVG files. I chose an expressive emoji from their collection and downloaded it. Then, I imported the image into Inkscape and used the Trace Bitmap function to convert it from a JPG to a vector format suitable for editing.
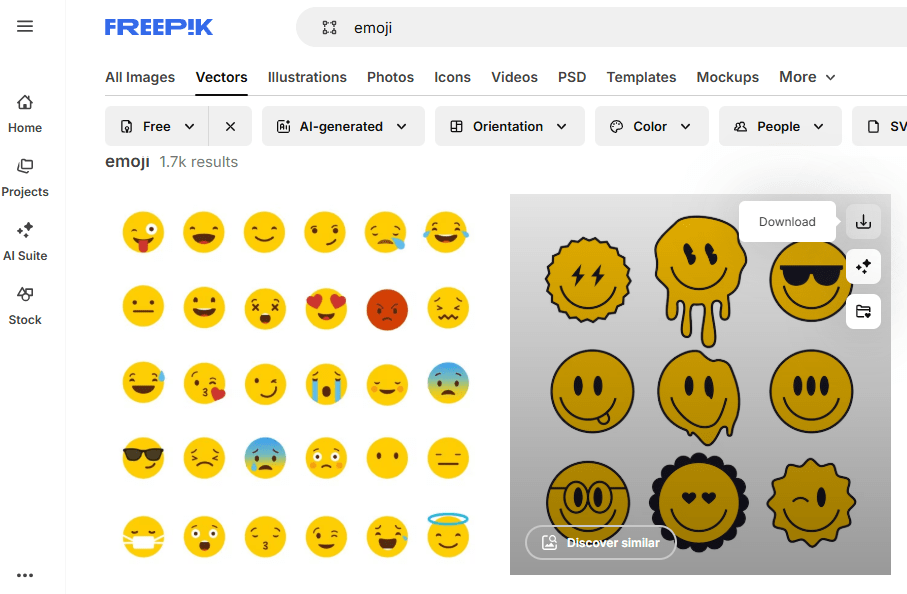
Downloading an imoji collection image from Freepik
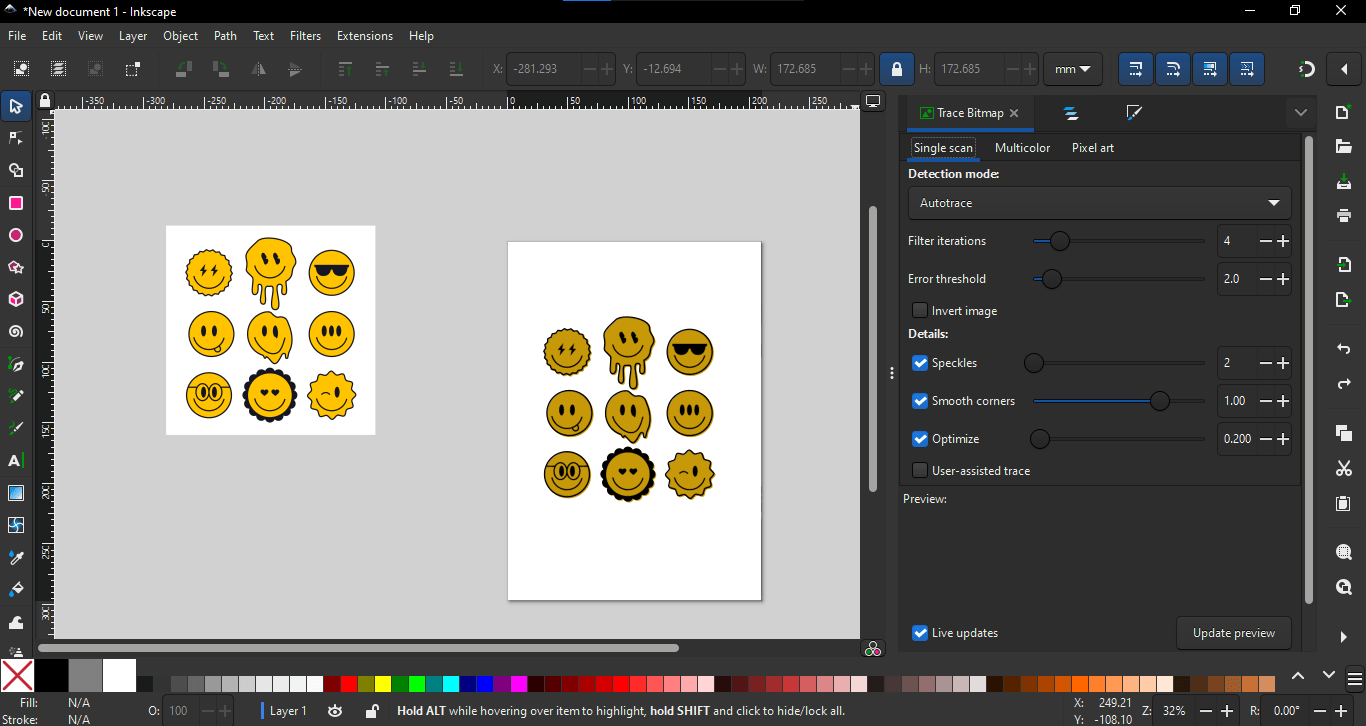
using the Trace Bitmap function to convert it from a JPG to a vector format
Next, I opened a new file and pasted in just one emoji. I selected it and used Ink/Stitch’s "Break Apart Fill Objects" feature to separate and prepare the design for stitching. I used the "Visualize and Simulate" option in Ink/Stitch to see how the embroidery would play out before proceeding.
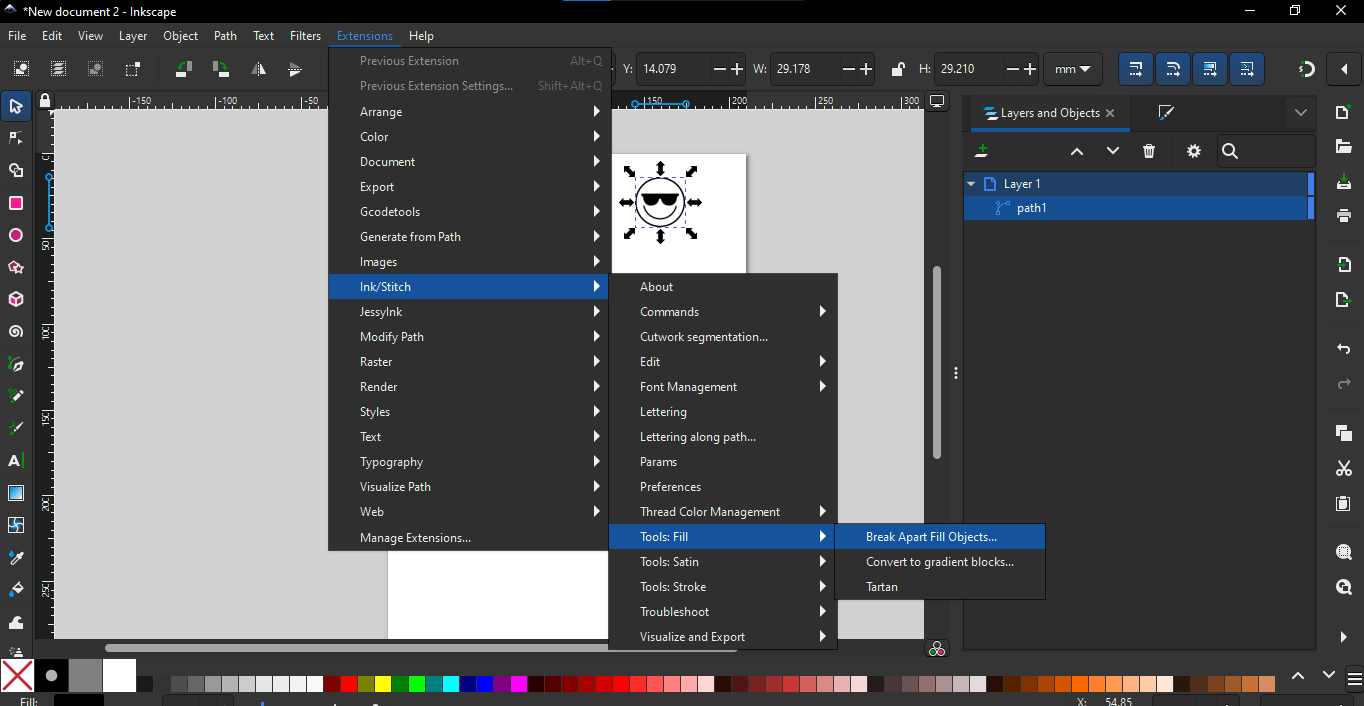
I selected the image and used Ink/Stitch’s “Break Apart Fill Objects” feature to separate the individual elements, making them ready for accurate stitching.
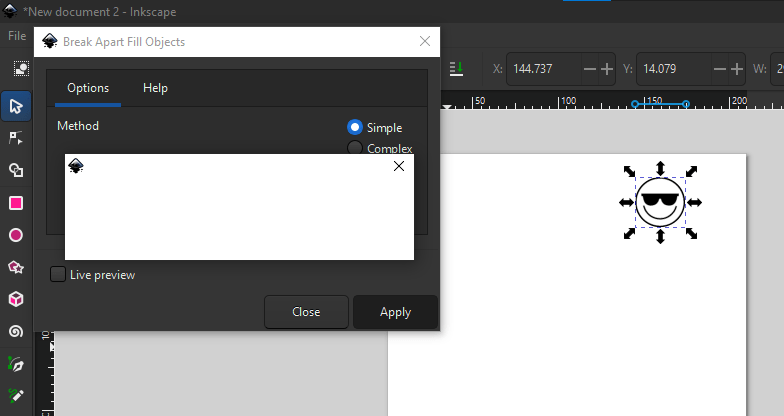
then apply it
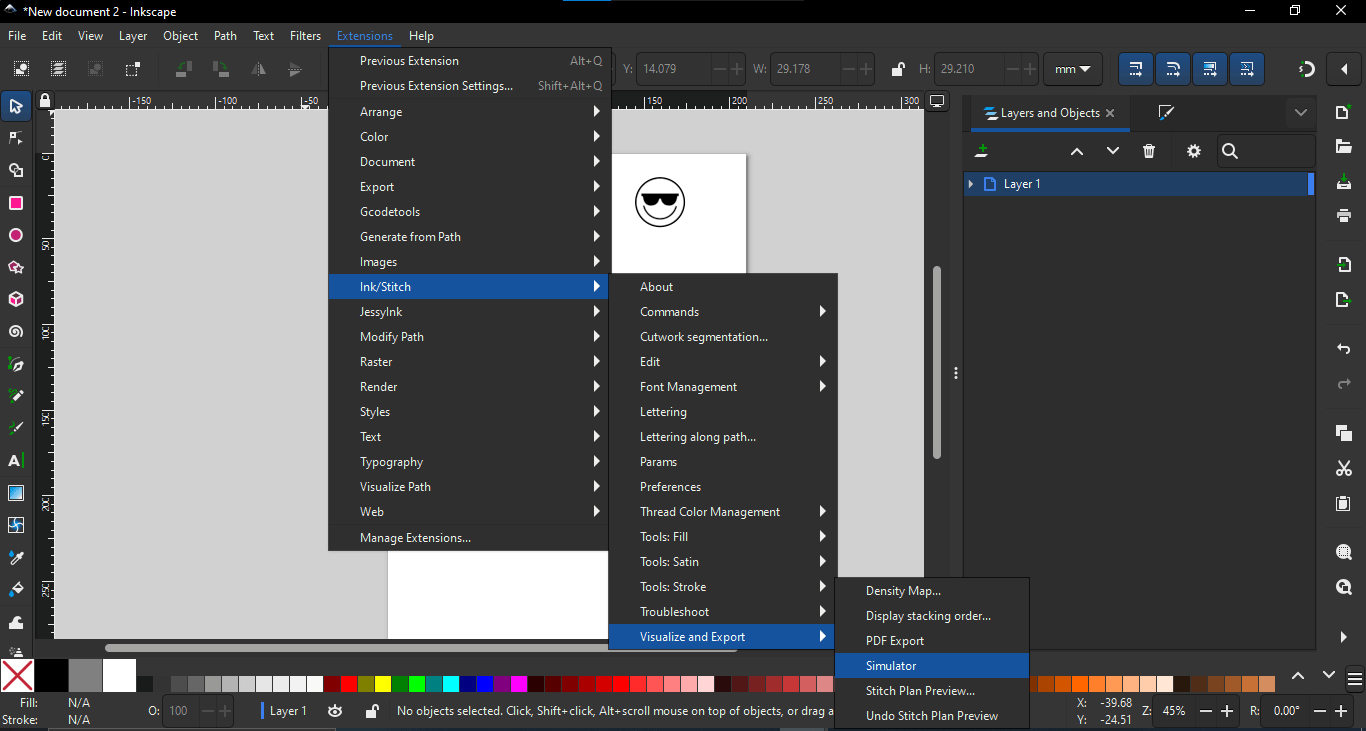
To ensure the design would stitch correctly, I used the “Visualize and Simulate” tool in Ink/Stitch, which provided a real-time preview of the embroidery sequence.
I added color to the emoji by filling it with yellow and then repeated the stitching setup process. After combining the outline and color elements, I previewed everything together using the simulator.
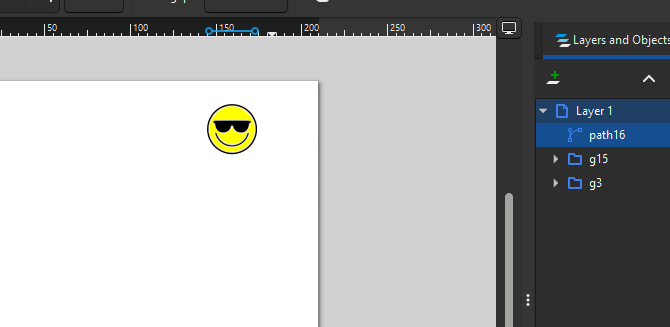
I added a yellow fill to the emoji and repeated the stitching setup to include the color in the embroidery.
Then came the text. Using the Ink/Stitch Lettering tool, I experimented with different fonts and finally chose one called MONICHA, which I found stylish and bold. What I appreciated was how live simulations allowed me to tweak the font and placement easily. I typed out the phrase "Like a boss" and placed it beneath the emoji.
Ink/Stitch Lettering tool
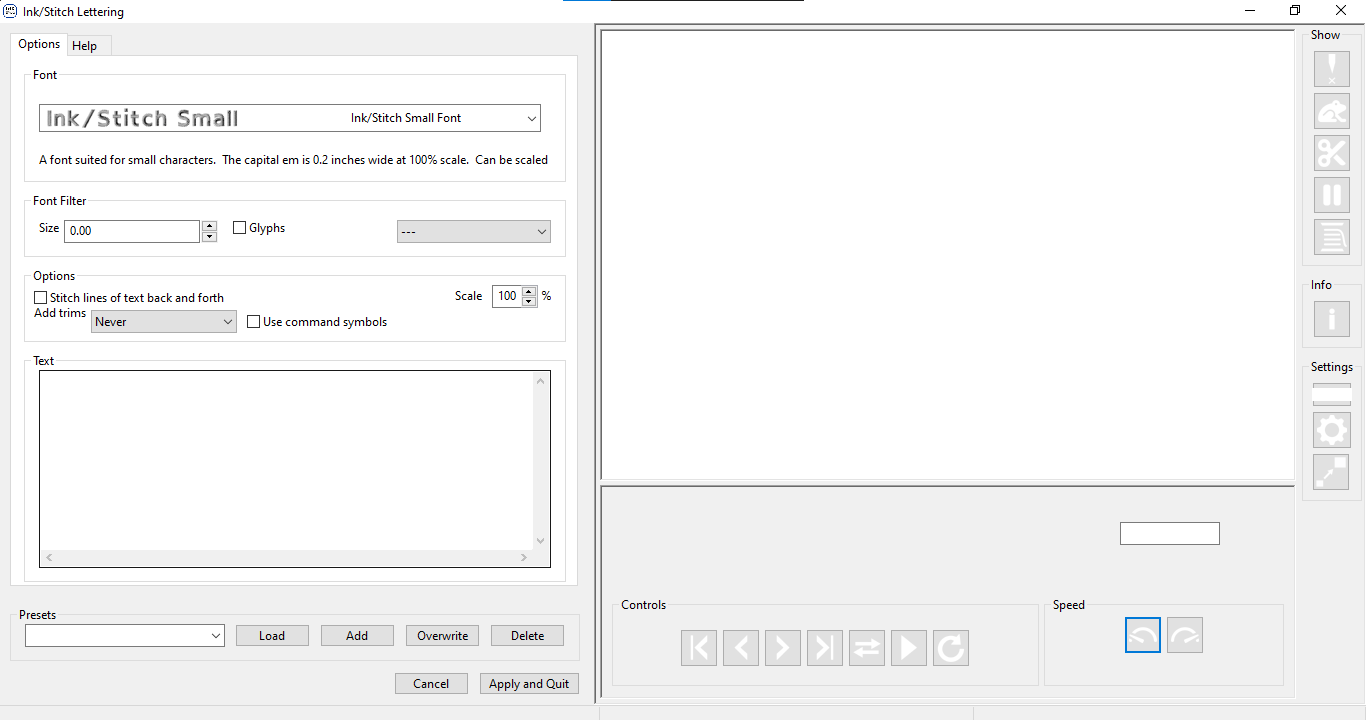
I tested several fonts with the Ink/Stitch Lettering tool and chose MONICHA for its clean, stylish appearance.
Ink/Stitch Lettering tool with MONICHA font simulation

combining my designs
final design simulation
Machine Setup & Trials
Before stitching on fabric, I wanted to get familiar with the Janome embroidery machine I would be using. I learned about its various components: the needle, thread, embroidery hoop, bobbin, bobbin case, presser foot, and the embroidery control panel. I also discovered the importance of stabilizers, the paper-like material used behind fabric to prevent puckering while stitching.
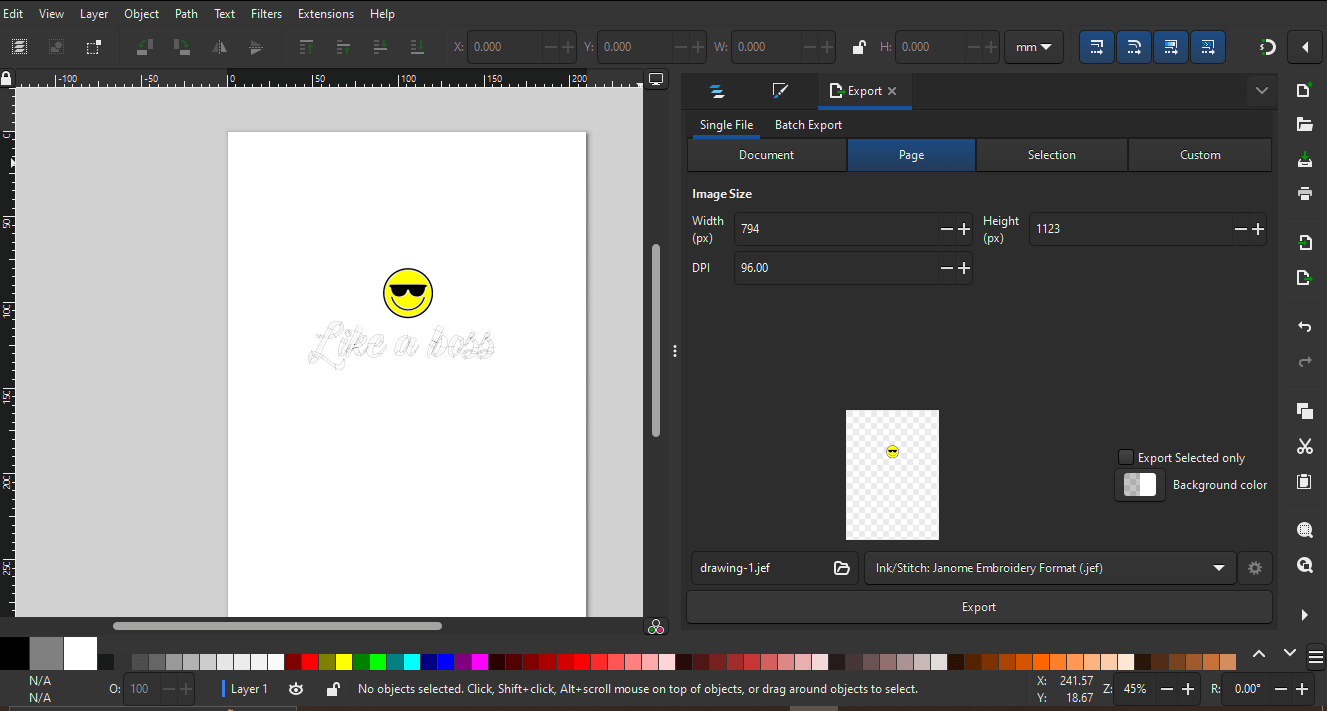
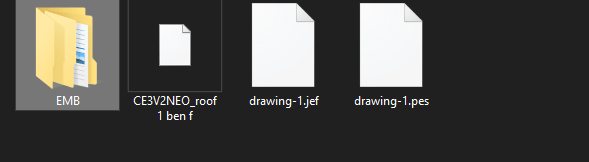
My first embroidery test was on the stabilizer alone. I exported my design in JEF format (used by Janome machines) and placed the file in a special folder named EMB on a USB drive. The design stitched out well, but I ran into an issue when I accidentally misaligned the bobbin thread. It caused the thread to jam inside the case. Thankfully, I figured it out quickly, removed the stuck threads, and fixed the alignment.
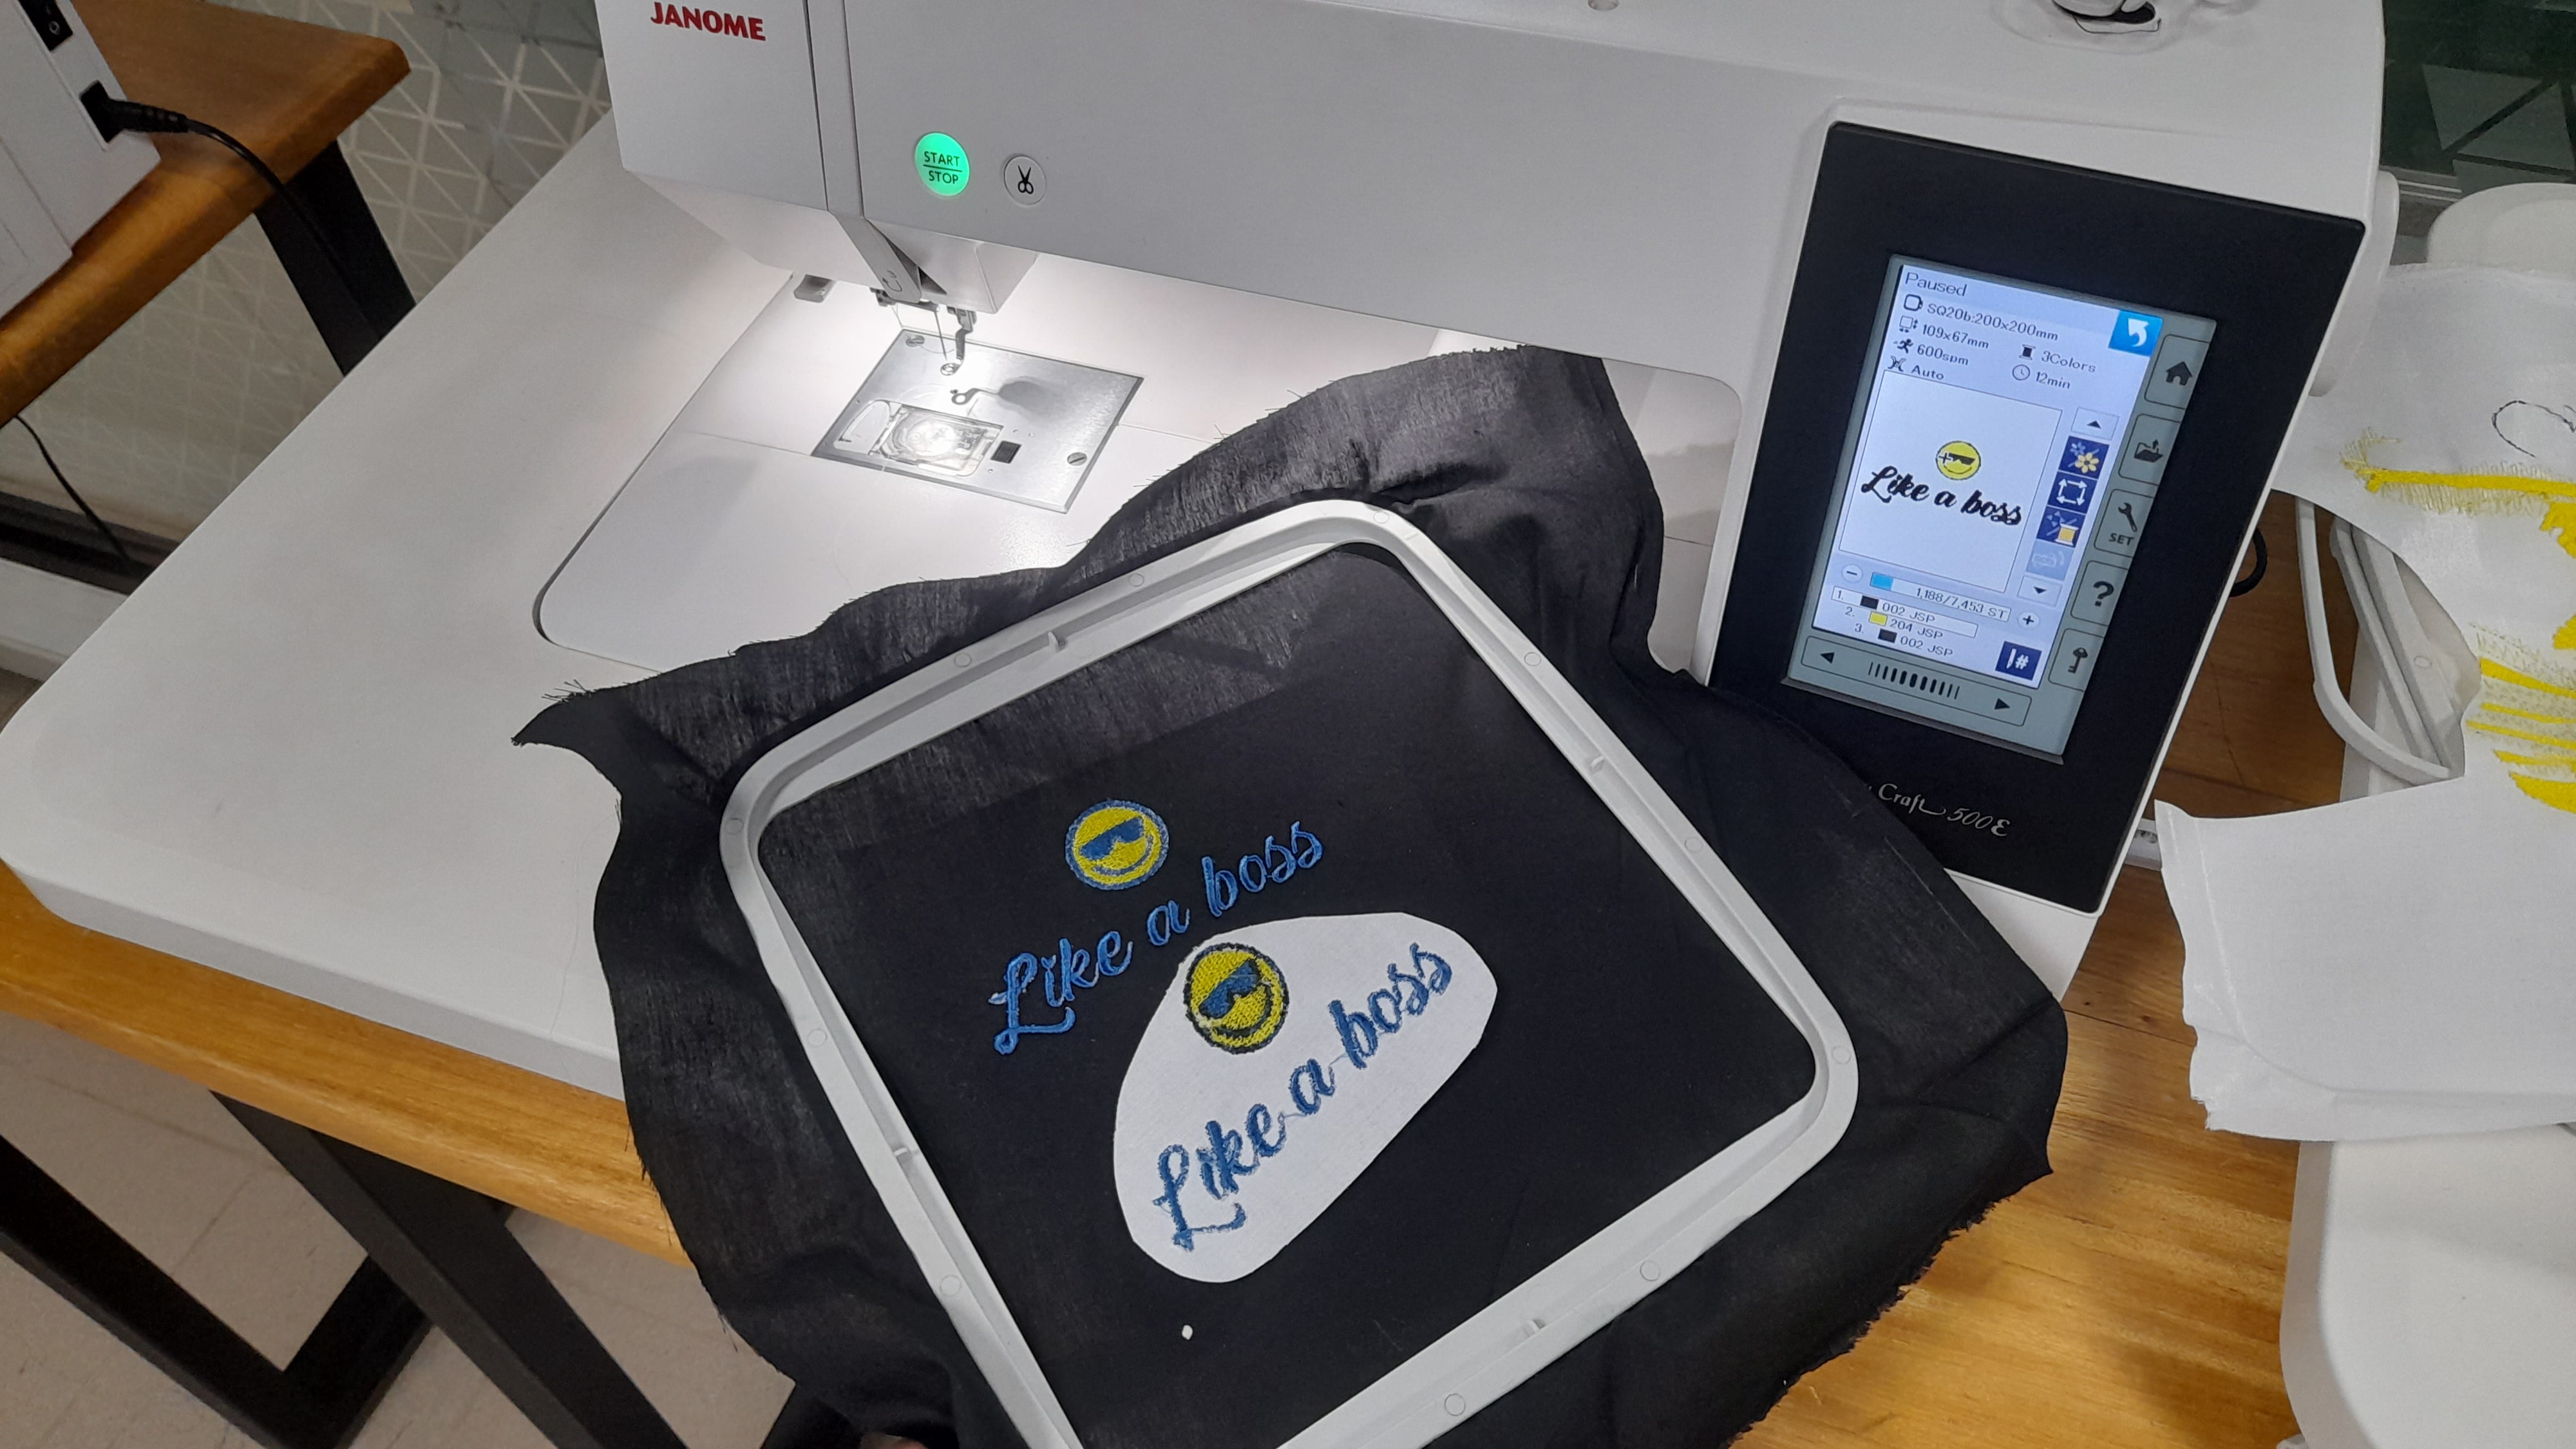
I completed the machine setup—threading, hooping, and loading the design—and then started the embroidery run.
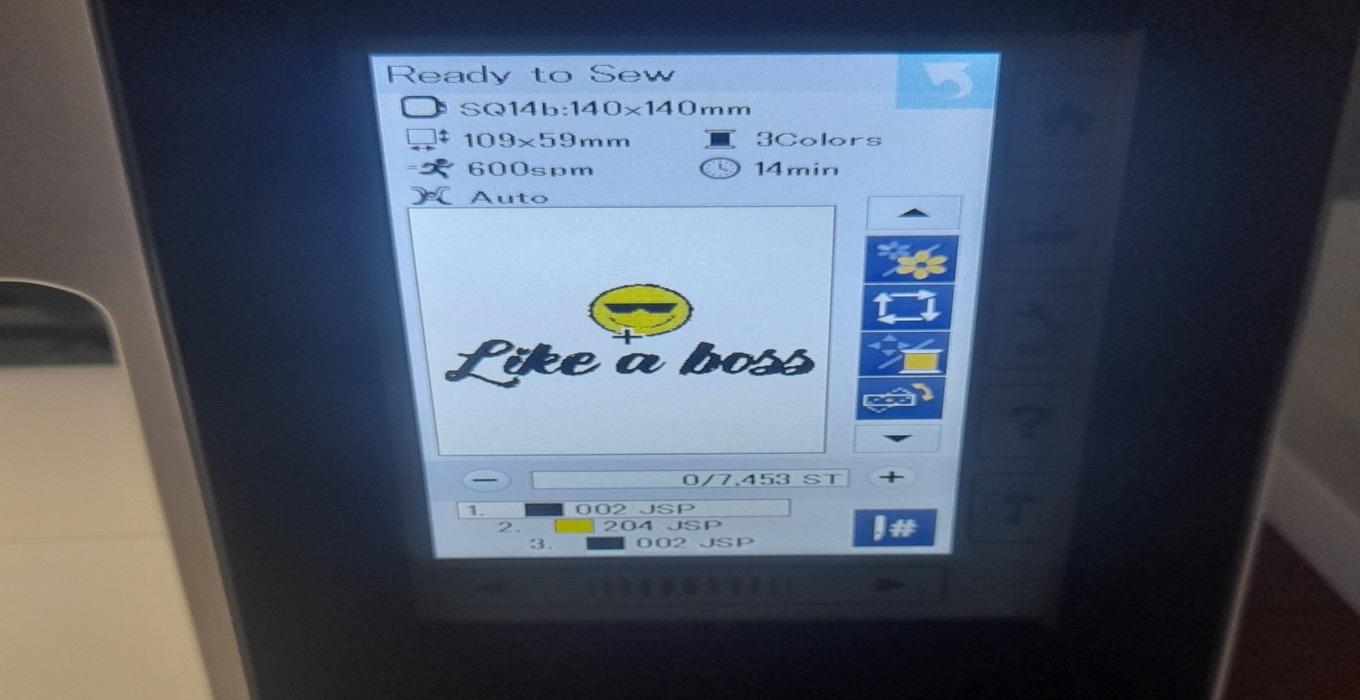
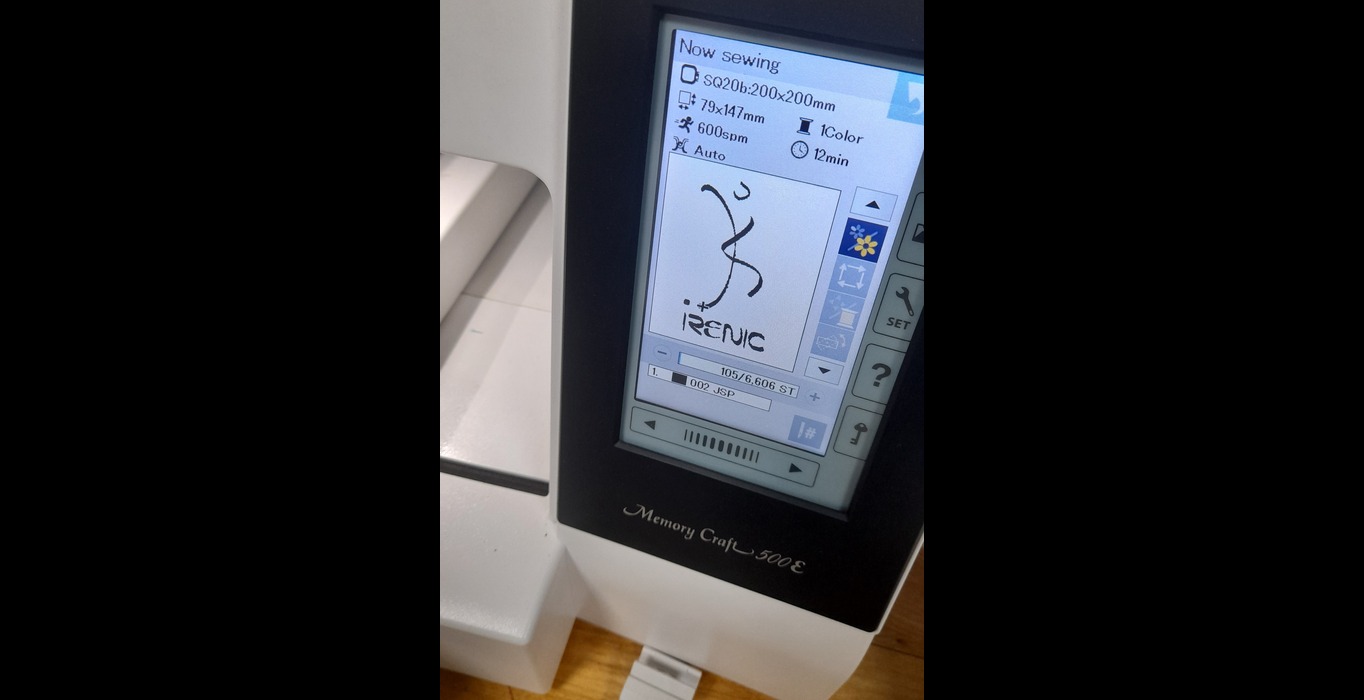
embroidery control panel displaying my design
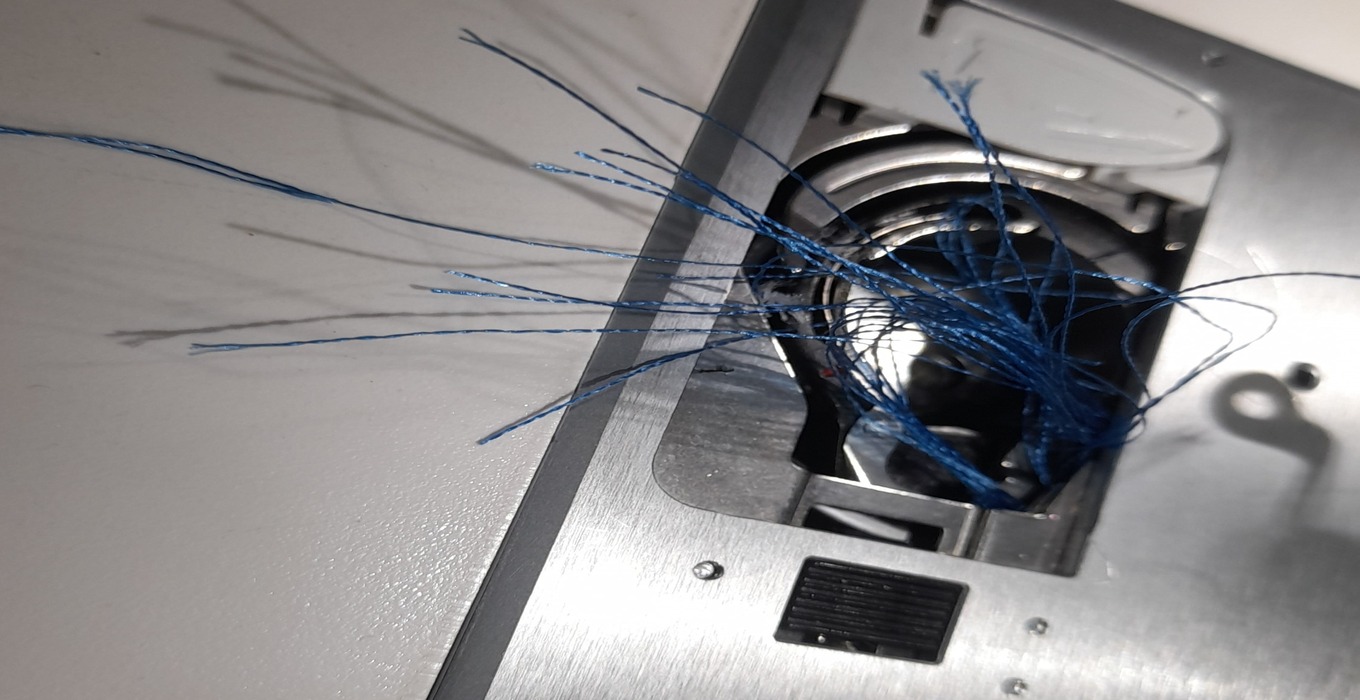
After replacing the bobbin case, I ran into an issue where the thread became jammed. It turned out that I had misaligned the thread, which caused the machine to stall.
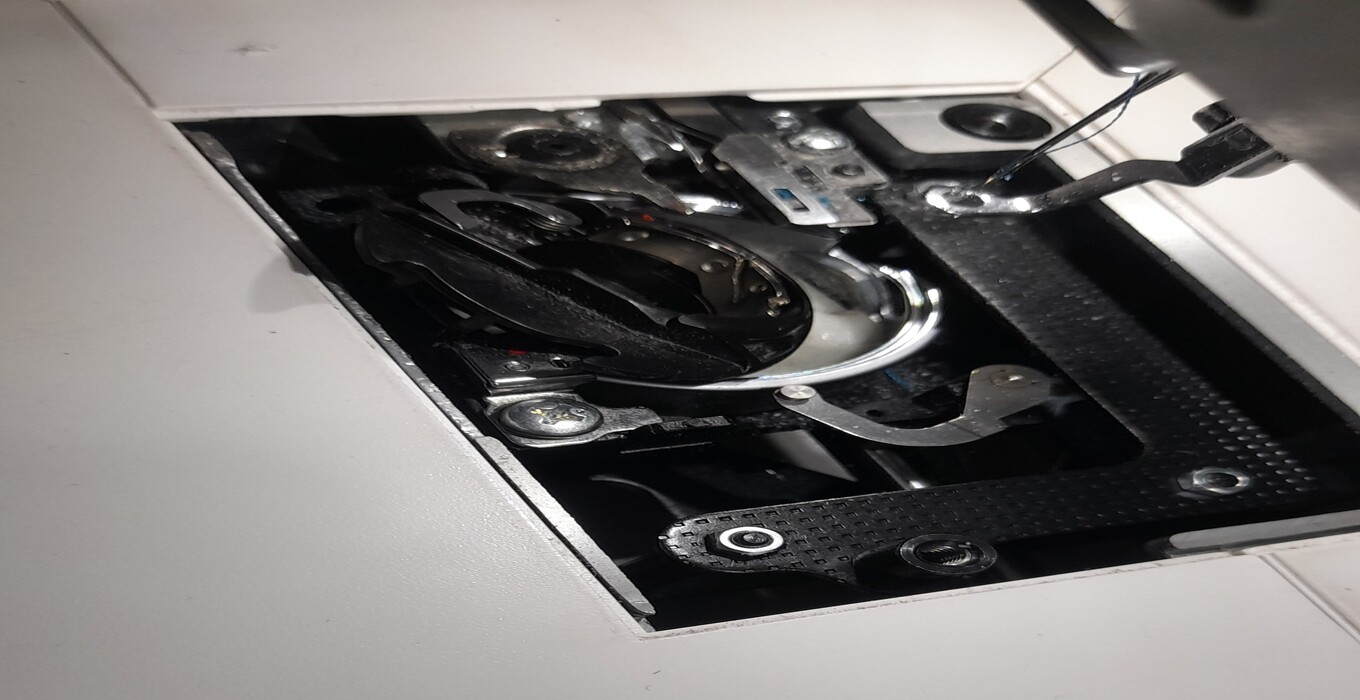
To resolve it, I removed the jammed threads from the bobbin area, realigned everything properly, and continued with the stitching.
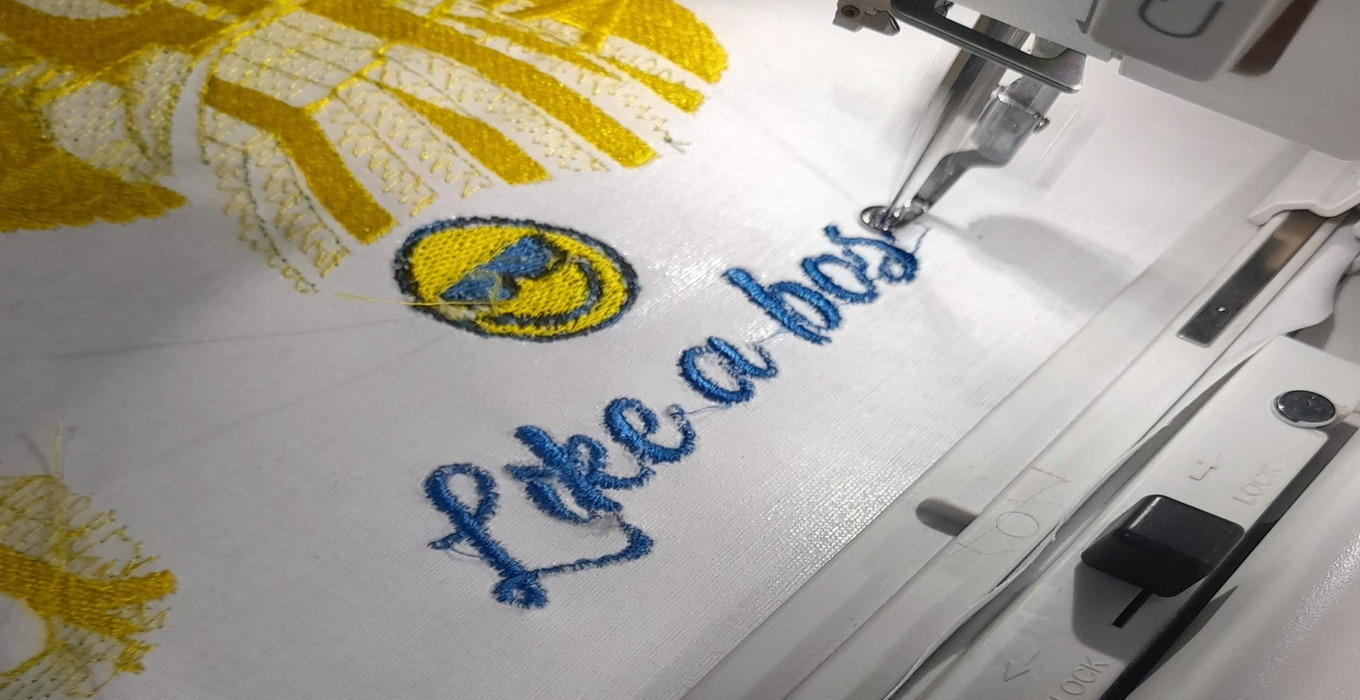
For the final version, I chose a black cloth and ironed the stabilizer onto the back of it. I used blue and yellow threads for the design and white thread in the bobbin. This time, everything went smoothly. Watching the embroidery come to life on fabric was genuinely satisfying.
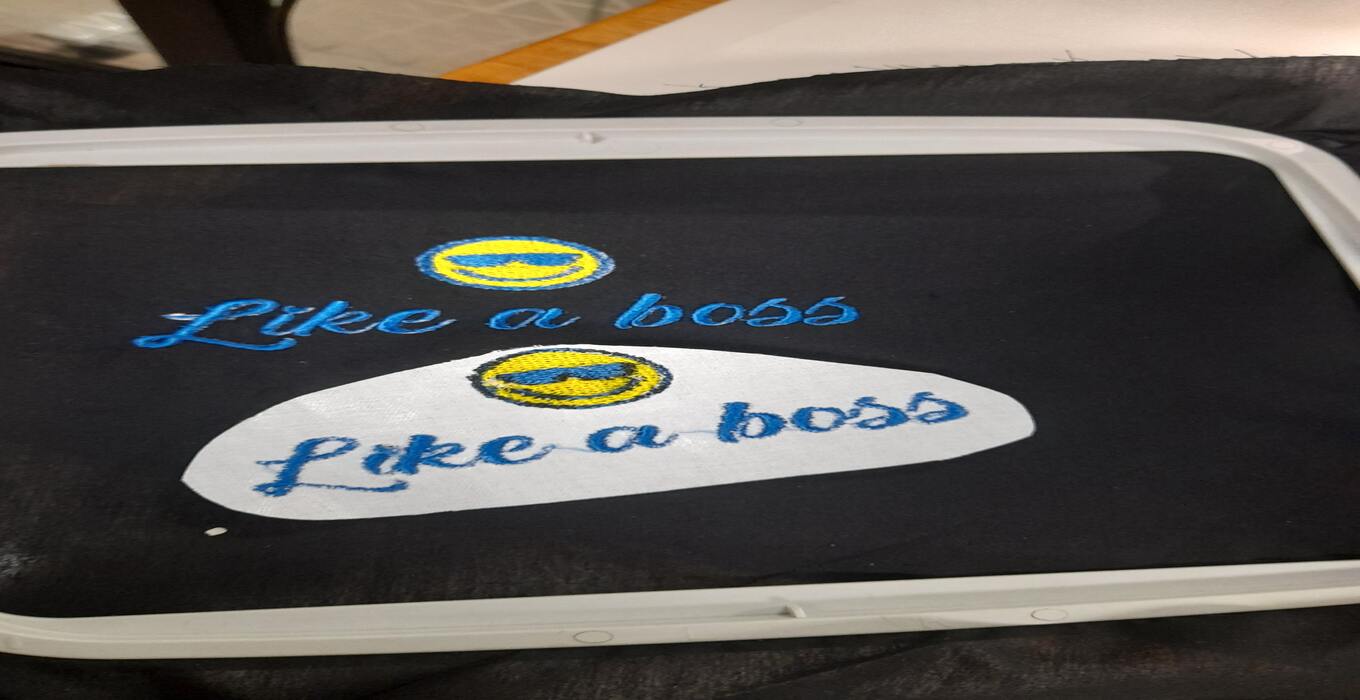
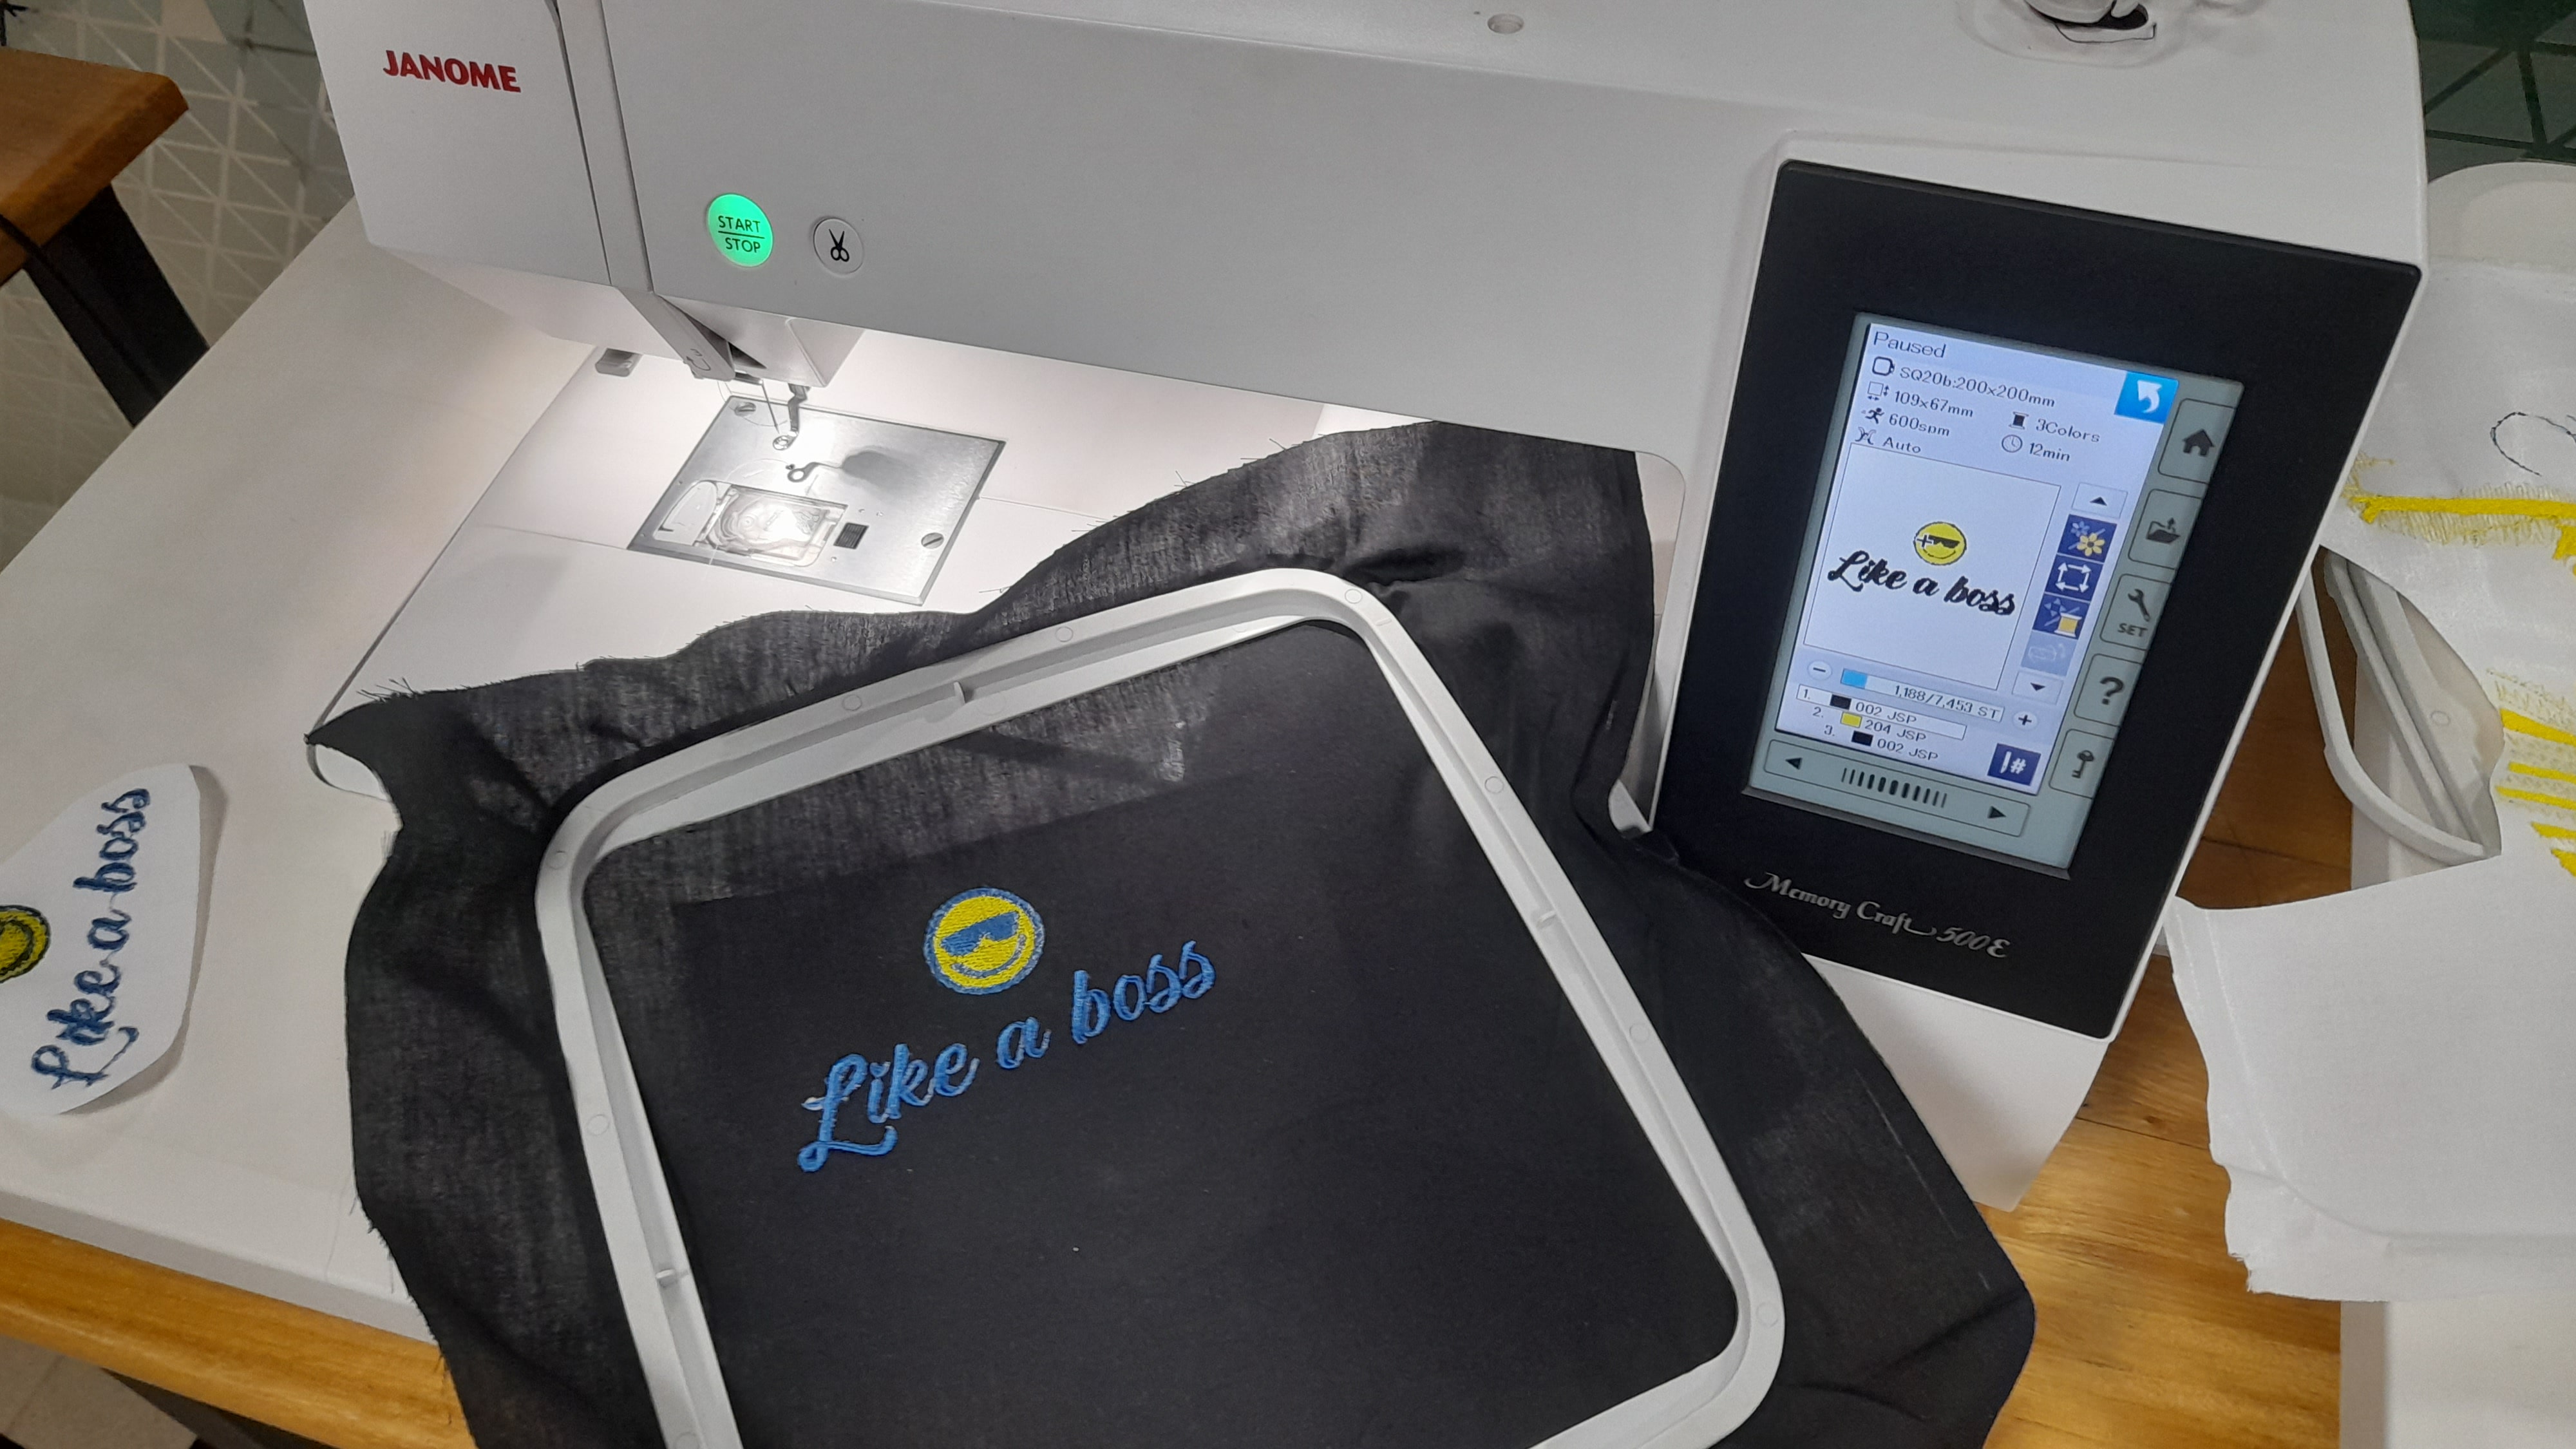
I captured a final video of the embroidery machine completing the design, showcasing the finished product in action.
Feeling proud of the result, I showed it to a friend. She was impressed and asked me to try embroidering her personal logo. I repeated the same steps, adjusted the design to fit her logo, and stitched it. It turned out great and made me realize how useful this process can be for personal branding or custom gifts.
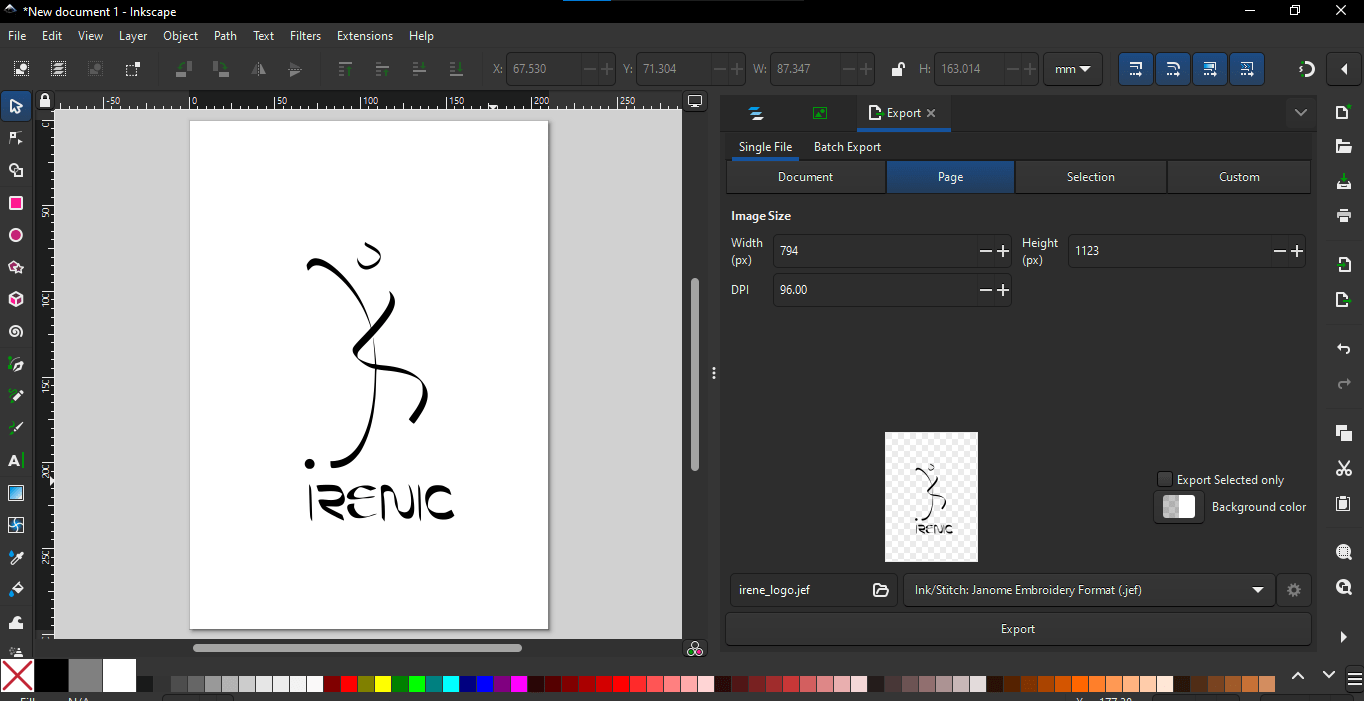
I recorded a short video of the machine stitching the logo to showcase the process and final result. It highlights the design’s detail and how well the setup worked.
3. Reflection and Takeaways
This experience taught me that Ink/Stitch is a beginner-friendly yet powerful tool for creating embroidery ready designs. The ability to visualize stitches before actually sewing them saves time and prevents errors.
I also learned a critical lesson about machine setup: always double check your bobbin thread alignment. A small mistake can affect the entire stitching process. That said, these kinds of mistakes are great learning moments.
Overall, this project was one of the most fun and rewarding parts of the course. It opened my eyes to the possibilities of combining digital tools with textiles. I’m excited to keep exploring this space and possibly experiment with more detailed embroidery projects in the future.