2. Computer Aided Design
Objective of this week
- Make a research on differect design software; 2D and 3D programs
- Design raster, vector and 3D files using the correspond softwares
- Learn how to compress image
2D (raster) Design
Photoshop
Photoshop is is a raster based image editing and graphic design software. It is widely used by designers, digital artists, professionals and photographers for photo editing, creating digital art, graphic design, photo retoucing and much more.
Some features of Photoshop
- Photo editing and retoucing: it is used to resize, crop, color correction and enhance of pictures.
- Layer-Based Editing: compositions multiple layers for complex designs.
- Text and Typography Tools: Create stylish text and effects for logos, banners, and posters.
- Filters and Effects: Apply artistic filters such as blur effects, and color corrections.
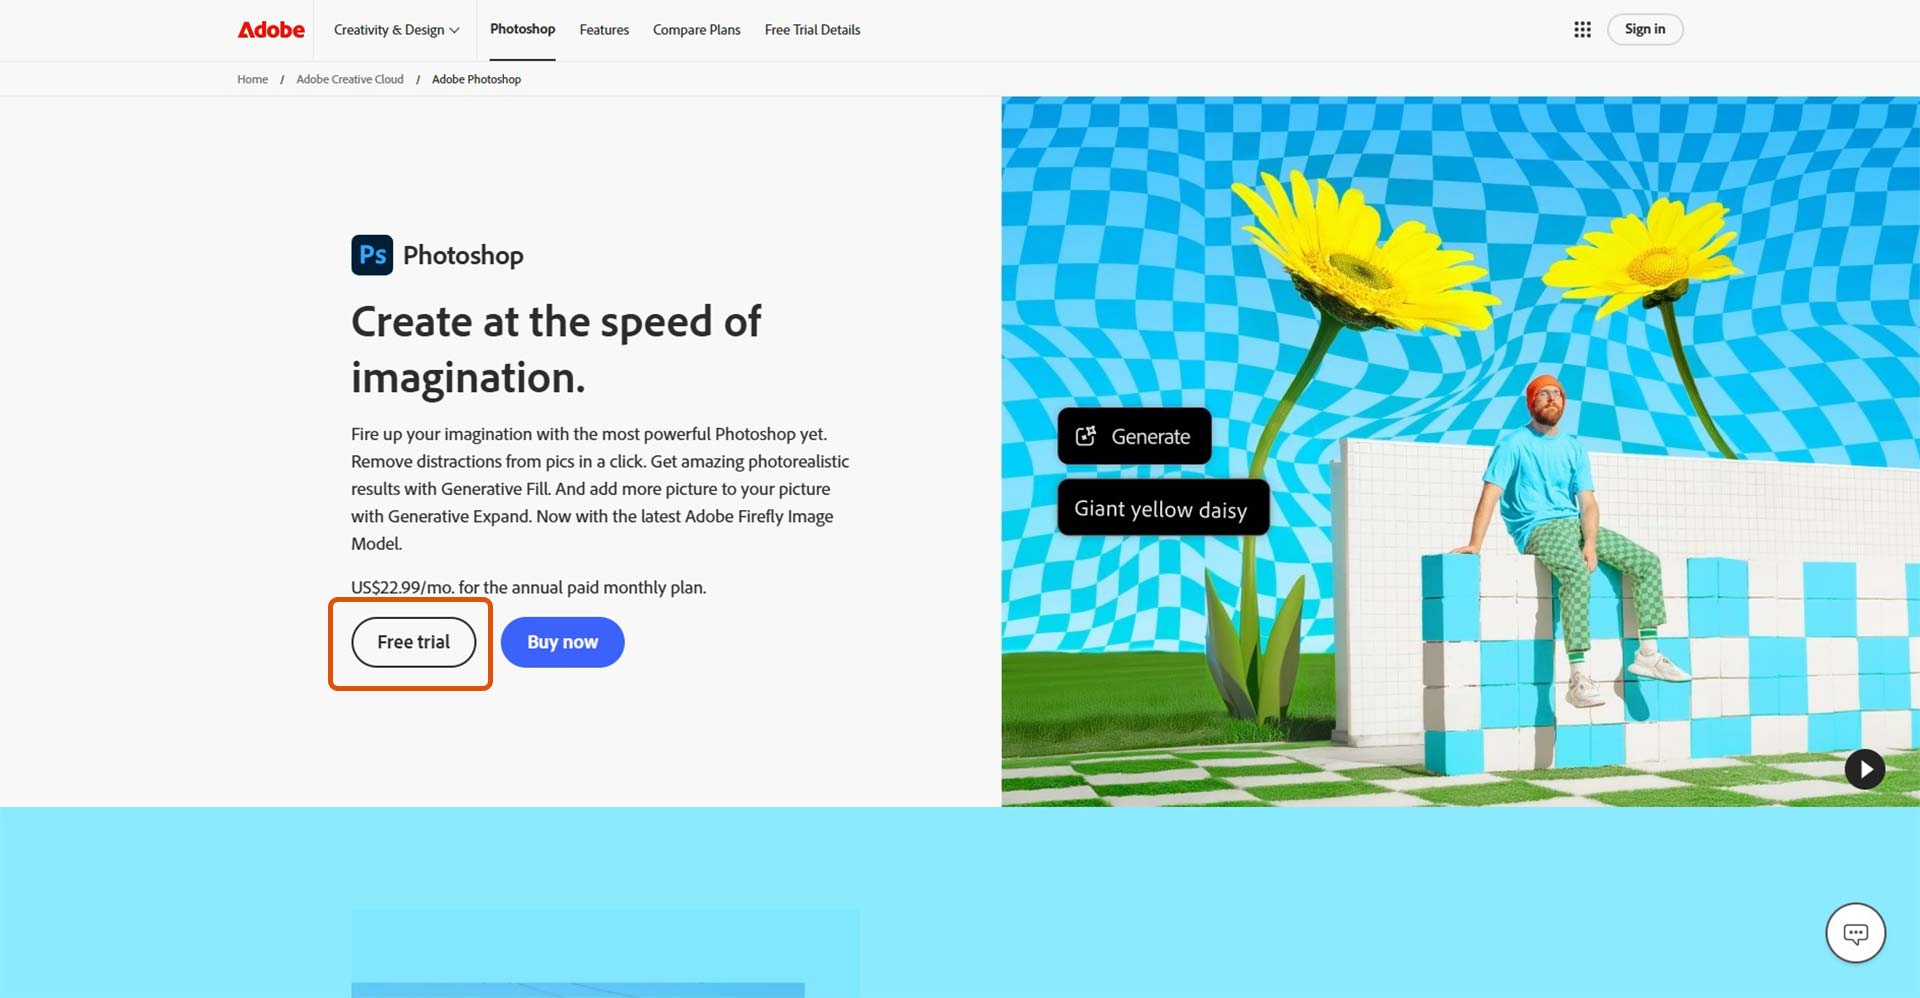
Photoshop installation
To install Photoshop program, I downloaded it from Photoshop website. I downloaded free trial.
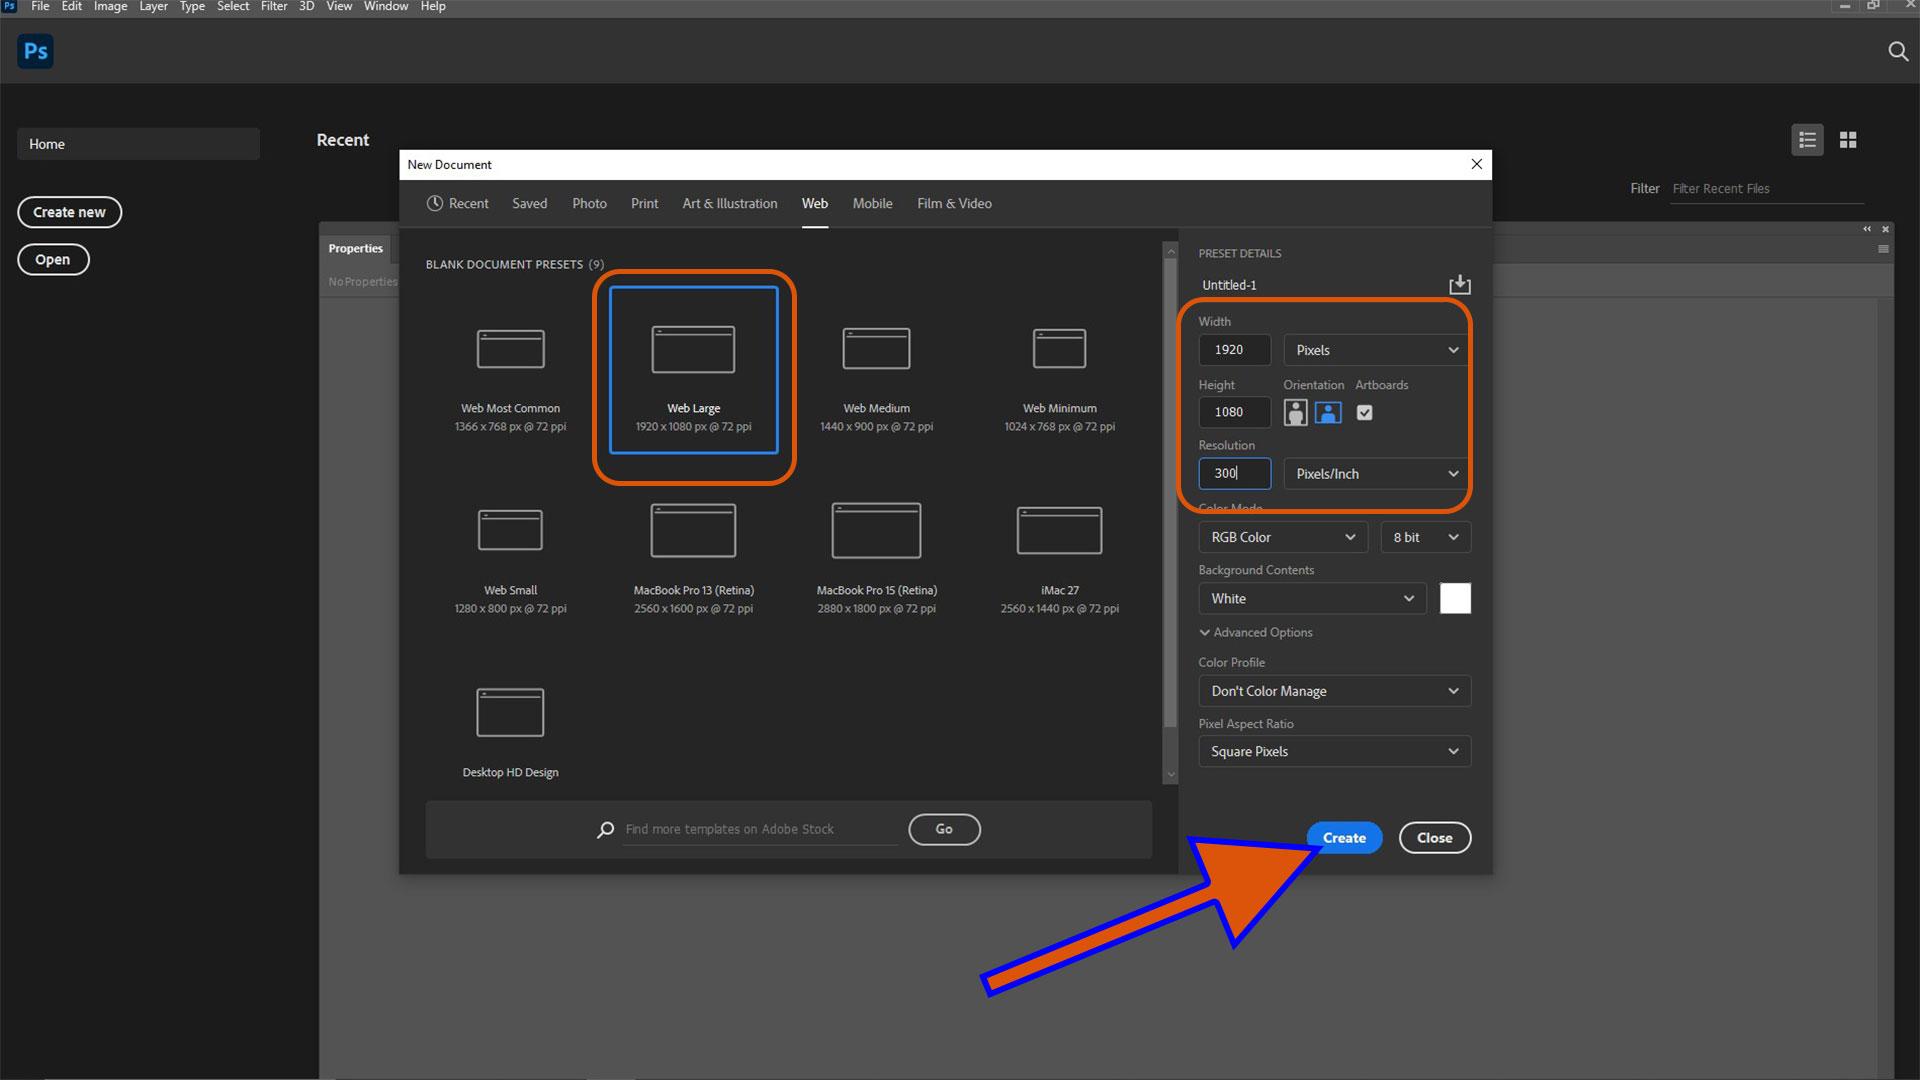
After its installation, I created new file. I used web page with HD sixe; 1920x1080px. Almost all image I will used after this assignment will have 1920px width.
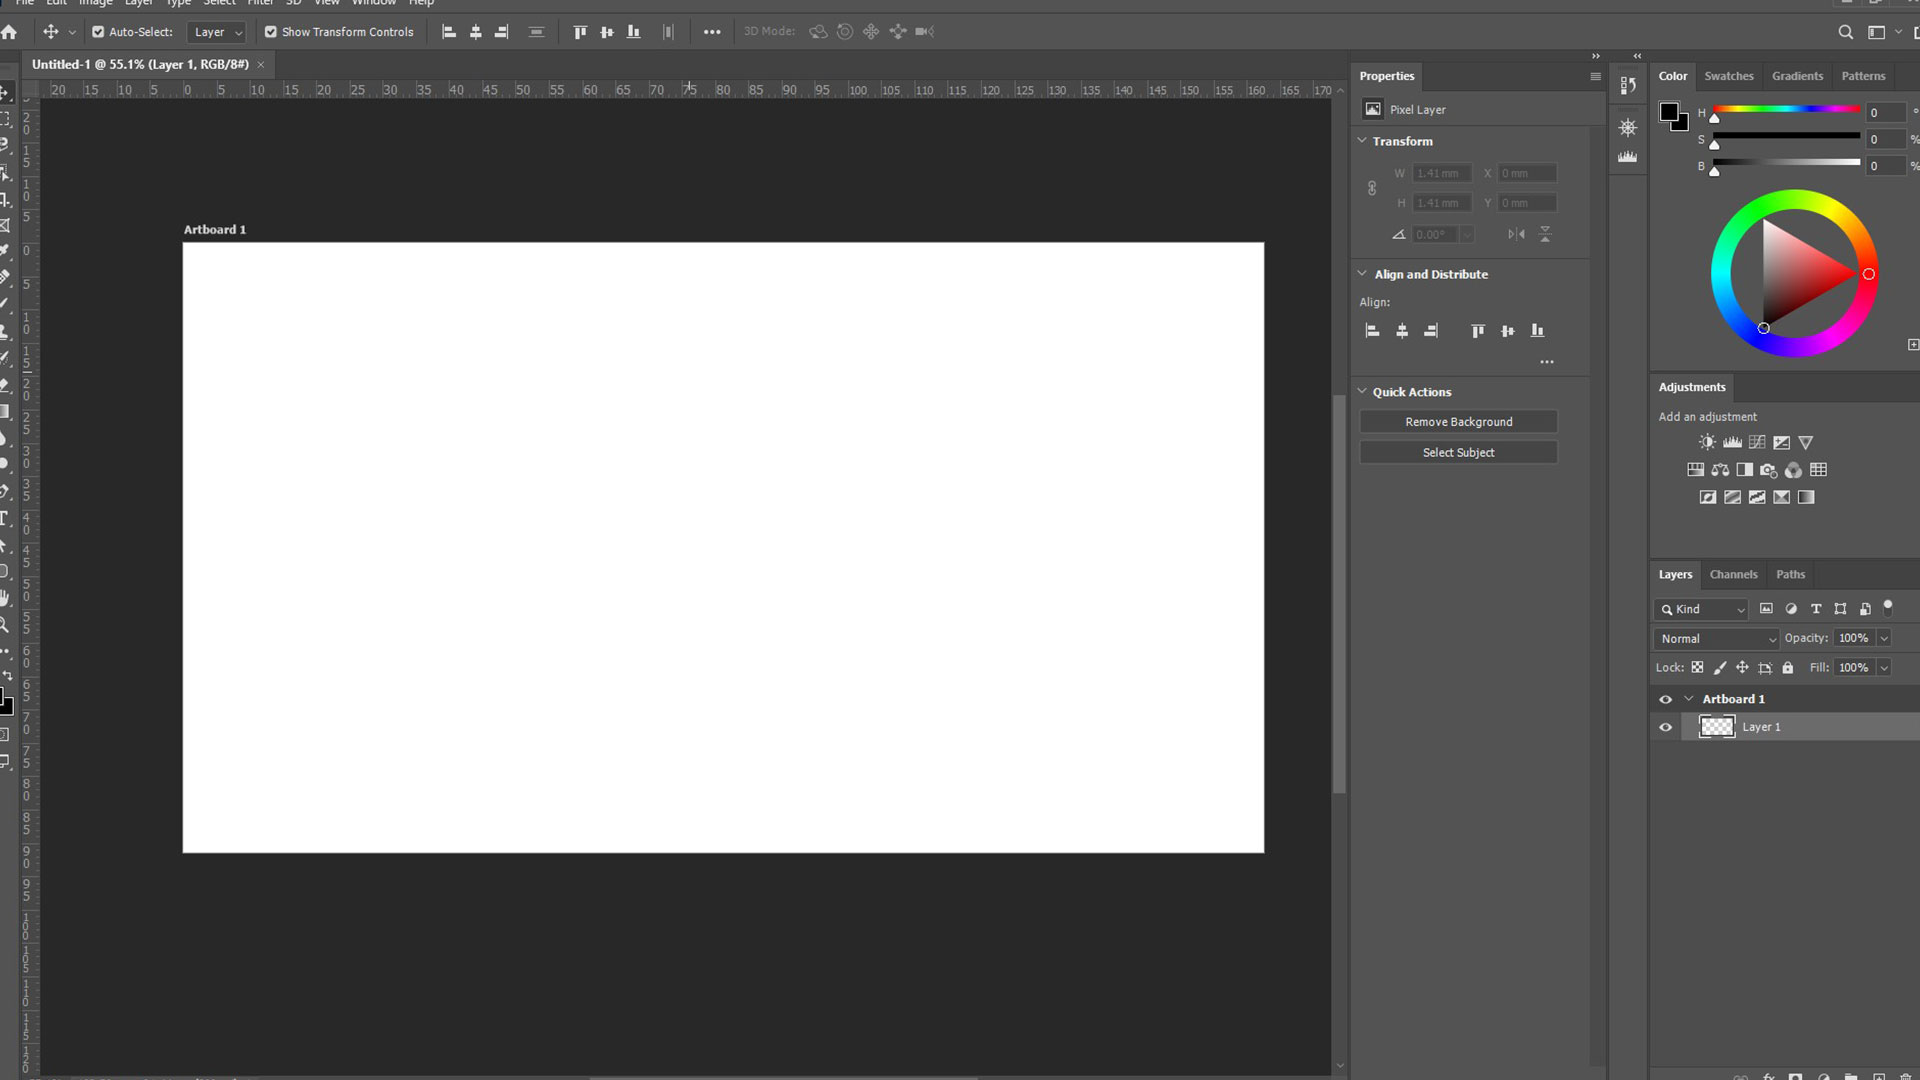
Blank artboard of photoshop
I started by creating a rectange using shape tools
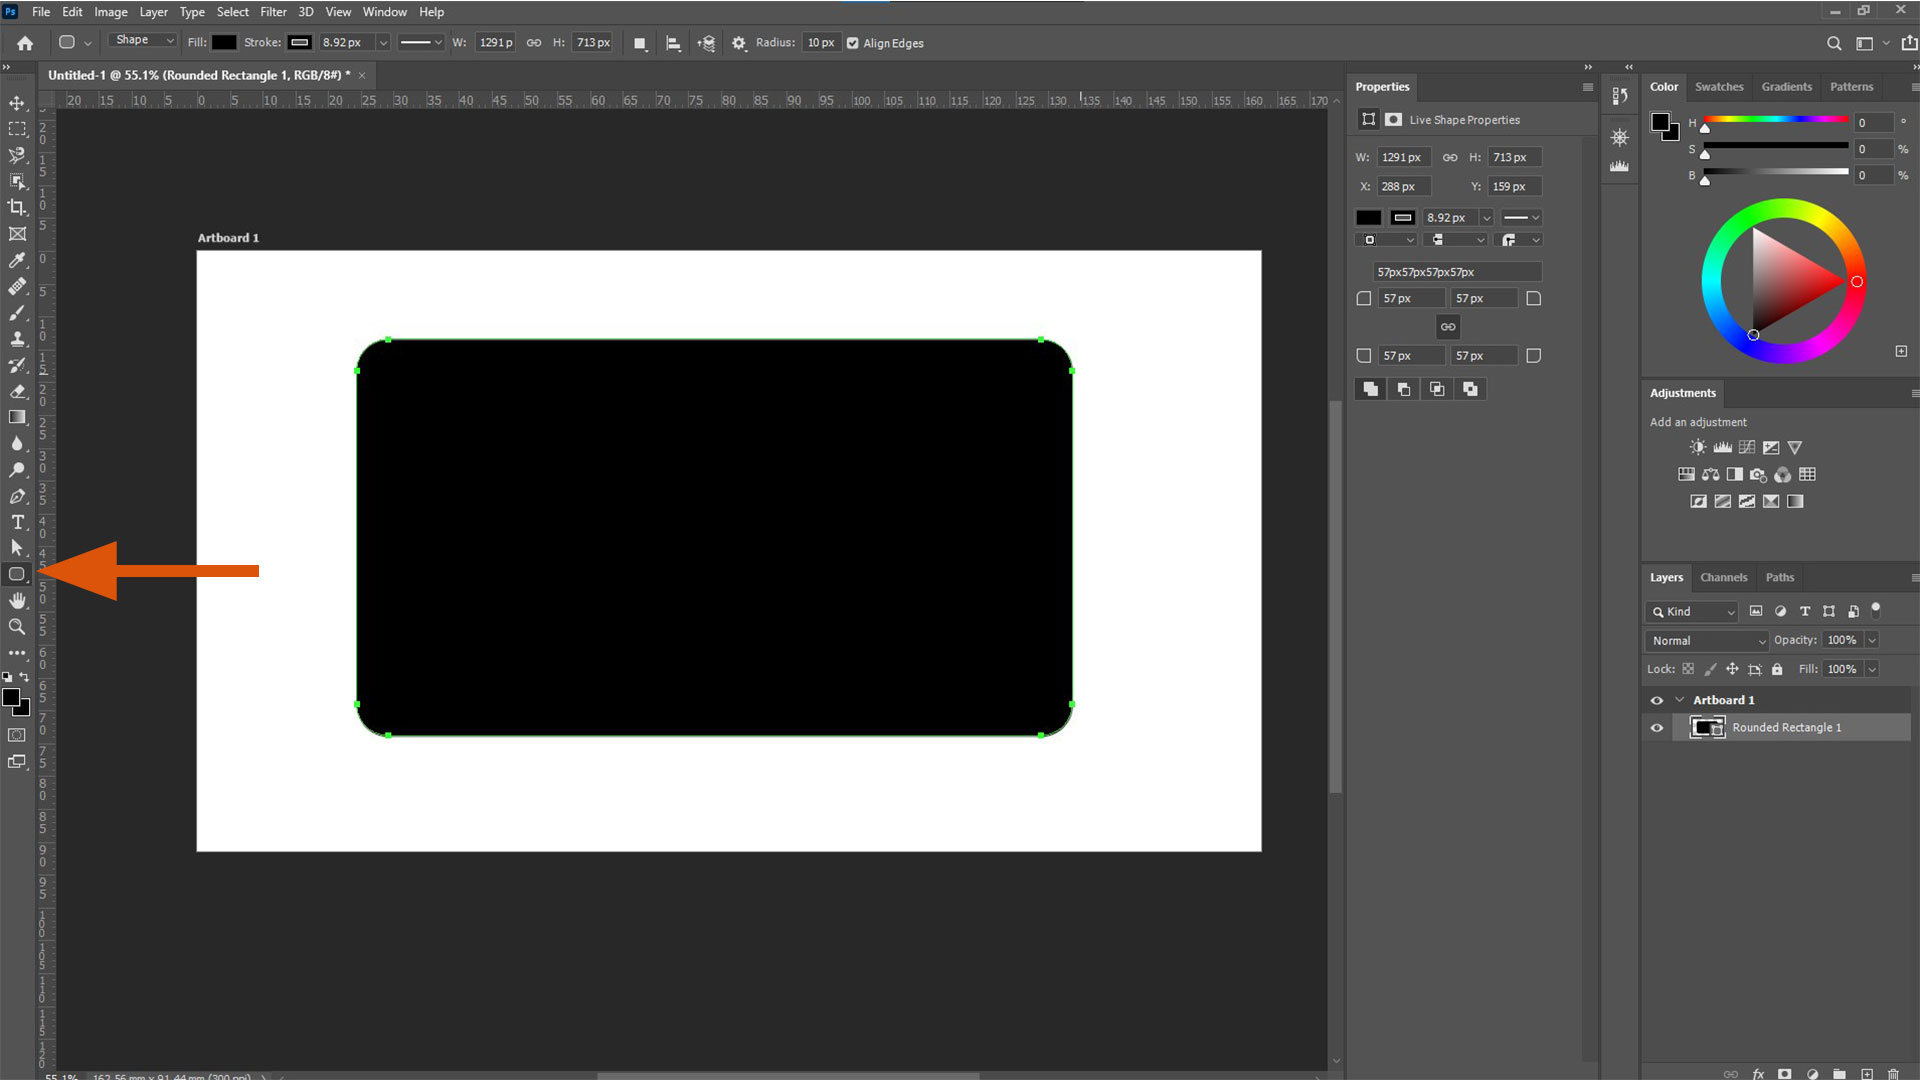
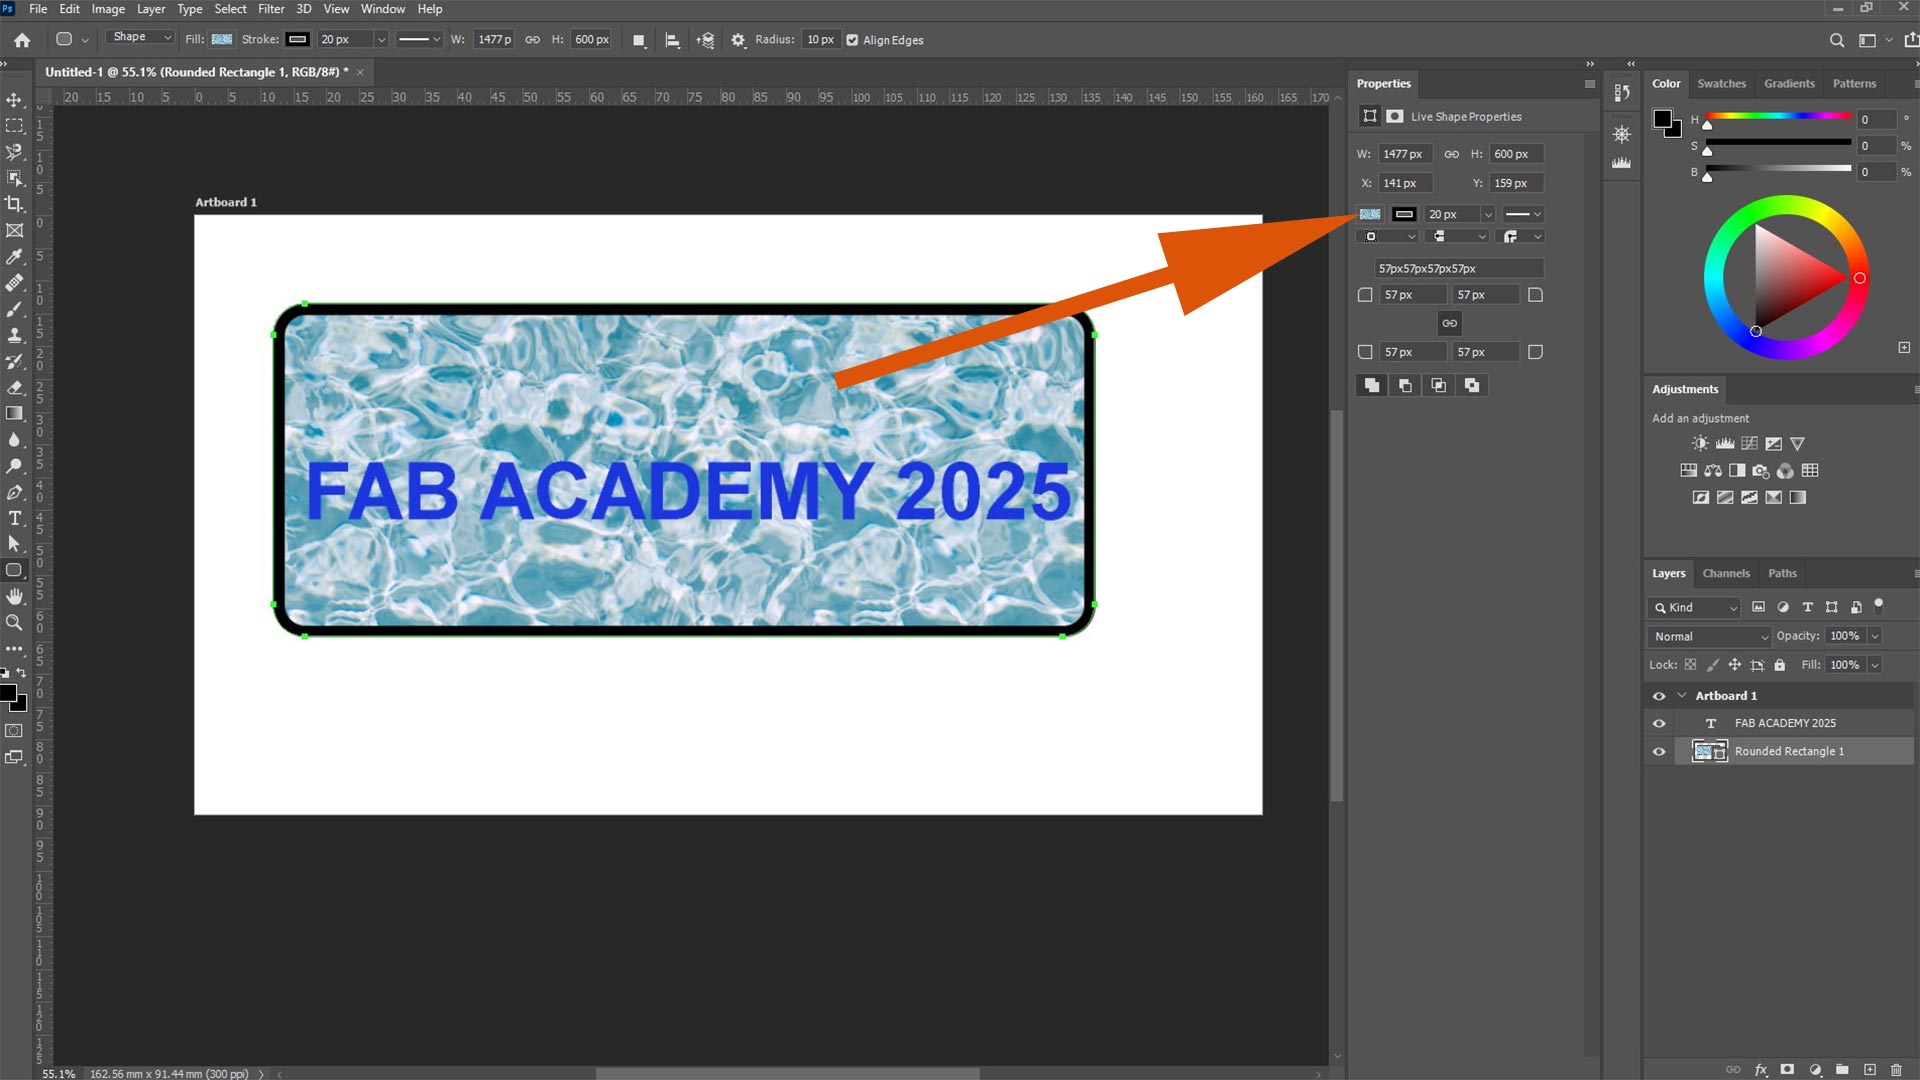
After, I customized fill and stroke. Fill is the inside color while stroke is the outline/boundary.
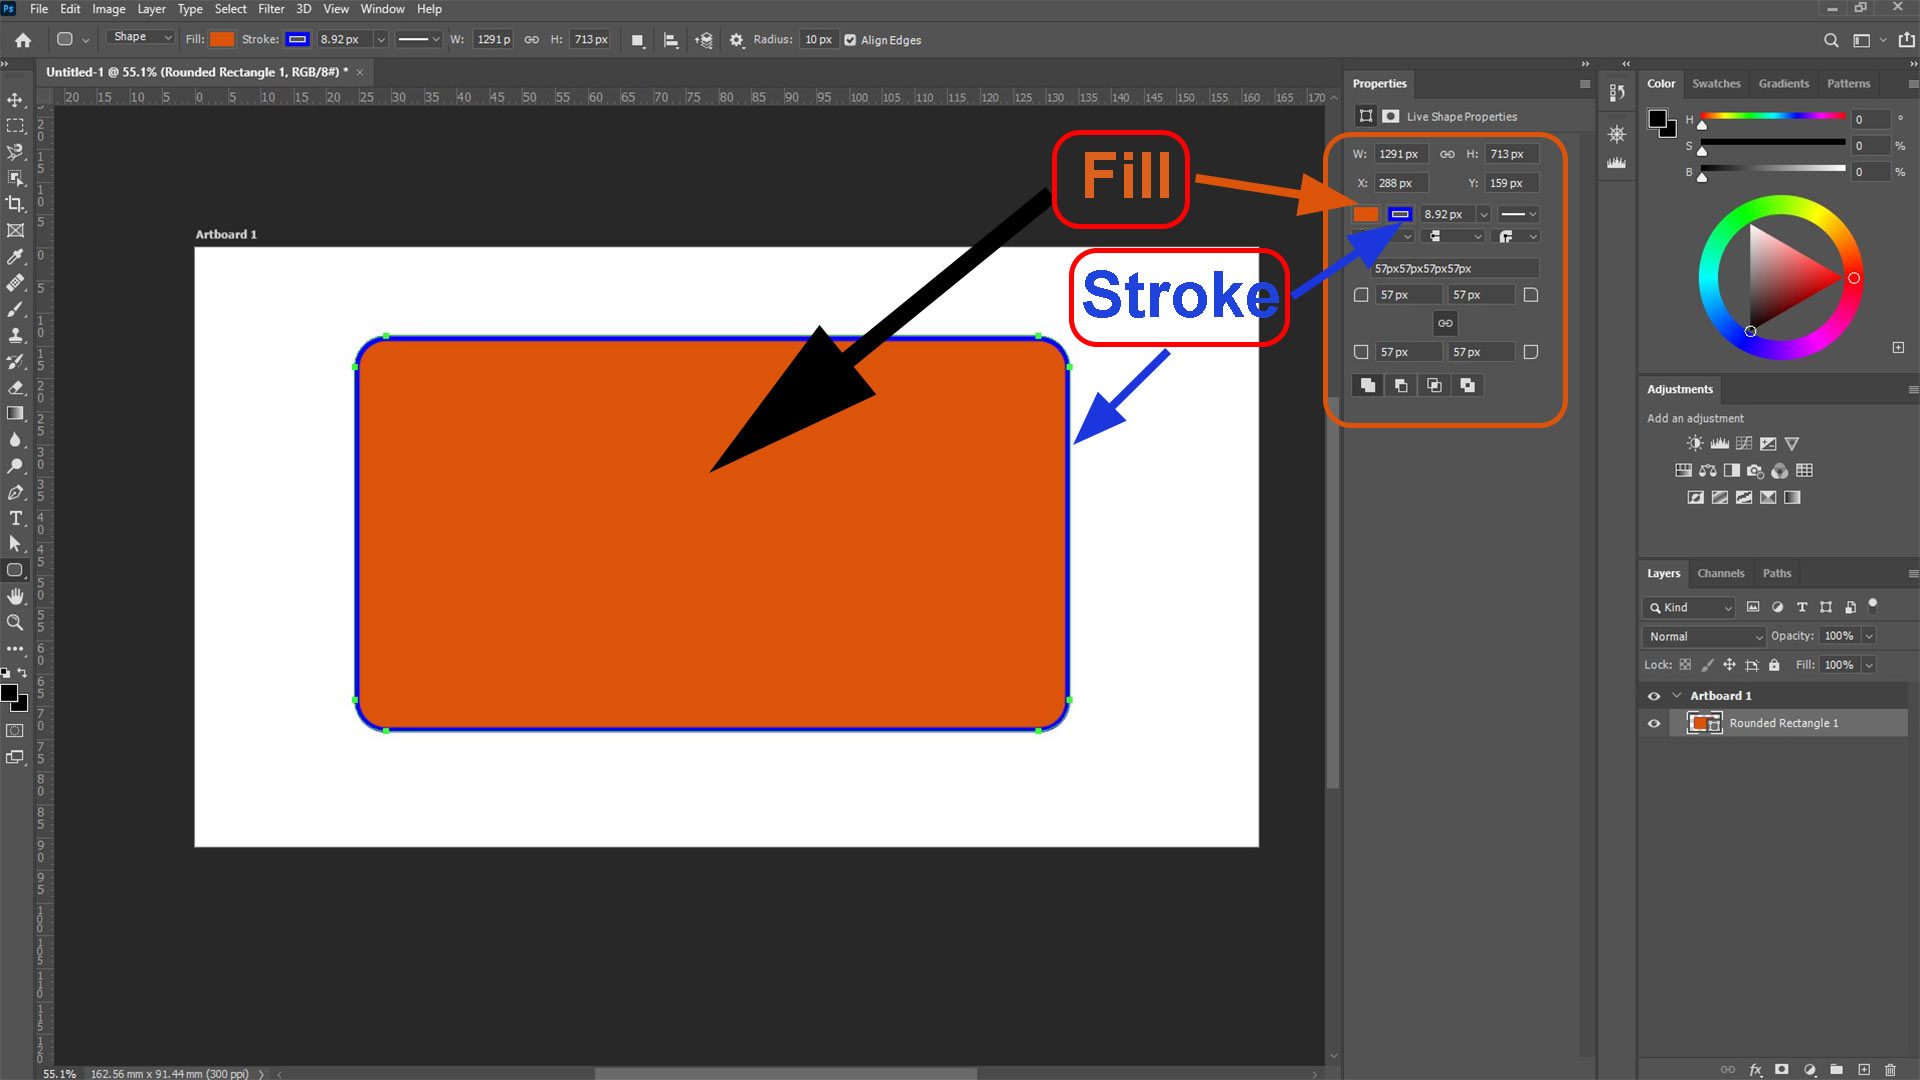
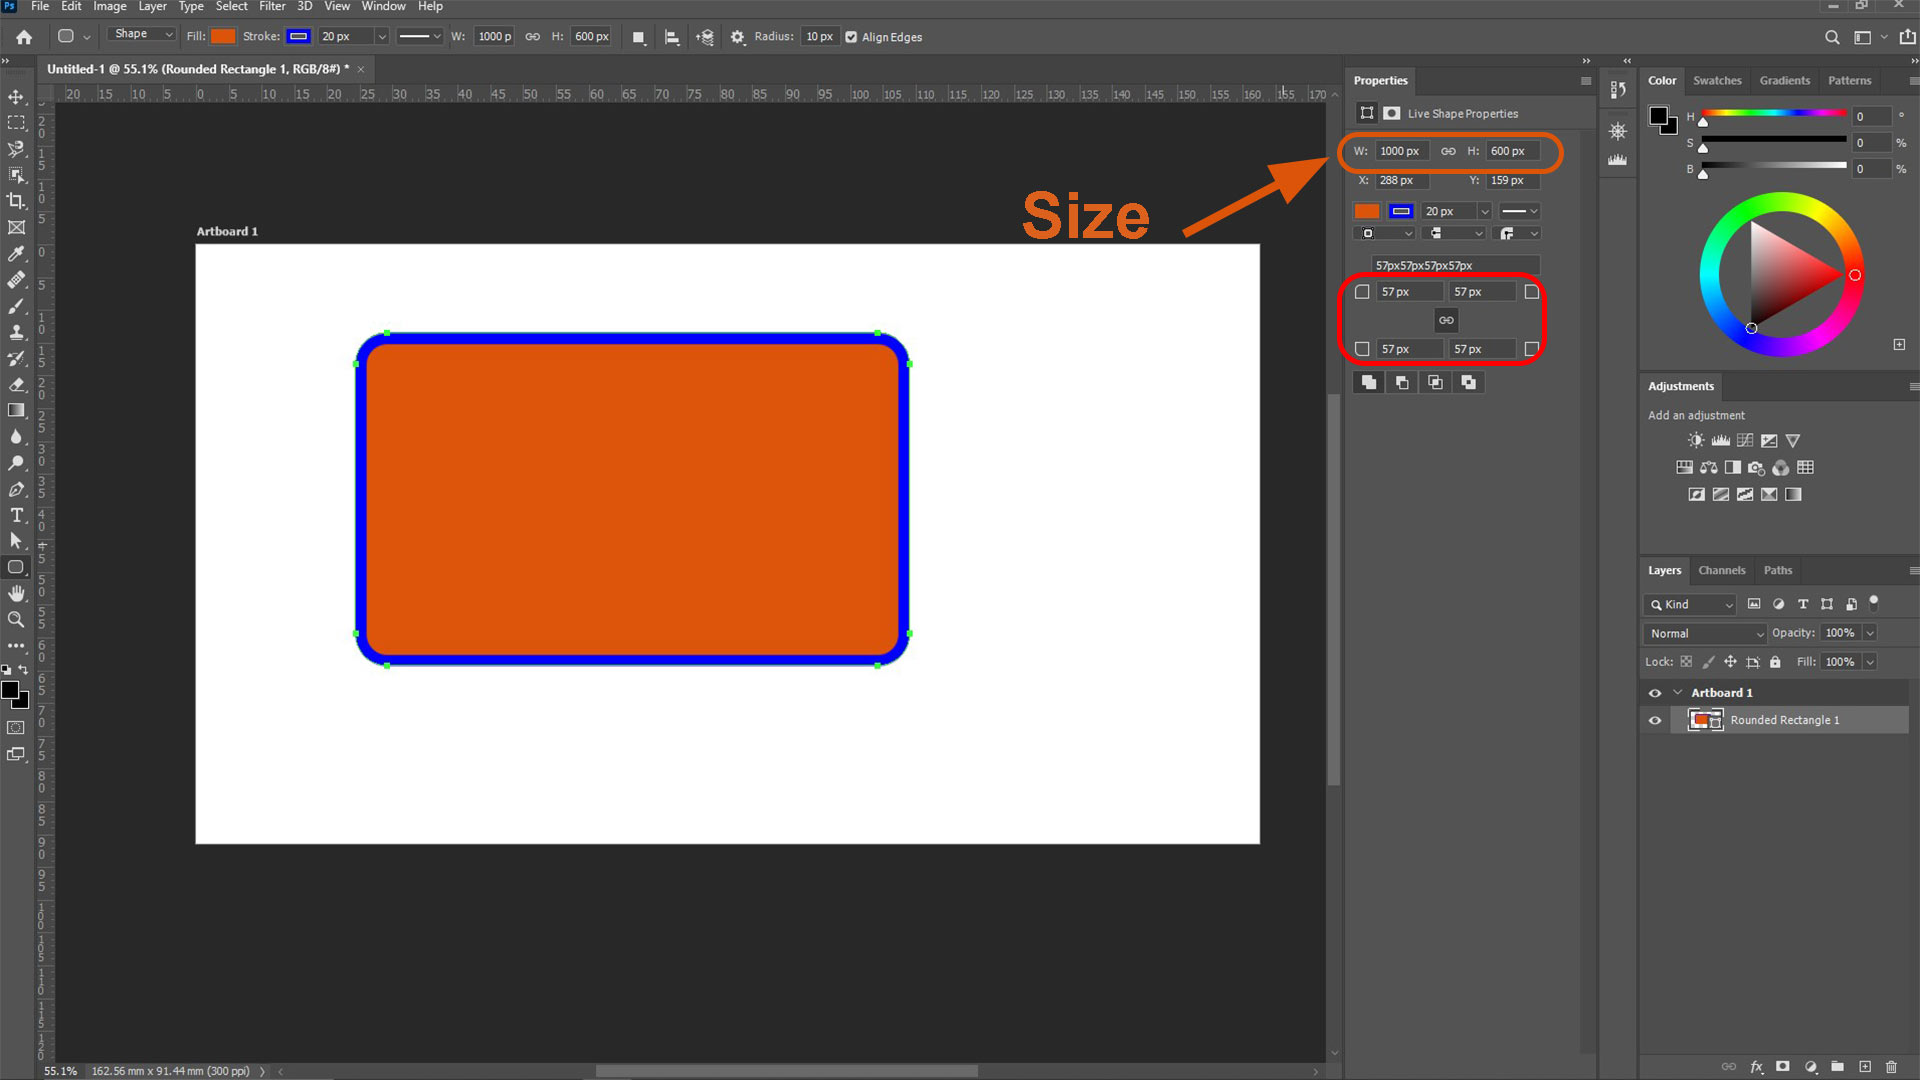
Then, I specified rectangle size from properties. I customized the width as well height.
Next, I changed the corner radius to make corners curved.
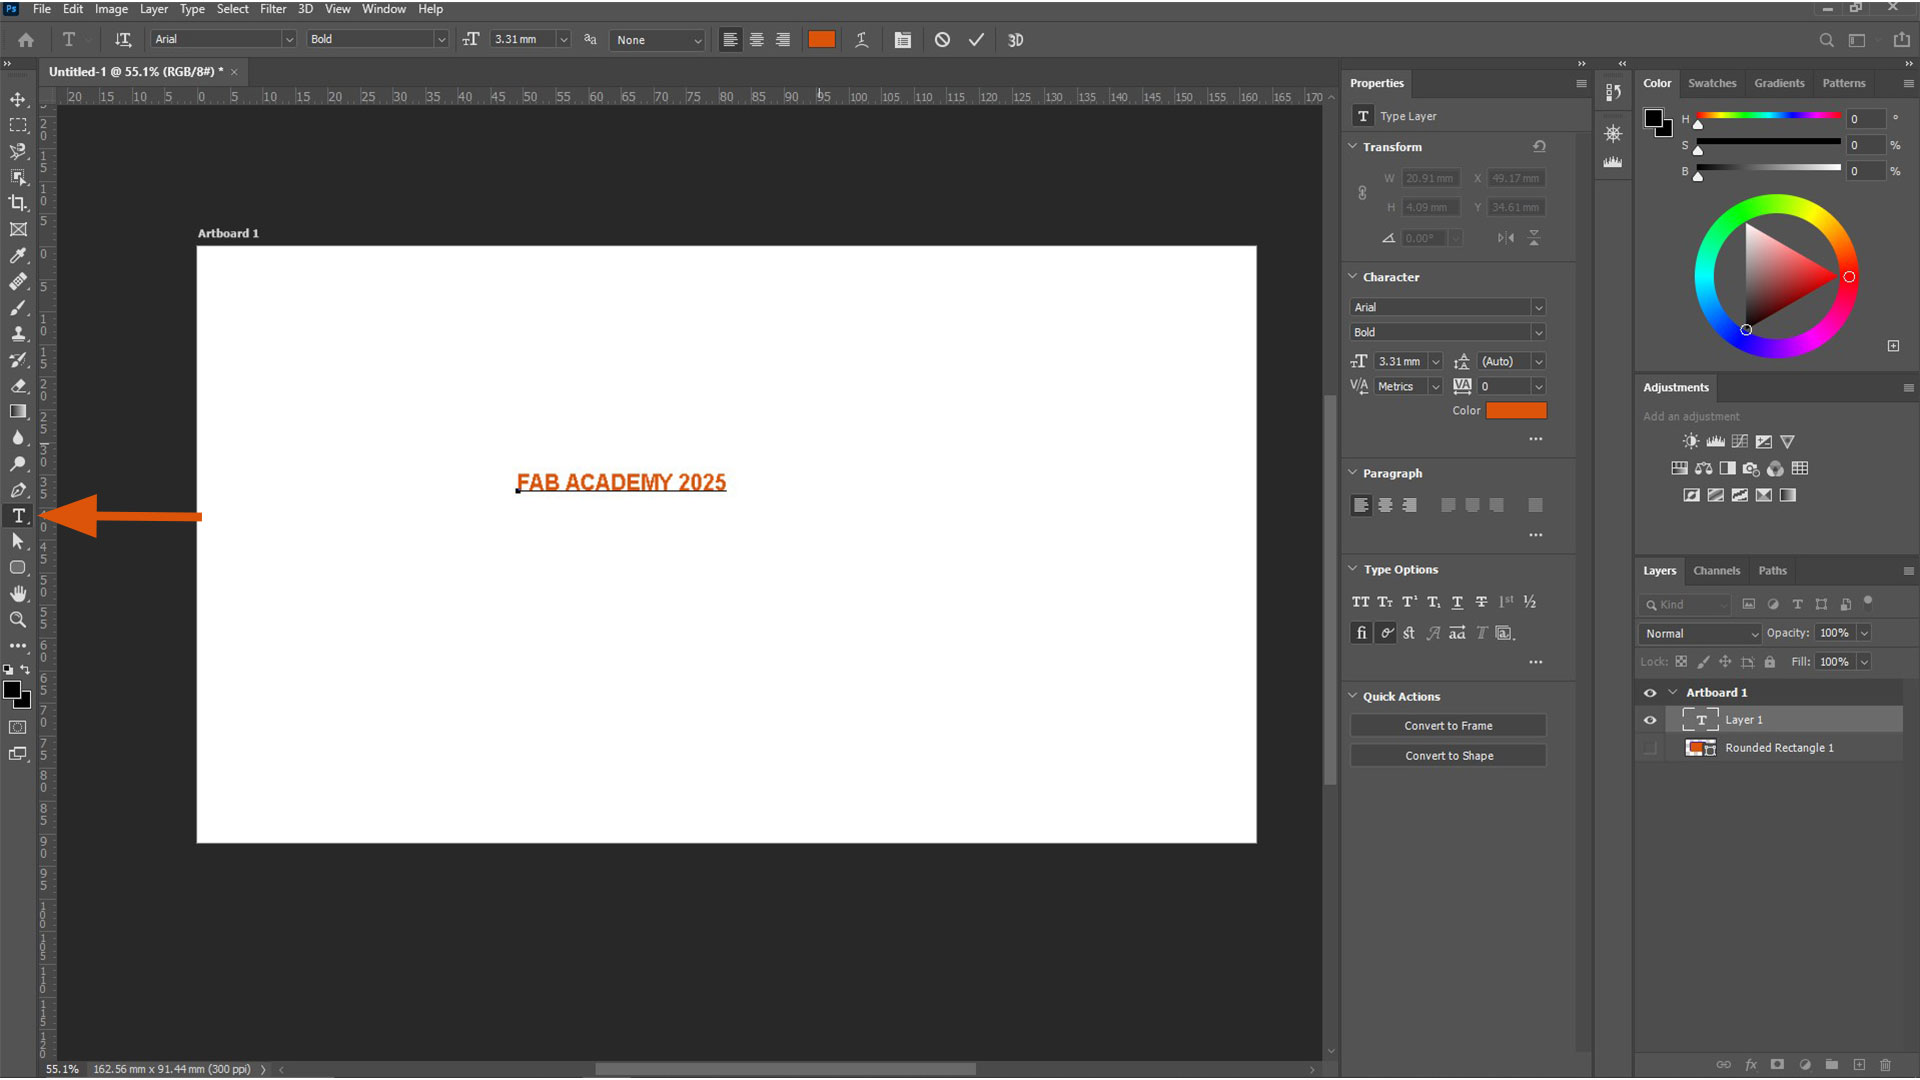
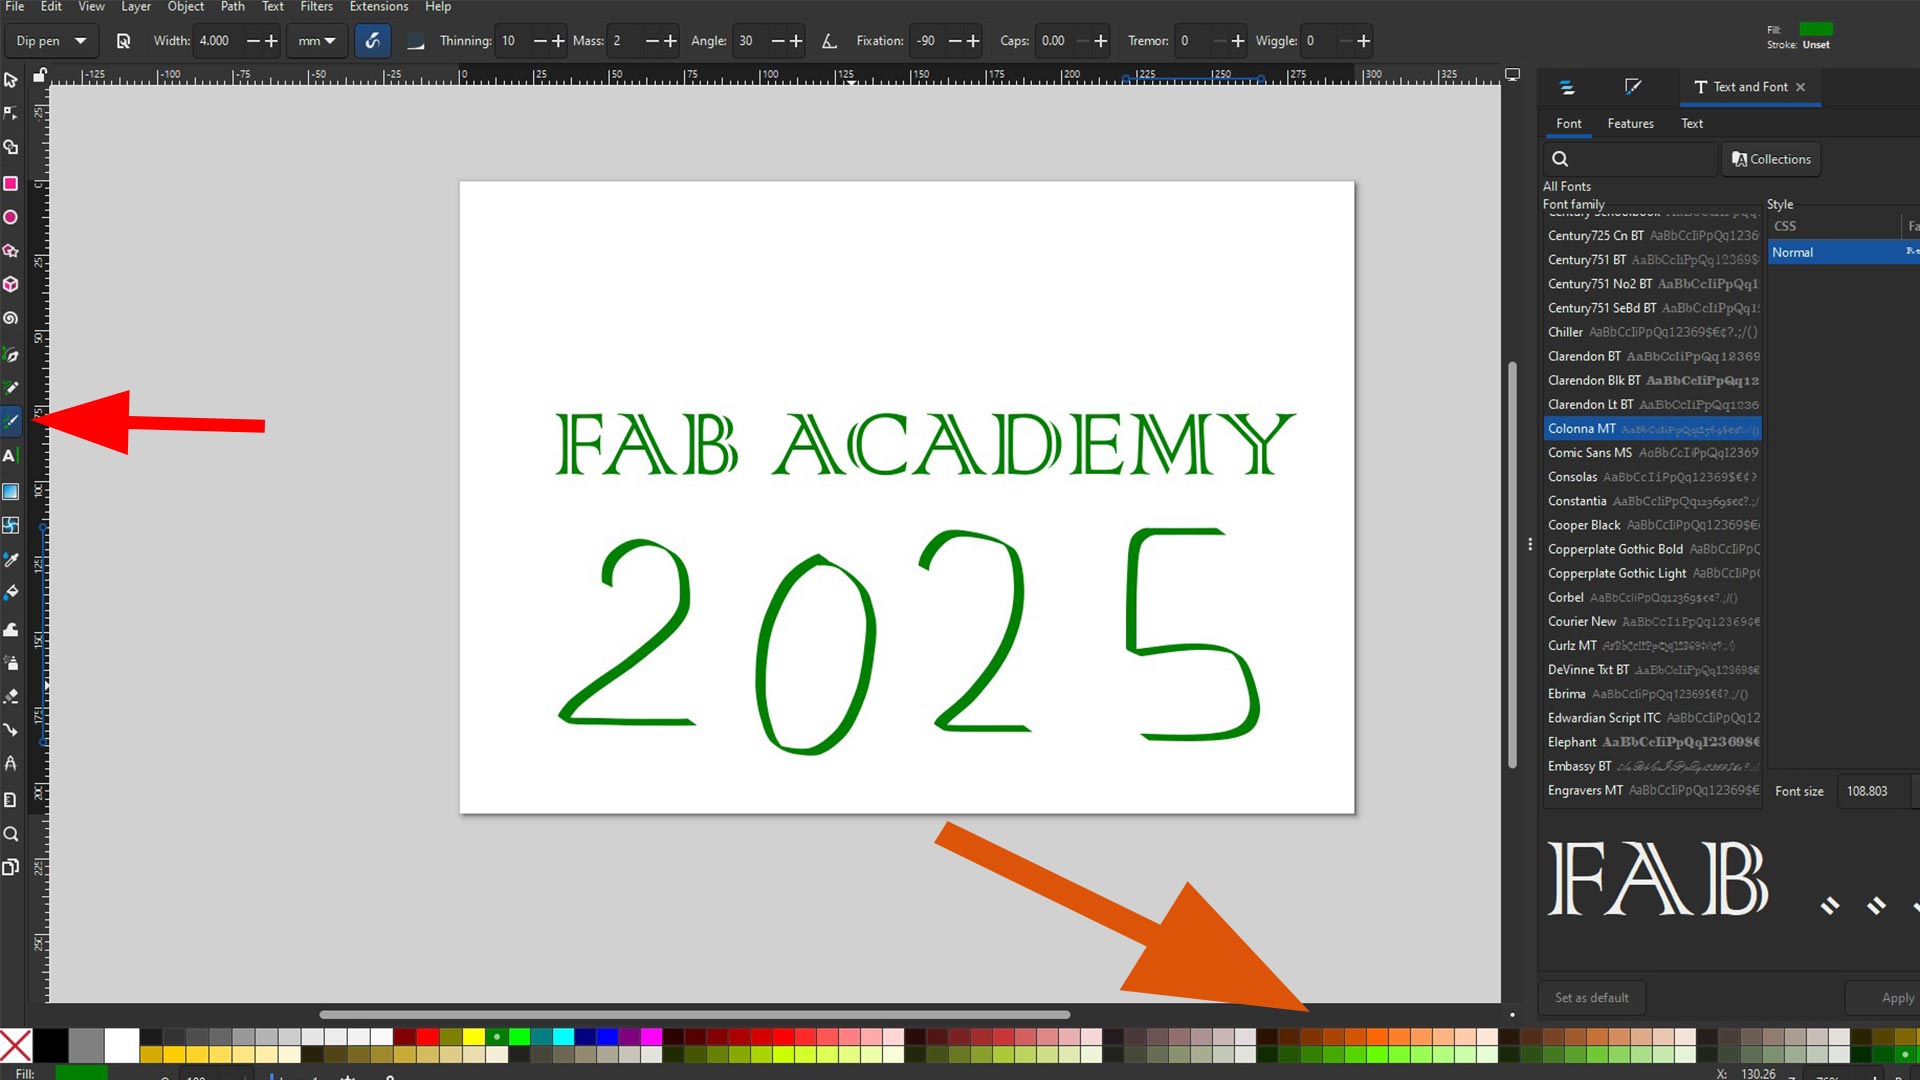
To create text, I selected text tool from menu. It is labelled by letter T. I then started by typing "FAB ACADEMY 2025"
To adjust the size, select layer and then drag the highlighted cornerrs.
Aspect ratio got distorted.
To scale uniformly in photoshop, hold shift key while scalling. Otherwise the aspect ration will be distorted.
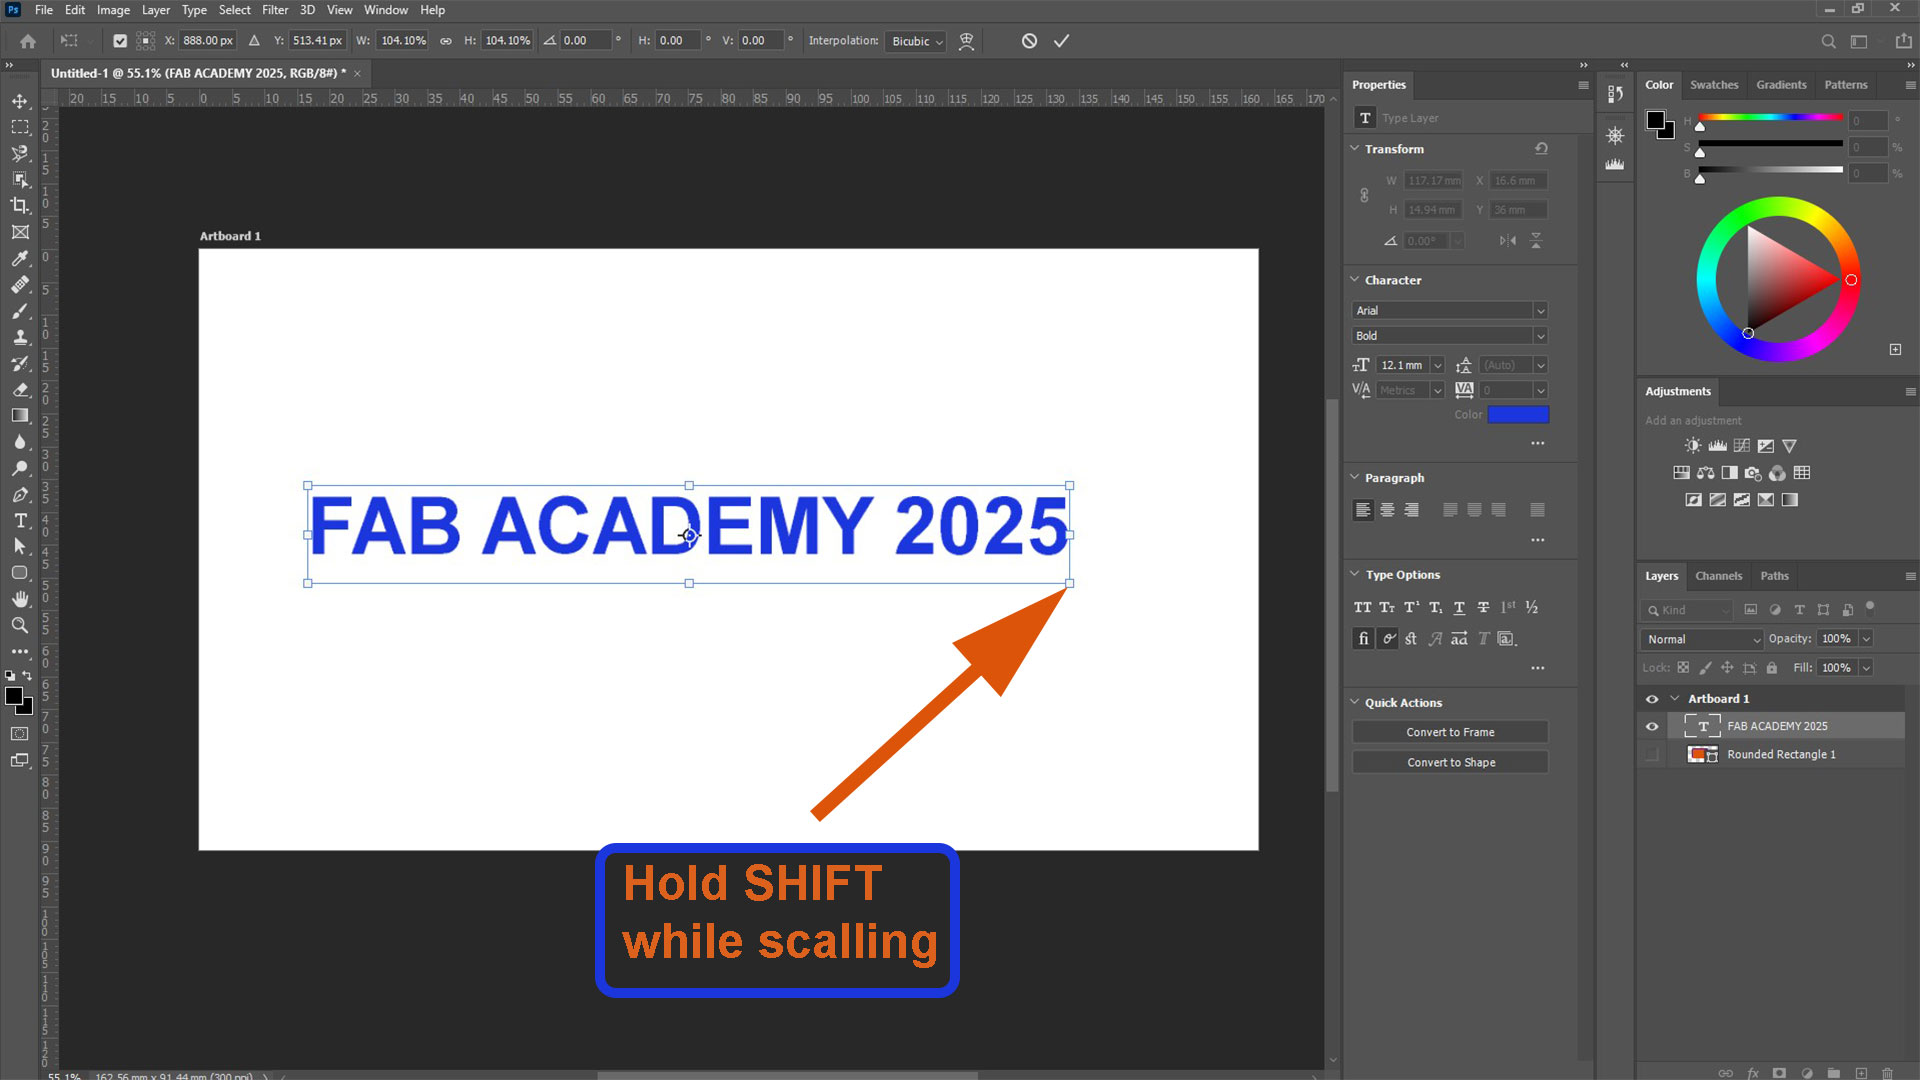
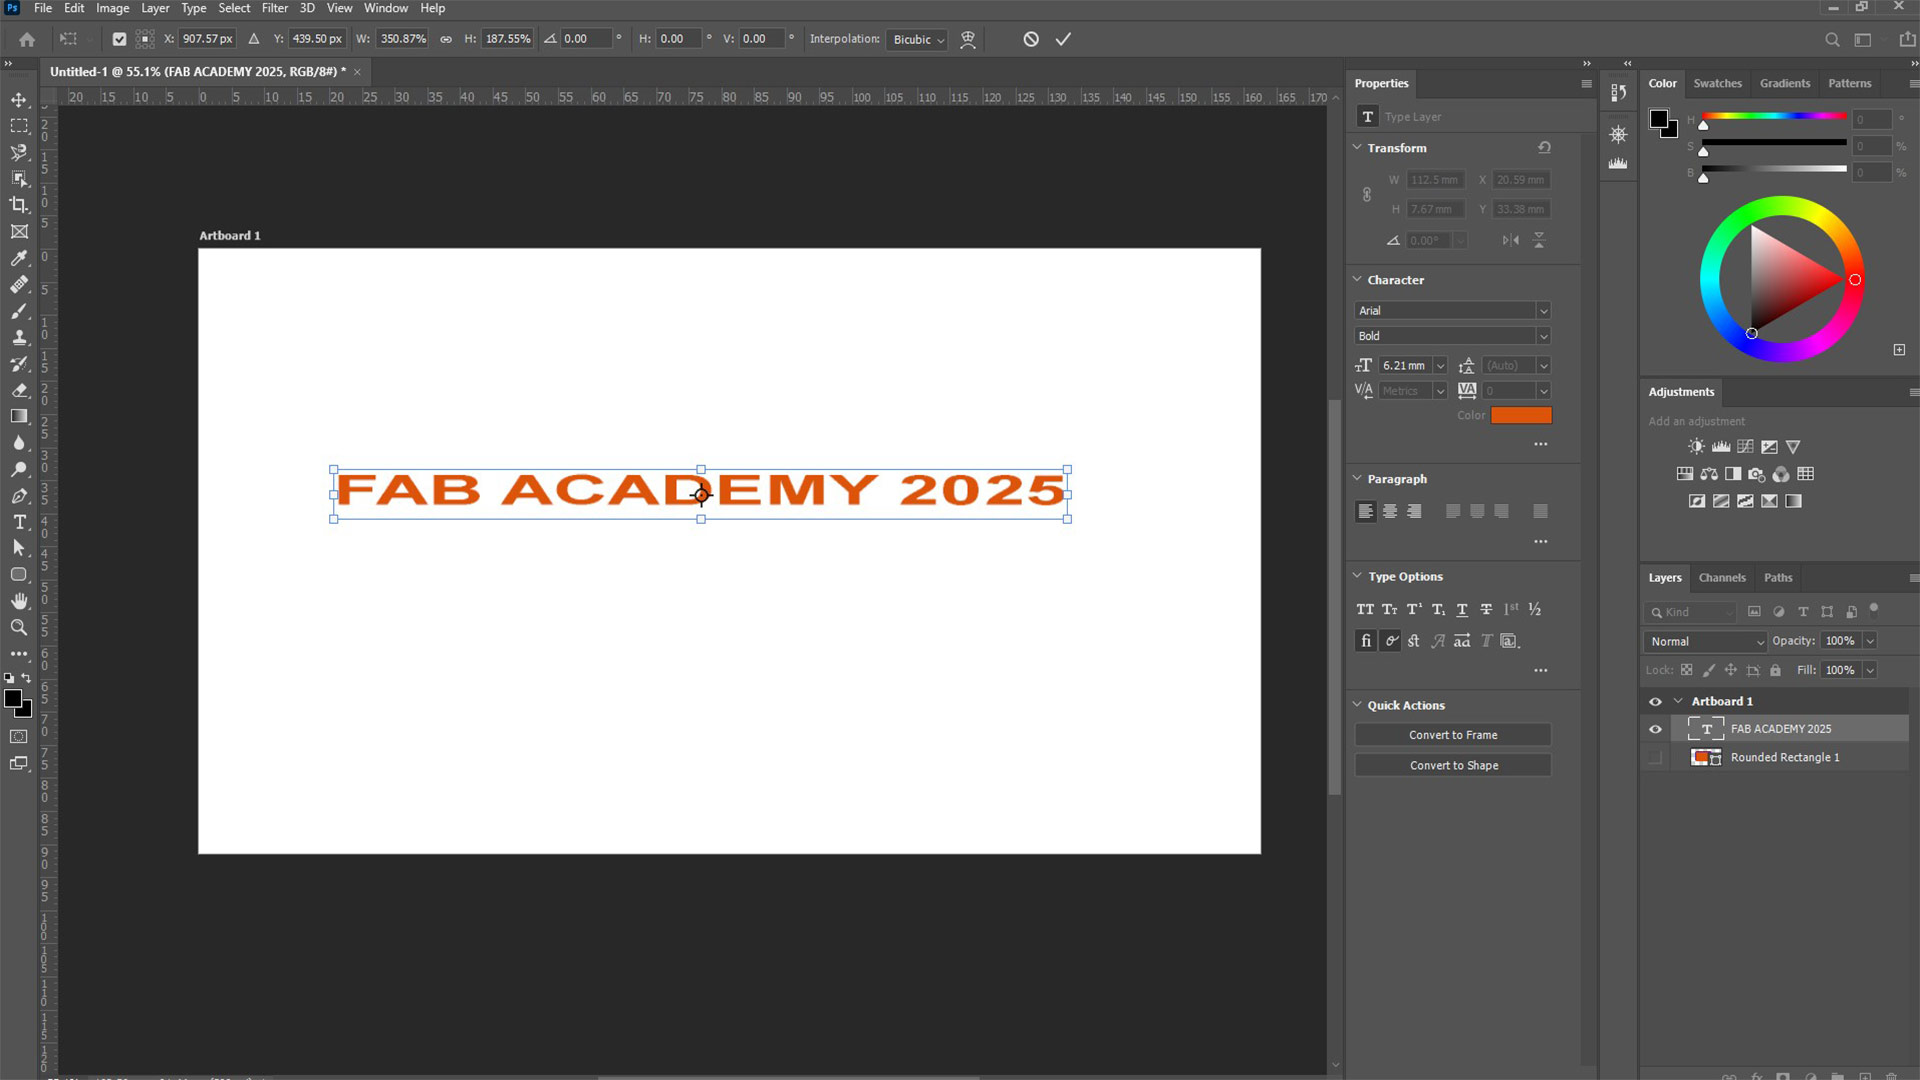
After, I moved the letters in the middle of rectange (created previously) using move and then scalled them to fit.
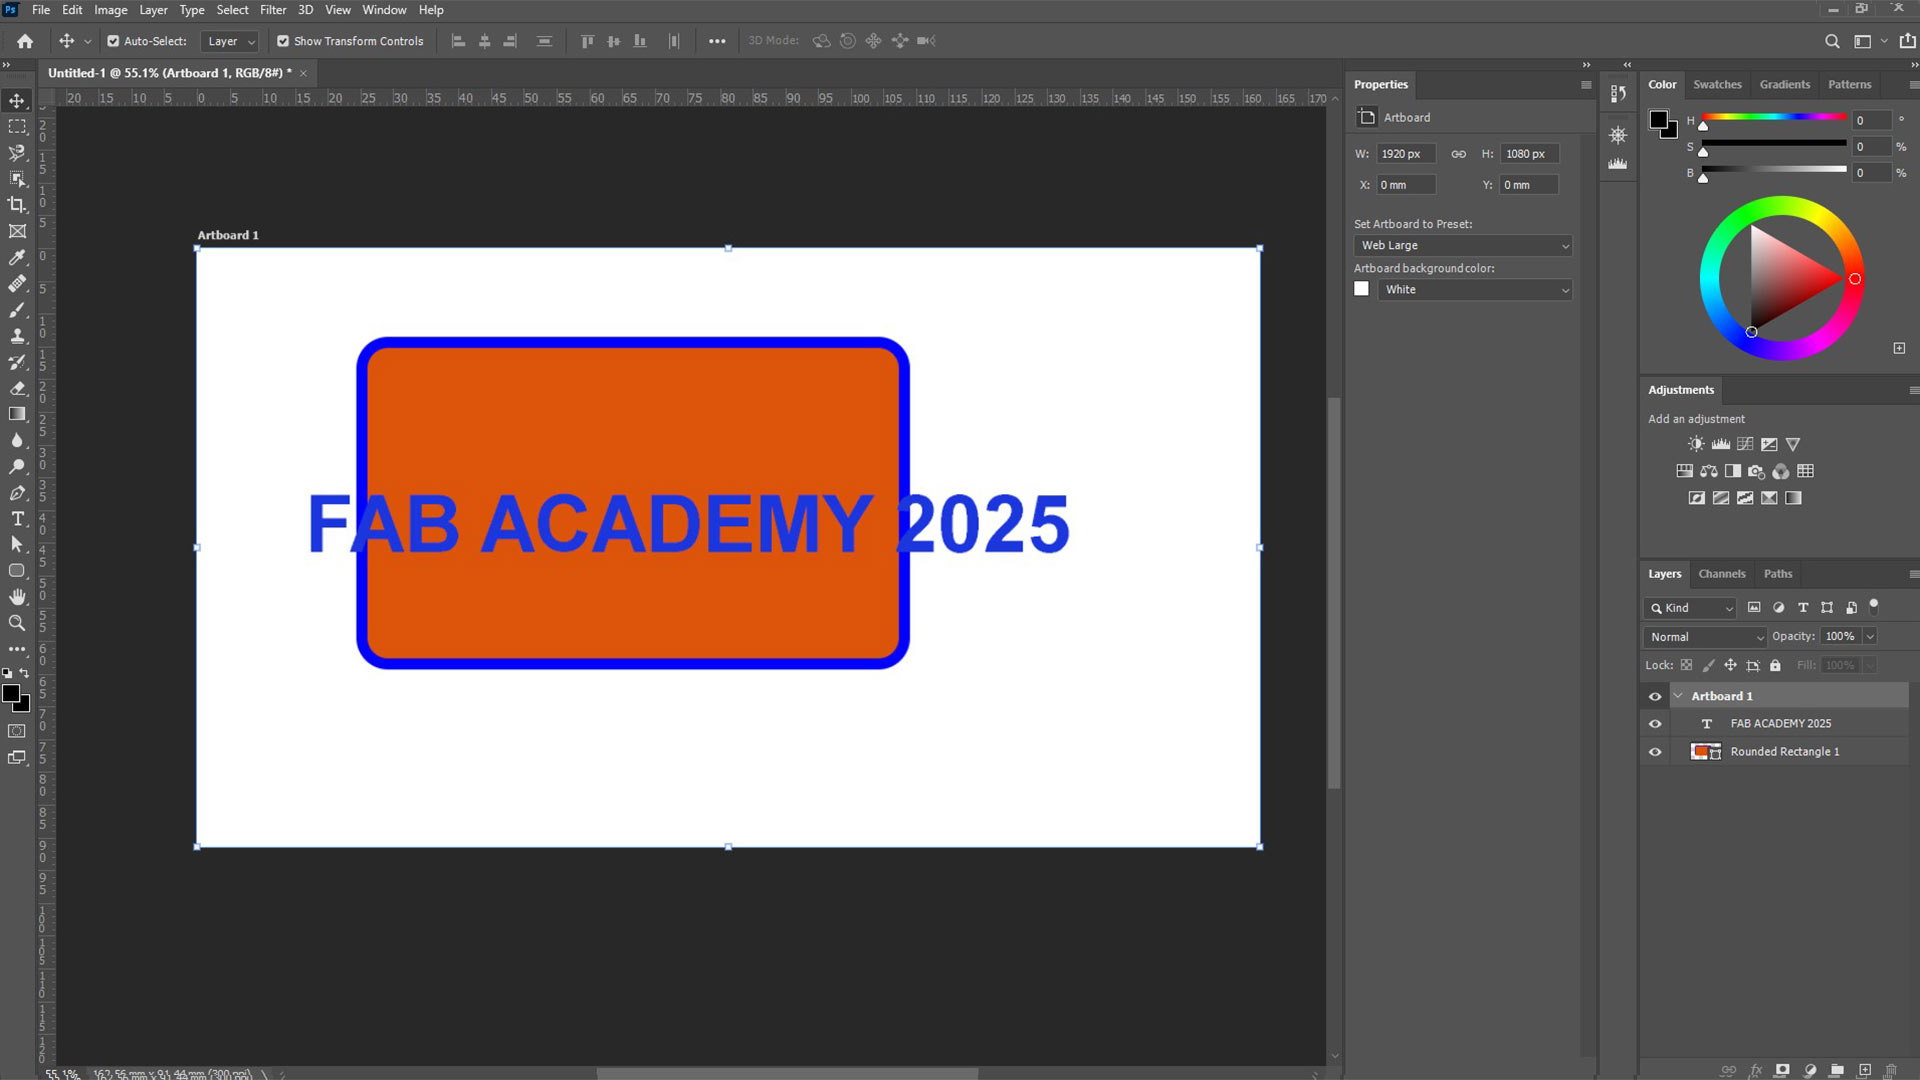
I then changed the texture of rectange.
The knowledge I learned the the above section will be used onwards to highlight and mark images.
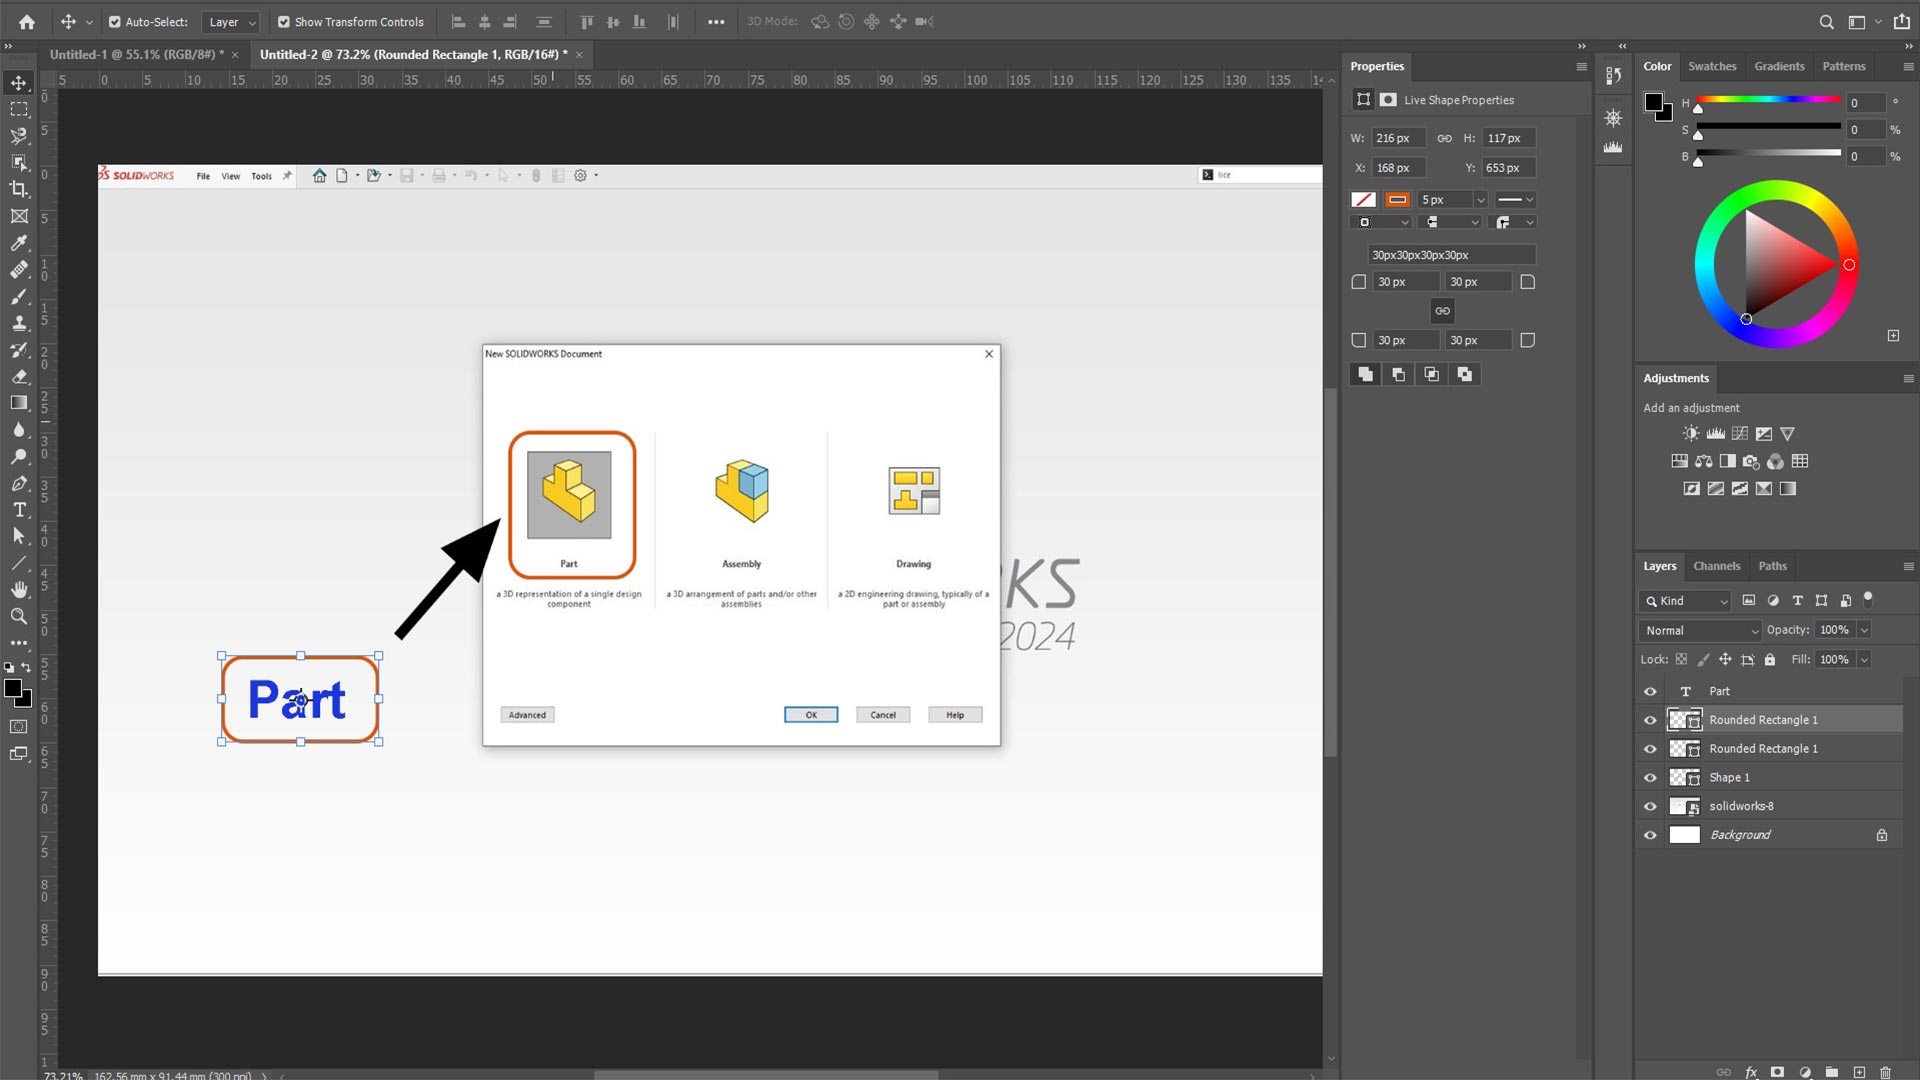
I then imported image and draw a rectangle around a section I wanted to highlight. I made the rectangle with no infill.
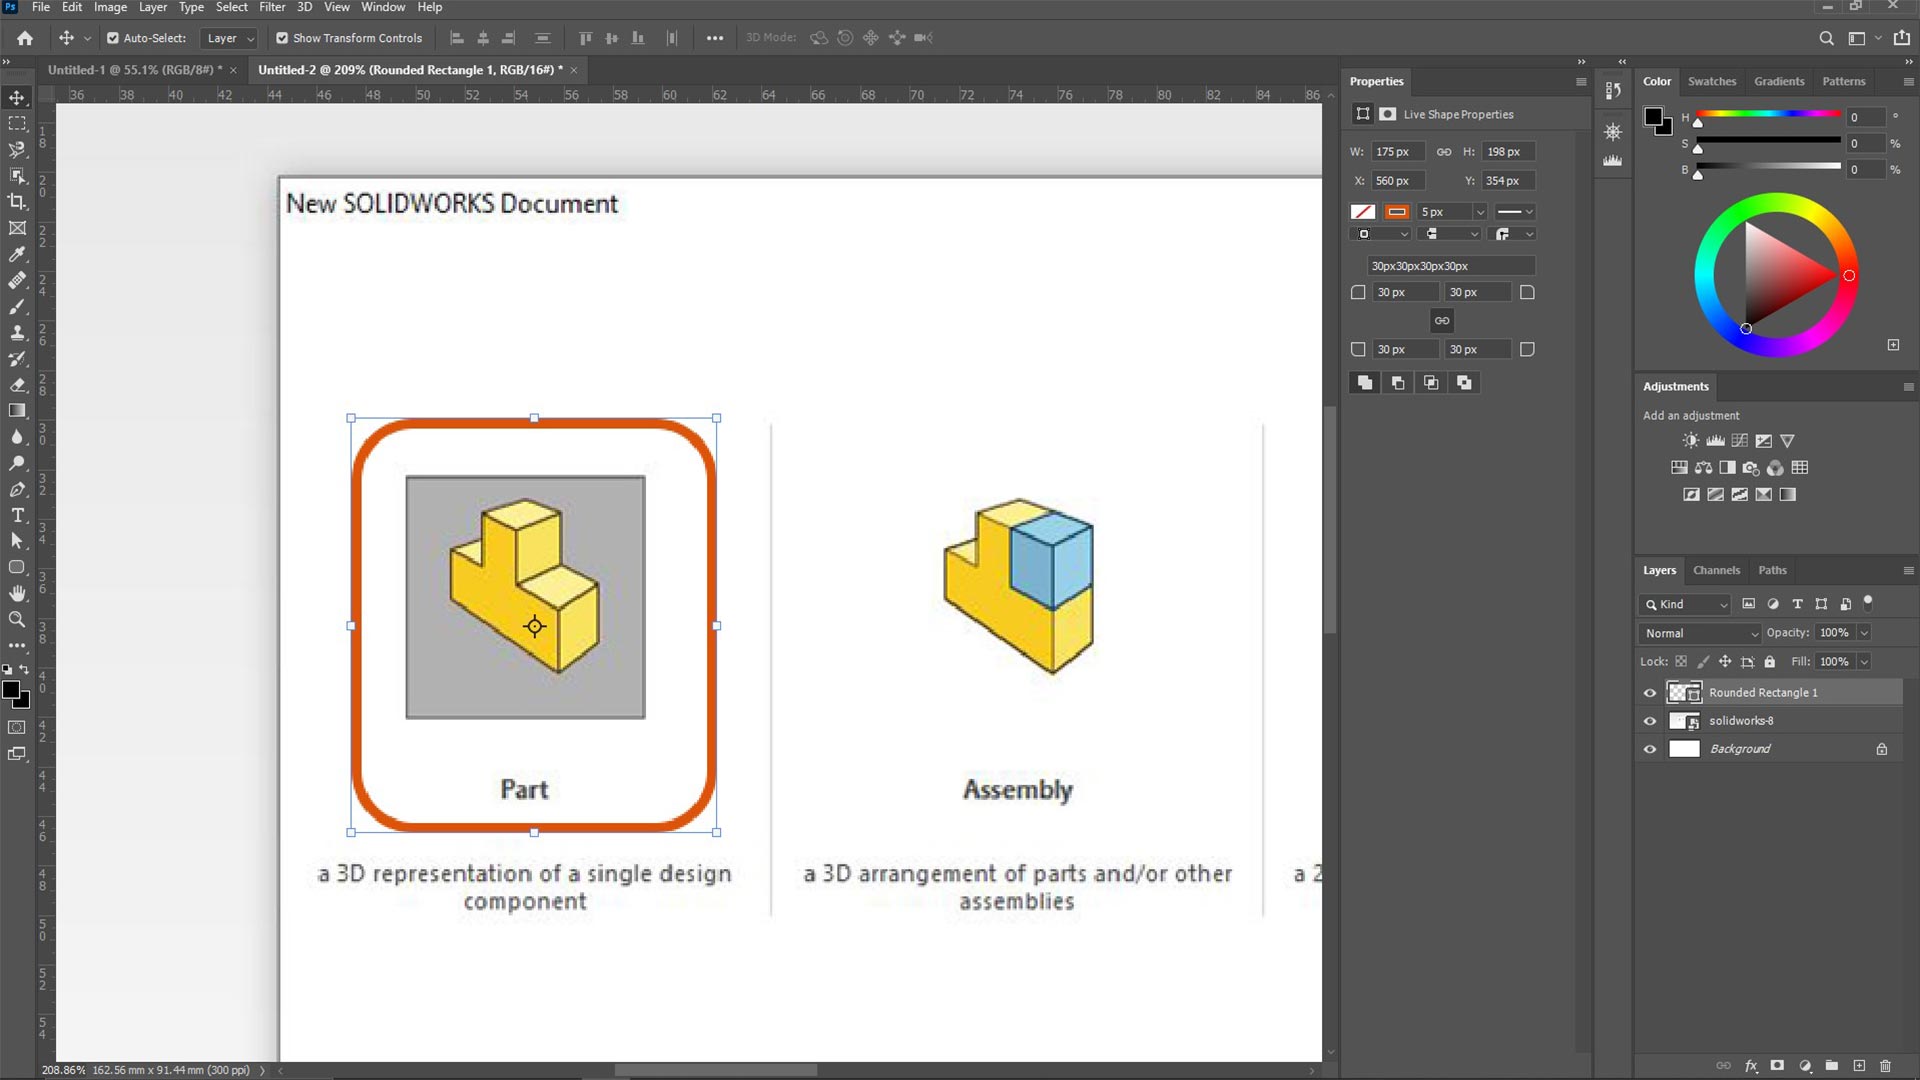
I then used an arrow to highlight the content
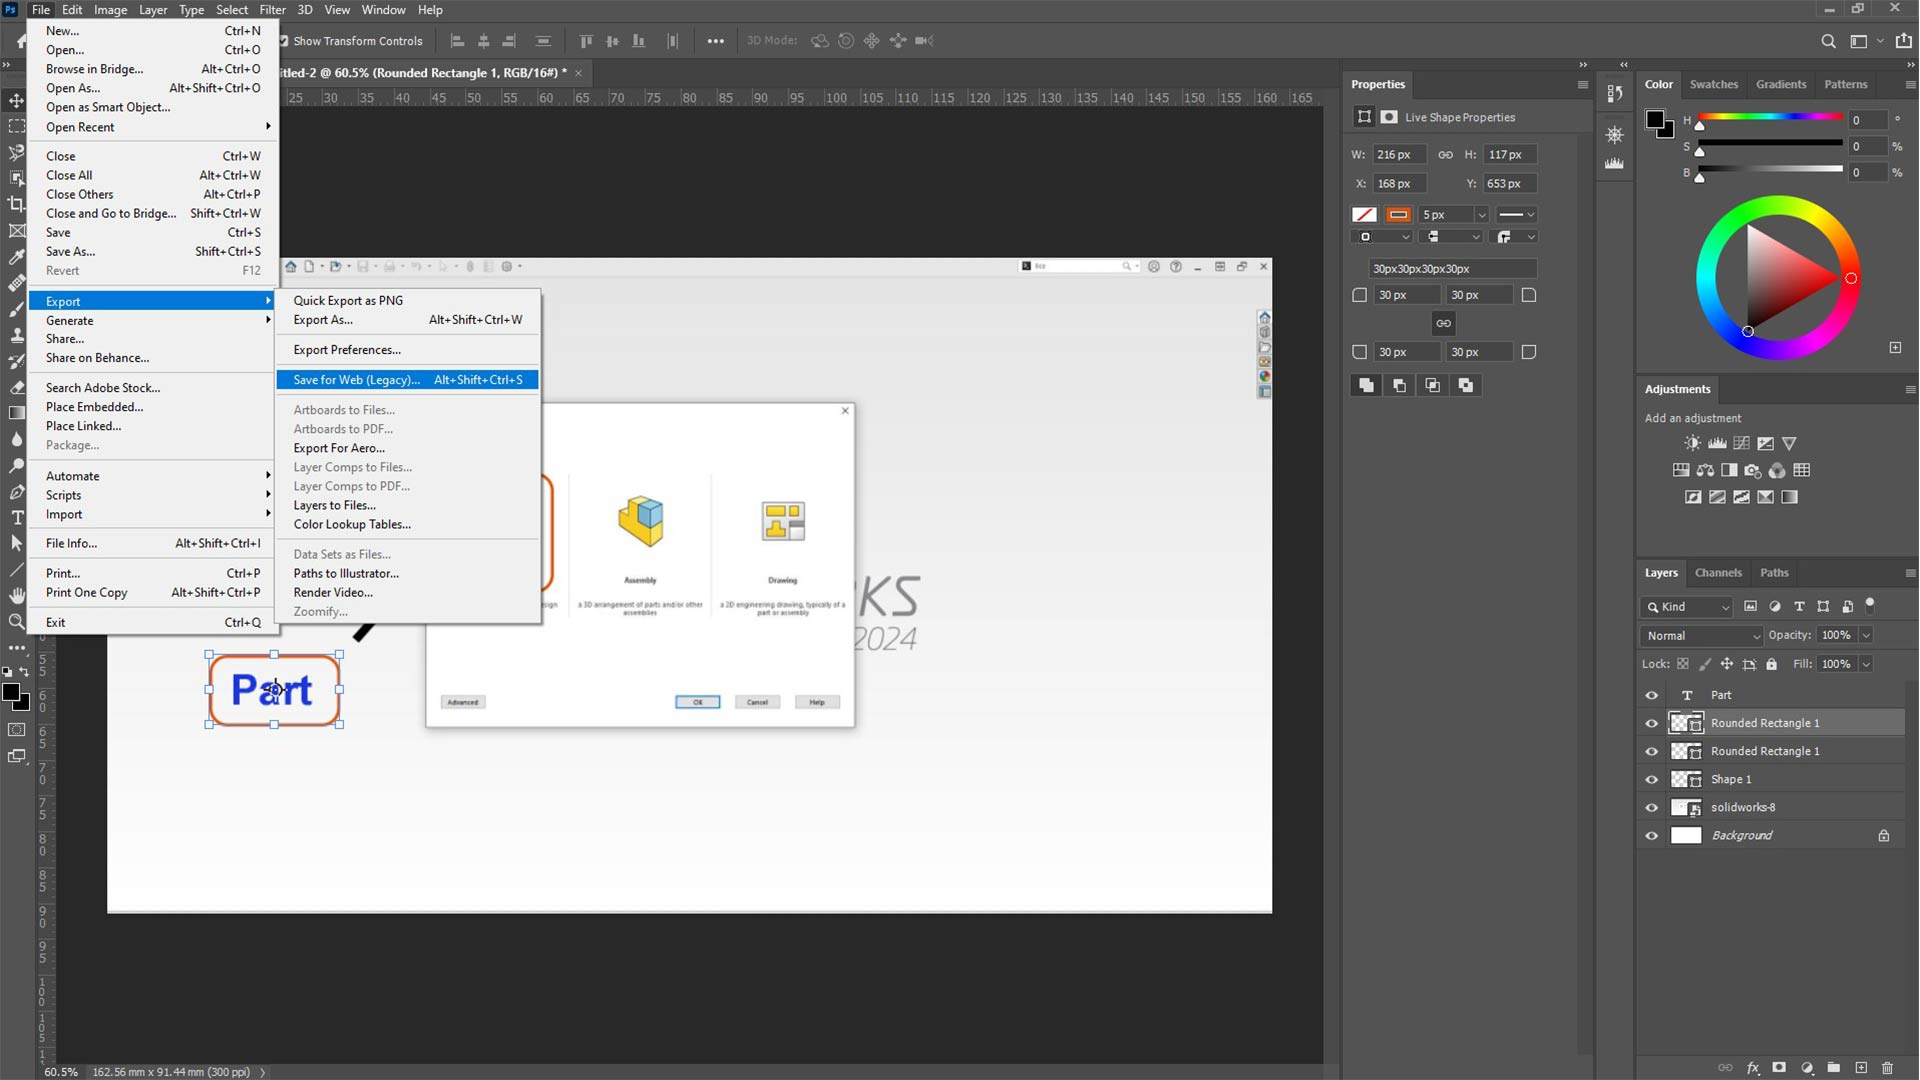
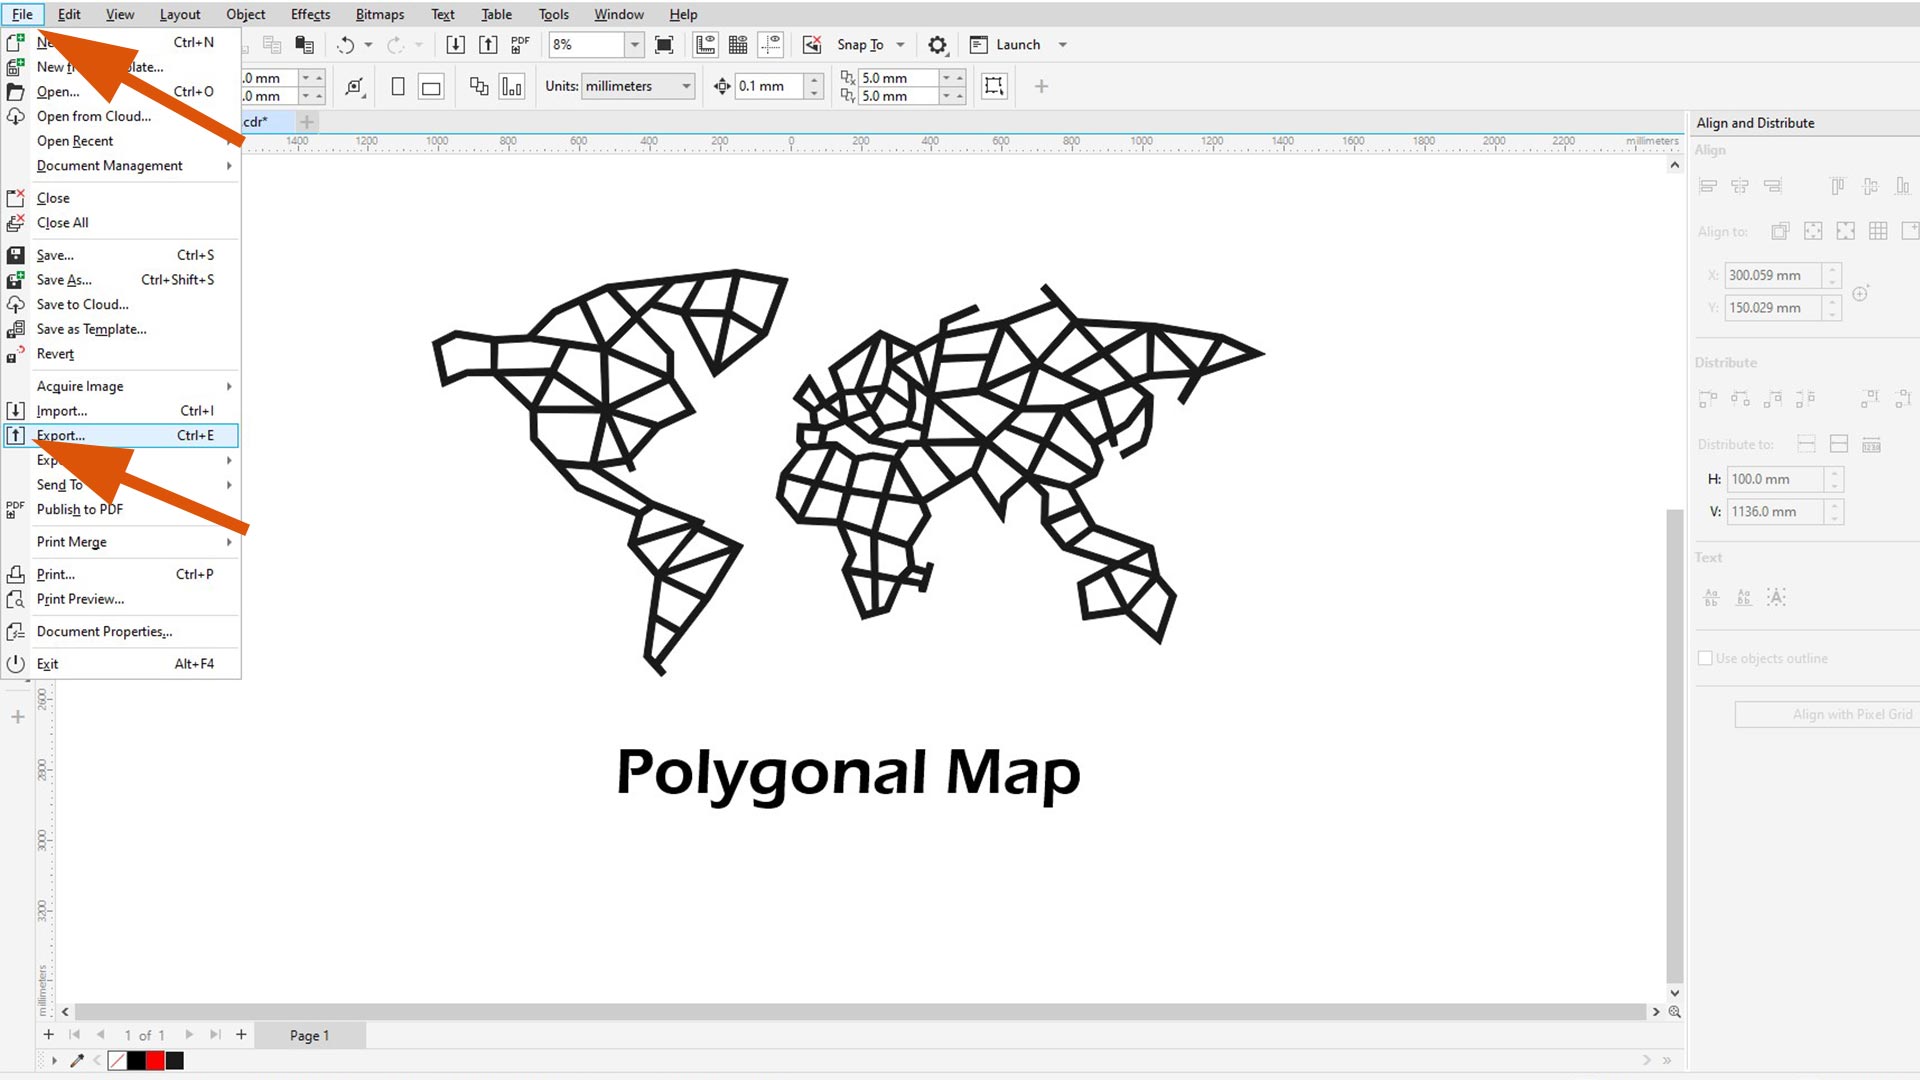
Exporting and compressing image
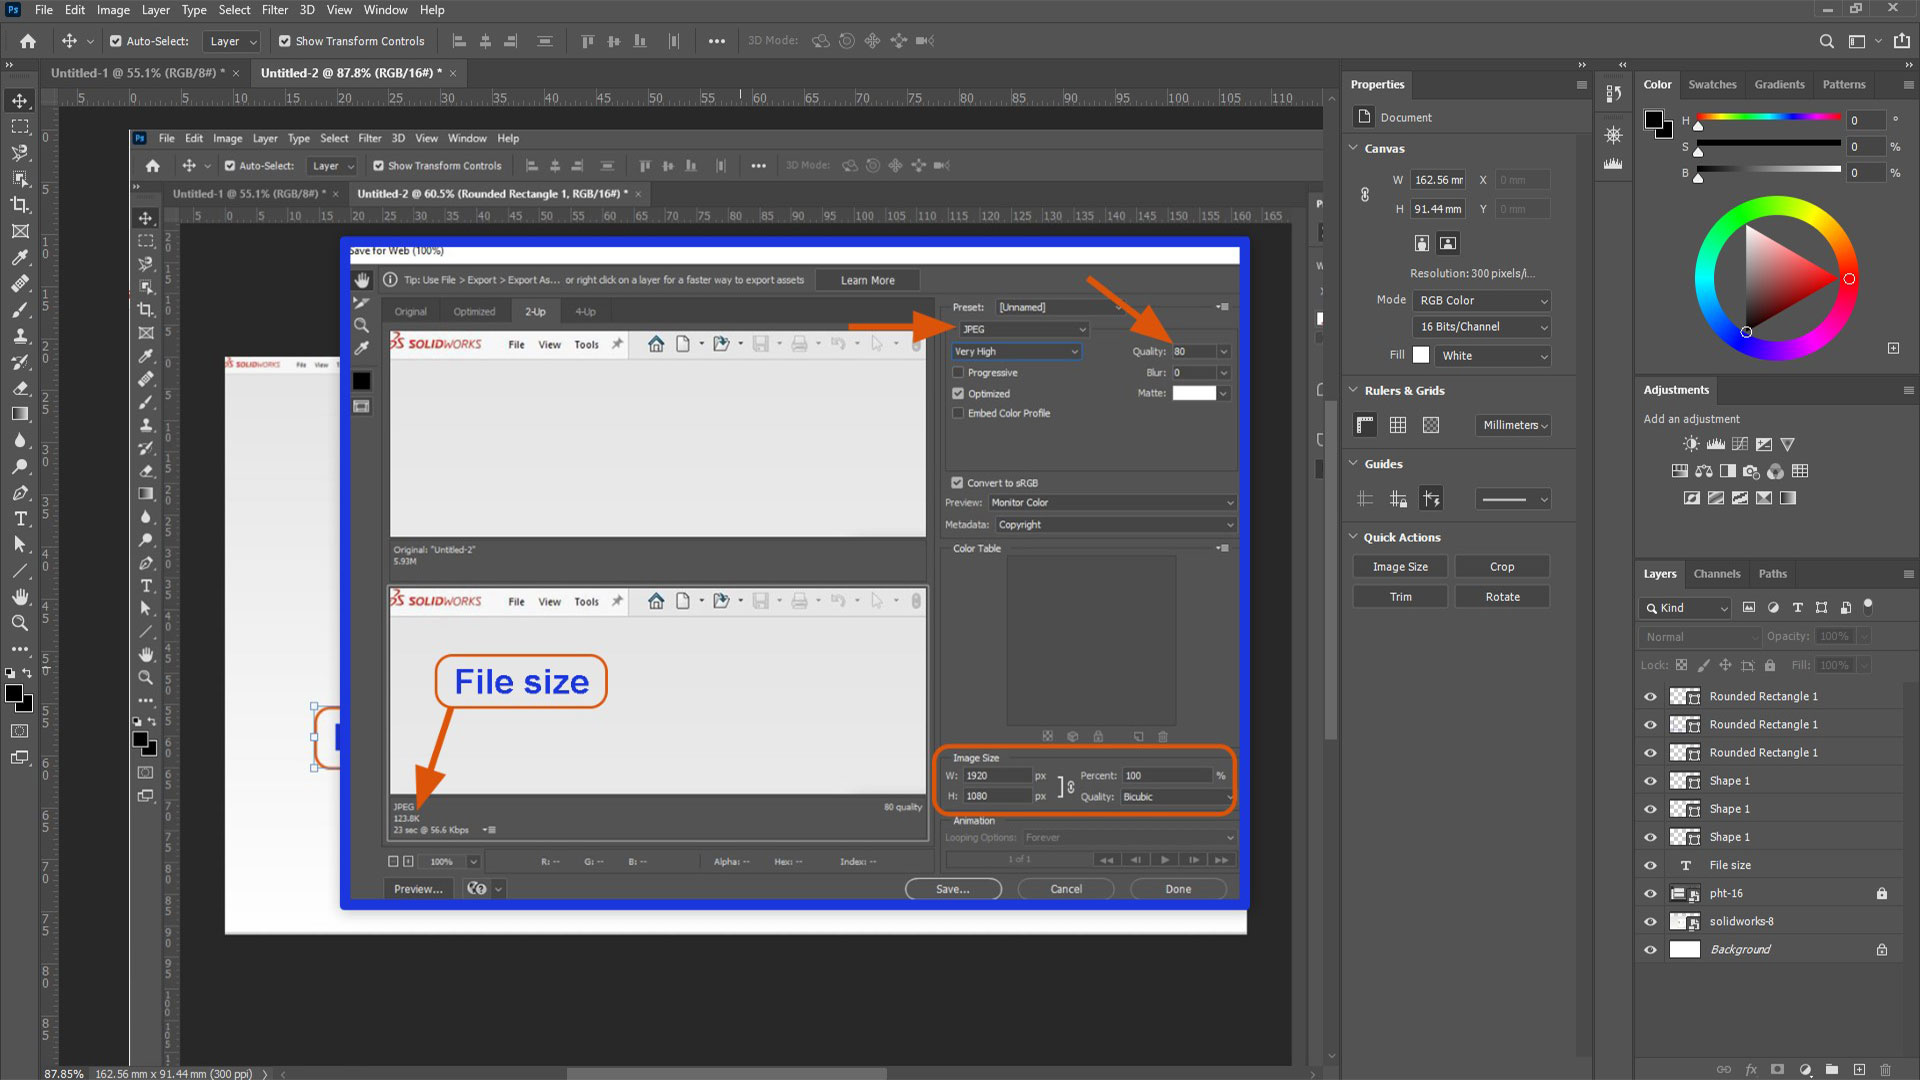
To export the image, from file menu, I selected "save for web"
I then customized export setting. I first started with export format (JPEG) and quality. Pay attetion file size that will be exported. Git stortage (for Fab Academy) is limited. Not only that, heavy file (file with large size) take a while to load. Image file should be around 150kb.
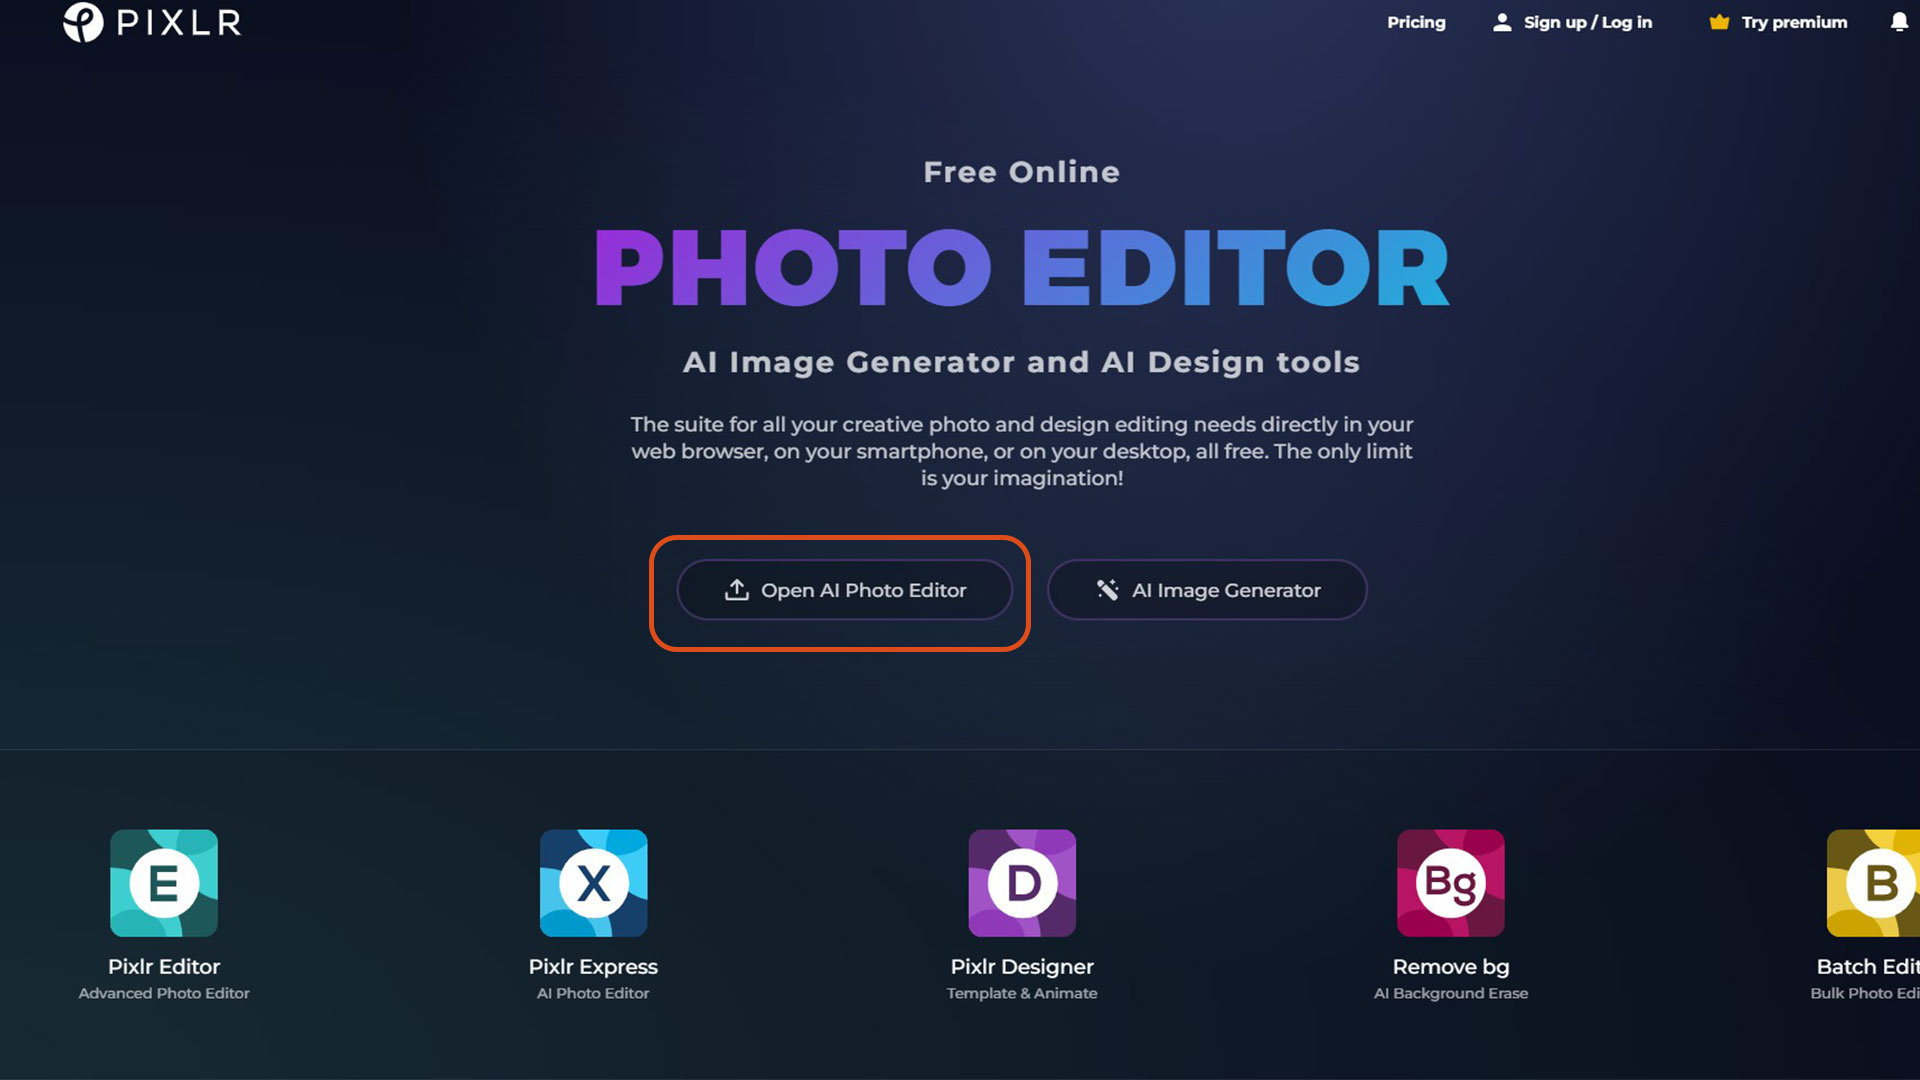
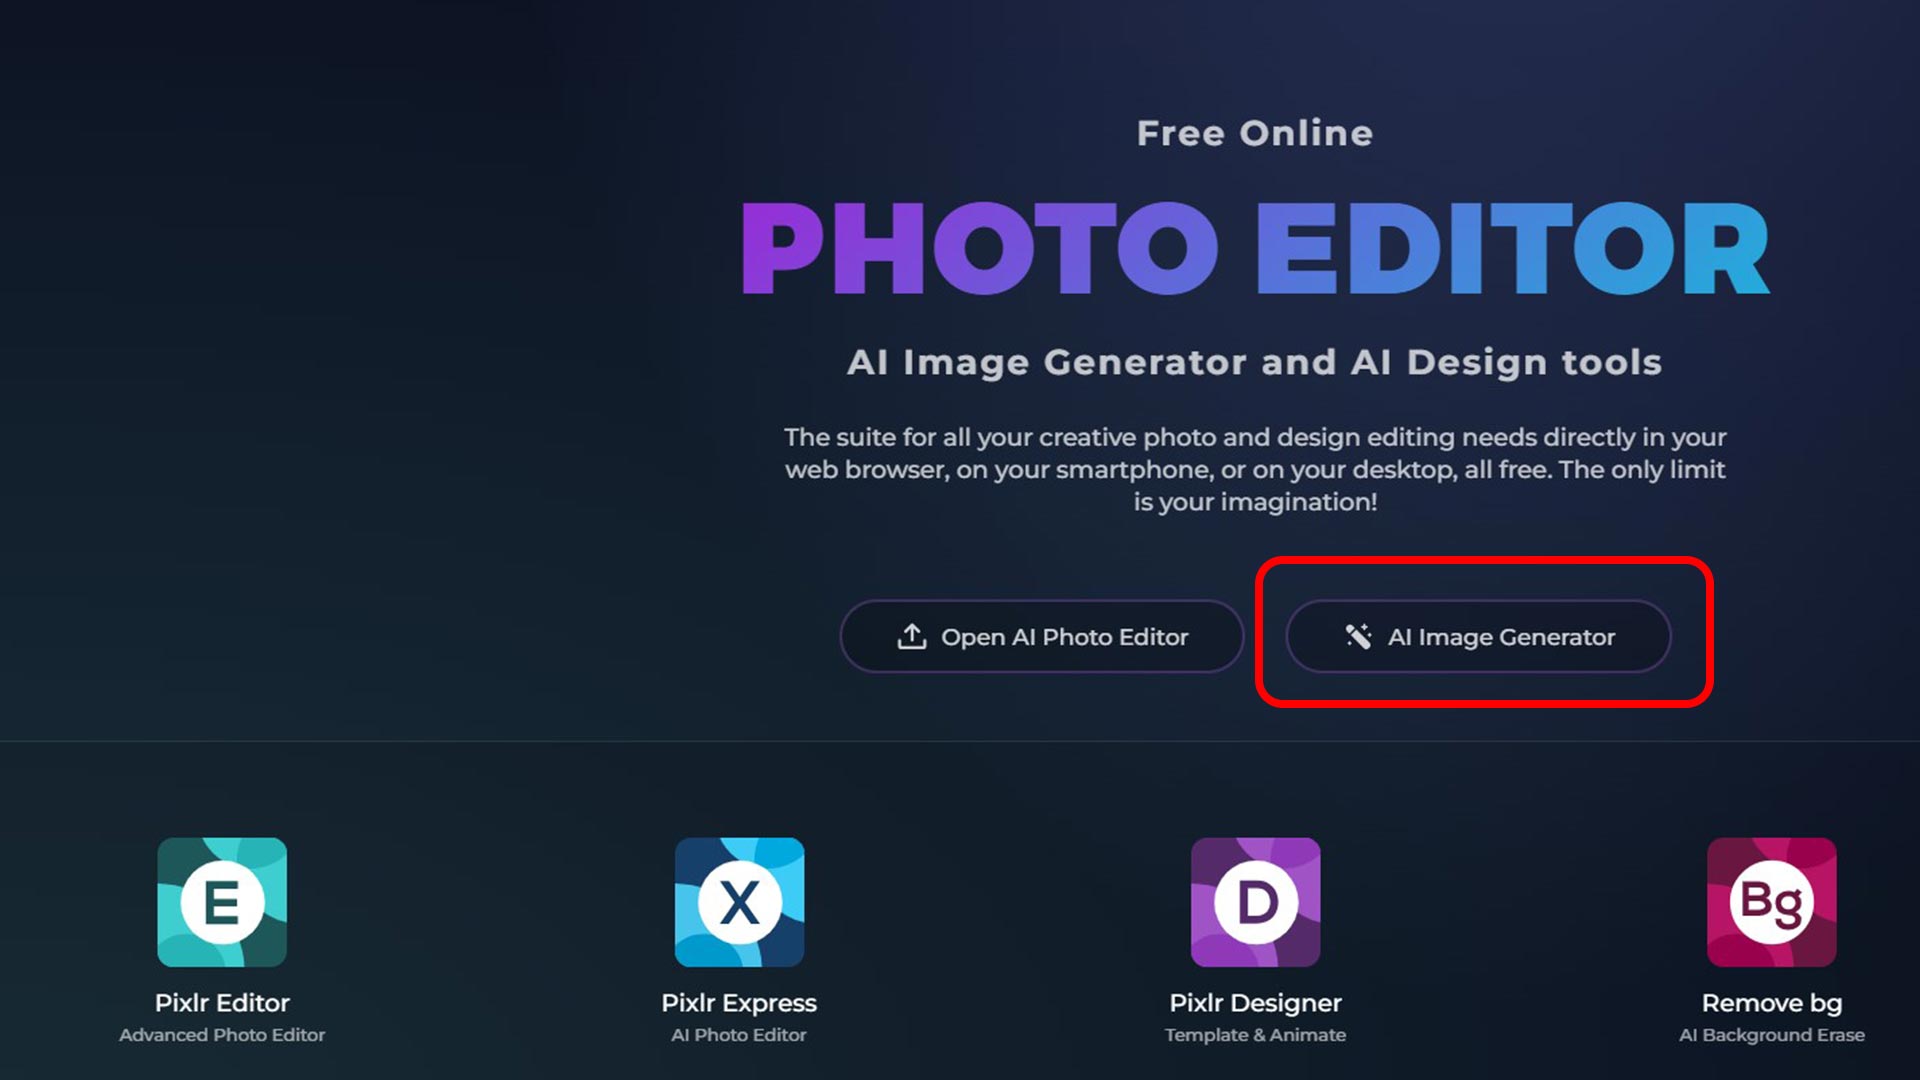
PIXLR
PIXLR is a web-based photo editing program that offers a range of tools to edit photos online. It has similar features to Photoshop but it is more lightweight and can be accessed via a web browser. It has AI generative capability where you can use prompt to generate images.
It is utilized by graphic designers, photographers, and regular users who require something easy to edit photos fast without necessarily downloading heavy software.
To use this program, I created account on Pixlr website. After, I selected the highlighted option "Open AI Photo Editor"
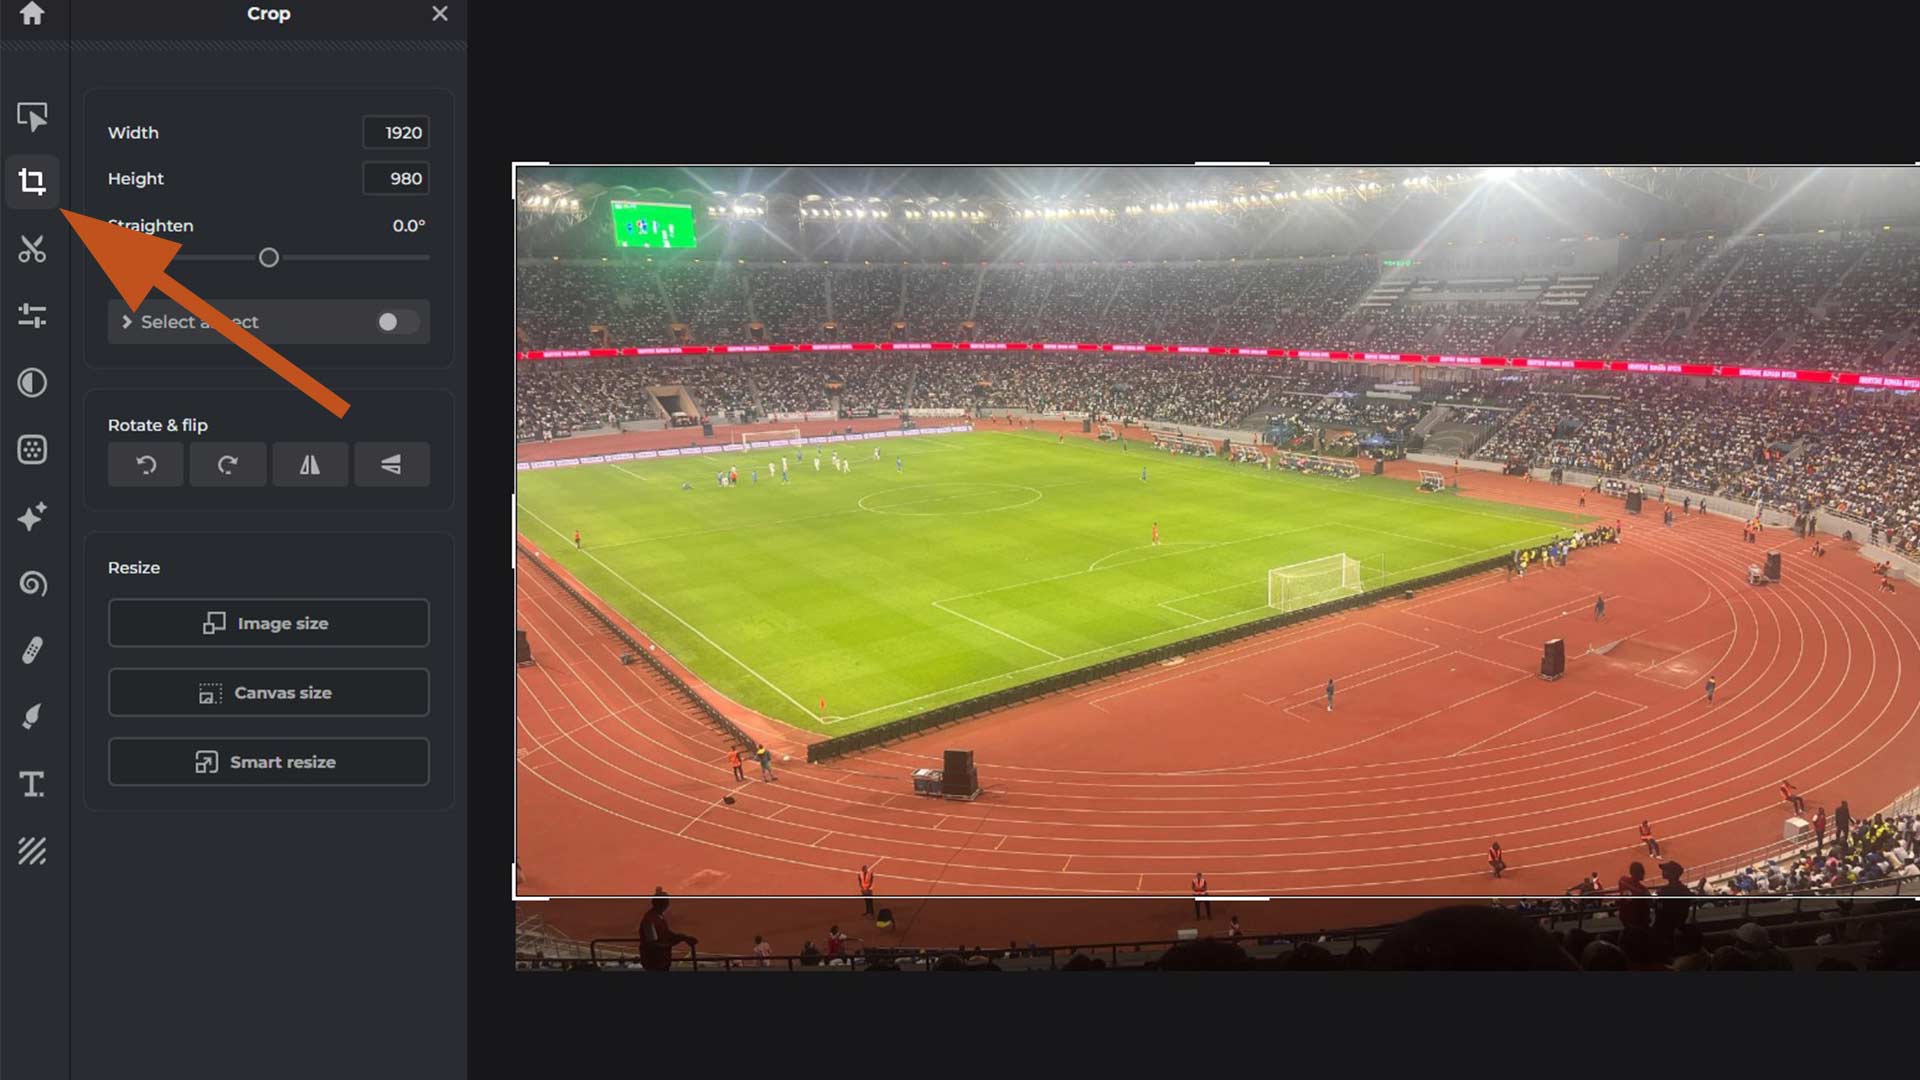
Next, I imported image and use crop tool to remove some sections.
I then used color correction tool for color balance.

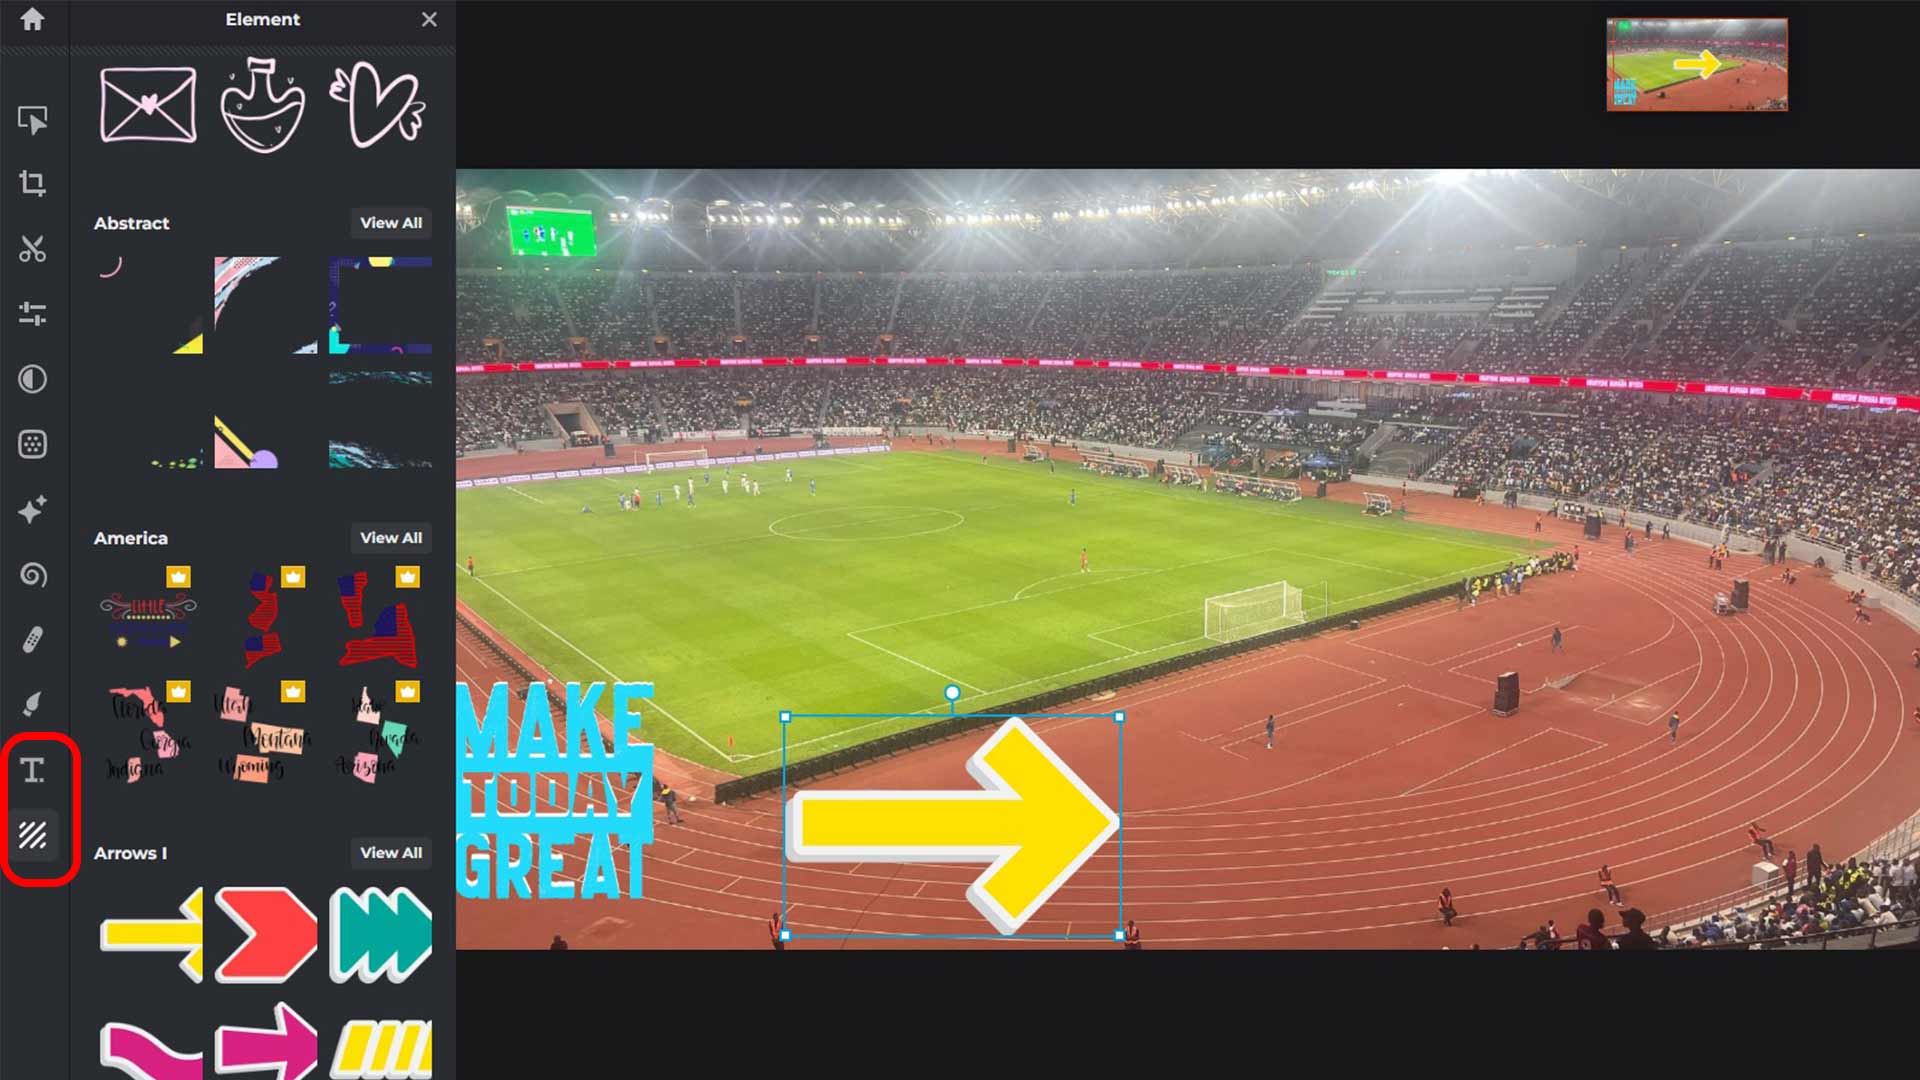
I then used text tool to mark it.
I also added shape tool to highlight the path.
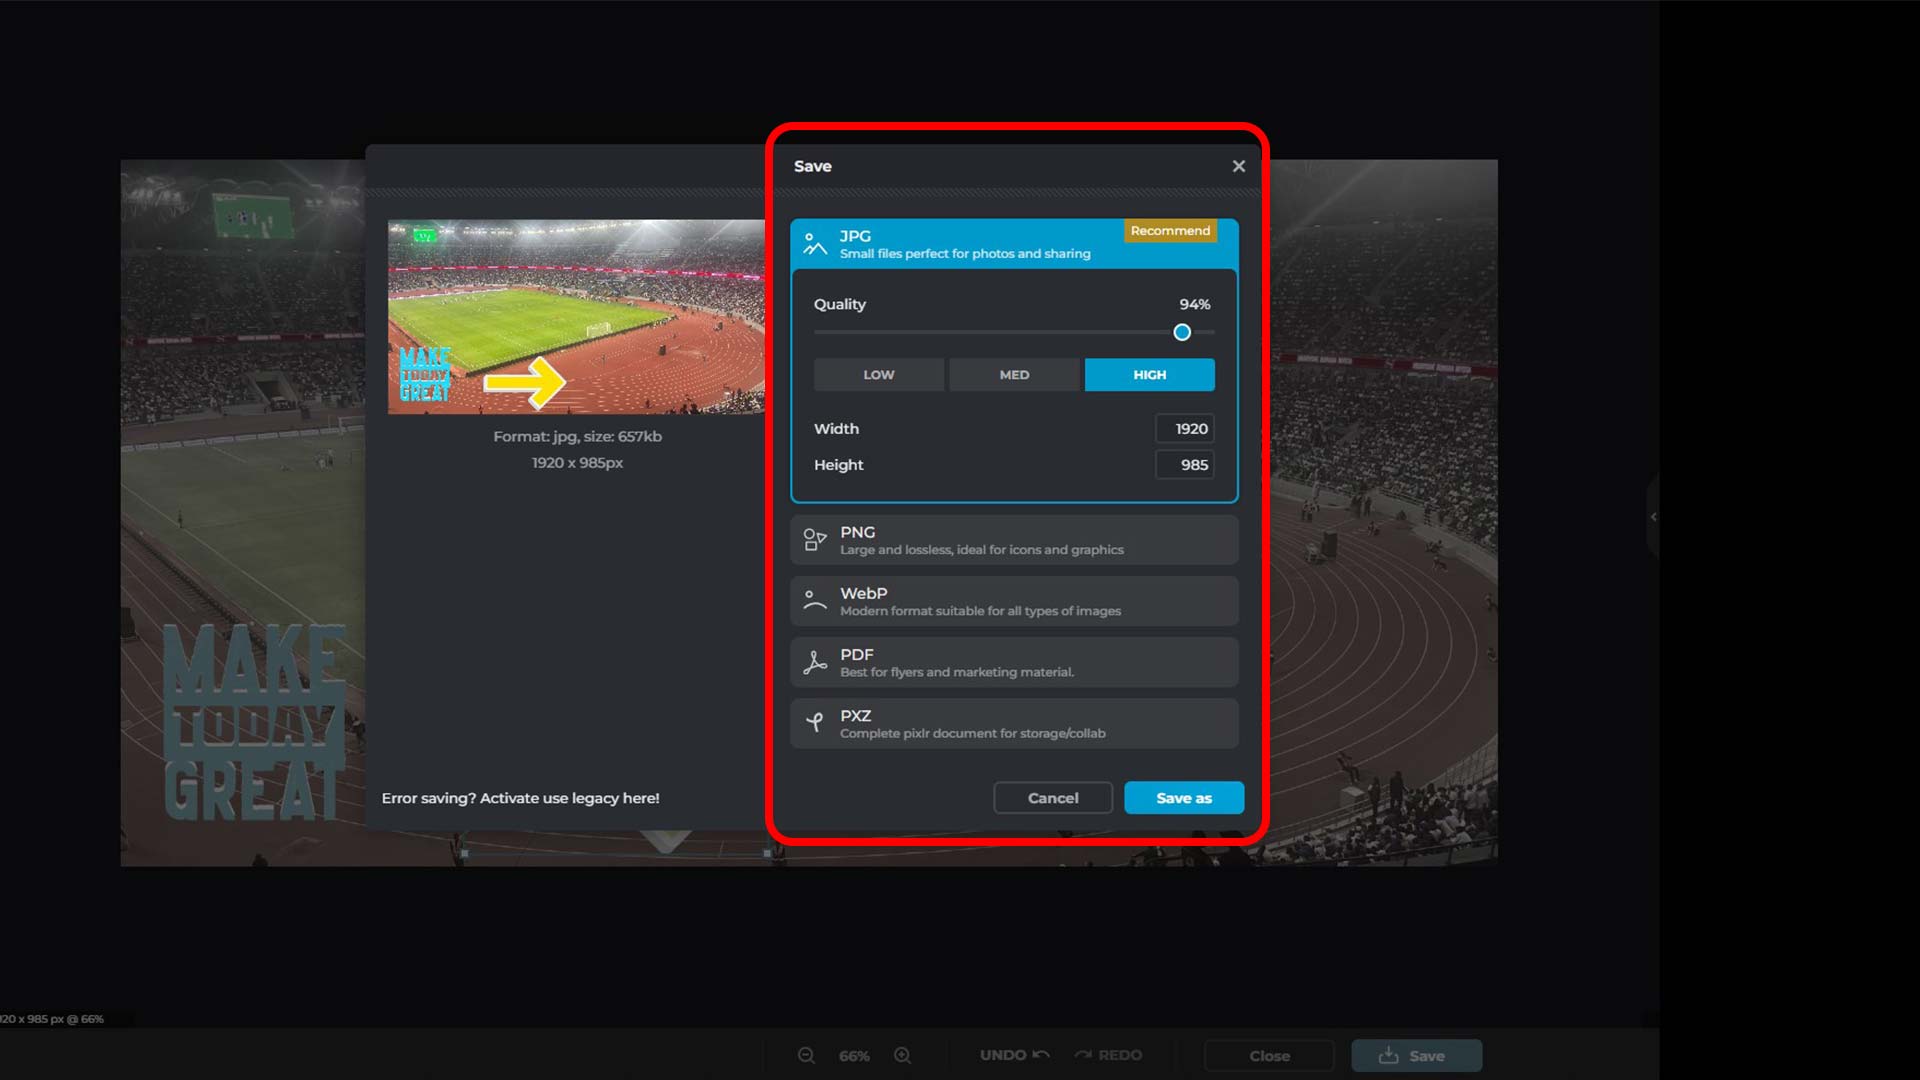
I then exported the image. Here, you specify the eport format as well as quality.
Using AI (Artificail Interigence)
With Pixlr, you can generate image using prompt.
I created new file and opened AI Image Generator as highlighted below
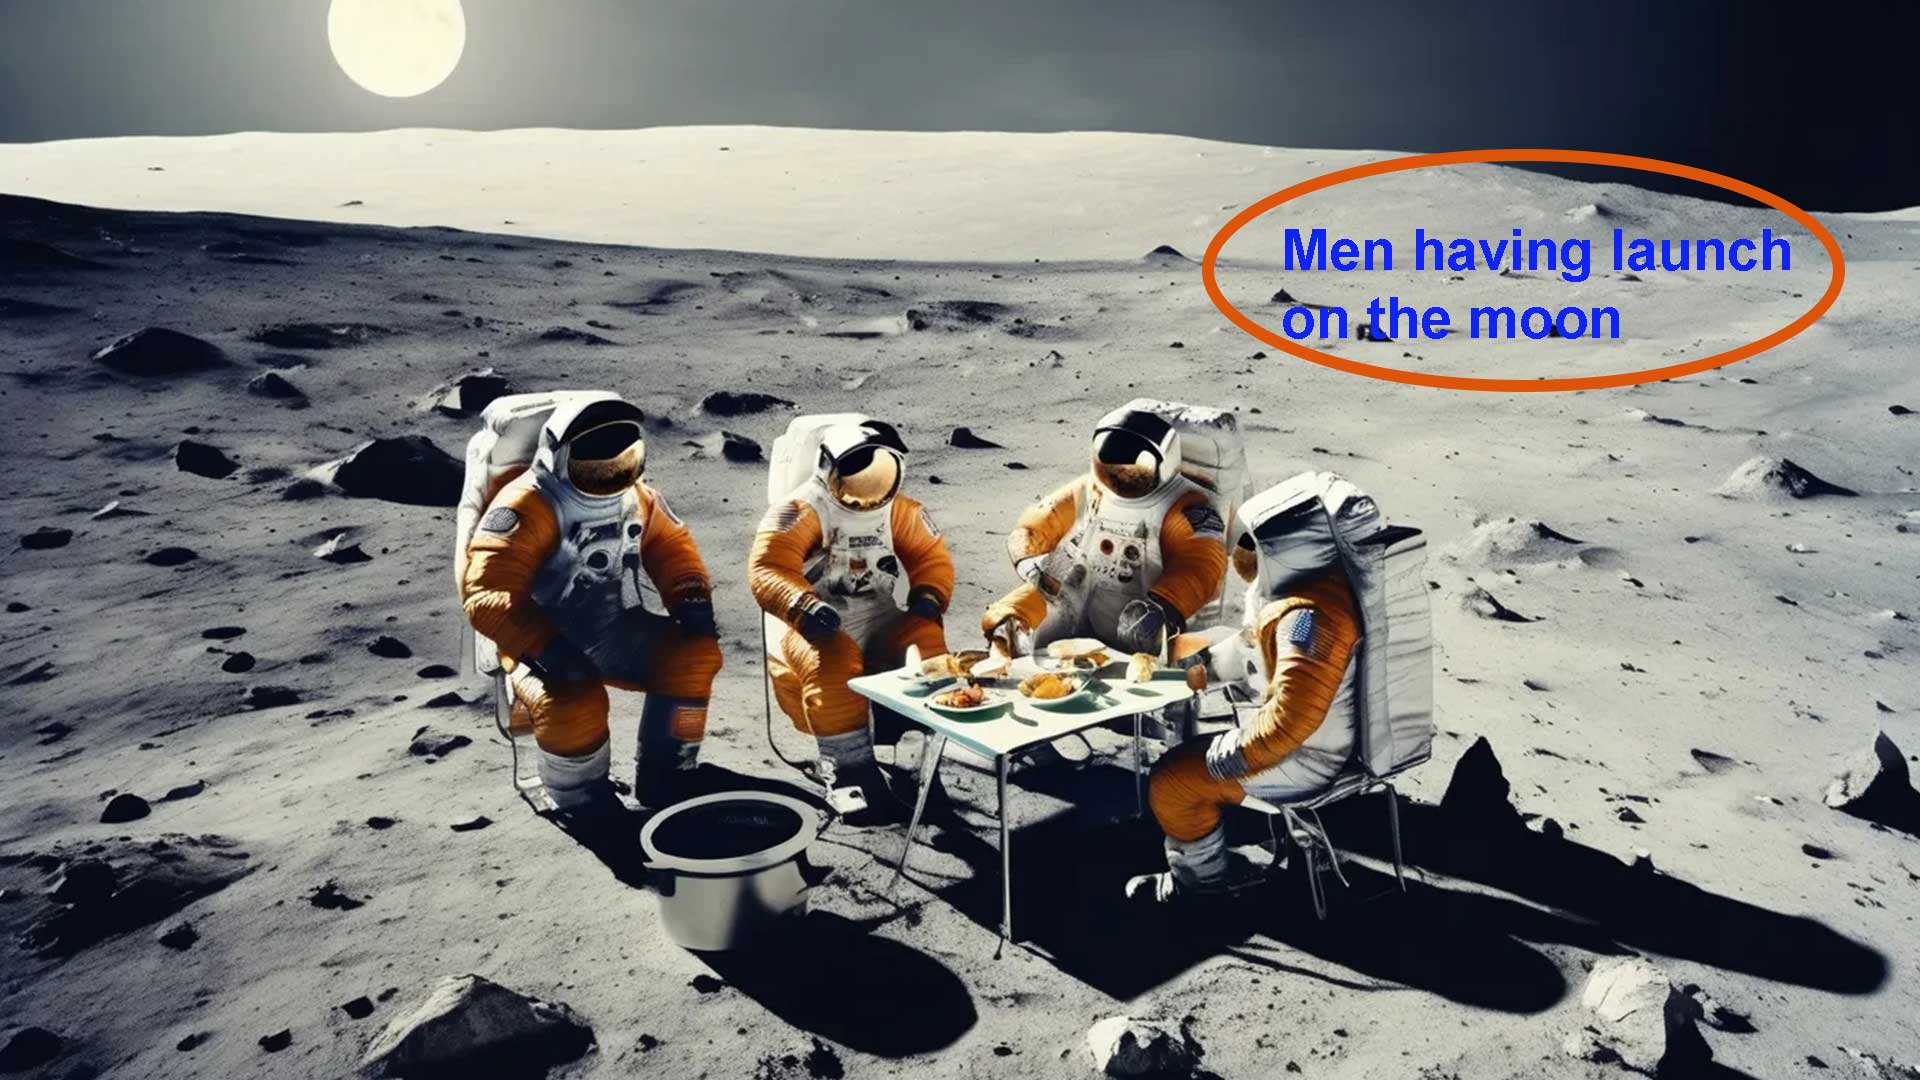
I then typed prompt "Men having lunch on the moon"
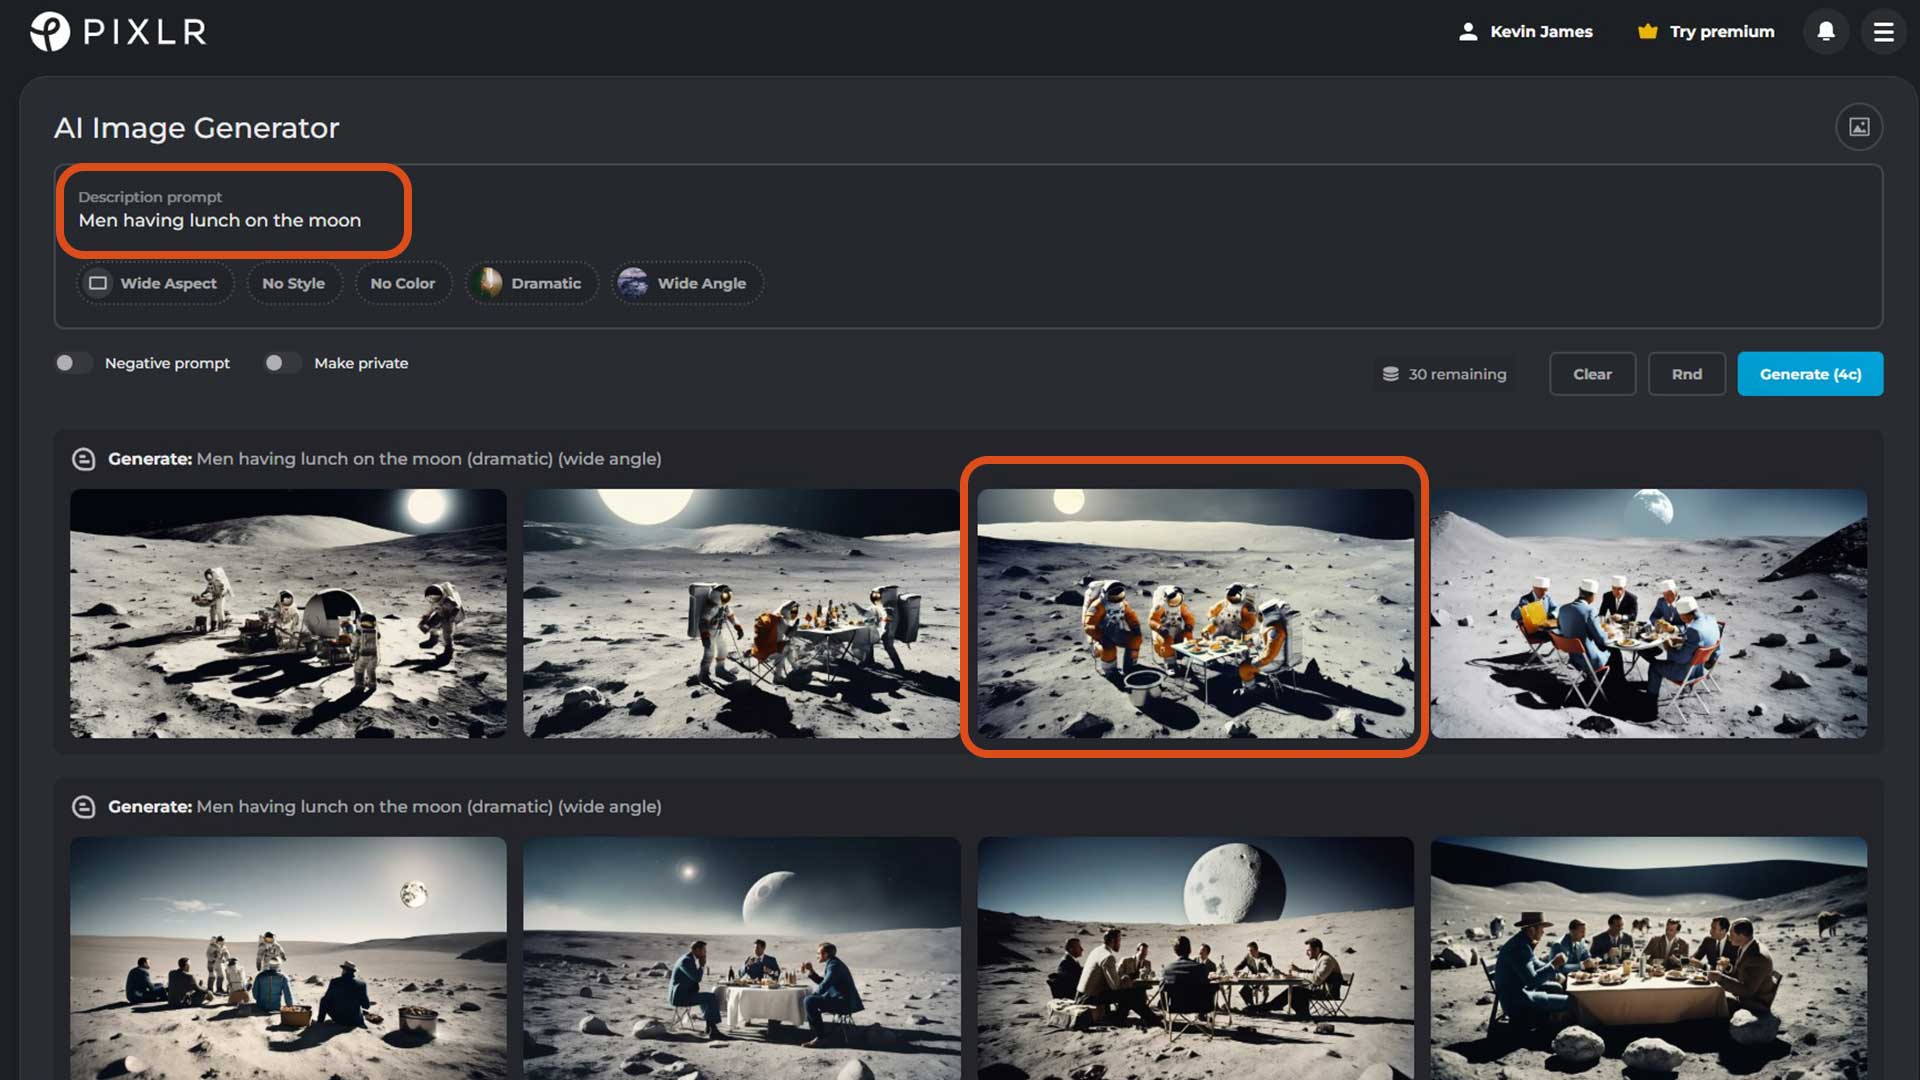
After, I selected the option which resemble the prompt
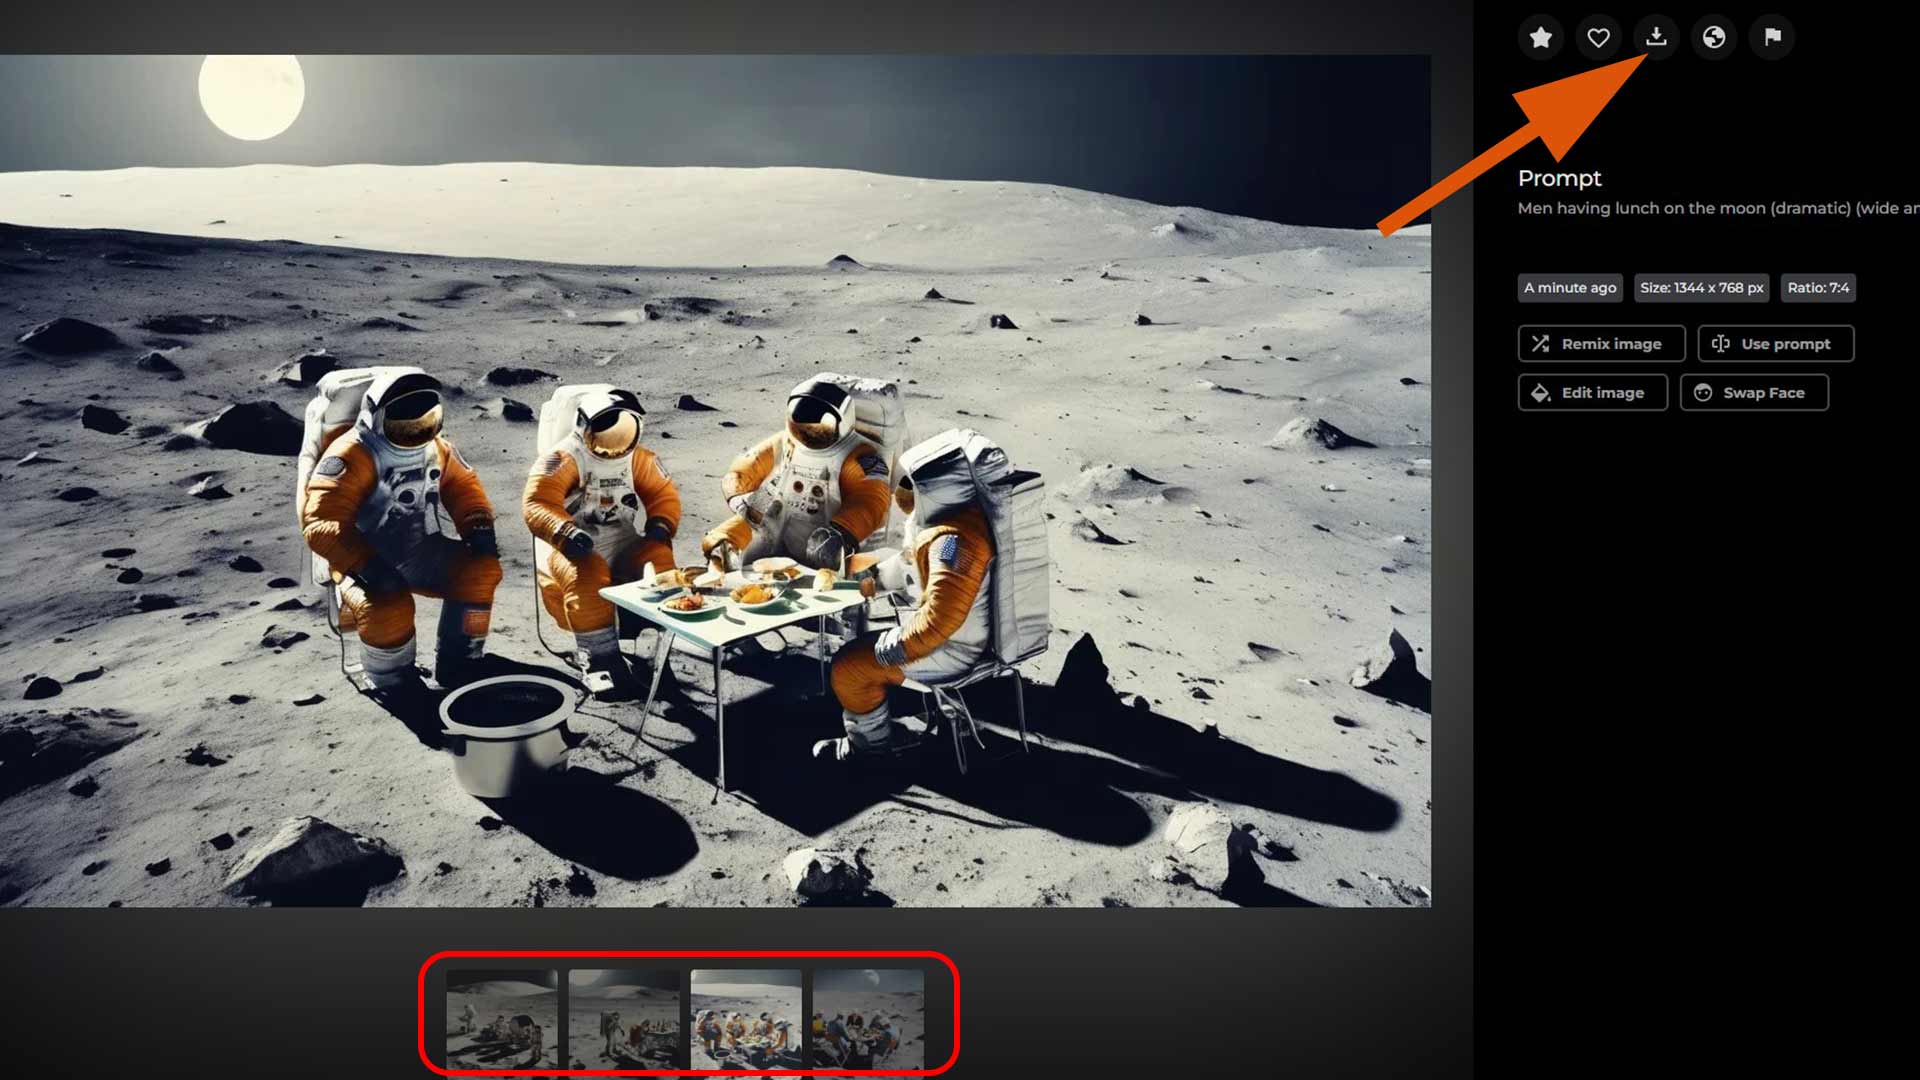
Next, navigated throught the options to find the one with best lighting (I prefer) and then select download icon to download the image.
Vector Design
CorelDRAW
CorelDRAW is a vector graphics design program designed. It is commonly used to produce logos, illustrations, business cards, posters, and other graphic works.
CorelDRAW has many features such as:
- Vector Illustration: It enables users to design scalable graphics that won't lose their quality when resized.
- Page Layout: It is suited for designing multi-page documents like brochures and magazines.
- Typography Tools: Best suited for executing complex text formatting and effects.
- Multiple file format support: CorelDraw enable you to import and export several file format like AI, PSD, PDF, JPG, PNG, SVG, and others.
CorelDRAW Instation
To install CorelDraw, I downloaded it fron CorelDRAW website. I used free trial.
After install, I started right away. The picture below is the balnk page of CorelDRAW.
First step, I set document size of 300x600mm.
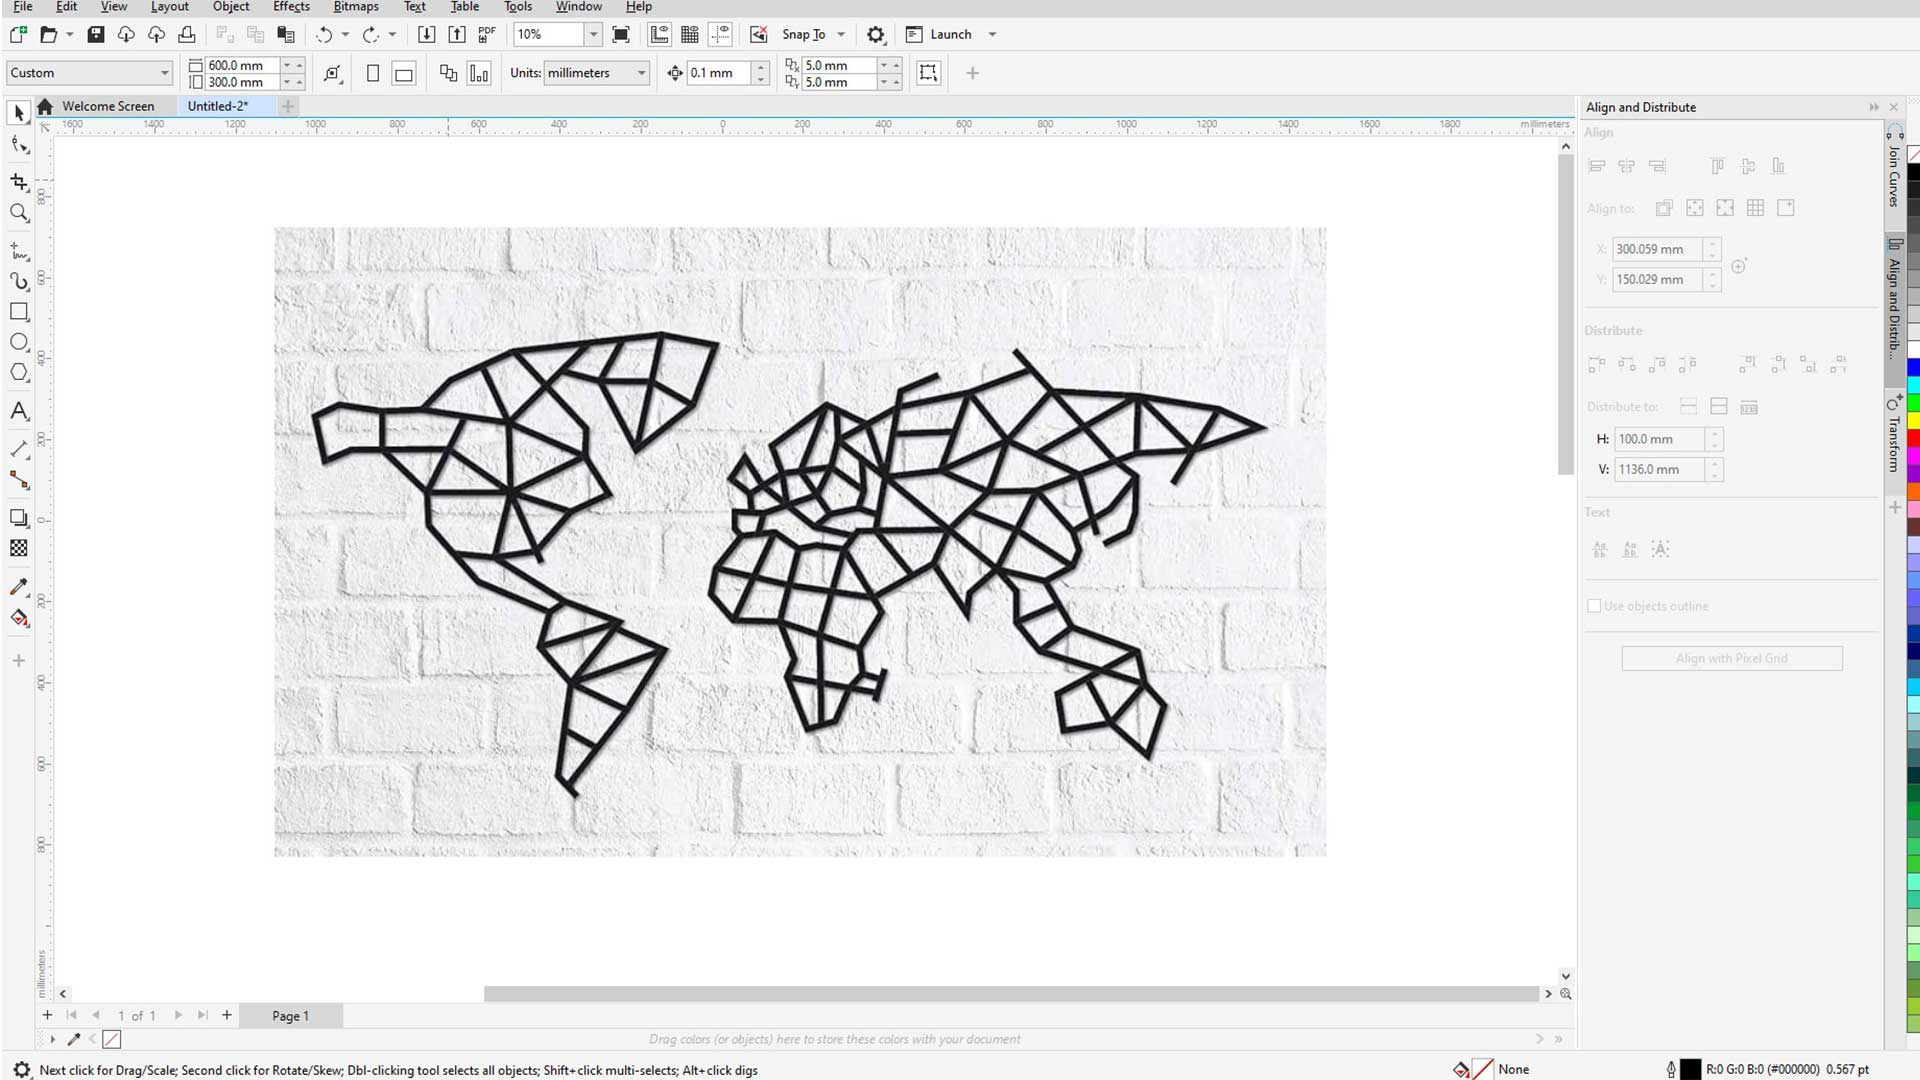
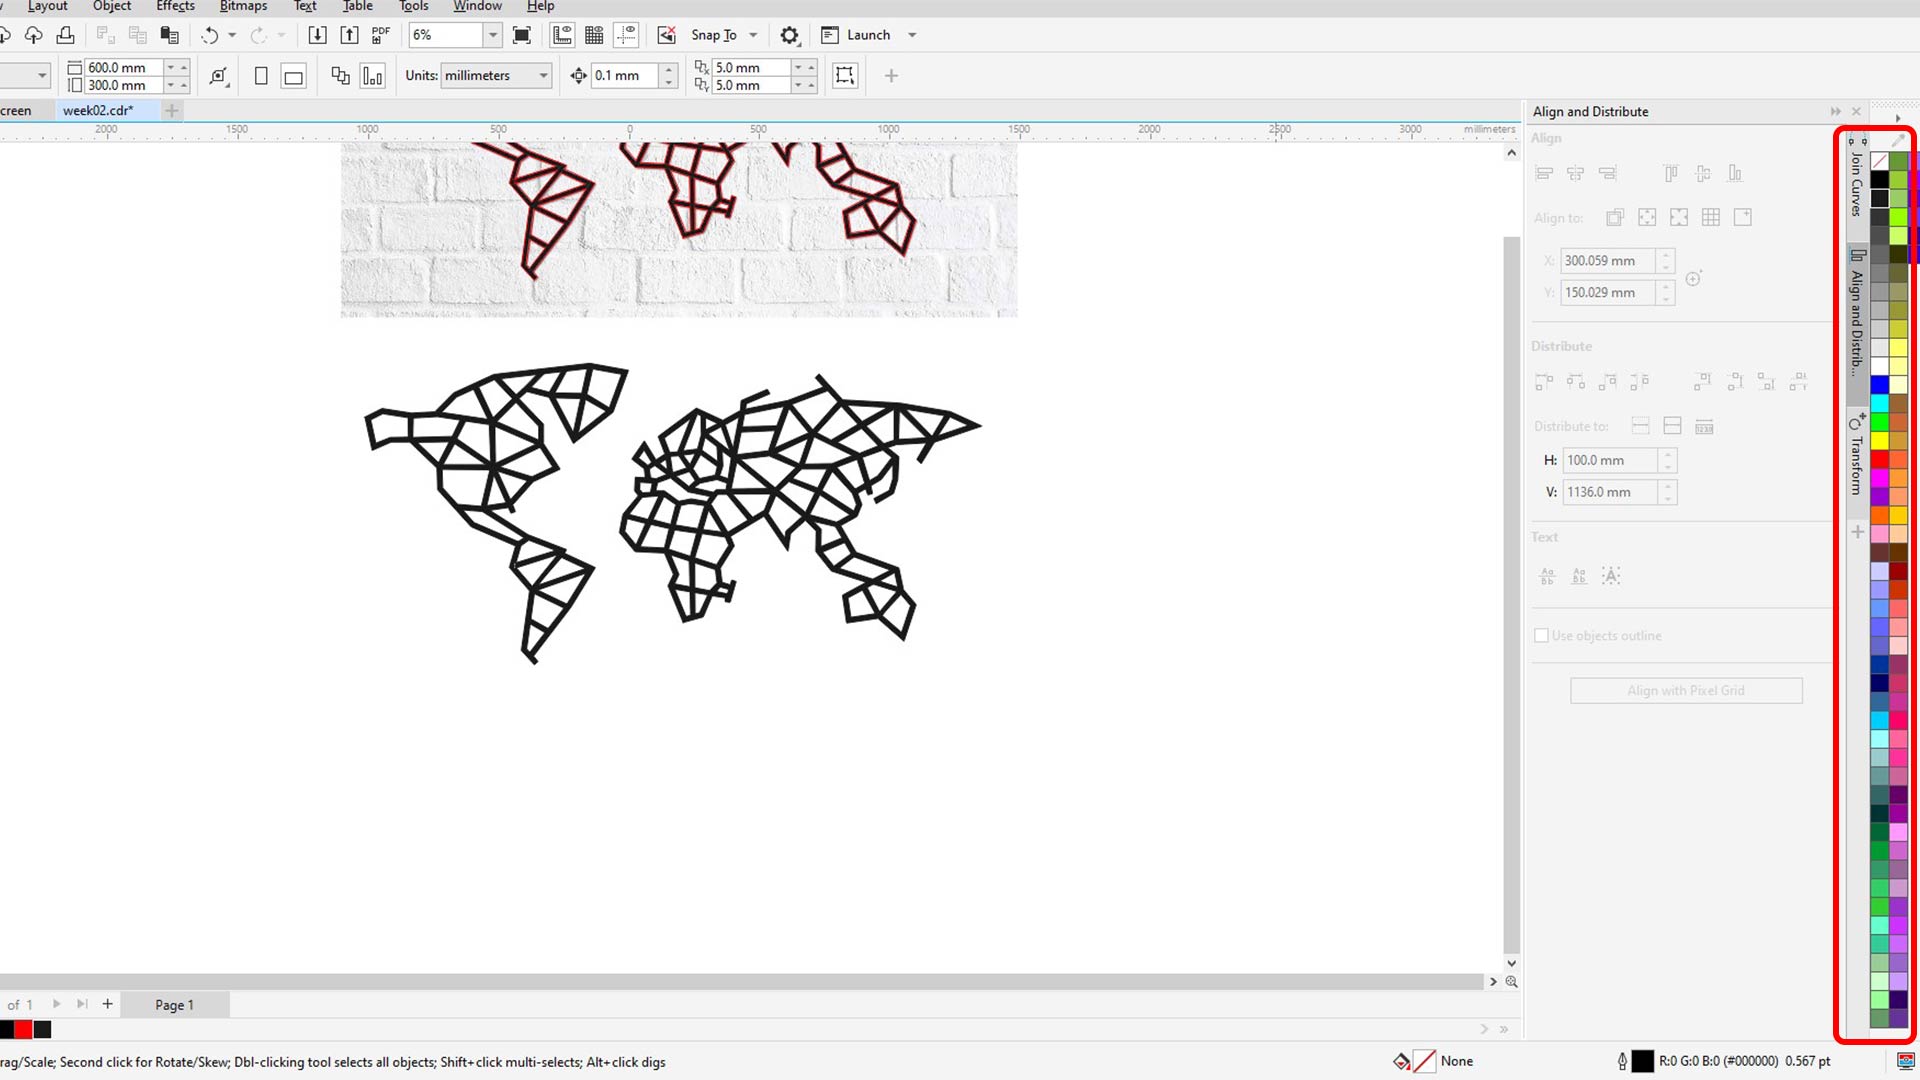
Then I imported a picture. Task is to create vector file of this polygonal map.
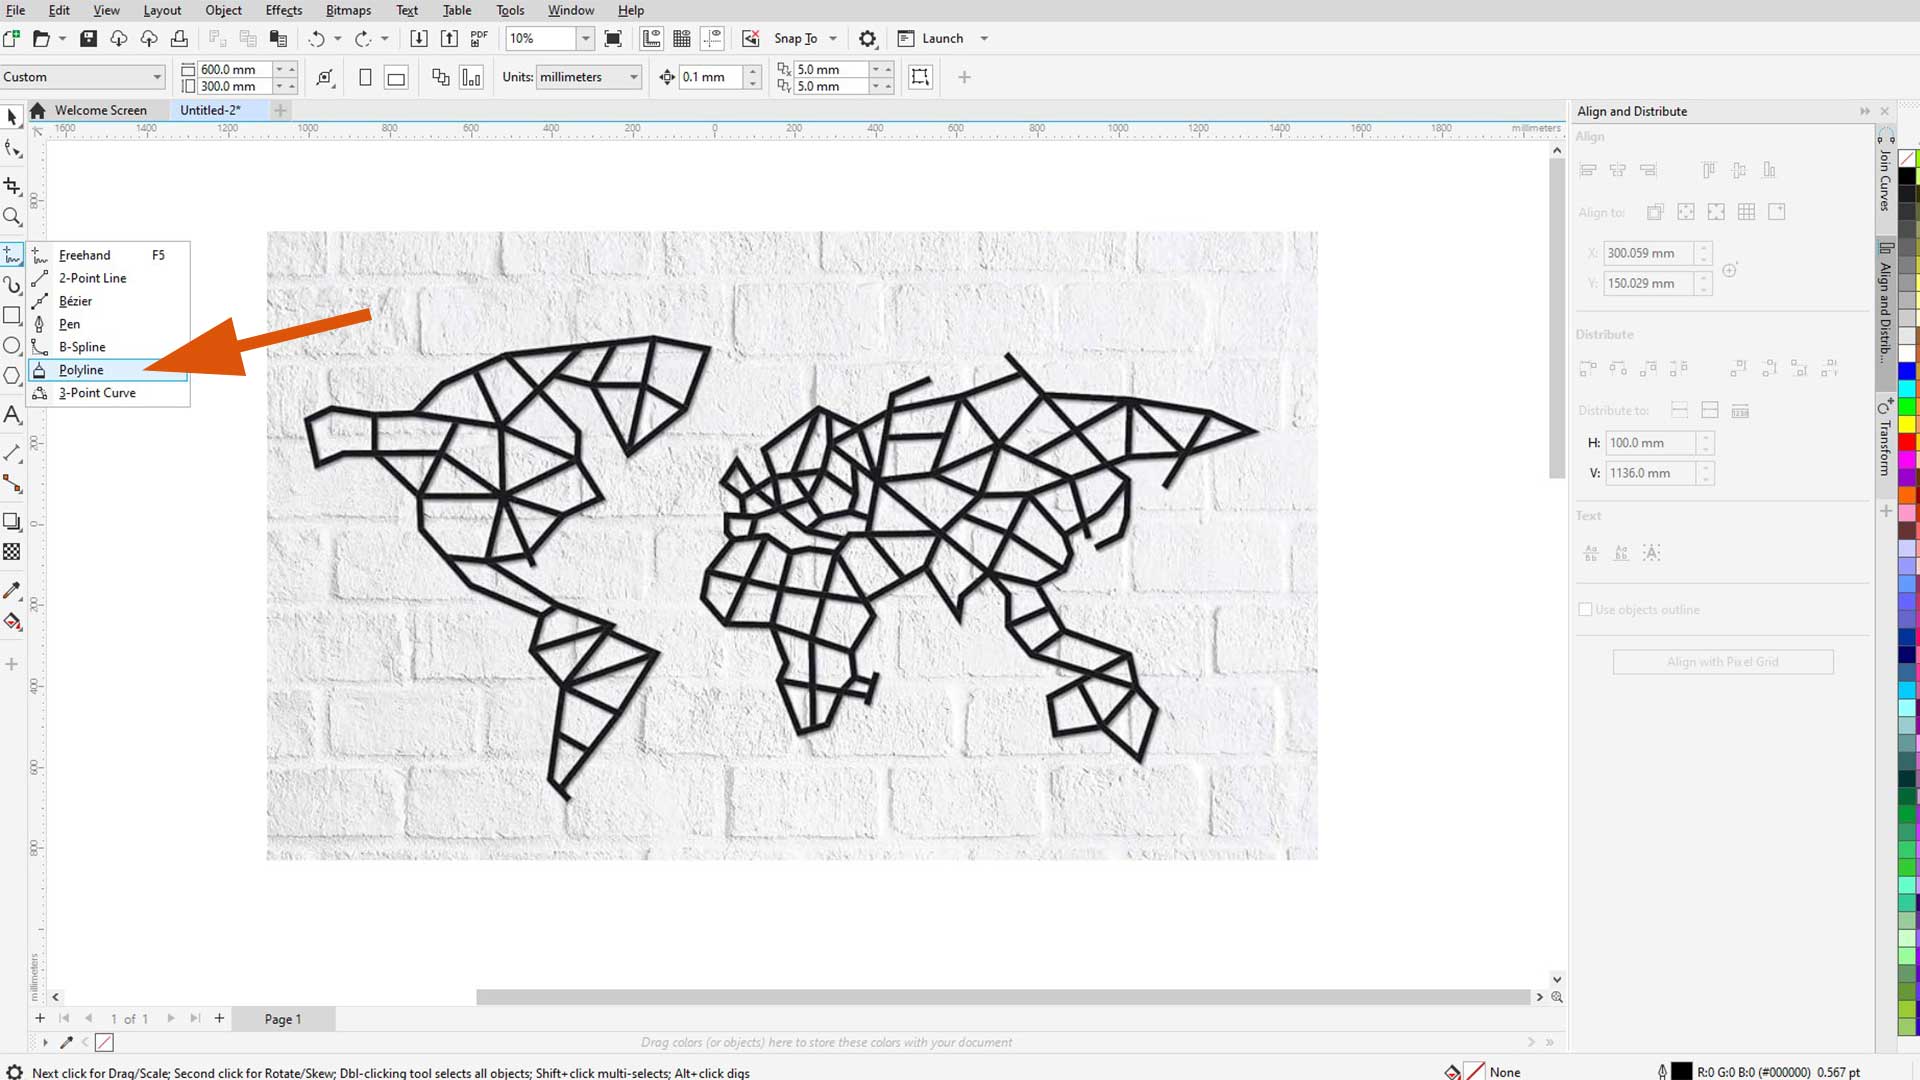
I used polyline tool to trace all the outlines
Result afterward
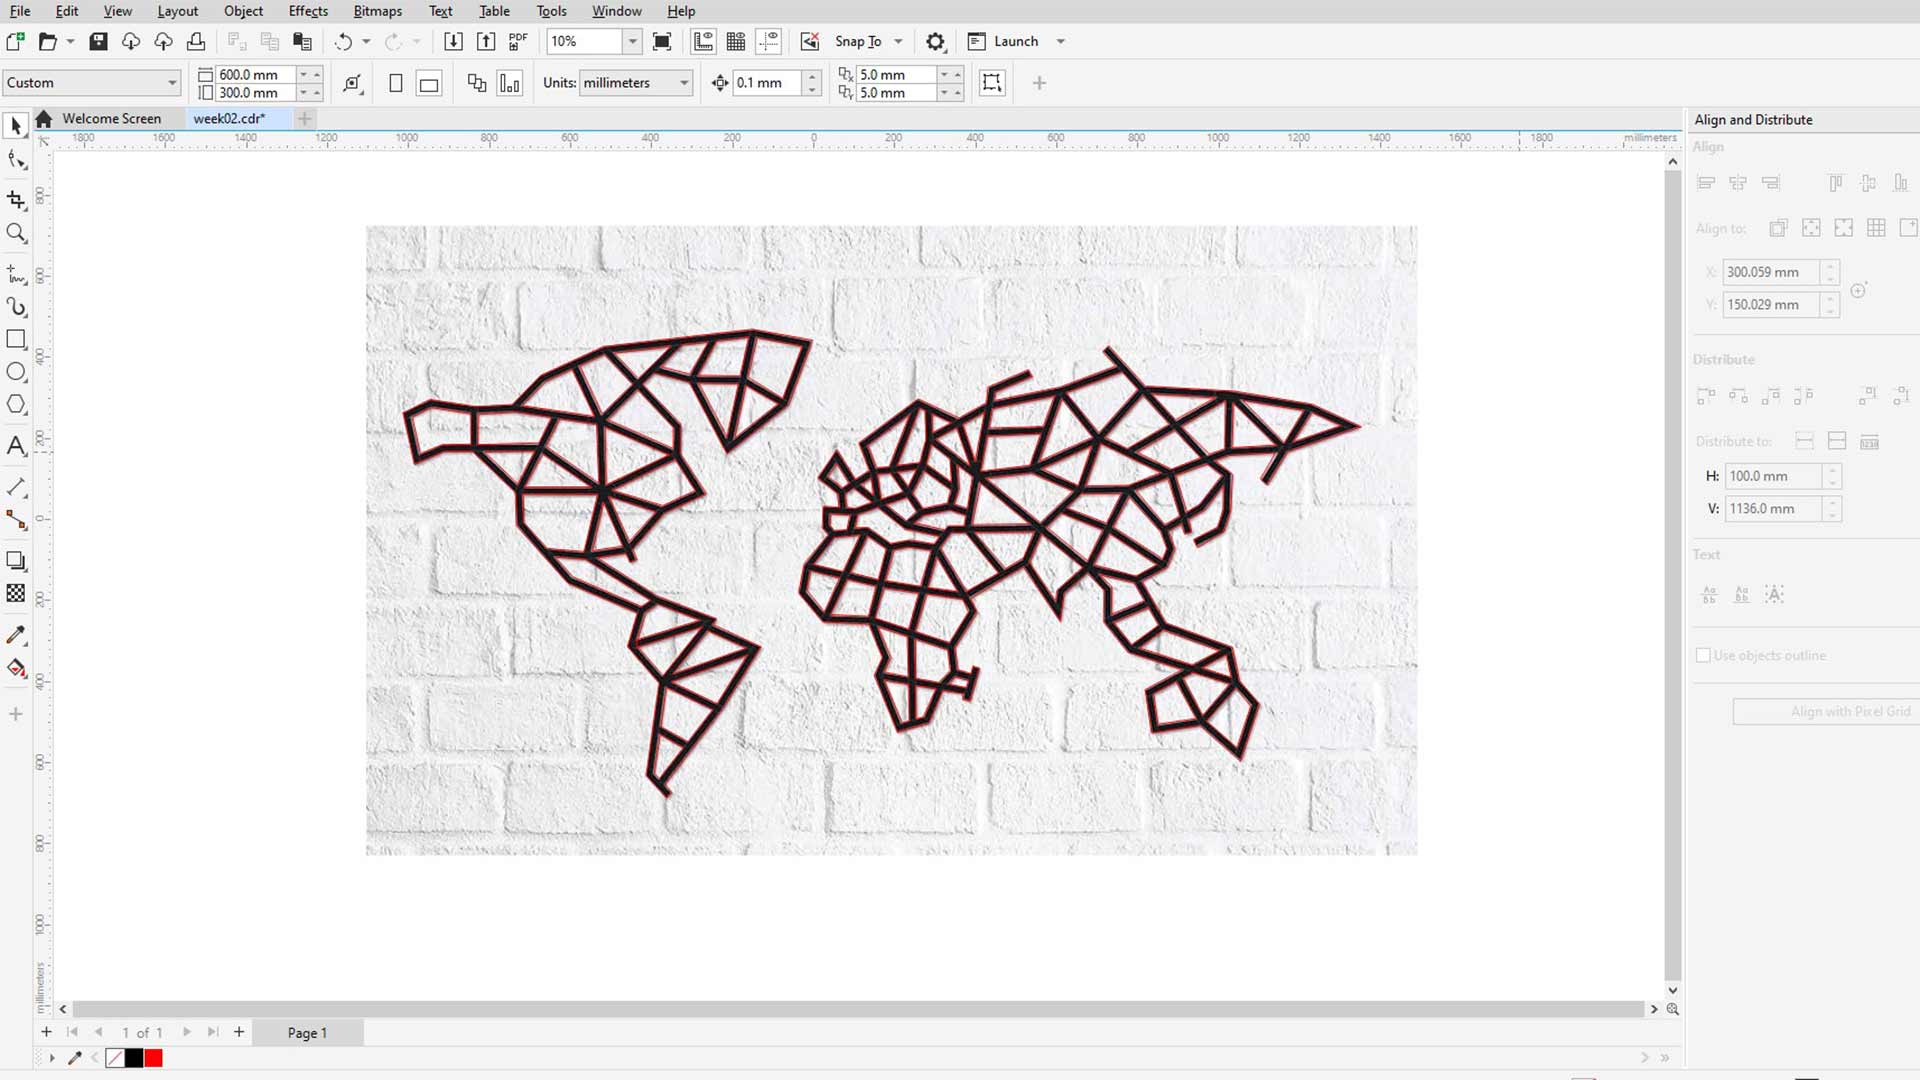
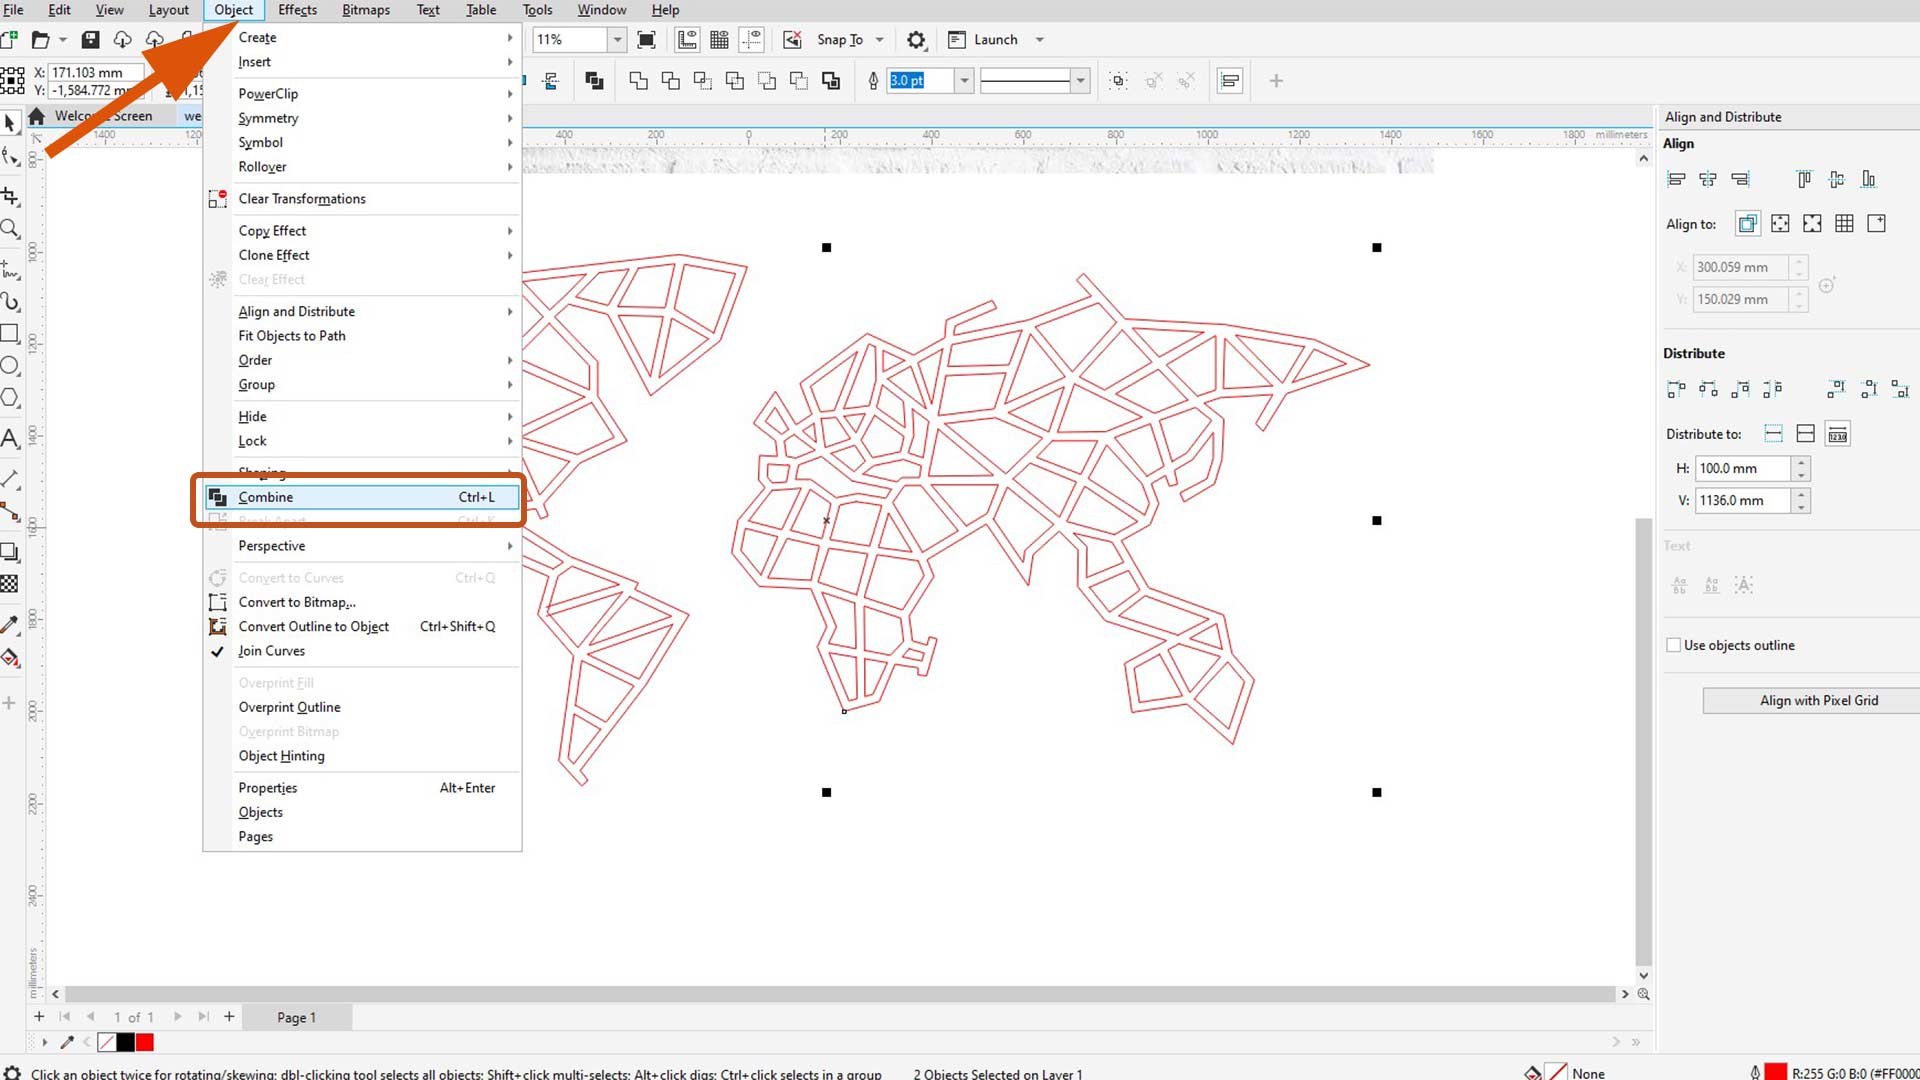
Next, I combined all itens using combine tool
From color palette, I applied the color.
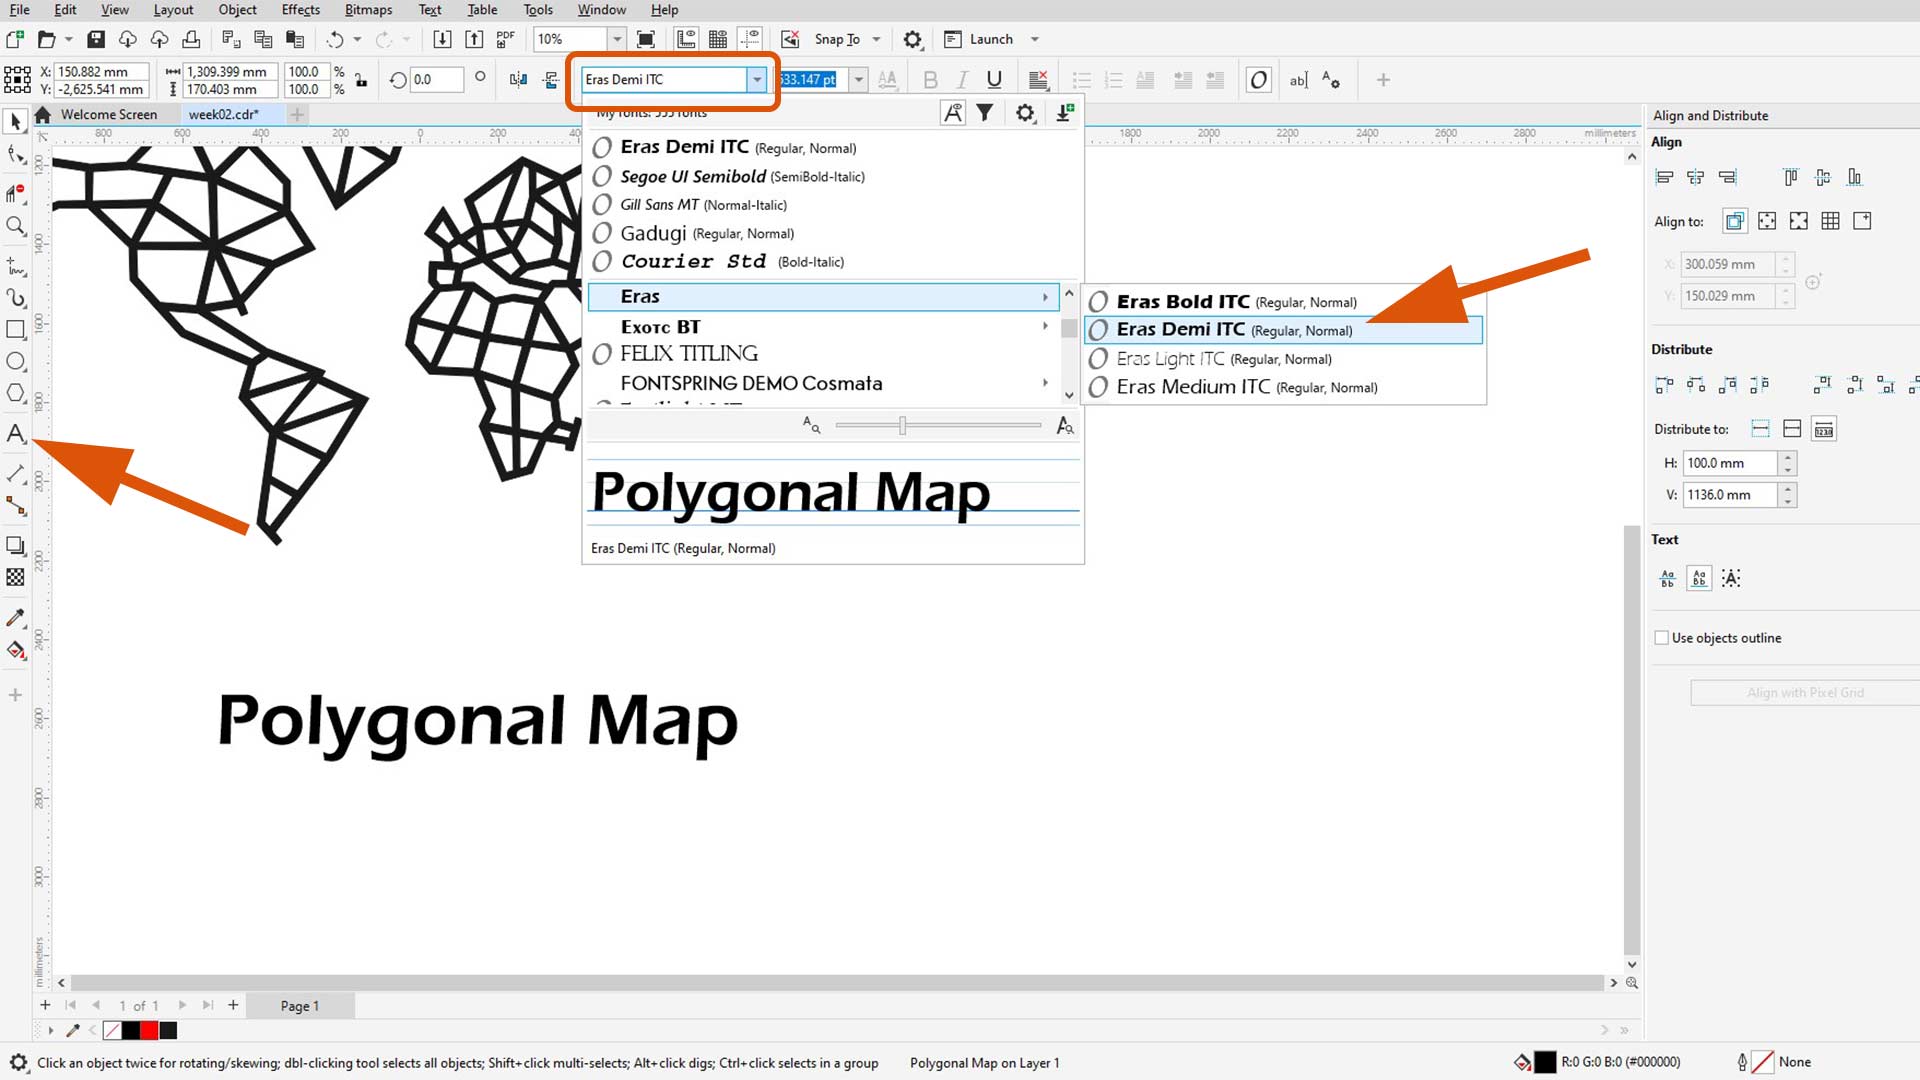
With text tool, I tyeped the title. I then changed the font.
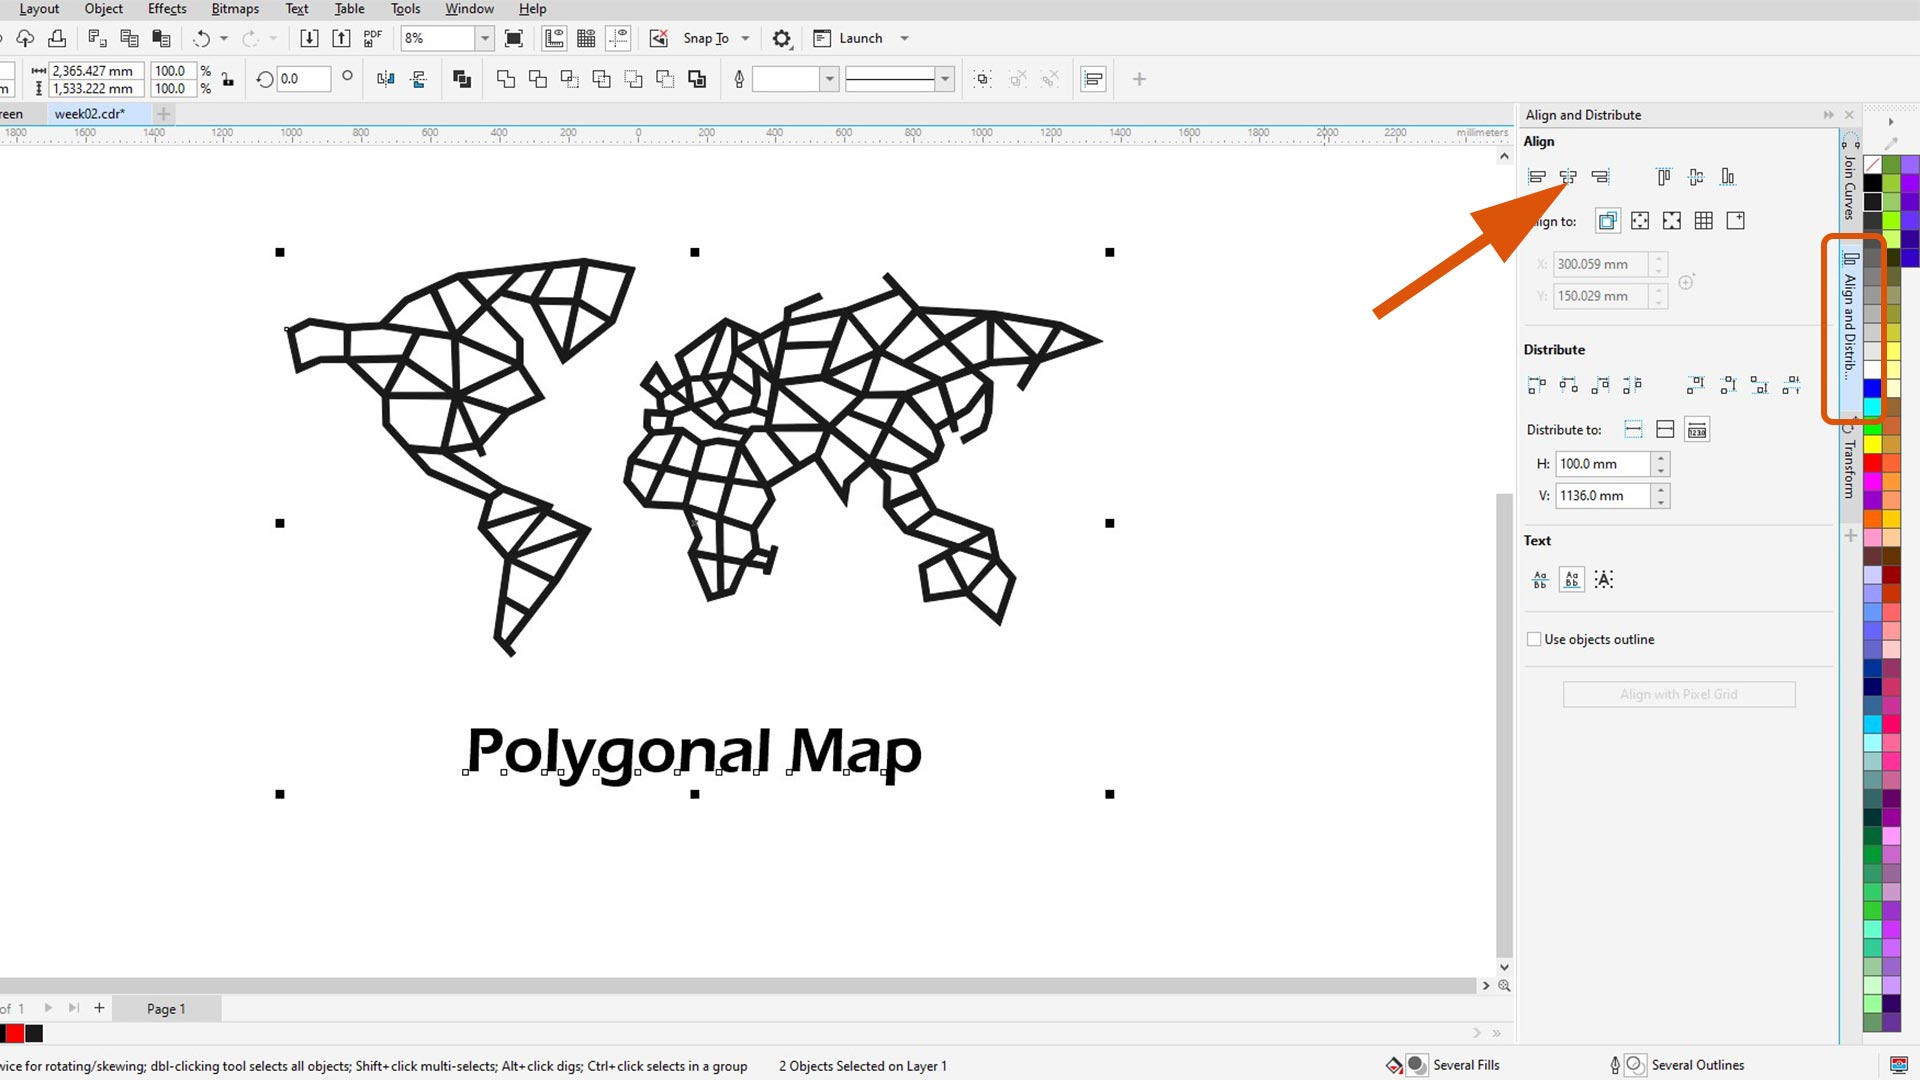
Next, I aligned map and text (center alignment) with align and distribute feature.
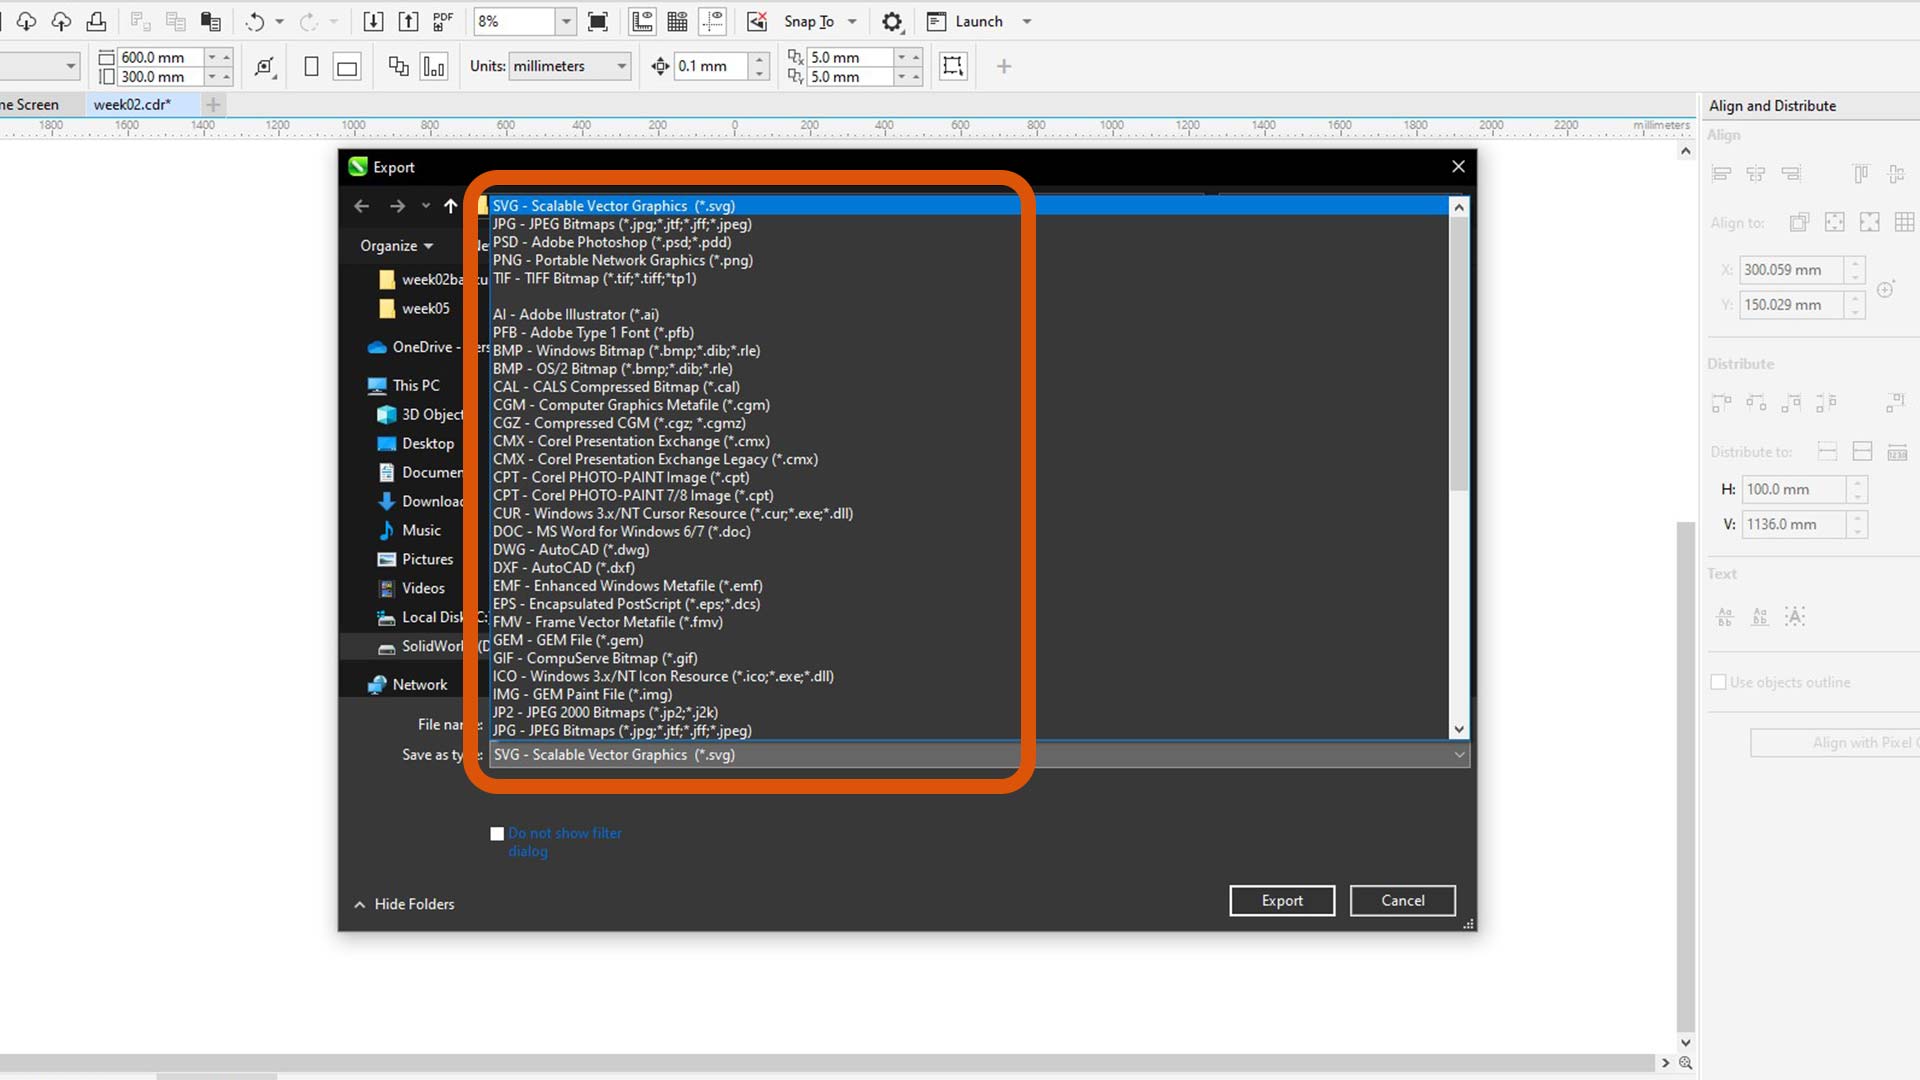
After, I exported the file by following the highlighted steps.
Since CorelDRAW has several export format, it is import to consider the choice at this stage.
Inkscape
Inkscape is free and open-source vector graphics software used in the editing and production of scalable vector graphics (SVG) or vector files. It is used in creating illustrations, logos, technical drawings, etc. As the same of coreldraw, it also support the import and export of several file formats such as PNG, PDF, DXF, EPS. It is vector-based. This means it uses SVG as the default file format such that the design is maintained to be scalable without loss of quality.
Inkscape Instation
I downloaded it from Inkscape website.Since it is free and open source, all I need was to select my operating system.
Inkscape blank page
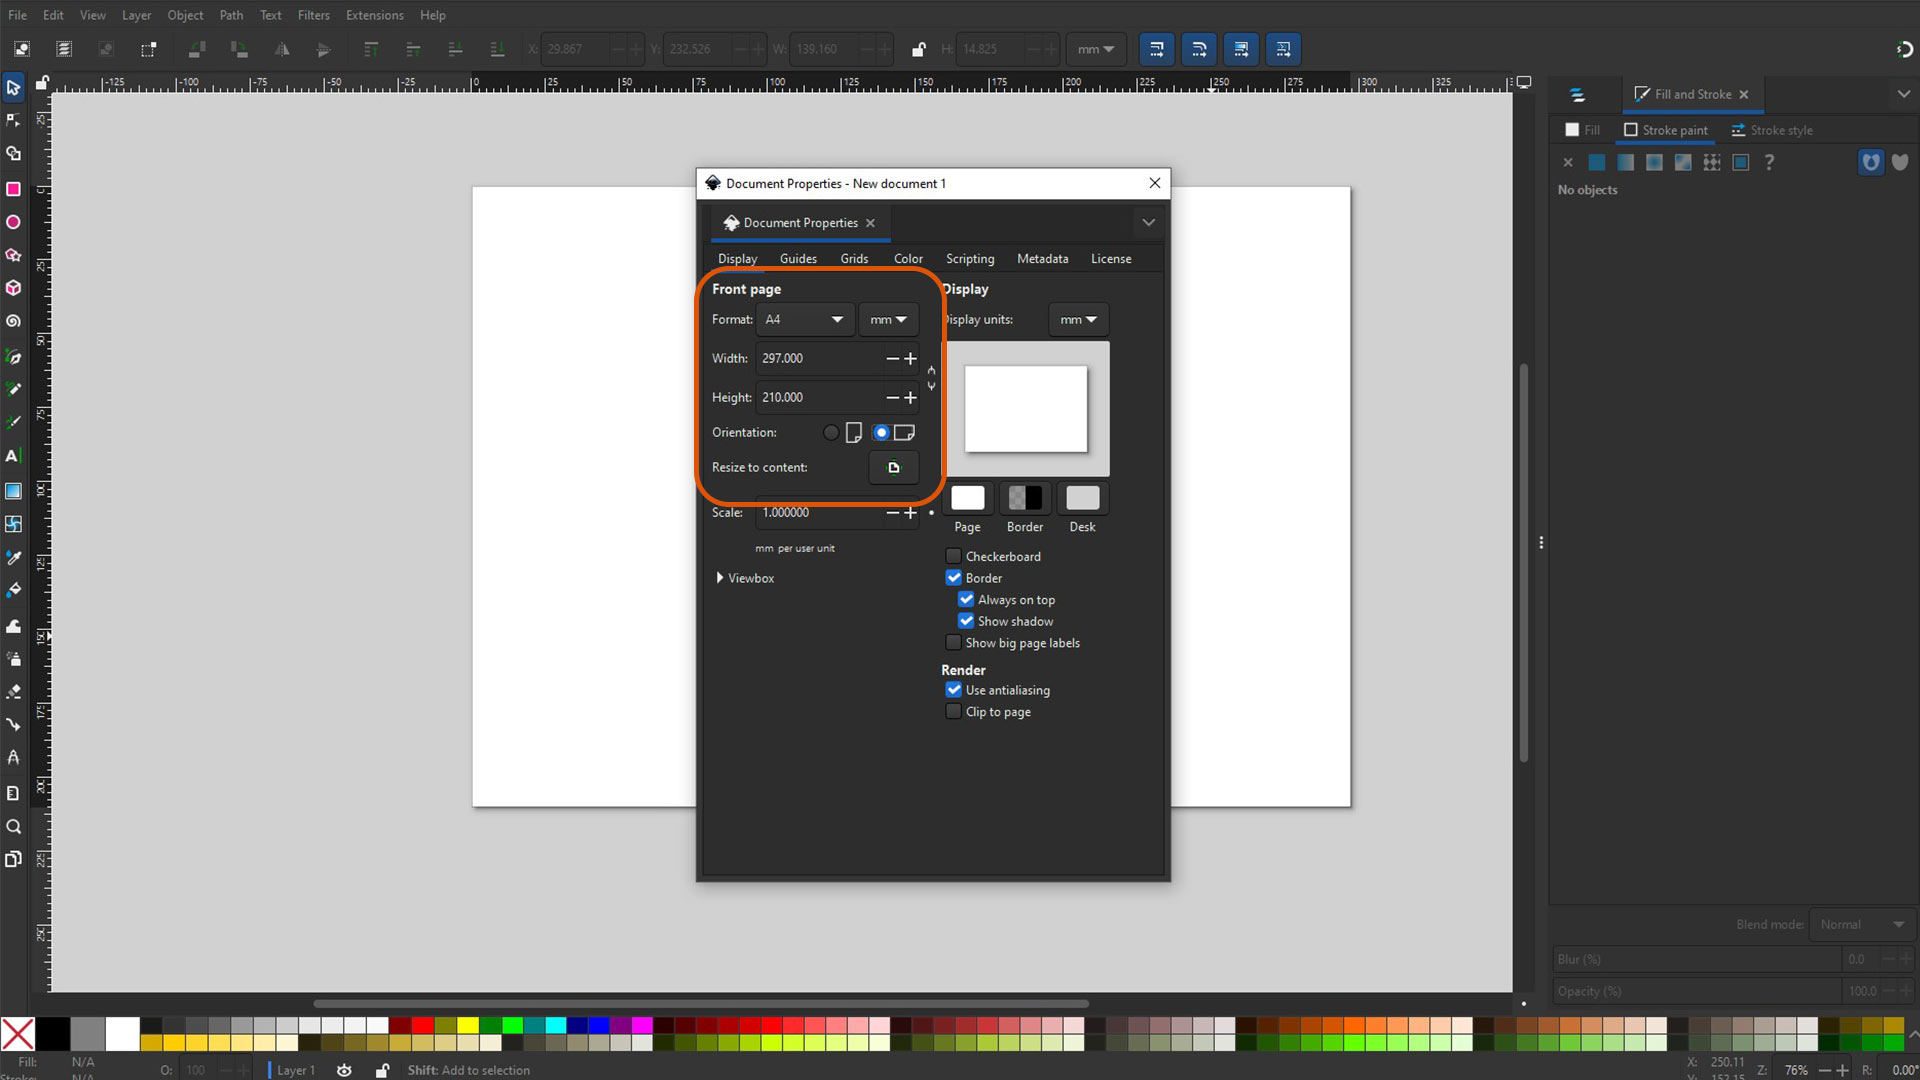
First step, I changed document properties
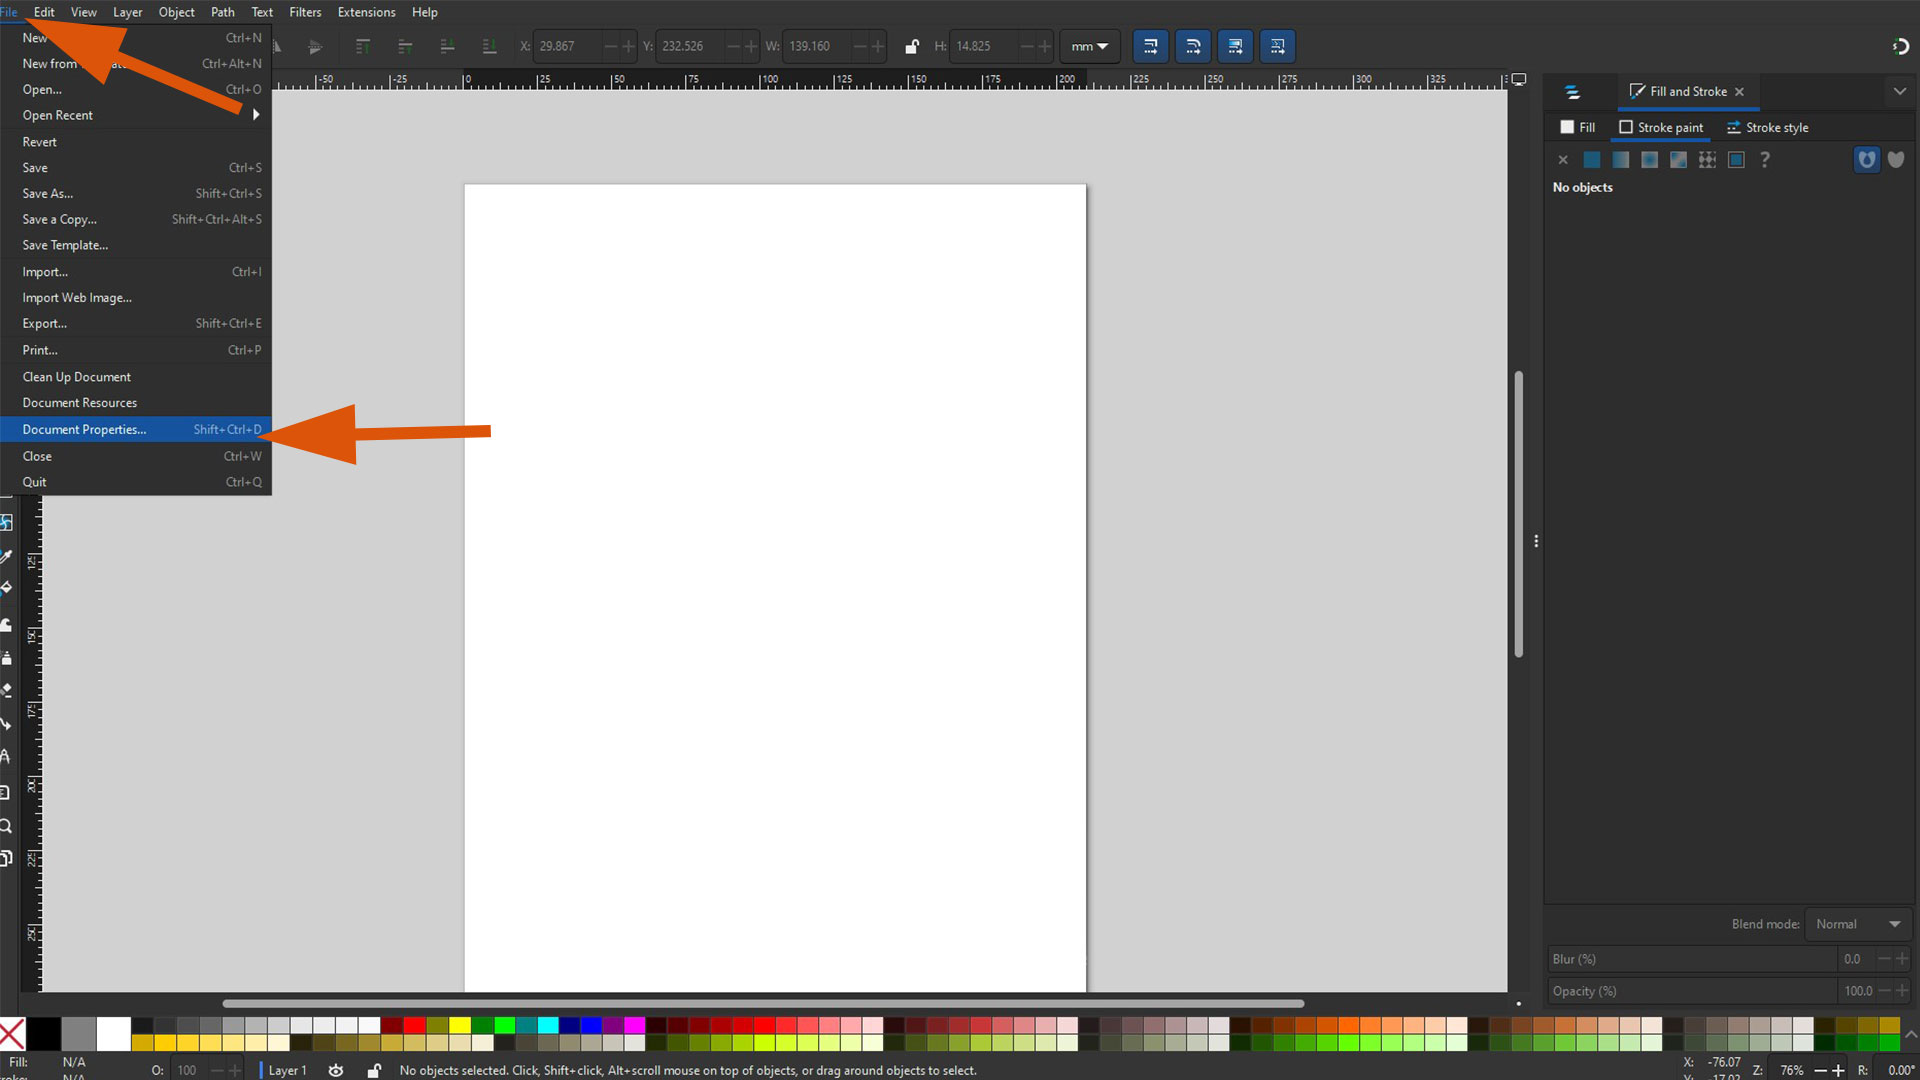
The main properties to change are document size and orientation. I used A4 paper size. You can use custom size as well.
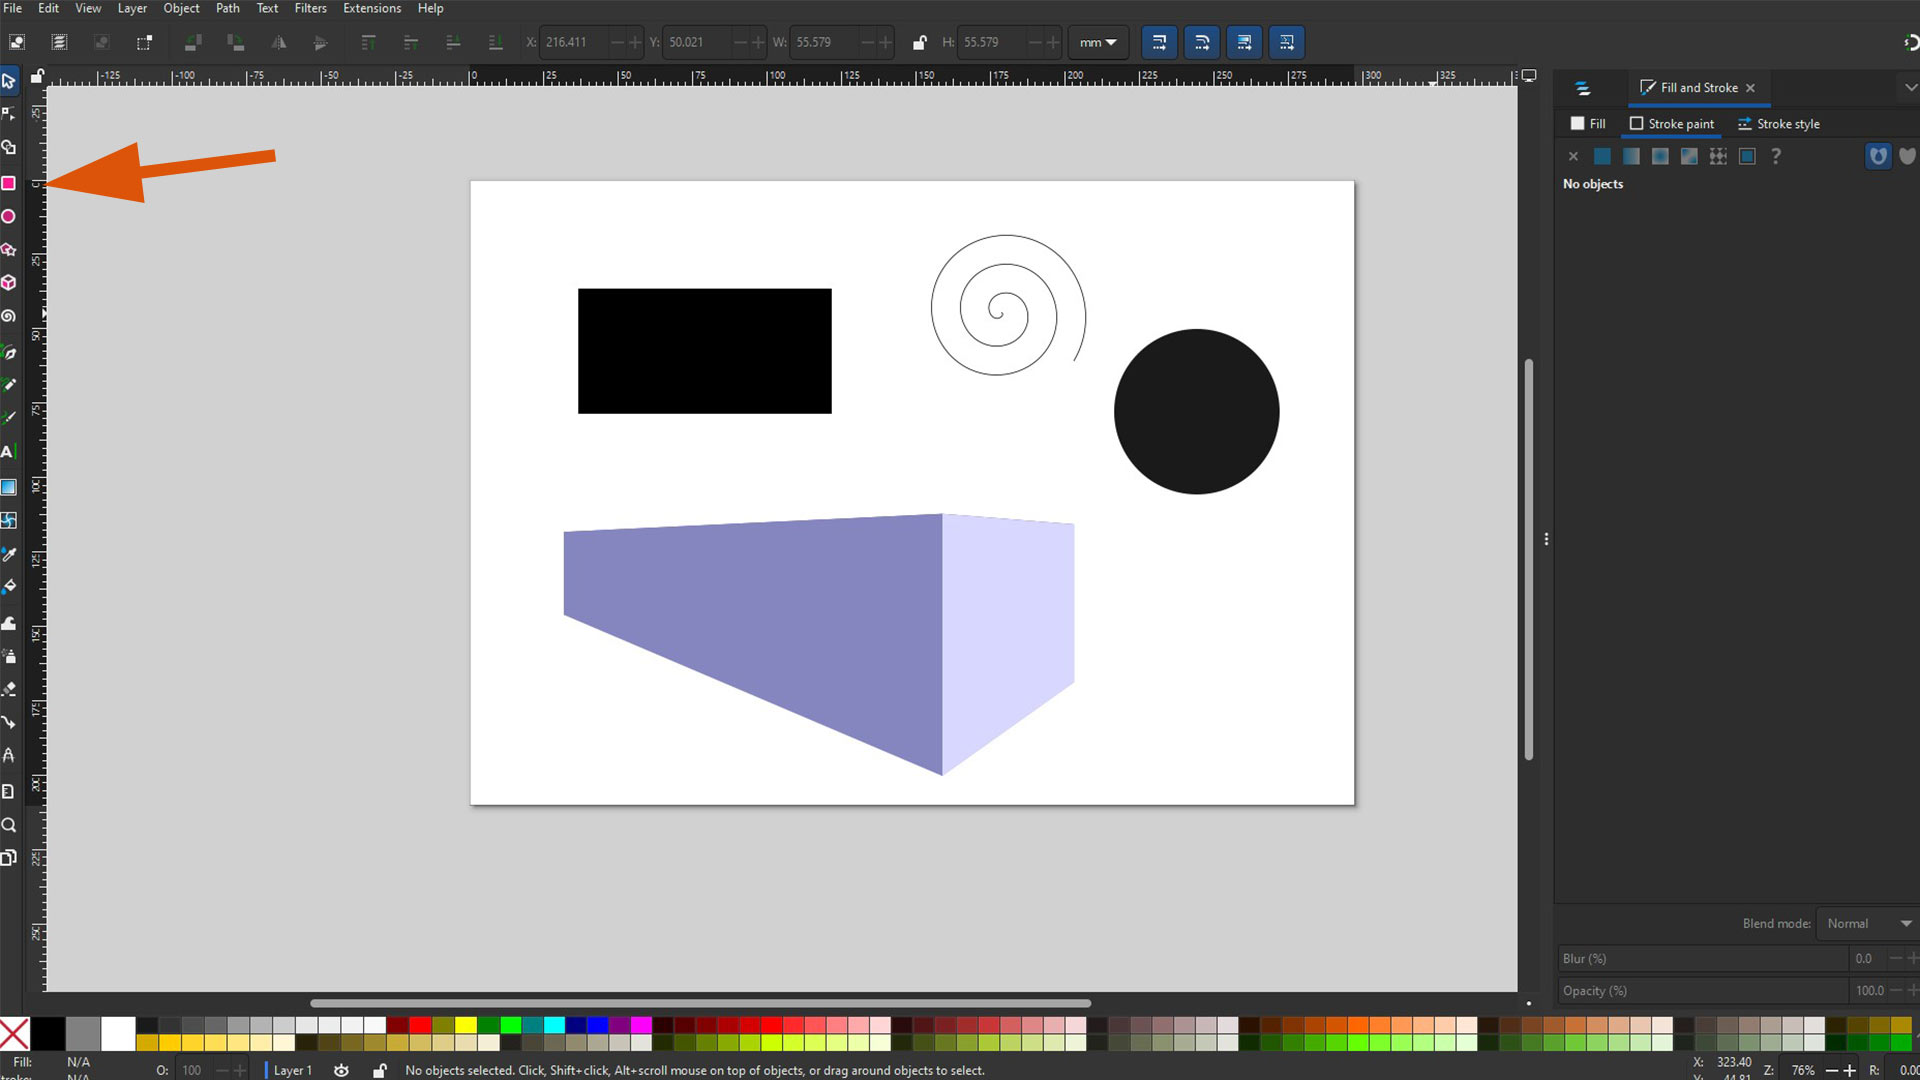
Using shape tool, I experimanted different shapes.
Note: Hold ctrl to scale an item to lock aspect ratio.
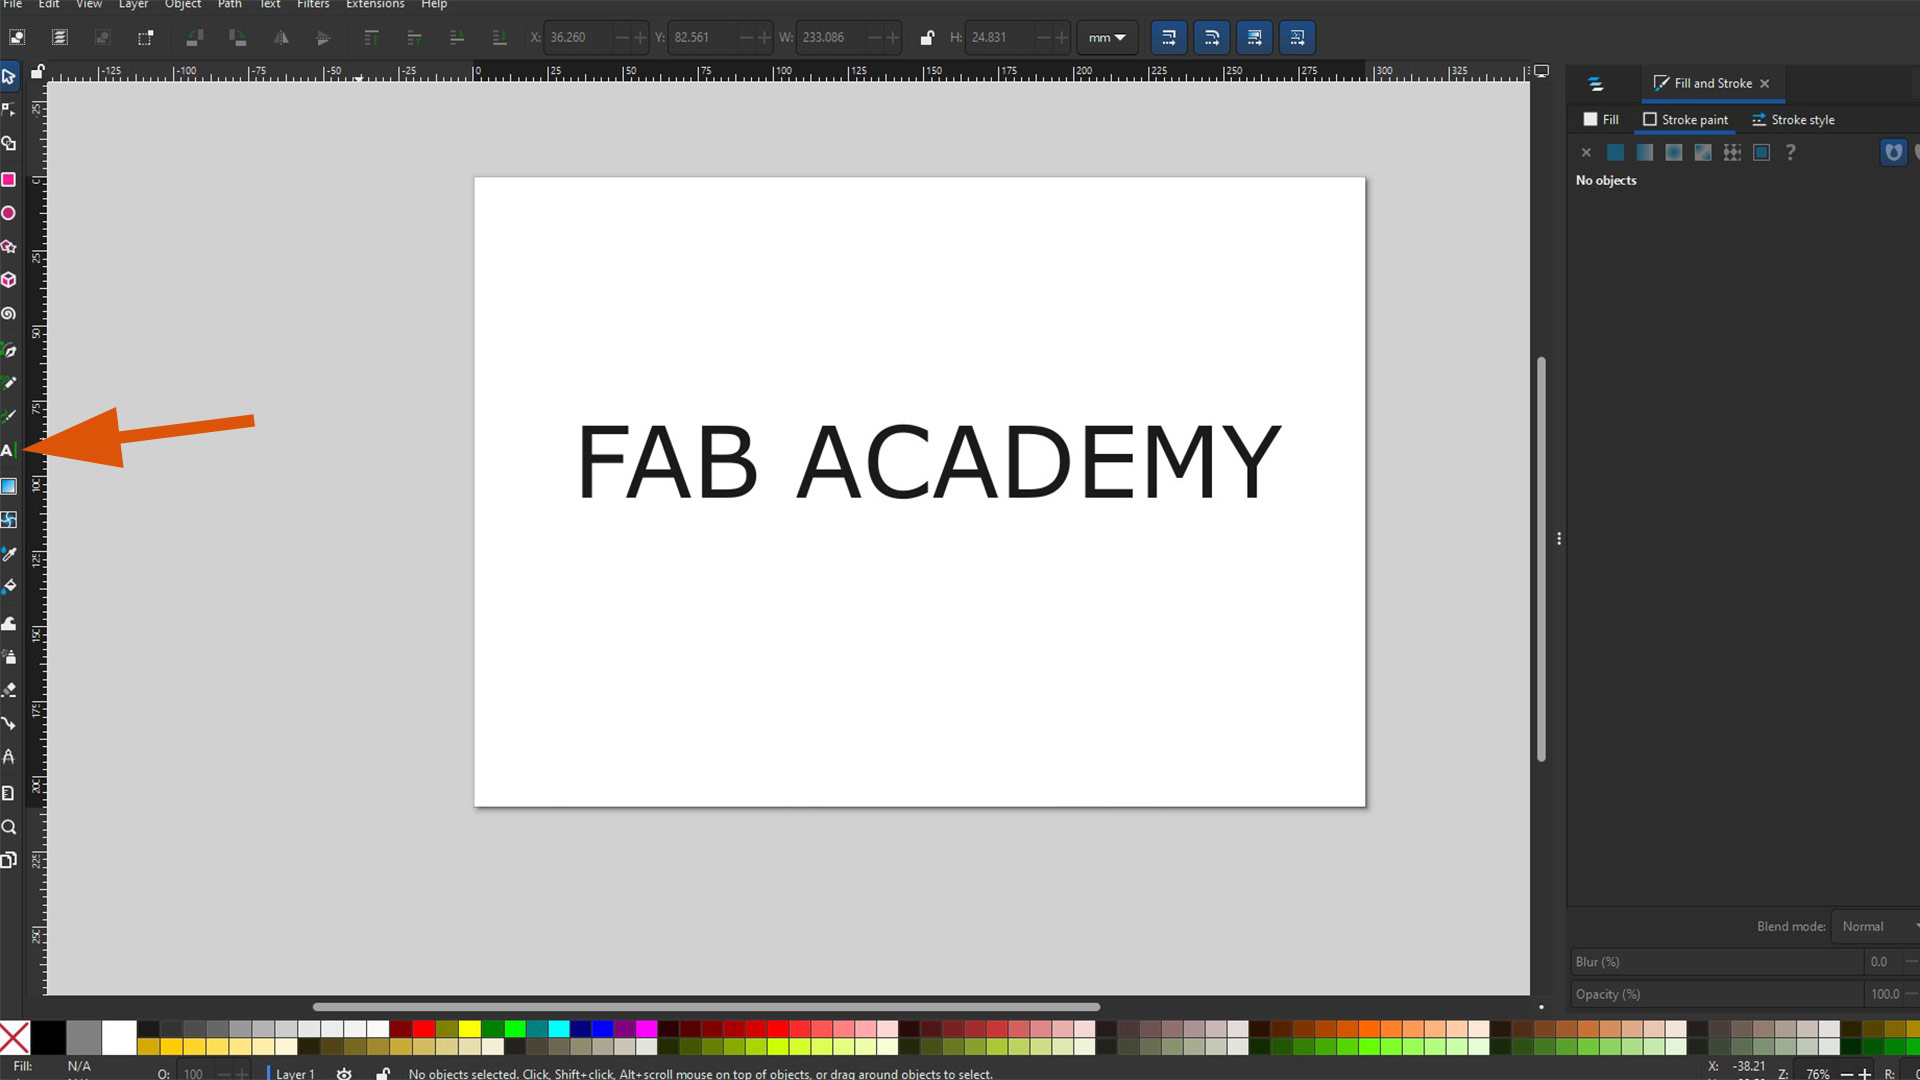
After, I used text tool to add text texts
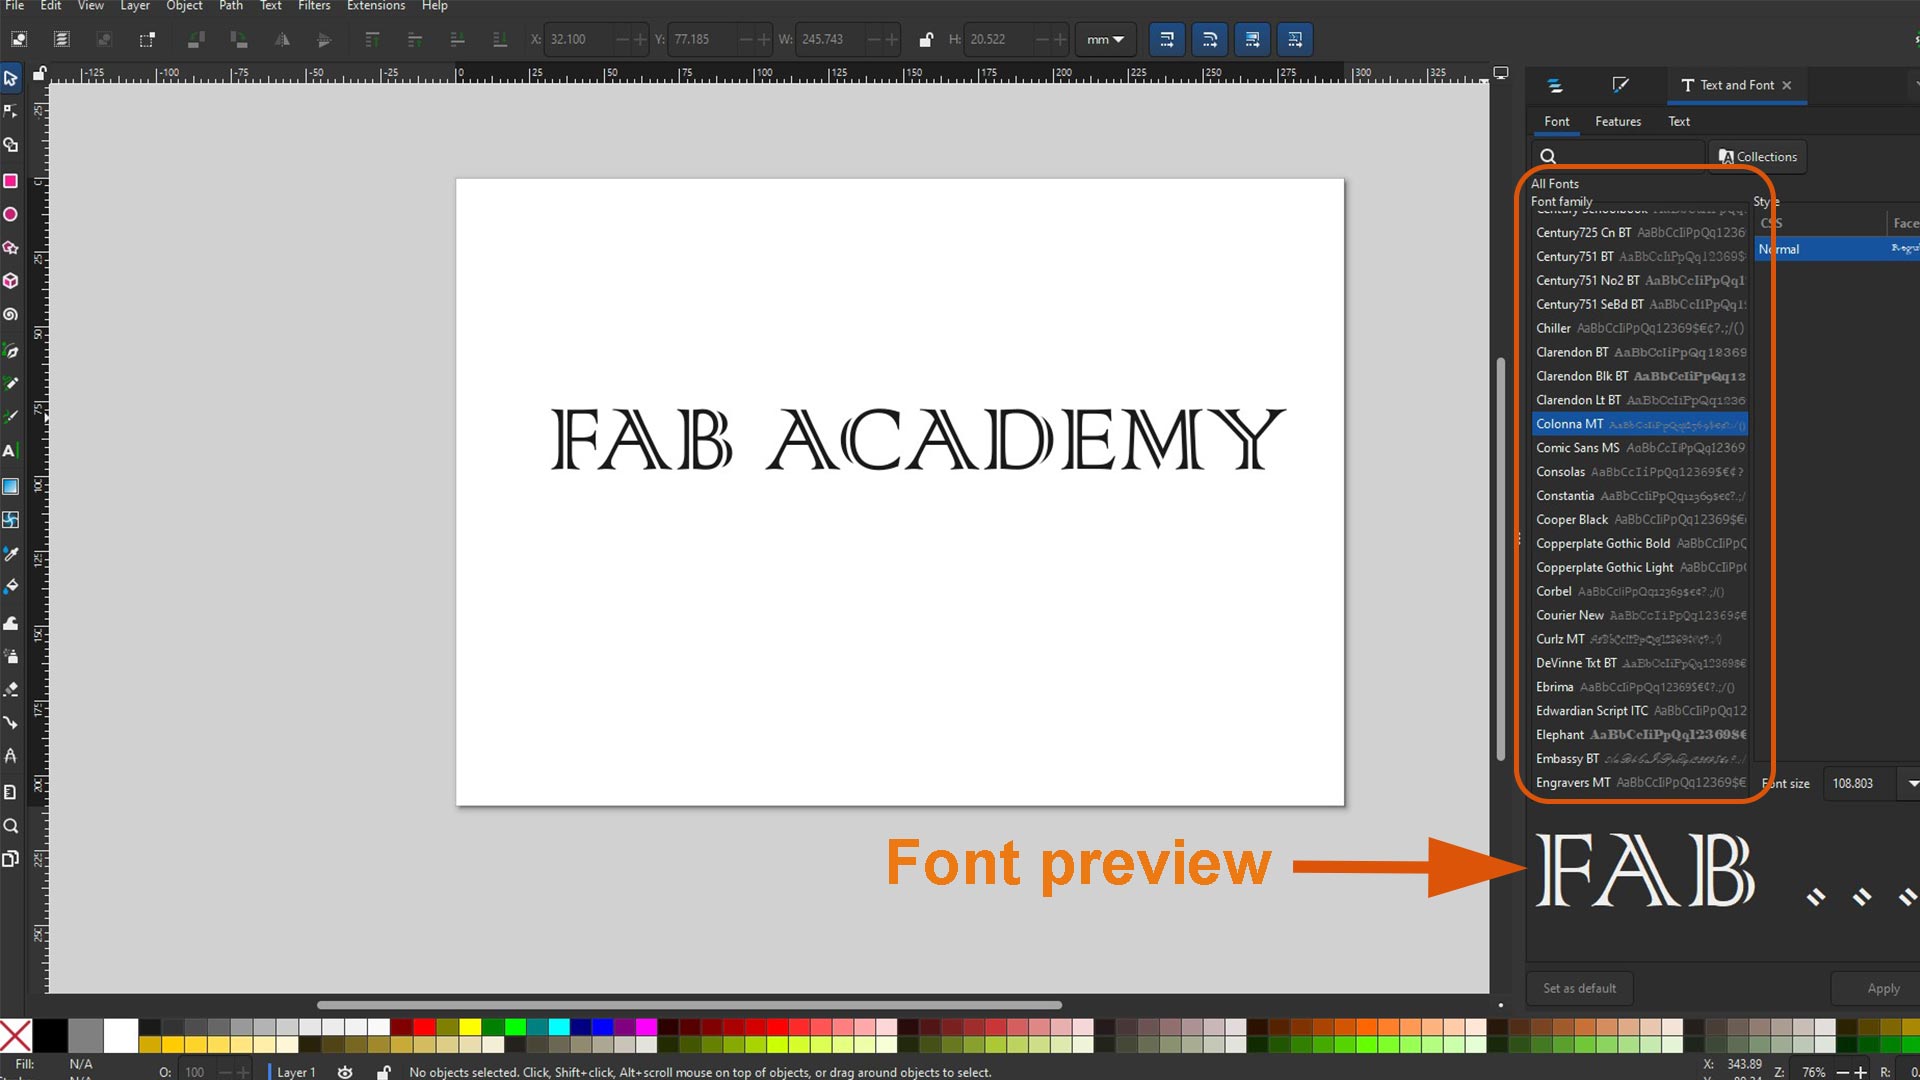
From text menu, I changed font text.

There are several fonts to chose from. While selecting the font, you can check the preview (right down corner).
With color pallete, I change the color.
Afterwards, I used free hand tool to write 2025.
3D Design
Tinkercad
Tinkercad is a free, web-based (meaning it works online) 3D modeling tool desigined mainly for beginners. It was developed by Autodesk. It is mainly suitable for someone starting 3D design (beginners). It is one of the best tools to start with due to its simplicity.
Key features/benefits of Tinkercad:
- It is web based; Drag-and-drop shapes to build 3D models and easy to understand interface
- Library of shapes and objects already included at start.
- Export of several file formats such as .STL, .OBJ for 3D printing and .SVG for laser or cnc cutting
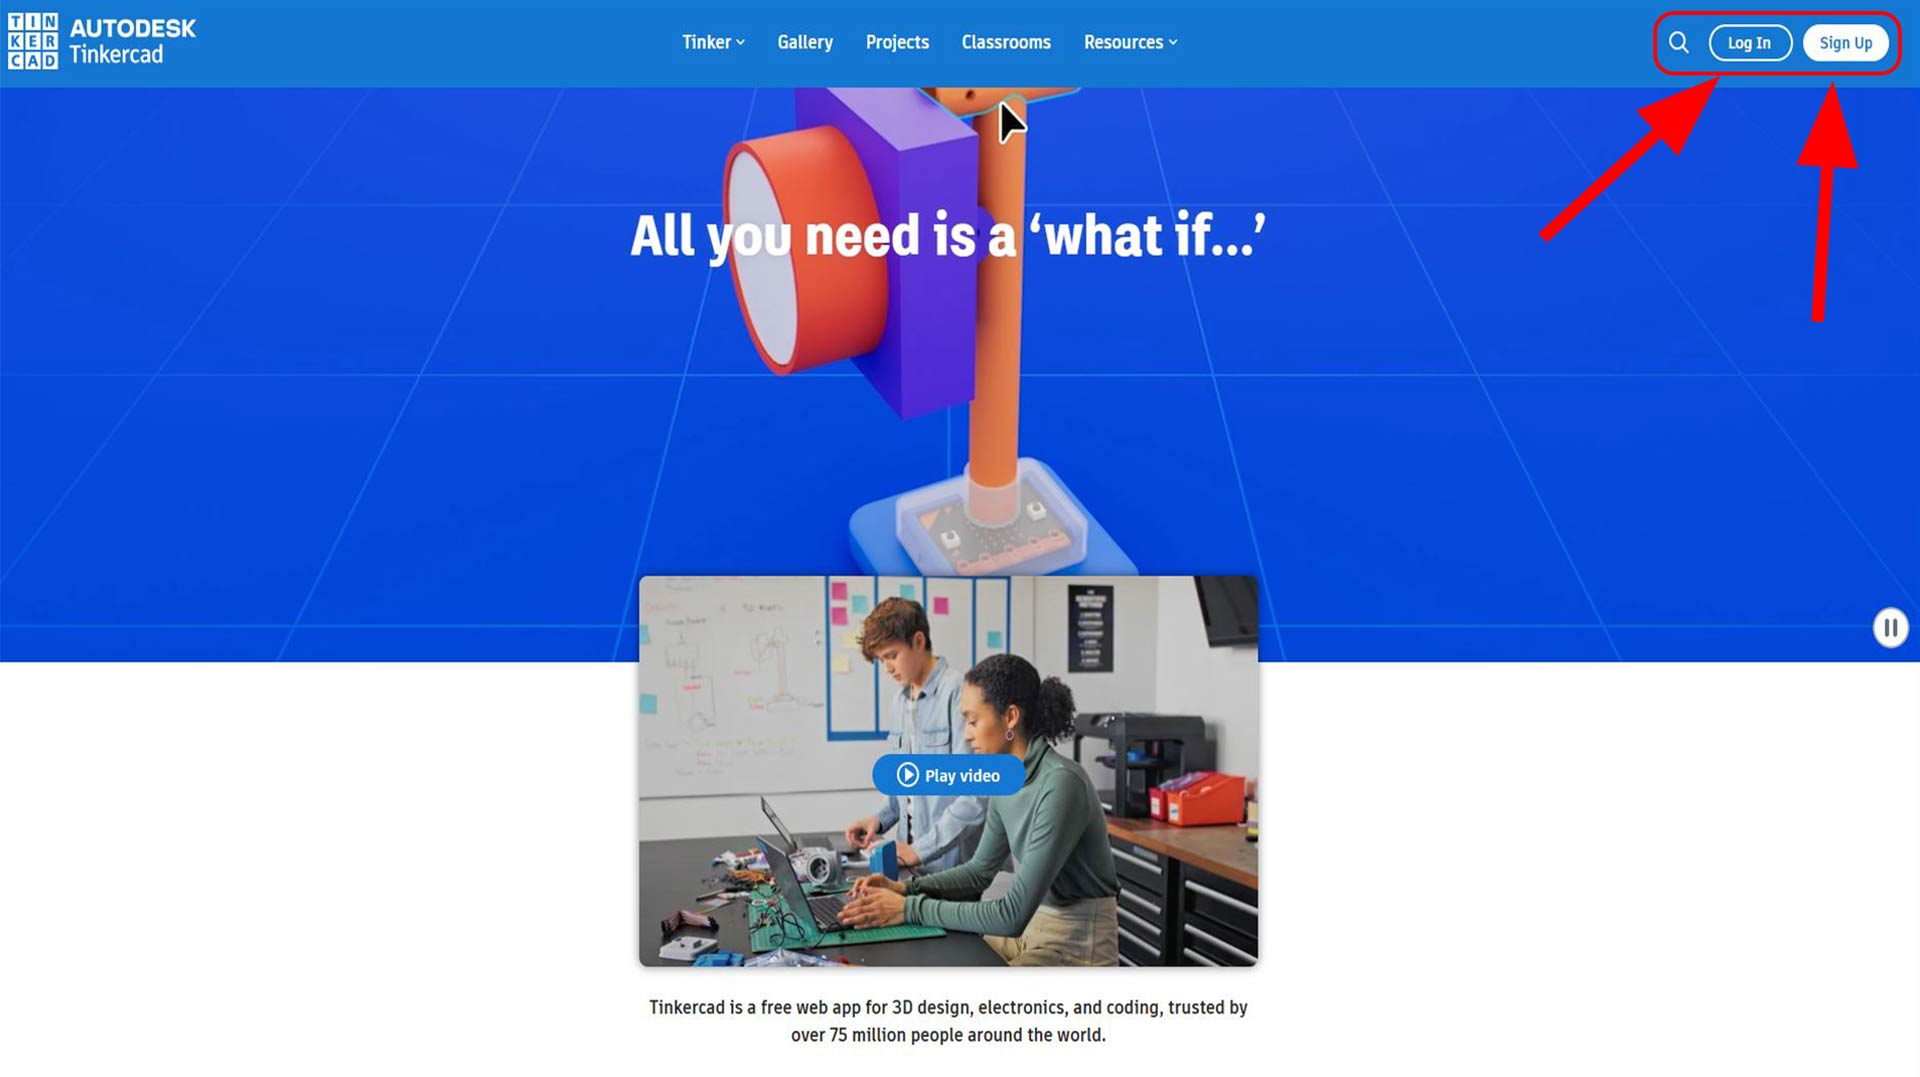
To use to Tinkercad, I created account on Tinkercad website. If you already have an Autdesk account, choose log instead as helighlighted on the image below.
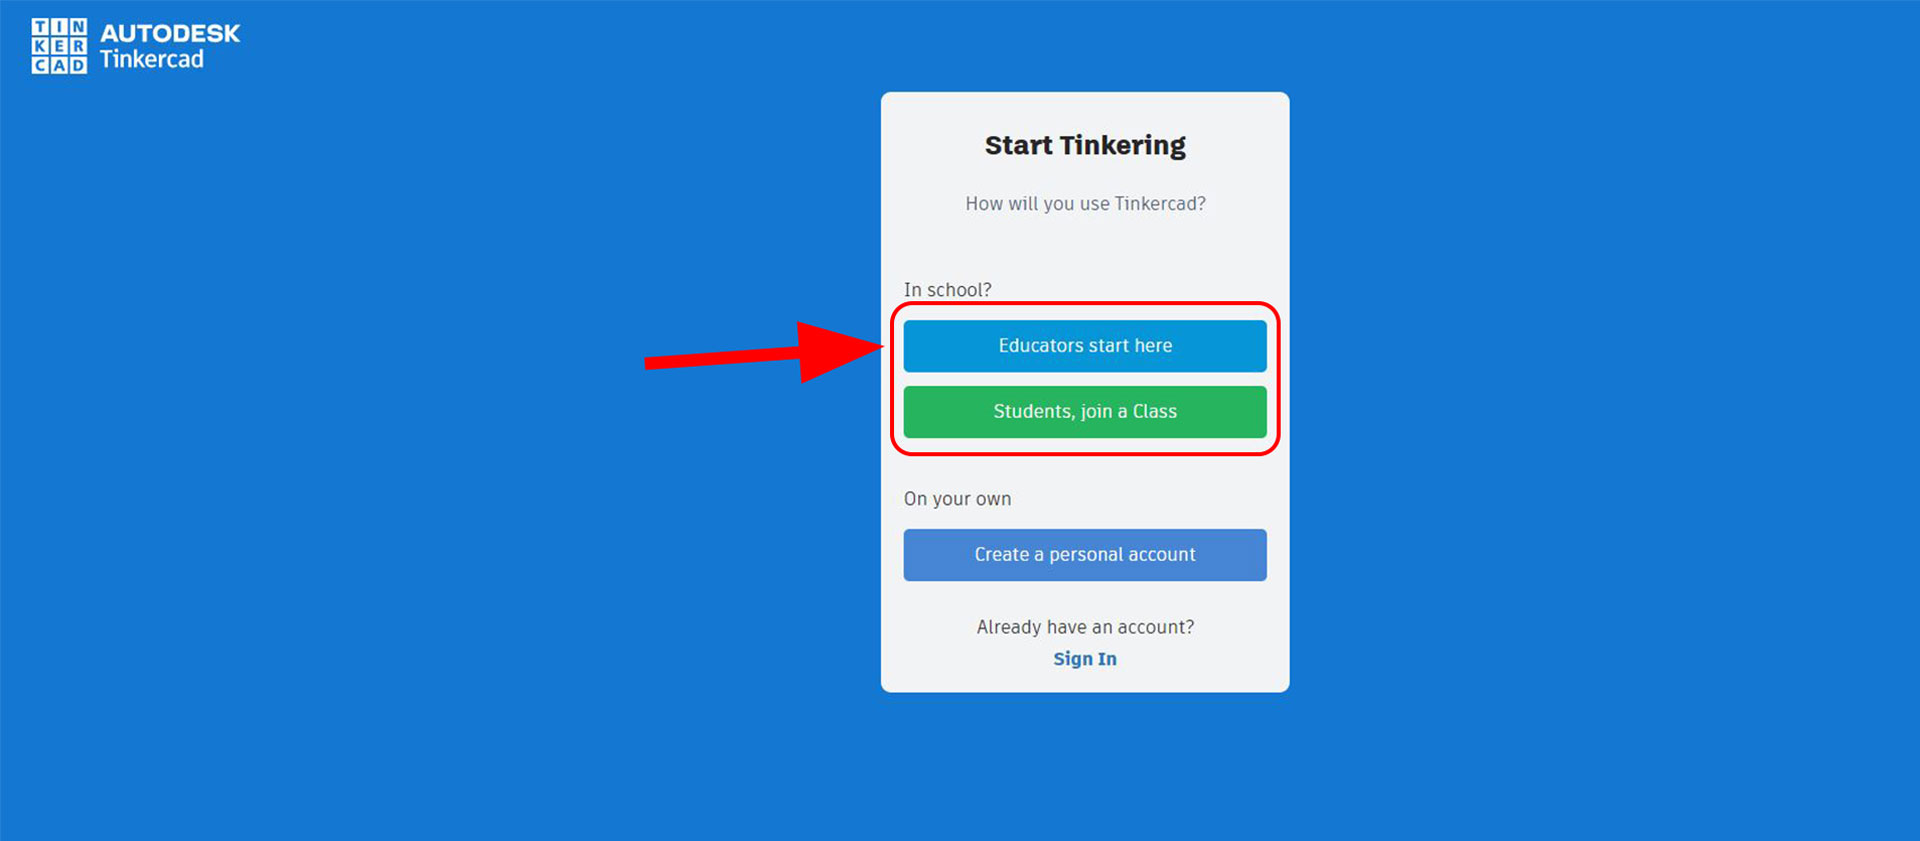
Next step, I chose educator as highlighted. I you choose students, it will prompt you to fill class code. There will be a time you will find option of maker as well. You can choose it as well. It works the same way as eductor. The only difference is the setting options available afterwards.
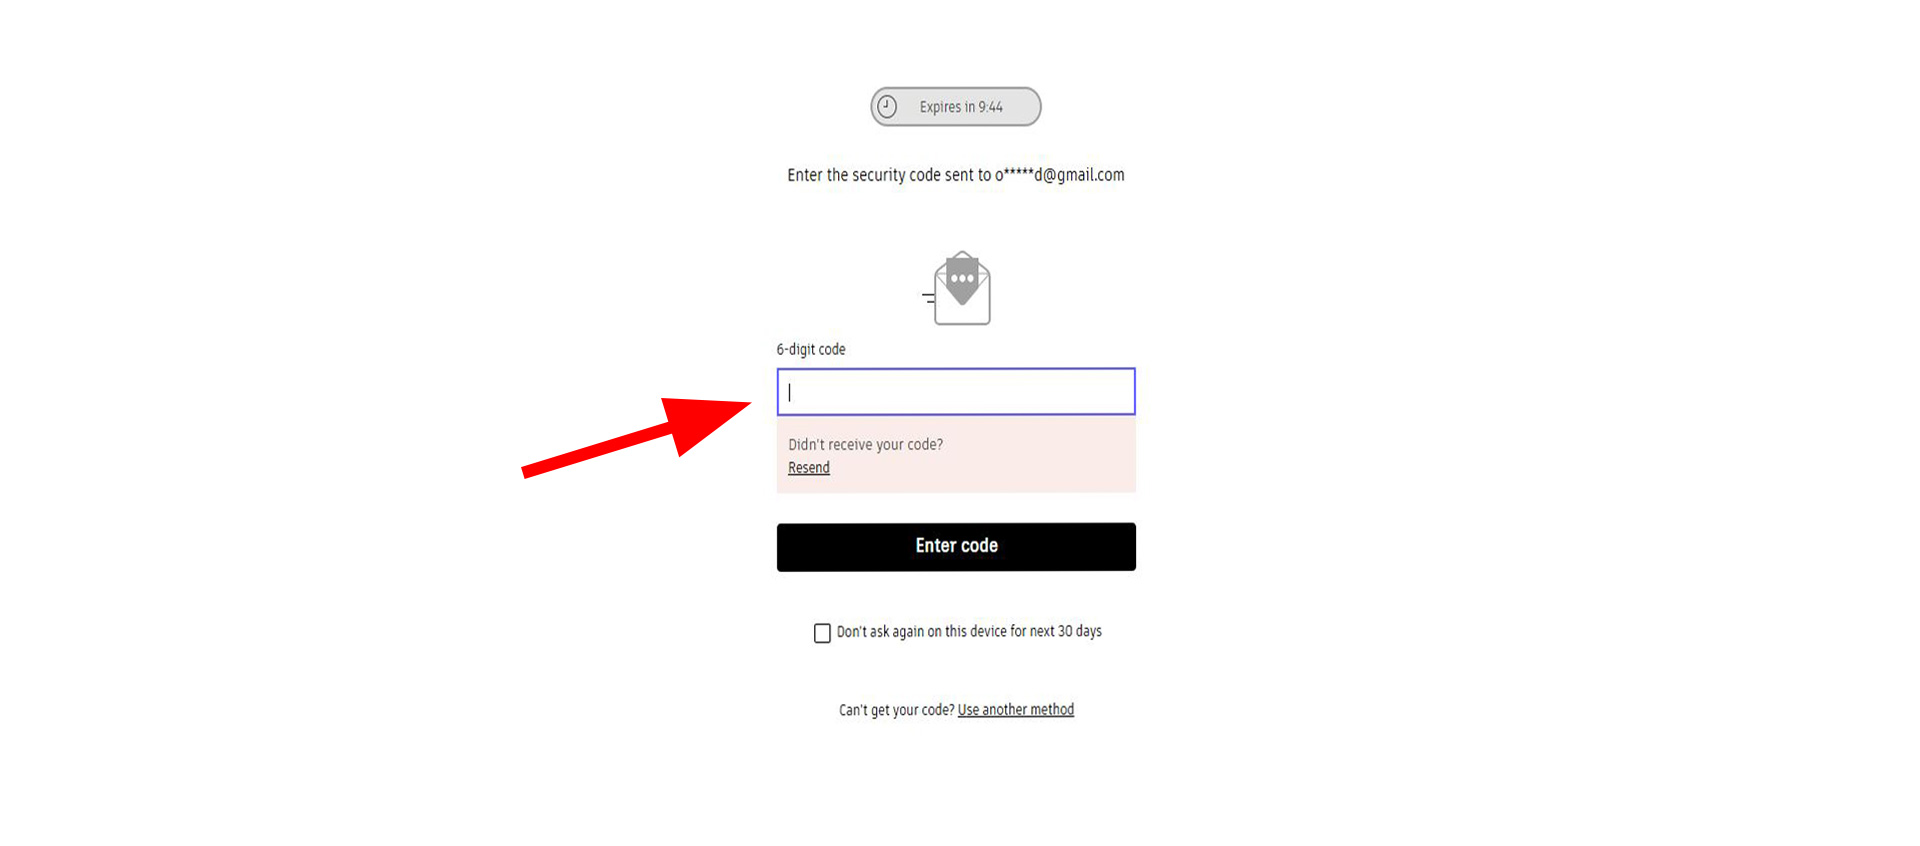
After filling all the necessary information, Autodesk sent me One-time passcode. Depending on the location, you may need to switch between receiving the pass code on email or phone number. Mine, it was set (by default) on sms. I waited for around five minutes without receiving the code. Afterwards, I switched to email. And I receid the code instantlyimmediately.
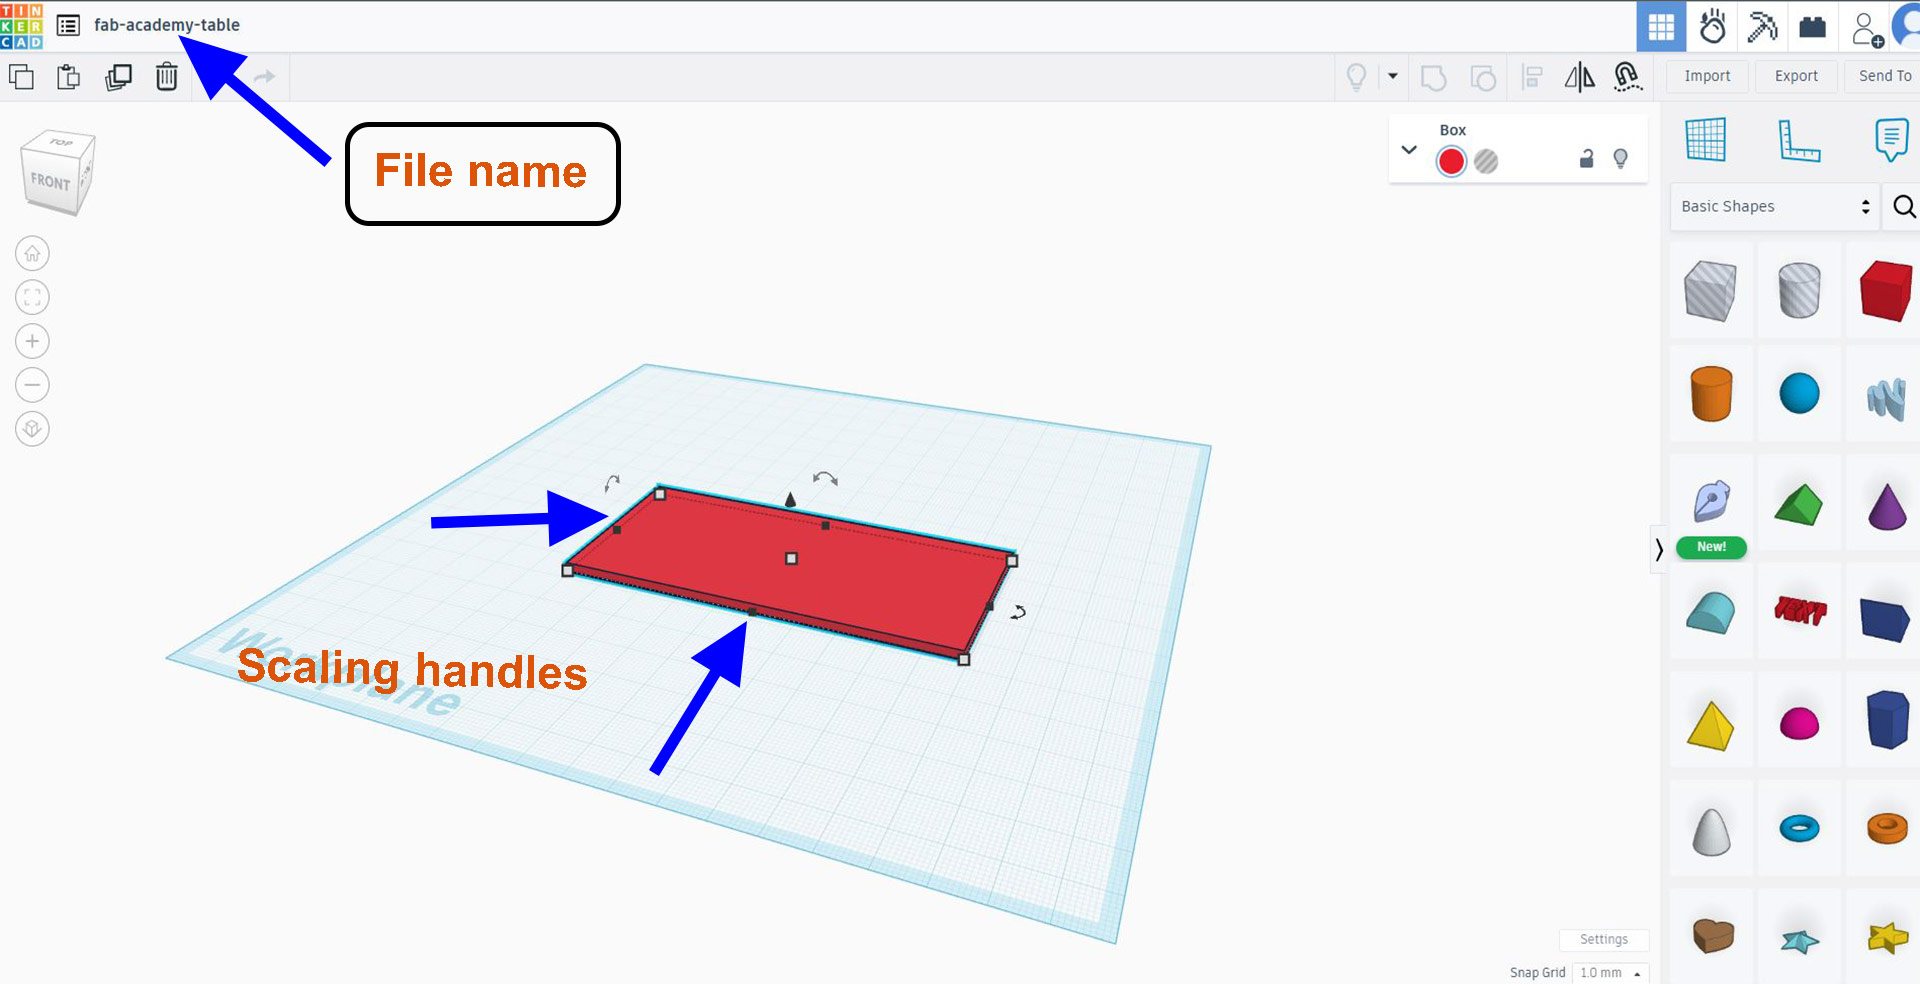
Tinkercad blank page
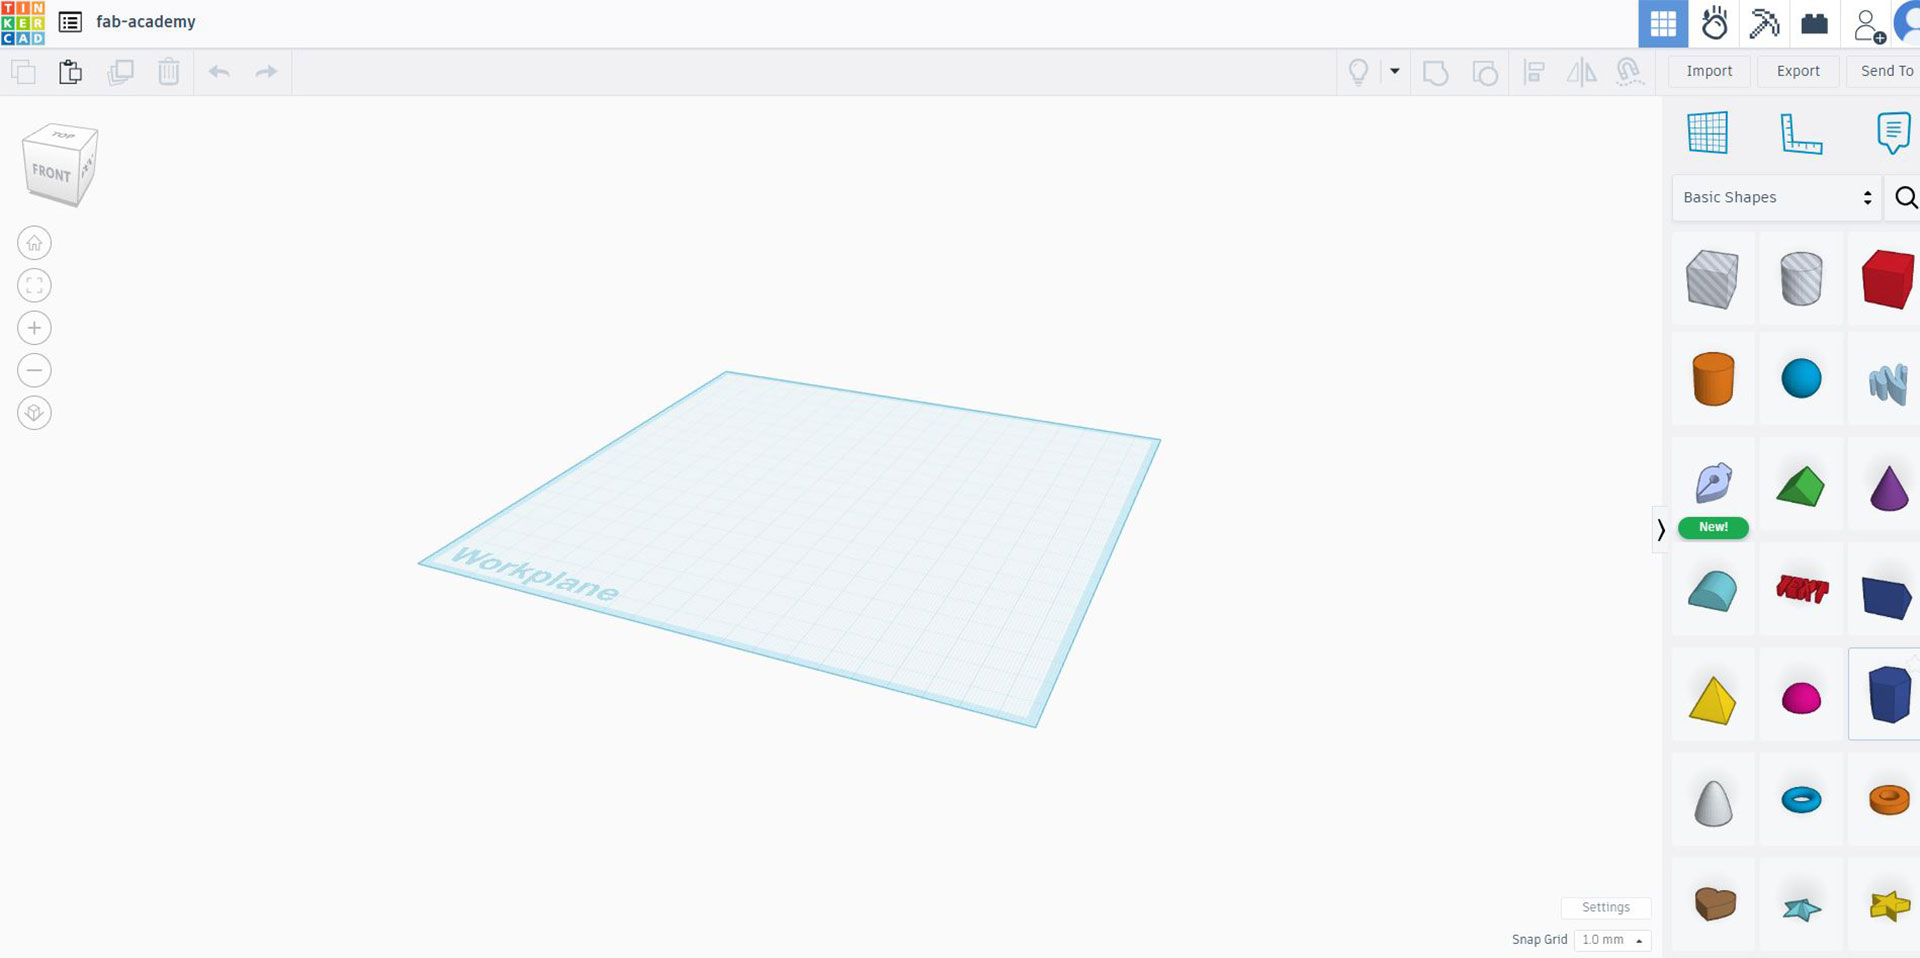
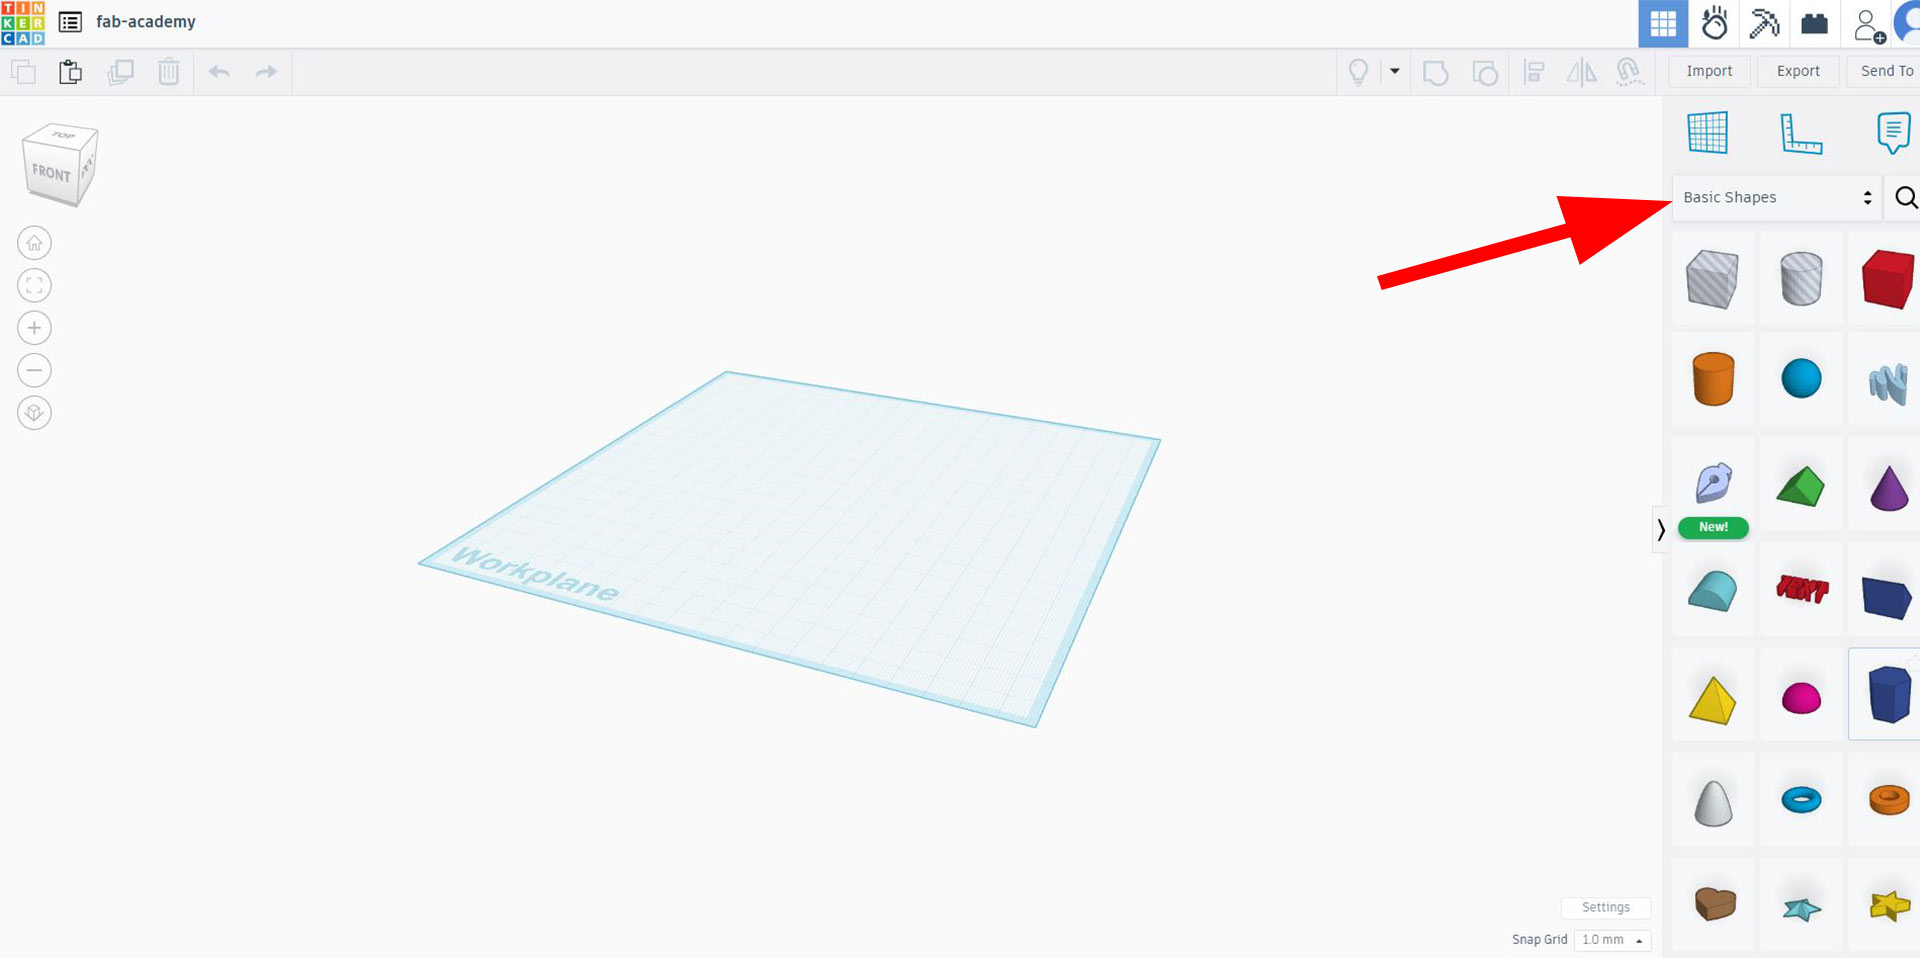
Next process, I started designing some objects. To start designing, under the basic shape (as helighlighted), drag and drop the object in workplane area
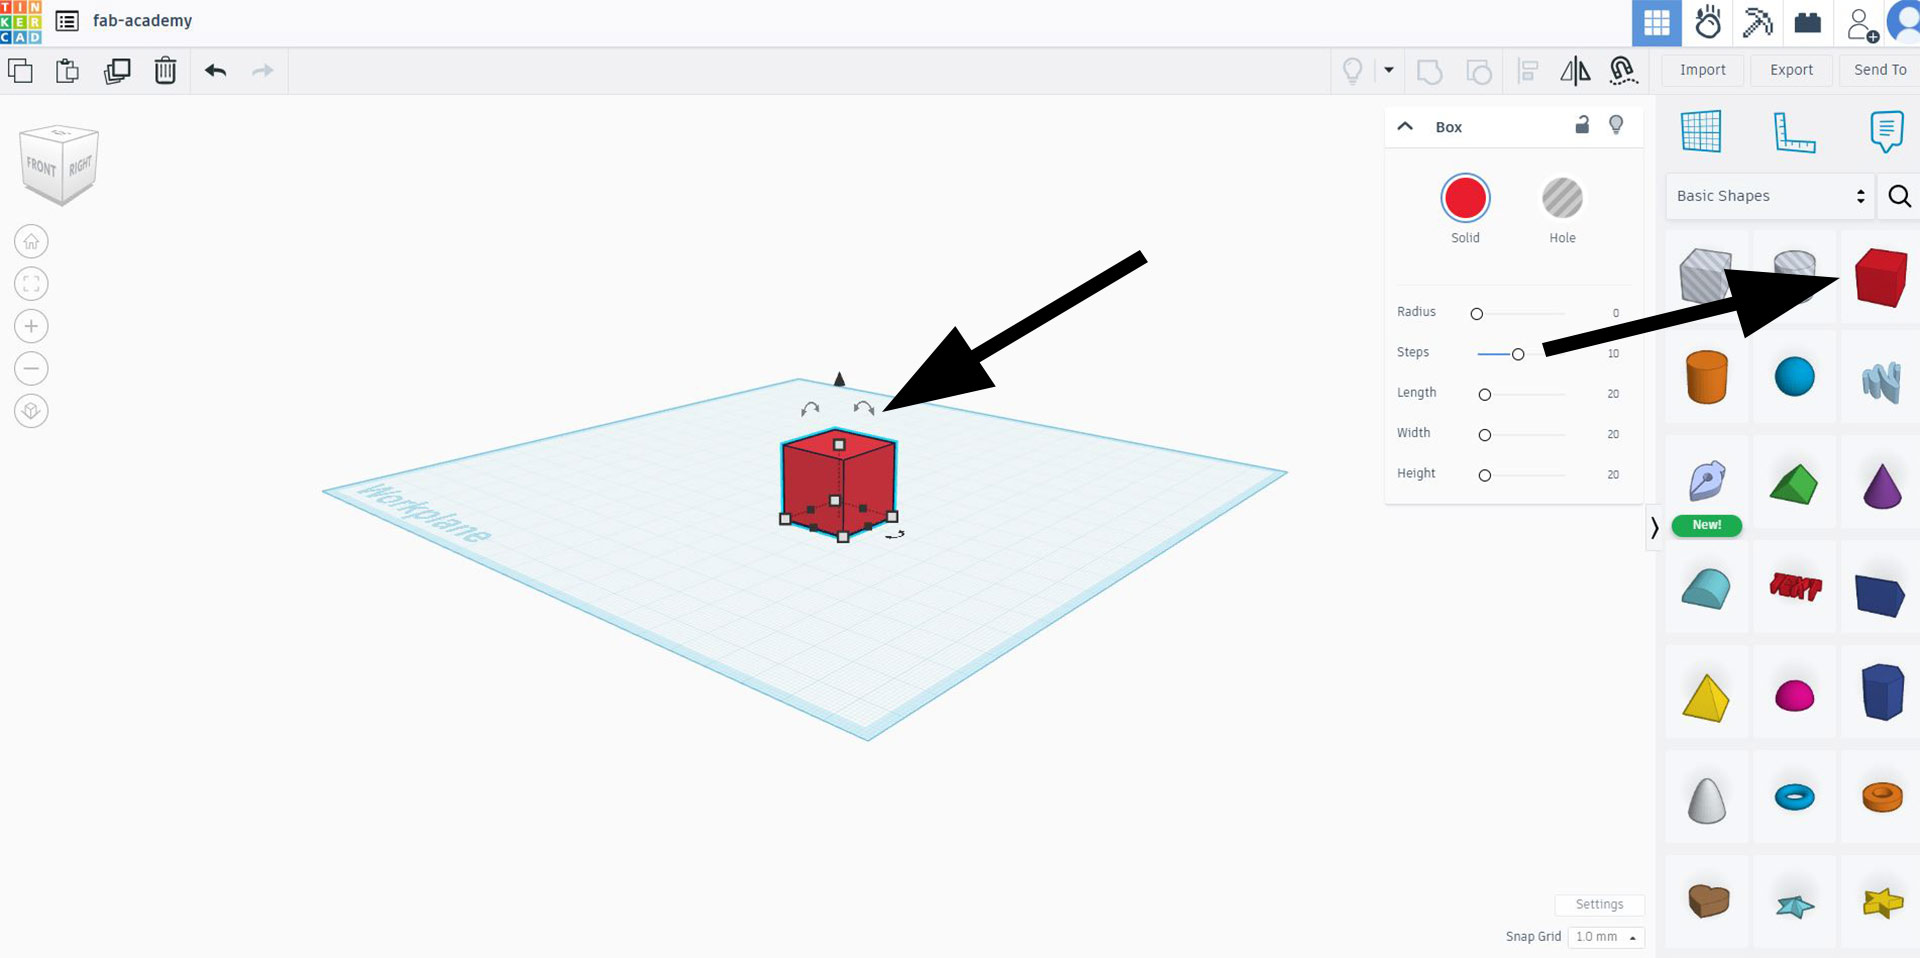
I started with cube as base object.
Documentation continuing!!!
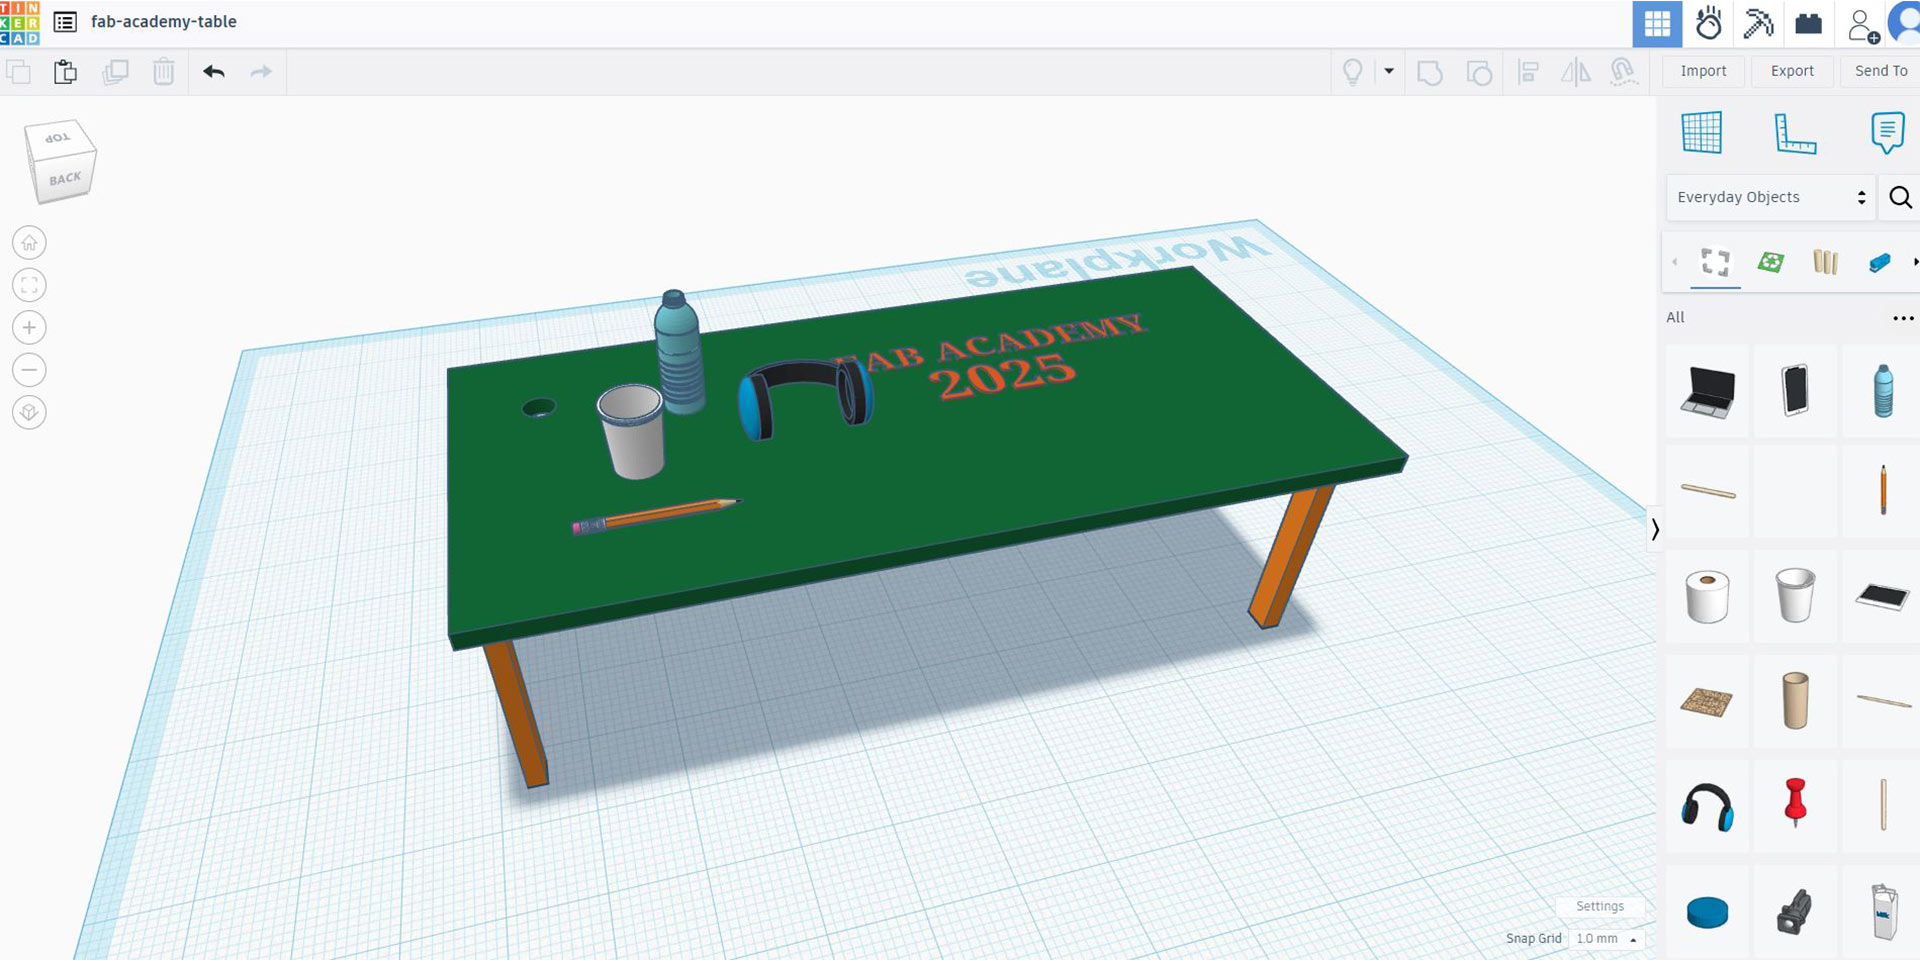
My sample design, DRWAWING A TABLE
Step 1: I scaled the cube to approximate spaces and size. At this stage, it is also a google practice to name the file with relative name (as helighlighted below) so as to facilitate file search.
To scale an object, hold and drag scales handles in disired direction (x,y and z axis). You can even type number (dimension) for precise design.
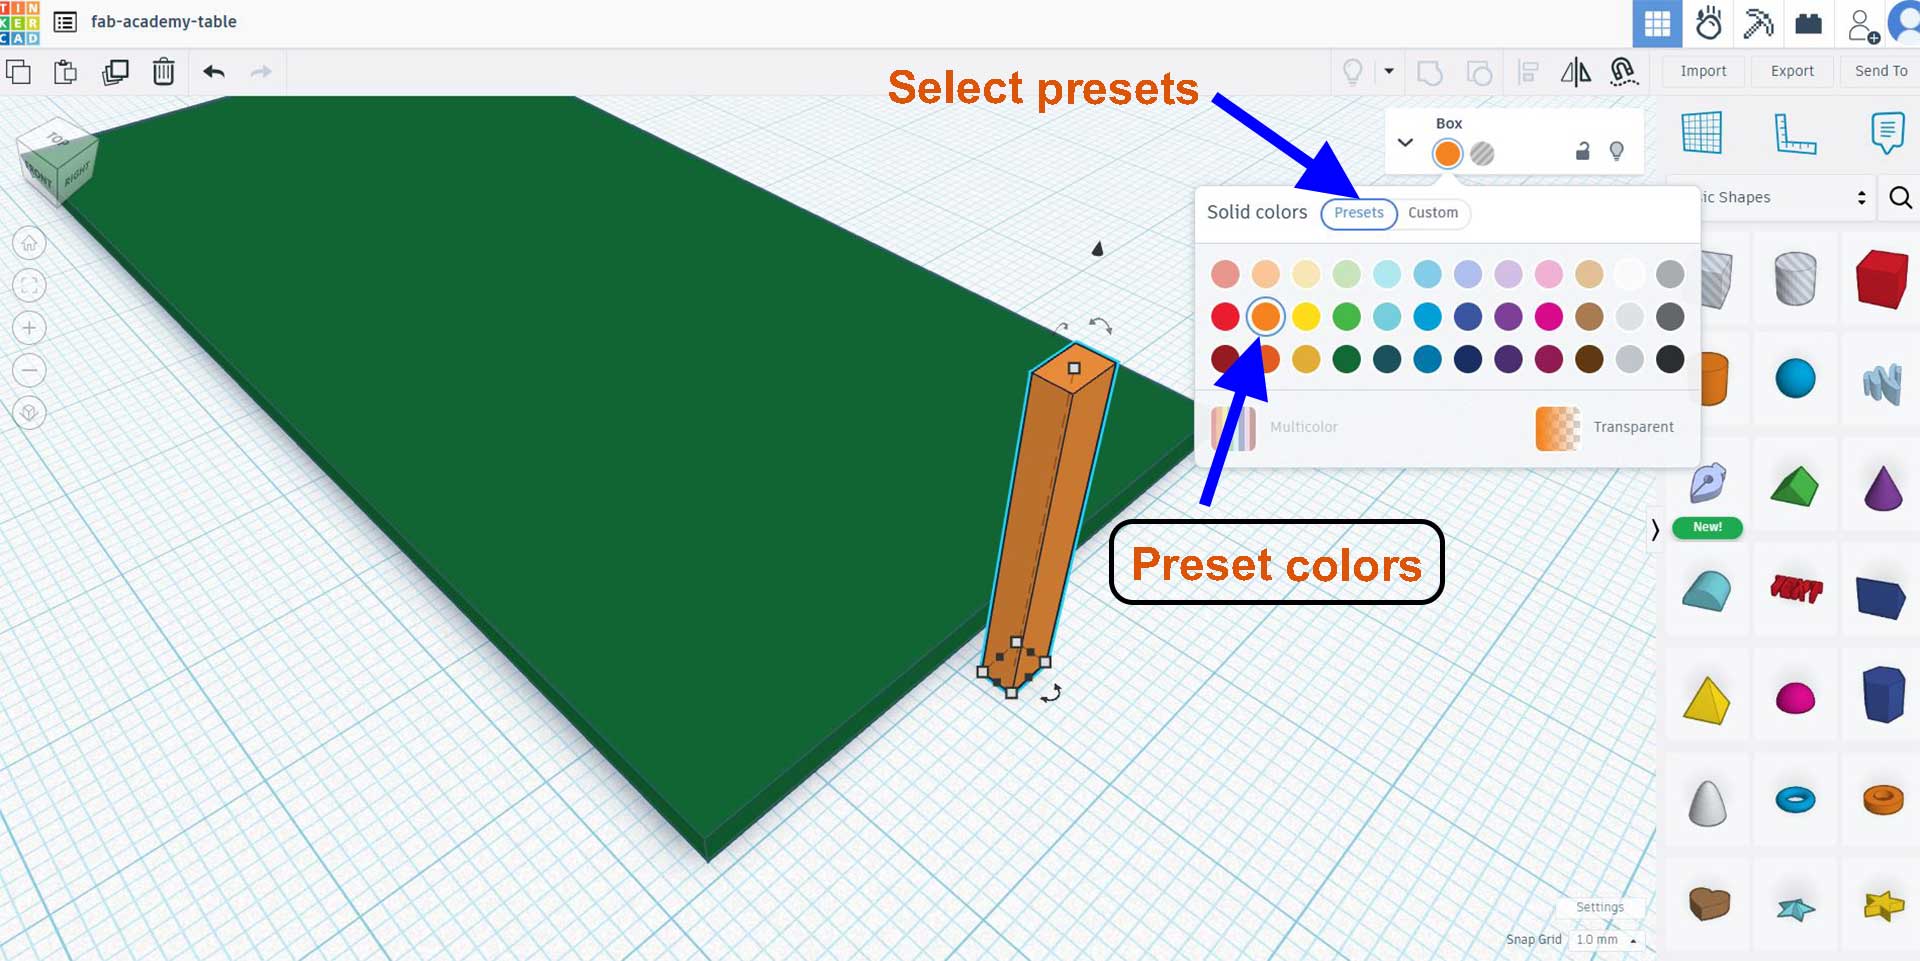
Next step, I created legs. Starting with one leg, I imported second cube and scalled accordingly. I also changed the color of each object. To do, I selected color(s) from presets.
Next step; I positioned the leg in oe corner and douplicated it to make copies. To move an object in tinkercad, hold and drag the object.
To move an object in one axis, while draging, hold shift. the object movement will be locked in an approximate axis.
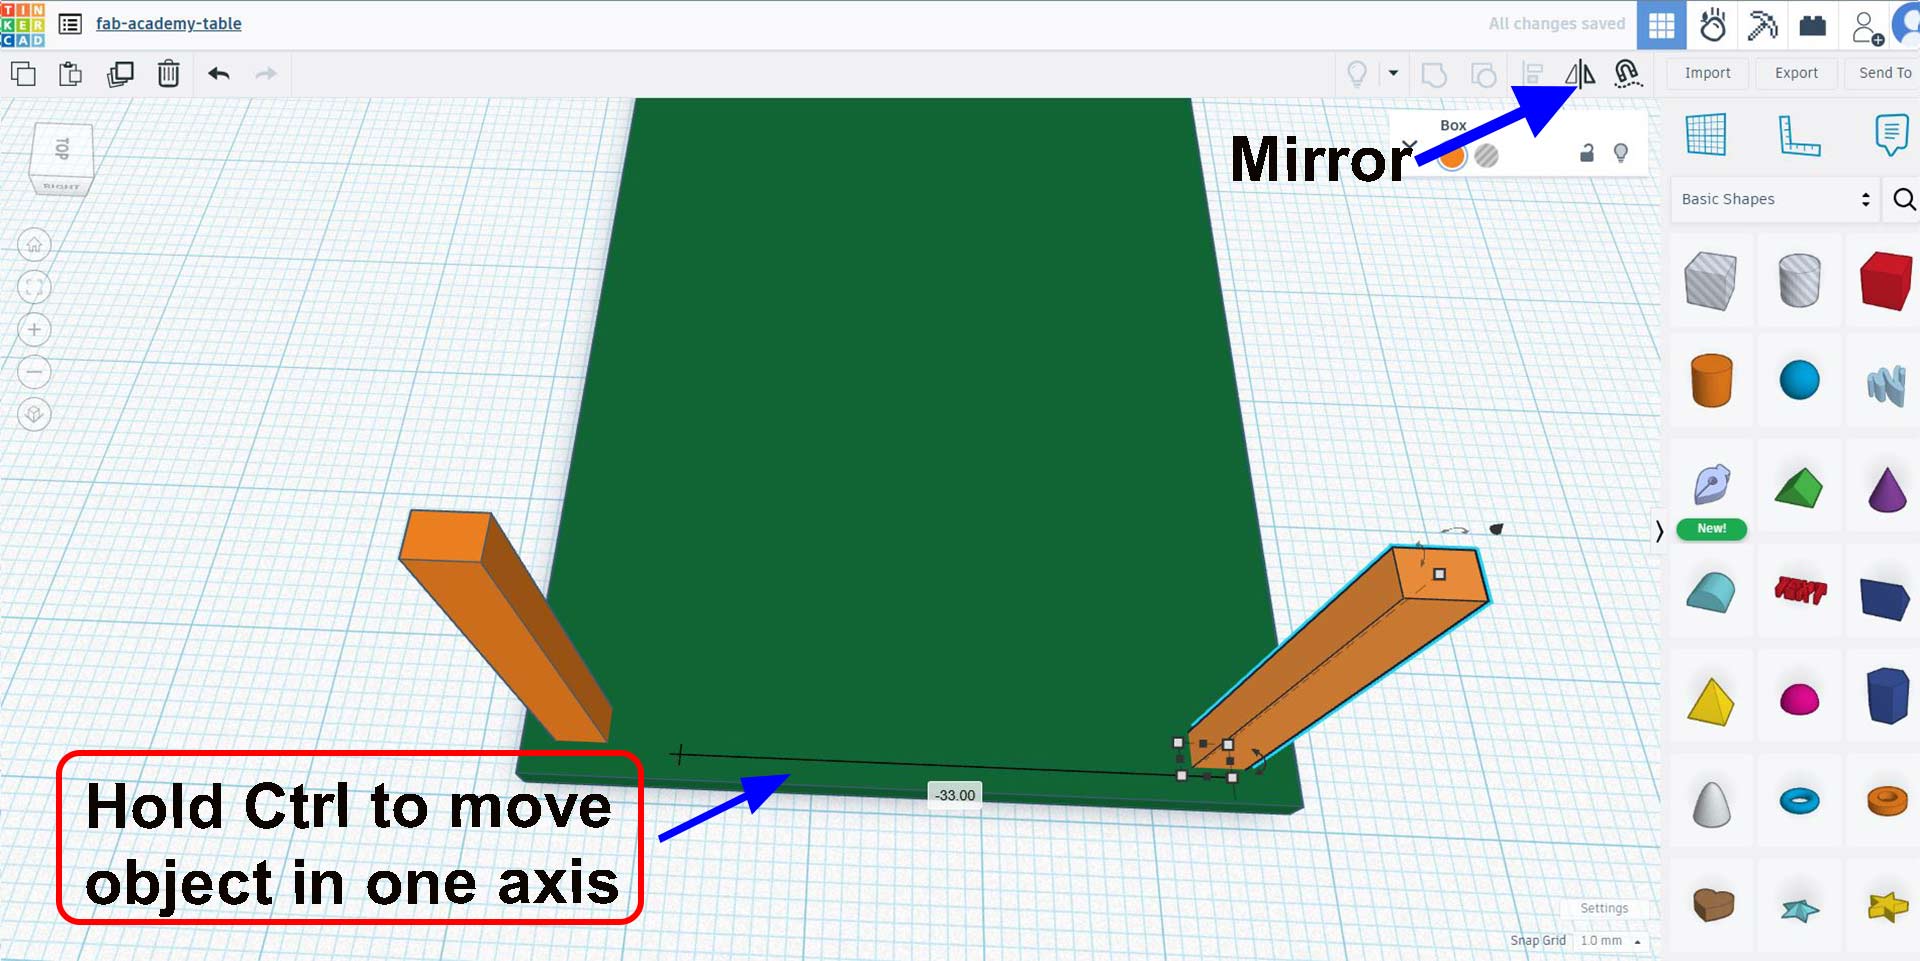
To duplicate the leg, I used mirror function. Selece desired abject and select mirror icon as highlighted below. Afterwards I combined the two objects using combine tool to so that they can be moved as singe object. This will help for mirrowing on the second axis.
Note: Combine tool will be active only if multiple objects are selected.

Lastly, I rearranged the objects as intended. To move the table top at top as it should be.
To make a hole, I imported a cylinder and scaled accordingly. To increase or change sresoulution, I creanked side value. Additionally, I changed cylinder from solid body to hole or cutting object. This make it possible to act as cutting object.
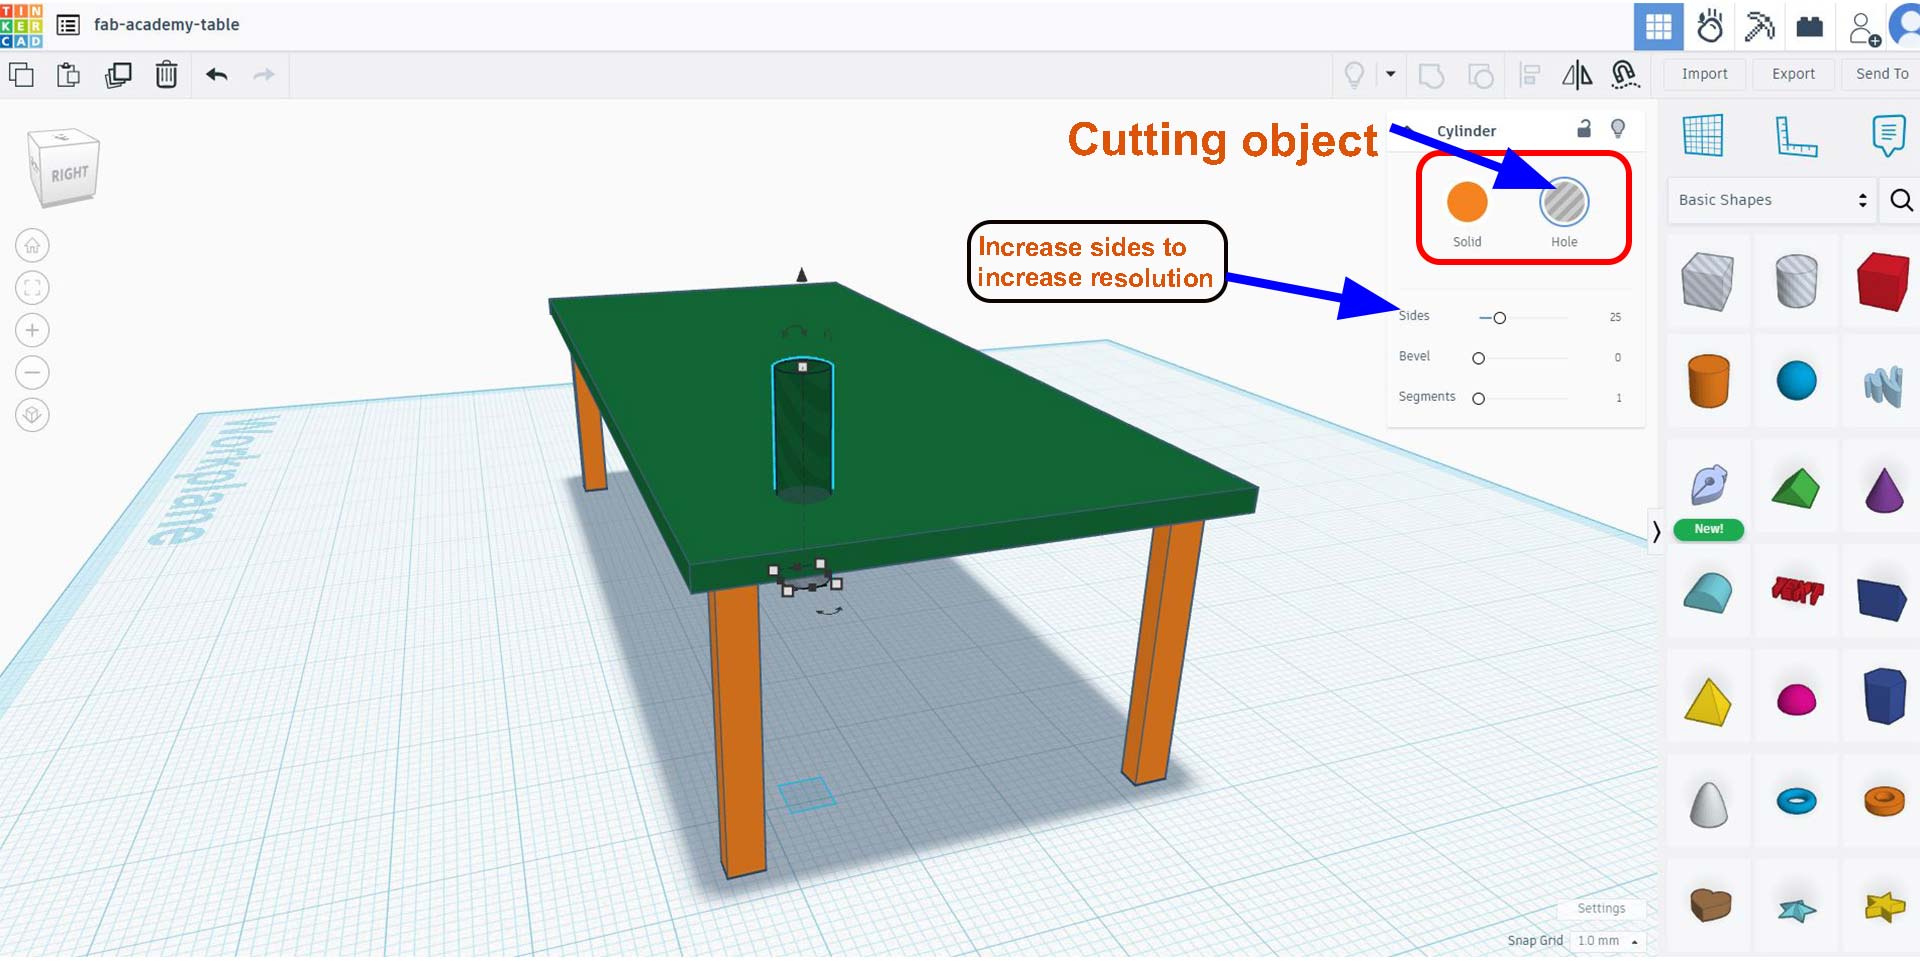
Lastly, I used combine tool to approve the cut. When you combine a cutting object (comverted to hole) with a solid object, the cut is approved permanently.
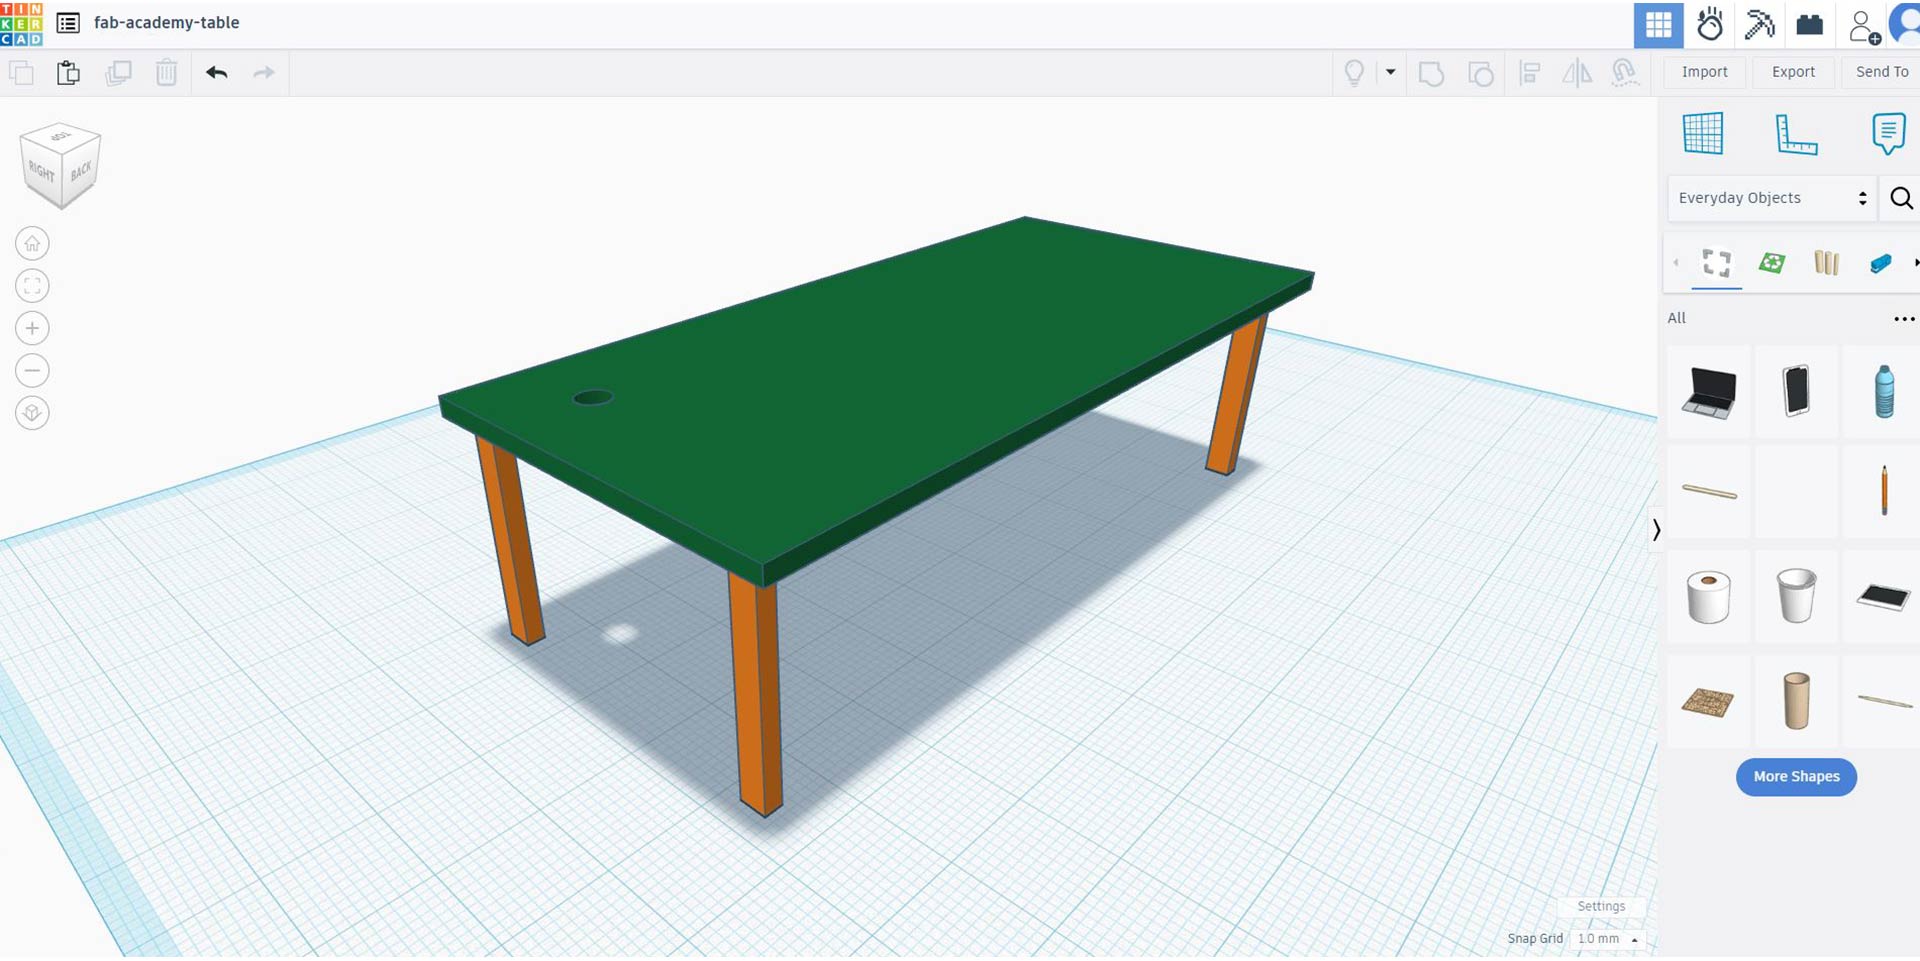
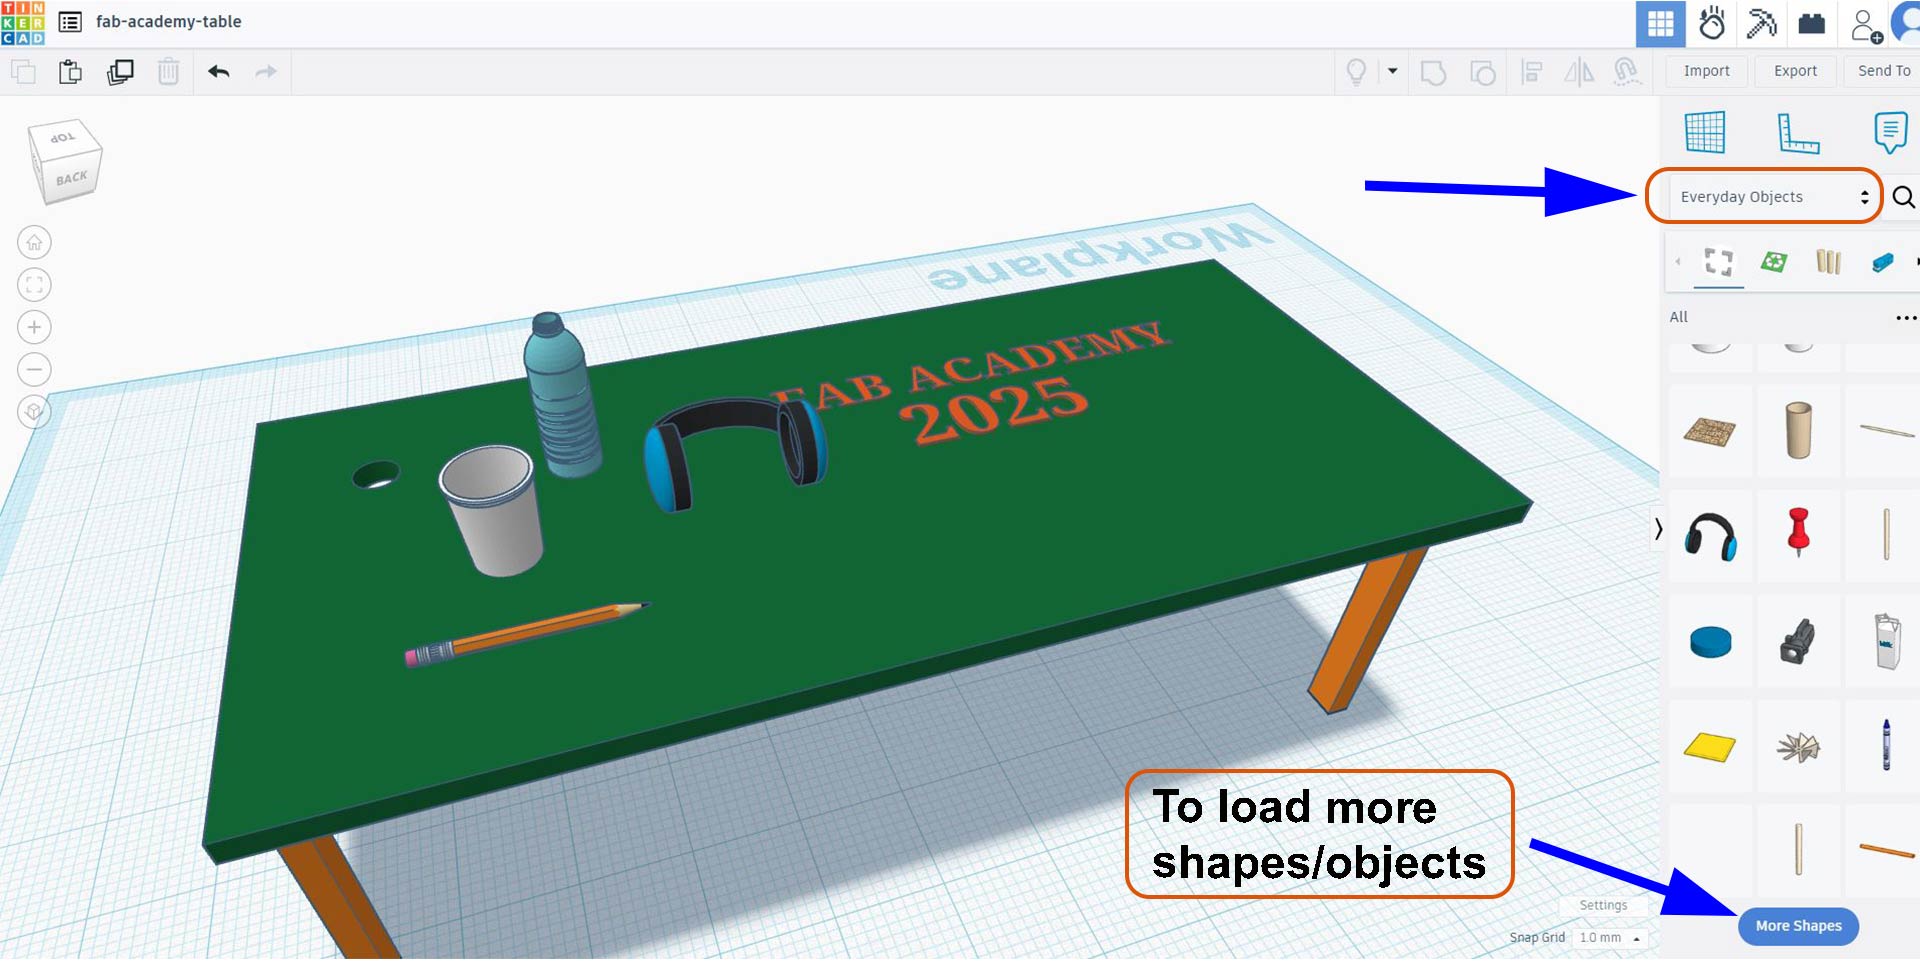
Last, I imported (from library) some objects. Cup,.. . Firslty, switch from basic shape to

Last, I imported (from library) some objects. Cup,.. . Firslty, switch from basic shape to
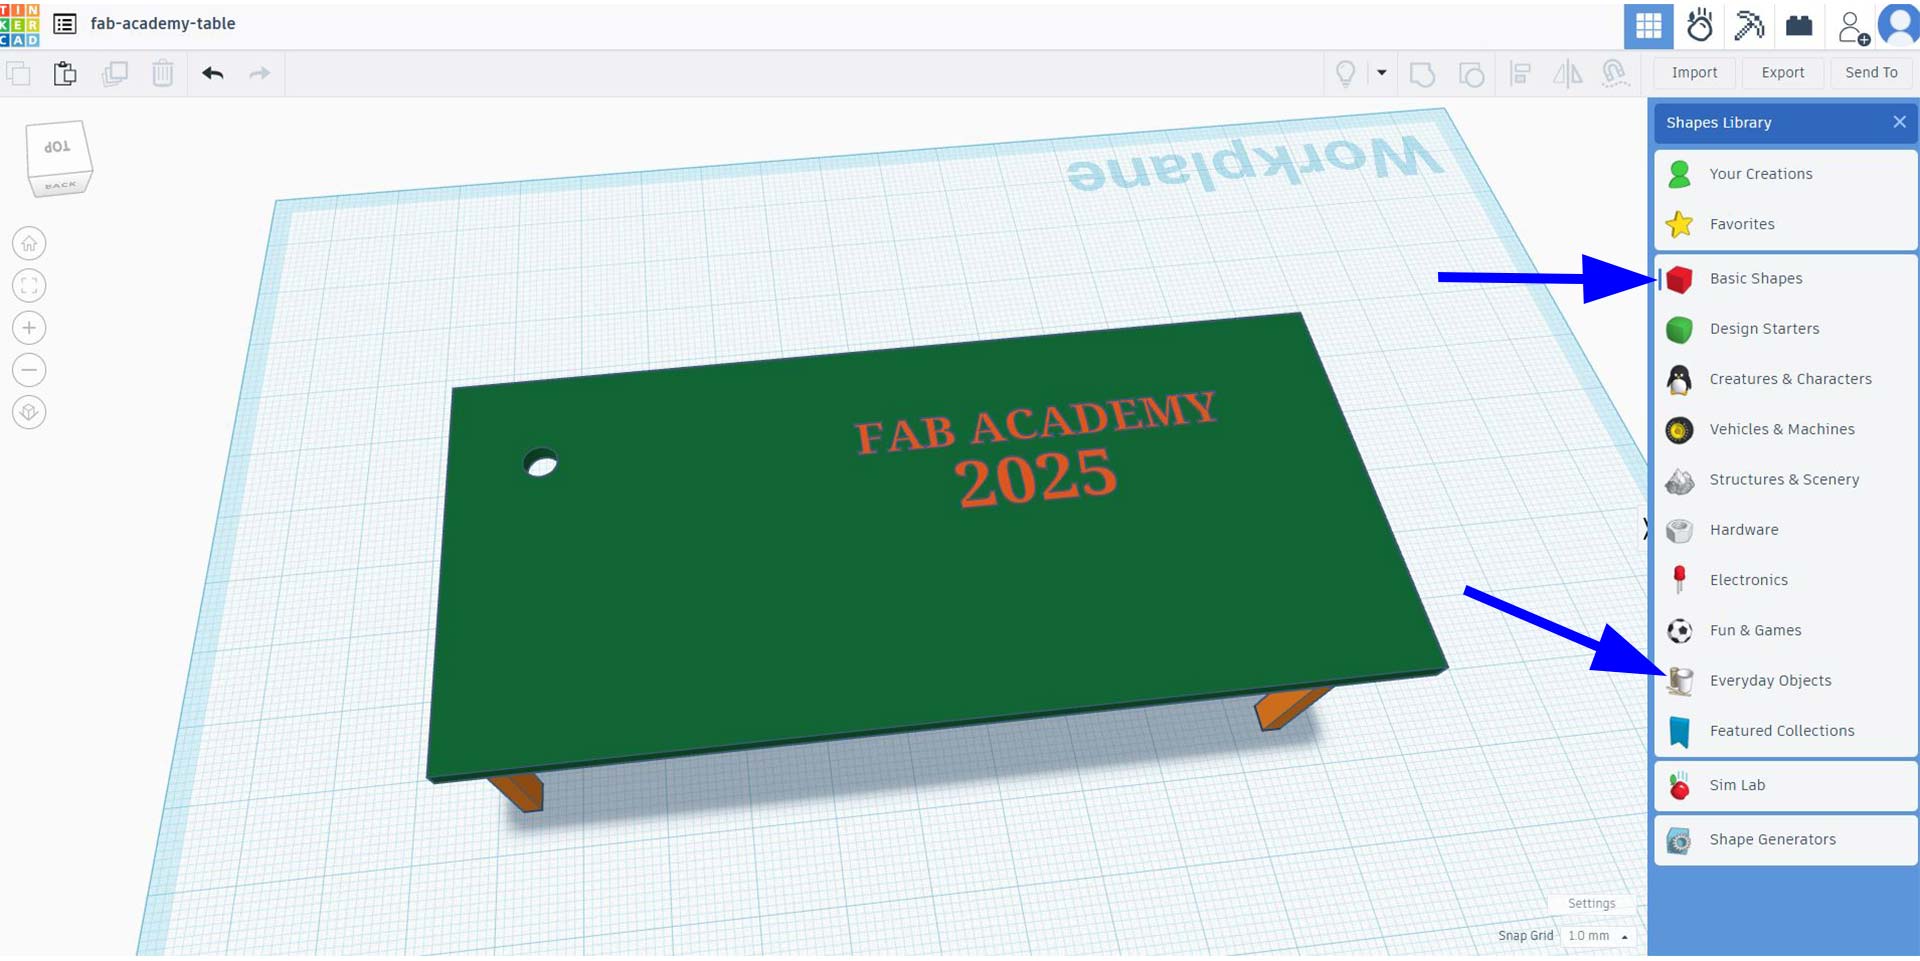
Select More Shapes to load more objects.
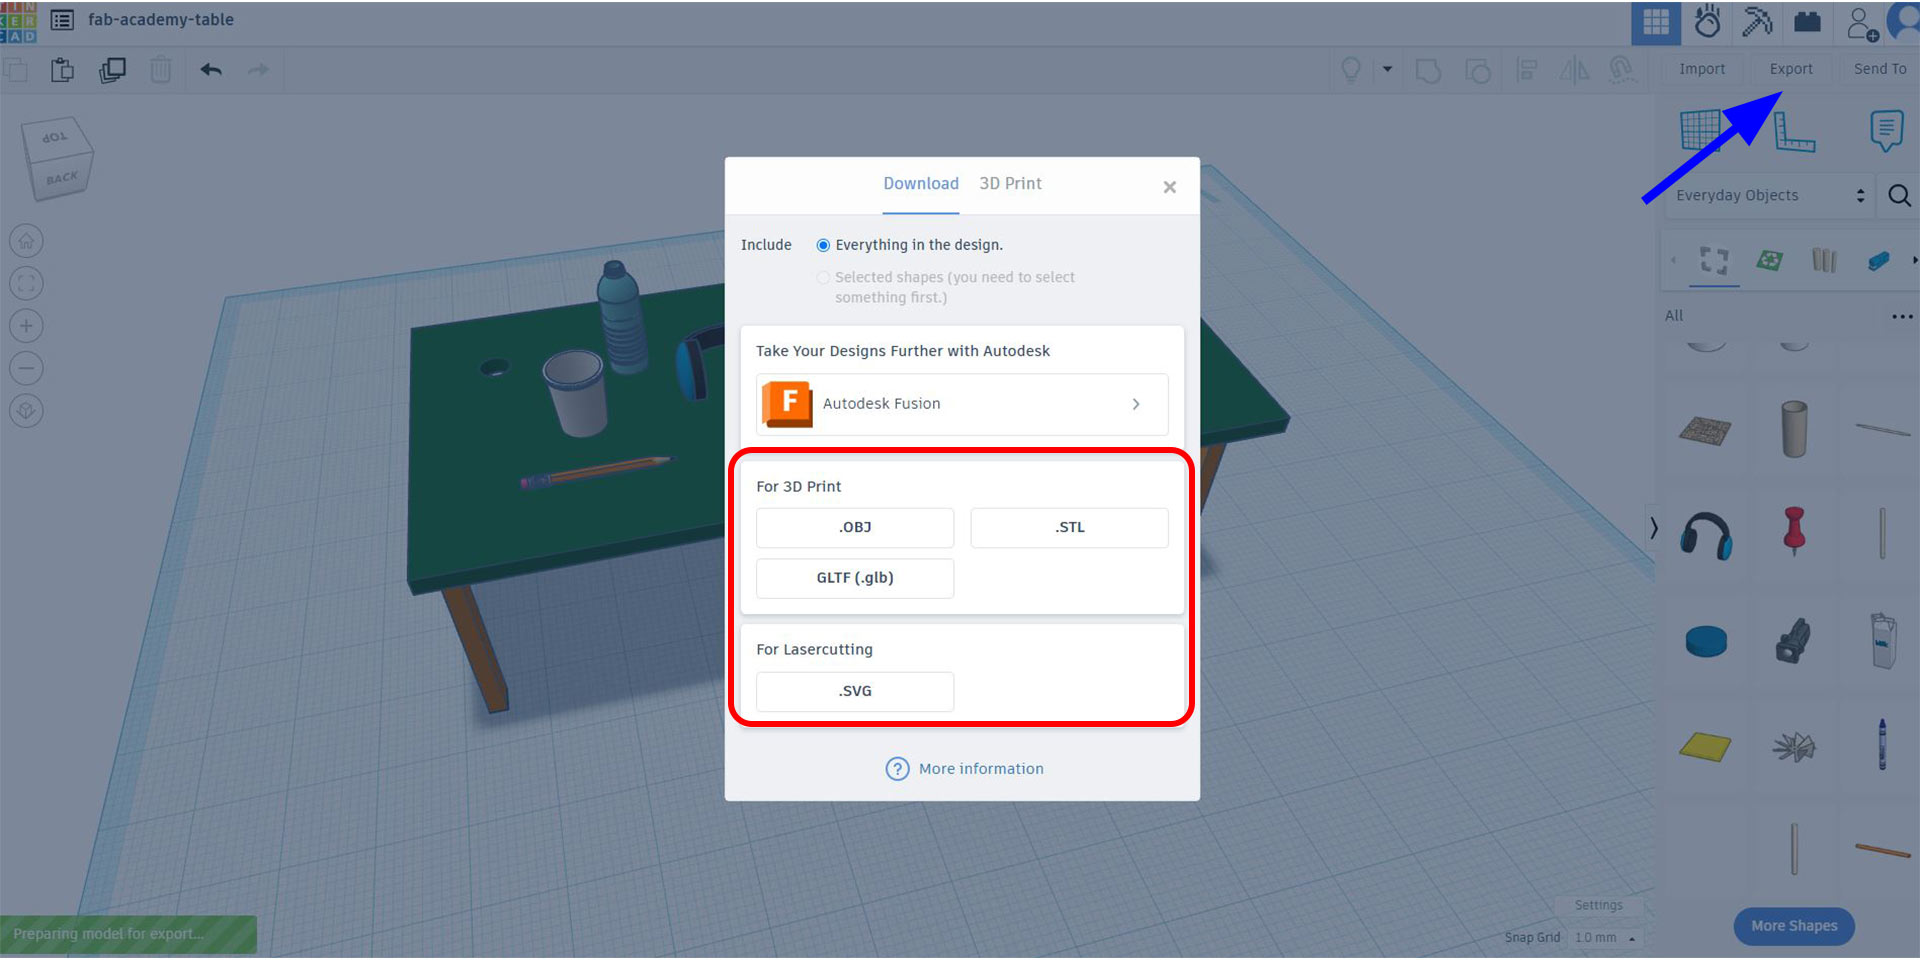
Next, is to export the file. For 3D prinitn, chose stl format. Export one object at time.
SolidWorks
SolidWorks is a professional 3D CAD computer-aided design program used in the design, simulation, and engineering of mechanical parts, assemblies, and drawings. It was developed by Dassault Systèmes and it is widely used in design manufacturing, engineering, product design, and 3D printing.
Key Features of SolidWorks keys feature are:
- Parametric Modeling: SolidWorks uses dimension-driven design, thus making easy to modifiy and make configuration.
- 3D Part and Assembly Design: it makes easier to create individual parts and assembles them into complex products.
- 2D Technical Drawings: It allows the making of engineering drawings along with annotations and dimensions.
- Simulation & Analysis: SolidWorks helps to perform tests for stress, motion analysis, and thermal simulation.
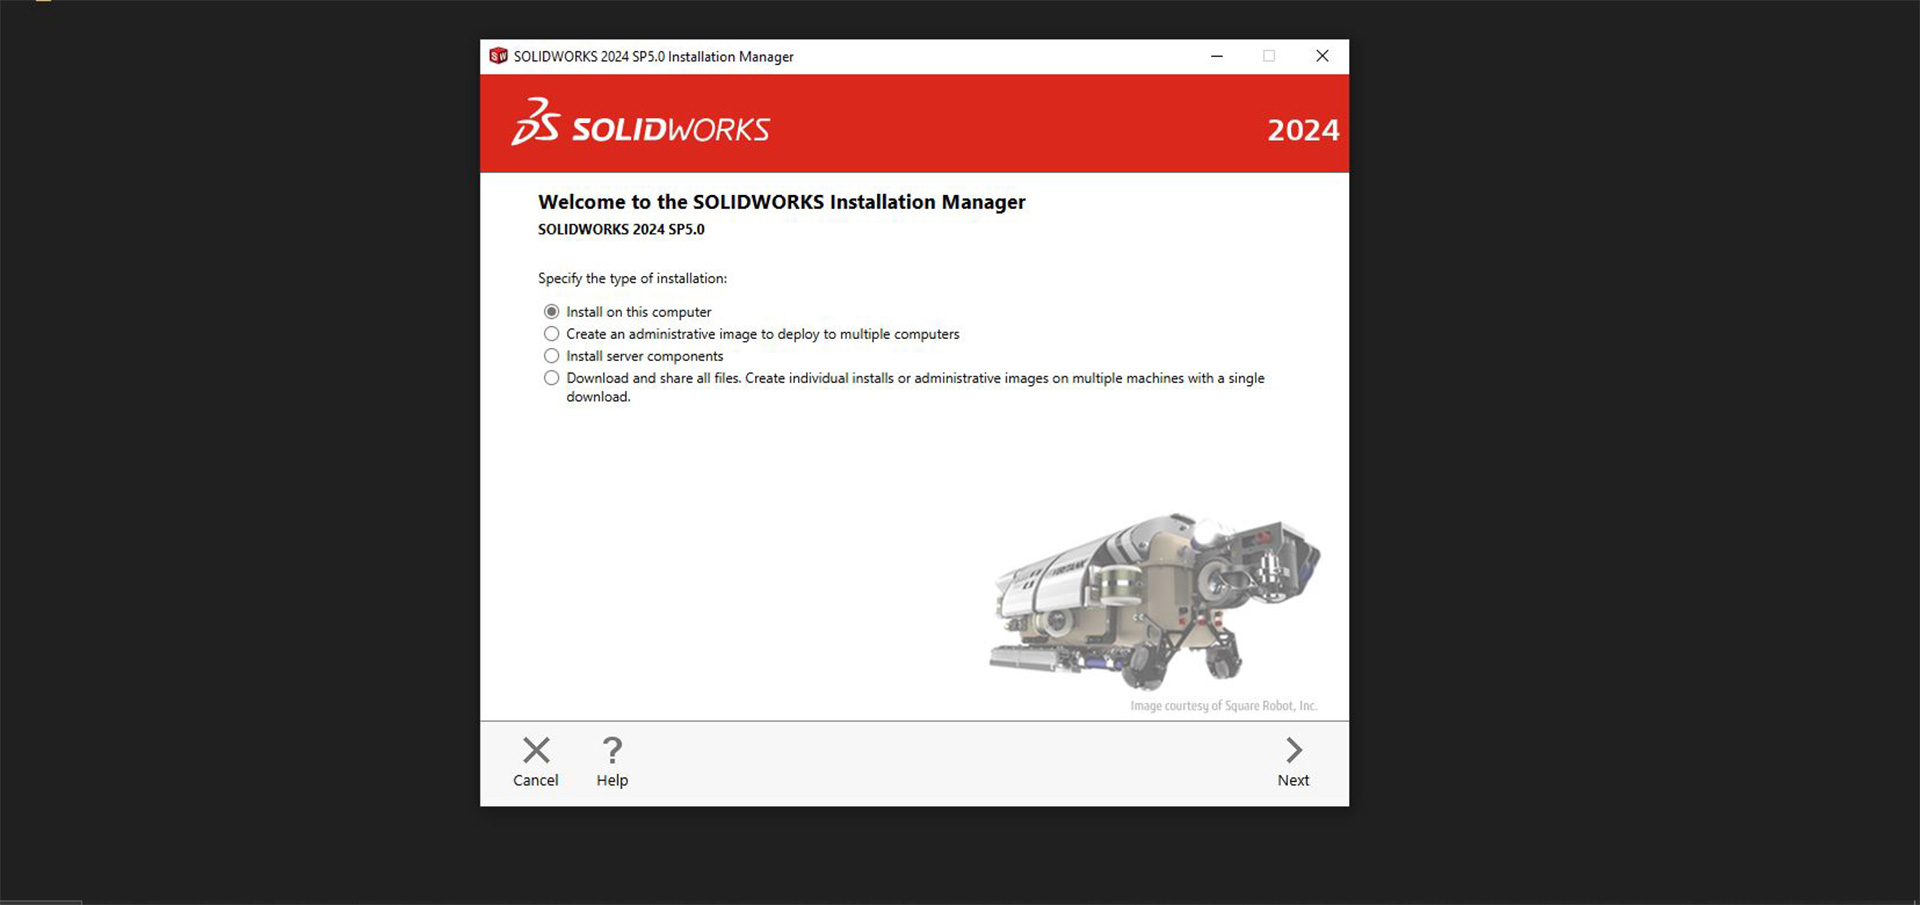
Instation of SolidWorks software
To use SolidWorks, you need license. You can use free trial or student version which expire for about a year. Fortunate for us who are taking Fab Academy course, we receive one year license.
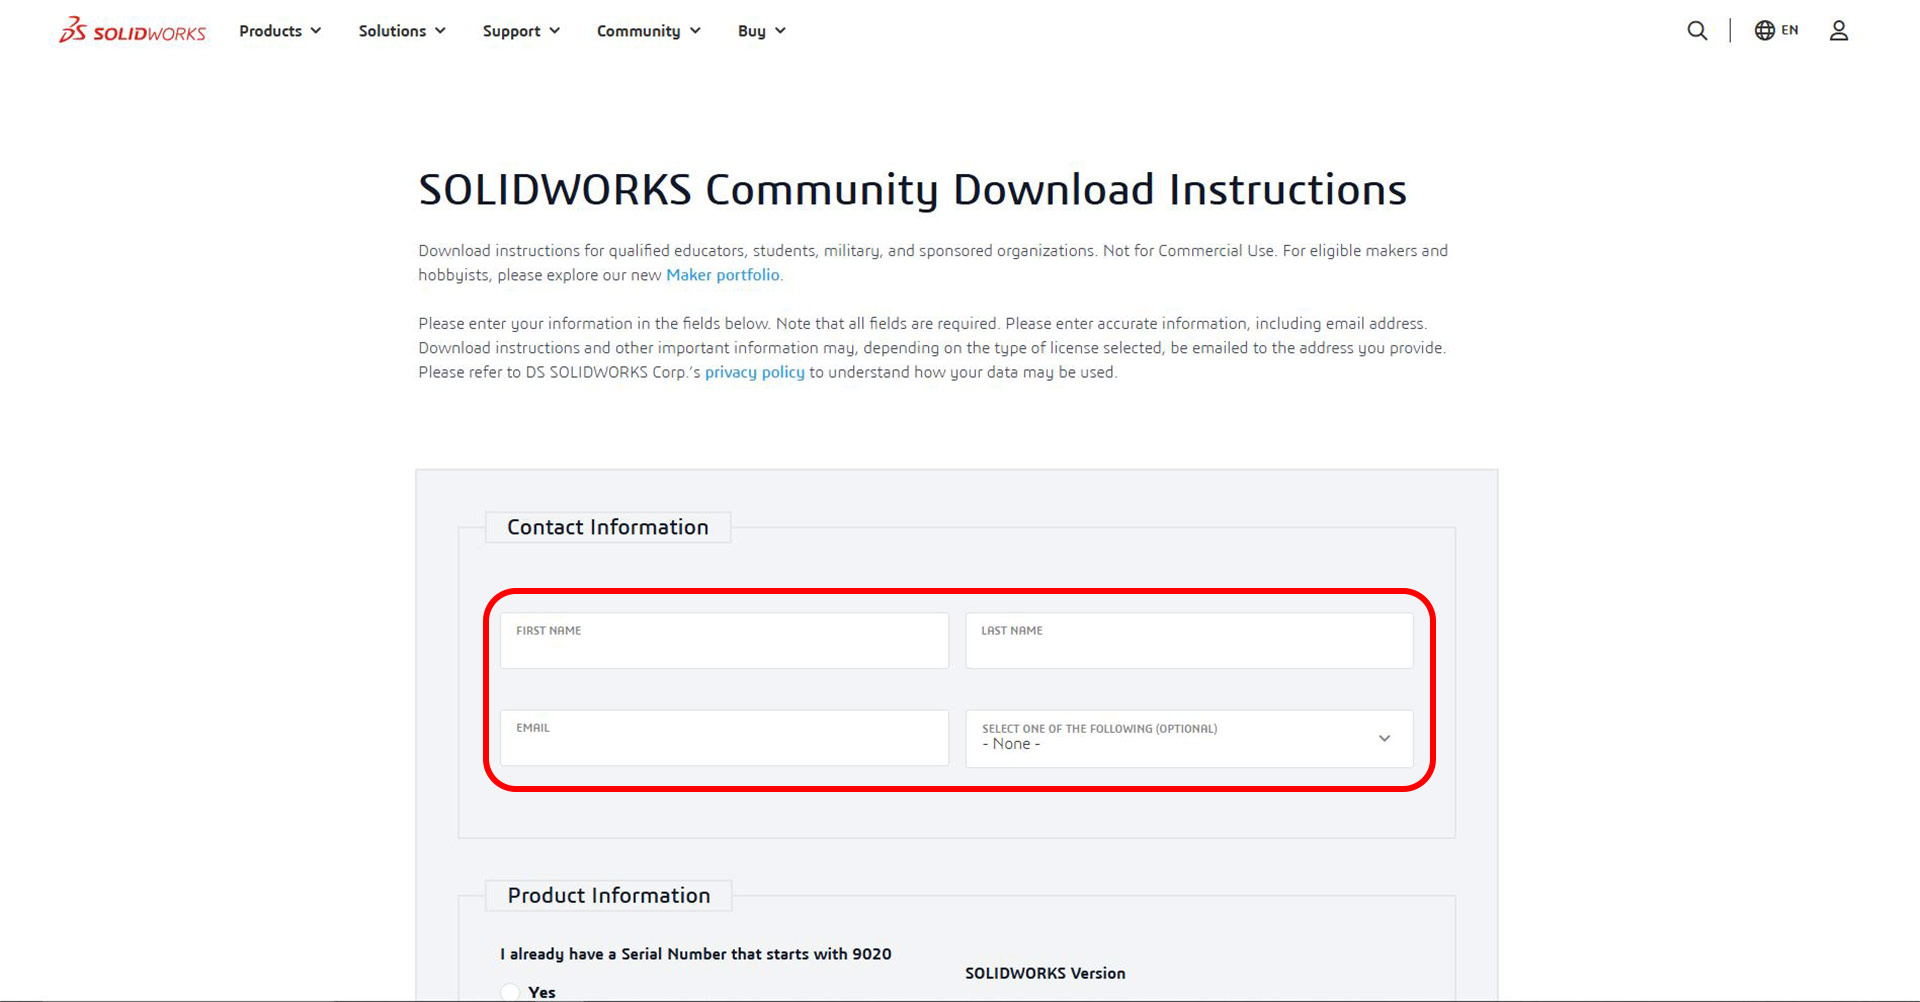
To download it, I visited solidworks download page and filled the necessary information
Here, I filled the require ingormation
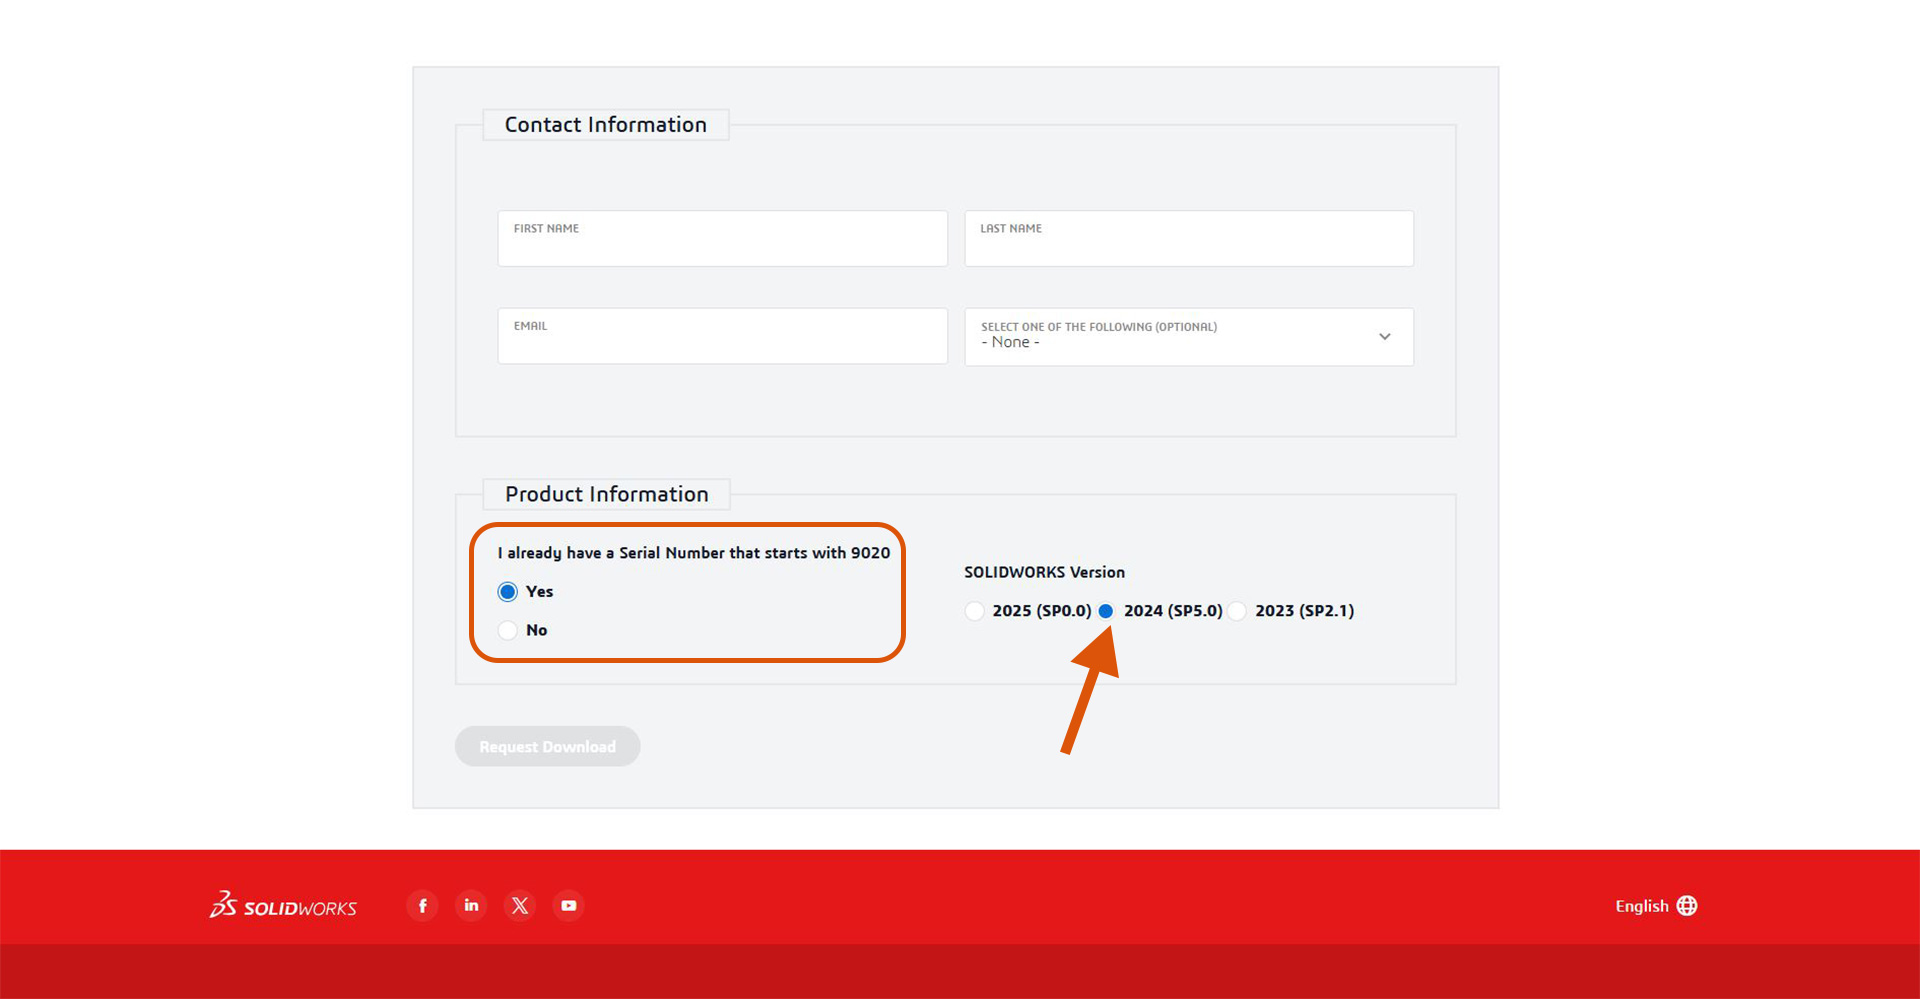
Since I have a license (as mentioned before), select yes. And make sure you choose exact year. License I received, it is that of 2024.
Afterwards, I opened SolidWorks setup.exe.
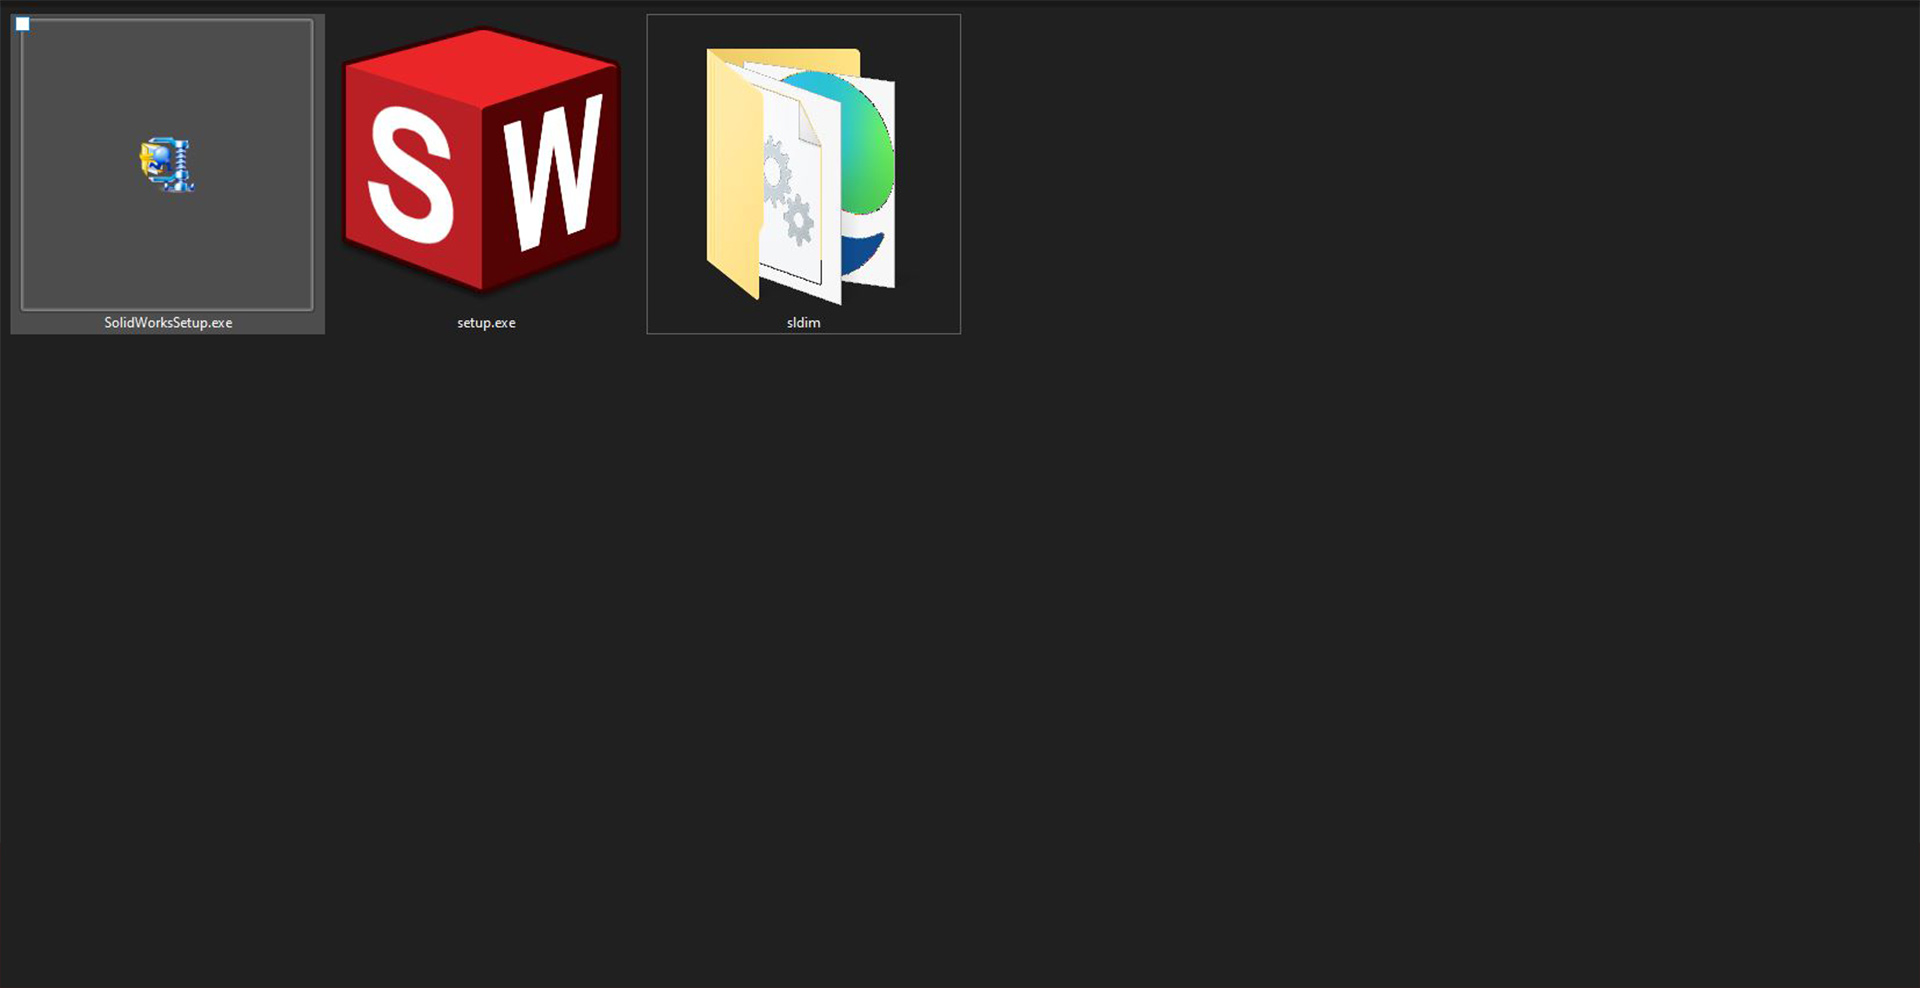
I selected Install on this computer and filled license serial number
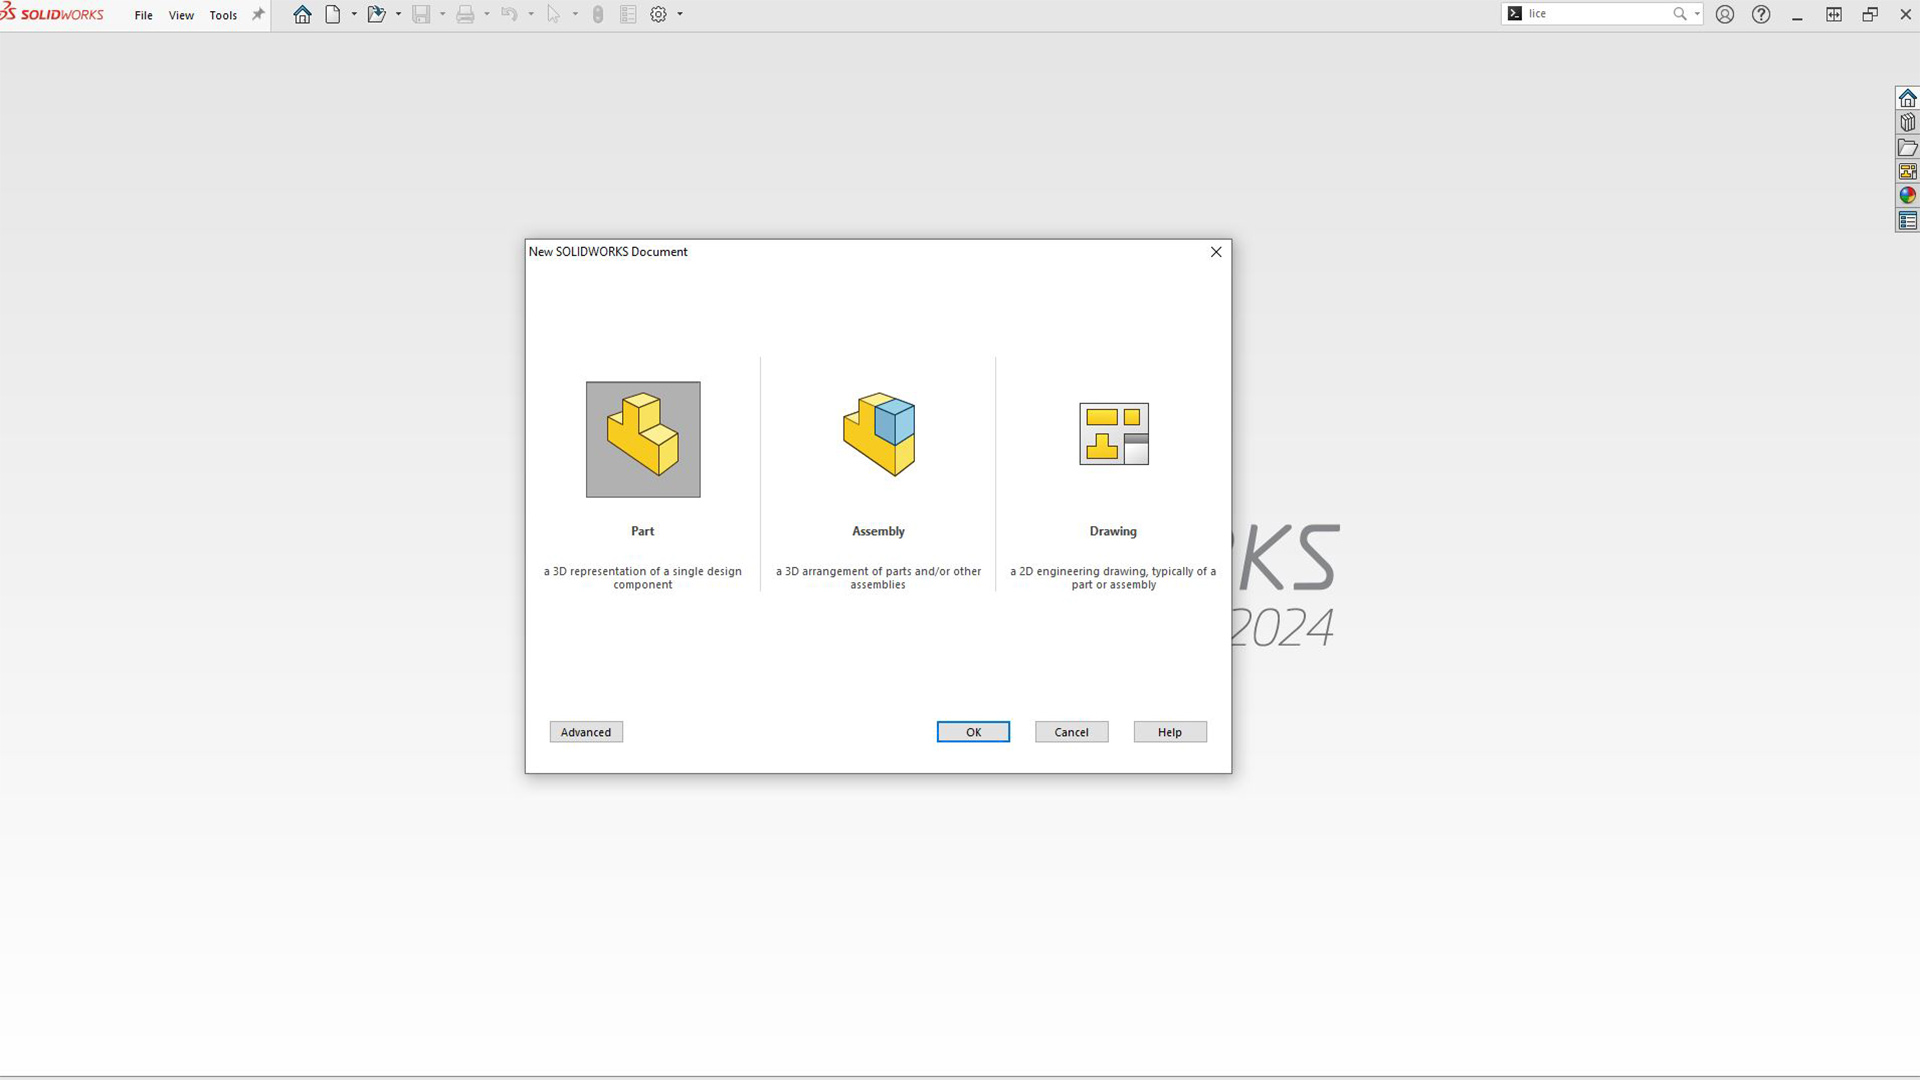
After installation is done, I started my design
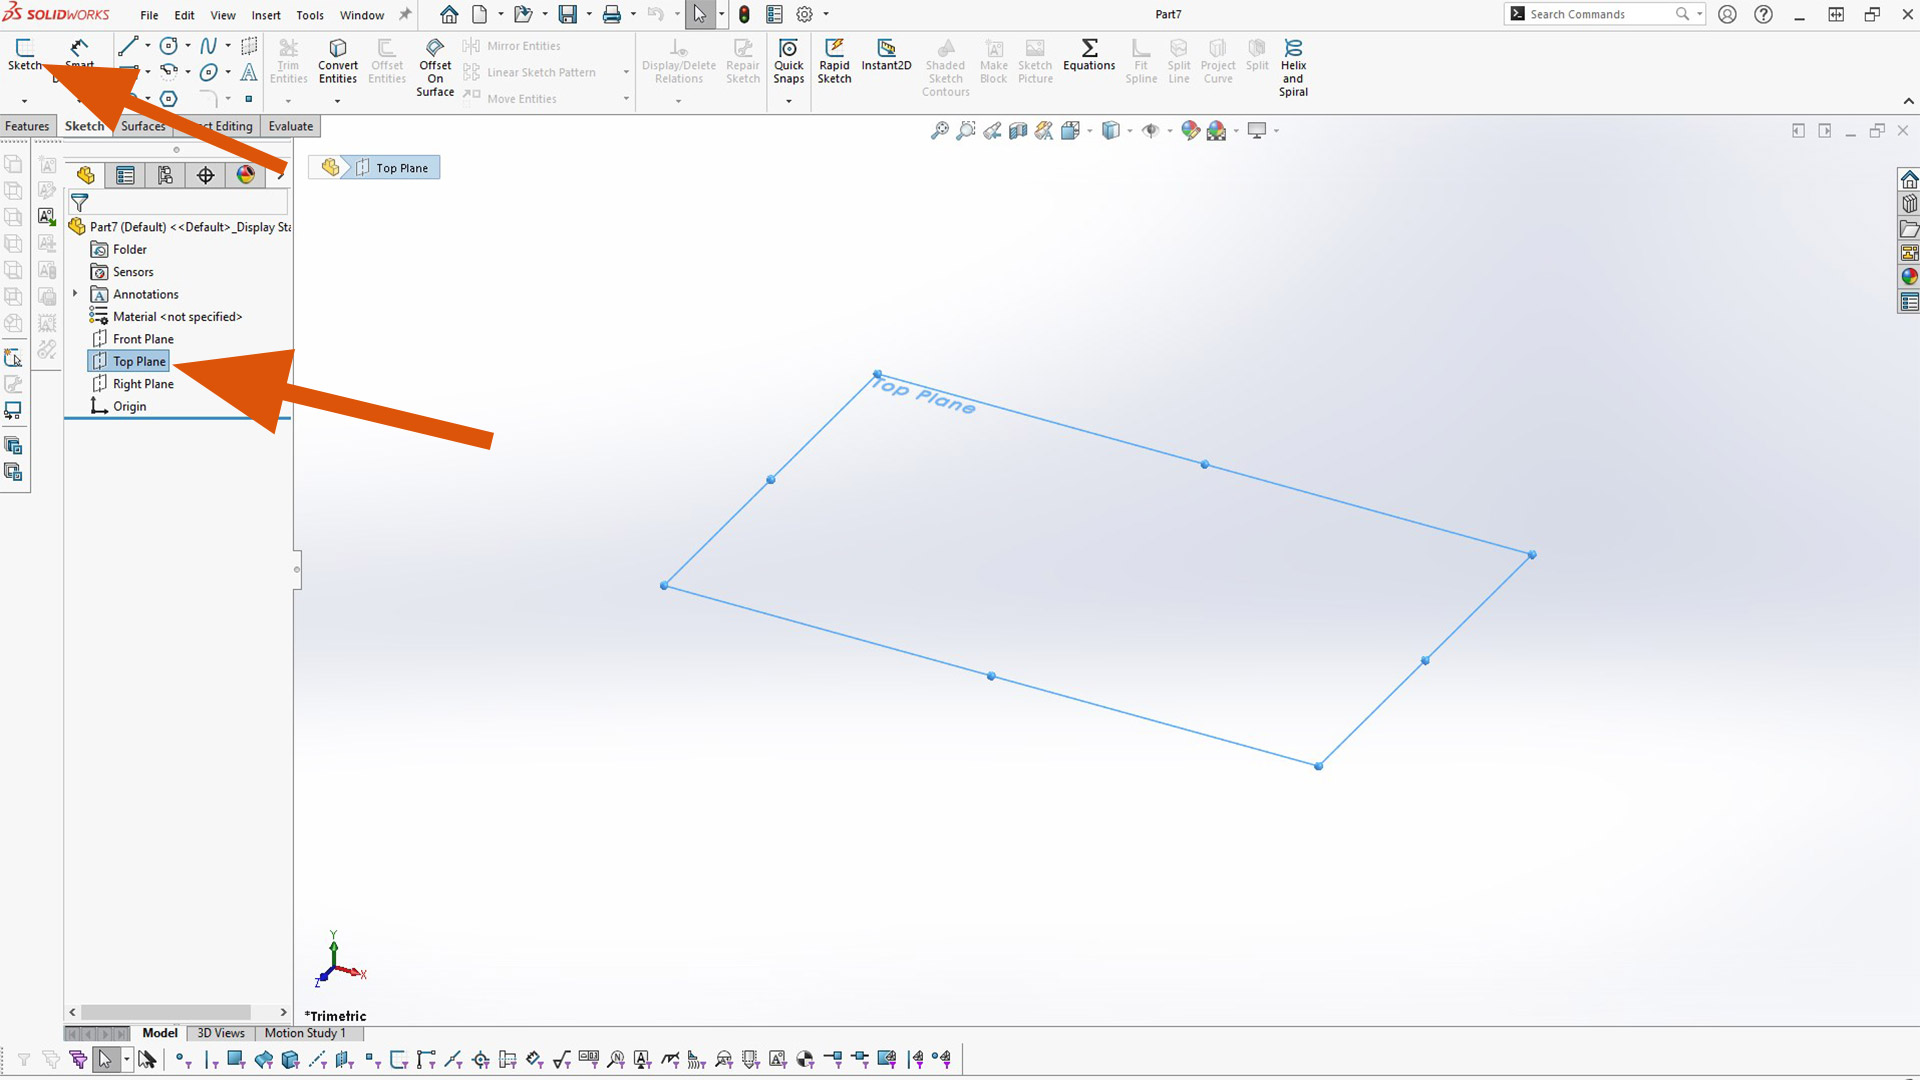
Designing in SolidWorks, first step is to create a part.
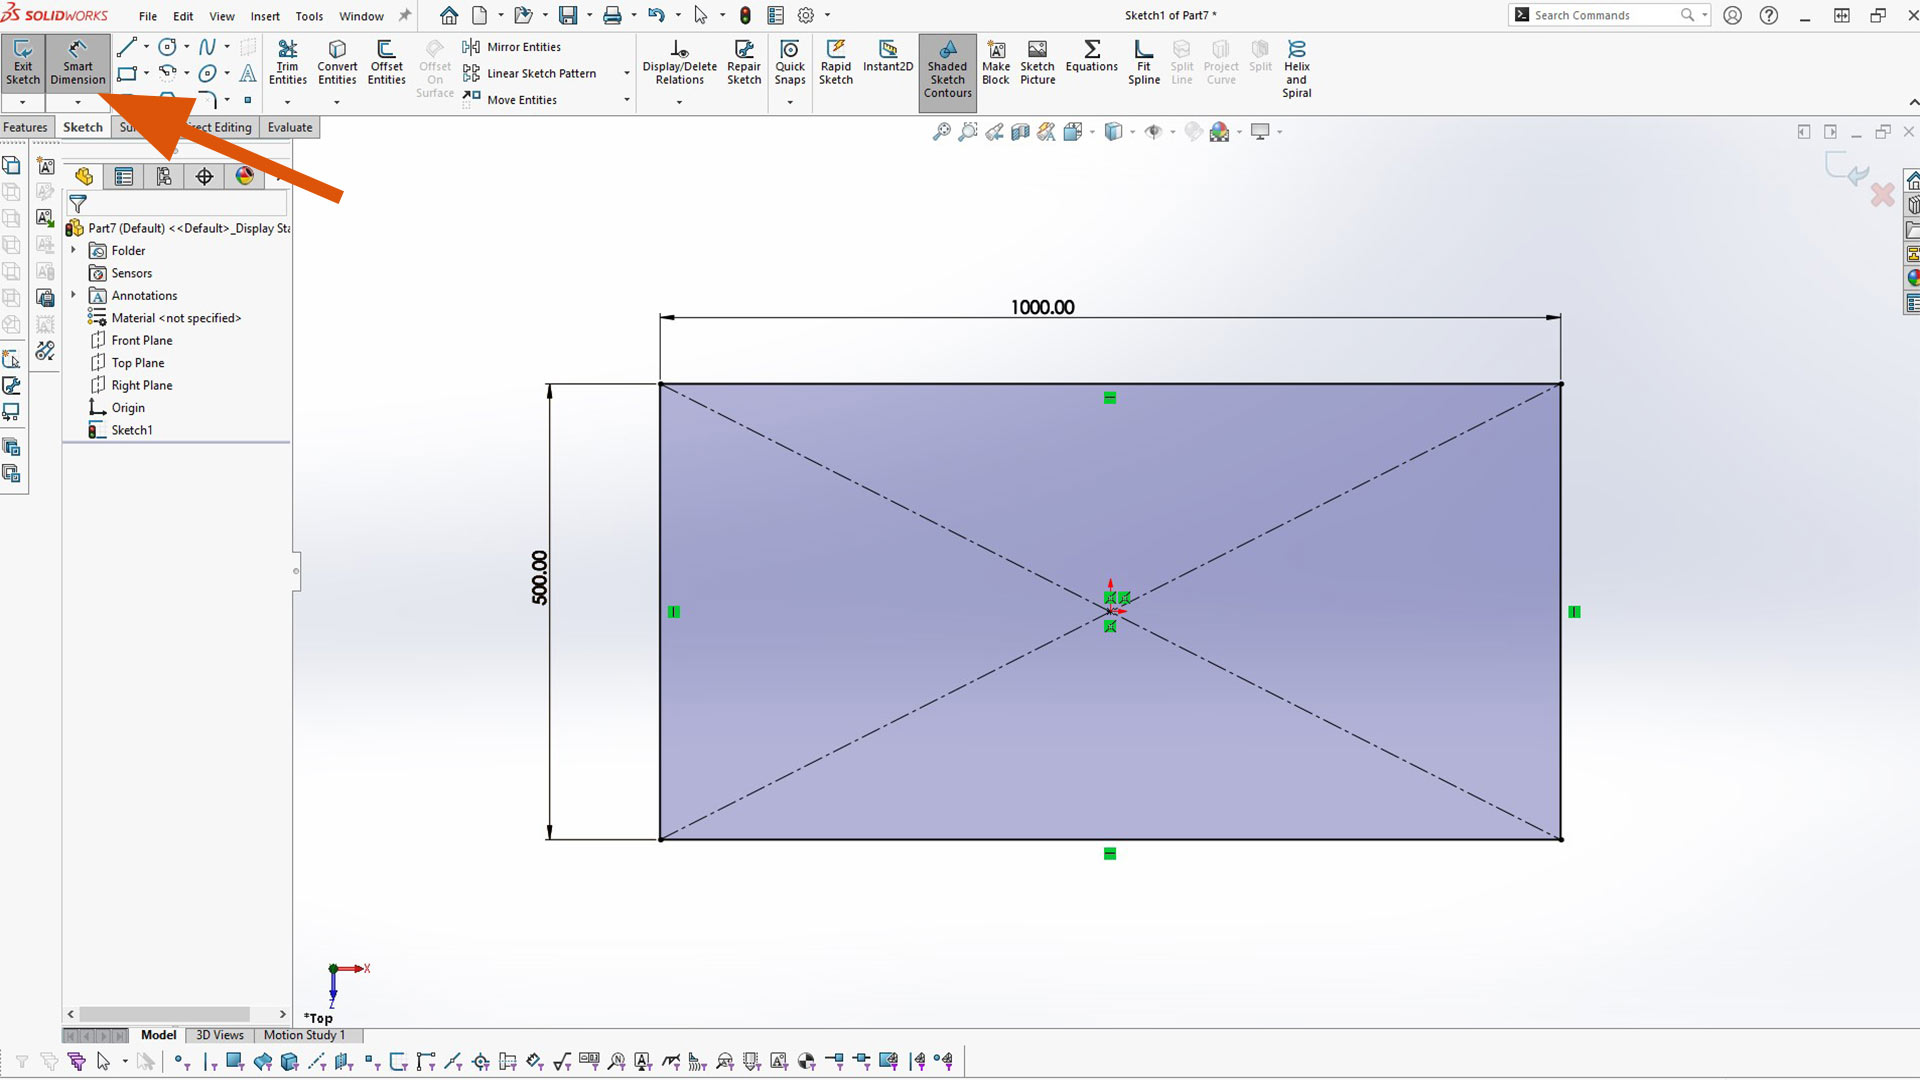
First step, I selected top plane and then selected sketch.
I then sketched a center rectangle from the origin.
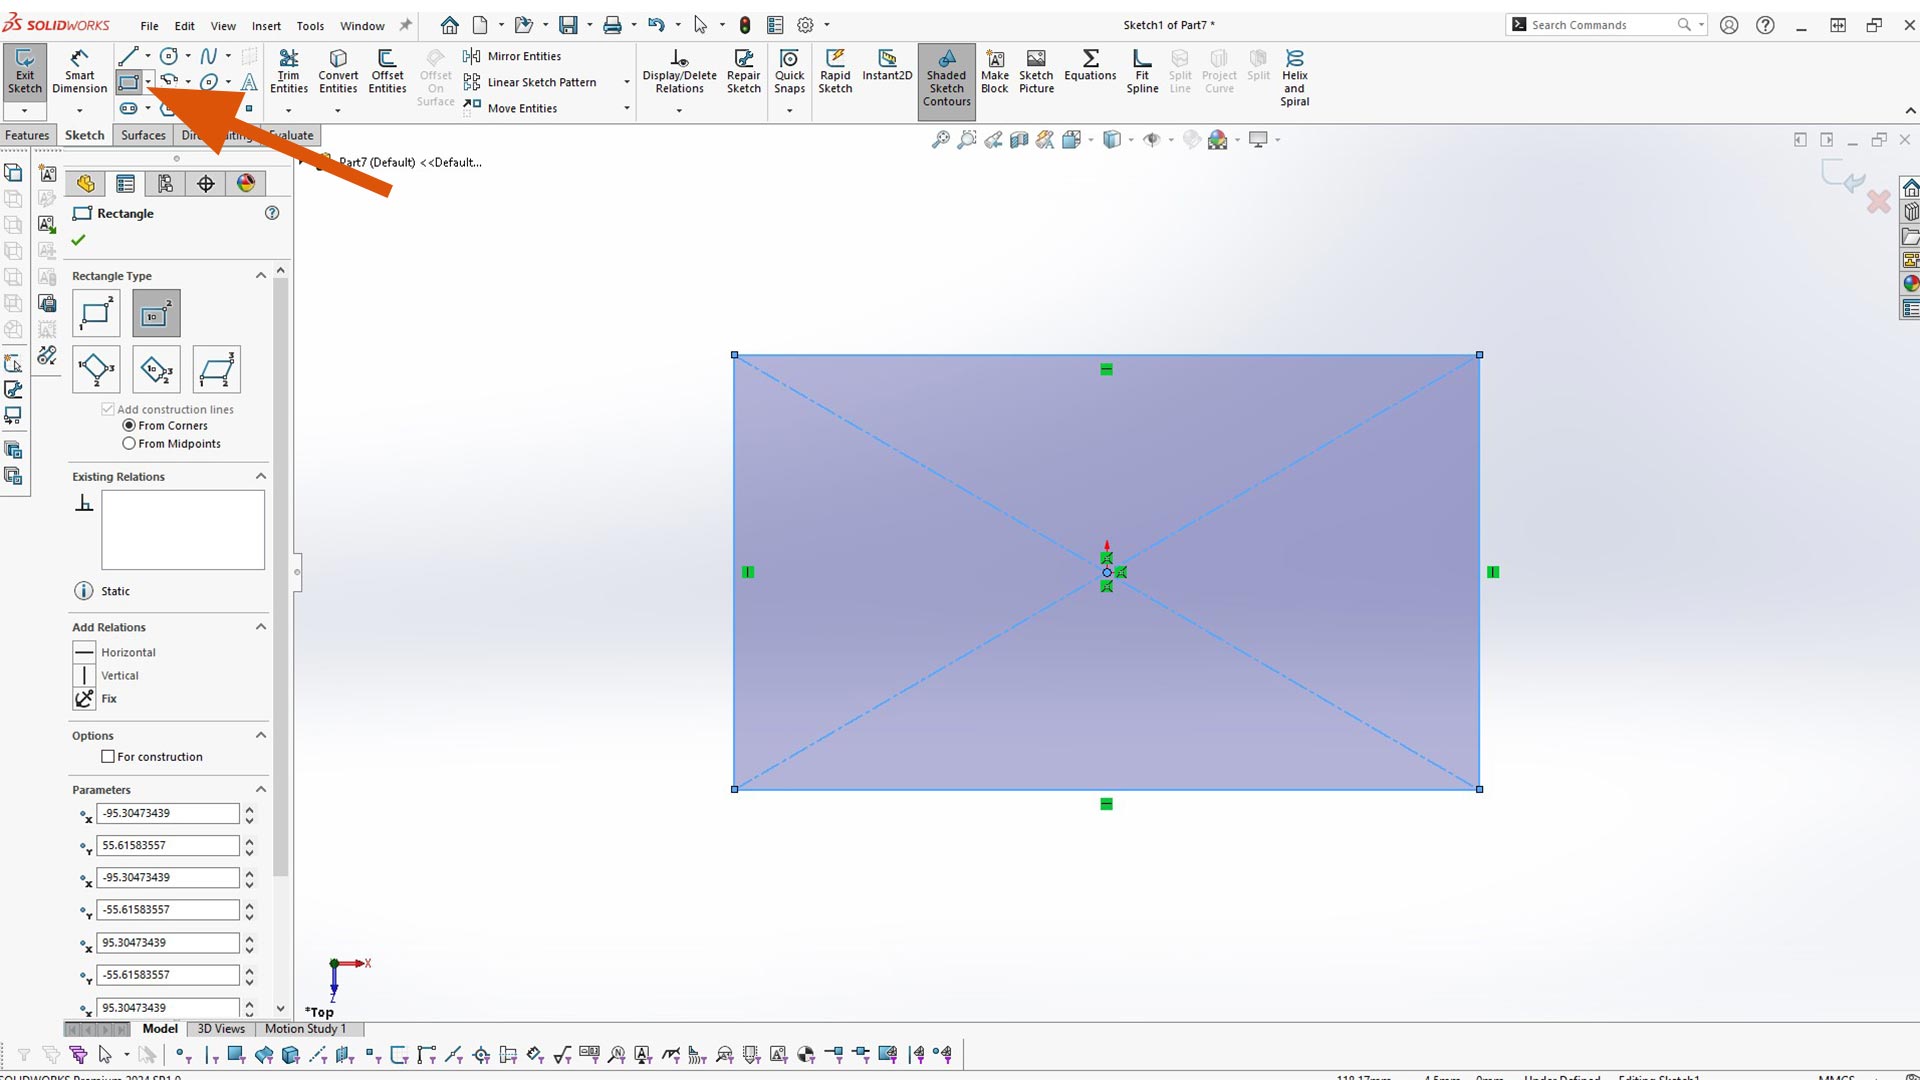
Next, I gave the rectangle size/dimention using smart dimension
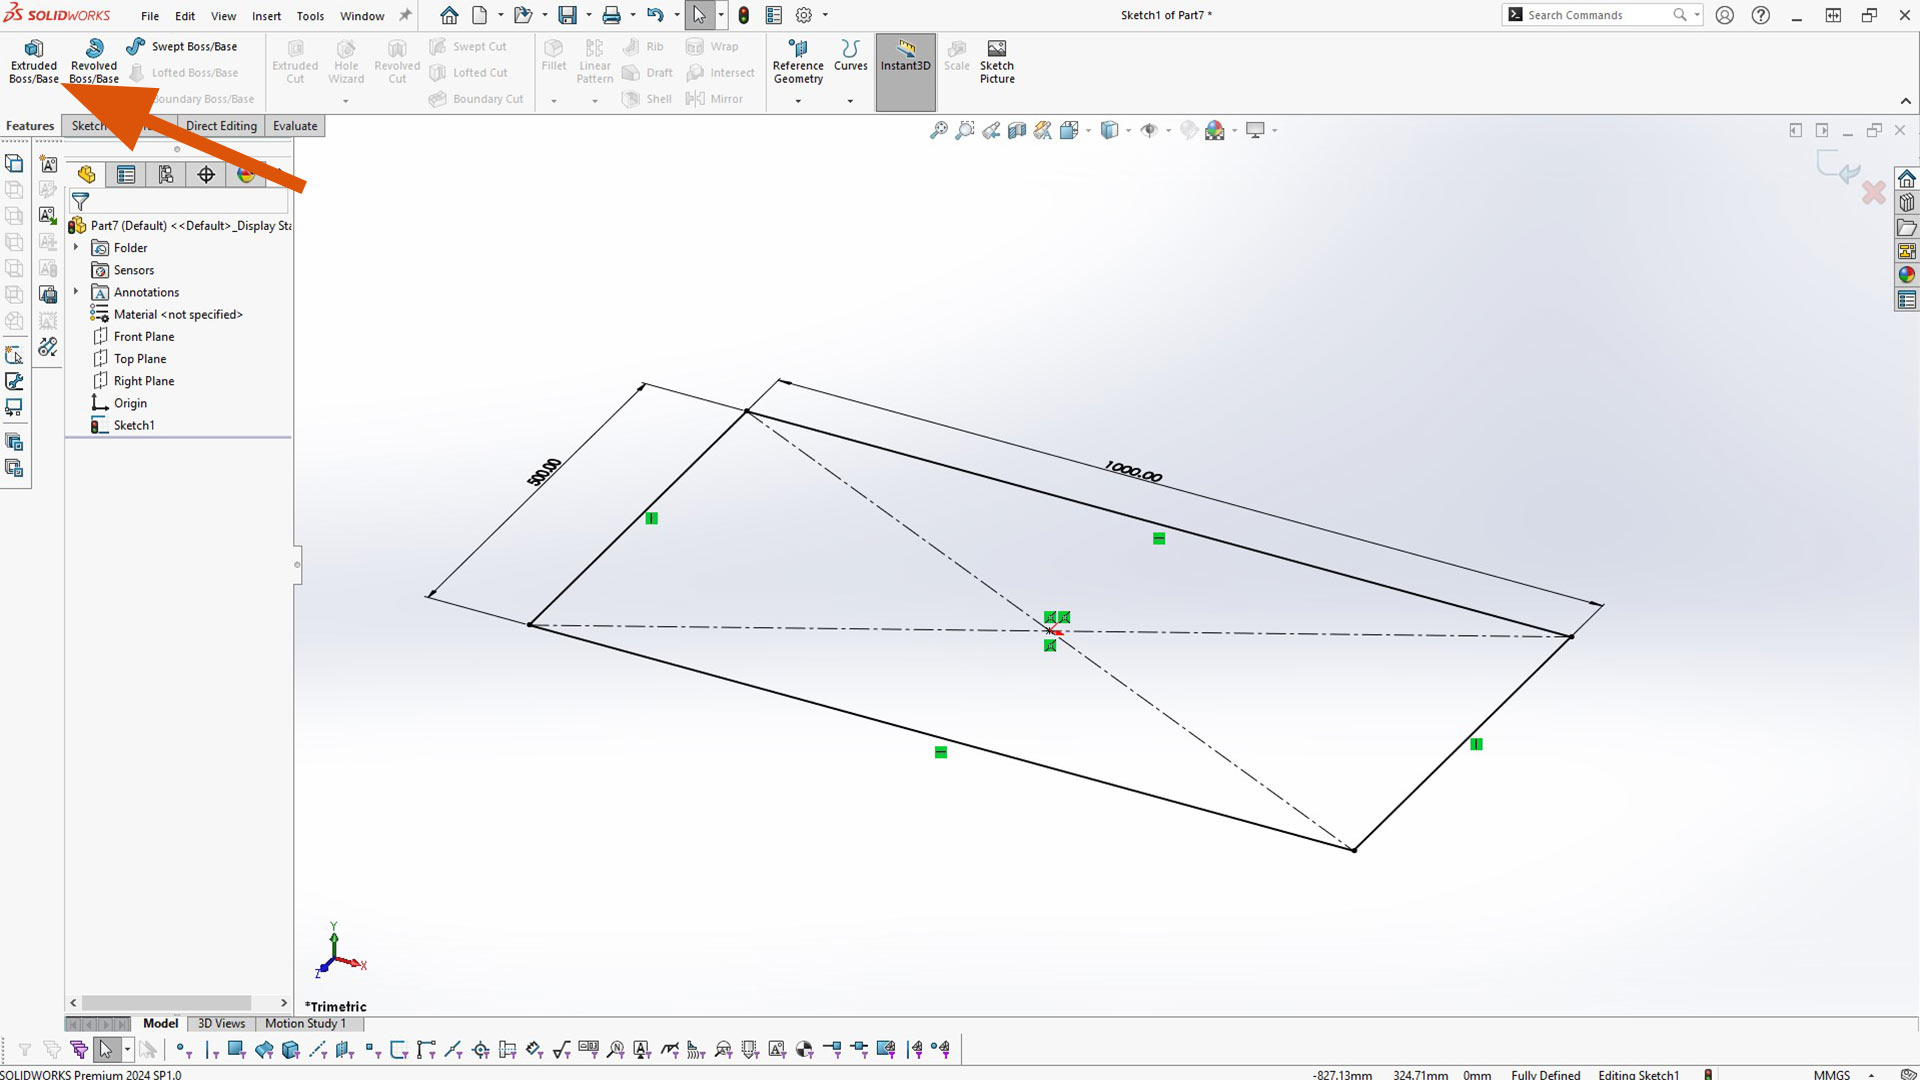
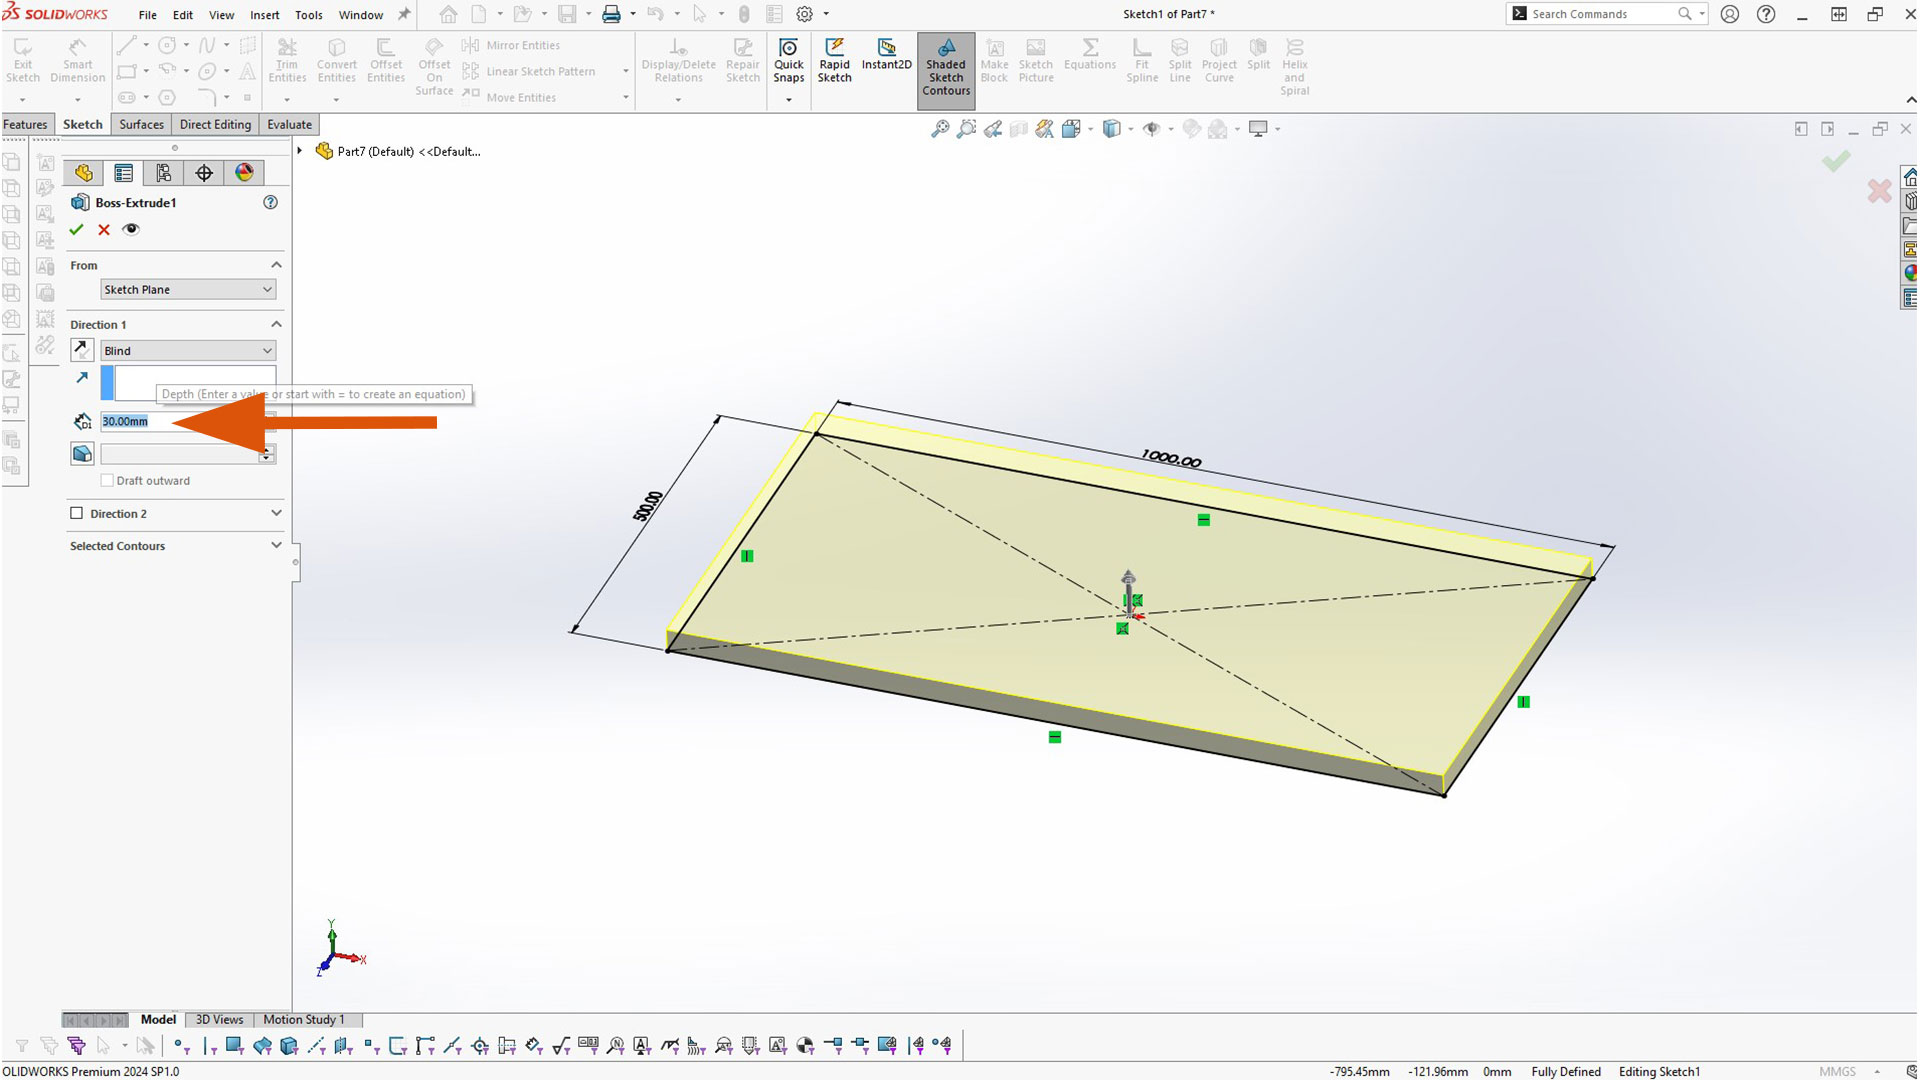
After, I gave it volume using Extruded Boss/Base
I used the thichness of 30mm
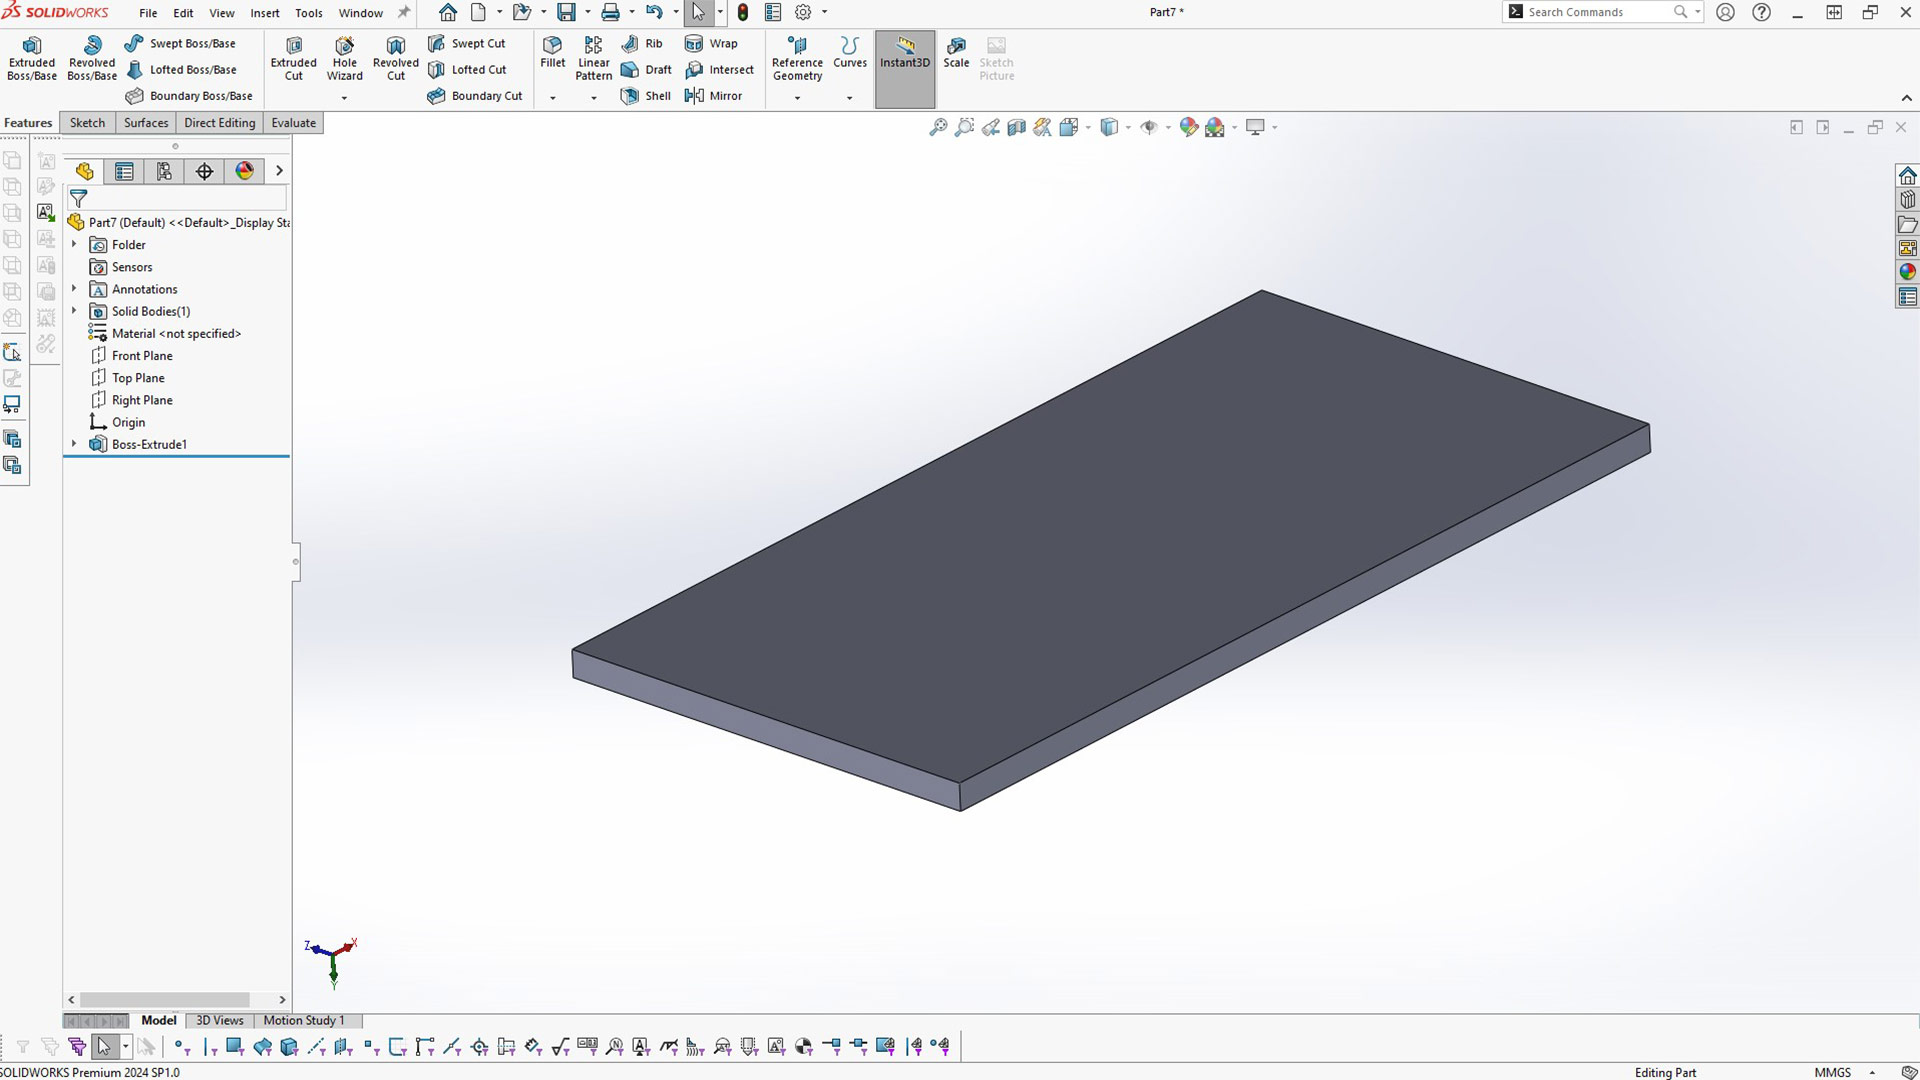
This is the result. A solid body
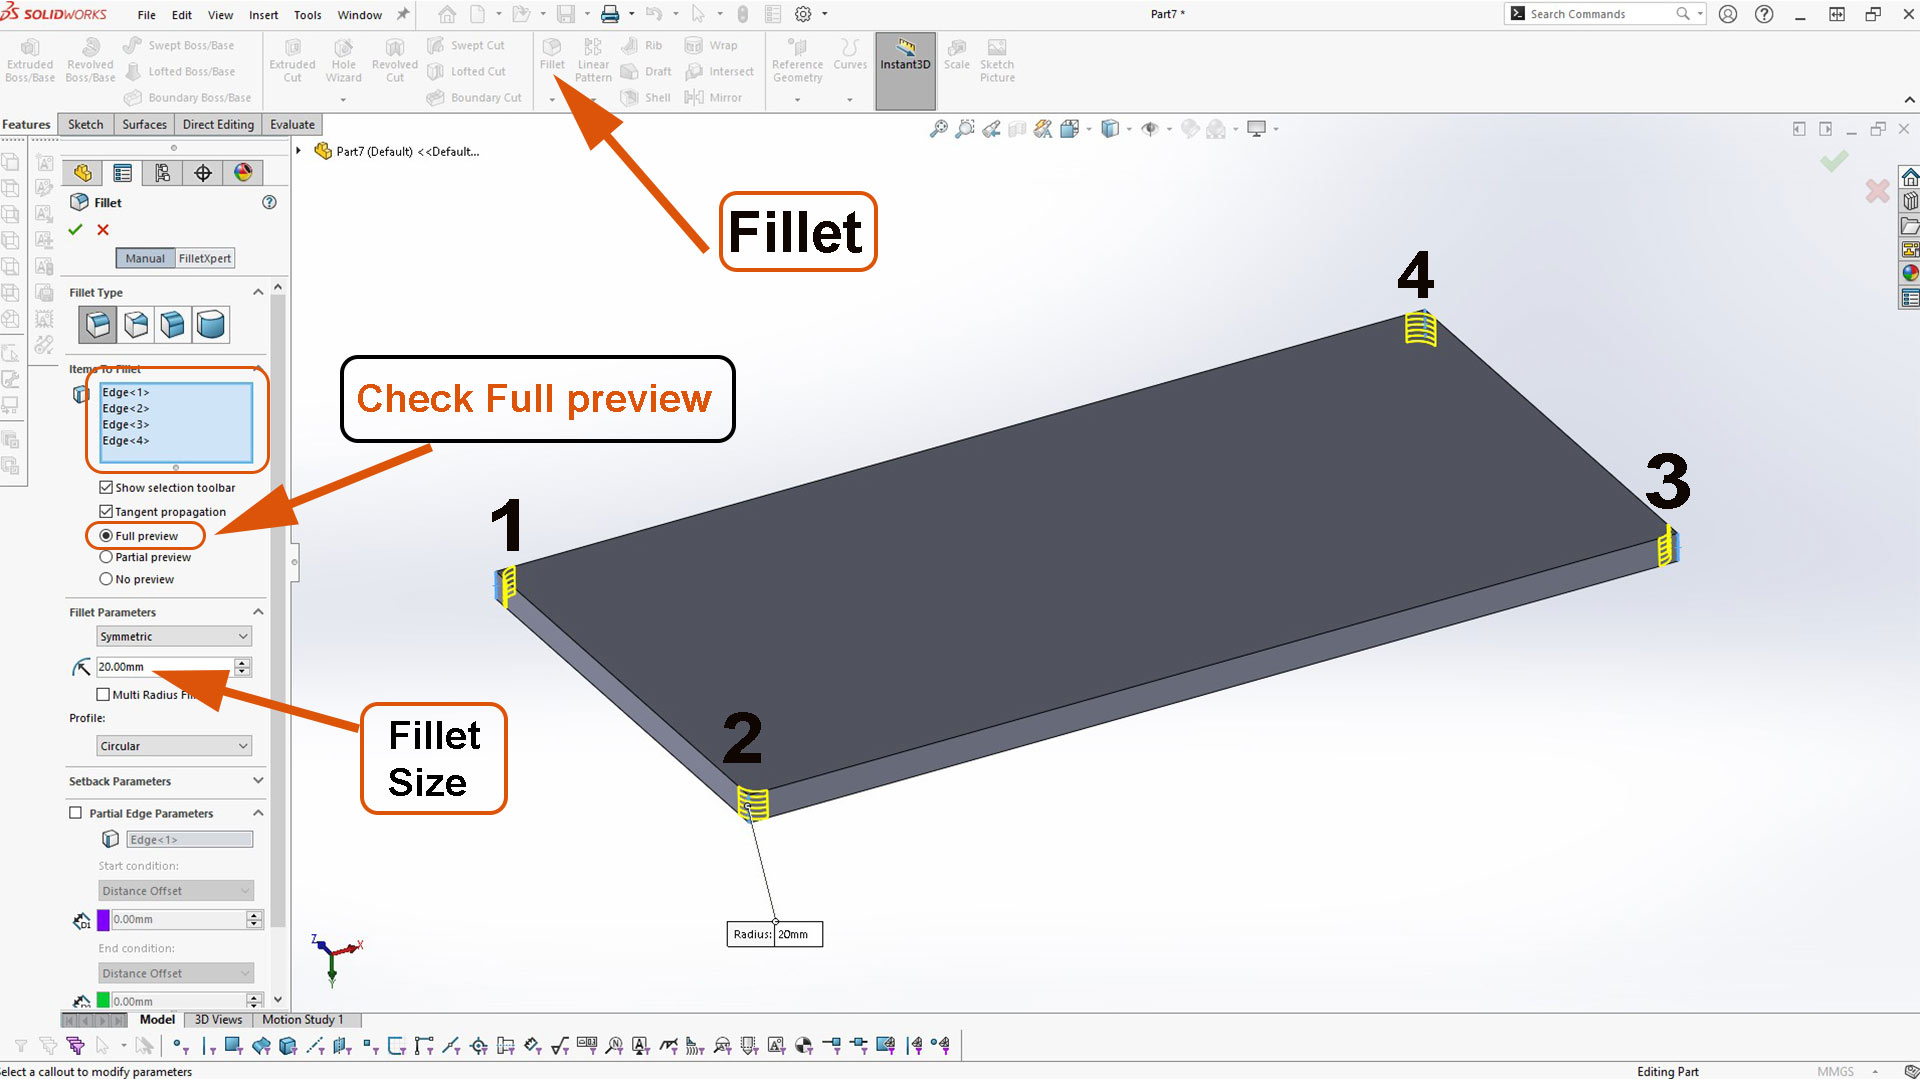
Next, I added fillet to curve the edge.
Steps to add filled to solid body in SolidWorks:
- Select fillet tool
- Select all the edges or surfaces you want to add fillet
- Fill in fillet size
- Check Full preview. This allow you to preview fillet size. You need to do this step when you are using fillet for the first time on the computer. Next time, it will turned on by default.
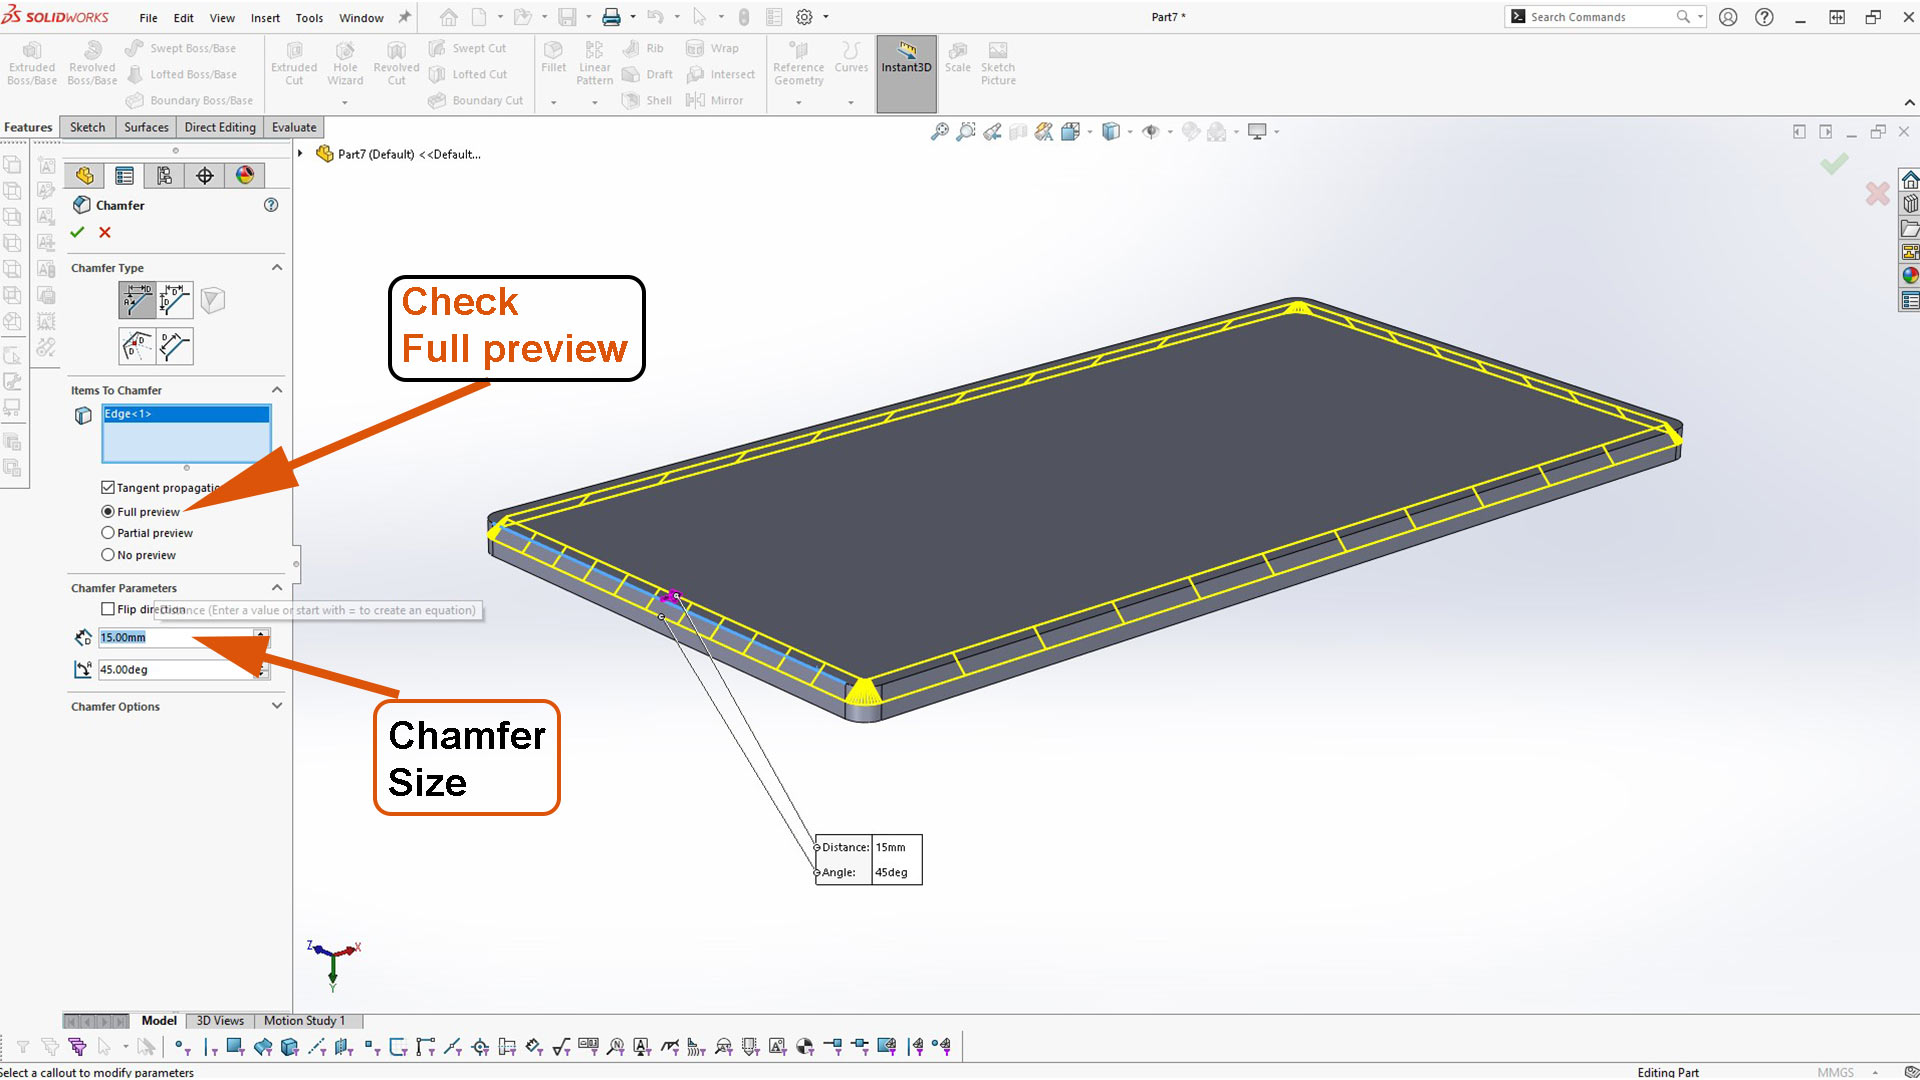
Next, I added chamfer
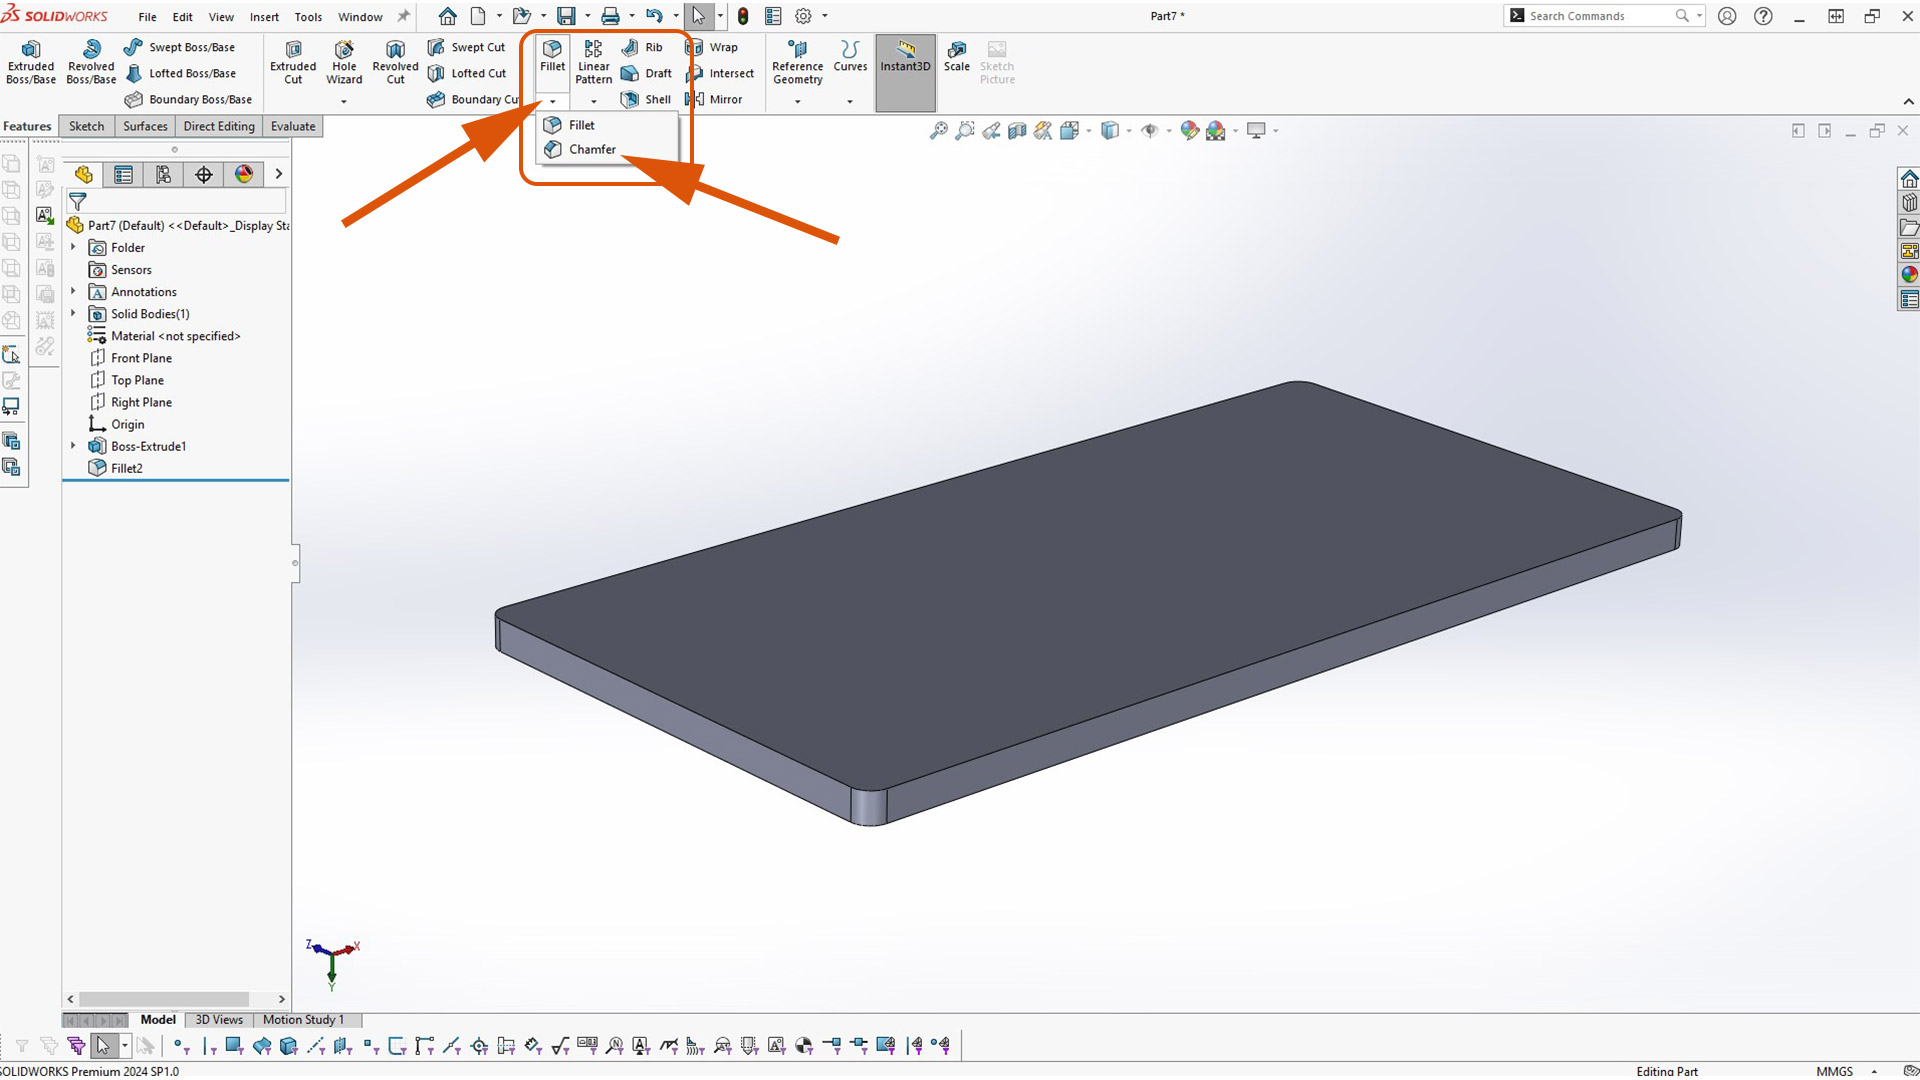
I selected the outer edge and typed 15mm value
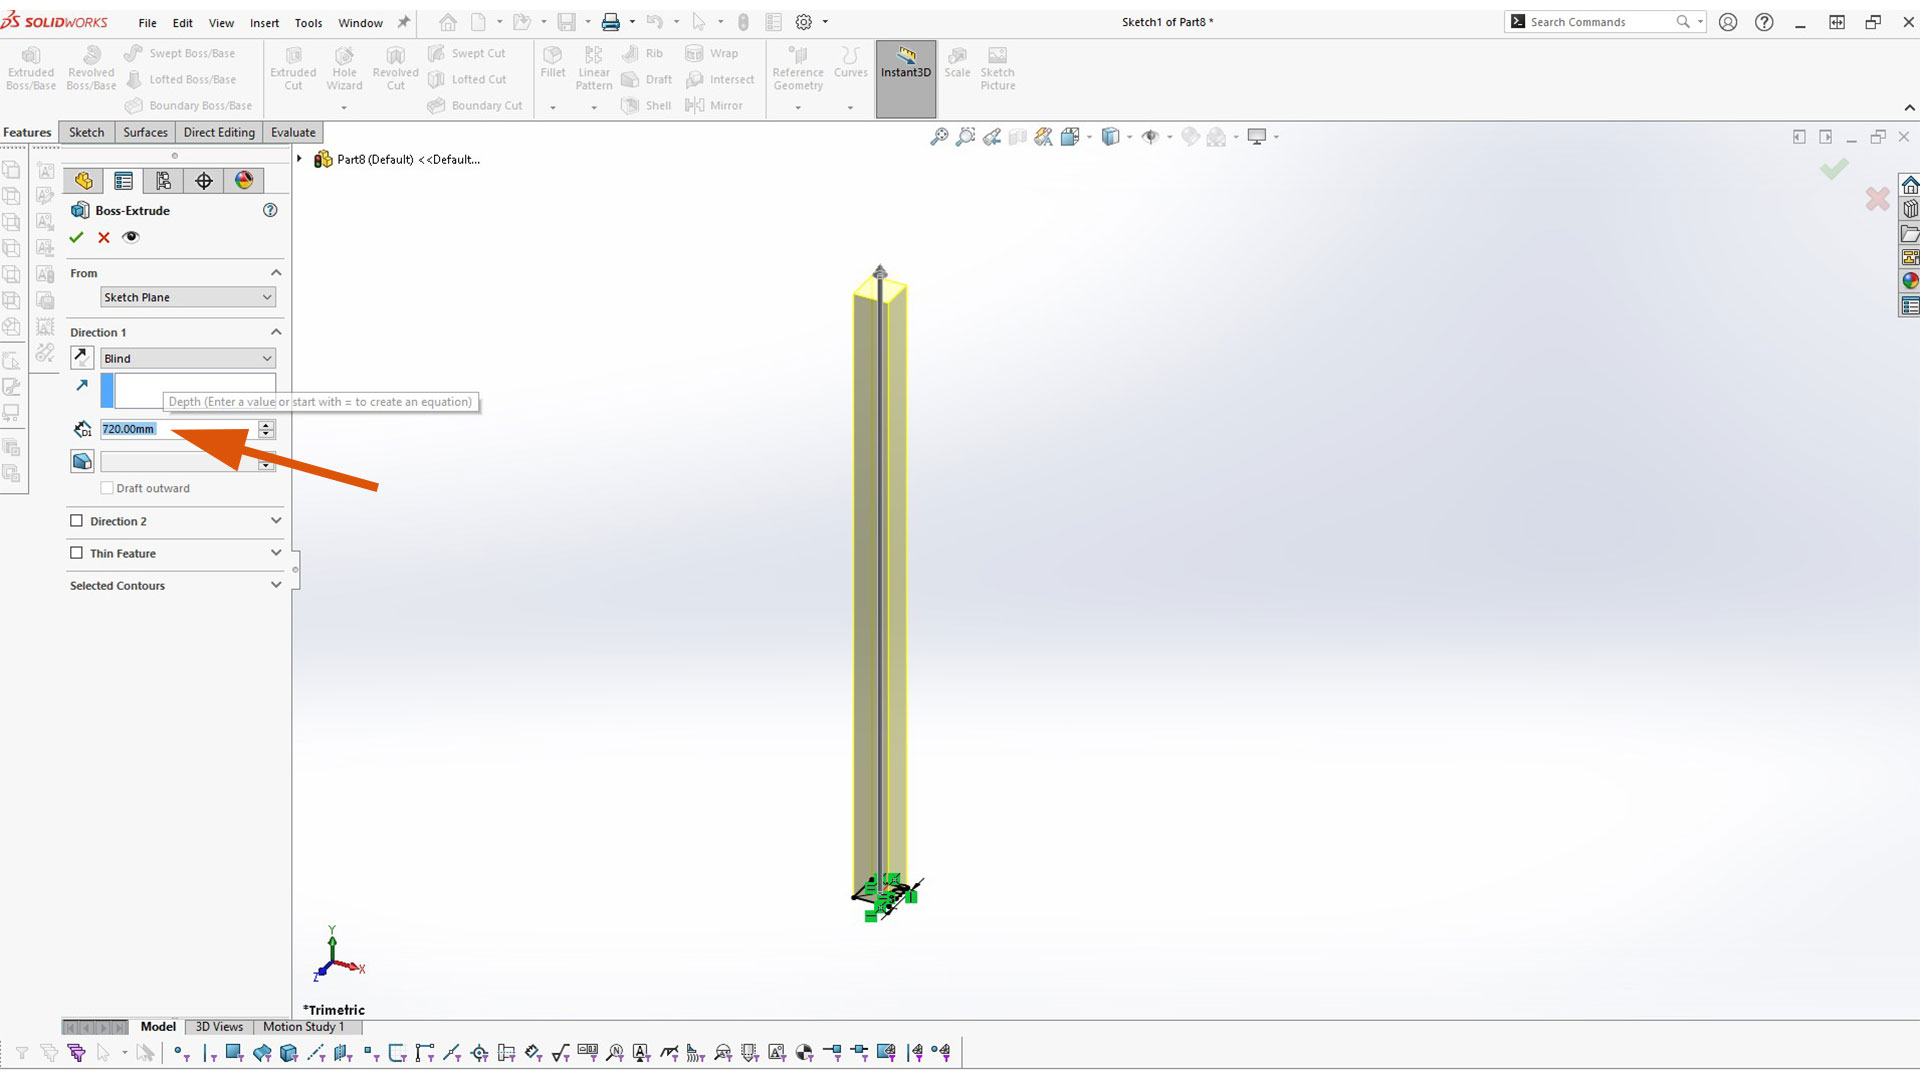
To design table leg, I started by creating a rectangle and added equal relation.
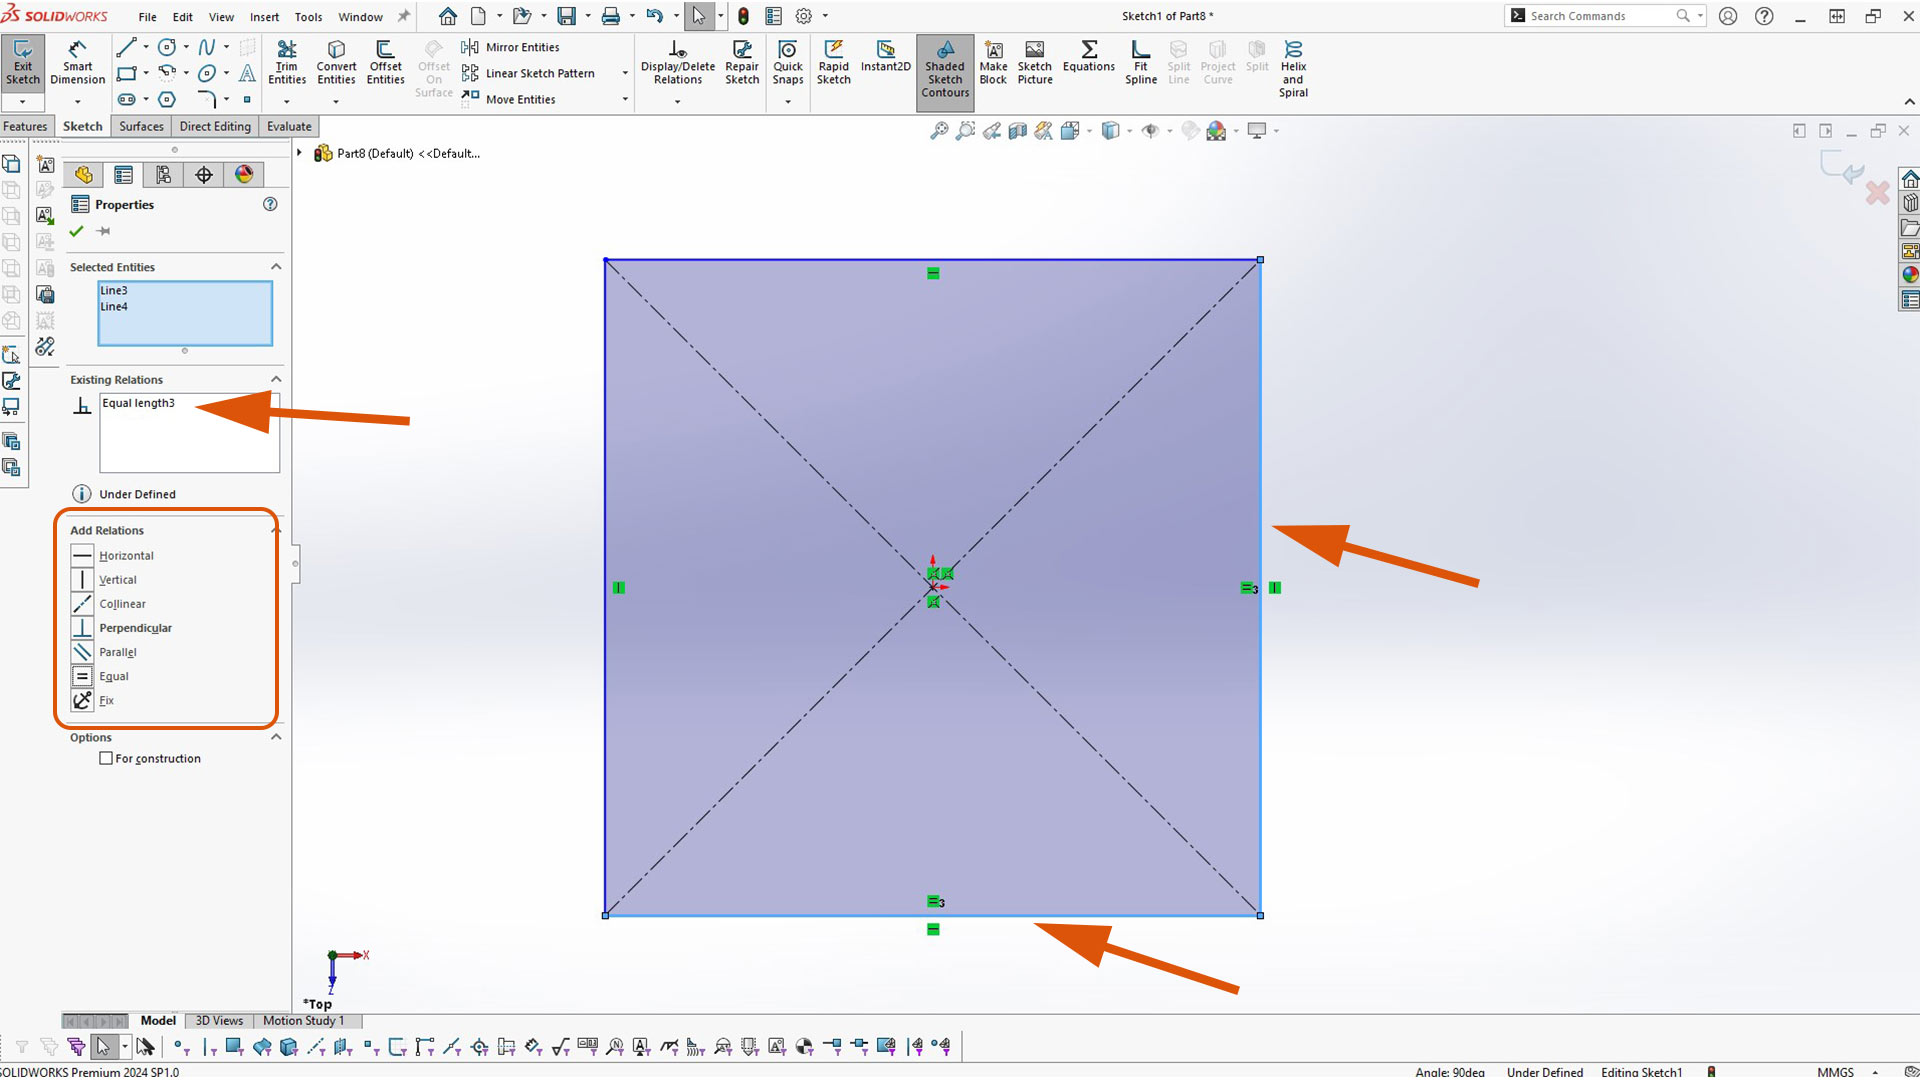
Since I added equal relation, I only need to add dimention on only one side of the rectangle.

After, I used Boss Extrude to add the thichness/height
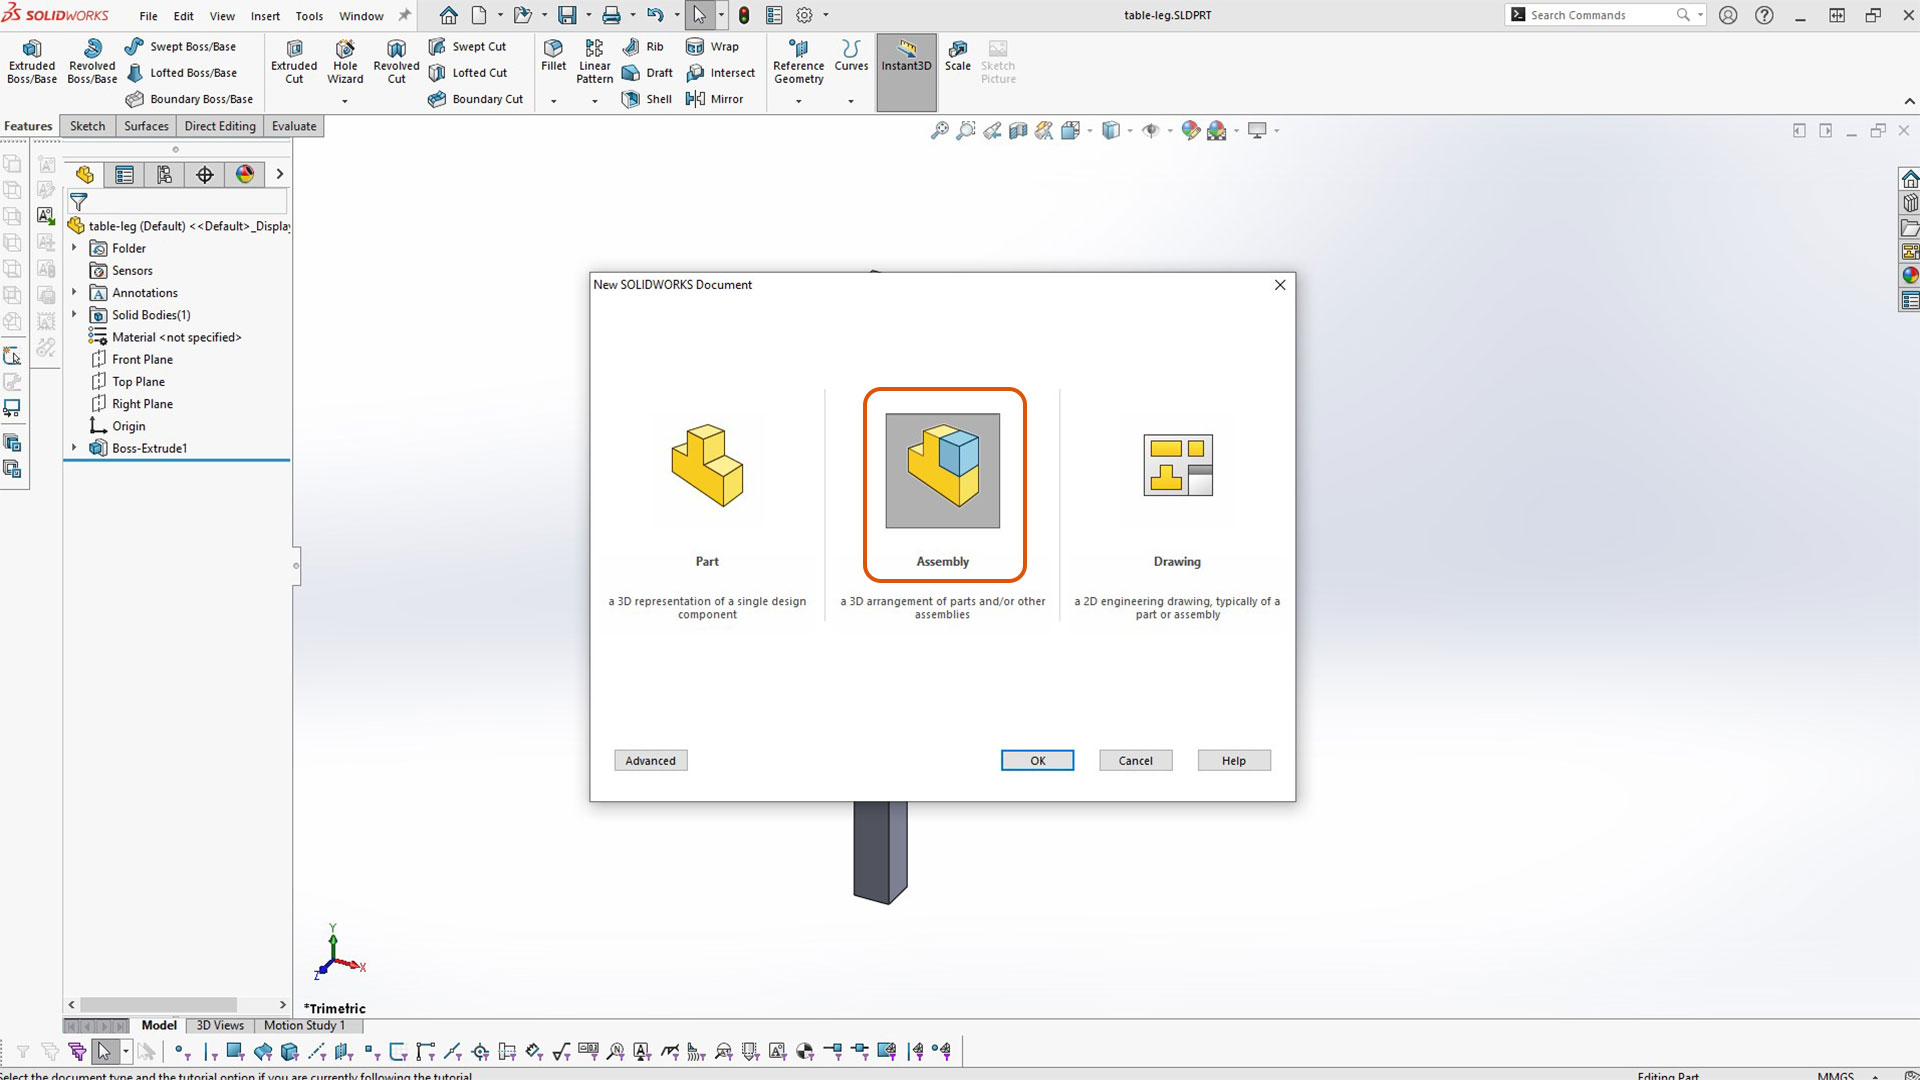
Next step, is to assembly all parts together.
I created assembly part by creating new file and select Assembly as highlighted below
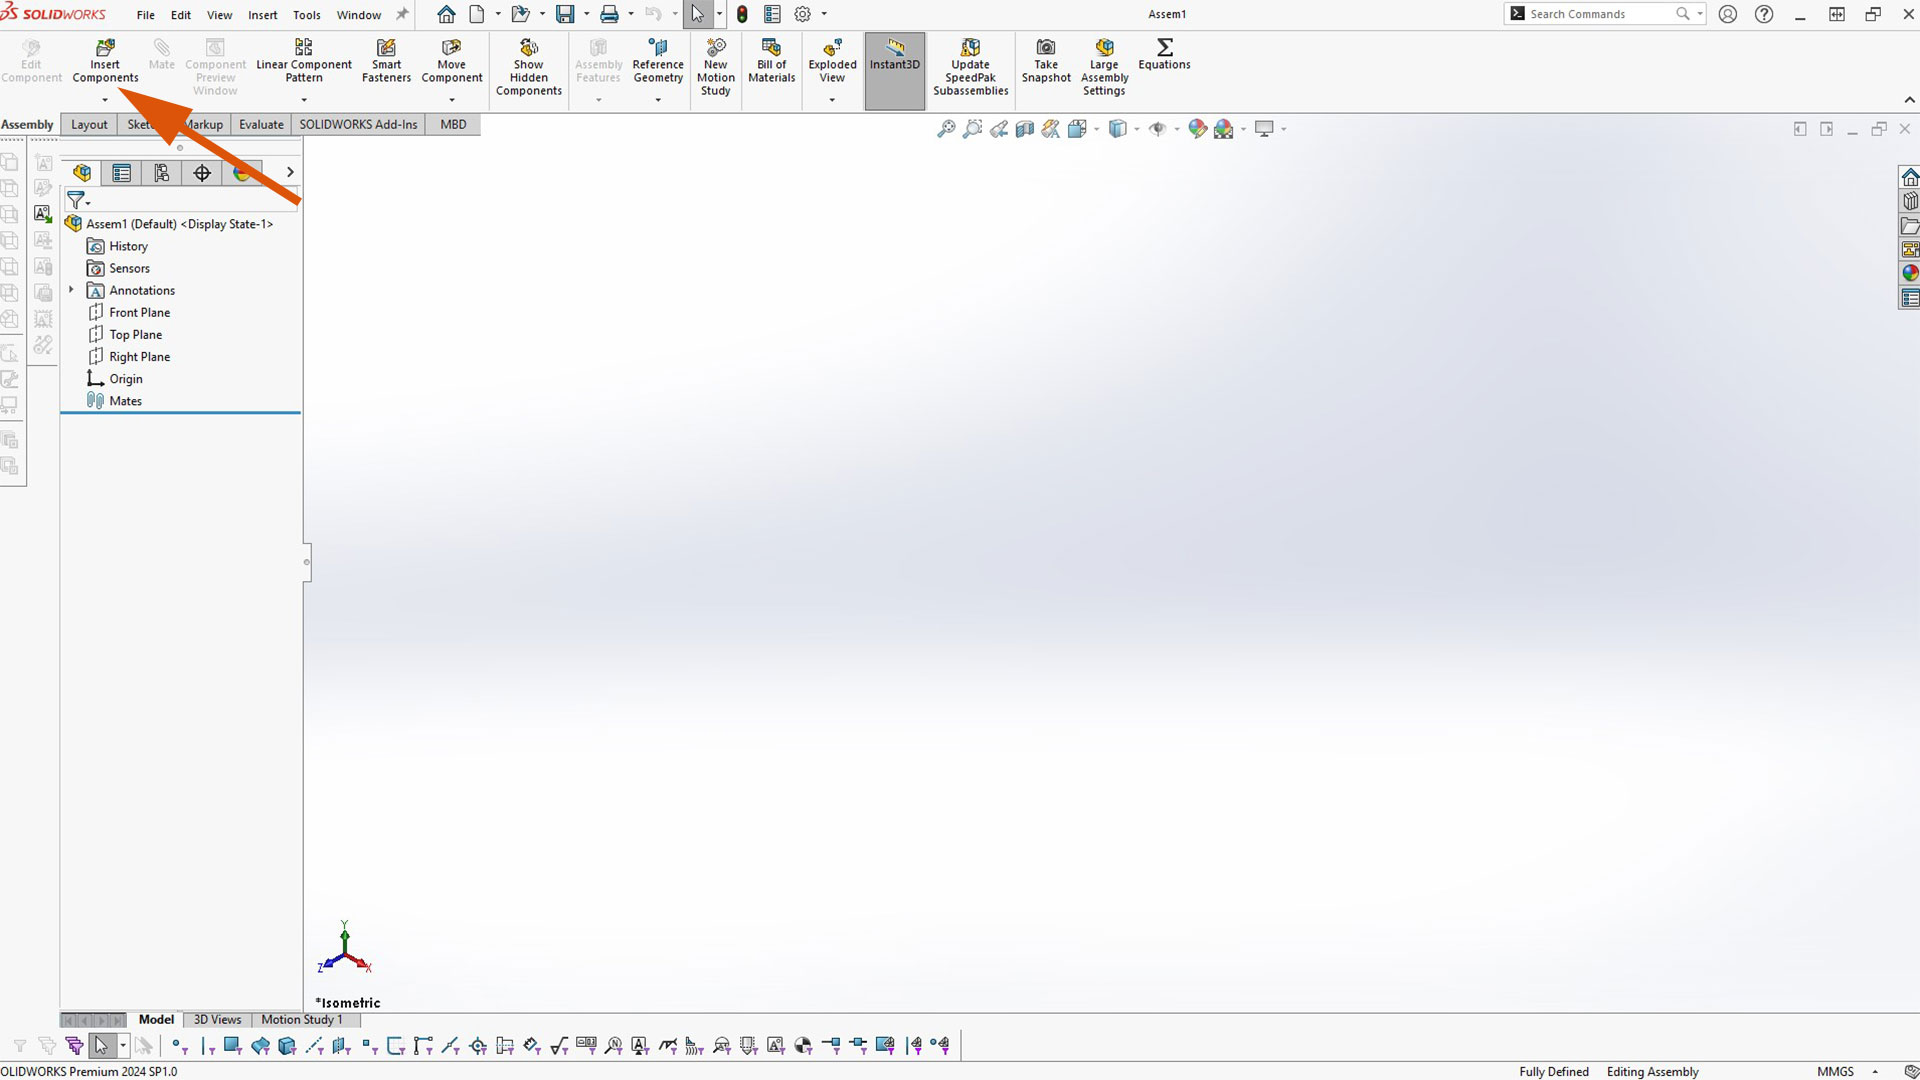
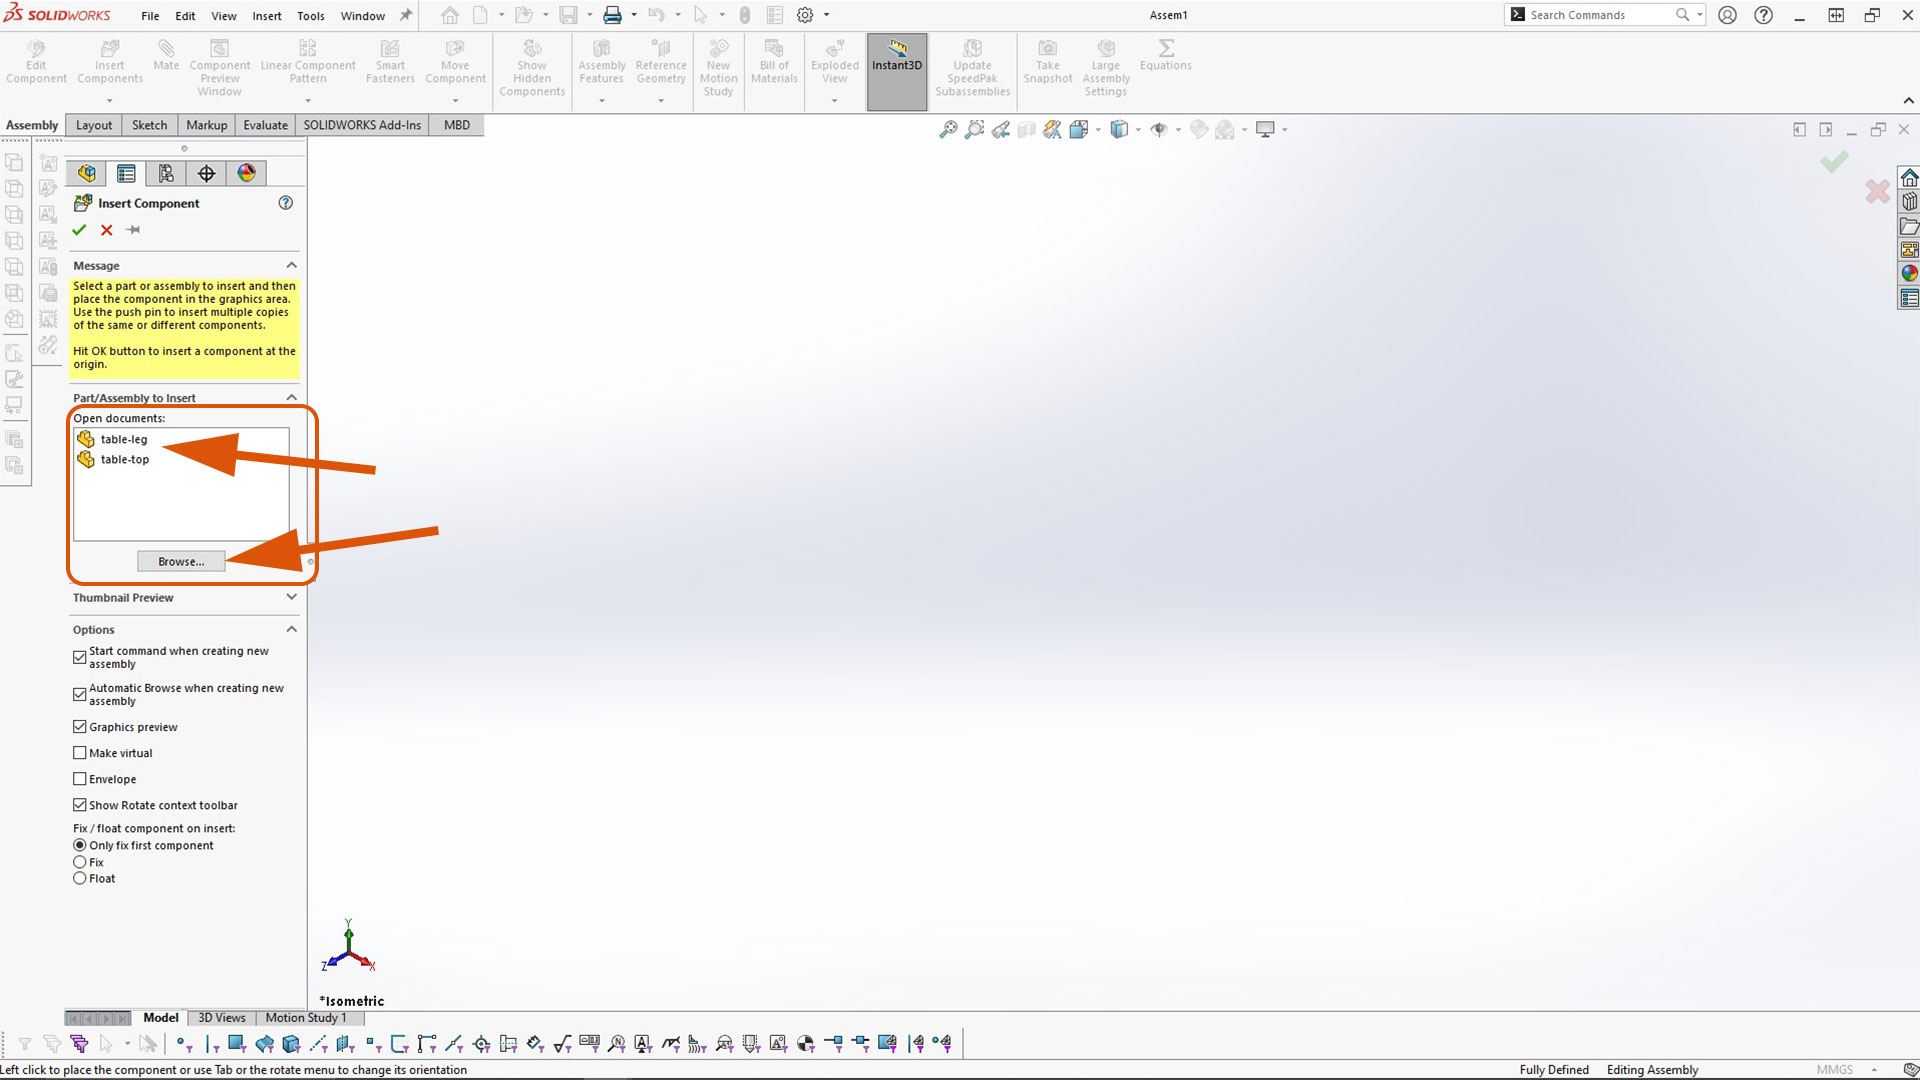
Next, I inserted components/parts
When parts you want to insert into assembly are open you directly select them from open document dialogue or else brouse them
Next, I used mate to connect leg to table top.
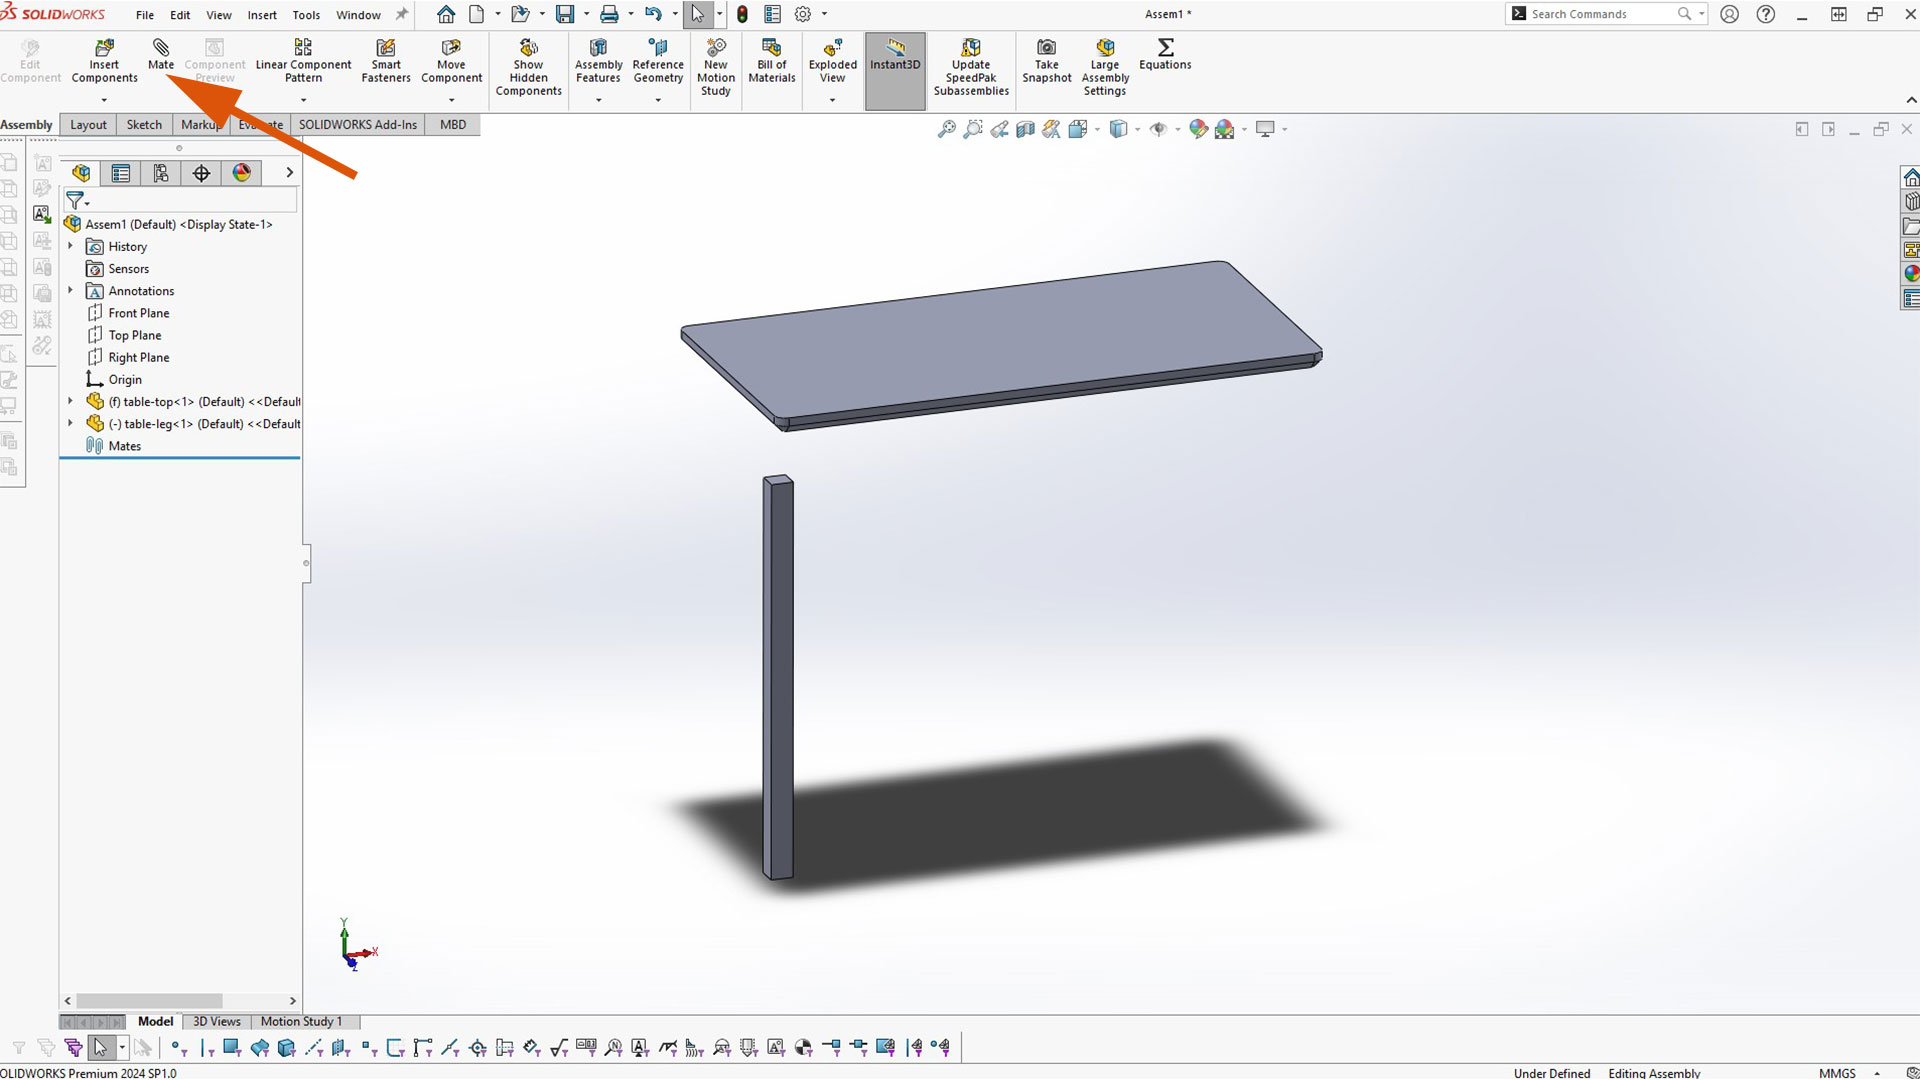
After selecting mate option, I selected the top face of leg and bottom face of table top. Coincidence mate is selected automatically.

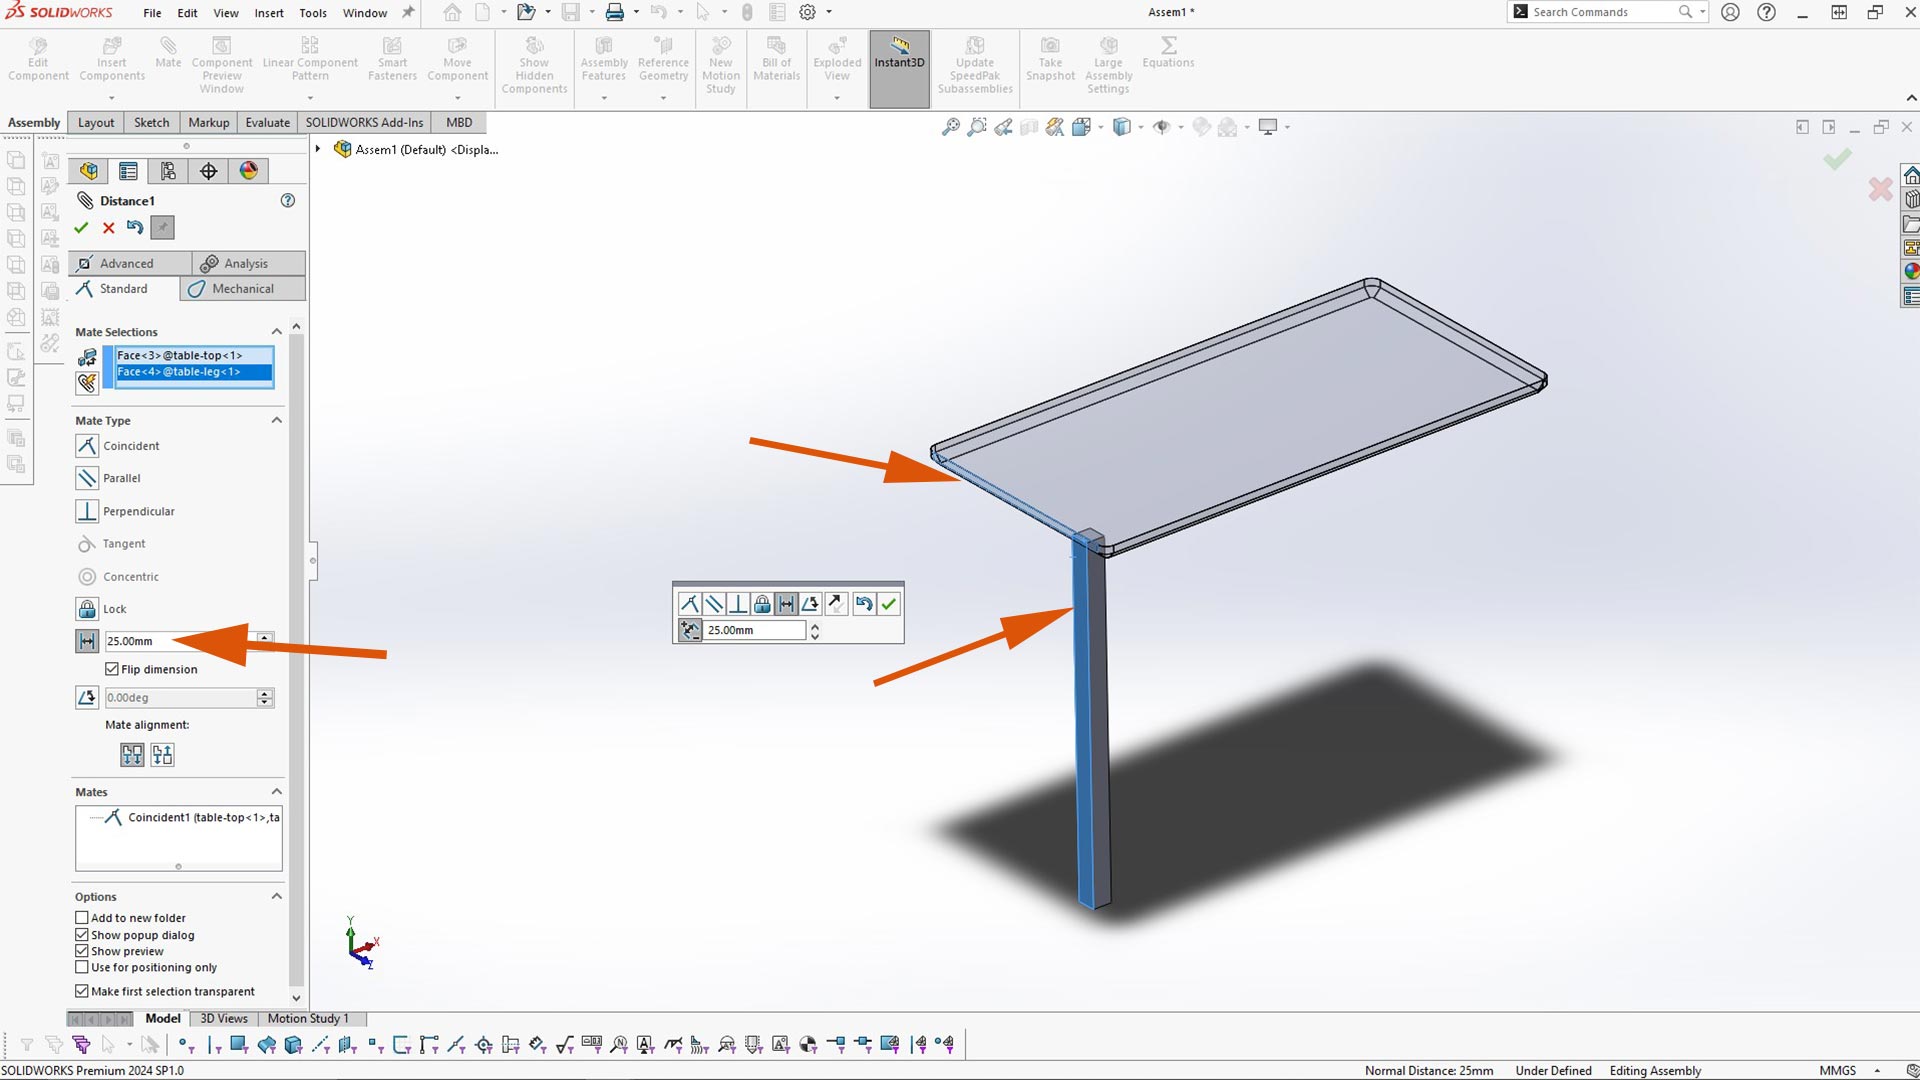
To leave a space on the side, I used distance mate.
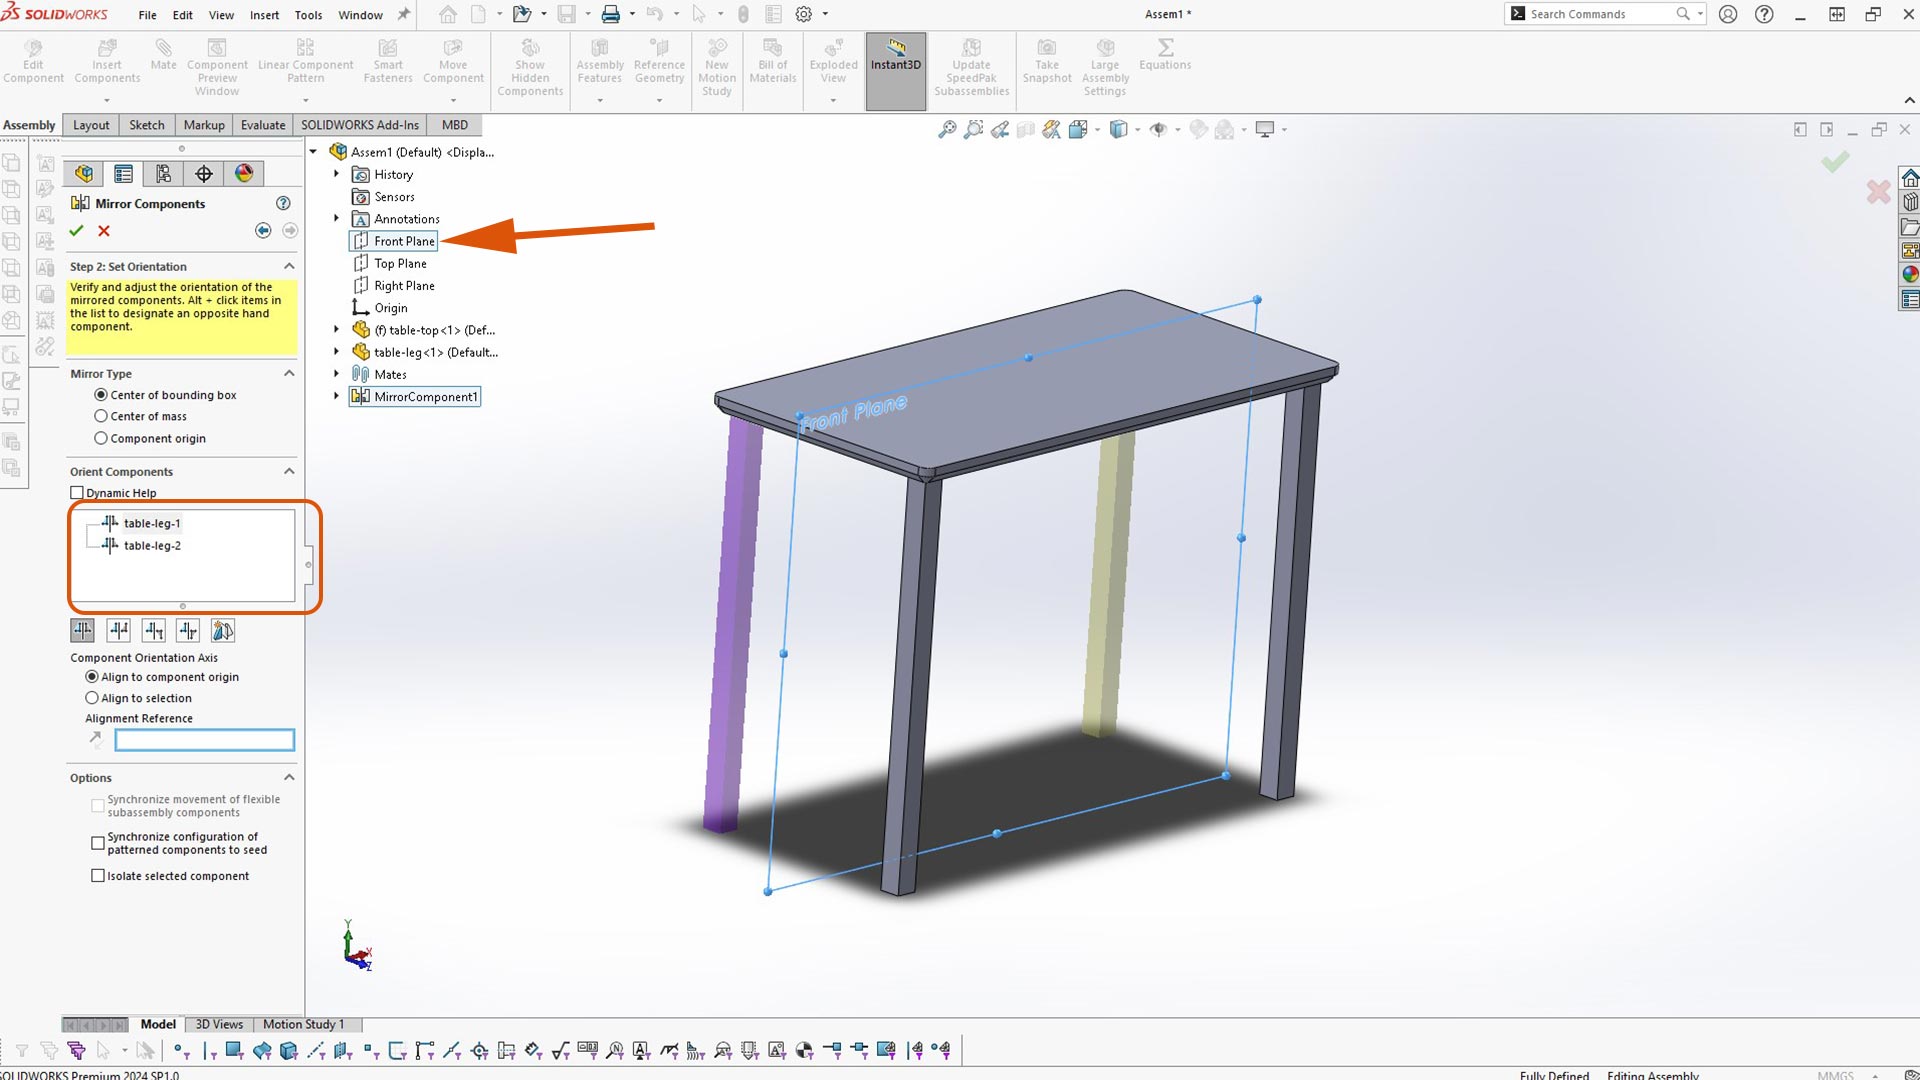
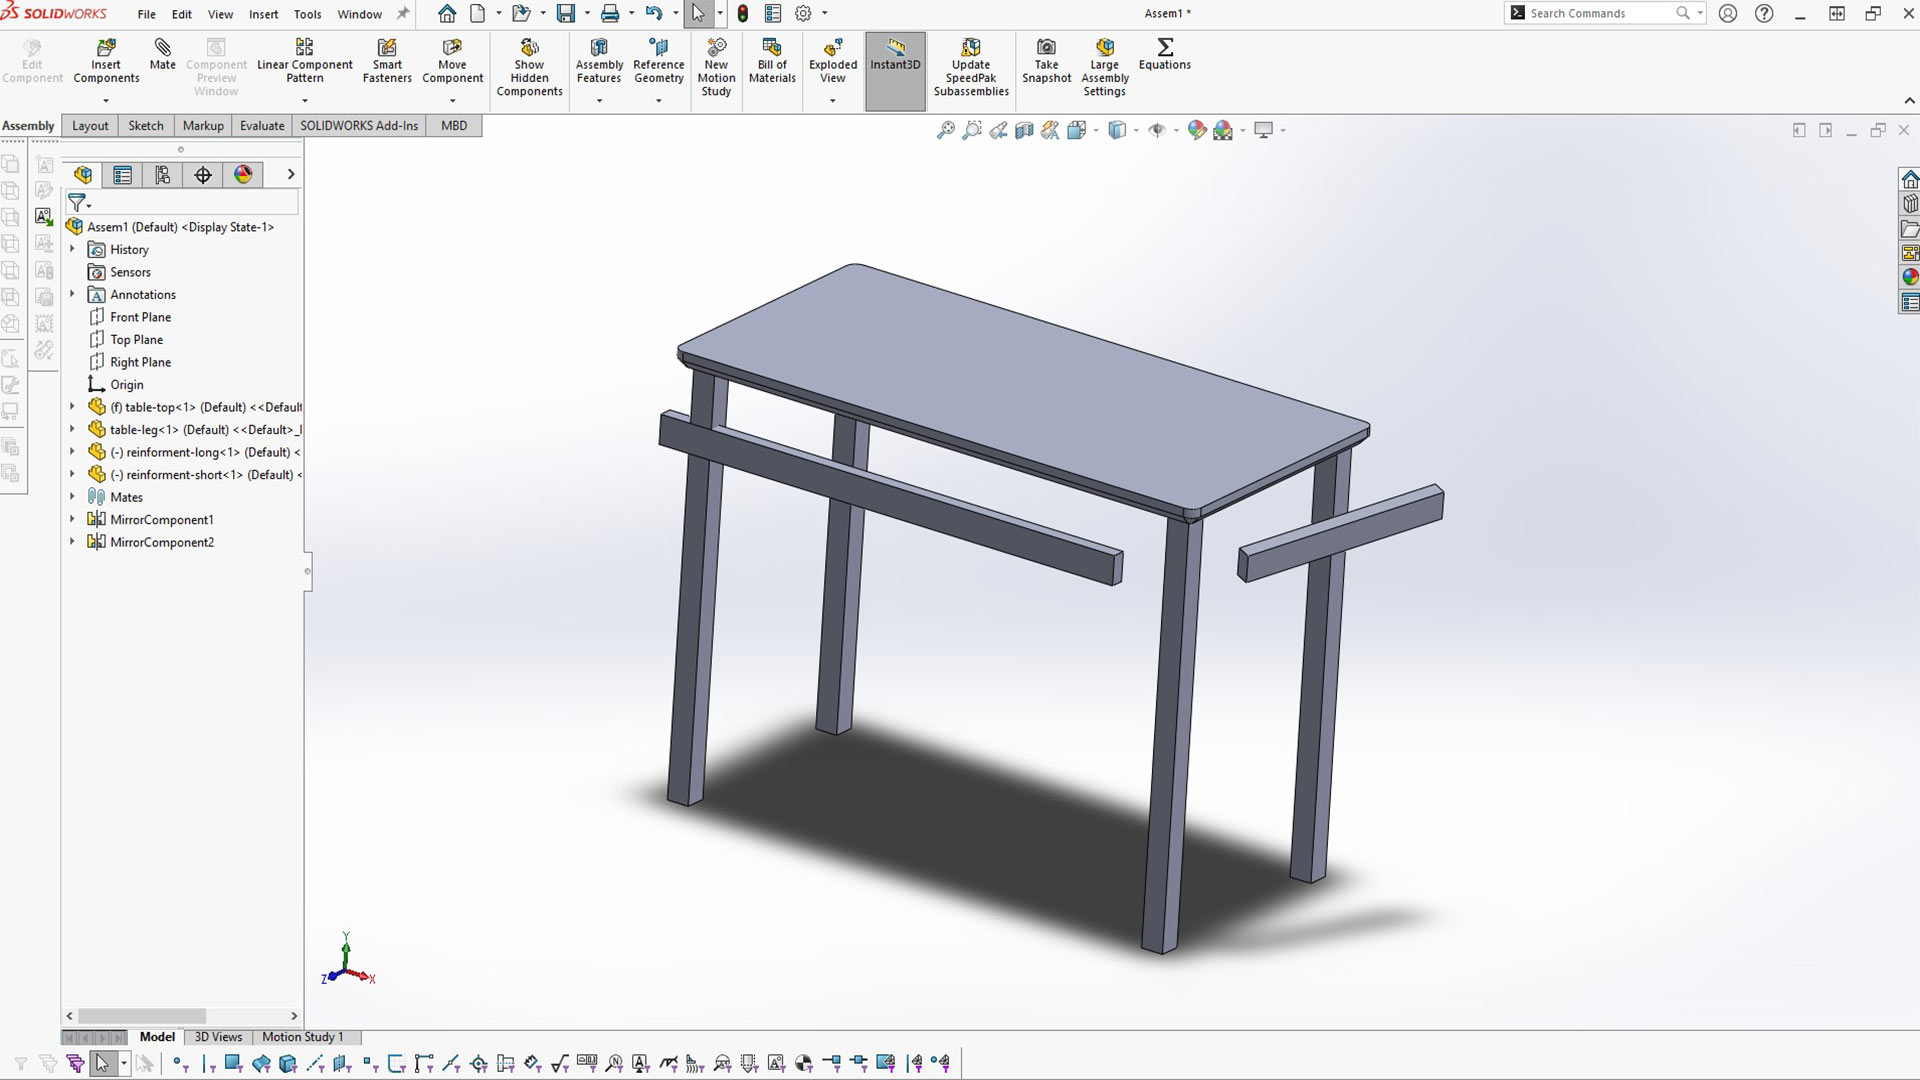
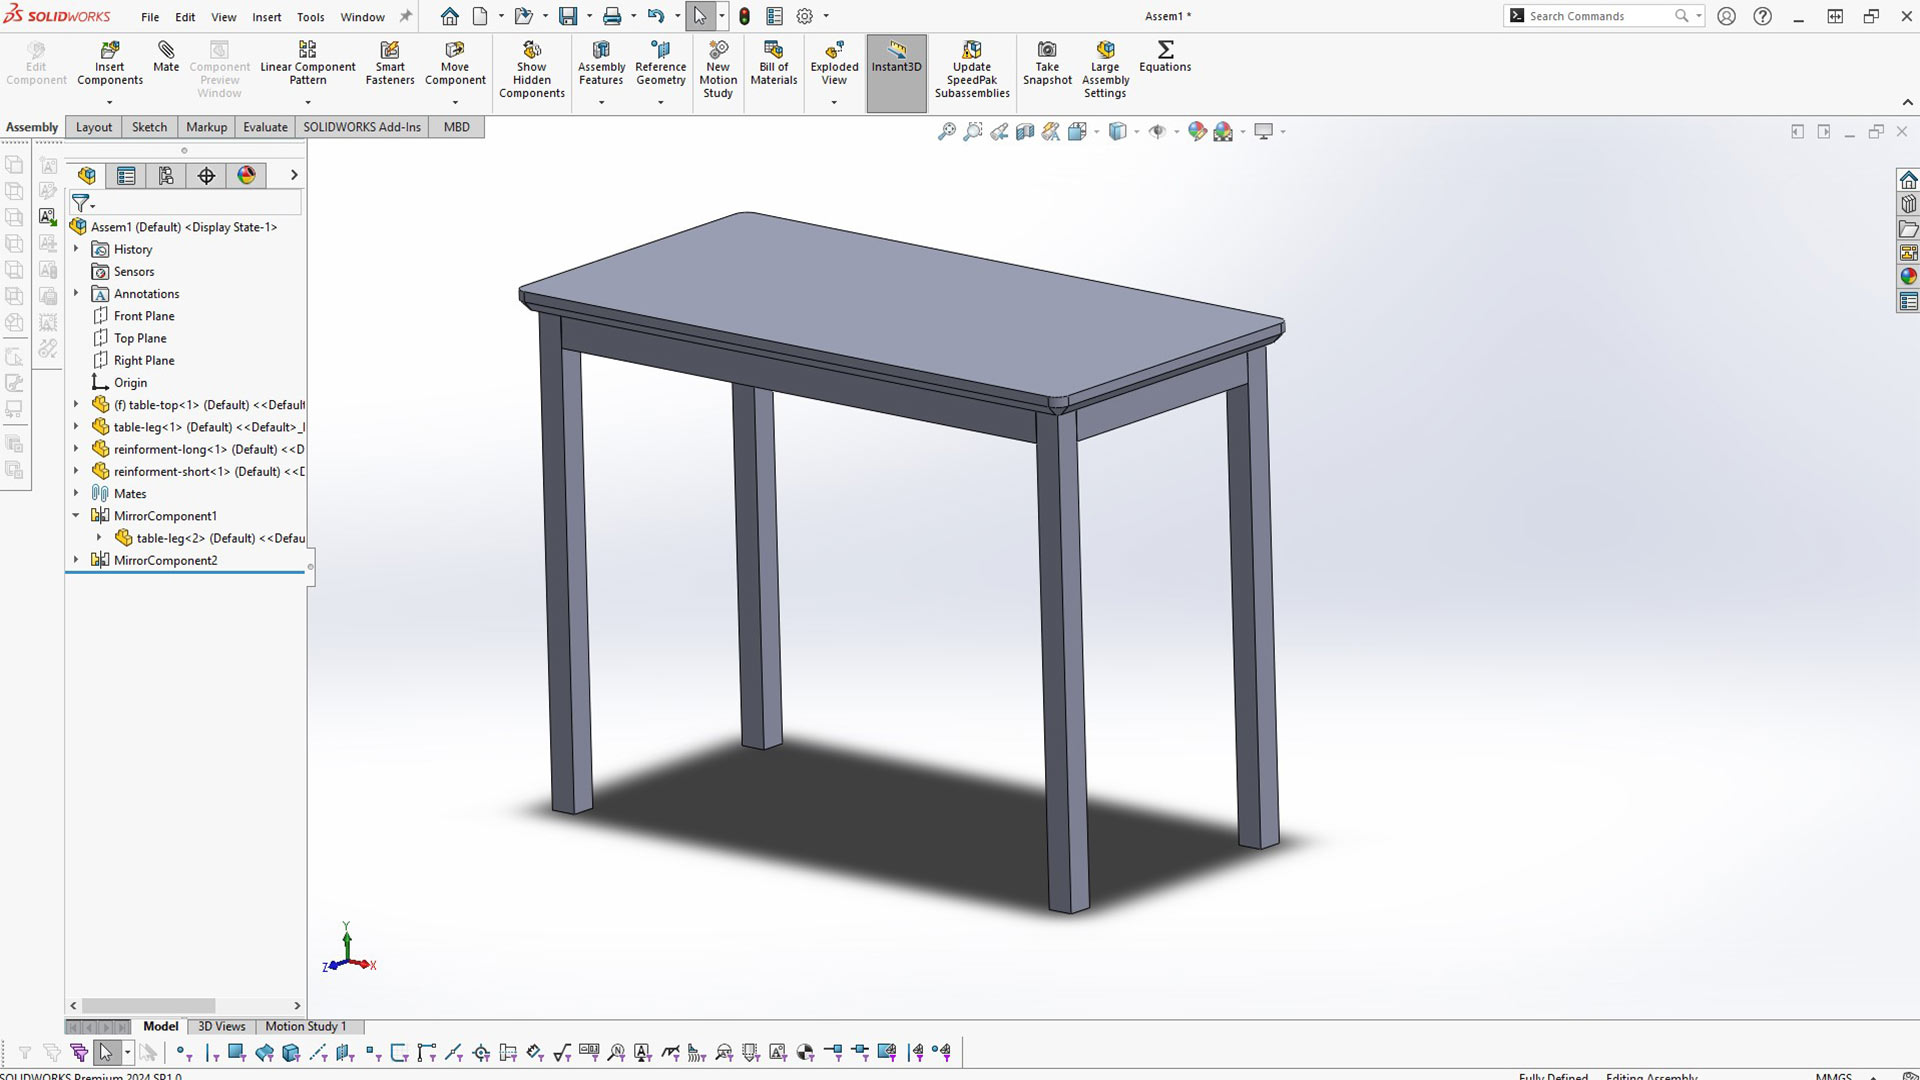
After, I used mirror to create other legs.
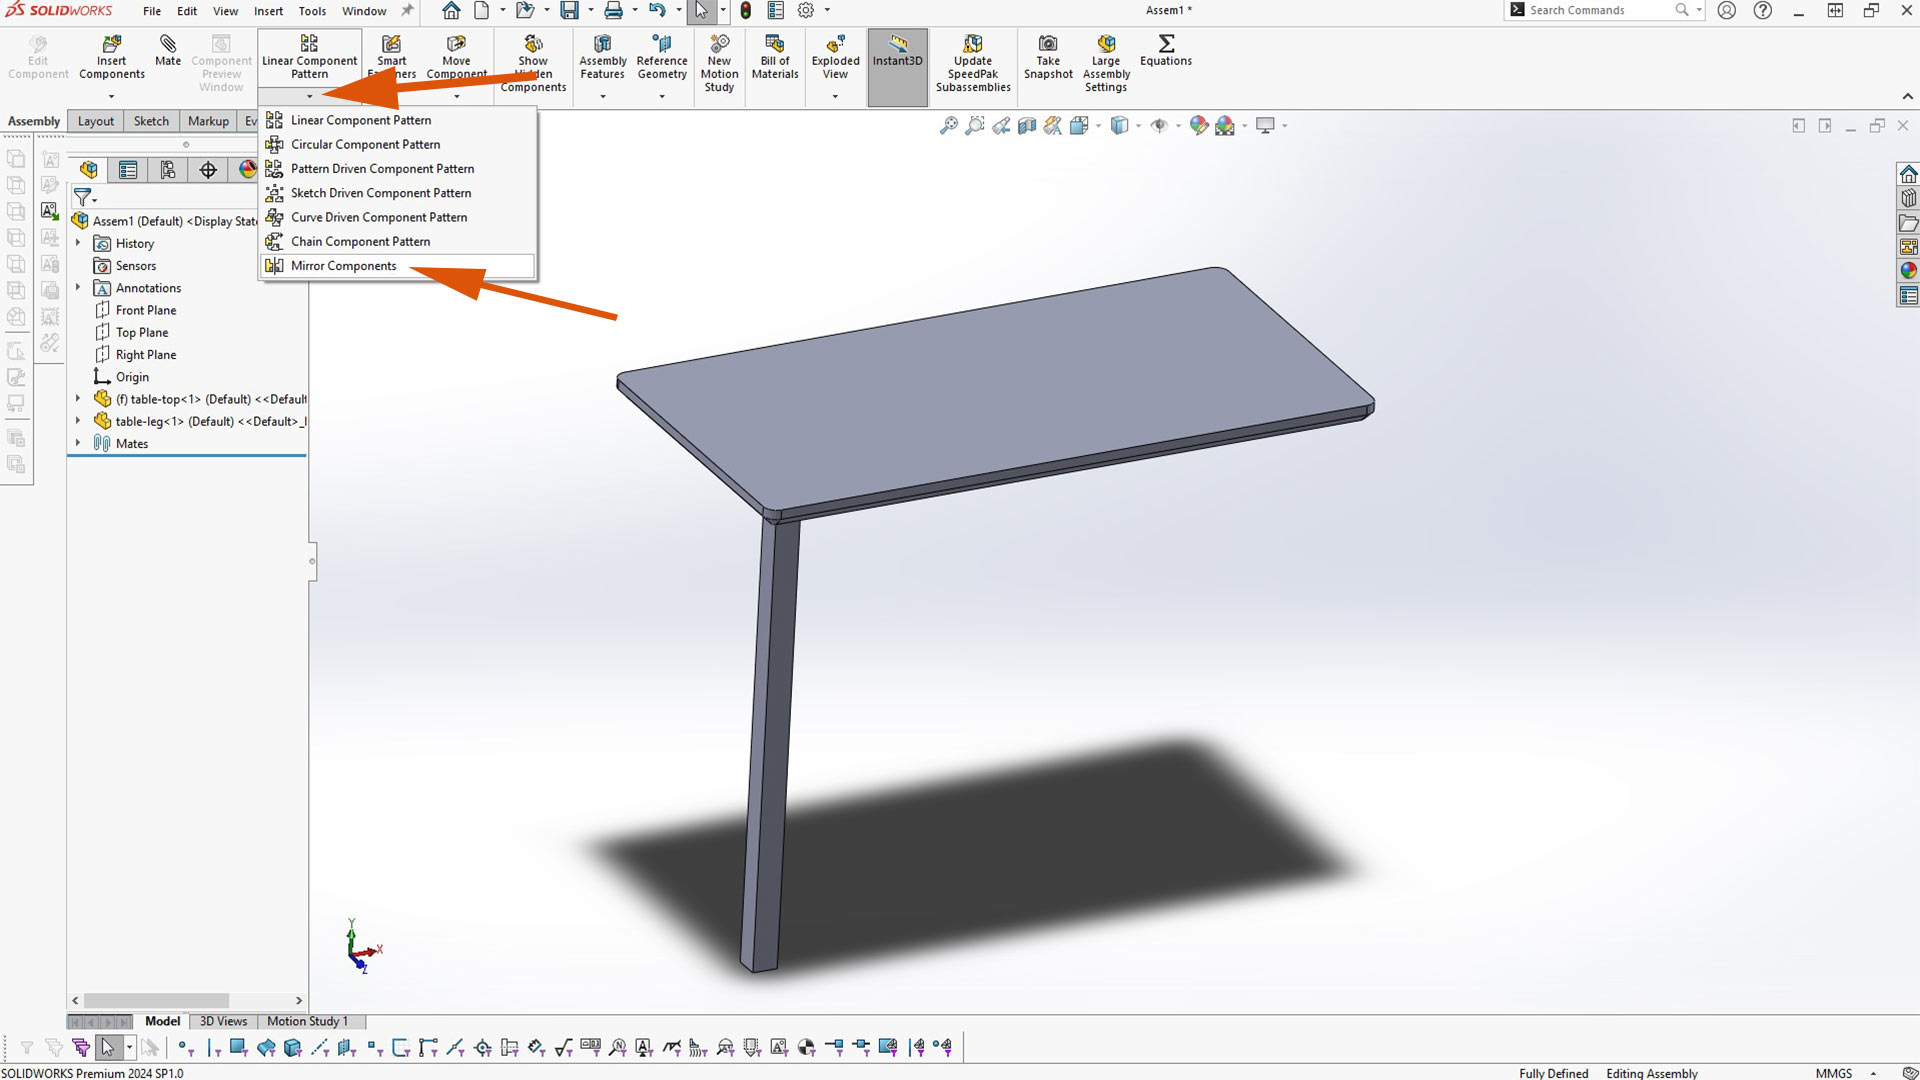
When creating mirror in SolidWorks assembly, you select mirror plane or surface and componensts or parts you want to mirror. What ever you start with works.
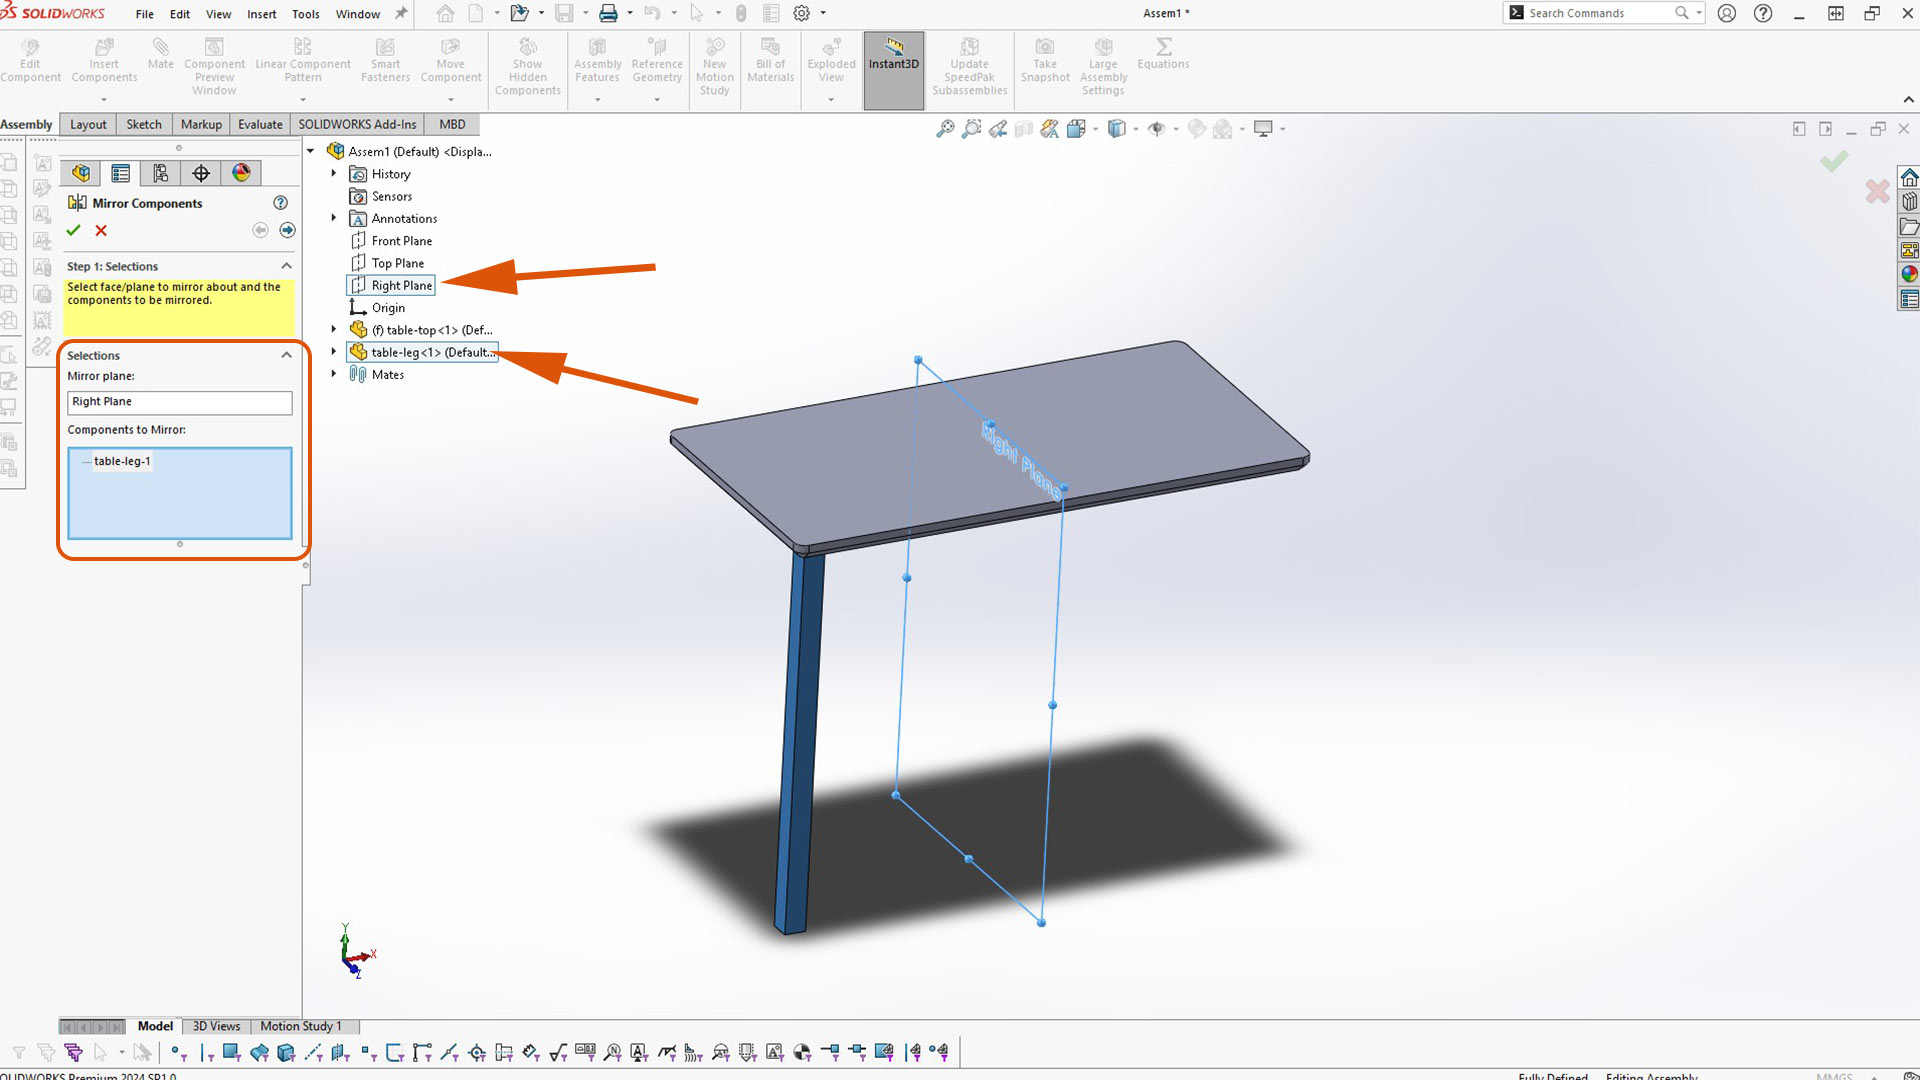
After, I mirrored to the other side
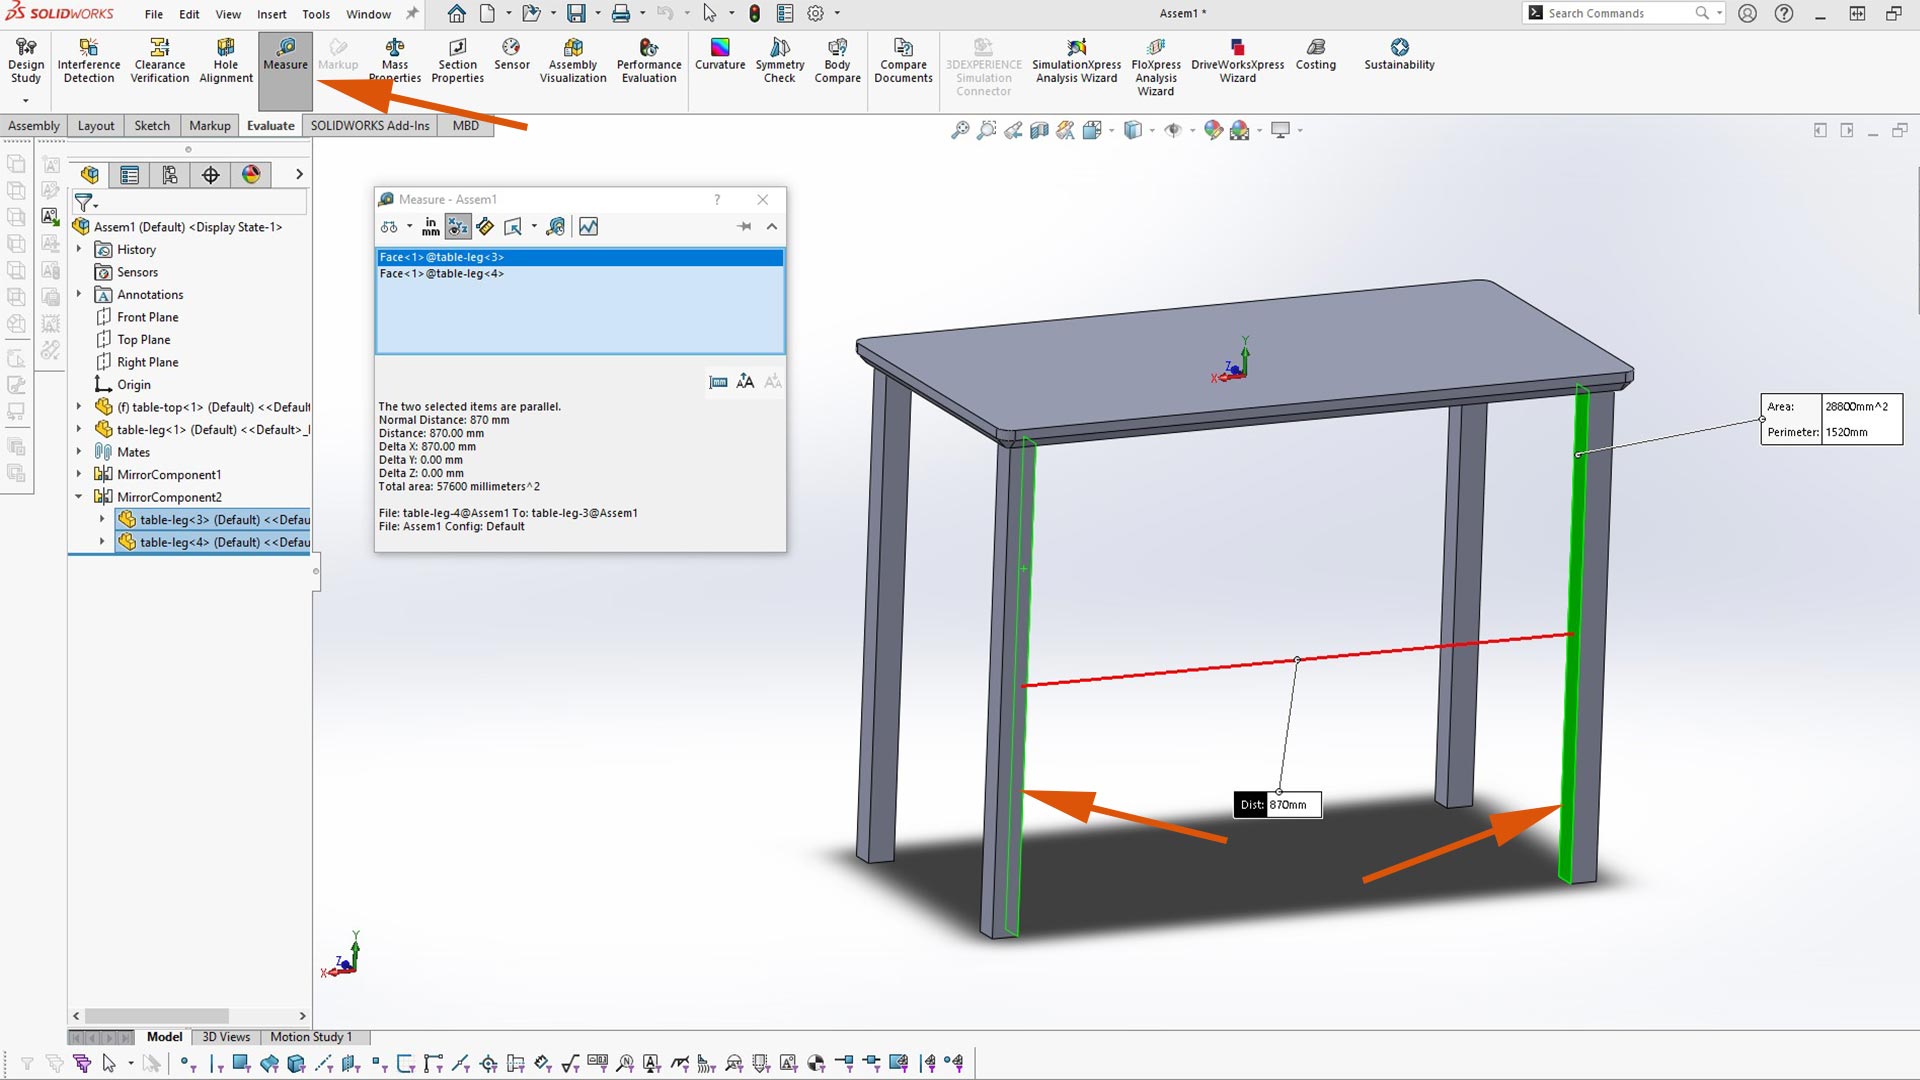
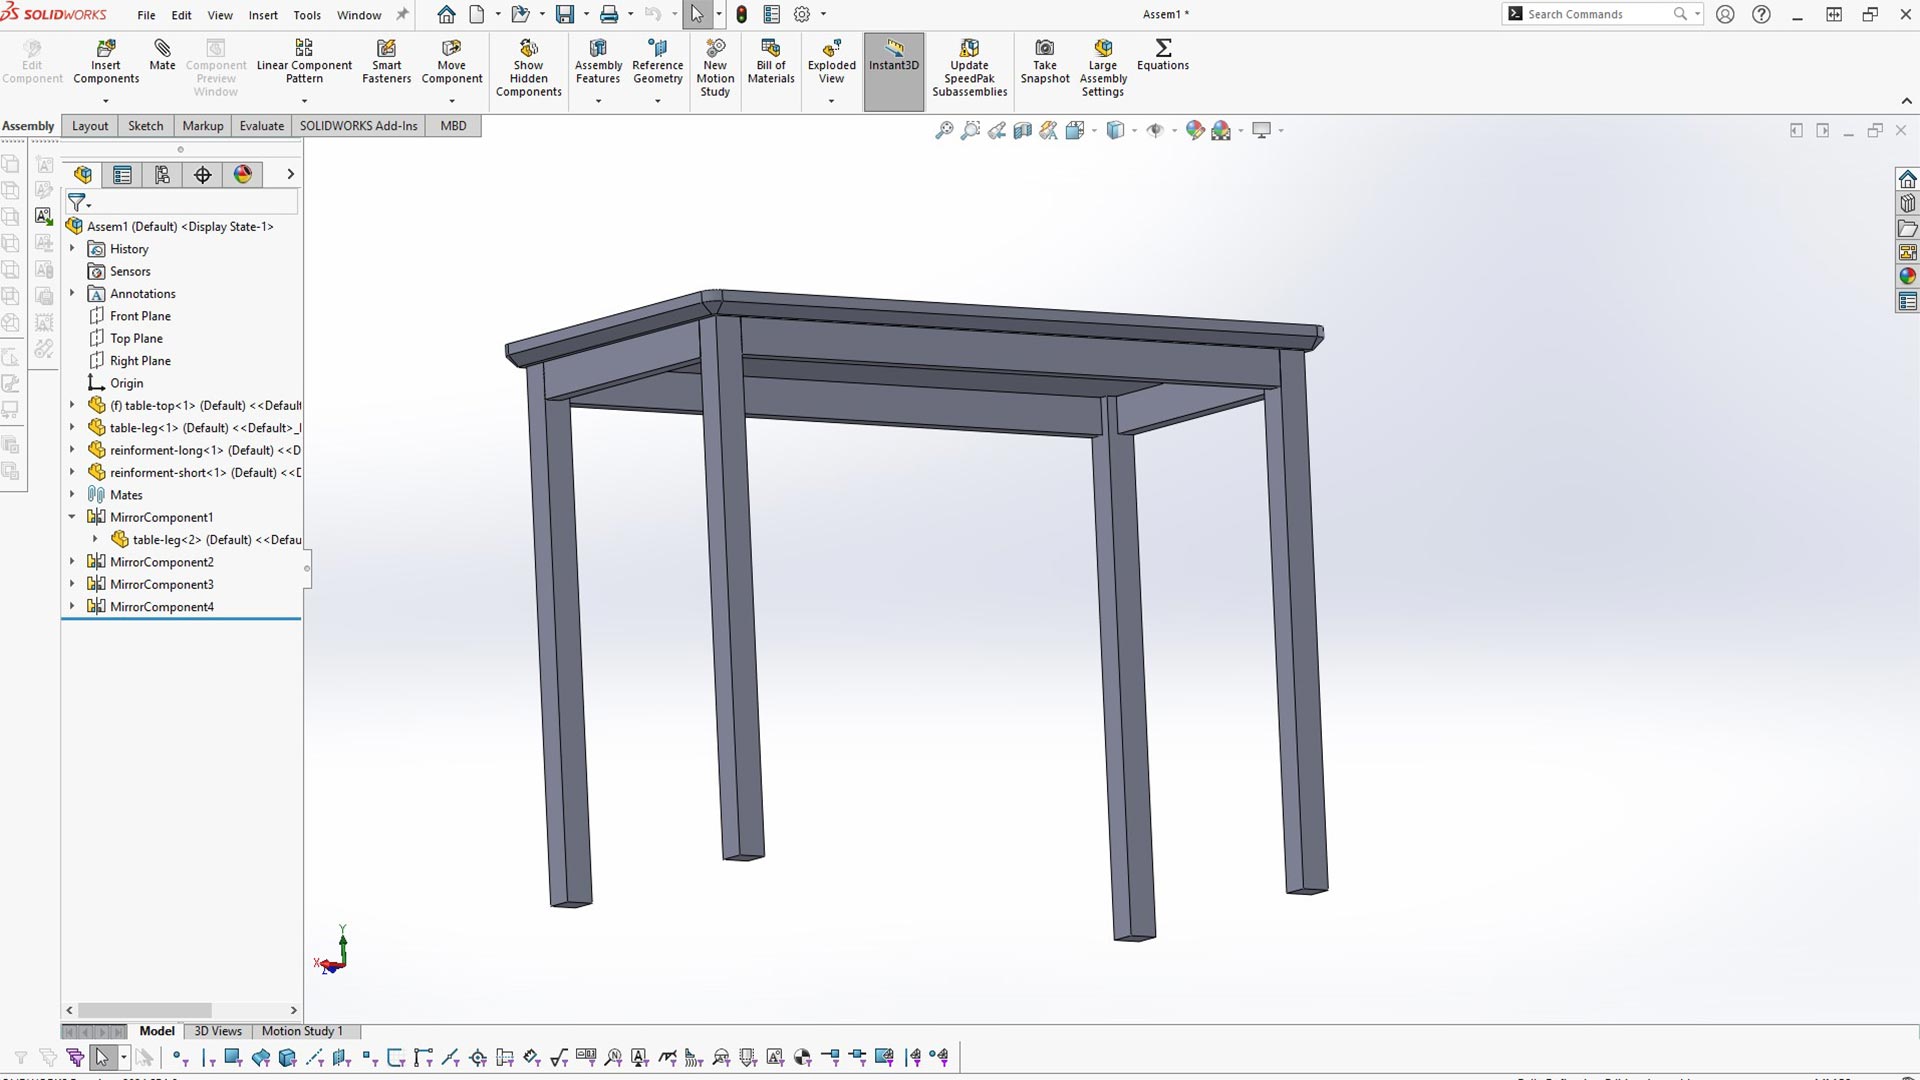
I wanted to created reinforcements parts. I used Measure tool to measure the distance between two legs. To use this tool, select measure and select two faces, edges or points or combination of both.
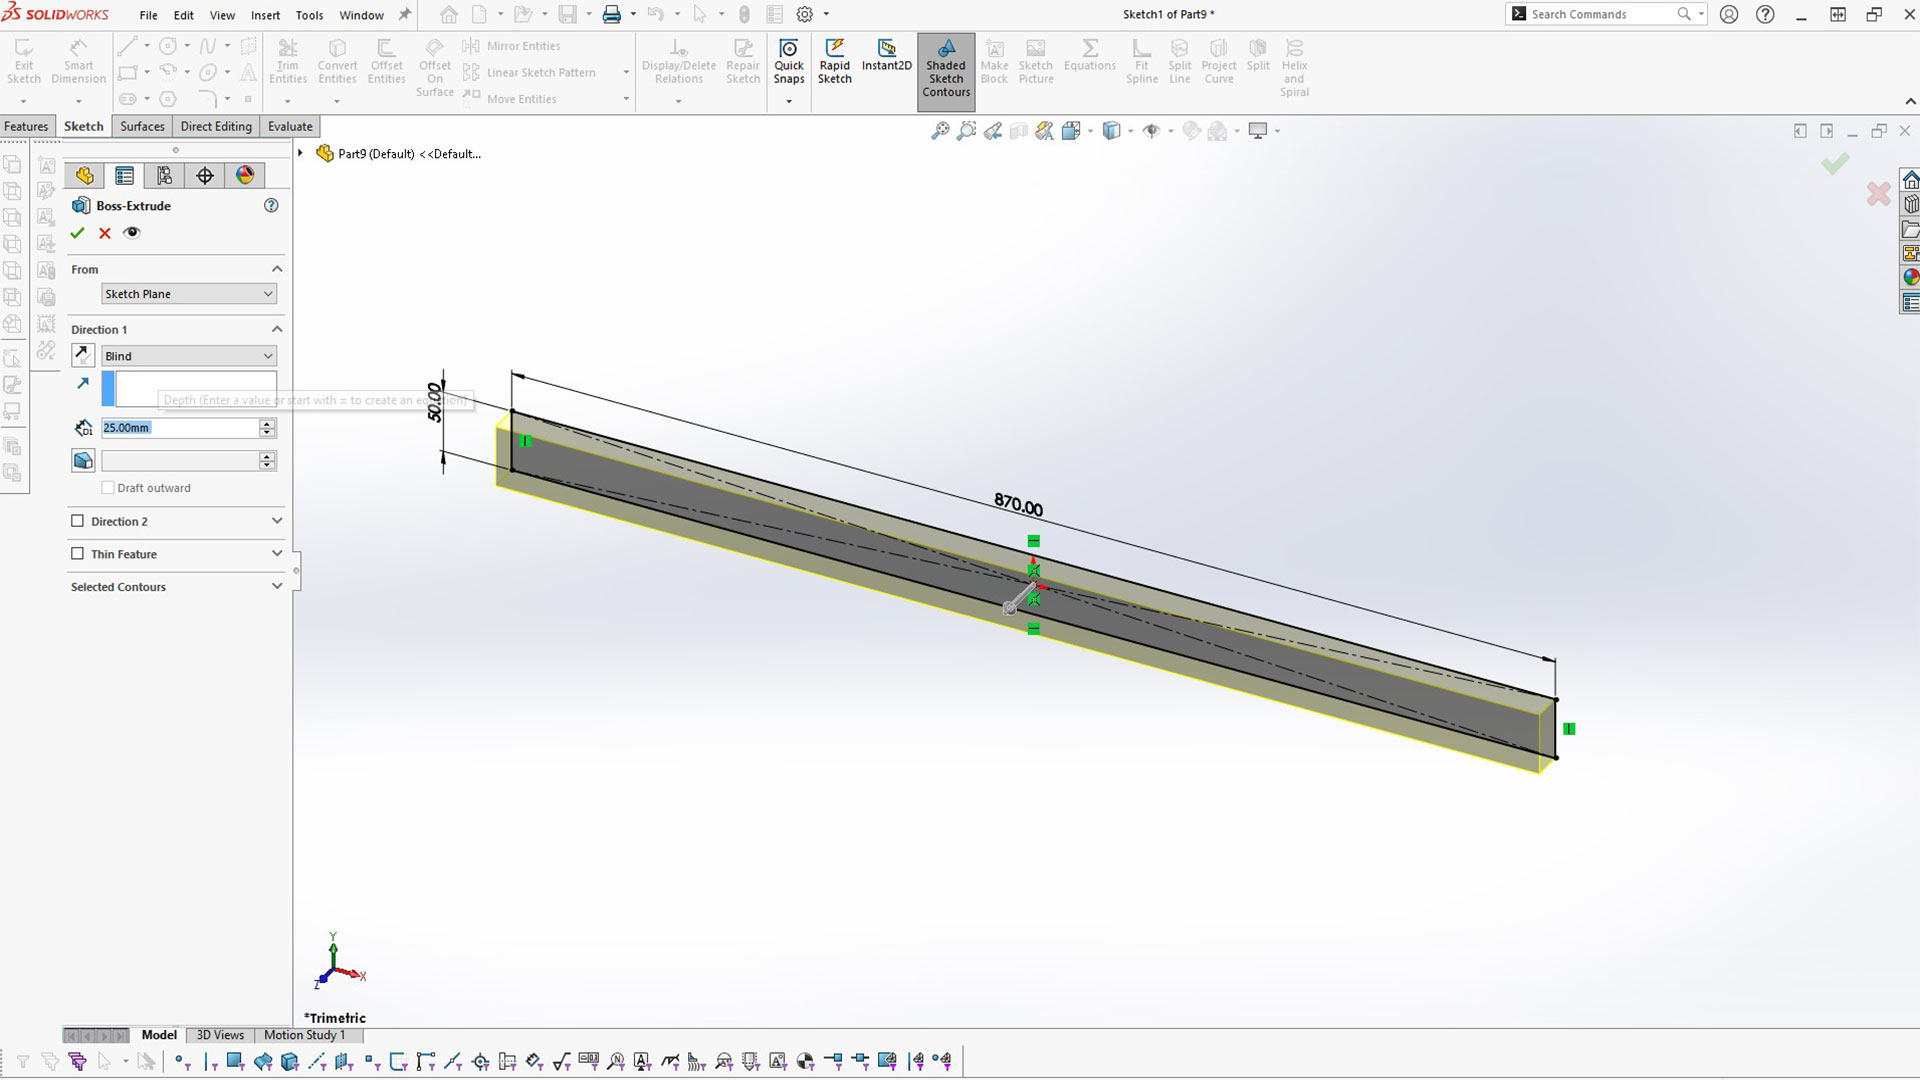
I then created long reinforcement. I used the values I got from measureing tool.
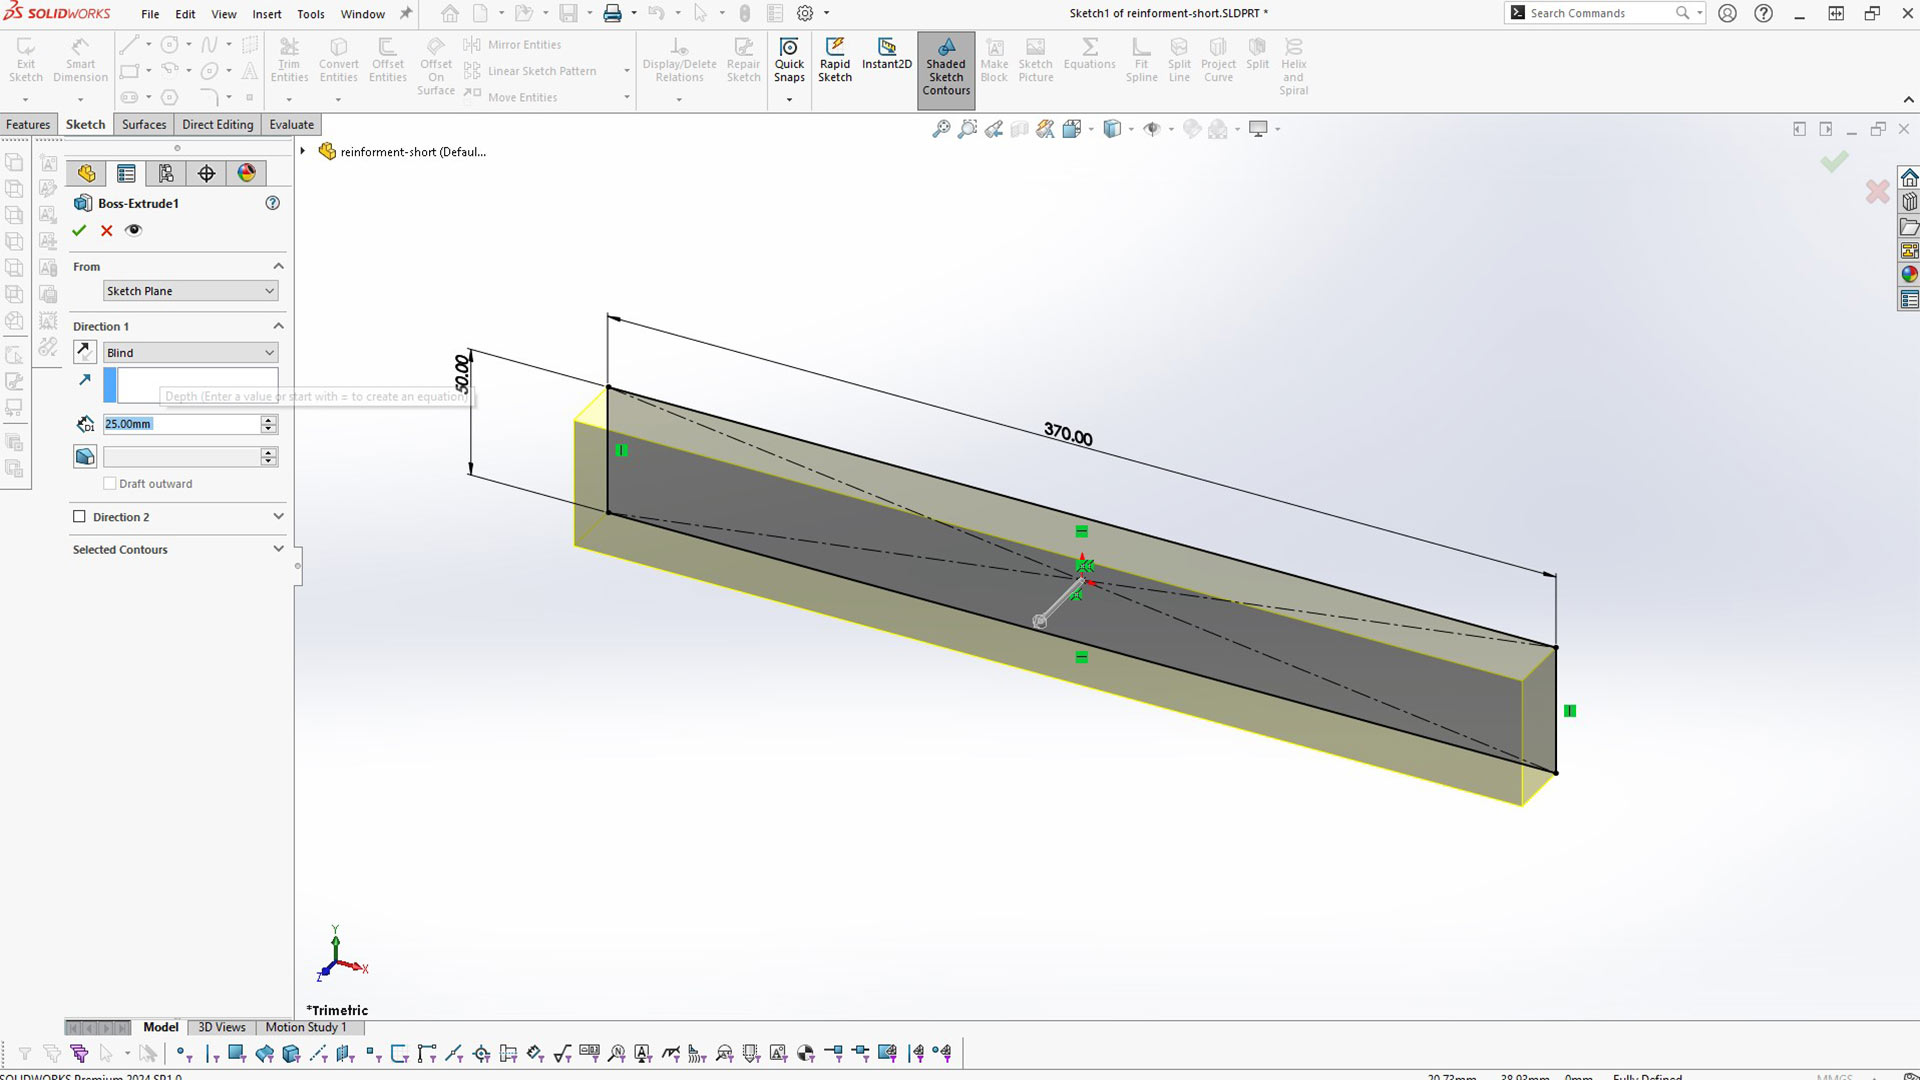
Short reinforcement
After, I inserted them into assebly
afterwards, I used mate to fit/place them in correct position.
Instead of doing task twice, I used mirror again for other parts
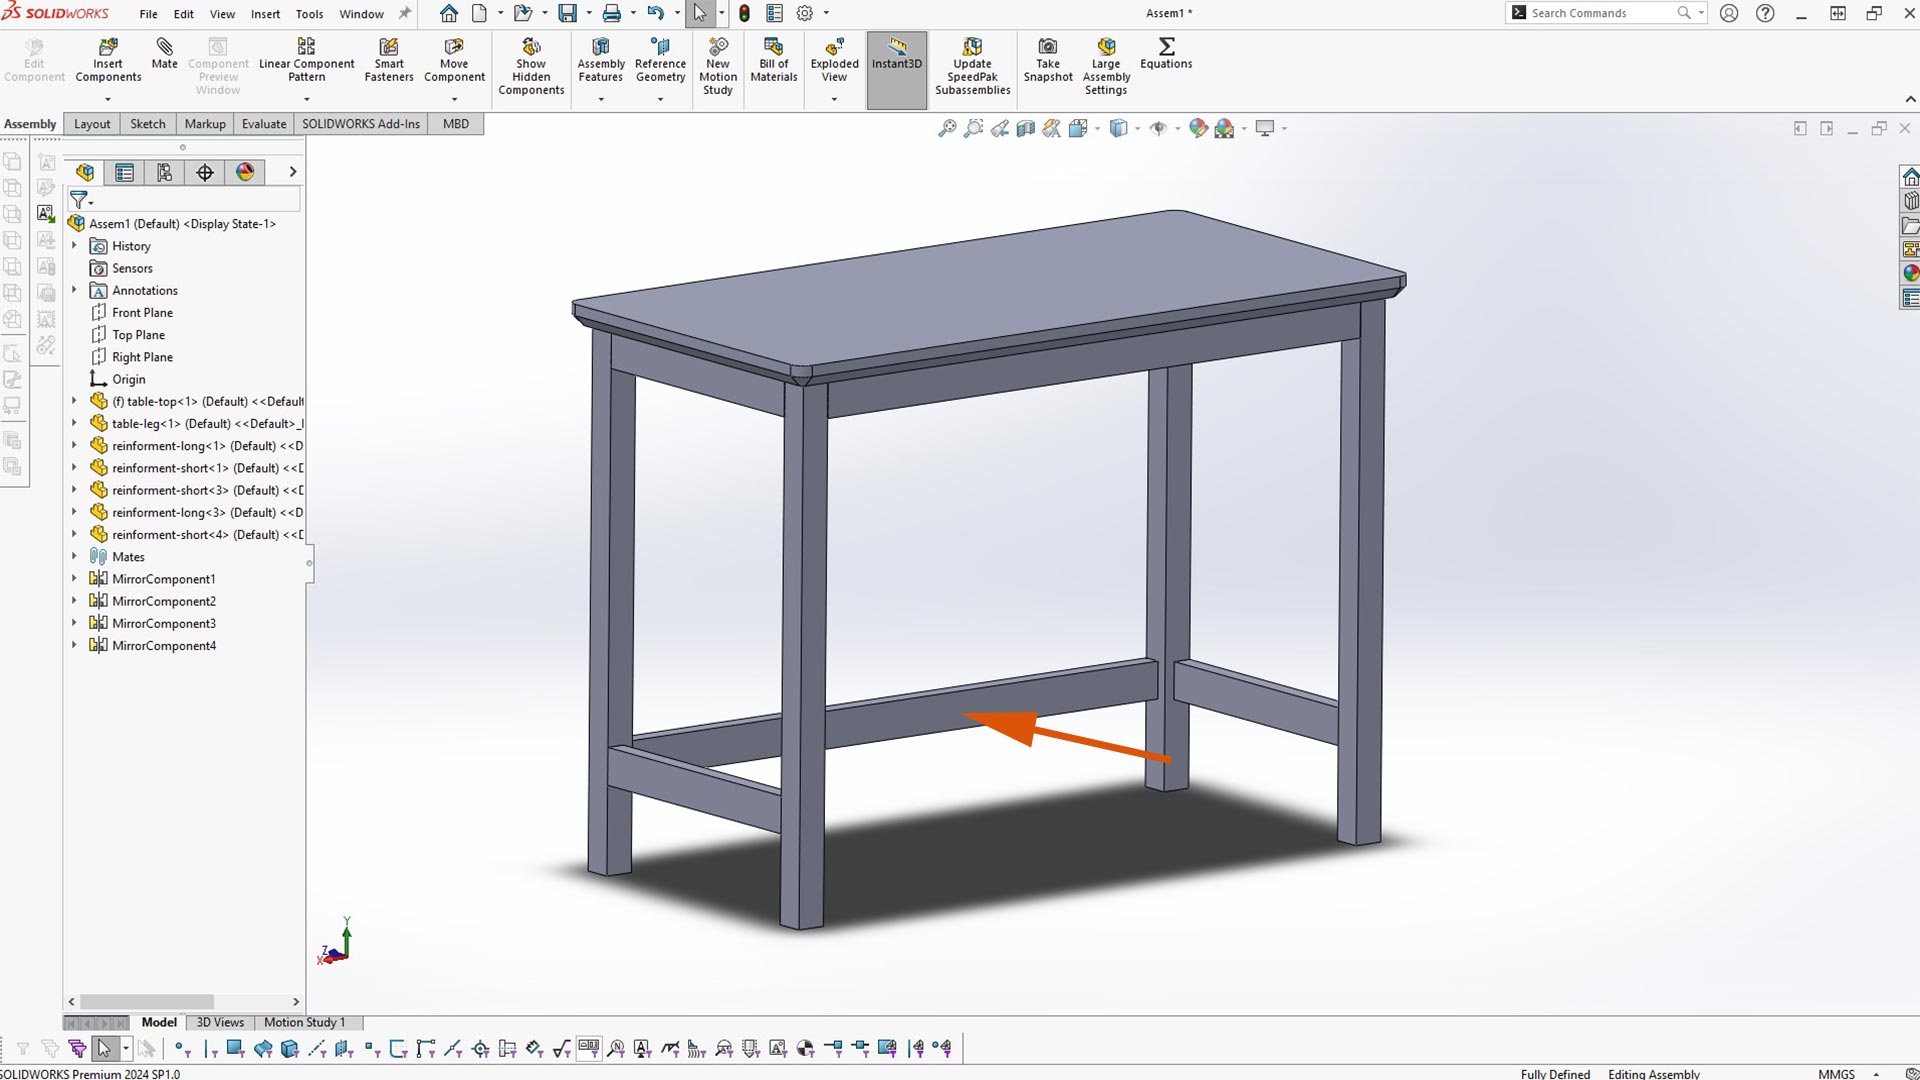
I also added reinforcement at the bottom as highlighted
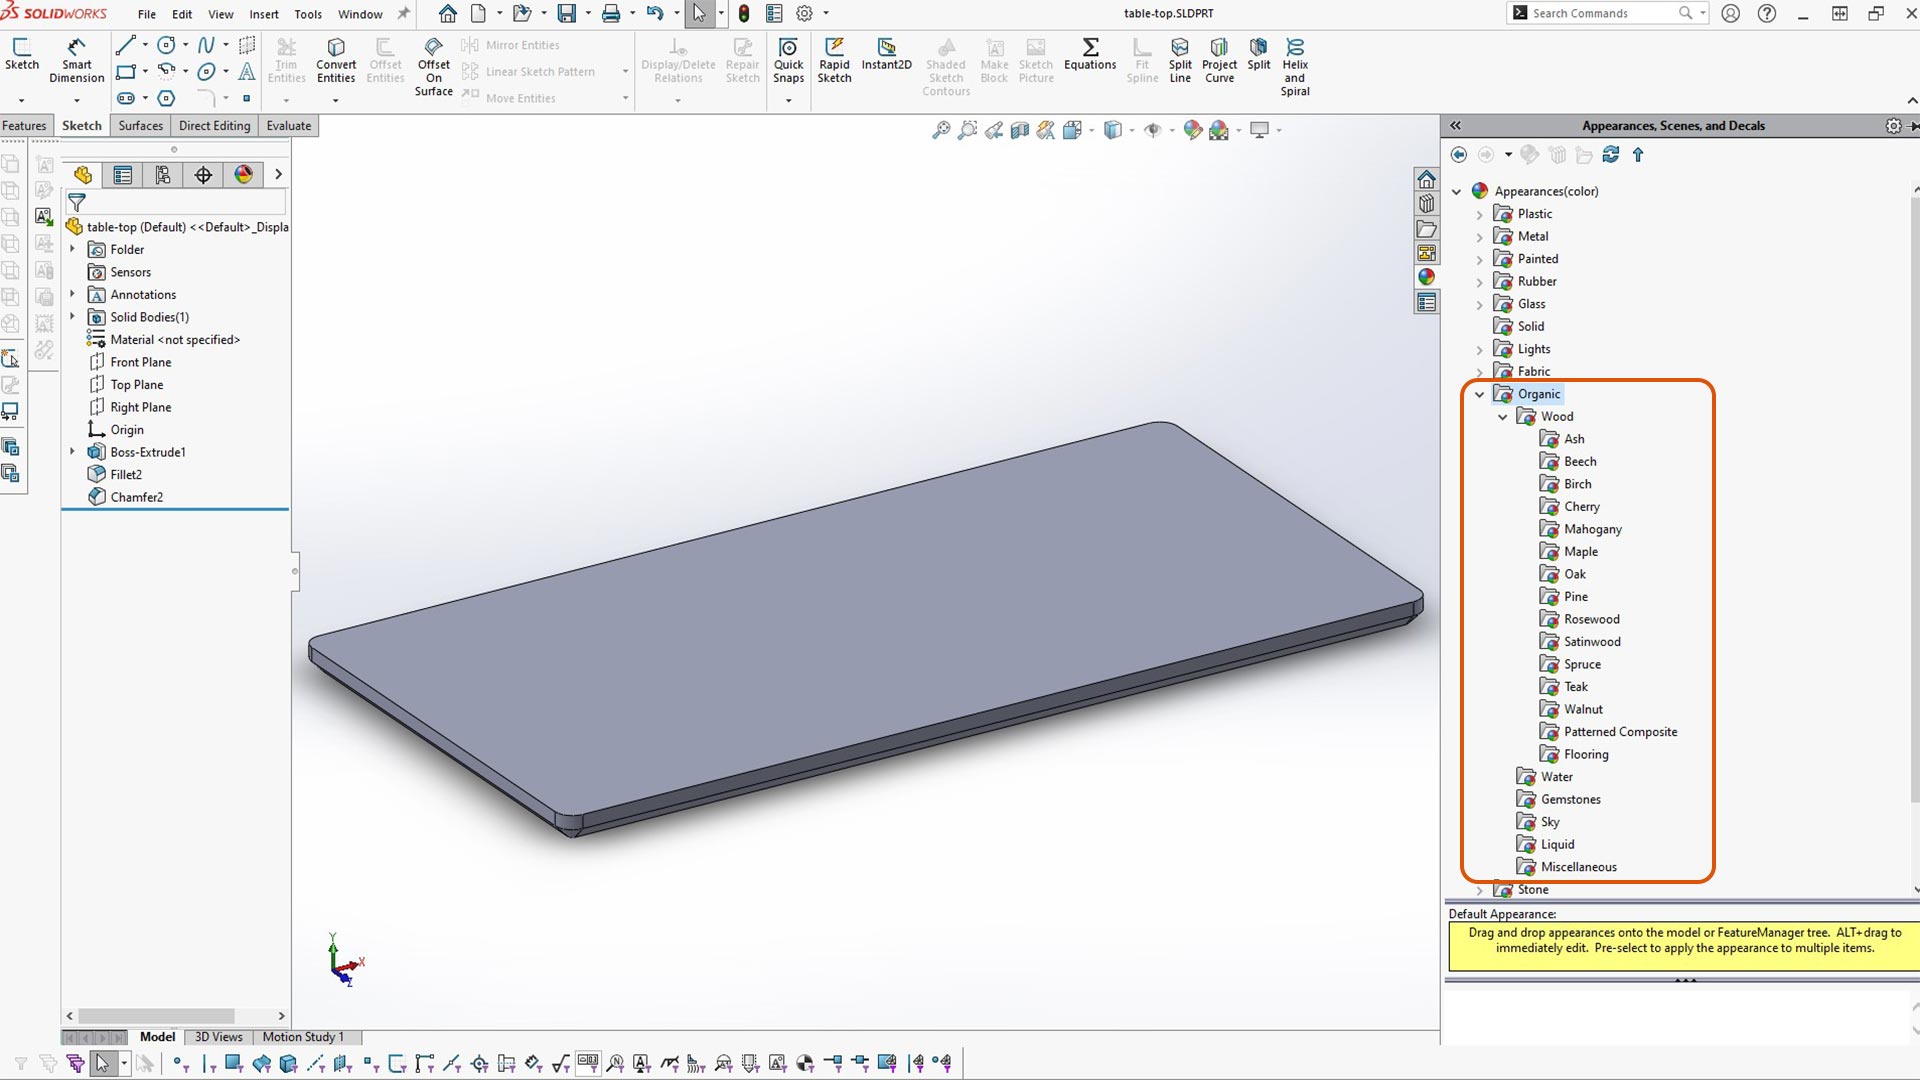
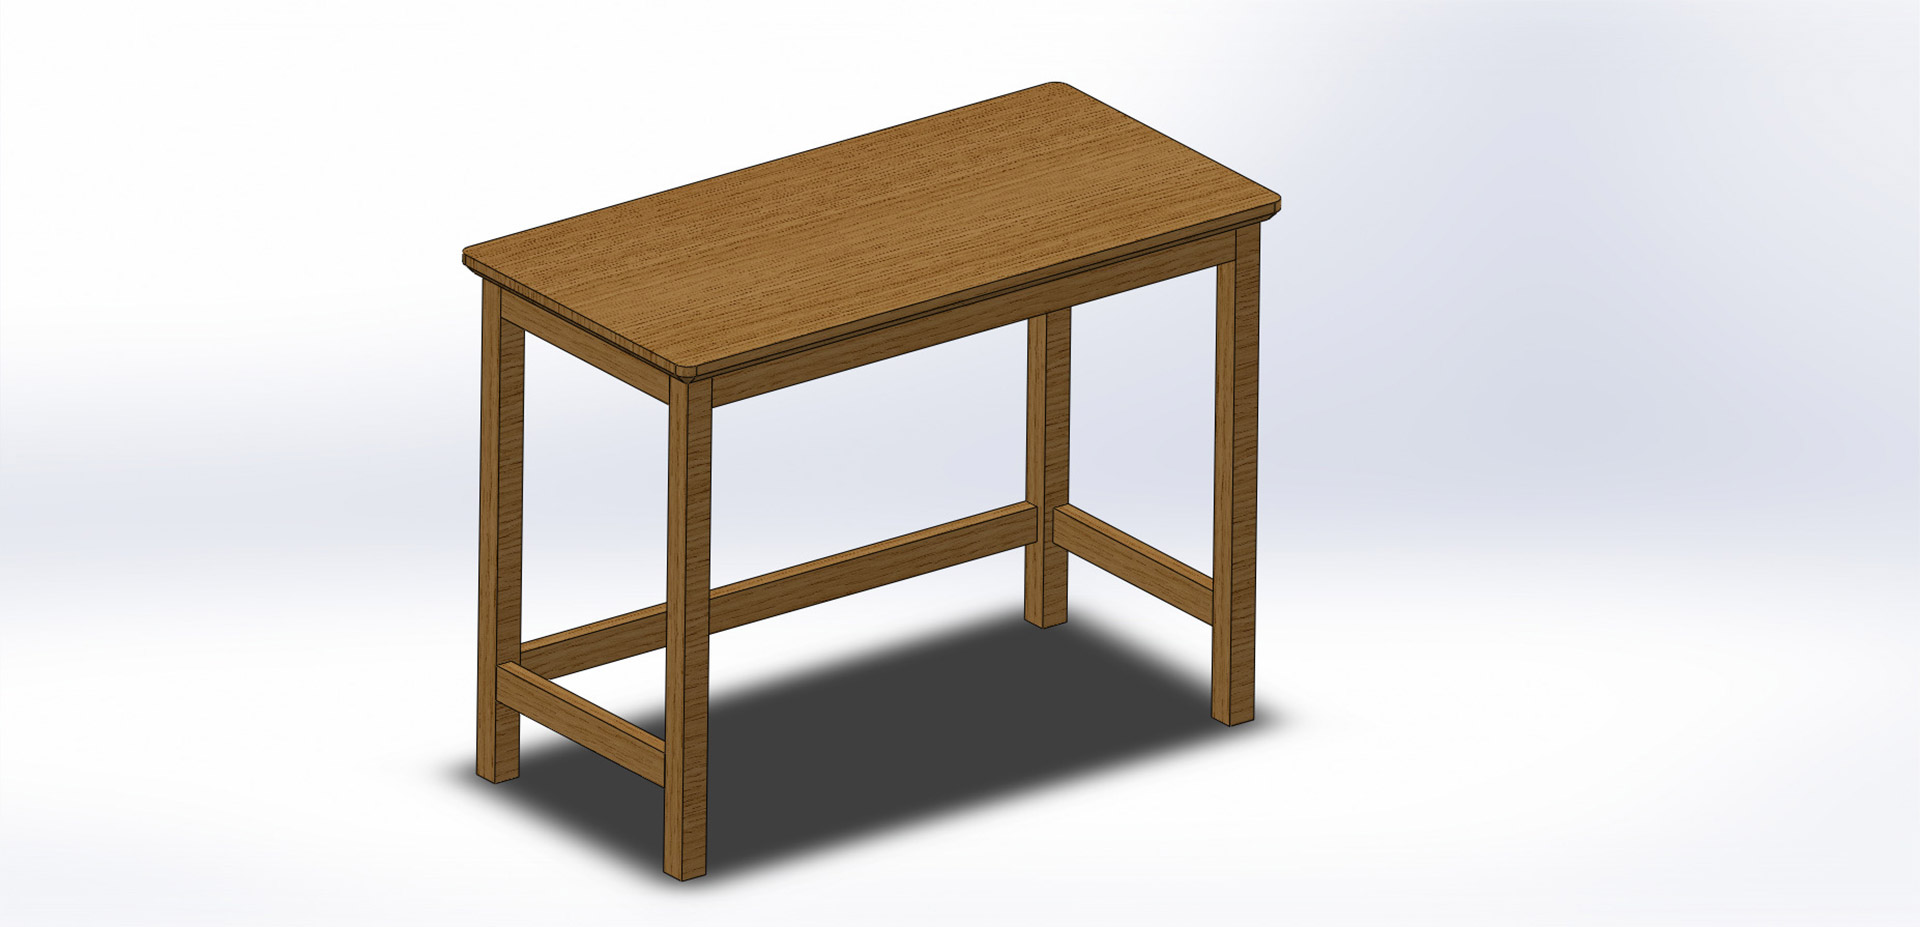
With SolidWorks, you can add realistic material to a body.
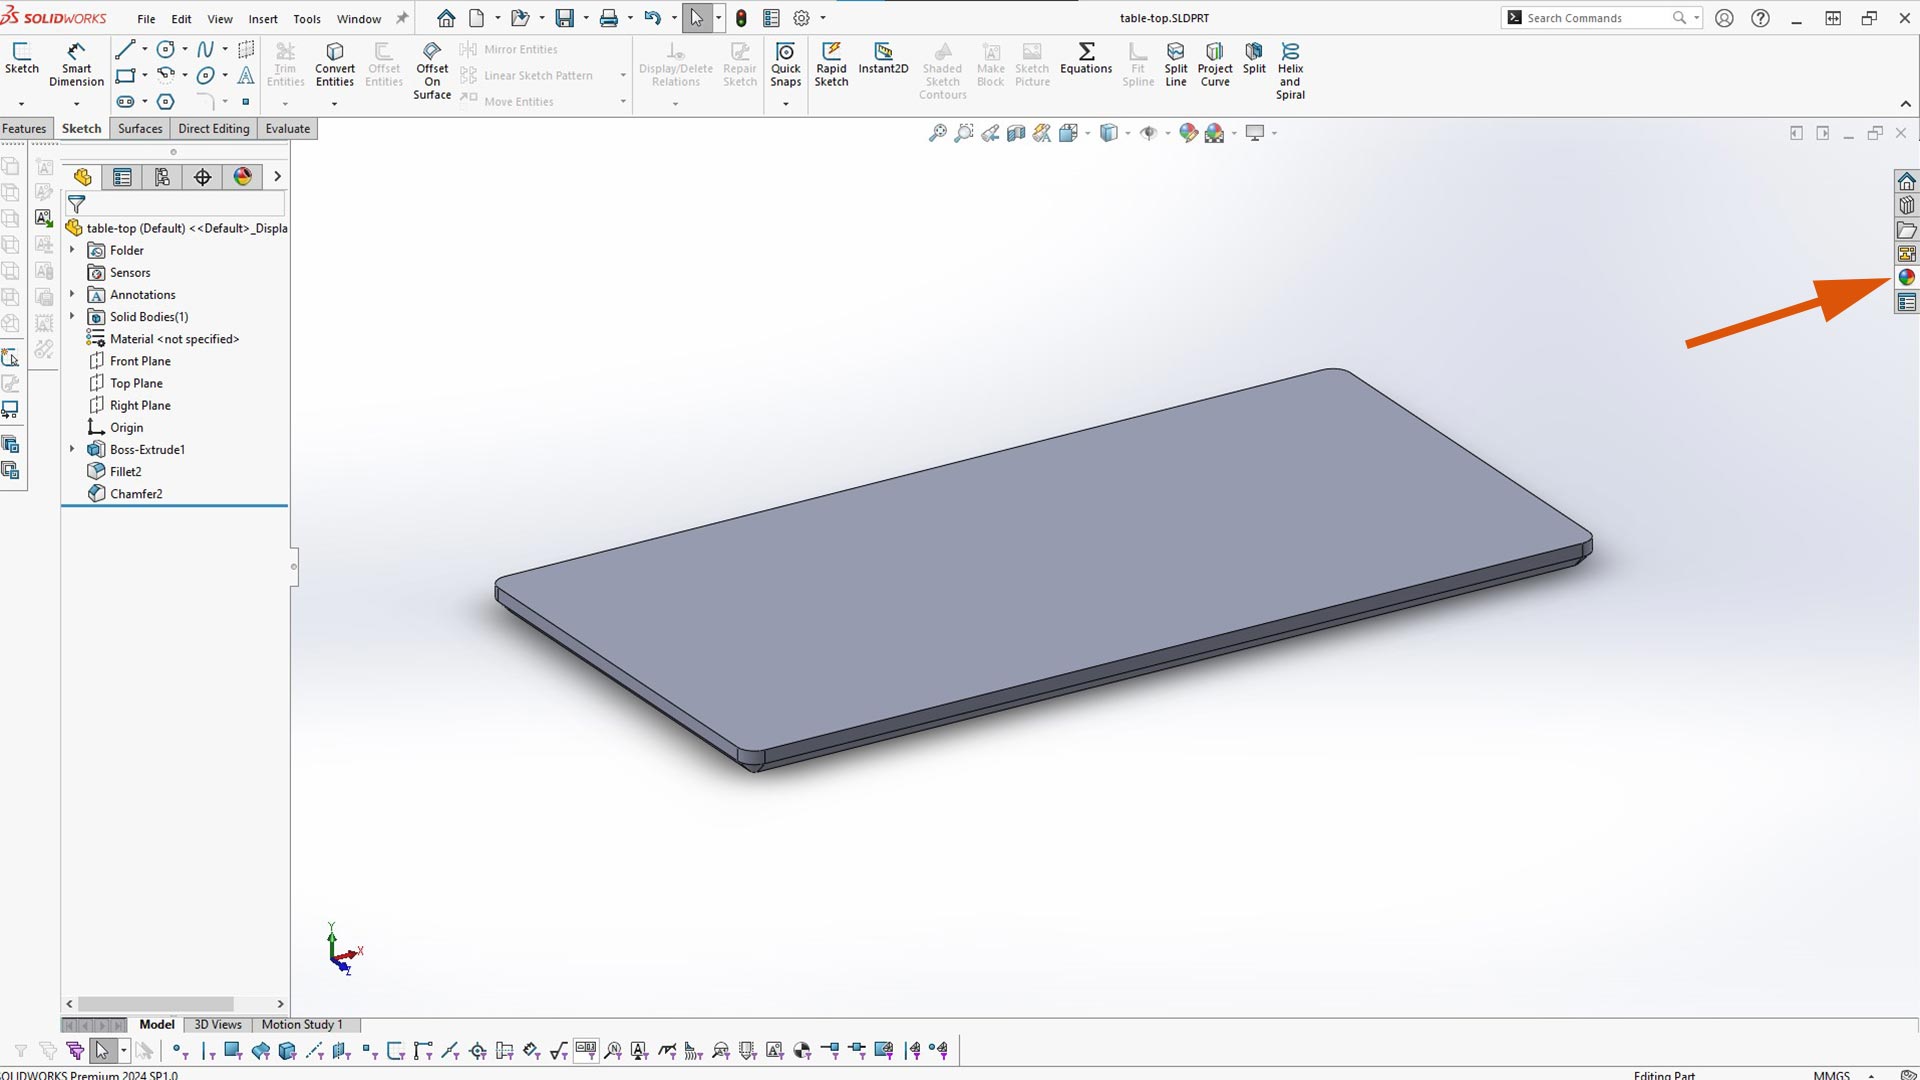
I started by selecting appearence
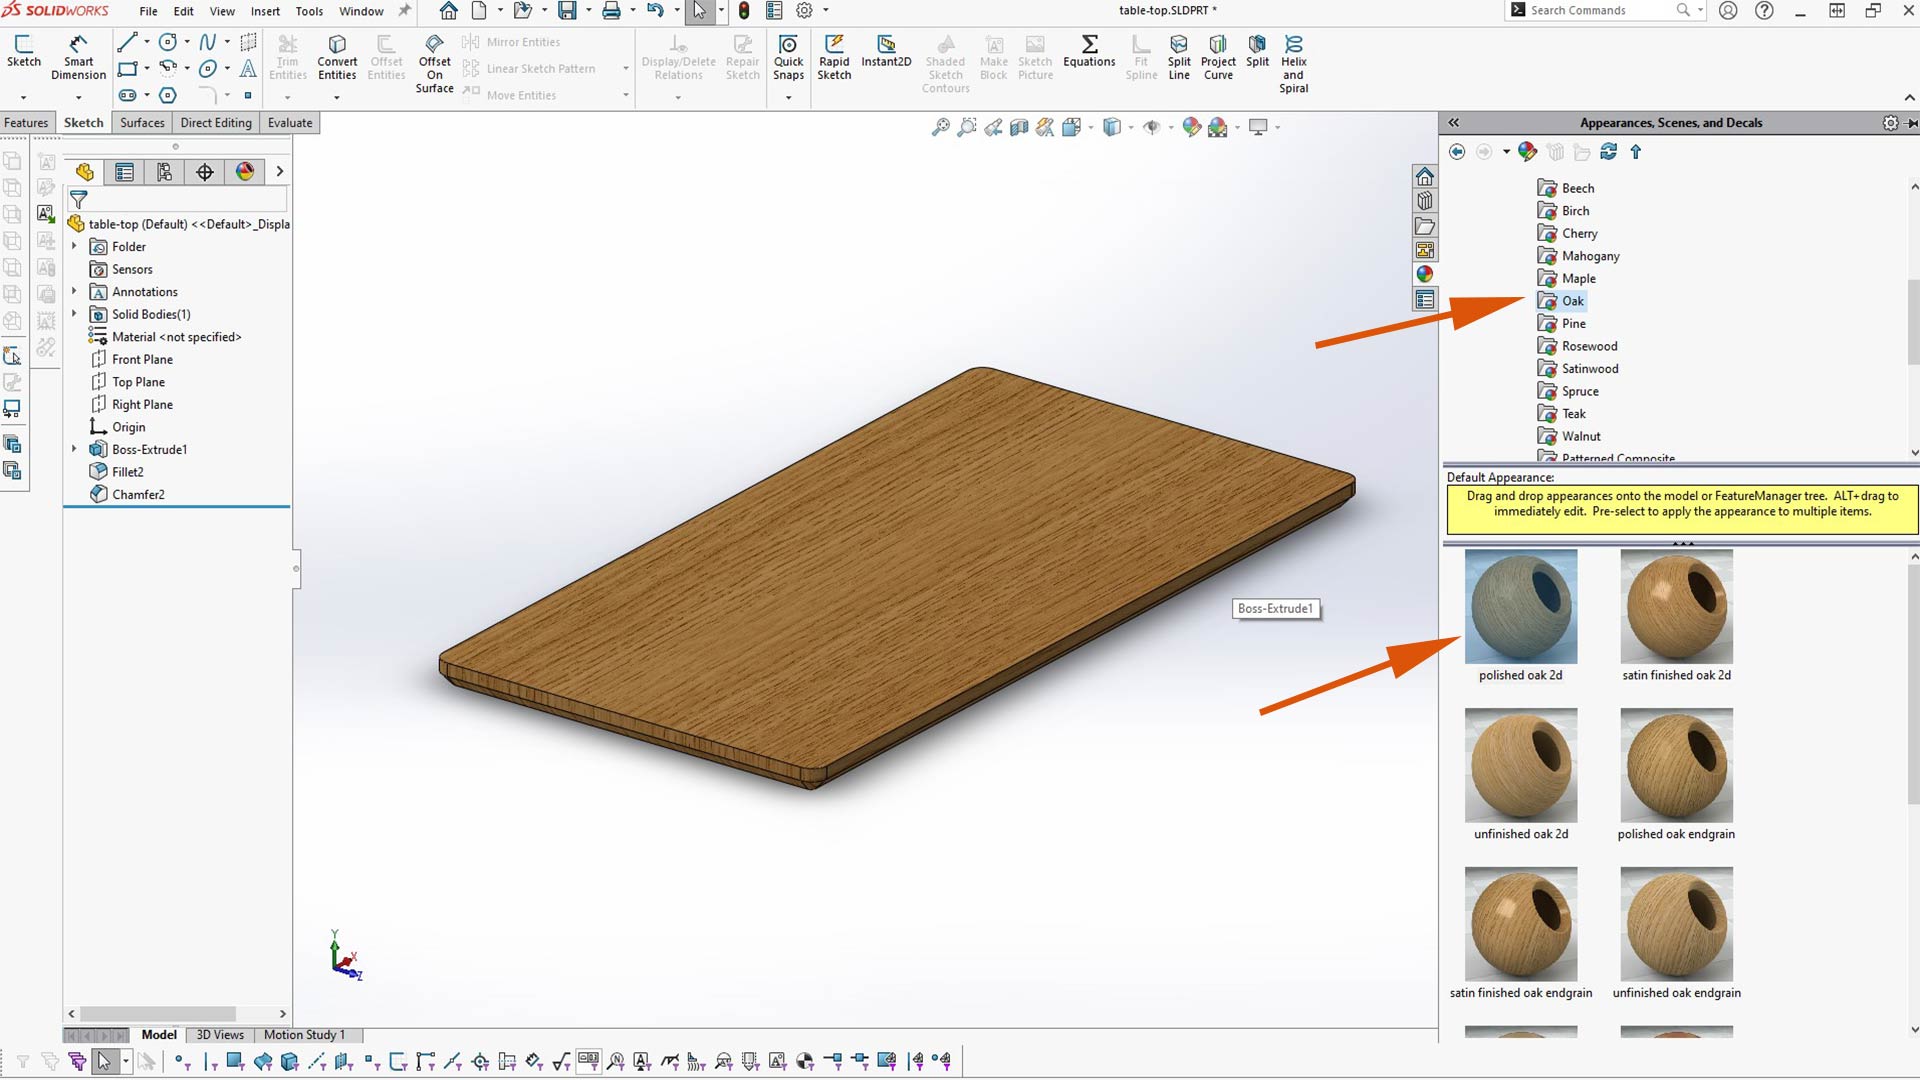
And I selected wood from organic folder
And then, I selected polished Oak.
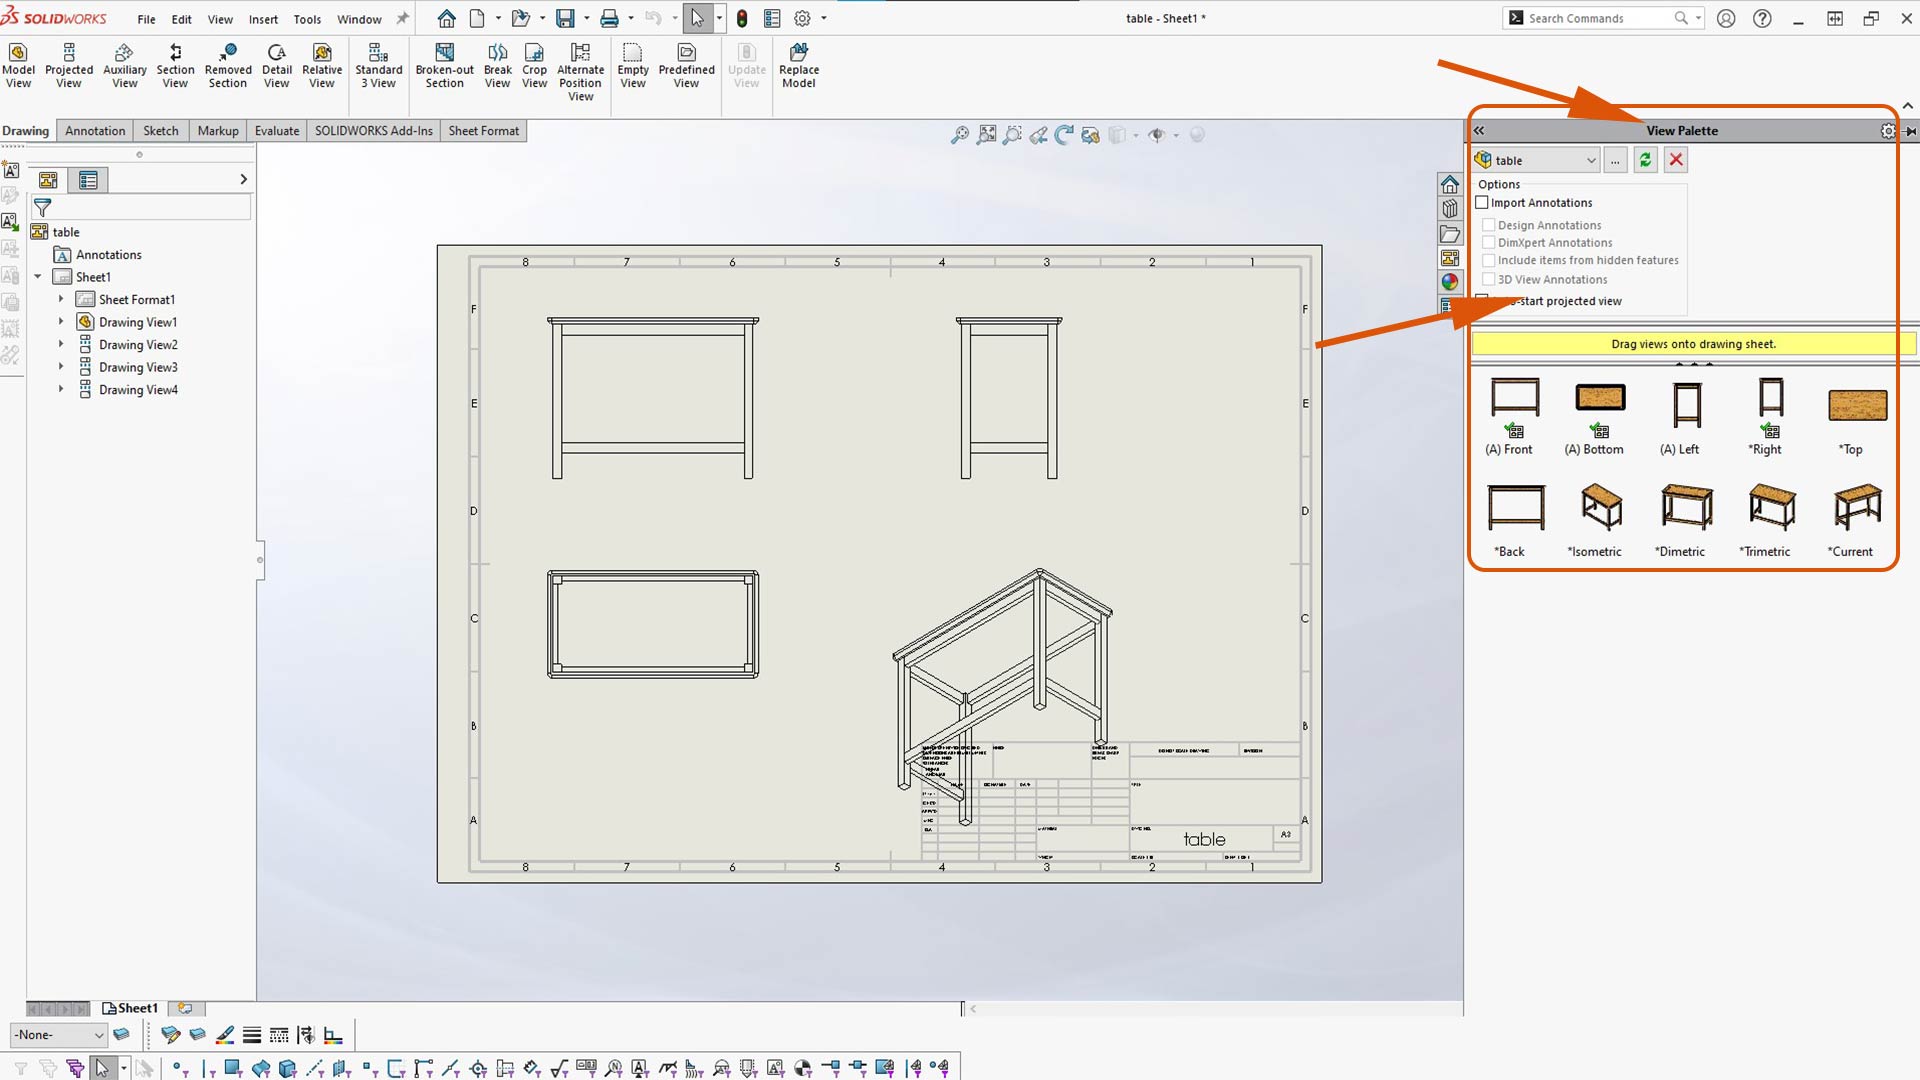
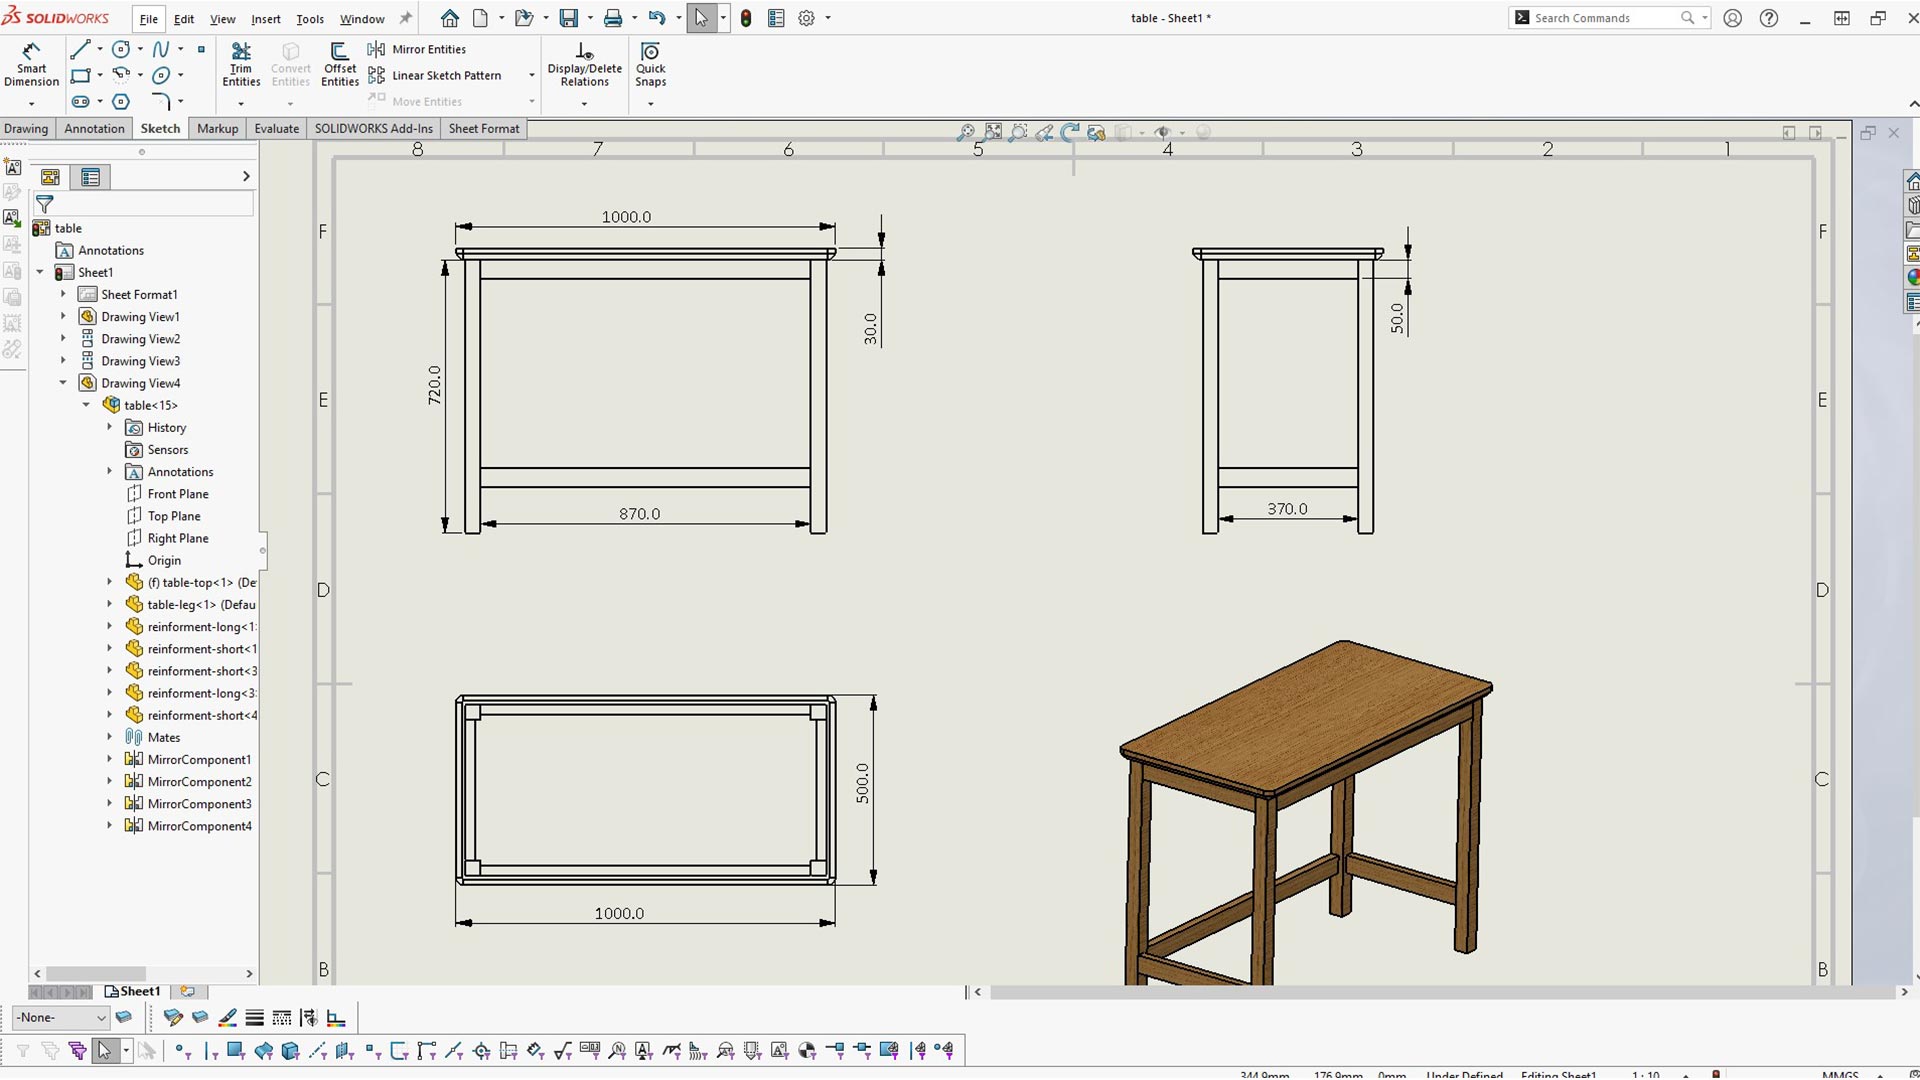
After, I created Drawing
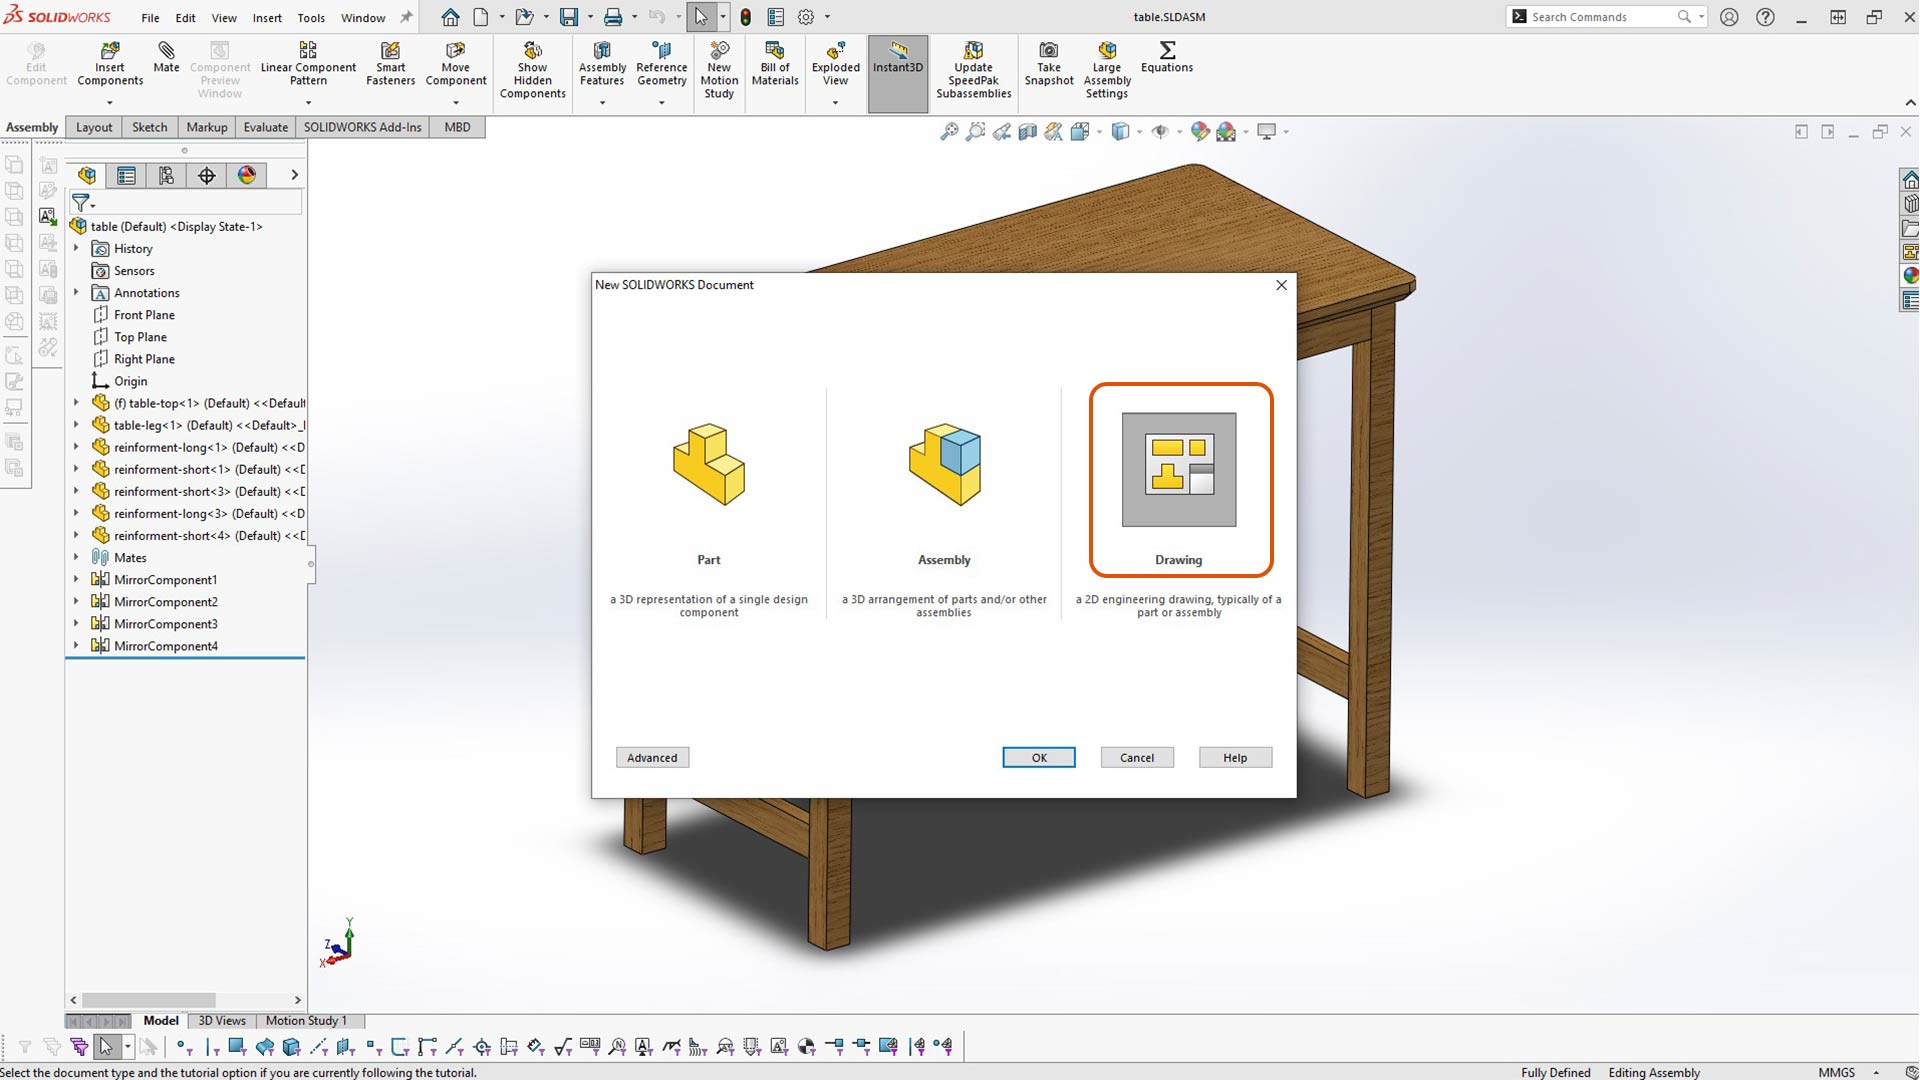
First step in drawing is to select sheet size.

From view palette, I inserted views
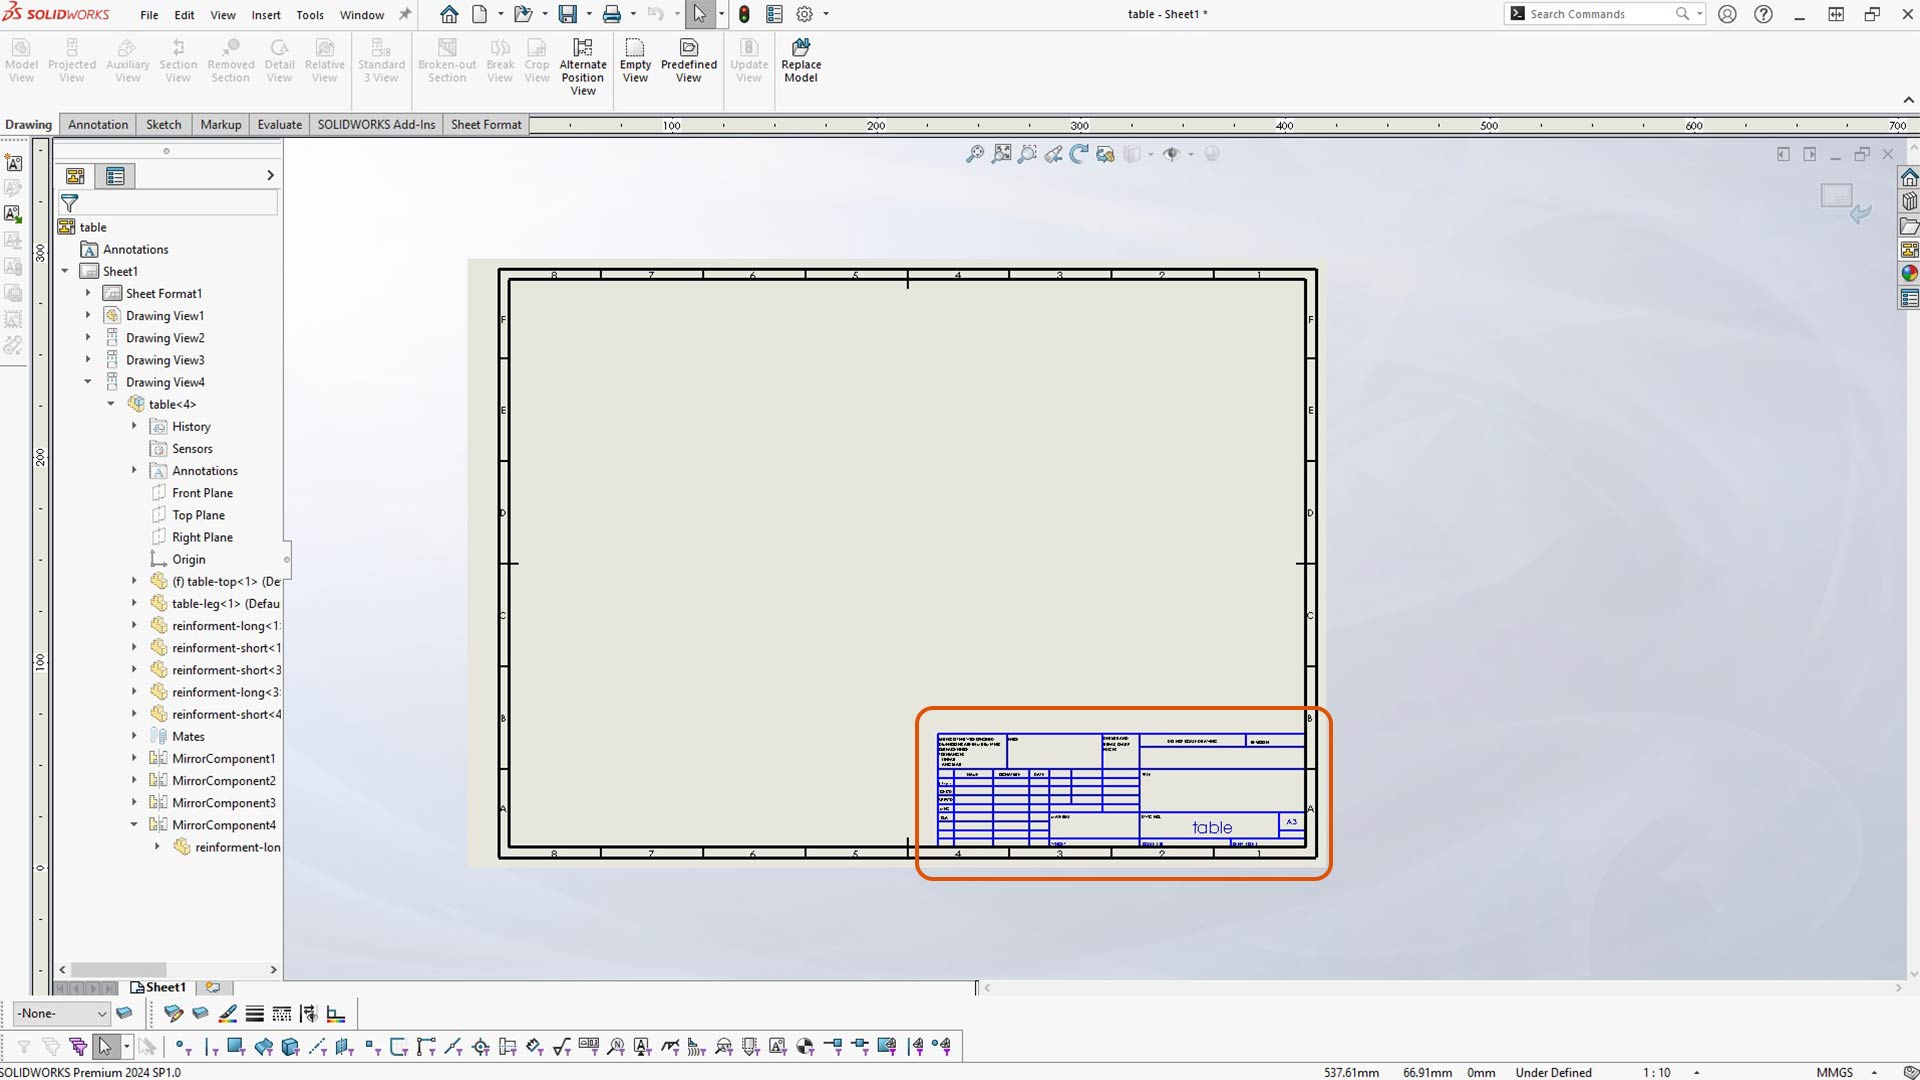
After, I selected edit sheet format to remove drawing information
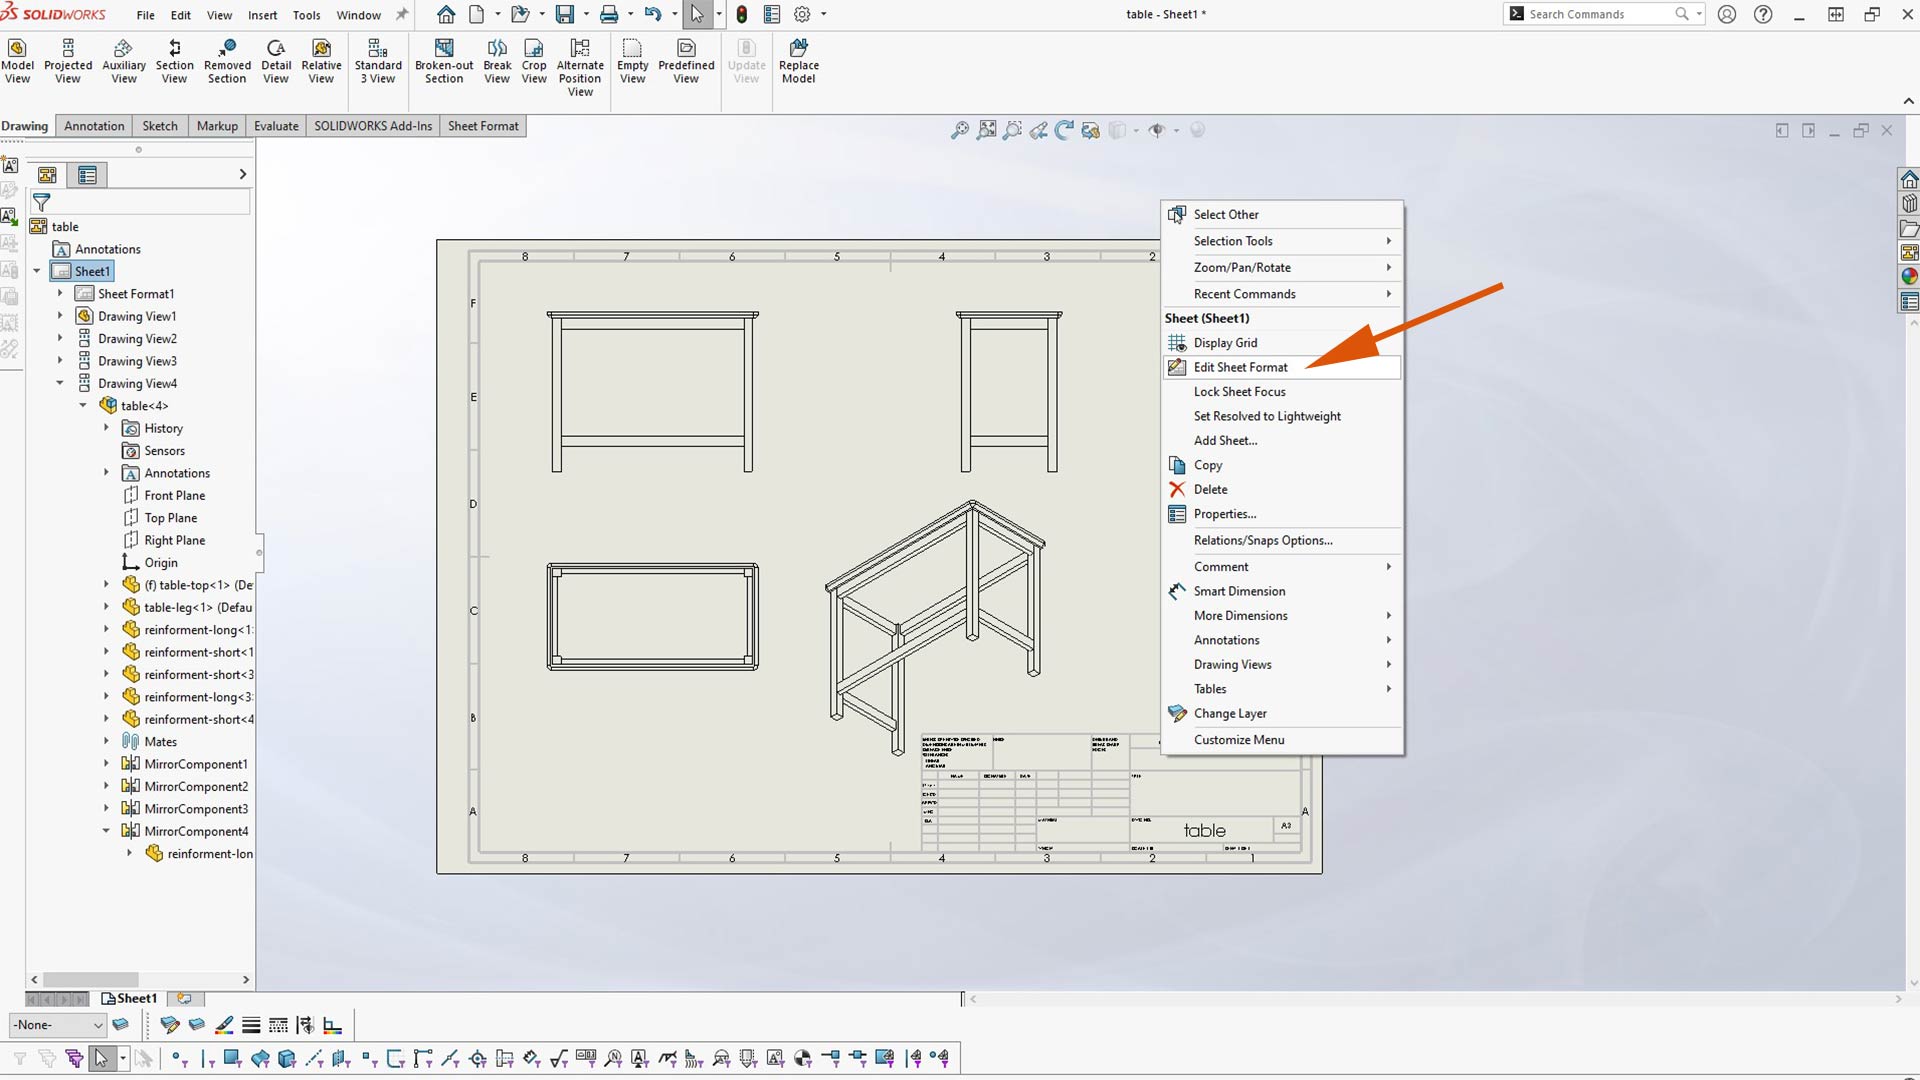
I selected everything using box selection and then deleted them.
After, I added dimentions and changed isometric view display state to solid.
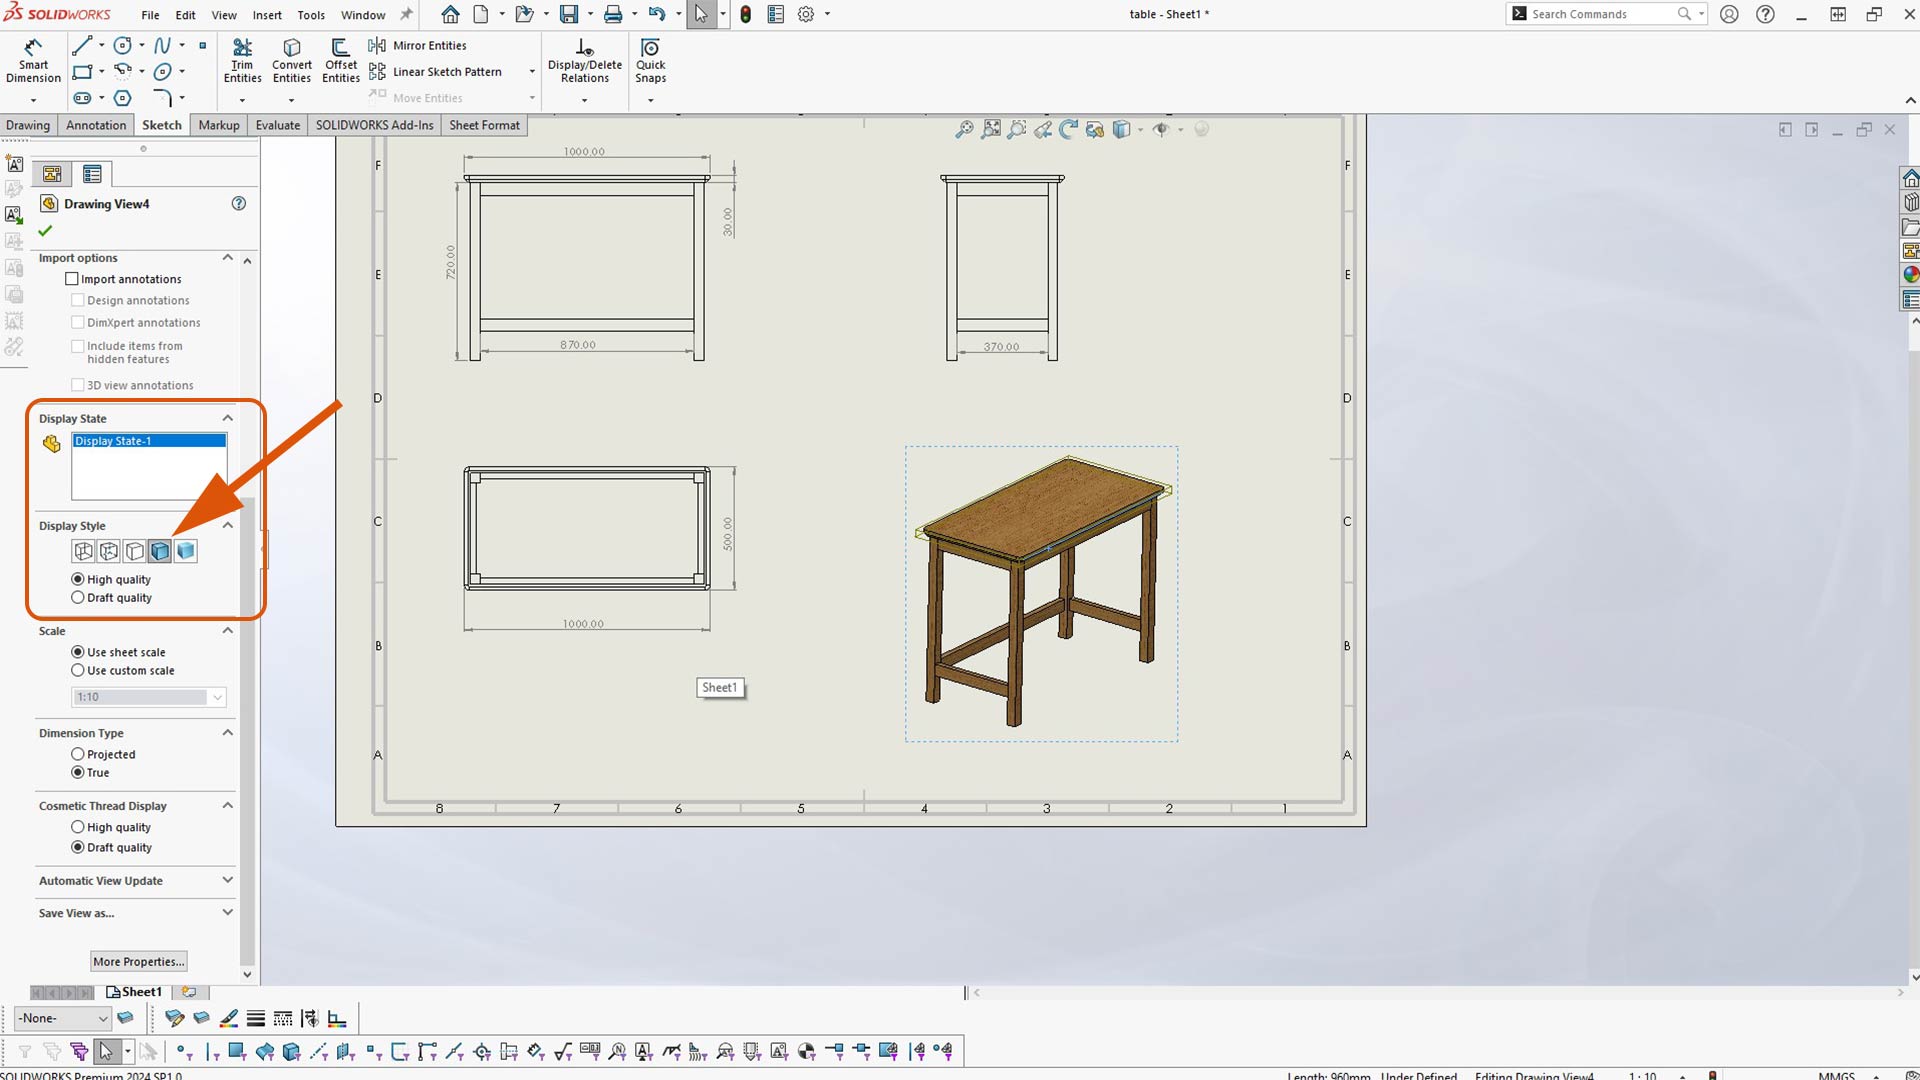
Since dimentions are not clearily visible, I changed their display size by selecting setting
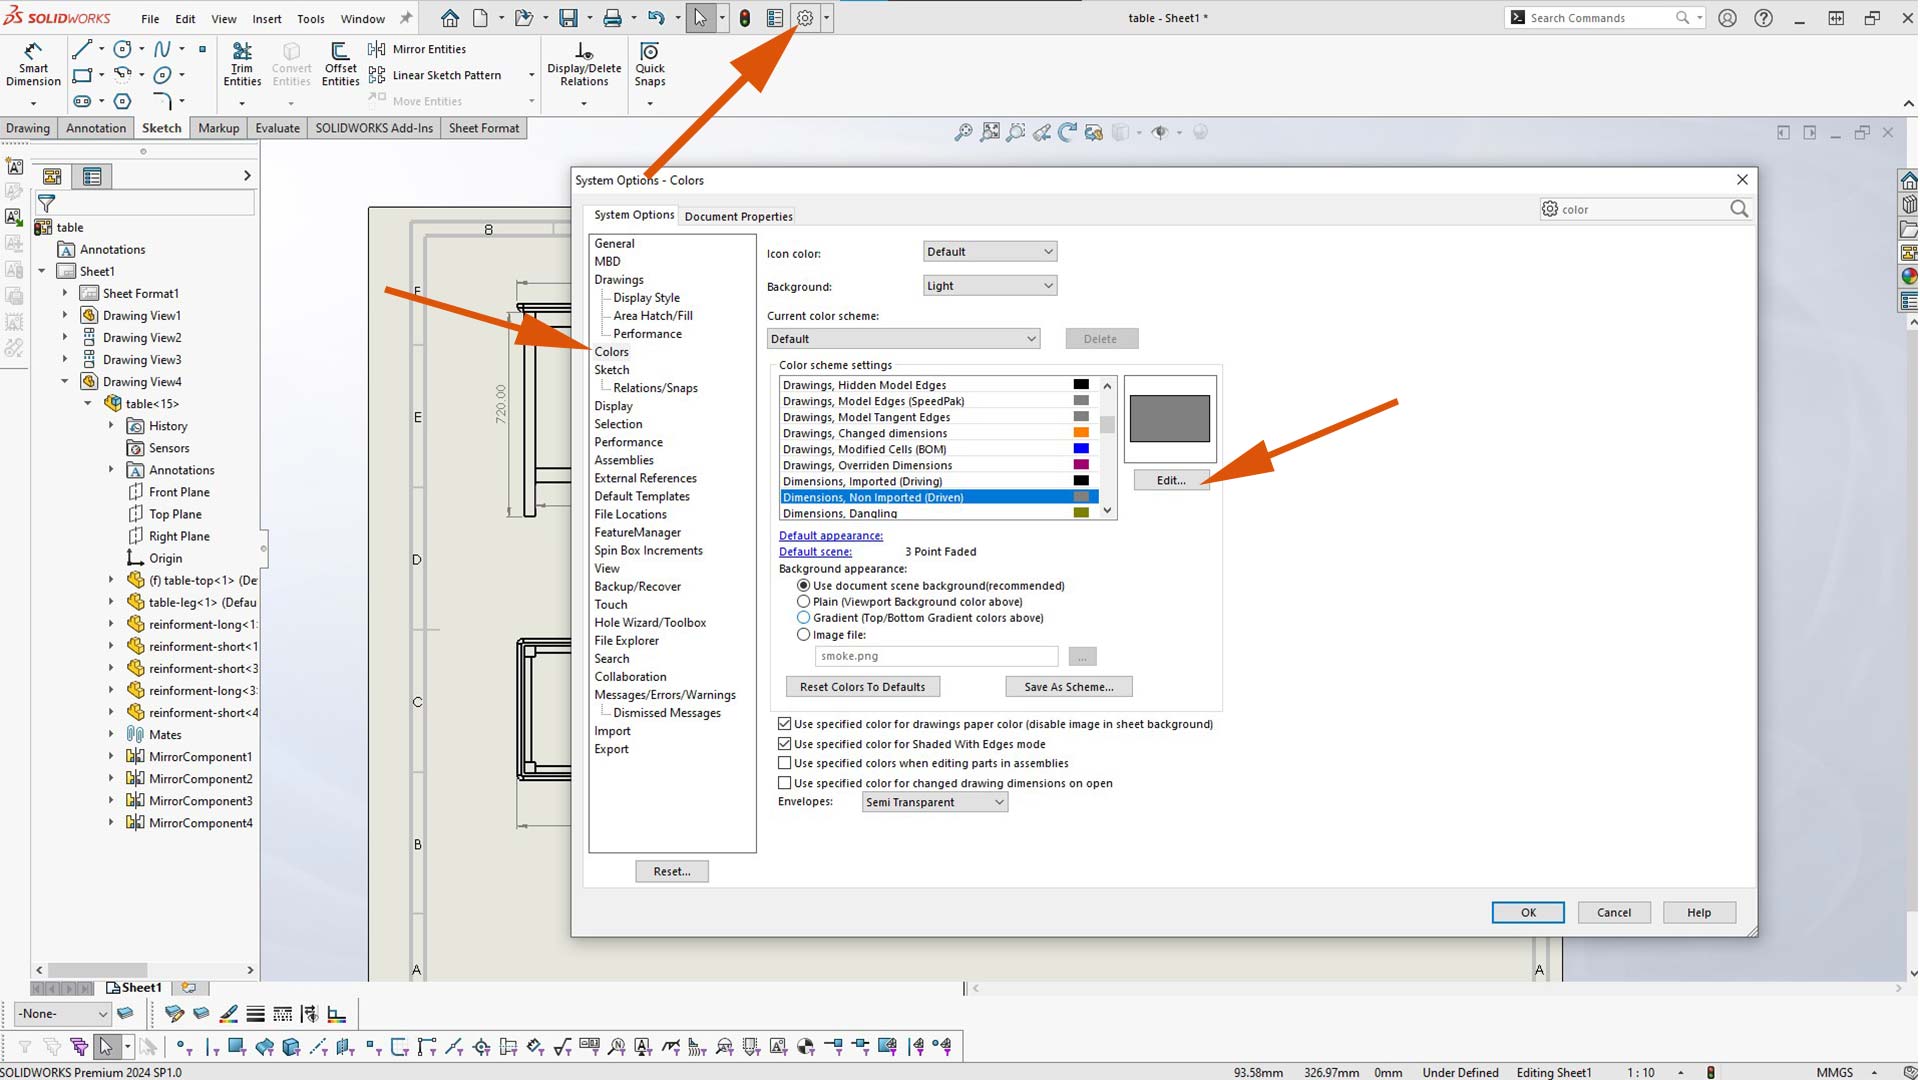
And then font. I adjasted the values as well as font.
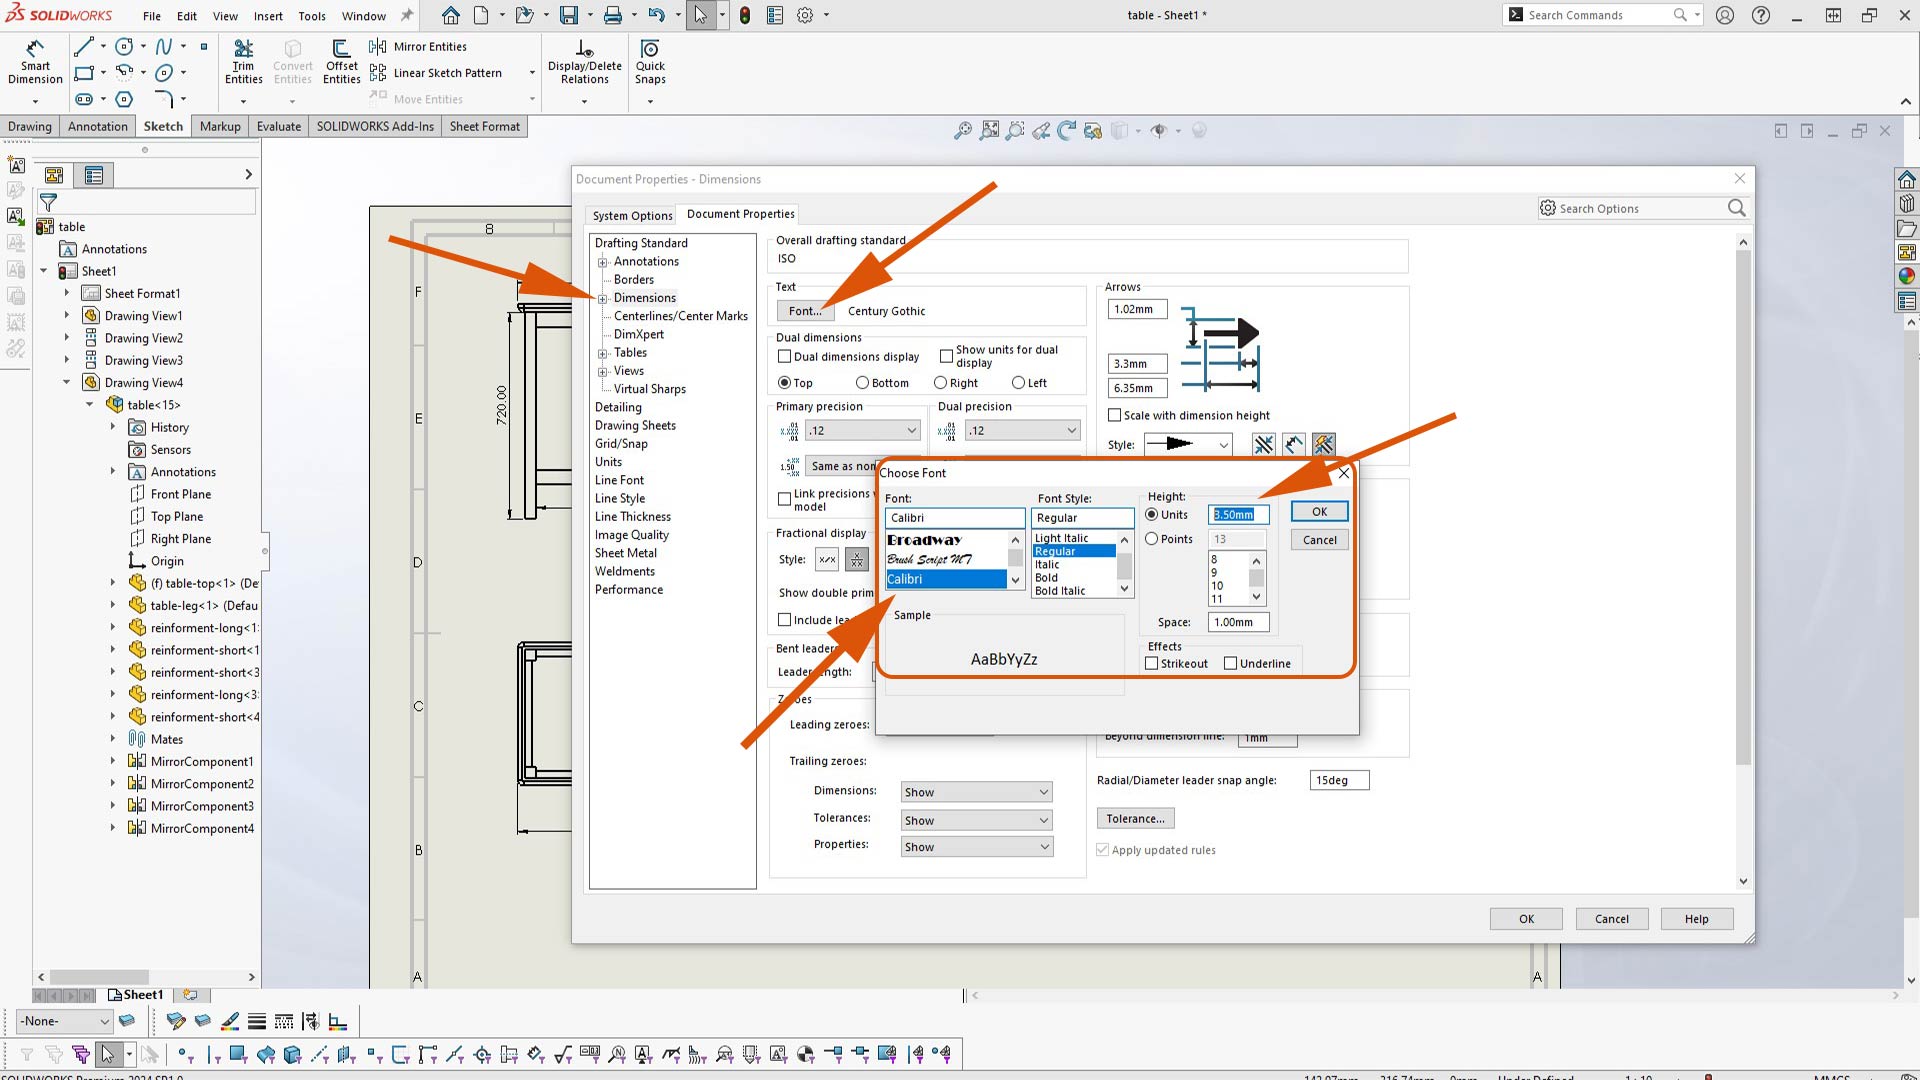
Now, dimensions are clearily visible.
Download files
Here you will find the original files I designed
2D Design files