Wildcard week
Individual assignment: During Wildcard Week, I explored digital embroidery a technique not previously covered in my assignments. My objective was to test and fabricate a UniPod embroidered logo using computer-aided design (CAD) and computer-aided manufacturing (CAM) processes, while thoroughly documenting each step to ensure reproducibility. Design overview
This is the logo used for this assignment
1. Embroidery machine used
- Dahao Embroidery A15
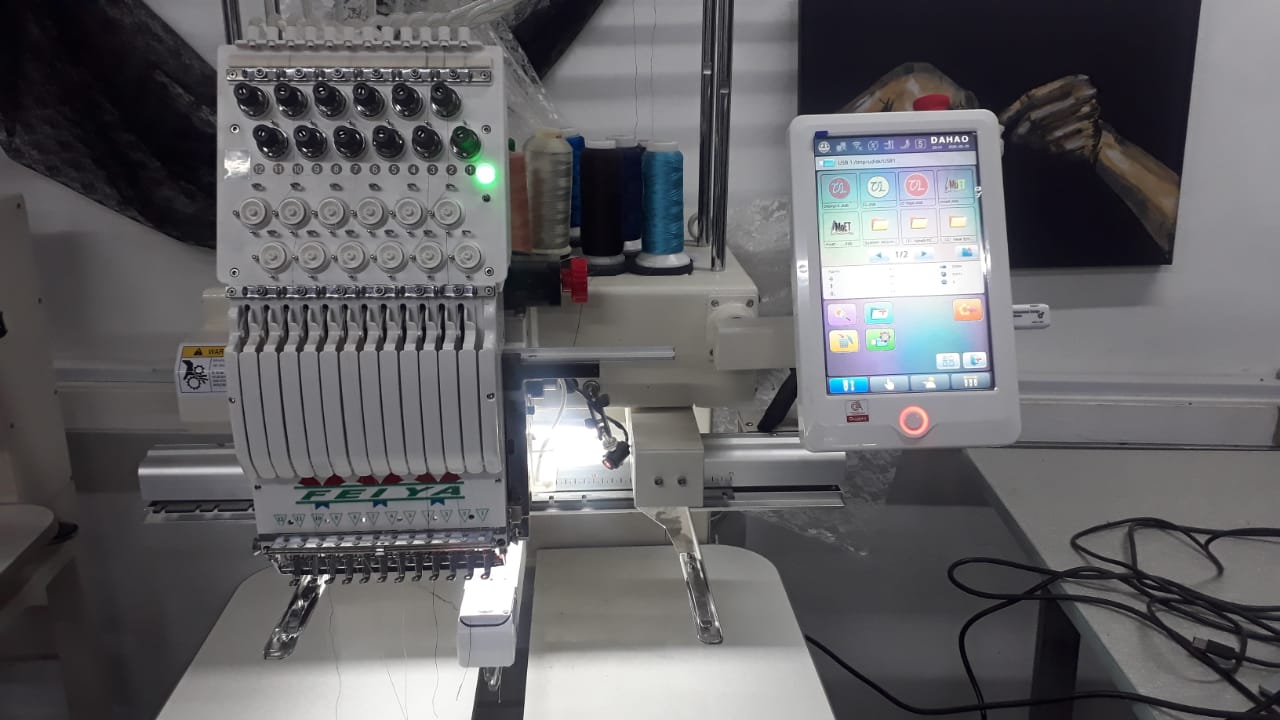
Dahao Embroidery Machine Setup Guide 1. Initial Checks
- Ensure the machine is connected to a stable 220V AC power supply.
- Confirm the emergency stop button is not engaged.
- Upper Thread: Thread through tensioners, guides, and the needle (front to back).
- Bobbin: Load a wound bobbin into the case and insert into the hook assembly.
- Insert USB or connect via LAN if available.
- Use the panel: Design Management->Read Pattern.
- Select a compatible file format (.DST or .DSB) and confirm.
- Color Sequence: Assign needle numbers to each color stop.
- Embroidery Position: Use origin or frame centering tools to align design.
- Speed: Set to 600–800 spm for initial tests.
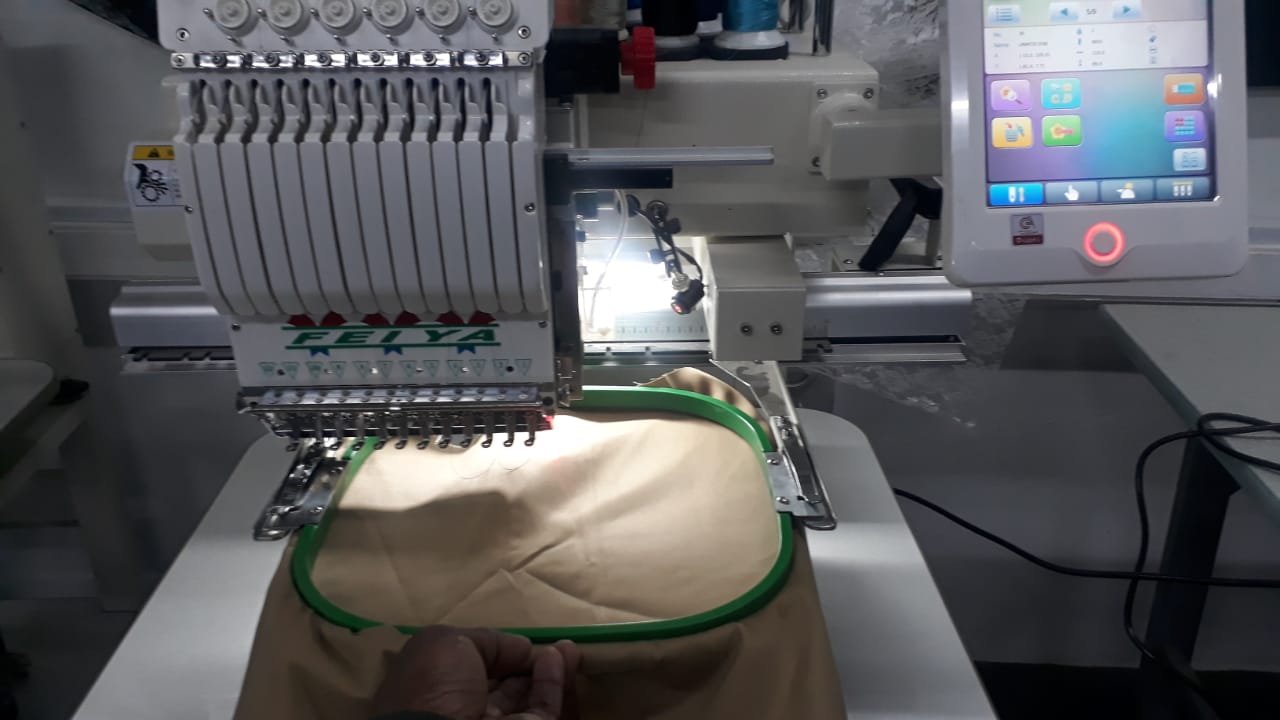
- Stabilize fabric with tear-away or cut-away backing.
- Mount the fabric securely in the hoop and attach to the machine.
- Use the Trace button to verify design fit within the hoop area.
- Lower the presser foot.
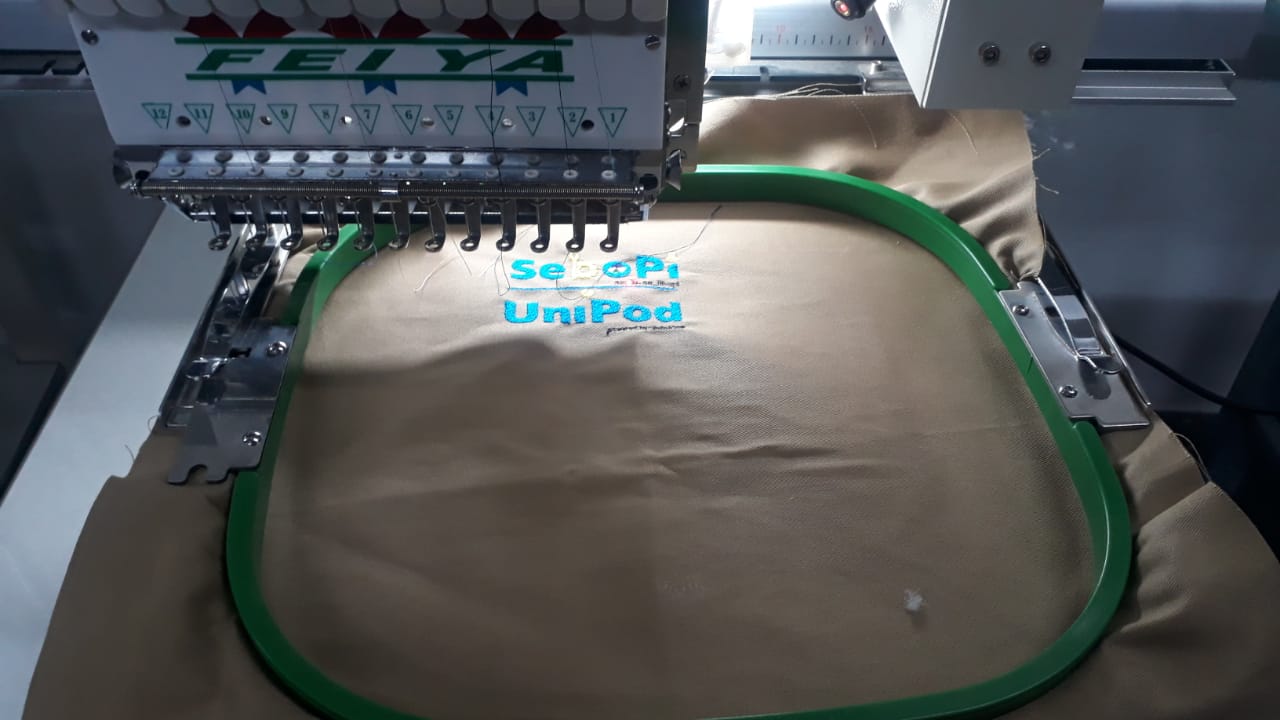
- Press the Start button to begin stitching.
- Observe the quality of stitching and thread behavior.
- Tweak thread tension for proper balance between top and bobbin threads.
- Reduce speed if thread breaks occur.
- Adjust design origin for better positioning.
- Create embroidery designs in software like IsewEmCad.
- Export the design as a .DSB file.
- Load the design as in Step 3 and repeat setup.
Embrodery
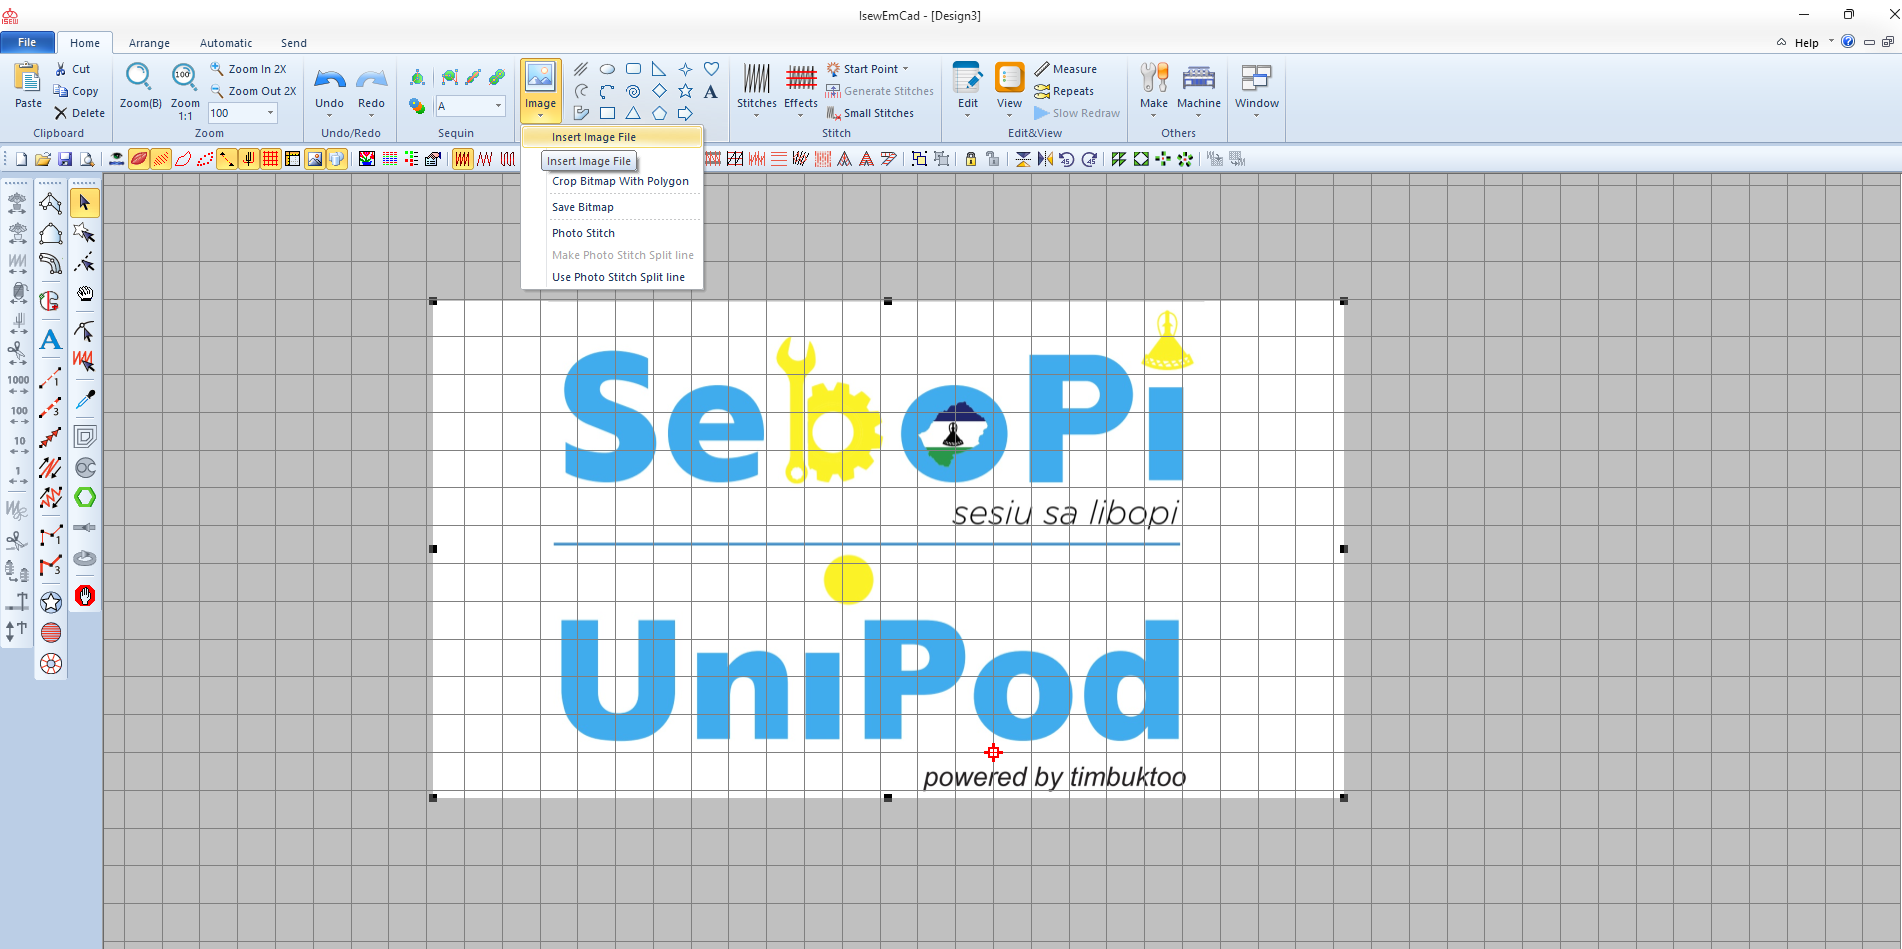
- Import image in IsewEmCad software
-
IsewEmCad is embroidery CAD software developed by Dahao for creating and editing embroidery designs. It is often bundled with embroidery machines that use Dahao controllers (like A15, A18, or C18), and is used to convert vector images or manually create stitch patterns that can be exported to machine-readable formats such as .DST or .DSB.
- It comes with the embroidery machine on a USB or CD.
- Compatible with Windows (check if 32-bit or 64-bit).
- Install required drivers for USB dongle (if license-protected).
- Toolbar: Stitch types, zoom tools, measurement.
- Design Panel: Shows all objects and stitch paths.
- Property Box: Adjusts stitch type, length, direction, density, etc.
- Color Palette: Choose thread colors and sequence.
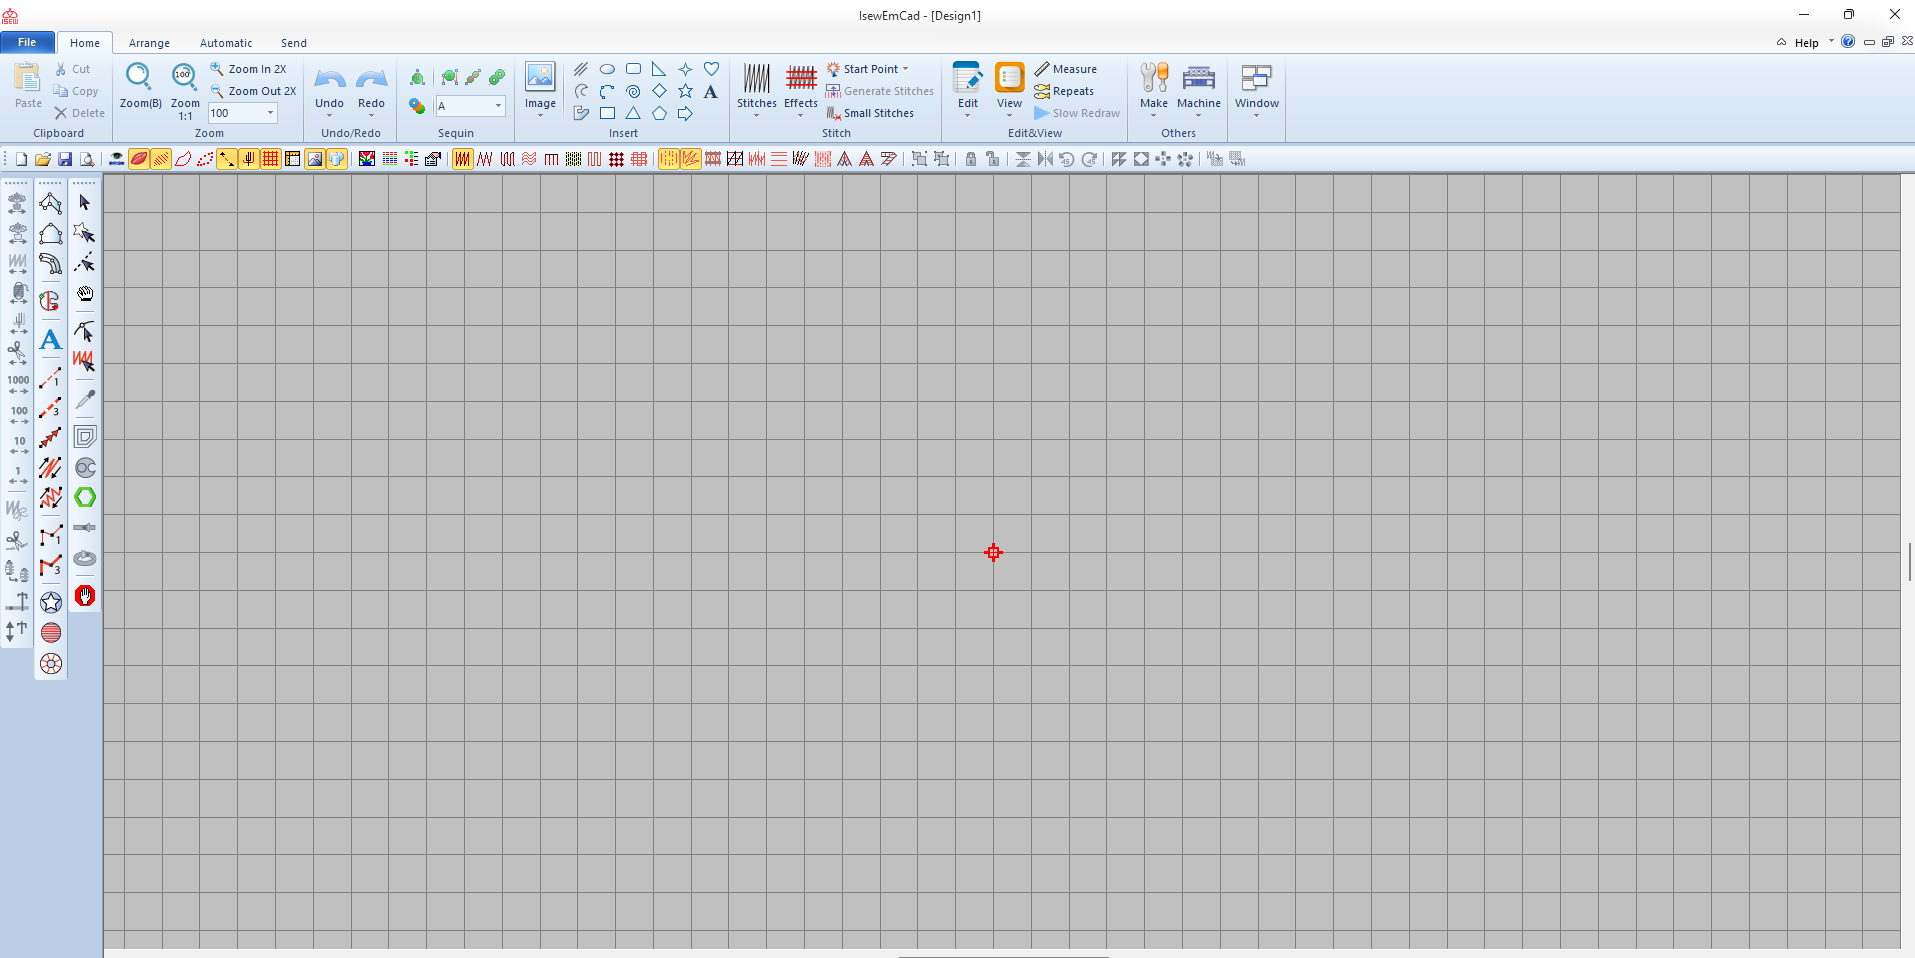
- Open New Project.
- Import image (optional): File -> Import Image.
- Use Digitizing Tools to draw stitch regions (run, satin, fill).
- Add text with Text Tool.
- Save as .DSB or .DST.
- Copy to USB stick and load into the Dahao machine using the control panel.
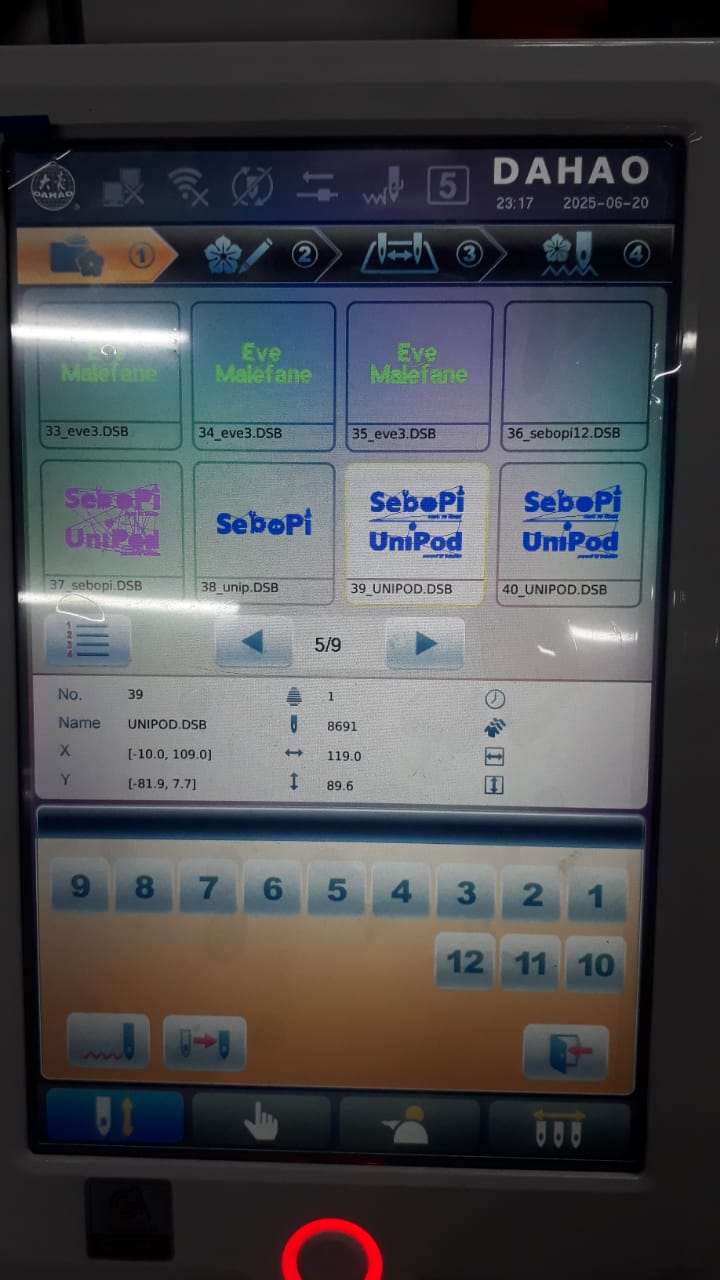
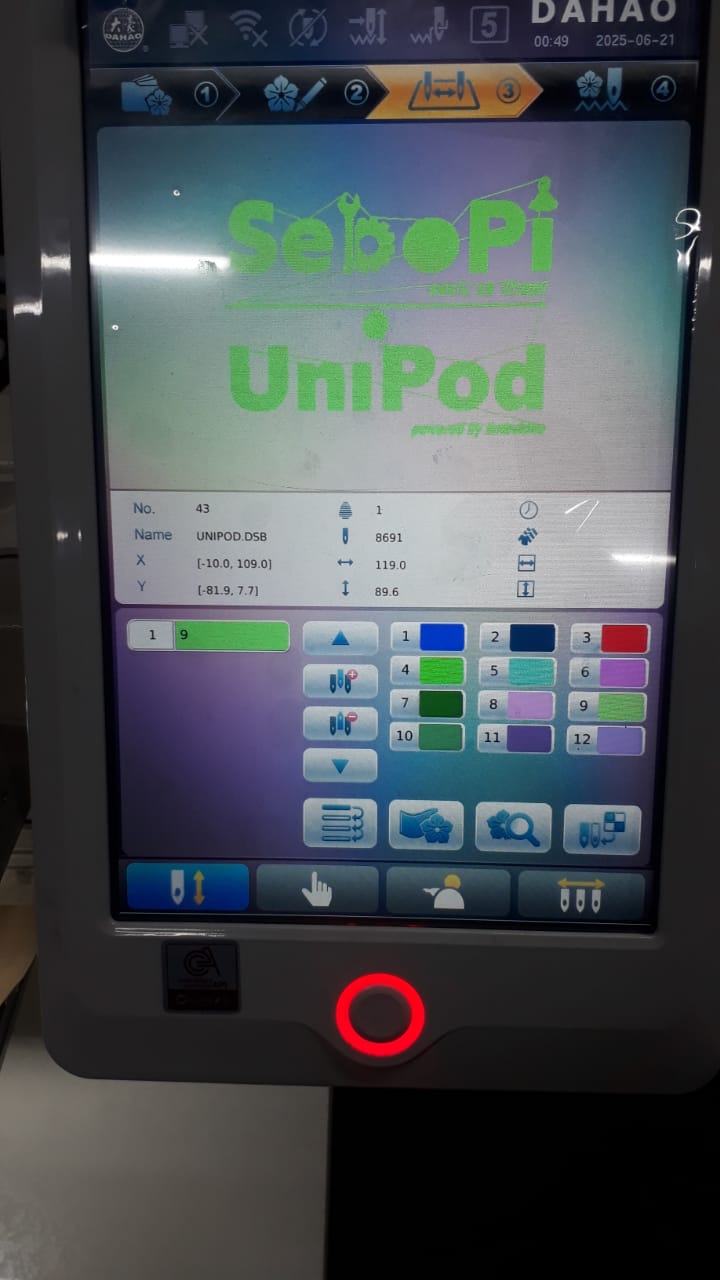
- Load the image from control panel
- Set colors aligned with thread order
- Load the fabric on the tray
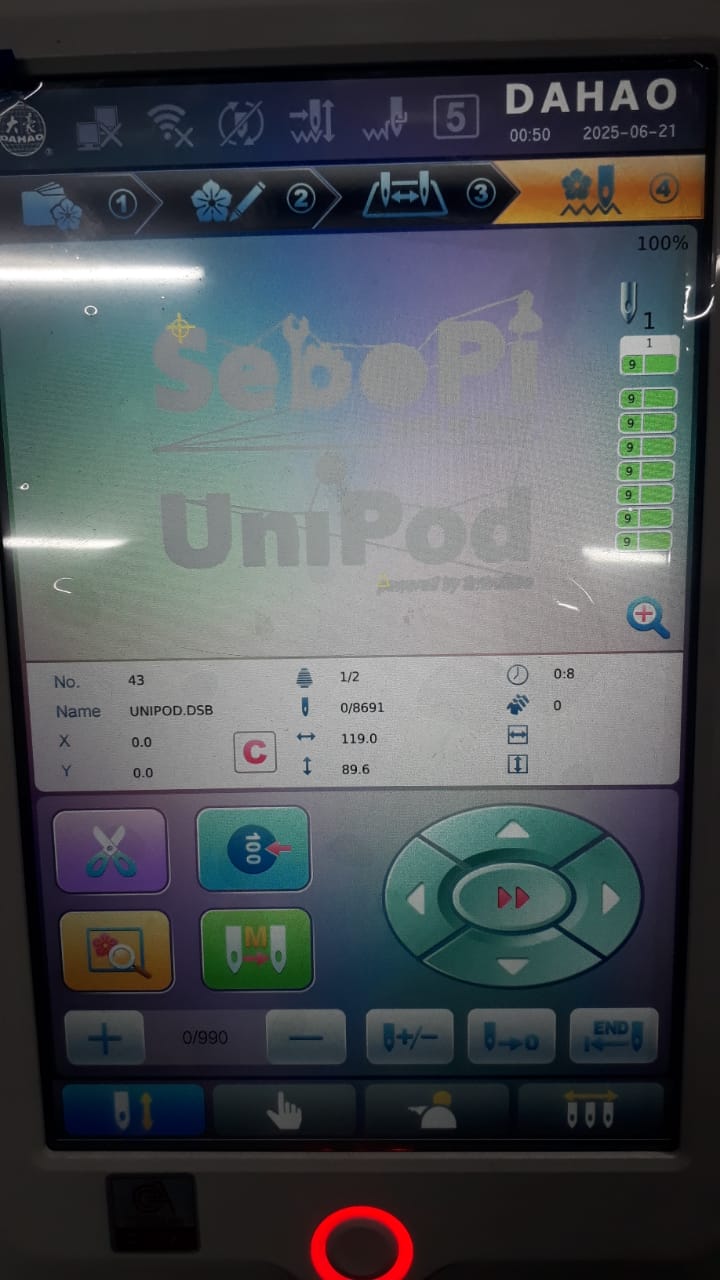
- Then click start button
The following files are included as part of the project: