Laser cutter, Vinly cutter and parametric designs
This week, I worked on key tasks for laser cutter, vinly cutter and parametric designs where I discussed with my team about laser and its working principals. I worked also about the vinly cutter and the parametric design to print something that I can showcase using cutting principals with defferent machines
Description of group assignment
-
Do your lab’s safety training
-
Characterize your lasercutter’s focus, power, speed, rate, kerf, joint clearance and types.
-
Document your work to the group work page and reflect on your individual page what you learned.
-
Design, lasercut, and document a parametric construction kit, accounting for the lasercutter kerf, which can be assembled in multiple ways.
-
Cut something on the vinyl cutter.
Goup assignment
Individual assignments
In this Computer-Controlled Cutting group assignment, I focused on understanding laser cutting techniques, including optimizing focus, power, speed, rate, kerf, and joint clearance for precise cutting and engraving. Through our Goup assignment link, we characterized the laser cutter's parameters and completed lab safety training. This hands-on experience helped me grasp material behavior and fine-tune settings for better accuracy and fit in digital fabrication.
VINLY Cutter
how I started working on vinly cutter
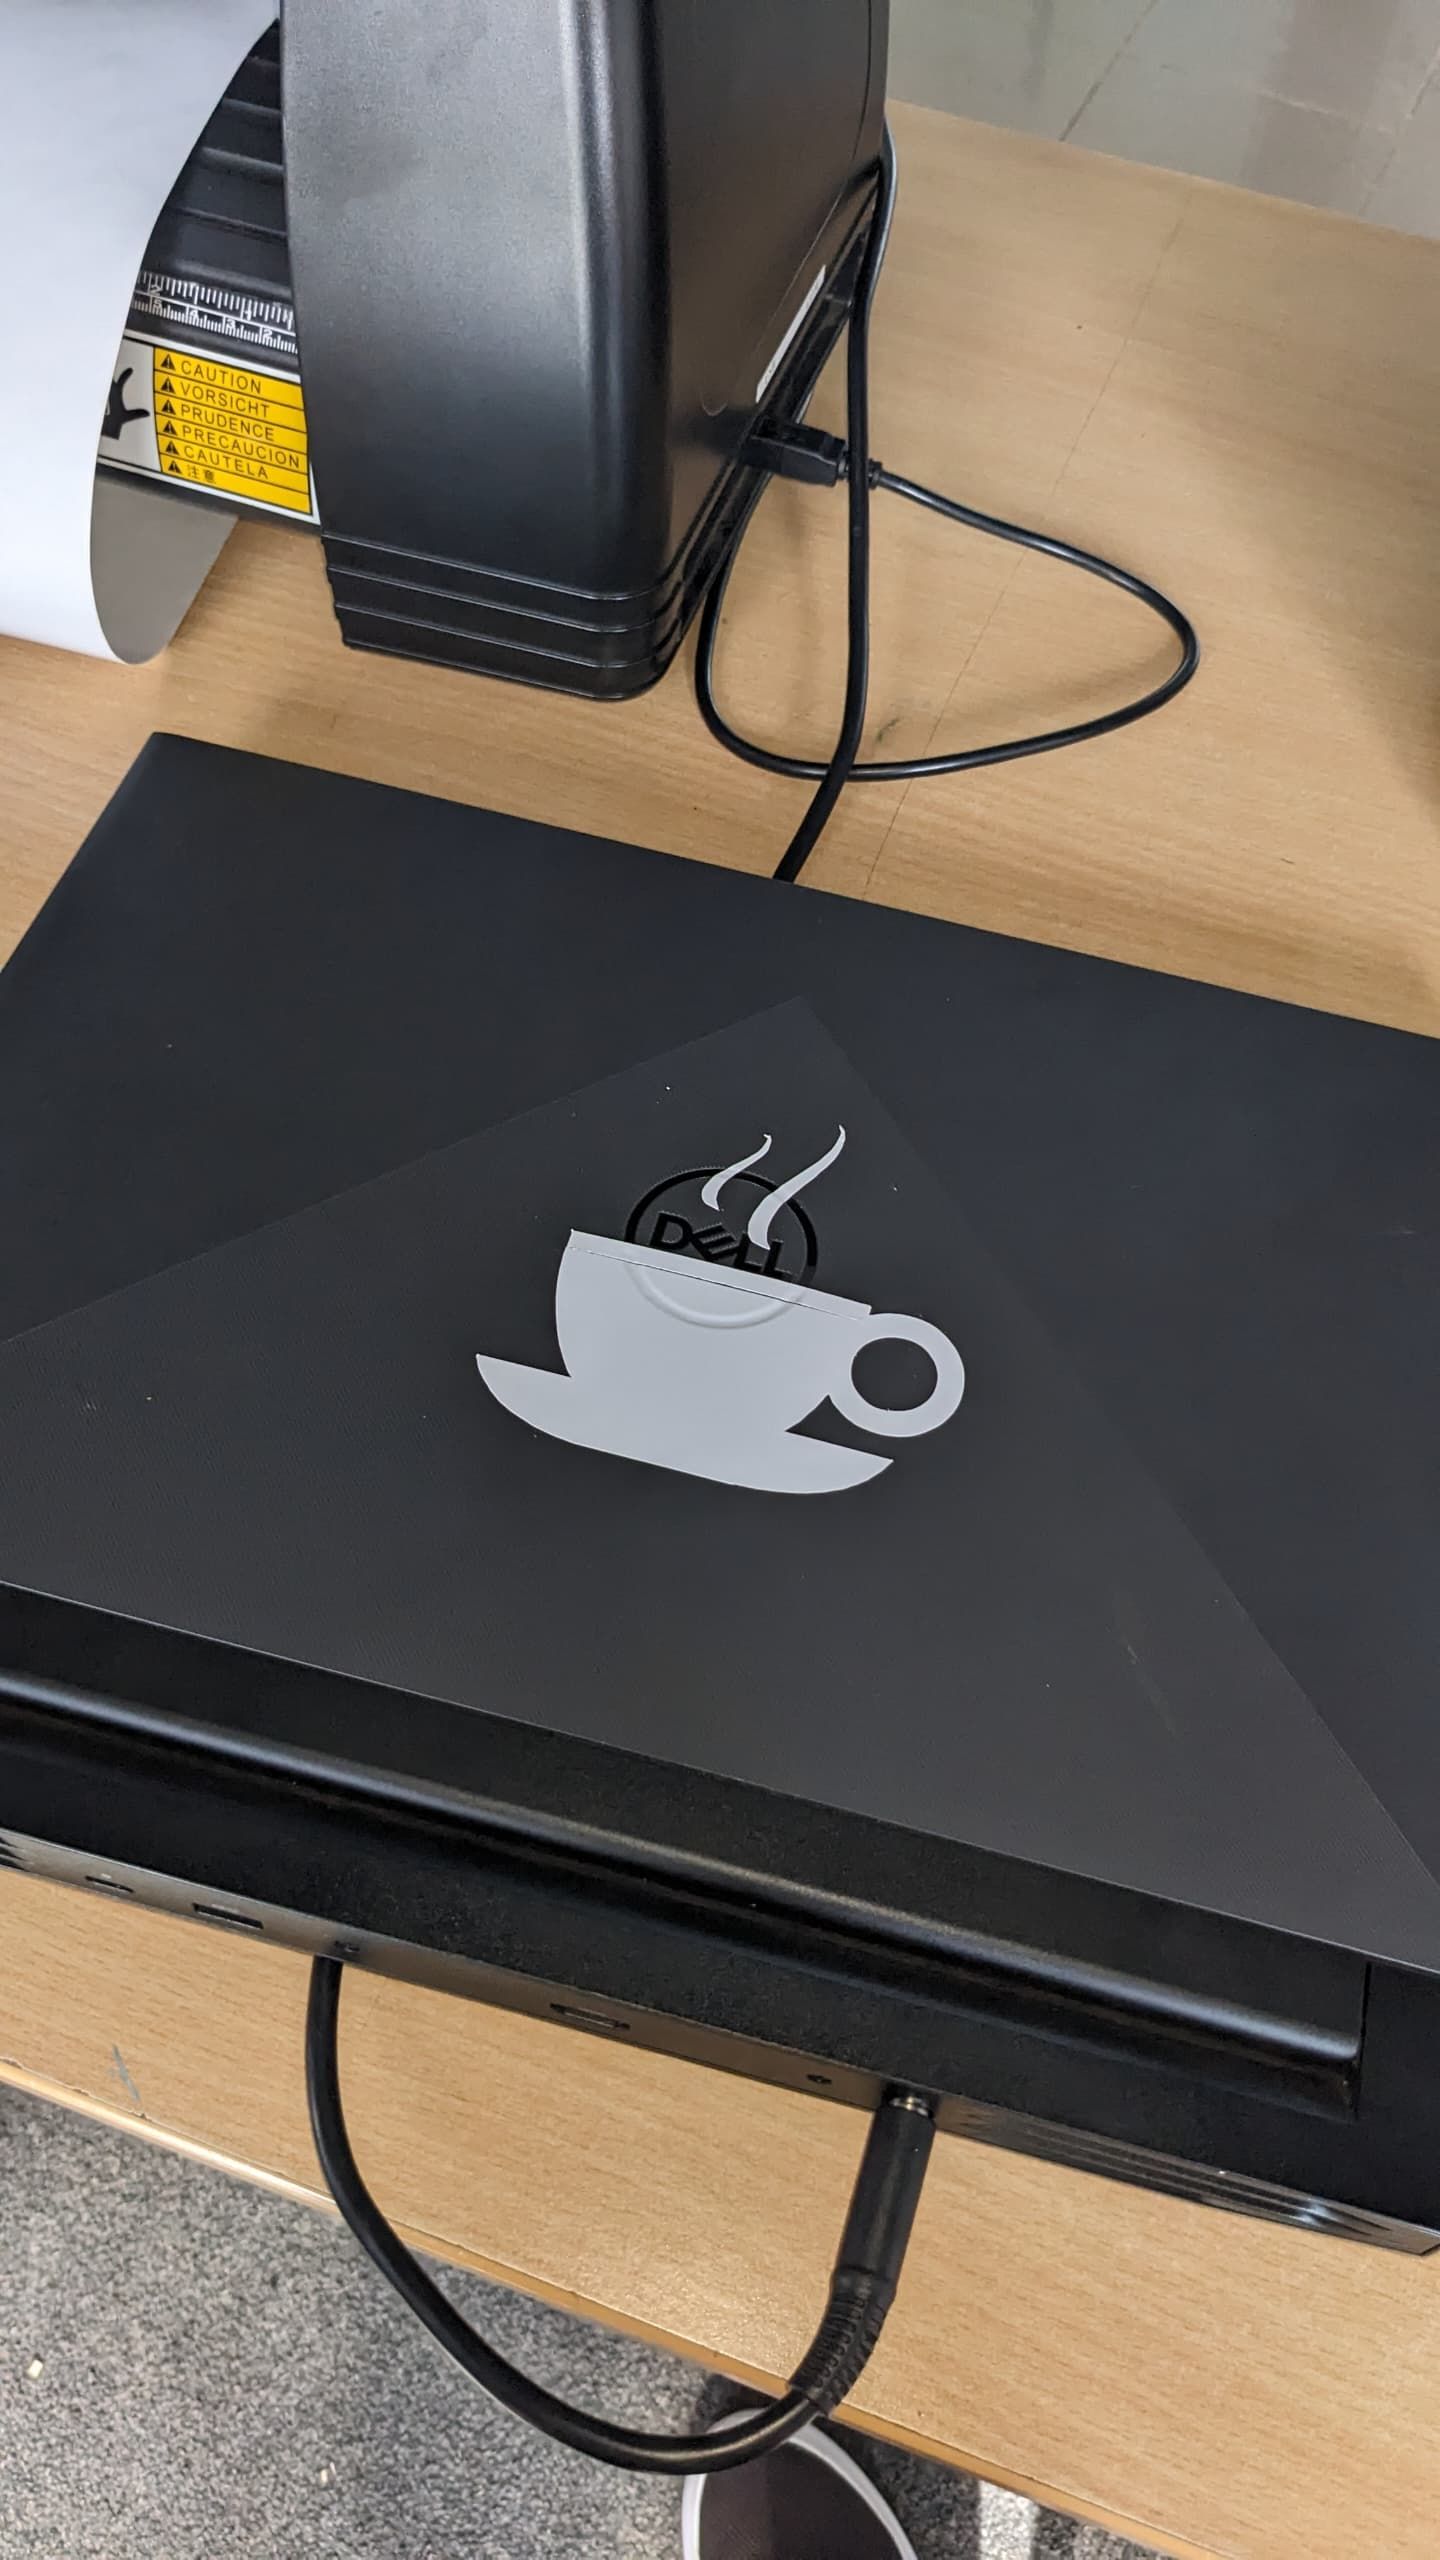
In my daily life I like to drink coffee, its been long time thinking on how I can add a sticker of cup of coffee on my computer. when I get this assignment, hope comes first and I thought myself that by this week I will be having it on my pc.
I started by opening my vinly cutter software and navigated through different features
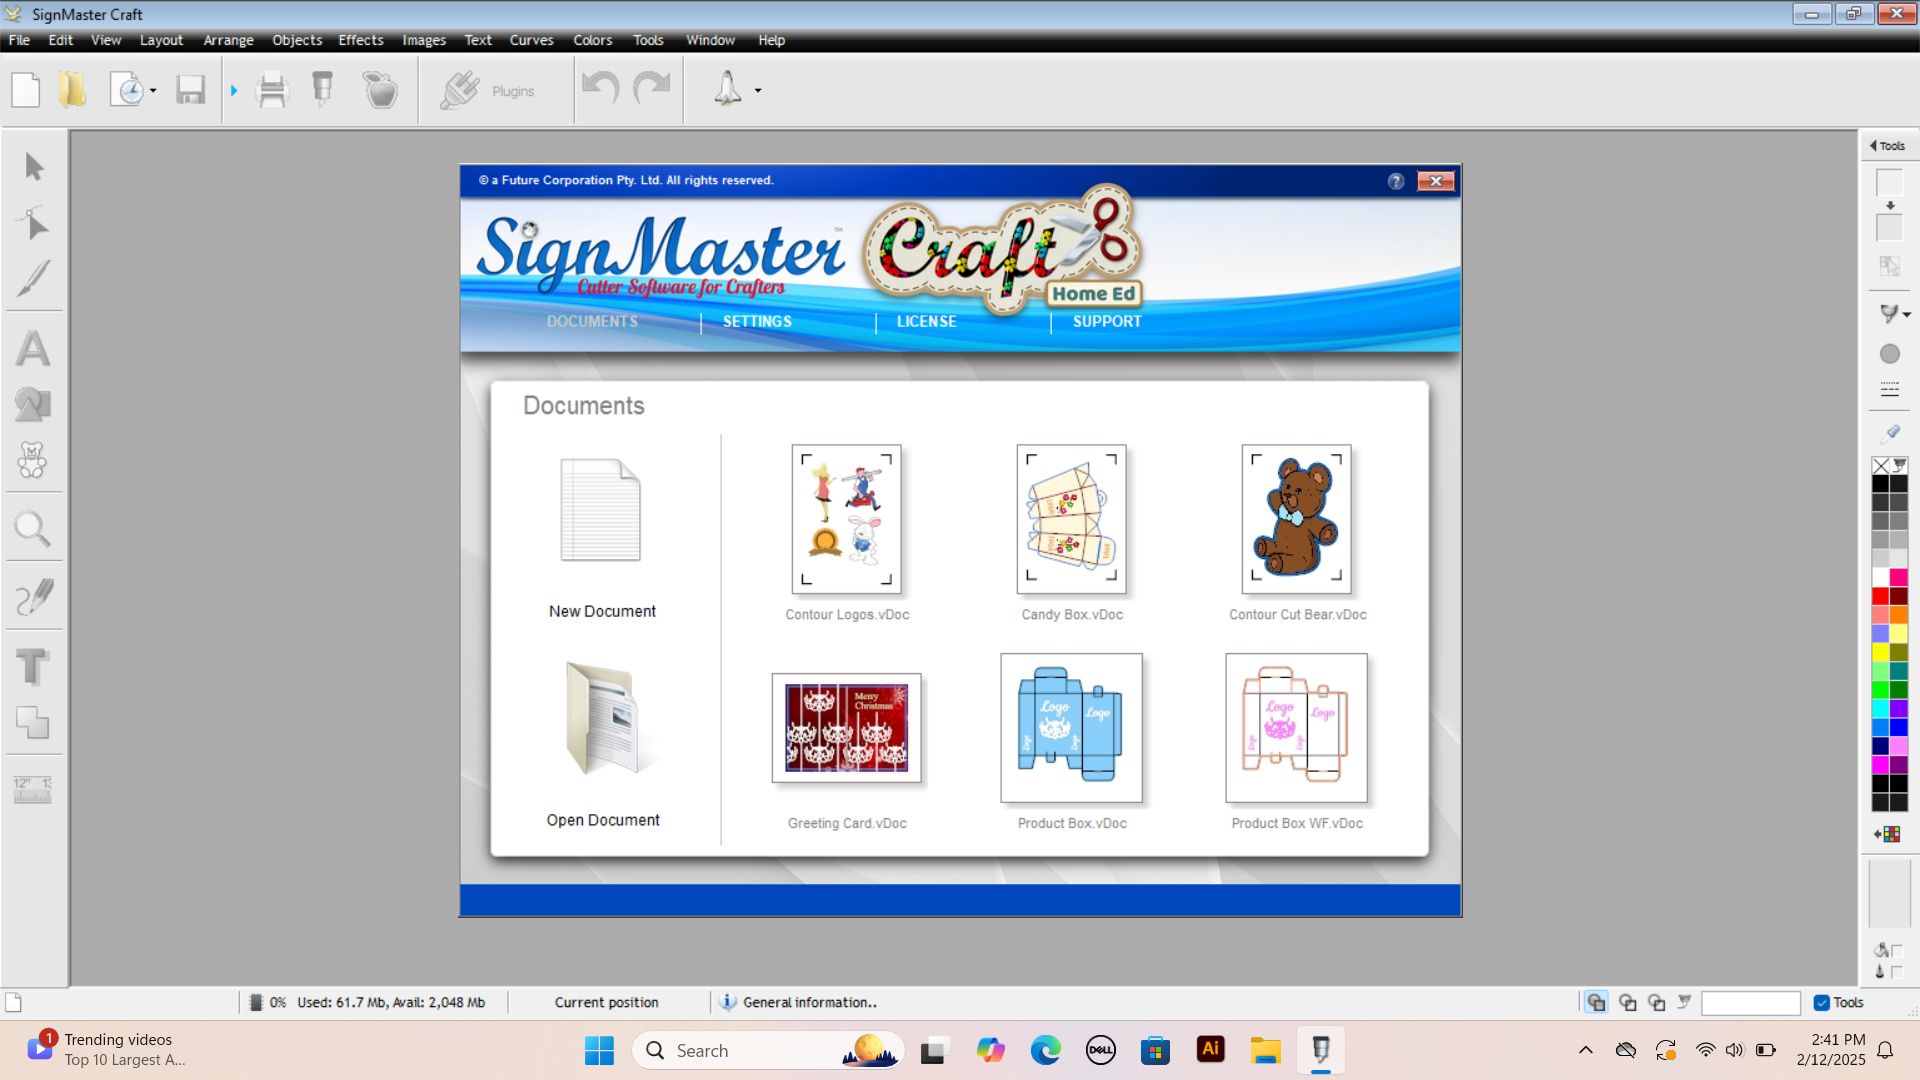
after I opened new document to start my journey of designing my coffee cup on it
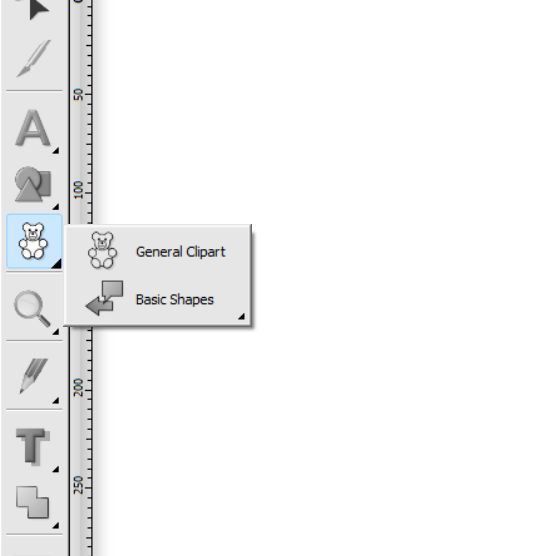
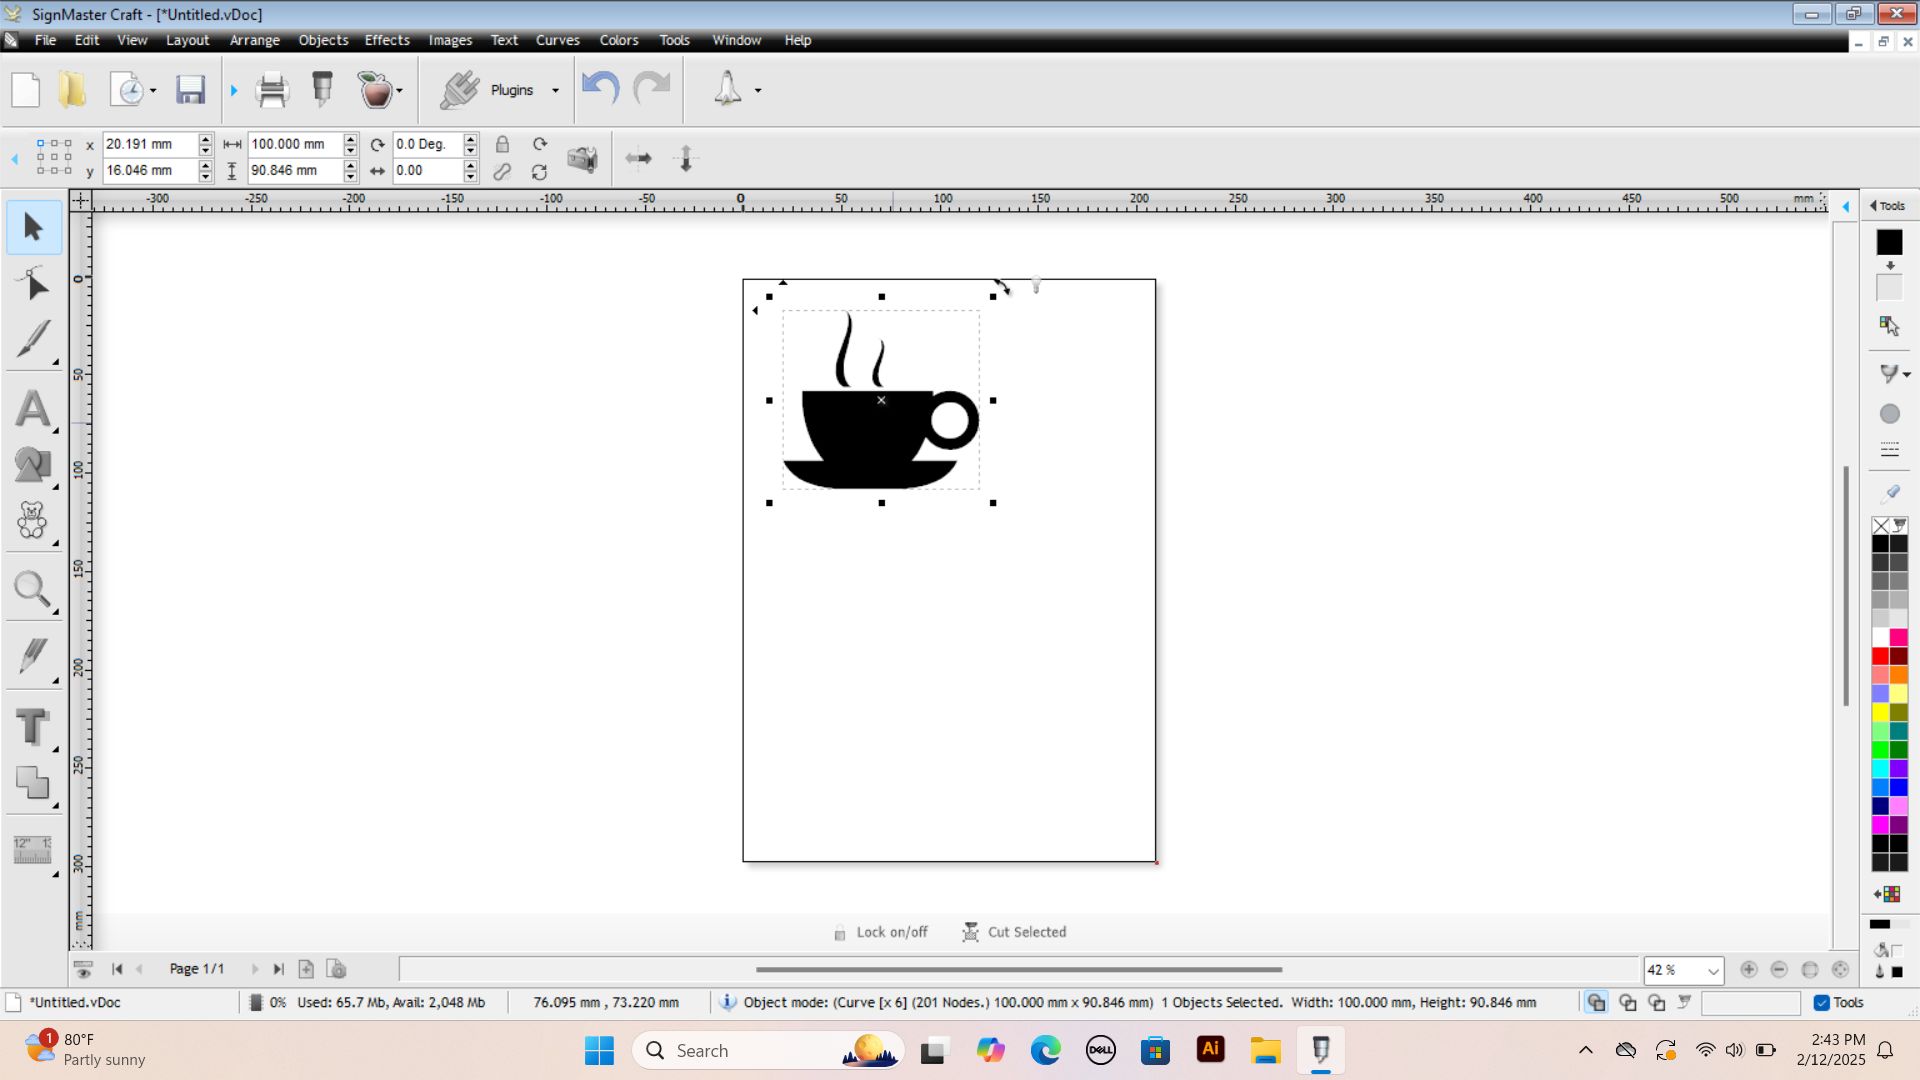
After navigating in Icons on sidebar, I found one which contain general and basic shapes to start with while learning. I selected general shapes and I choosen coffee cup icon
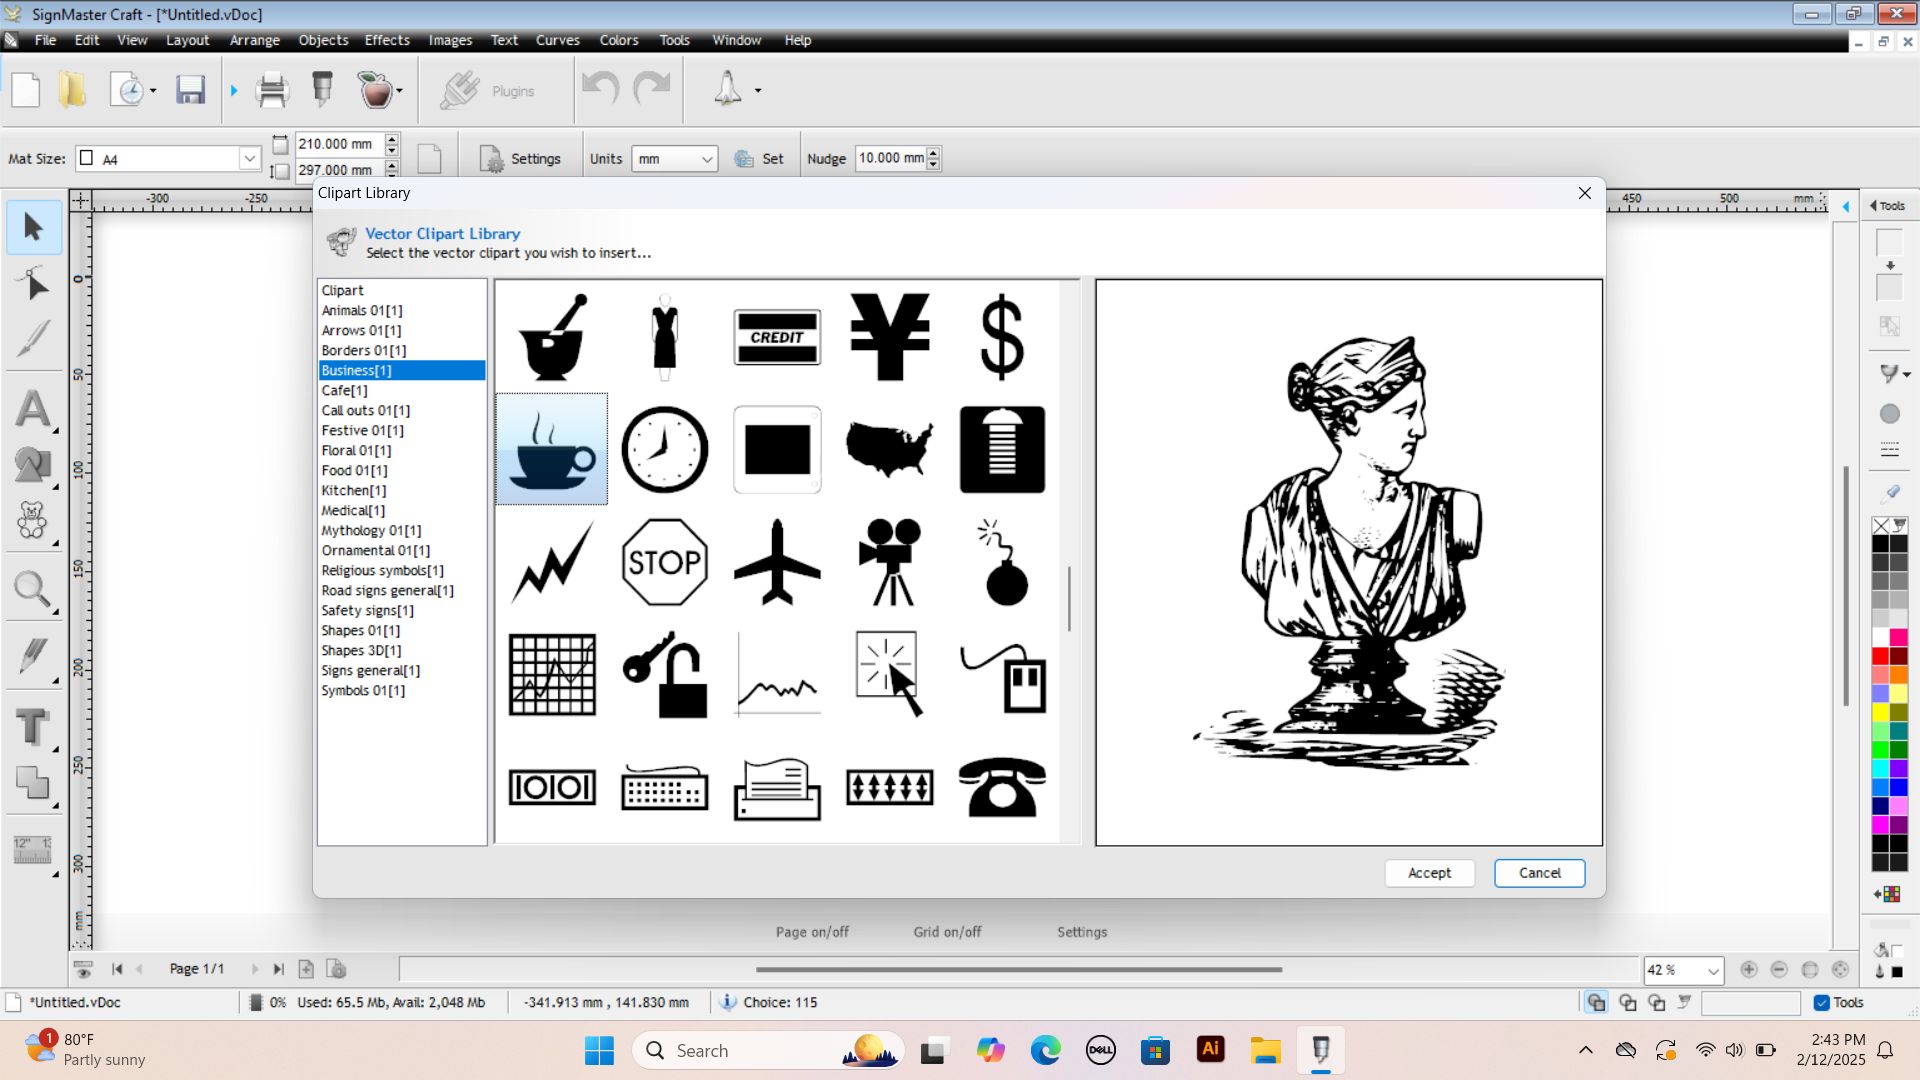
This is How I started to edit the design of coffee cup
I adjusted the art design and put the frame so that the vinyl cutter can get a way to cut out the art
after edditing and framing, I selected the design and navigated to cutting icon and that directed me to new tab prompting me to agree cutting
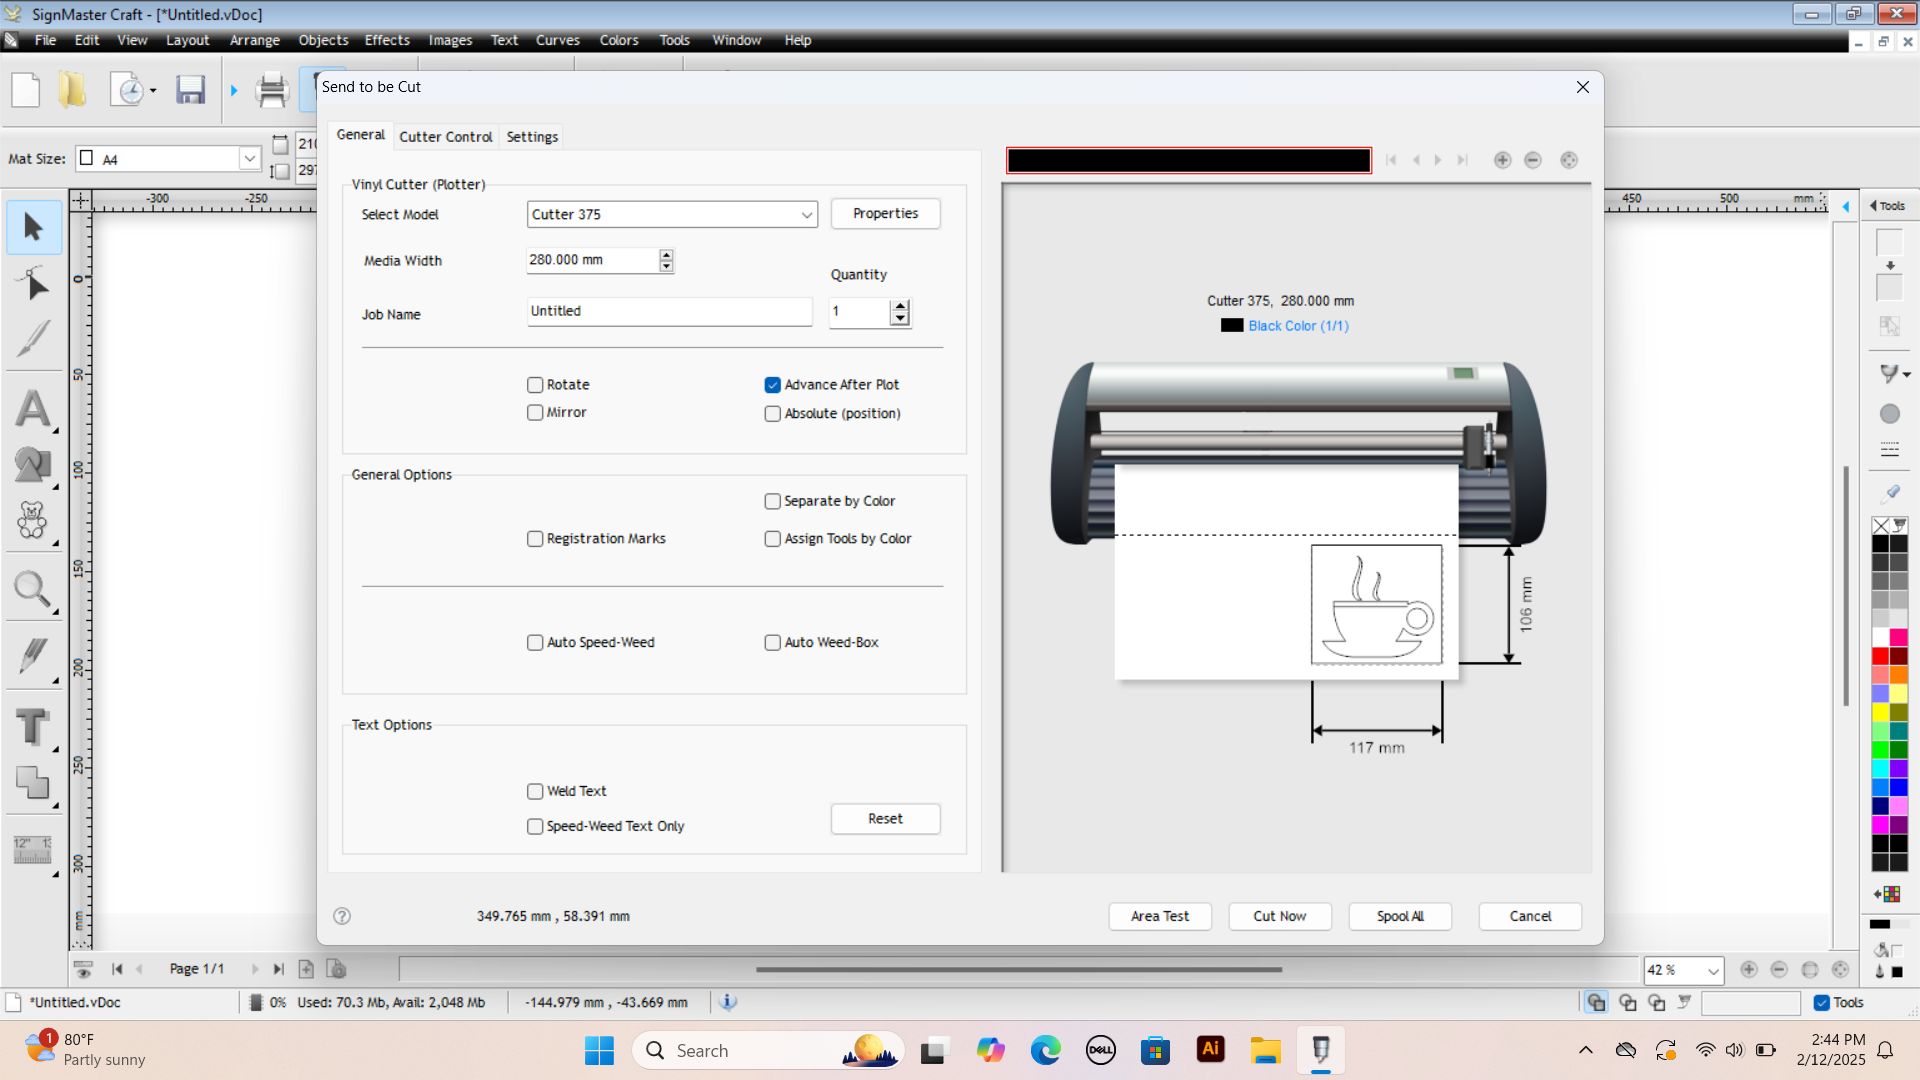
I tested the area where I'm going to cut my art because my computer is already connected to the vinly cutter I'm using by clicking on area test icon and after I selected sey to see the frame it is going to cut and if I set up my material in vinyl cutter very well.

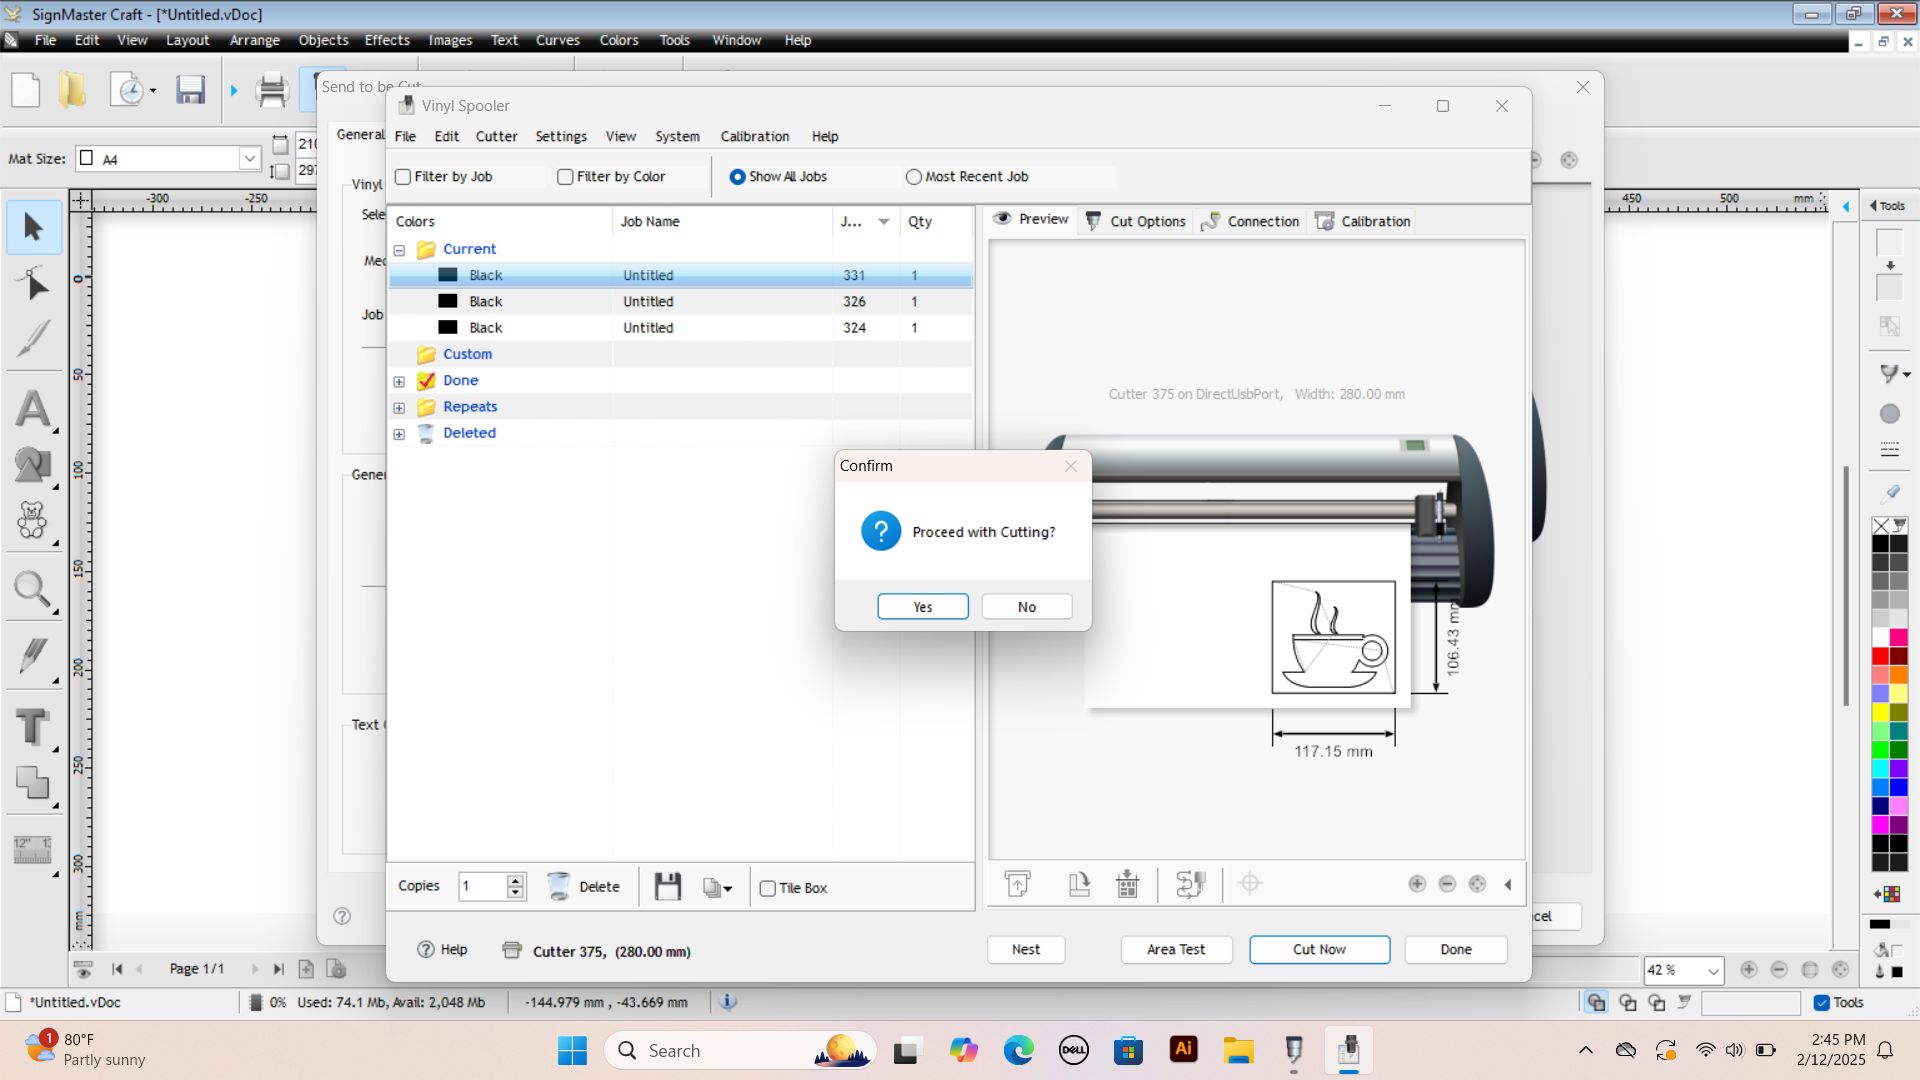
after testing, the sign master software prompted me to continue with cutting and I agreed because after testing area to cut there was no error in setting job and machine
after cutting, I dispatched my art from the cover layer
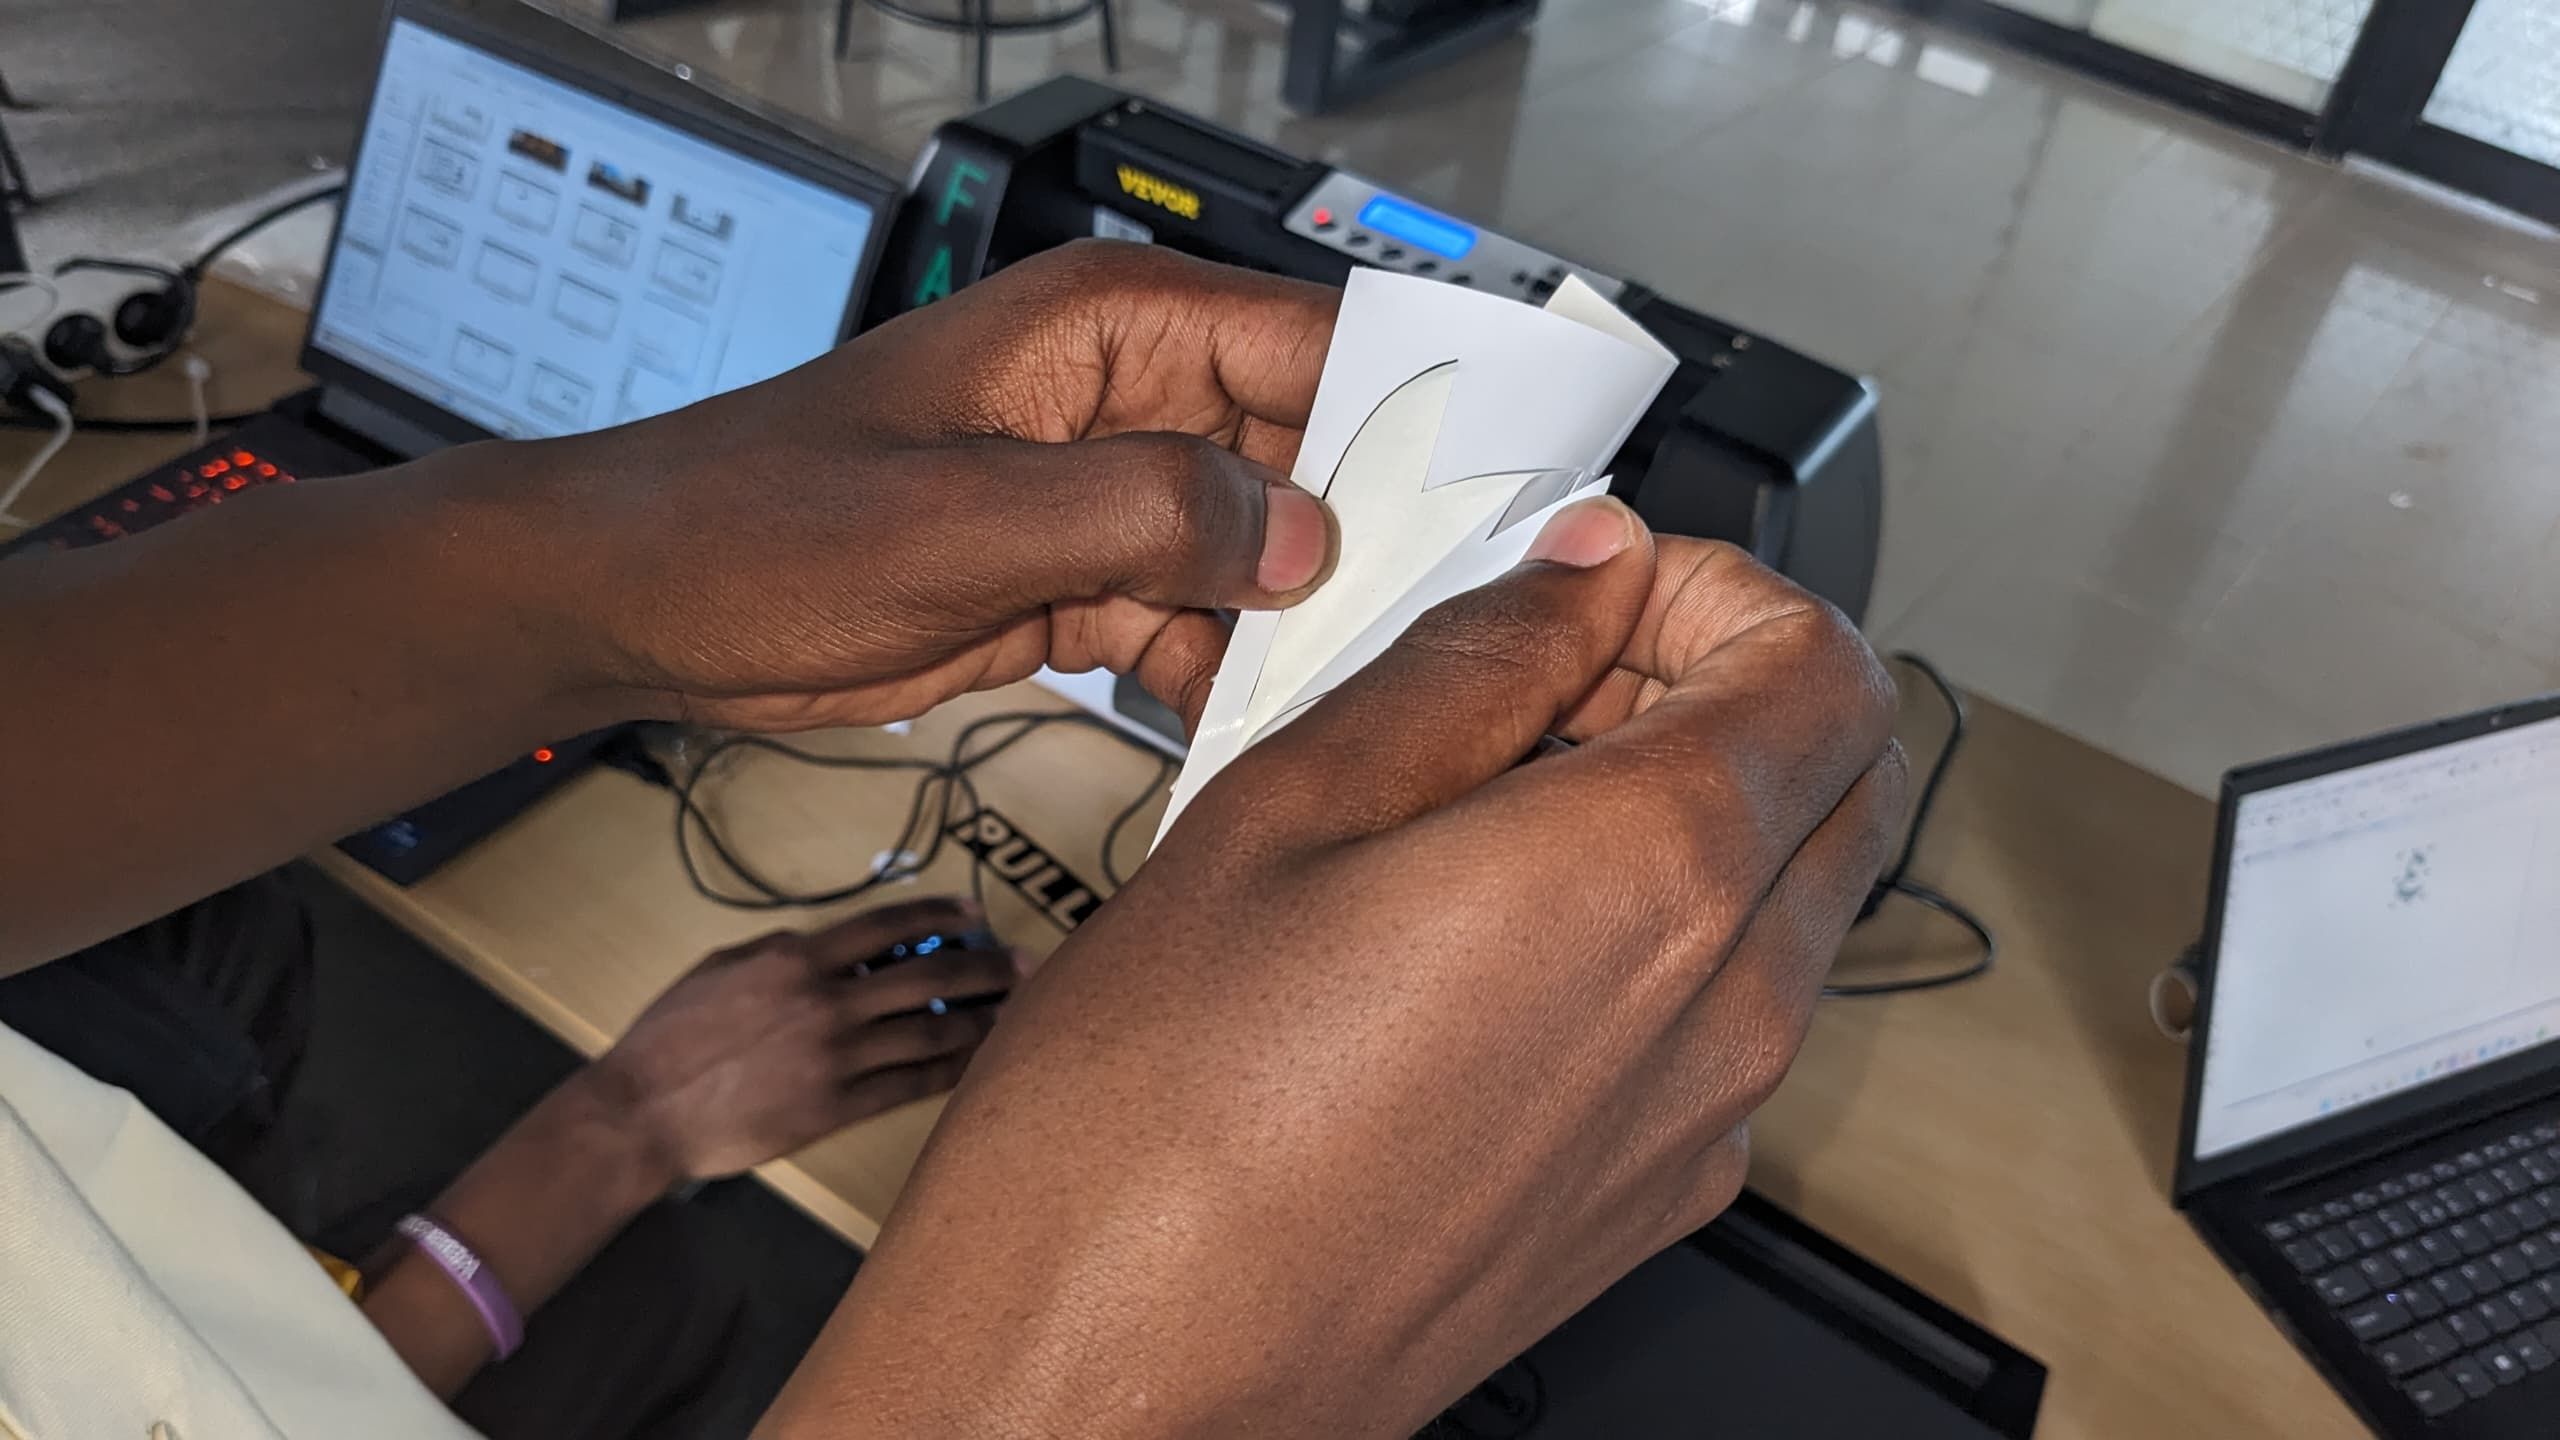
after dispatching my art, I added it on the background of my computer and my goal from begining archieved.
laser cutter documentation
parametric design
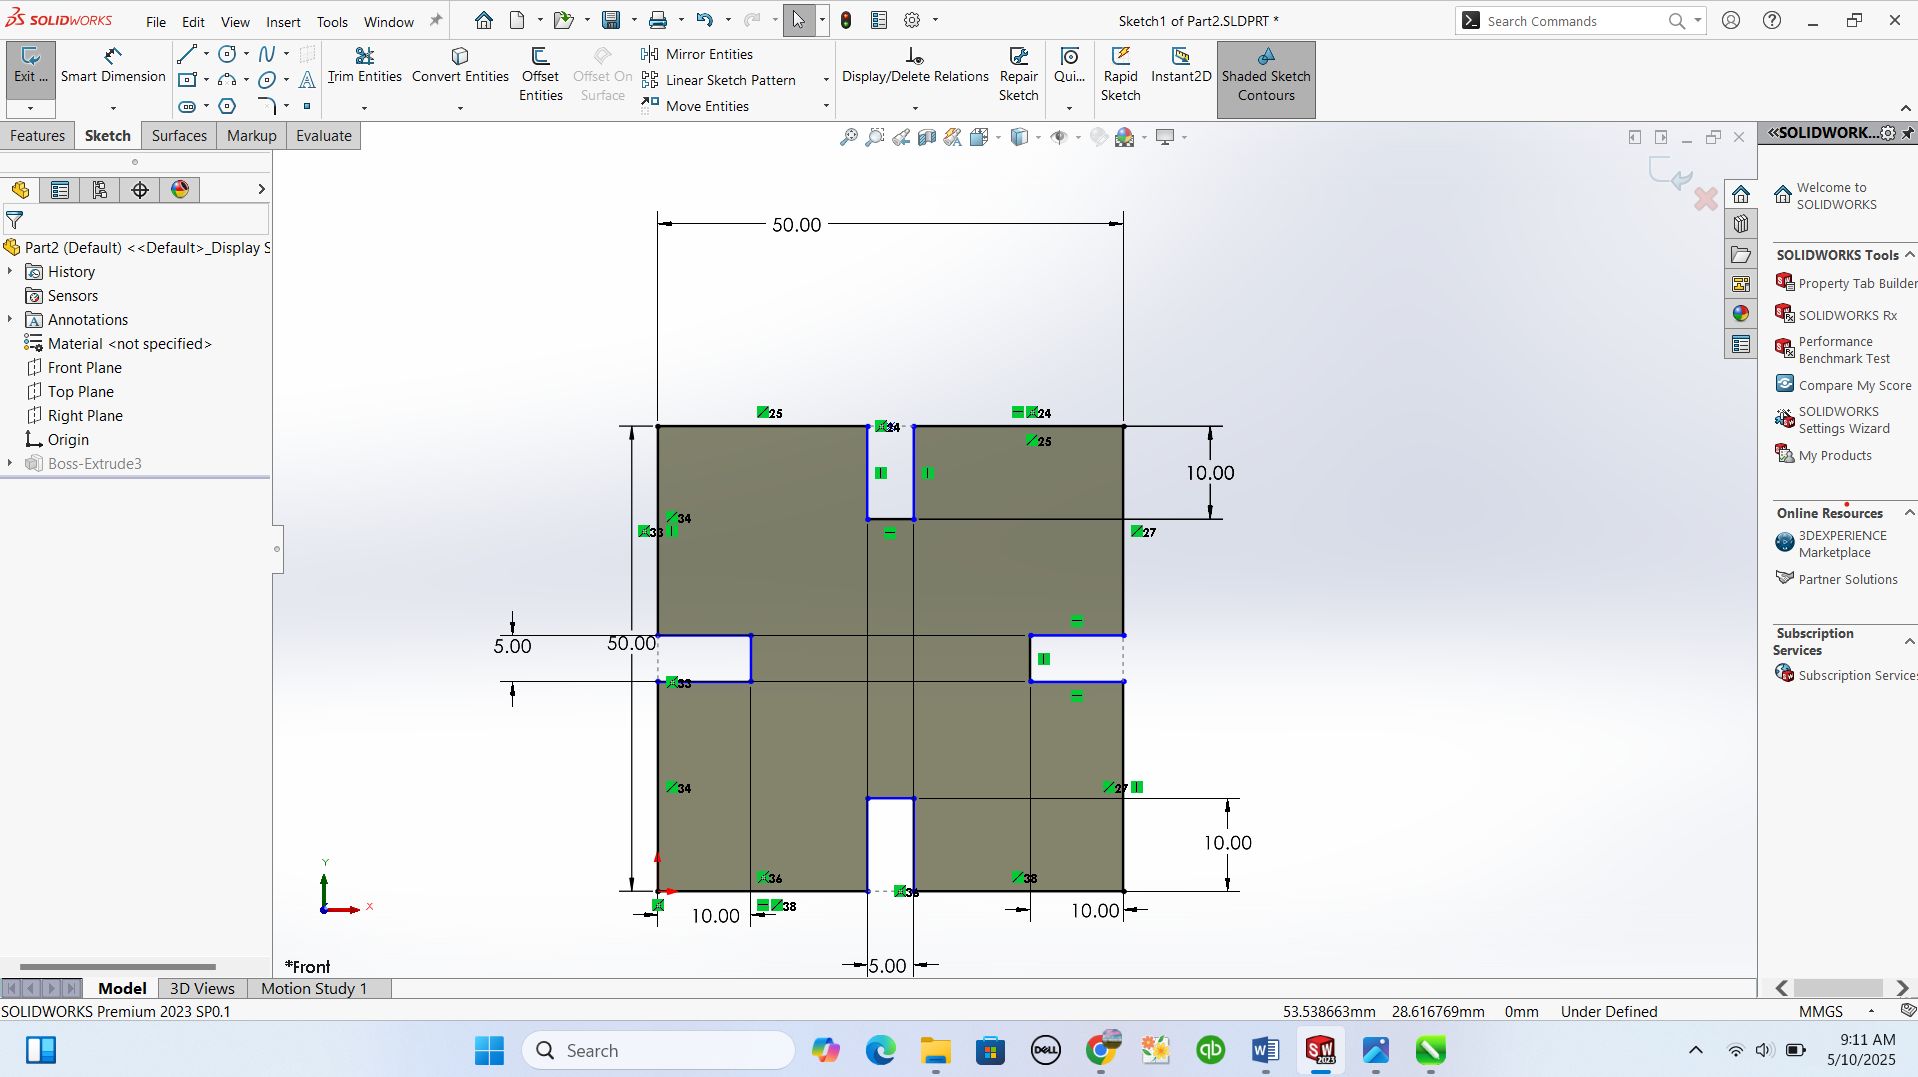
As it was mentioned in assignmnent that we have to make parametric design, I thought my self that I have to design something that will help me in my daily life and I choosen to design a chair which will also become an open box to carry by dailly documents
right side of chair whair this side is duplicated because it is copy of other side
.jpg)
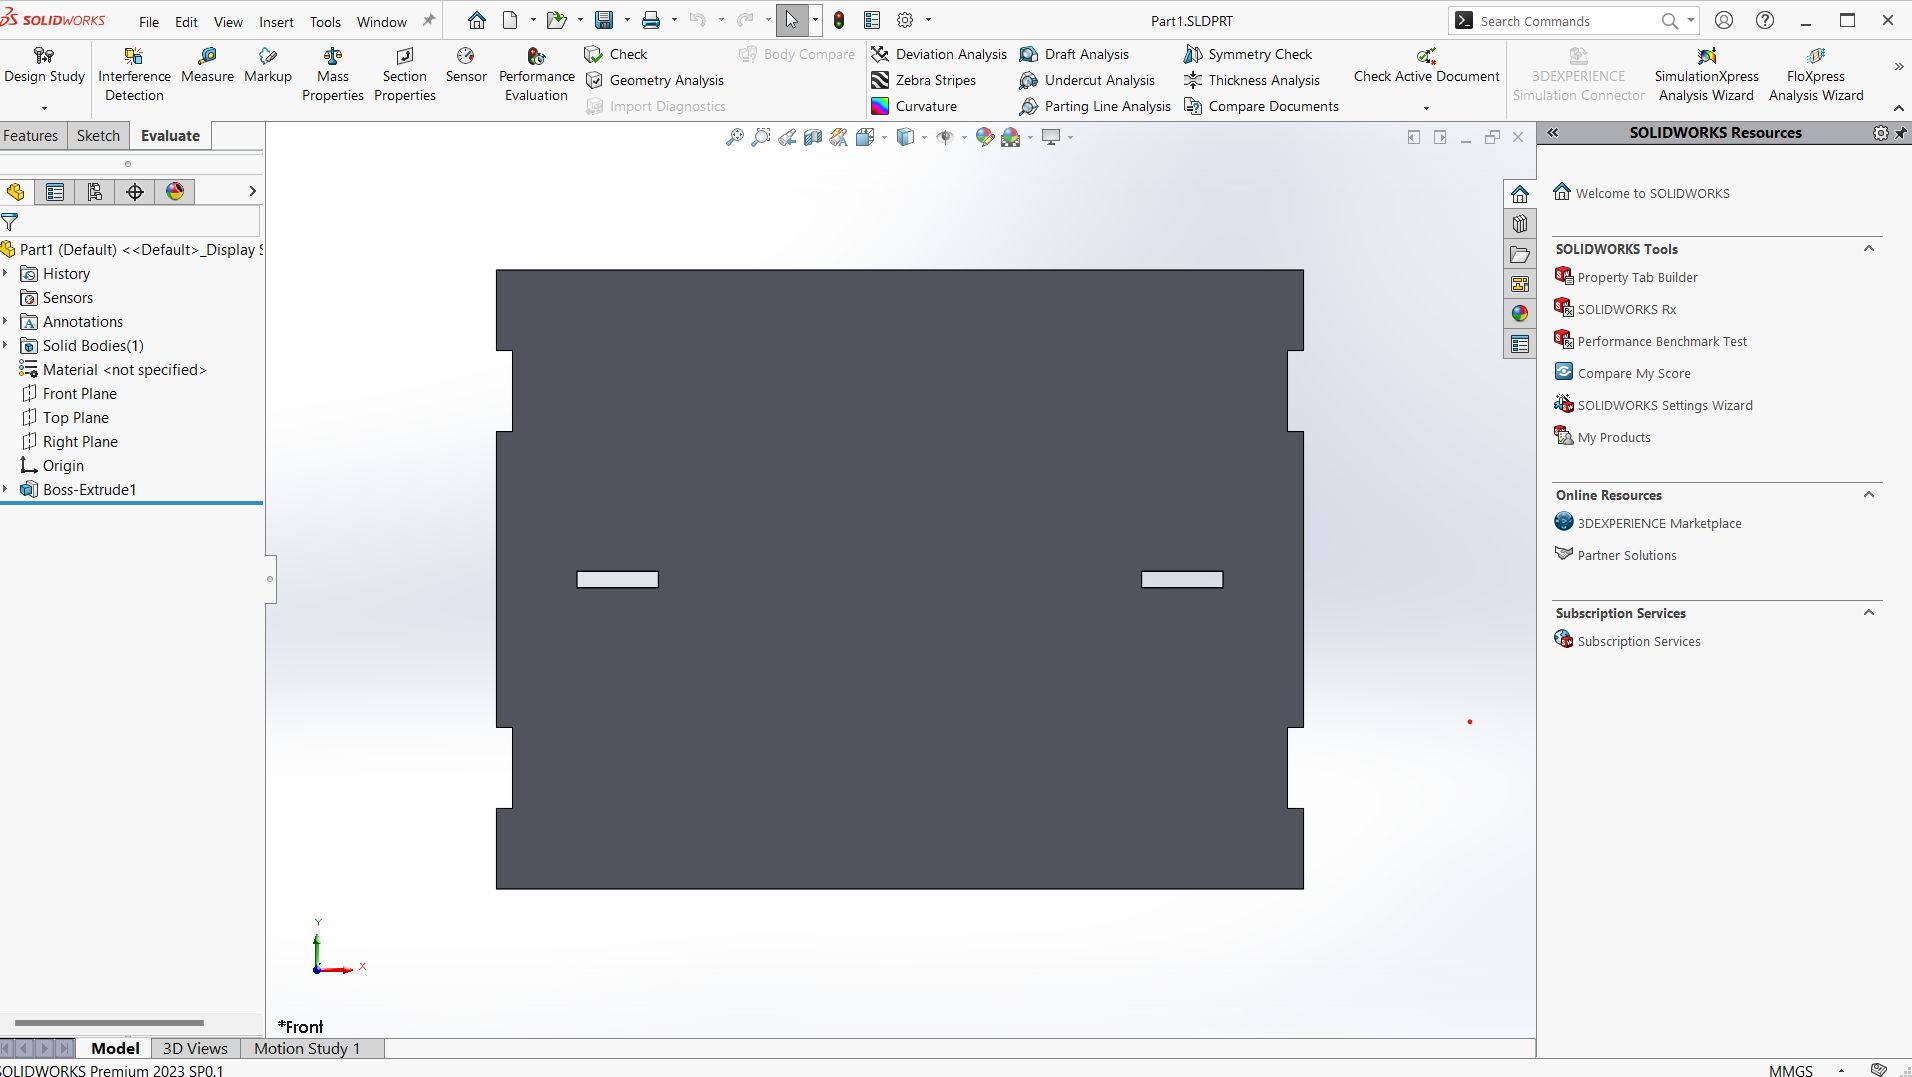
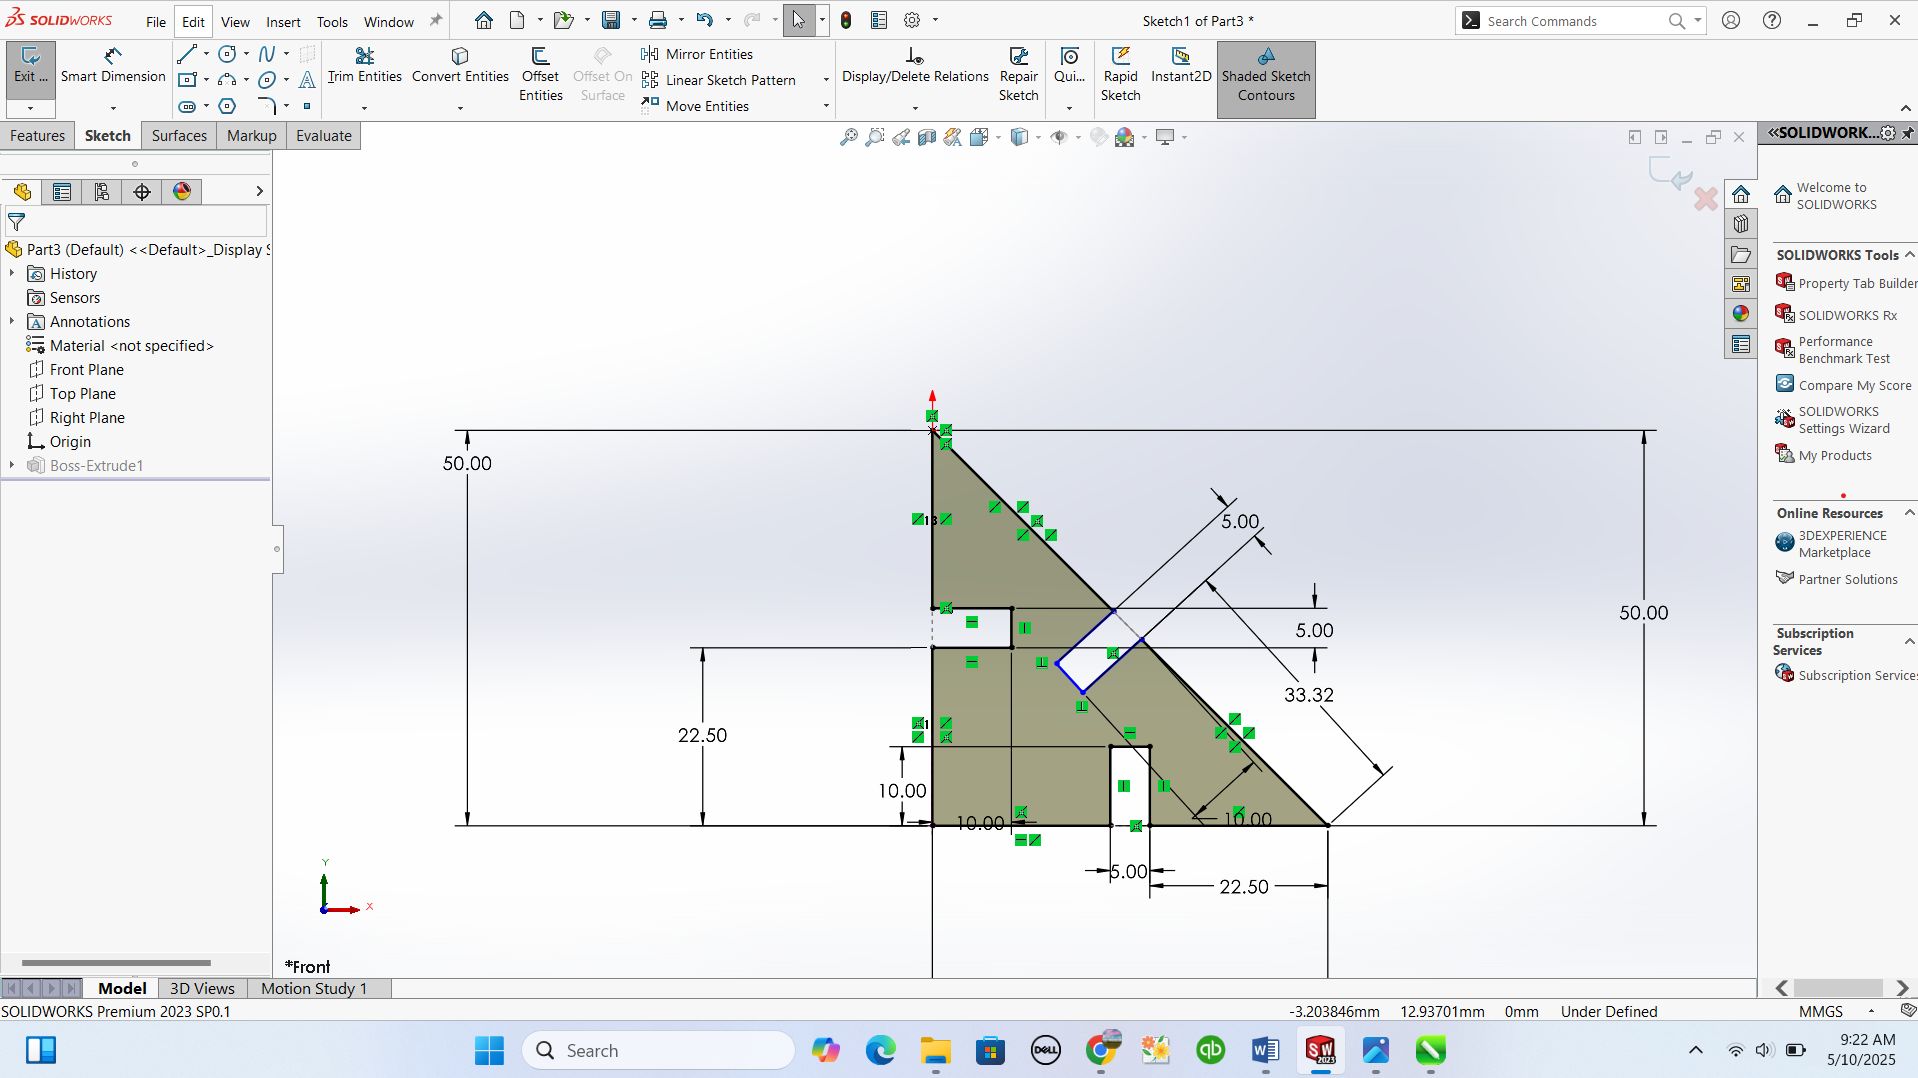
front part
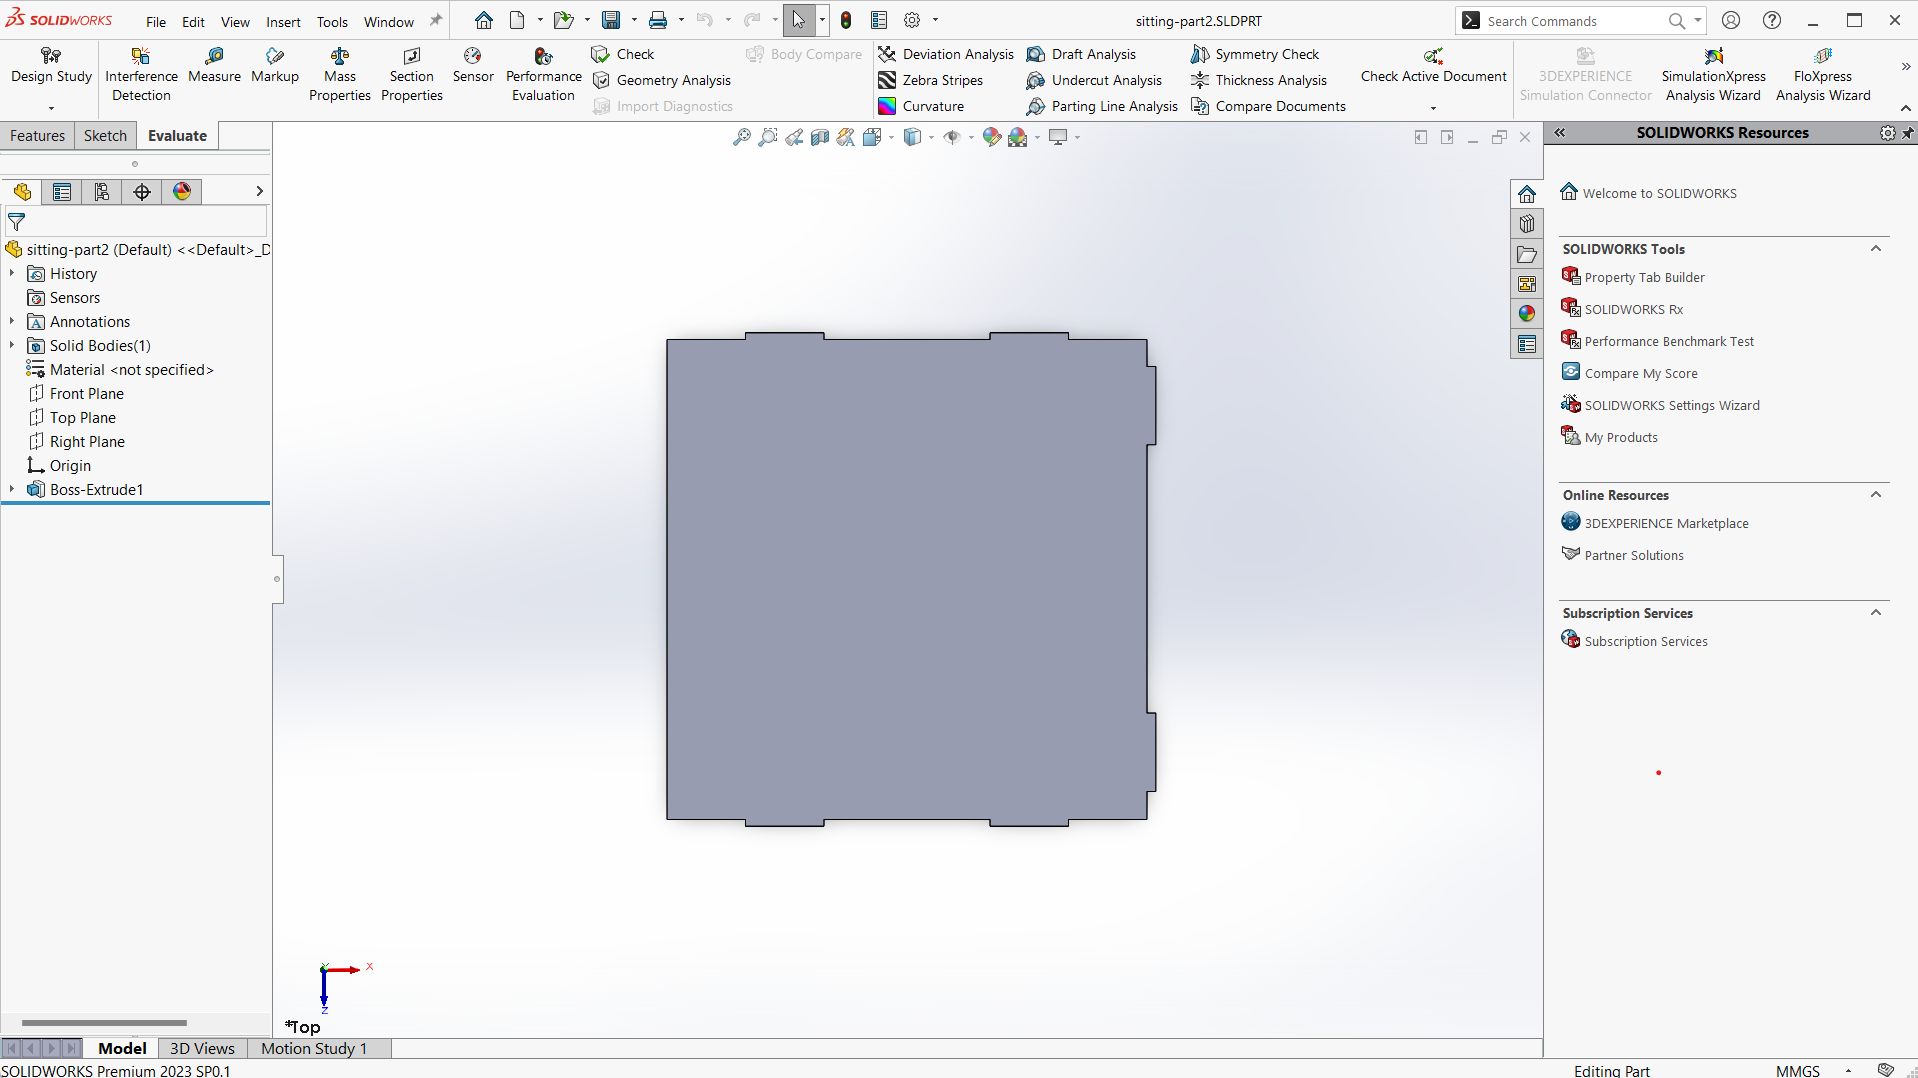
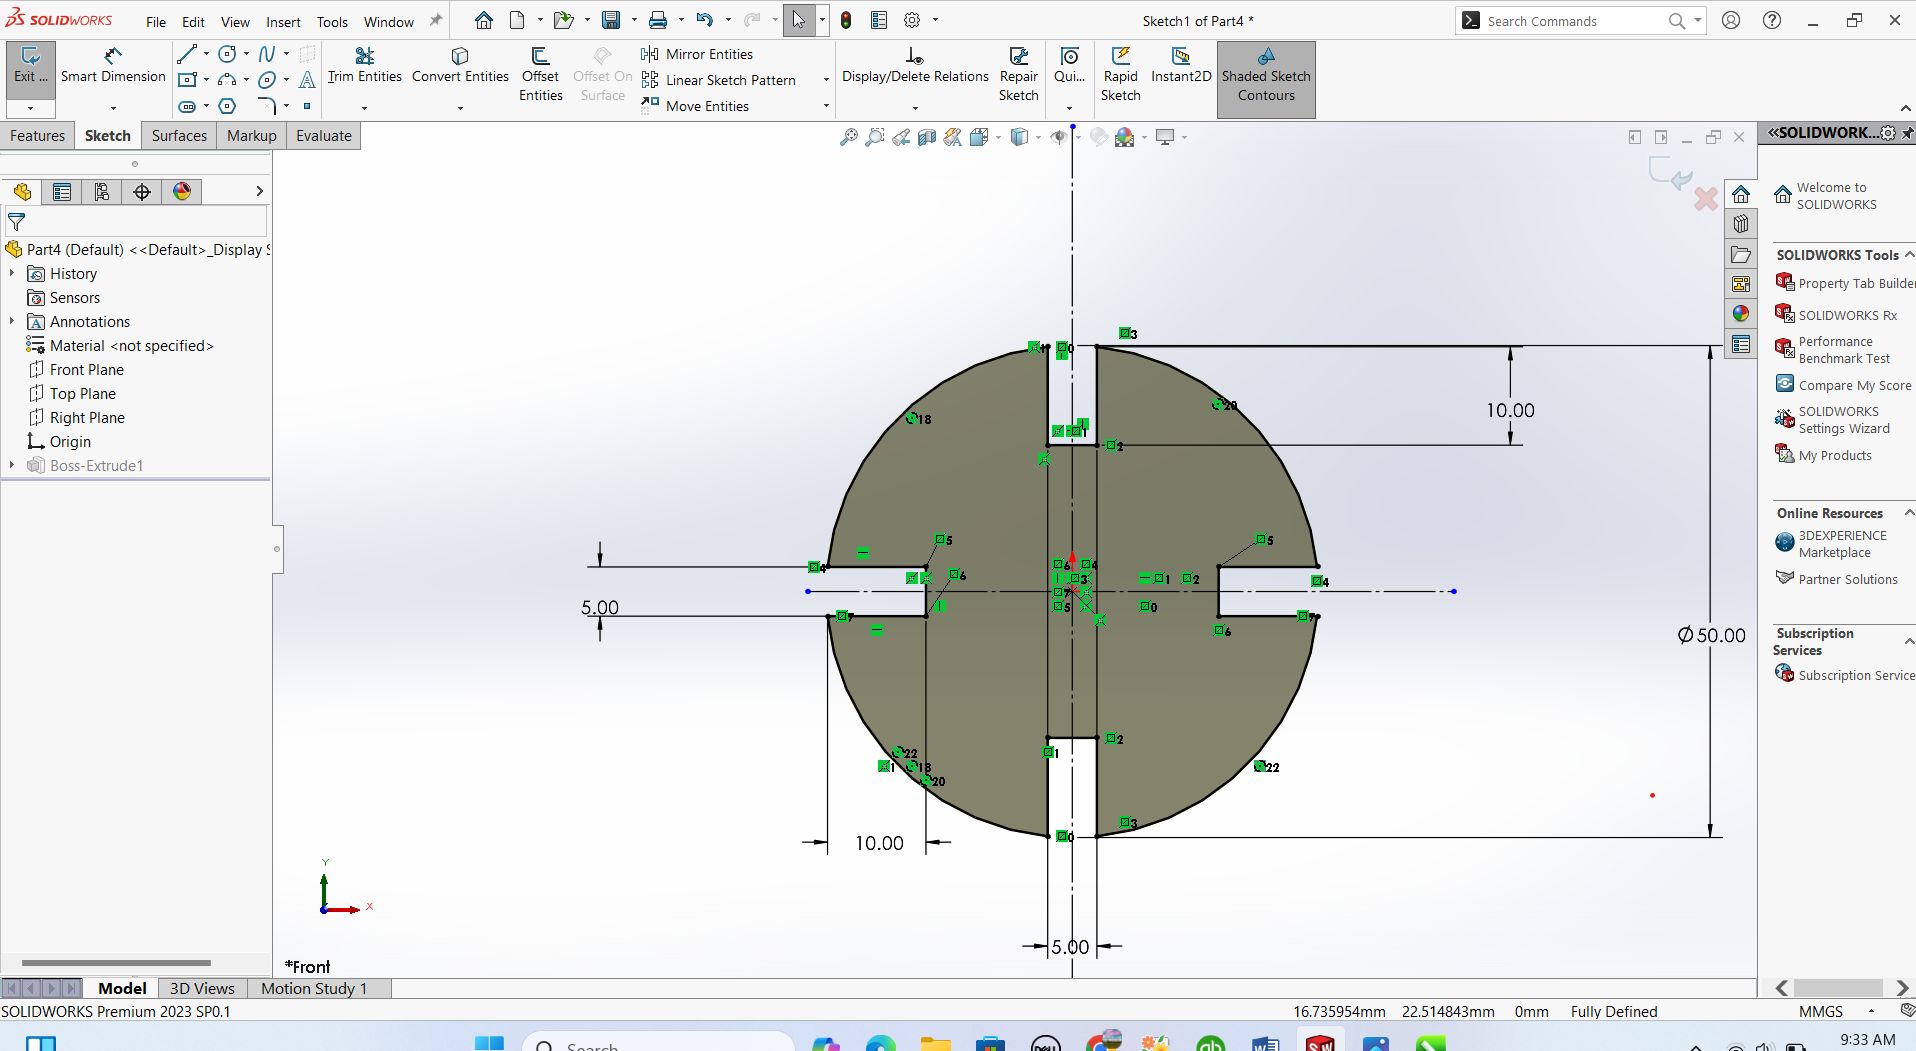
top part for sitting
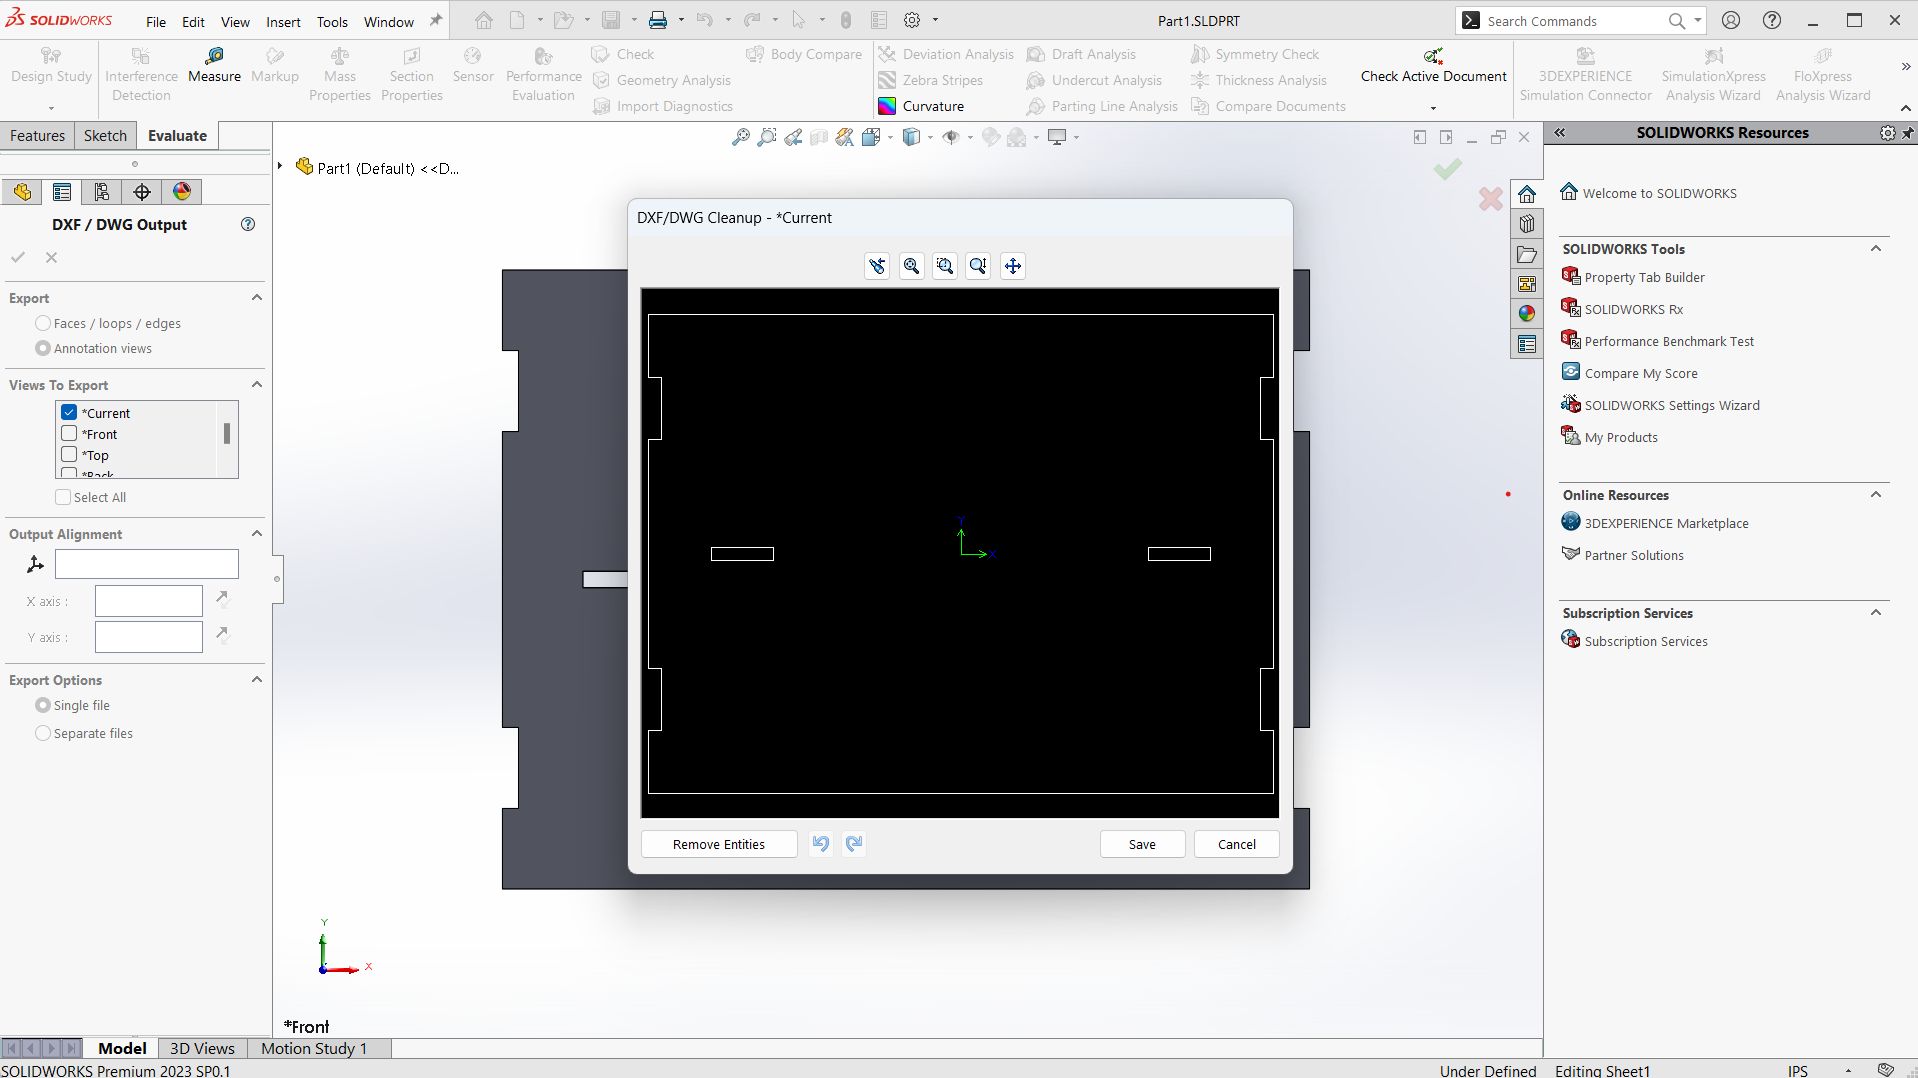
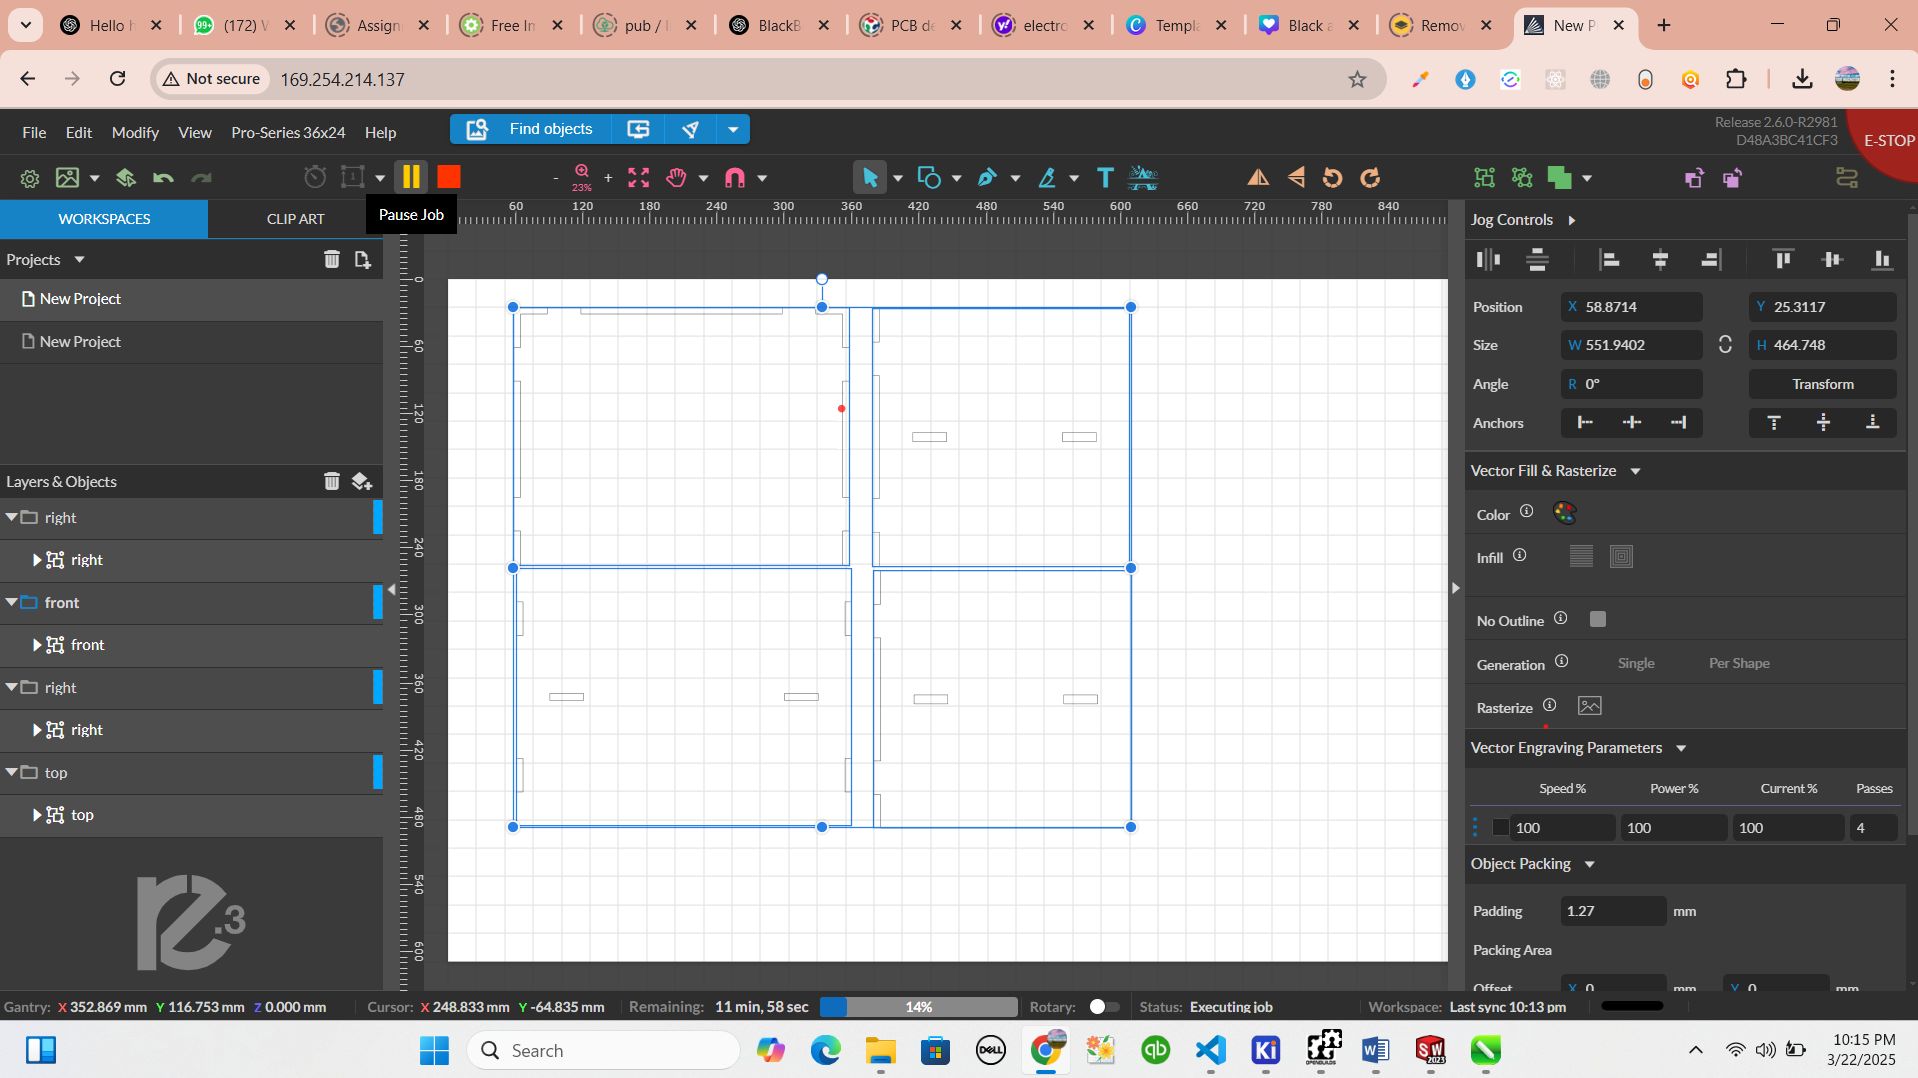
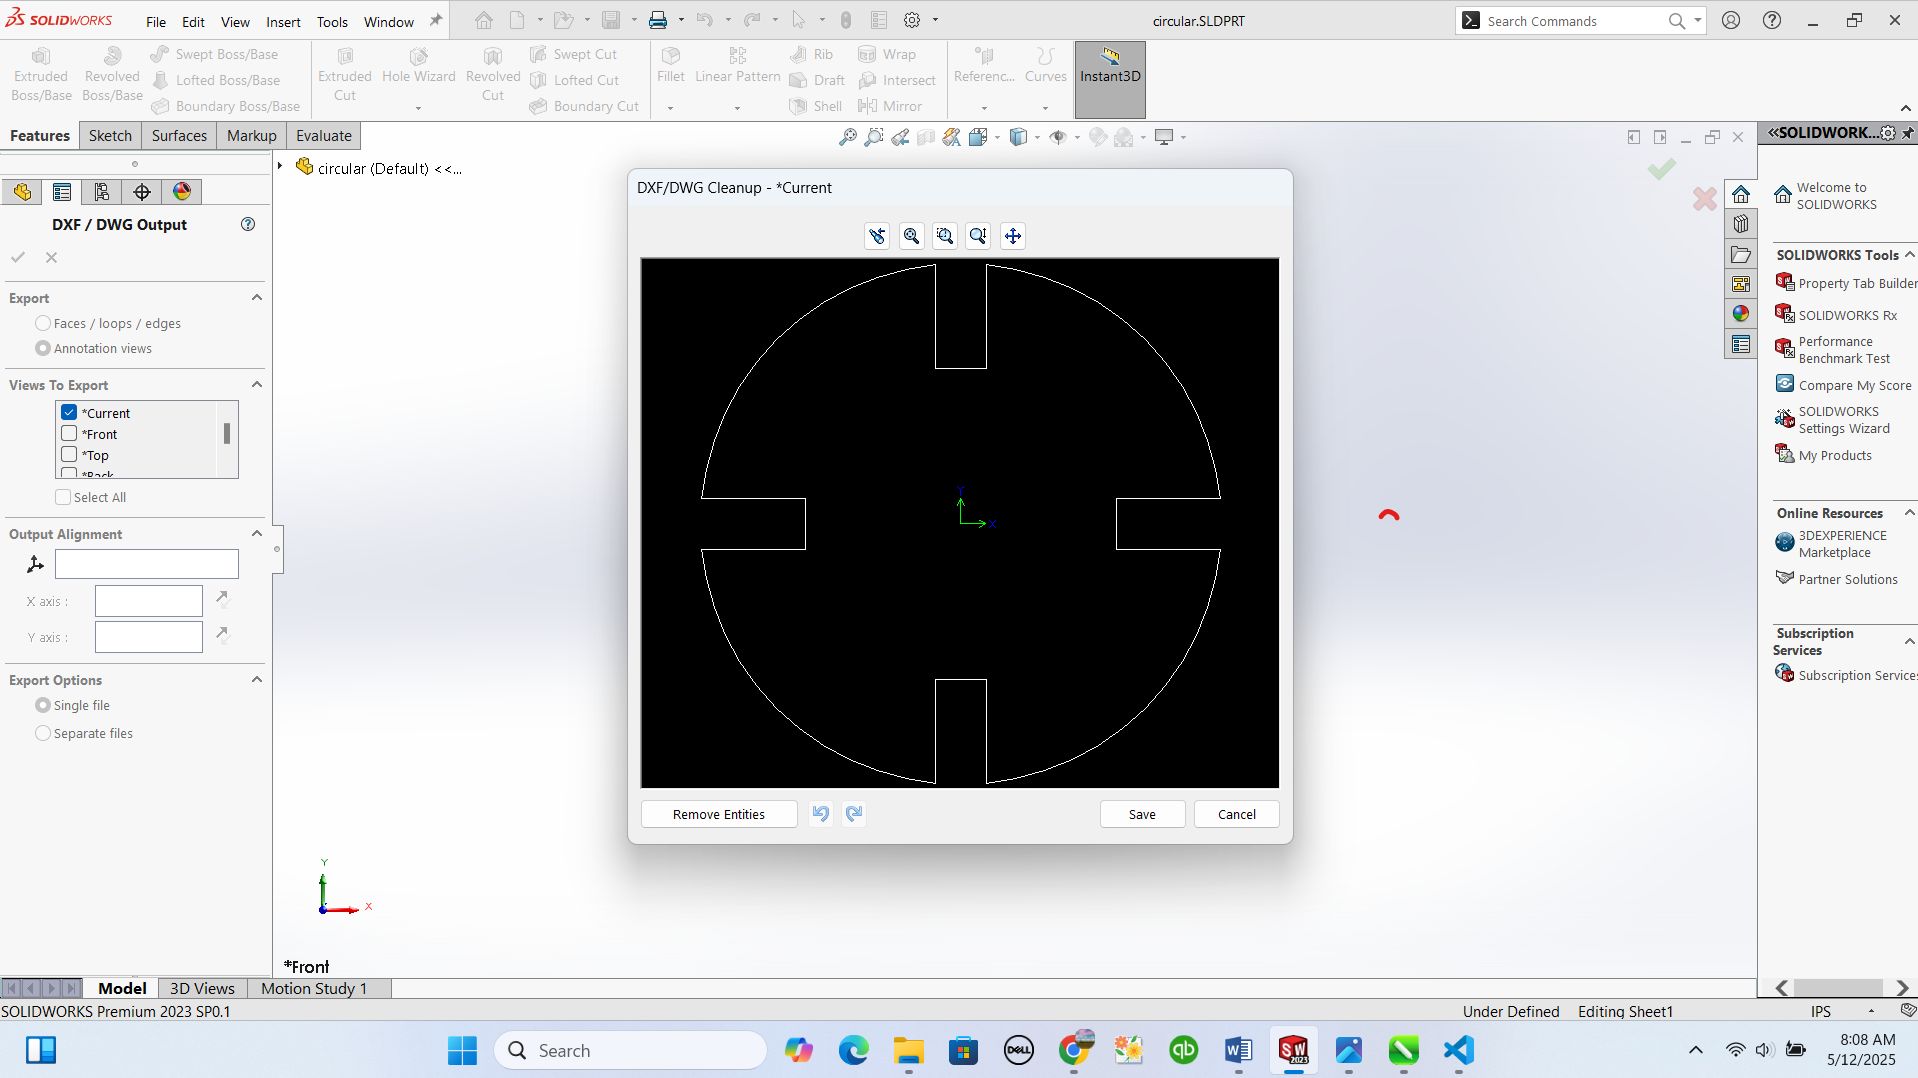
after having all parts of my chair which will become also a table board for holding papers and files, I exported the files in format of dxf where they come as 2D according to plane or surface I selected while exporting.
this is because laser cutter I used cutting my design is 2D cutting machine and it read 2D files
after having the 2D files of my design, I aponed 3RetinaEngrave software that controls the laser cutter I'm using and imported them in it
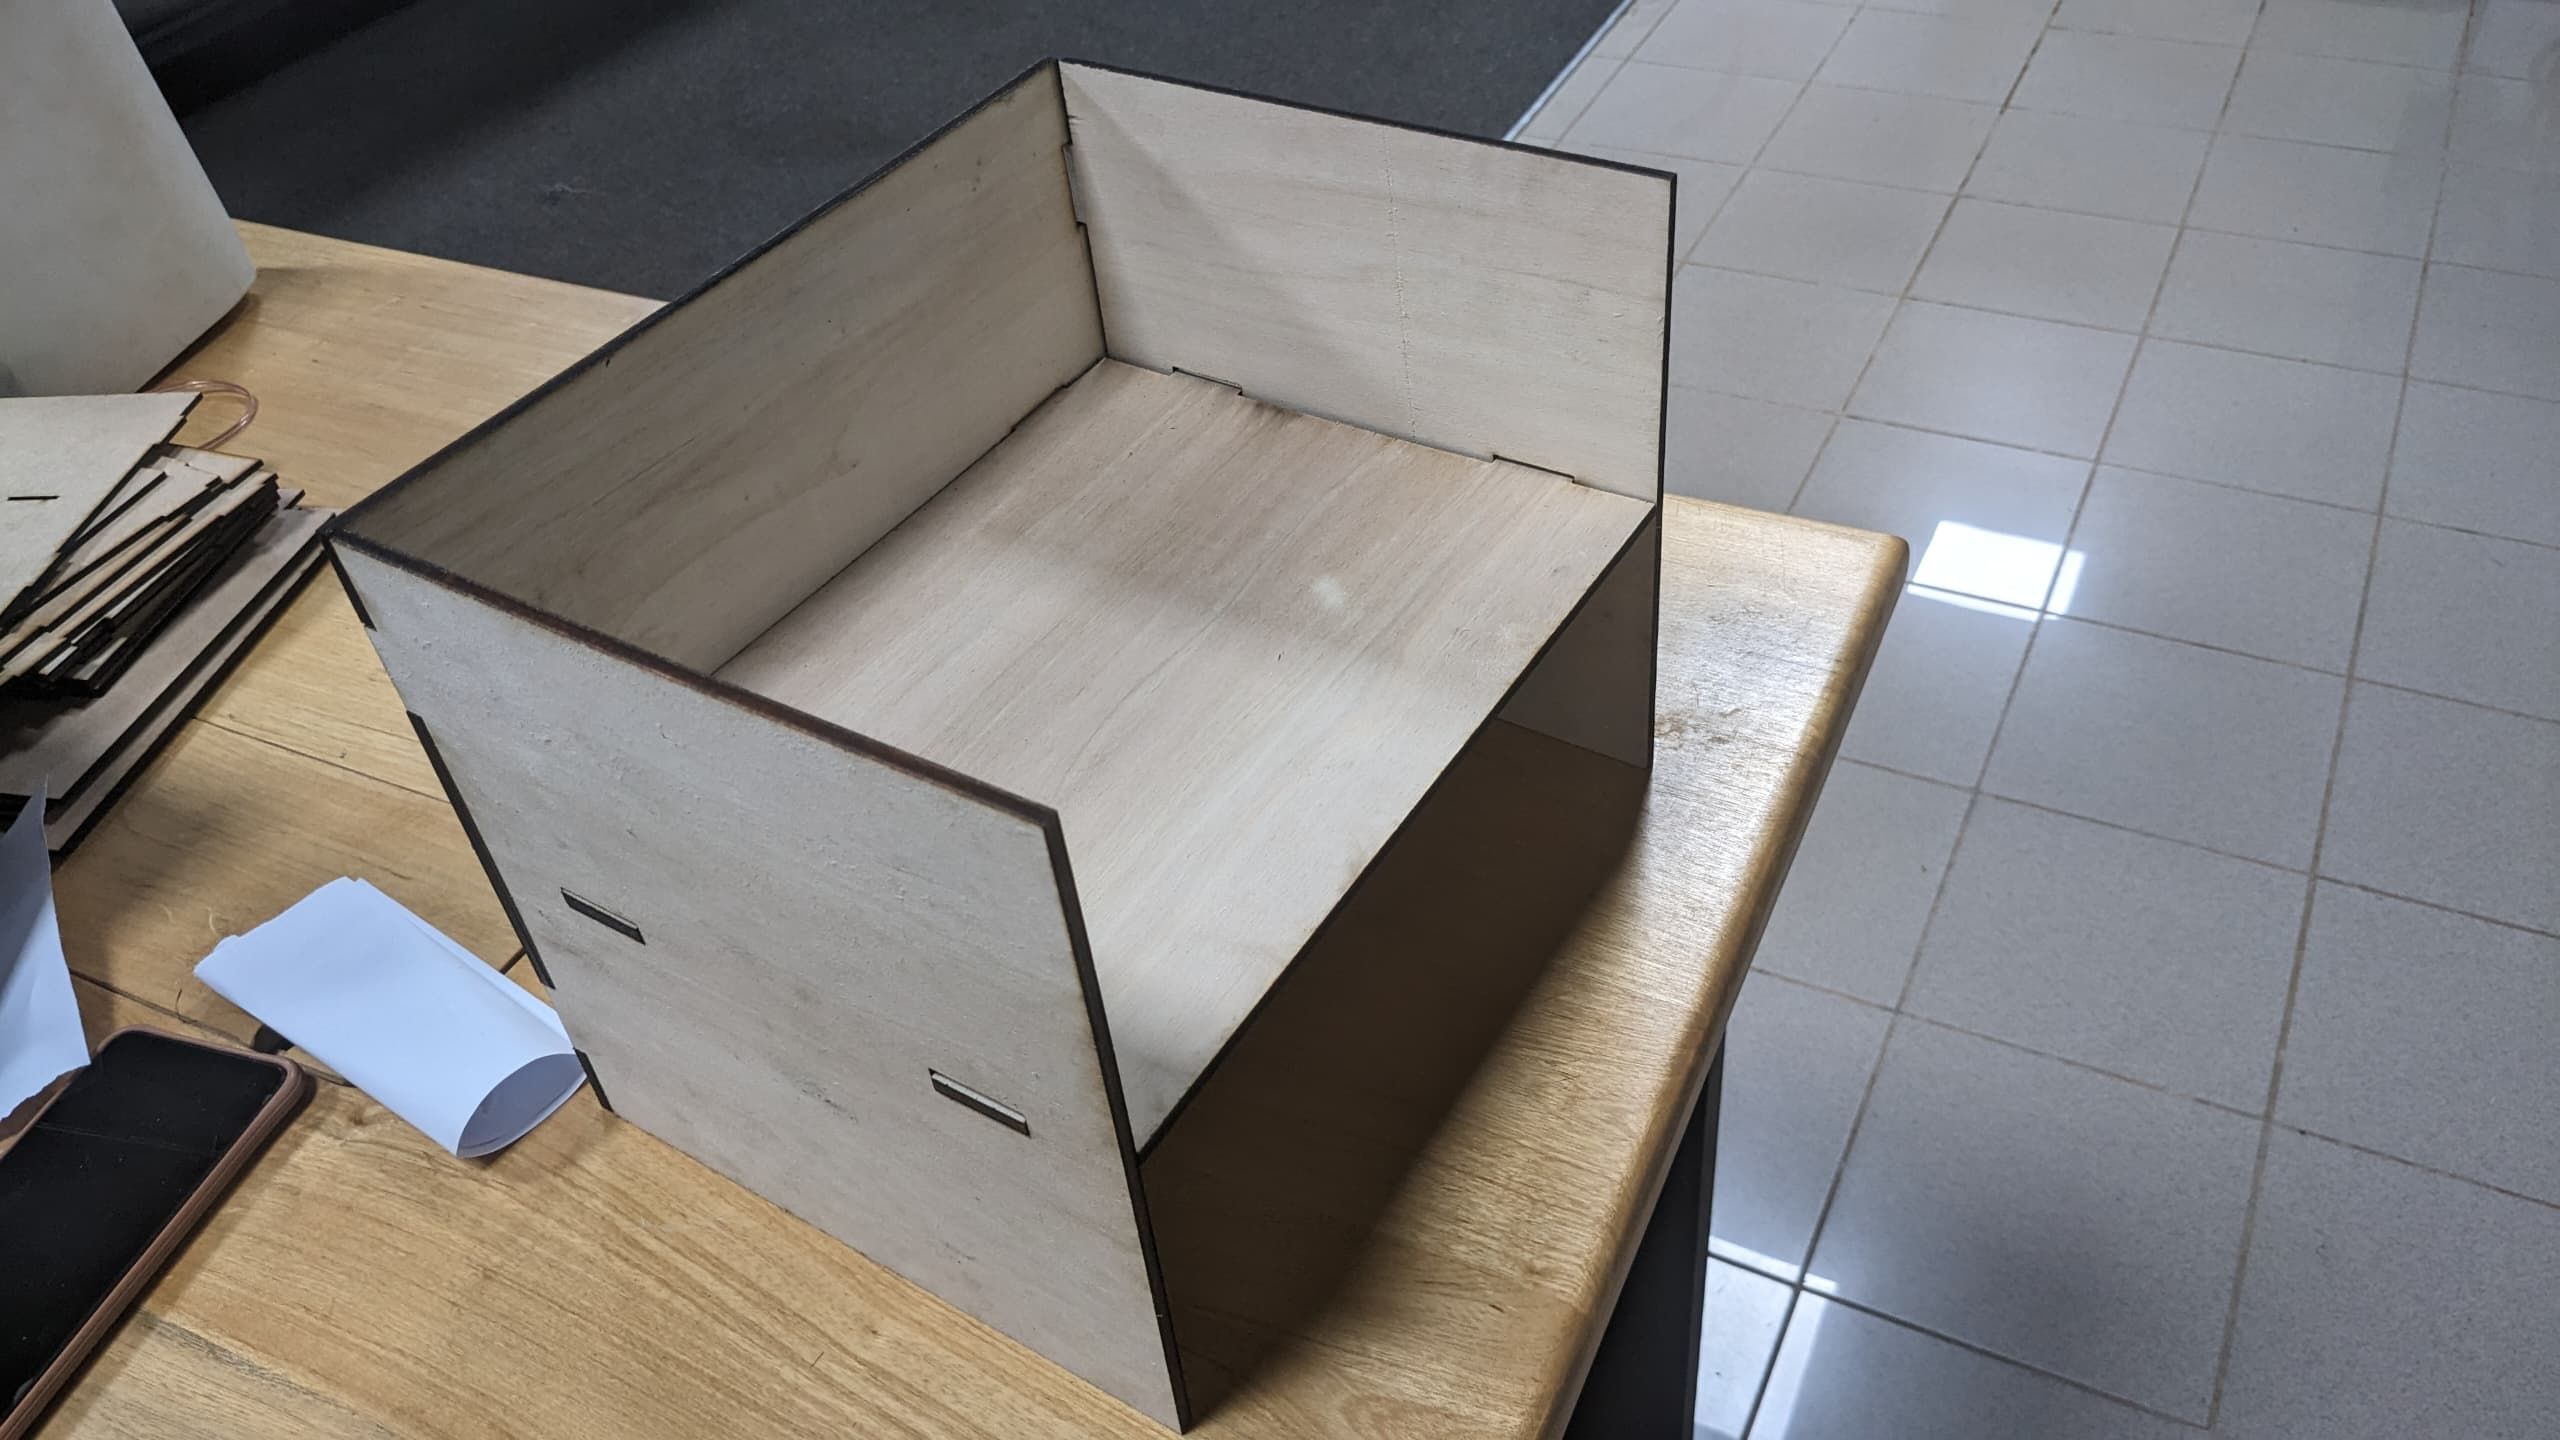
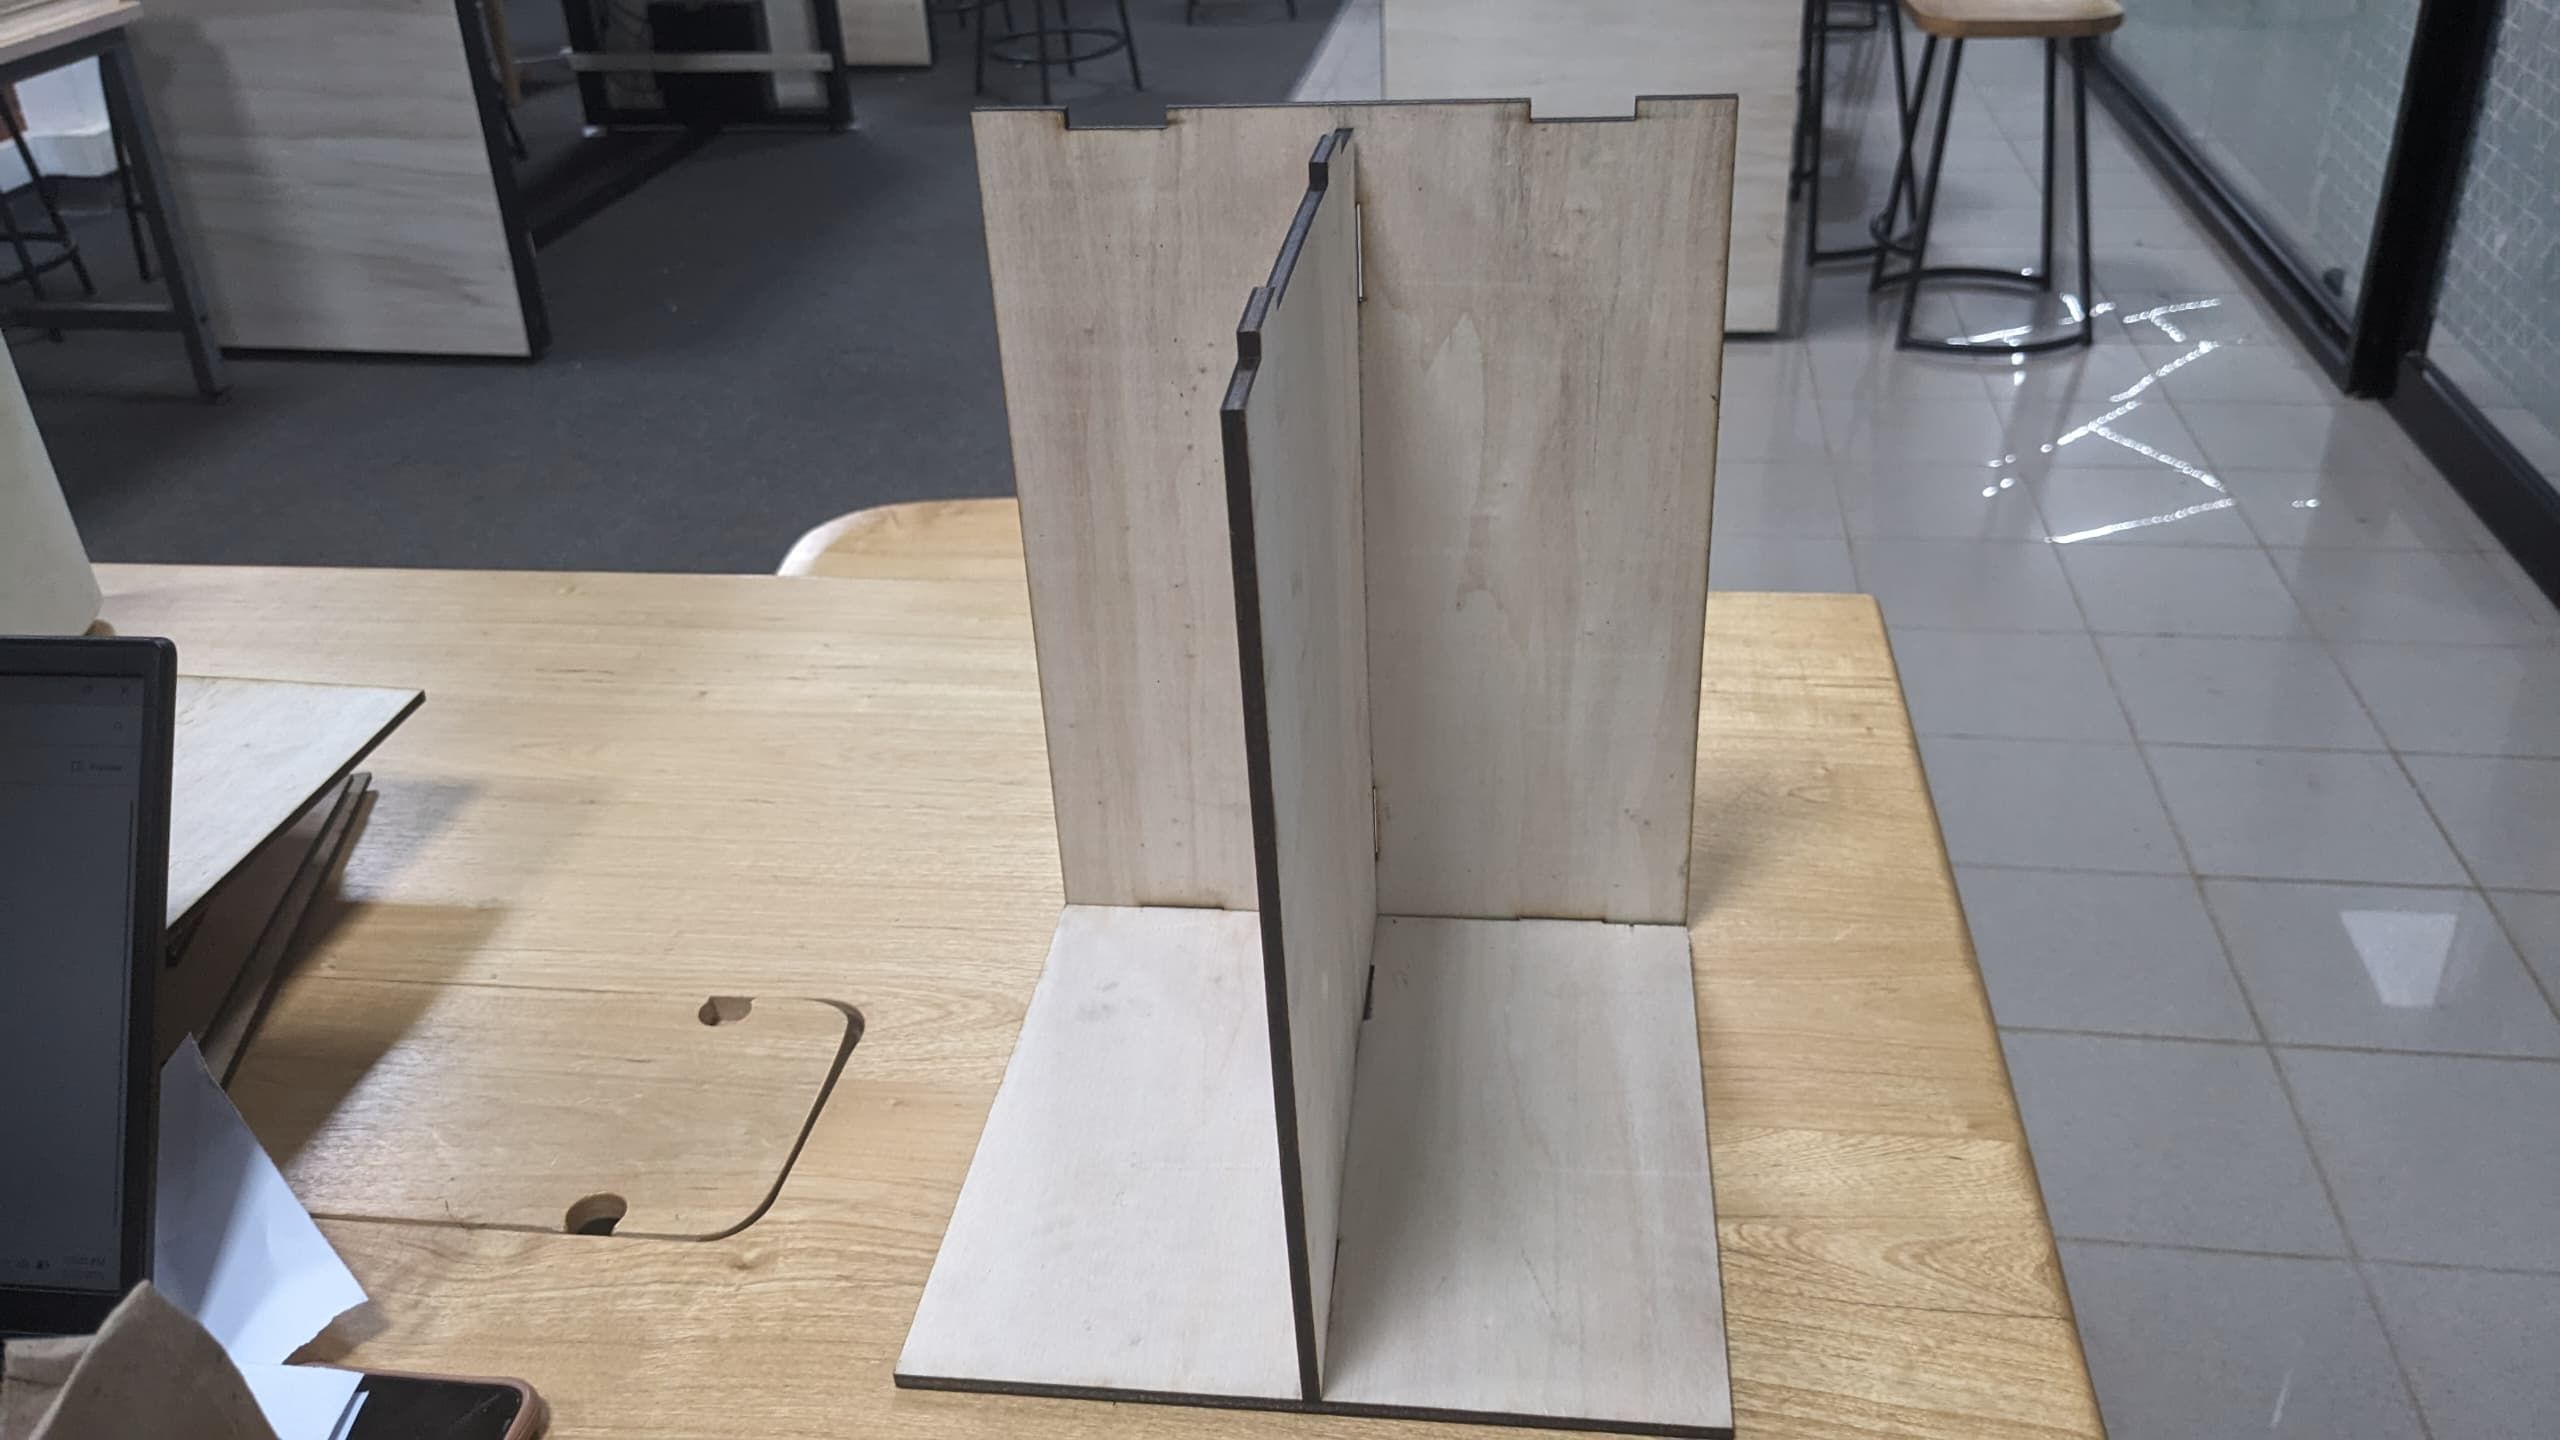
after cutting, I assembled them and see what the result
I saved the changes and clicked on golive icon which is an extension to help vs code user to host what he/she is doing locally. it helped me to see how it will be looking before I put on my git lab account and become visible to everyone around the world
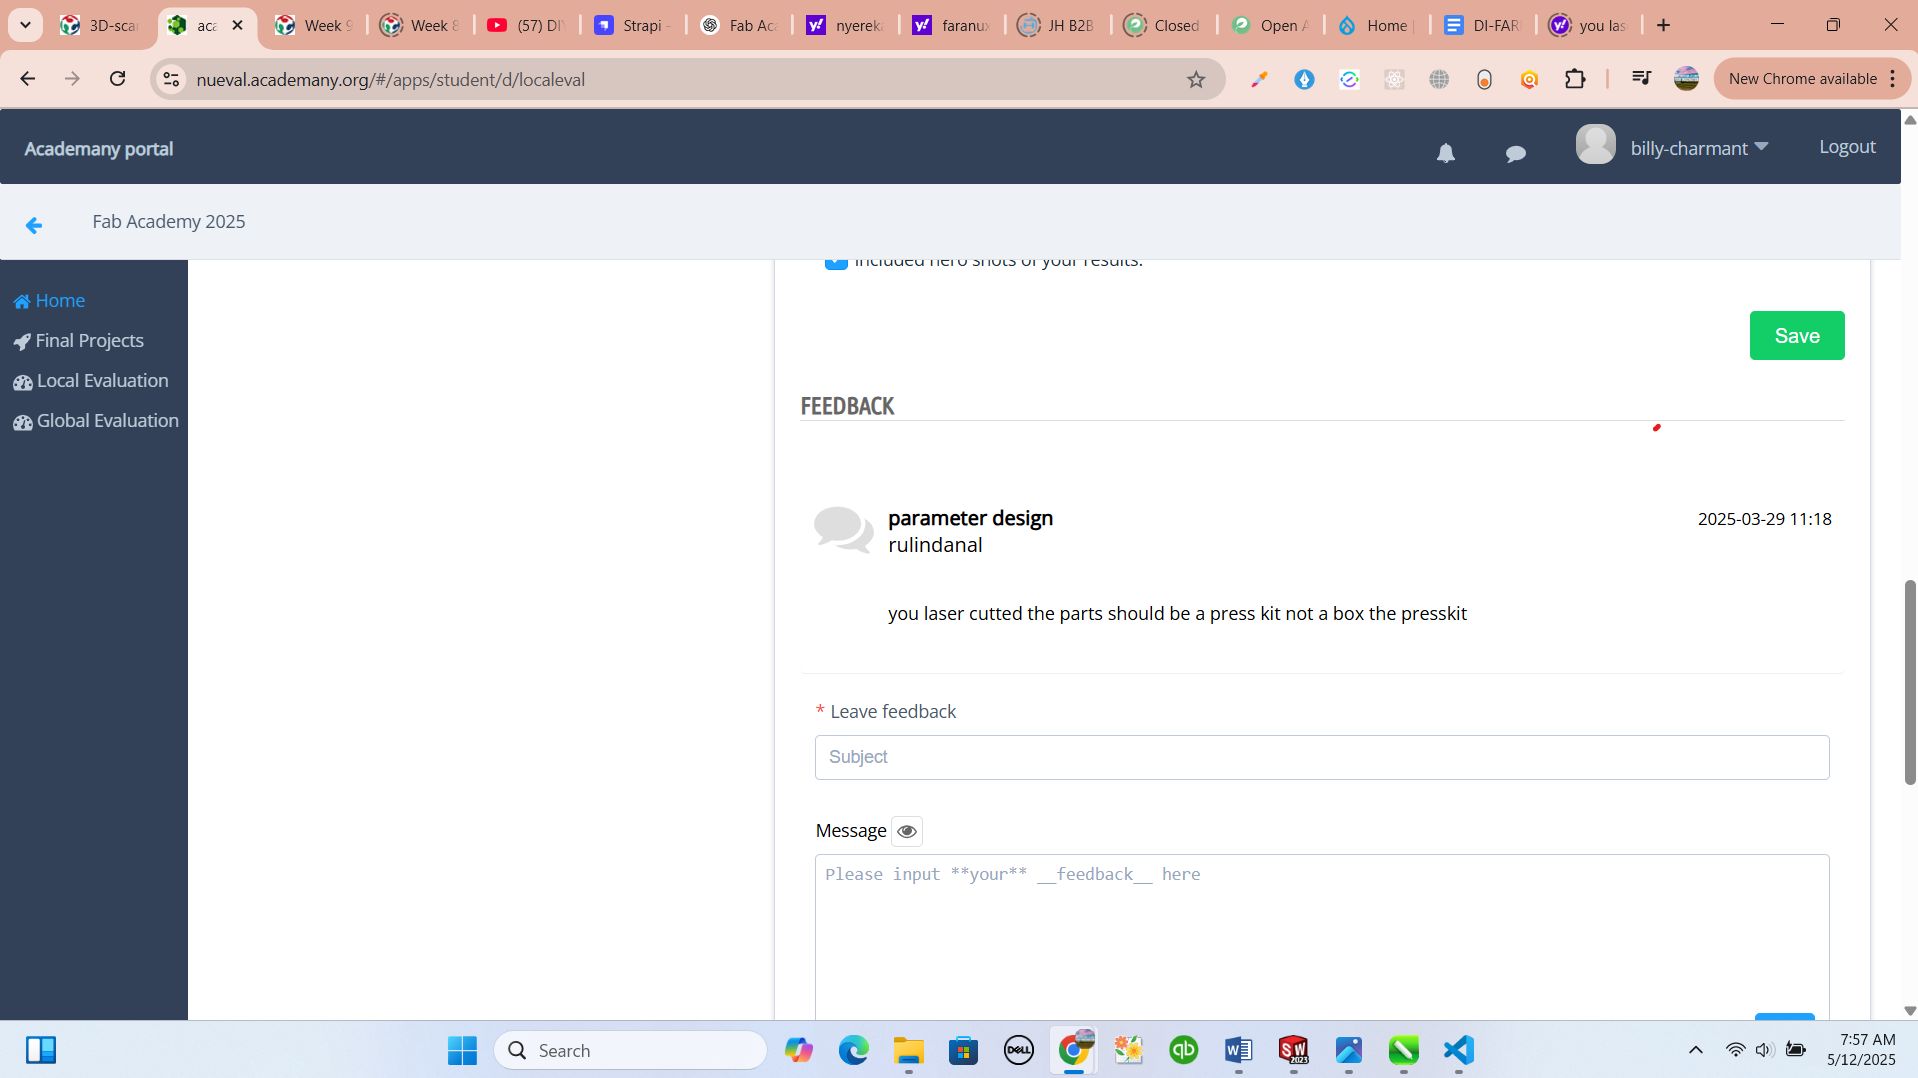
working on instructor's comments
As it was mentioned in assignmnent that we have to make parametric design, I Did it as it is in above submission but unfortunately my Local instructor told me that I have to do something which is presskit
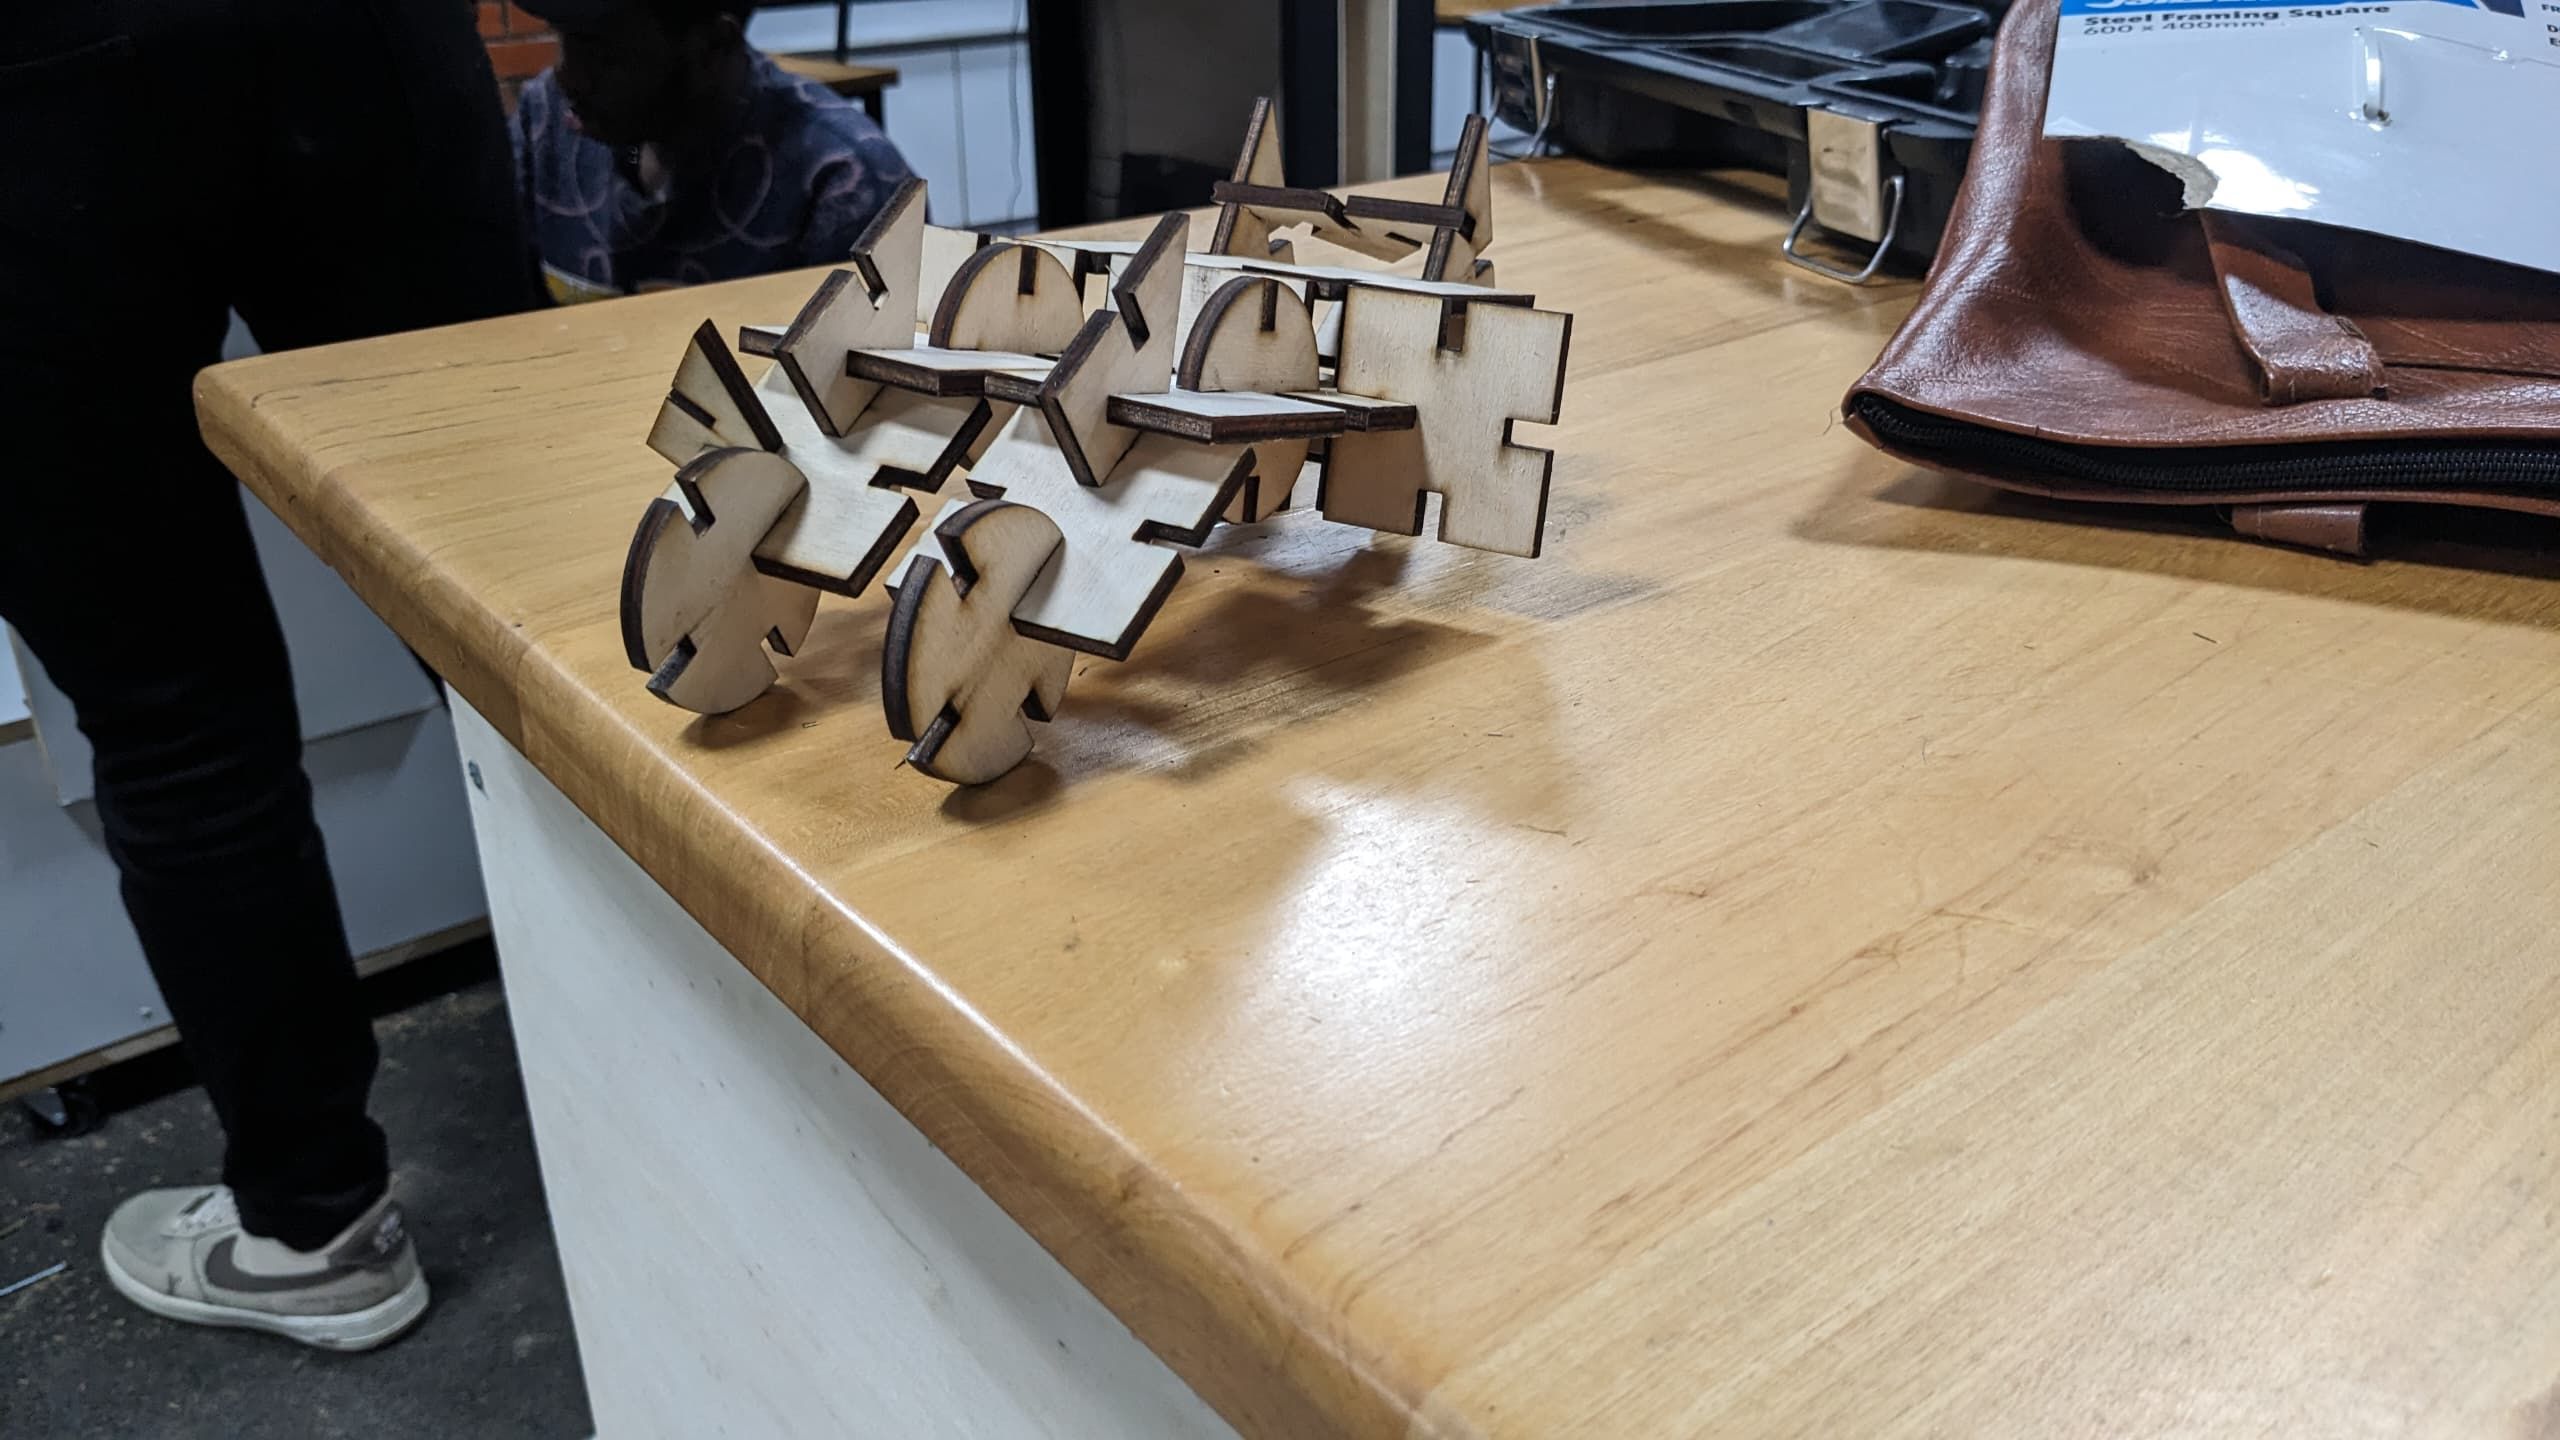
from here I started by thing something I can build to correct my mistake and it took some days and I thought I could design something where I should get a car and also a microphone with stand.
this is how I started
designing wheels
this is how I dsigned connectors
after having all parts designed, duplicated respecting to times I will use each part and also dimensioned respecting to kerf, I started process of printing by exporting files in dxf format to have 2D view of each part
I started process of printing where I used laser cutter as well and with the help of Retin3Engrave I uplaoded my parts and connected to laser cutter to cut them

after cutting, I assembled them and see what the result
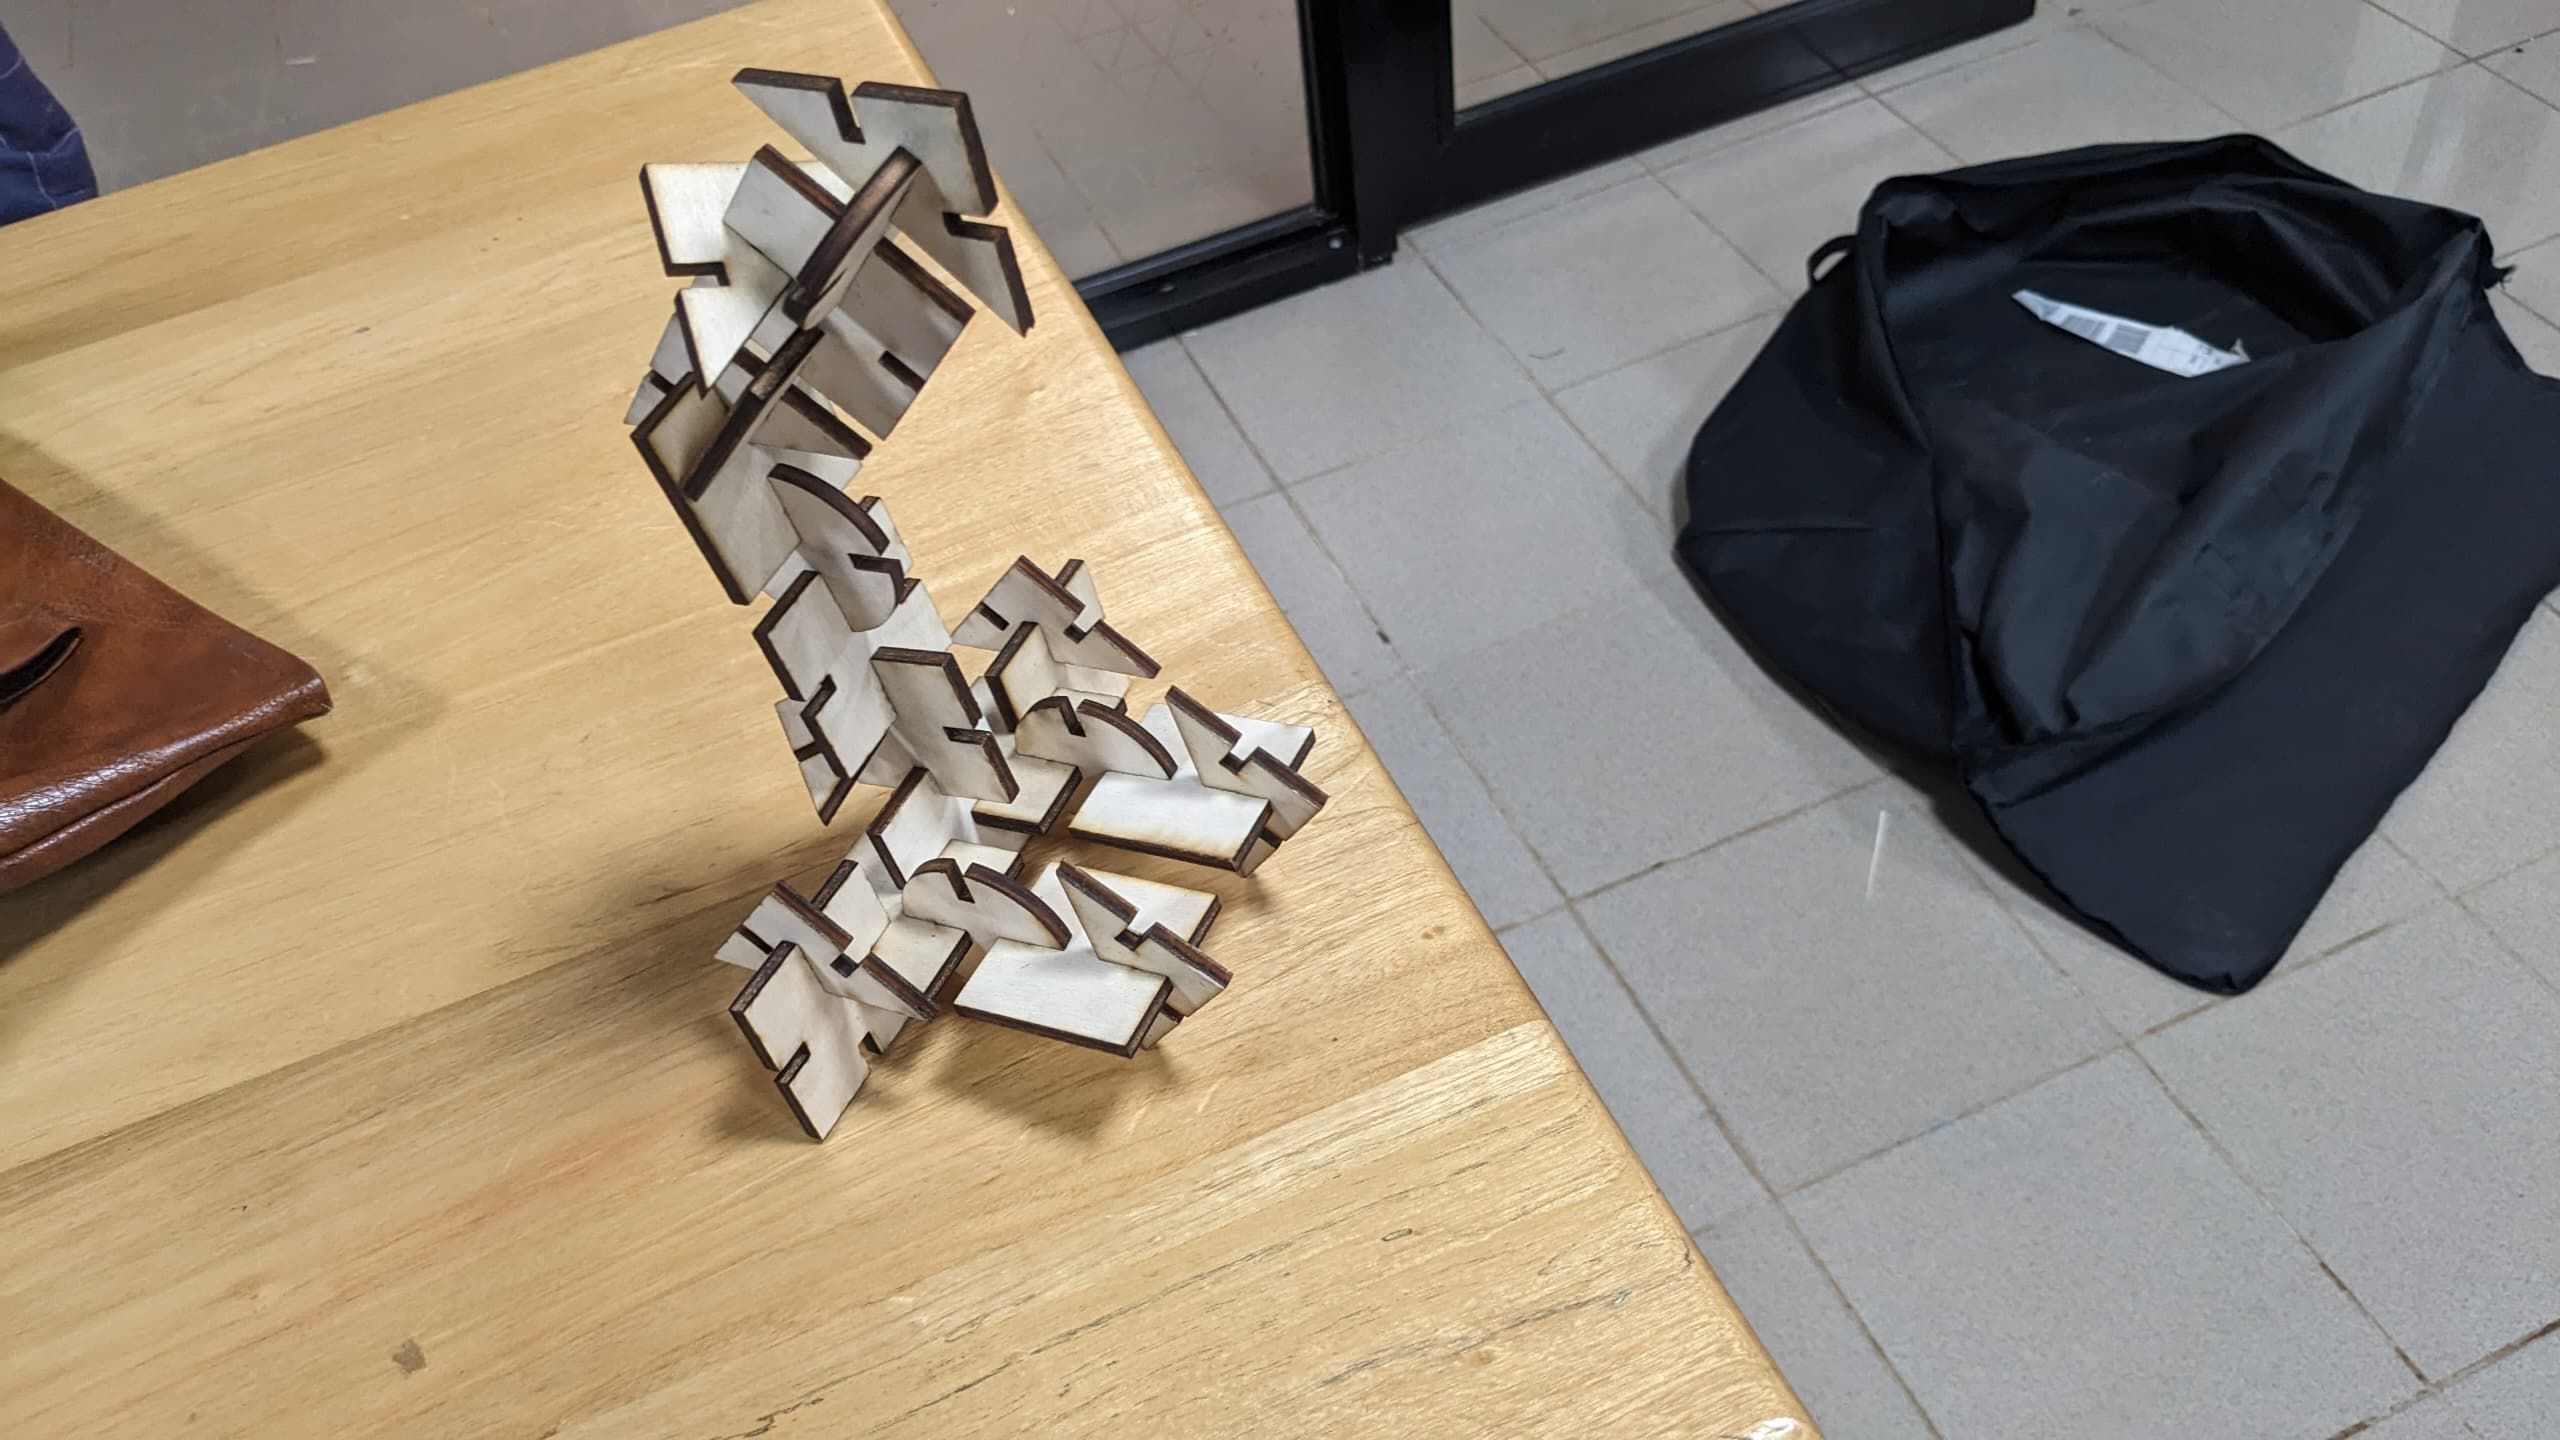
video showcasing how it looks like
then I re-assembled it and I found this stand of microphone together with microphone
video for second assembly and result
Here is the original files
parametric design original files parametric design