Molding and Casting
What I Wanted to Do
For this assignment, I wanted to explore molding and casting by using simple and available materials. I chose to work with a candle as my casting material. I melted it until it was fully liquid and poured it into a mold that I had previously designed and 3D printed.
Description of group assignment
-
Review the safety data sheets for each of your molding and casting materials
-
Make and compare test casts with each of them
-
Compare printing vs milling molds
-
Design a mold around the process you’ll be using, produce it with a smooth surface finish that does not show the production process, and use it to cast parts.
Goup assignment
Individual assignments
Group assignment
As a group, we reviewed the safety data sheets (SDS) for each molding and casting material to understand proper handling, health risks, and disposal methods. We conducted test casts using different materials to compare their curing time, flexibility, and surface finish. Additionally, we explored the differences between 3D printing and CNC milling molds. From this, I learned the importance of material safety, how different casting materials behave, and that milling produces smoother mold surfaces suitable for fine details, while 3D printing allows more complex geometries but often requires post-processing. This hands-on comparison gave us deeper insights into the pros and cons of each fabrication method. 👉 See group assignment documentation here
Individual assignment
Designing the Mold in SolidWorks
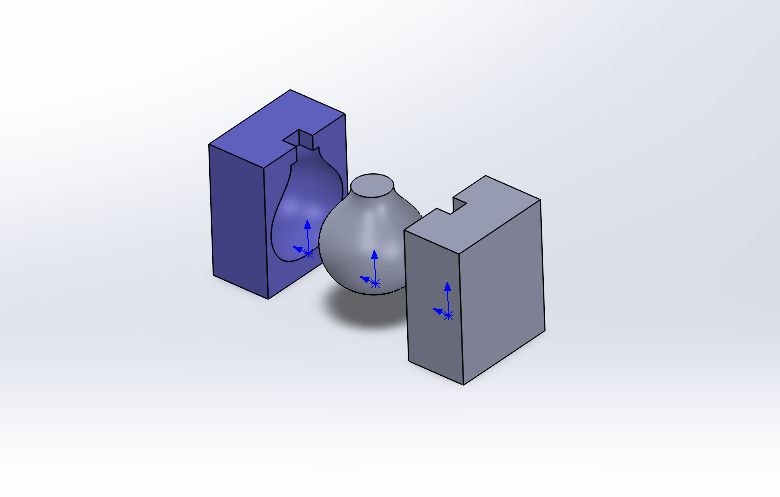
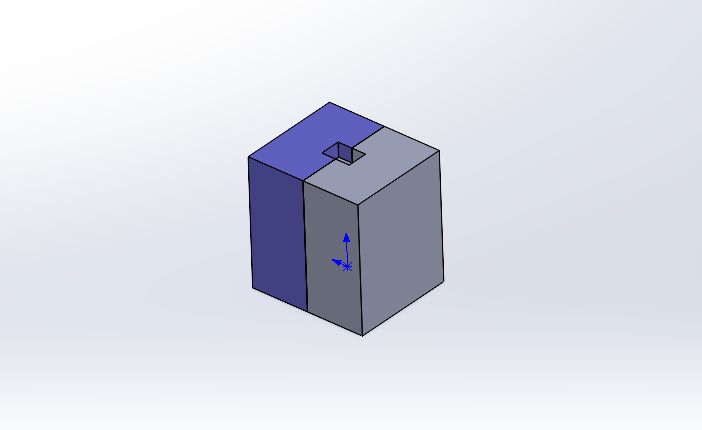
I used SolidWorks to design a 2-part mold that could be used to cast the melted candle wax. I made sure to include support structures, alignment features, and a pouring channel in the design.
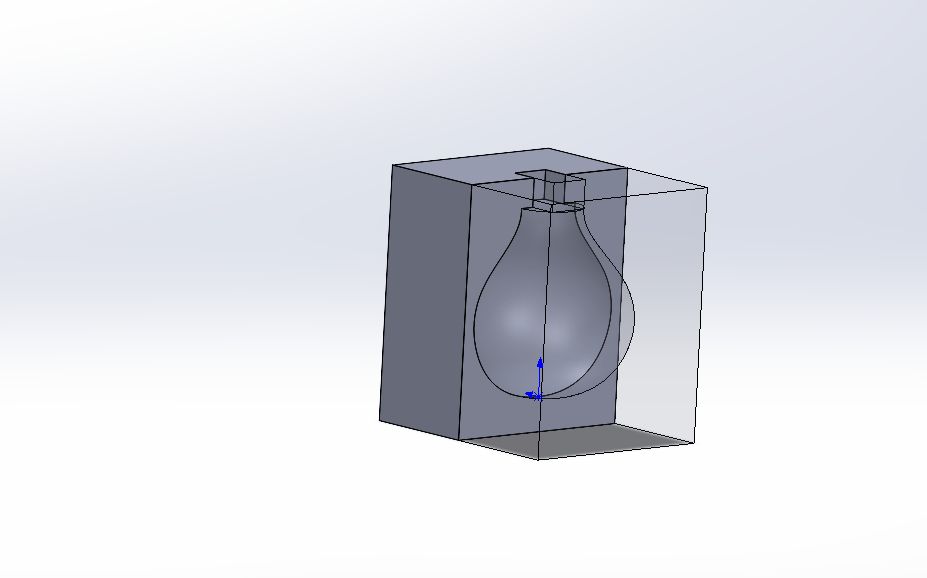
this is how I assembled it
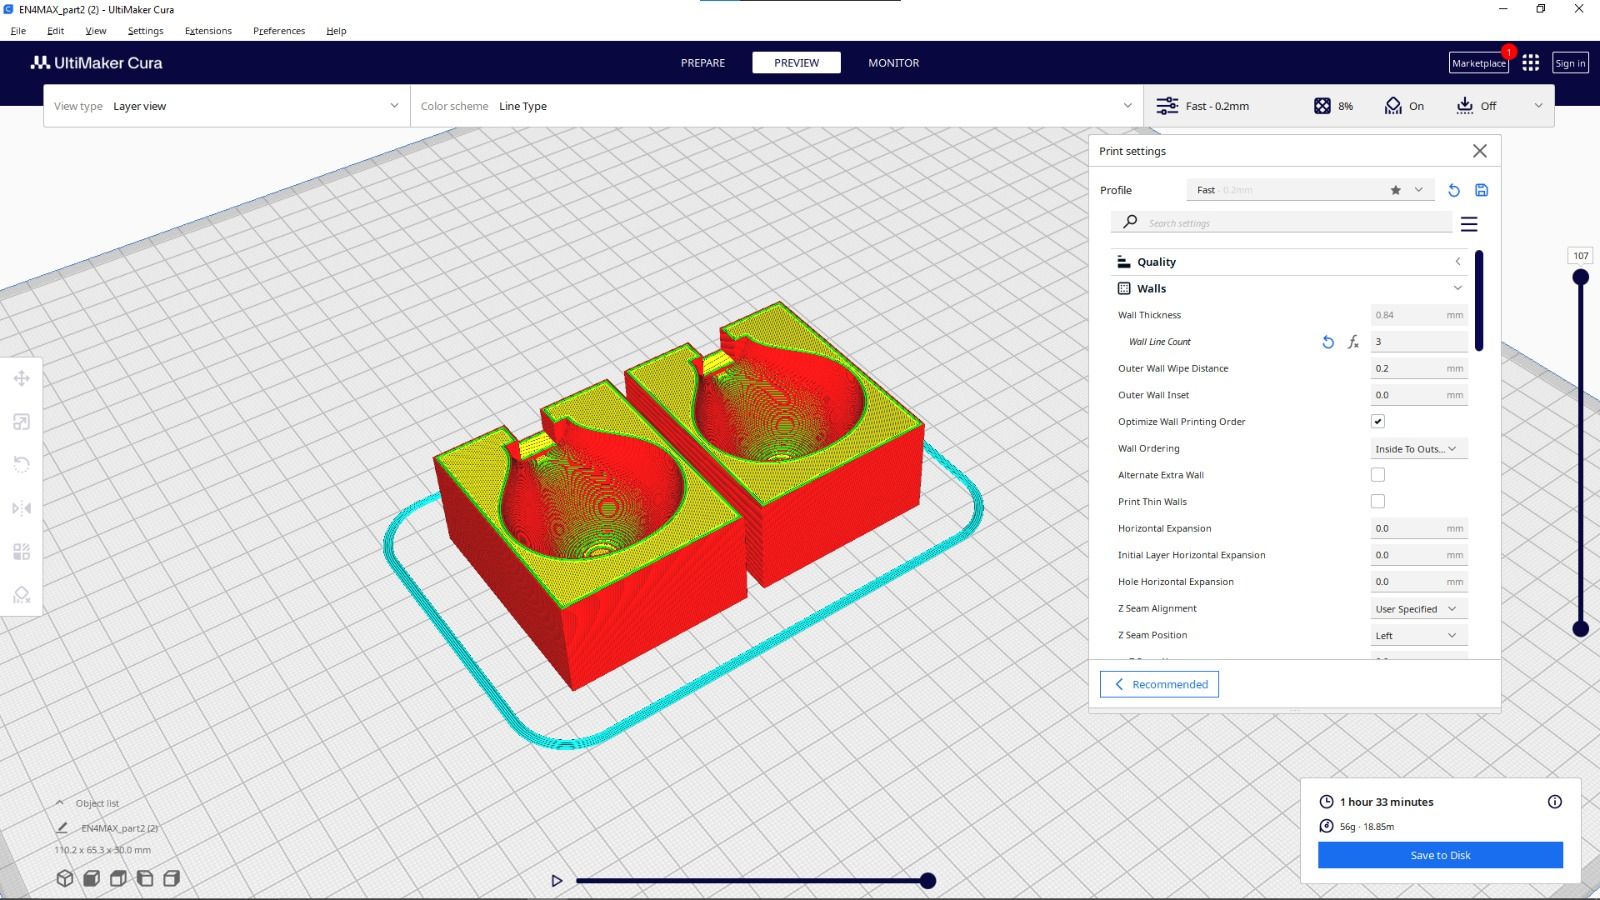
3D Printing the Mold
I exported my SolidWorks file and prepared it for 3D printing using Ultimaker Cura. I printed both halves of the mold using PLA filament.
slicing step
printing step
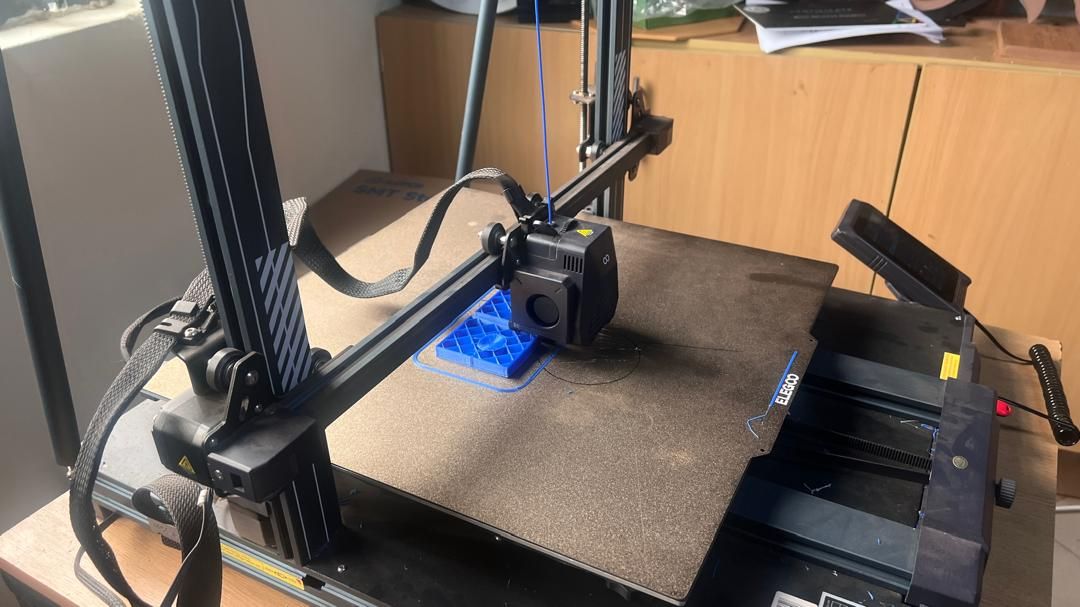
by here you can have demo of 3D printing process
result from 3d printing

Melting the Candle
I melted a candle over low heat until it became fully liquid. I used this melted wax as my casting material.
Casting Process
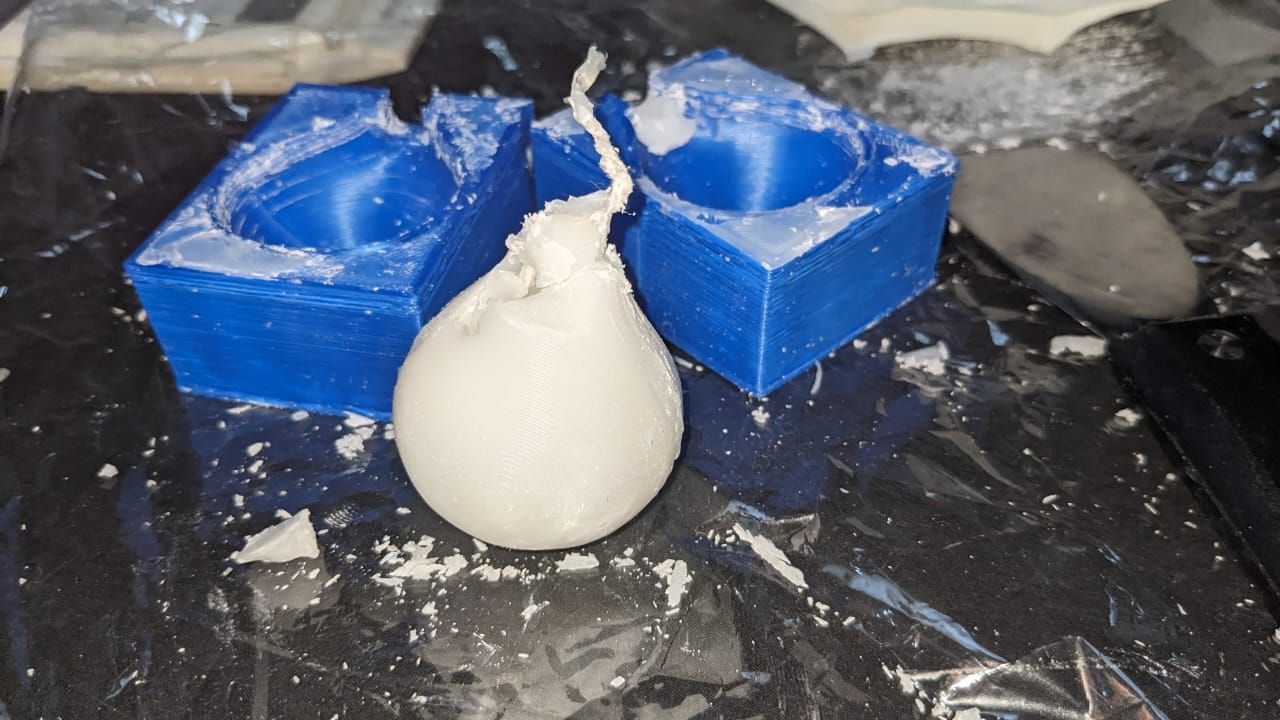
After melting the candle, I poured the liquid wax into the printed mold. I allowed it to cool and harden completely before separating the mold parts to remove the final cast object.
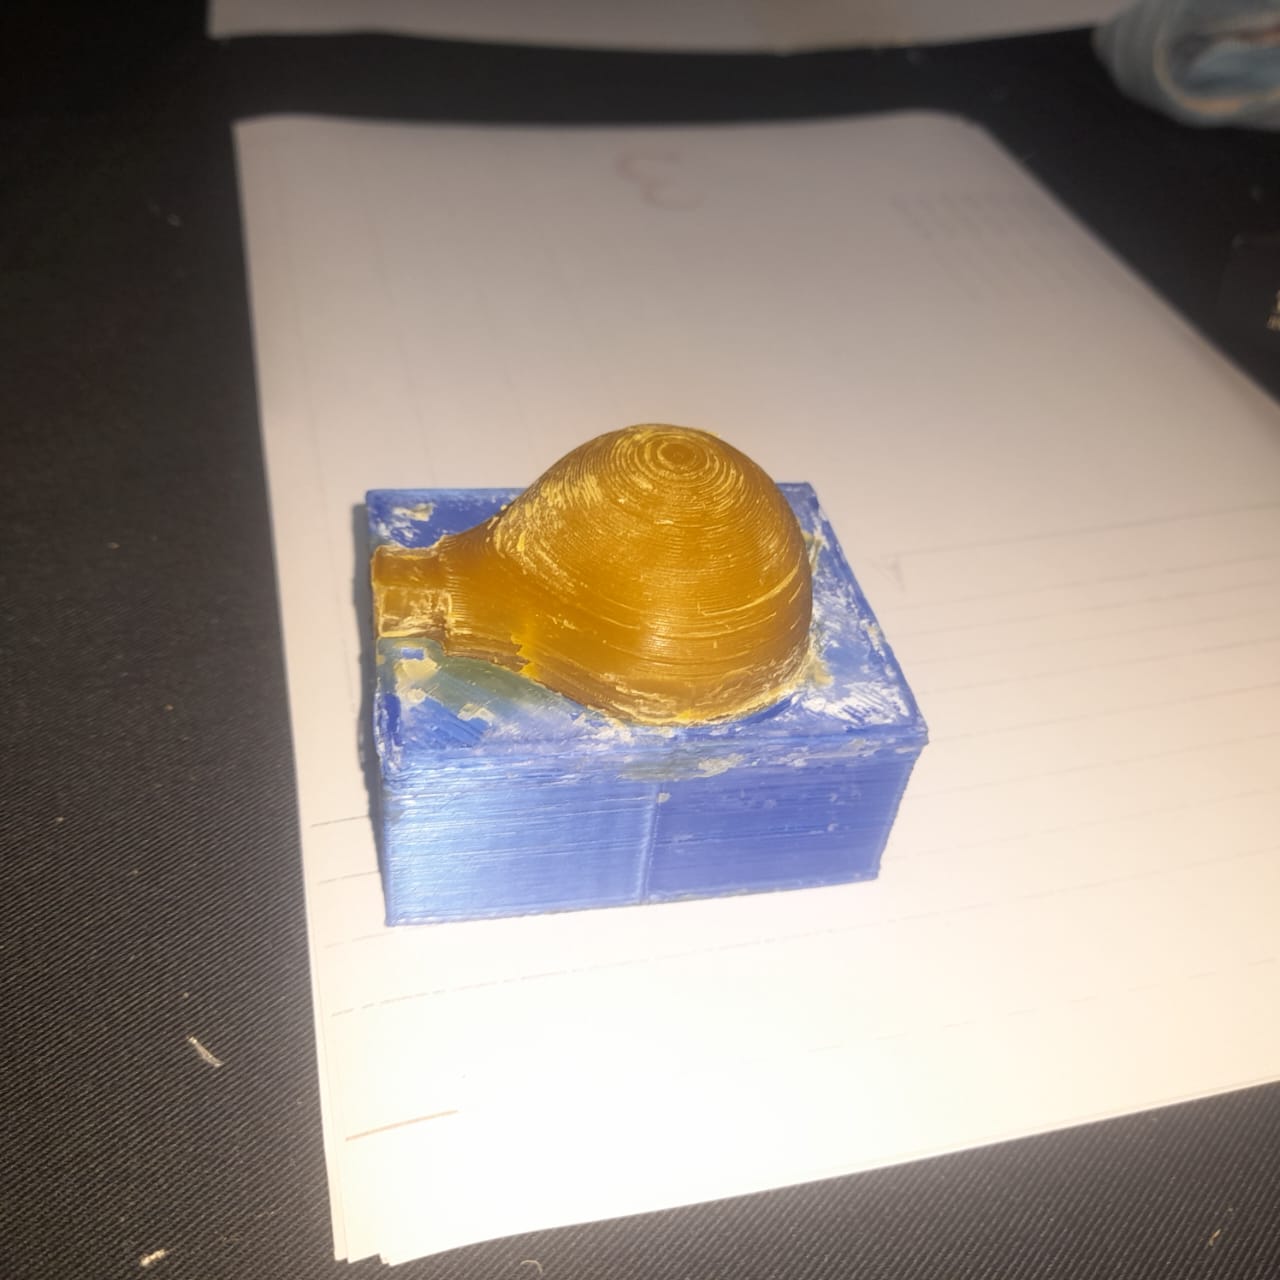
after removing my candle from the castig, I got this result blocken on the top because of power required me to remove it from the mold
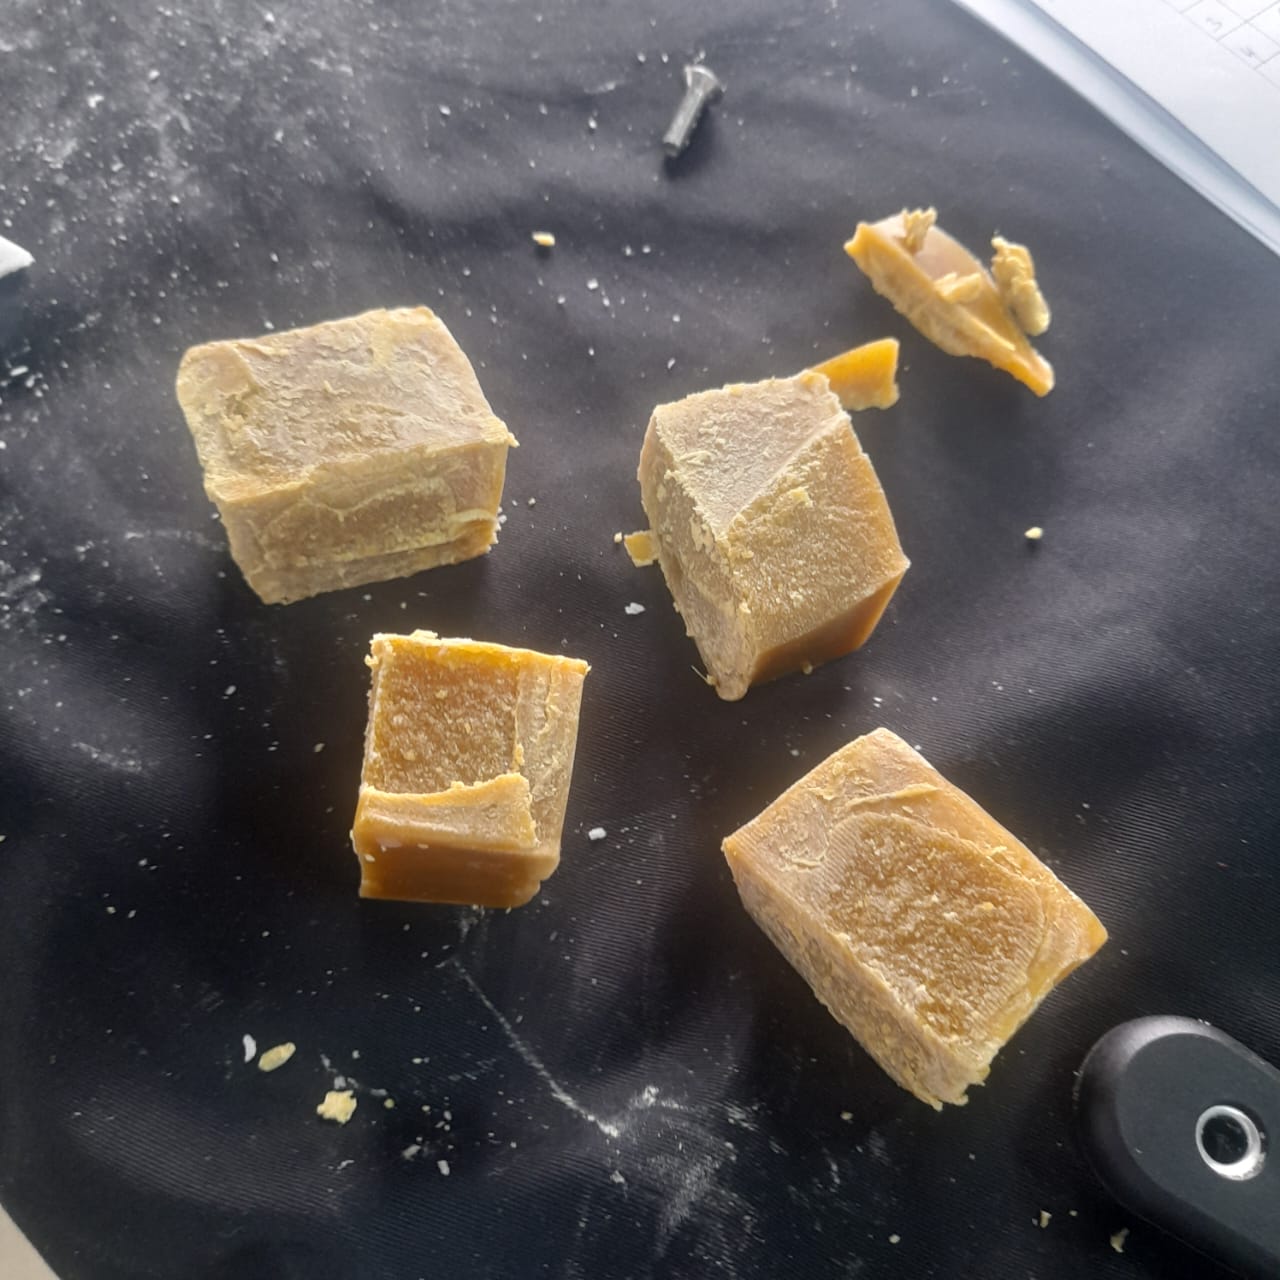
After failling from the first candle wax, I tried by another type of wax by using beewax and this is how it ended up
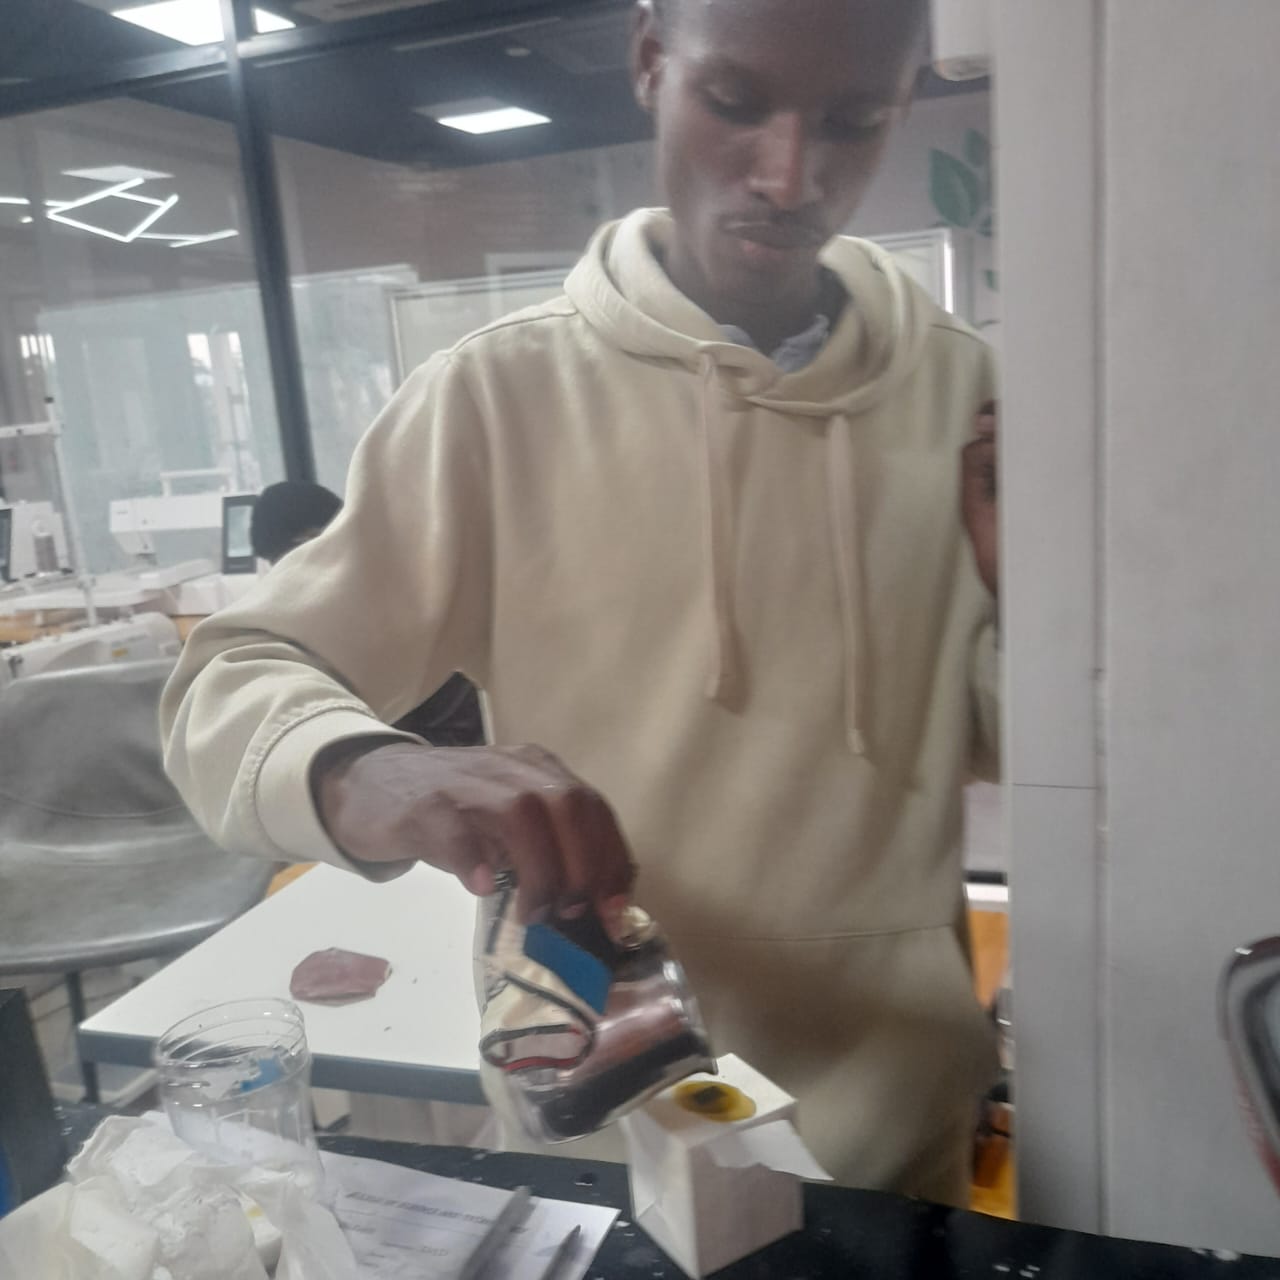
Melting beewax
beewax I used
how I melted beewax
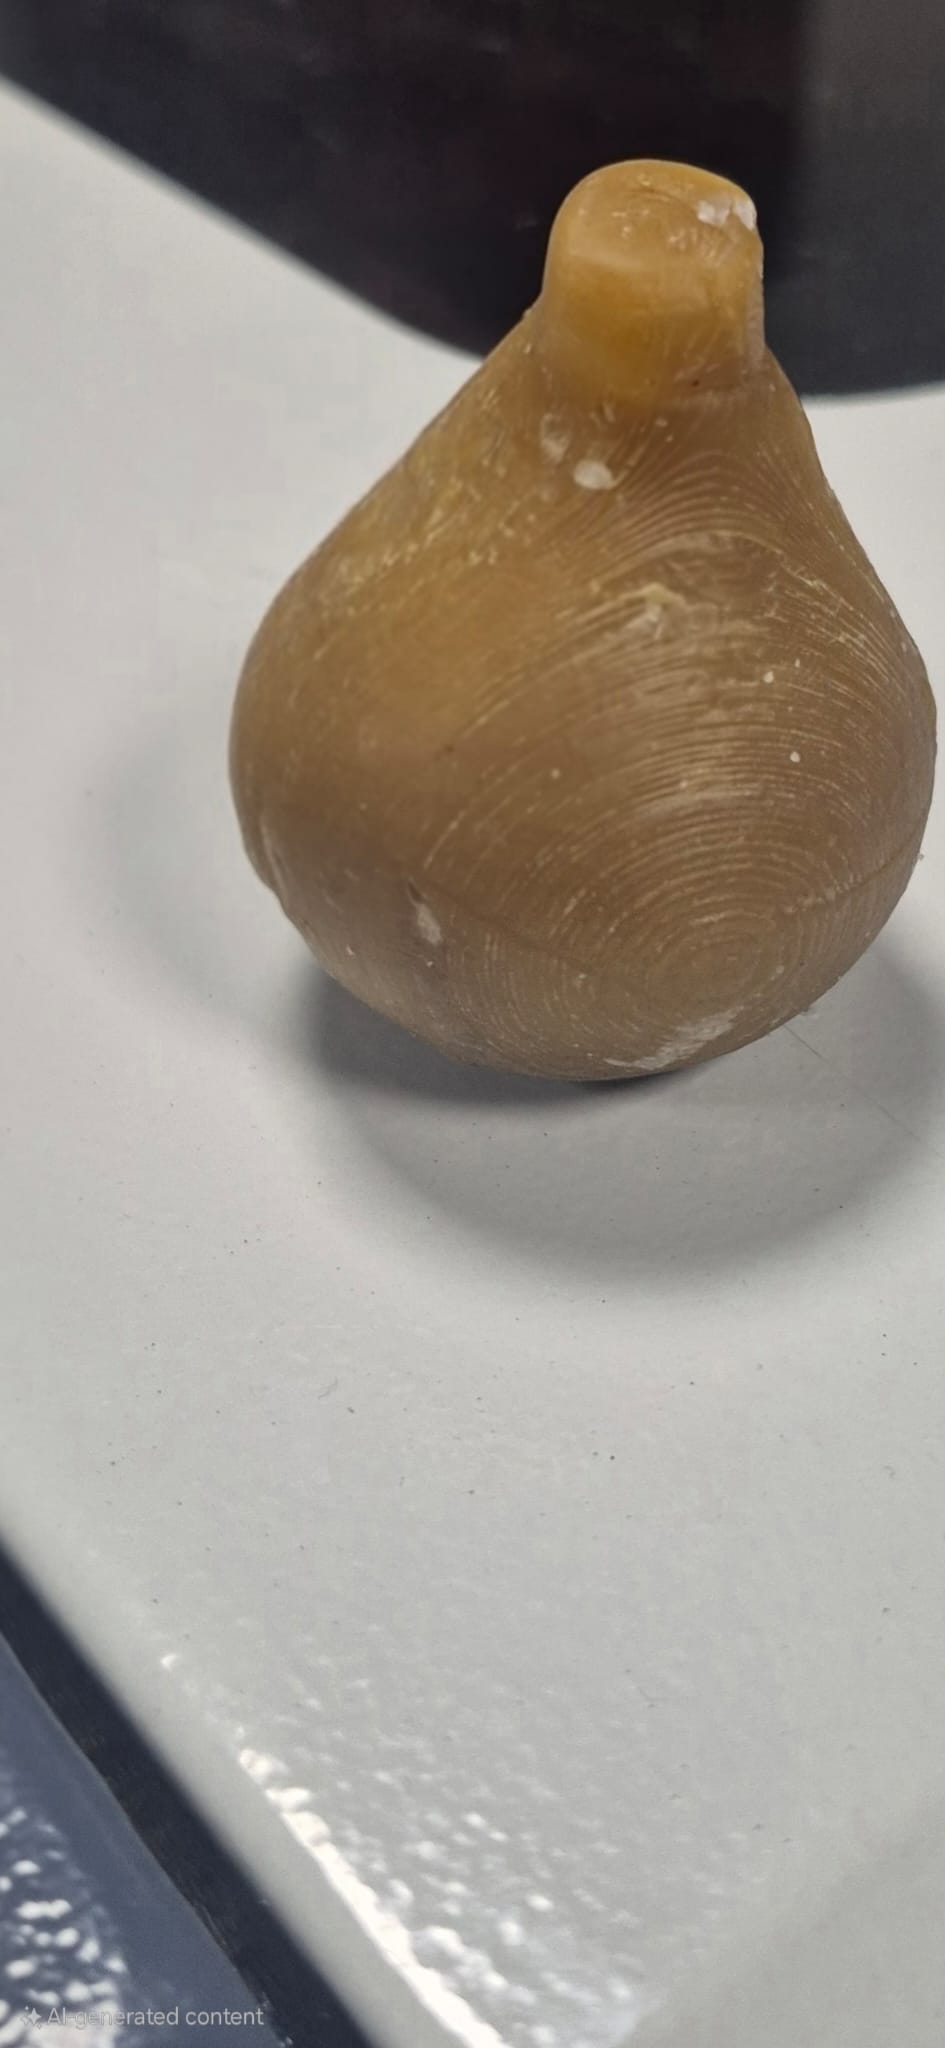
after cupple of minutes, I checked how it is and I found it very cold and fitting the mold. I tried to extract it from my mold and I made it very well
here is the final results of beewax
Challenges and What I Learned
- I learned how to properly design a functional mold using SolidWorks.
- I was challenged with energy it recquired me to remove the cast. I found that it requires high attention
- I realized that controlling temperature while melting wax is crucial to safety and quality.
Conclusion
This week was a great hands-on experience with digital fabrication and manual crafting. I now understand the full process of going from a digital mold design to a real physical casted part using a basic material like candle wax.
Download original files
You can download the files I use while designing and slicing the mold for this assignment here:
Download mold stl filesDownload solidworks files for molding