Complete your lab's safety training
Test runout, alignment, fixturing, speeds, feeds, materials and toolpaths for your machine
Document your work to the group work page and reflect on your individual page what you learned
What is Computer-Controlled Machining?
Computer-Controlled Machining involves using computerized control systems to operate machine tools for cutting, carving, and shaping materials. In our lab, we use the ShopBot 3-Axis CNC Router, a versatile digital fabrication tool designed for precision cutting, carving, machining, and drilling various materials including wood, plastics, and non-ferrous metals.
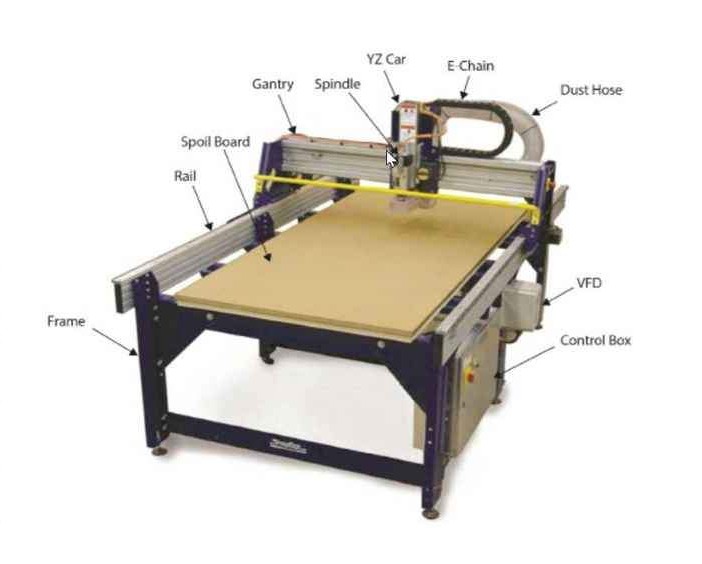
The ShopBot 3-Axis Alfa CNC Router
The ShopBot CNC Router offers numerous capabilities that make it ideal for digital fabrication tasks:
High precision cutting with accuracy to 0.001"
Versatile tool compatibility with various router bits, cutting tools, and accessories
Computer-controlled operation via ShopBot Control Software
Compatible with multiple materials including wood, MDF, acrylic, plastics, aluminum, and composites
Adjustable speed and feed rates to optimize cutting quality based on material properties
Large working area capable of handling full sheets of material
Safety features including emergency stop, dust collection system, and spindle control
ShopBot alpha 3-Axis CNC Router
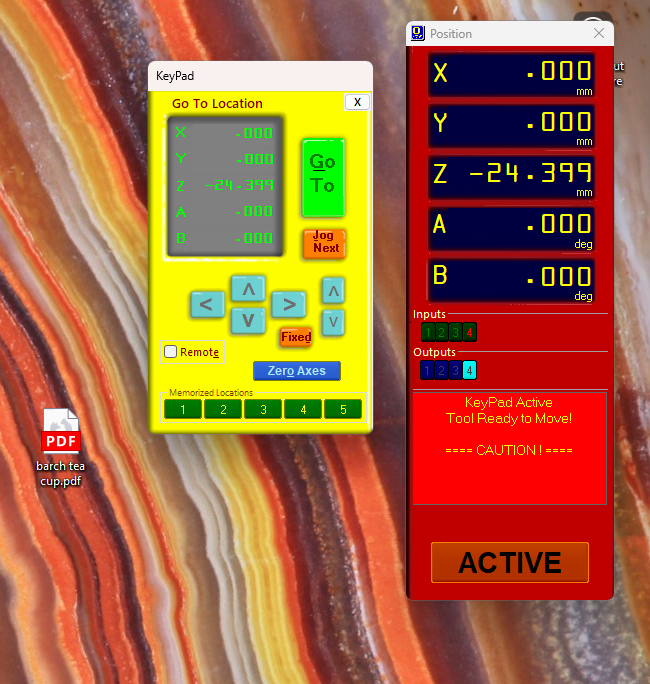
ShopBot Control System Interface
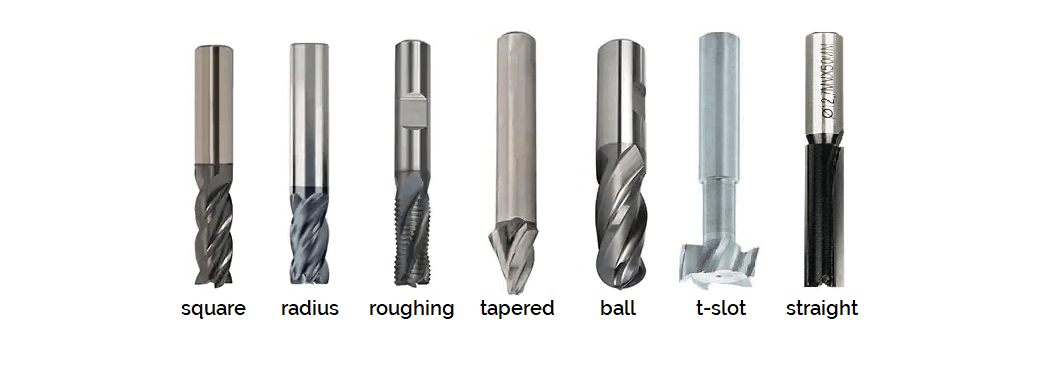
Cutting Tools - End Mills
For our group and individual assignments, we used a Straight end mill with a collet of matching size. Different types of end mills are designed for specific cutting operations and materials:
Straight/Square End Mills: For straight, perpendicular cuts and flat bottom pockets
Ball Nose End Mills: For 3D contours and curved surfaces
Upcut Spiral: Pulls chips upward, providing good chip evacuation but rougher top edges
Downcut Spiral: Pushes chips downward, creating cleaner top edges but potentially trapping chips in deep cuts
Compression End Mills: Combination of upcut and downcut for clean edges on both top and bottom
V-Bits: For V-carving, engraving, and decorative edging
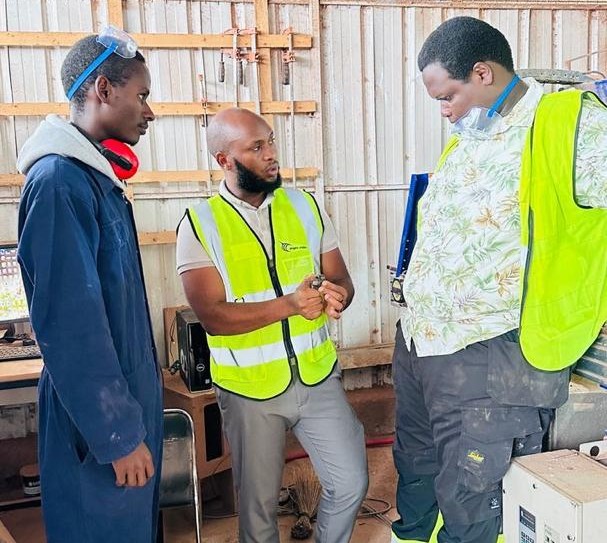
Safety Training
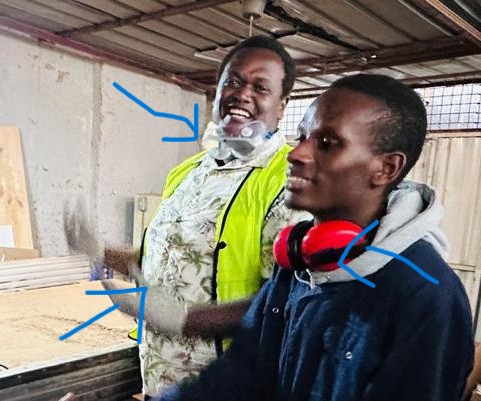
Before beginning any work with the ShopBot, our team completed comprehensive safety training covering machine operation, emergency procedures, and personal protective equipment requirements.
Personal Protection: Safety glasses, hearing protection, dust mask, and appropriate clothing
Machine Awareness: Understanding the machine's movement envelope and keeping clear during operation
Emergency Procedures: Knowing the location and operation of emergency stop buttons
Dust Management: Proper connection and operation of dust collection systems
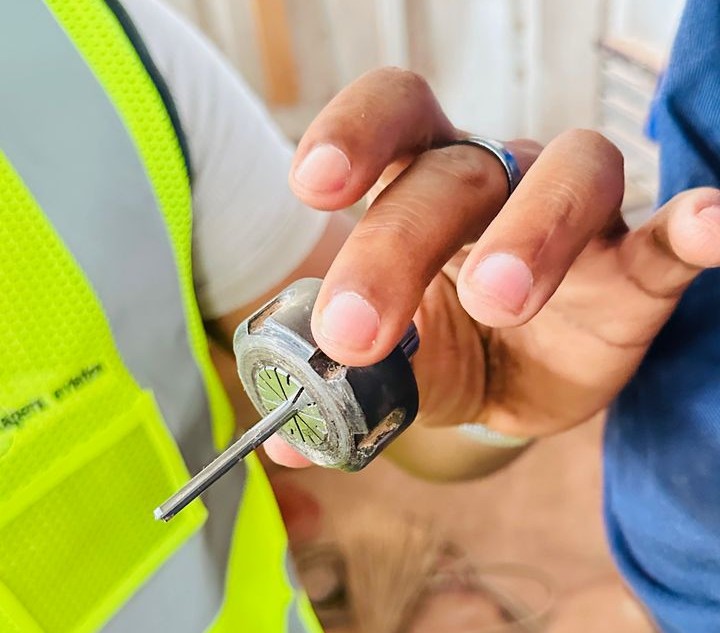
Tool Handling: Safe procedures for changing and securing cutting tools
Material Fixturing: Proper techniques for securing materials to prevent movement during cutting
Personal Protective Equipment for CNC Operation
Material Selection and Preparation
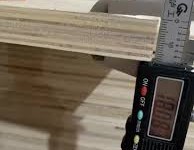
For our testing, we selected a spare MDF. The material was haft of an MDF with 18mm thick and required careful handling and fixturing.
Measuring the plywood dimensions before machining
Toolpath Generation in VCarve Pro
We used VCarve Pro to create our toolpaths, generating G-code for the ShopBot to follow. The process involved several key steps:
Creating a new file and setting up material dimensions
Drawing the desired shapes (300mm square and 200mm circle)
Selecting appropriate toolpaths (profile cuts)
Configuring the end mill parameters
Setting cutting depth per pass to 3.6mm (resulting in 5 passes for 18mm material)
Defining machining direction (outside/inside)
Previewing the toolpath before saving
Saving the toolpath as a ShopBot (.sbp) file
Material Fixturing and Machine Setup
Proper fixturing is critical for achieving accurate cuts. We secured our material to the ShopBot bed using screws, ensuring they wouldn't interfere with the cutting path.
Placing the plywood on the ShopBot bed
Machine Operation
Operating the ShopBot involves several key steps for proper setup and execution:
Powering up the machine and control computer
Installing and securing the end mill
Homing the machine to establish reference coordinates
Setting the X, Y, and Z zero positions relative to the material
Loading the .sbp file into the control software
Starting the spindle and dust collection
Running the cutting operation
Monitoring the process for any issues
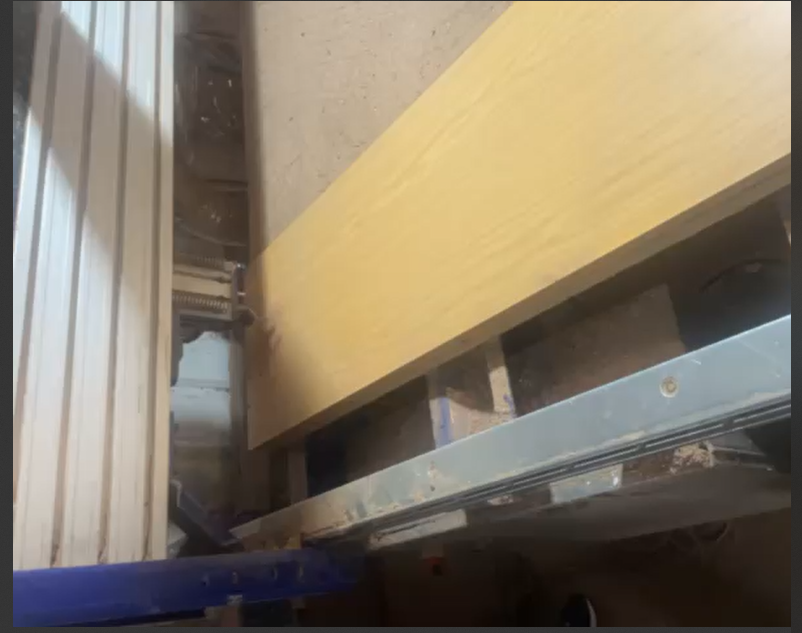
Starting the cutting operation
in process
Conclusions and Lessons Learned
Working with the ShopBot CNC router taught us several important lessons about digital fabrication:
Toolpath Strategy: Understanding inside vs. outside cutting paths is critical for dimensional accuracy
Material Selection: Material quality significantly affects cutting results
Parameter Optimization: Finding the right balance of speed, depth, and quality requires testing
Fixturing Techniques: Secure workholding is essential for precision cutting
Design for Manufacturing: Considering fabrication constraints improves design outcomes
Safety Protocols: Developing good safety habits is essential for all CNC operations
These skills provide a foundation for more complex CNC machining projects in the future. Our experience with the ShopBot has prepared us for designing and fabricating larger-scale objects with precision and confidence.