Thonny is an integrated development environment (IDE) for Python that is designed for beginners. It is simple and easy to use, making it a great choice for those who are new to programming. Thonny is particularly useful for developing programs for microcontrollers that run MicroPython, such as the ESP8266 and ESP32.
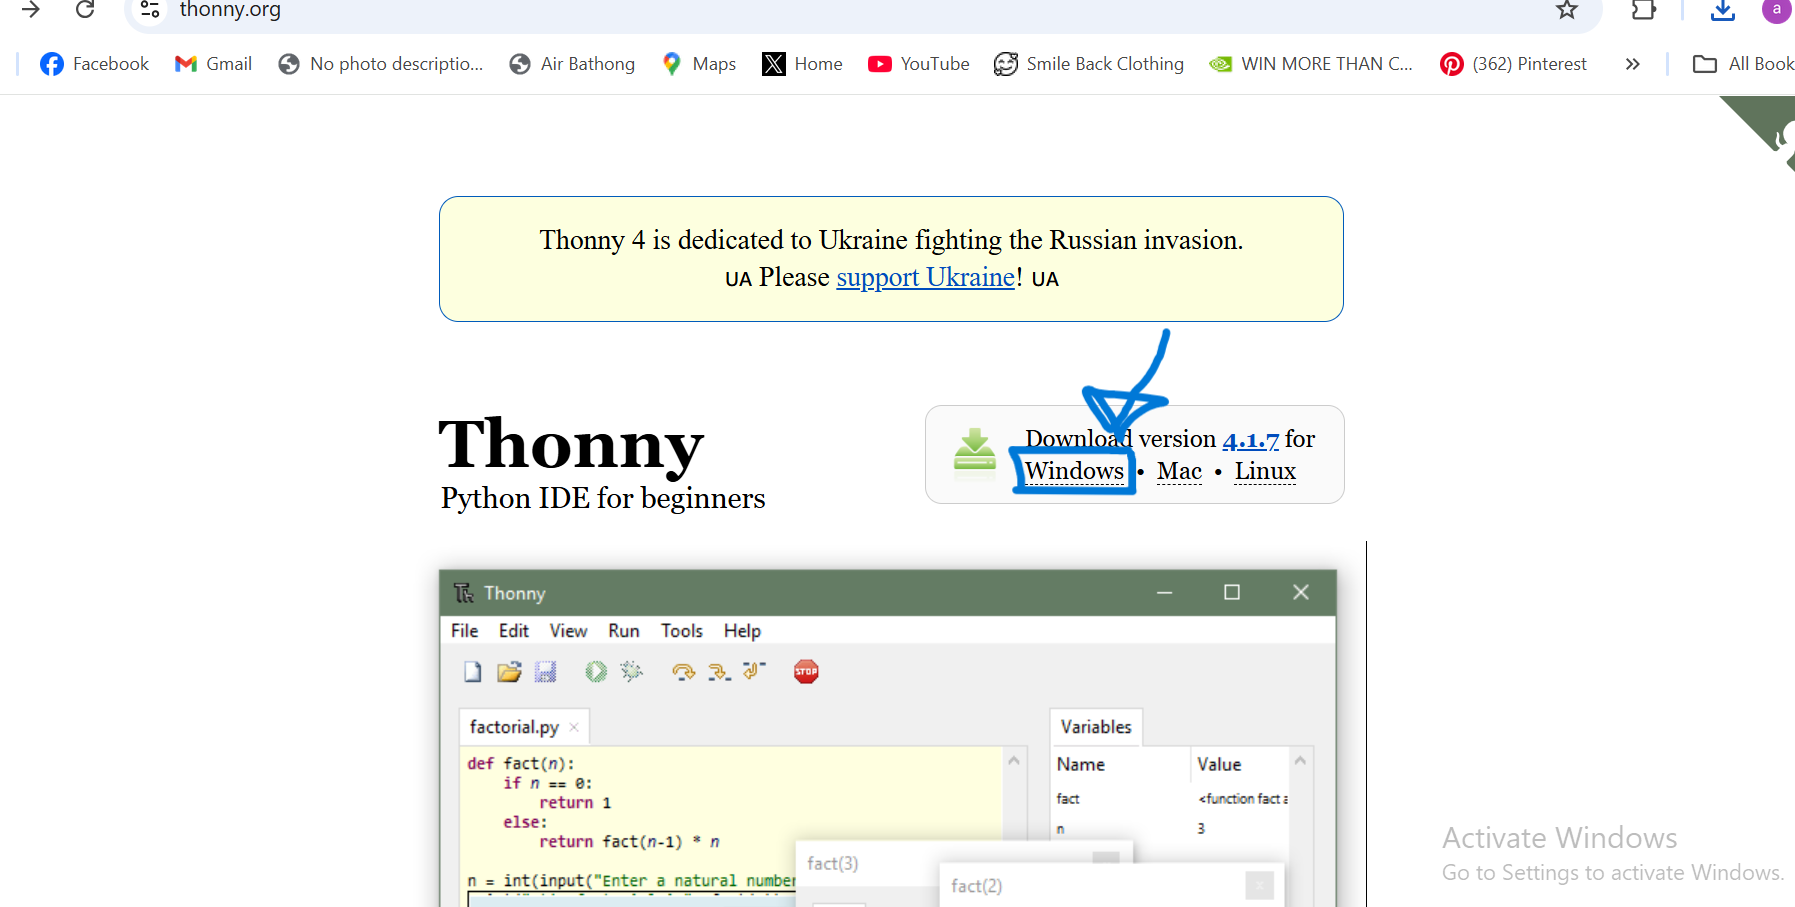
We started off by downloading Thonny program from the website
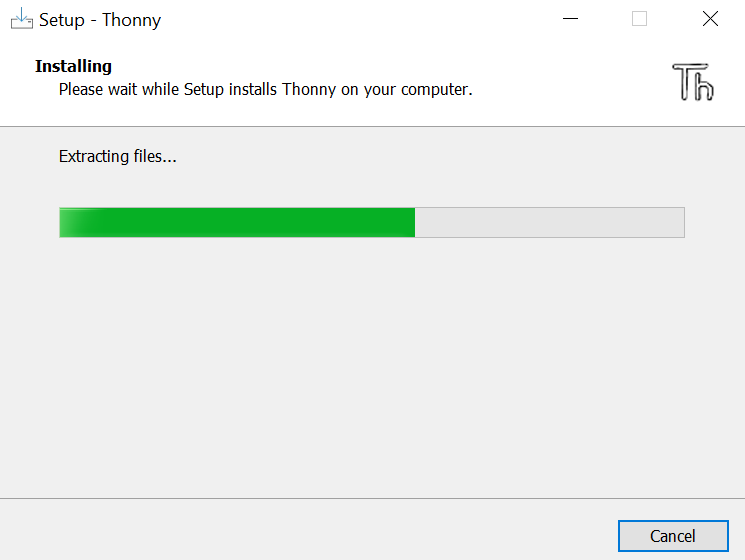
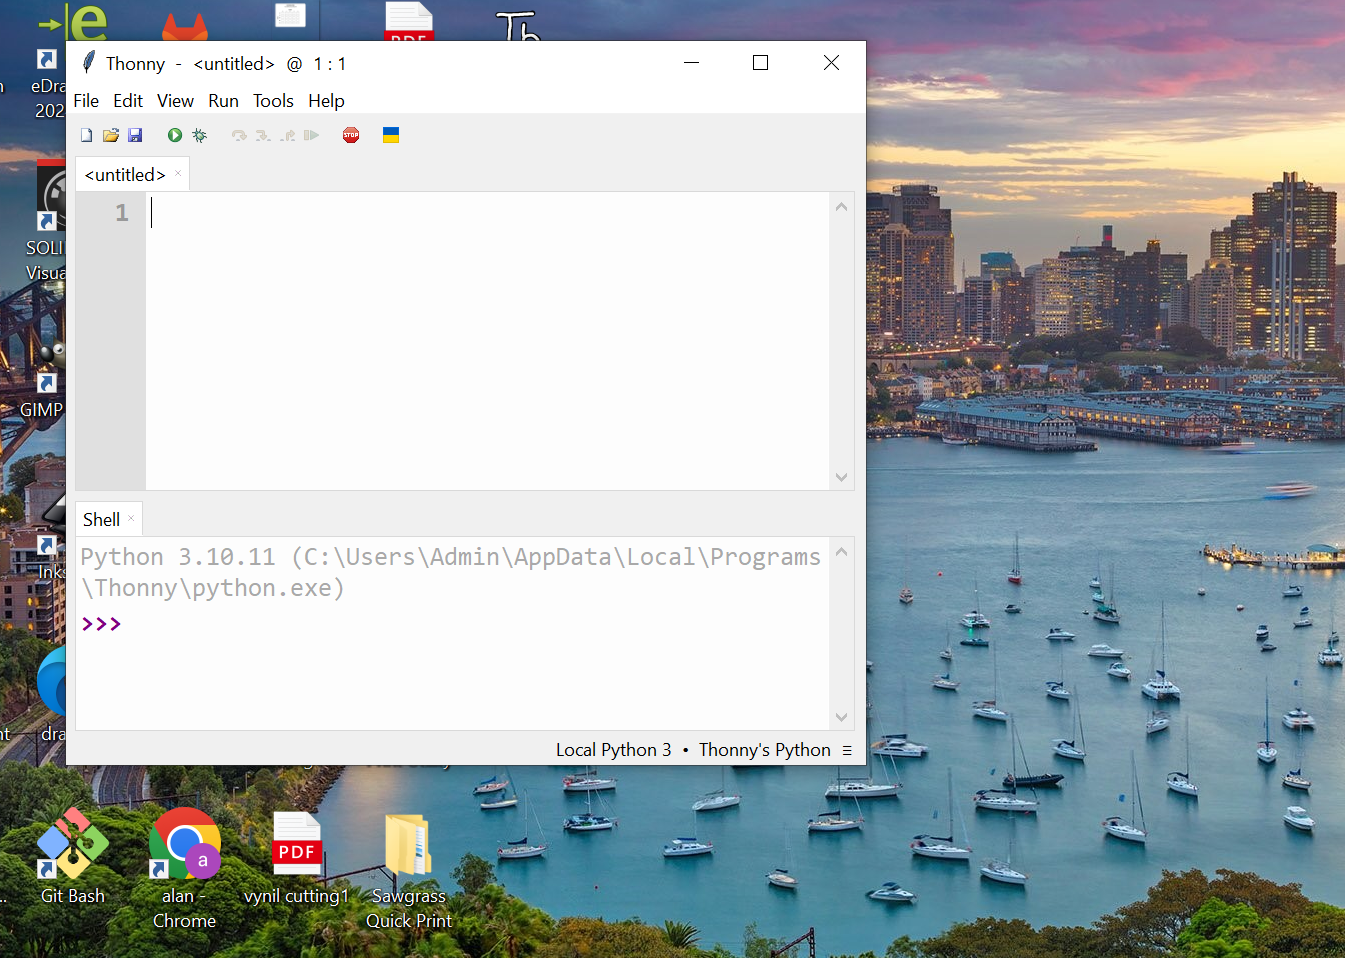
We then installed and launched the Thonny software.
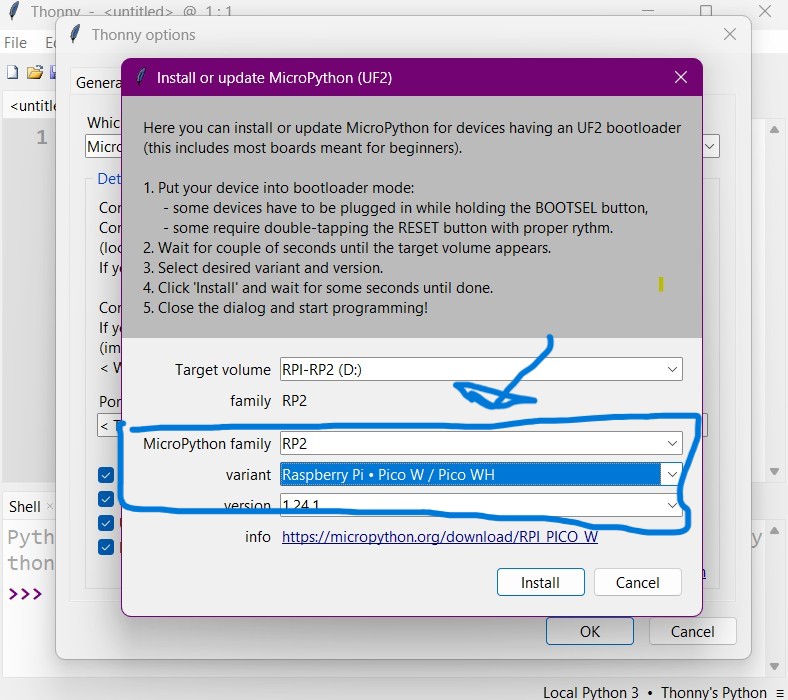
After launching it we configured the interpreter, choosing MicroPython (Raspberry Pi Pico) as the launguage that will be used to run the code. And then we installed MicroPython.


Continuation of installing MicroPython
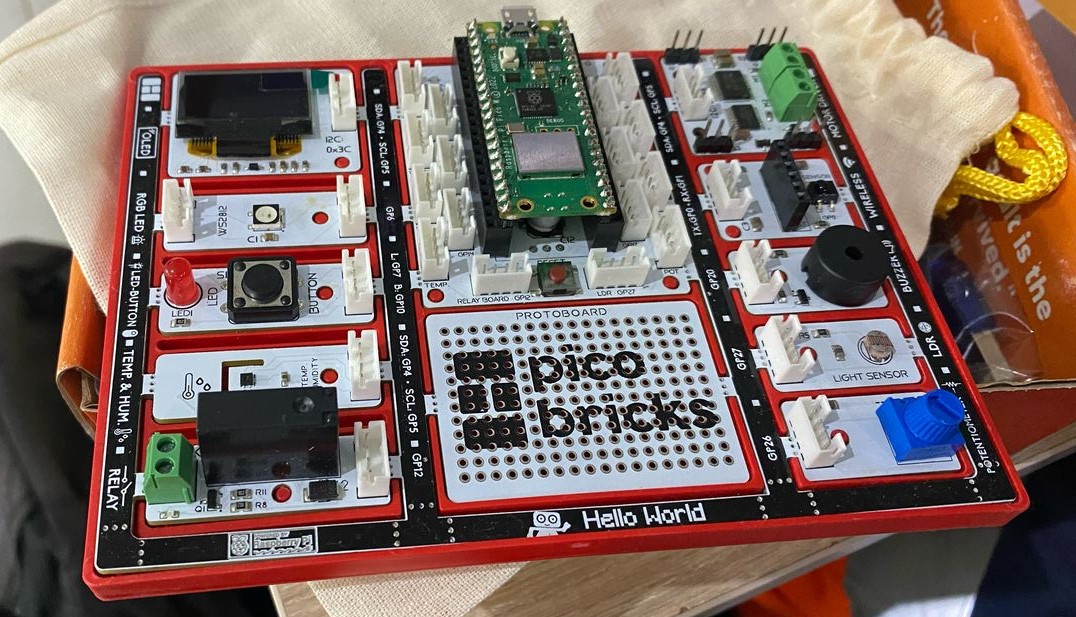
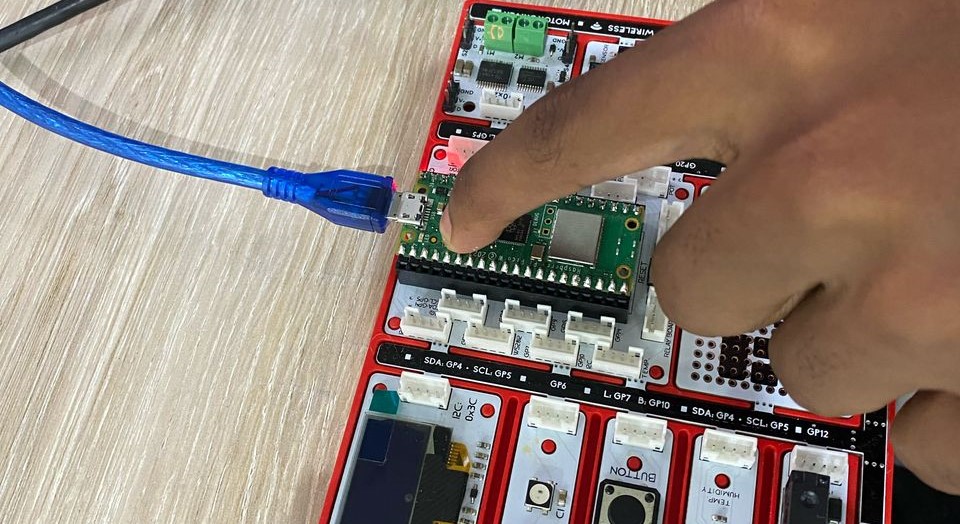
This is where I then brought in picture the Raspberry Pi Pico to use, which is shown in the picture below.
I then began with holding the BOOTSEL button on Pi Pico and then plugged the USB cord to get the options/variants to choose from depending on the Pi Pico I am using. After selecting it I then completed the installation.
We then created a code for blinking an LED the run button to execute the script on the microcontroller.
from machine import Pin, ADC
import time

pot = ADC(Pin(26))
led = Pin(7, Pin.OUT)

while True:
    pot_value = pot.read_u16()
    if pot_value > 32767:
        led.value(1)  # Turn LED on
    else:
        led.value(0)  # Turn LED off
    time.sleep(0.01)

The Arduino Integrated Development Environment (IDE) is a cross-platform application (for Windows, macOS, and Linux) that is written in the programming language Java. It originated from the IDE for the languages Processing and Wiring. It is used to write and upload programs to Arduino compatible boards, but also, with the help of third-party cores, other vendor development boards.
Arduino IDE was downloaded from website and then launched.
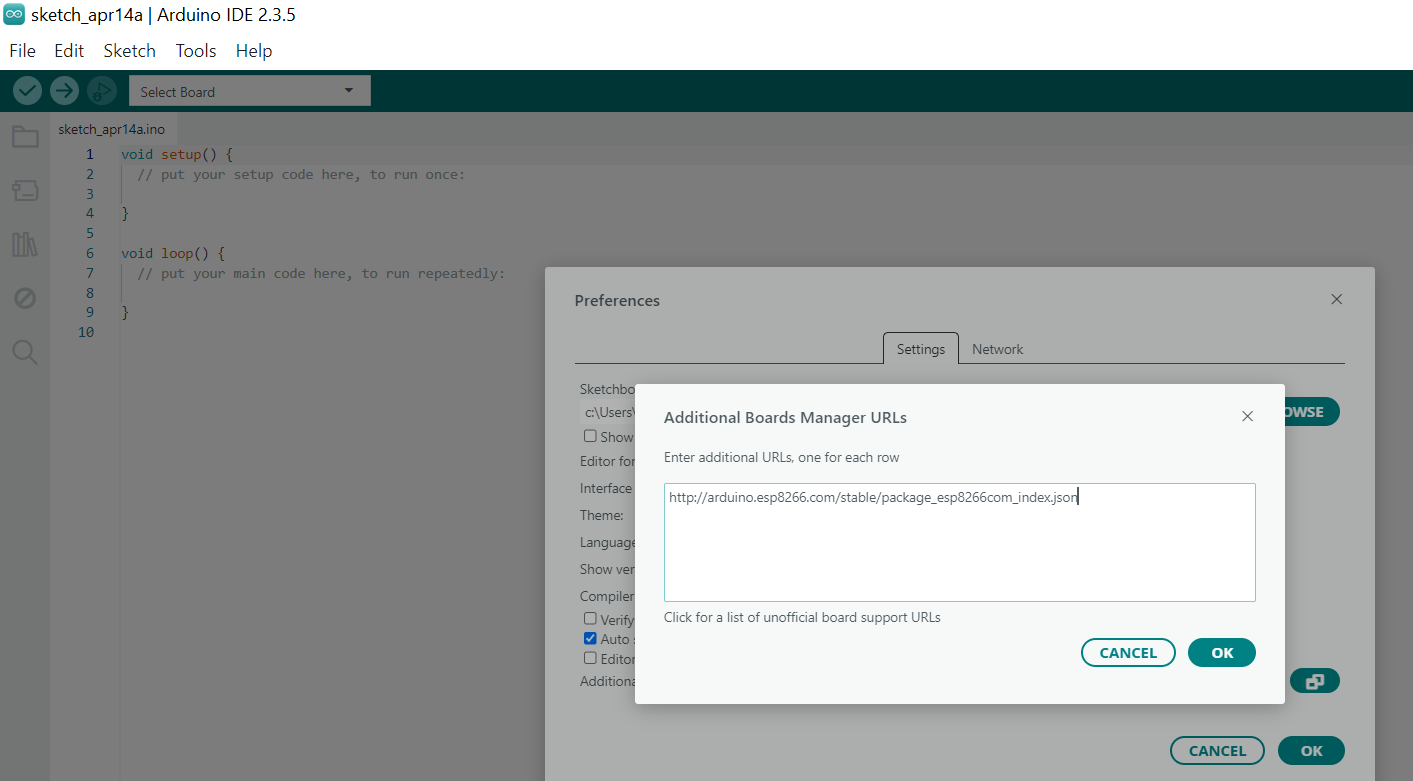
We then added the blelow URL into the Additional Library Manager.
http://arduino.esp8266.com/stable/package_esp8266com_index.jsonAnd then installed the Adafruit Library that support the microcontroller (ESP8266) to use.
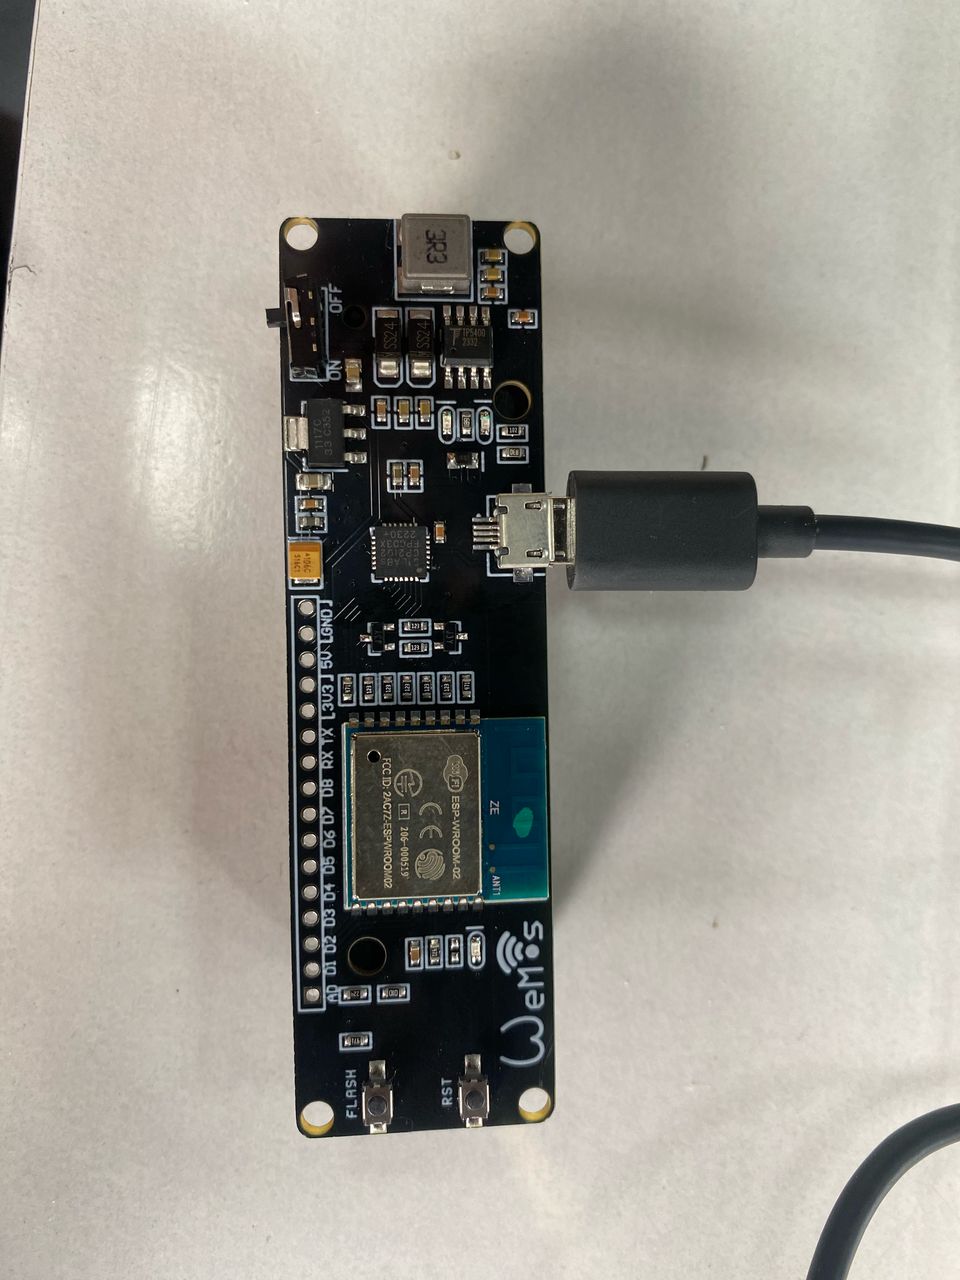
The micricontroller (WROOM-02) was then connected to the computer.
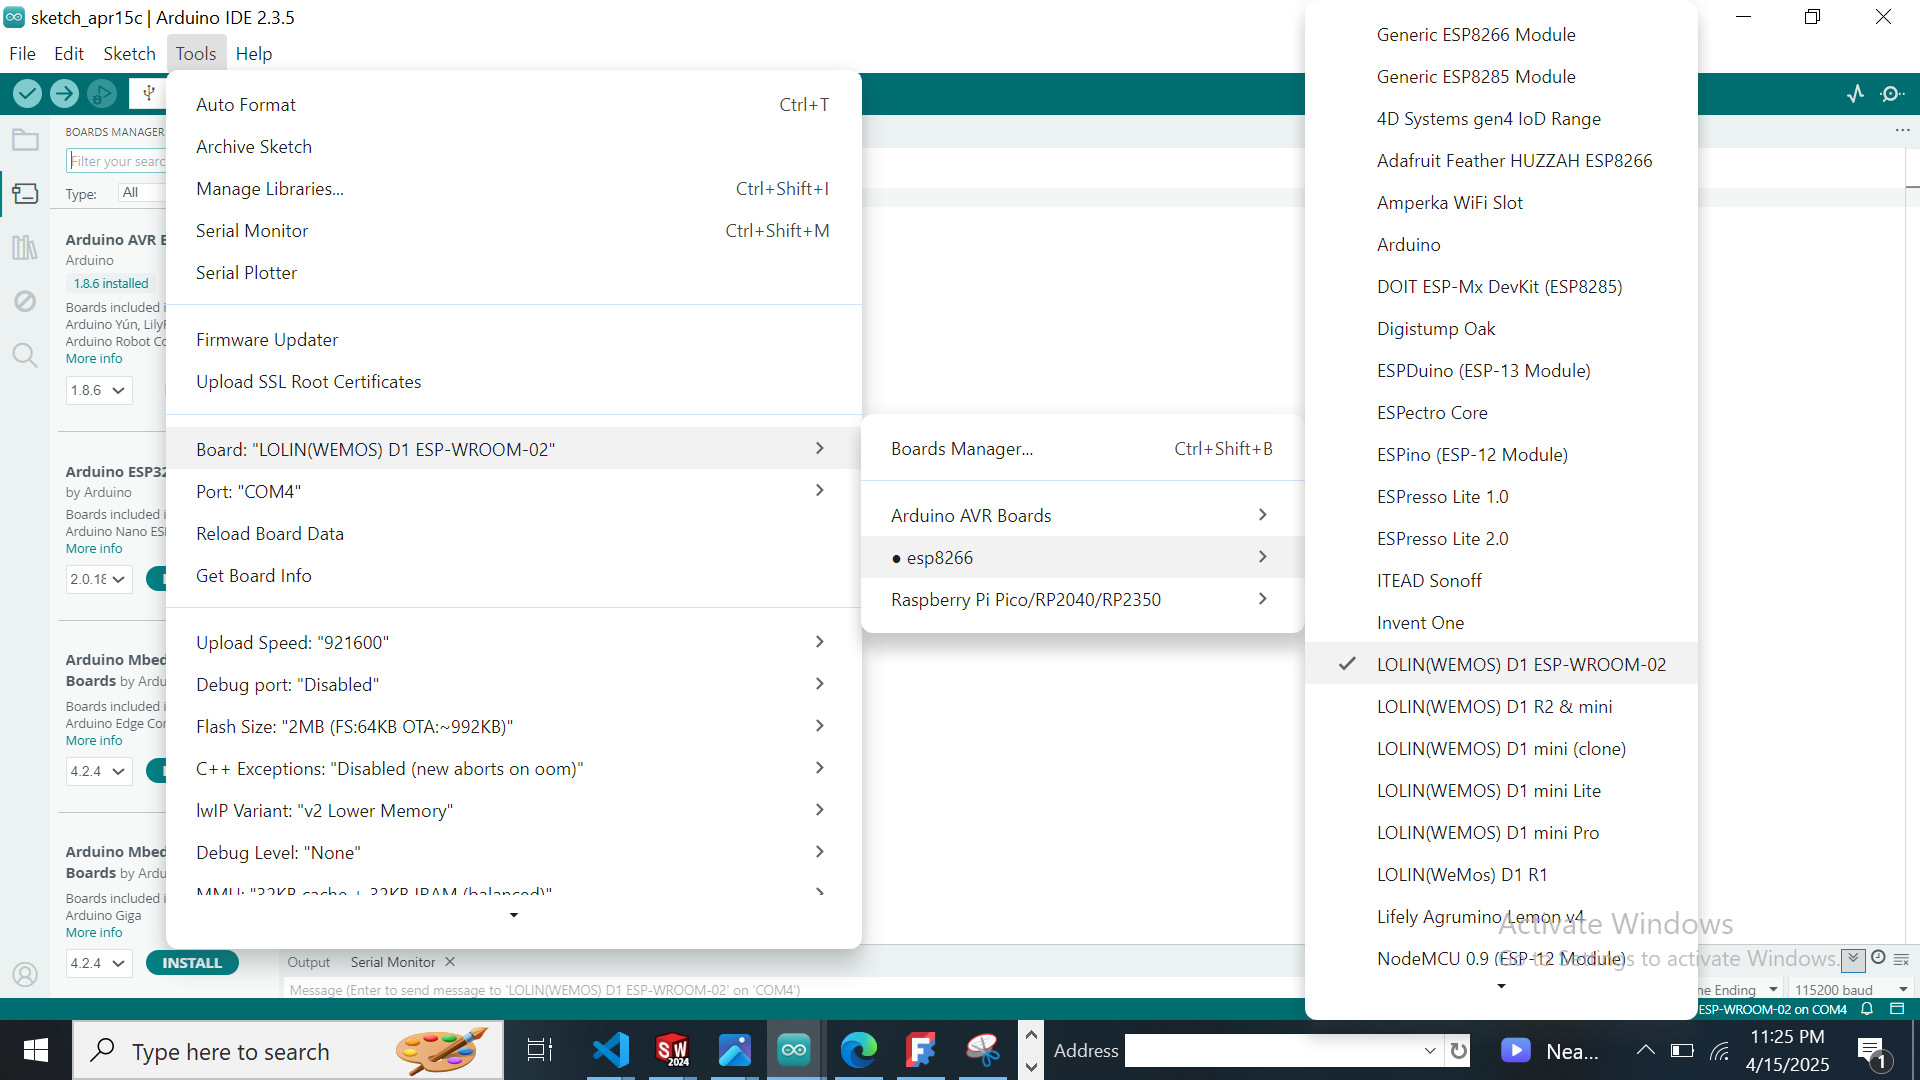
The microcontroller to be used was then selected on the Arduino Ide software by selecting tool on the main menu, then clicking boards, then selecting the board to use which is the esp wroom02.
#include < ESP8266WiFi.h>
const char* ssid = "UNIPOD Staff";
const char* password = "unipod12345";
const int ledPin = 2; // GPIO2 is often used for built-in LED
void setup() {
pinMode(ledPin, OUTPUT);
Serial.begin(115200);
delay(10);
Serial.println();
Serial.print("Connecting to ");
Serial.println(ssid);
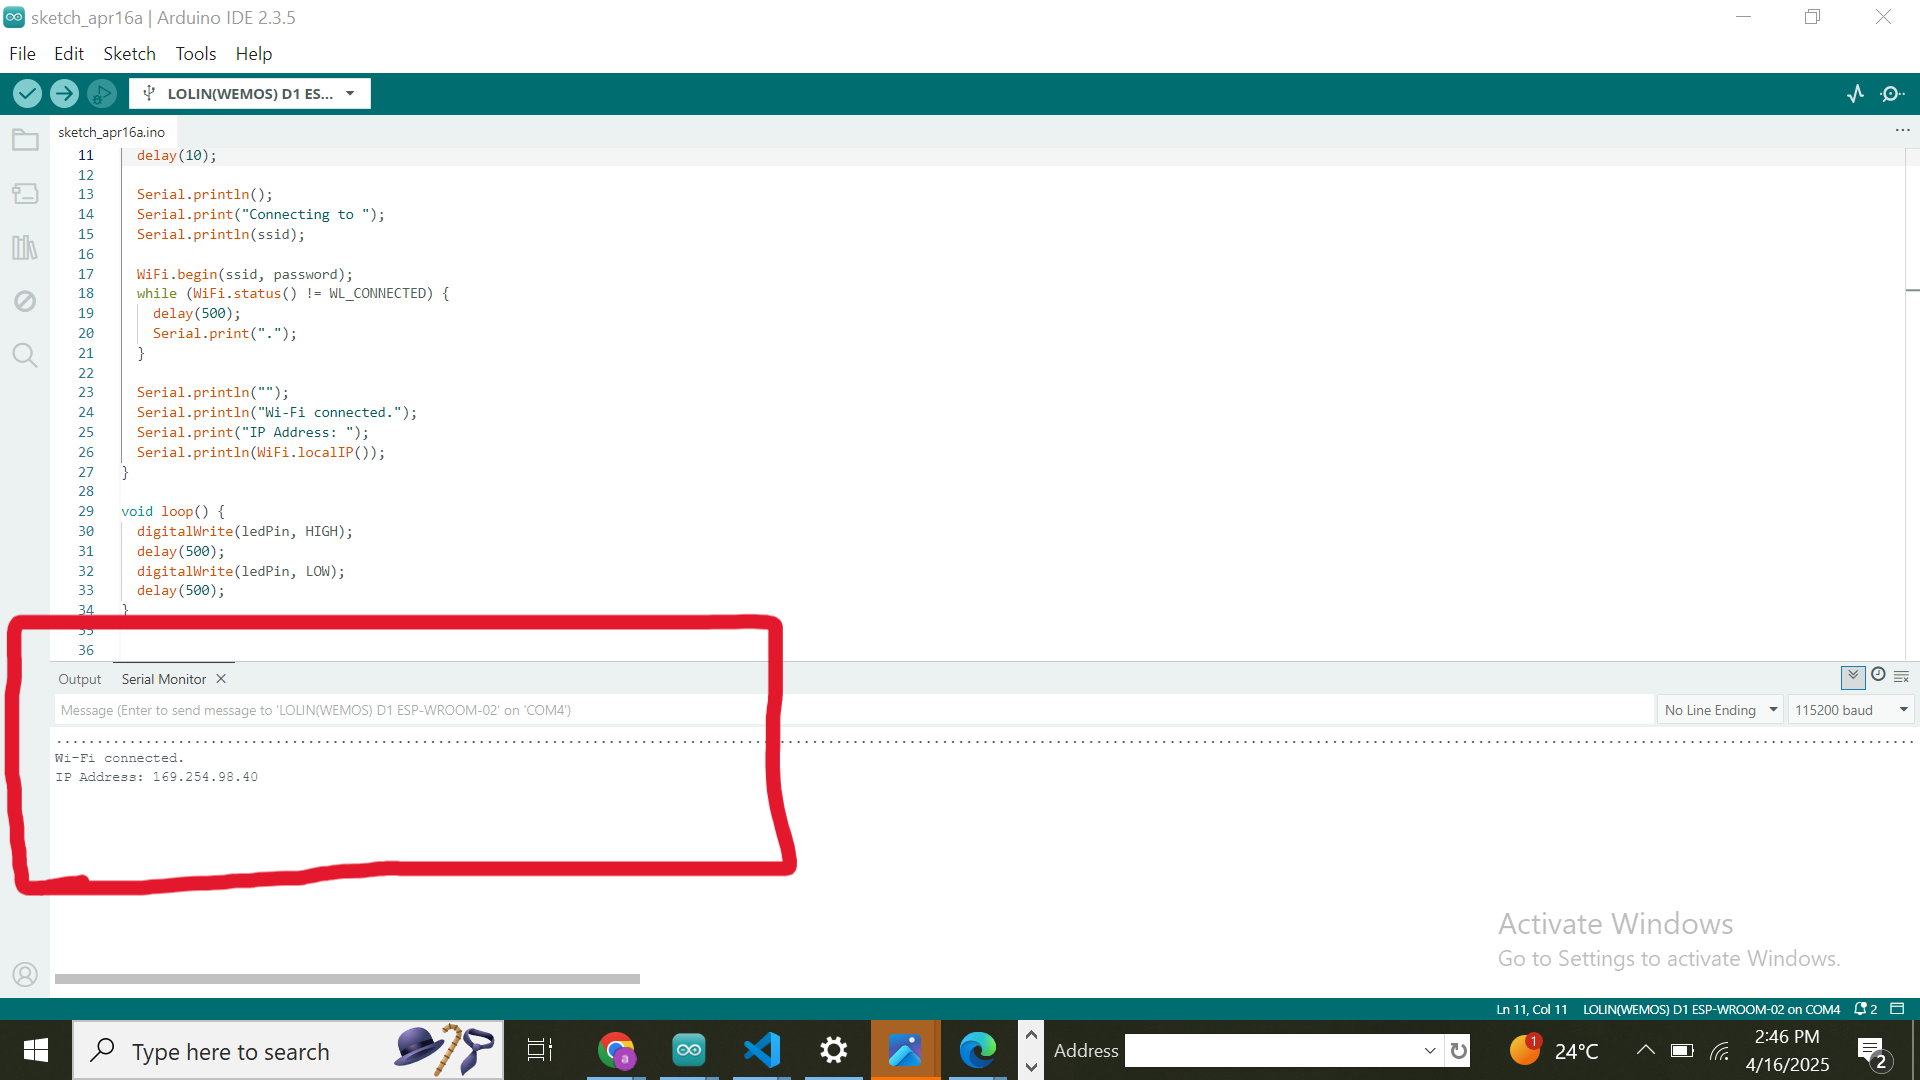
WiFi.begin(ssid, password);
while (WiFi.status() != WL_CONNECTED) {
delay(500);
Serial.print(".");
}
Serial.println("");
Serial.println("Wi-Fi connected.");
Serial.print("IP Address: ");
Serial.println(WiFi.localIP());
}
void loop() {
digitalWrite(ledPin, HIGH);
delay(500);
digitalWrite(ledPin, LOW);
delay(500);
}
The code was then uploaded and the connection status was printed in the serial monitor.
PlatformIO is a professional collaborative platform for embedded development that includes support for multiple IDEs, including VSCode, Atom, and CLion. It supports over 800 different boards and provides a unified interface for development, debugging, and testing.