one of the requirewments was to: Complete your lab's safety training before using the laser cutter. Ensure you understand all safety protocols and procedures.
Before using the laser cutter, our team underwent comprehensive safety training to ensure we understood all necessary protocols and procedures. The training covered the following key points:
In the event of an emergency while operating the laser cutter, the following procedures should be followed:
Analyze and document the following parameters of your laser cutter:
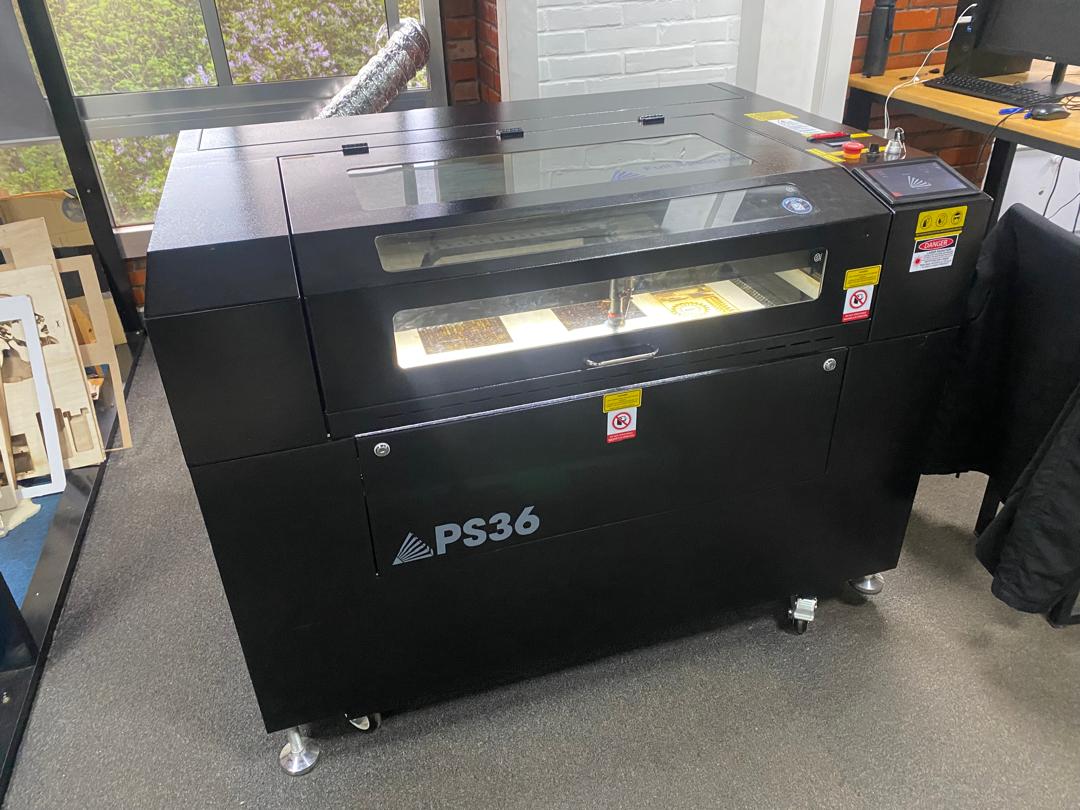
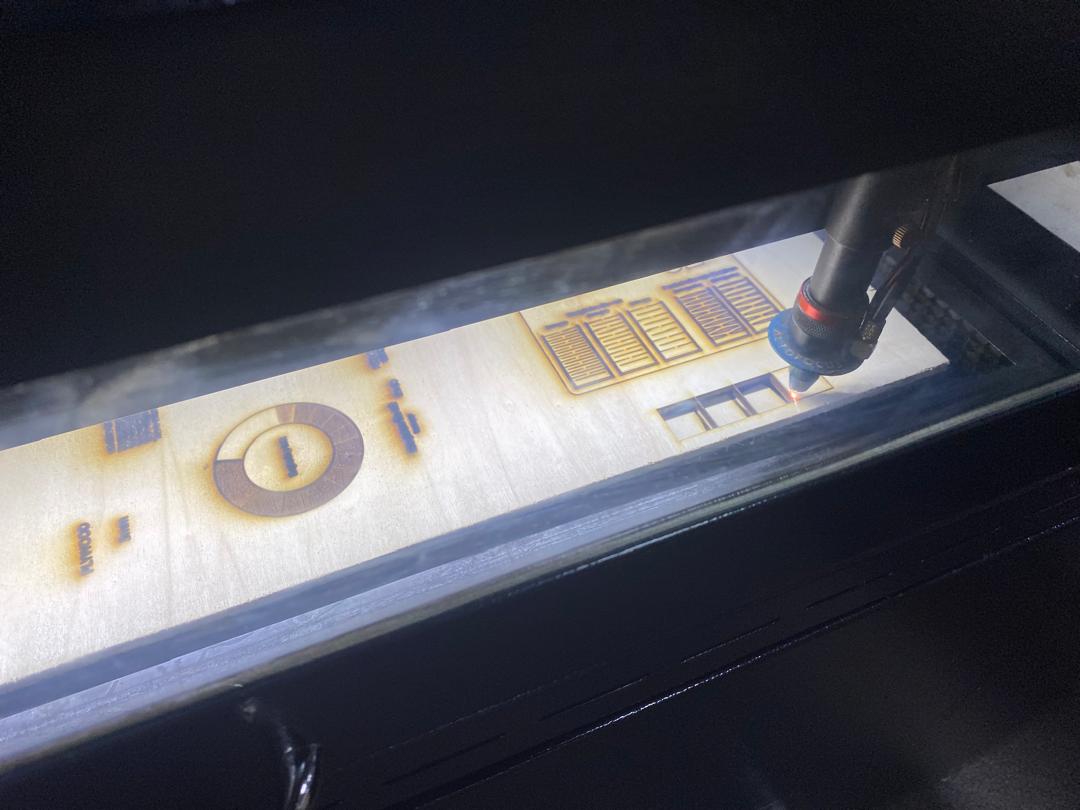
For this week's group assignment we used the Full Spectrum PS36 laser cutter. The machine has the following specifications;
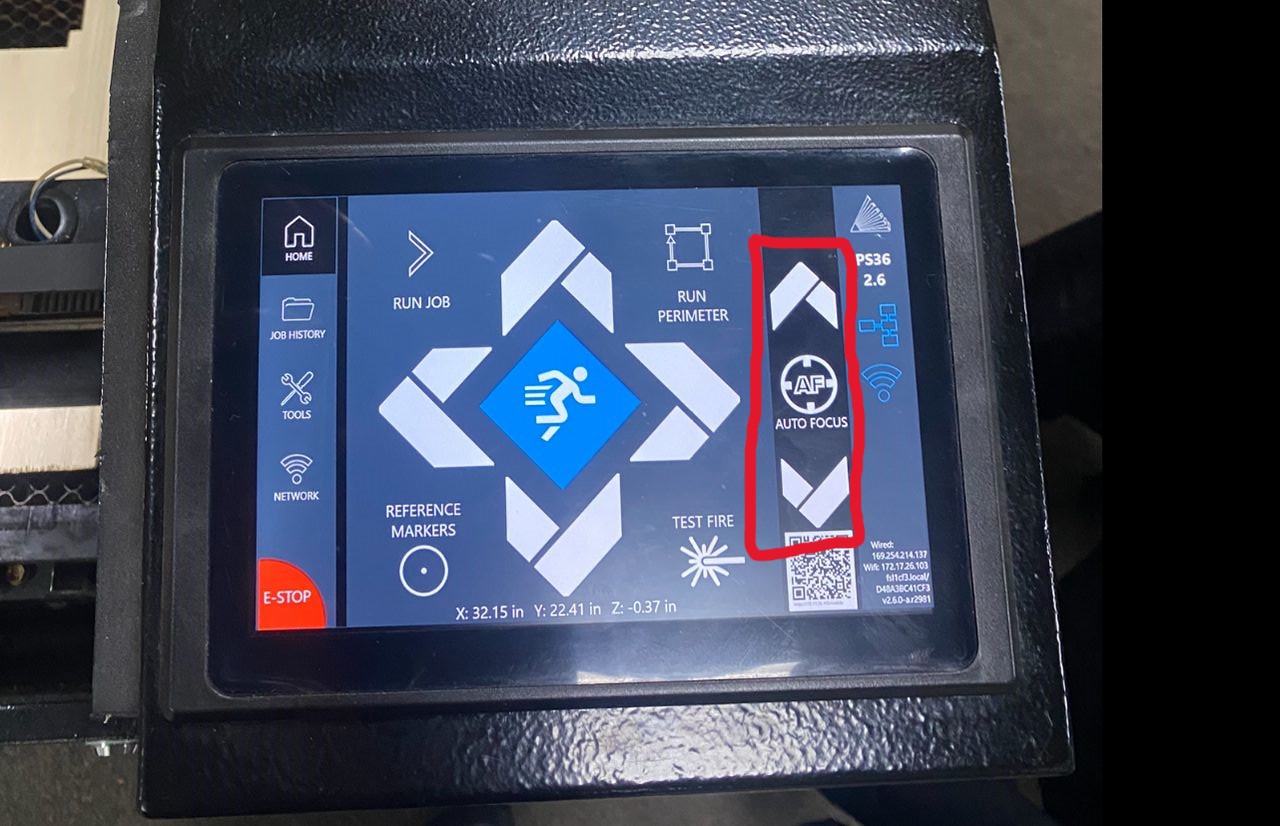
Focus is a critical parameter in laser cutting that determines the depth and precision of the cut. The machine has an autofocus option, so for making sure focal height of the beam was correct, auto-focus was selected.
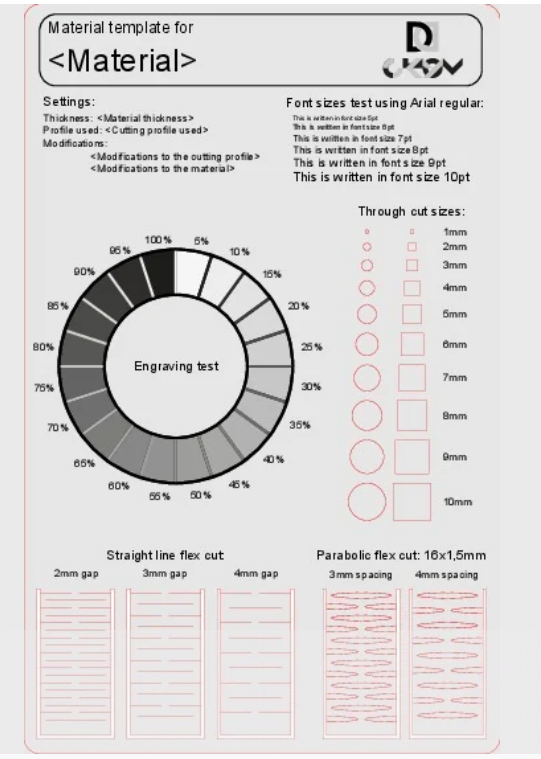
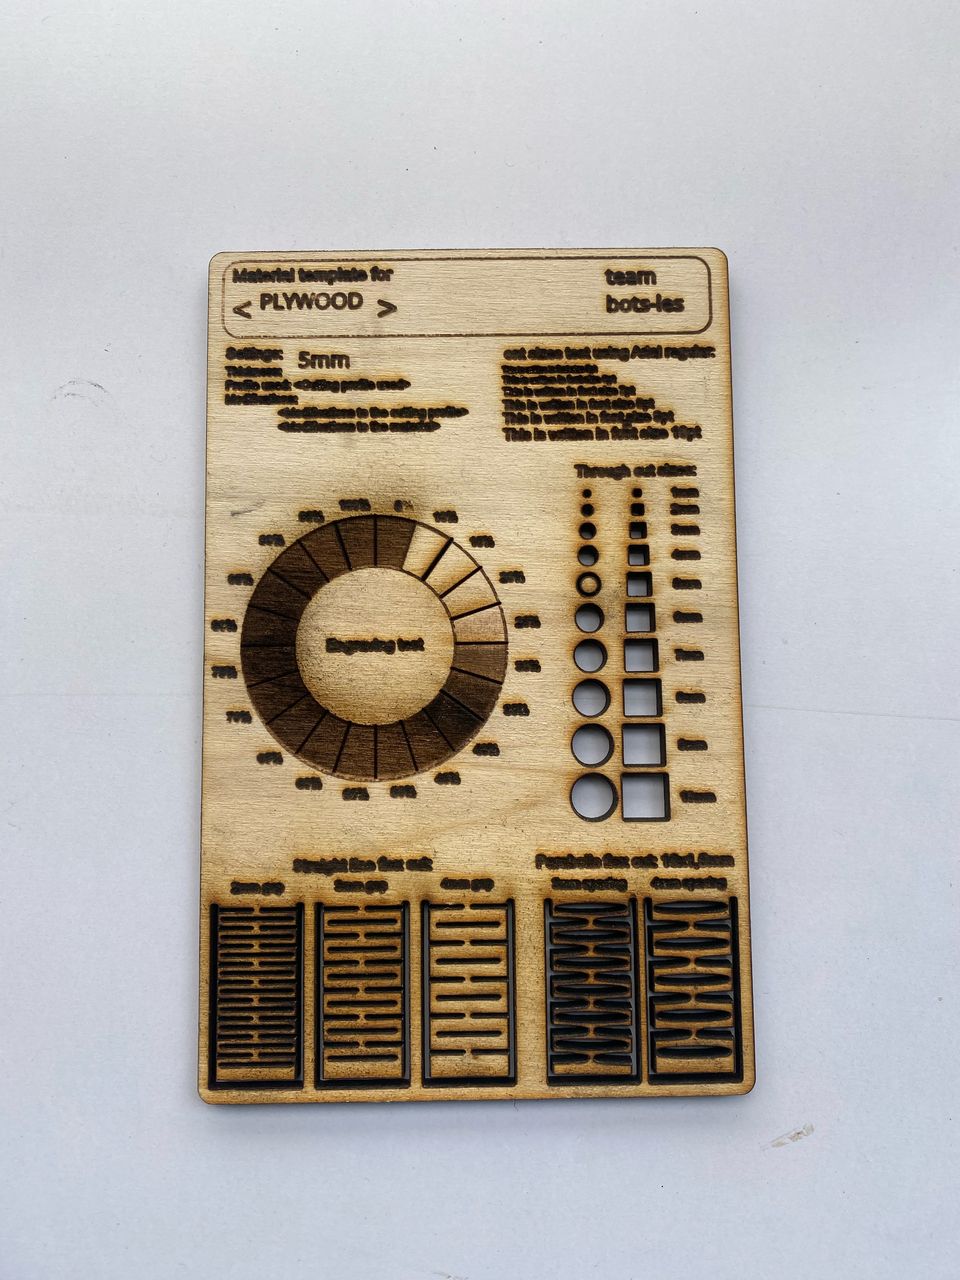
We used a power-speed test file downloaded from this WEBSITE. The power settings ranged from 10 to 100, and the speed settings ranged from 20 to 100. This allowed us to analyze the relationship and impact that power and speed have on each other and on the cutting of the material. By systematically varying the power and speed, we were able to observe how different combinations affected the quality and precision of the cuts. This helped us determine the optimal settings for our laser cutter to achieve the best results for different materials.
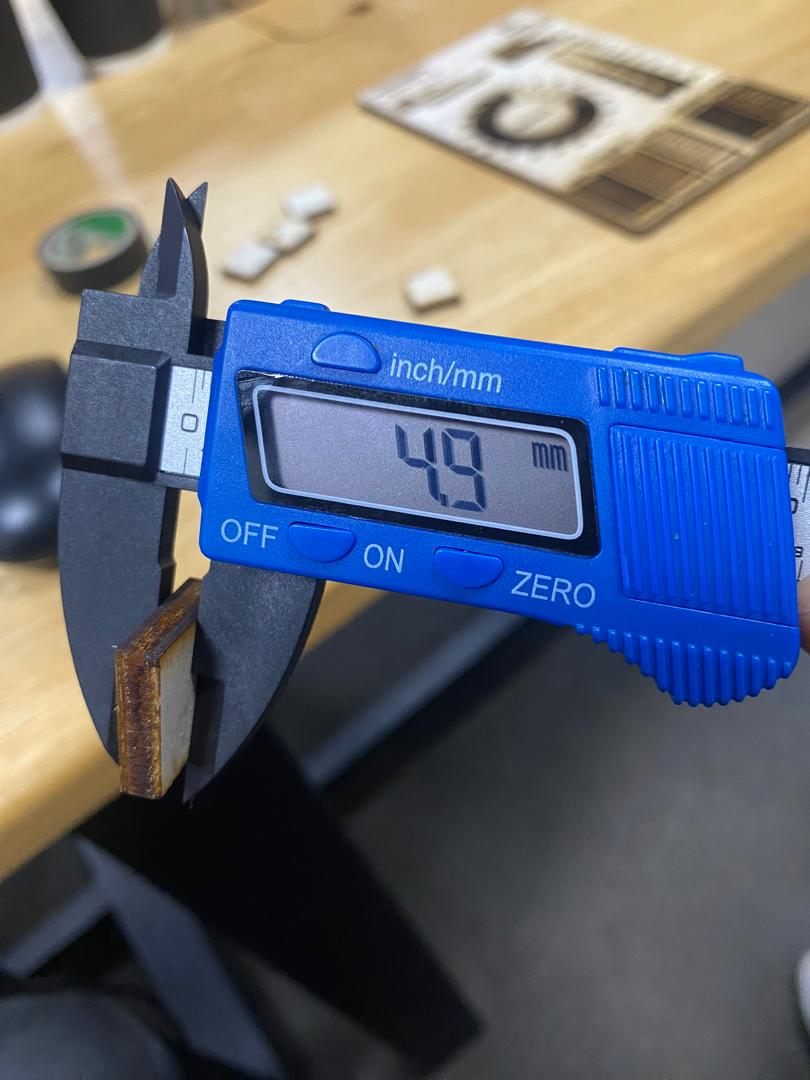
This test was made on PLYWOOD of thickness 4.9mm.
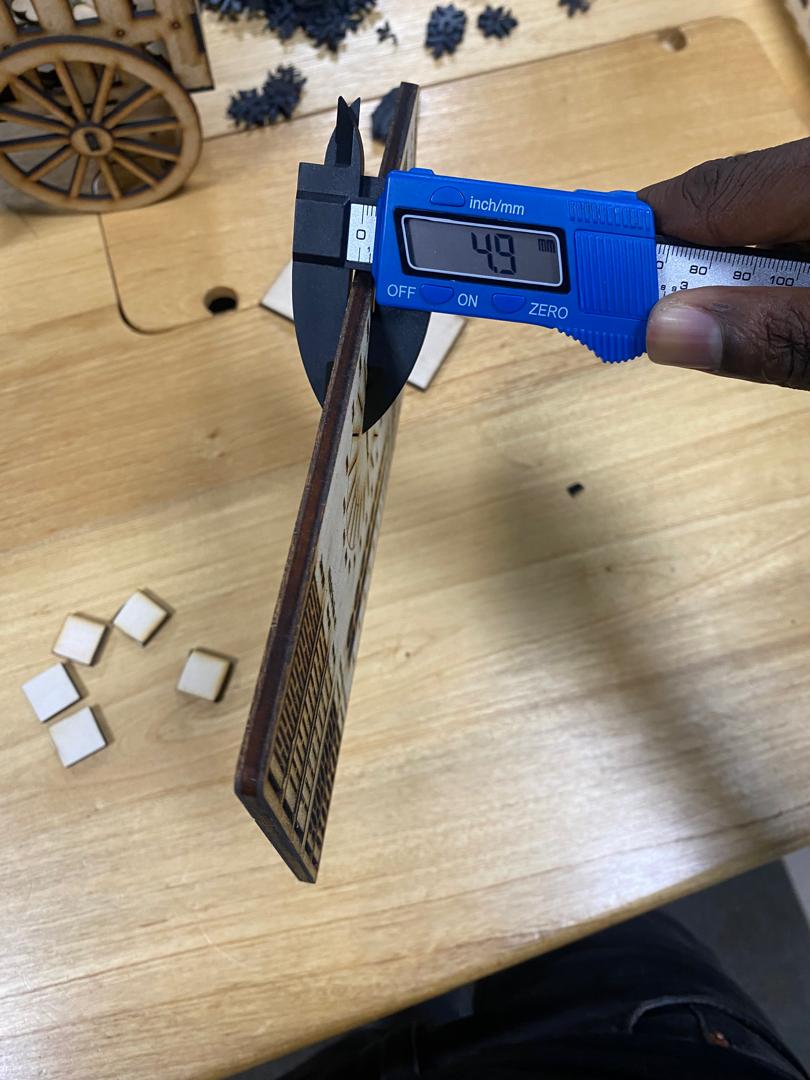
The final cut board came out to be like this.
The kerf is the width of the material removed by the laser beam during cutting. It is an important parameter to consider when designing parts and calculating tolerances. For determining Kerf we prepared 5 squares of 20x20mm in the RetinaEngrave software then cut them on a plywood of 4.9mm.
To measure the kerf, we followed these steps:
We did this by lining all the squares up and measured their total width. We got 98.6 mm. which is 1.4 mm less than it should be, given that 20 mm x 5 should be 100 mm.
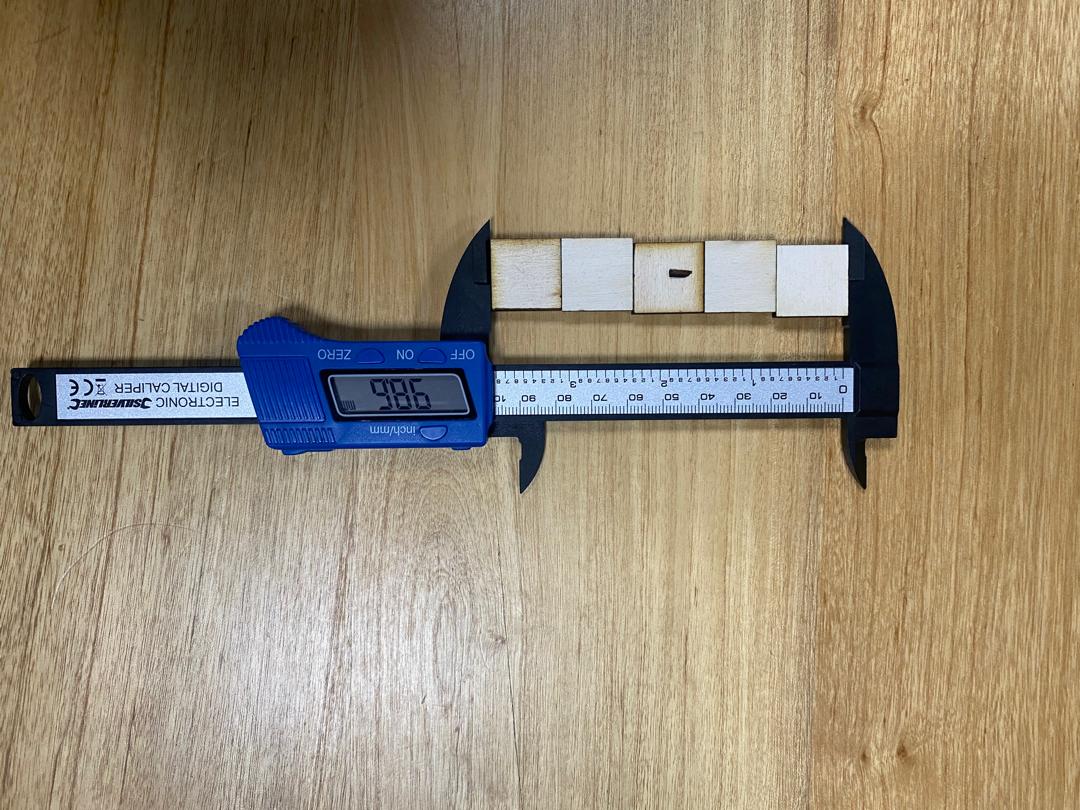
We used the following formula to measure the Kerf
(ExpectedWidth - ActualWidth) / NumSamples (100mm - 98.6mm) / 5 = 0.28mm