1. Project Management
Research
During the first week, two tools were used: Git and Visual Studio Code. Git was employed to track progress, save changes, and maintain a record of the project’s development. At the same time, Visual Studio Code was used as the main workspace to write, organize, and document the information related to the week’s activities and the final project.
Configuring Git
Git Commands
| Command | Purpose |
|---|---|
|
Cloned the repository from the Fab Academy server. |
|
Checked the current state of the repository. |
|
Staged all changes in the repository for commit. |
|
Saved changes locally with a descriptive message. |
|
Pushed the committed changes to the remote repository. |
Git Installation and Complete Workflow
Let's start by setting up Git. We'll see how to download the code, create your working folder, and easily track every change you make to the project.
Navigate to Documents Directory
cd DocumentsCreate Fab Academy Working Folder
mkdir fabEnter the Fab Folder
cd fab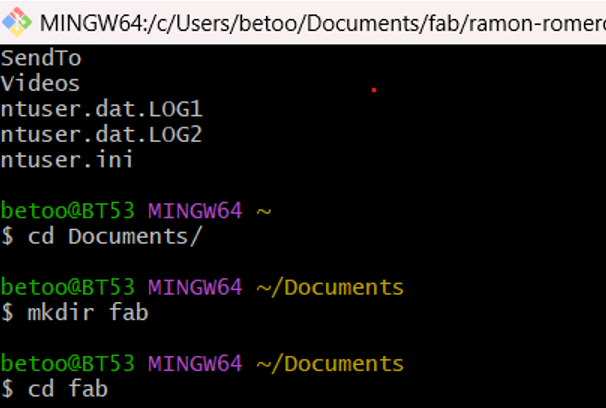
Clone the Repository
git clone <repository-url>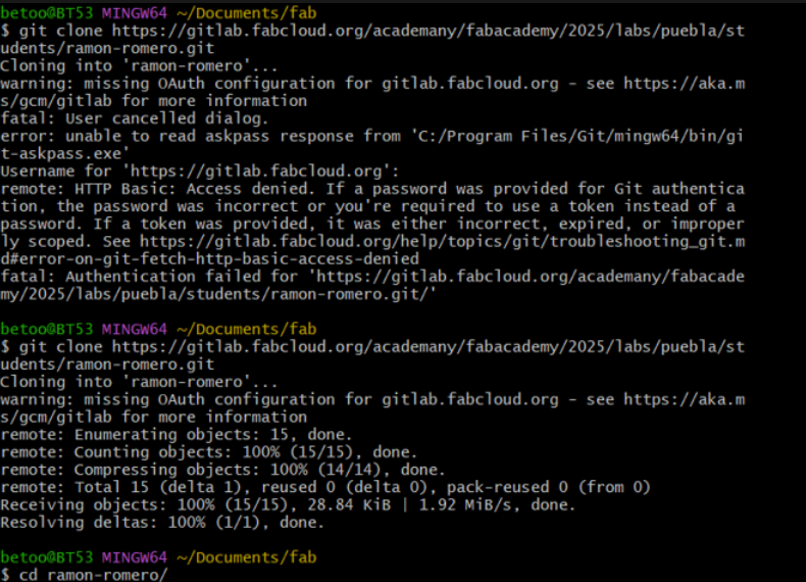
Enter the Cloned Repository
cd repository-nameModify Project Files
Edit project files using your preferred editor (VSC) before staging changes.
Check Status Before Staging
git status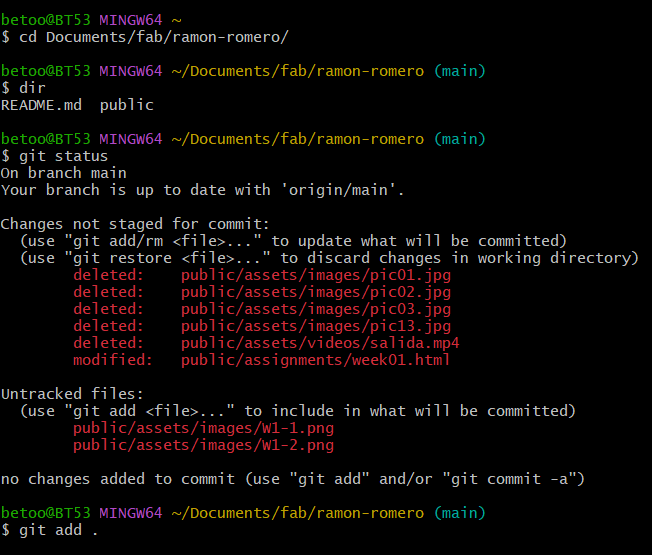
Stage Changes and Verify
git add .git status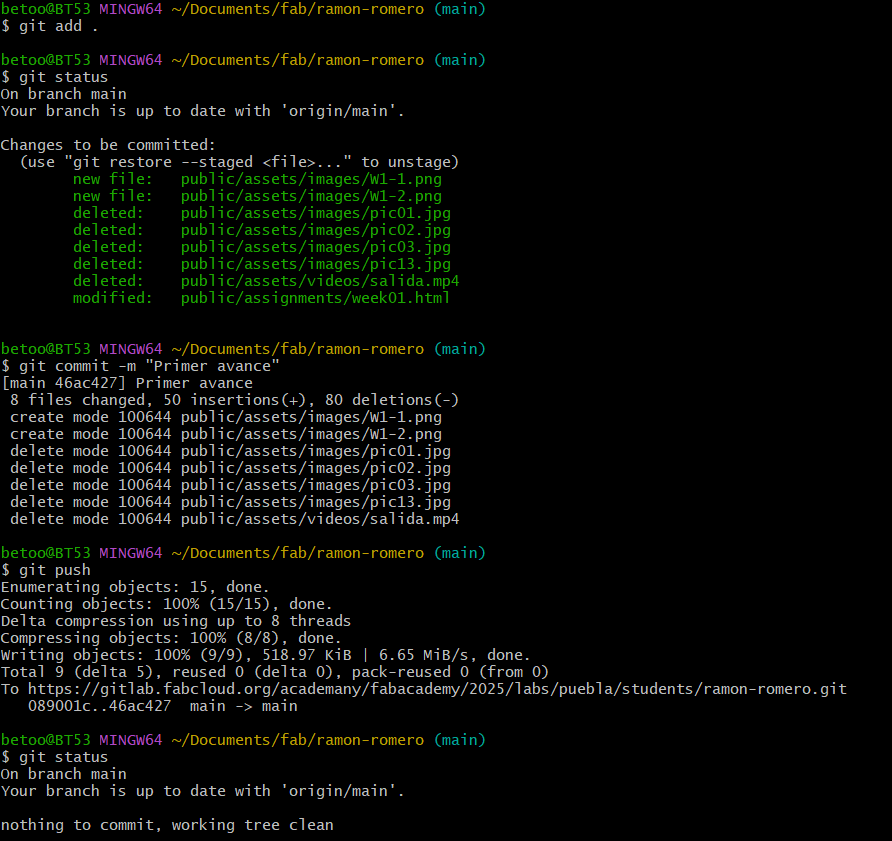
Visual Studio Code: HTML and CSS
To document my weekly progress, I’m building my site using HTML and CSS. I use HTML to establish the structural foundation organizing headings, detailed paragraphs, and process images into a logical flow. Then, I use CSS to refine the presentation.
How to Create an HTML Page
Install Visual Studio Code
Download it from the official website and install it. Install the Live Server extension to auto-refresh the browser on save.
Visual Studio Code DownloadCreate a Working Folder
- Create a new folder named my_web_page.
- Inside, create index.html as the main entry point.

Heading Hierarchy in HTML
HTML provides heading tags <h1> to <h5> to structure content.
<!DOCTYPE html>
<html lang="en">
<head>
    <meta charset="UTF-8">
    <title>Heading Example</title>
</head>
<body>
    <h1>My Web Page</h1>
    <h2>Section Title</h2>
</body>
</html>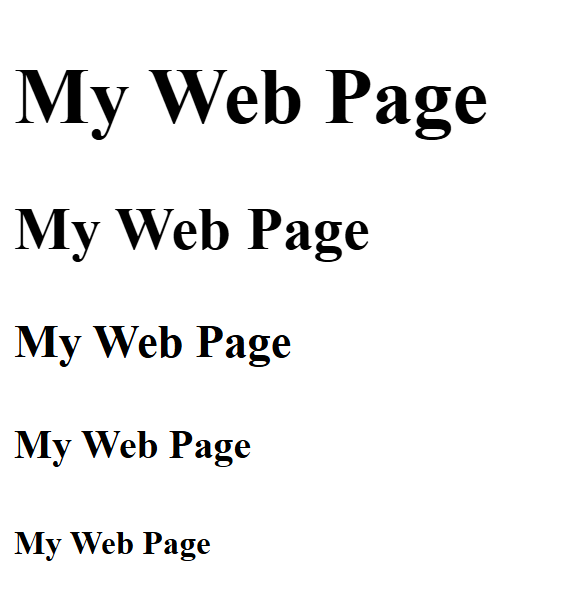
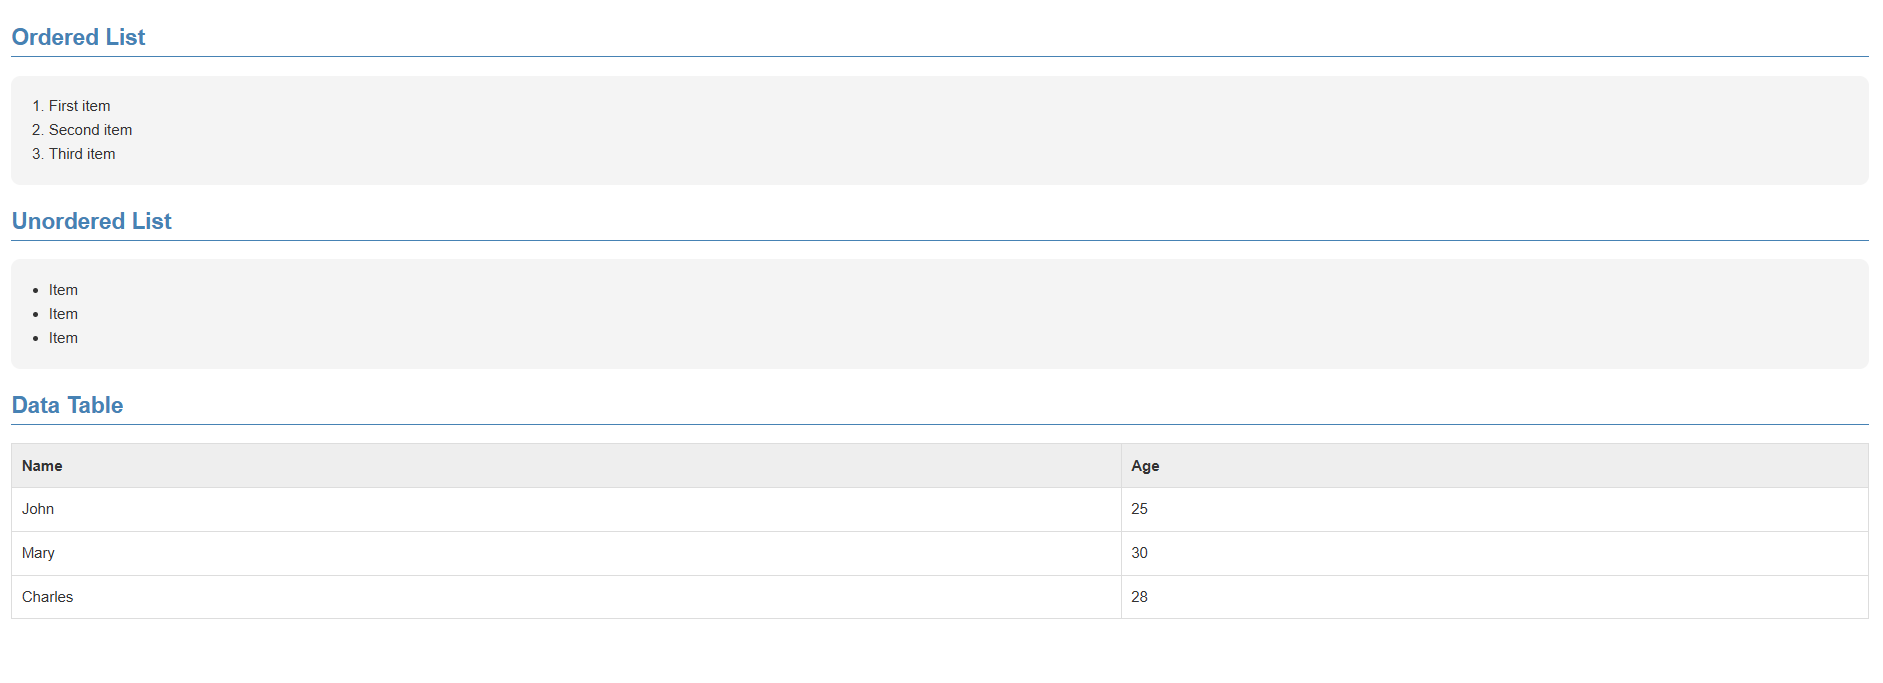
How to Use CSS
Write Your First CSS Rules
CSS rules are written as selectors followed by a block of properties:
body {
  font-family: Arial, sans-serif;
  color: #333;
  line-height: 1.6;
}

h2 {
  color: steelblue;
  border-bottom: 2px solid steelblue;
}
Conclusion of the Week
During this week, the main tools used were Git and Visual Studio Code. Git was essential for version control, allowing us to save changes and track progress. Visual Studio Code served as the central environment for writing code and documenting the process.