 ████     █████           ███                                   █████           █████                       ███
░░███   ███░░░███        ░░░                                   ░░███           ░░███                       ░░░
 ░███  ███   ░░███       ████  ████████   ████████  █████ ████ ███████       ███████   ██████  █████ █████ ████   ██████   ██████   █████
 ░███ ░███    ░███      ░░███ ░░███░░███ ░░███░░███░░███ ░███ ░░░███░       ███░░███  ███░░███░░███ ░░███ ░░███  ███░░███ ███░░███ ███░░
 ░███ ░███    ░███       ░███  ░███ ░███  ░███ ░███ ░███ ░███   ░███       ░███ ░███ ░███████  ░███  ░███  ░███ ░███ ░░░ ░███████ ░░█████
 ░███ ░░███   ███        ░███  ░███ ░███  ░███ ░███ ░███ ░███   ░███ ███   ░███ ░███ ░███░░░   ░░███ ███   ░███ ░███  ███░███░░░   ░░░░███
 █████ ░░░█████░   ██    █████ ████ █████ ░███████  ░░████████  ░░█████    ░░████████░░██████   ░░█████    █████░░██████ ░░██████  ██████
░░░░░    ░░░░░░   ░░    ░░░░░ ░░░░ ░░░░░  ░███░░░    ░░░░░░░░    ░░░░░      ░░░░░░░░  ░░░░░░     ░░░░░    ░░░░░  ░░░░░░   ░░░░░░  ░░░░░░
                                          ░███
                                          █████
                                         ░░░░░
Week 10: Input Devices
Summary
This week I explored input devices by working with two sensors: the TCS34725 color sensor and the integrated camera module of the XIAO ESP32S3. I learned how to interface I²C digital sensors and how to initialize and stream data from a visual sensor via WiFi.
Group Assignment
Task:
- Probe an input device(s)'s analog levels and digital signals.
Individual Assignment
Task:
- Measure something: add a sensor to a microcontroller board that you have designed and read it.
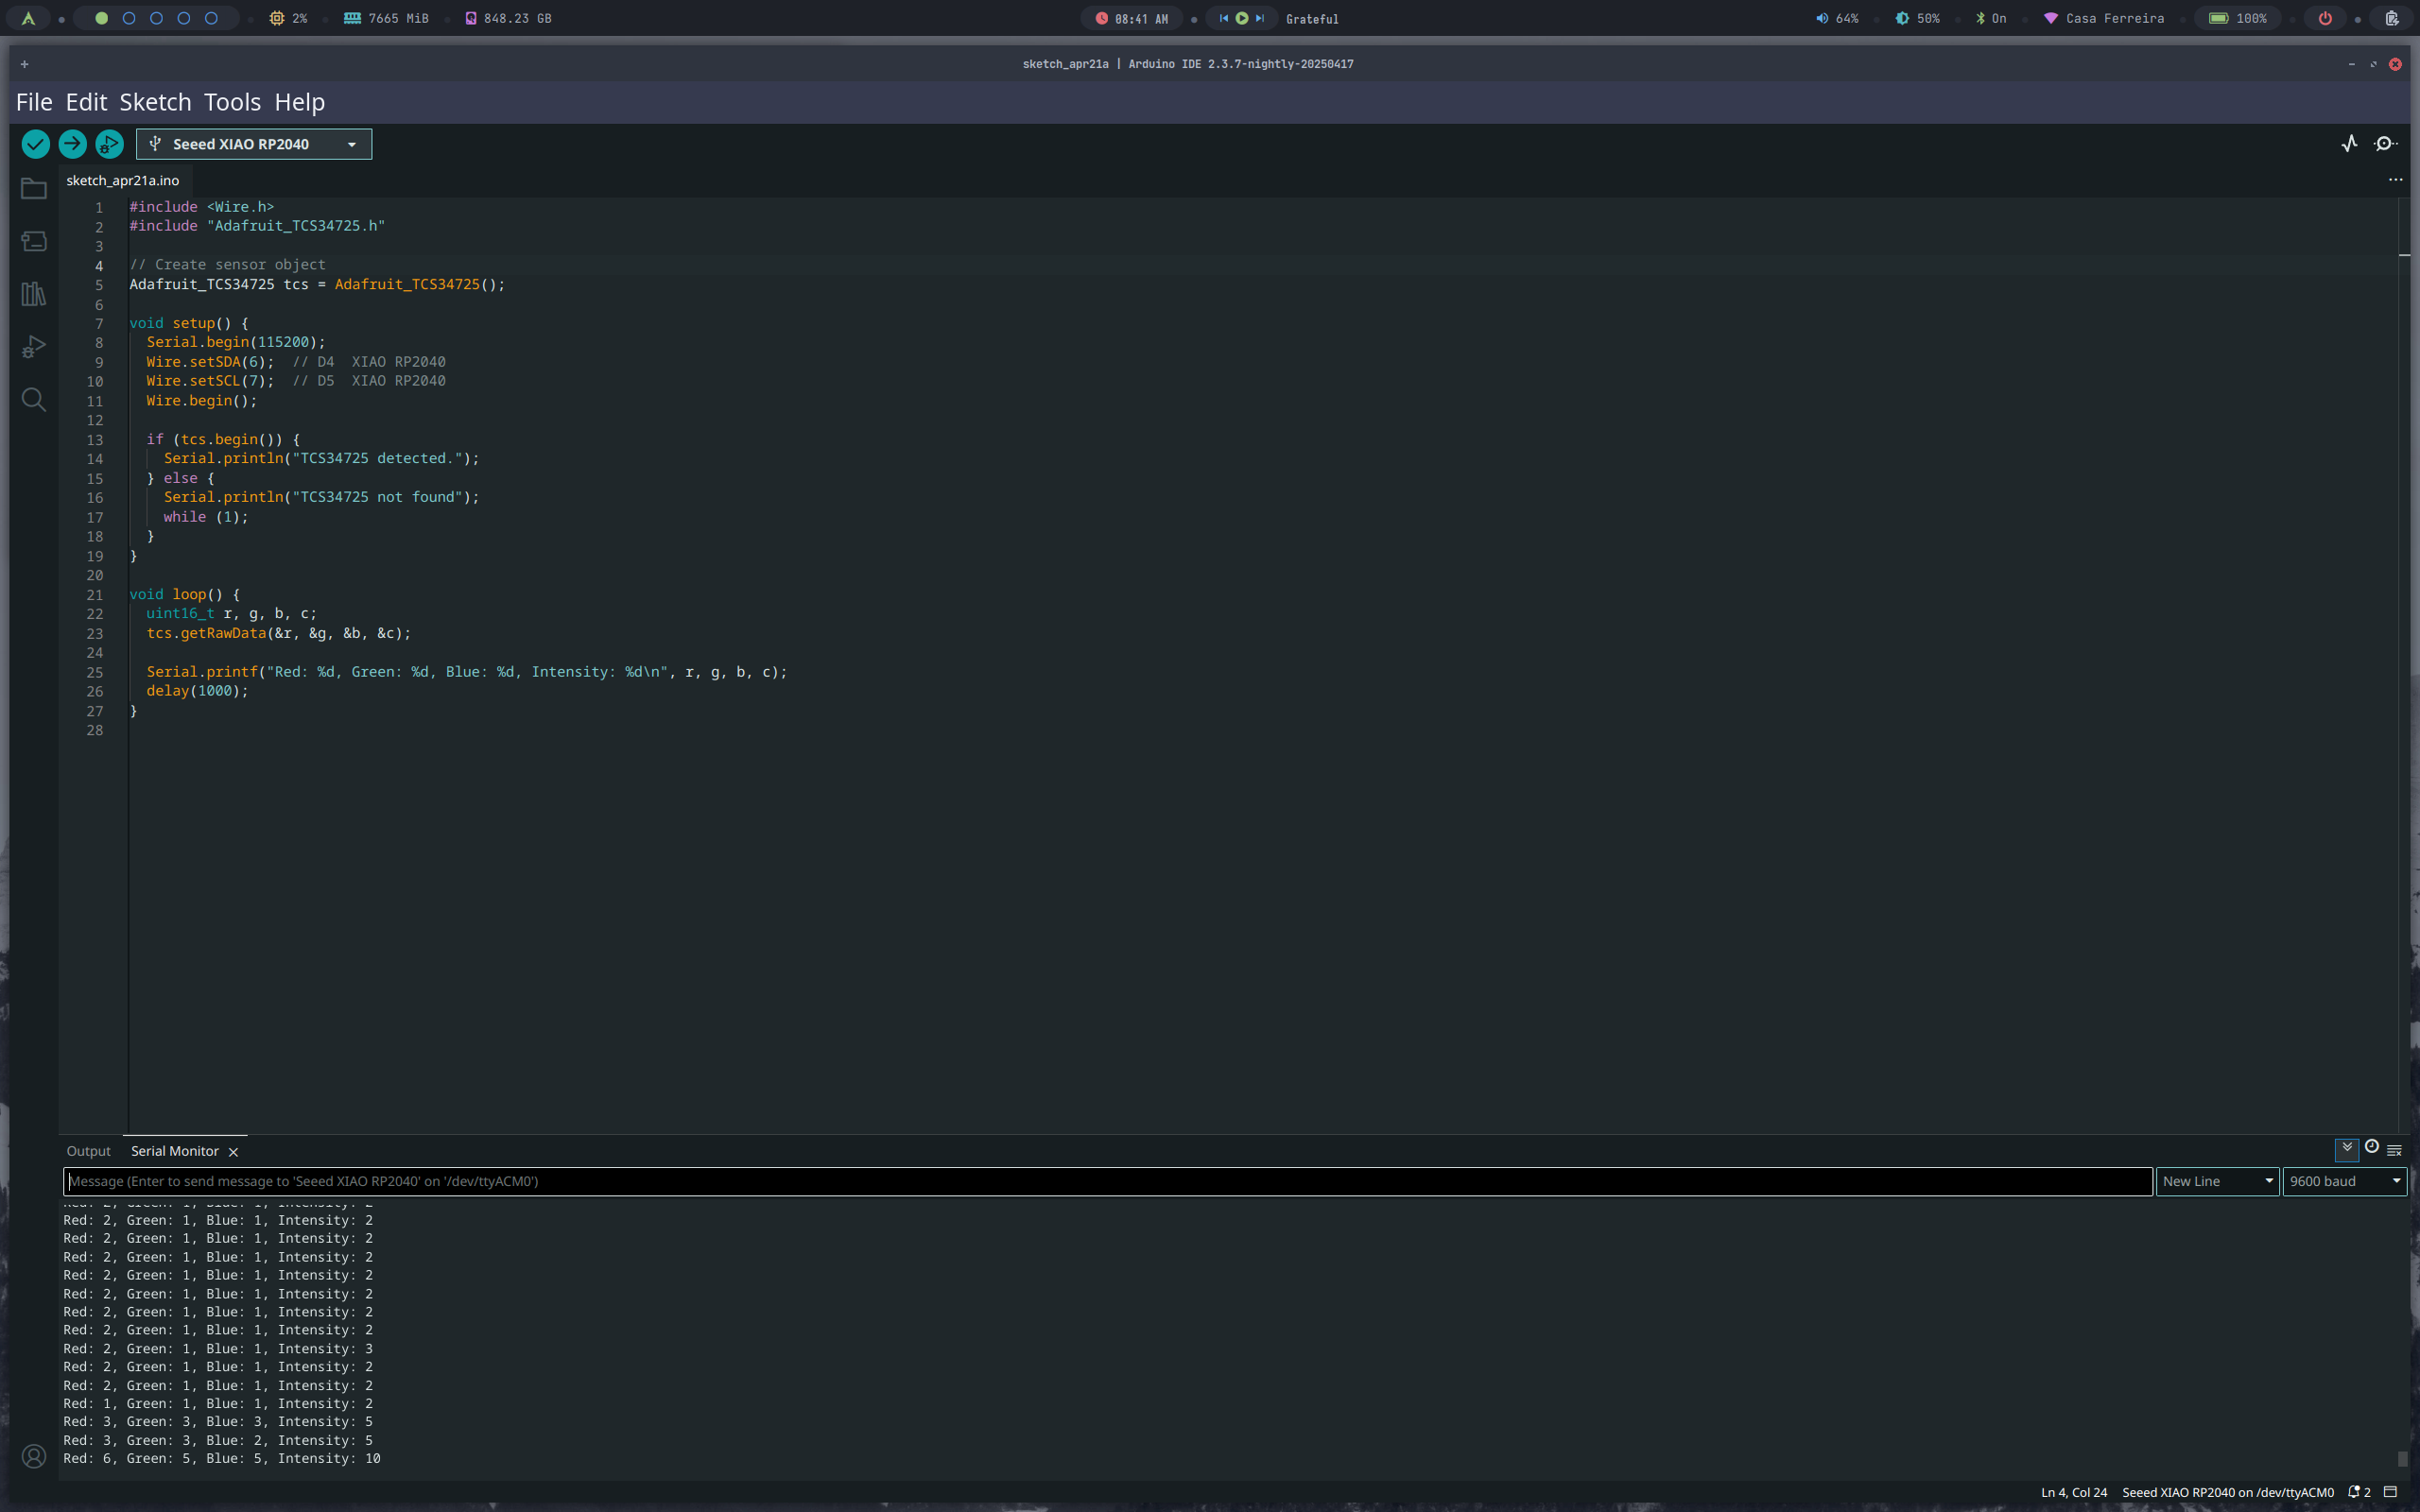
Sensor 1: TCS34725 - Color Sensor
| TCS34725 Pin | Description | Connect to XIAO RP2040 |
|---|---|---|
| VIN | Power Supply (3.3V or 5V) | 3V3 or 5V |
| GND | Ground | GND |
| SDA | I²C Data | D4 (GPIO6) |
| SCL | I²C Clock | D5 (GPIO7) |
| INT (optional) | Interrupt | No connection needed |
Code:
#include <Wire.h>
#include <Adafruit_TCS34725.h>

Adafruit_TCS34725 tcs = Adafruit_TCS34725();

void setup() {
  Serial.begin(9600);
  if (!tcs.begin()) {
    Serial.println("No TCS34725 found");
    while (1);
  }
}

void loop() {
  uint16_t r, g, b, c;
  tcs.getRawData(&r, &g, &b, &c);
  Serial.printf("R:%d G:%d B:%d C:%d\n", r, g, b, c);
  delay(1000);
}
Sensor 2: Camera - XIAO ESP32S3
- Board: Seeed Studio XIAO ESP32S3 with integrated OV2640 camera
- Communication: Digital input via camera interface + WiFi stream
- Software: PlatformIO / Arduino IDE using
esp32-cameralibrary
Setup & Code:
#include "esp_camera.h"
#include

const char* ssid = "YOUR_SSID";
const char* password = "YOUR_PASS";

void startCameraServer();  // Declared below

void setup() {
  Serial.begin(115200);

  camera_config_t config;
  config.ledc_channel = LEDC_CHANNEL_0;
  config.ledc_timer = LEDC_TIMER_0;
  config.pin_d0 = Y2_GPIO_NUM;
  // [setup remaining pins and parameters for XIAO ESP32S3]

  if (!esp_camera_init(&config)) {
    Serial.println("Camera init failed");
    return;
  }

  WiFi.begin(ssid, password);
  while (WiFi.status() != WL_CONNECTED) delay(500);

  startCameraServer();
  Serial.println("Camera ready! Stream at http://");
}

void loop() { delay(1); }

// Implement camera web server using esp32-camera example
We can stream the video directly via the ESP32S3's local IP address. This allows reading and interpreting visual data from the environment.
What I Learned:
- How to connect and read color values using an I²C digital sensor (TCS34725).
- How to stream camera input using the XIAO ESP32S3's built-in OV2640 module.
- How sensor data can be transmitted and interpreted for real-time applications.
Files
Reflections
This week pushed my understanding of both digital communication and visual data processing. The color sensor helped me grasp I²C, while the ESP32S3 camera expanded my knowledge on WiFi data streaming and camera interfacing. I feel more confident exploring other input devices such as IMUs, microphones or rangefinders in the future.