 ██████████        ████████  ██████████       █████████                                            ███                                                  █████                         ███              █████     ███
░███░░░░░░█       ███░░░░███░░███░░░░███     ███░░░░░███                                          ░░░                                                  ░░███                         ░░░              ░░███     ░░░
░███     ░       ░░░    ░███ ░███   ░░███   ░███    ░░░   ██████   ██████   ████████   ████████   ████  ████████    ███████     ██████   ████████    ███████     ████████  ████████  ████  ████████   ███████   ████  ████████    ███████
░█████████          ██████░  ░███    ░███   ░░█████████  ███░░███ ░░░░░███ ░░███░░███ ░░███░░███ ░░███ ░░███░░███  ███░░███    ░░░░░███ ░░███░░███  ███░░███    ░░███░░███░░███░░███░░███ ░░███░░███ ░░░███░   ░░███ ░░███░░███  ███░░███
░░░░░░░░███        ░░░░░░███ ░███    ░███    ░░░░░░░░███░███ ░░░   ███████  ░███ ░███  ░███ ░███  ░███  ░███ ░███ ░███ ░███     ███████  ░███ ░███ ░███ ░███     ░███ ░███ ░███ ░░░  ░███  ░███ ░███   ░███     ░███  ░███ ░███ ░███ ░███
 ███   ░███       ███   ░███ ░███    ███     ███    ░███░███  ███ ███░░███  ░███ ░███  ░███ ░███  ░███  ░███ ░███ ░███ ░███    ███░░███  ░███ ░███ ░███ ░███     ░███ ░███ ░███      ░███  ░███ ░███   ░███ ███ ░███  ░███ ░███ ░███ ░███
░░████████  ██   ░░████████  ██████████     ░░█████████ ░░██████ ░░████████ ████ █████ ████ █████ █████ ████ █████░░███████   ░░████████ ████ █████░░████████    ░███████  █████     █████ ████ █████  ░░█████  █████ ████ █████░░███████
 ░░░░░░░░  ░░     ░░░░░░░░  ░░░░░░░░░░       ░░░░░░░░░   ░░░░░░   ░░░░░░░░ ░░░░ ░░░░░ ░░░░ ░░░░░ ░░░░░ ░░░░ ░░░░░  ░░░░░███    ░░░░░░░░ ░░░░ ░░░░░  ░░░░░░░░     ░███░░░  ░░░░░     ░░░░░ ░░░░ ░░░░░    ░░░░░  ░░░░░ ░░░░ ░░░░░  ░░░░░███
                                                                                                                   ███ ░███                                      ░███                                                            ███ ░███
                                                                                                                  ░░██████                                       █████                                                          ░░██████
                                                                                                                   ░░░░░░                                       ░░░░░                                                            ░░░░░░
group assignment
3D printing, also but not so commonly known as additive manufacturing, allows the creation of physical objects from digital models by layering material.There are various 3D printing technologies, each with unique characteristics. At FabLab Puebla, the most commonly used technologies are DLP and MSLA, available in printers such as the Elegoo Mars 3, Saturn 2, Anycubic Photon Mono M5S, etc. In addition, they have a wide inventory of printers such as the Ender 3, among others.
Grupal Assignments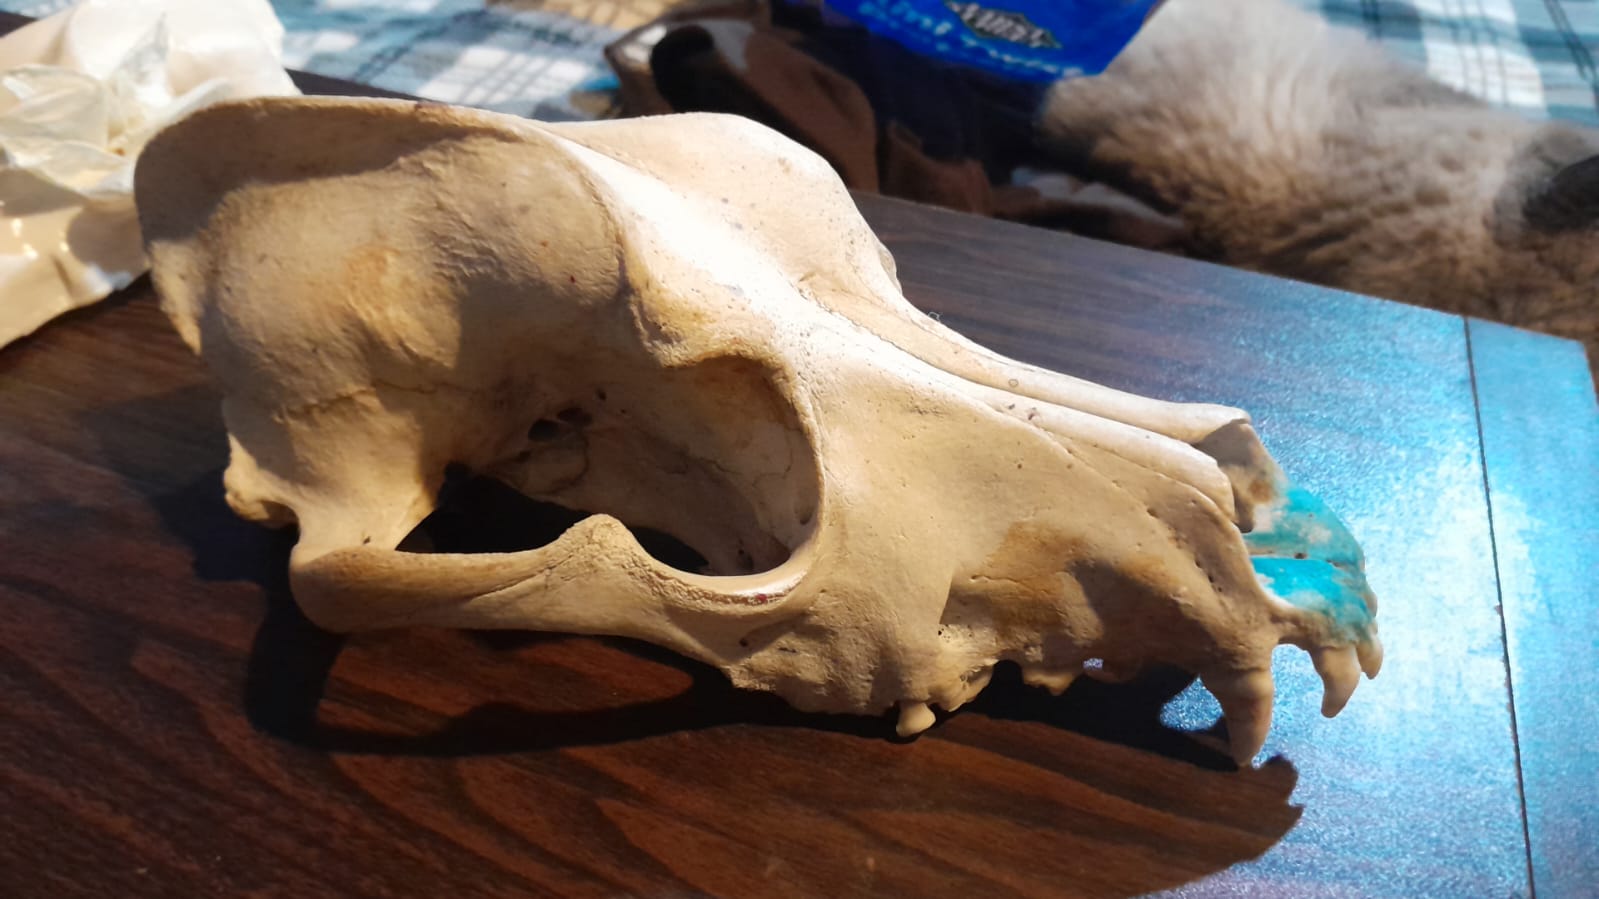
This week, I struggled to decide what to scan, as I had so many options ranging from still life to living subjects. I searched my house for the perfect object to scan, considering everything from one of my cats to a clay sculpture I made. So, I decided to go for something more unconventional—an animal bone. Luckily, I have a dog skull and a shark jaw at home, which seemed like the perfect choice for this project. I'm excited to explore the details of these unique bones and bring them to life through 3D scanning.
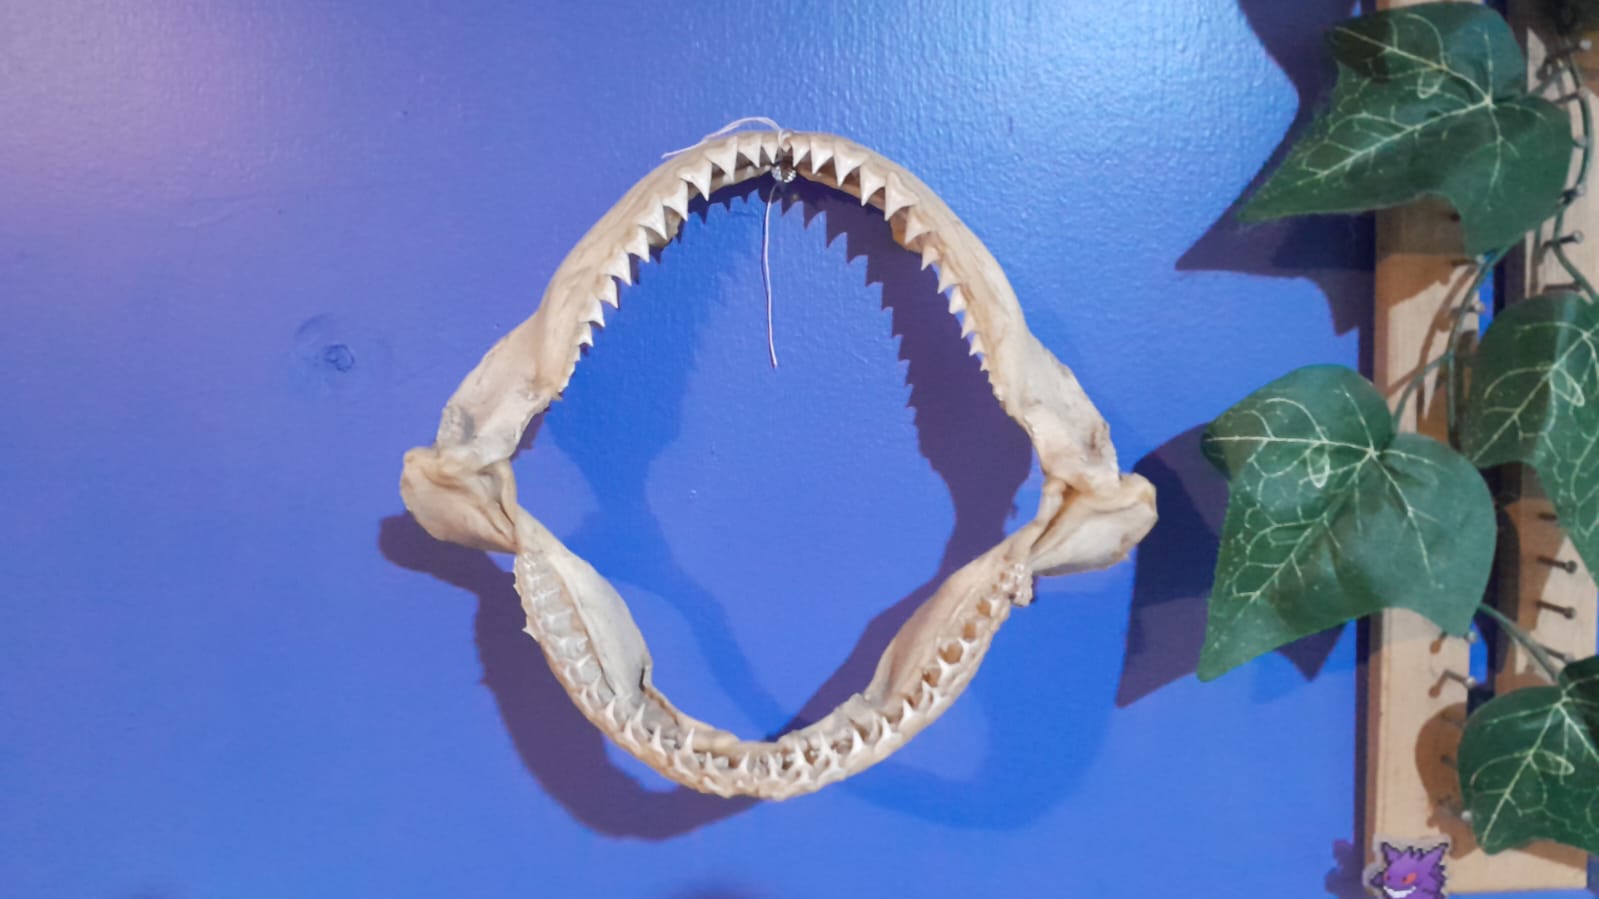
Final work of the week
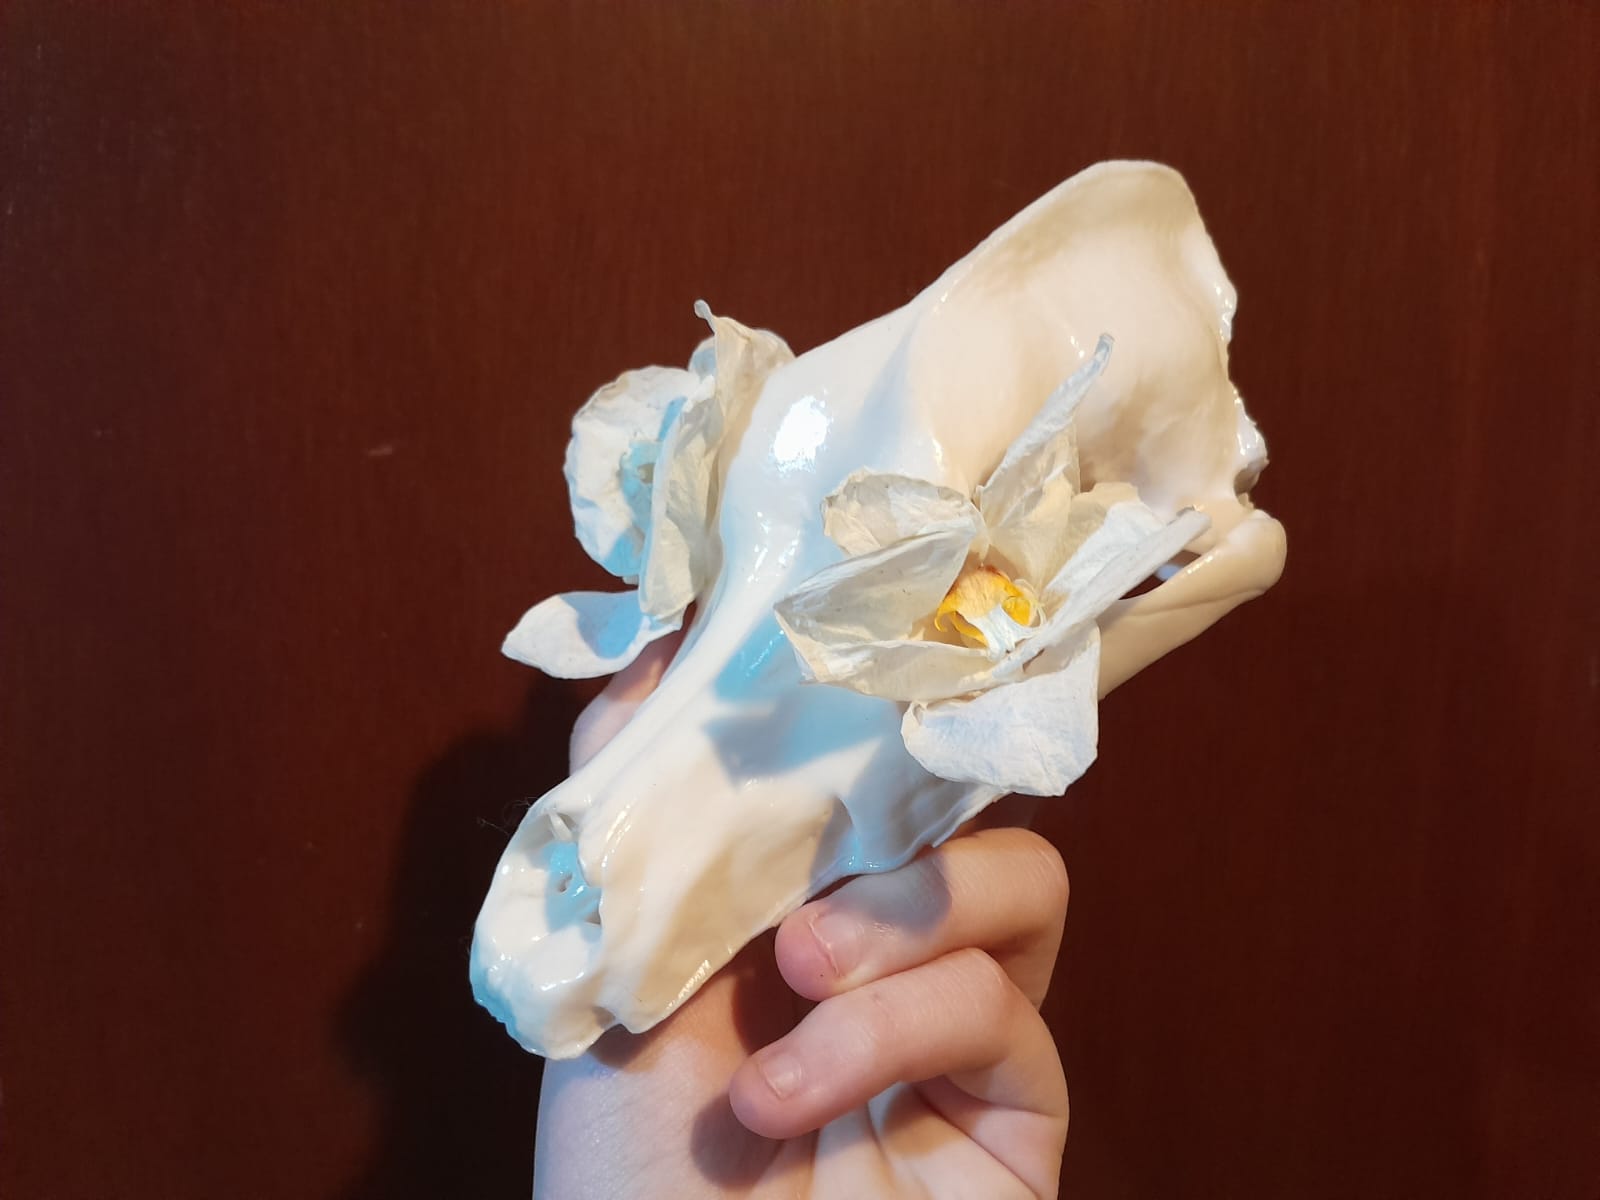
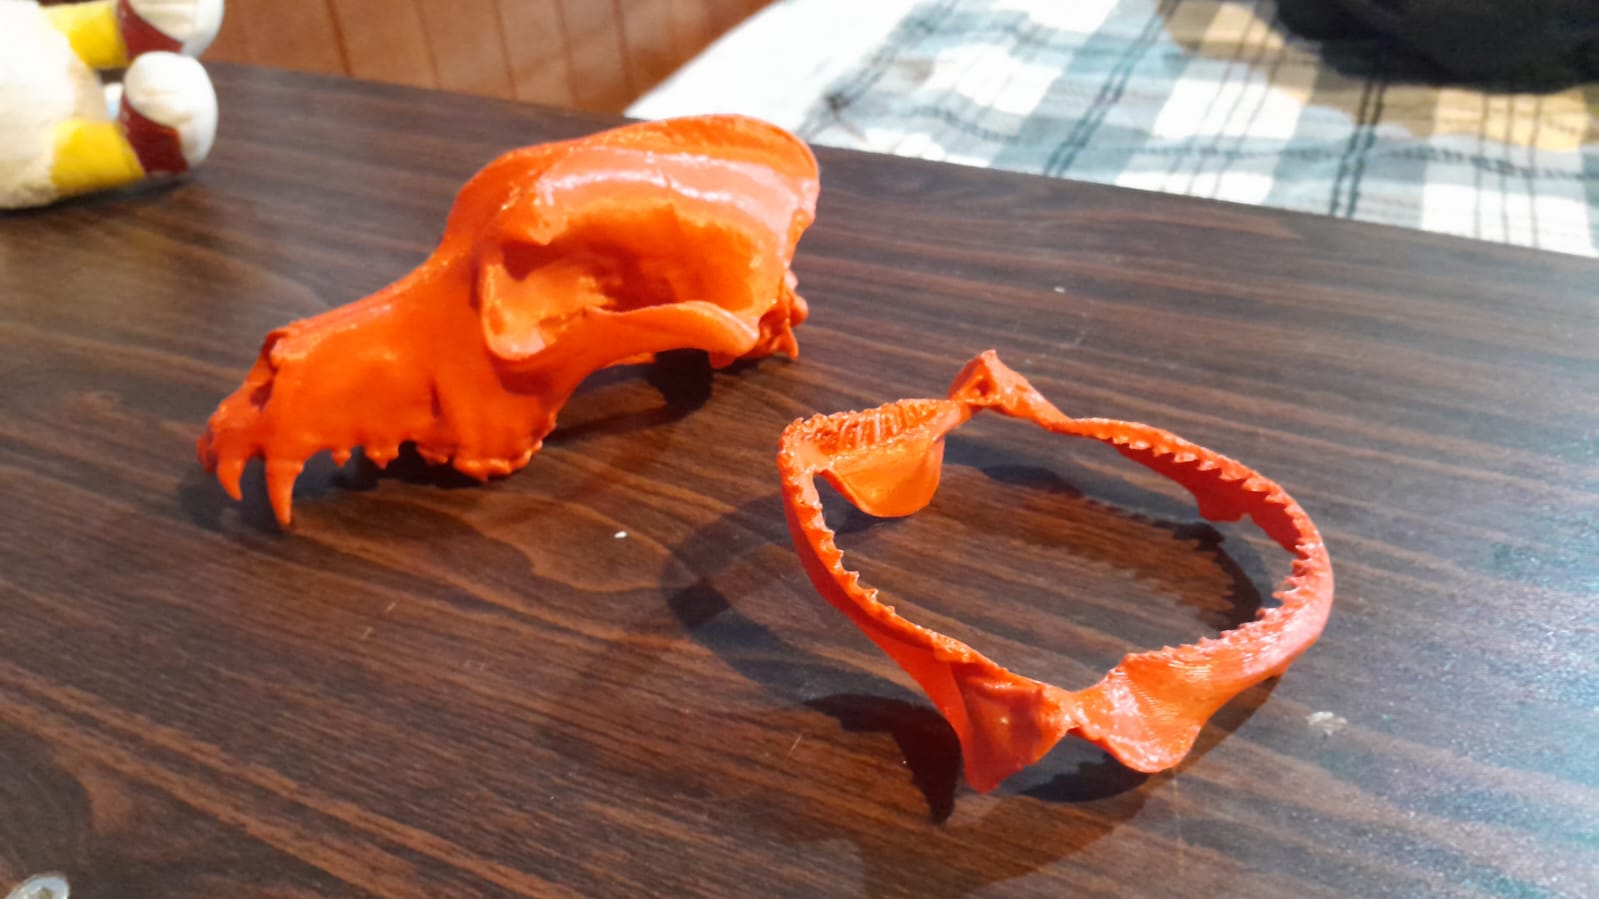
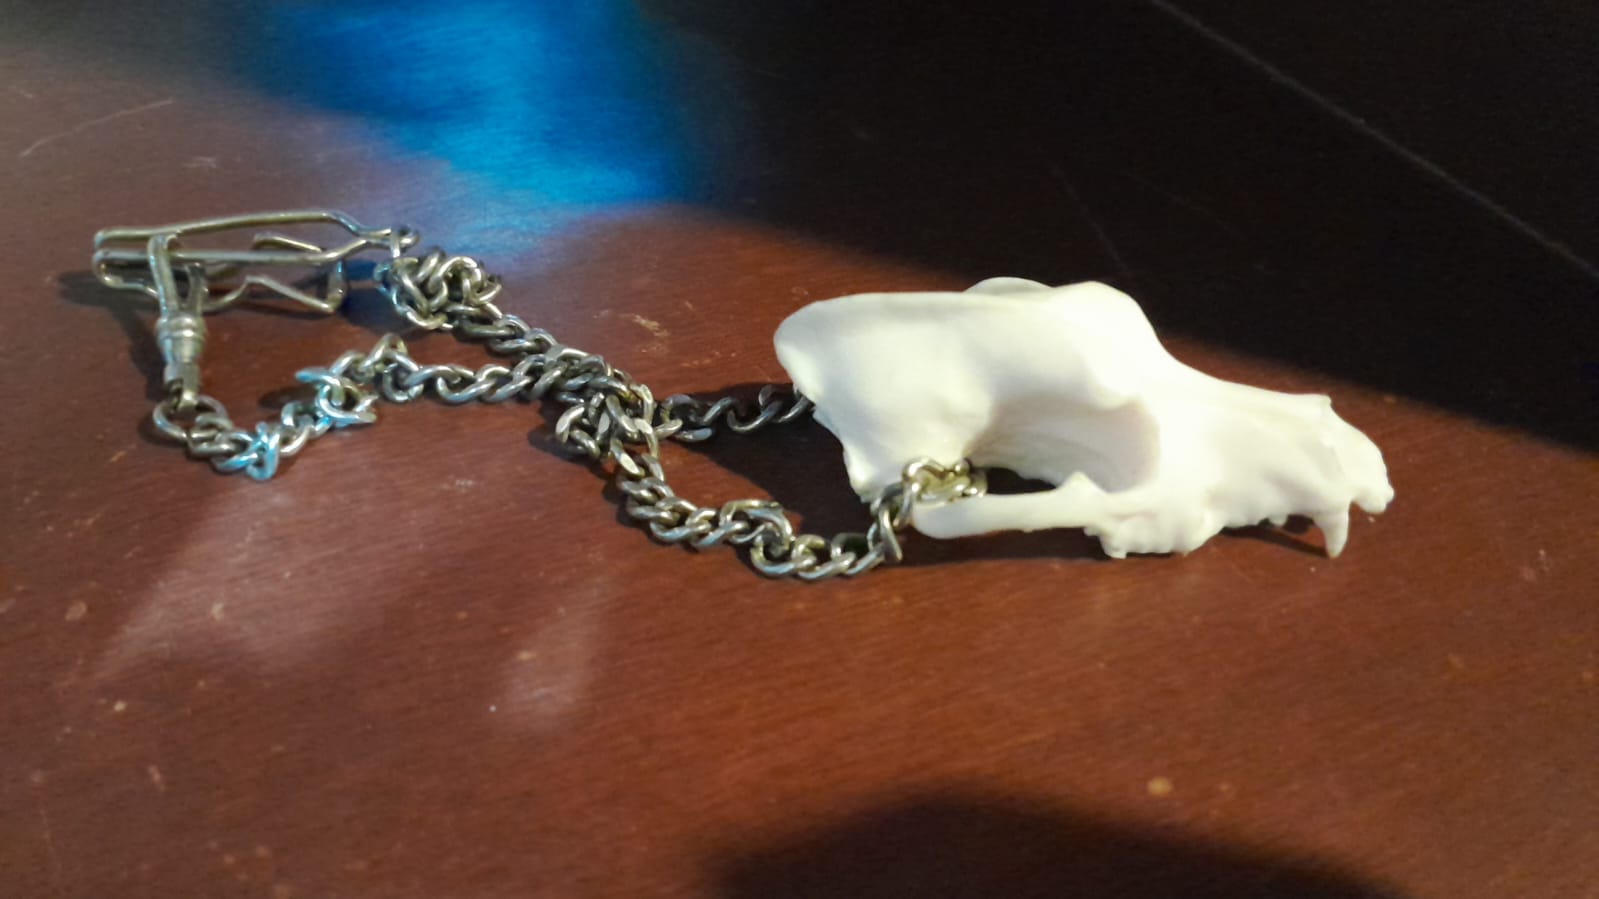
3D Scan
| Feature | Creality Ferret | EinScan-SE |
|---|---|---|
| Manufacturer | Creality | Shining 3D |
| Scanner type | Portable | Desktop |
| Light source | Structured light (binocular projection) | Structured light (monocular projection) |
| Scan resolution | Until 0.1 mm | Until 0.1 mm |
| Scan Accuracy | 0.1 mm | 0.05 mm (better precision) |
| Scan mode | Manual (with free movement) and automatic | Automatic with rotating and manual platform |
| Scan volume | 560 × 820 mm max. | 200 × 200 × 200 mm (with round) |
| Scan speed | Up to 30 FPS (real time fluid) | Single scan: 8s, 360° scan: 2 min |
| Texture and color | Yeah, with integrated RGB camera | Yeah, textured color capture |
| Output format | OBJ, STL, PLY | OBJ, STL, ASC, PLY |
| Alignment method | Geometric and with markers | Geometric, by color or with markers |
| Connectivity | USB-C and wireless connection (with mobile phone) | Standard USB |
| Software included | Creality Scan | EXScan SE |
| OS Compatibility | Windows, Android | Windows |
| PC requirements | Low (supports mobile phones) | PC with dedicated GPU recommended |
| Necessary ambient lighting | Works well outdoors and in medium light | Controlled light recommended |
| Scanner weight | 105 g (very light) | 2.5 kg (more robust) |
| Power supply | USB-C or external battery | External power supply |
| Approximate price | ~$300 USD | ~$1,200 USD |
In my opinion, the EinScan-SE is superior since I think it is more detailed, in addition to the fact that both it and its software make it easier to modify each scan, since both it and the Ferret can be altered in a single scan (it can be altered). Creality Ferret is more affordable, portable, and easy to use, ideal for those who need to scan objects quickly without requiring a high-powered computer. EinScan-SE offers greater precision, automation, and exact detail collection, ideal for professional modeling and education.
How to Use the Creality Ferret
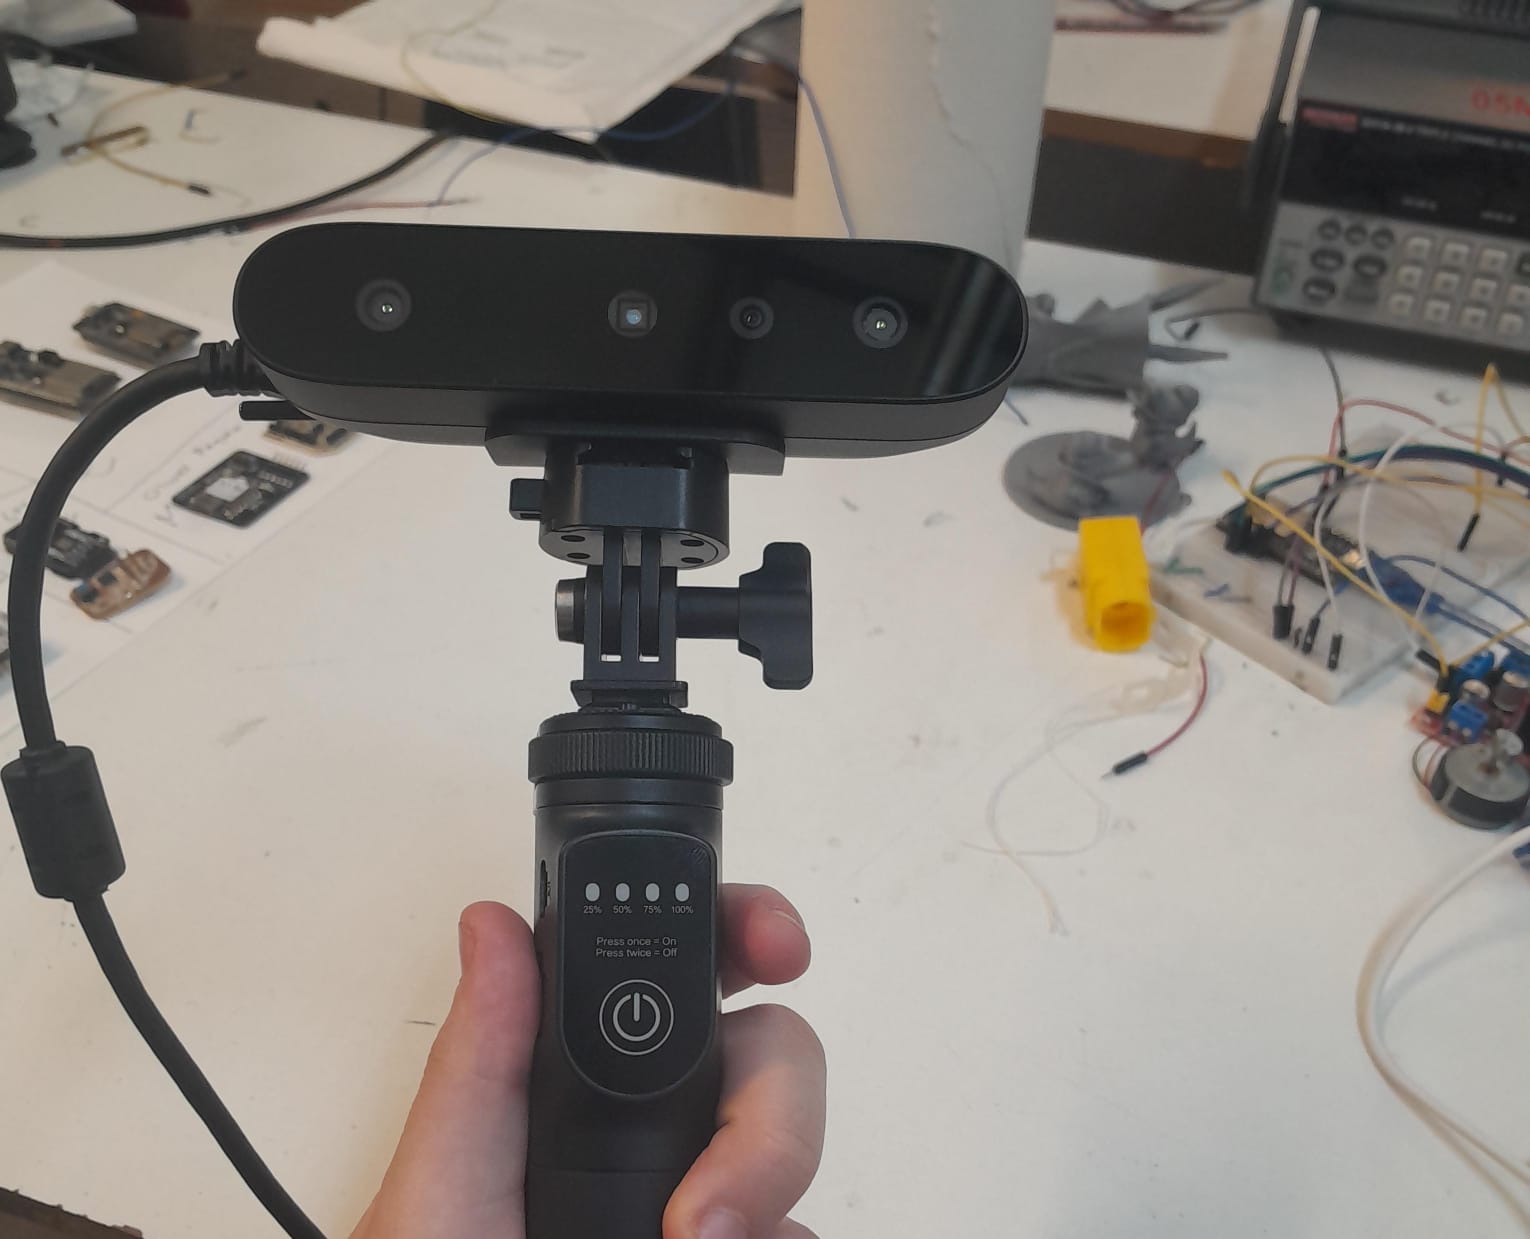
The Creality Ferret is an easy-to-use, portable 3D scanner designed for rapid object capture.
- Installation and Configuration:
- Download the software: Install the Creality Scan app on your PC or mobile.
- Connect the scanner:
- If you use PC, connect it via USB-C.
- If you use a mobile phone, connect it via WiFi or USB-C.
- Set the parameters in the software according to the type of object (size, color, texture).
- Object Scan:
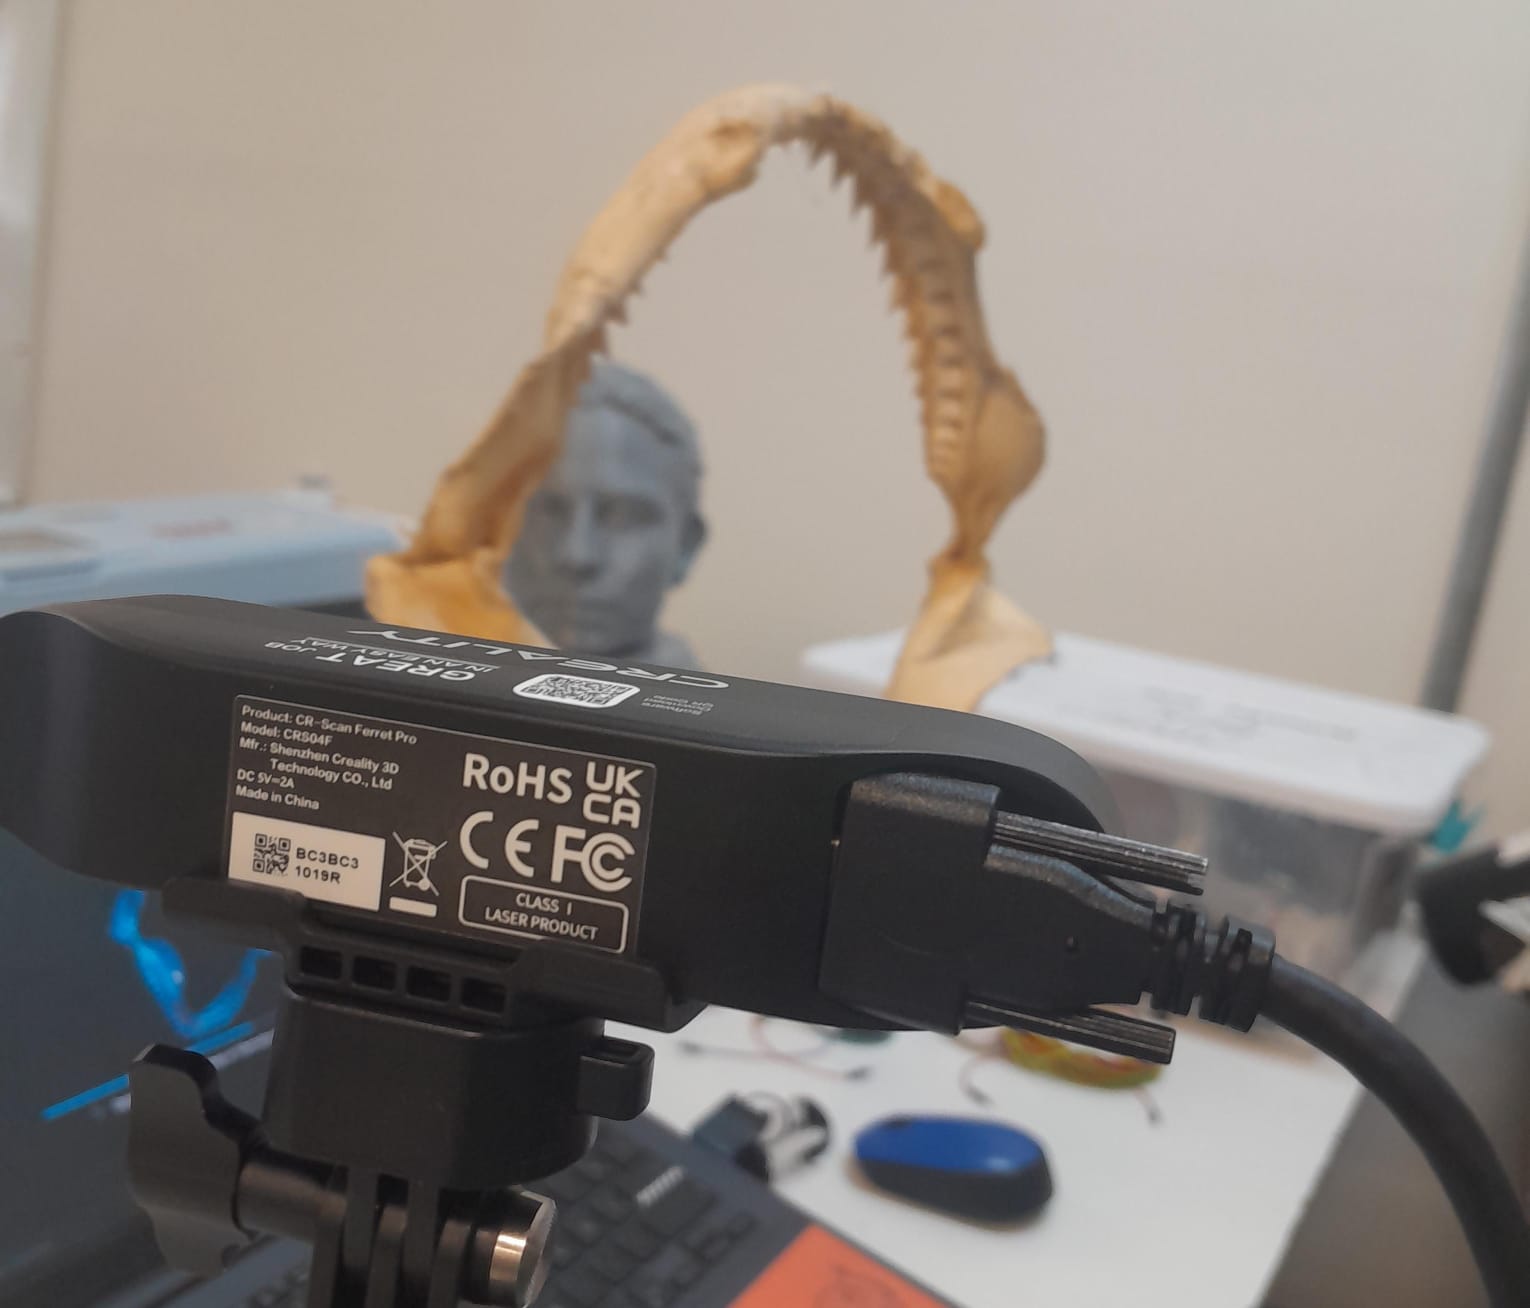
- Place the object on a stable, well-lit surface.
- Select scan mode:
- Manual mode: Move the scanner around the object.
- Automatic mode: Use a rotating base (if you have one).
- Scan in smooth motions to capture every angle.
- Align the layers in the software if necessary.
- Processing and Export:
- Review the model in the app and fix errors with editing tools.
- Save the file in formats such as STL, OBJ or PLY.
- Export the model for 3D printing or modeling in other software.
Tips: Avoid scanning very glossy or transparent surfaces without a matte coating. Use uniform light to improve scan quality.
How to Use the EinScan-SE
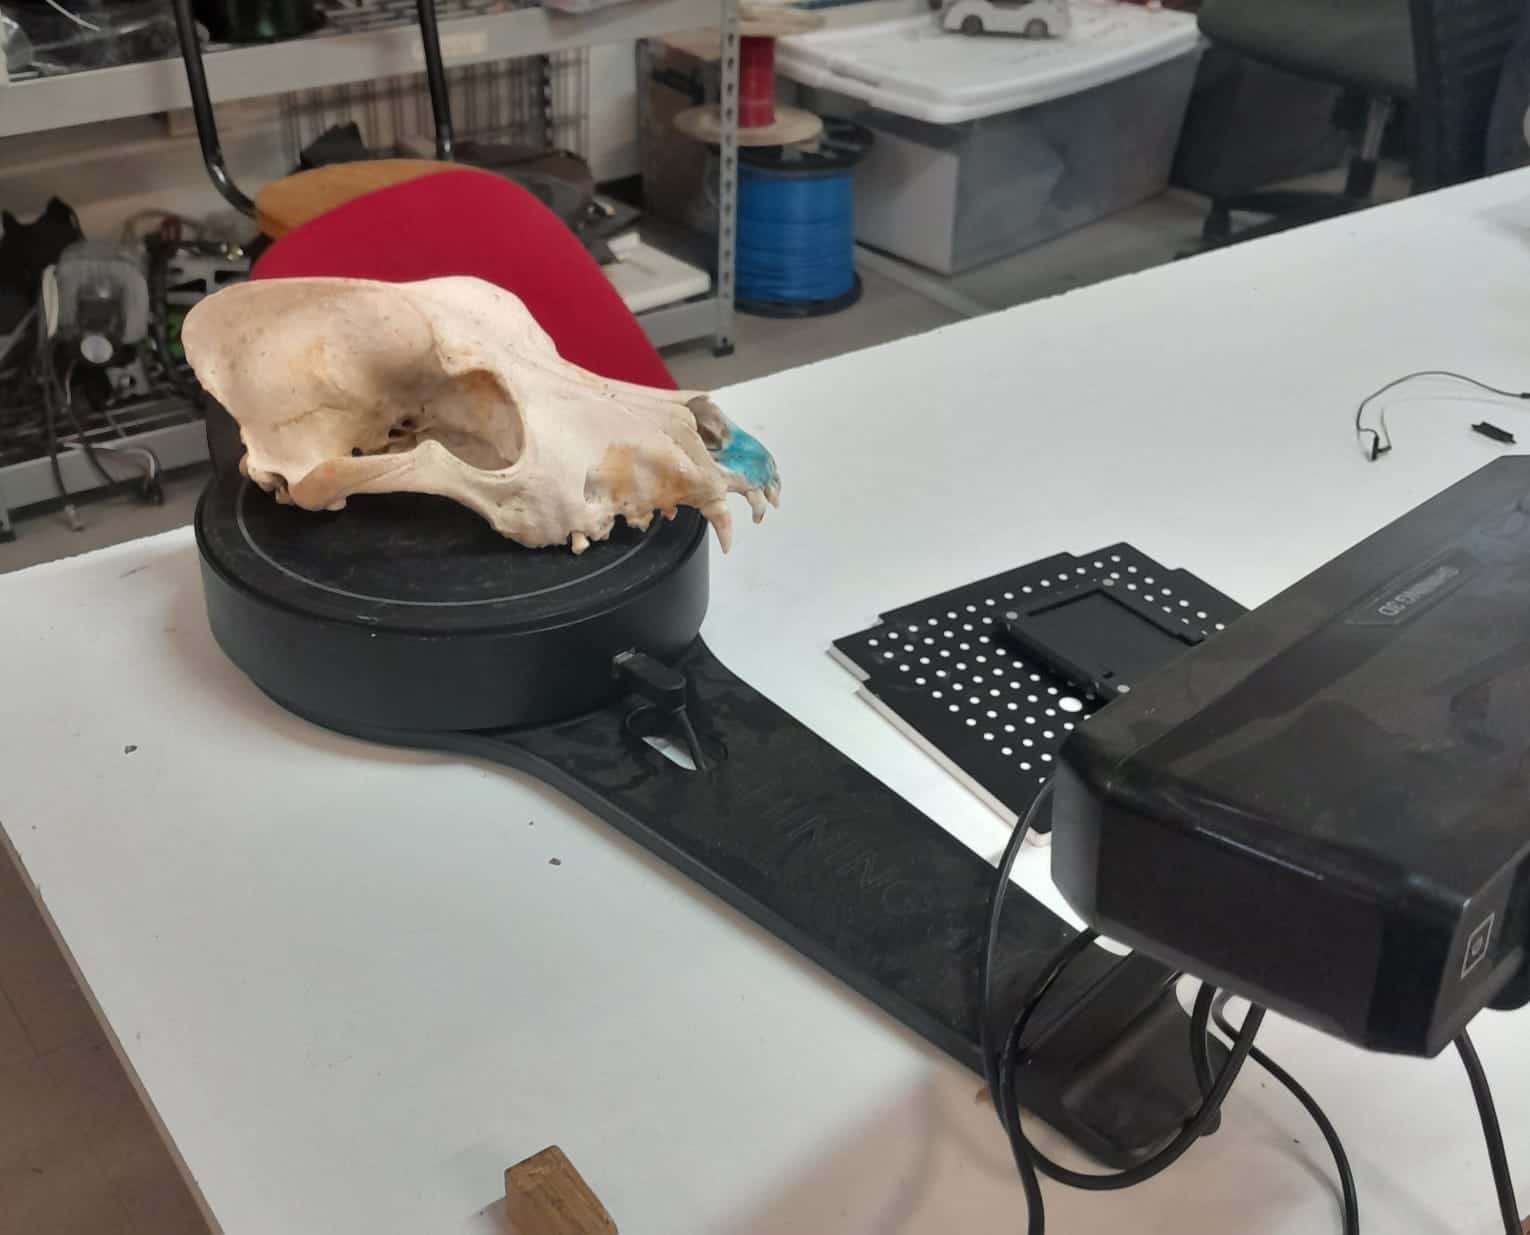
The EinScan-SE is a desktop scanner with a swivel base, ideal for detailed scans.
- Installation and Configuration:
- Install EXScan SE software on your PC.
- Connect the scanner to the computer via USB.
- Place the swivel base on a stable surface.
- Preparation of the Object:
- Place the object on the rotating base.
- Make sure there is good lighting and avoid reflections.
- Set the scan type:
- Automatic scanning: The rotating base will capture all angles.
- Fixed scanning: You can manually scan from different angles.
- Scanning Process:
- Start the scan in the software.
- Wait for the scanner to capture the images (it takes between 8 seconds and 2 minutes).
- Check the scan quality and adjust the alignment if necessary.
- Processing and Export:
- Refine the mesh by eliminating noise or imperfections.
- Export the model in STL, OBJ, ASC or PLY.
- Use the file for 3D printing, animation or CAD modeling.
Tips: To scan dark or reflective objects, use a matte spray. Make sure the background doesn't interfere with the scan.
Which One to Use?
Creality Ferret: Portability, fast scanning, mobile compatible.
EinScan-SE: Greater precision, automation with rotating base, ideal for professional modeling.
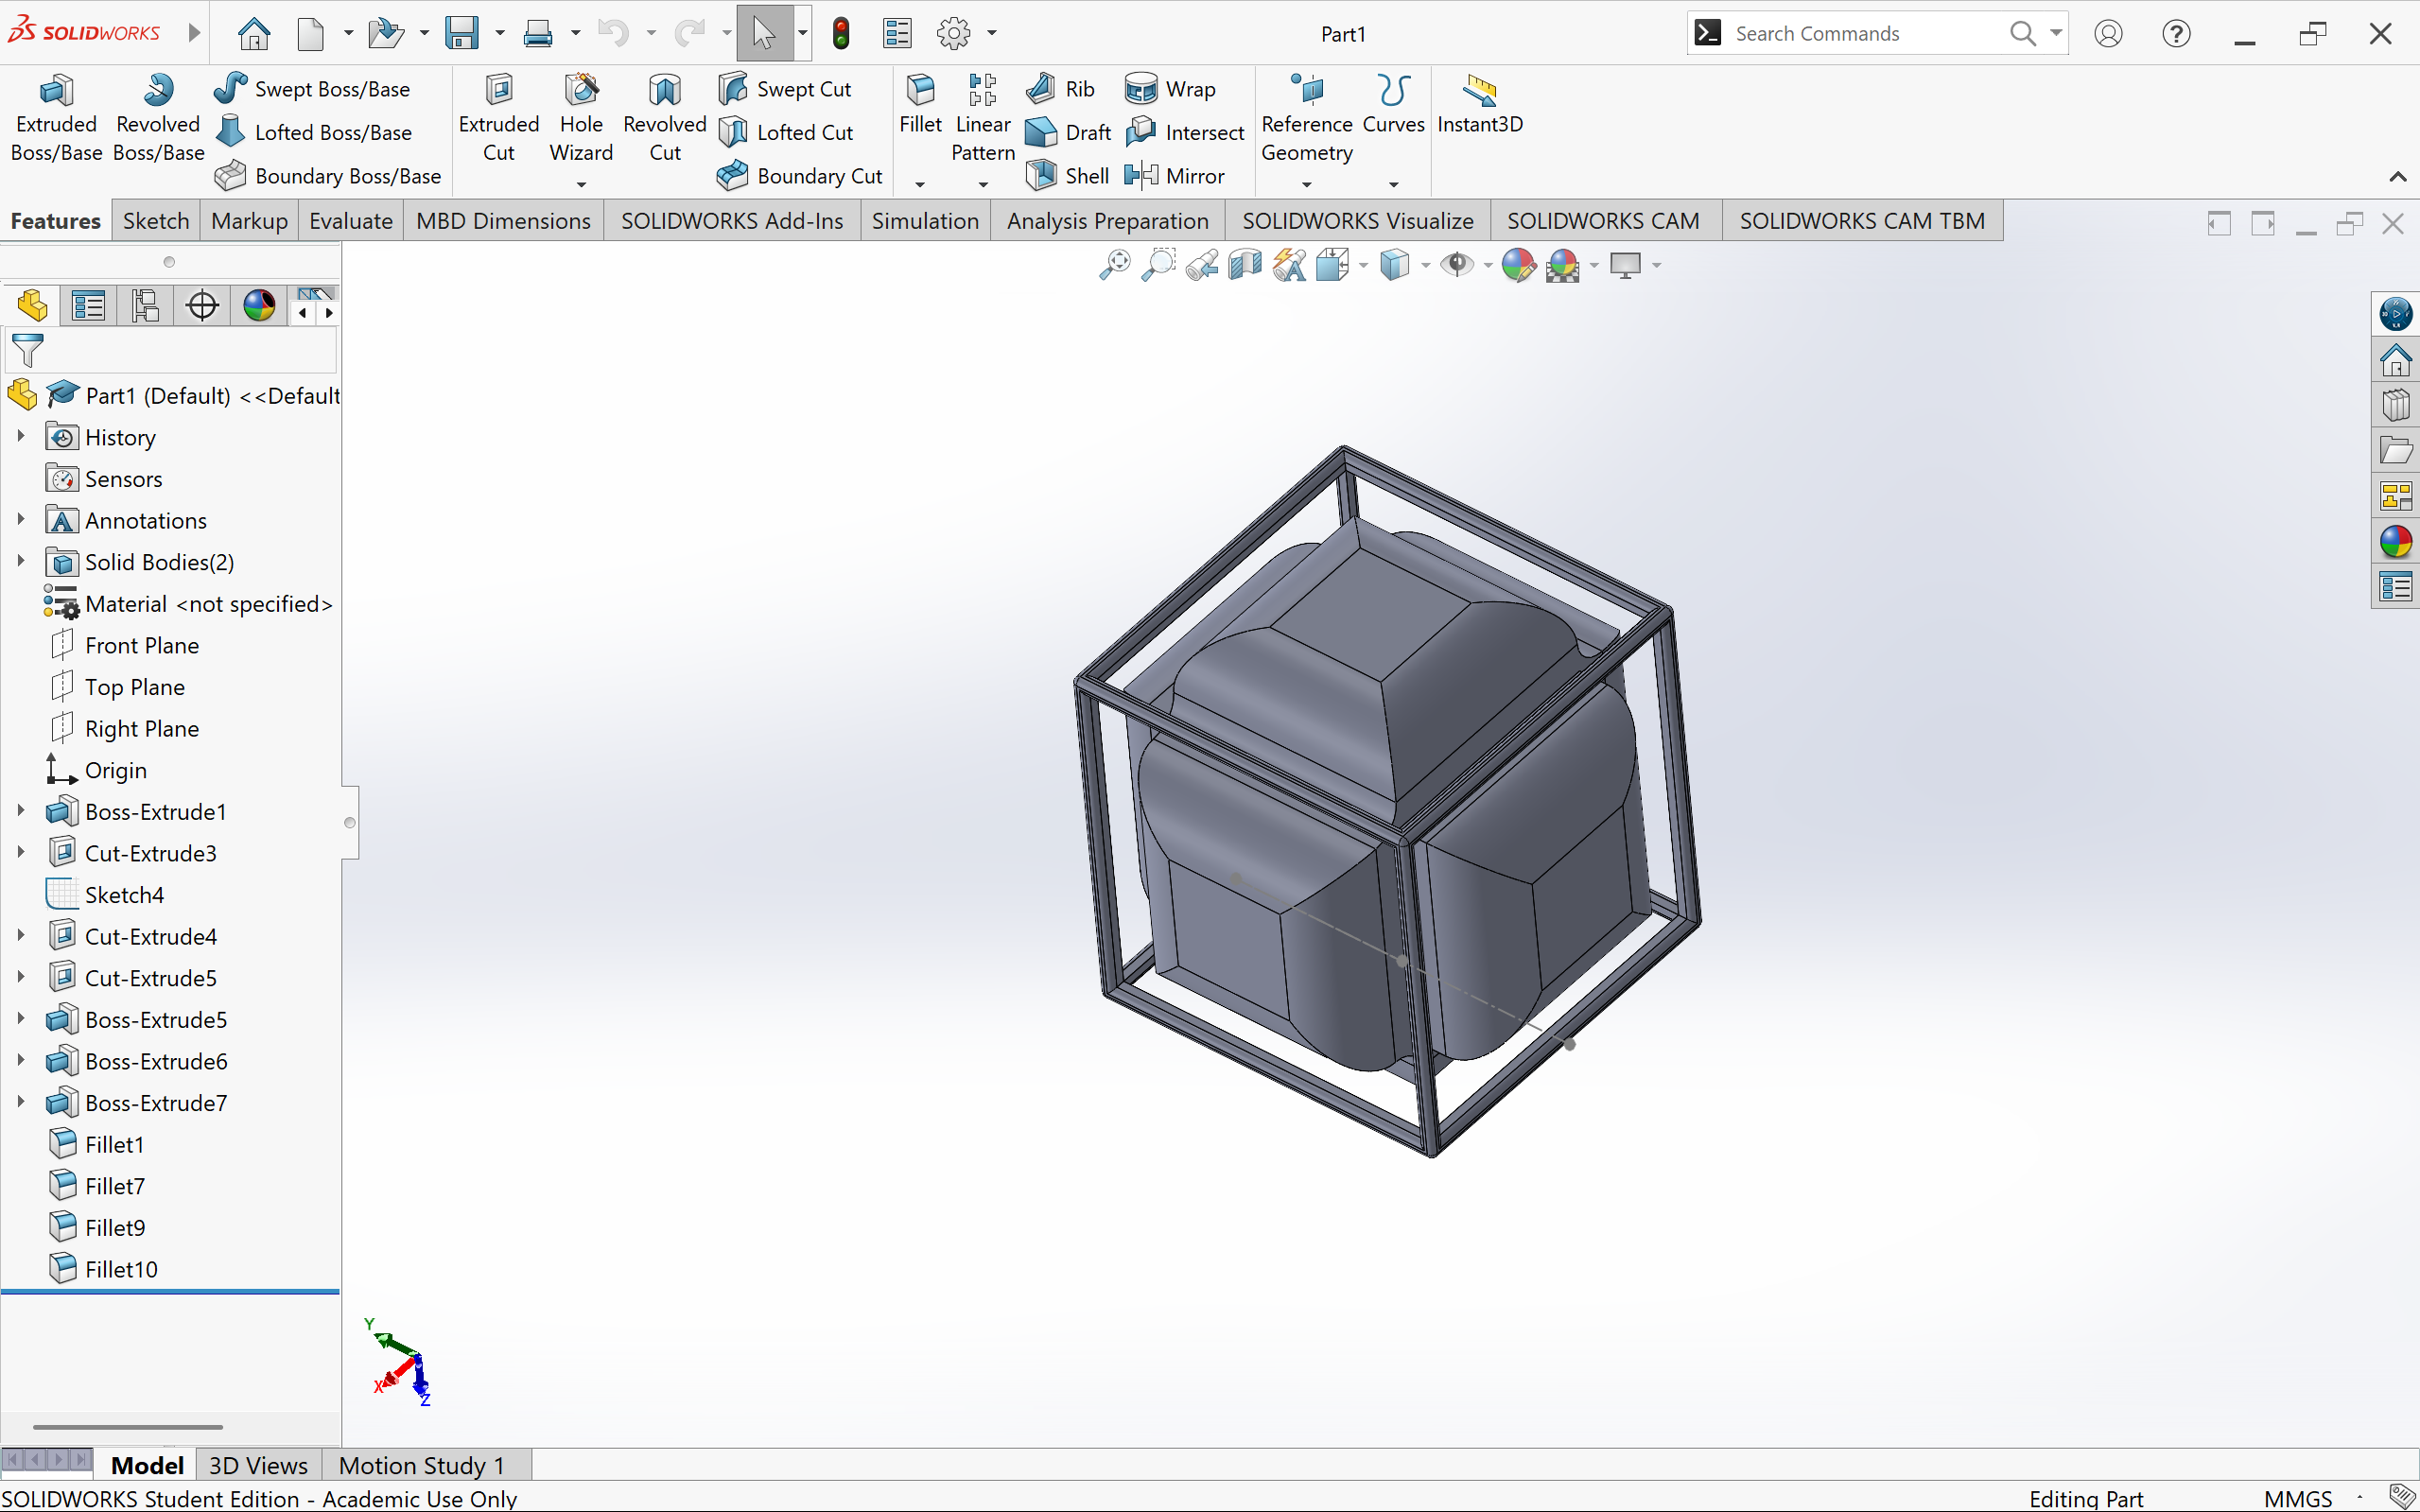
SolidWorks
3D Printing
Brief History of Stereolithography (SLA)
The stereolithography (SLA) is one of the first 3D printing technologies and is based on the use of a laser to solidify photosensitive resin layer by layer. Its development was key in the evolution of additive manufacturing, serving as a basis for other 3D printing technologies.
Origins and Development
- 1970s – Photopolymerization methods began to be investigated to create three-dimensional objects, although a viable commercial application did not yet exist.
- 1981 – The Japanese researcher Hideo Kodama, from the Nagoya Municipal Industrial Research Institute, proposed a system for fabricating layered models using photosensitive resin cured with ultraviolet light. However, his project did not obtain funding to patent the idea.
- 1984 – Charles "Chuck" Hull, American engineer, designed and patented the process of stereolithography. Their innovation consisted of the use of a UV laser to harden liquid resin in layers, allowing the manufacture of three-dimensional objects with high precision.
- 1986 – Hull founded 3D Systems, the first company dedicated to the commercialization of 3D printers with SLA technology.
- 1987 – The SLA-1, considered the first commercial 3D printer.
- 1990s and 2000s – Stereolithography continued to improve in precision, speed, and variety of materials, while other technologies such as FDM and SLS emerged.
- As of 2010 – SLA became more accessible with affordable printers from brands like formlabs, Anycubic and Creality. In addition, technologies such as DLP and LCD optimized printing resolution and speed.
How to Clean a Resin Printer Correctly
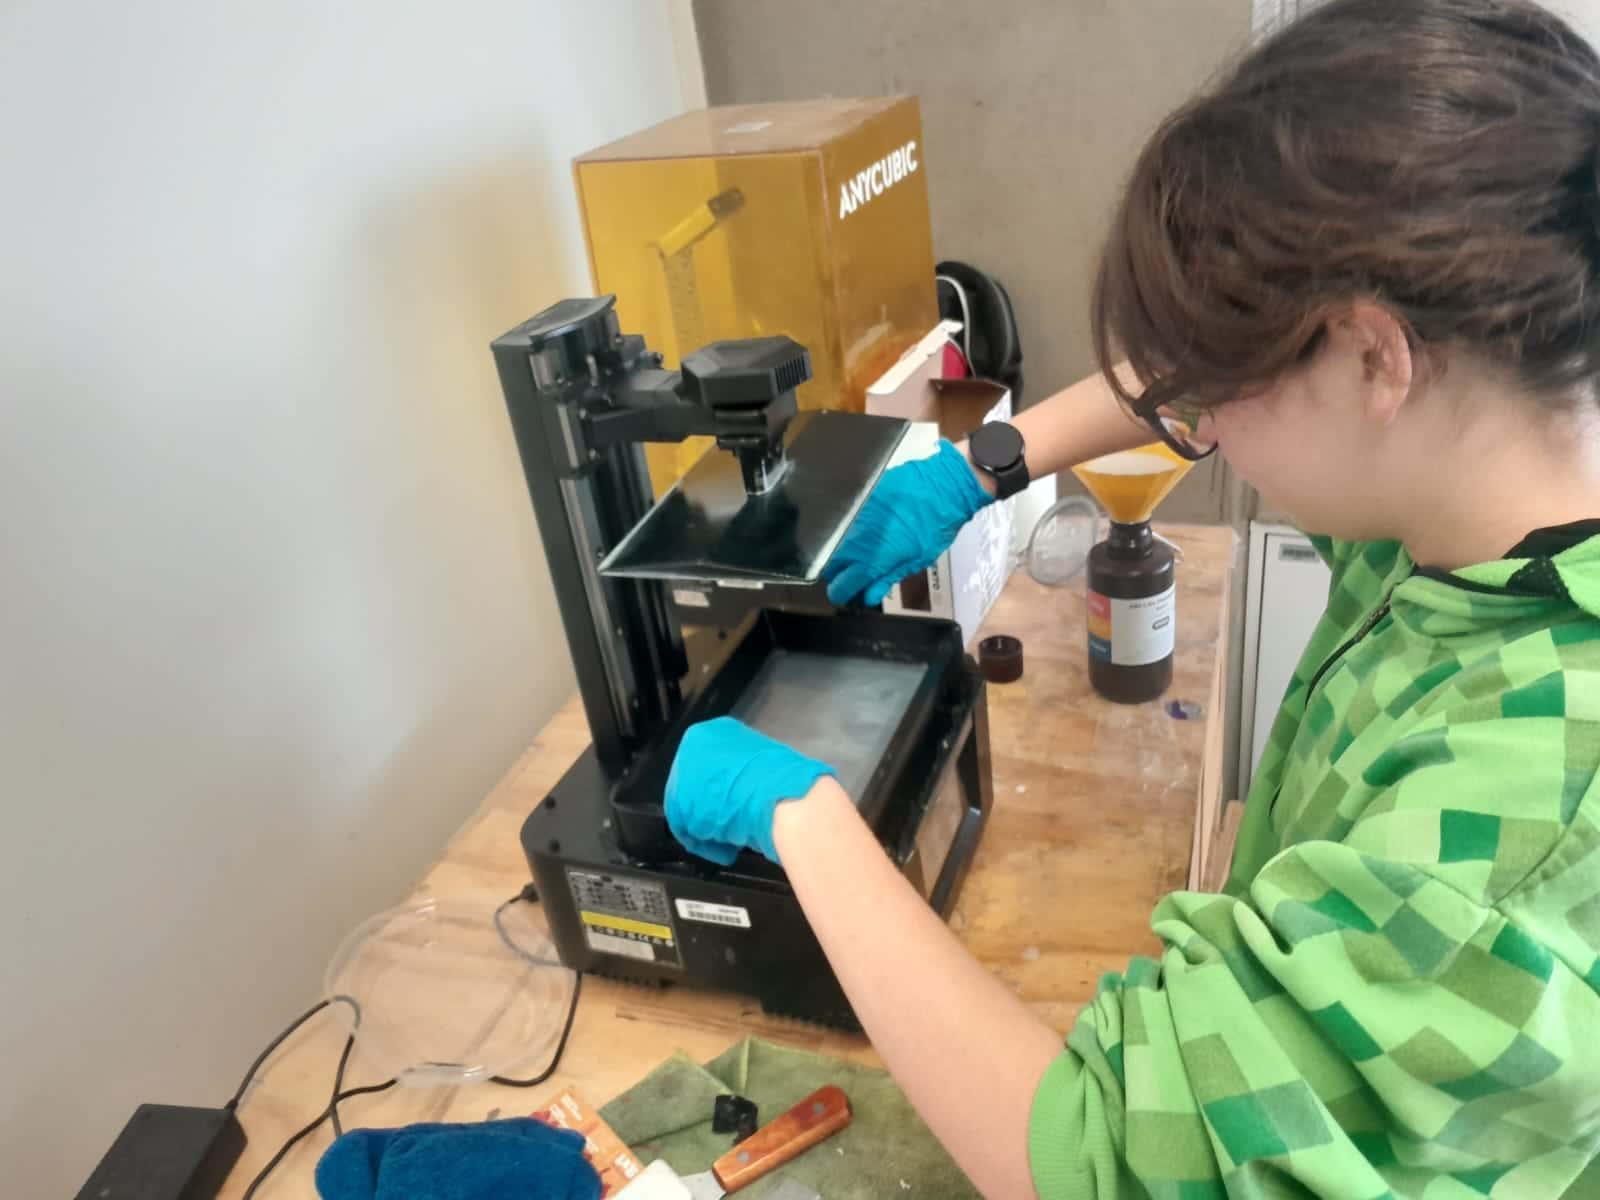
- Disconnect and condition the printer. Before starting, it is crucial to turn off the printer and disconnect it from the power supply. It is necessary to use nitrile gloves to prevent exposure to liquid resin, which can be toxic or irritating to the skin.
- Filter and empty the resin. The next step is to carefully remove the resin tank. It is necessary to pour the leftover resin into its initial bottle using a paper filter to remove any solid leftovers. Then, it is necessary to clean the tank with isopropyl alcohol (although it is not recommended at all because it makes it opaque, so I remove the residue with tow and then clean with water) and a lint-free cloth to remove any resin residue.
- Prepare the cleaning of the printing platform. It is necessary to remove and clean the printing platform with a plastic spatula to remove any leftover hardened resin. Afterwards, it is necessary to wash with isopropyl alcohol and a delicate bristle brush. It is crucial to clean it completely before reinserting it in the printer.
- Keep both the inside and outside of the printer clean. You can clean the inside of the printer with an IPA-soaked cloth to remove any spills or resin residue. Additionally, you need to ensure that both the rails and the spindle are in good condition. For outdoor use, simply apply a clean cloth with isopropyl alcohol to the housing and lid.
- Examine and readjust it. After all components are clean and completely dry, the platform and resin tank need to be relocated.
Additional Tips
- It is advisable to clean the printer after each print to avoid resin buildup.
- Resin should not be left in the tank for long periods as it can harden and affect future prints.
- Whenever resin is reused, it should be filtered to avoid the presence of solid residues that could damage the tank or affect print quality.
- With proper and constant cleaning, the resin printer will remain in optimal condition, guaranteeing high-quality prints and prolonging its useful life.
Prusa MK4S
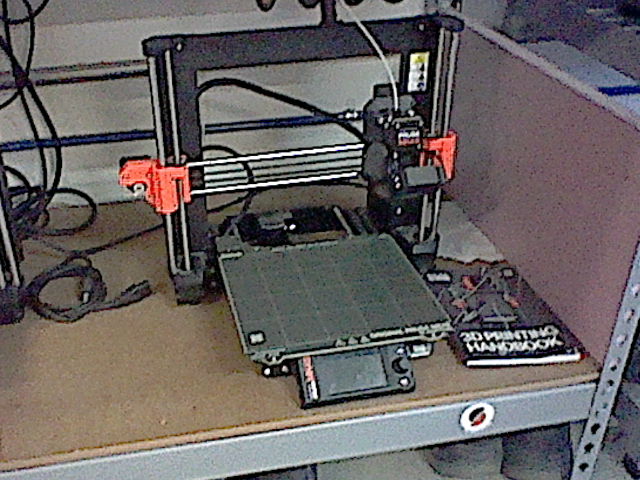
Image taken with an old Nintendo 3DS.
- Print File Preparation
Before you begin, it is essential to have a 3D model in a compatible format, such as STL. To create your own model, you can use programs such as Blender, Fusion 360 or TinkerCAD. Once you have the model, you will need to process it using PrusaSlicer, which is included with the printer. To do this, open PrusaSlicer and load your STL file. Next, adjust the print settings, including layer height, padding, and supports. You should also select the type of material you plan to use, whether PLA, PETG, ABS, among others, and adjust the temperature of the nozzle and bed according to the material recommendations. When you have everything set up, click "Slice Now" and save the file to the USB stick that comes with the Prusa. - Filament Load
Before loading the filament, check that it is in good condition and not dry. Turn on the printer and go to the menu on the LCD screen. Select the “Filament” option and then “Load Filament”. The printer will heat the nozzle to the appropriate temperature, allowing you to feed the filament into the extruder. Make sure the filament flows without obstructions. - Start Printing
Place the SD card in the printer and access the menu on the LCD screen. Select “Print from SD” and find the G-code file you prepared earlier, then select “Print”. It is important to monitor the start of the print, making sure the first layer adheres properly to the bed. If necessary, adjust the height of the Z axis to improve grip. - Finish Printing
Once printing is finished, the printer will make a sound and stop automatically. Let the bed cool before removing the piece; use a spatula to carefully peel it off. It is also advisable to clean any filament residue on the nozzle and bed to ensure good performance in future prints.
