5.3D Scanning and Printing
This week, I have to explore scanning and printing. The model that I used the "Prusa Mk4s" for 3D printing and the scanner is the "Einscan-SE."
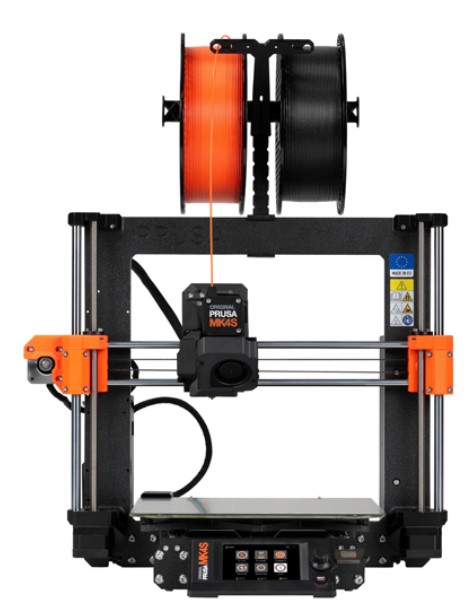
- Print volume: 250 × 210 × 220
- Printing speed: 200 mm/s
- Printing materials: PLA, PETG, Flex, PVA, PC, PP, PP, CPE, PVB
Prusa Mk4s
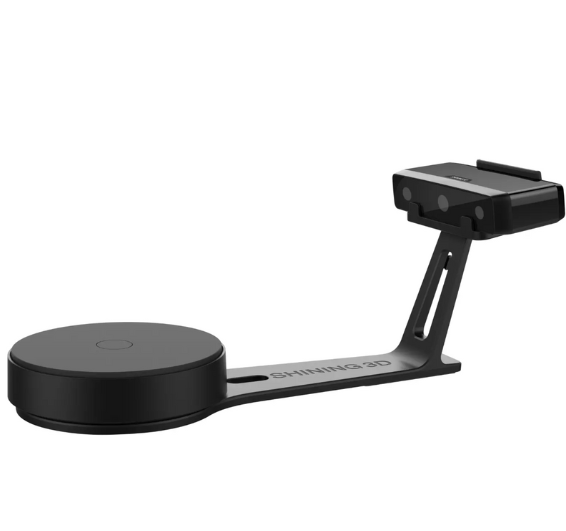
- Maximum resolution :0.05 mm
- Export file formats: .asc, .obj, .ply, .stl
Einscan-SE
Group Task:
Group task3D Design
It's time to print my models. I did two 3D designs.
Banana Mesh 🍌
For the first thing. I wanted to create something with a mesh. I thought about it, and I believe bananas are a good option because I like making things related to bananas.
I'm going to use Fusion 360 for modeling and Blender to create the mesh for a good finish.
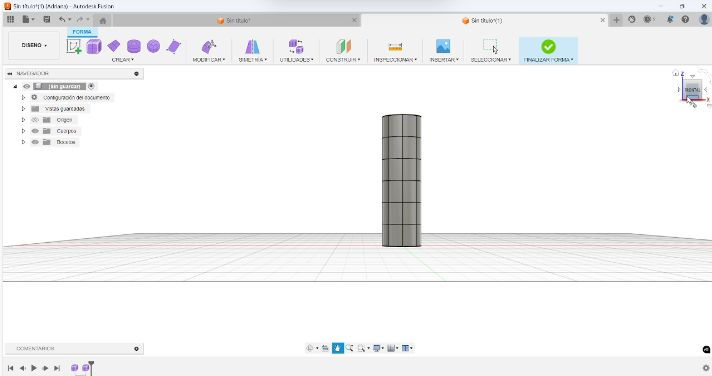
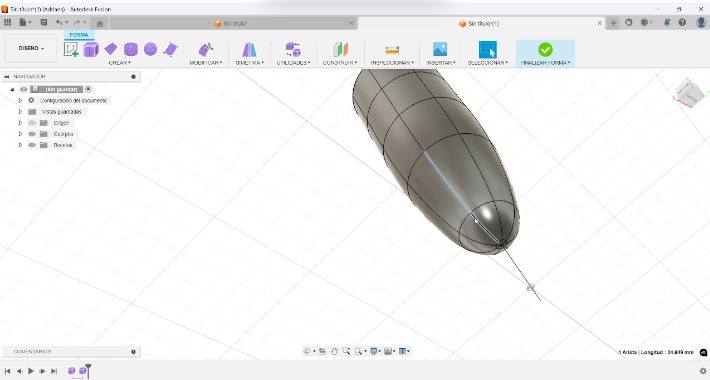
- First, I started by making a cylinder, and within it, I divided it into some sections.
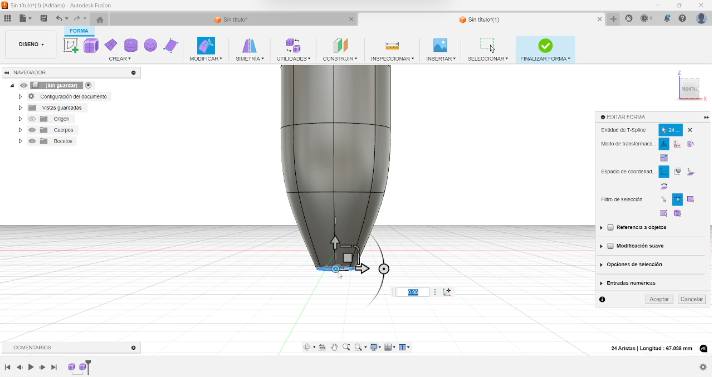
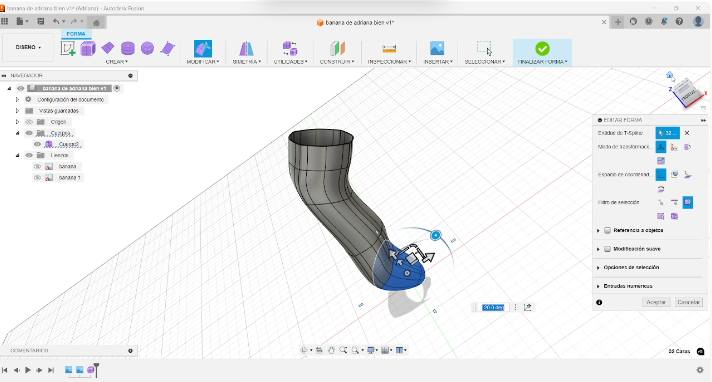
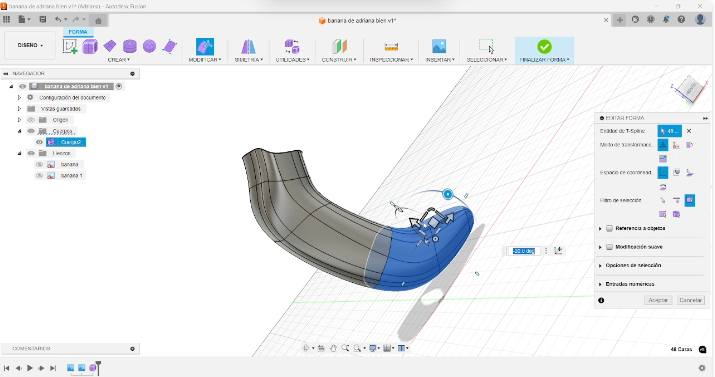
- Then I started modeling the banana. I couldn’t find a good shape at first, but after trying, I was able to get a good shape.
- To add the mesh, I exported the banana as an .obj file to import into Blender.
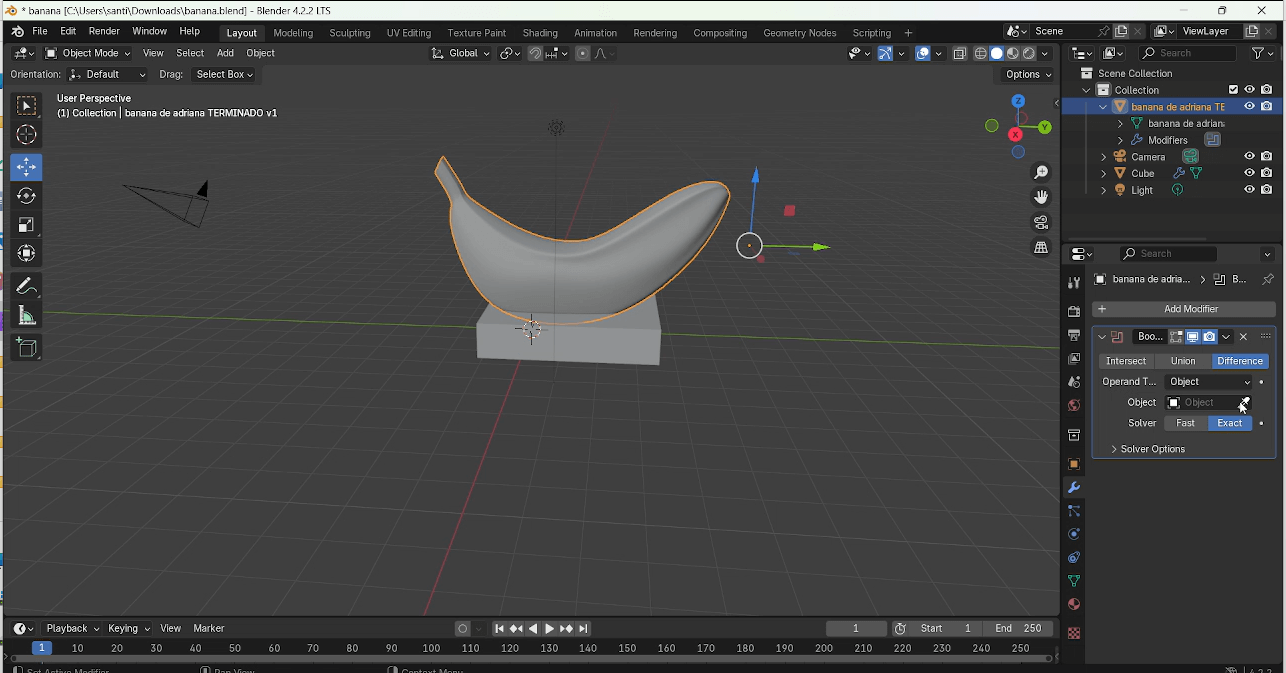
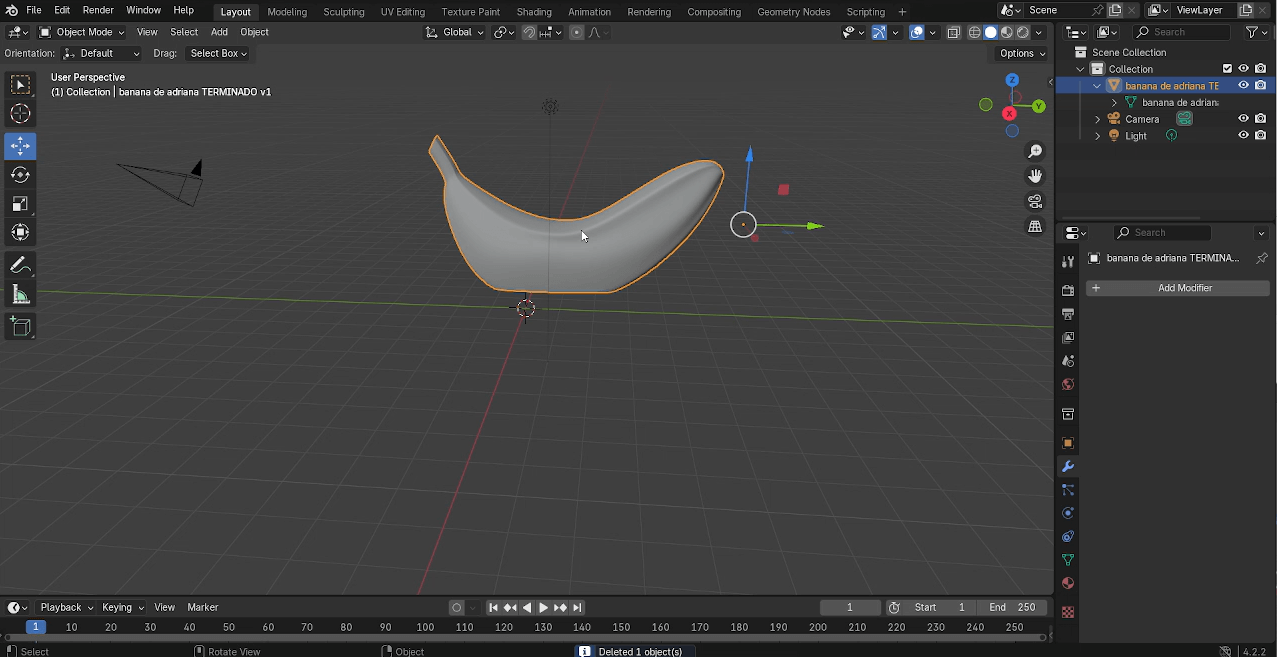
- In Blender, I needed the banana to have a flat base, so I added a rectangle box below the banana.
- I used the “Boolean Modifier” to remove the bottom part of the banana. I selected the figure, and in the drop-down menu, I selected the rectangle box.
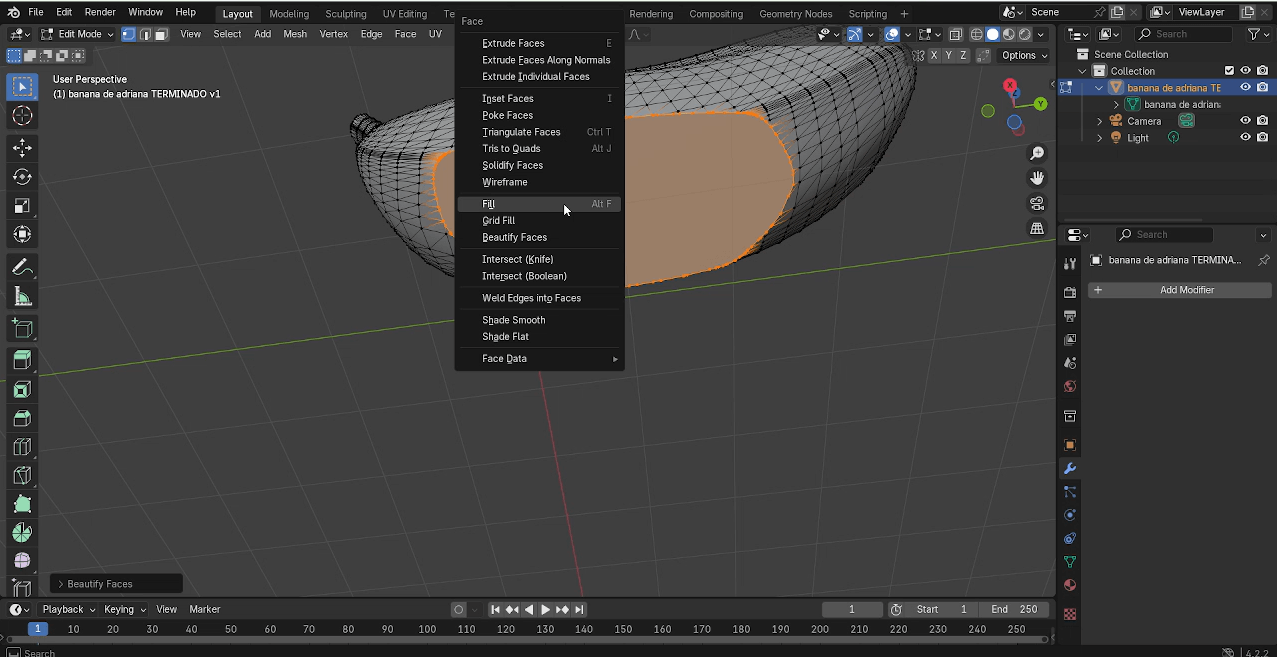
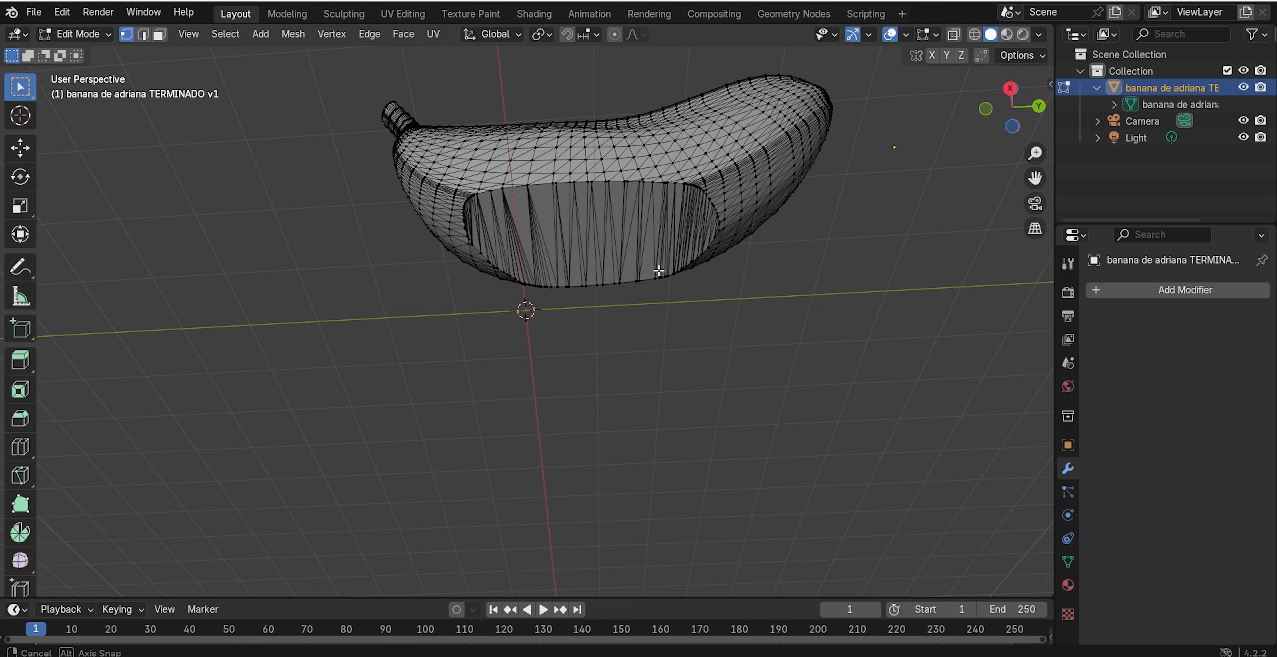
- Then, I had to fill the banana because it was hollow. I switched to edit mode, used Ctrl + click to select the bottom face, then used Ctrl + F and the "Fill" option to close the banana.
- After that, I exported the file as an .obj.
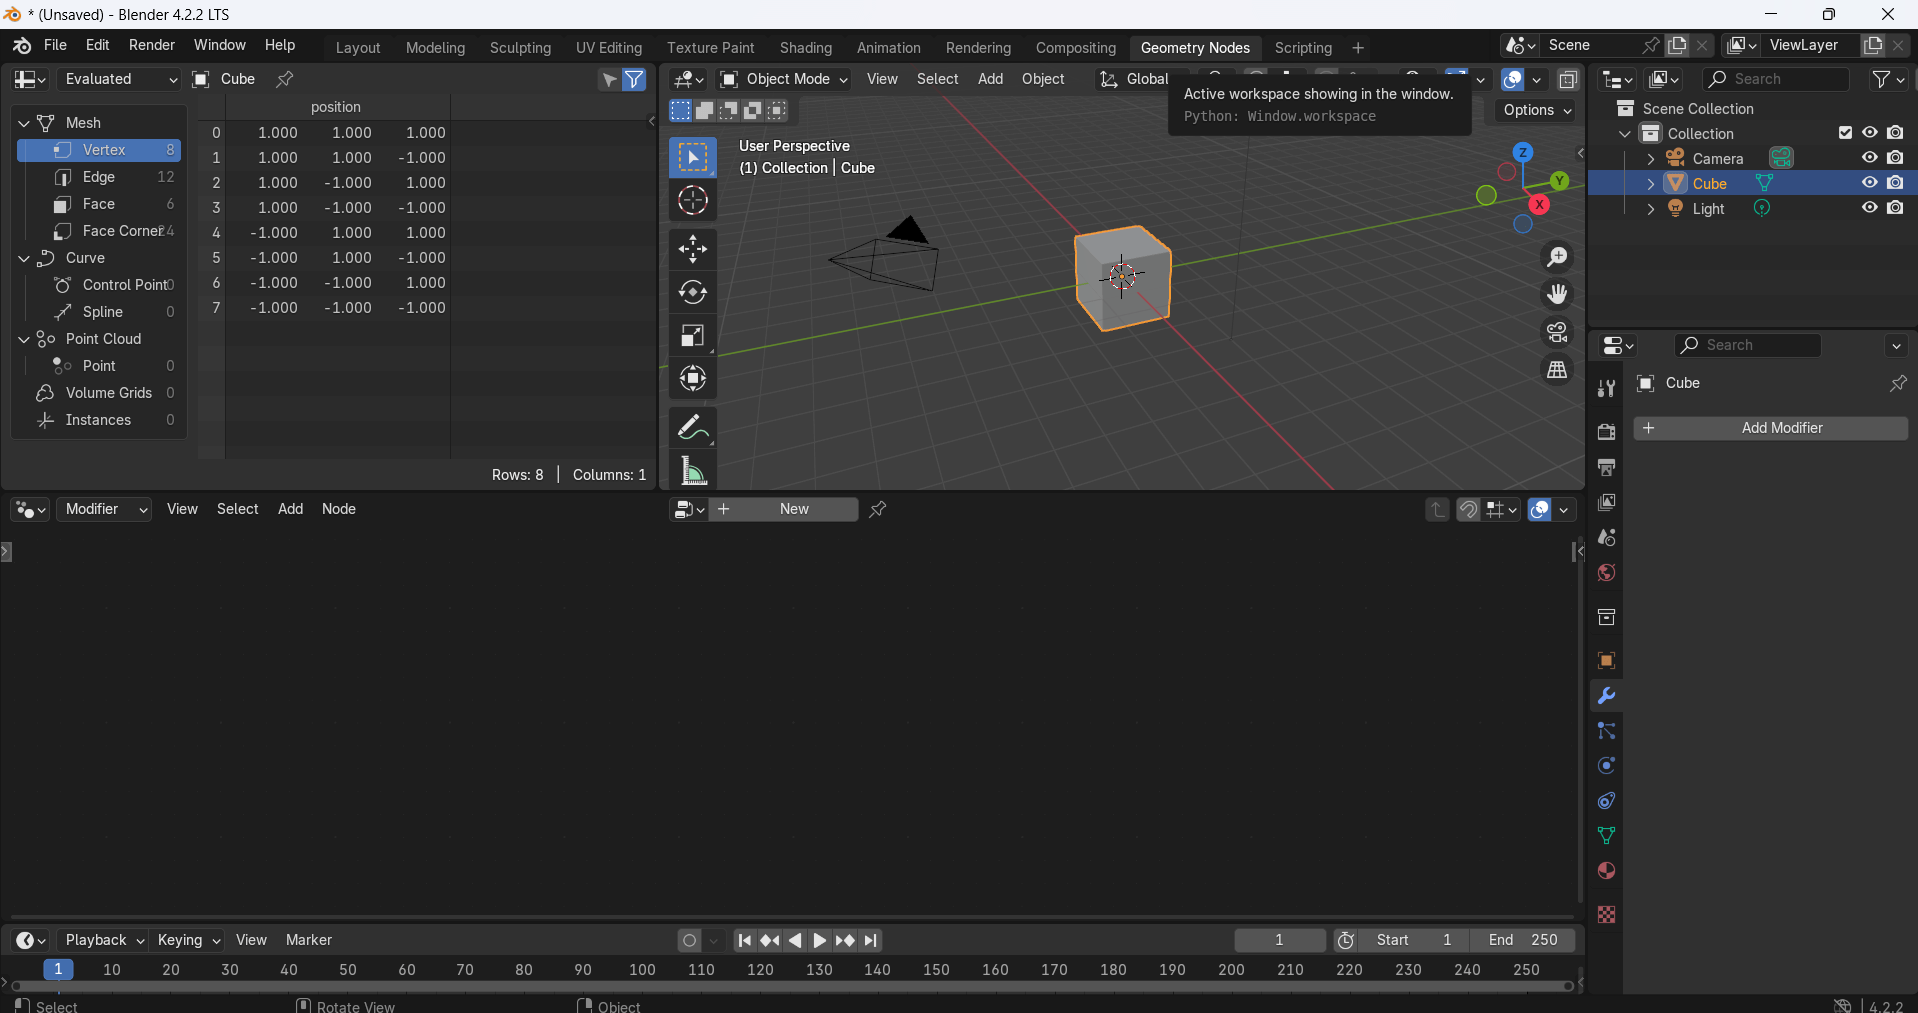
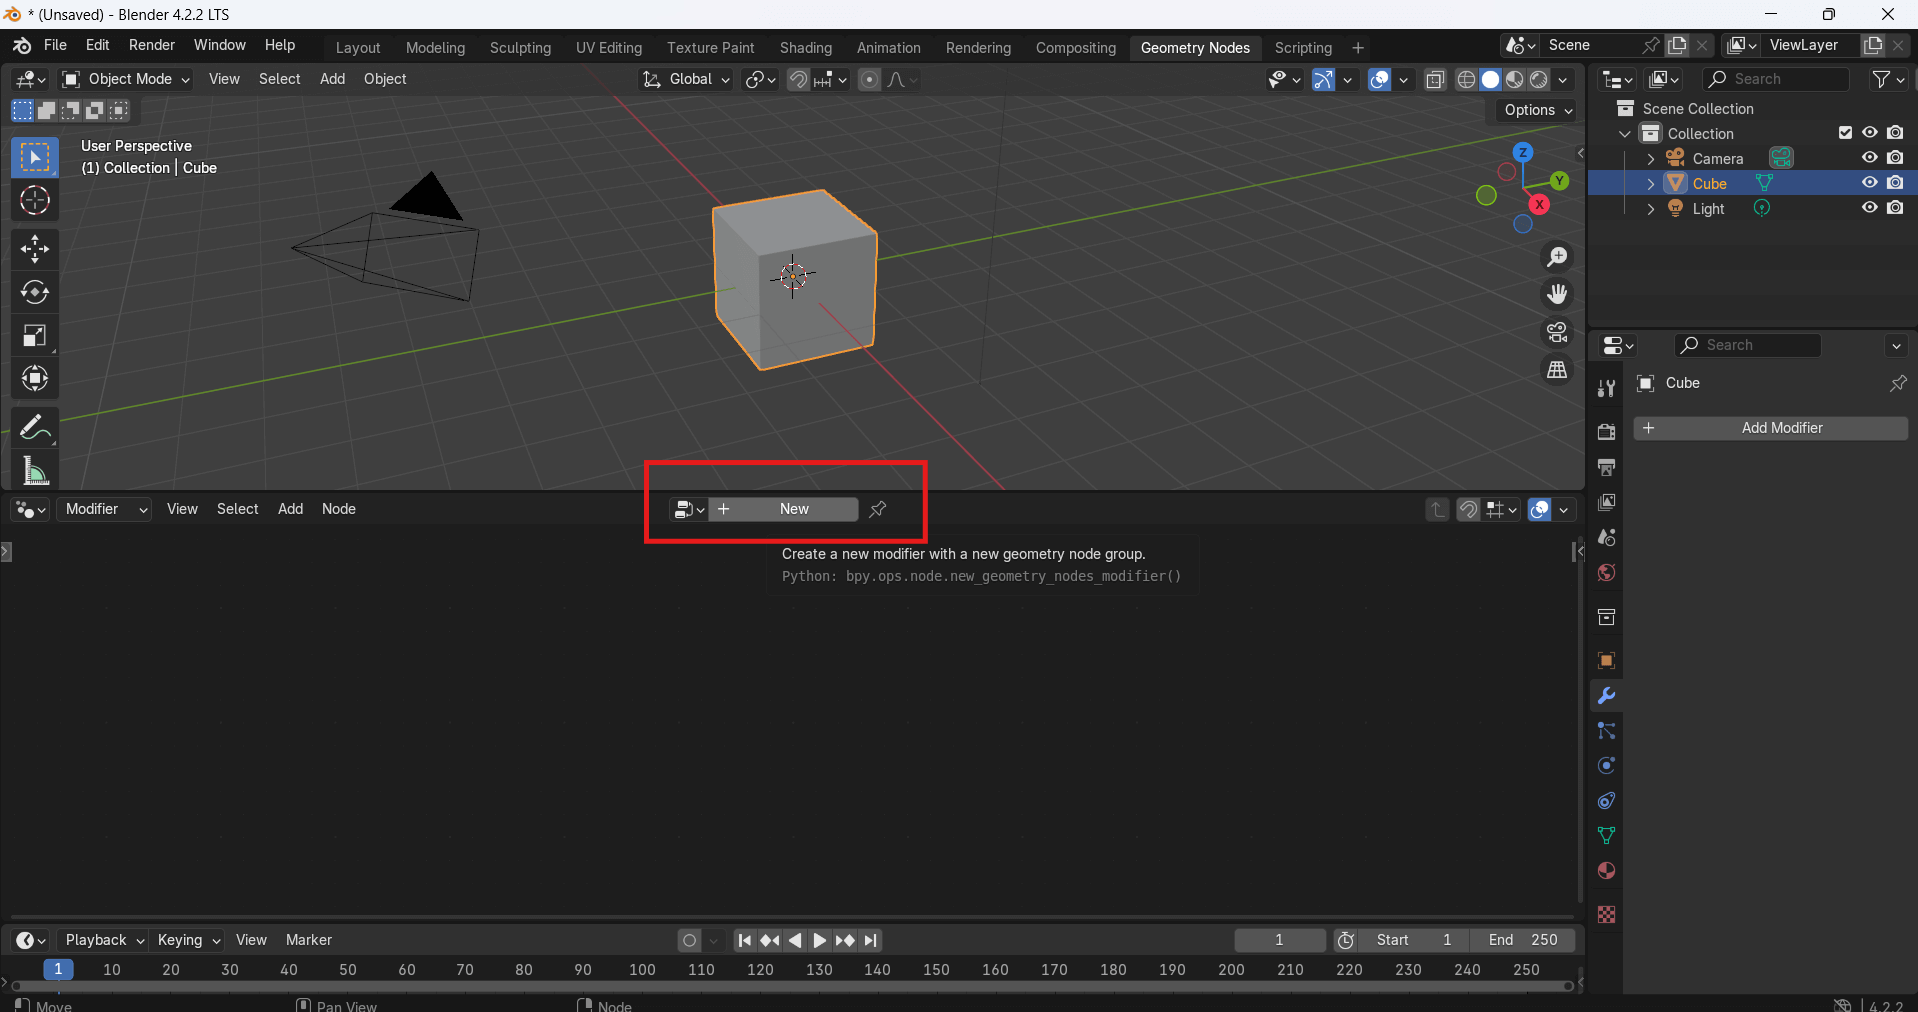
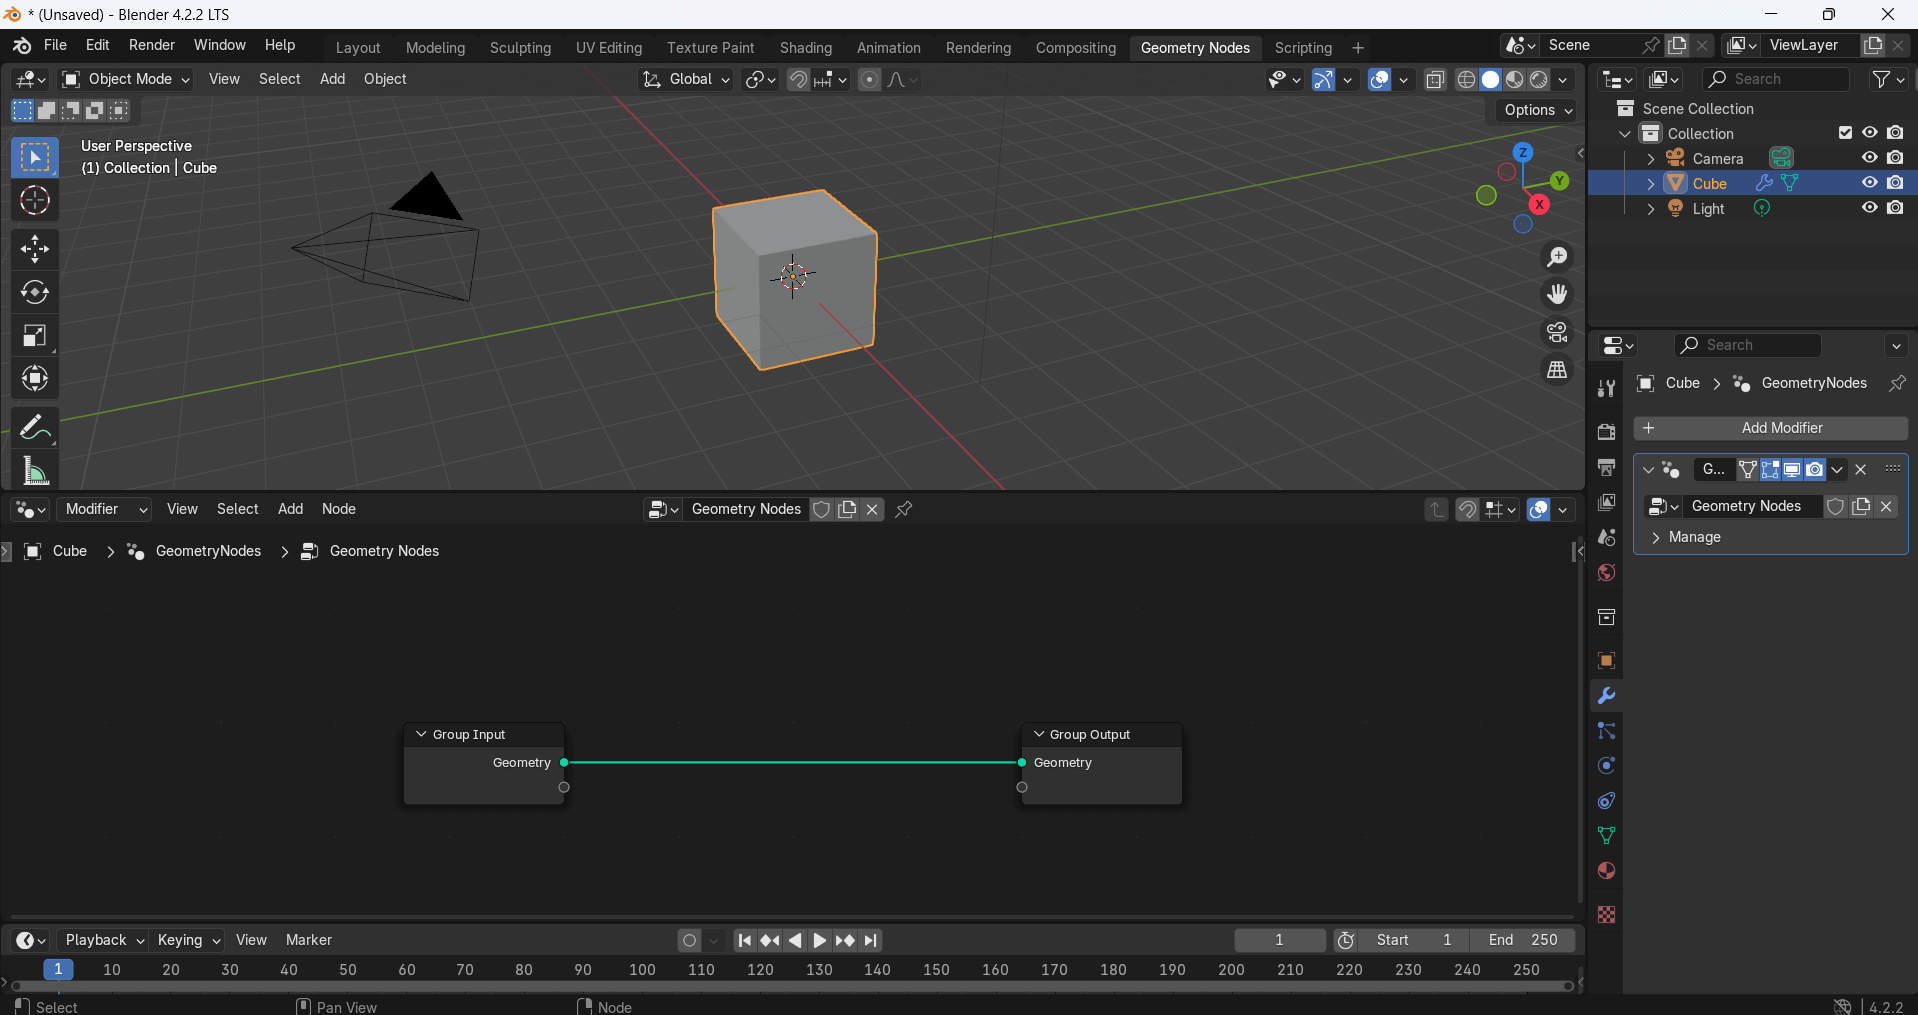
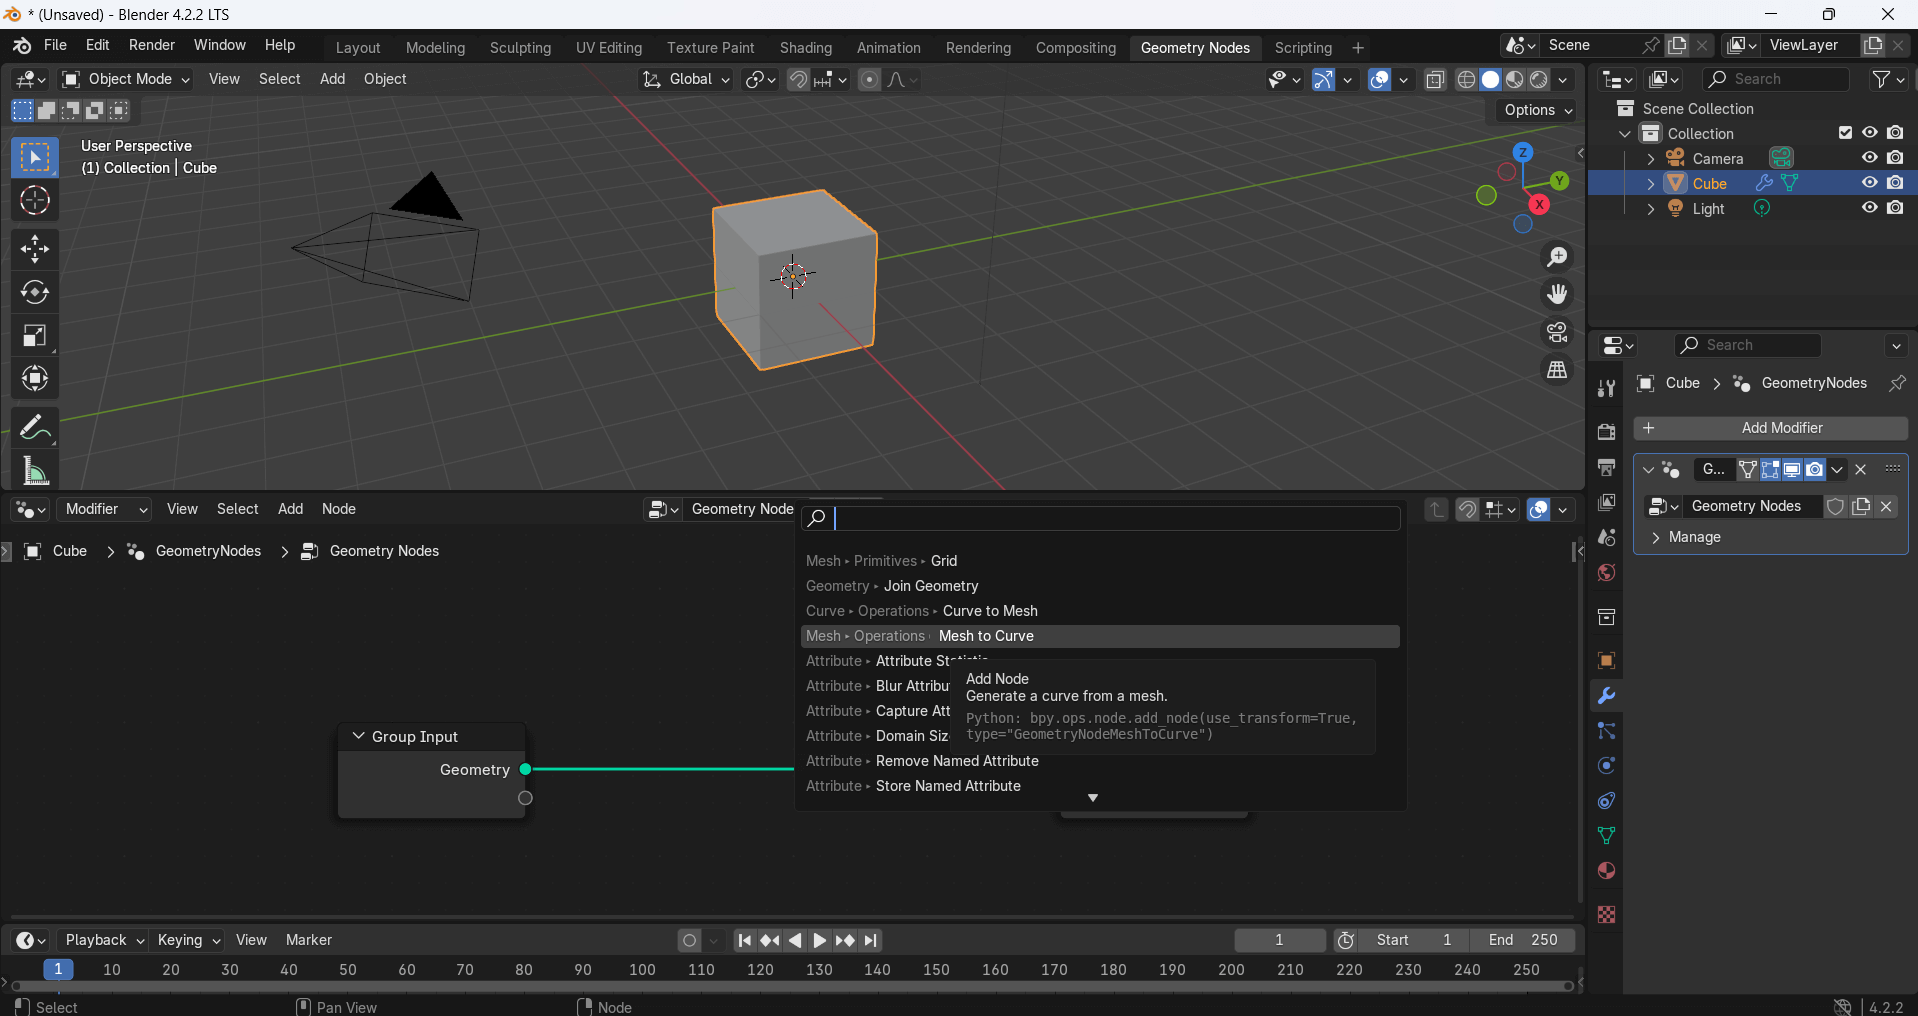
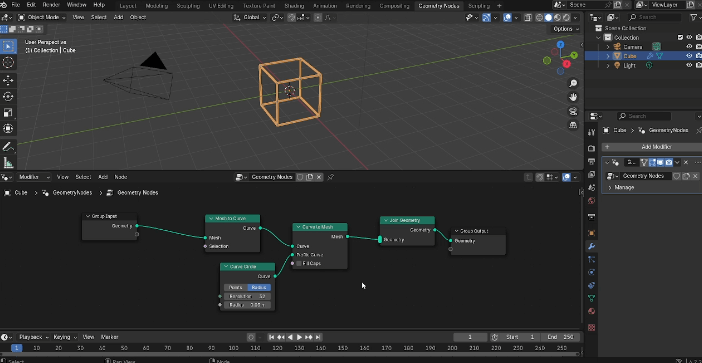
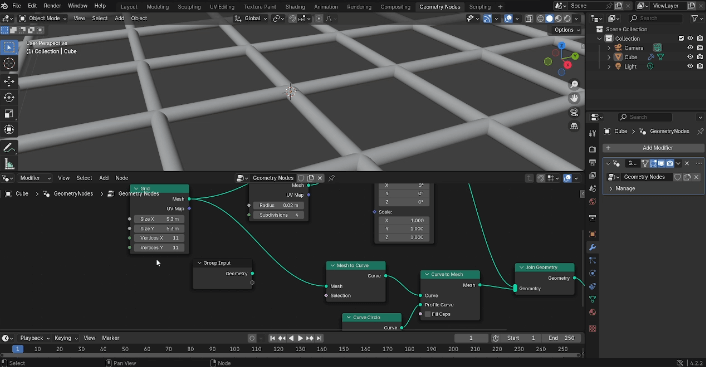
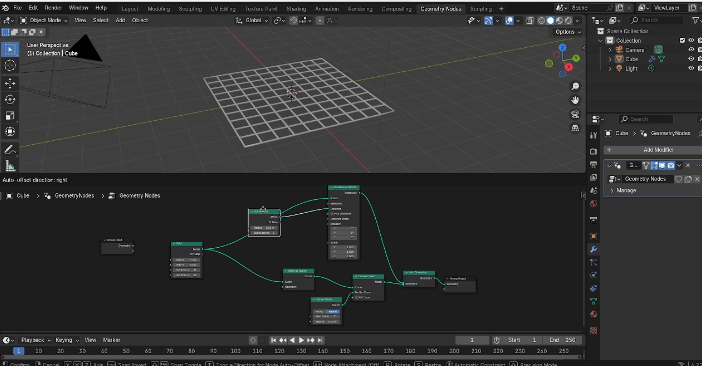
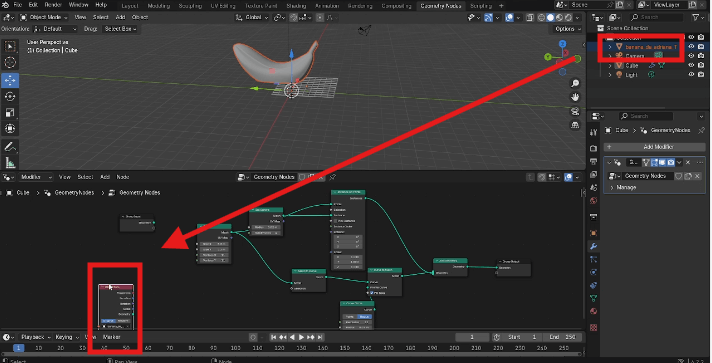
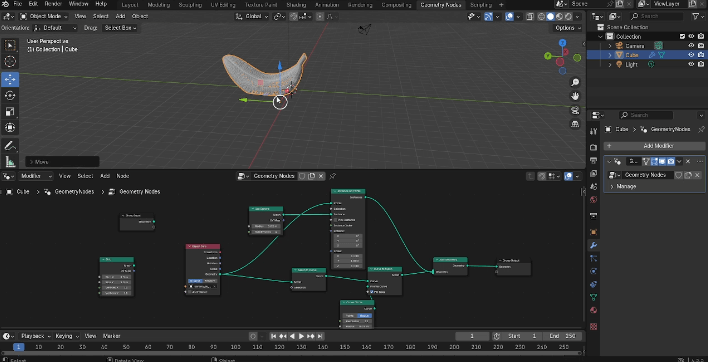
- To create the mesh, I started by making a cube and added Geometry Nodes to it. These nodes allow you to create and modify geometry procedurally. Each node has a specific function, such as distributing points, modifying meshes, or instancing objects.
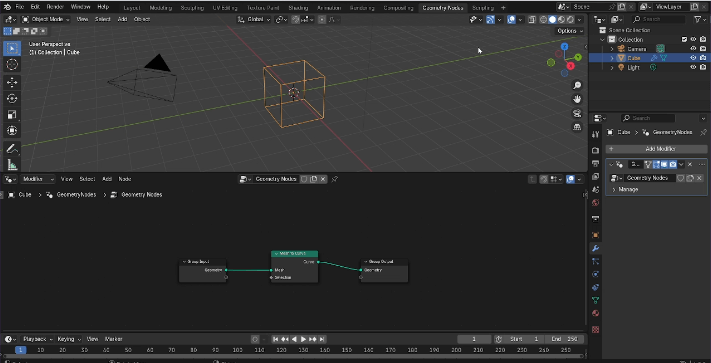
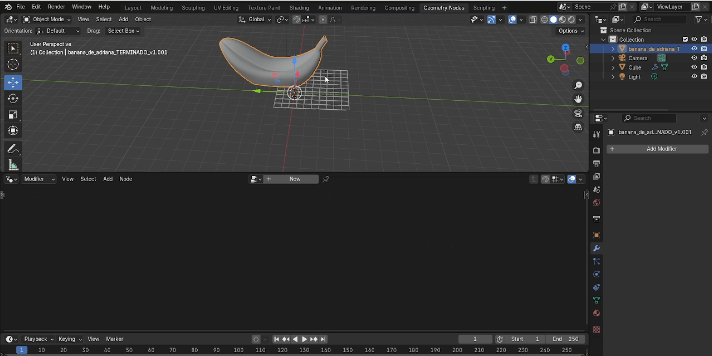
- Next, I made the grid and replaced it with the banana. I just moved the file to the Geometry Nodes section and aligned it with the mesh and points.
- Finally, I exported the model as an .stl file to transfer it to the program.
3D printing
- To print my figure, I used PrusaSlicer 2.9.0.
- First, I had to configure the machine. The model of the machine is the Prusa Mk4s.
- Then, I imported my piece and verified the measurements because the grid lines were more than 0.6mm away from where the machine could print.
- I configured the machine with these values.
- Next, I added supports to the banana ,exported it in G-code and saved this to the memory.
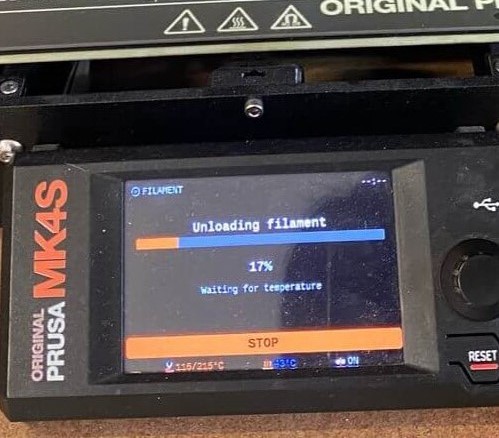
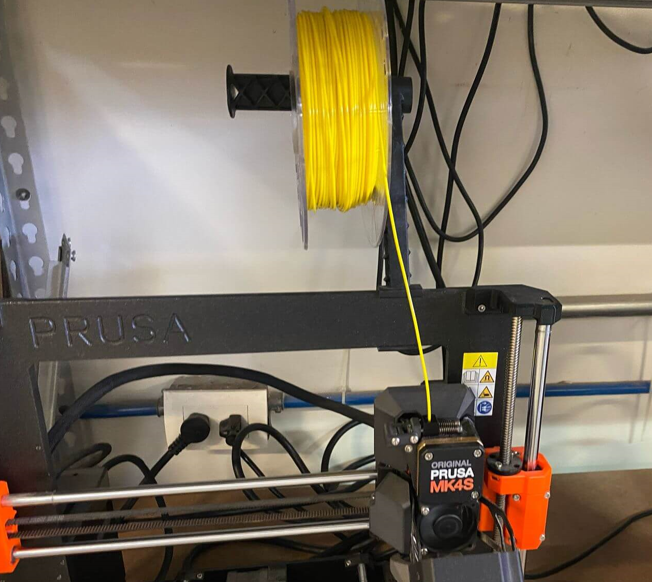
- To load the filament, I had to remove the old filament from the machine and insert the new one. It has to go through an opening. I selected the “loading filament” option, chose PLA as the material, and pressed play.
- Then, the machine started printing my piece.
- To finish, I removed the piece from the machine and carefully removed the supports.


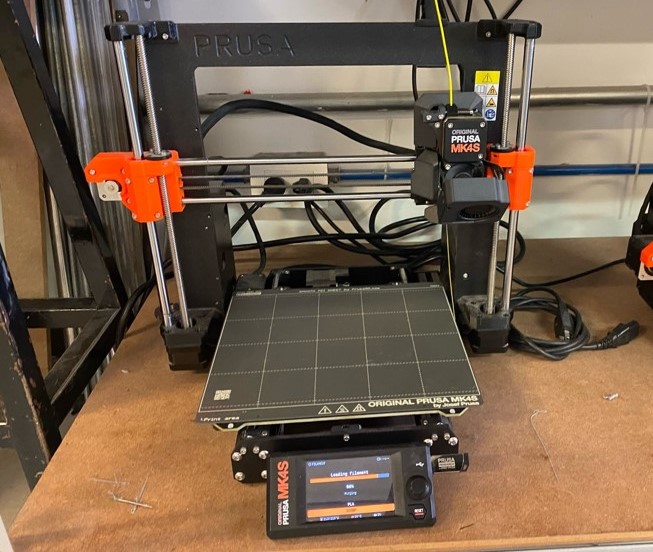
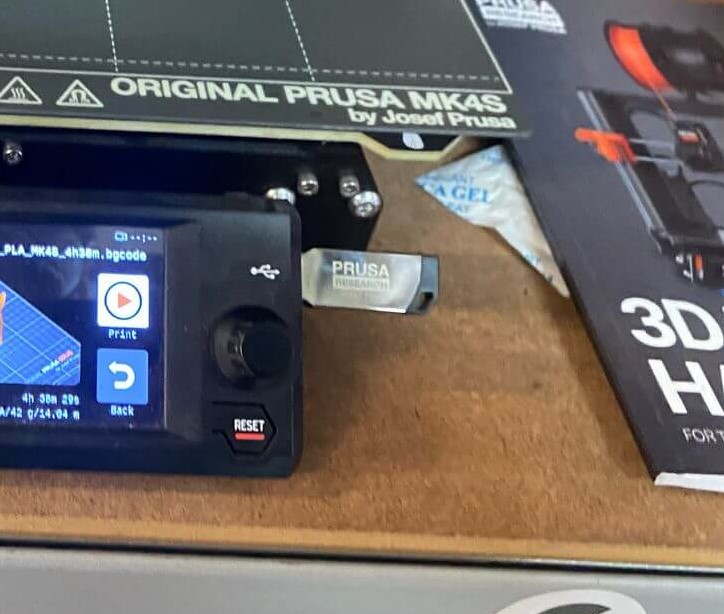
Comparison of Two Prints
I made two bananas 🍌🍌 to see the results in each piece. I made the first one with supports, and the second one, in yellow, without supports because it didn’t have an angle less than 30 degrees.

Comparing the two, the first one was fine, but the second one had some small details missing in the middle part.

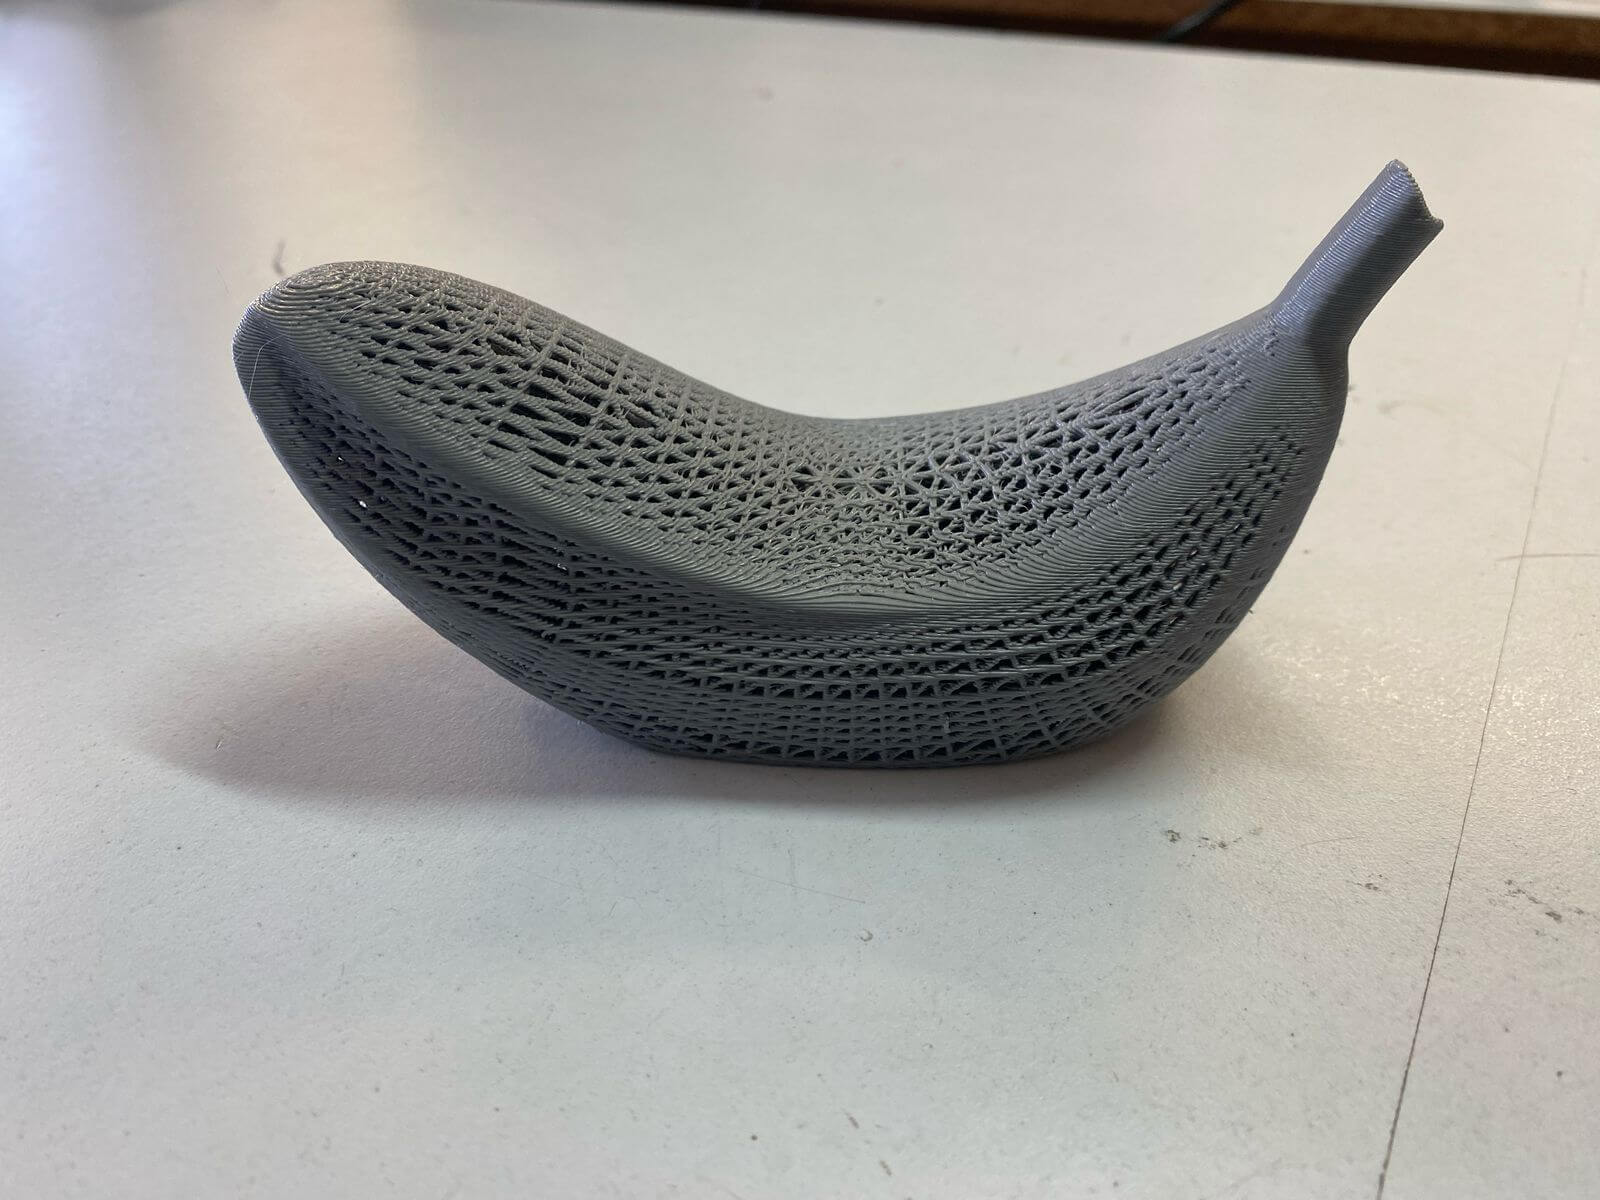
why it could not be easily made subtractively?
This structure is complicated to perform substractively because it has very complex forms and holes in all directions, which would be difficult with other techniques. In addition, the piece must be more accurate with internal details, which makes subtractive methods less ideal. That is why 3D impression is a good option to work this type of complex structures.
Wavy Bracelet〰️
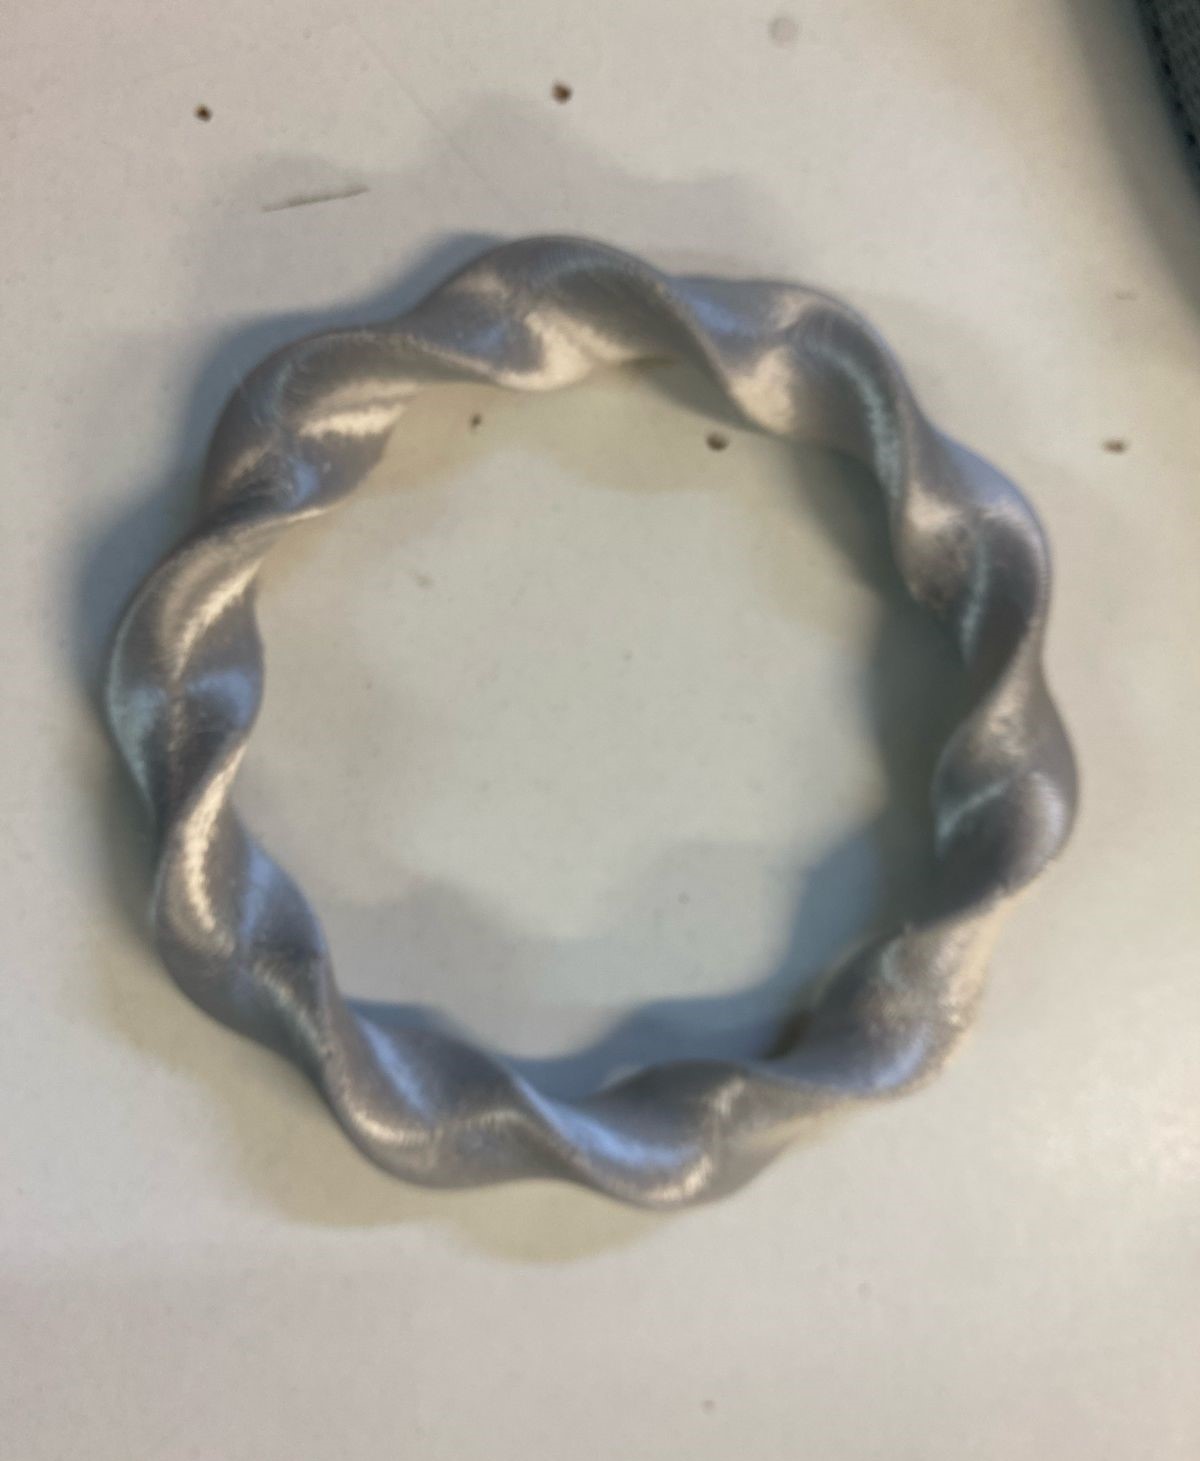
Then, I decided to do something else and made a wavy bracelet.
I watched a video about it: Watch Video
For this figure, I used SolidWorks.
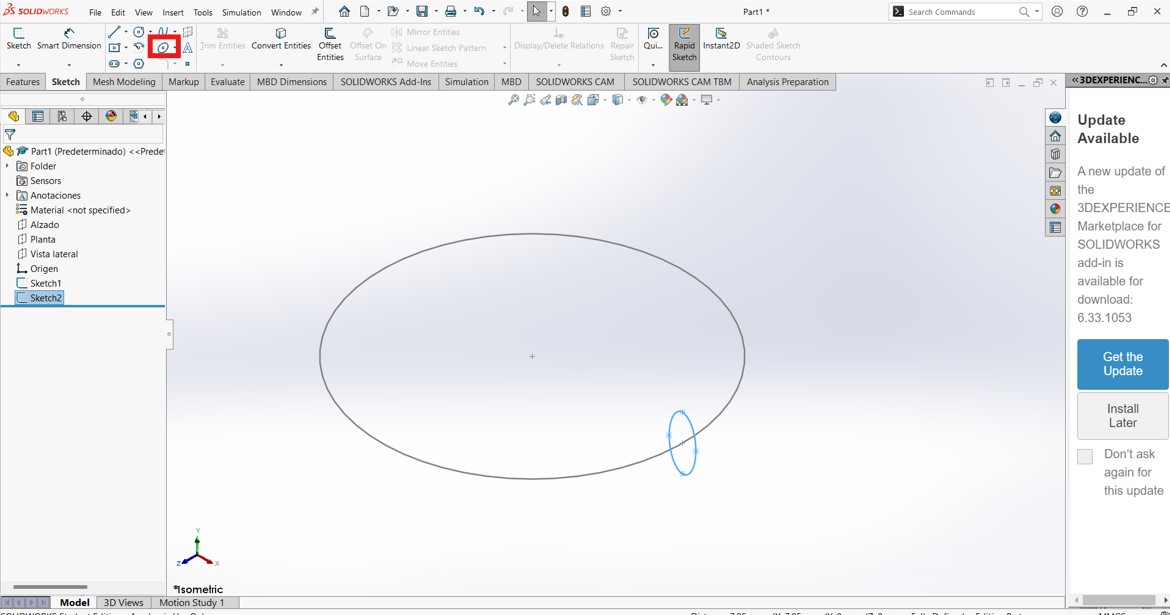
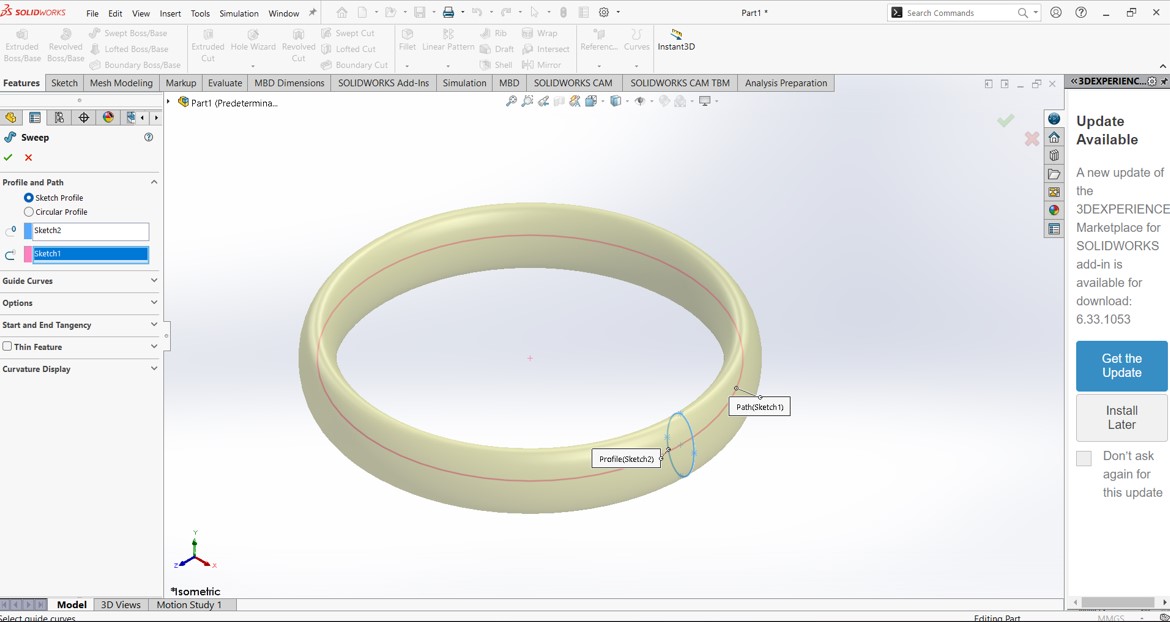
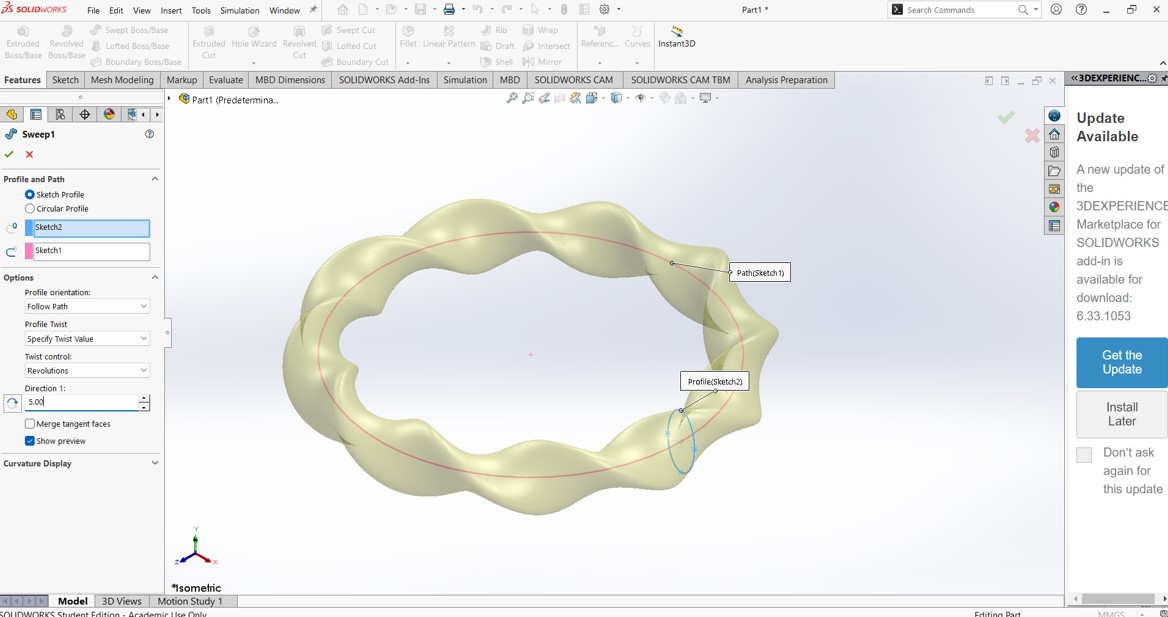
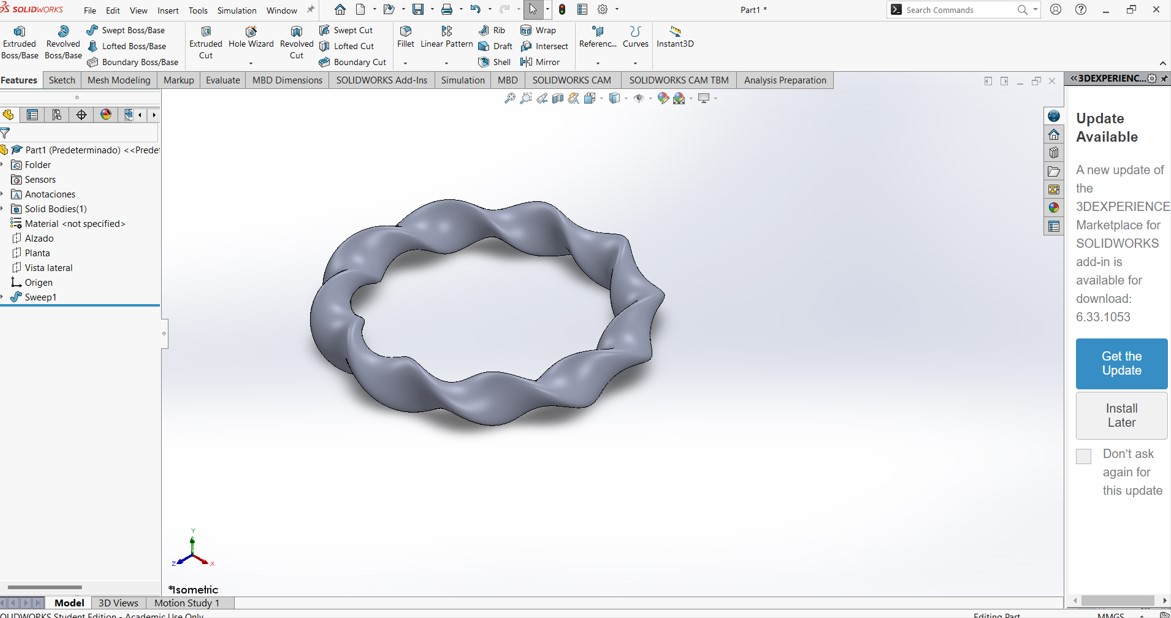
- I created a circle and placed ellipses around it. Then, I added a function called “sweep” ,specified the torsion value and i export this piece in .stl .
- After that, I proceeded with the same steps as with the bananas and sent it to the printer.
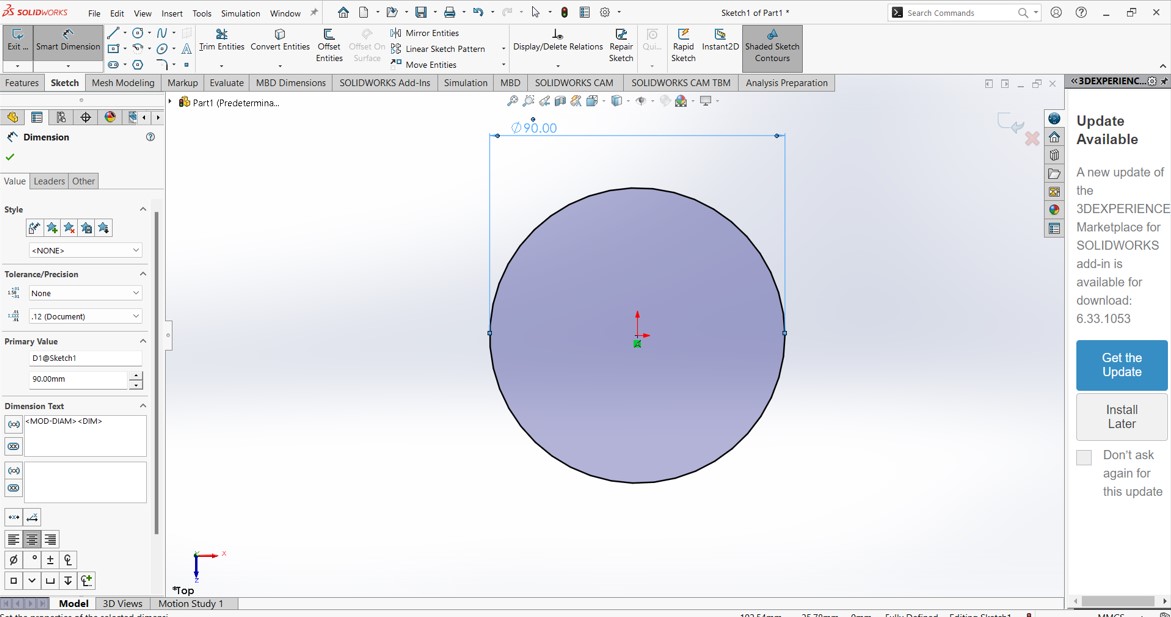

3D printing
why it could not be easily made subtractively?
Since the bracelet has only a 9 mm diameter, it would be very complicated to make with CNC due to its small size, the difficulty of holding it, and the limitations of cutting tools. With laser cutting, it would only be able to print two-dimensional shapes. So, 3D printing is the best option for this.
3D Scanning
Dog Figurine🐶
For this part, I decided to scan a dog figurine.
I used the "Shining 3D" scanner, model "Einscan-SE."
- First, I had to install ExScan S. This program was provided by the instructor Alberto Blanco.
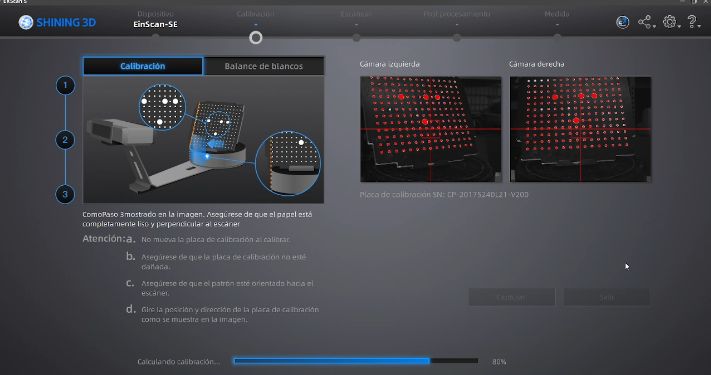
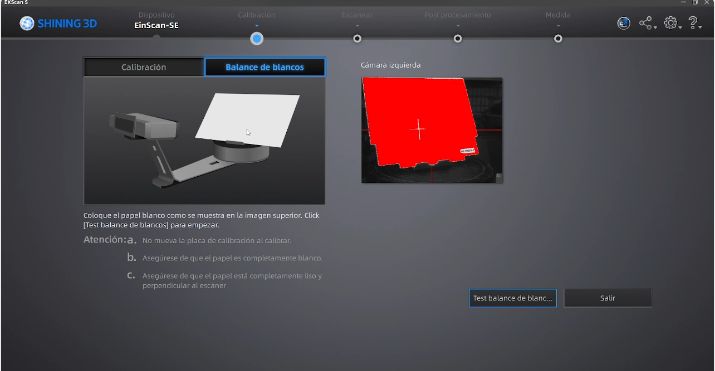
- I configured the scanner and had to calibrate it. I followed the steps indicated by the program, moving the plate with points as directed. Then, I placed a white sheet for white balance.
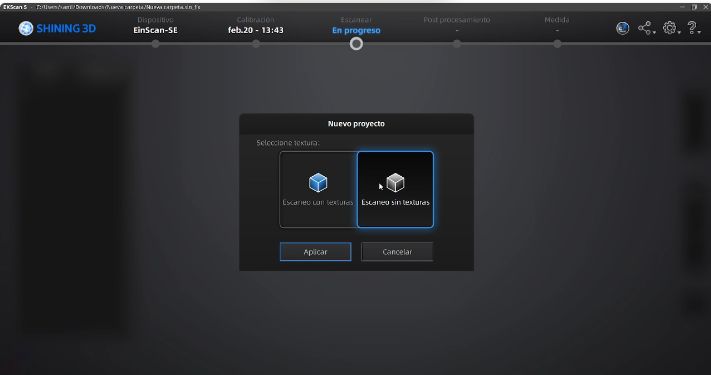
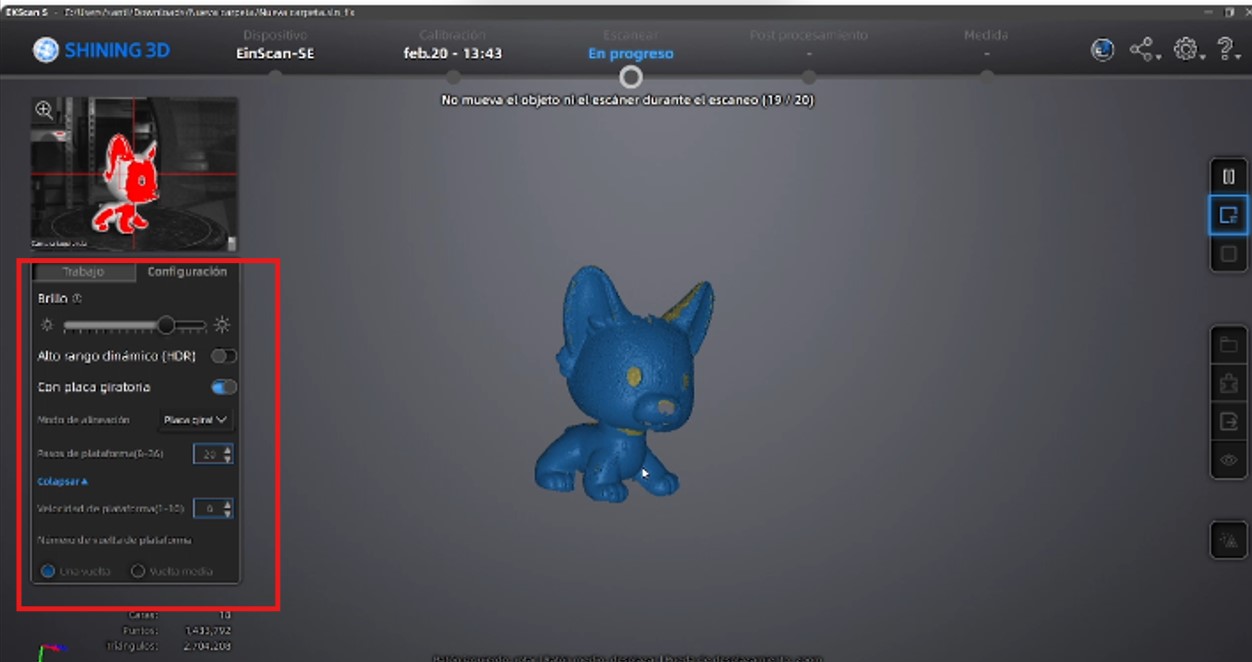
- To start scanning, I placed my figure, chose a new scan, and scanned without textures because I only wanted the shape.
- I pressed play, and the program started scanning. I had to try several times because the scan didn’t detect the piece. I played with the brightness settings to find the right balance.Although then I realized that placing the figure talcus was a good option for the scanner to better detect the surface details.
- Then, I exported my piece as an STL file, transferred it to the printer, and it started printing.

3D printing
The two figures🐶🐶
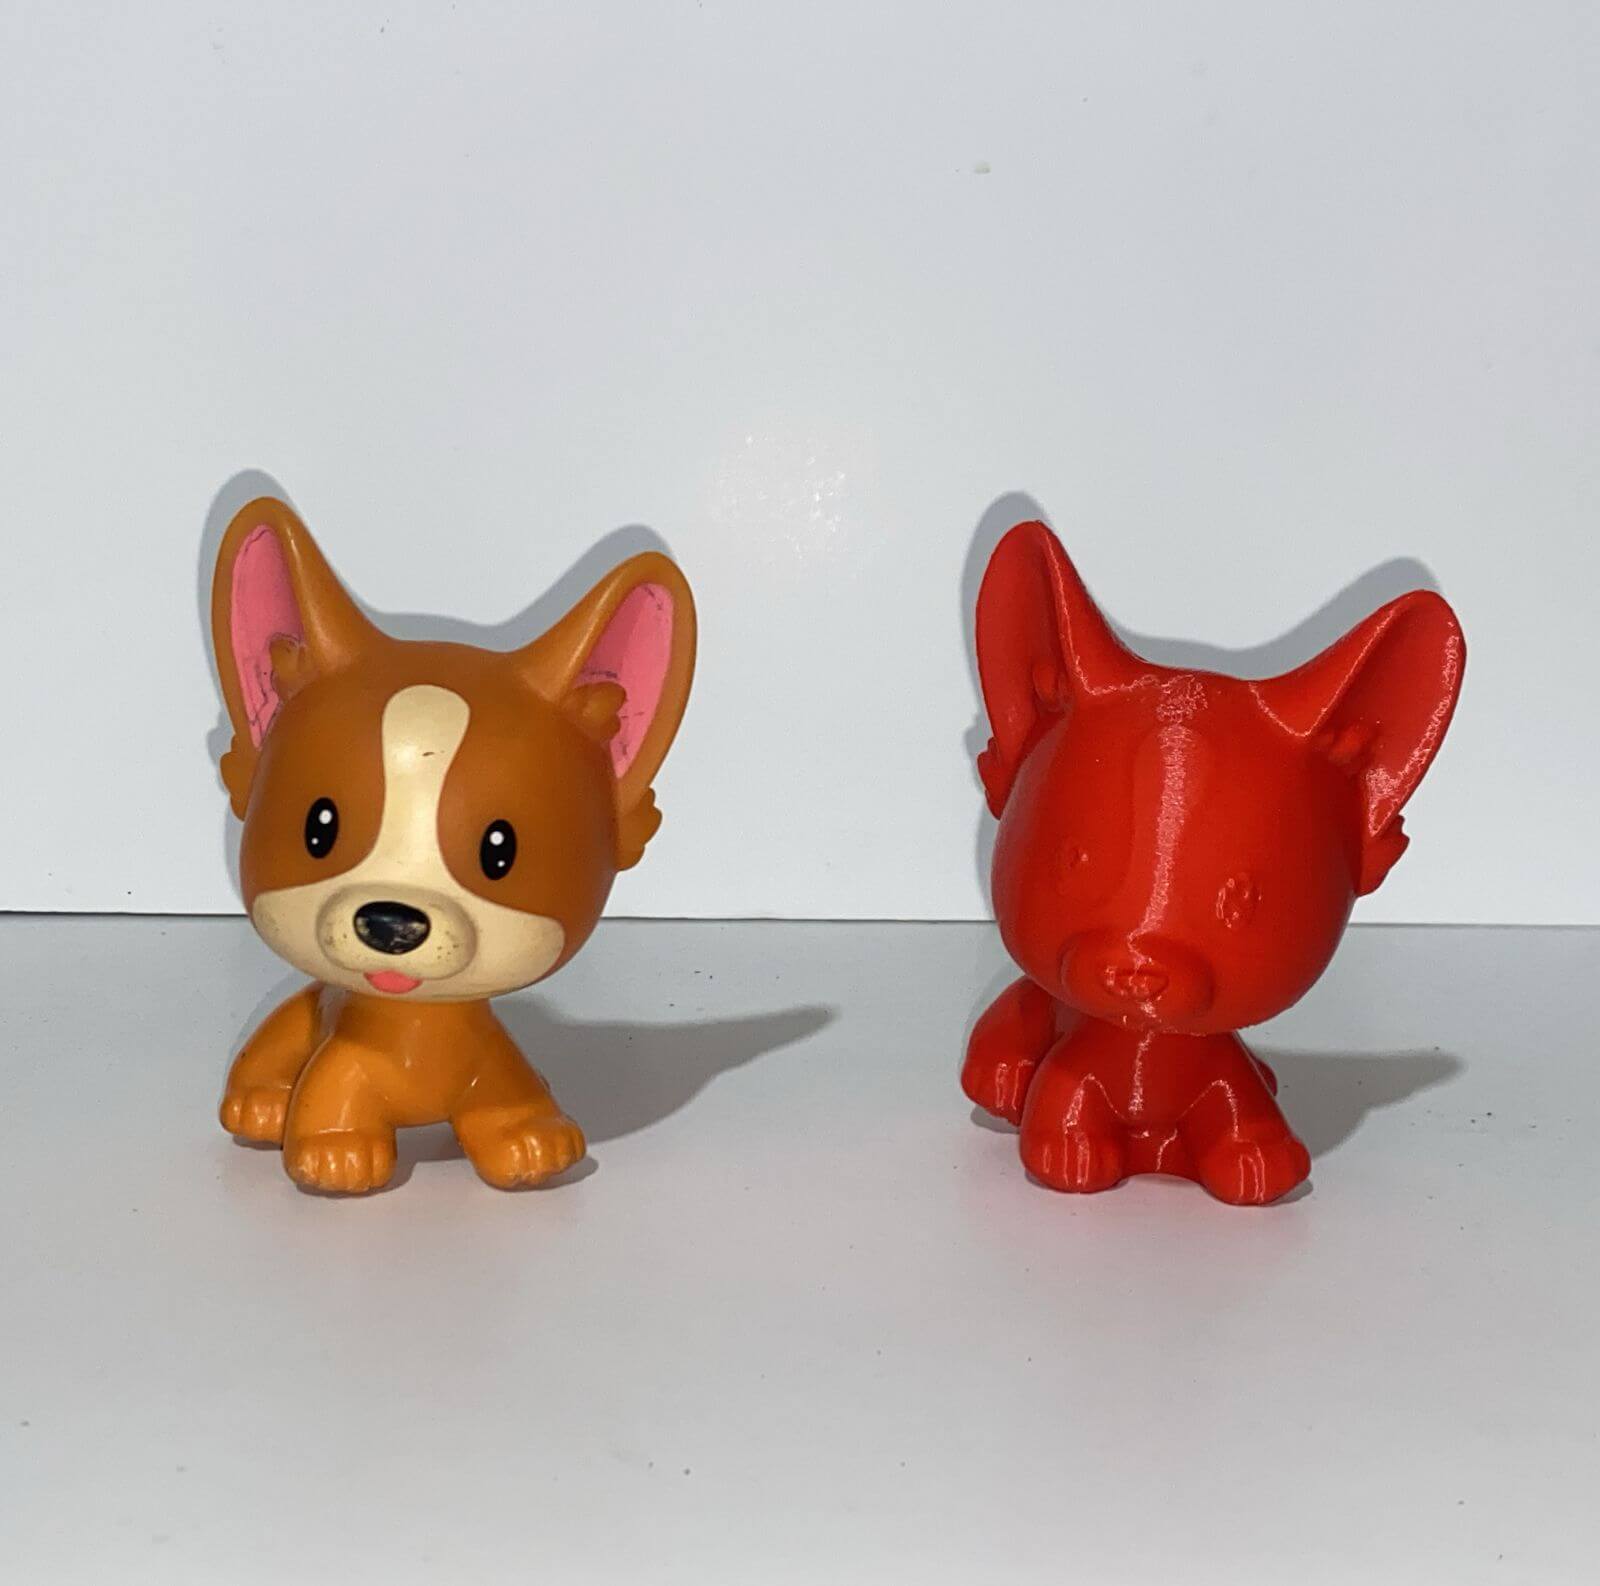
I did not place my file from my scan because it was too heavy.
Files
- Download bracelet in solidworks
- Download Banana modeled banana piece without mesh in Fusion360
- Download modeled banana in Blender
Conclusion
I liked this week because I had never printed in 3D before, and I enjoyed creating pieces and printing them in 3D. With the pieces I printed, I understood the parameters you need to provide to the machine to get a good result. I enjoyed experimenting with the scanner and seeing how you can scan pieces in 3D and print them in the same way.
