3.Computer Controlled Cutting
This week, we have to learn about two machines: laser cutting and vinyl cutting.
Group Task:
Group taskThings I Learned
- During this week, we learned about the operation of a laser cutter. In the session, we were taught how to use the machine, including how to turn it on, configure it, and adjust parameters such as cutting speed. At 40% speed, the cut remains clean.
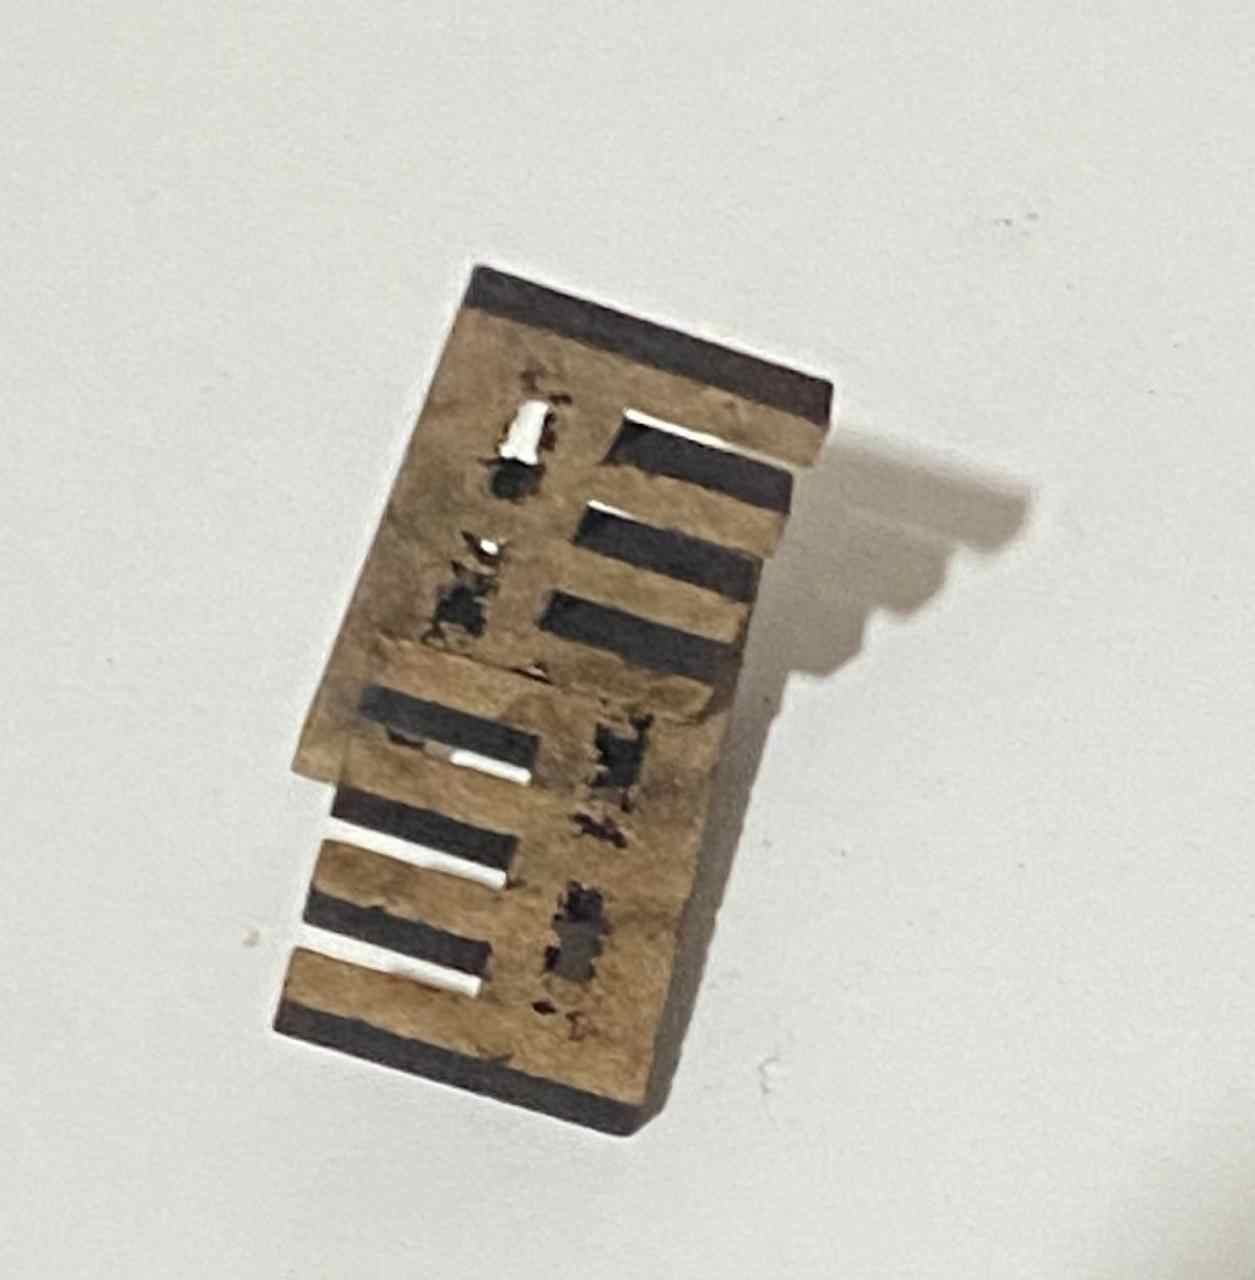
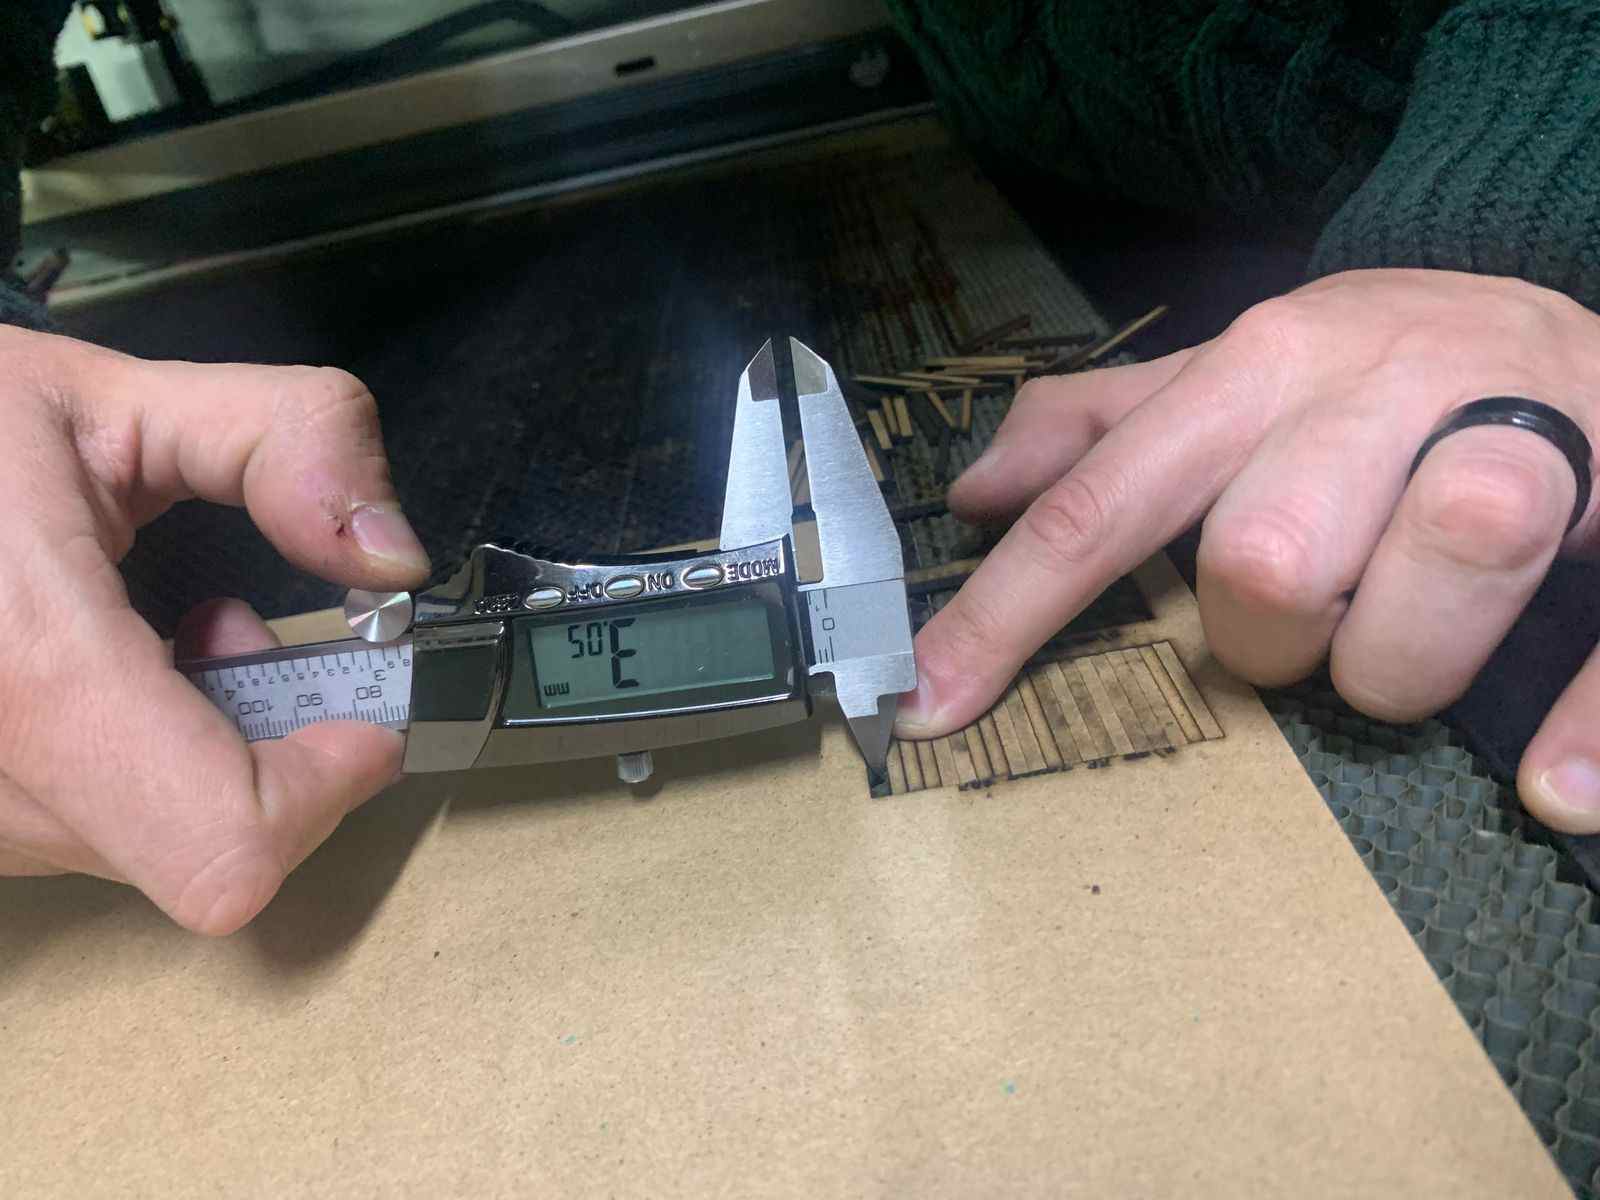
- It is important to consider the material thickness so that our pieces fit together. To achieve this, we conducted tests to determine the kerf (which is the amount of material burned during cutting).
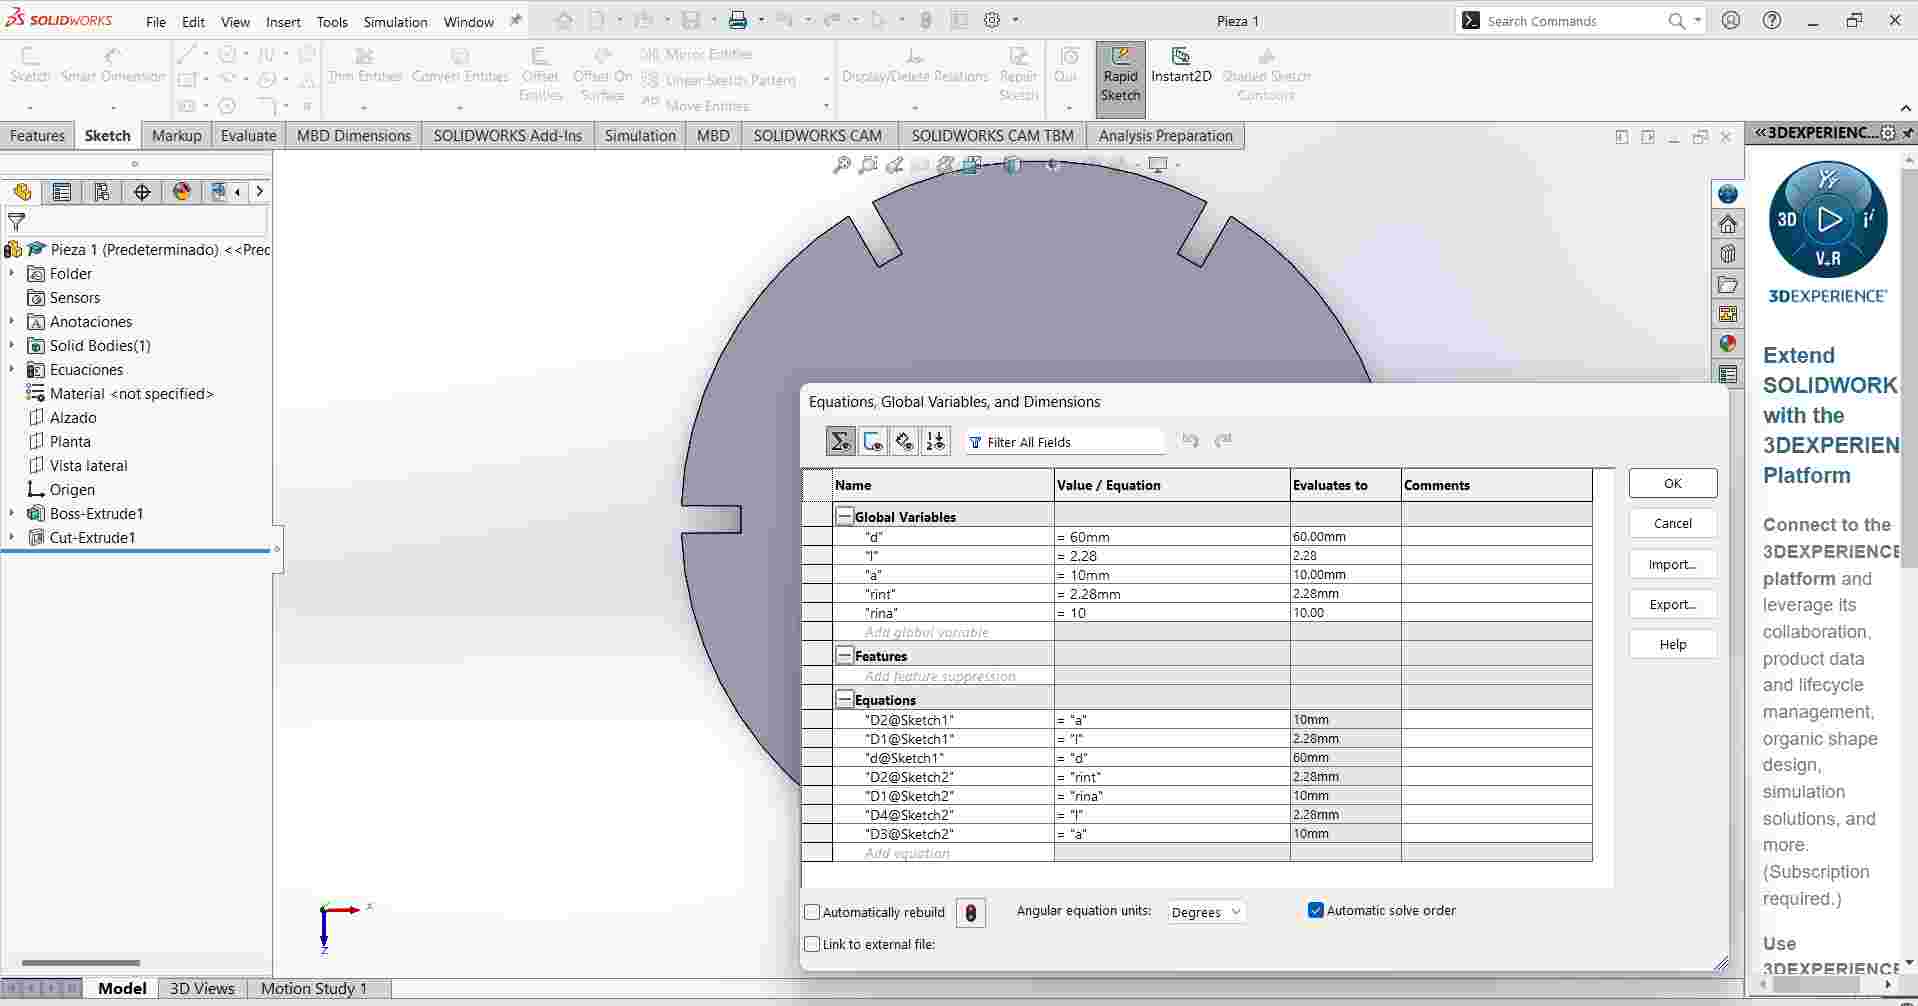
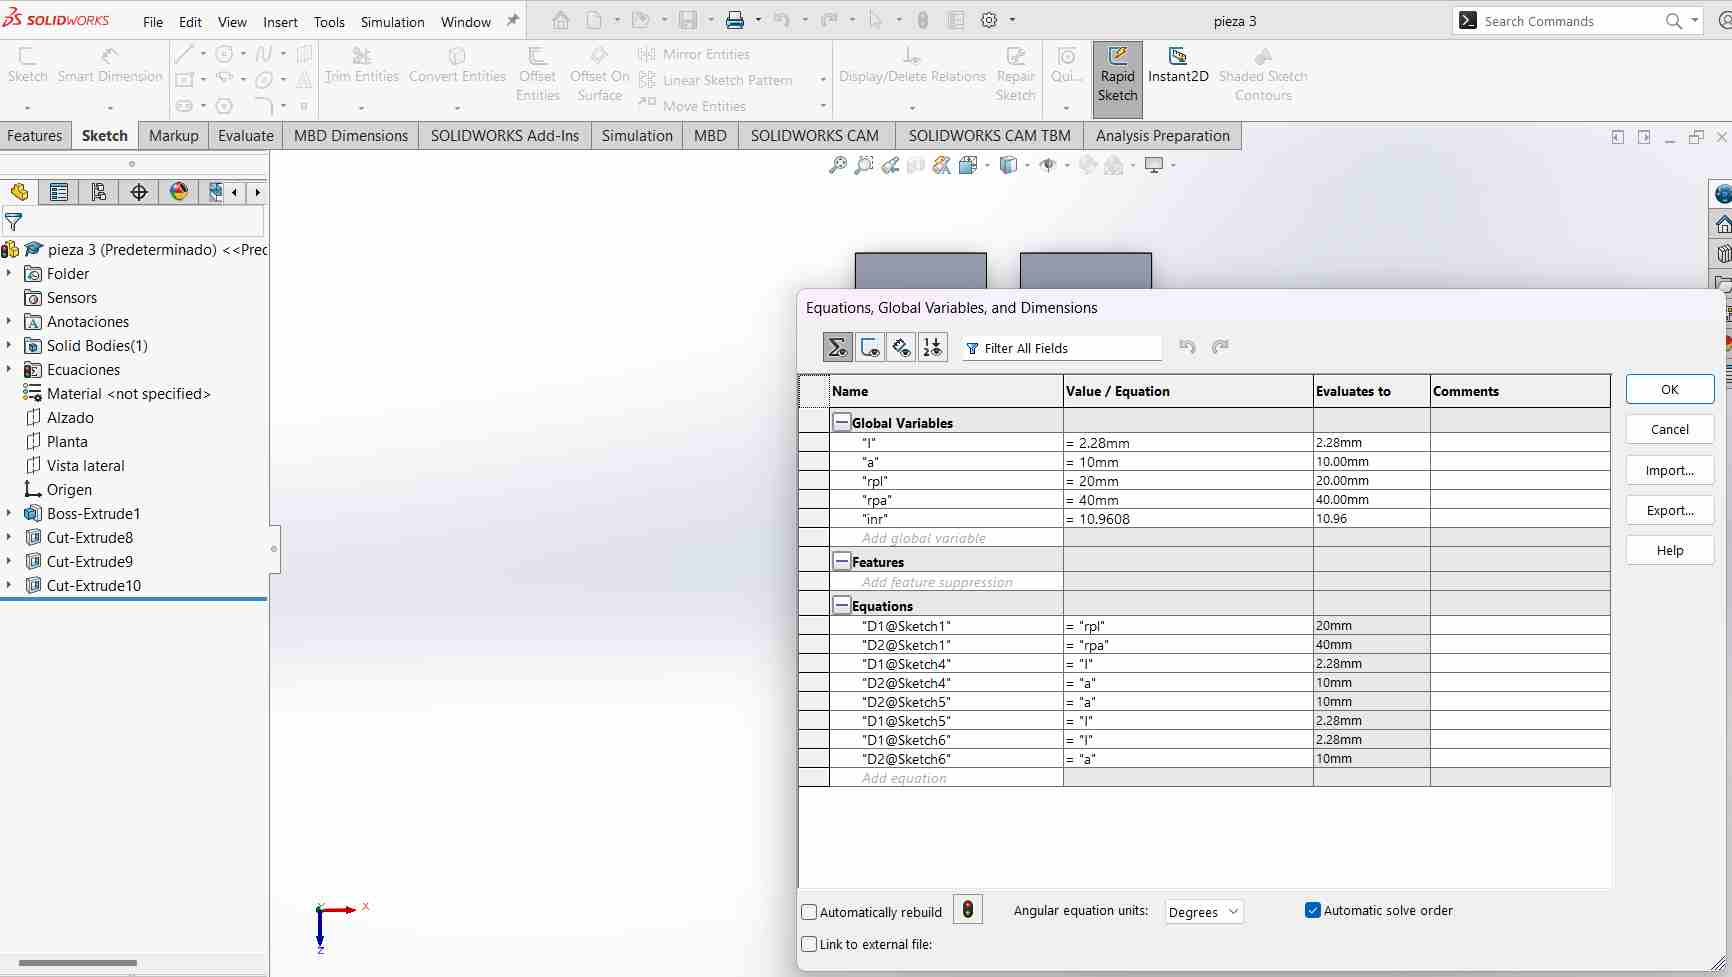
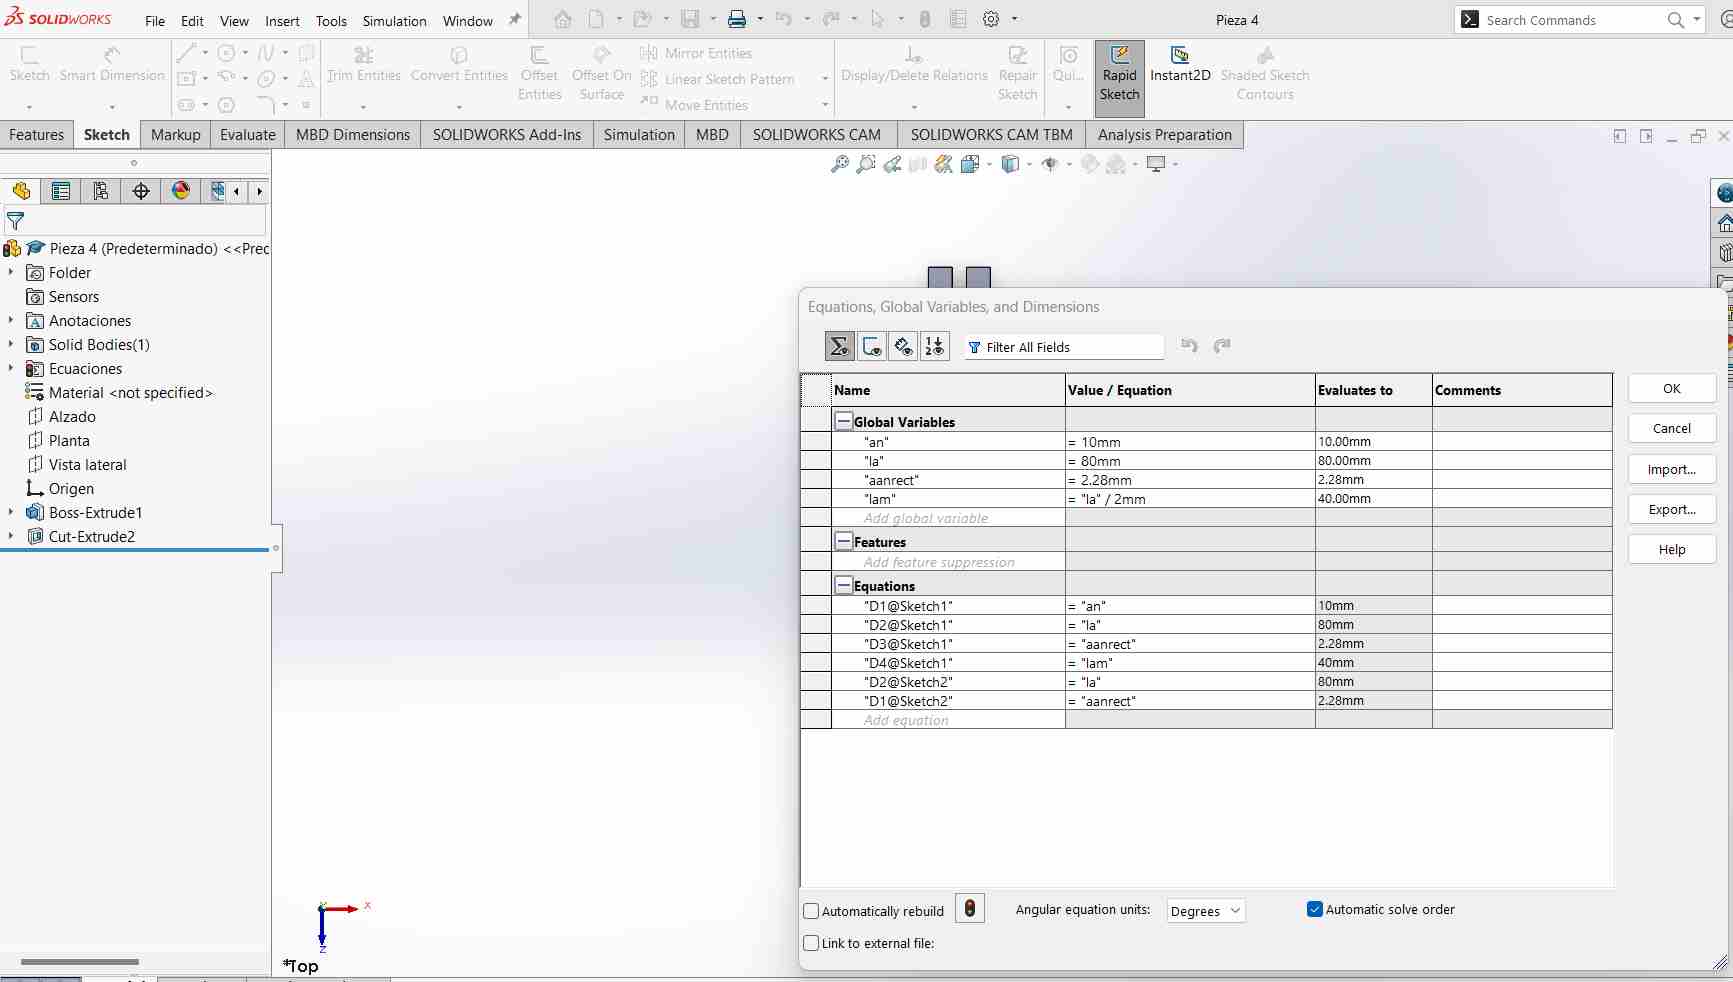
- Parametric design allowed me to easily change measurements after testing my material to ensure that the pieces fit together properly.
- I also learned about the types of materials that can be laser cut, as well as others that can be dangerous because they may catch fire or contain toxic substances.
| Hard materials | ||
|---|---|---|
| Material | CUT | ENGRAVE |
| MDF (pressed cardboard) | X | X |
| Wood | X | X |
| Plywood (pressed wood) | X | X |
| Plastic | X | X |
| Acrylic | X | X |
| Glass and crystals | X | |
| Ceramic | X | |
| Marble, onyx and other stones | X | |
| Tile | X | |
| Metal (apply special resin, lacquer, etc) | X | |
| Soft materials | ||
| Paper | X | X |
| Cardboard | X | X |
| Foaming | X | X |
| Felt | X | X |
| Cotton and mixed fiber fabrics | X | X |
| Thick synthetic fiber fabrics | x | X |
| Synthetic fabric lycra and thin | x | X |
| Natural leather(leather) | x | X |
| Synthetic leather(leather) | x | X |
| Rubber(rubber or latex) | x | X |
| Cork | x | X |
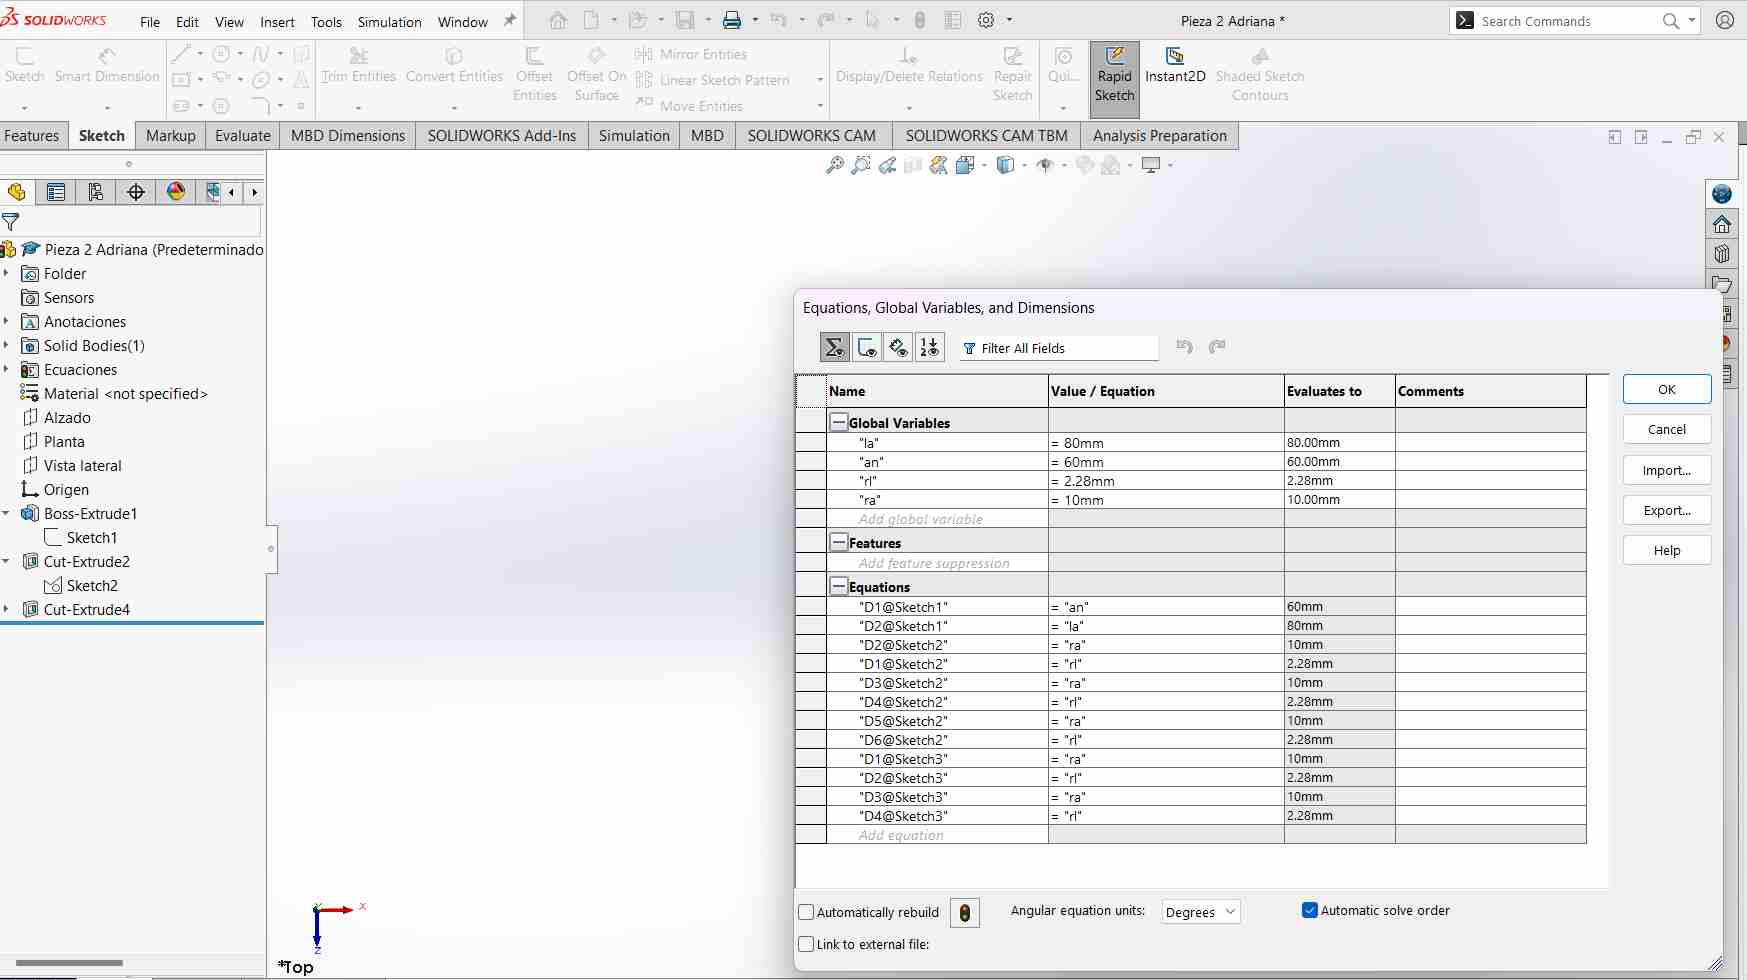
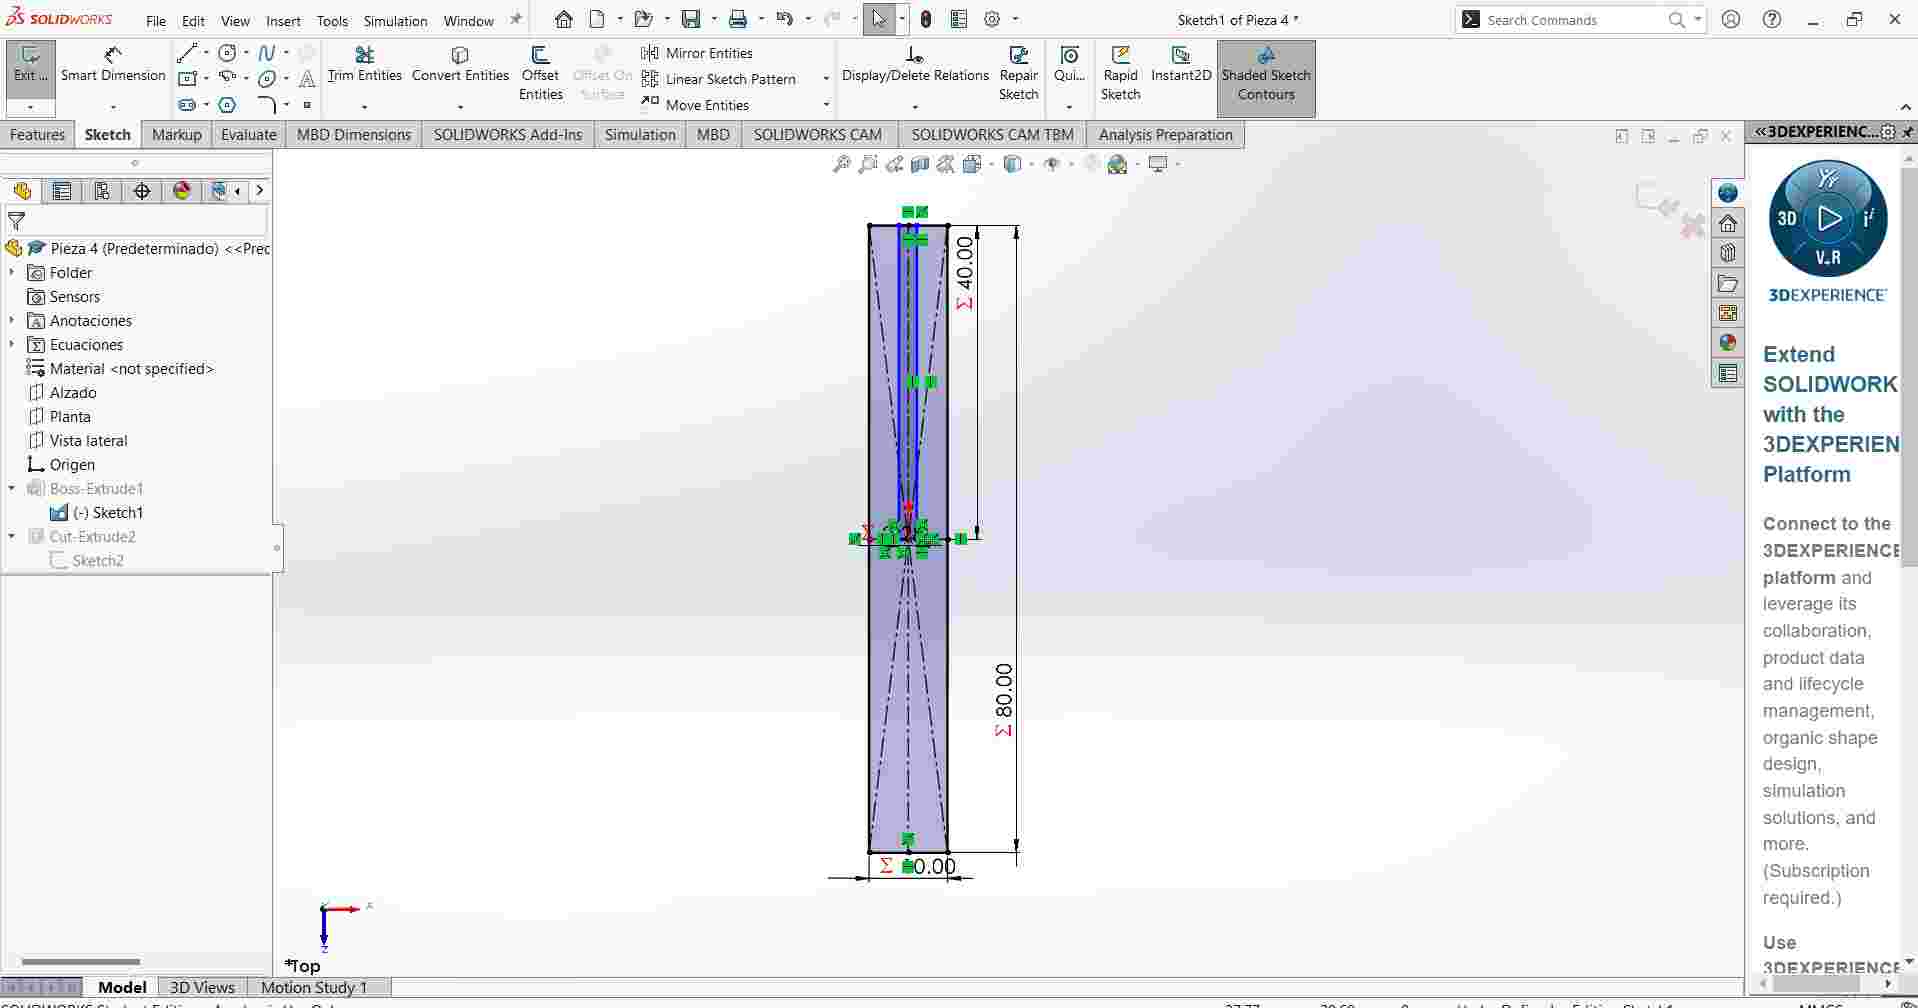
Parametric design
I made four different pieces in SolidWorks.
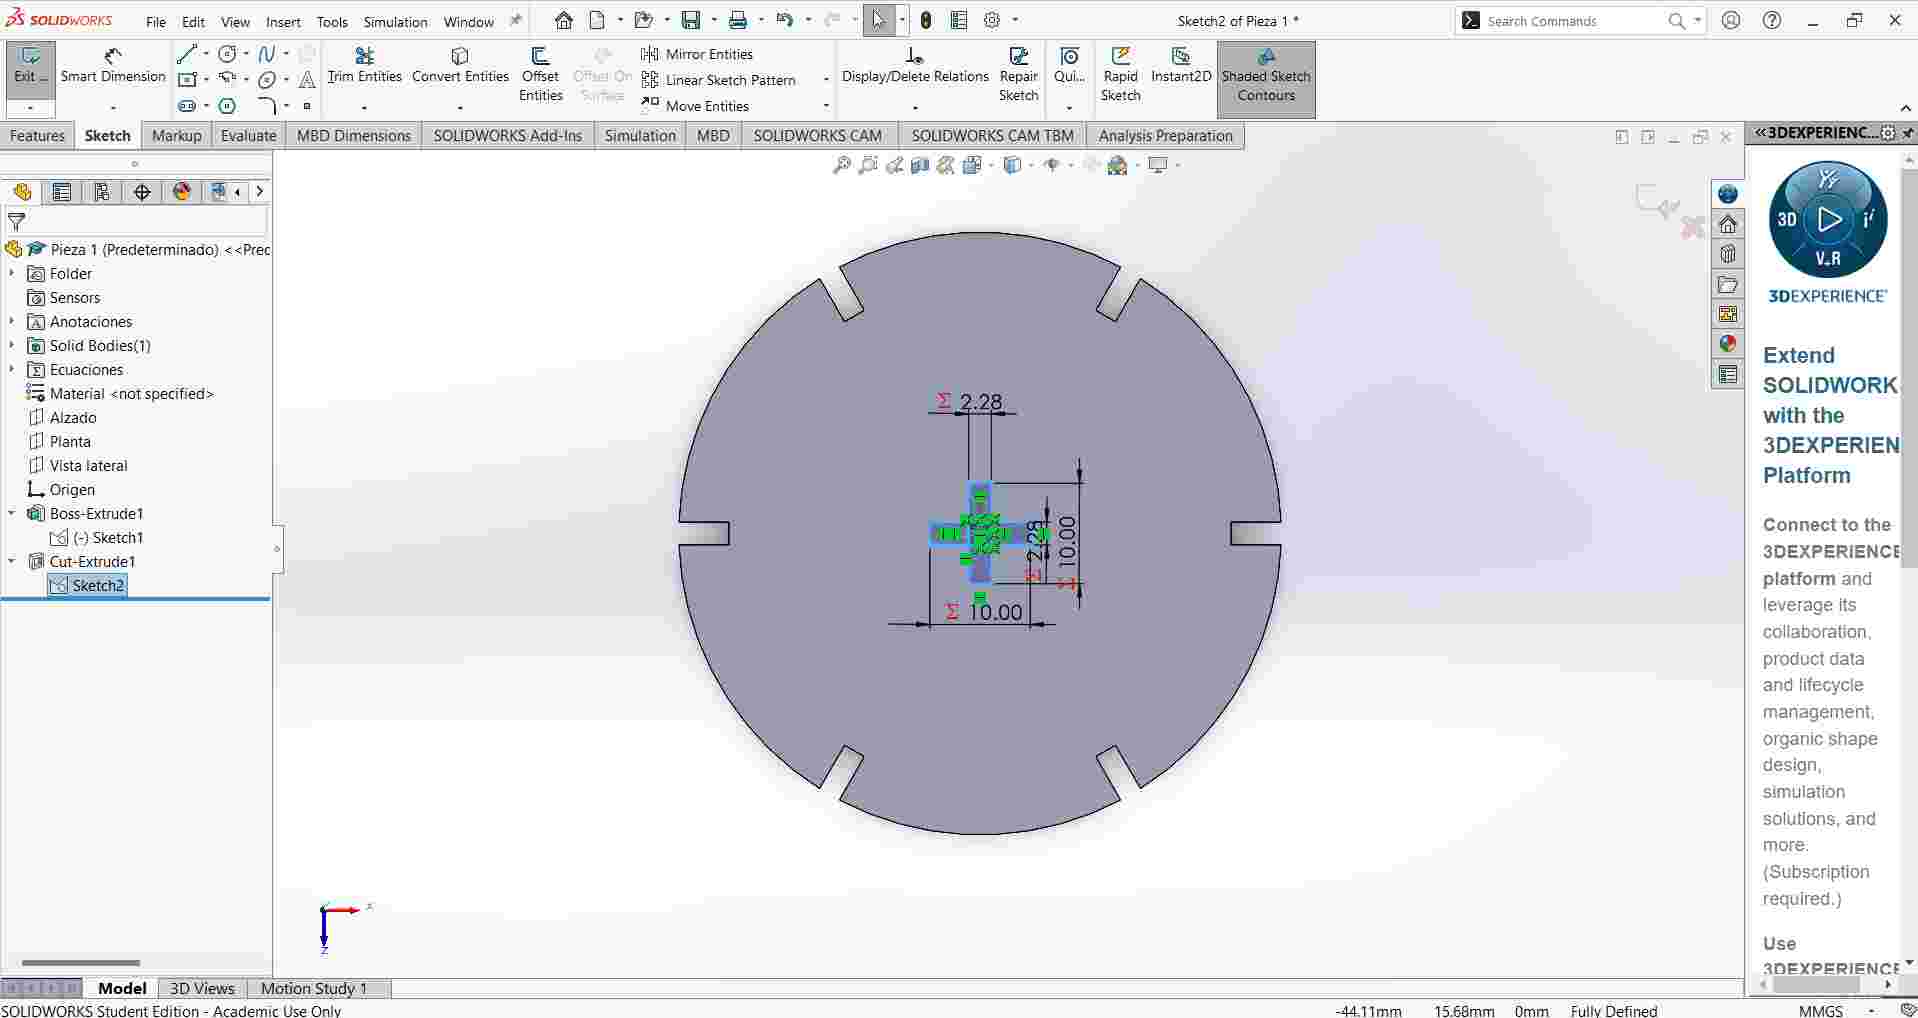
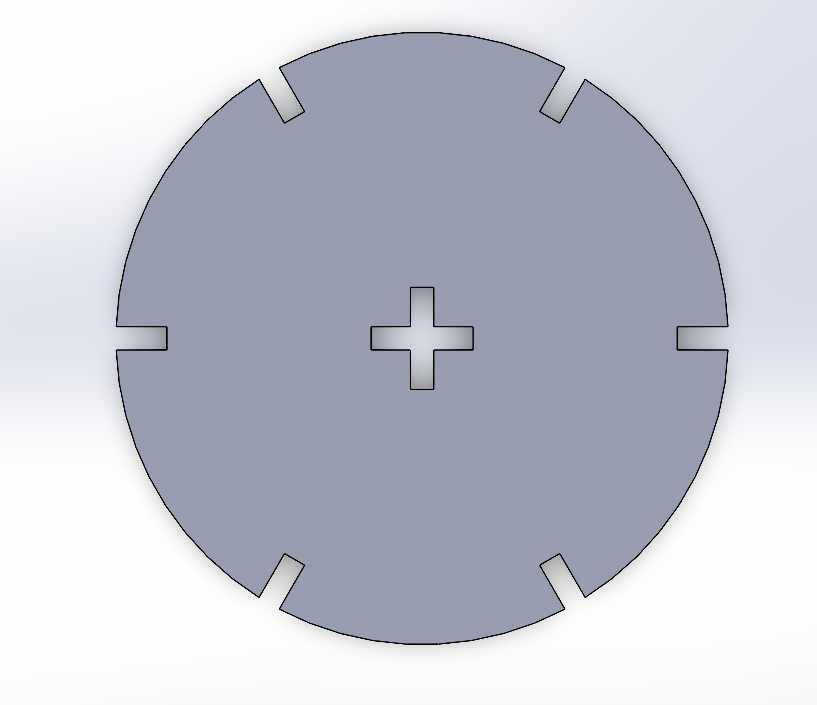
First piece
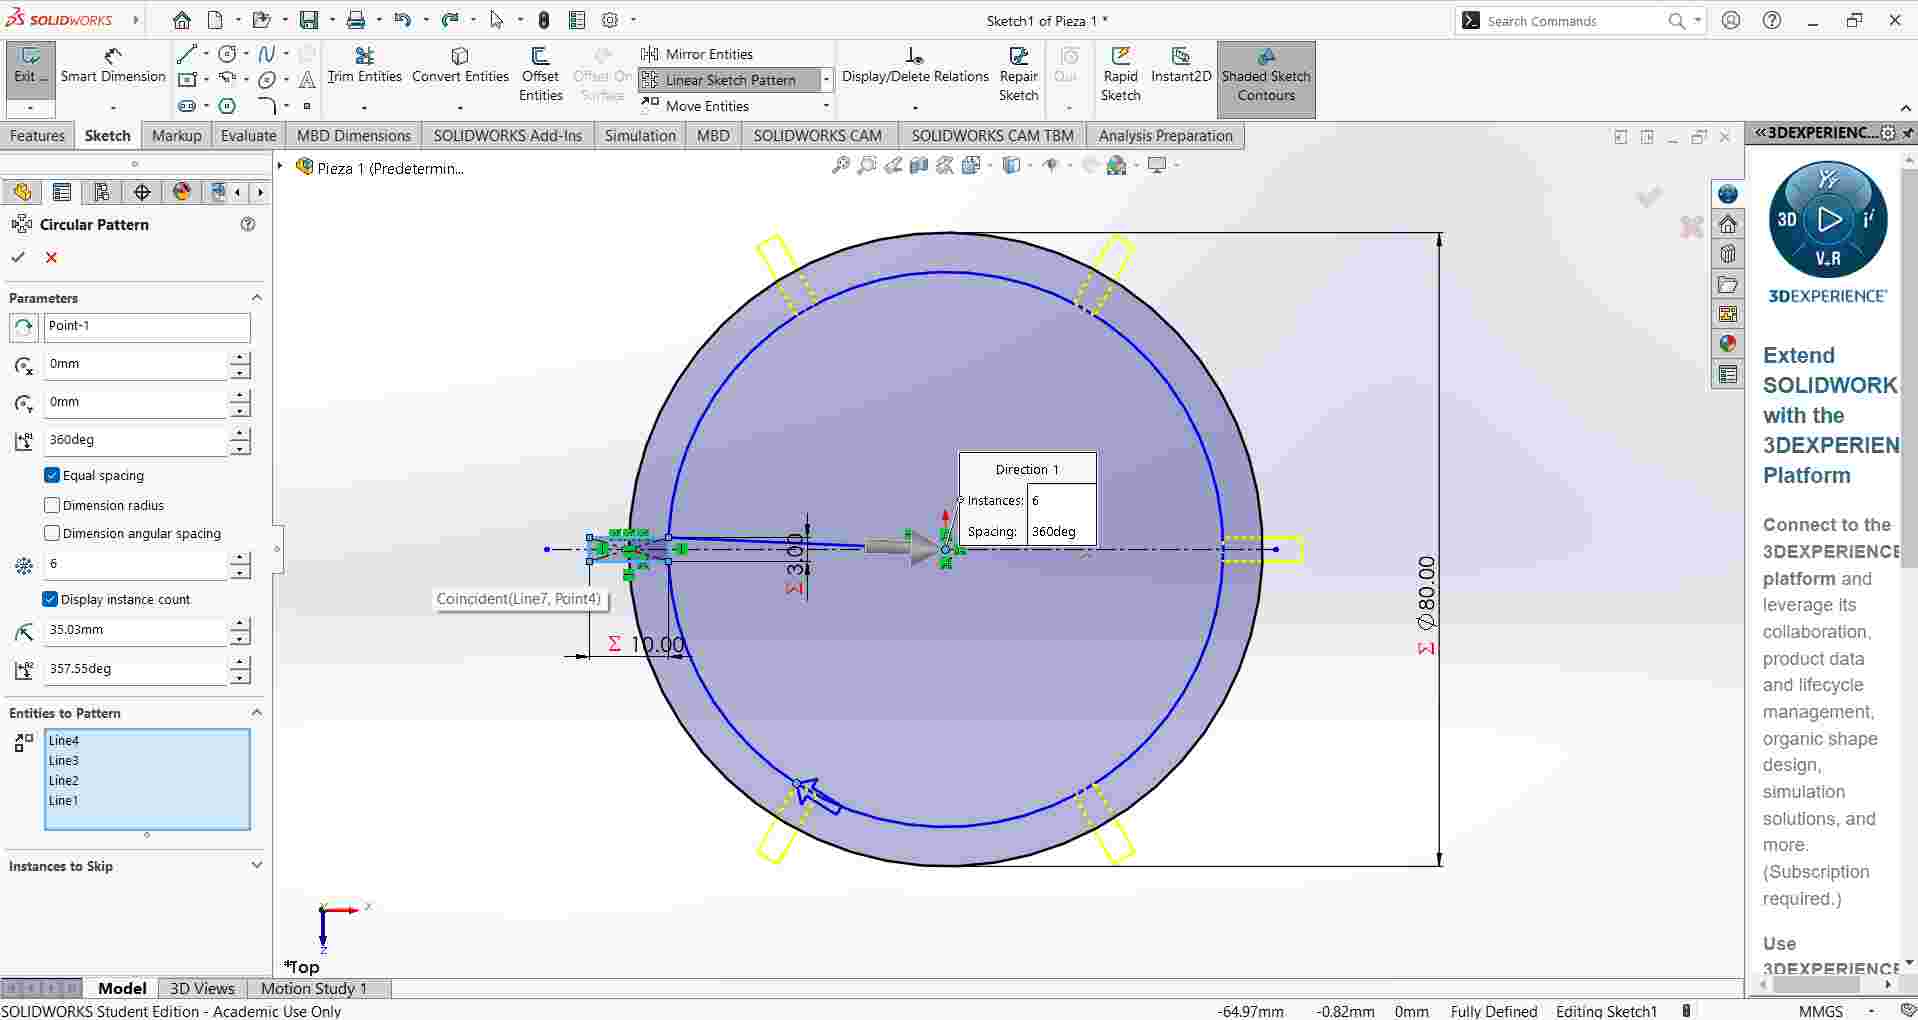
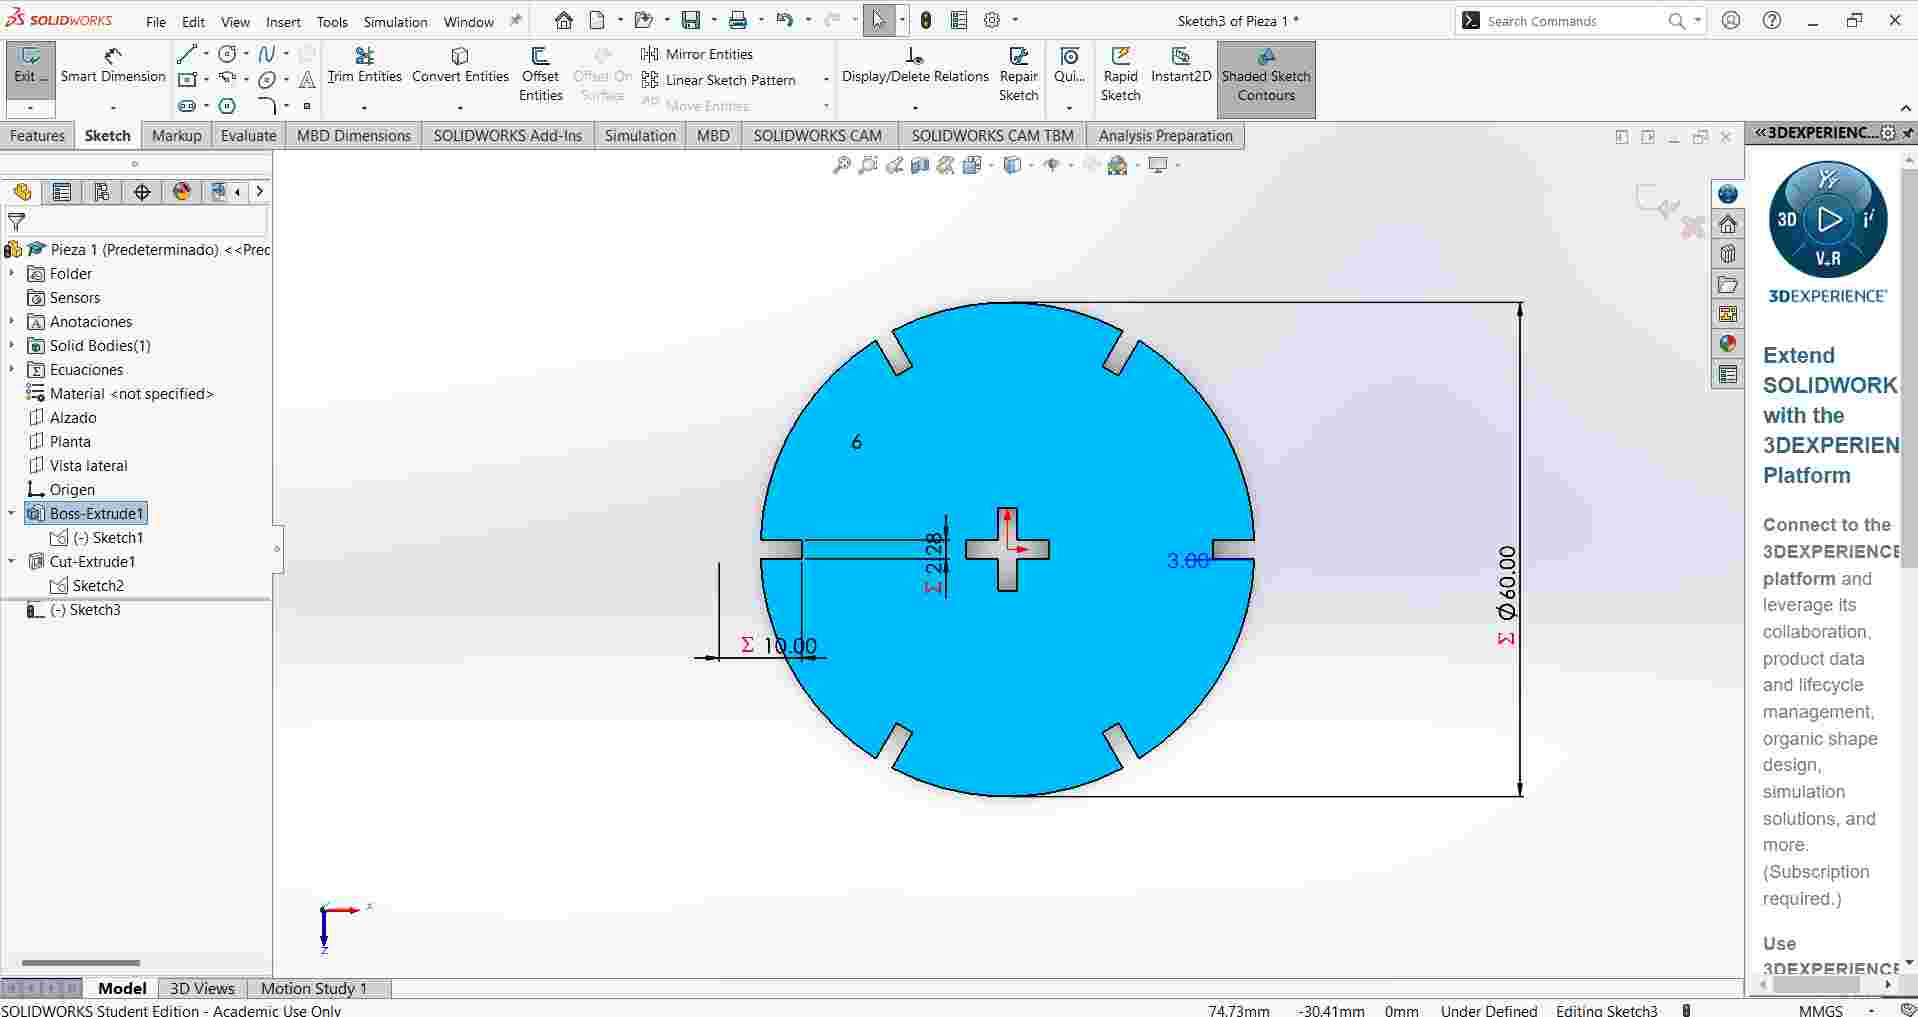
- First, I created a circle and extruded it to 3mm.
- For this piece, my circle had six holes.
- In this circle, I placed six rectangles with their respective sizes.
- To create the circles around the main circle, I used the tool “Circular Pattern”.
- Then, I extruded the rectangles.
- I wanted to add something to interlock the pieces, so I placed a cross in the center.
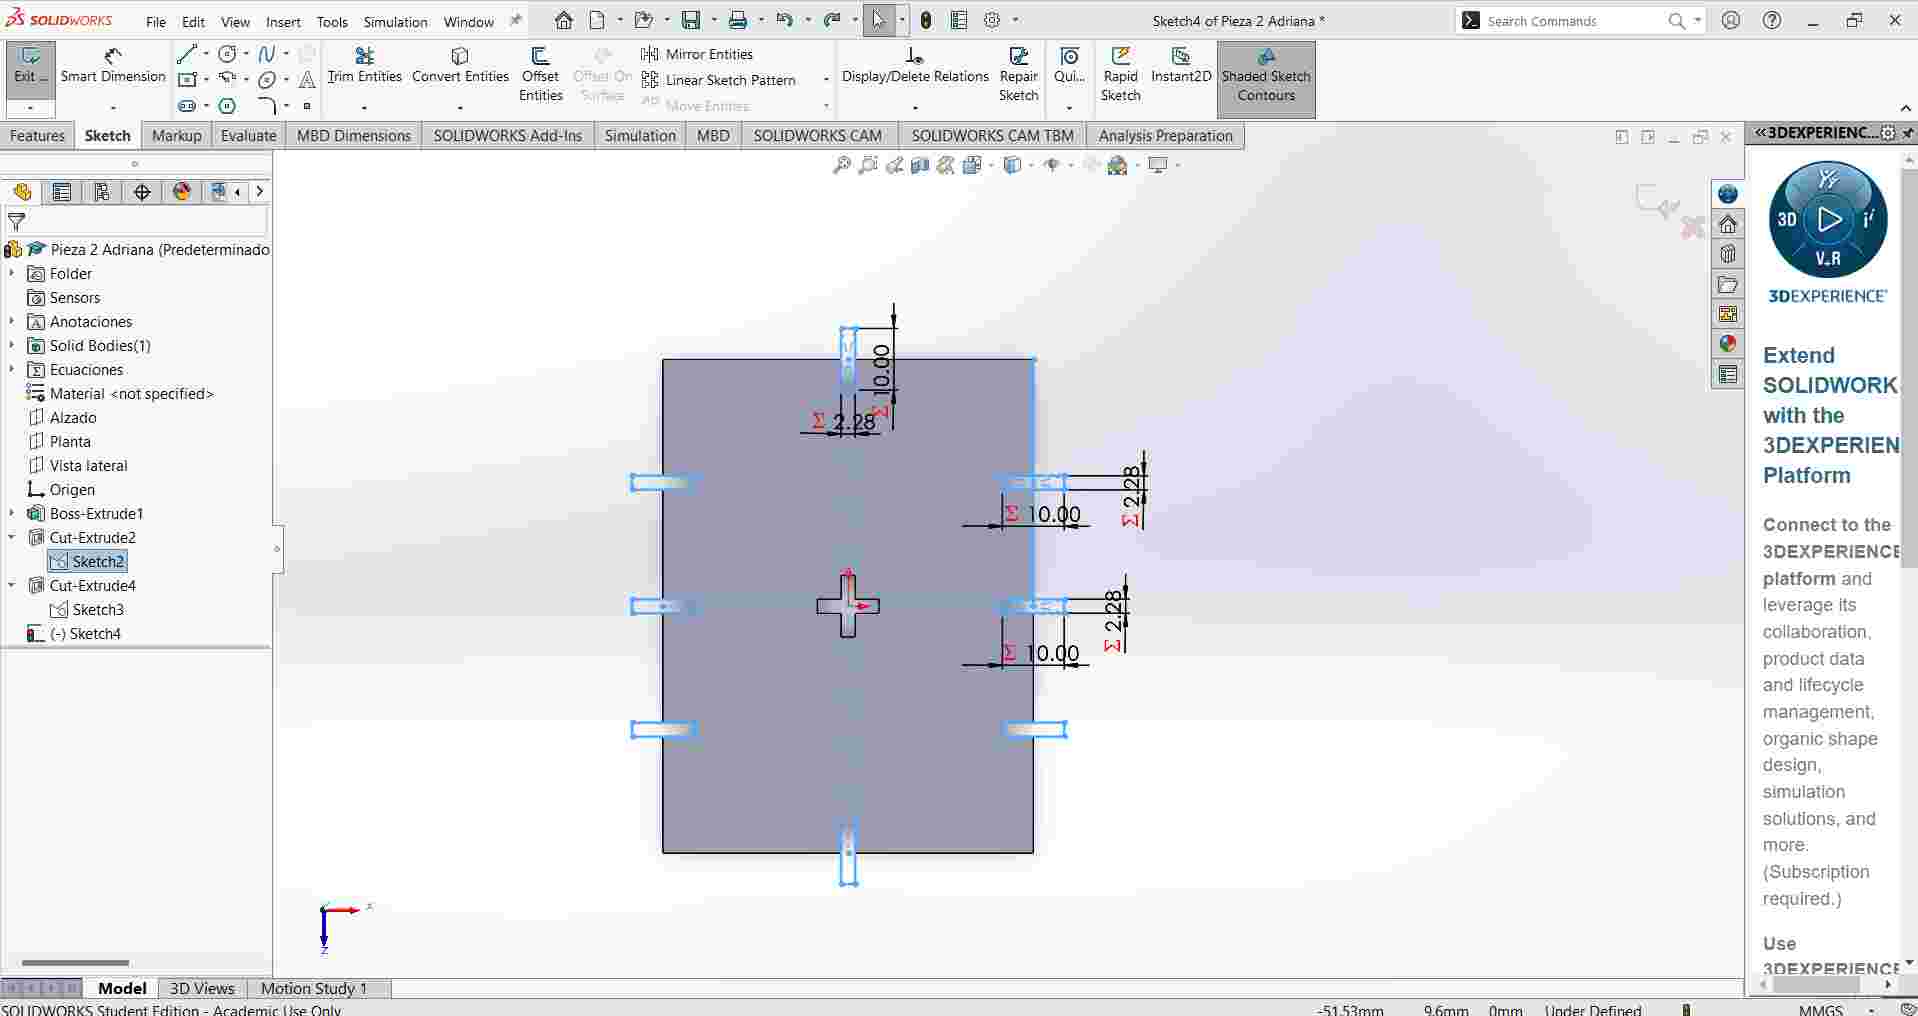
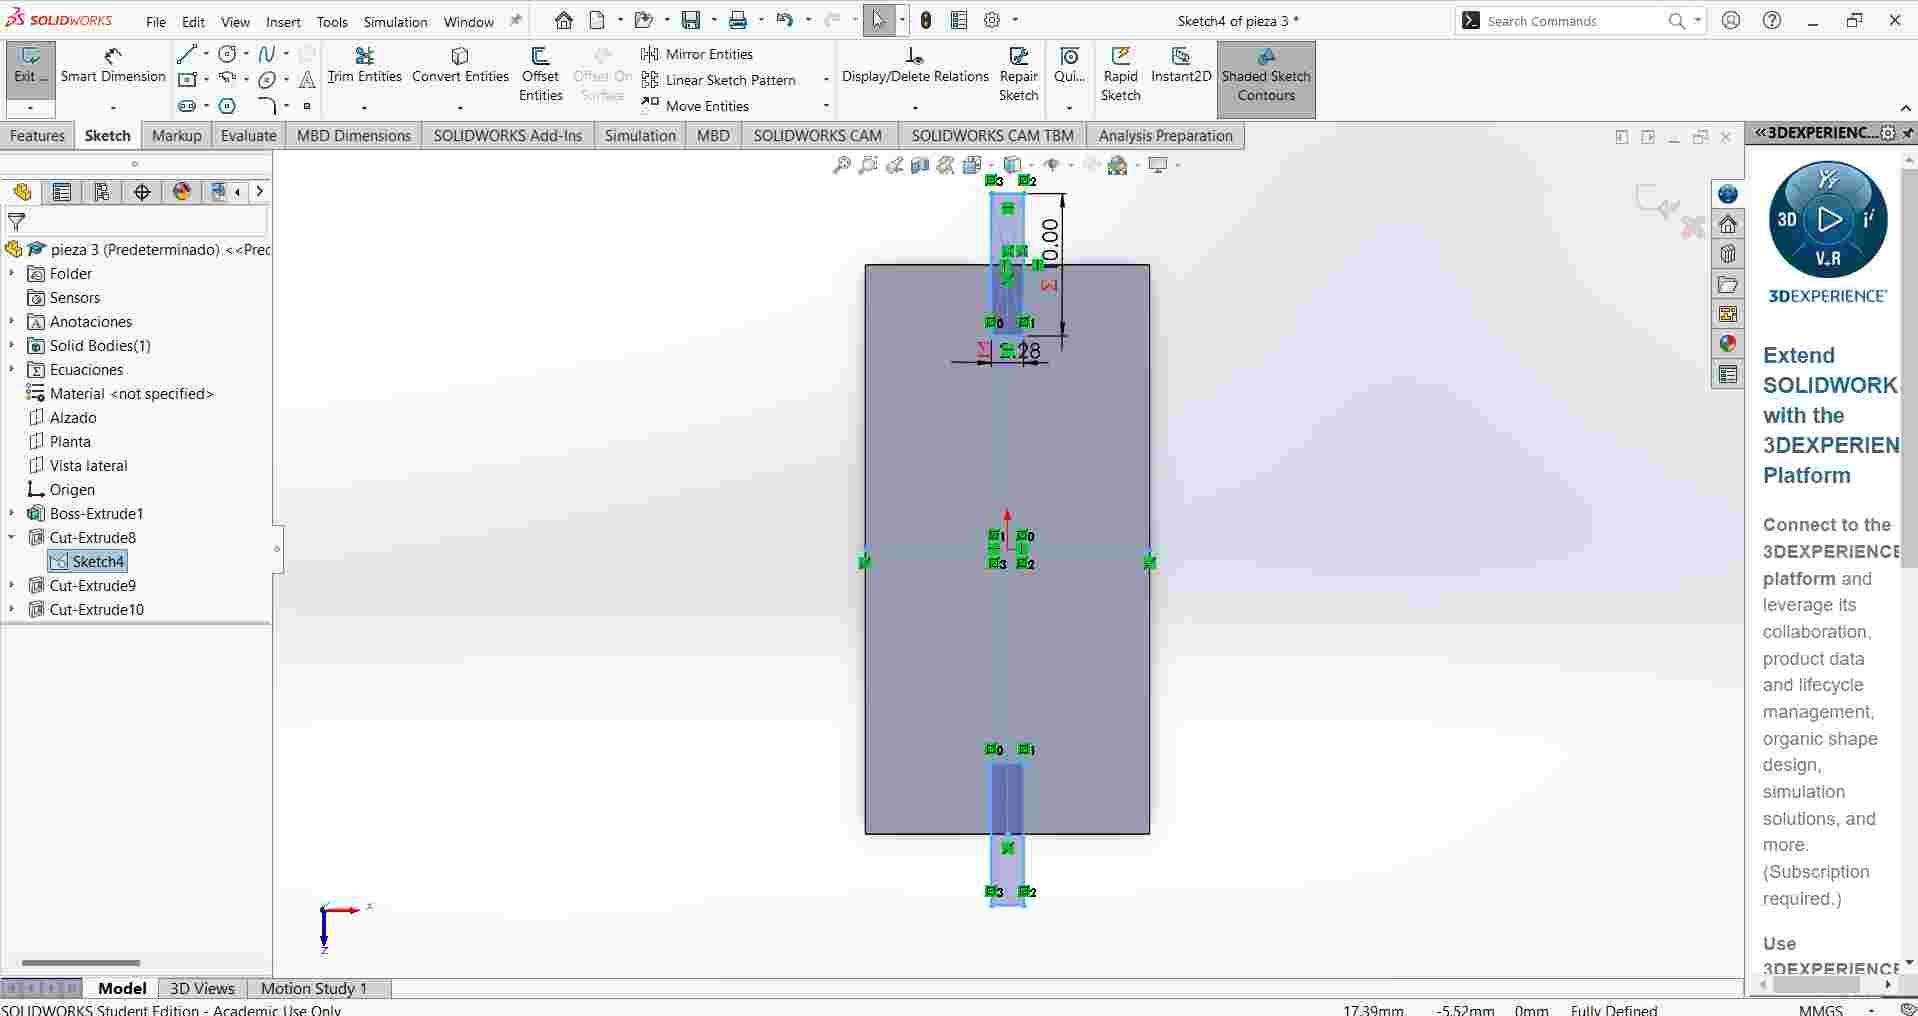
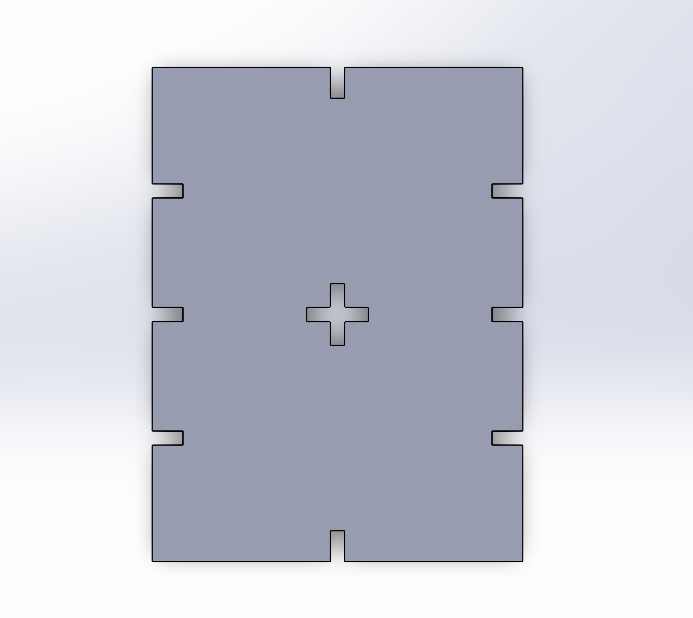
Second piece
- For the second piece, I made a rectangle measuring 60mm * 80mm.
- I created six small rectangles as holes with the same measurements as in the first piece.
- I added holes at the top center and on the right side, and then I used the “Mirror Entities” tool to copy the rectangles.
- Finally, I placed a crossin the center.
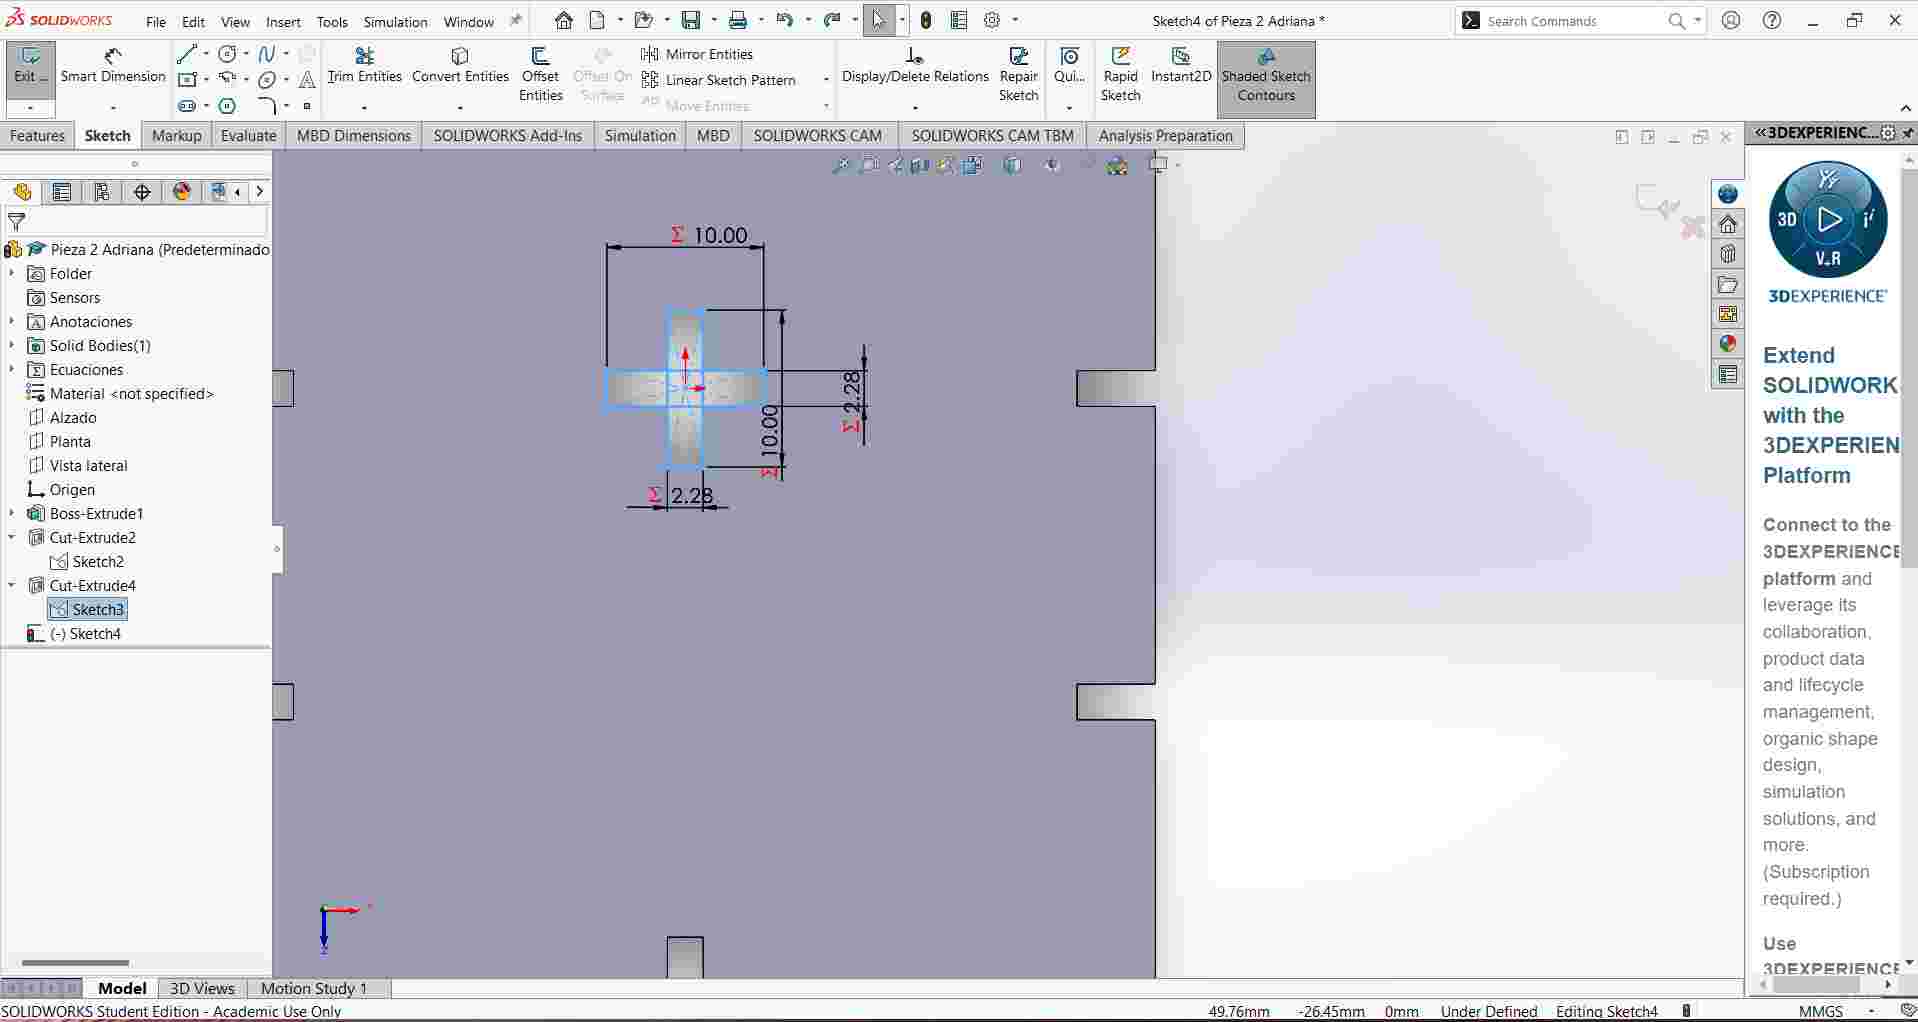
Third piece
- For the third piece, I made a small rectangle measuring 20mm * 40mm.
- I added two small rectangles on the top part and the bottom part.
- Finally, I placed a cross in the center.
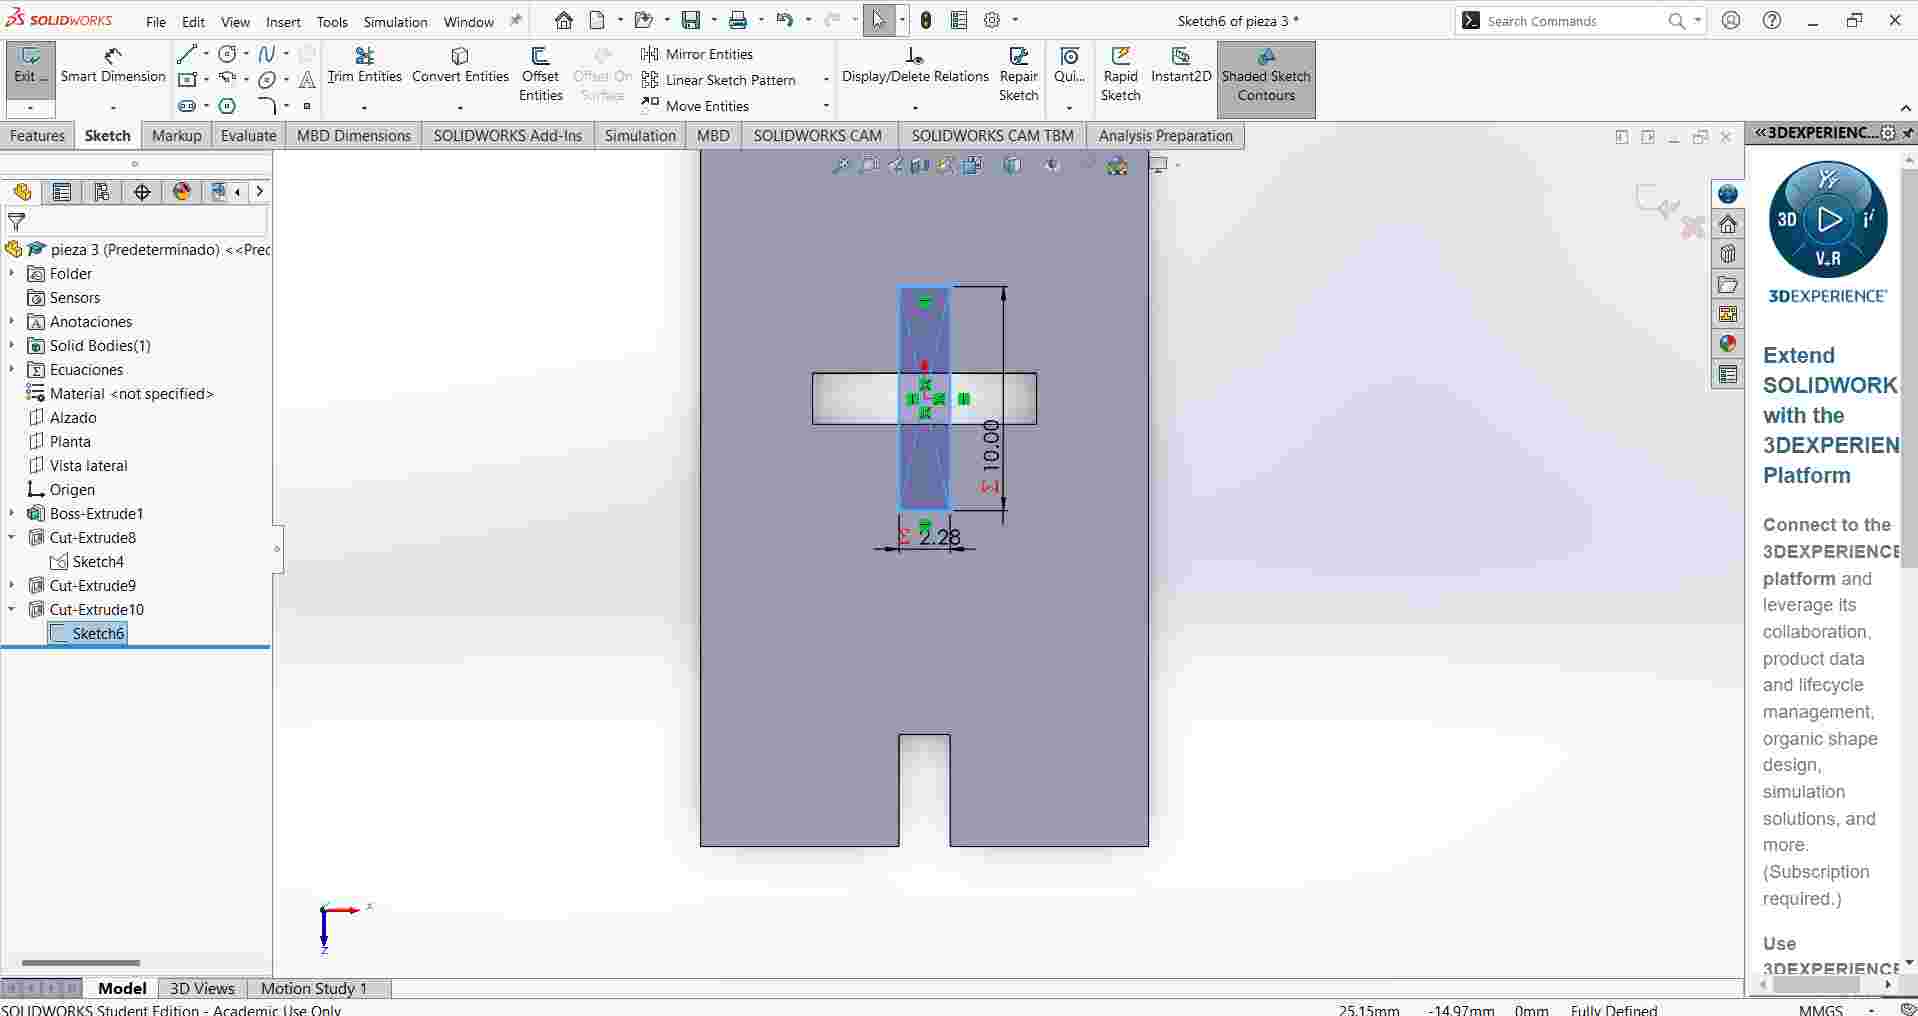
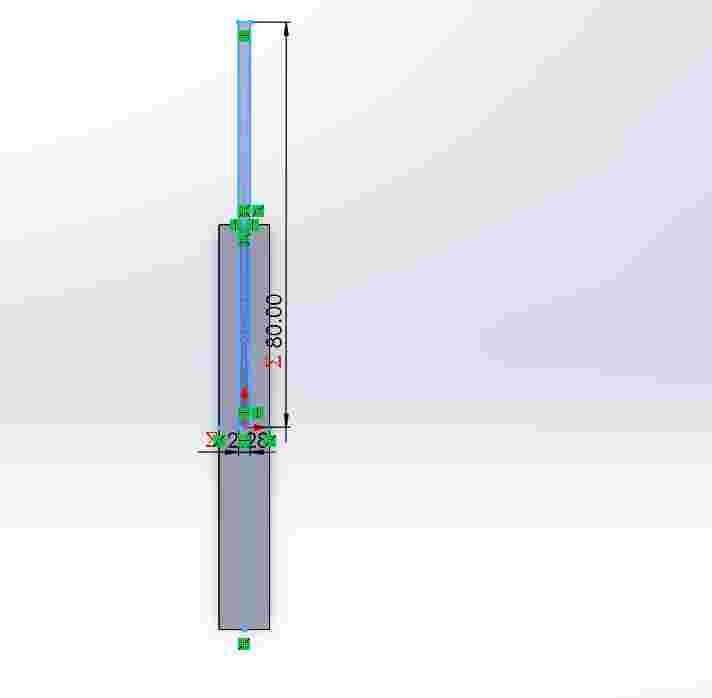
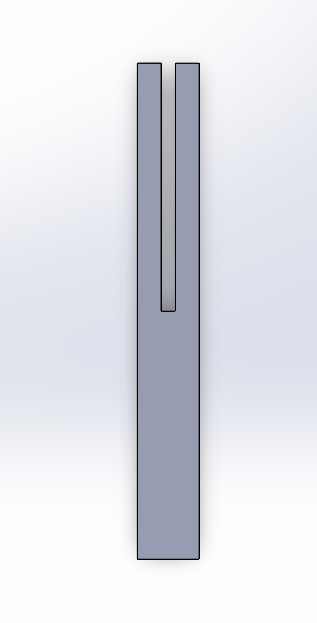
Fourth piece
- For the fourth piece, I made a rectangle with a height of 80mm.
- Then, I created a rectangle that starts in the middle of the first rectangle and extruded this piece.
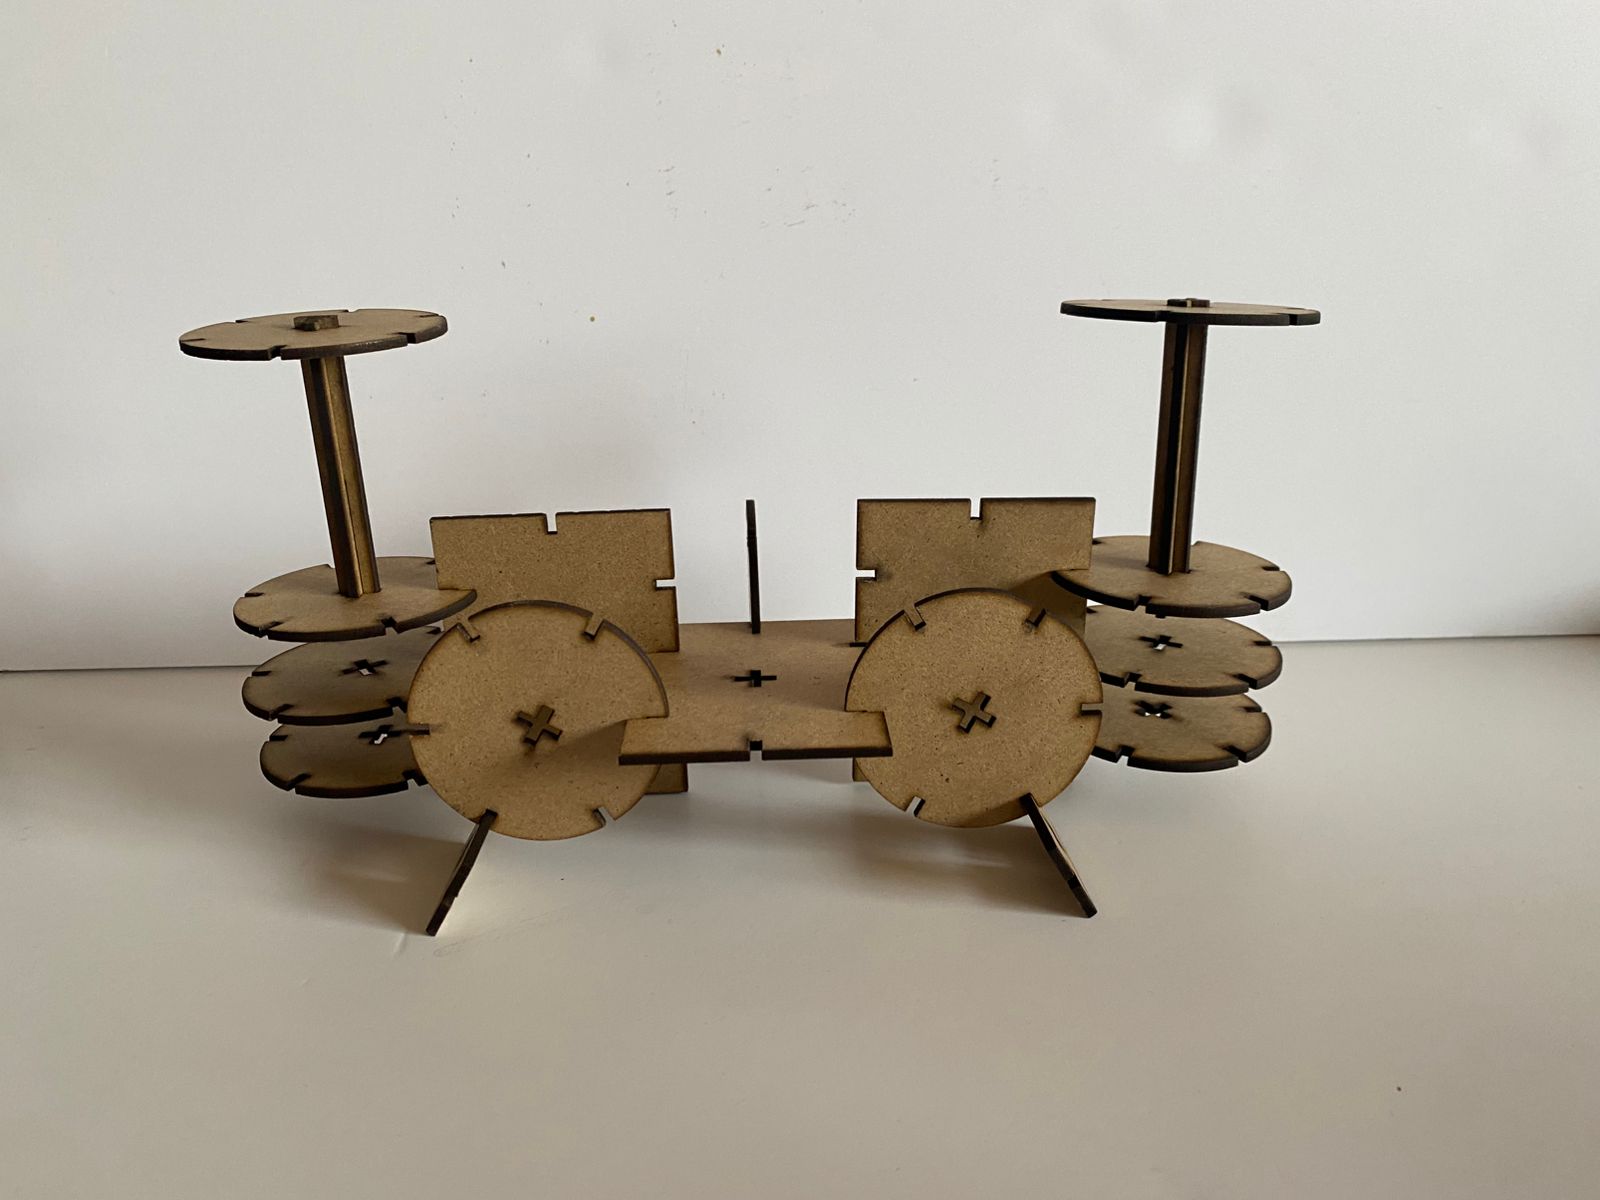
4 Pieces

Laser cutting
To start with the laser cutting, I followed these steps:
- I prepared my file on my computer.
- I inserted the red USB drive into my computer.
- I downloaded the program "Smart Cave."
- In this program, I made some adjustments.
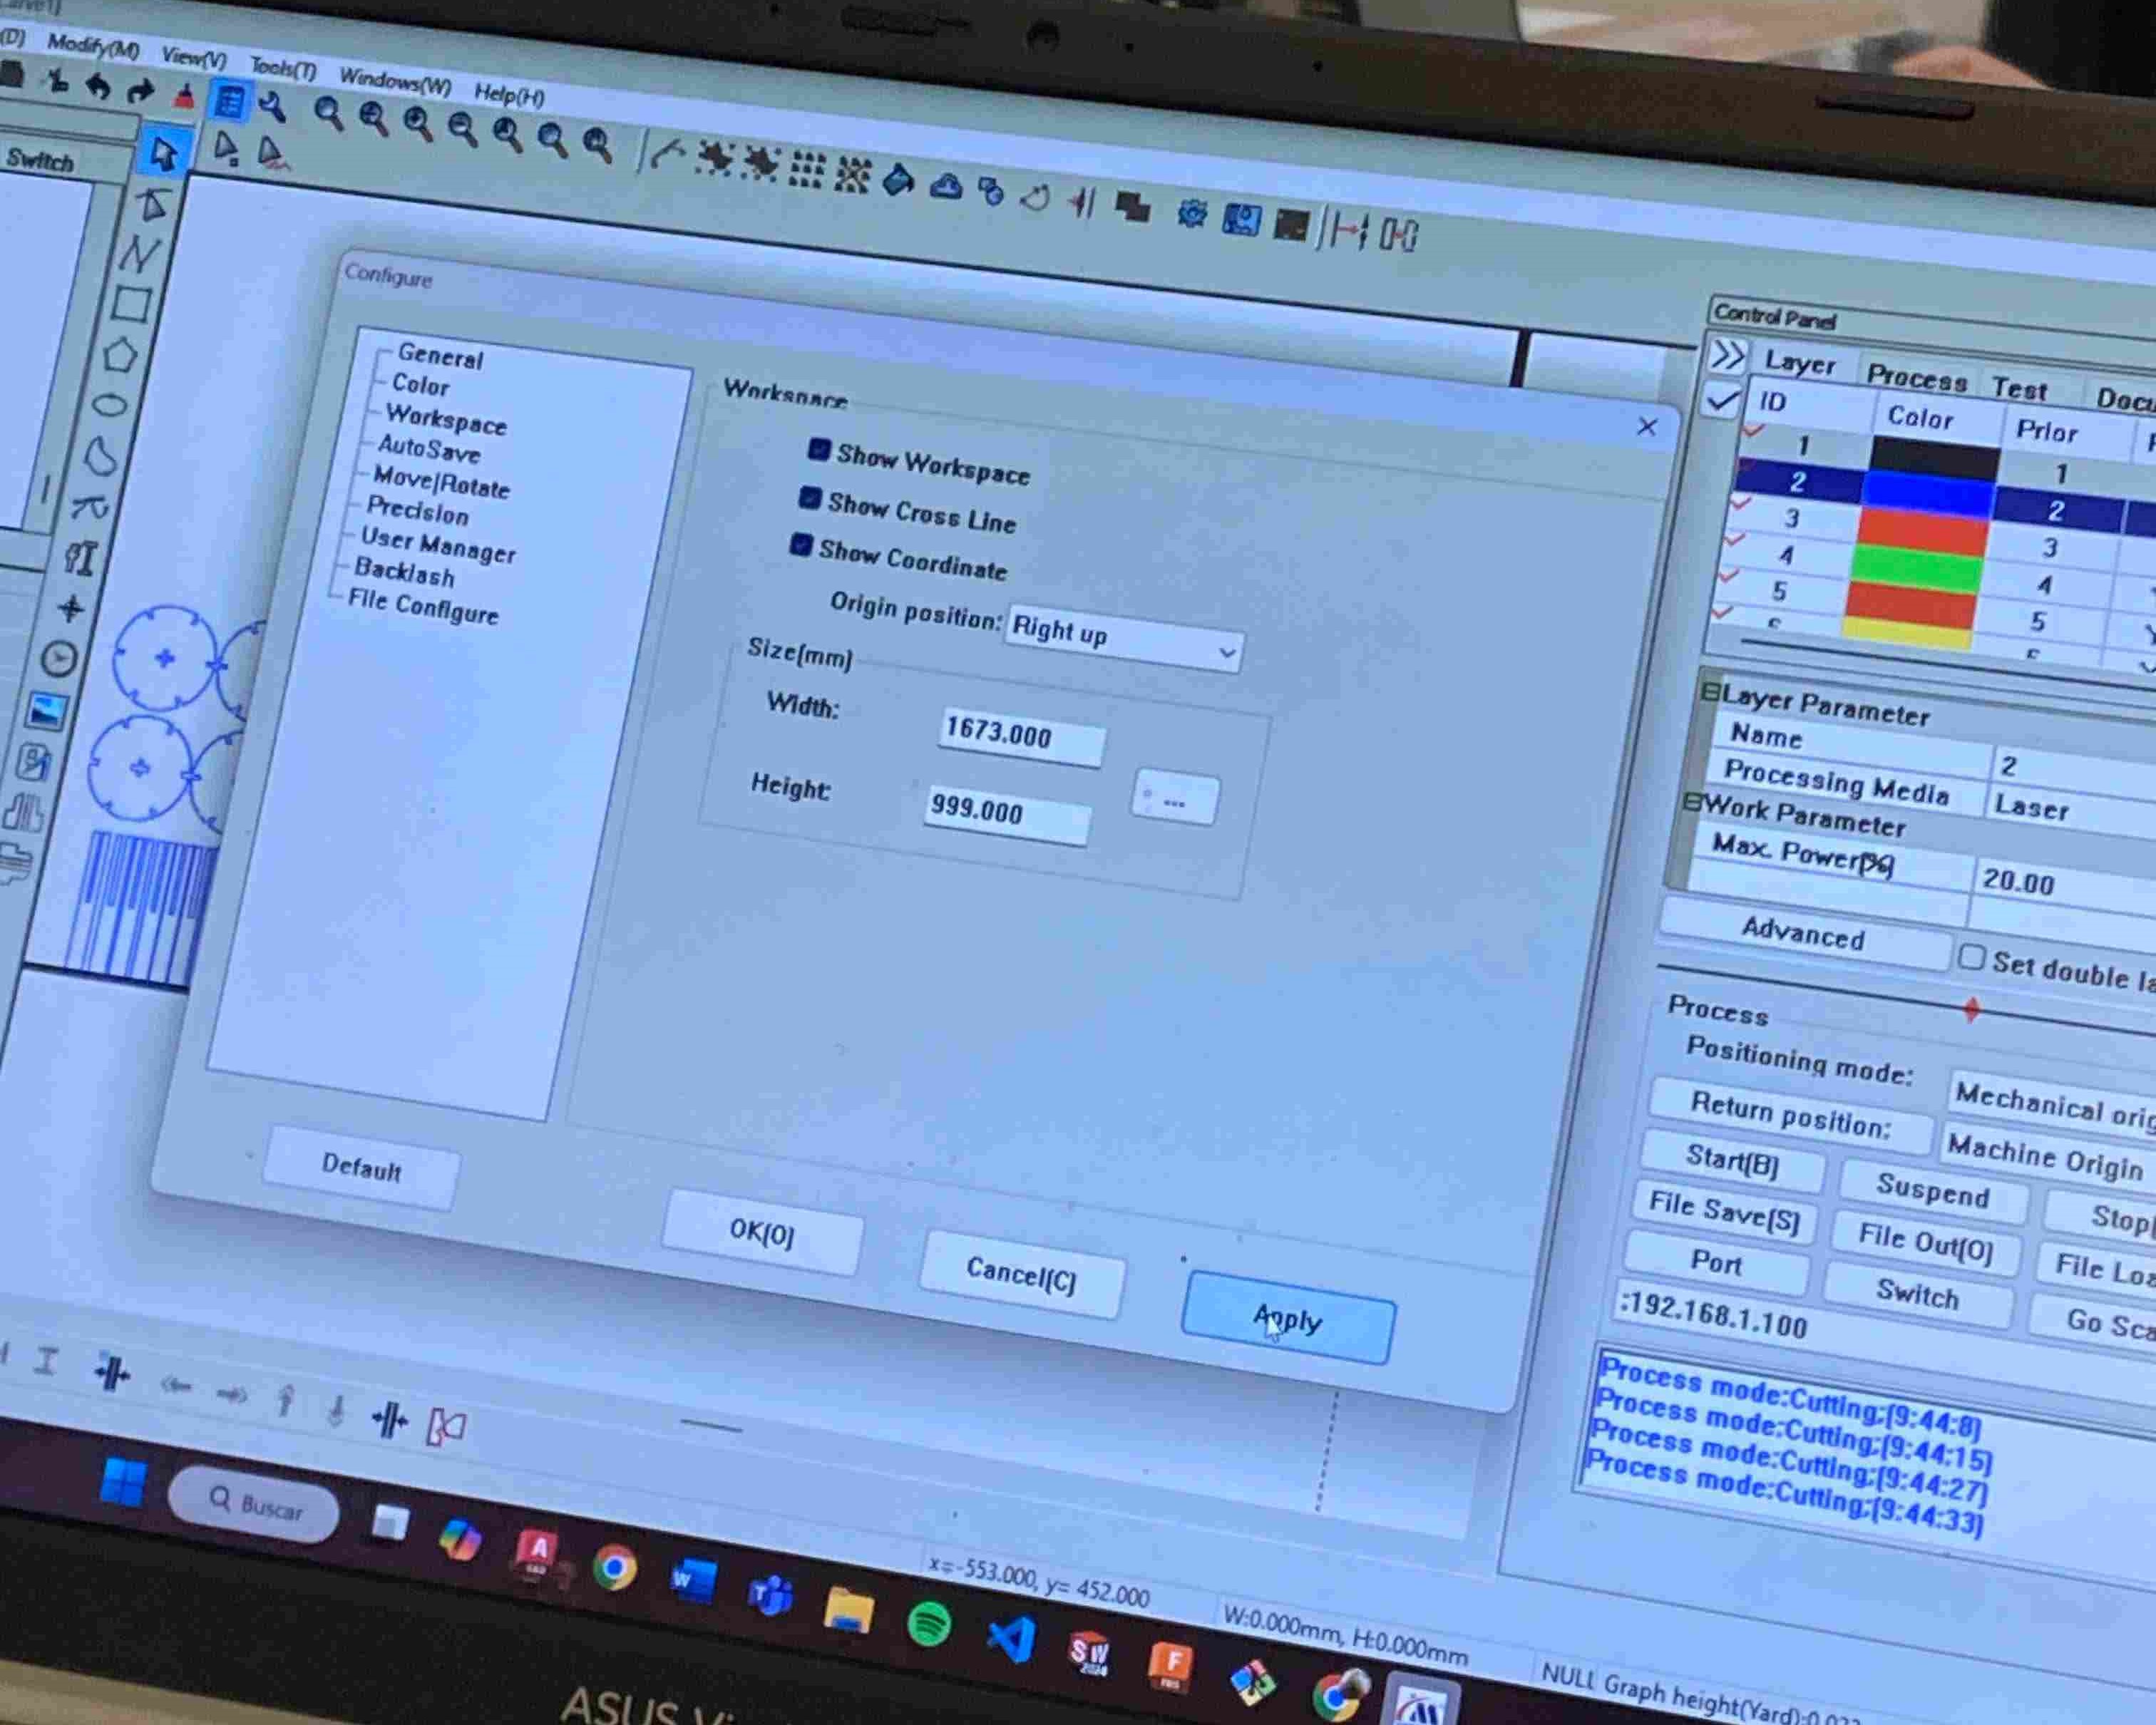
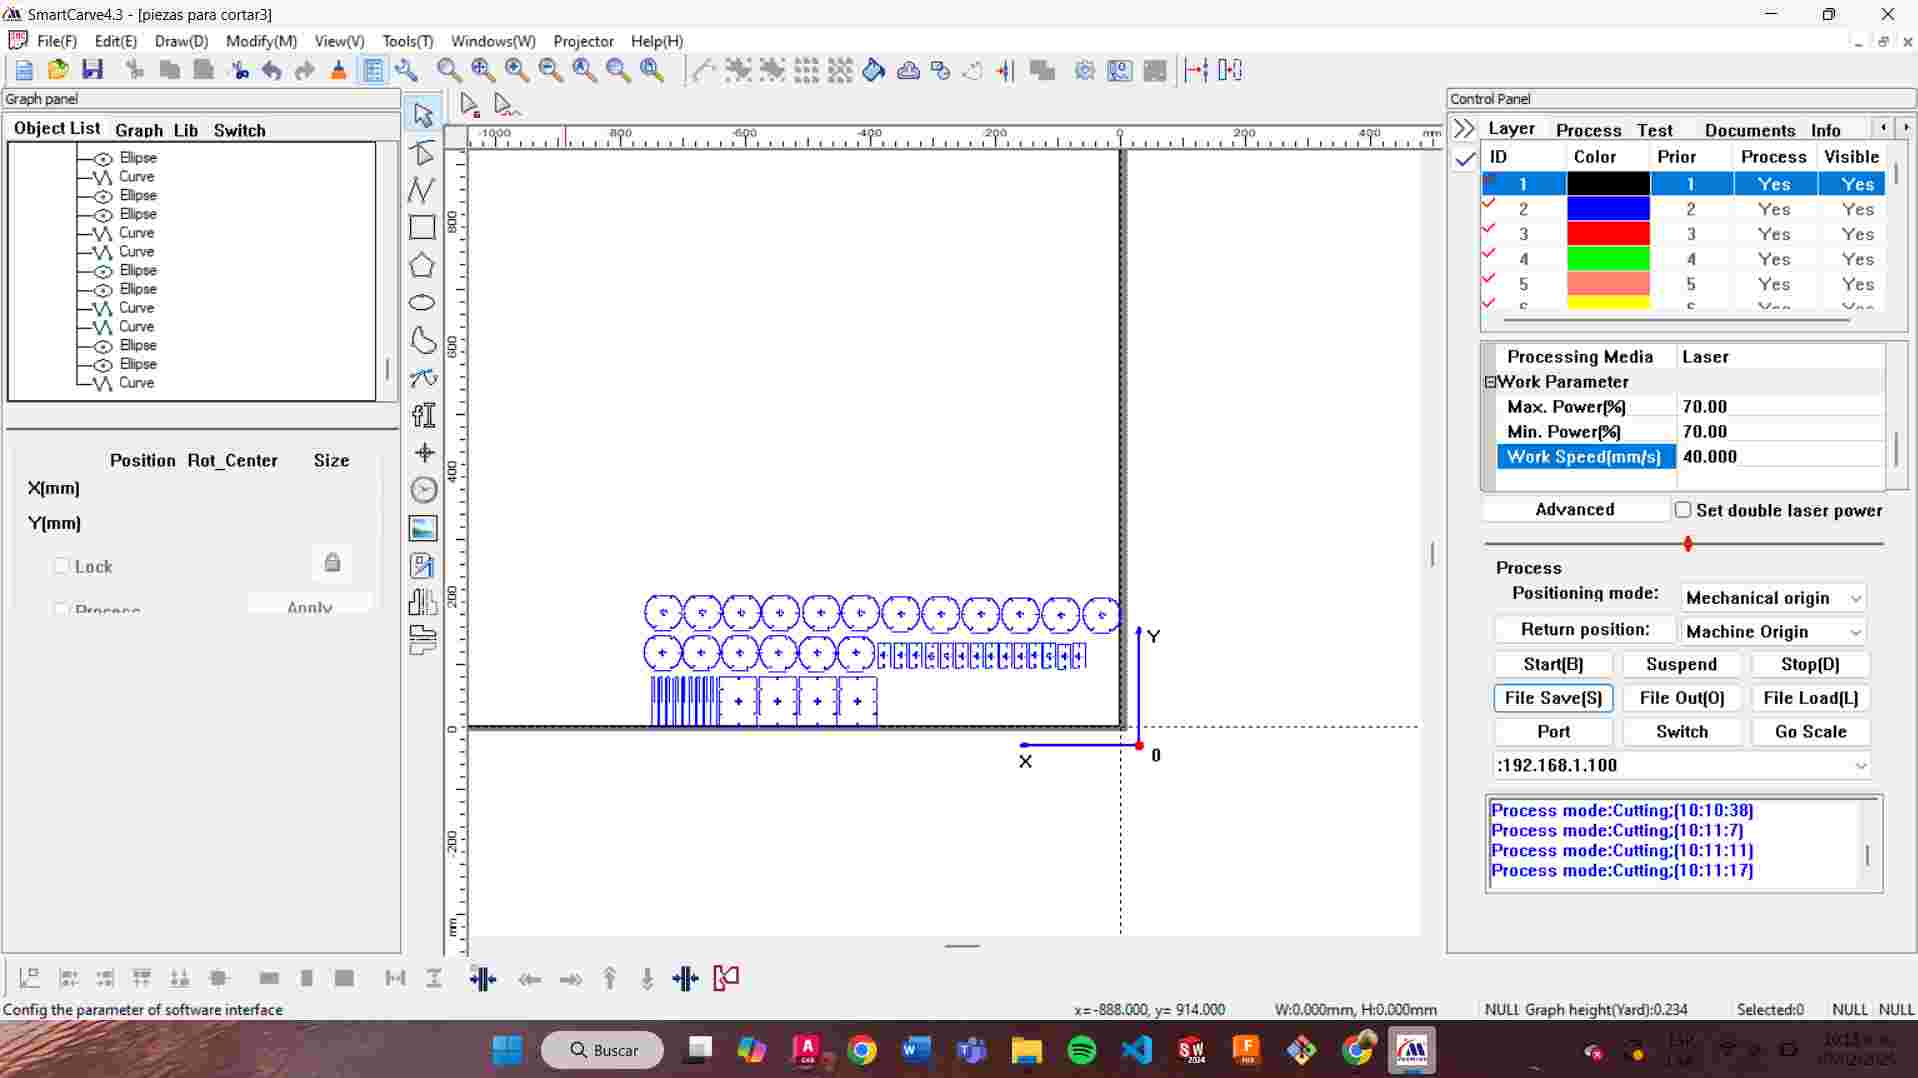
Work parameters:
- Max. Power: 70%
- Min. Power: 70%
- Work speed: 40 mm/s
- Then, I saved my file on a USB drive.
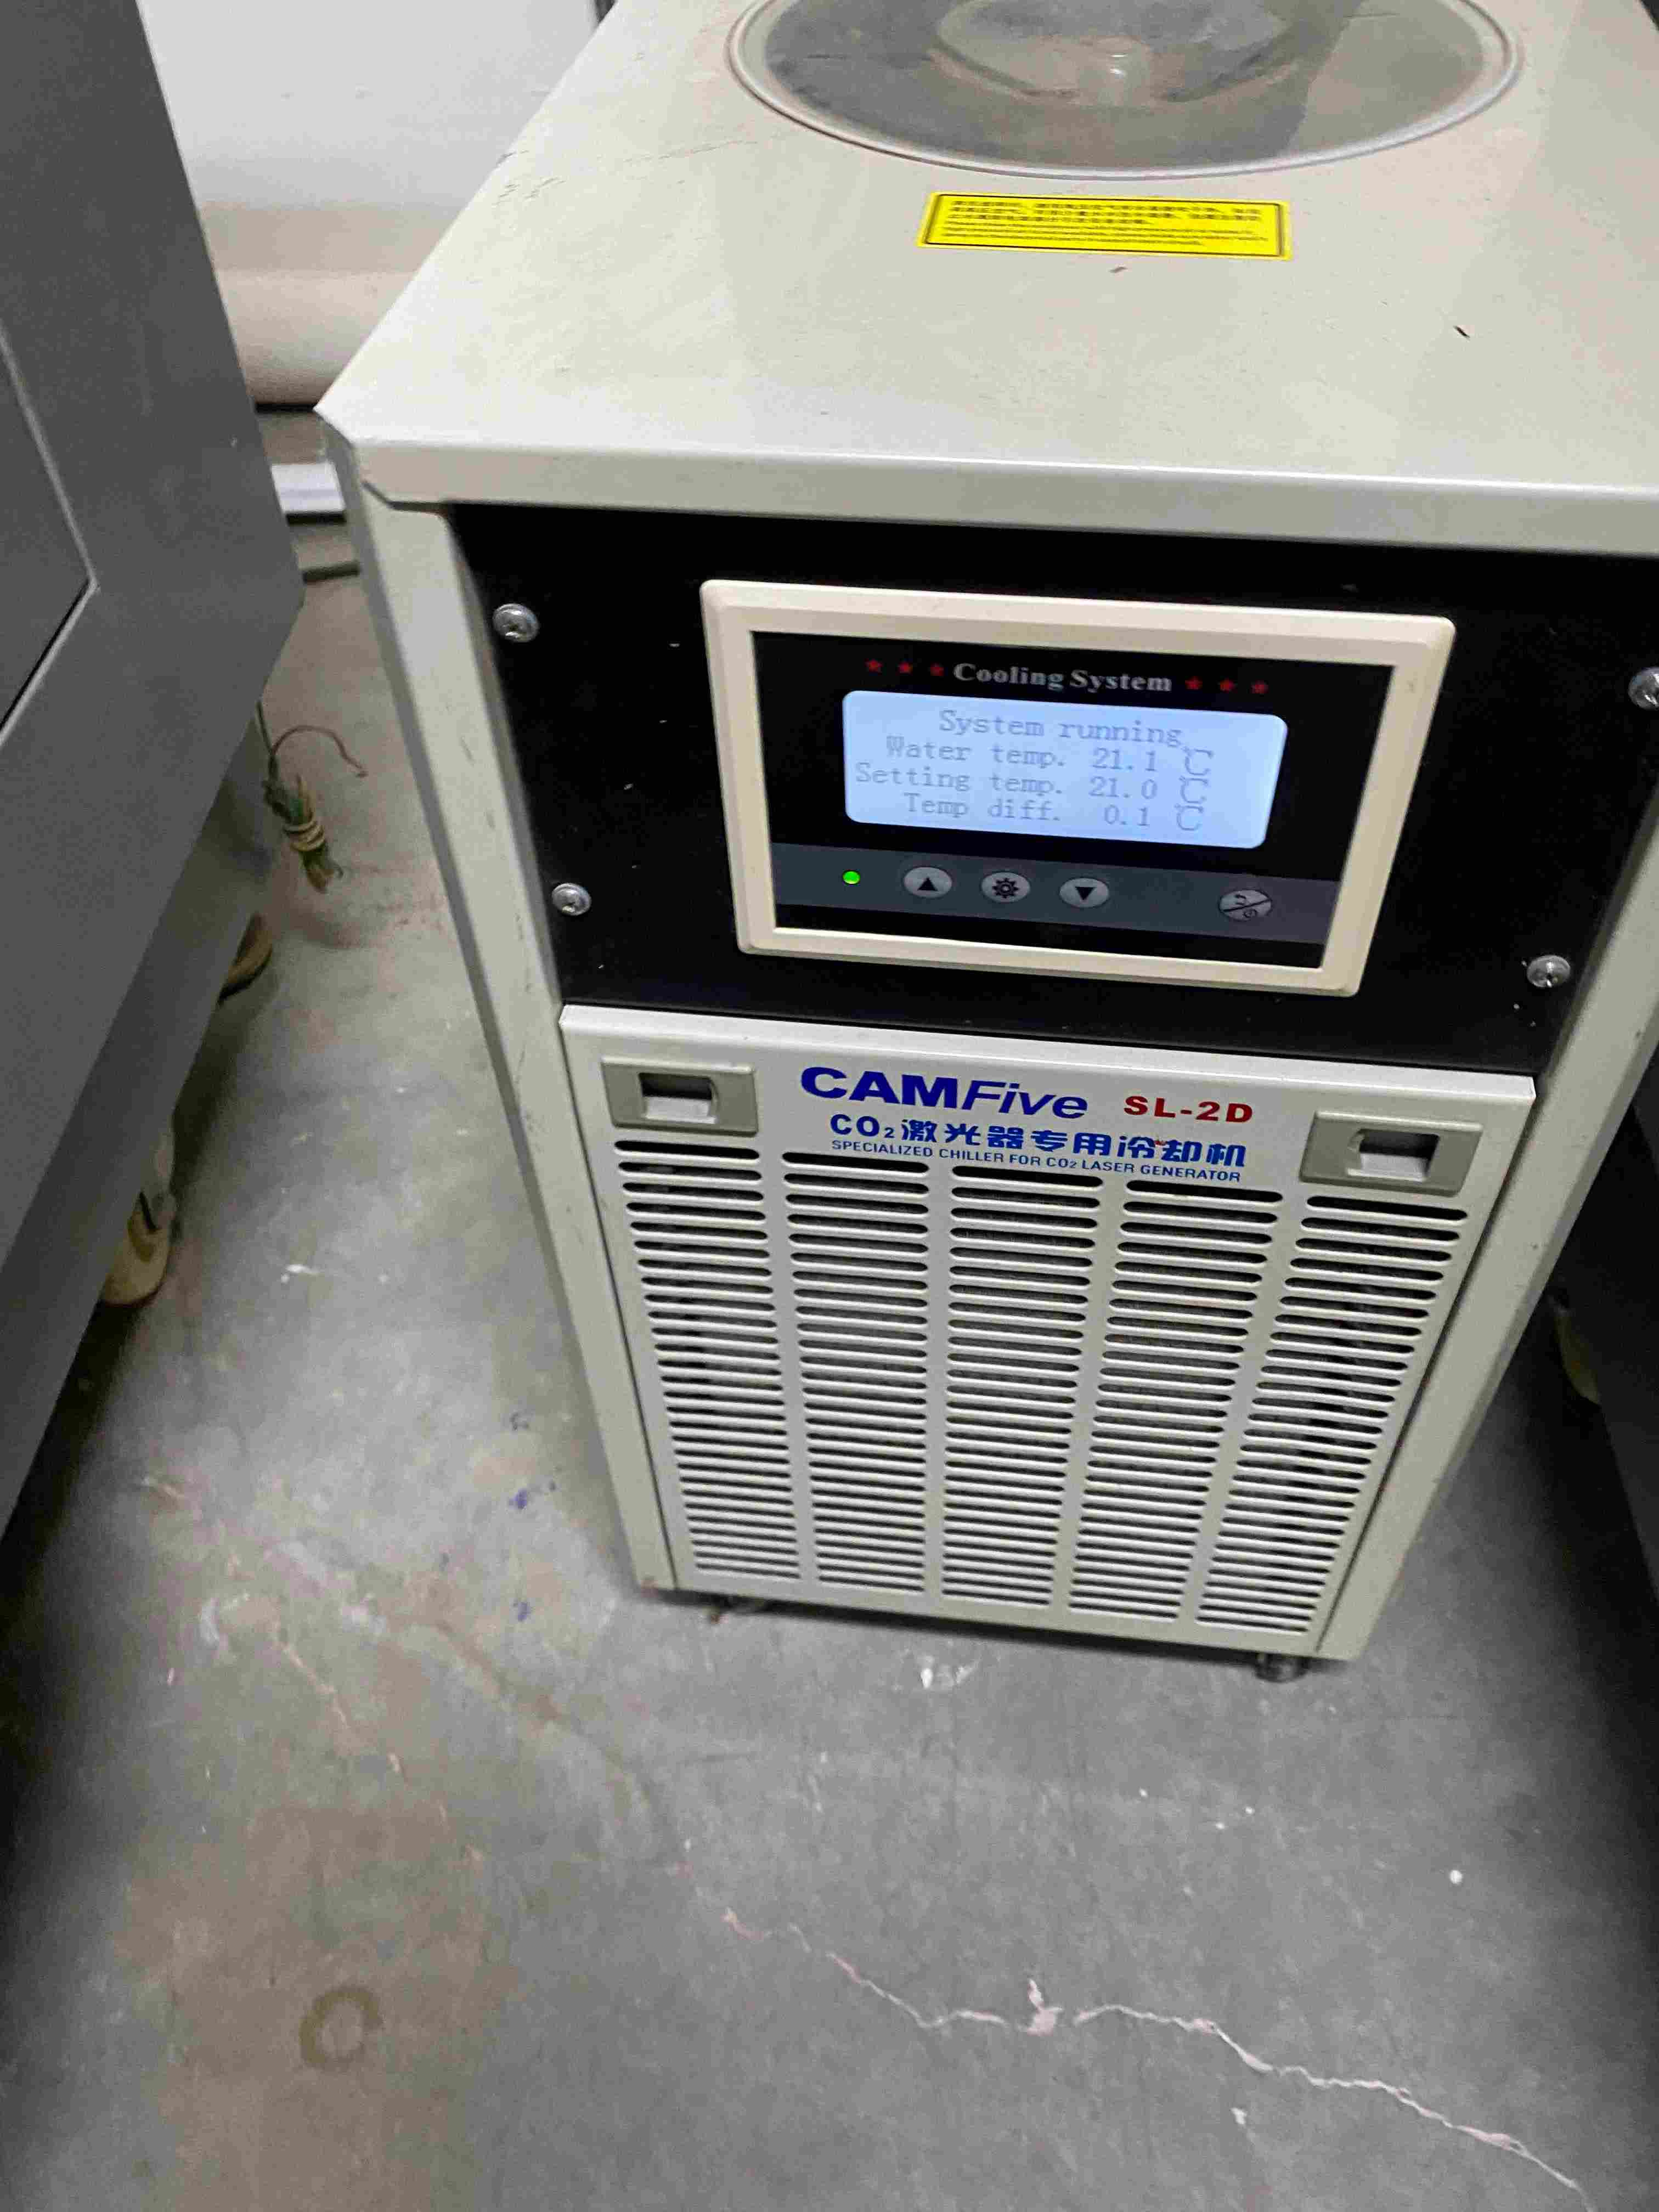
Preparing the machine:
- Verify that the air system is on.
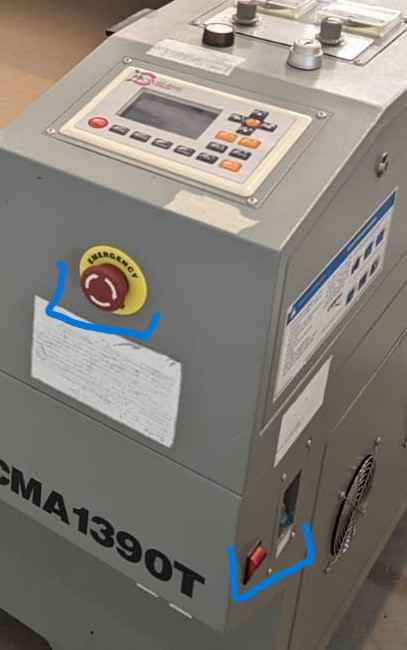
- Turn on the machine using the switch located at the back.
- Lift the blue switch and turn on the red button.
- Turn the emergency stop button in the direction indicated by the arrows.
- Insert the key and turn it.
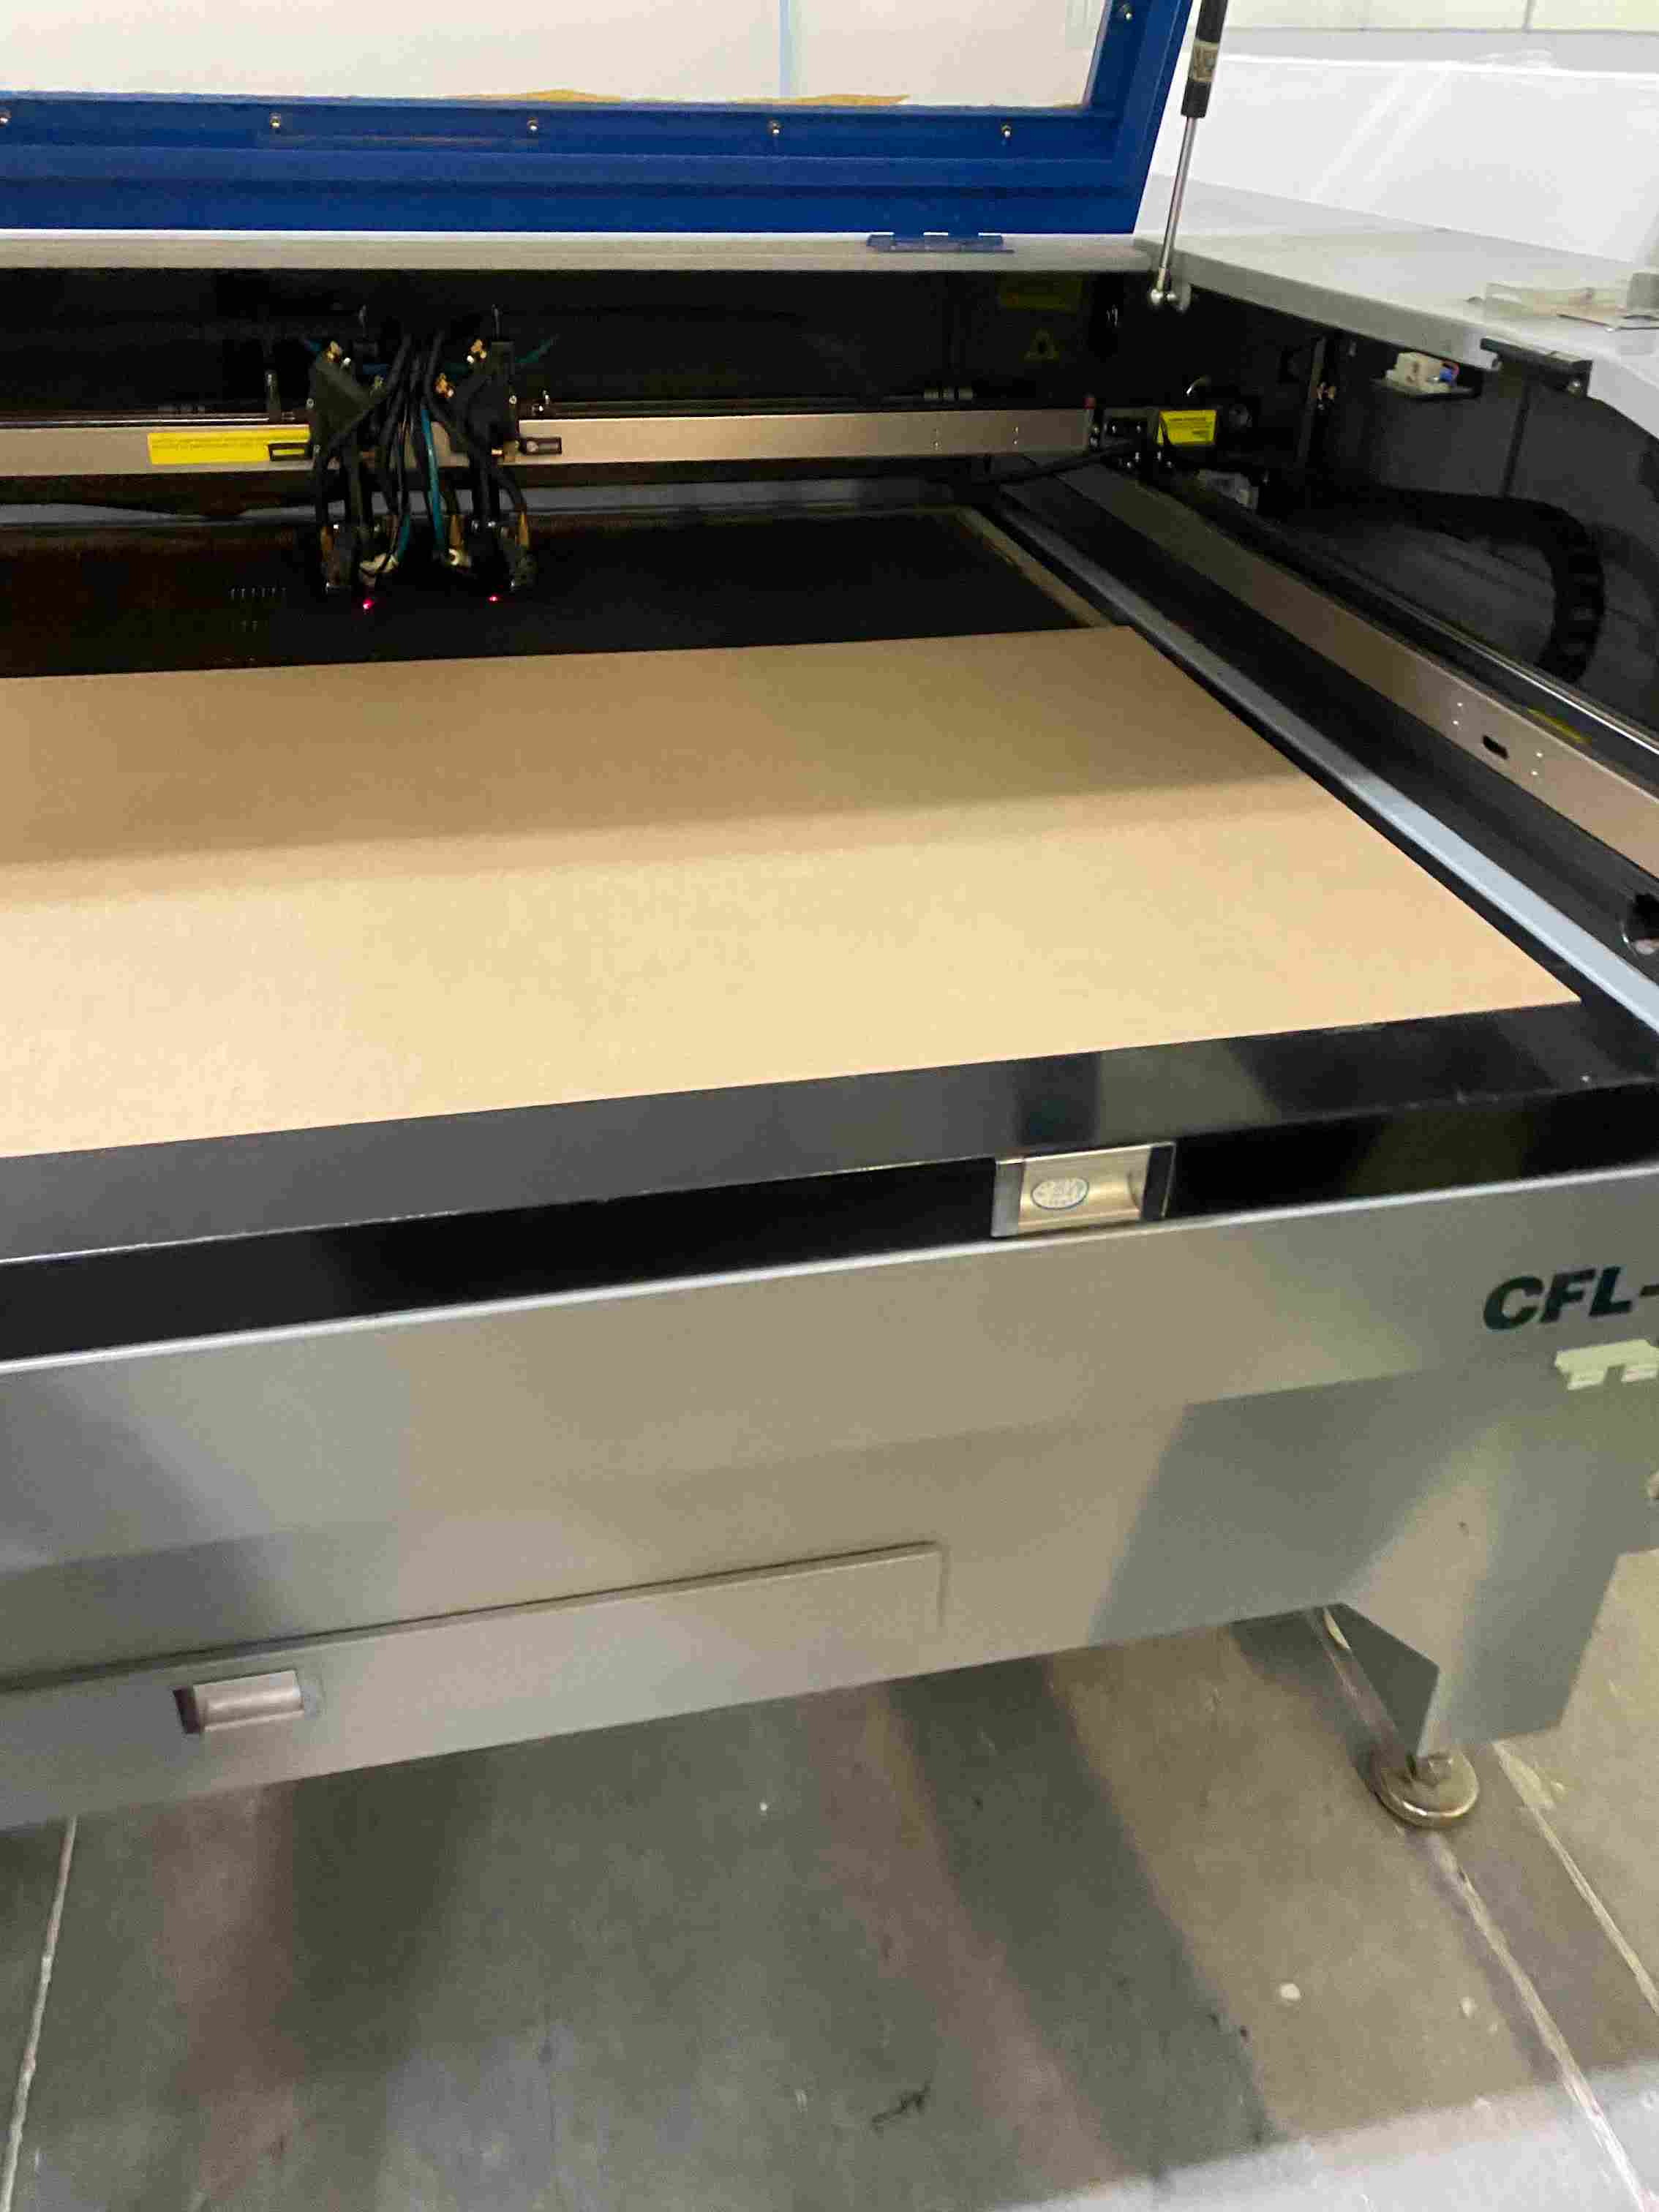
- Place the material for cutting
- Insert the USB drive with the saved file.
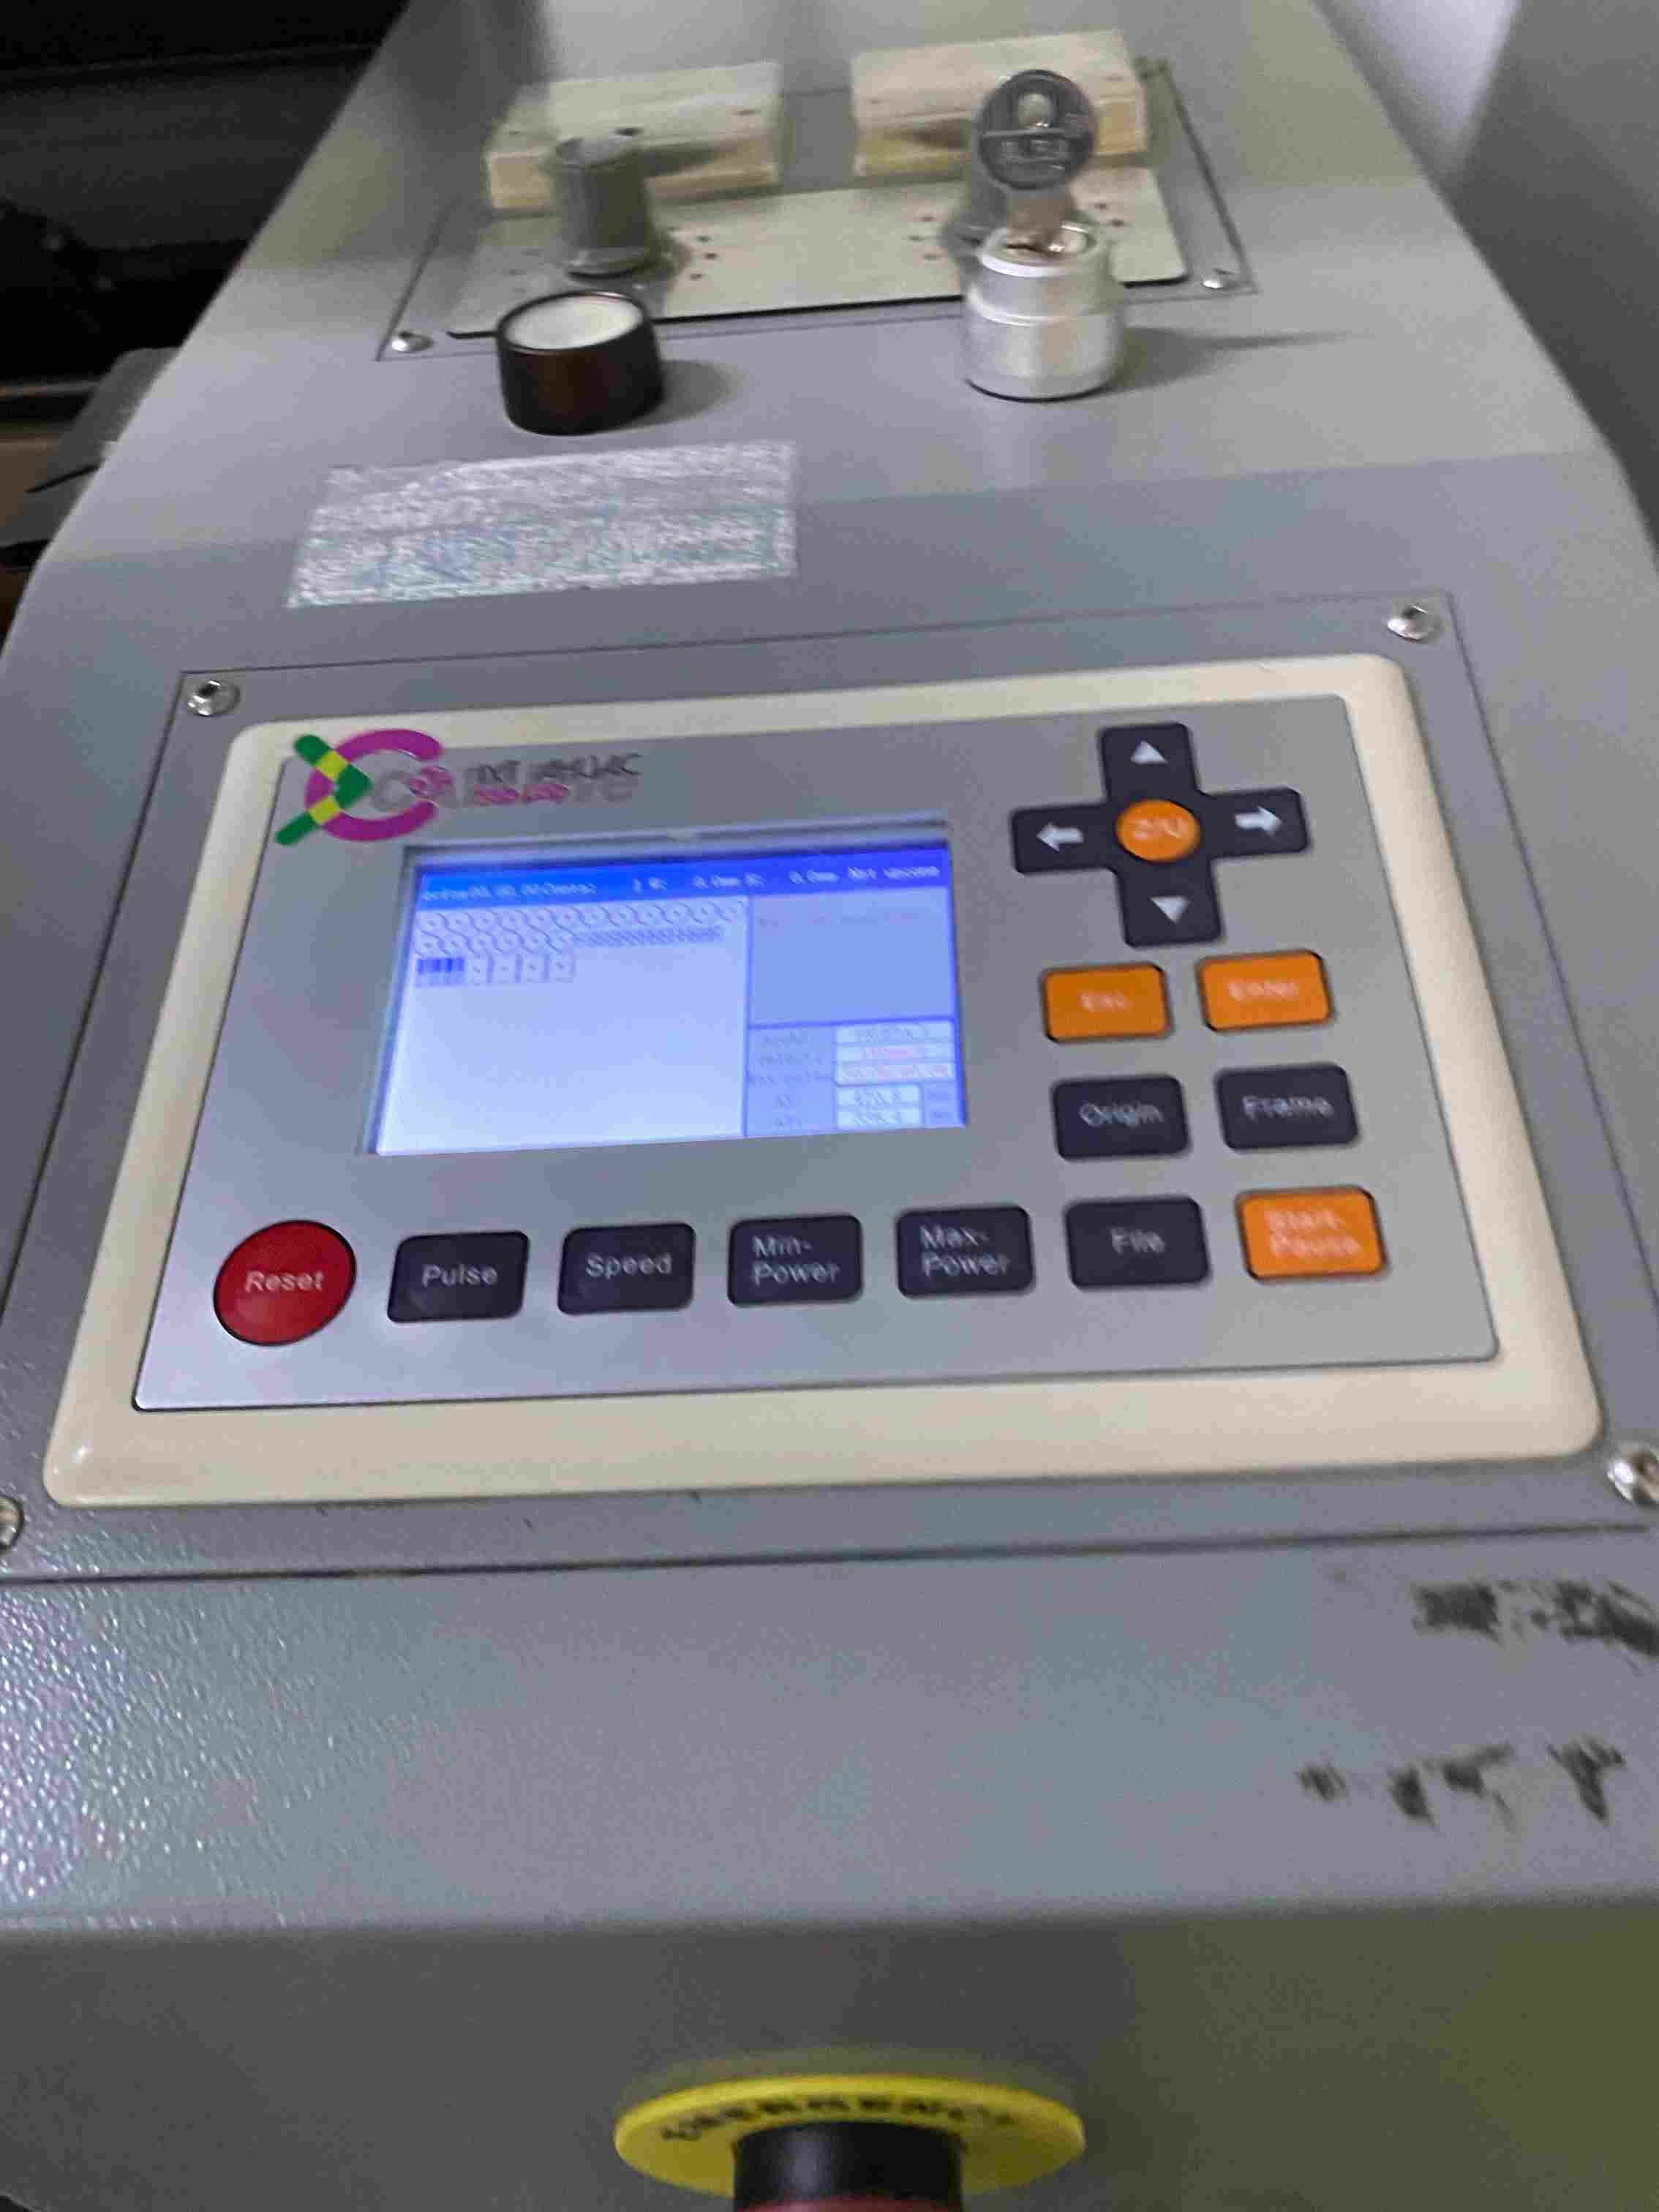
- Use the arrow buttons to move along the X and Y axes. The center button allows movement along the Z-axis, which refers to the height of the material.
- Select the file in "File" ,"frame" to verify the area and press "Start" to begin cutting.
- Before removing the pieces from the machine, make sure the laser button is turned off to avoid any accidents.
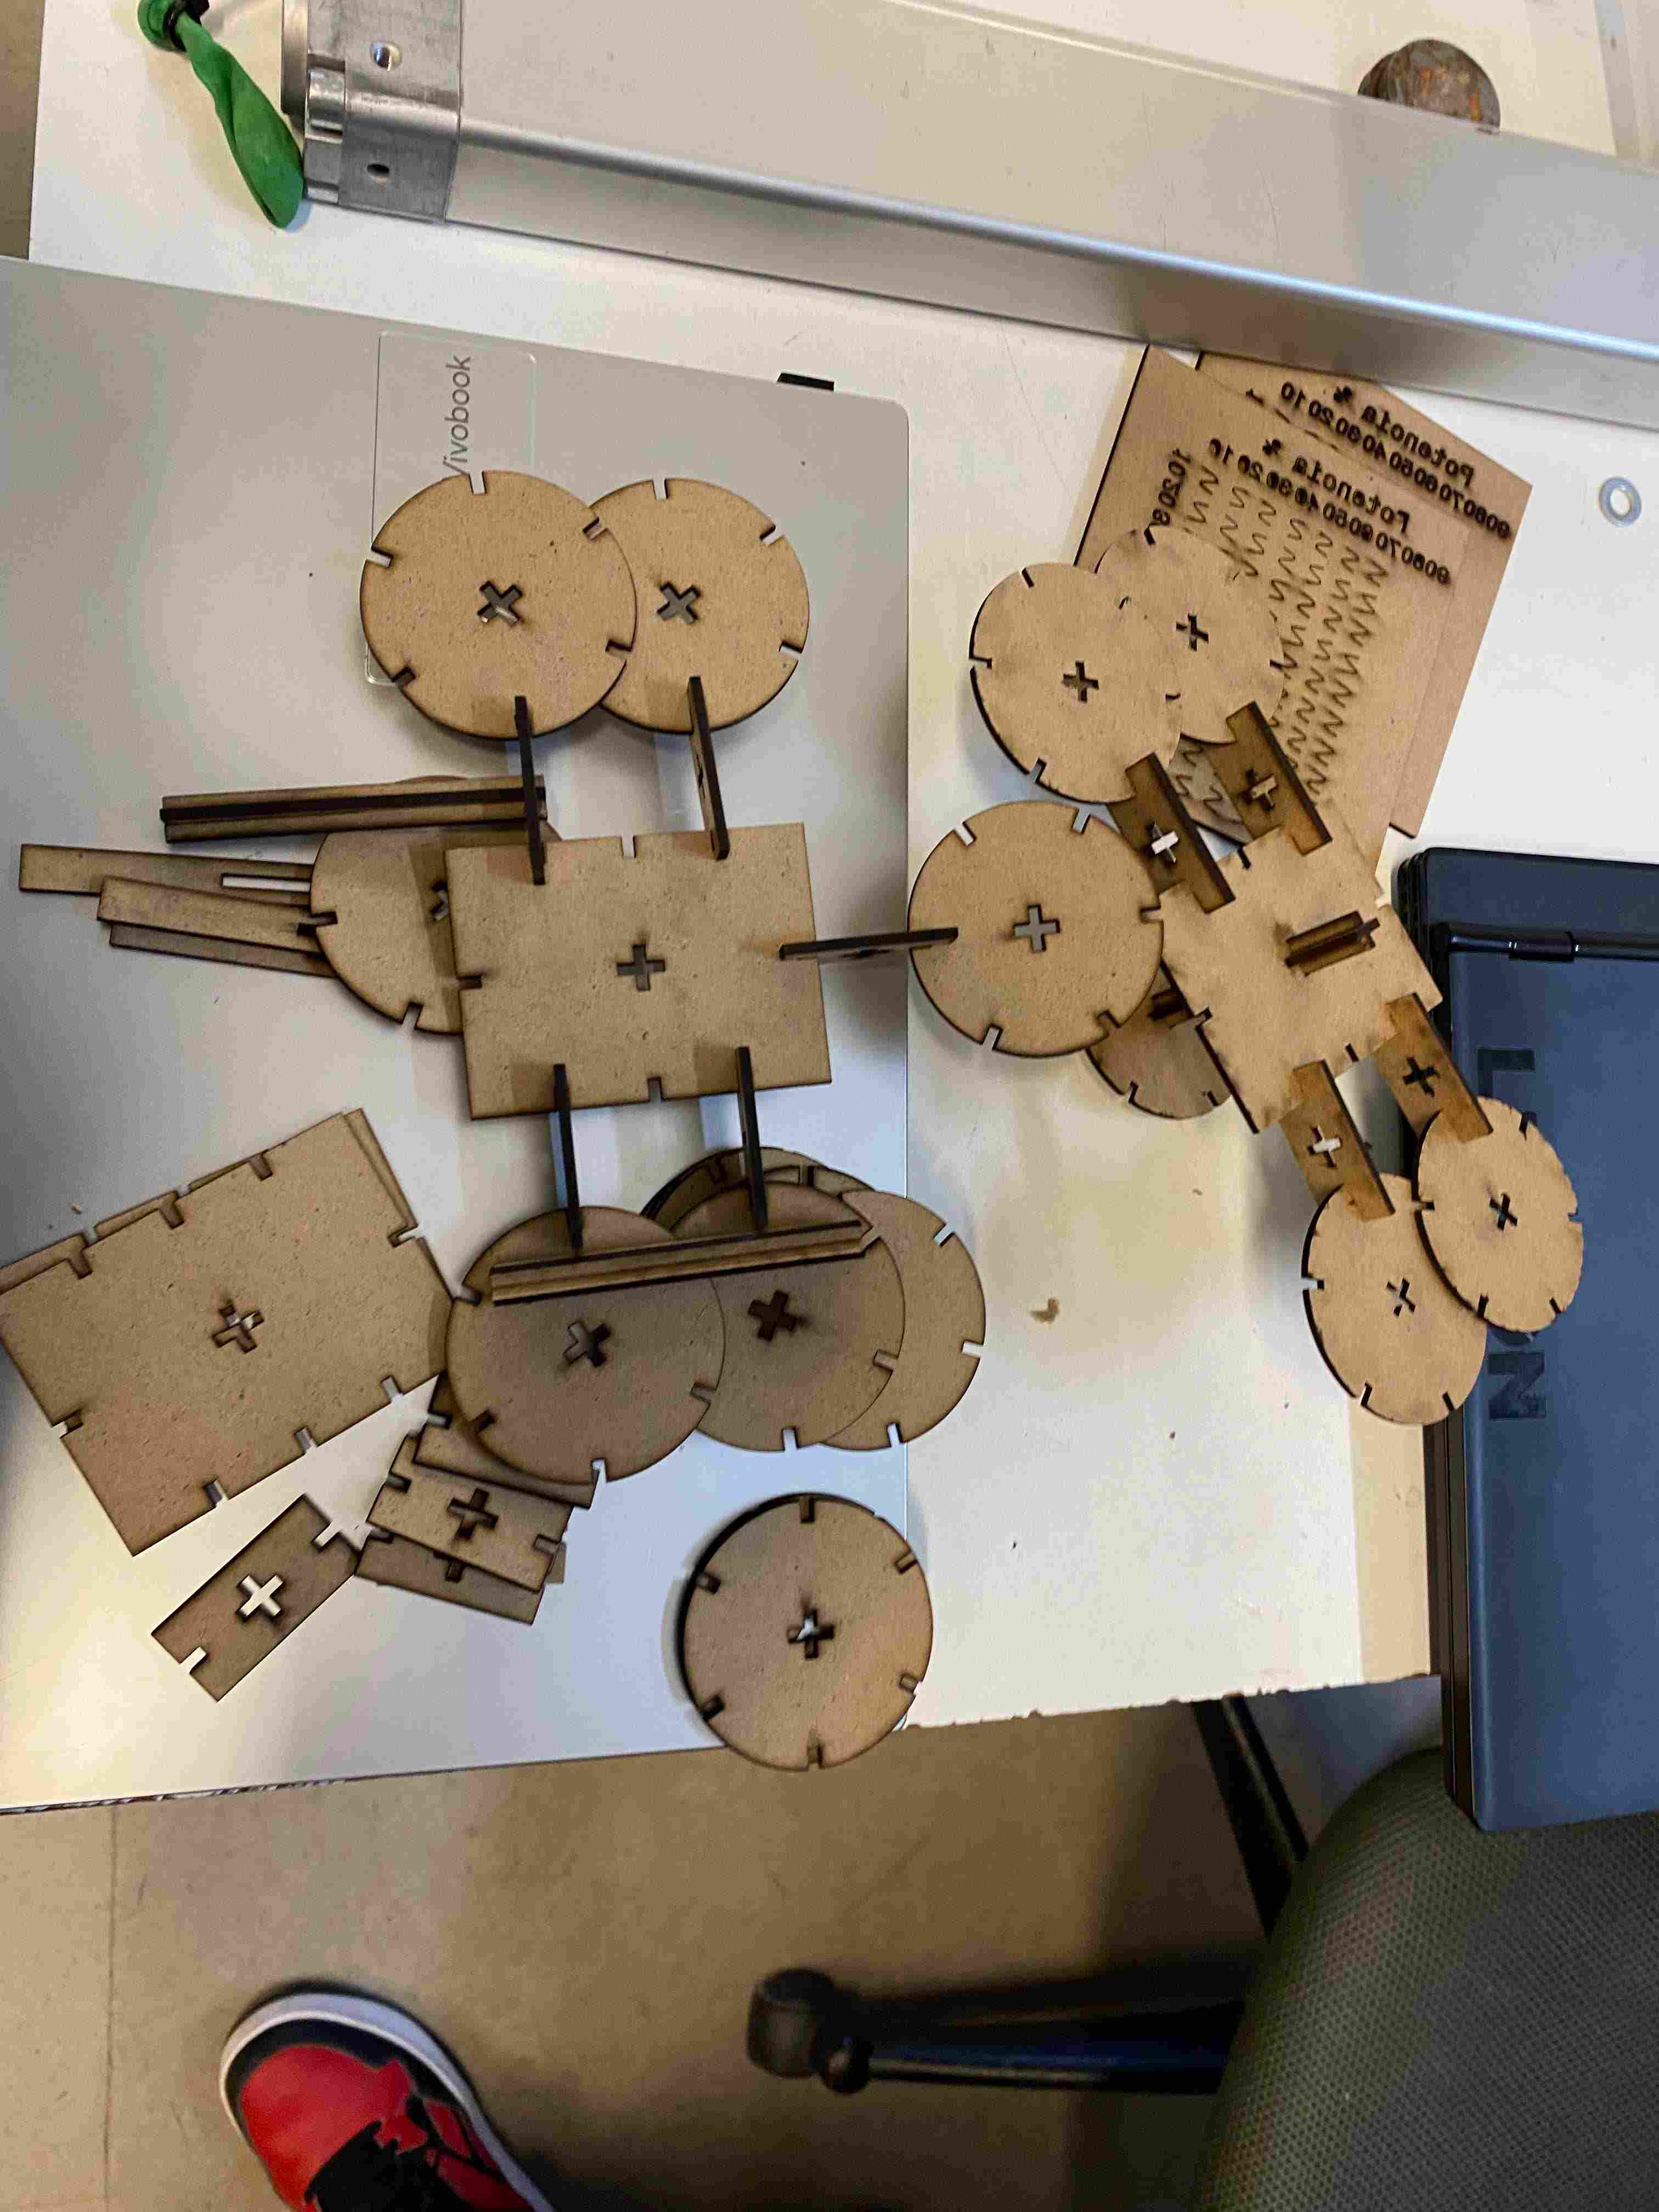
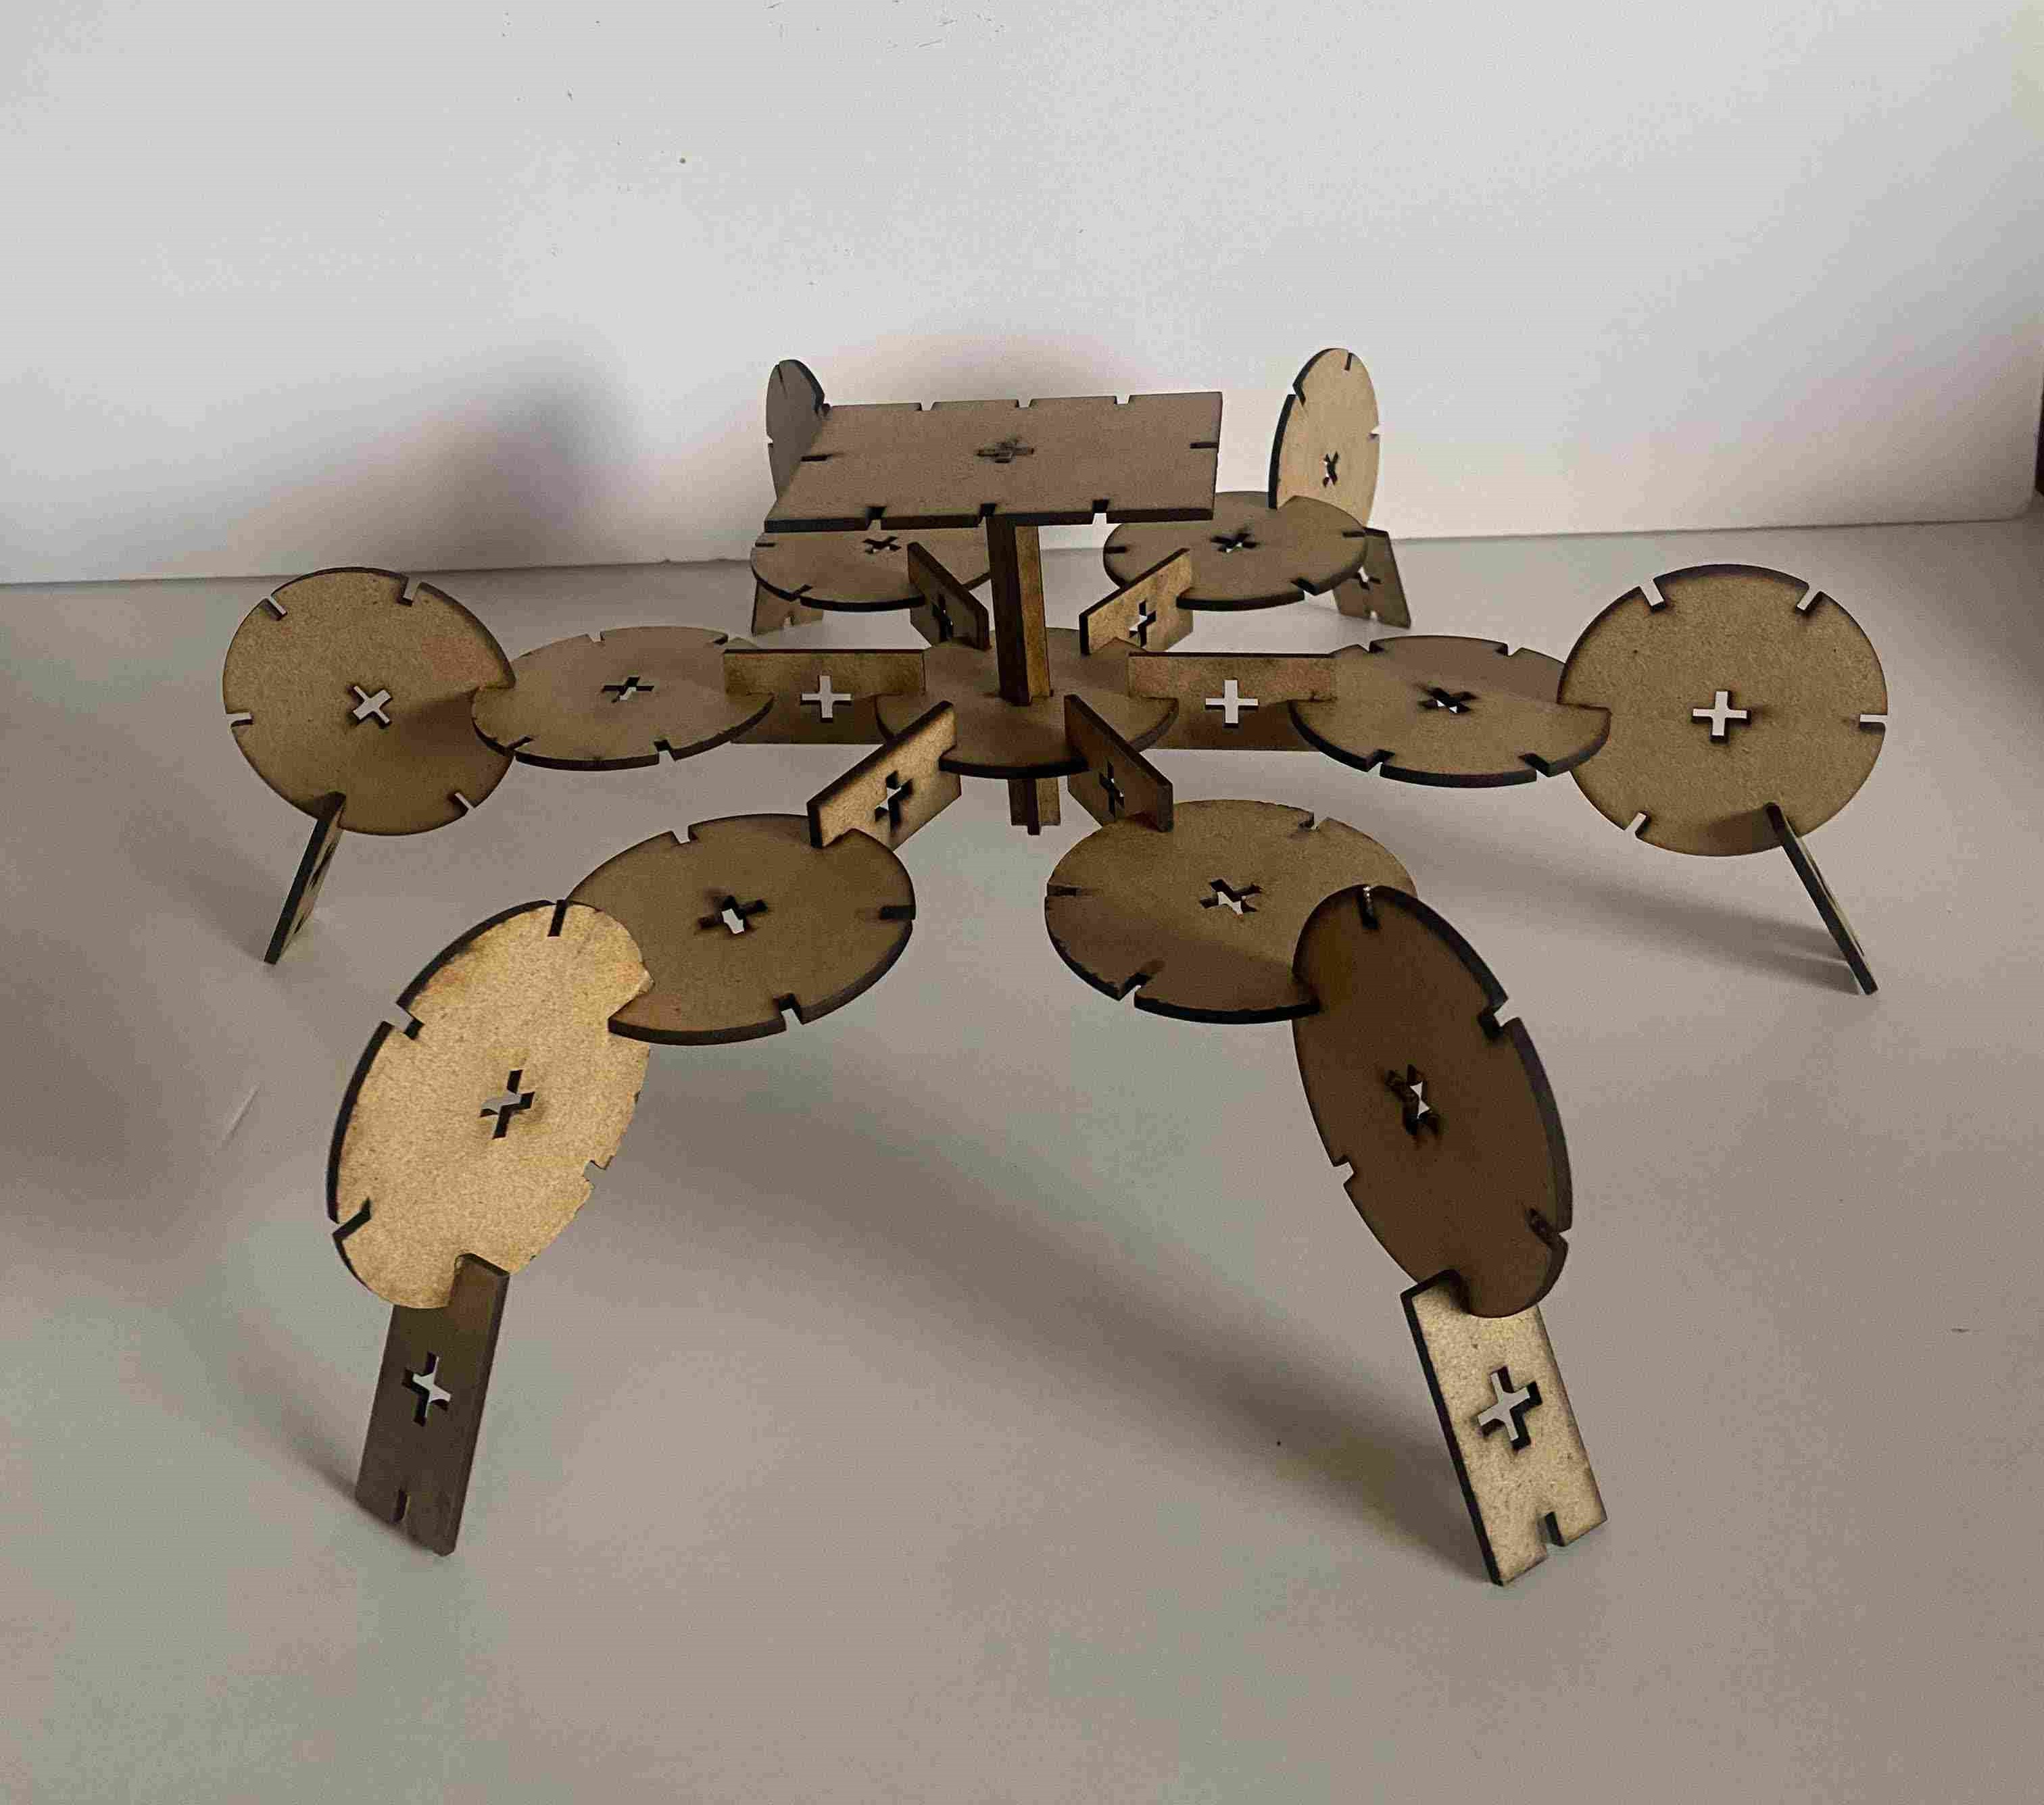
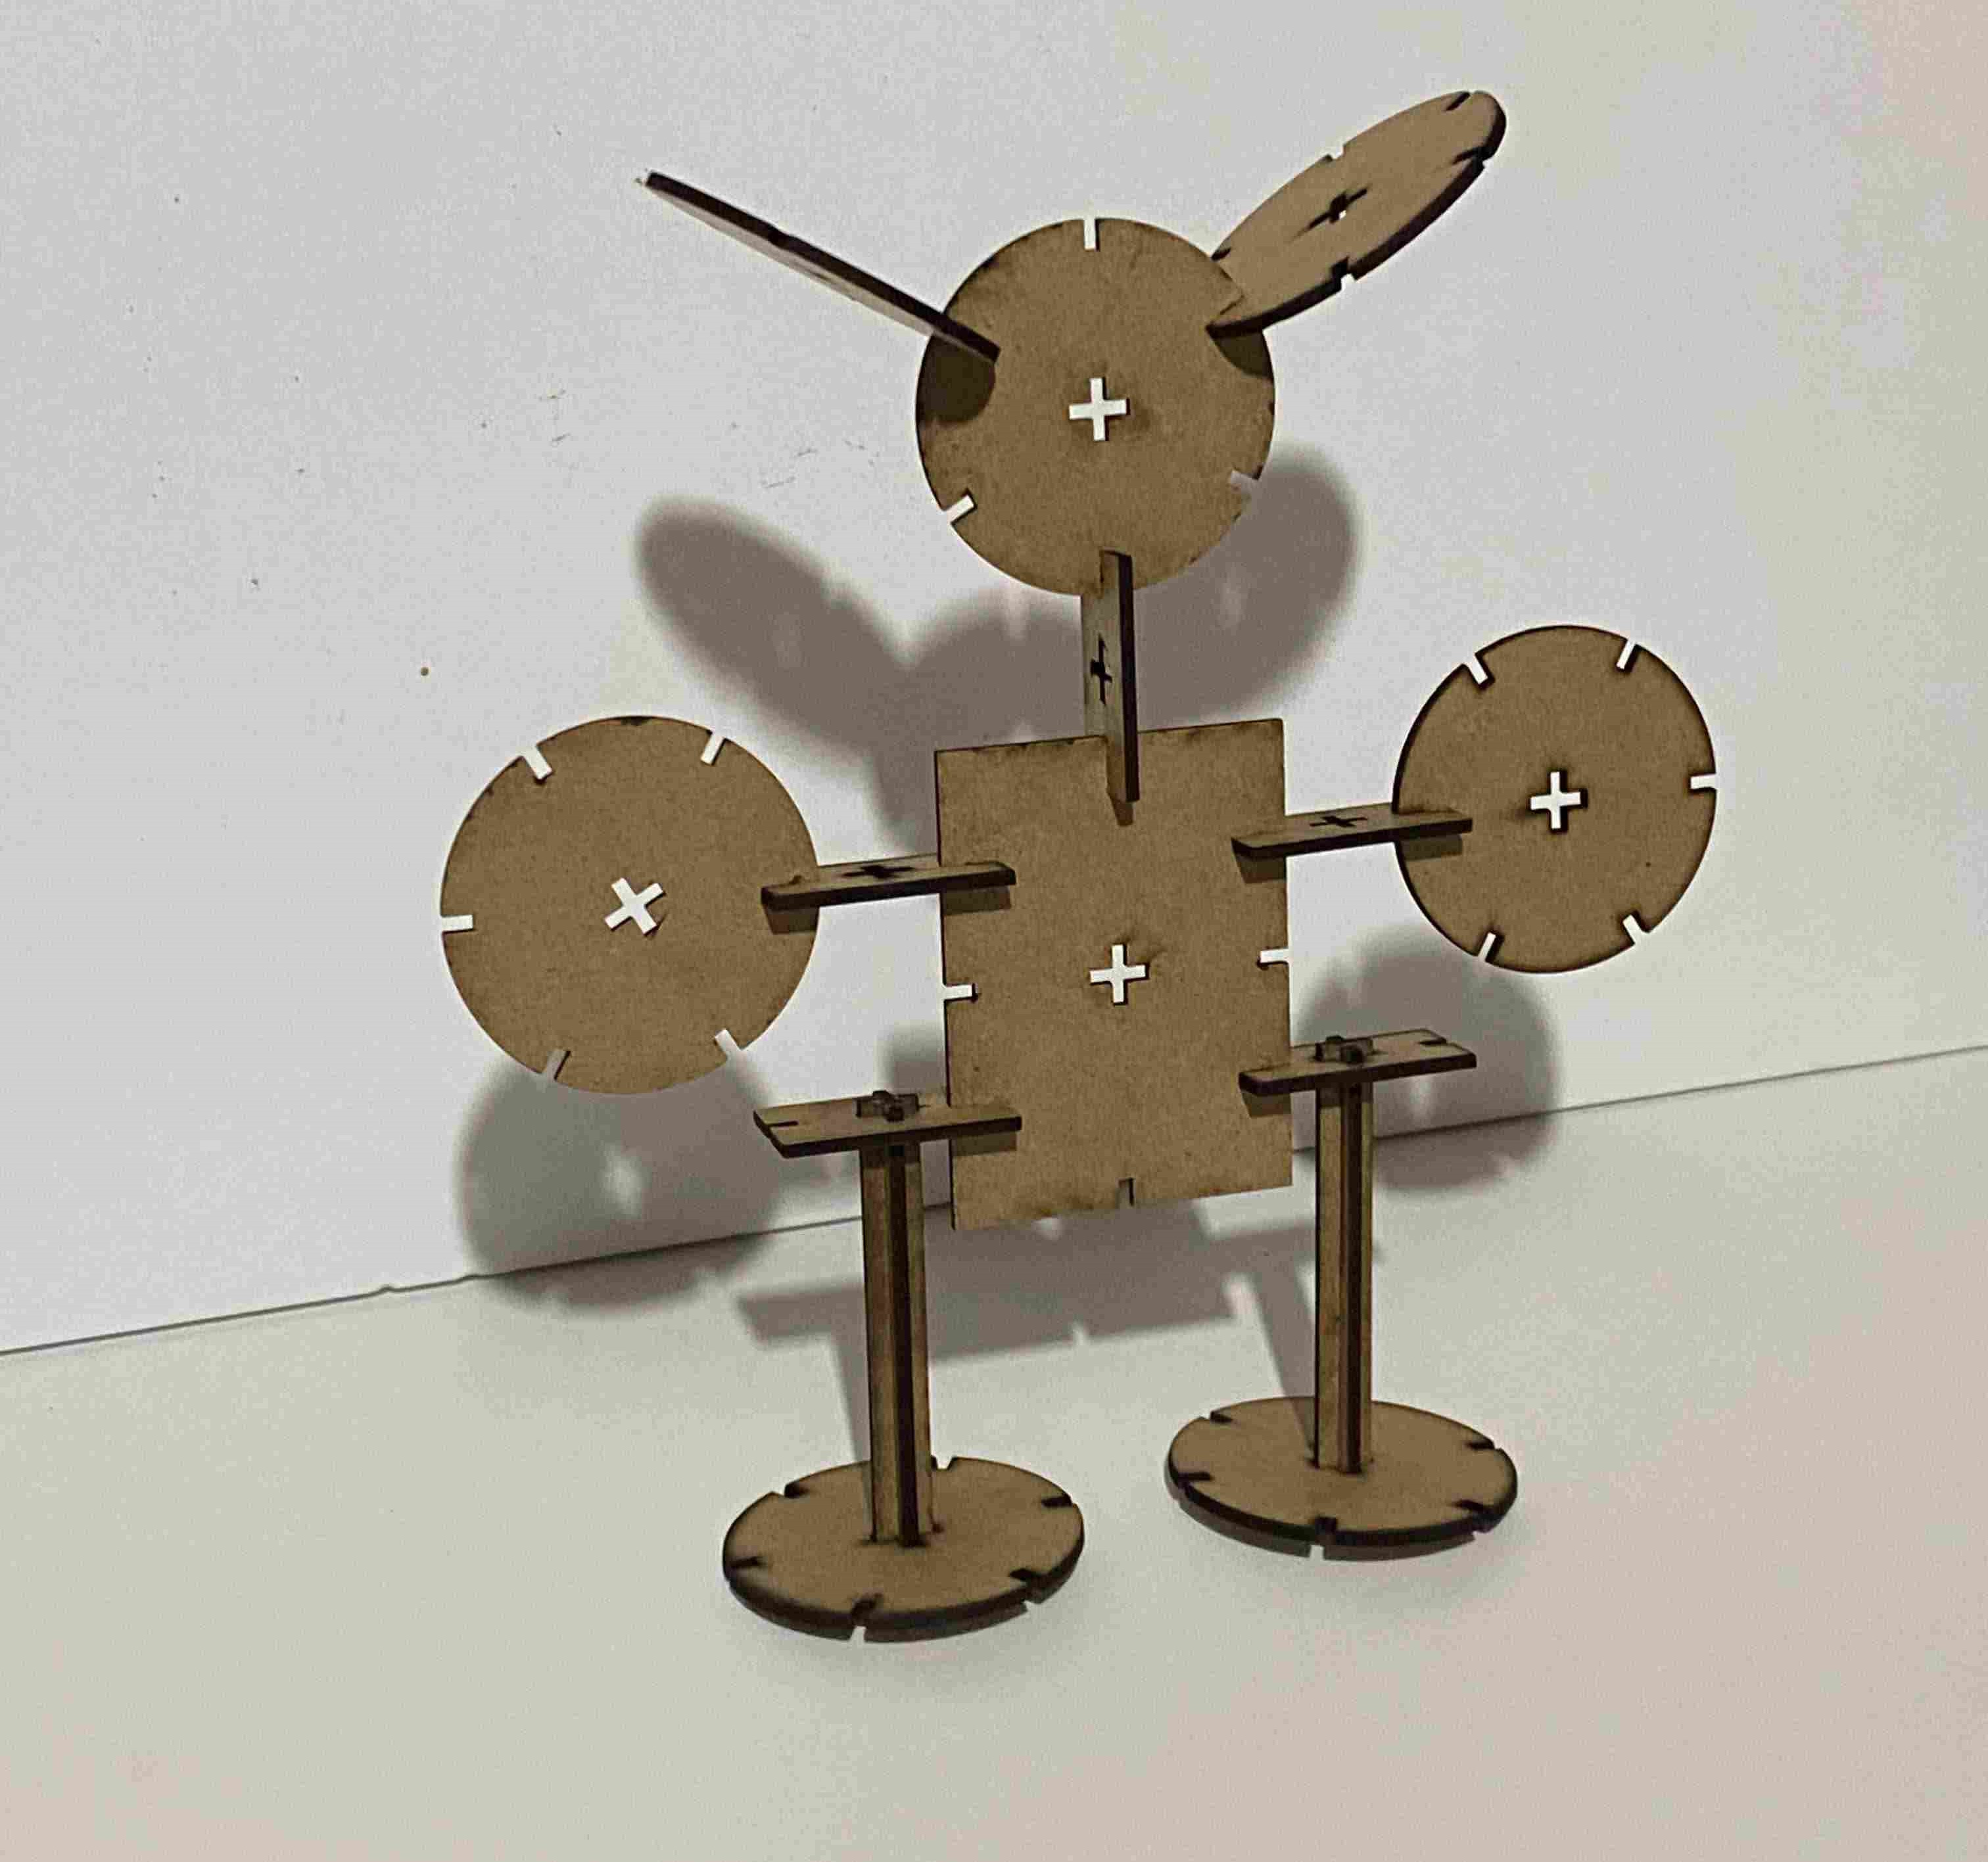
Assembling my pieces
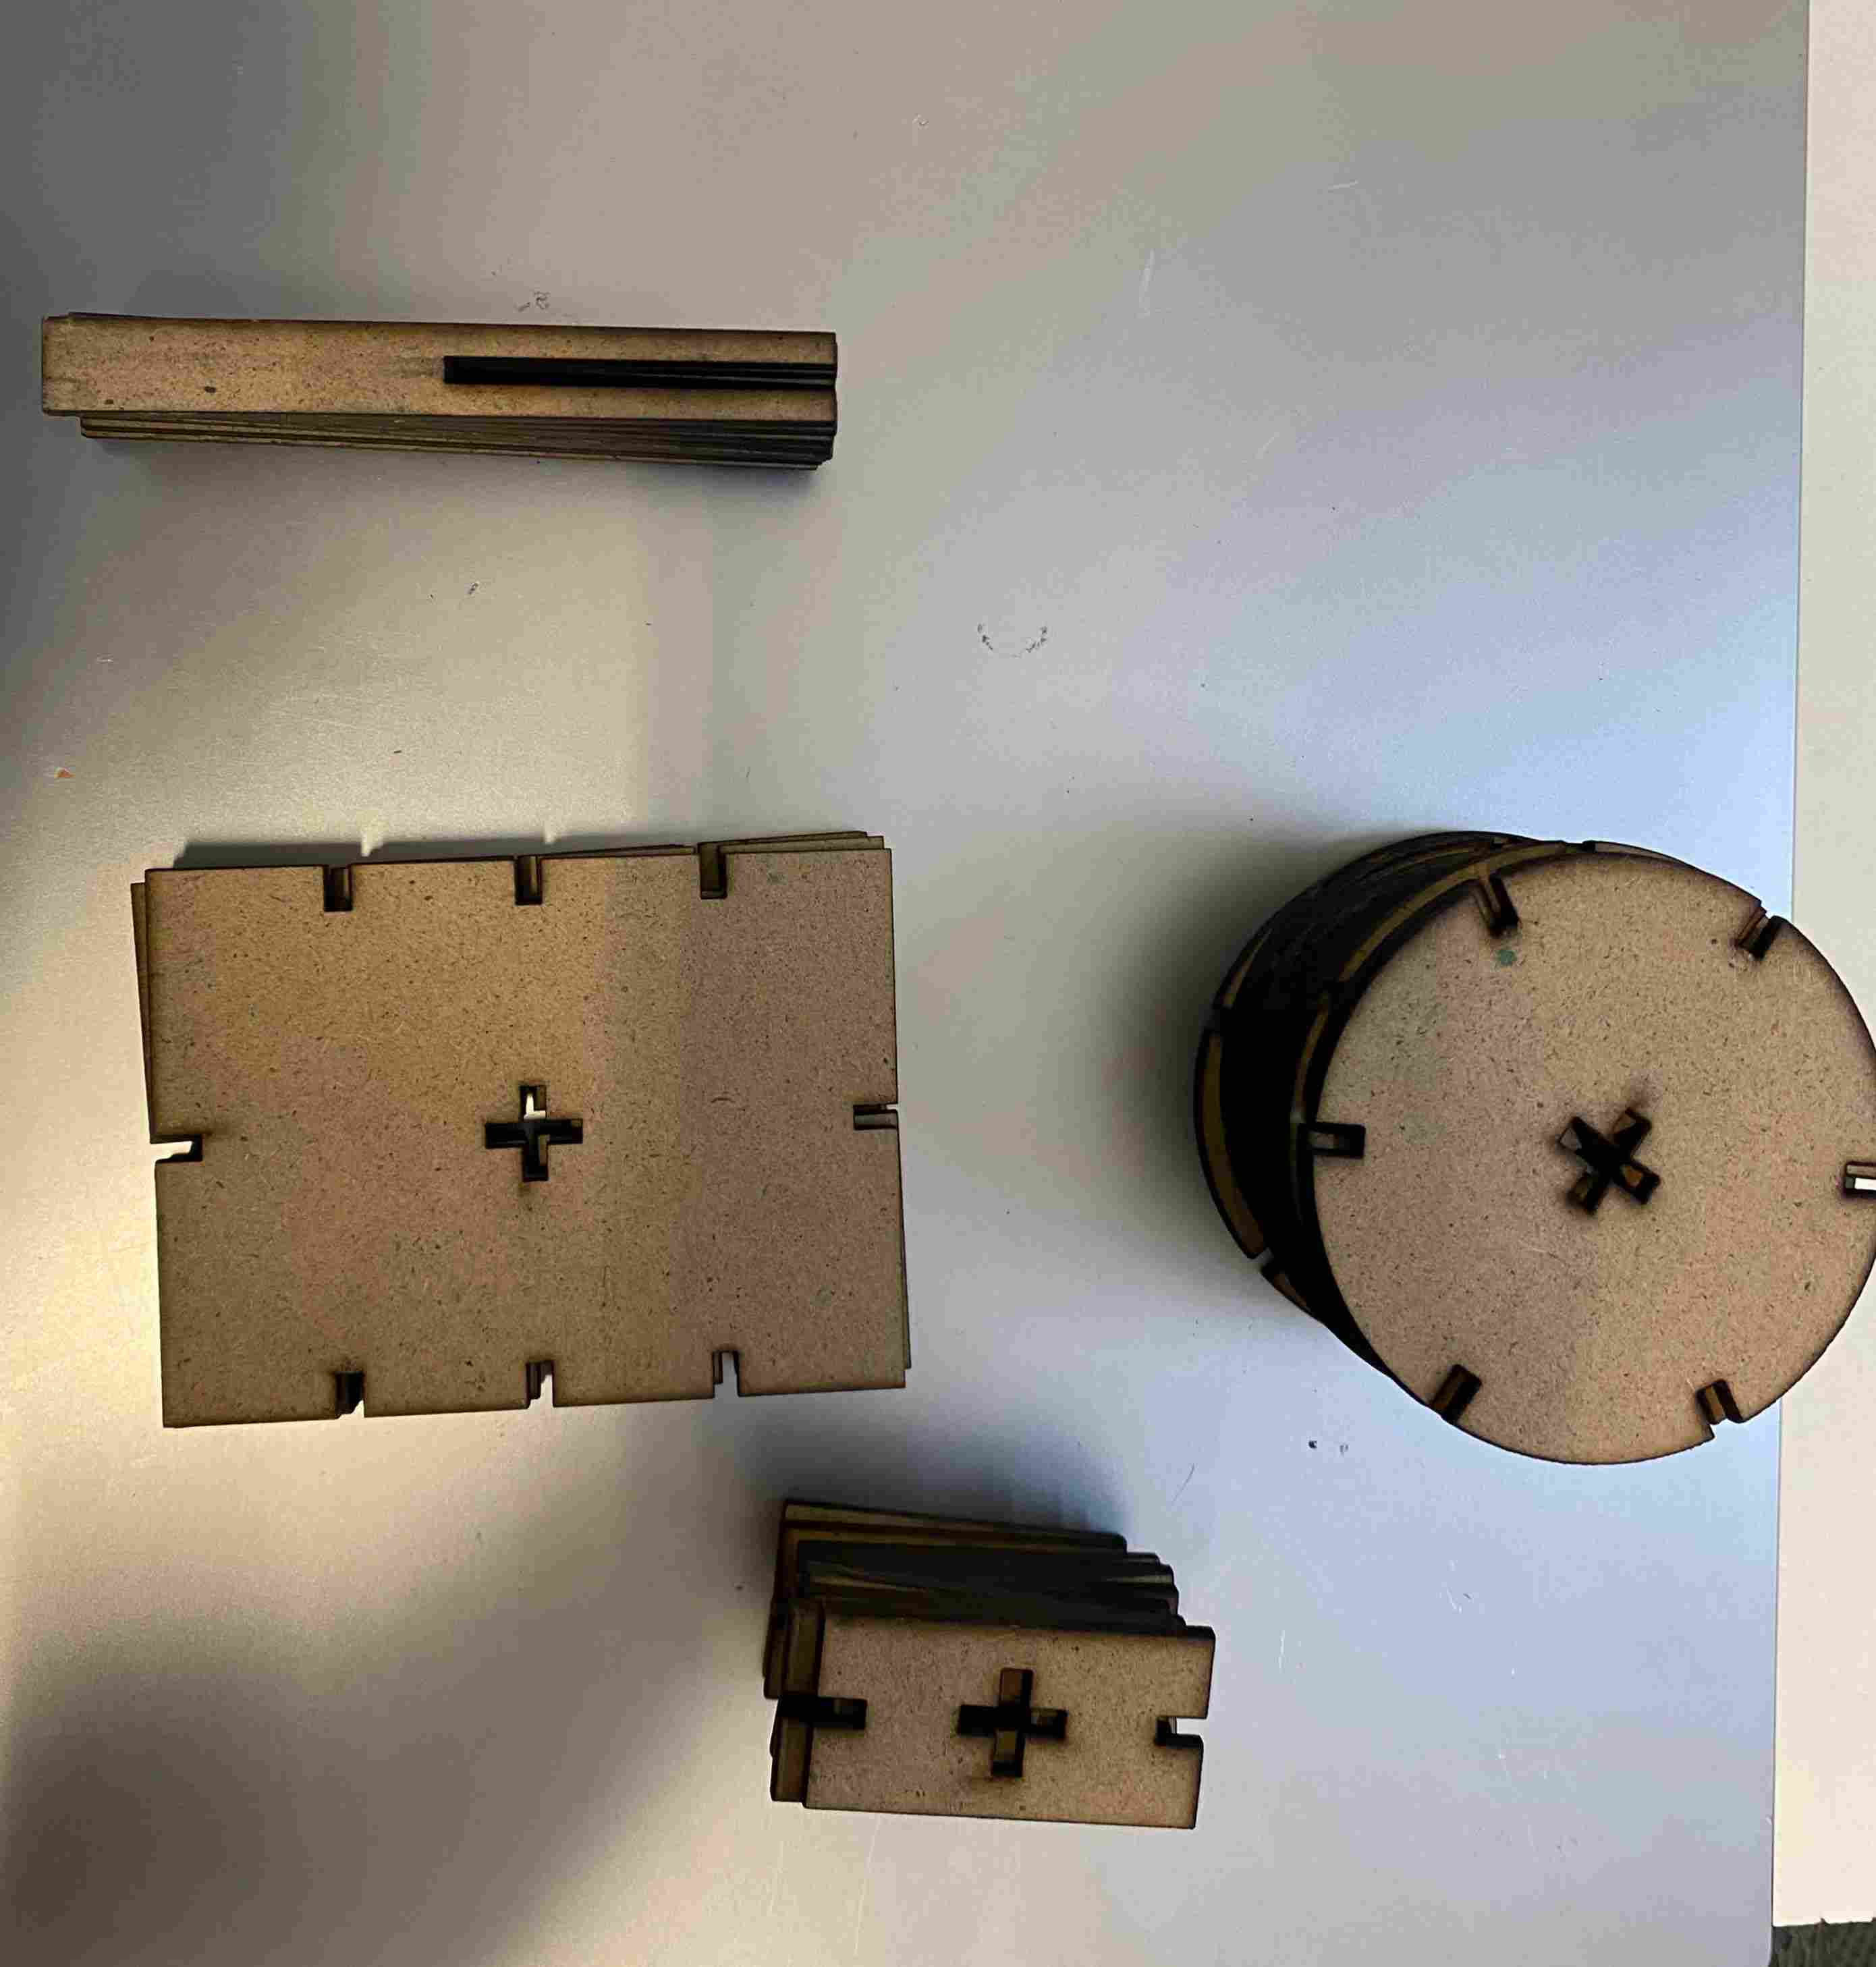
Final Shapes
.jpeg)
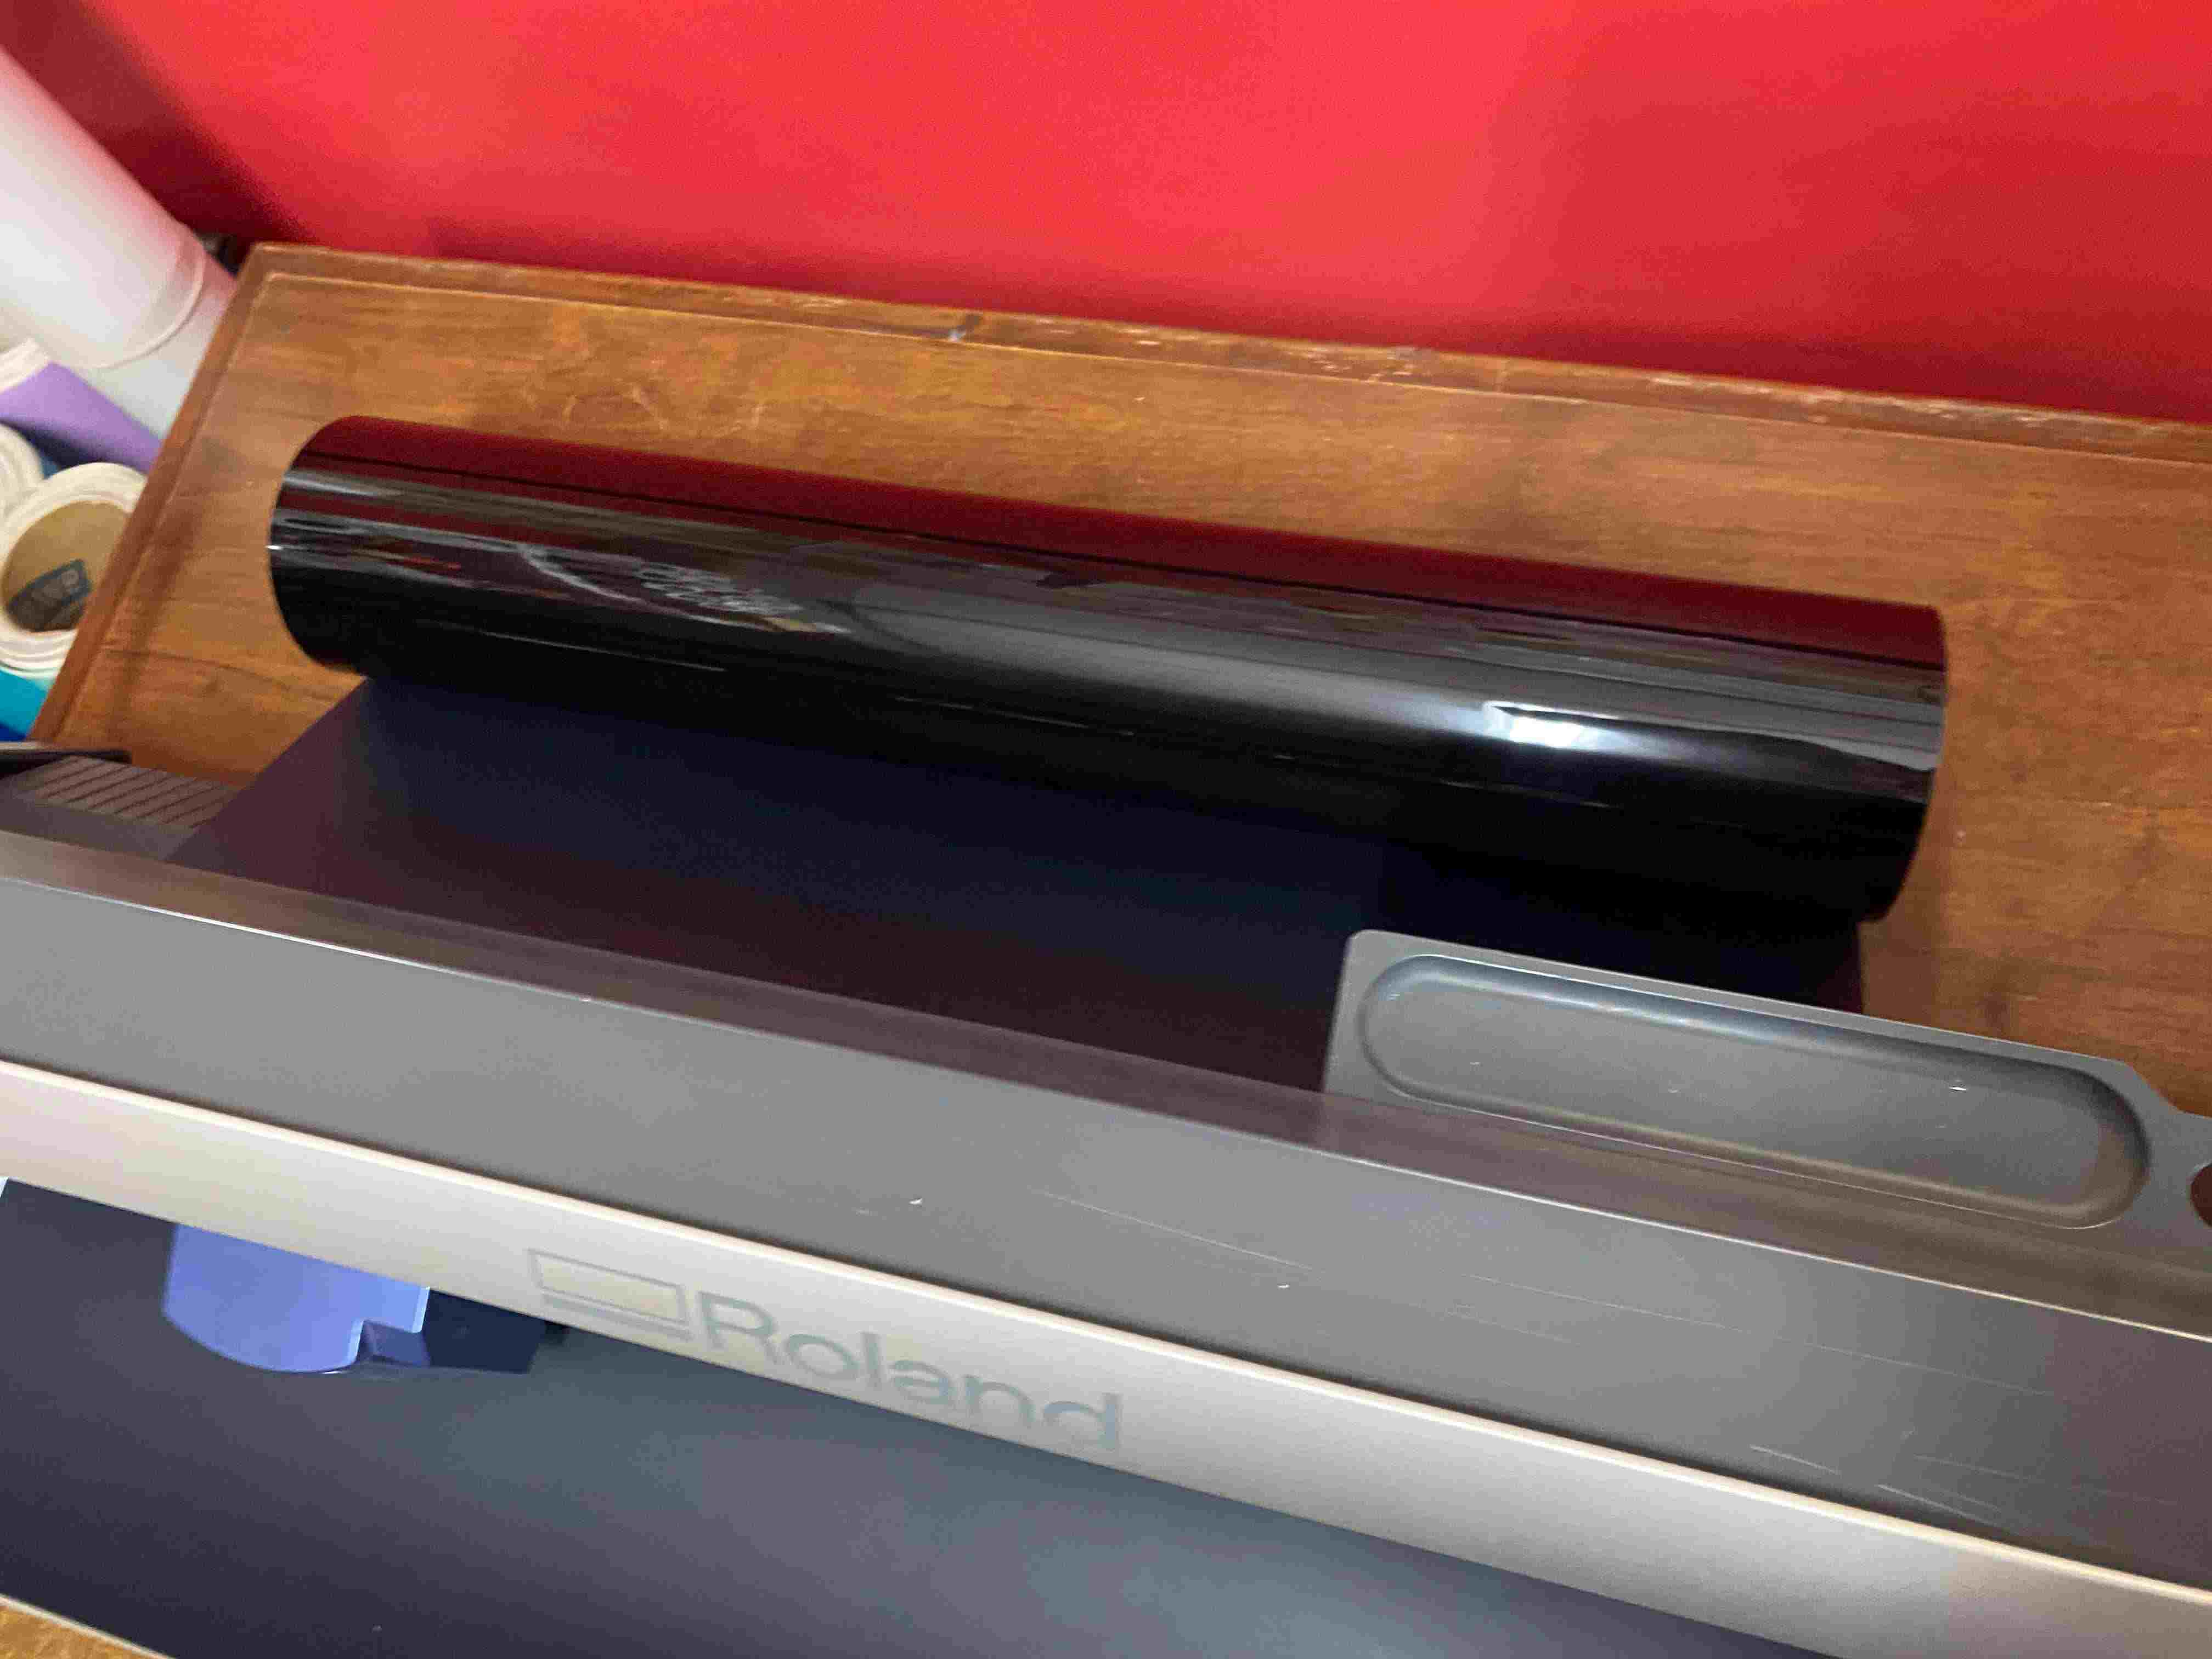
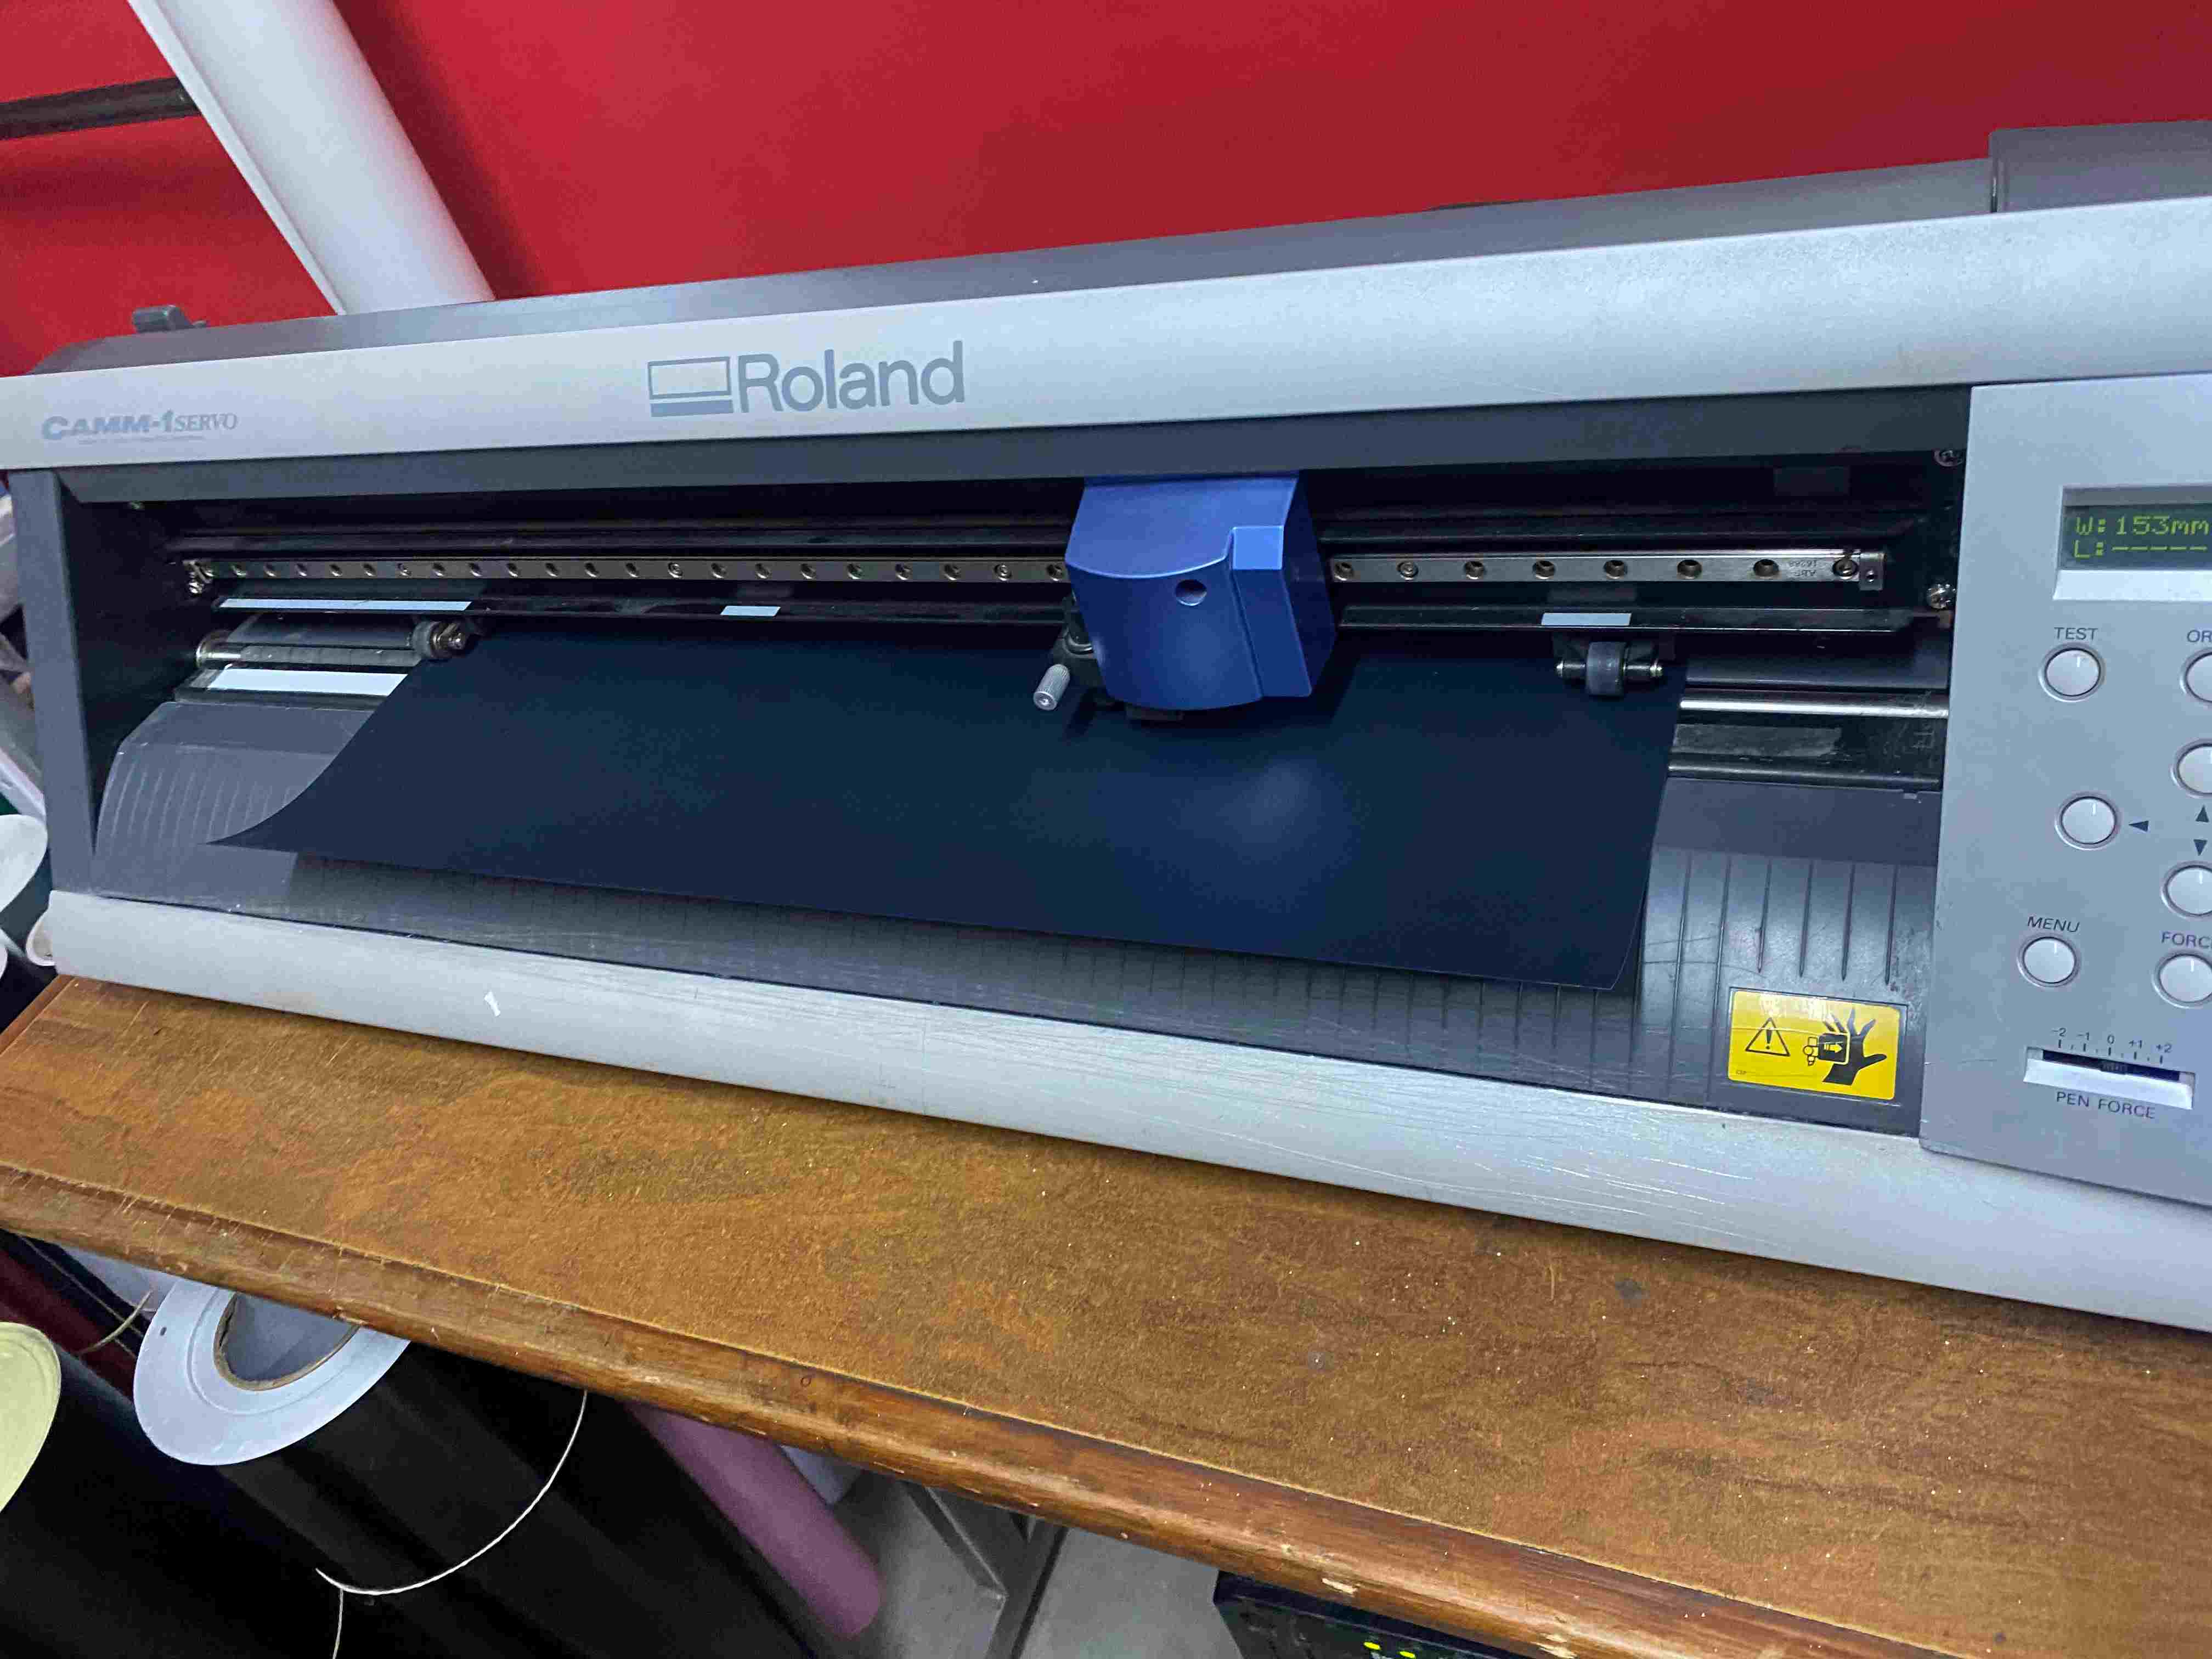
vinyl cutting
I use Roland CAMM-1 machine
Work parameters:
- Pressure: 150 gf
- Speed: 20mm/s
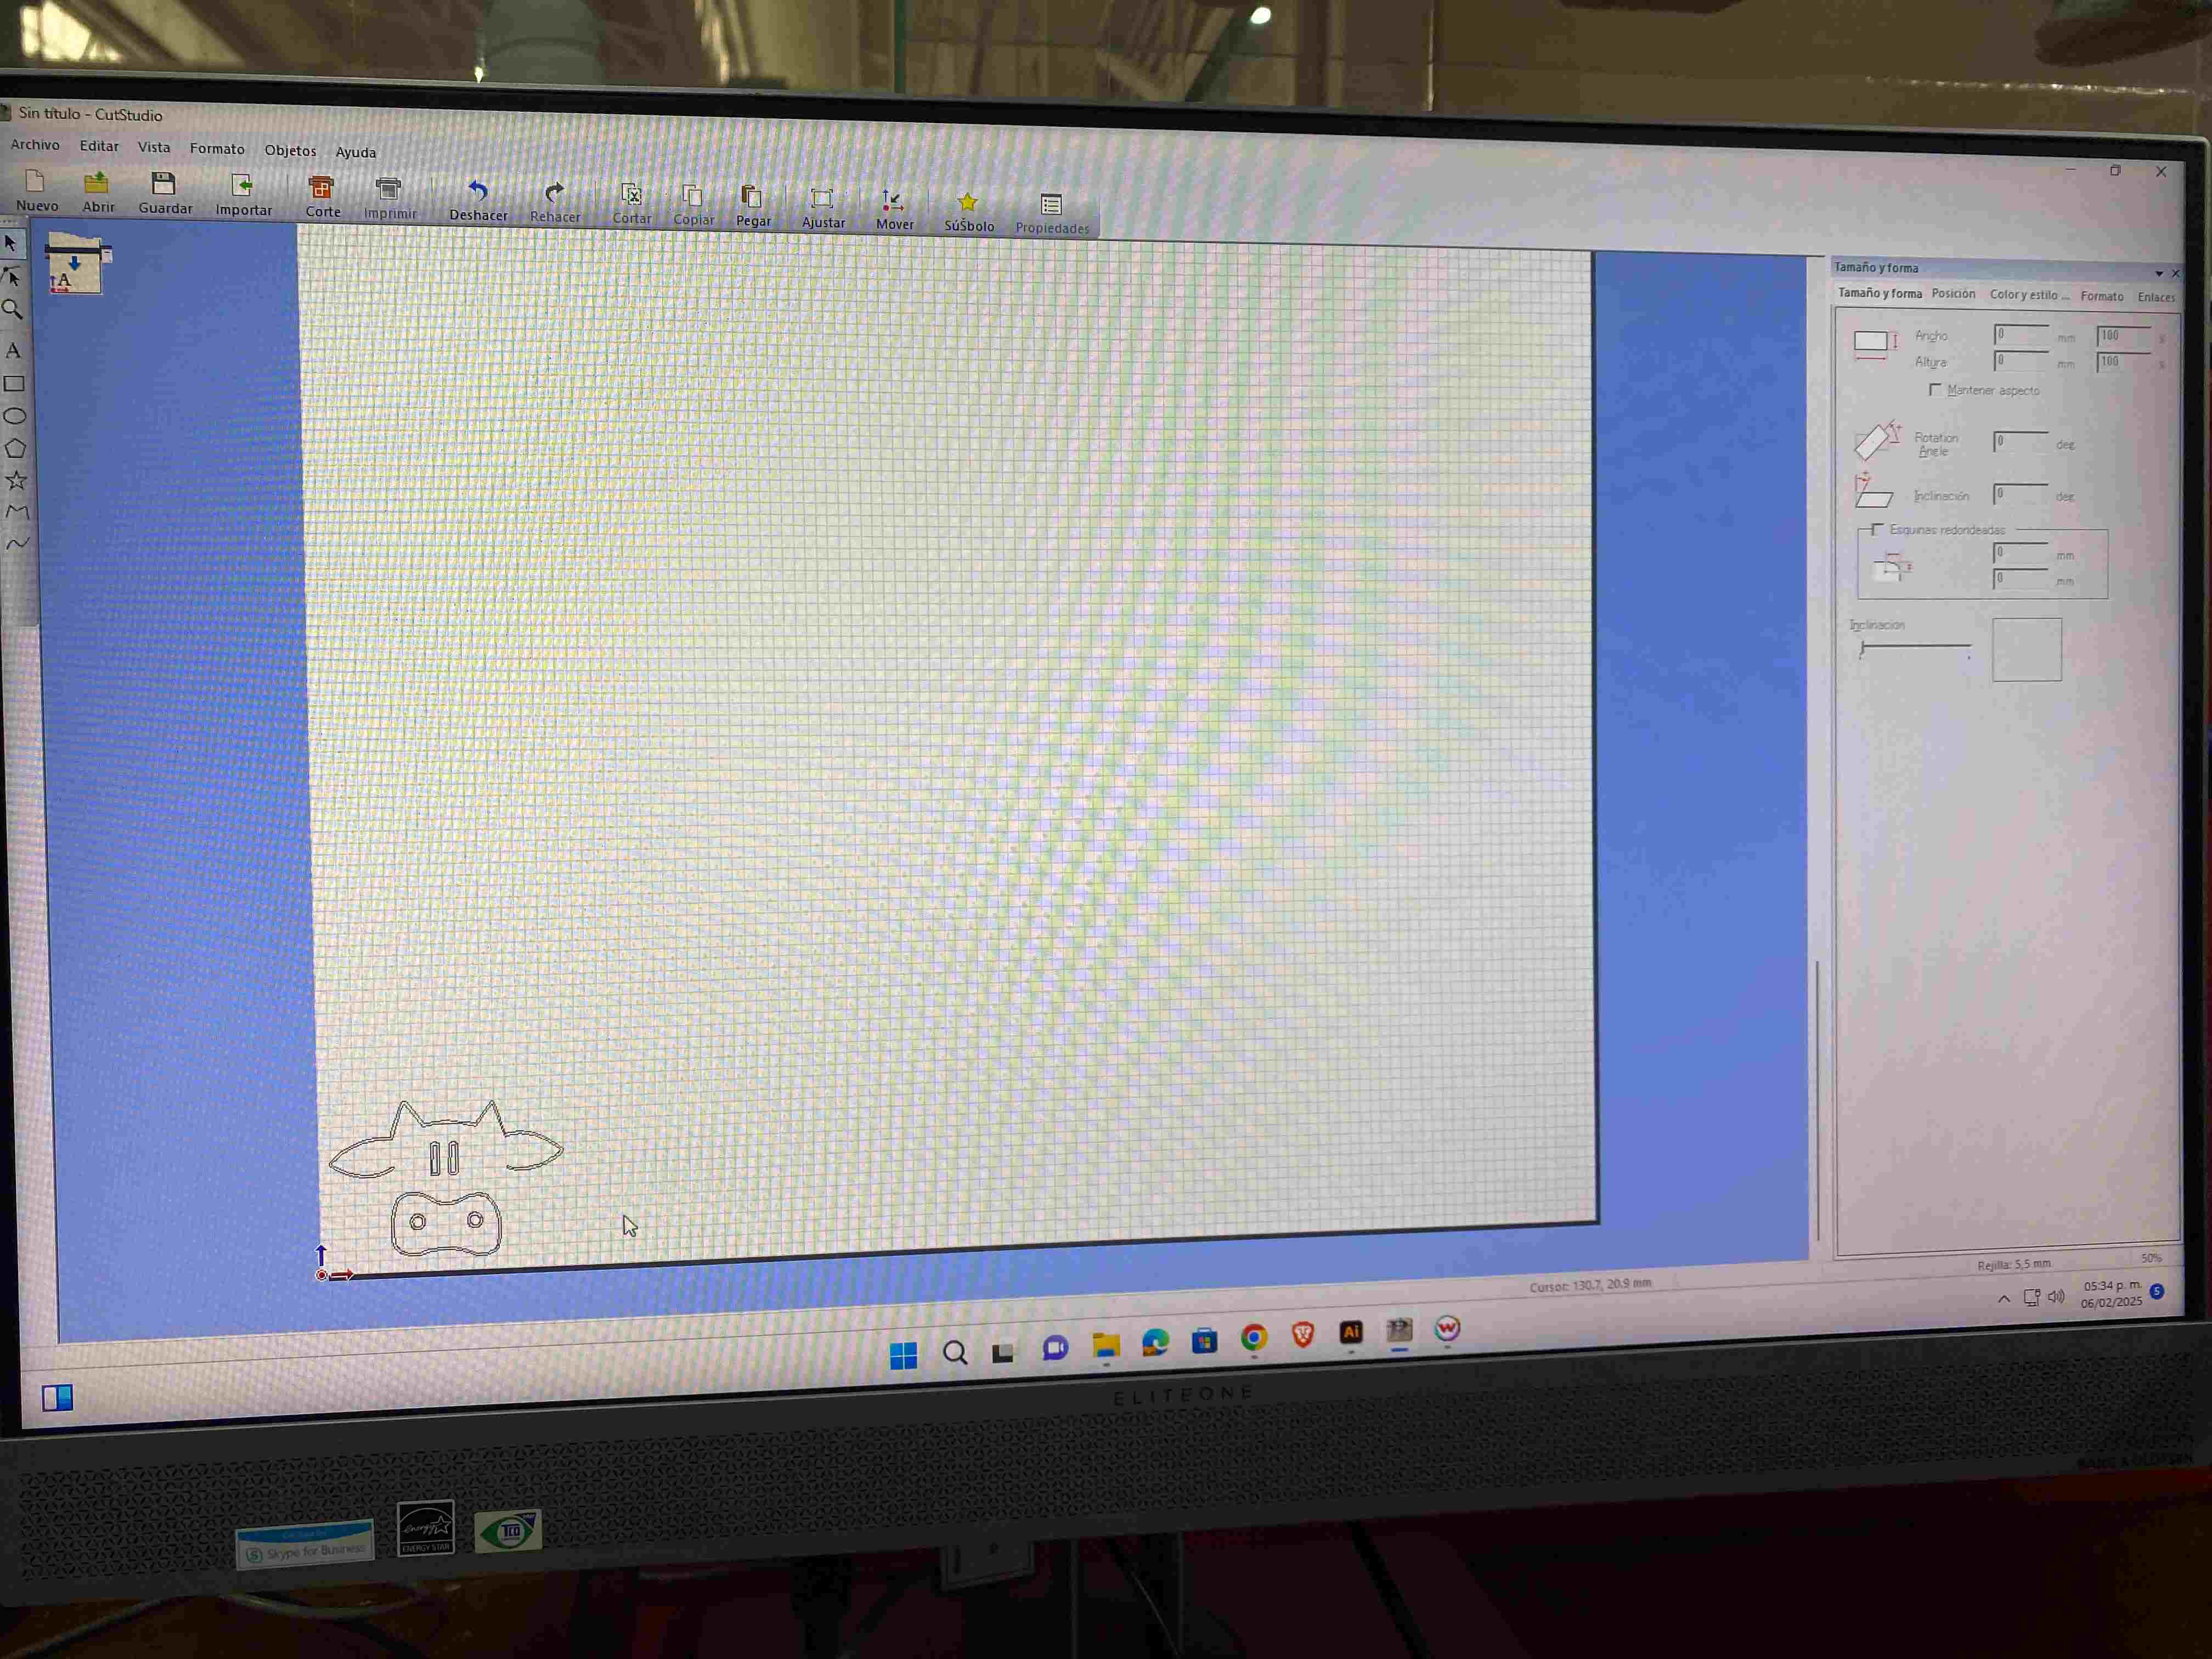
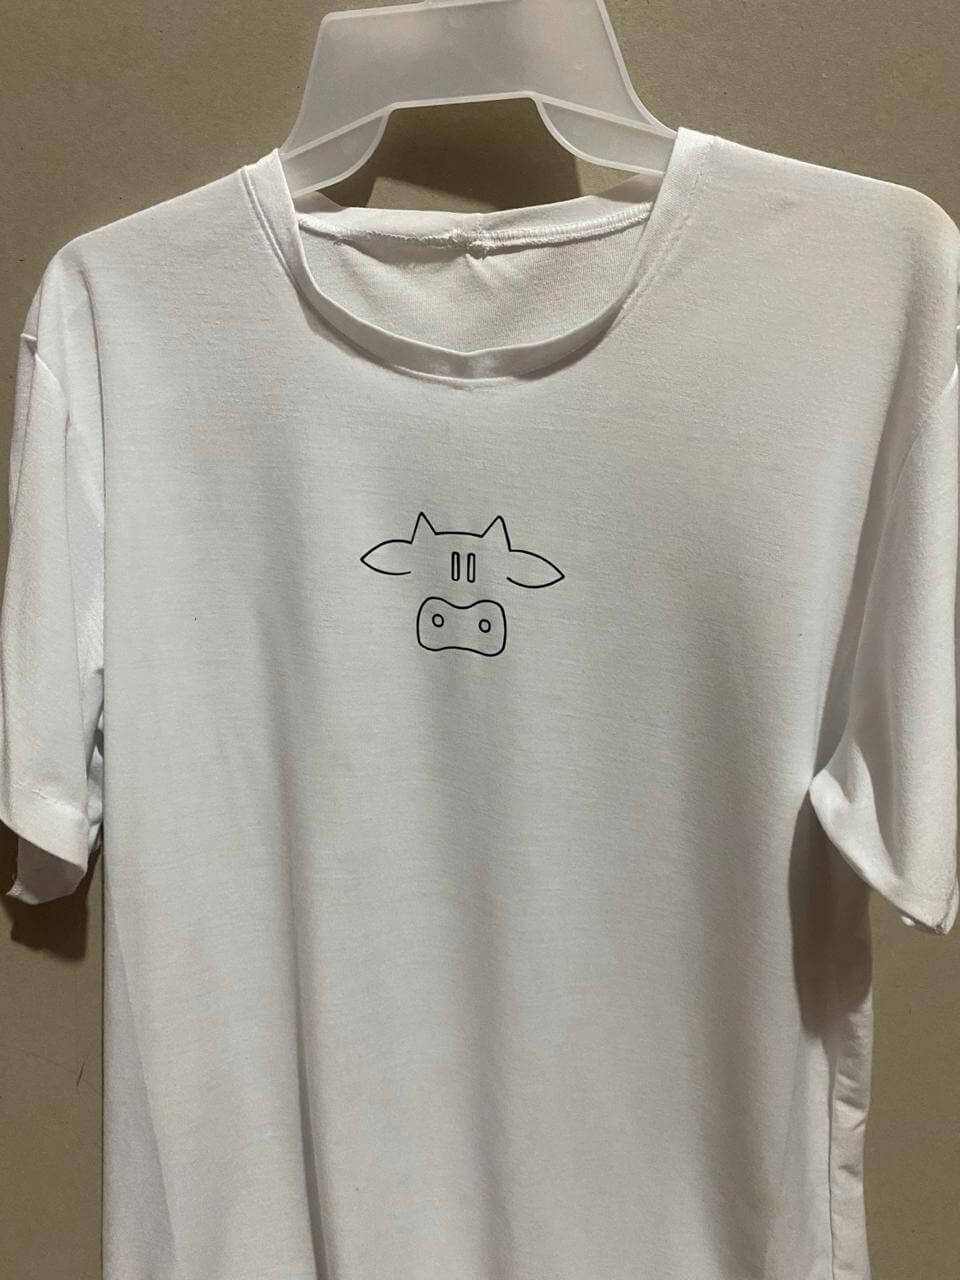
For my design I wanted to make a cow vector and I made it in inkscape.
.jpg)
- First, I turned on the machine
- I placed the roll of textile vinyl in the machine by lifting and lowering the lever to secure it.
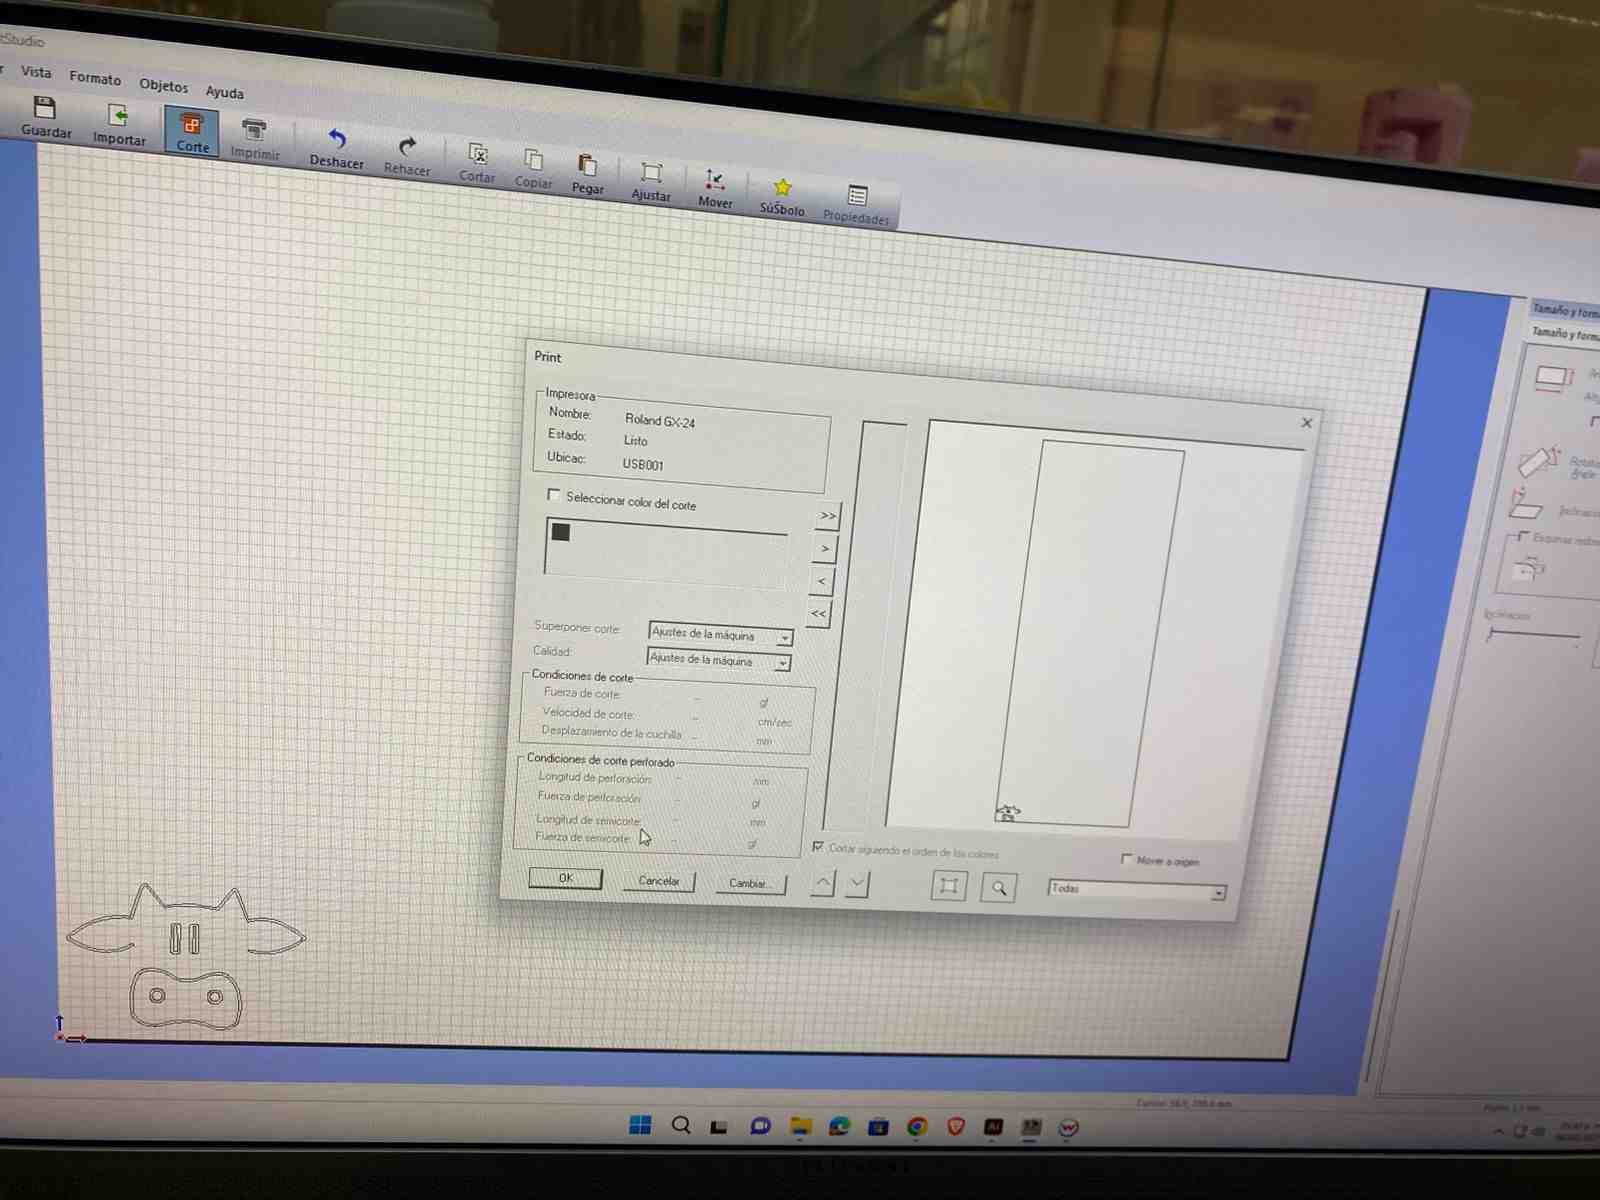
- I plugged in my USB, extracted my PNG image, and imported it into the program called Roland Cut Studio.
- I added the outline to my figure.
- I pressed origin to have the machine size my figure.
- Then the program cut it.
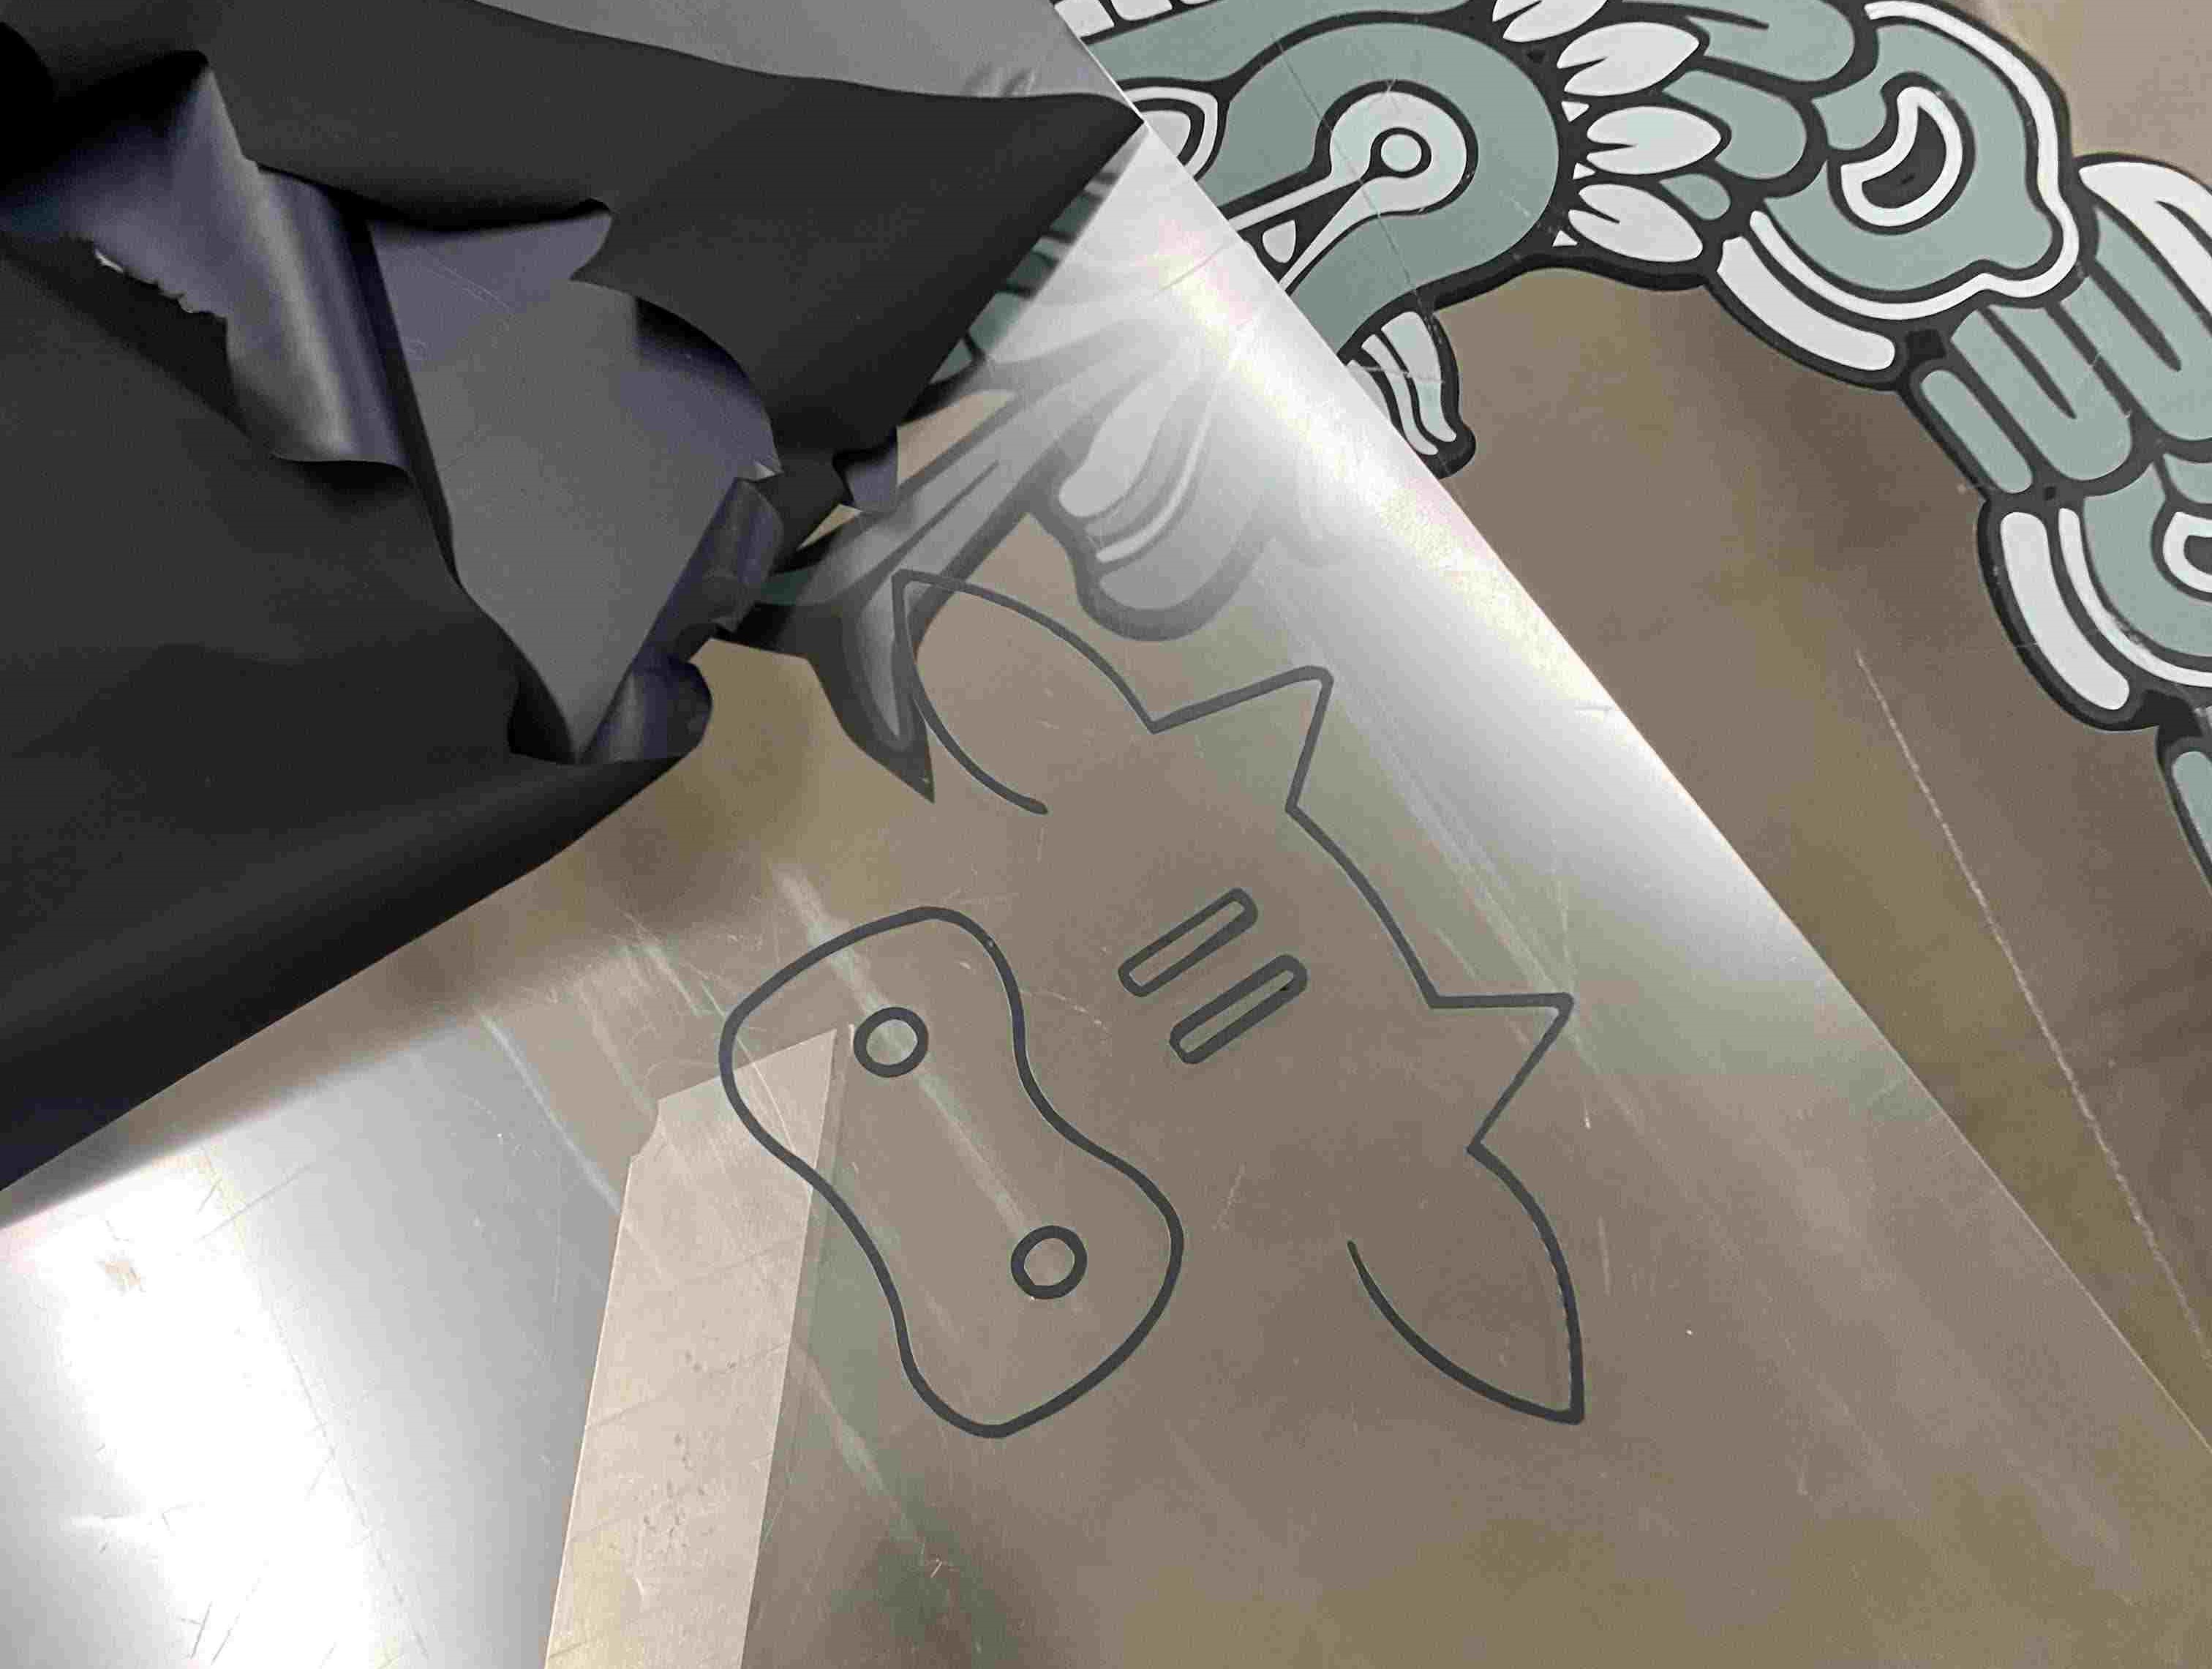
In this case, I had a problem because it only cut a horizontal line. But it was solved when I put weight with a coin and more pressure on the paper so that the black vinyl was not reflected.
After I provided this way, it came out well, and I separated the vinyl with a cutter.
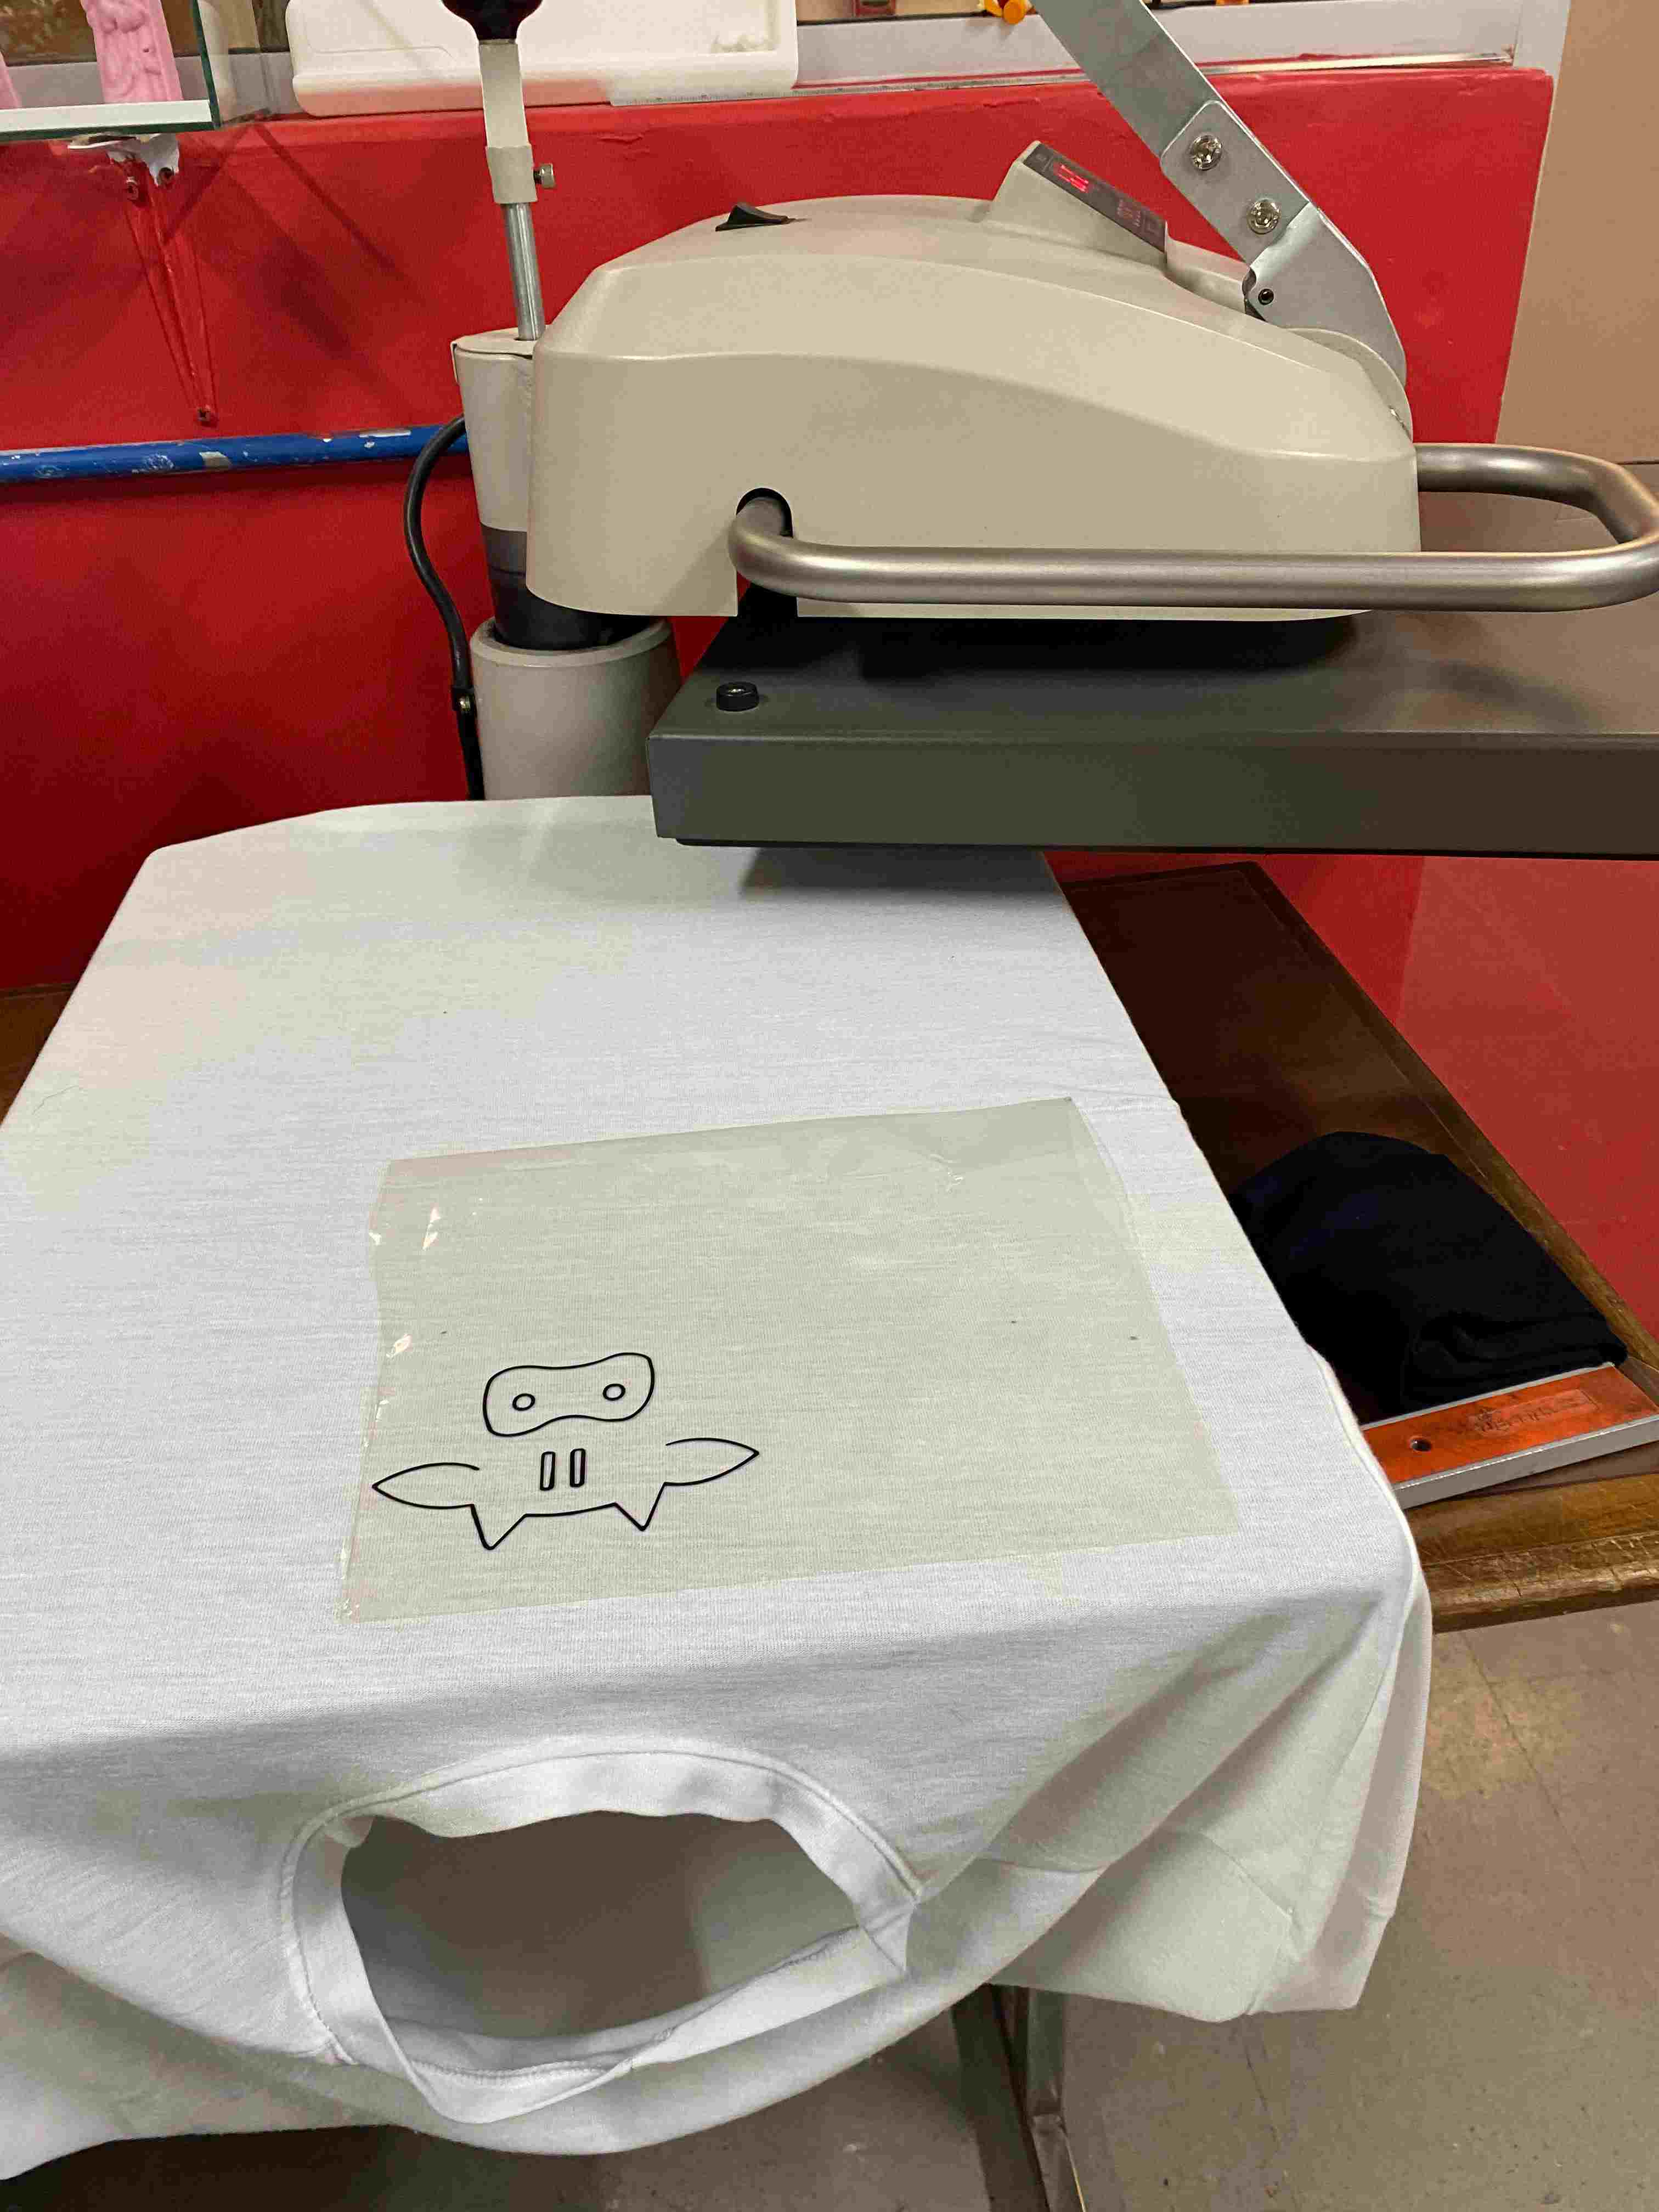
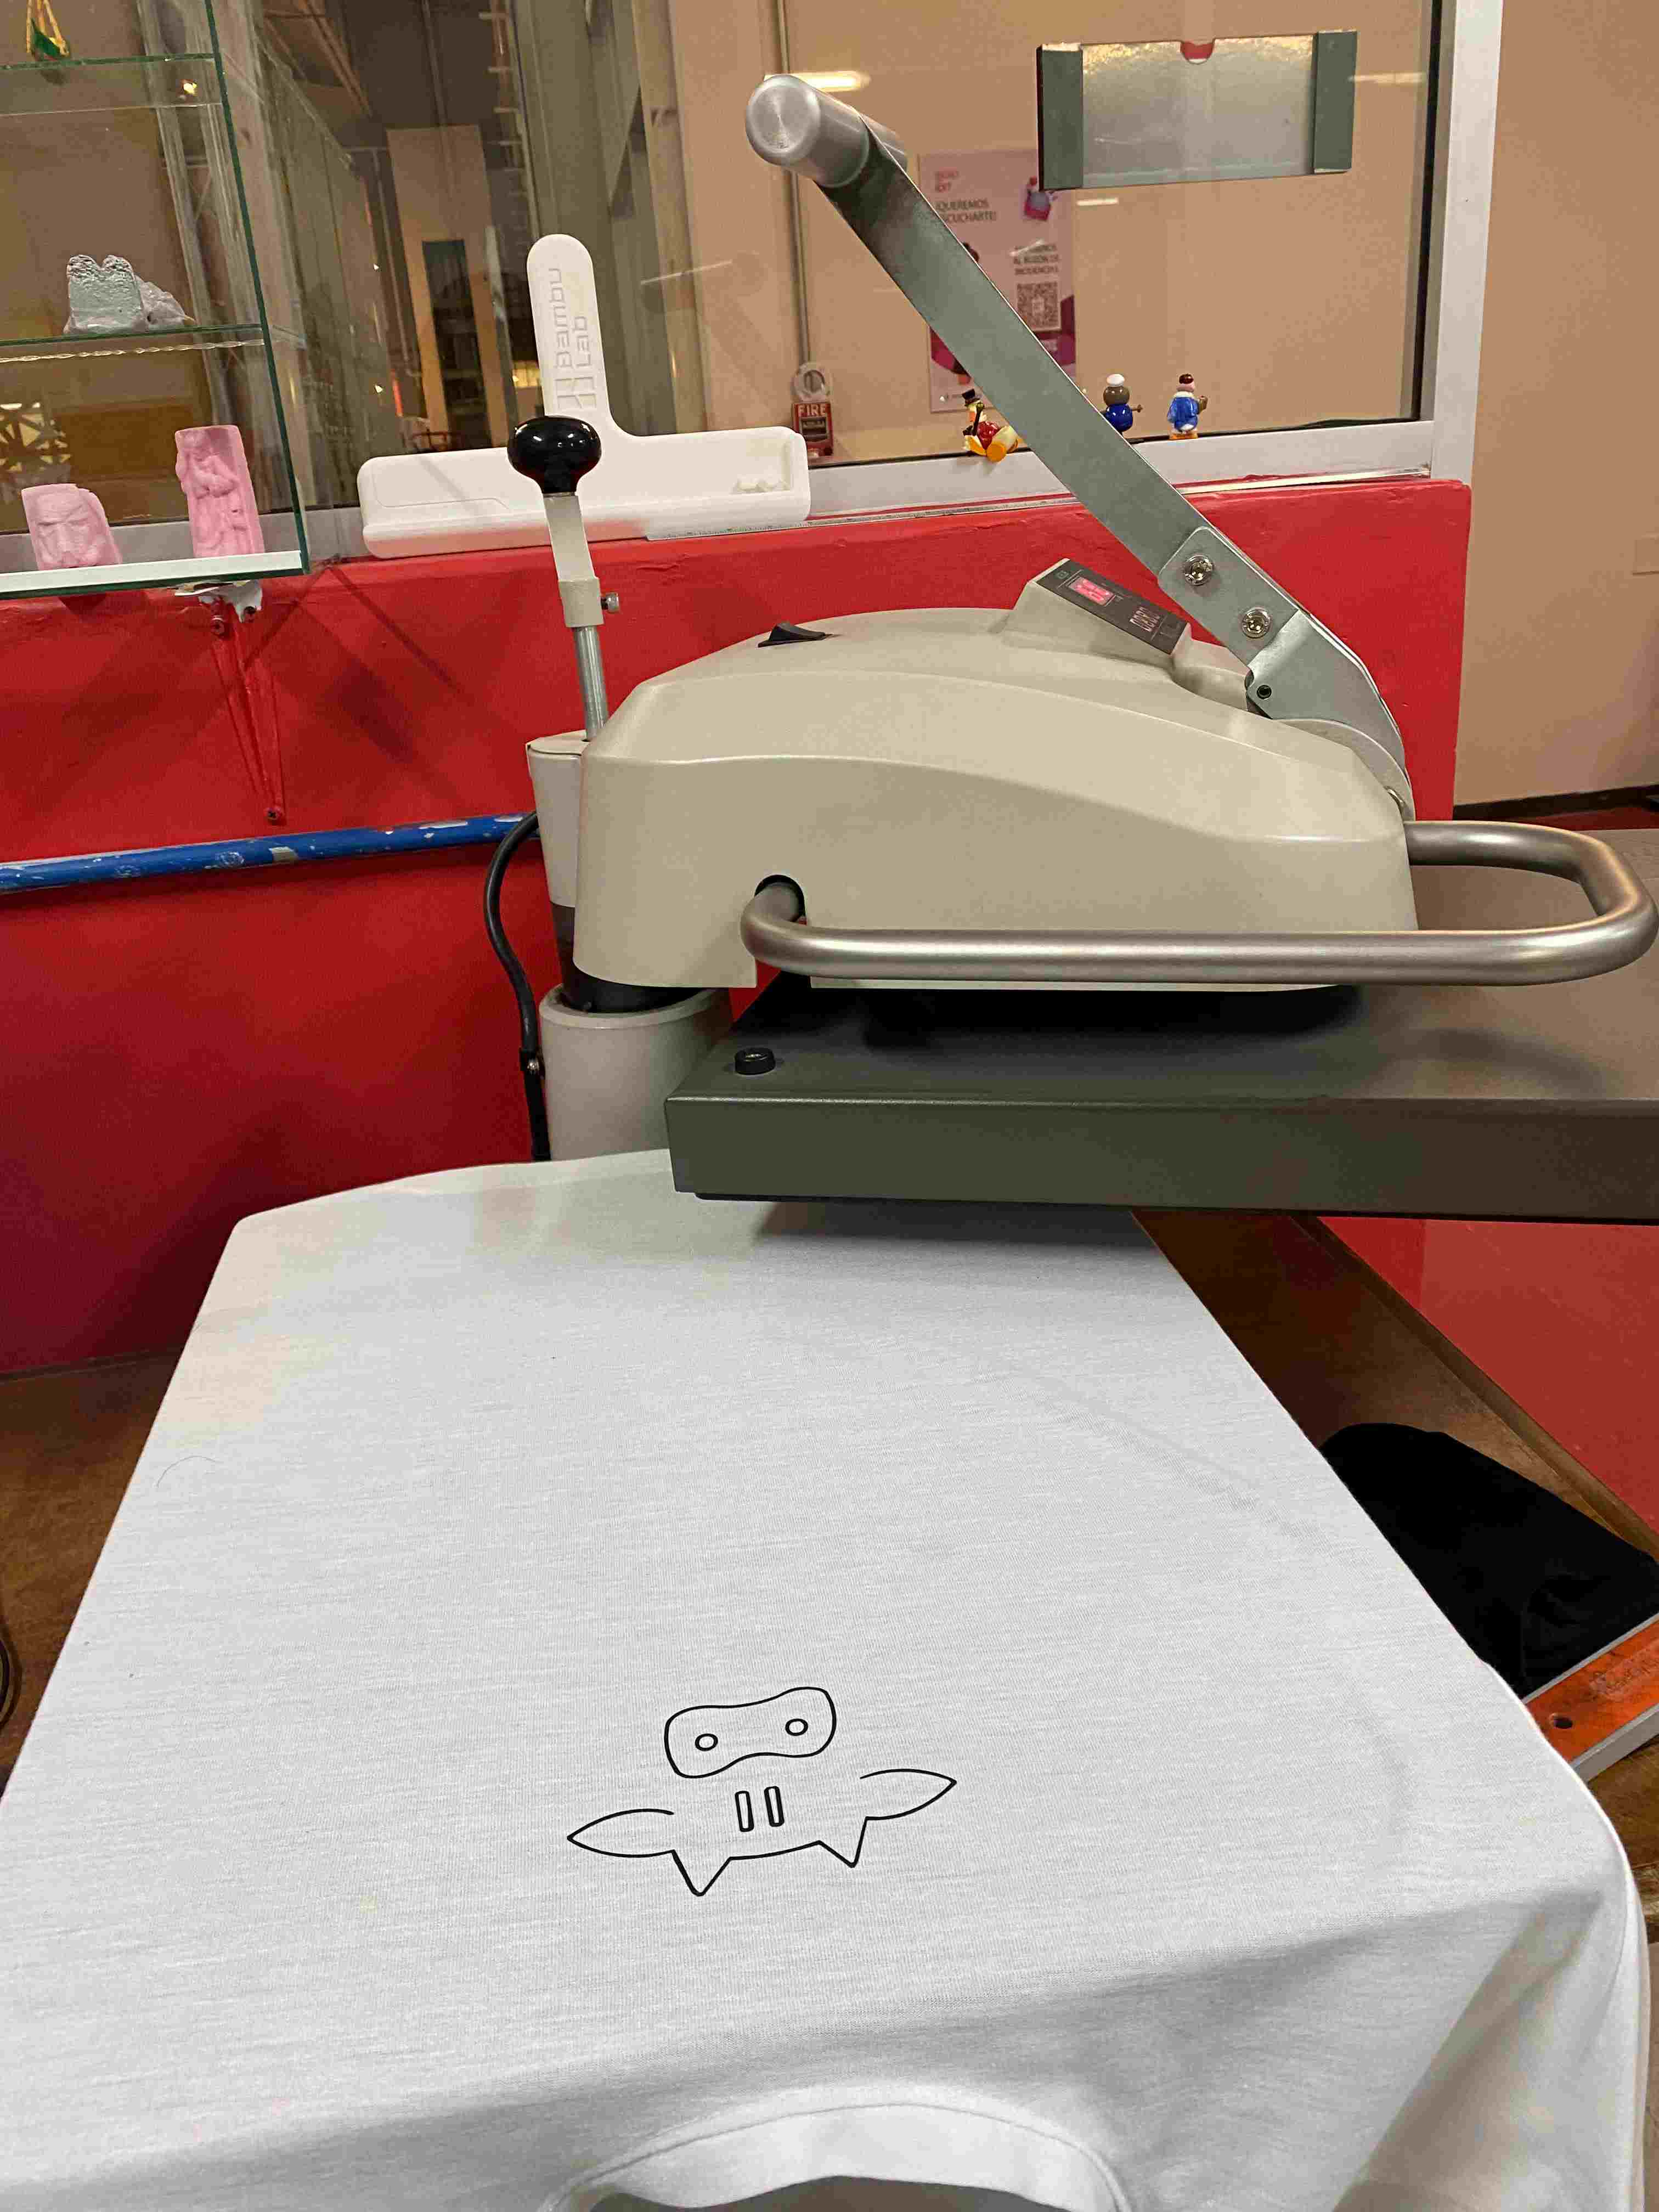
Sublimation
I really liked the image, so I had planned to put it on a t-shirt.
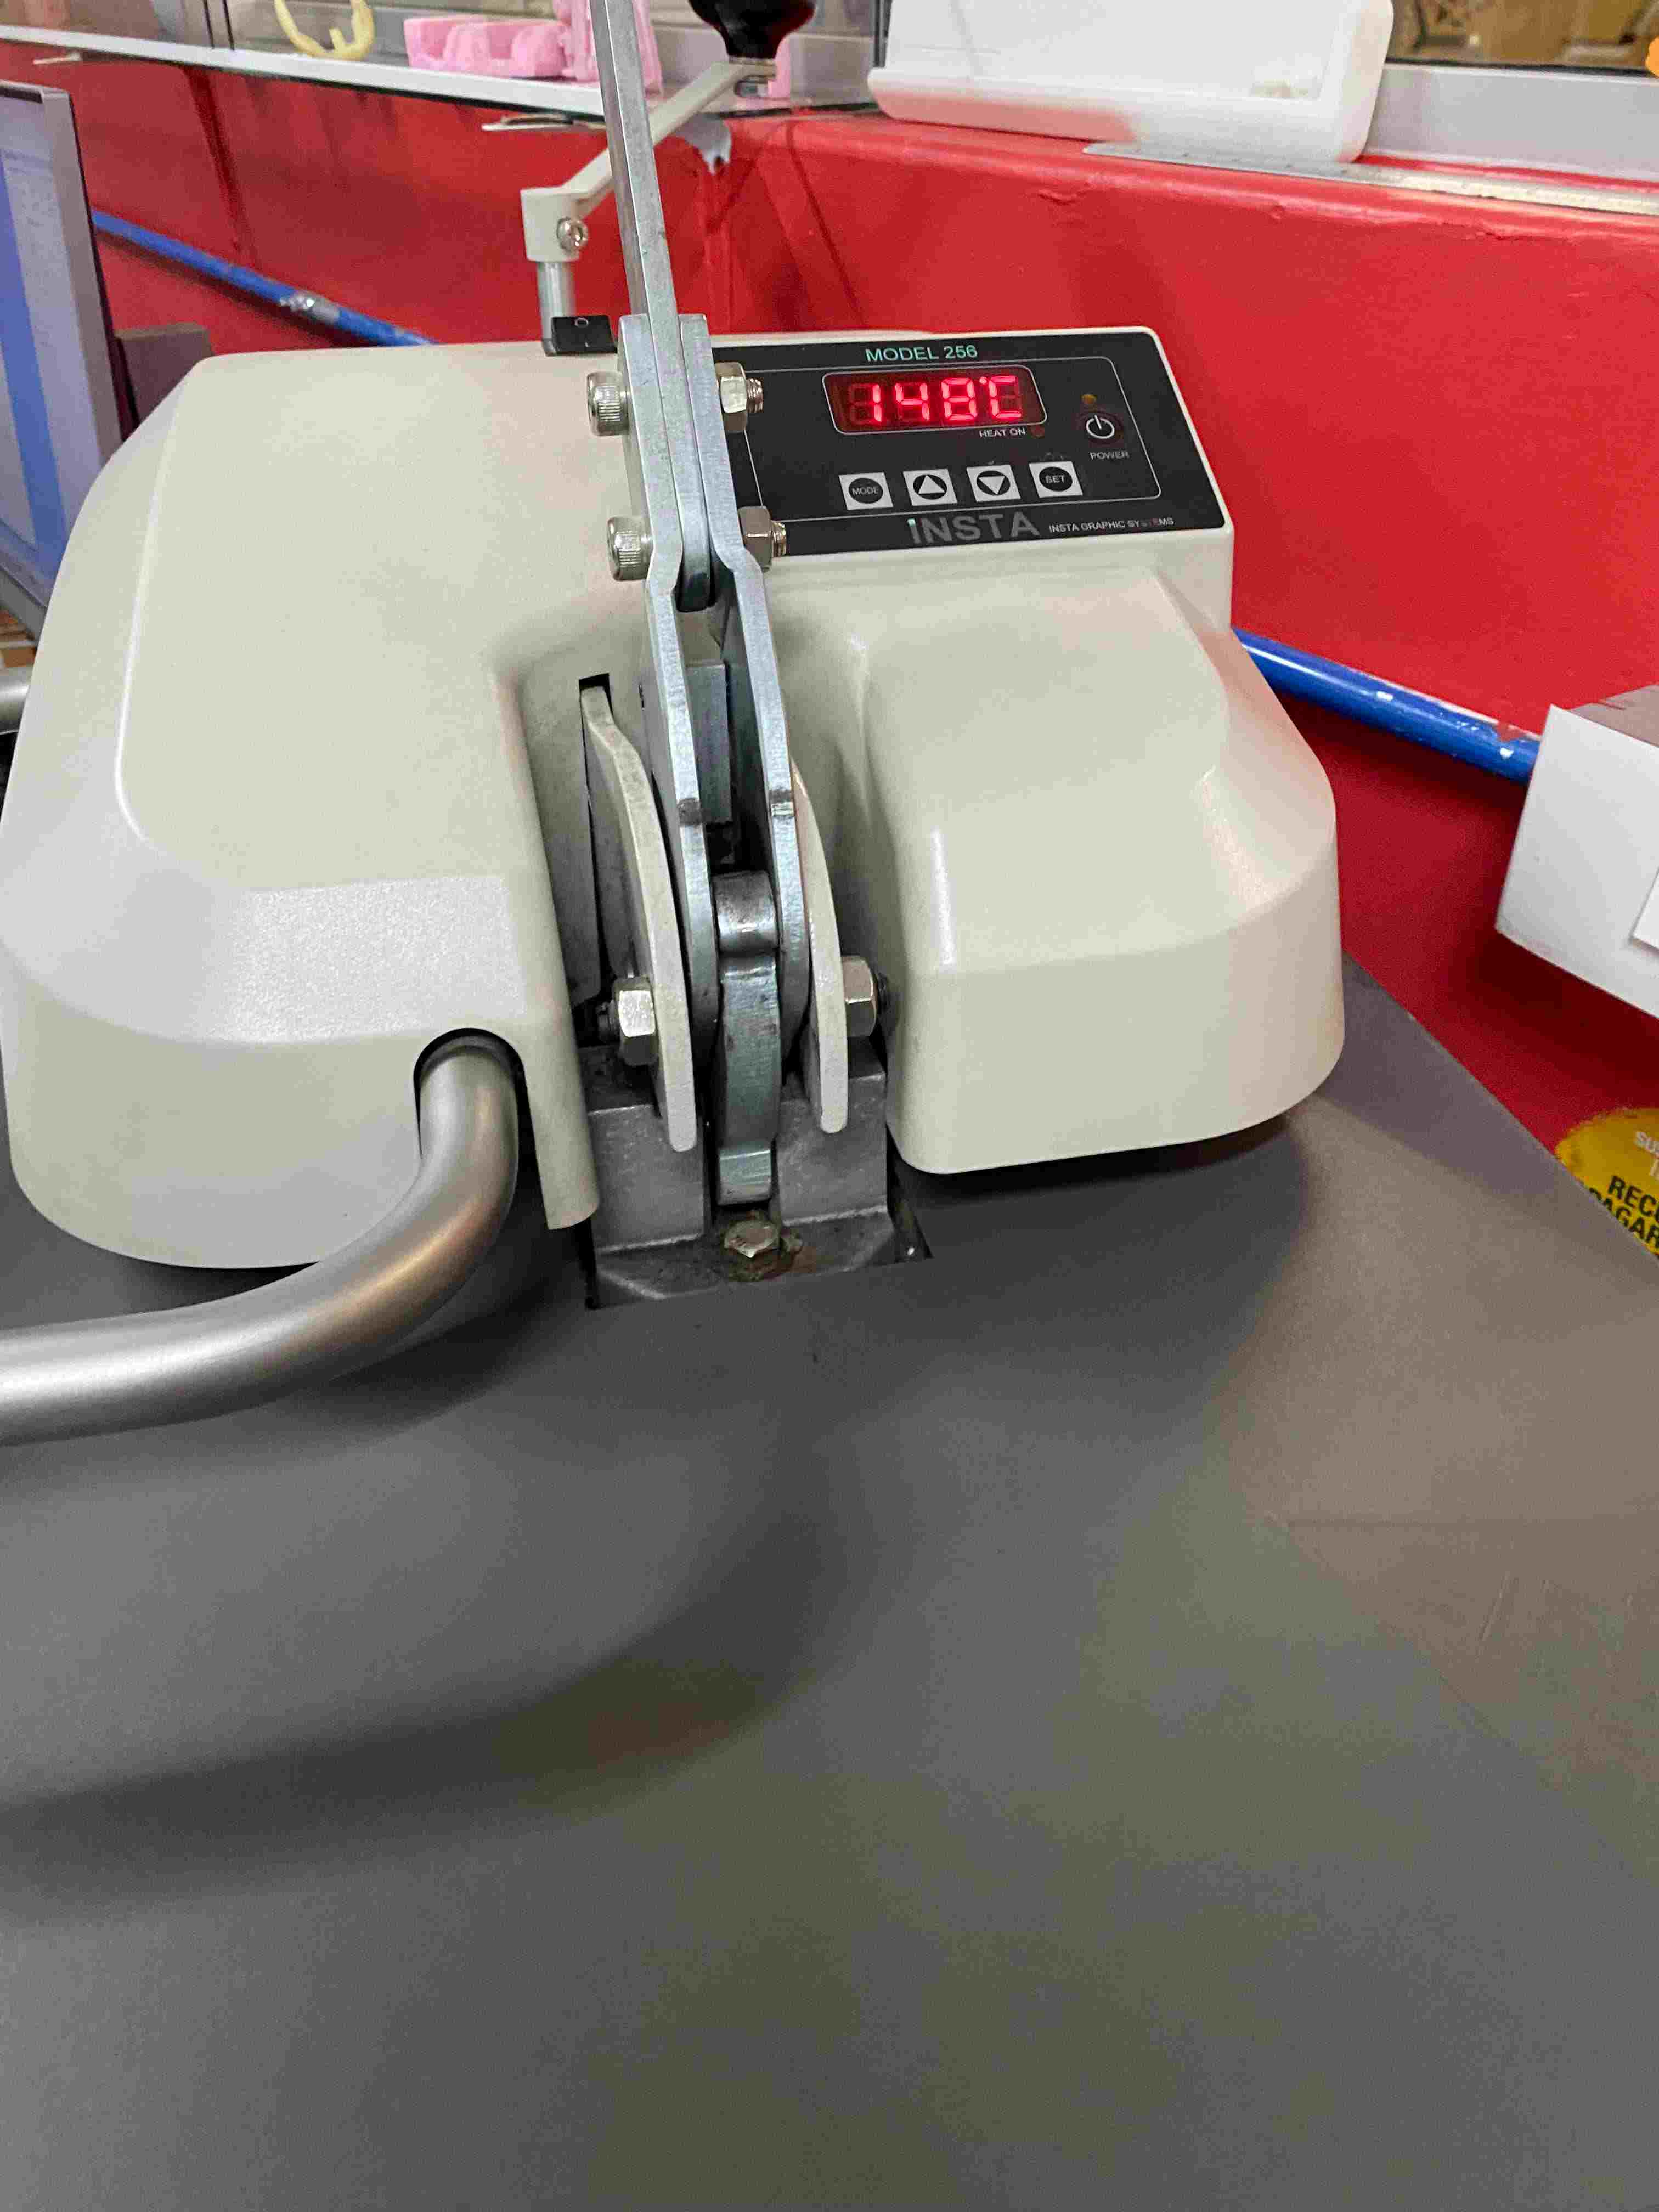
- I heated the machine to 150°C.
- While it was heating, I placed the design on the t-shirt.
- When it reached the maximum temperature, I pulled the press towards my design.
- I waited 15 seconds and then moved the press to the side.
- Then, I removed the transparent material and pulled the shirt out.
Conclusion
Laser cutting was a bit challenging at first as I had to learn how to use the machine, calculate parameters to get my piece right but I also learned how to export my files in a correct format for the laser cutting machine to detect it. Cutting vinyl was not so easy because you have to take into account the properties of the material as in the case of black textile vinyl that was reflected and did not cut my design correctly. But after this trial and error practice I now feel more confident using these machines.