15. Interface and Application Programming
This week I have to create an interface.
I decided to try something with the sensor that I’m going to use for my final project. I think it’s perfect as an input; I only need to create an output. So, I decided to make an interface where, if the distance is short, the circle becomes smaller, but if the distance is large, the circle becomes big. The size of the circle depends on the distance of a movement.
I decided to use Visual Studio Code to try my interface in Python, because in the Embedded Programming week I used Python.
Group Task:
Group taskFirst, I need to learn about important modules to create my interface.
Visual Elements (PyQt5 Widgets)
| Command | Description |
|---|---|
QApplication |
Creates the main application |
QWidget |
Creates a window for other elements |
QLabel |
Displays text on screen |
QVBoxLayout |
Arranges elements vertically |
QHBoxLayout |
Arranges elements horizontally |
setLayout(layout) |
Adds the layout to the design |
setWindowTitle("text") |
Sets the window title |
resize(width, height) |
Changes the window size |
Important Libraries in the Code
| Command | What It Does | Why It's Important |
|---|---|---|
import sys |
Lets your program interact with the system | Required to use sys.exit() to close the program properly |
import serial |
Imports the PySerial library to read data from a serial port (USB/COM) | Needed to receive sensor data (like distance) |
from PyQt5.QtWidgets import ... |
Imports GUI elements like windows (QWidget), labels (QLabel), and layouts |
Used to build the visual interface |
from PyQt5.QtGui import QPainter, QBrush |
Imports tools for custom drawing (shapes and colors) | Used to draw different shapes |
from PyQt5.QtCore import QTimer, Qt |
QTimer allows repeated actions; Qt provides constants like colors |
Used to update shapes/text regularly and set styles |
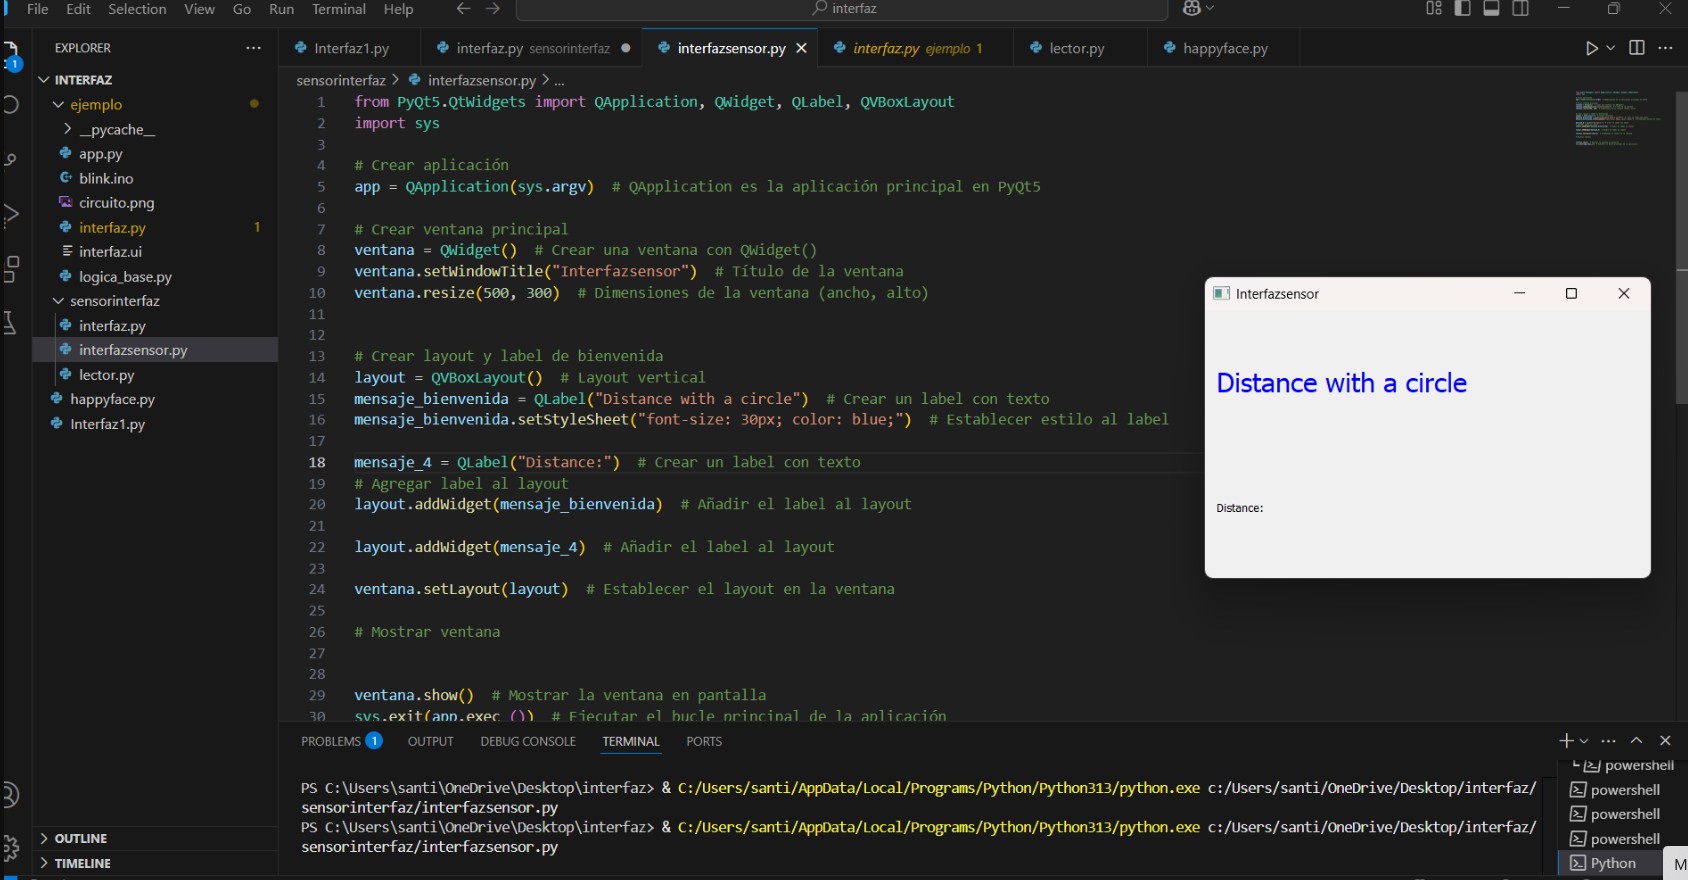
Doign tries
First i start with a code of a basic window
Base code
from PyQt5.QtWidgets import QApplication, QWidget, QLabel, QVBoxLayout
import sys

# Create application
app = QApplication(sys.argv)  # QApplication is the main application in PyQt5

# Create main window
ventana = QWidget()  # Create a window using QWidget()
ventana.setWindowTitle("My First PyQt5 App")  # Set the window title
ventana.resize(1000, 300)  # Set the window size (width, height)

# Create layout and welcome label
layout = QVBoxLayout()  # Vertical layout
mensaje_bienvenida = QLabel("Welcome to PyQt5")  # Create a label with text
mensaje_bienvenida.setStyleSheet("font-size: 30px; color: blue;")  # Set style for the label
mensaje_adios = QLabel("Goodbye")  # Create a label with text
mensaje_3 = QLabel("Message 3")  # Create a label with text
mensaje_4 = QLabel("Message 4")  # Create a label with text

# Add labels to the layout
layout.addWidget(mensaje_bienvenida)  # Add the label to the layout
layout.addWidget(mensaje_adios)  # Add the label to the layout
layout.addWidget(mensaje_3)  # Add the label to the layout
layout.addWidget(mensaje_4)  # Add the label to the layout

ventana.setLayout(layout)  # Set the layout on the window

# Show window
ventana.show()  # Display the window on screen
sys.exit(app.exec_())  # Run the application's main loop
I only added the titles and the text.
Then I added the function class to define the type of object, and I used the QWidget library, which is a base class. def __init__(self): is used to assign values to the object. In this case, we assign the distance and the size.
class Circulo_en_movimiento(QWidget):
def __init__(self):
	super().__init__()
	self.distancia = 50  # initial distance
	self.setFixedSize(220, 220)

def set_distancia(self, valor):
	self.distancia = valor
	self.update()
Drawing the Circle
To draw the circle, I imported the following library:
from PyQt5.QtGui import QPainter, QBrushThe function paintEvent(self, event) is automatically called when the window needs to be redrawn. This is important because I need a circle that constantly changes size.
Then, I added some parameters to the circle so it adjusts within the window.
	def paintEvent(self, event):
		painter = QPainter(self)
		painter.setBrush(QBrush(Qt.red, Qt.SolidPattern))
		tamaño = max(10, min(200, self.distancia))  # Limits the size between 10 and 200
		tamaño = int(tamaño)  # Make sure the size is an integer
		x = (self.width() - tamaño) // 2
		y = (self.height() - tamaño) // 2
		painter.drawEllipse(x, y, tamaño, tamaño)

	ventana.show()  # Show the window on screen
	sys.exit(app.exec_())  # Run the main application loop
Setting Up the Main Window
In this part, I added some properties like layout and style.
Something important is that to avoid repeating code, I used the super() function. This calls the characteristics of the "parent" class — in this case, the parent is QWidget and the child is MiVentana.
class MiVentana(QWidget):
	def __init__(self):
		super().__init__()
		self.setWindowTitle("Distancia con Círculo")
		self.resize(500, 300)

		self.texto = QLabel("Esperando distancia...")
		self.texto.setStyleSheet("font-size: 20px; color: purple;")
		self.circulo = Circulo_en_movimiento()

		layout_horizontal = QHBoxLayout()
		layout_horizontal.addWidget(self.circulo)
		layout_horizontal.addWidget(self.texto)

		layout_principal = QVBoxLayout()
		layout_principal.addLayout(layout_horizontal)
		self.setLayout(layout_principal)
Serial Communication with XIAO
Now I need to communicate with the XIAO — but how?
I have a XIAO RP2040, and I’m going to use serial communication to receive sensor data.
I imported these libraries:
- PyQt or PySide: These help to display the measured distance.
QTimer: This is useful for applications that require continuous updating.
line = self.serial.readline().decode('utf-8').strip()
This line reads data from the serial port (in this case, COM5, baud rate 9600).
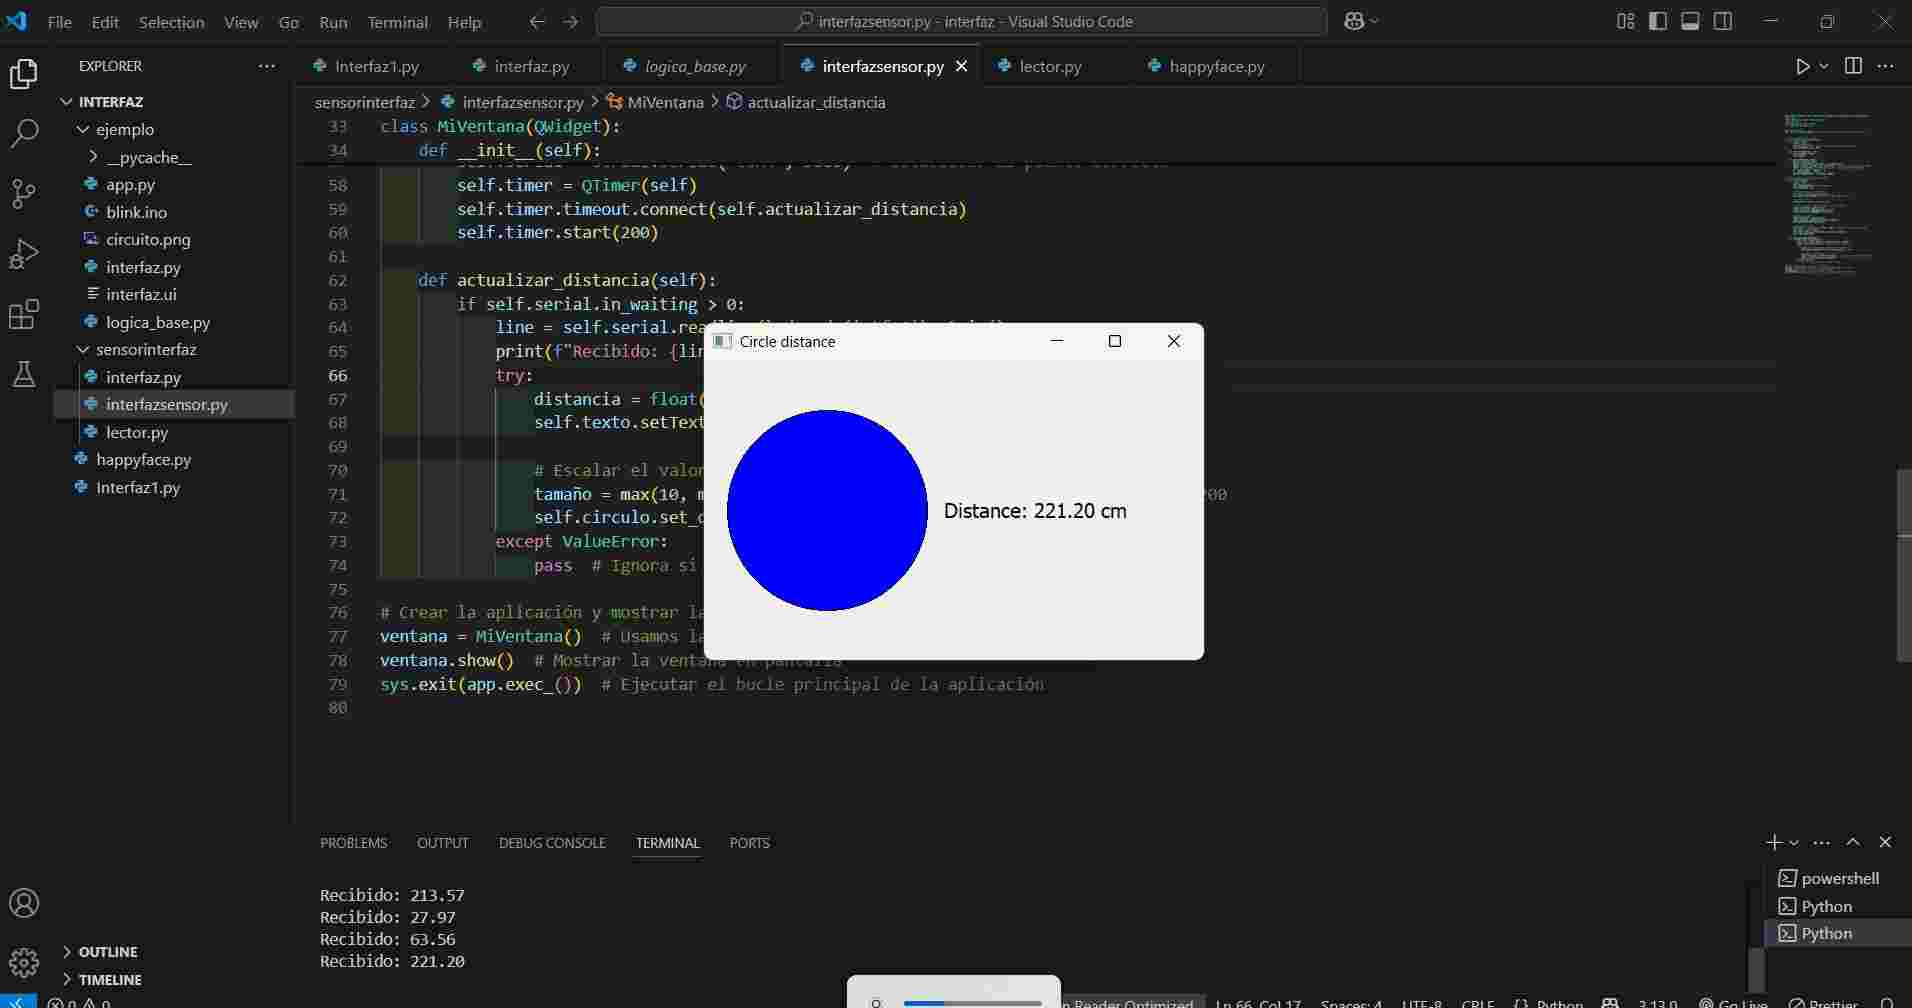
To confirm that data is received, I added:
print(f"Recibido: {line}")If the console receives an invalid value, the program won’t do anything because of this try/except block:
except ValueError:
	pass  # Ignores invalid values
	# Serial communication

	self.serial = serial.Serial('COM5', 9600)  # Set the correct port (shown in Arduino IDE)
	self.timer = QTimer(self)
	self.timer.timeout.connect(self.actualizar_distancia)
	self.timer.start(200)

def actualizar_distancia(self):
	if self.serial.in_waiting > 0:
		line = self.serial.readline().decode('utf-8').strip()
		print(f"Recibido: {line}")  # See what is received
		try:
			distancia = float(line)  # Decimal format
			self.texto.setText(f"Distancia: {distancia:.2f} cm")

			# Scale the value for the circle
			tamaño = max(10, min(200, distancia))  # Limits size between 10 and 200
			self.circulo.set_distancia(tamaño)
		except ValueError:
			pass  # Ignore if not a valid value
Doing a test
I have been trying to read the sensor using the analog method, considering that the XIAO has a 12-bit ADC. However, when I tried this approach, I didn’t get accurate distance readings. Then I tested the same code using the ADC from an Arduino, and after applying it to my XIAO, it gave more realistic proximity values without false readings.
First Code considering the ADC of 12-bit
int analogPin = A2;  // Pin analógico conectado a la salida AN del sensor
float voltage;       // Variable para almacenar el voltaje leído
float distance;      // Distancia en pulgadas

void setup() {
  Serial.begin(9600);  // Inicia la comunicación serial
}

void loop() {
  // Leer el valor analógico de 12 bits (0–4095)
  int reading = analogRead(analogPin);

  // Convertir la lectura a voltaje (usando referencia de 3.3V)
  voltage = reading * (3.3 / 4095.0);

  // Convertir voltaje a distancia en pulgadas (según hoja de datos del sensor)
  distance = voltage / (3.3 / 512.0);

  // Convertir a centímetros y mostrar en el monitor serial
  Serial.println(distance * 2.54);

  // Esperar medio segundo
  delay(500);
}
Microcontroller code
int analogPin = A2;  // Analog pin connected to the sensor's AN output
float voltage;       // Variable to store the voltage read from the sensor
float distance;      // Distance in inches

void setup() {
  Serial.begin(9600);  // Start serial communication to print values to the monitor
}

void loop() {
  // Read the analog value from pin A2
  int reading = analogRead(analogPin);

  // Convert the analog reading to actual voltage (assuming 3.3V reference)
  voltage = reading * (3.3 / 1023.0);

  // According to the sensor's datasheet: distance in inches = voltage / (Vcc / 512)
  distance = voltage / (3.3 / 512.0);

  // Print the distance in centimeters (1 inch = 2.54 cm)
  Serial.println(distance * 2.54);

  // Wait for half a second before the next reading
  delay(500);
}
My interface working🛸
Files
Conclusion🛸🛸
This week, I liked it because I was able to try my sensor for my final project. With it, I learned how to create an interface, which gives more possibilities to control and receive data from the microcontrollers