14. Molding and Casting
Group Task:
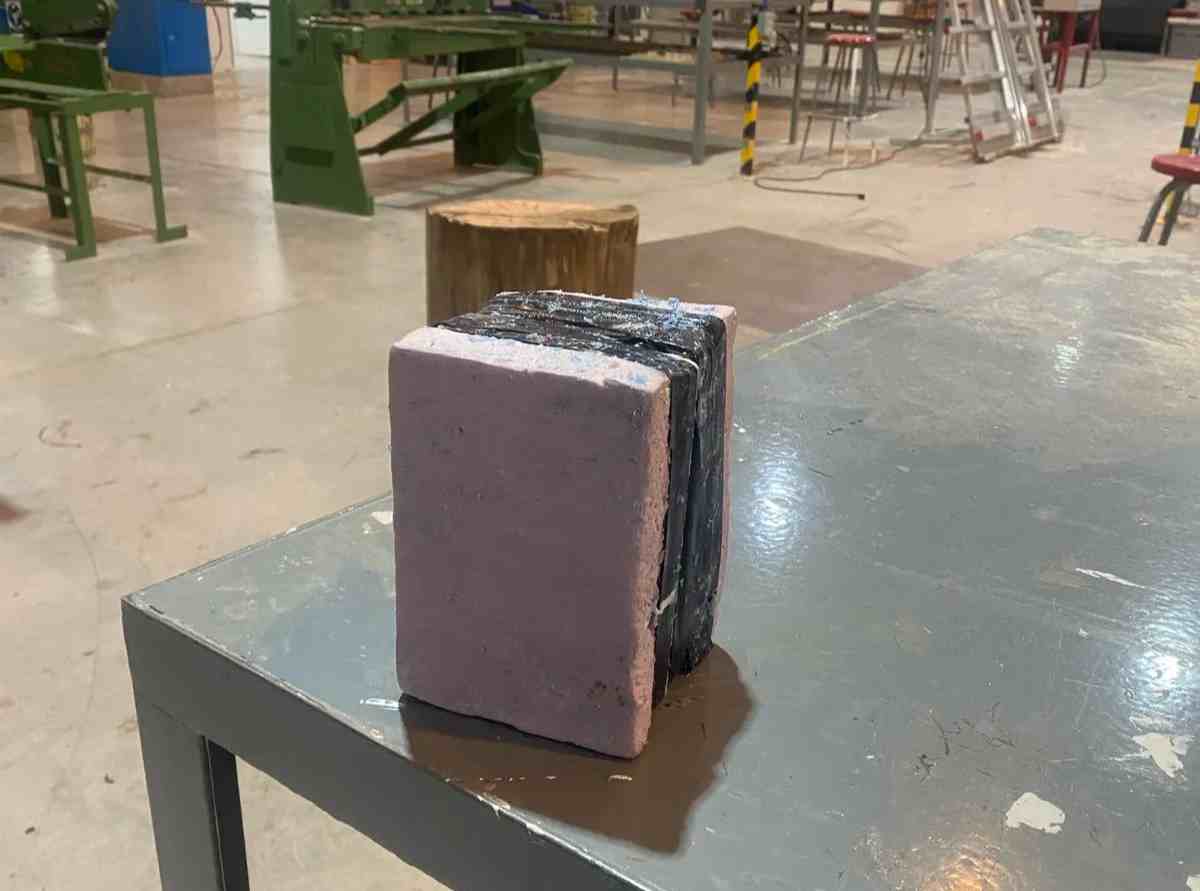
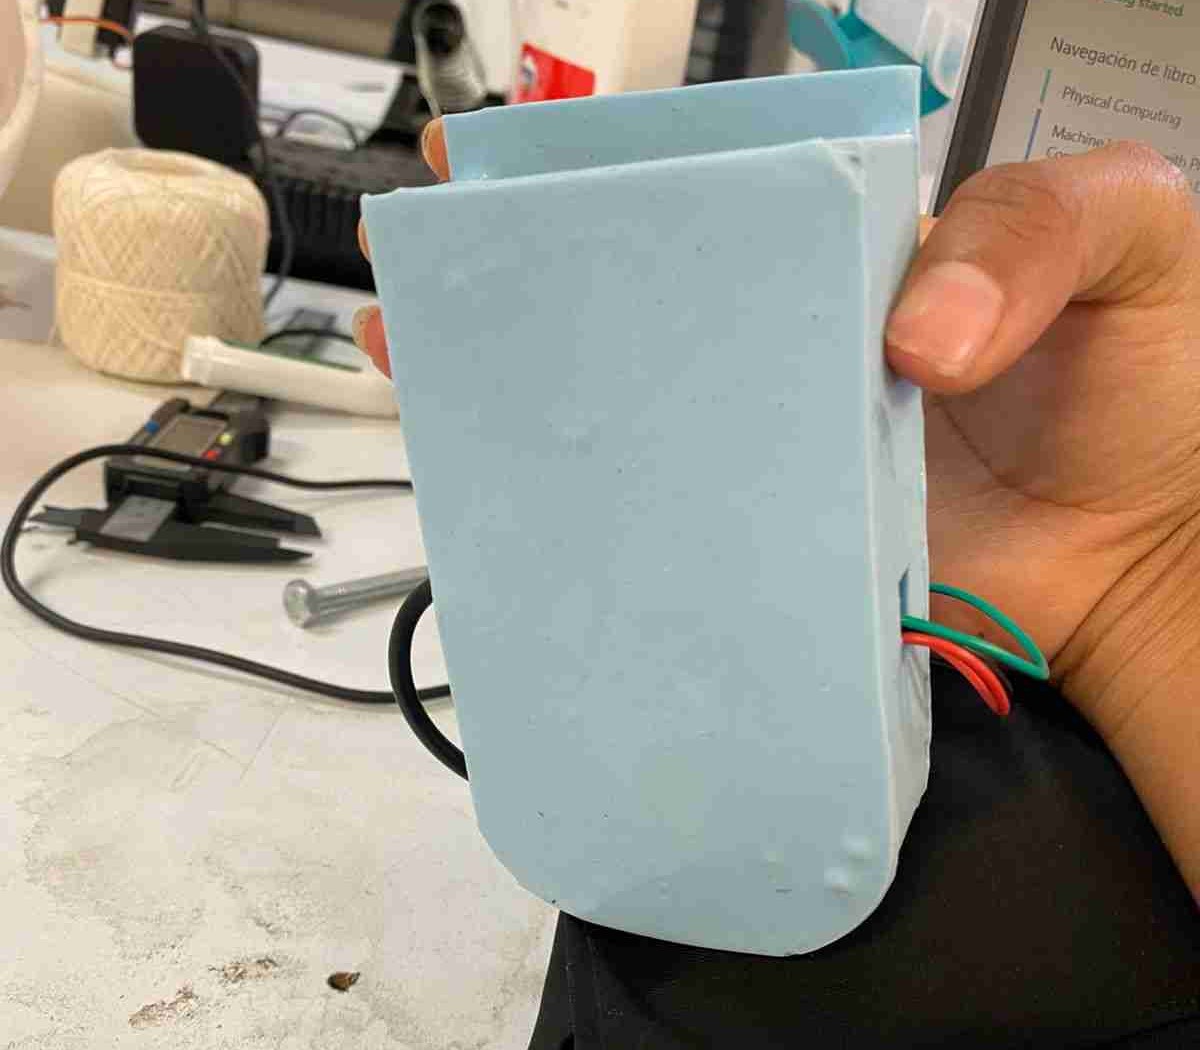
Group taskThis week, I decided to make a flexible silicone case for my final project using a foam mold and piece of sanded filament.
I chose this material because it could be a good option to integrate into clothing.
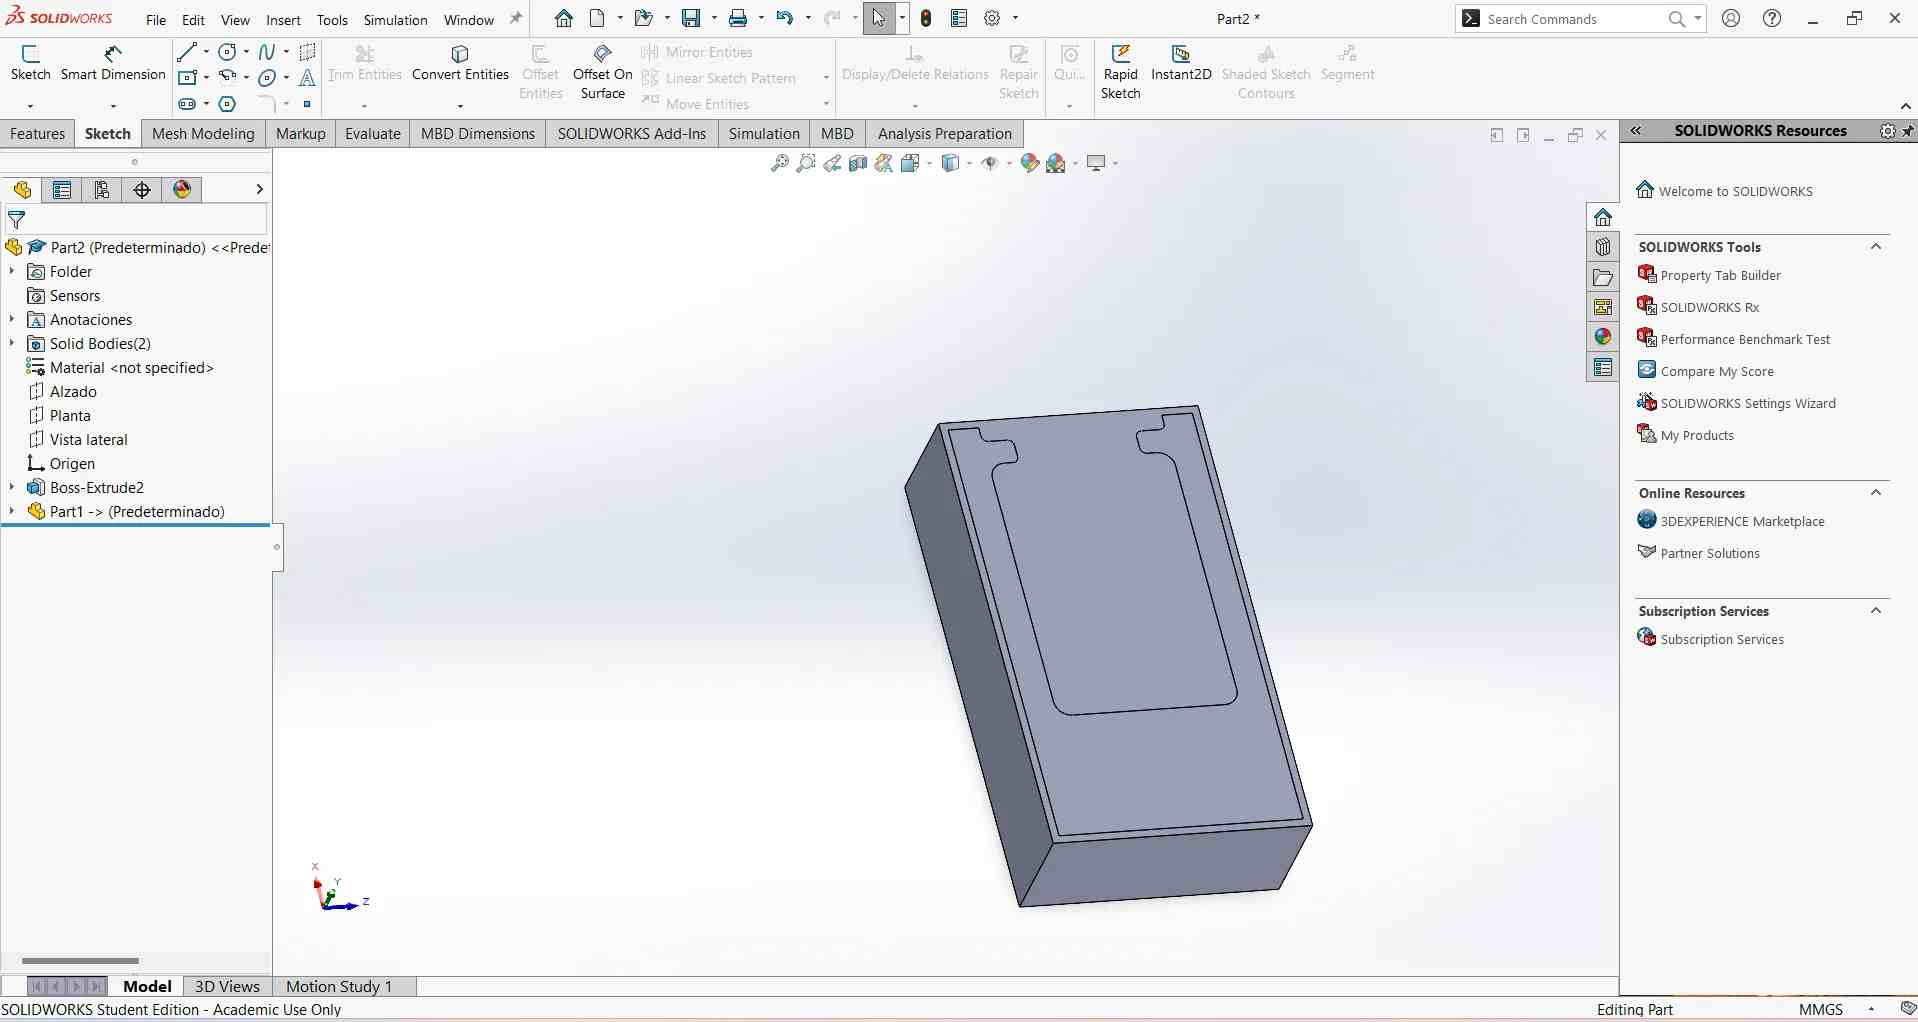
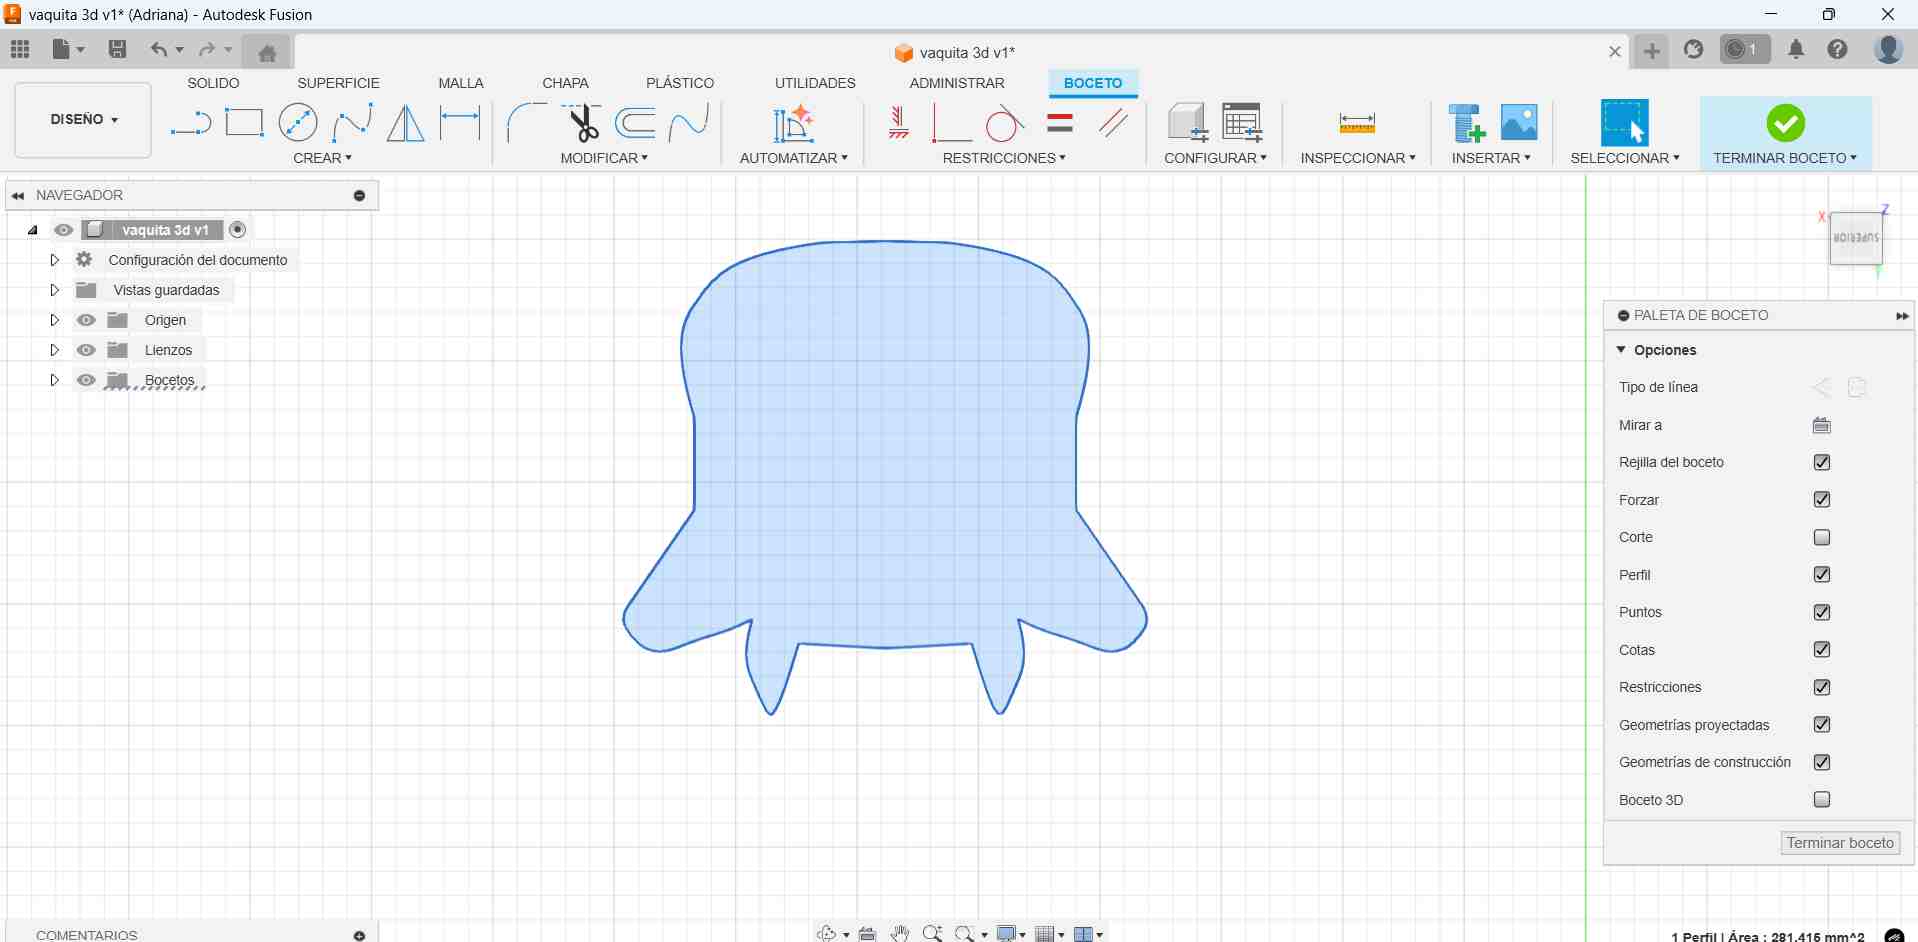
To start, I thought about designing the piece like a eggshell..
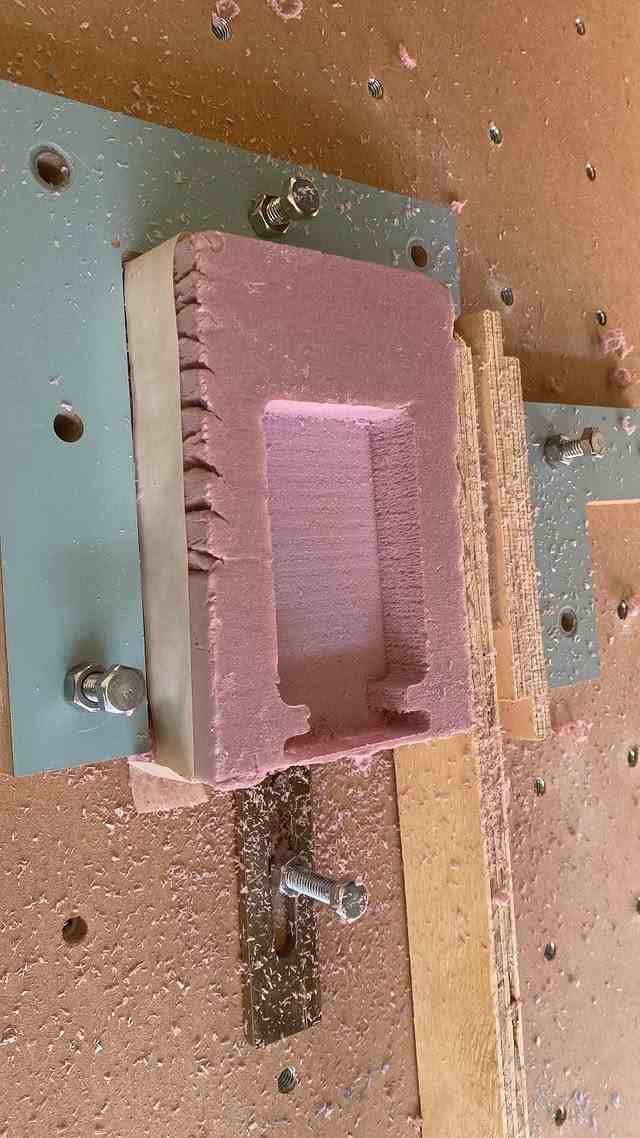
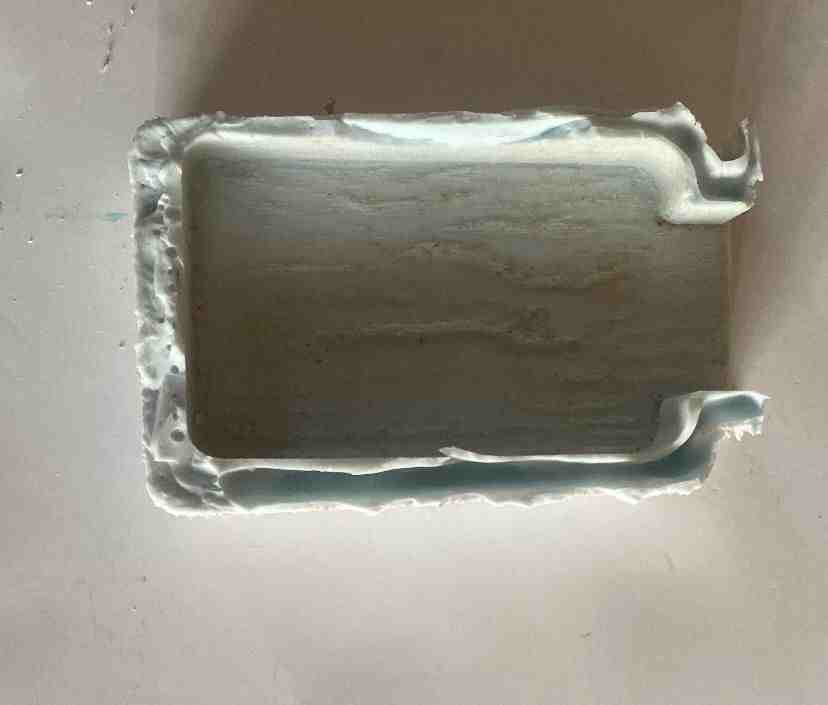
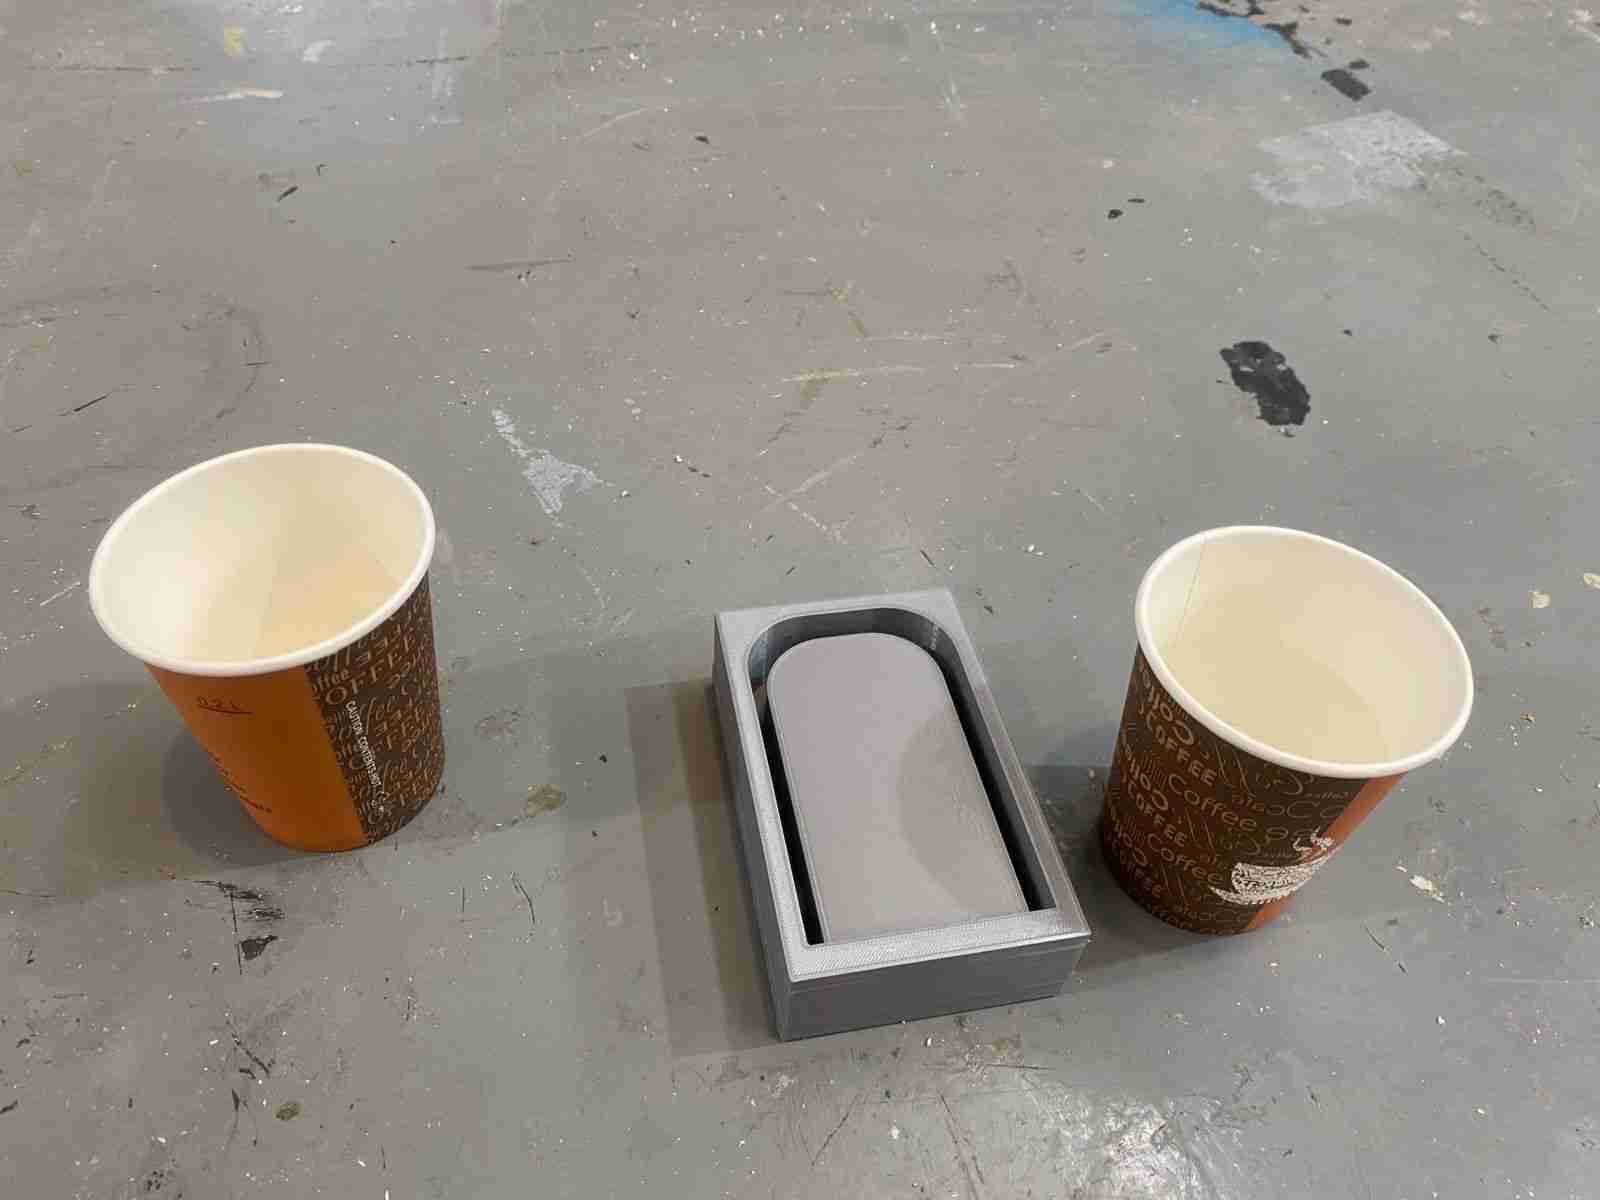
I needed to create three molds:
- Mold 1: Inside of the case
- Mold 2 and 3: Outside of the case
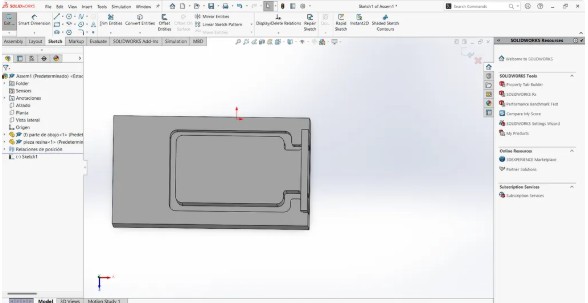
First, I started by measuring my PCB.
Then, I decided to create the middle part.
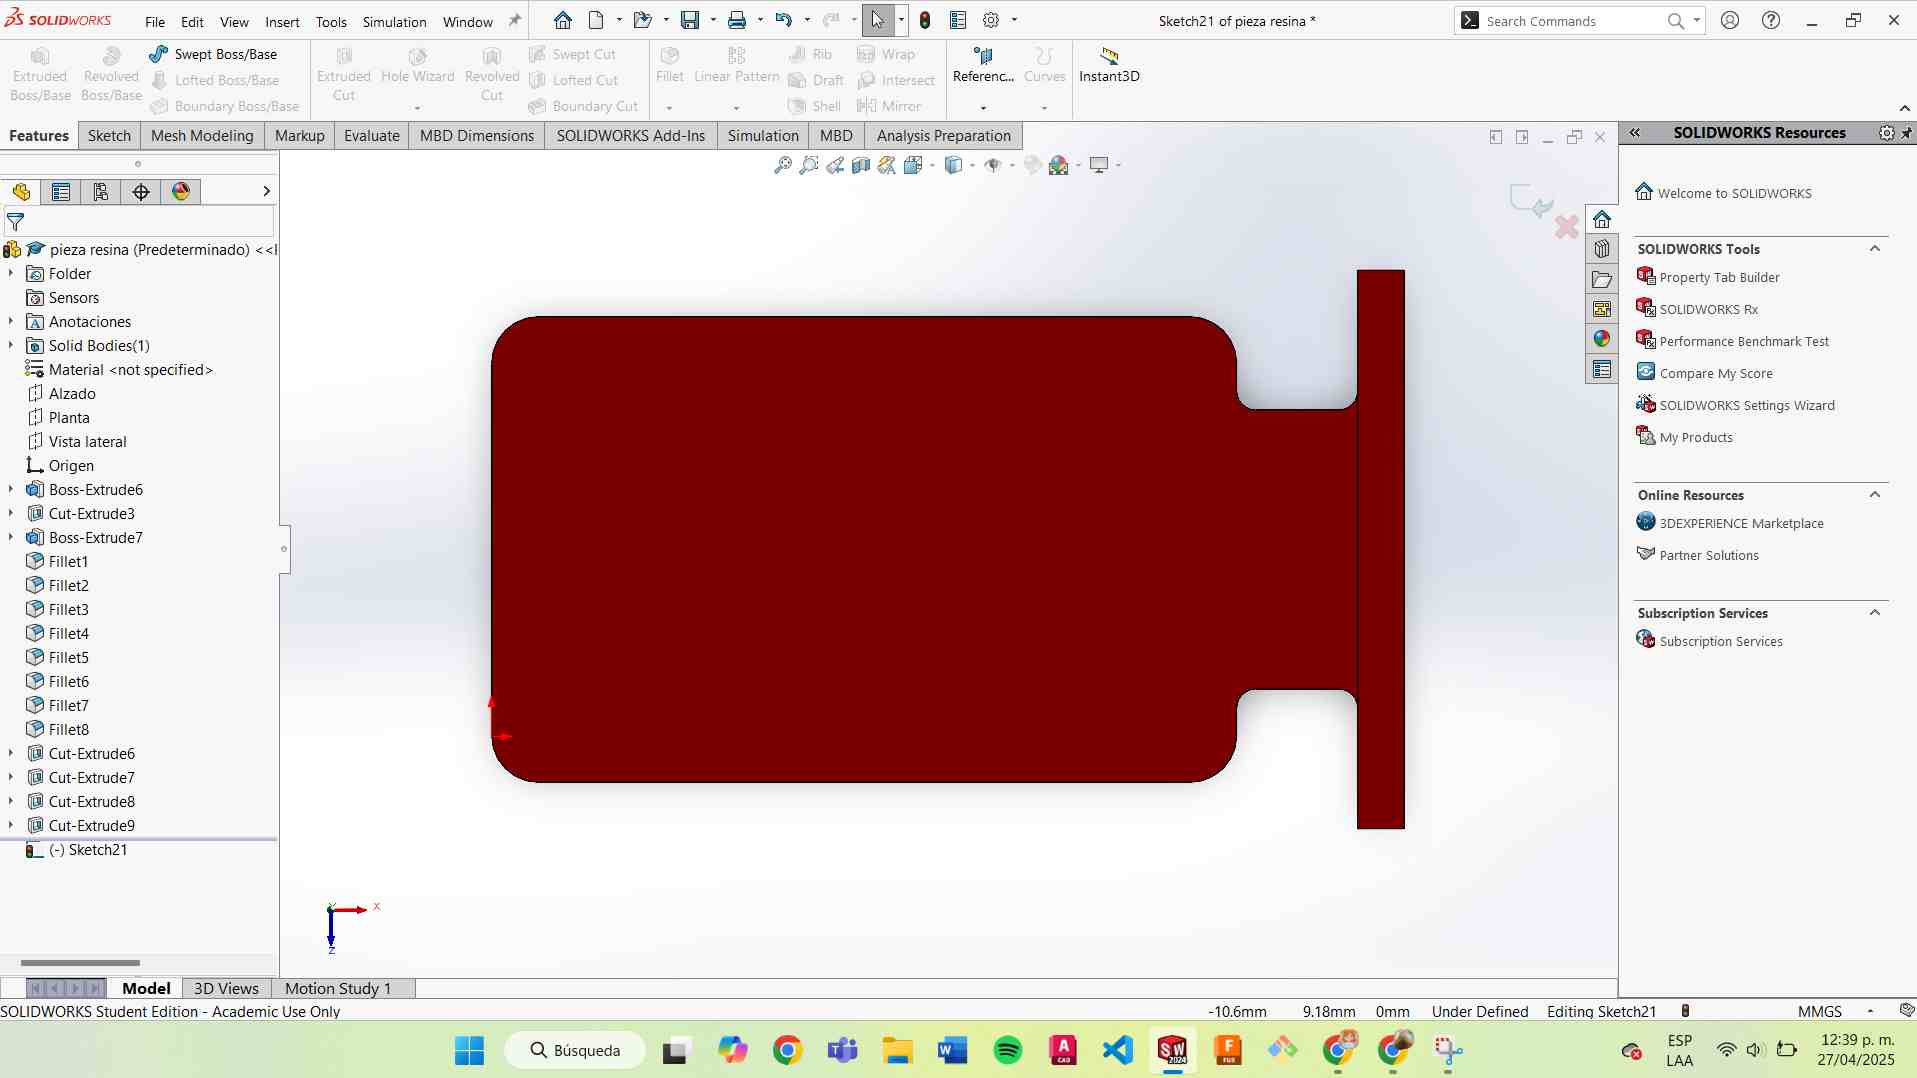
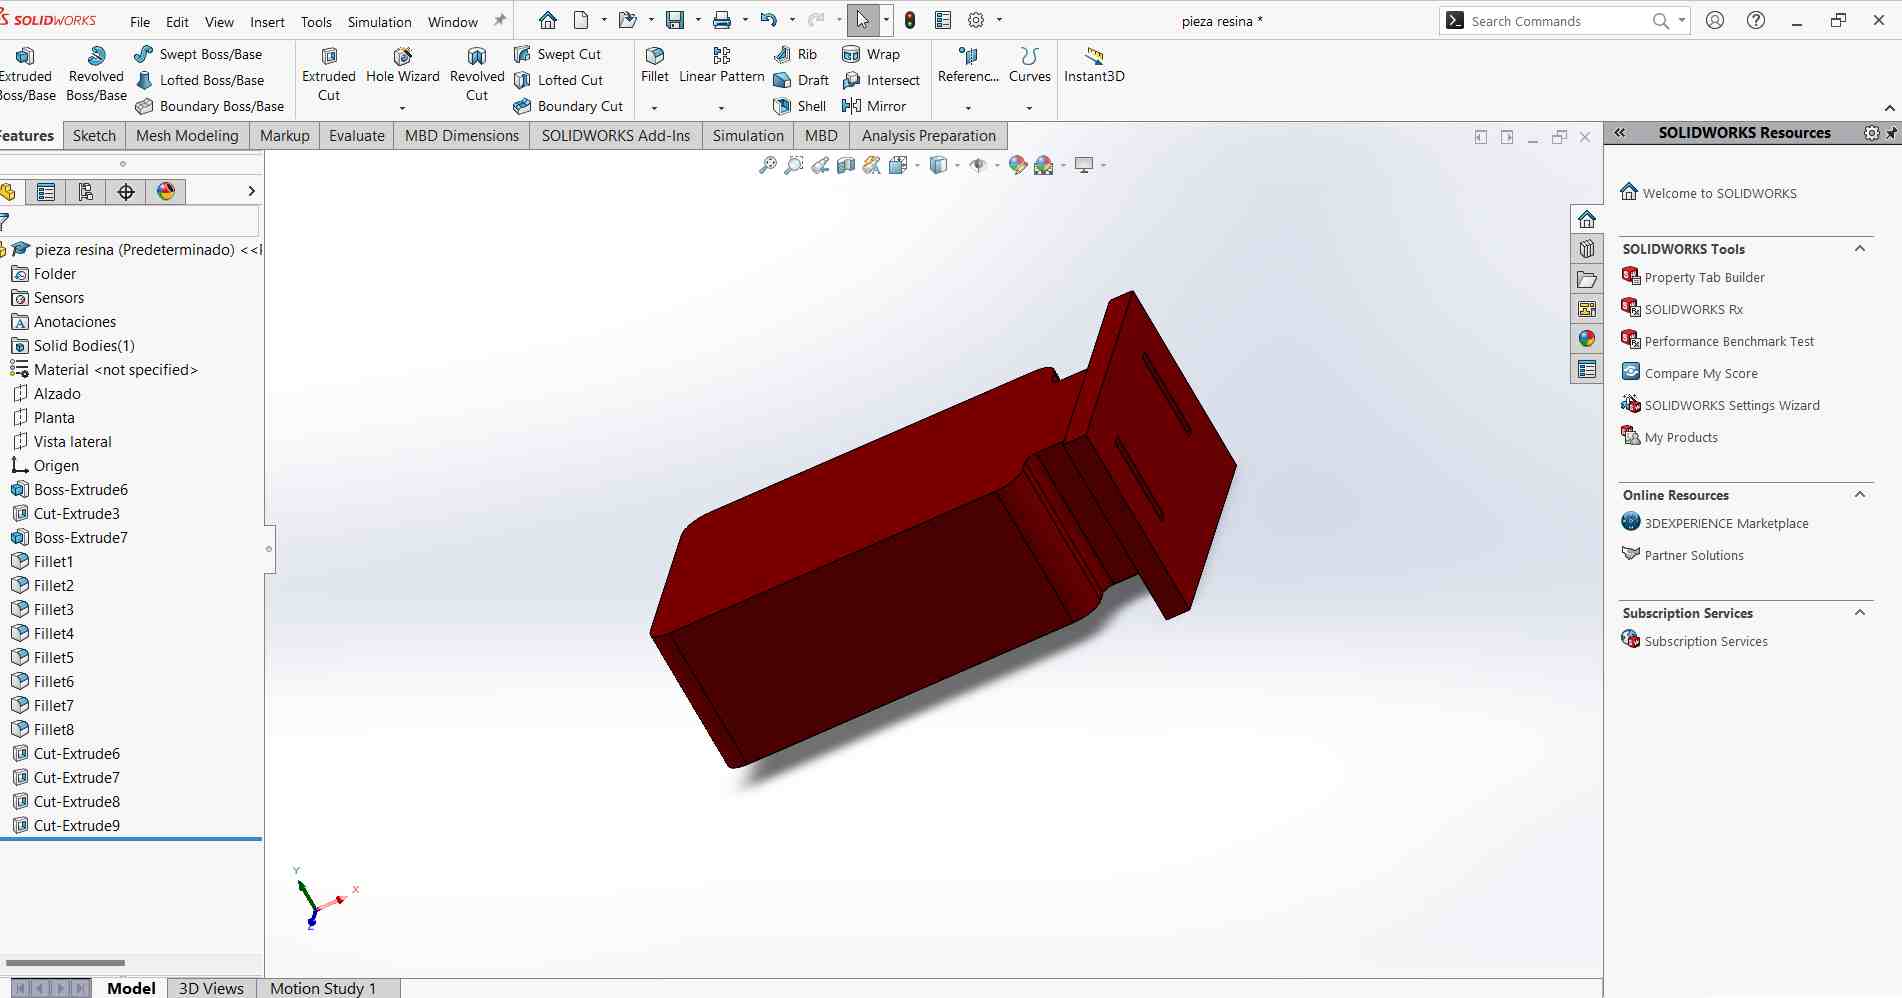
Then, I made the exterior parts.
These parts are for the mold of my mold(negative).
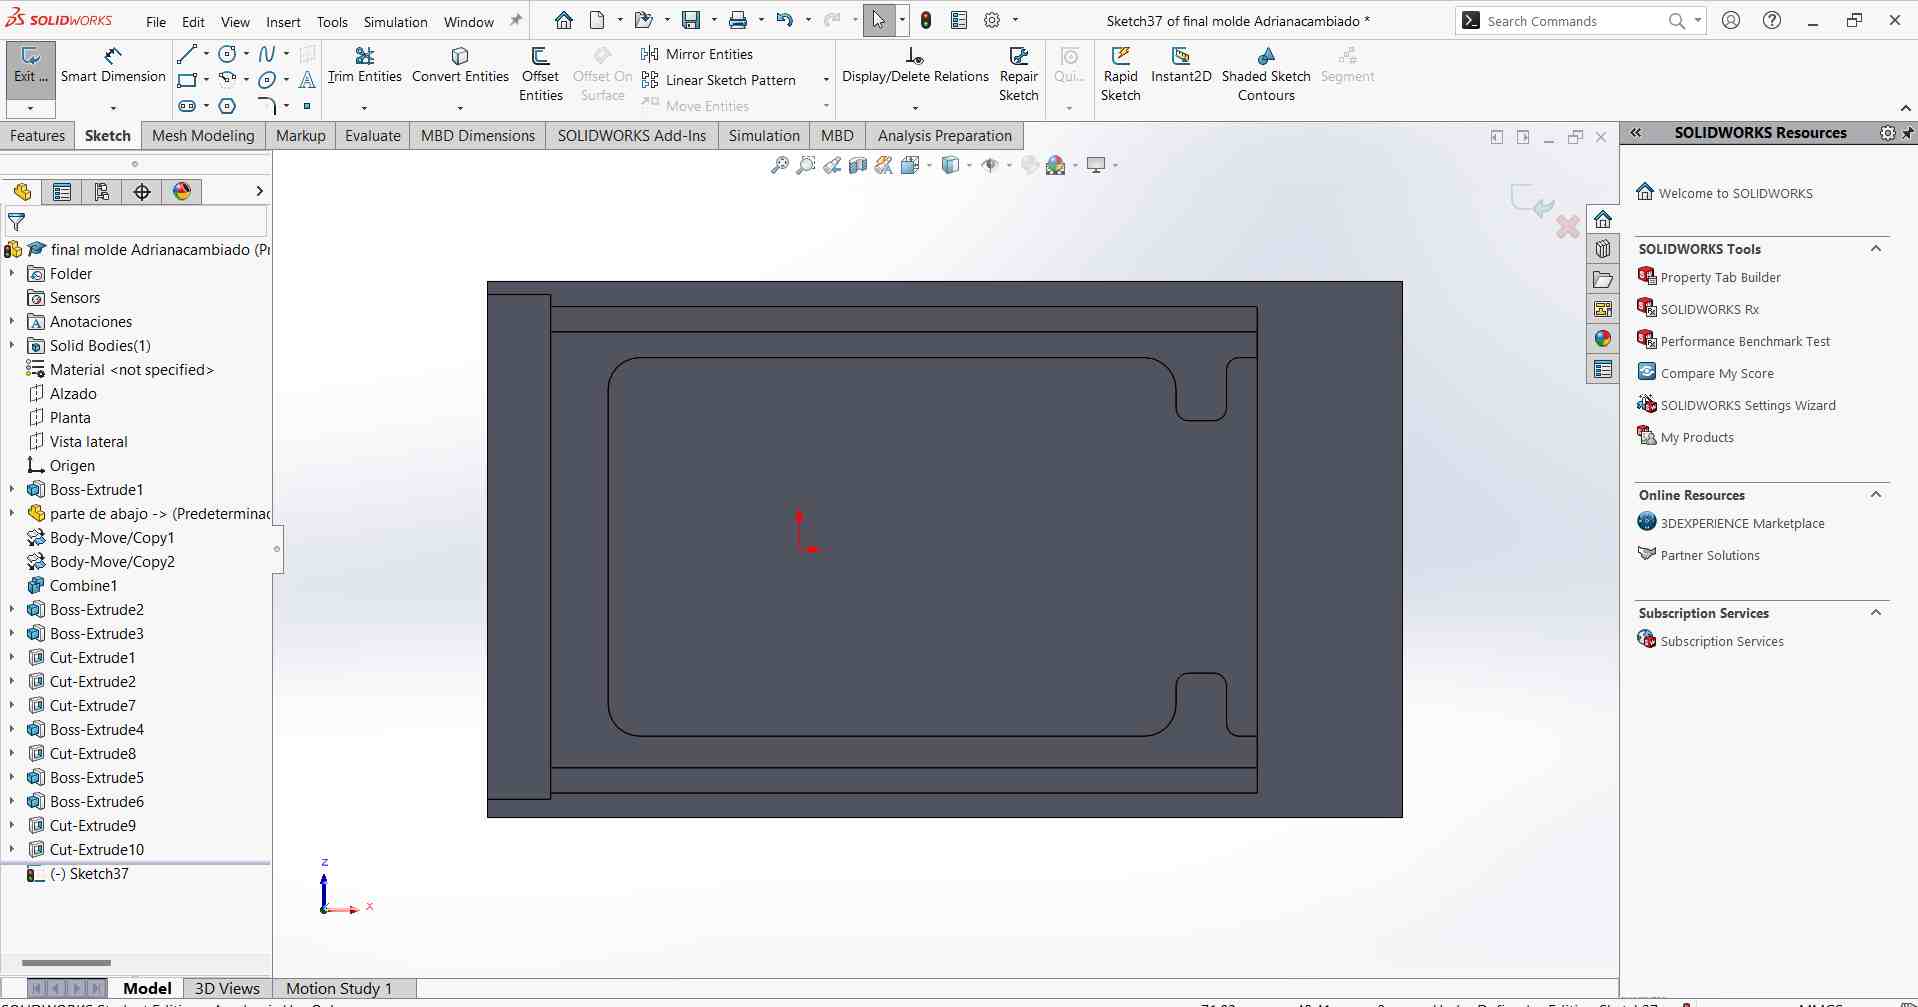
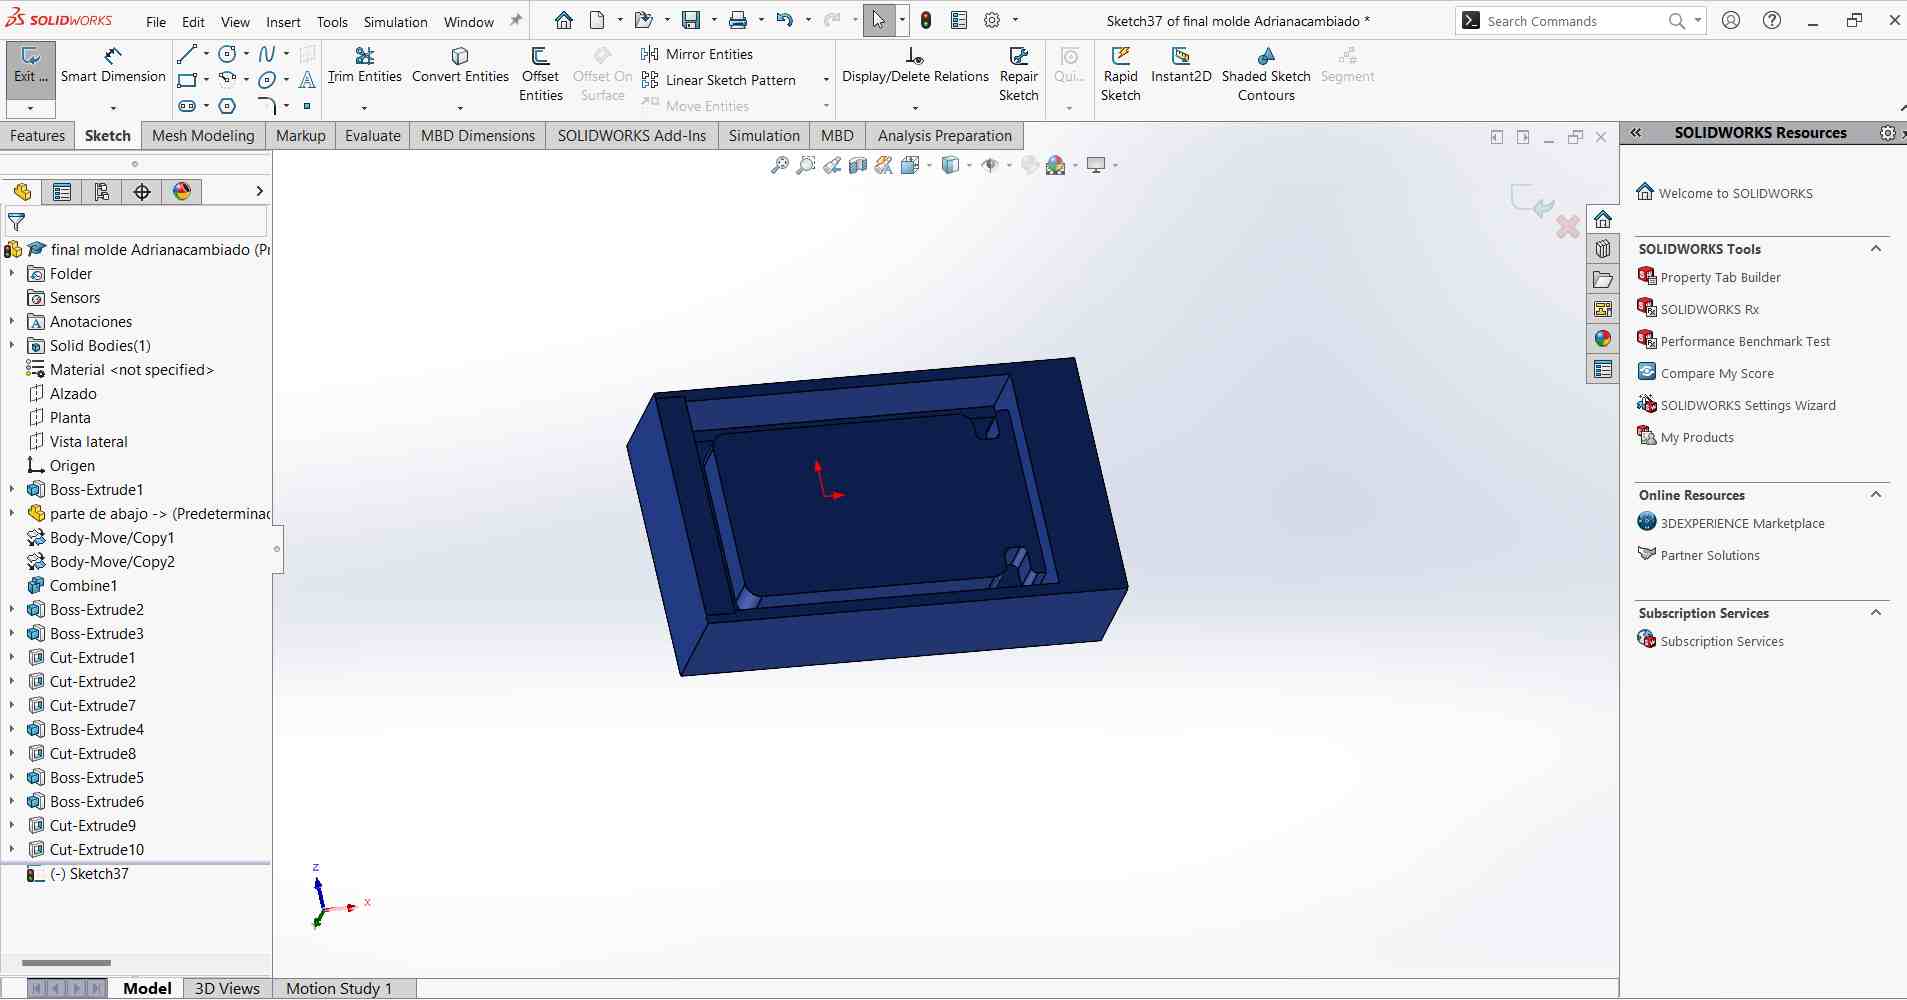
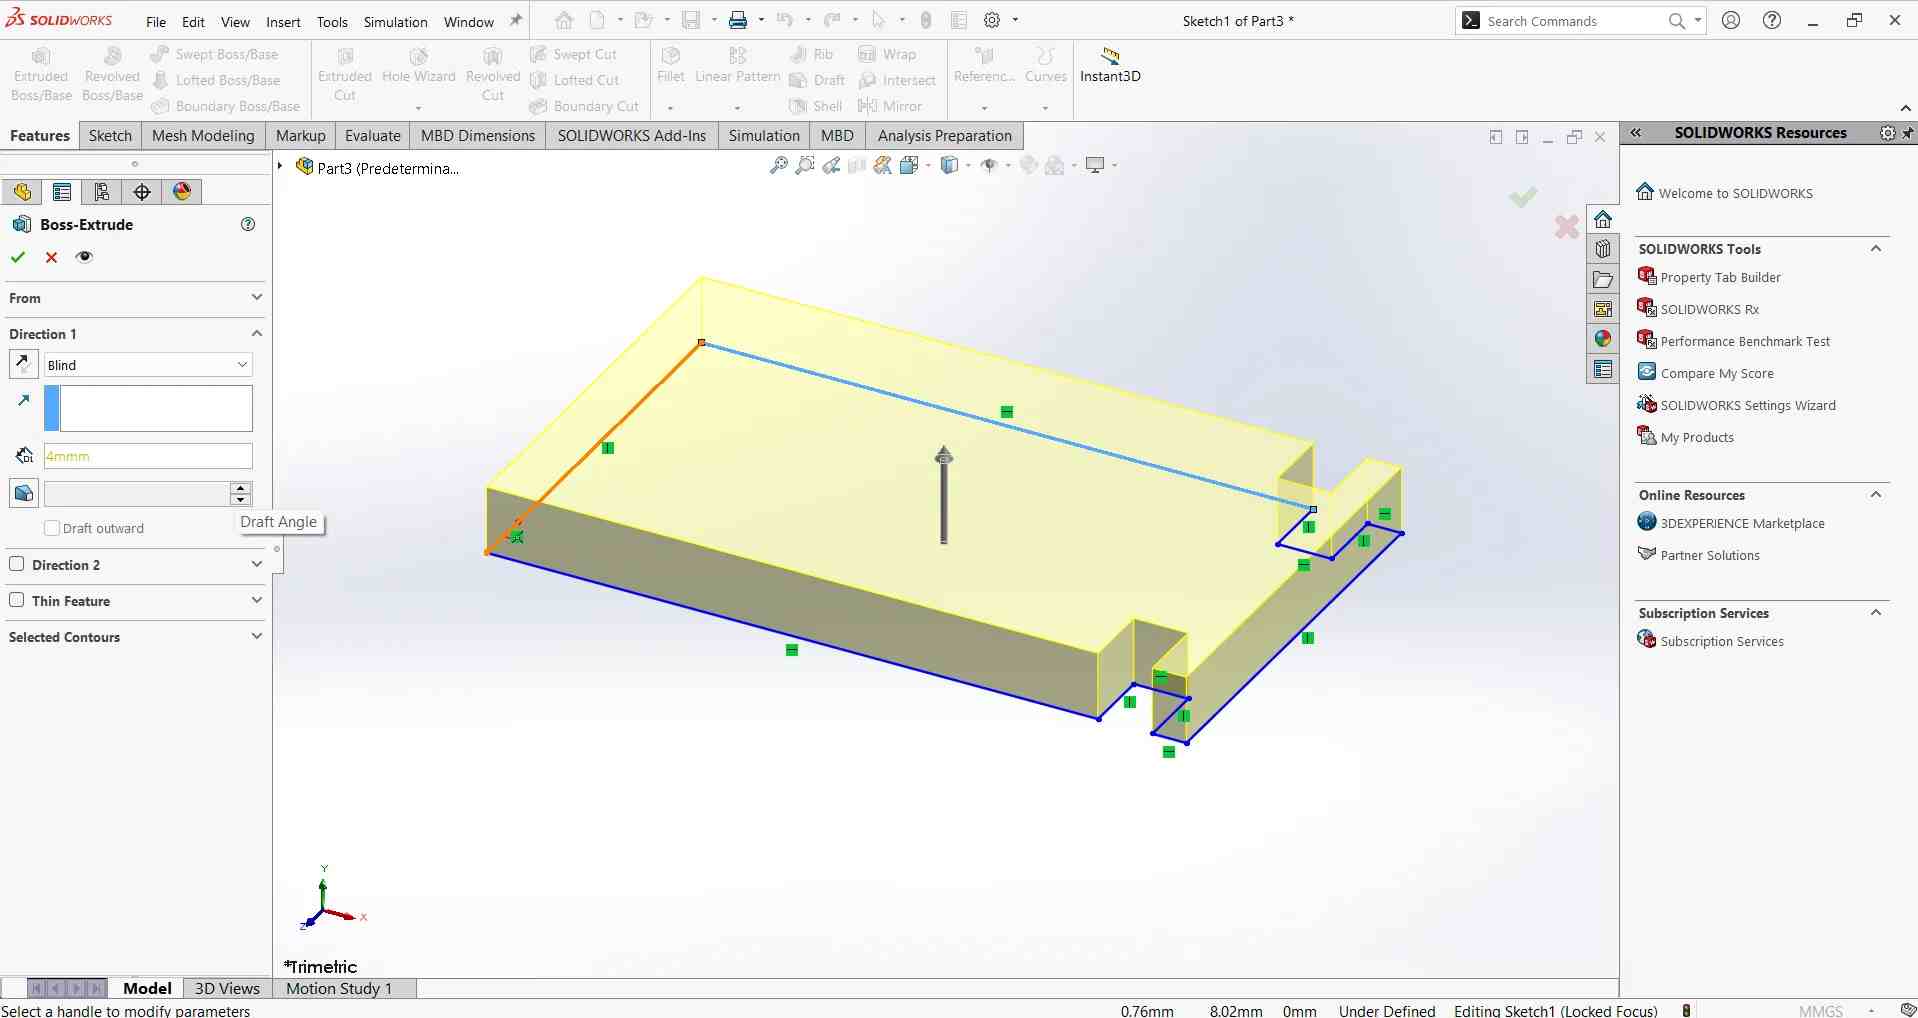
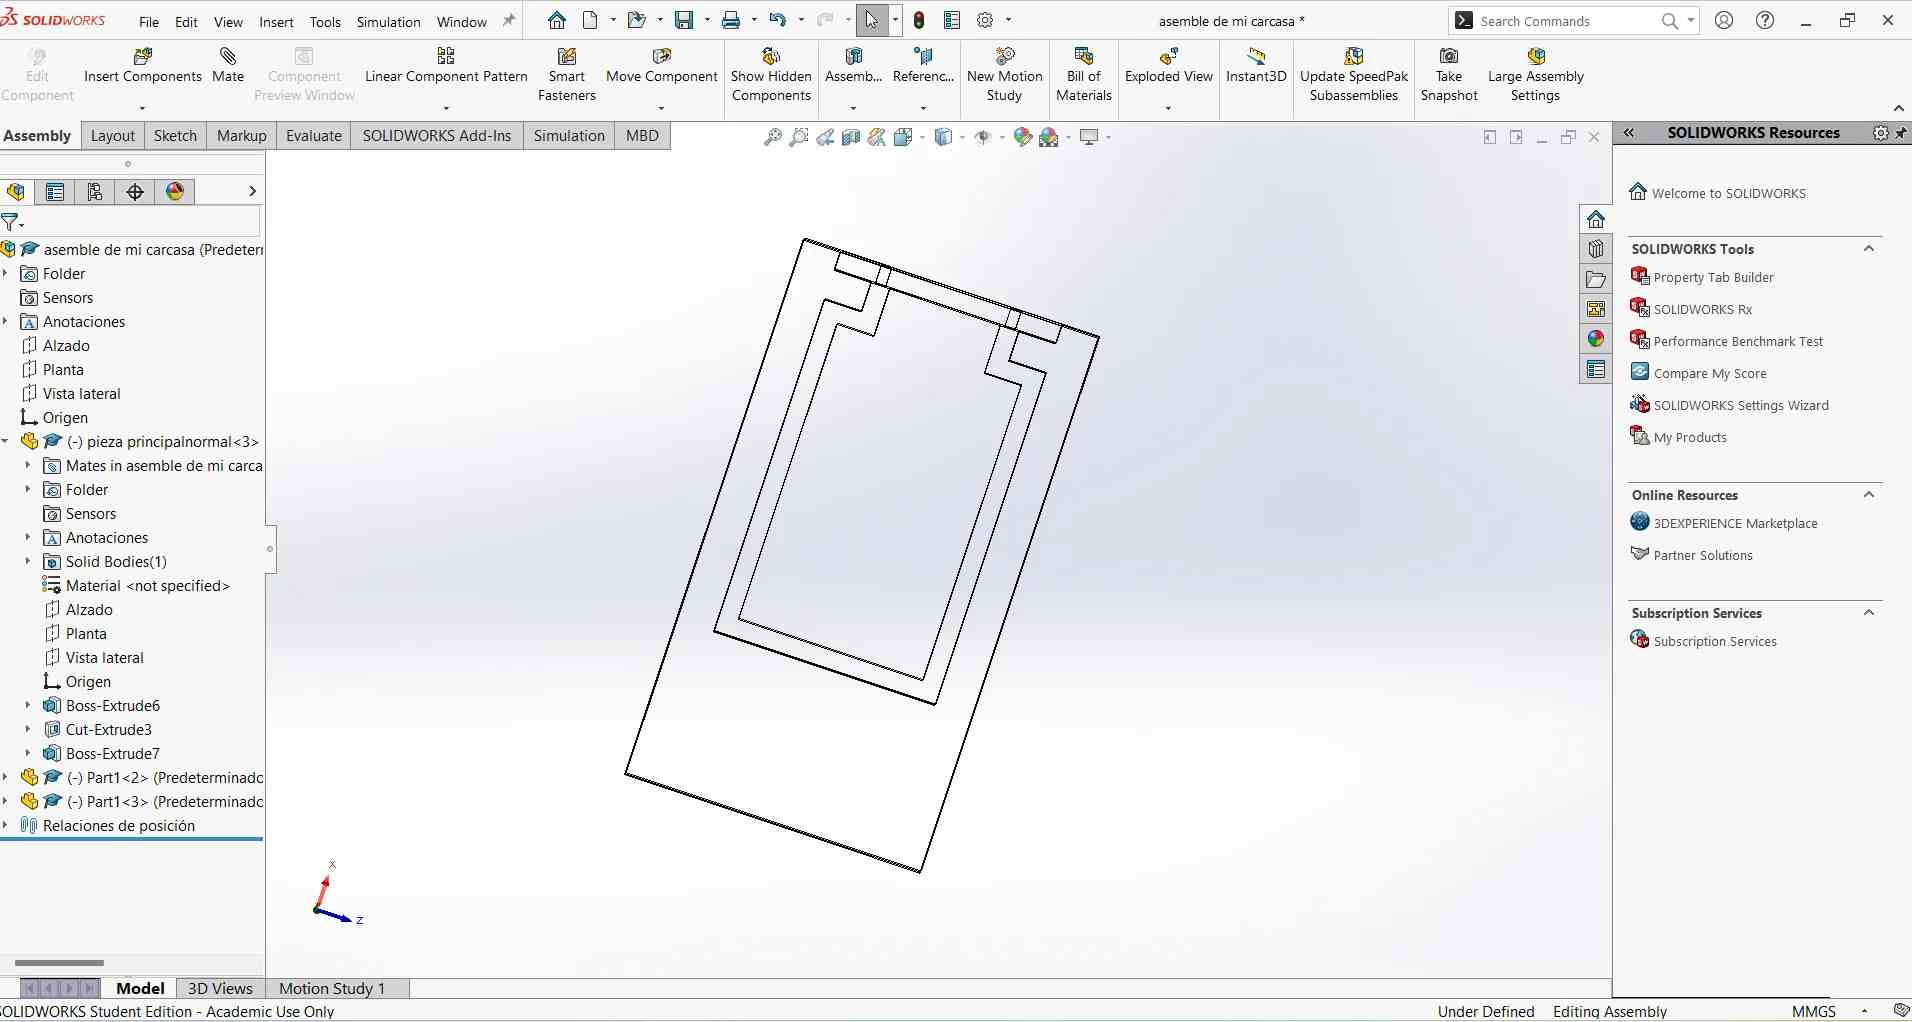
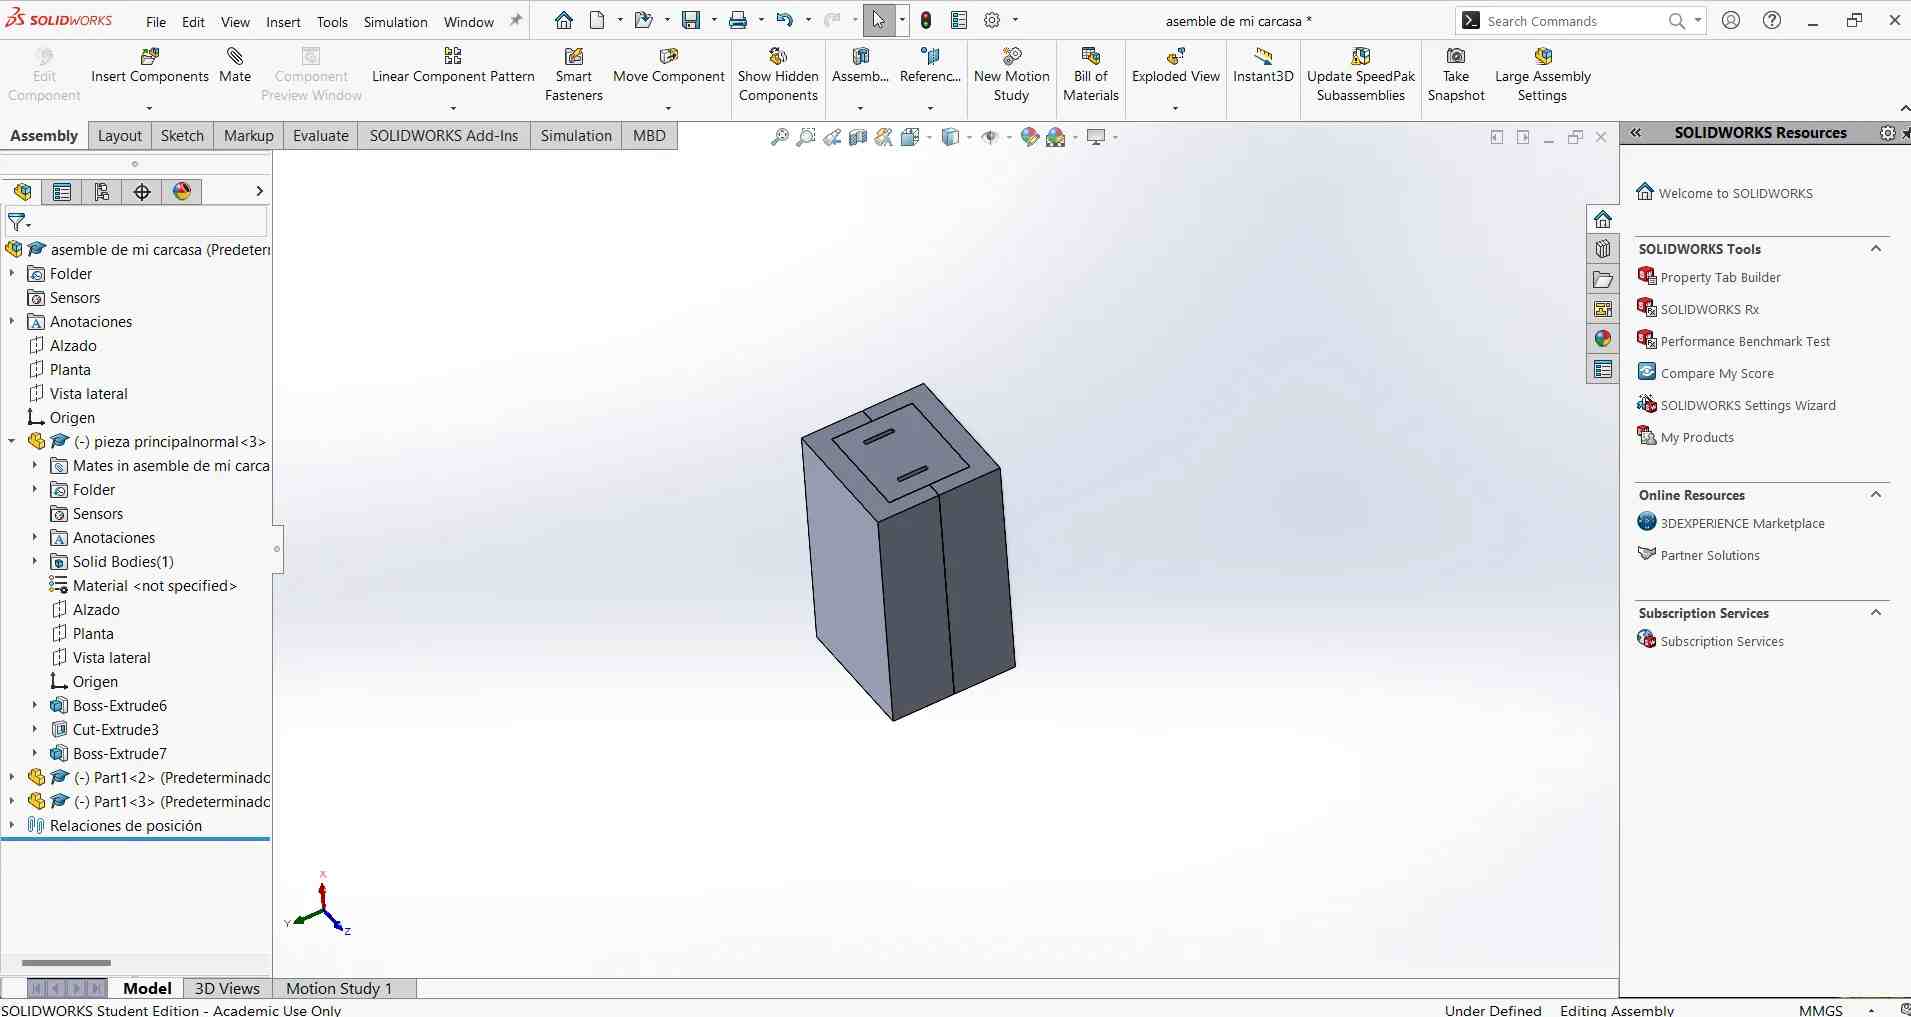
Then I decided to make a new mold, because I needed a deeper one. I realized that the best idea for my case was to create a positive mold.
To make this mold, I used the same method that I used to assemble my piece, but this time I used the combine tool to change from negative to positive.
Mold assembled
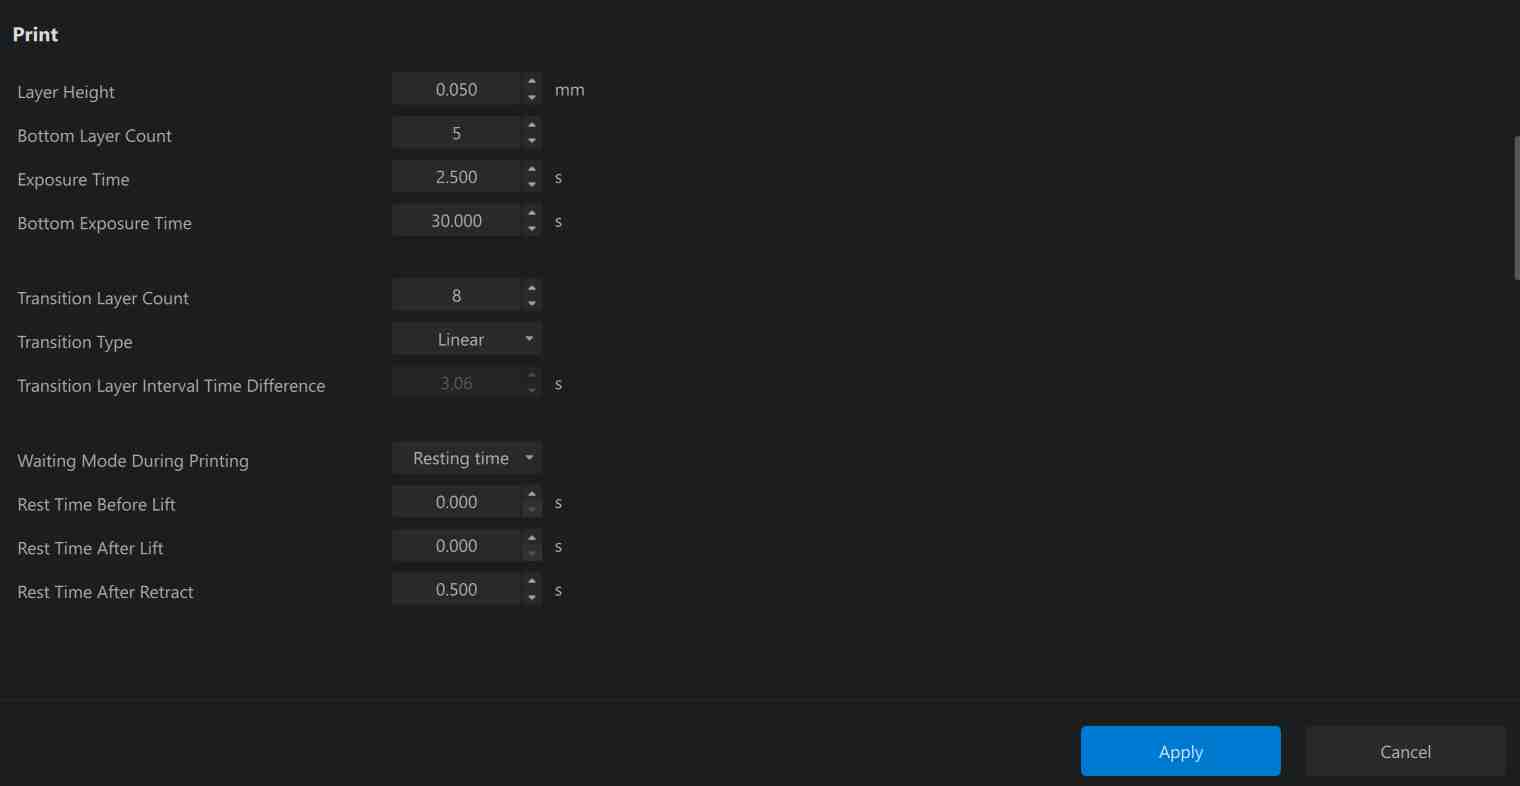
Using Vcarve
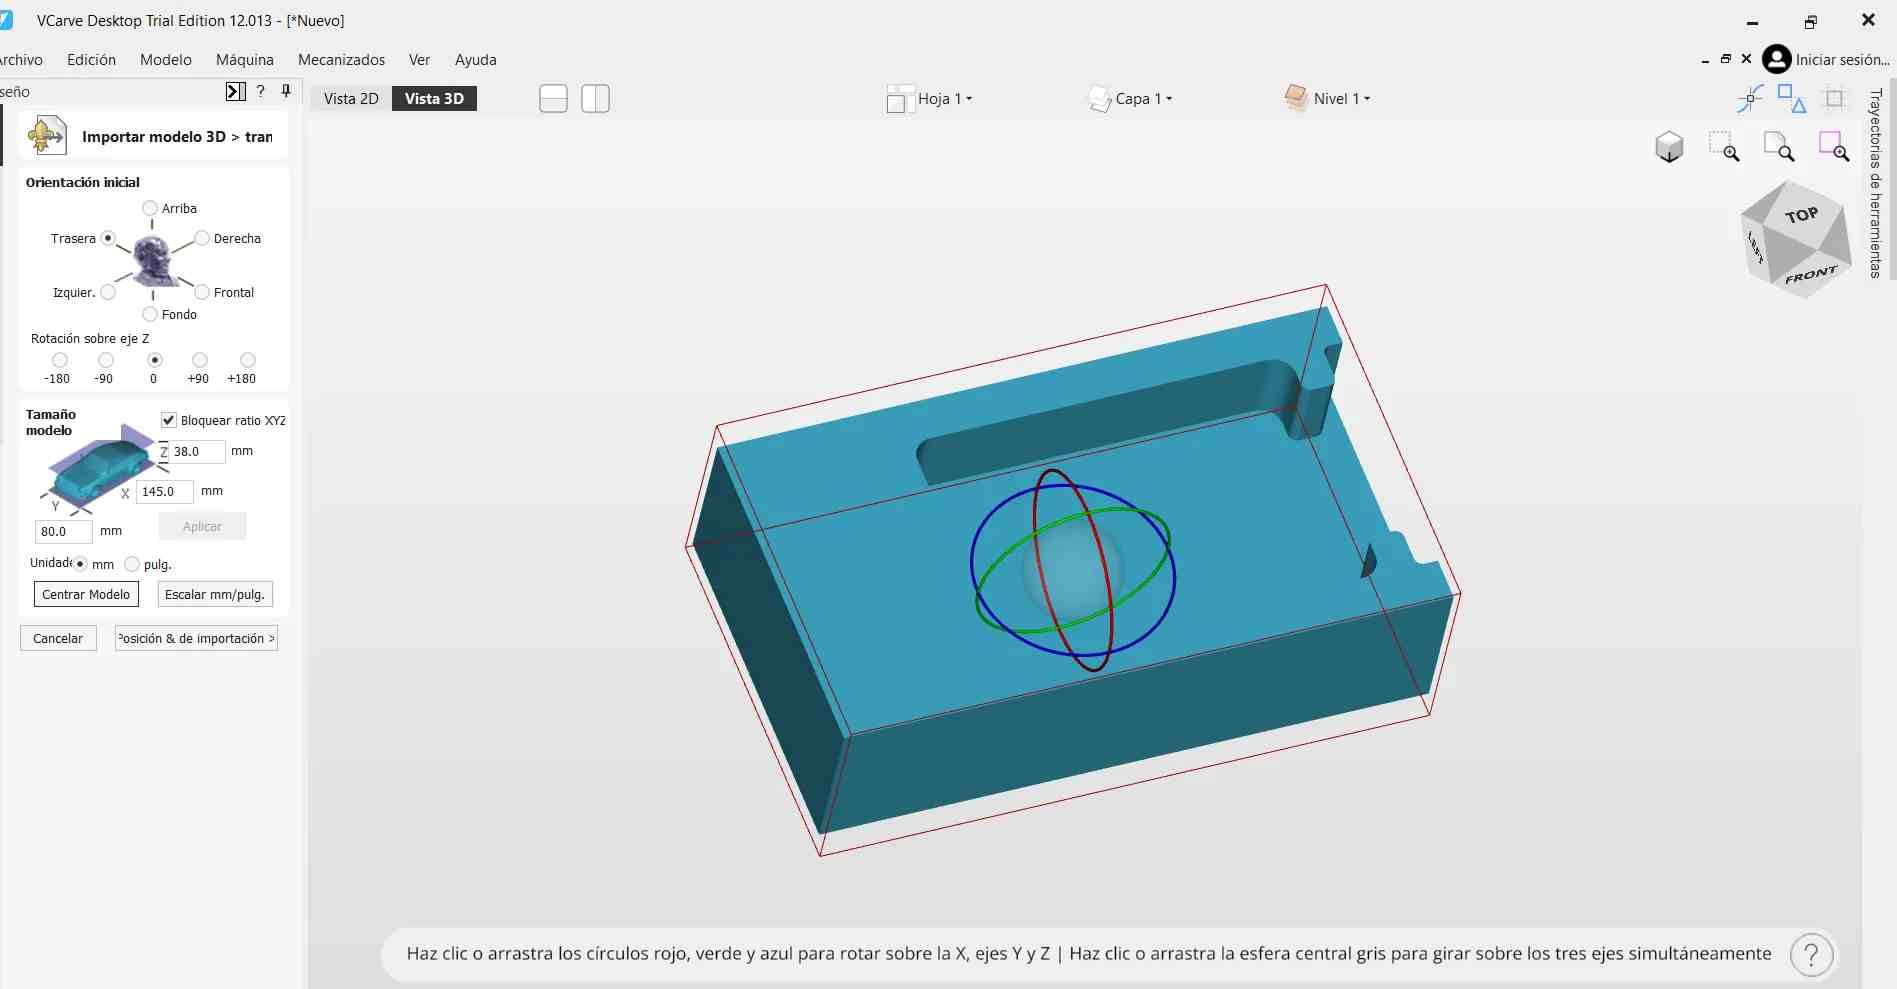
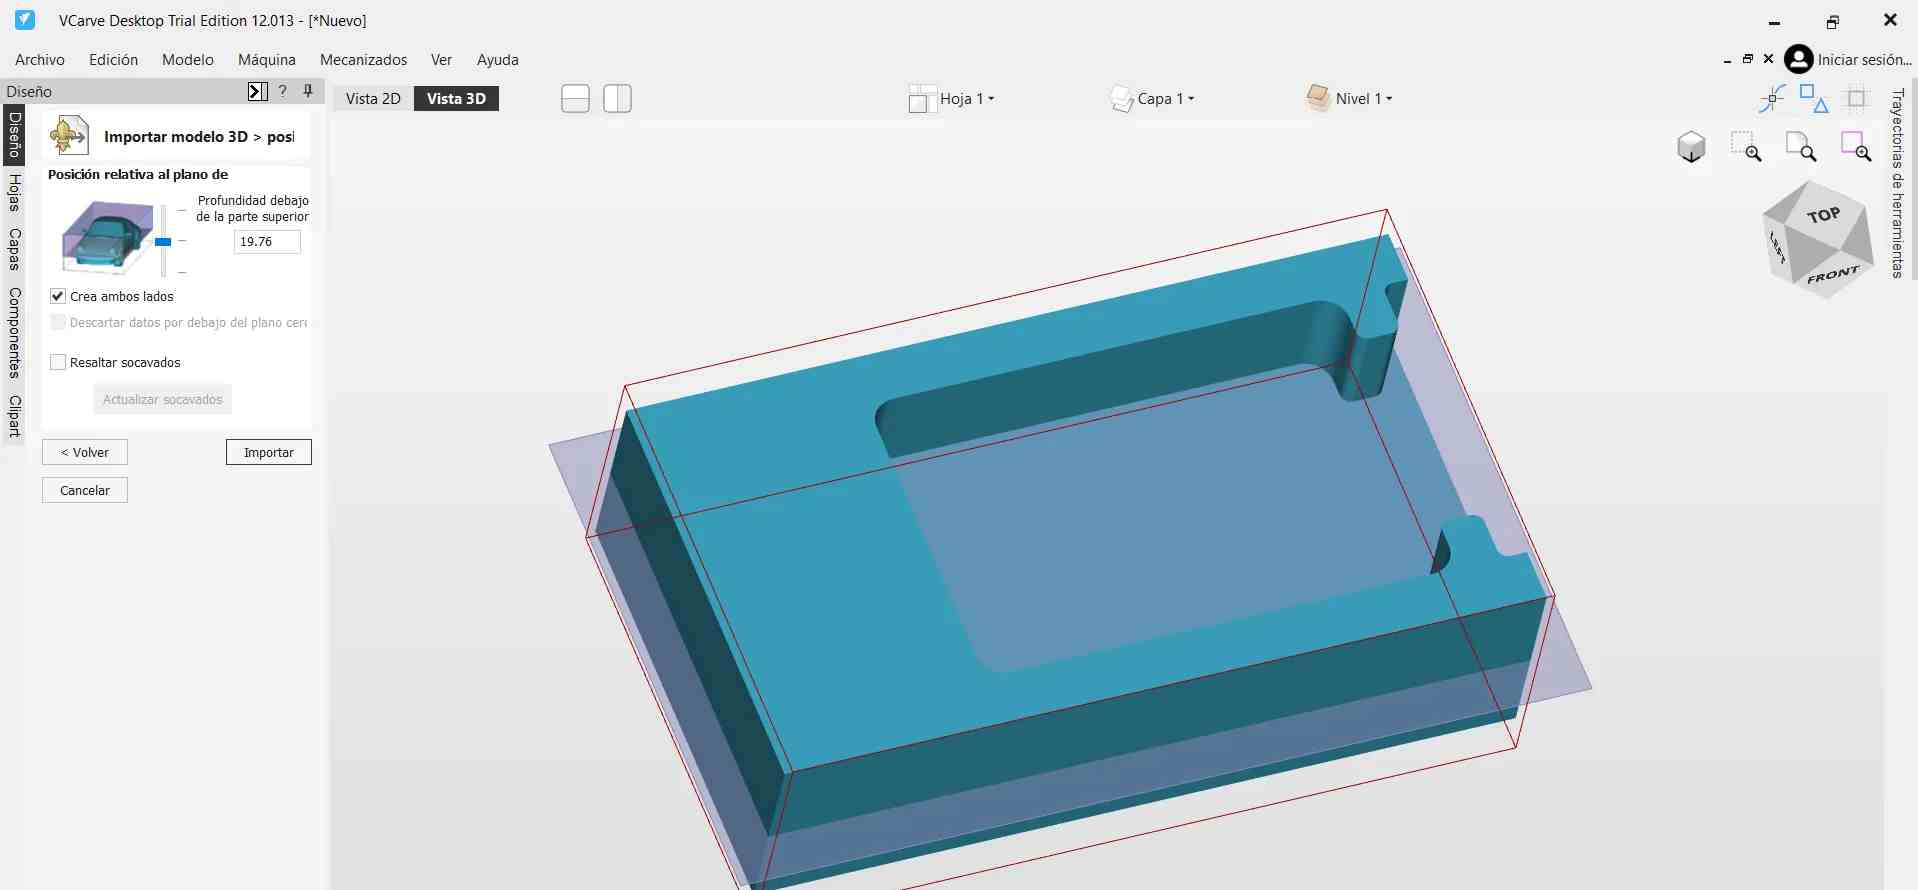
First, I chose the dimensions of my material and i imported the file in STL:
- Y: 145 mm
- X: 85 mm
- Z: 38 mm
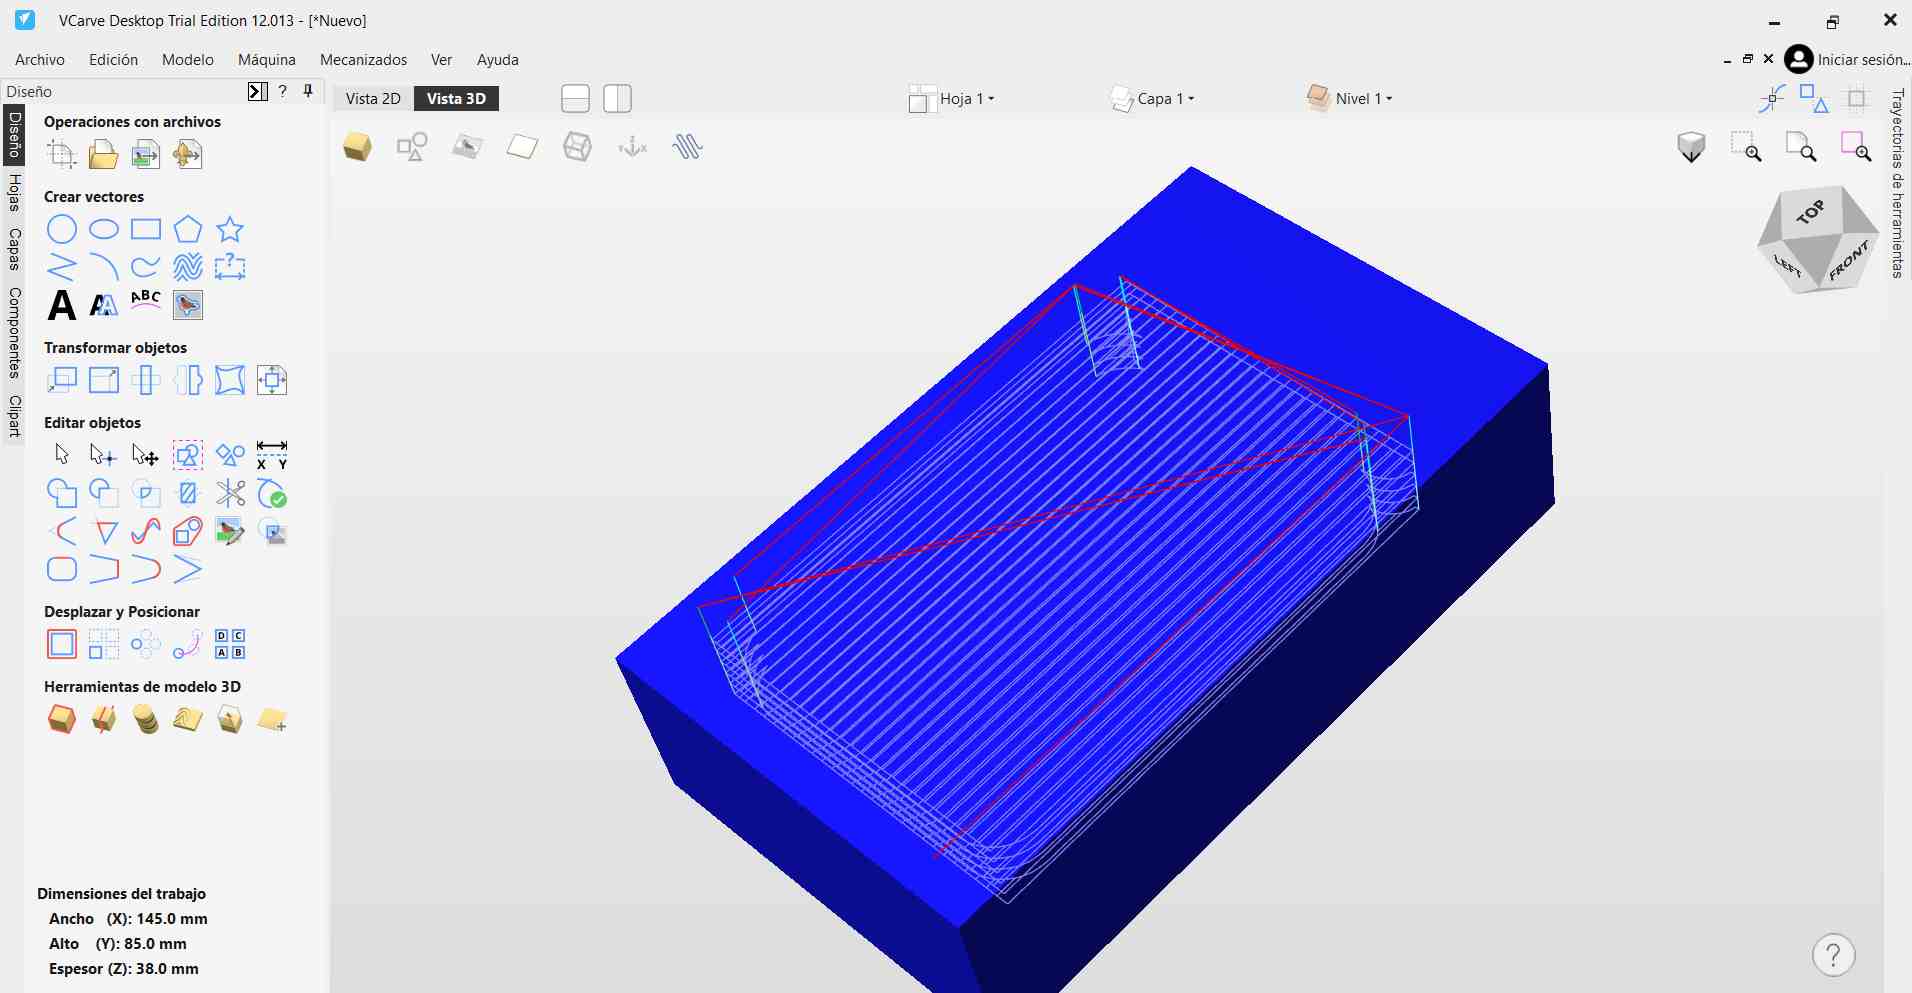
Then, I used two techniques:
- Roughing: To remove most of the material
- Finishing: To achieve a clean and smooth result
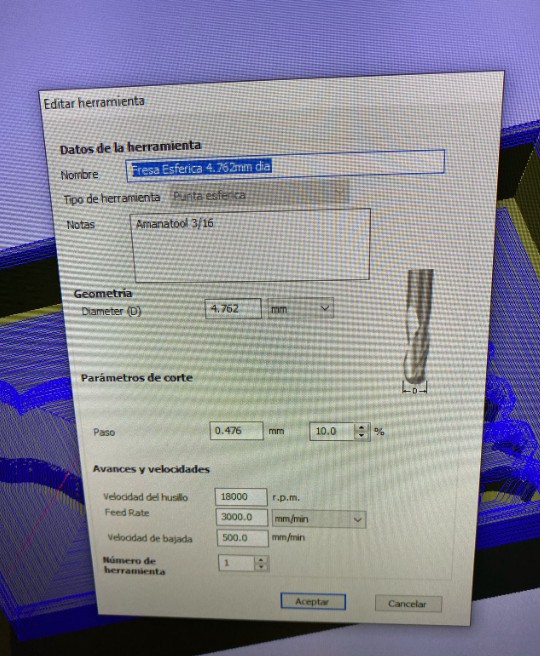
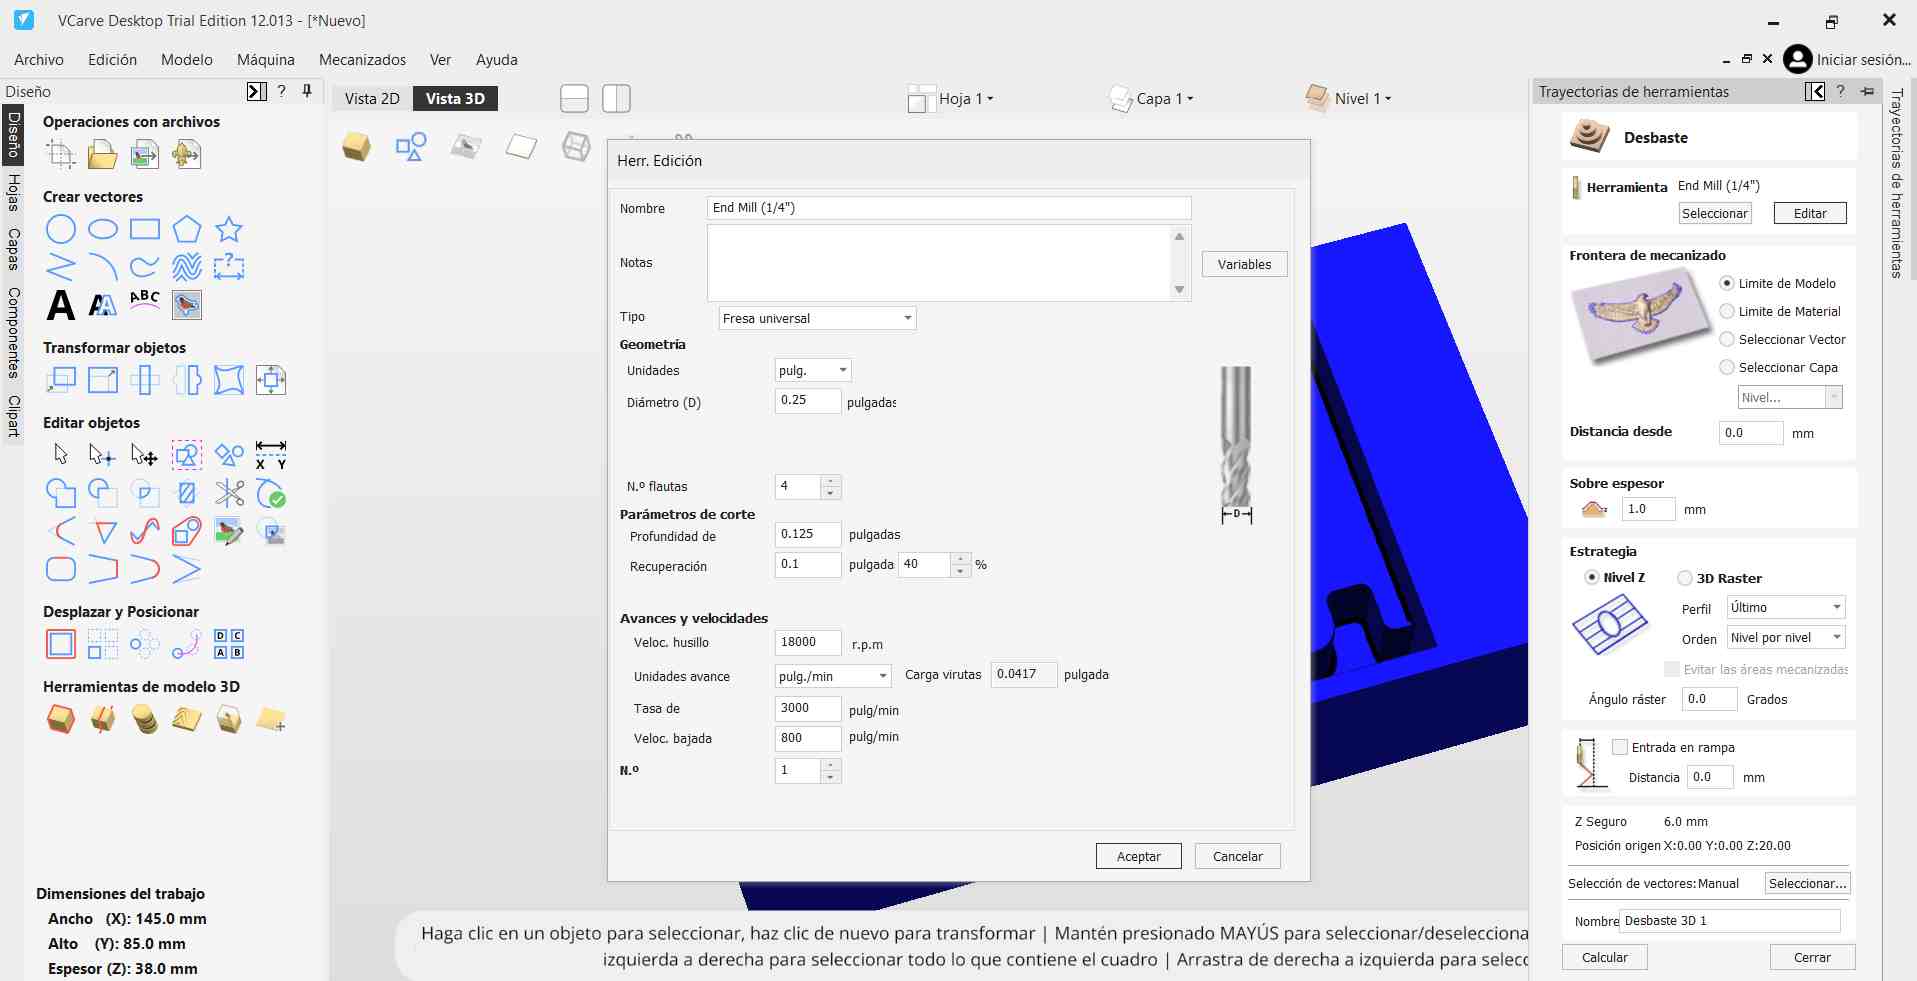
For each technique, I used two tools:
End Mill 1/4
- Type: Universal end mill
- Cutting diameter (D): 0.25 in (6.35 mm)
- Flutes: 2
- Cutting depth: 0.125 in (3.175 mm)
- Stepover: 0.1 in (40%)
- Spindle speed: 18,000 rpm
- Feed rate: 3,000 mm/min
- Plunge rate: 800 mm/min
- Chip load: 0.0833 mm
Cut Spiral Ball Nose 3/32"
- Cutting diameter (D): 3/16" (4.76 mm)
- Tip radius (R): 3/32" (2.38 mm)
- Cutting height (CH): 1/2" (12.7 mm)
- Shank diameter (SHK): 1/4" (6.35 mm)
- Total length (OAL): 2-1/2" (63.5 mm)
- Flutes: 2
- Cut type: Up-Cut Spiral
- Feed Rate: 1,905 – 2,540 mm/min
- Chip Load: 0.076 – 0.102 mm
- Plunge Rate: 572 – 1,270 mm/min (30–50% of feed rate)
Tool information: Amana Tool Product Page
With this information, I was able to configure the tools correctly.

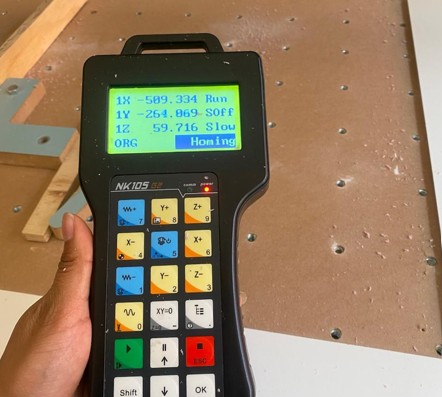
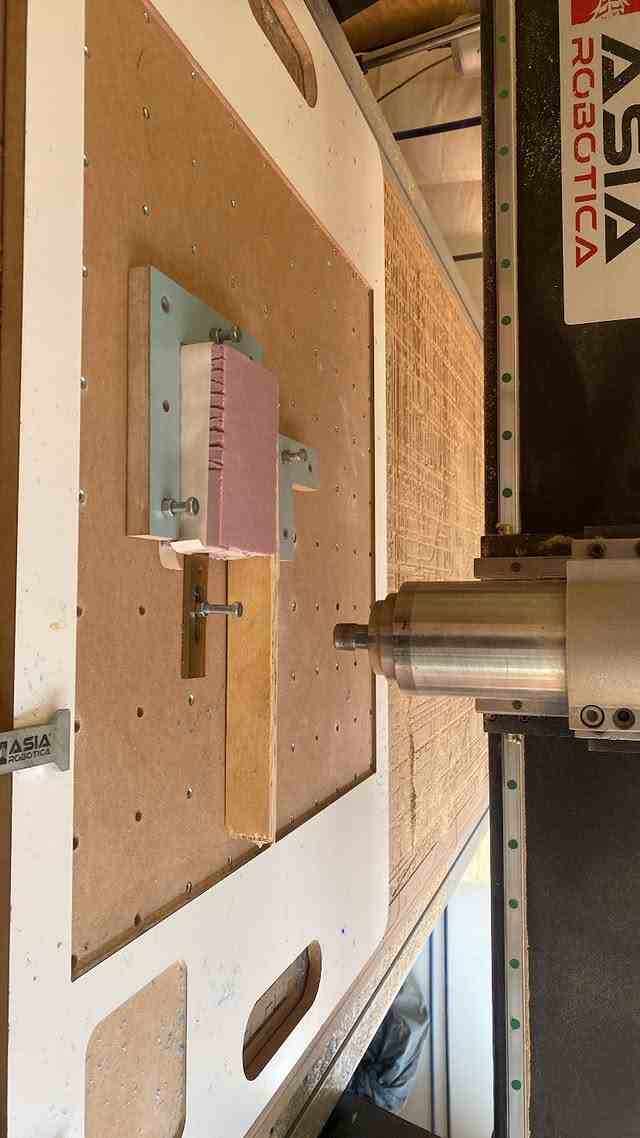
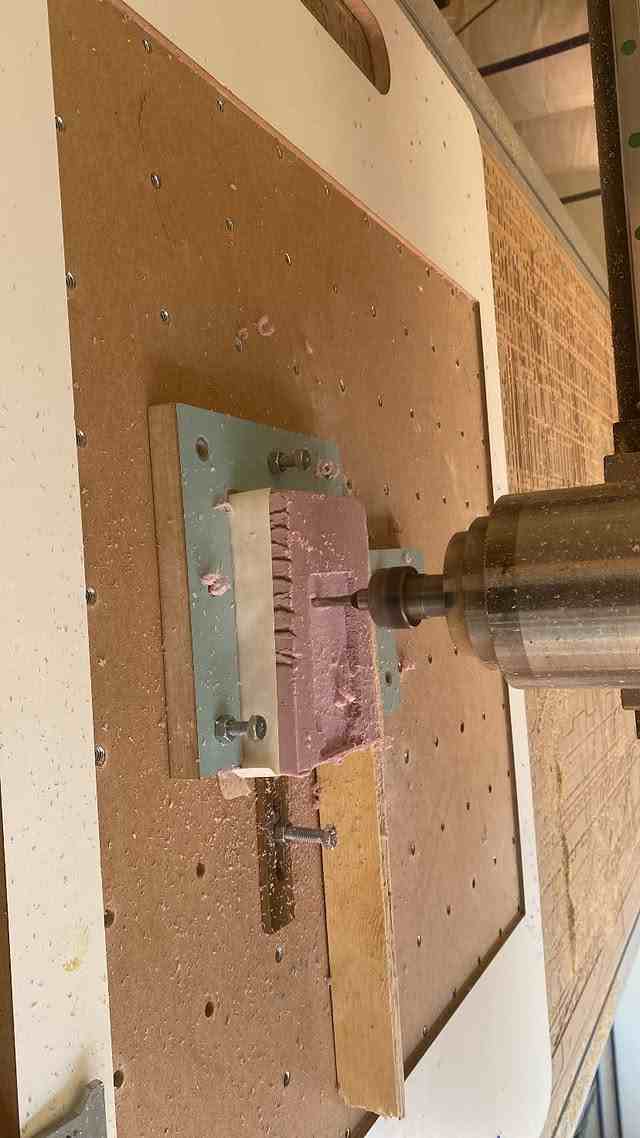
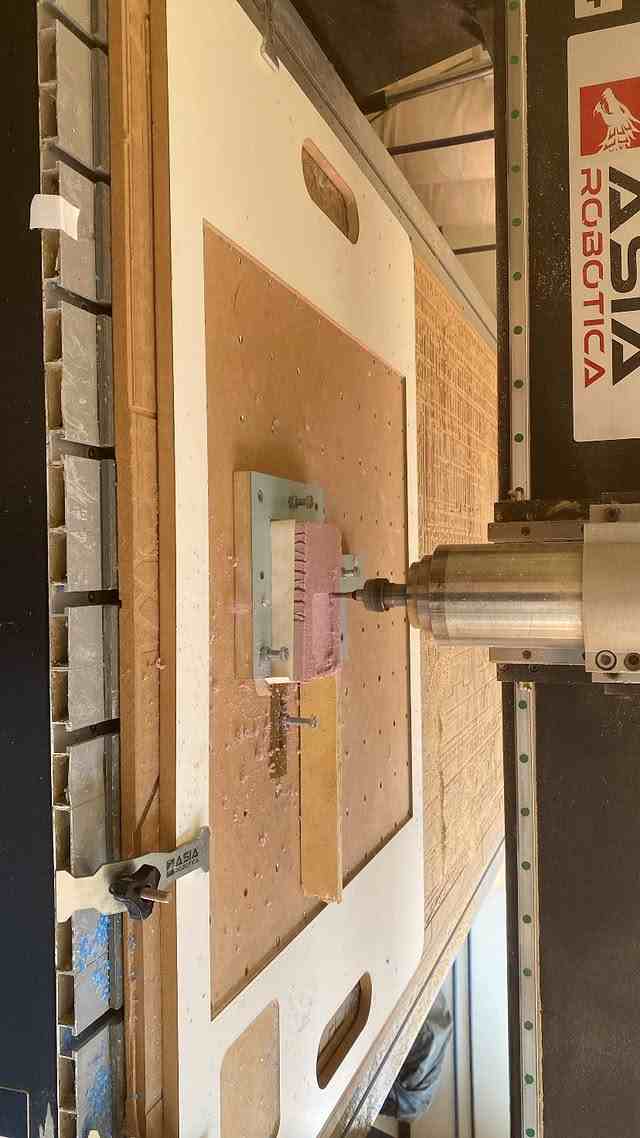
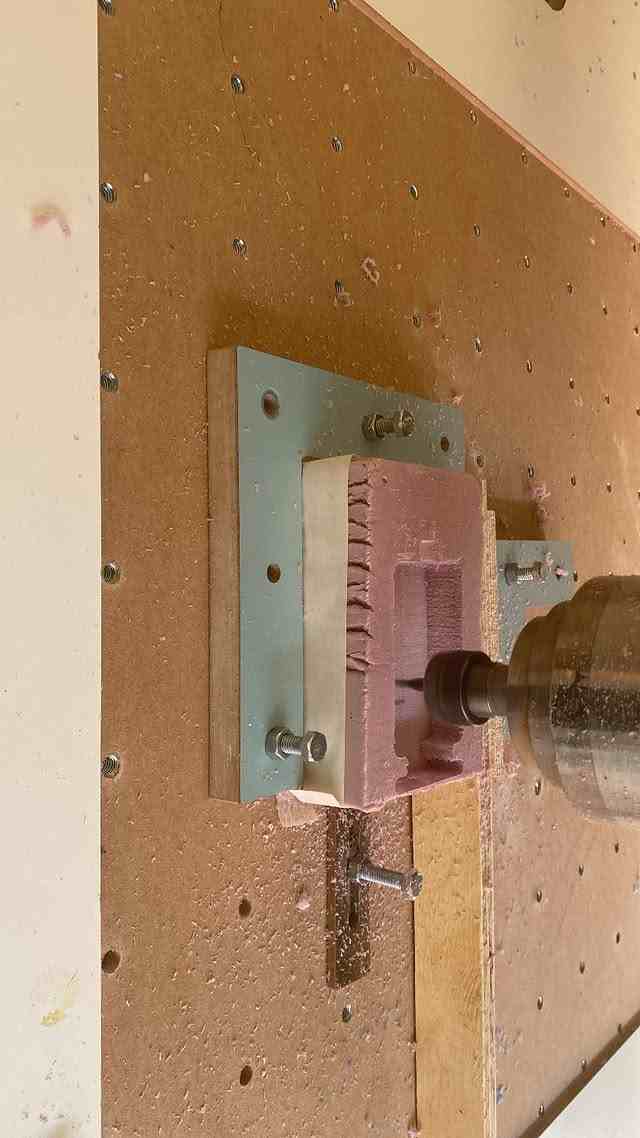
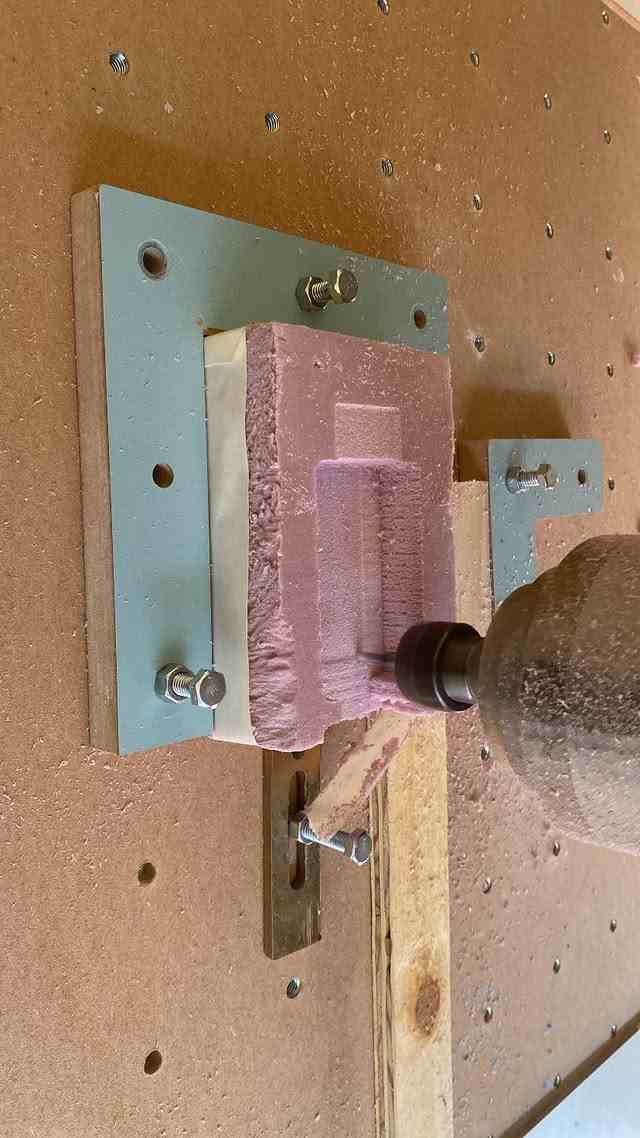
Using the machine(Asia Robotica)
Machine Setup and File Loading
- I placed my material on the sacrificial bed and secured the board properly. (I used foam)
- I deactivated the emergency button and pressed the green button to let the machine return to the origin.
- I set the starting point to 0 for the X and Y axes first, and then did the same for the Z axis. I adjusted the Z origin by carefully lowering the tool until the drill bit just started to scratch the material.
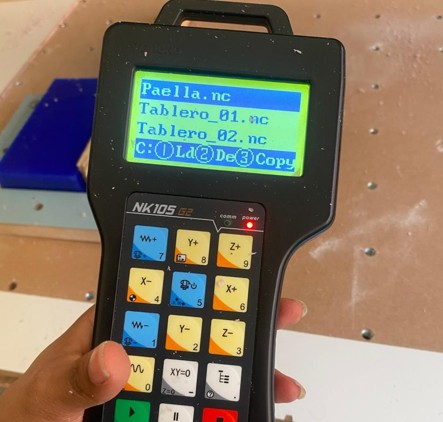
- To load the file, I inserted the USB, clicked the "Files" button, selected the USB, chose the file, and pressed "Play".
Casting
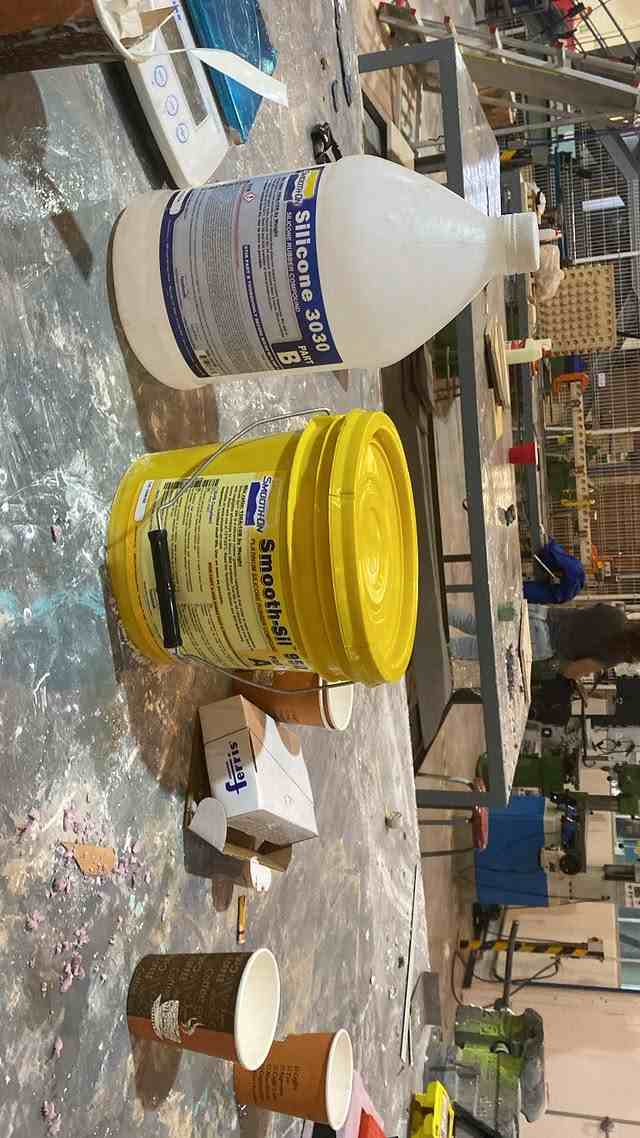
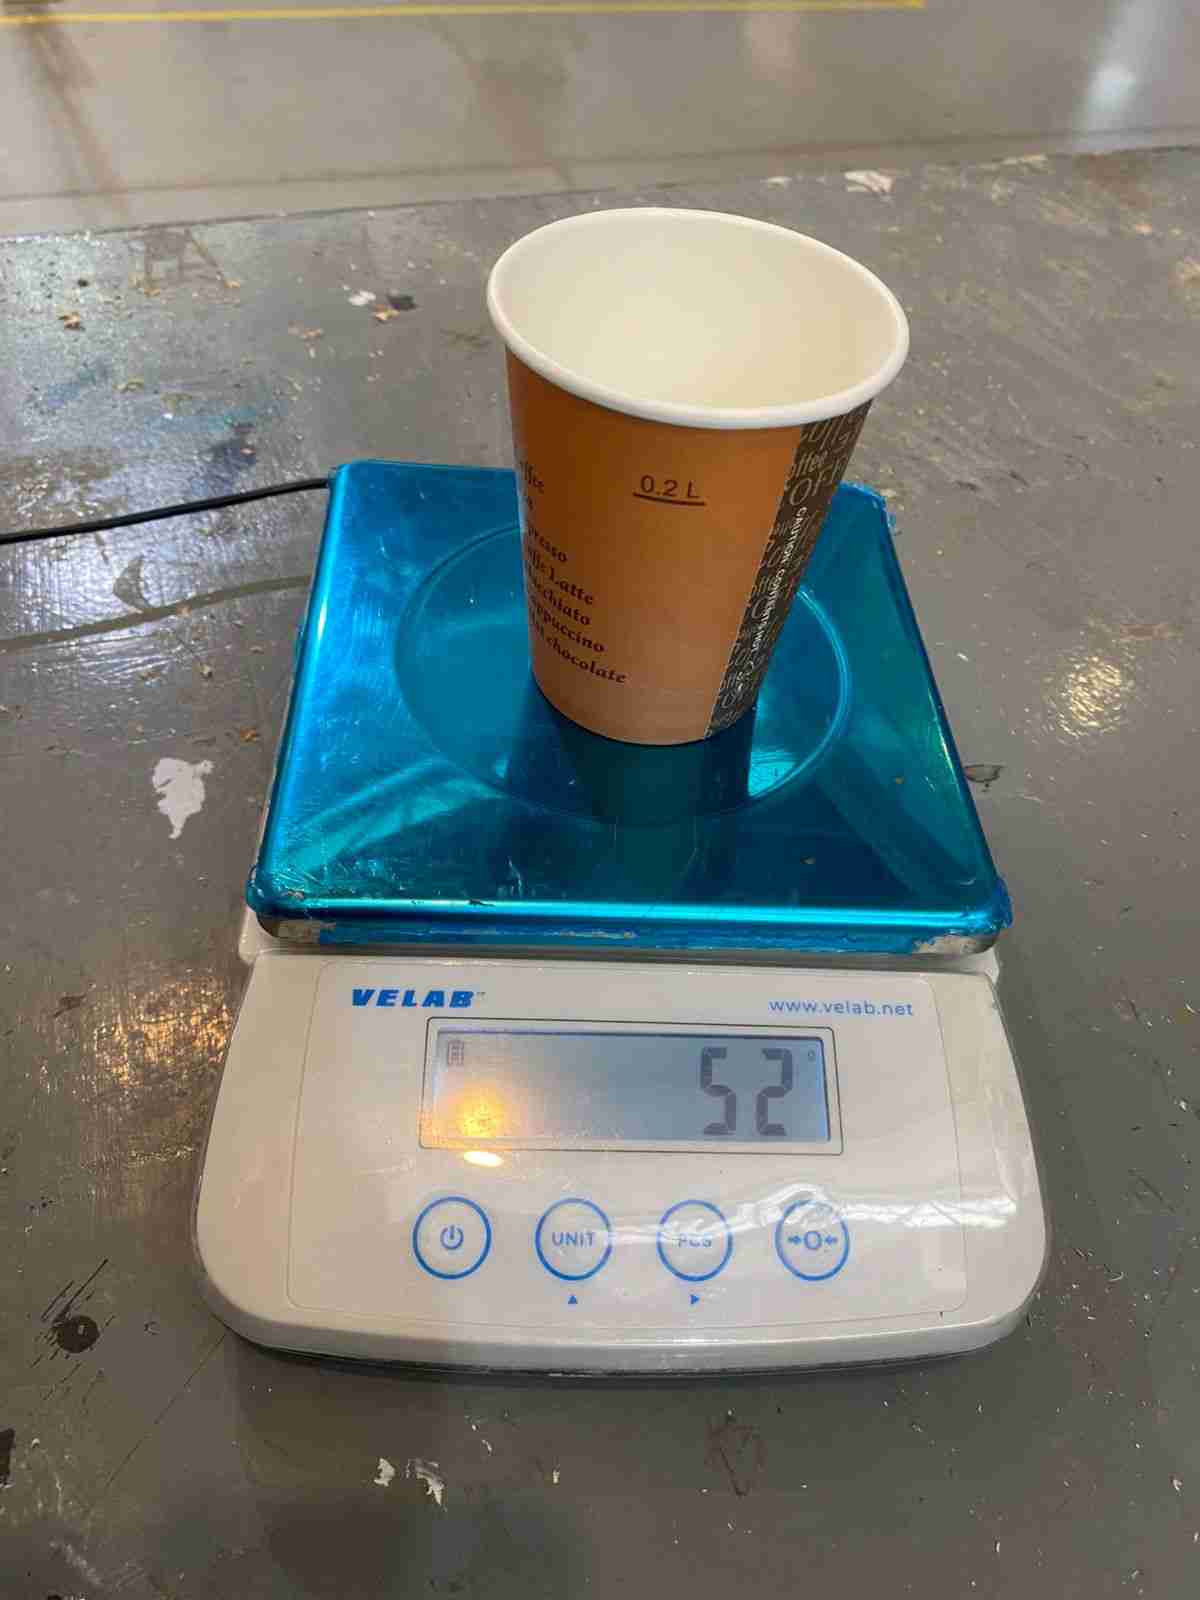
I used Smooth-Sil 950 silicone and Part B950 to make the mold, following the instructions on the datasheet: Smooth-Sil 950.
- I used 100% of Part A and 10% of Part B by weight, following the recommended mixing ratio provided by the silicone manufacturer. This means that for every 100 grams of Part A, I needed 10 grams of Part B, but adjusted depending on the density.
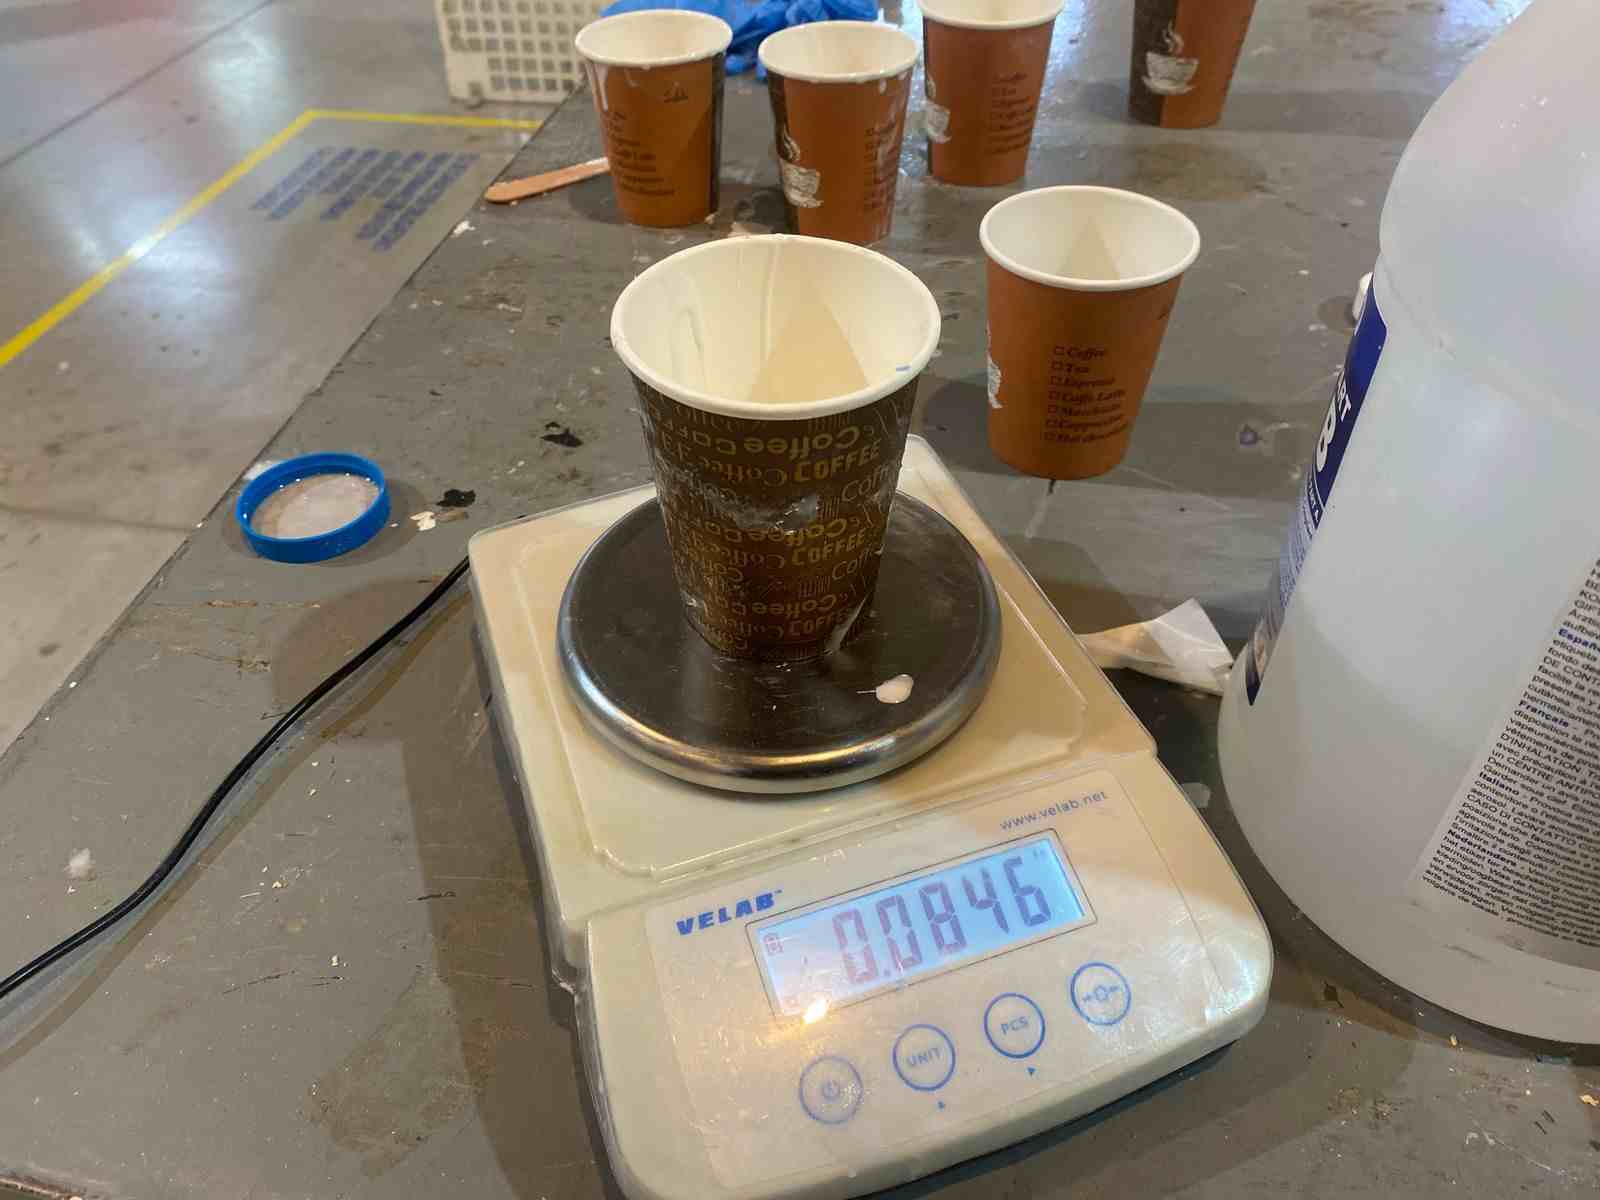
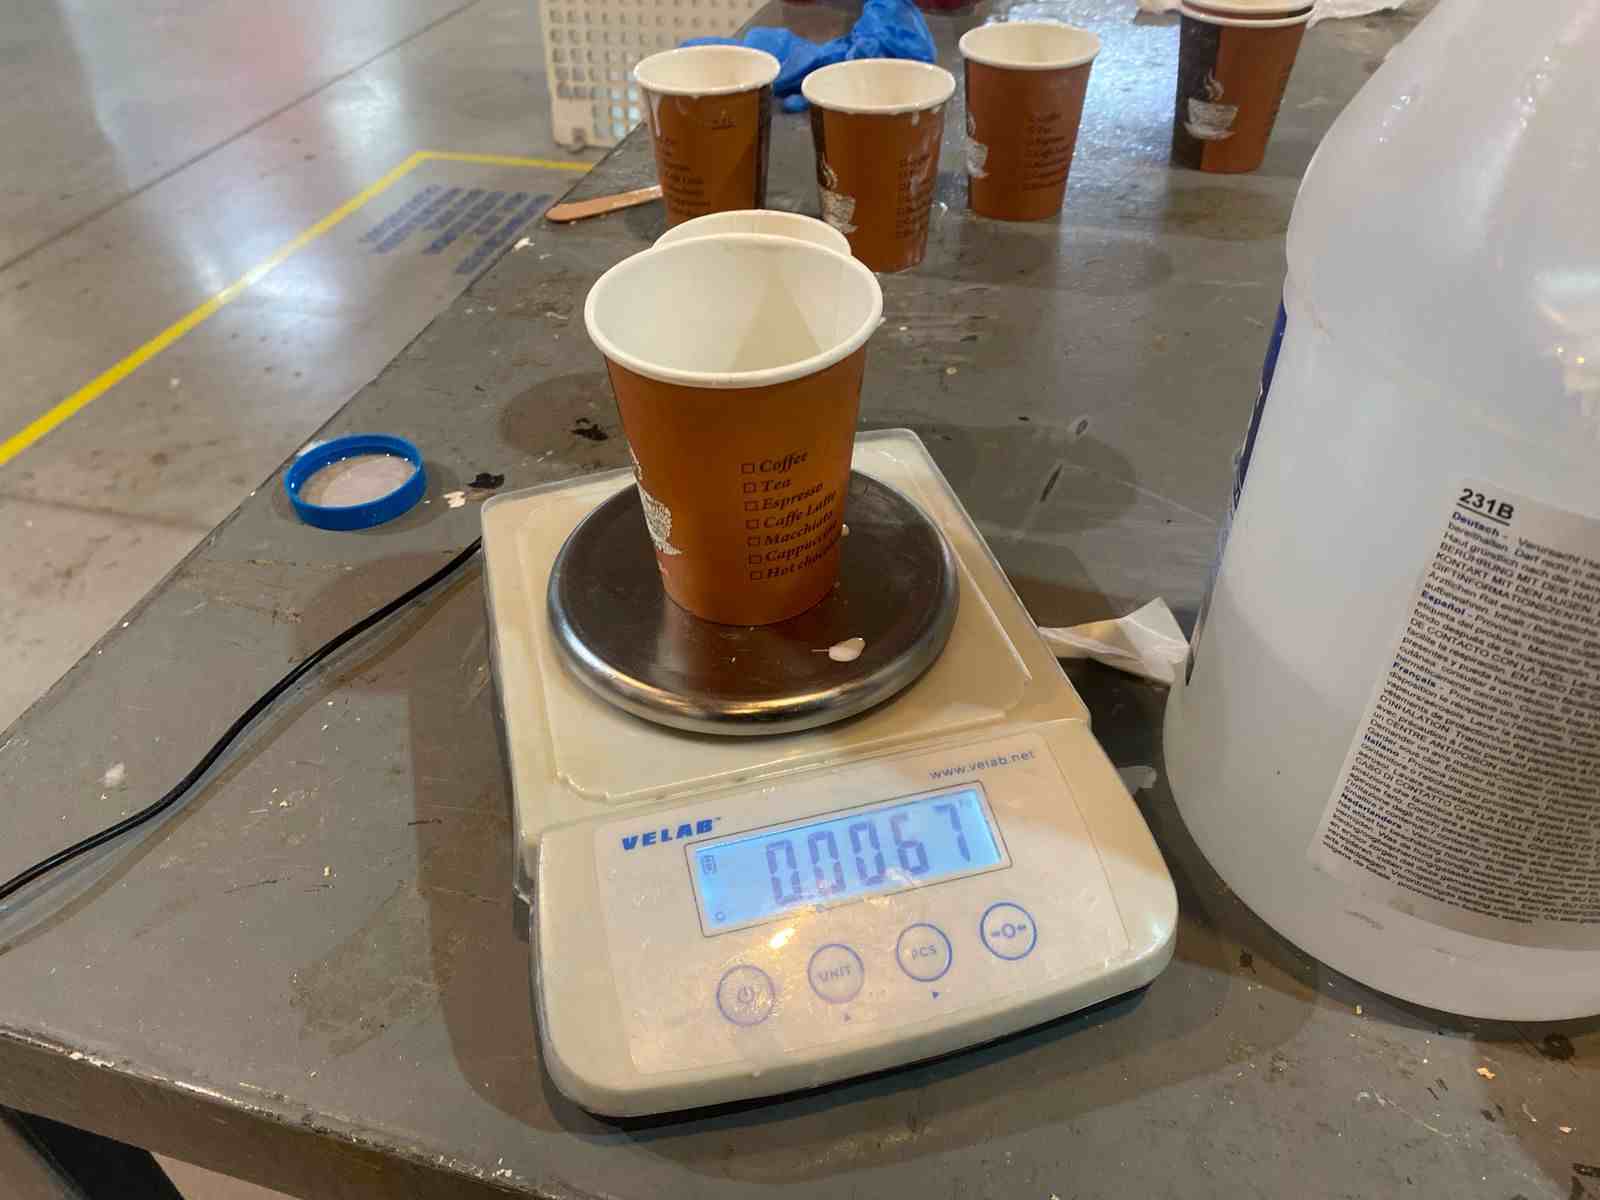
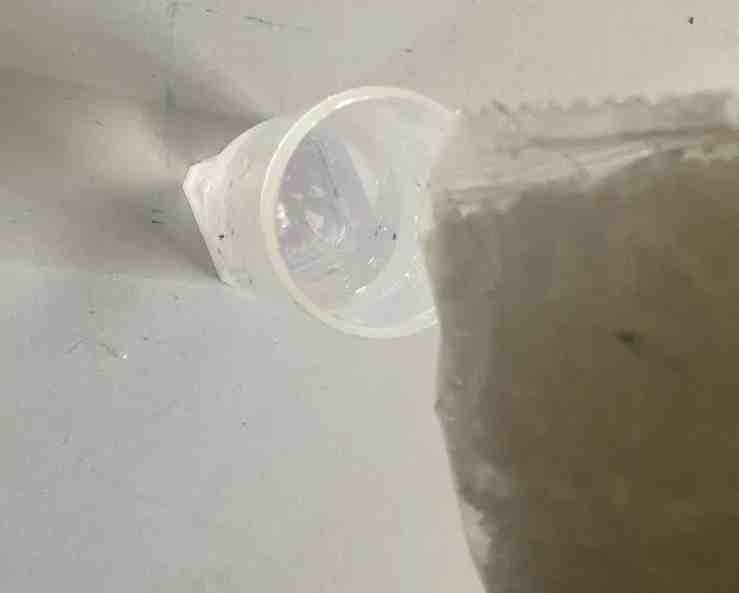
- To determine the amount of material needed to fill the mold, I first poured water into the mold cavity until it was full. This helped me understand the exact volume required. I then poured the water into a measuring cup or weighed it to determine its volume in grams.
-
After measuring the required amount of Part A, I calculated how much Part B was needed. Normally, 10% of Part A’s weight would be correct, but because Part B has a different density (1.24 g/cc), I adjusted the weight accordingly using the following formula:
Adjusted Part B (g) = (Weight of Part A / 10) × Density of Part B - In my case, the weight of Part A was 84.6 g. So I first calculated 10% of that (8.46 g), and then multiplied it by the density of Part B (1.24 g/cc). This gave me an adjusted value of approximately 6.77 g of Part B.
-
Final measurements used in the mixture:
- Part A: 84.6 g
- Part B: 6.77 g (adjusted based on density)
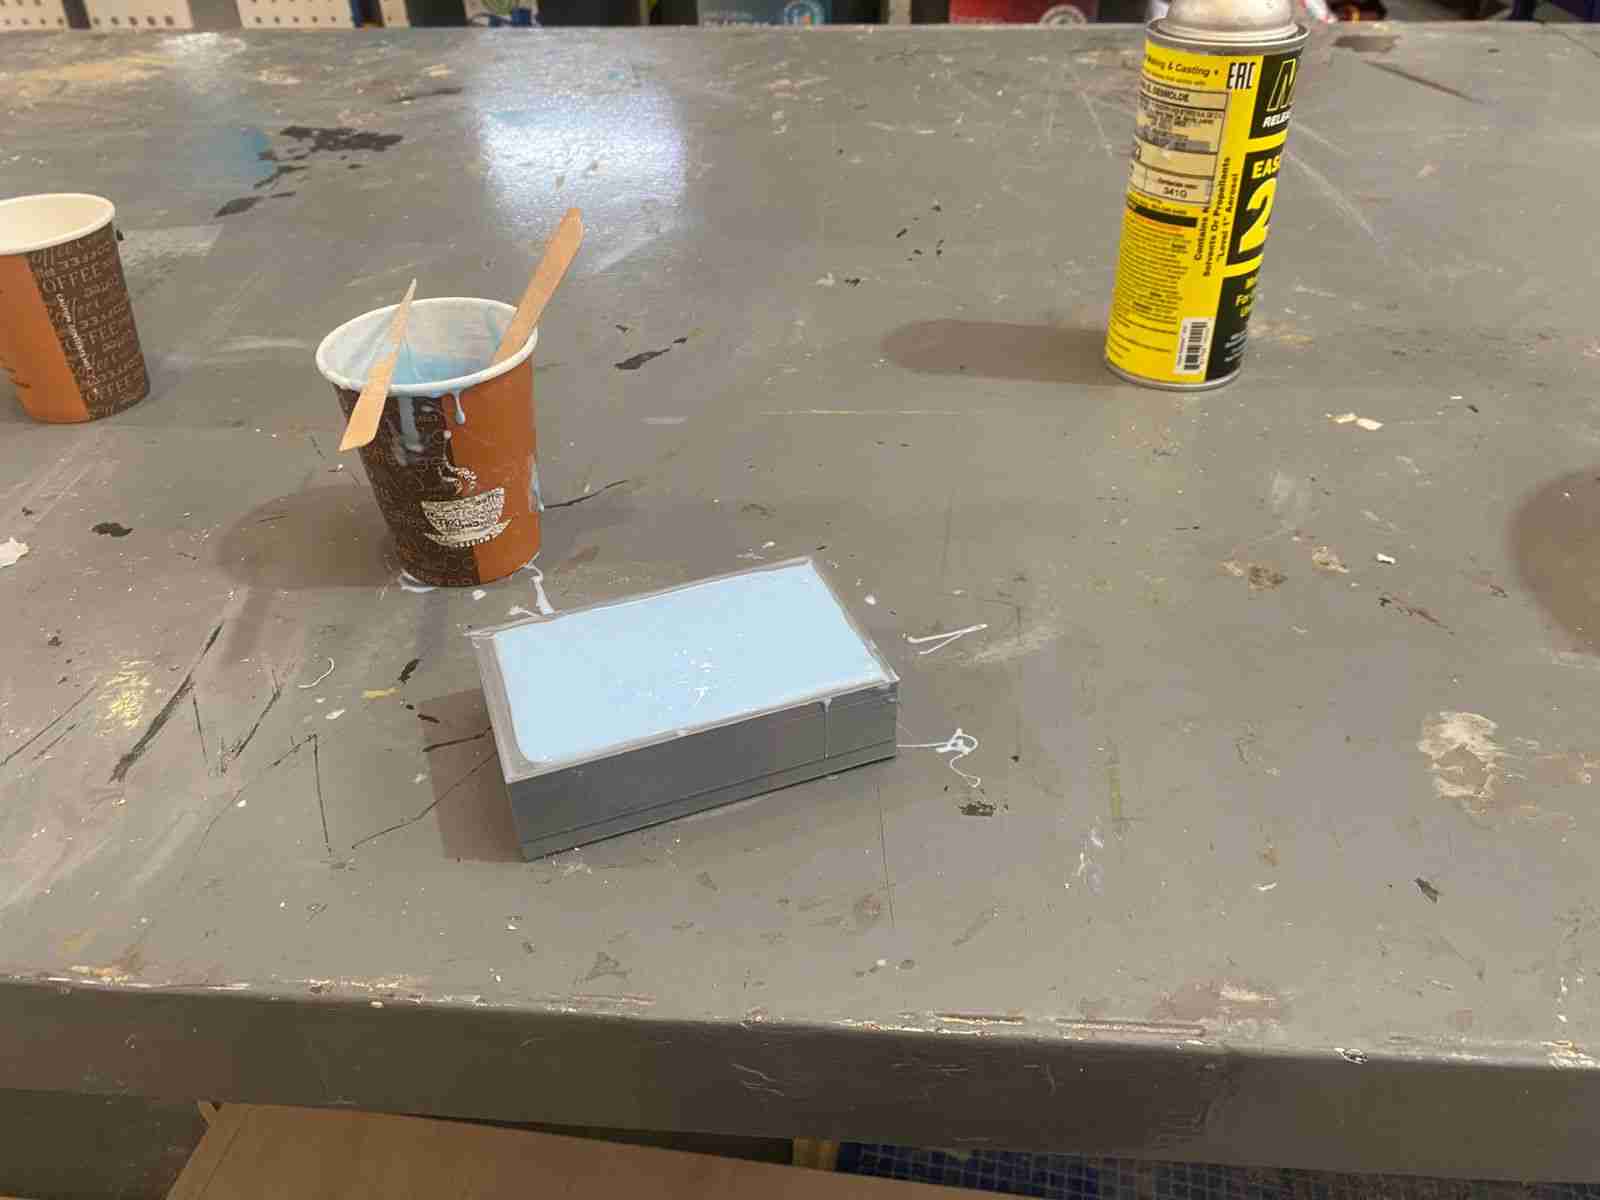
It’s very important to mix the two parts thoroughly to ensure the silicone cures properly. I mixed them in a clean container for a few minutes, scraping the sides to avoid unmixed areas.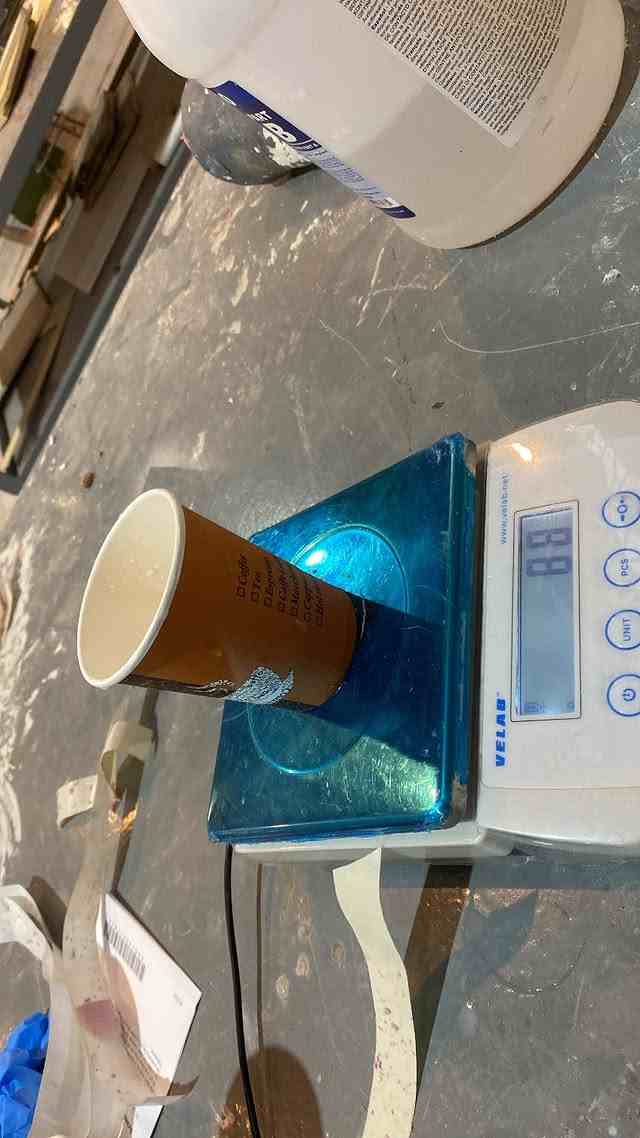
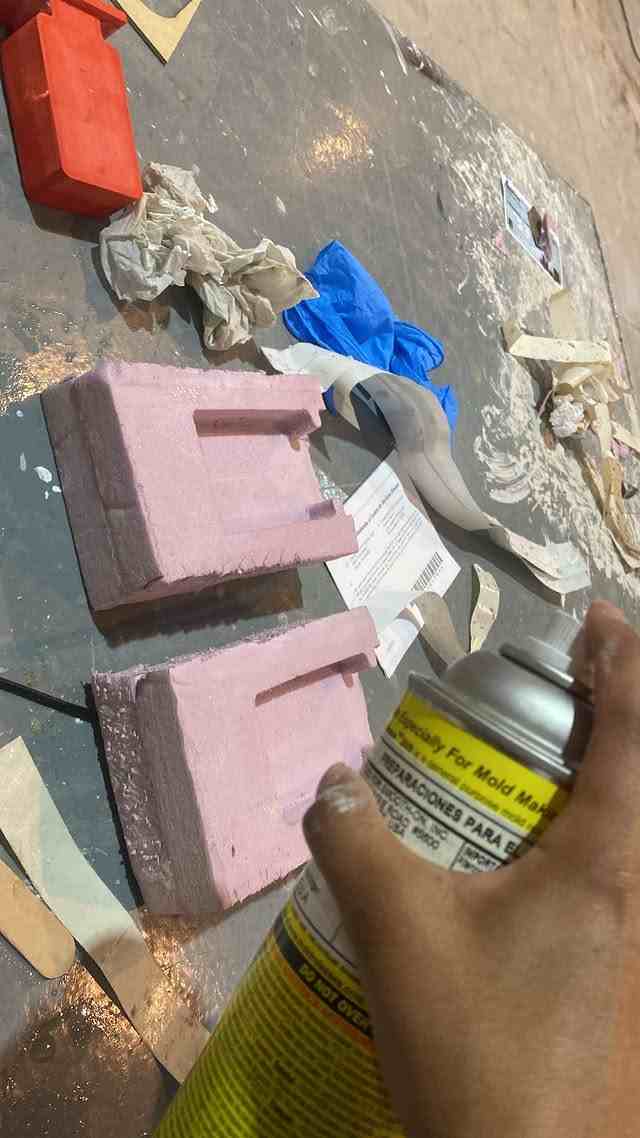
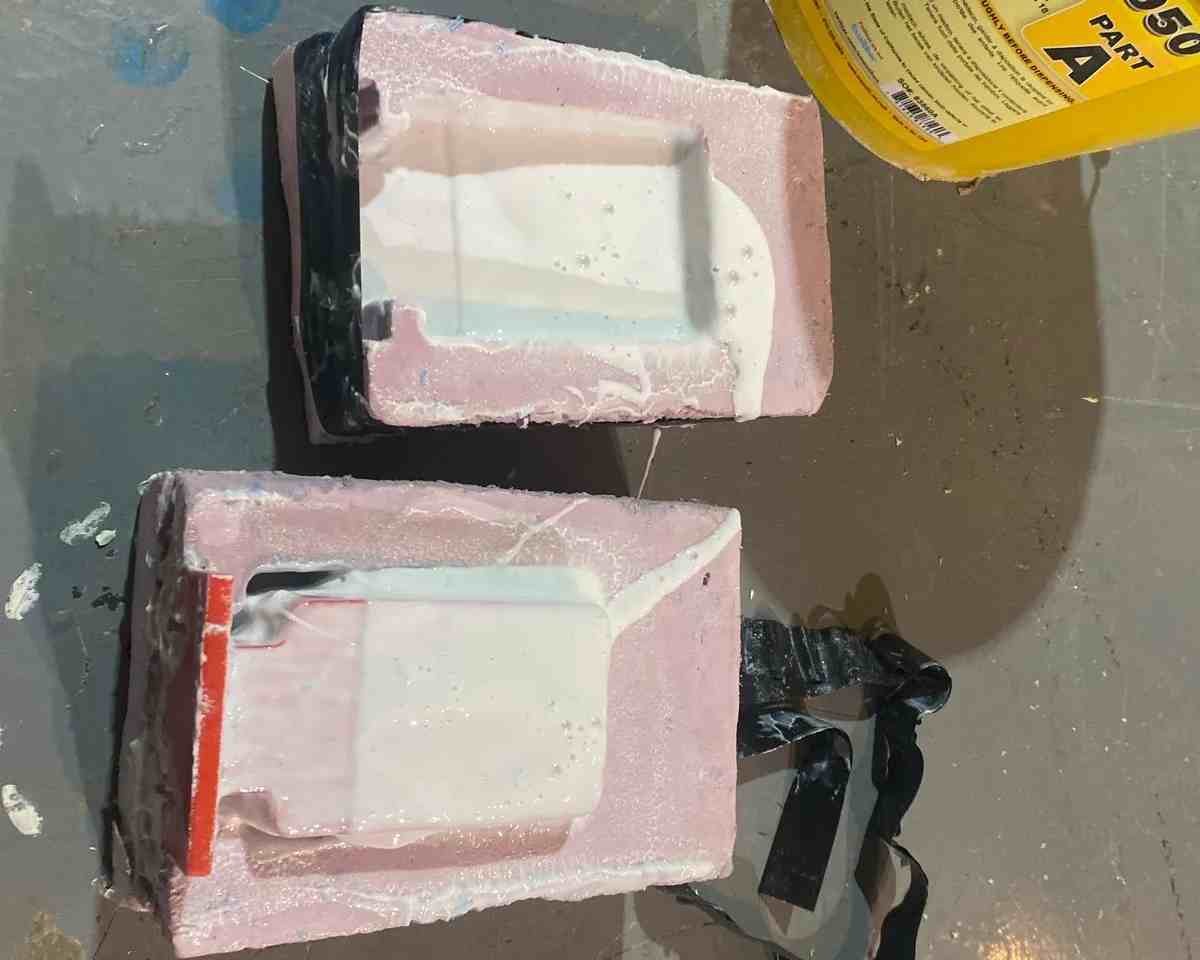
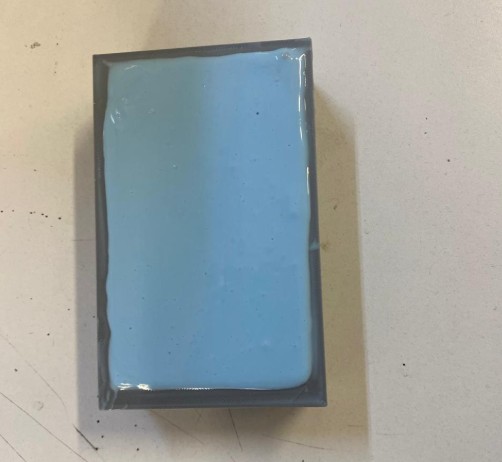
- Once the mixture was ready, I poured it slowly into the mold to avoid trapping air bubbles. The mold had already been prepared with a release agent to ensure the final cast could be removed easily once cured.
- After pouring, I let the silicone sit for ten hours, but the results were not good.
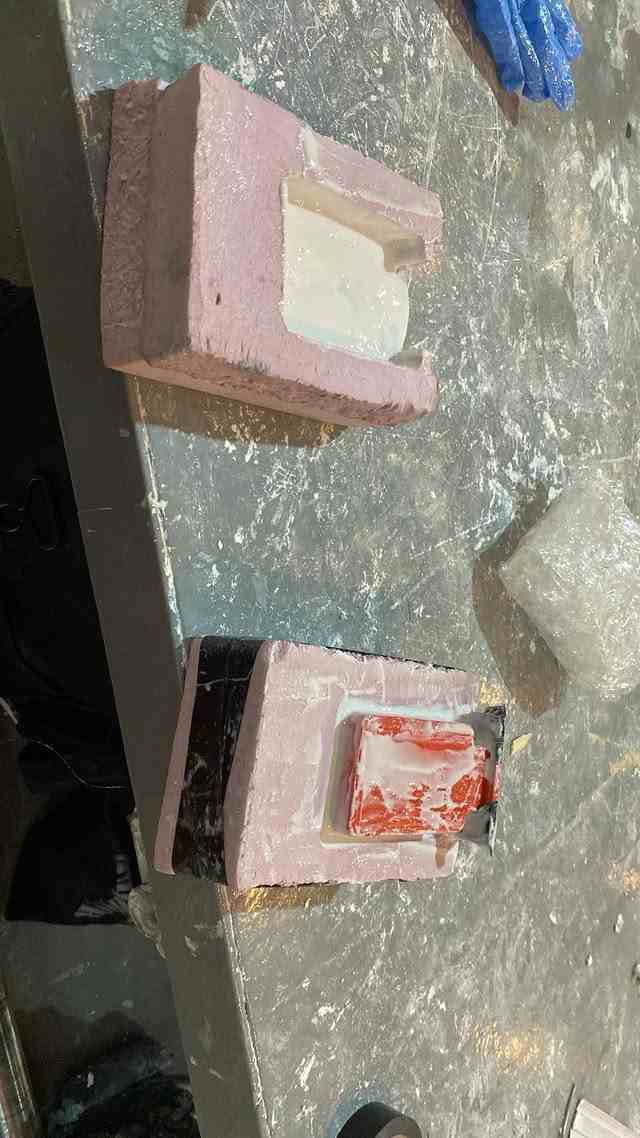
Fails
💥 Resin Printer Issue
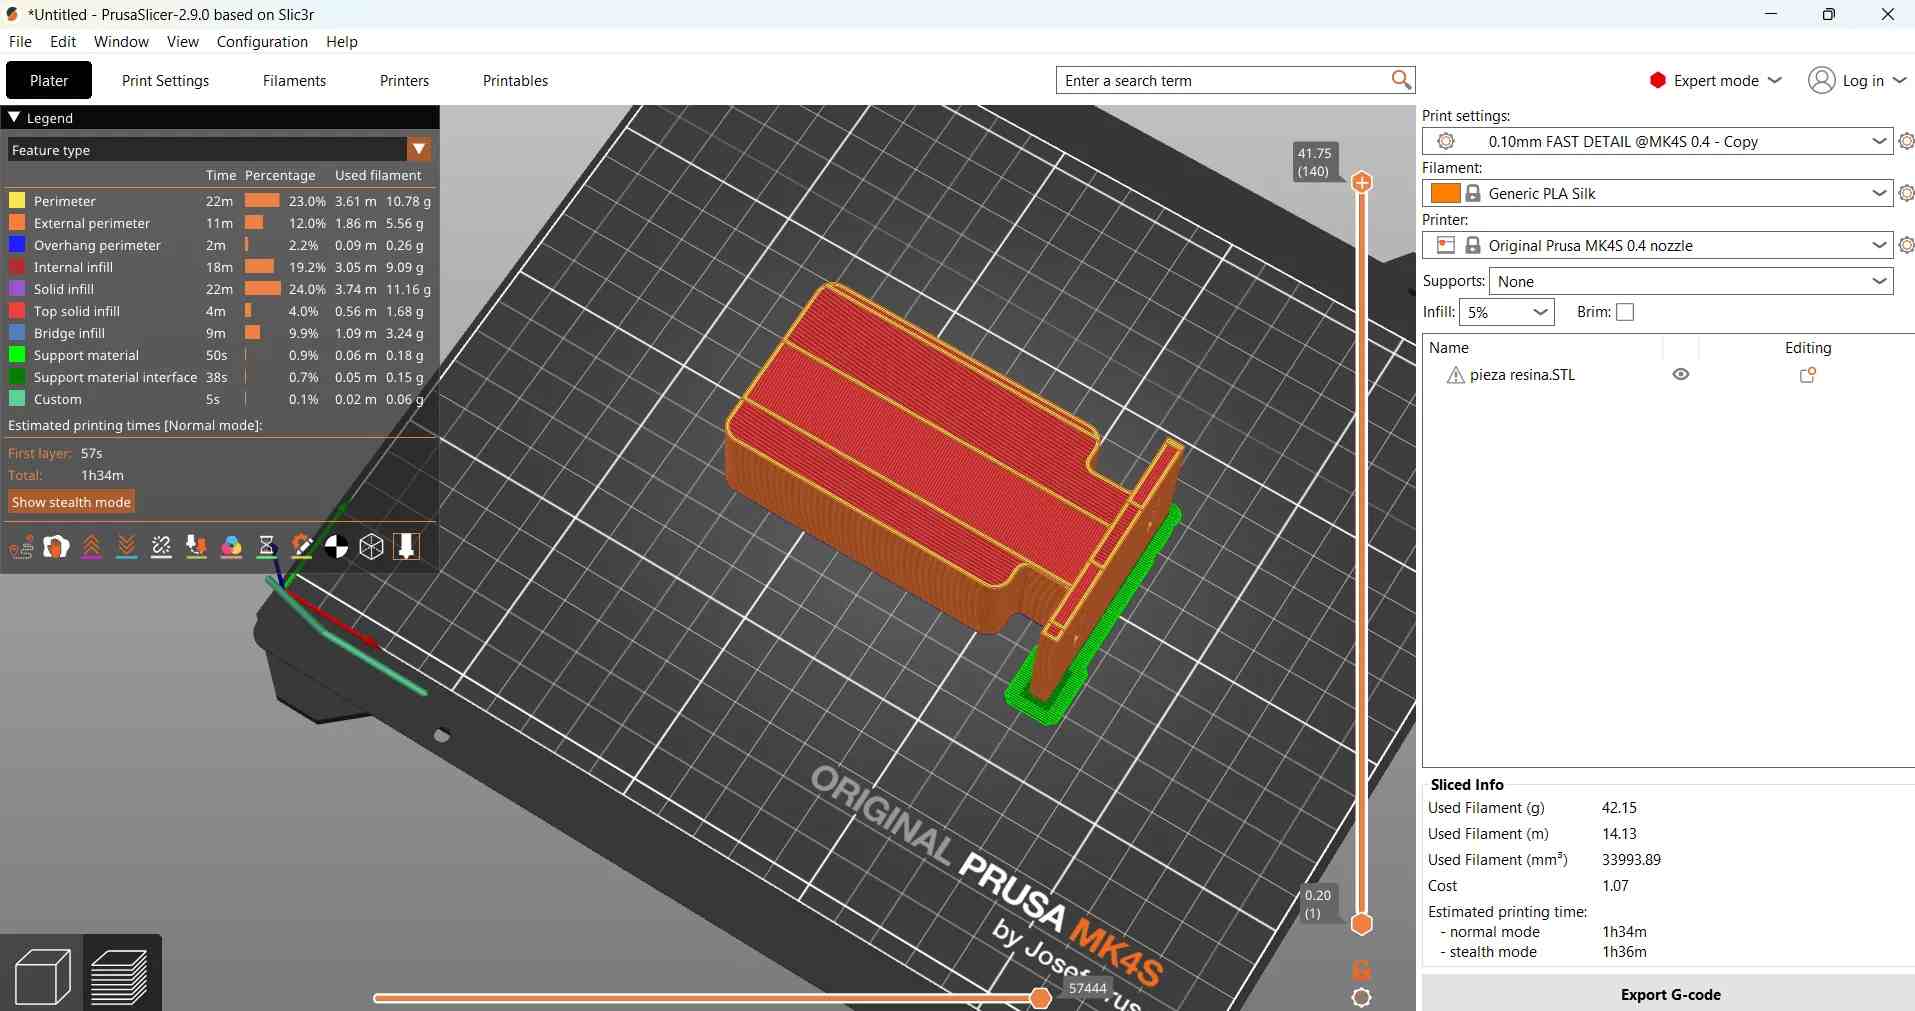
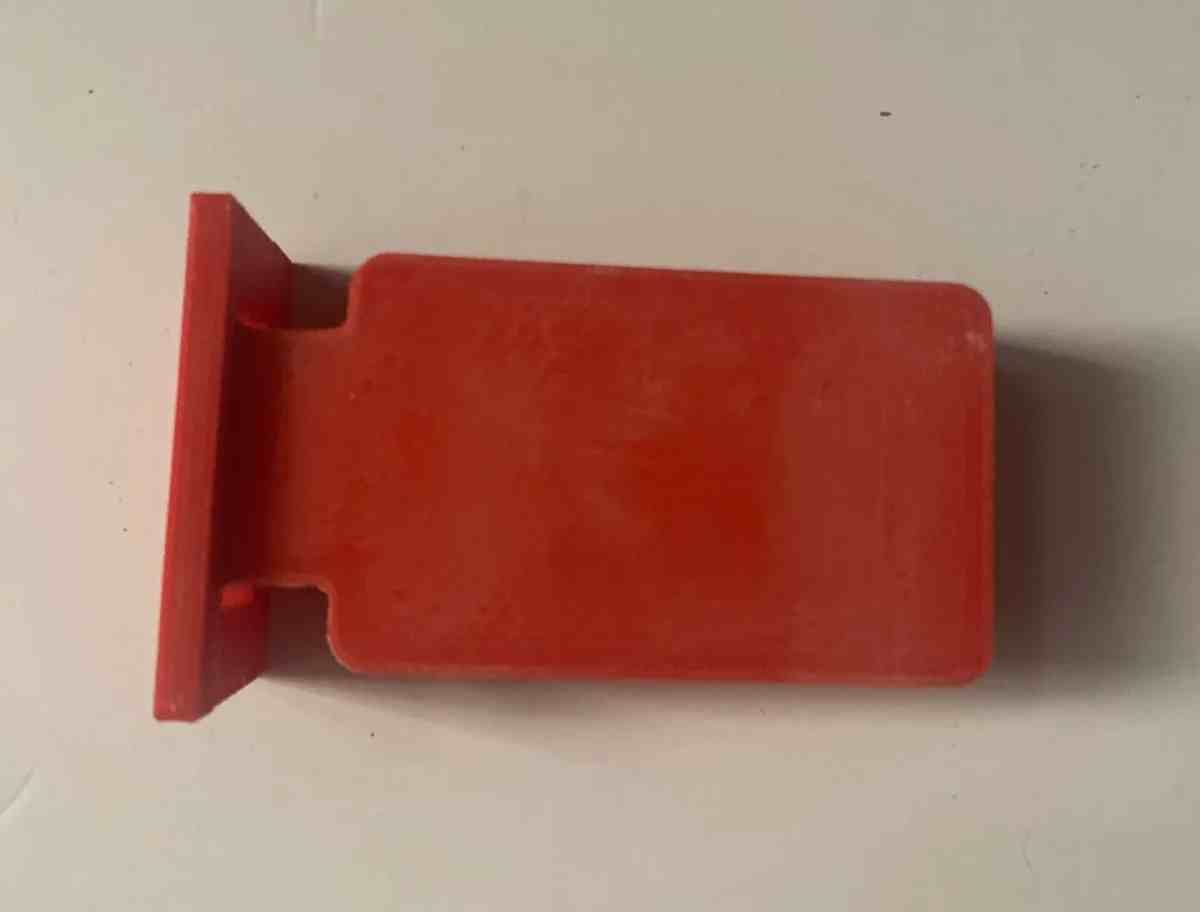
I wanted to print with the resin printer, but the bed detached from the base. I fixed it and i done other mold with that(I'll upload it soon with the right settings). o make my centerpiece, I used resin filament instead, but I have to sand it.
⚠️ Tool Breakage
I broke the tool because the distance in my mold was too small. The finishing tool started cutting before the roughing tool had removed enough material.
🧪 Incorrect Mixing
I made a mistake while mixing the silicone. I accidentally mixed Part A of Smooth-Sil 950 with Part B of a different silicone (Silicone 3030). I realized the mistake when the mix didn’t cure properly, so I had to redo it with the correct components.
Review of Initial Results
Clearly, these are not good results, likely due to the mold design. Maybe I need to redesign the mold in a different way. For now, I’ve decided to make a new mold.
second attempt
I was thinking about how to obtain a good result, so I decided to make a 3D printed mold in one piece. I waited for it to dry, and then I added more silicone on a flat surface to create a complete mold.
- First, I measured the density using water.
- To calculate the amount of Part B, I divided the weight of Part A by 10 and then multiplied it by the density of Part B, which in this case was 1.24 g/cc.
- I mixed for 2 minutes and poured the silicone into my mold.
- I waited 10 hours until it was ready.
- Then, I added silicone on a flat surface and placed the first piece together with the second piece.
- I waited 2 hours until it was ready.
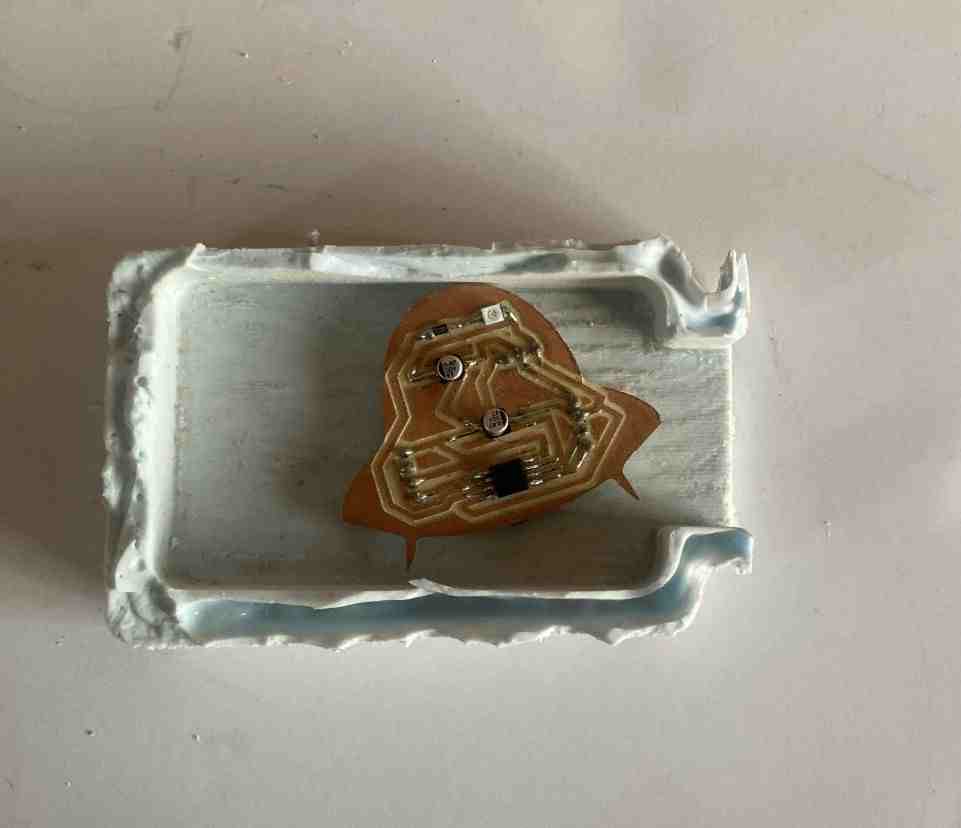
- Finally, I added my PCB, which you can see on my Final page.
To get a good result in this case, I mixed Component A correctly with Component B.
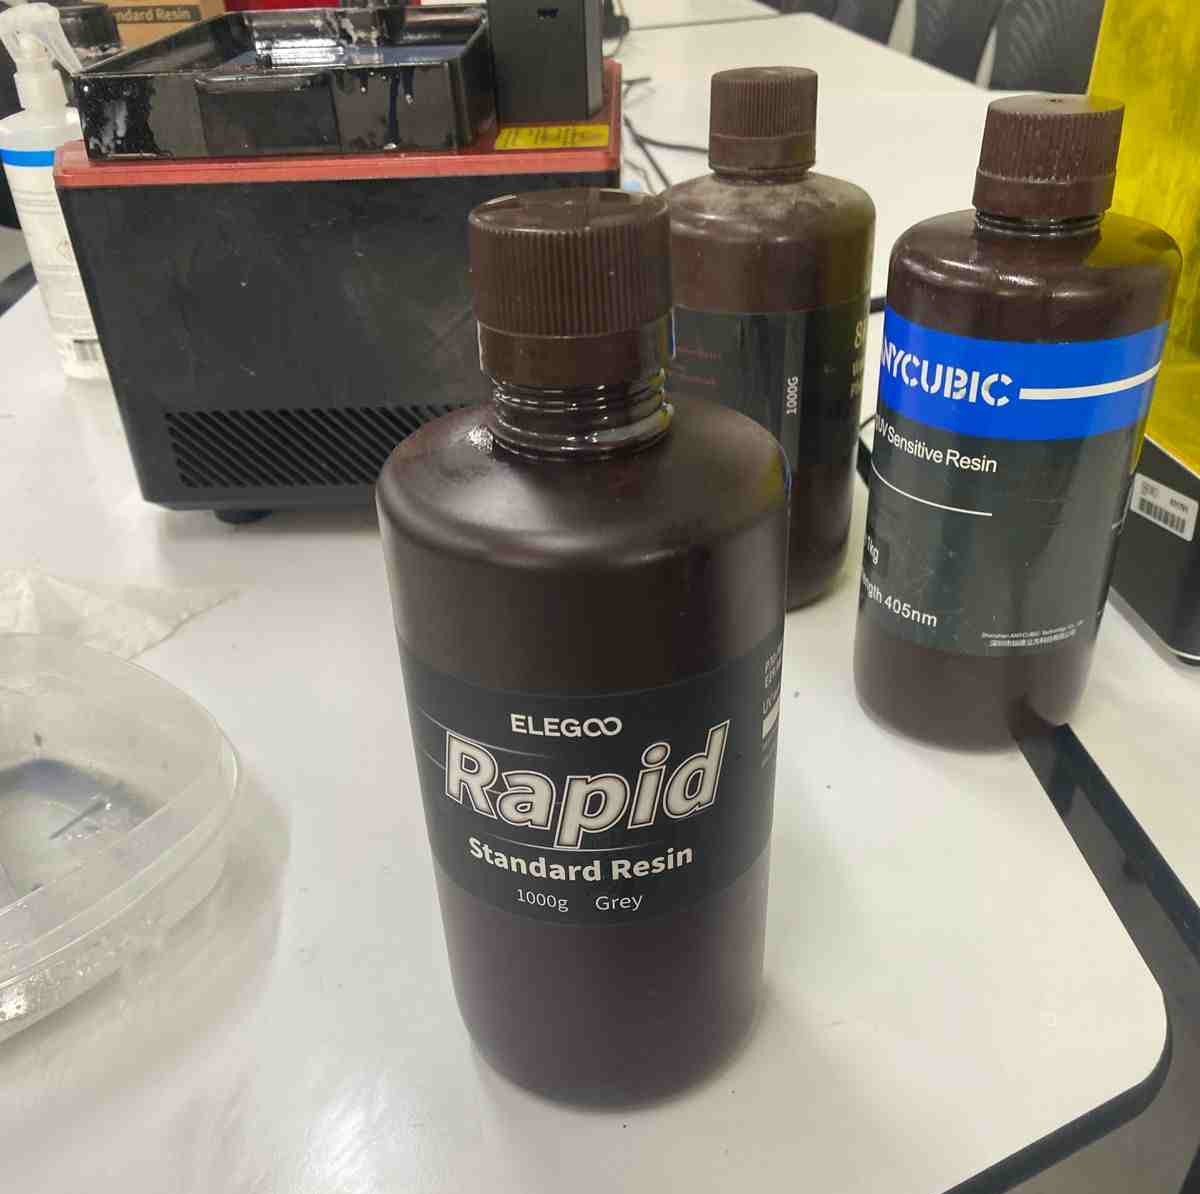
I used Flexible Silicone 950.

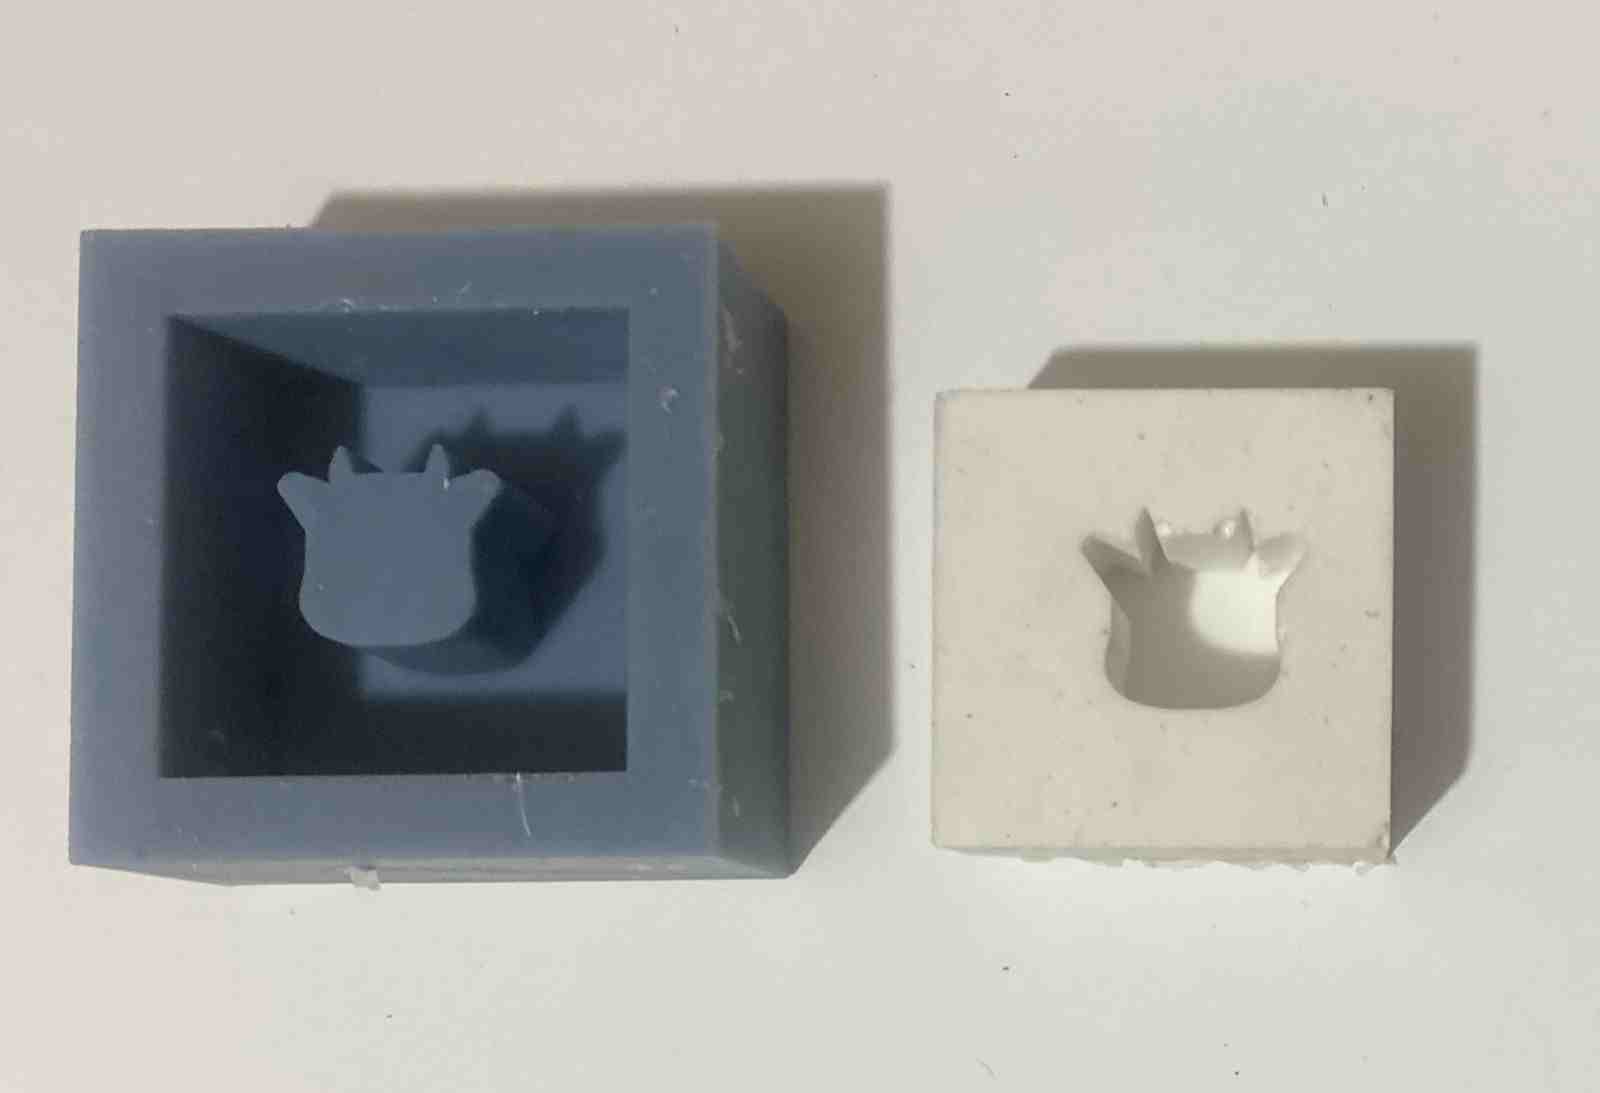
Mold printed in resin
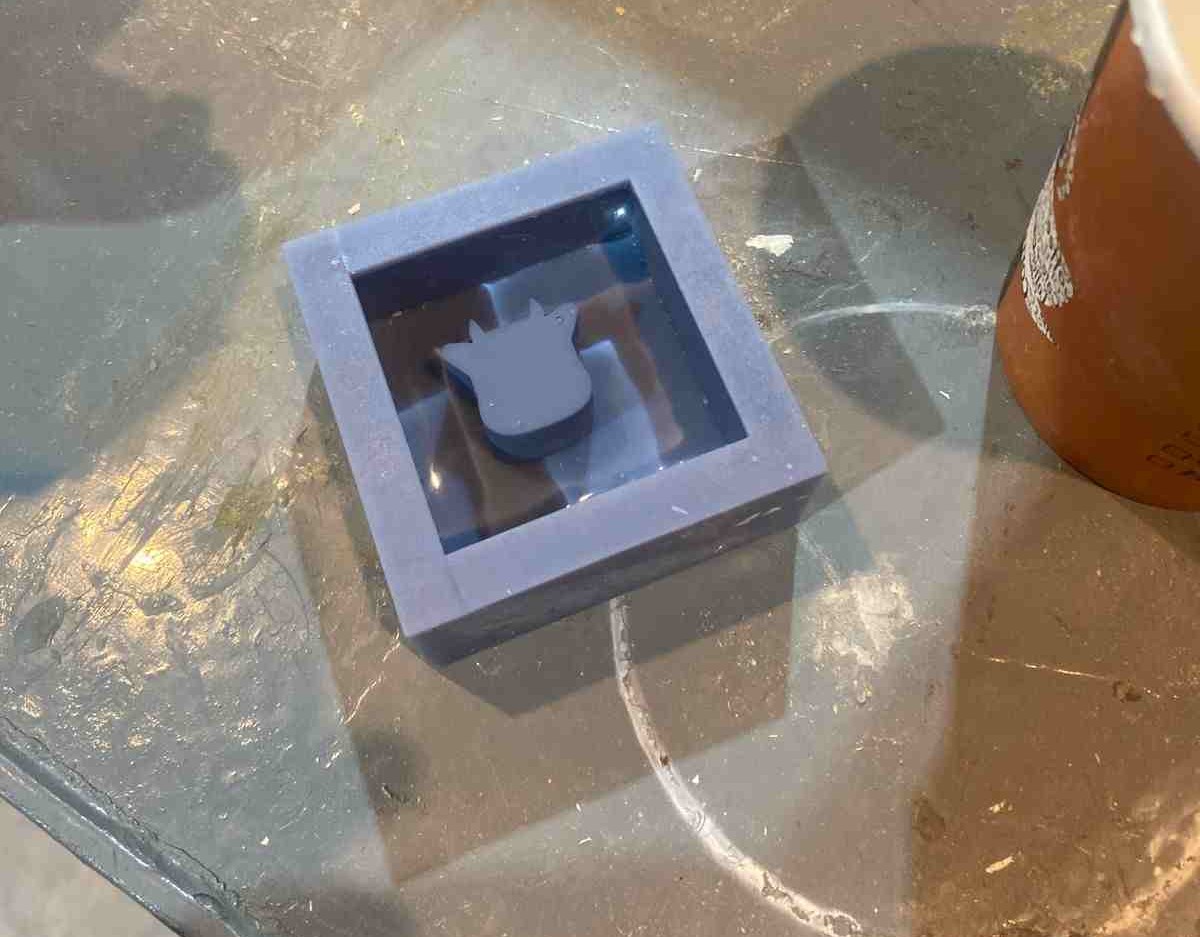
Design
- Sketched half of a cow's face.
- Used the Mirror tool to create a symmetrical face.
- Extruded the cow shape to make it 3D.
- Created a rectangle around the cow and extruded it upward to form a box mold.

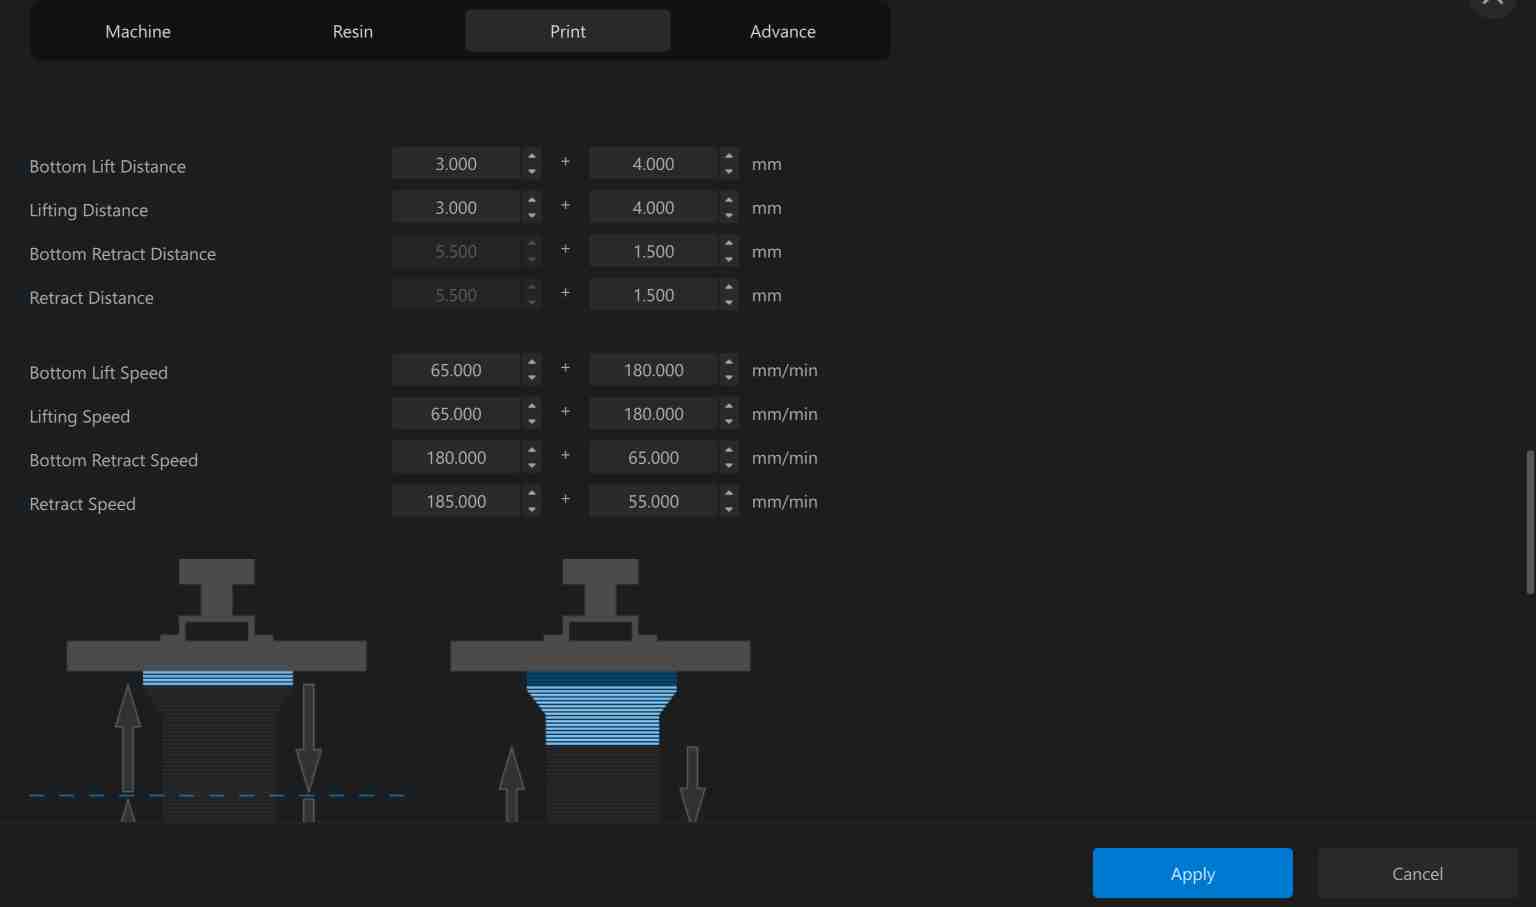
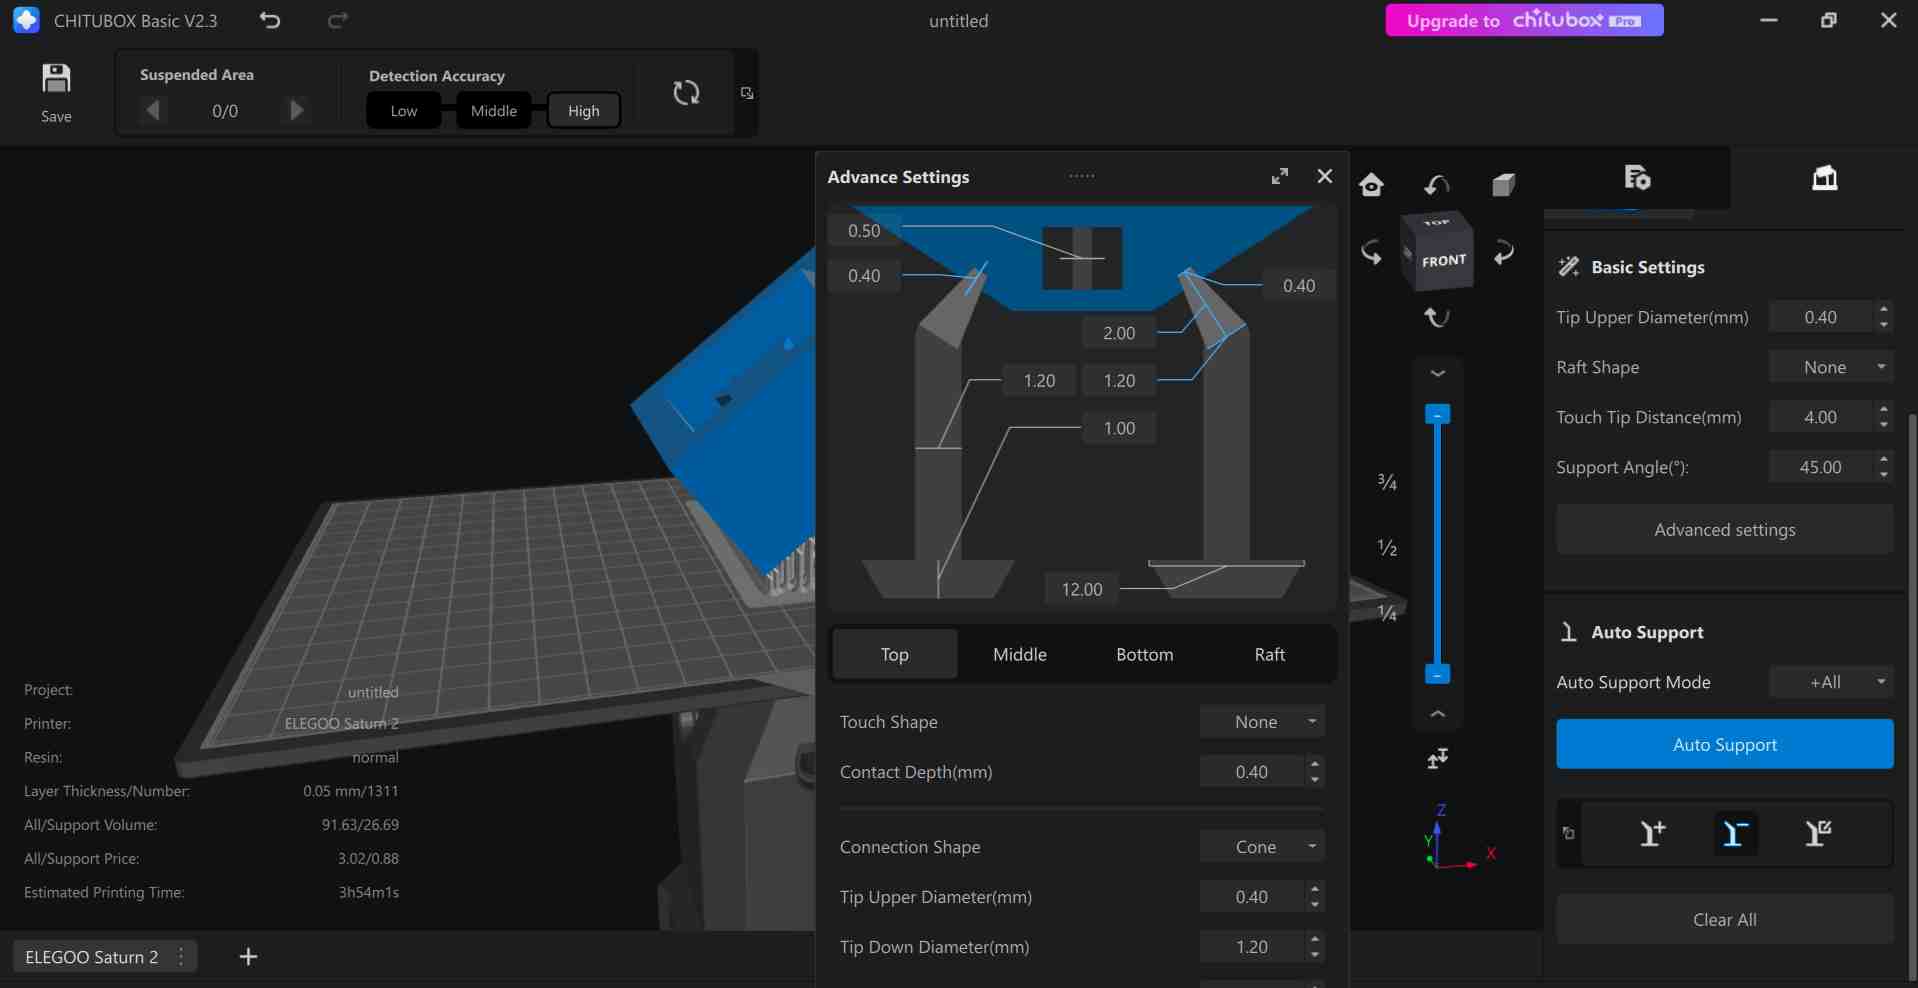
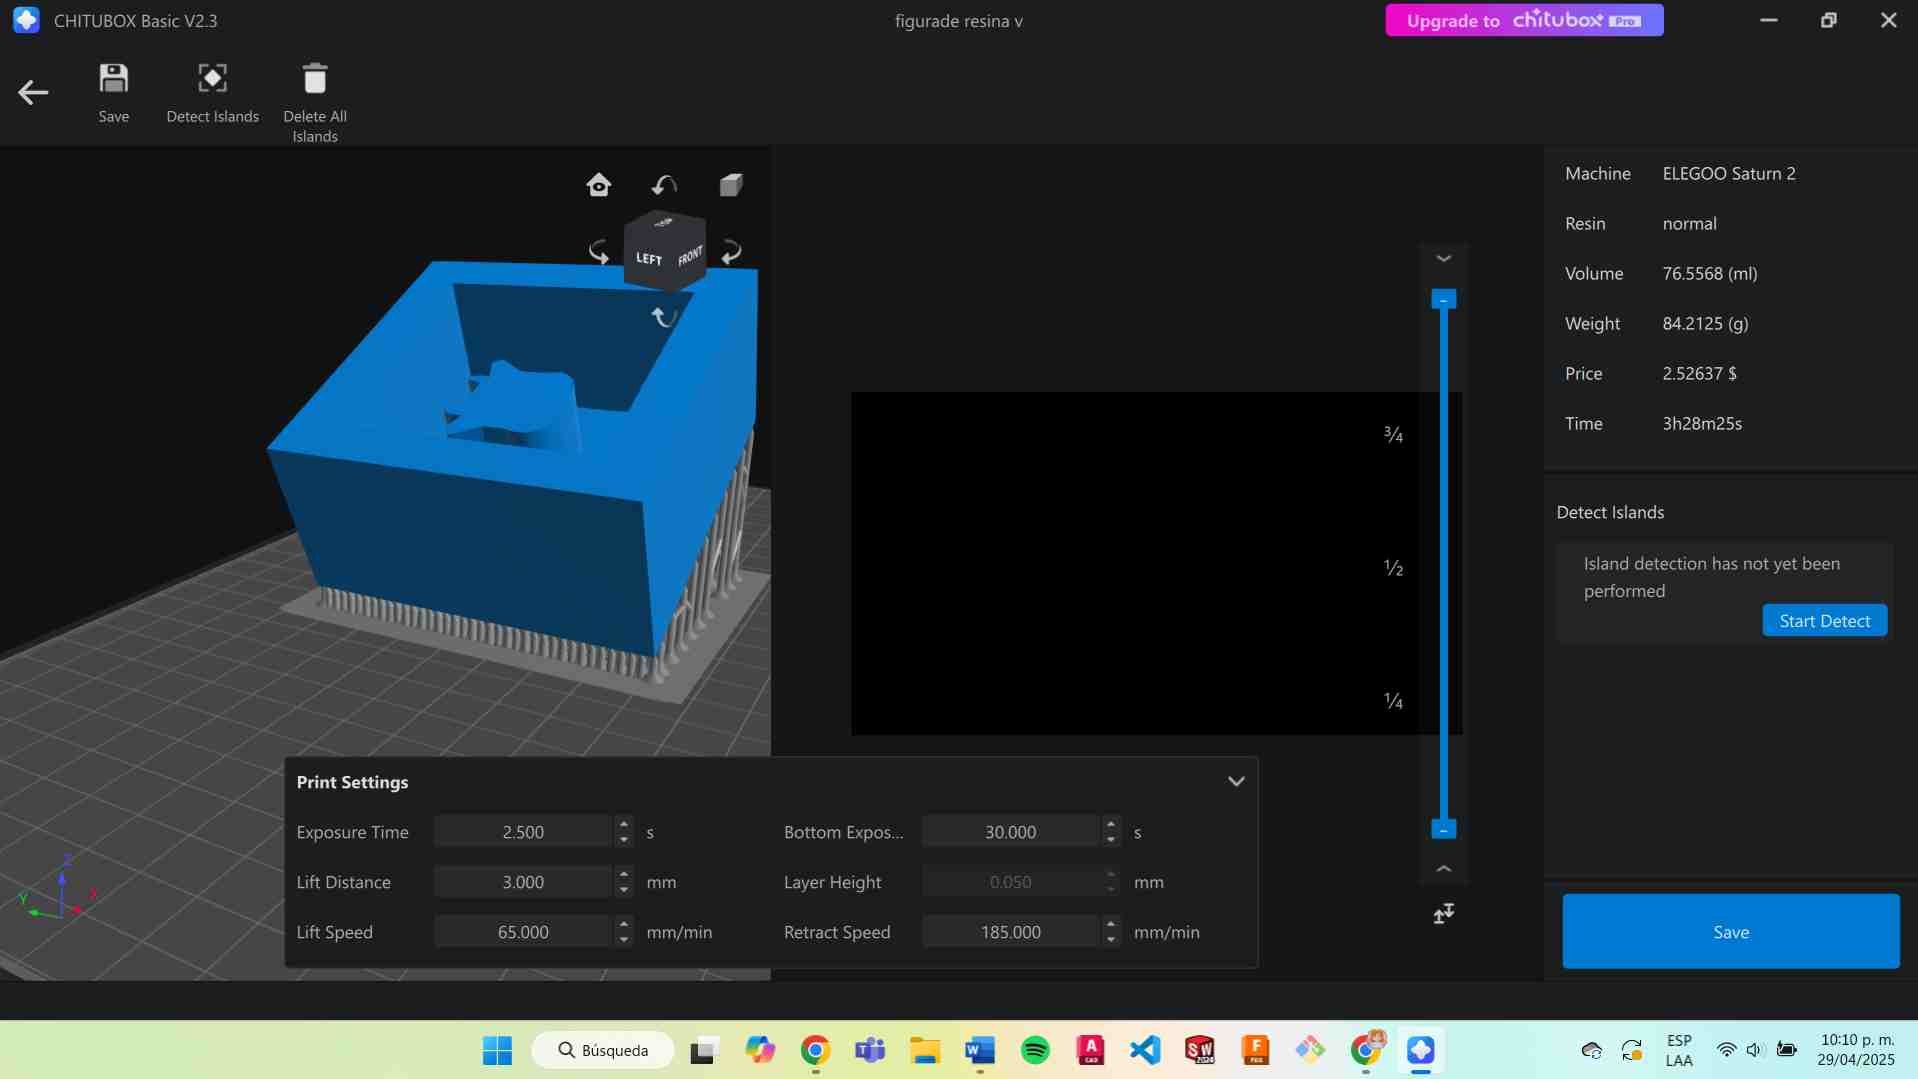
Preparing the Model in Chitubox
- Opened Chitubox and loaded the STL file.
- Centered the model on the build plate.
- Ensured the flat side was touching the platform.
- Added and adjusted supports.
- Clicked Slice and saved the file to a USB stick.
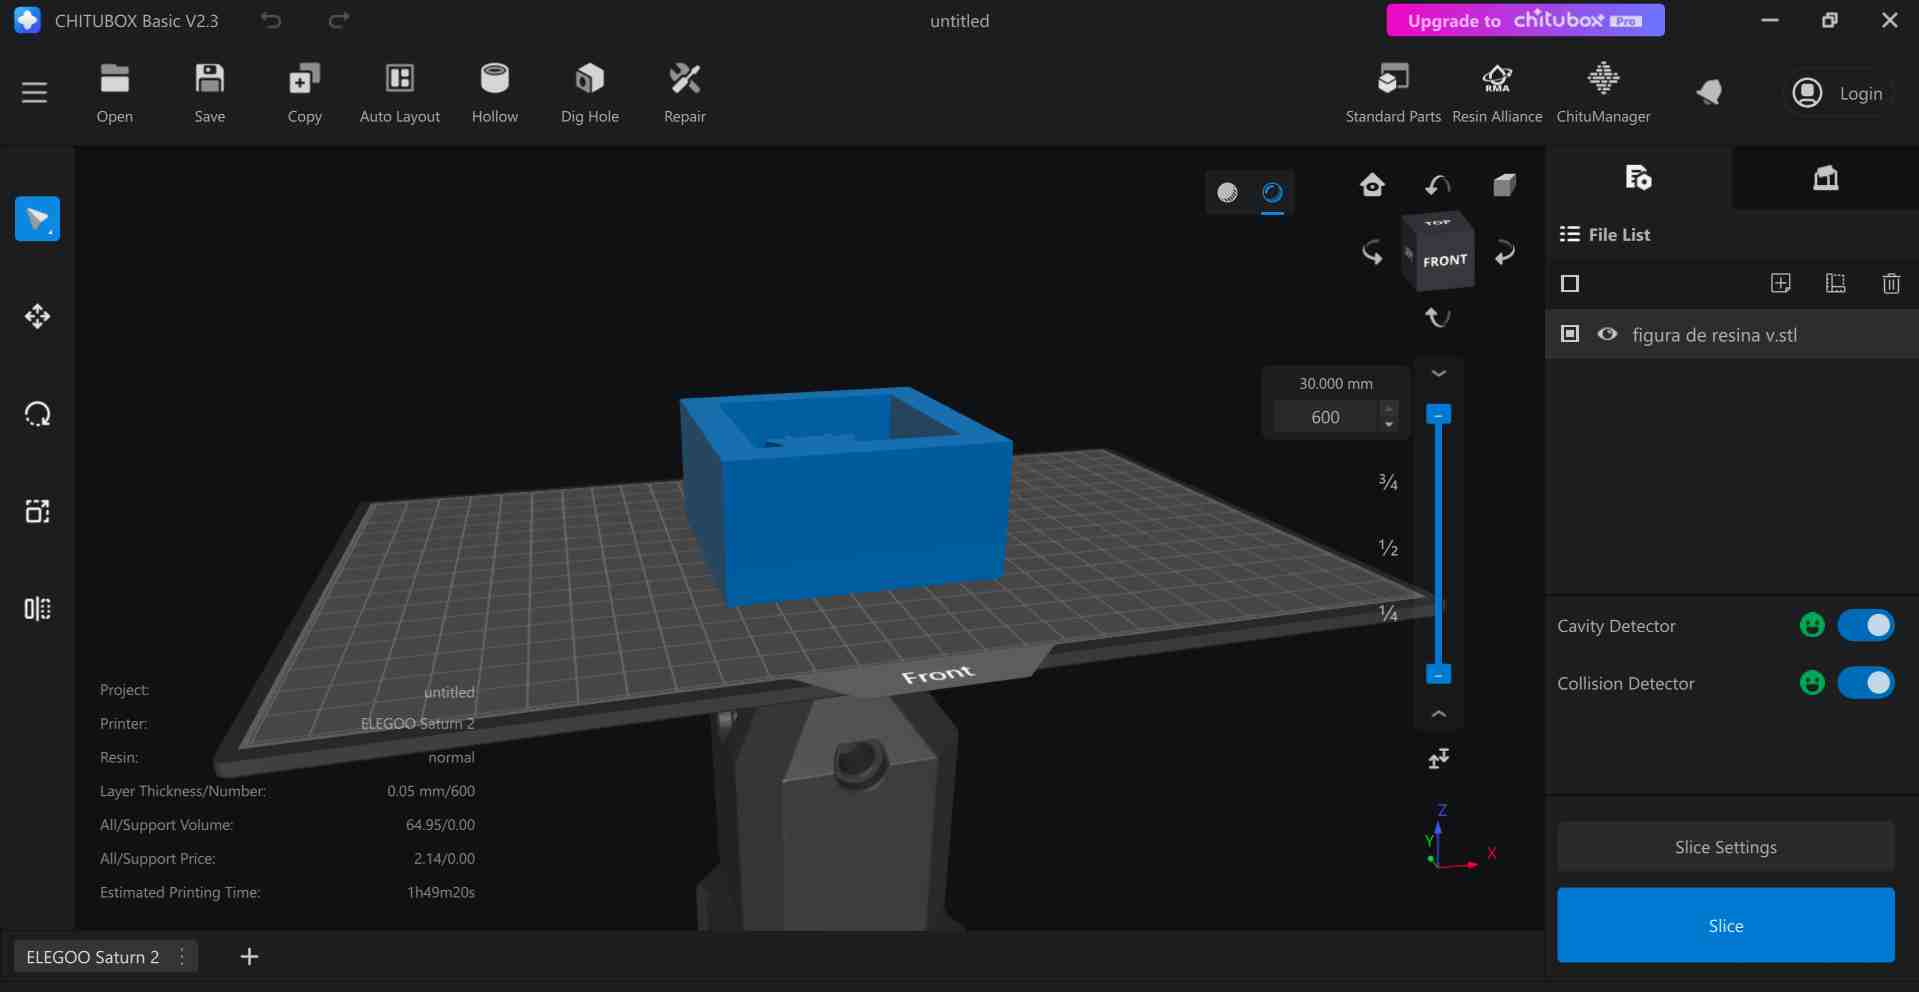
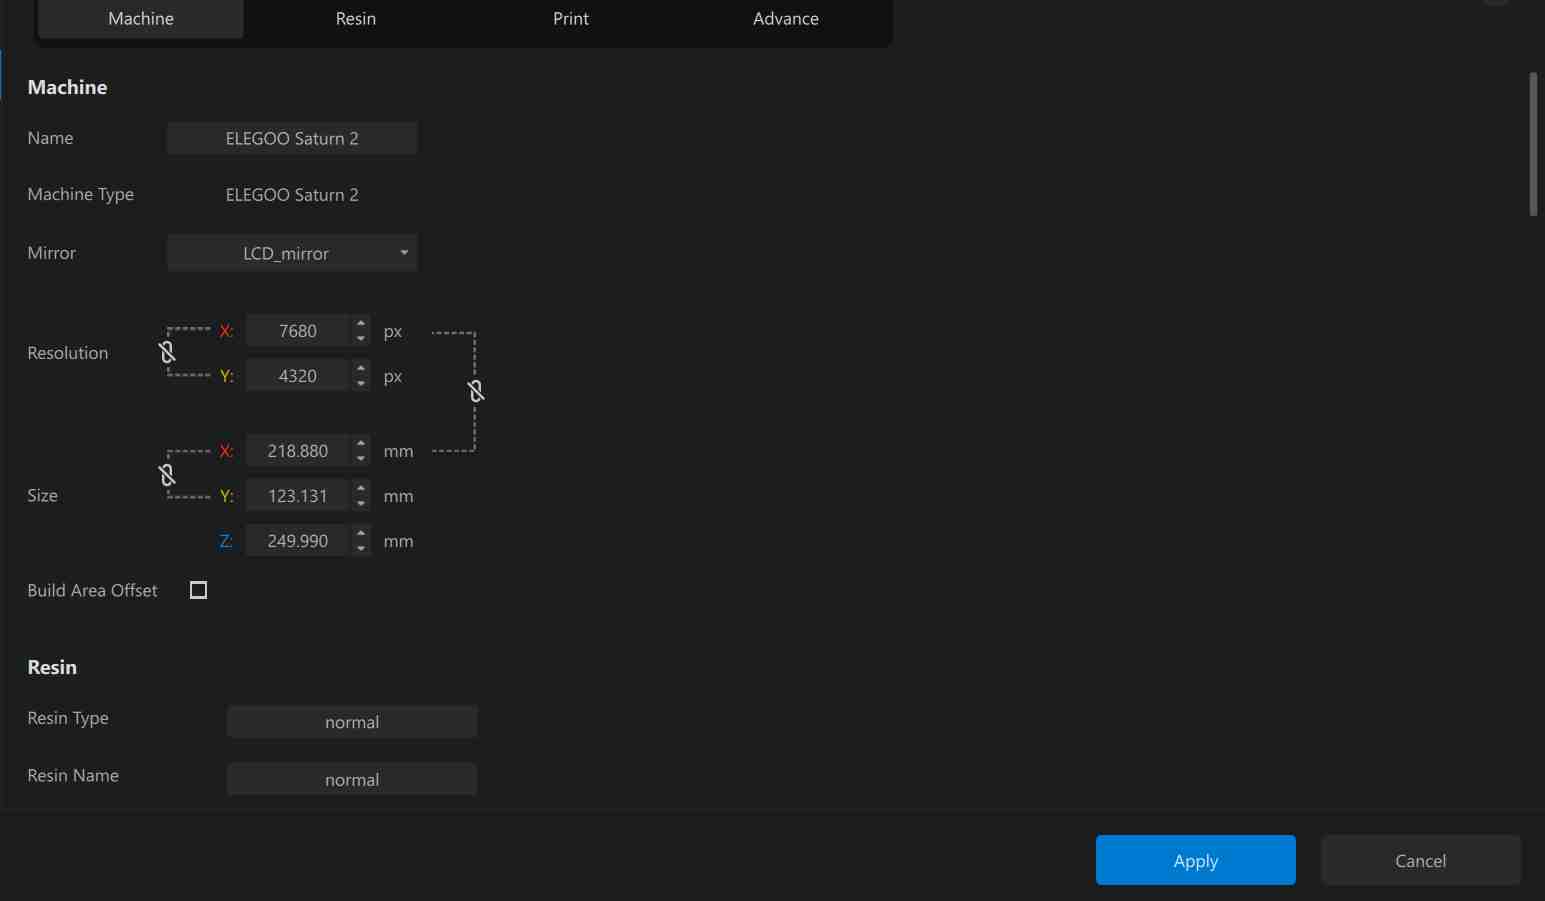
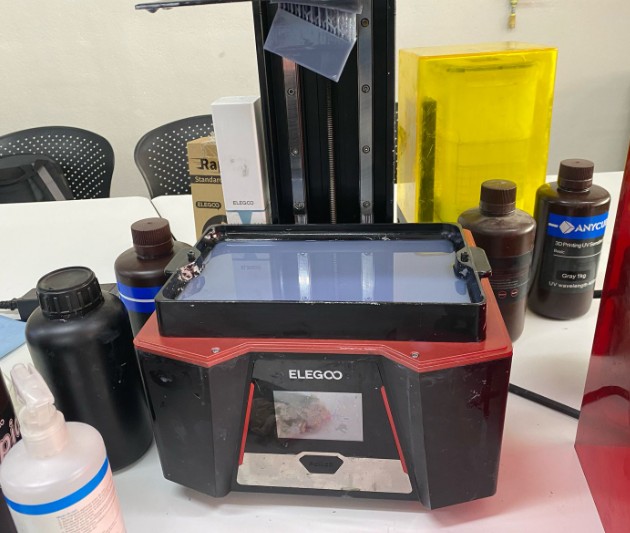
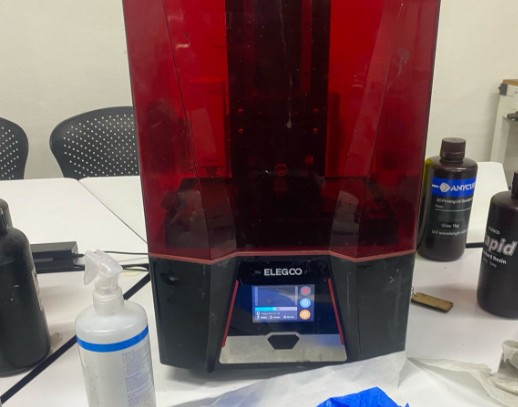
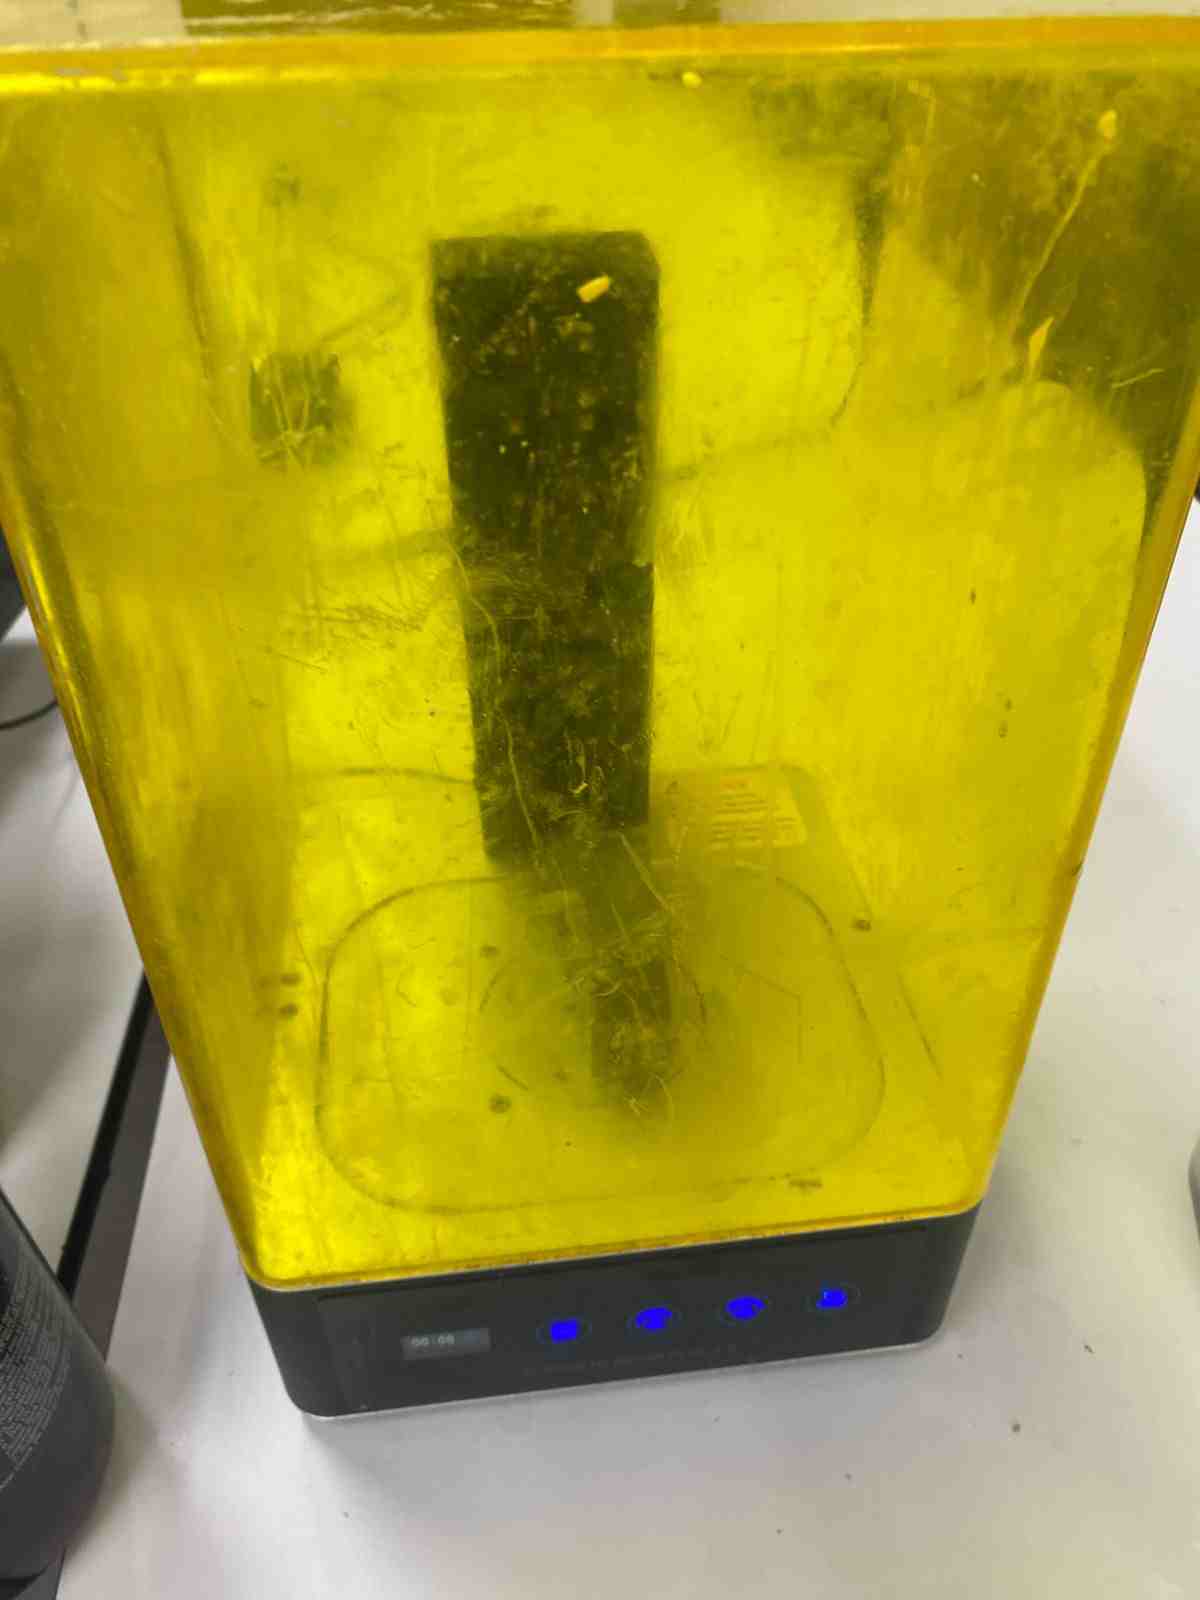
Printing the Mold (Elegoo Saturn 2)
- Turned on the printer and inserted the USB.
- Selected the file on the touchscreen and started the print.
- Checked that the resin vat had enough resin.
- Removed the print using a metal scraper.
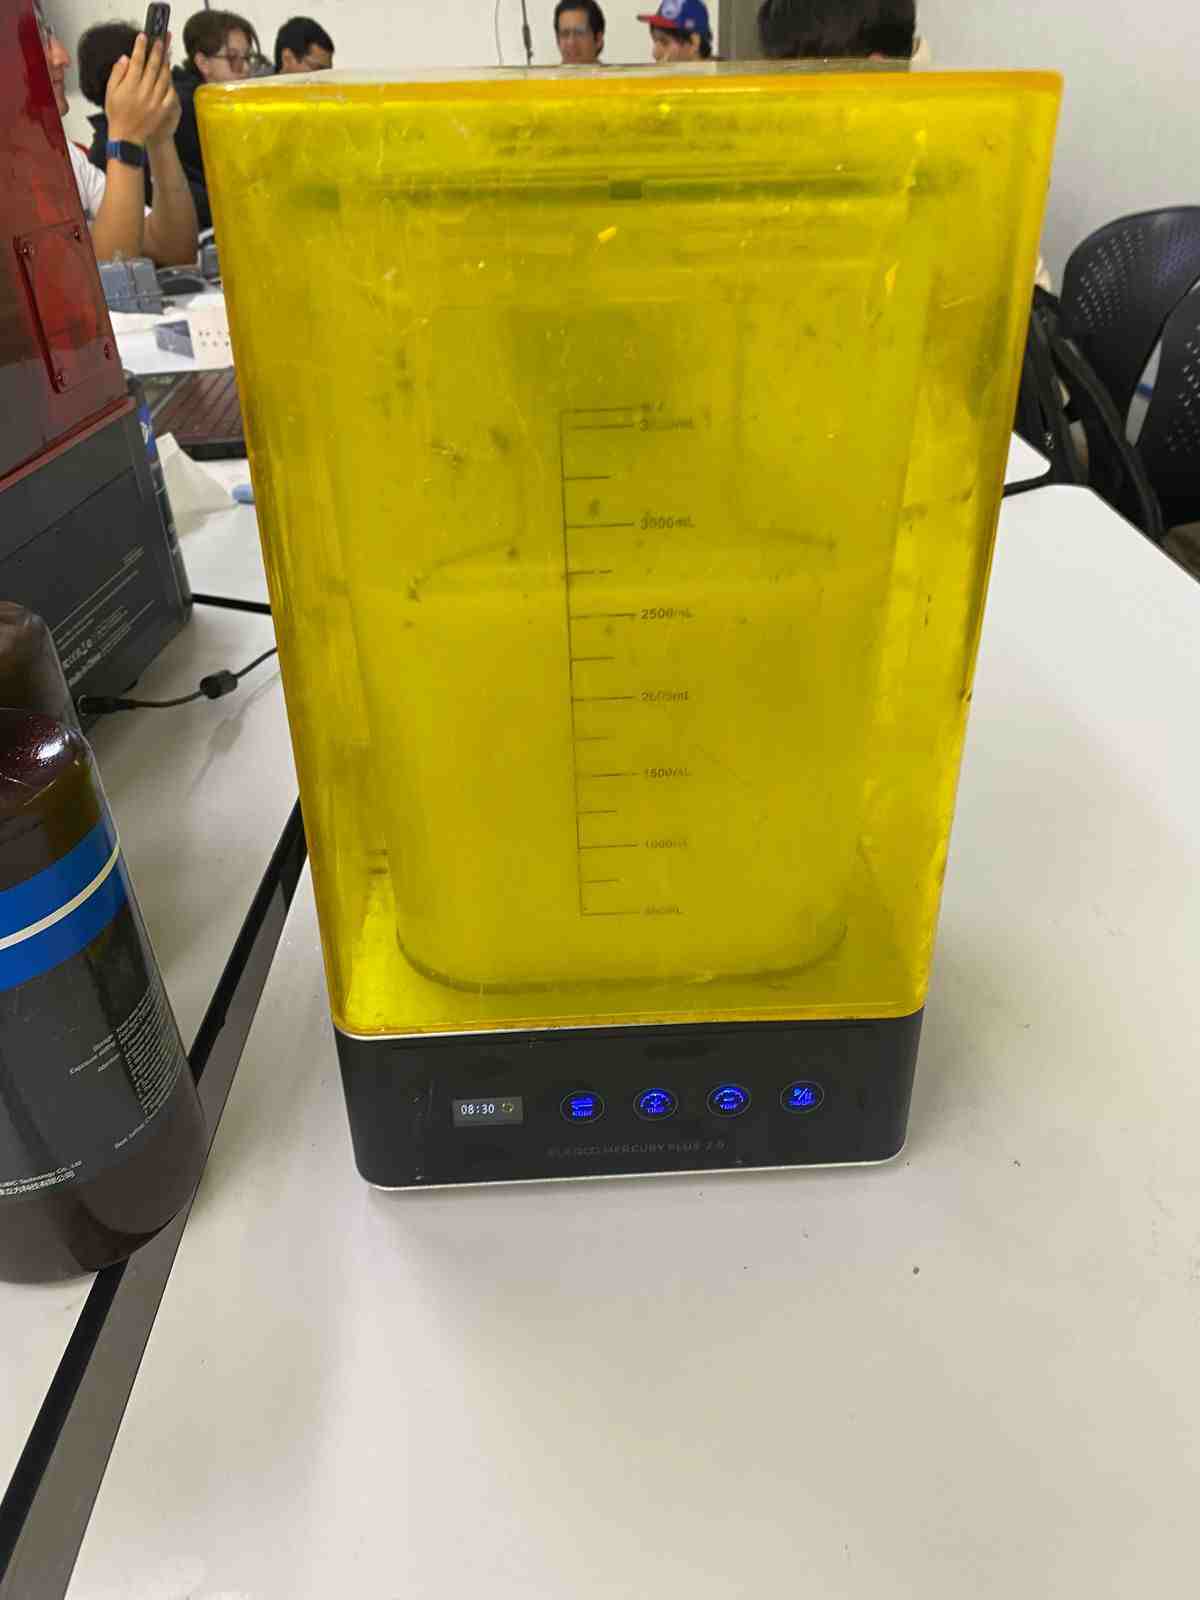
Washing and Curing the Print (Mercury Plus 2.0)
- Filled the container with 90%+ isopropyl alcohol.
- Closed the lid and washed the part for 8 minutes.
- Air-dried the part.
- Replaced the container with the turntable.
- Placed the dry part and cured it with UV light for 8 minutes.
Casting

- Used Smooth-On 3030: 100% Part A and 10% Part B.
- Measured volume with water and marked the level.
- To calculate the amount of Part B, I divided the weight of Part A by 10 and then multiplied it by the density of Part B, which in this case was 1.30 g/cc.
- Part A: 180 g
- Part B: 18 g (adjusted: 13.84 g)

To create the shape, I used polyvinyl alcohol (PVA) beads and poured them into the mold with water until they hardened after 8 hours.
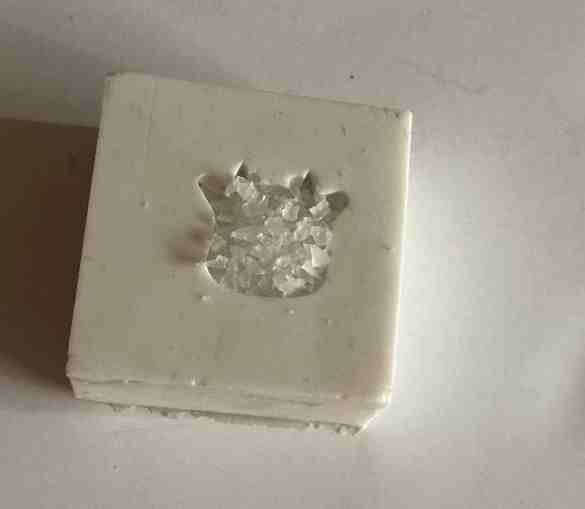
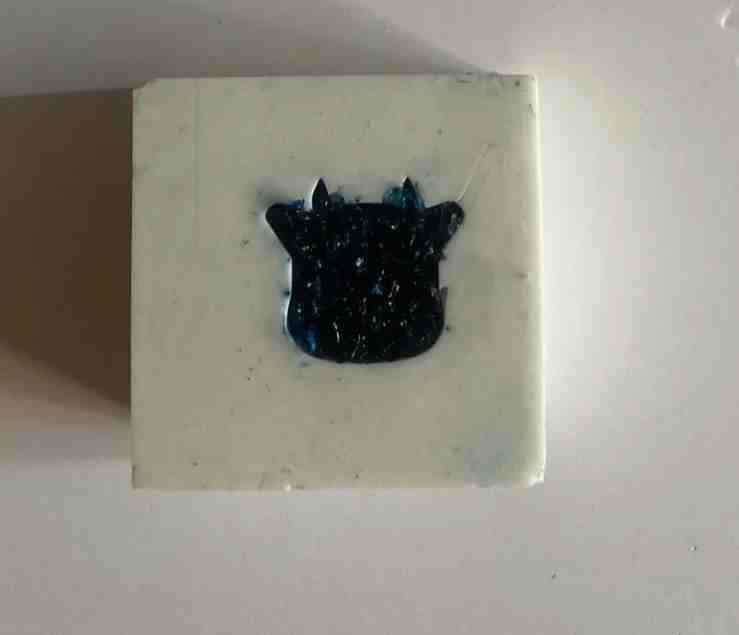

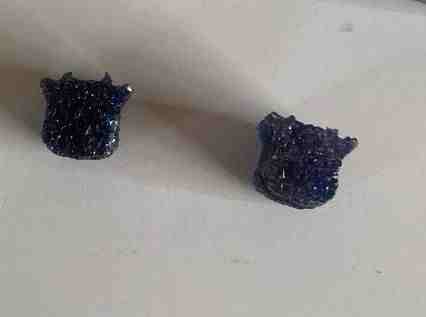
Final Result
The final mold captured the cow shape successfully.
Files
Conclusion
Making this case with a mold is not easy. Despite the complications, I am learning the importance of checking my measurements carefully to get a good result.