5. 3D Scanning and Printing
- Linkled to the group assignment page
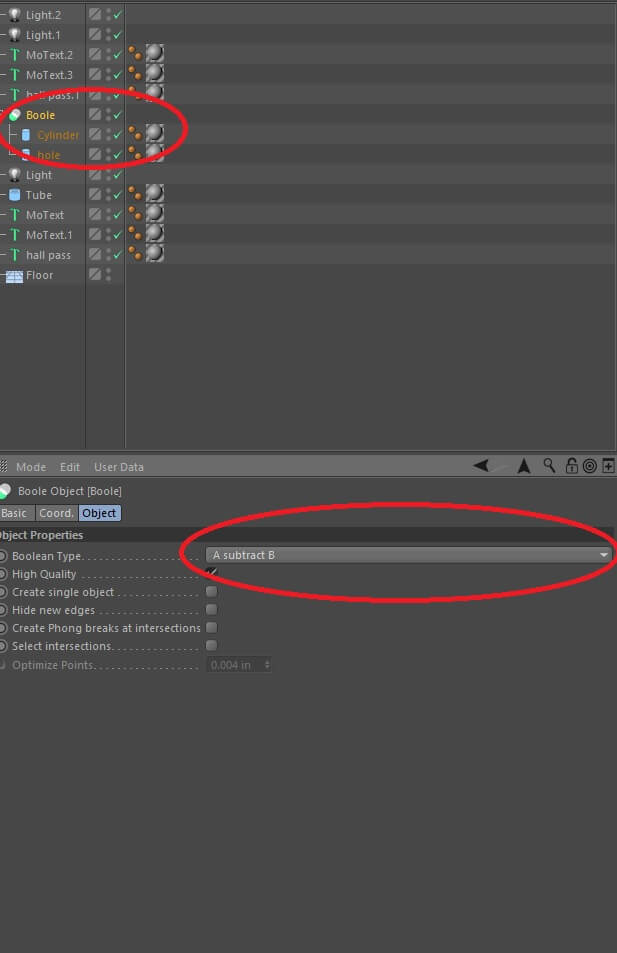
Explained what I learned about 3d printersDocumented how you designed nad 3d printed your project
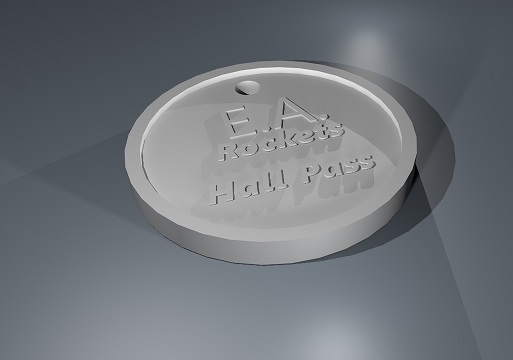
and why it could not be made easily subrtractivelyDocument how you scanned an objectIncluded your original design files for 3d printingIncluded hero shot(s)
Ok, so week 5 I shall share my experience on 3d scanning and printing.
What I have learned about 3d printers & Info about my design process
Open area 3d printers must be supervisedBed & nozzle need to be (at temp) to begin printing
Tray can be lifted from bed to detach finished prints easier
Filament thickness makes a world of difference
Must be calibrated often after extended use
You can create a wide variety of toys, trinkets, replacement parts
for all sorts of situations.
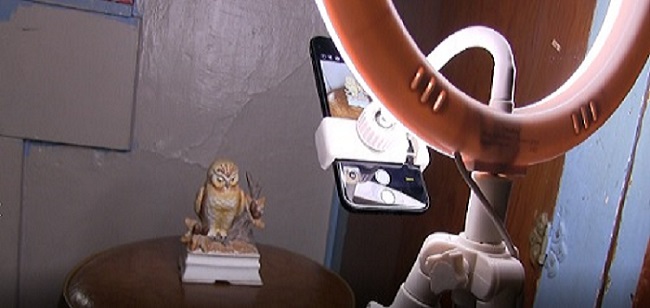
With 3d printing you can take your smart phone (iphone SE 2022) and in a very
short amount of time scan an object by combining several snapshots from an array
of images taken at multiple angles/degrees numbering from 0-360. The app that I
used is called Abound 3d scanner. For a turntable I used a stool that allowed the
seat to spin. In addition to these tools I also used a ‘ring light’ with phone
holder to manually take 64 snapshots of the image. I recorded footage of this
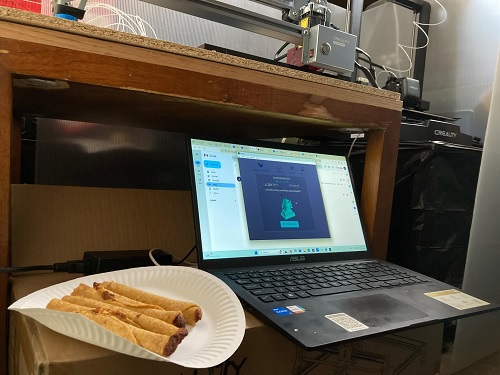
on a Canon Vixia HF G20. Once I digitized this object, I then sliced it in layers
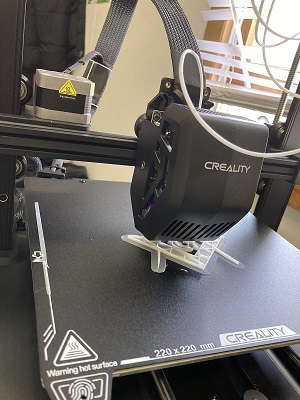
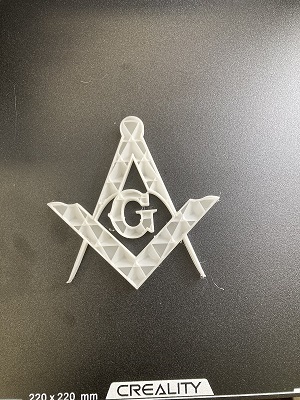
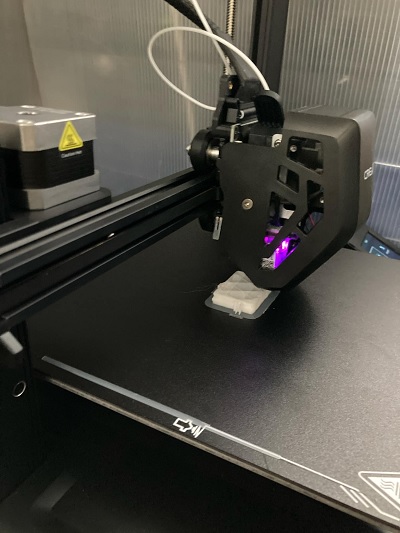
in a program called Buildbee on my pc to prepare it for 3d printing. After
Buildbee software prepared the object, I then printed it on a Creality ender 3
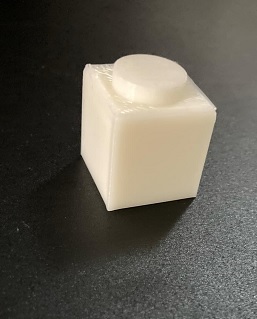
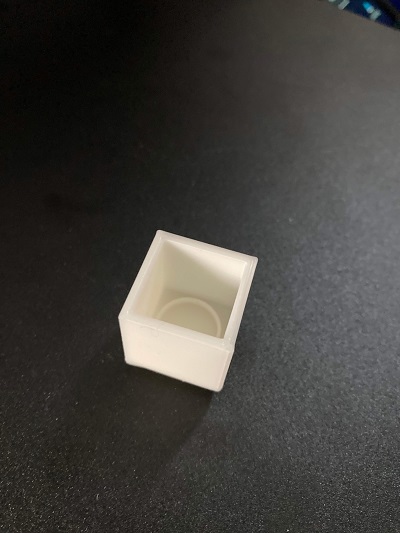
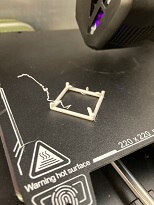
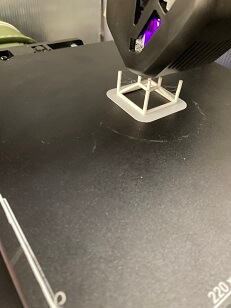
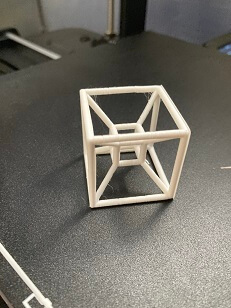
which was connected to my personal/school laptop. With this design process, I
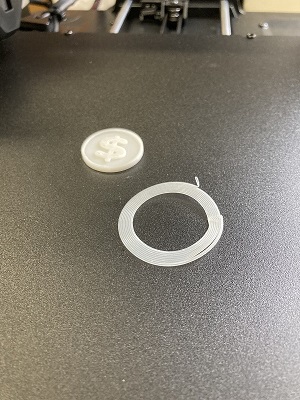
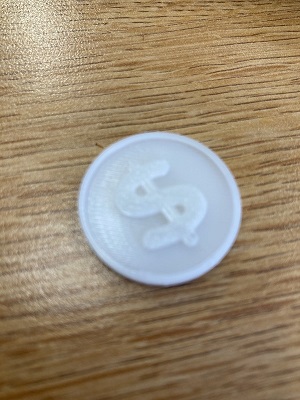
created a larger replica of my sons old lego piece in Cinema 4d, which is a
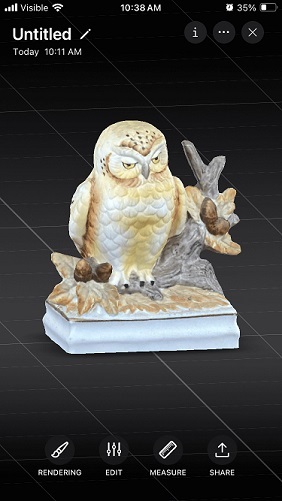
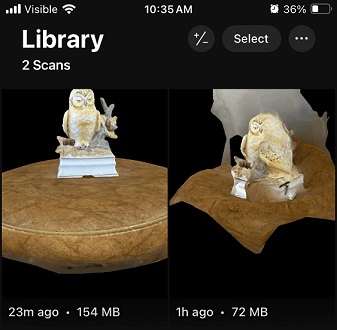
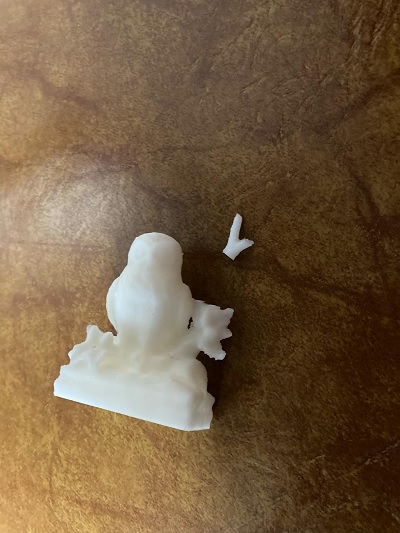
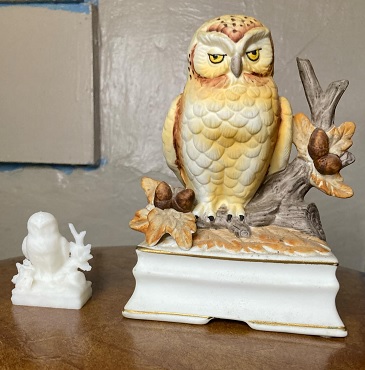
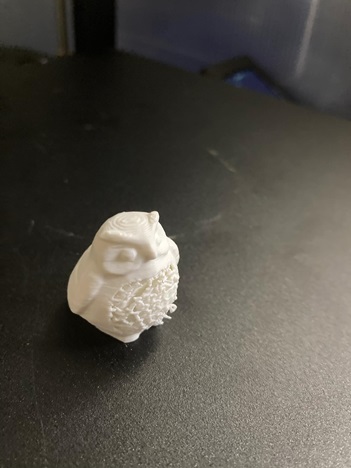
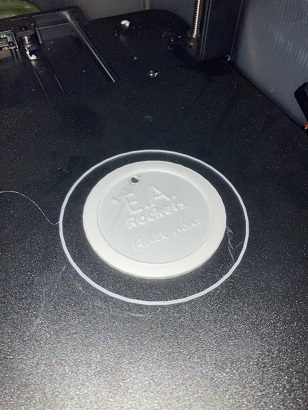
3d modeling, rendering, animation program. I also was able to 3d scan an old
music box digitize it by making a digital replica that I transferred to my
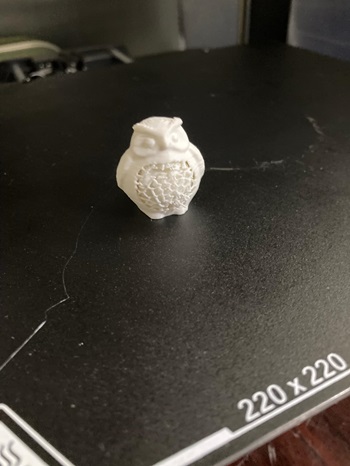
computer from combining 64 still images. I then printed a smaller scale version
of the Owl music box that I 3d scanned. So 3d printing is a great thing for me
being a 3d modeler and now I can 3d scan as well.
Here are a few up and downs about 3d printing.
Ups
- small items can be printed fast and multiple times without much user interaction- filament is cheap and easy to find
- with practice, the proper filament and the ideal machine, you can 3d print almost anyting.
Downs
- if heating tray and nozzle aren't at the right temps, it can cause the print to fail.- printed items can break easily depending on the circumstances.
- 3d printers are limited in printing larger items that are very durable and intricate,unless
you get a larger, industrial grade machine. Which is usually out the standard price range of
hobbyist printers/designers.
- many factors can cause pieces to fail, one is wall thickness. There is a recommended standard
for each 3d printer & filament that should be followed to assure that designs with somewhat thinner
walls can still be printed successfully.
A Few Advantages
A few advantages of 3d printing are that you can recreate a model of almost anything,
with varying levels of detail. You can scan a live object or create an object in a 3d
modeling program. You have a high level of control of how the quality of the print turns
out with software that allow you to make edits to scanned or created models. 3d printers
to take up much space so you can run multiple instances in a small area. Some of the
limitations consist of print trays needing calibrated often and or repaired. Larger or
more complex tasks can take several hours to complete. Filament printed sculpters/prints
are typically more brittle and easier to break or damage that other creations because of
the strength of the printing material. Another limitation with 3d printing is that if the
geometry is a little of and isn’t correct before printing, can result in a monstrous
degradation of the original print that you had in mind. Certain parts will be warped or
have holes in them, even added material that wasn’t originally there.
Research
For research I watched youtube videos on 3d scanning and 3d printing.
To gain a little bit of knowledge on 2 new fields of 3d that are new
to me. After watching a few youtube videos and google searches, I came
across a few mobile 3d scanning apps for ios (iphone users). That I
used for testing 3d scanning from my iphone 2nd gen SE (2022).
The mobile apps that I decide to try out are Scaniverse & Abound.
After trying out some of those apps and weighing out pros & cons
I think I will stick with the scanner app which I am currently using.
This will be a good idea for the time being. I can always test out
other apps in the future. This will assure me a more consistant and
smooth process from conception to the final stage of execution.
Moving forward I will pay monthly to use Abound for 3d scanning.
Scandy Pro 3D iOS iPhone Scanning App Tutorial.
Although I didn't use this app, I learned lots of valuable information
regarding how 3d scanners work as well as new workflow ideas to try out
and would later use to comprise my own workflow with the programs that
worked the best for me and allowed me to move forward with my assignment.