3D Scanning and Printing
Goal: Design and 3D print a small object (a few cubic centimeters) within the constraints of printer time that cannot be manufactured using subtractive methods. 3D scan an object (with the option to 3D print it).
Understanding Additive vs. Subtractive Manufacturing
Additive manufacturing, commonly known as 3D printing, builds objects layer by layer using materials such as plastics, resins, or metals. This process allows for the creation of highly intricate and complex geometries that would be difficult or impossible to achieve through traditional methods. Subtractive manufacturing, on the other hand, involves cutting away material from a solid block using milling, turning, or drilling techniques. While subtractive methods are often preferred for mass production due to their precision and strength, additive manufacturing is advantageous for rapid prototyping, customization, and producing designs that cannot be machined conventionally.
Creality 3D Printer
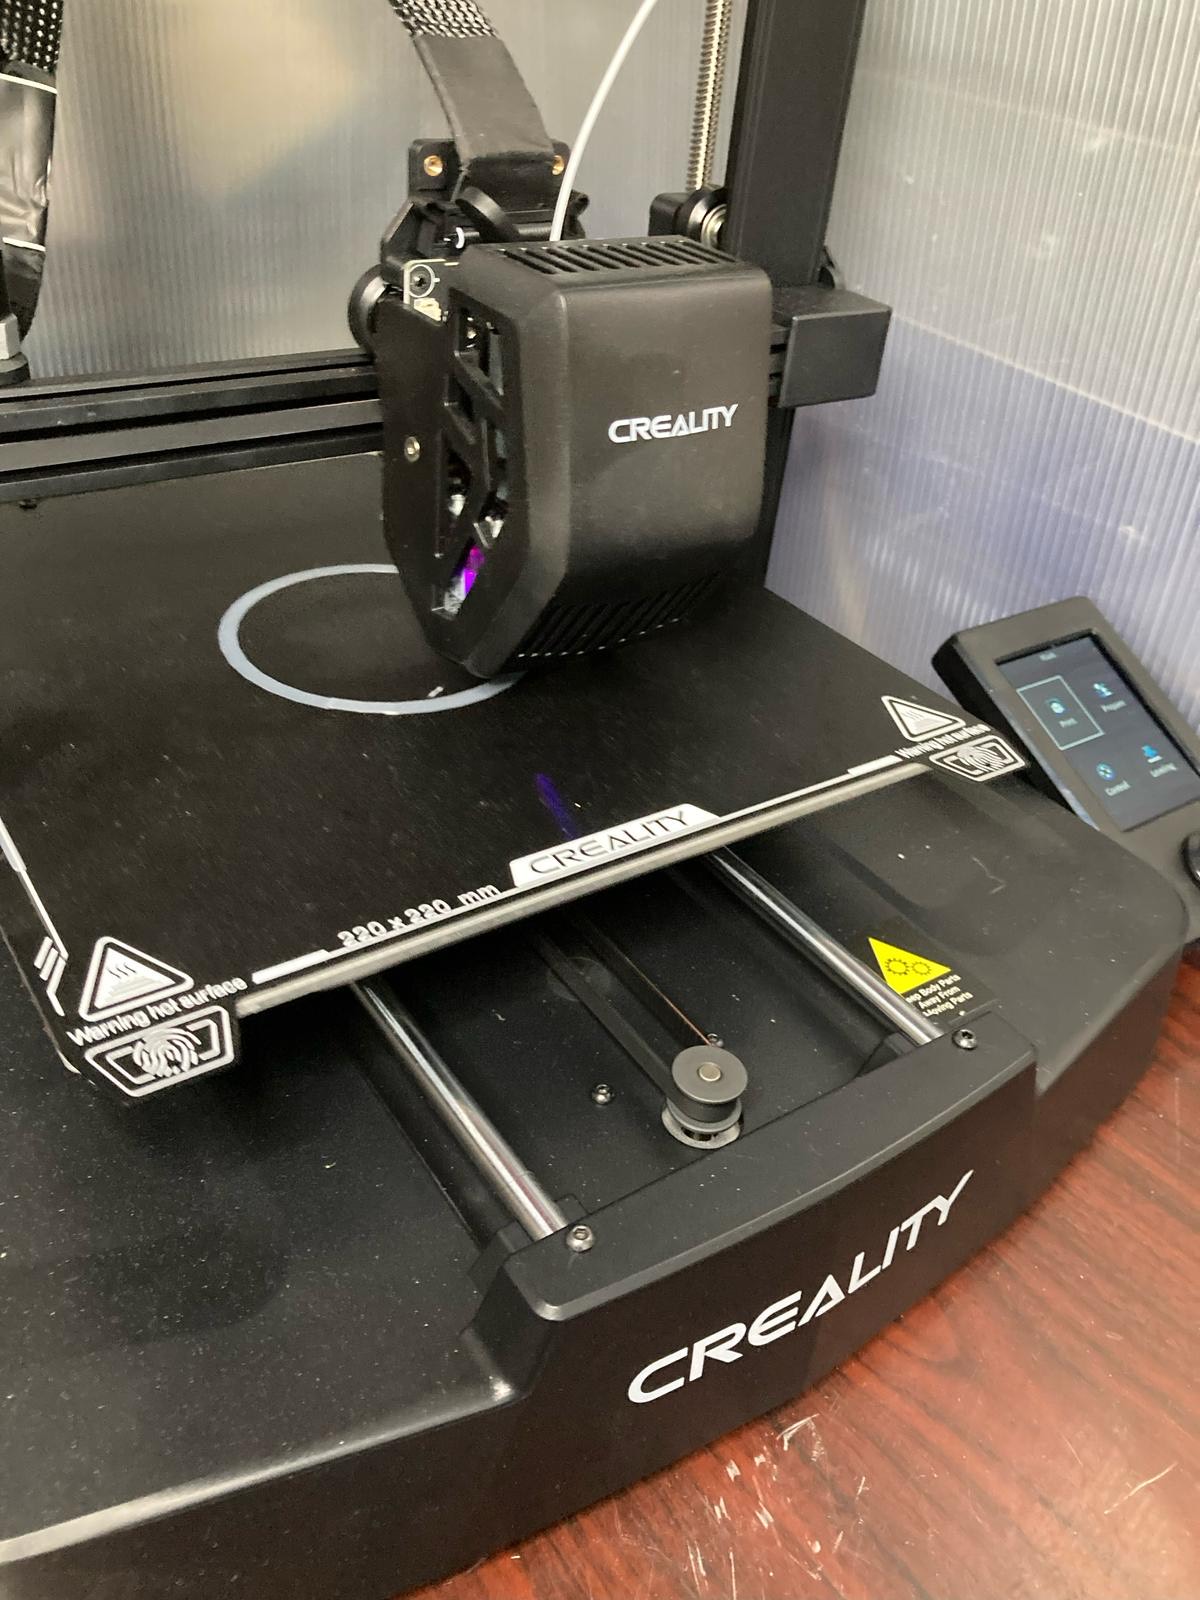
The Creality 3D Printer (220mm x 220mm) is popular for its compact size and reliable performance, especially within the Creality Ender series.
Specifications
Print Bed Size: 220mm x 220mm x 250mm (X, Y, Z axis).
Build Volume: Moderate-sized prints for everyday 3D printing needs.
Print Technology: FDM (Fused Deposition Modeling).
Print Speed: Typically between 50-100 mm/s (varies based on material).
Layer Resolution: 0.1mm to 0.4mm, depending on the print quality and material.
Extruder: Single extruder for various filament types (PLA, ABS, PETG, etc.).
Connectivity: Includes an SD card slot for offline printing and a USB connection for direct connection to a computer for slicing and printing.
Display: LCD screen with an easy-to-use interface.
Designing and 3D Printing
For this task, I designed a simple hollow cube with an internal floating structure, which would be impossible to create using traditional subtractive manufacturing. Using Fusion 360, I wanted to create a cube with a suspended geometric shape inside, ensuring that the design leveraged overhangs and internal cavities unique to additive manufacturing. However, I was having some difficulty designing the interior aspect. For the sake of simplicity, the design would have looked somewhat similar to the image below.

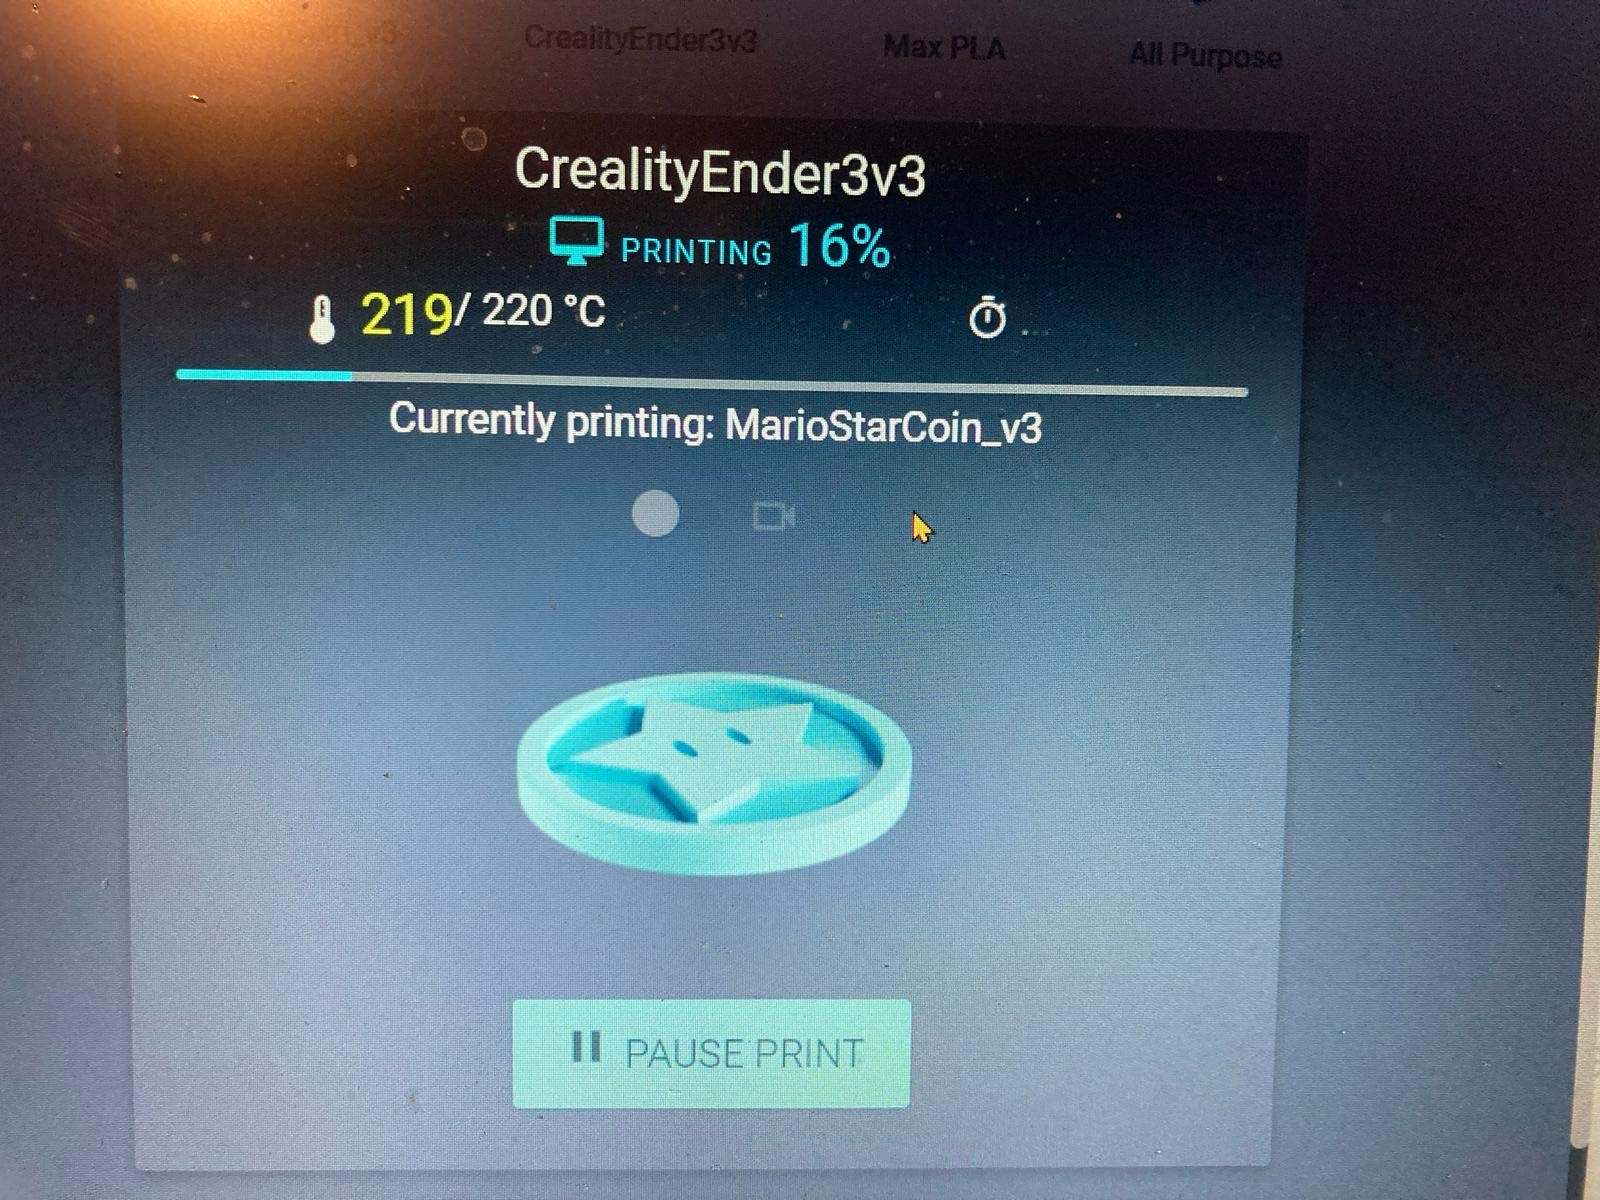
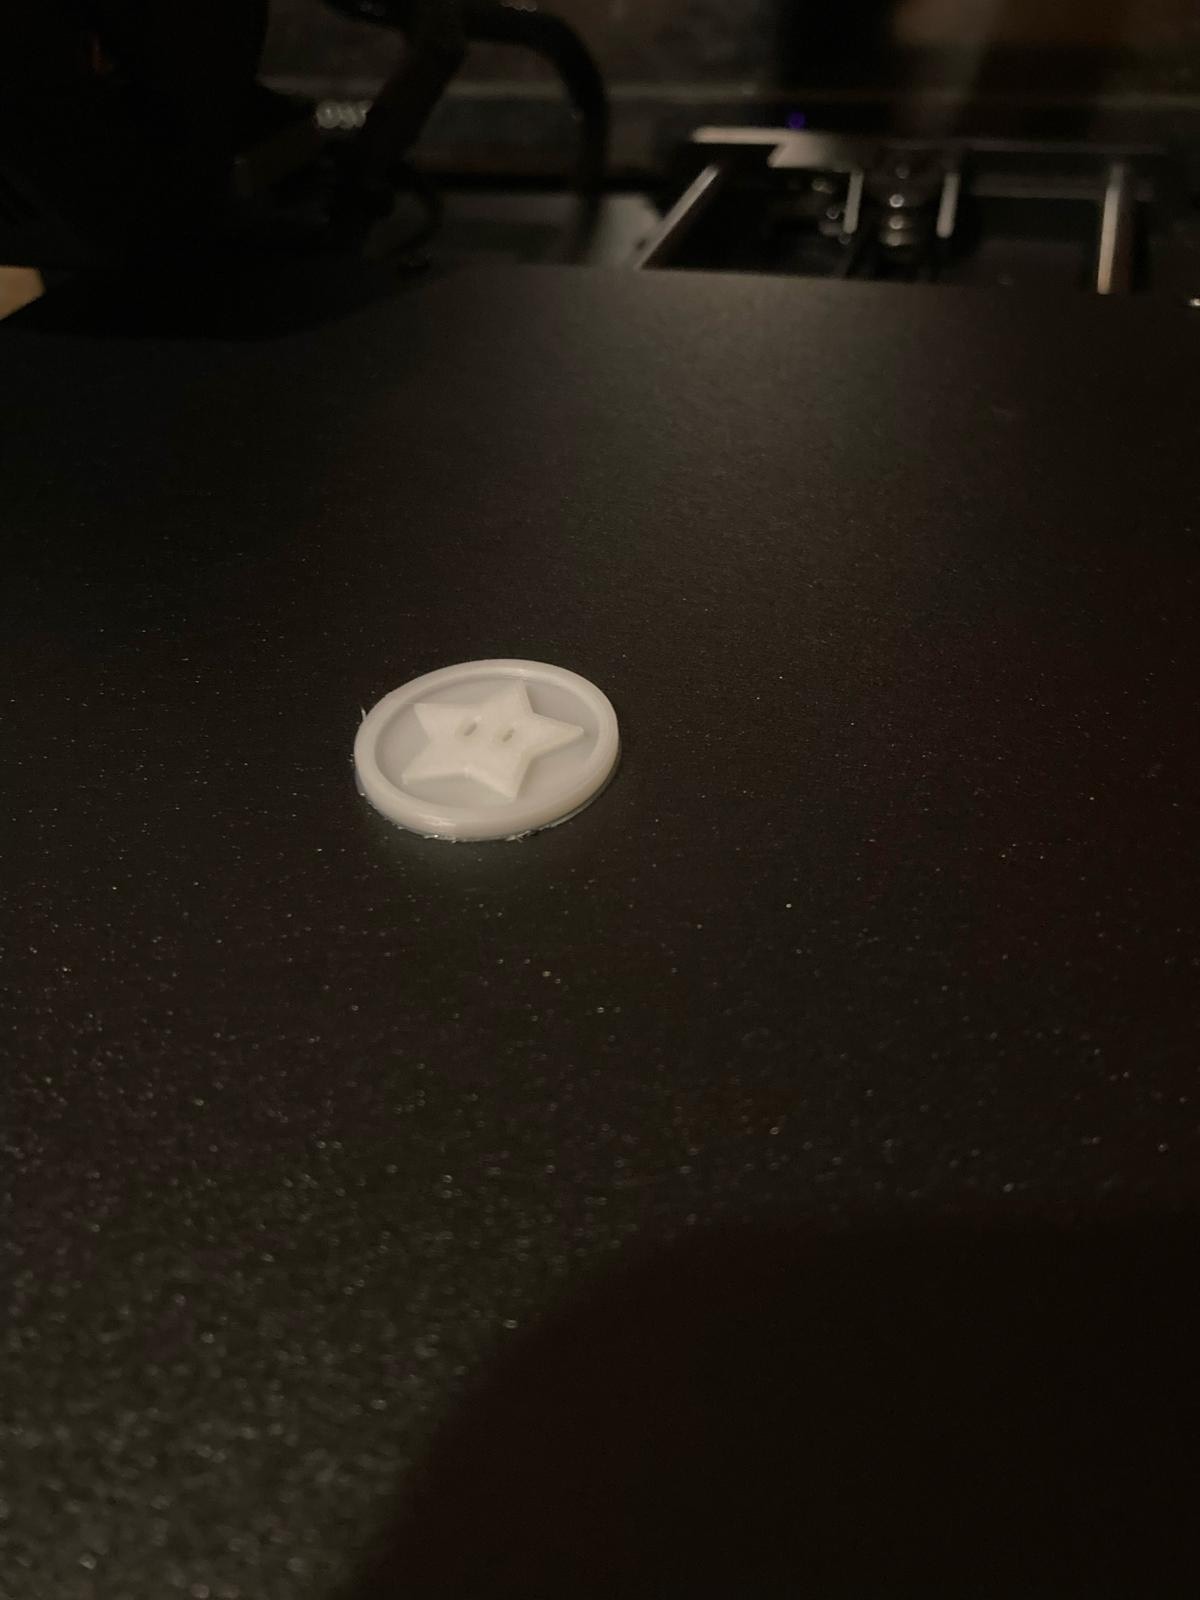
My First 3D Prints
3D Scanning
3D scanning has become a vital tool in creating accurate digital models of physical objects. I used the Abound app to perform 3D scans of various objects, starting as a first-time user. The process is simple: download the app, capture multiple photos of the object from different angles, and let the app generate a 3D model based on these images.
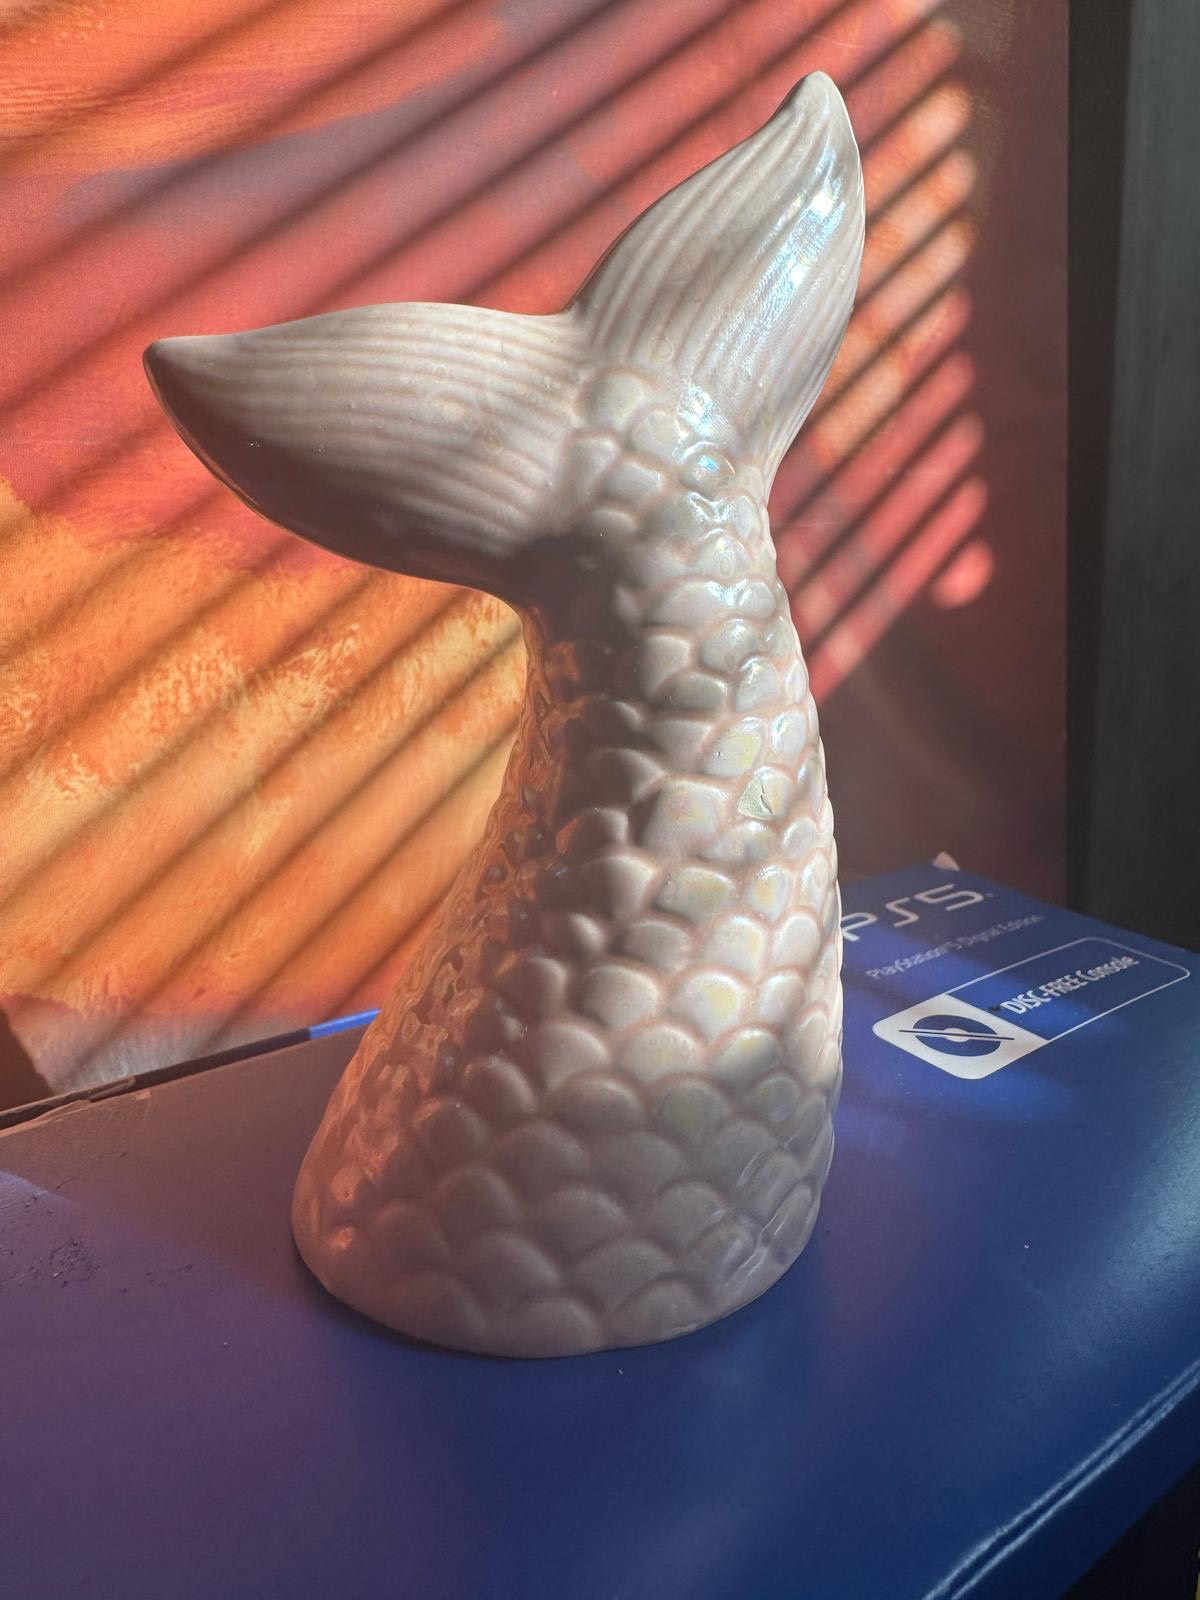
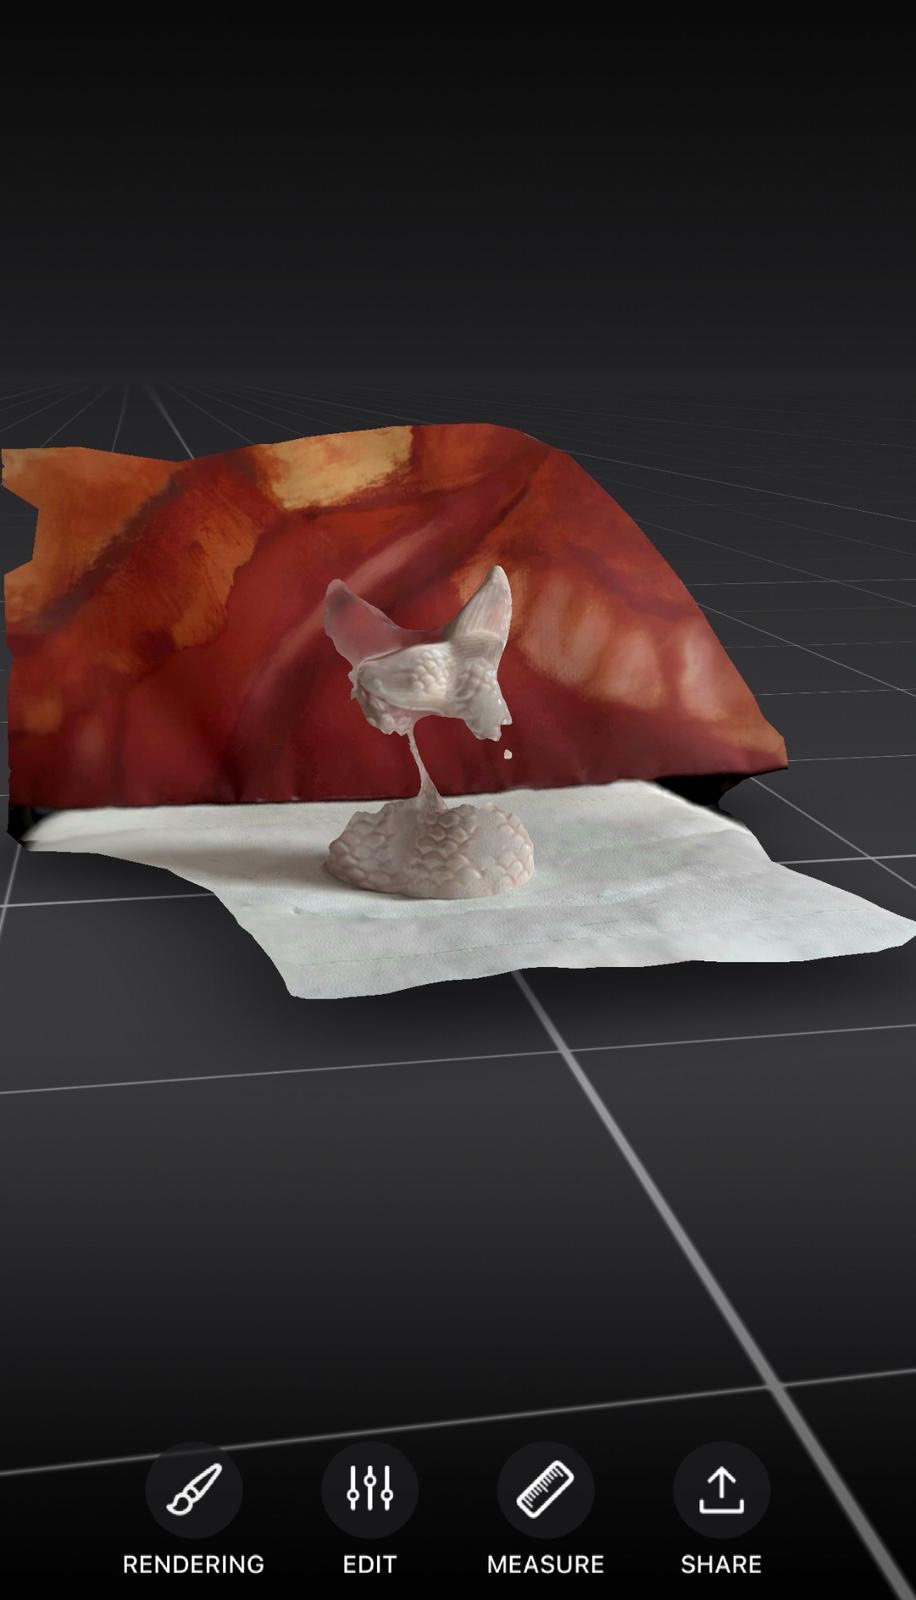
My first scan was of a fish tail figurine. I took around 25 photos, but the result wasn’t sufficient due to the limited number of angles captured. The scan lacked detail, and parts of the object were incomplete. This taught me that more photos are essential for a better 3D scan.
For my second scan, I chose to use an owl figurine and increased the number of photos to 70. The result was significantly better, with more detailed and accurate representation of the figurine. To further improve the scanning process, I placed the owl on a rotary swivel chair. This allowed me to smoothly rotate the figurine while taking photos, capturing every angle without moving around it. This technique saved time and improved the overall quality of the scan.
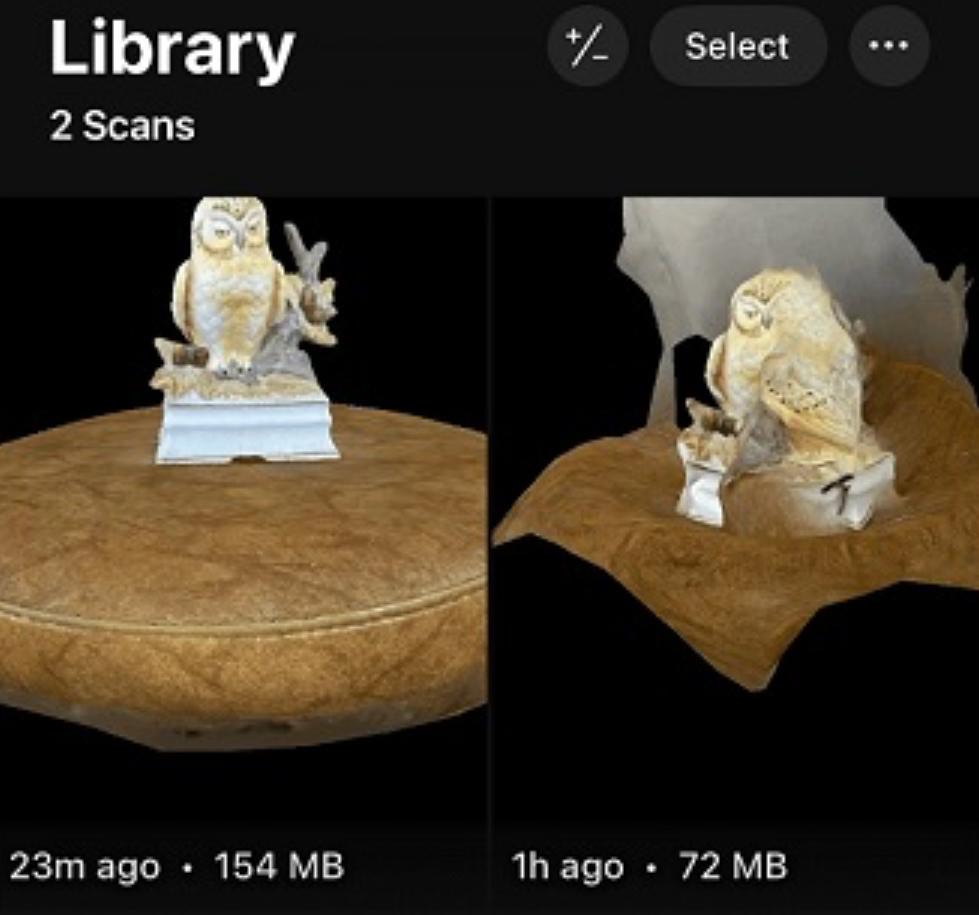
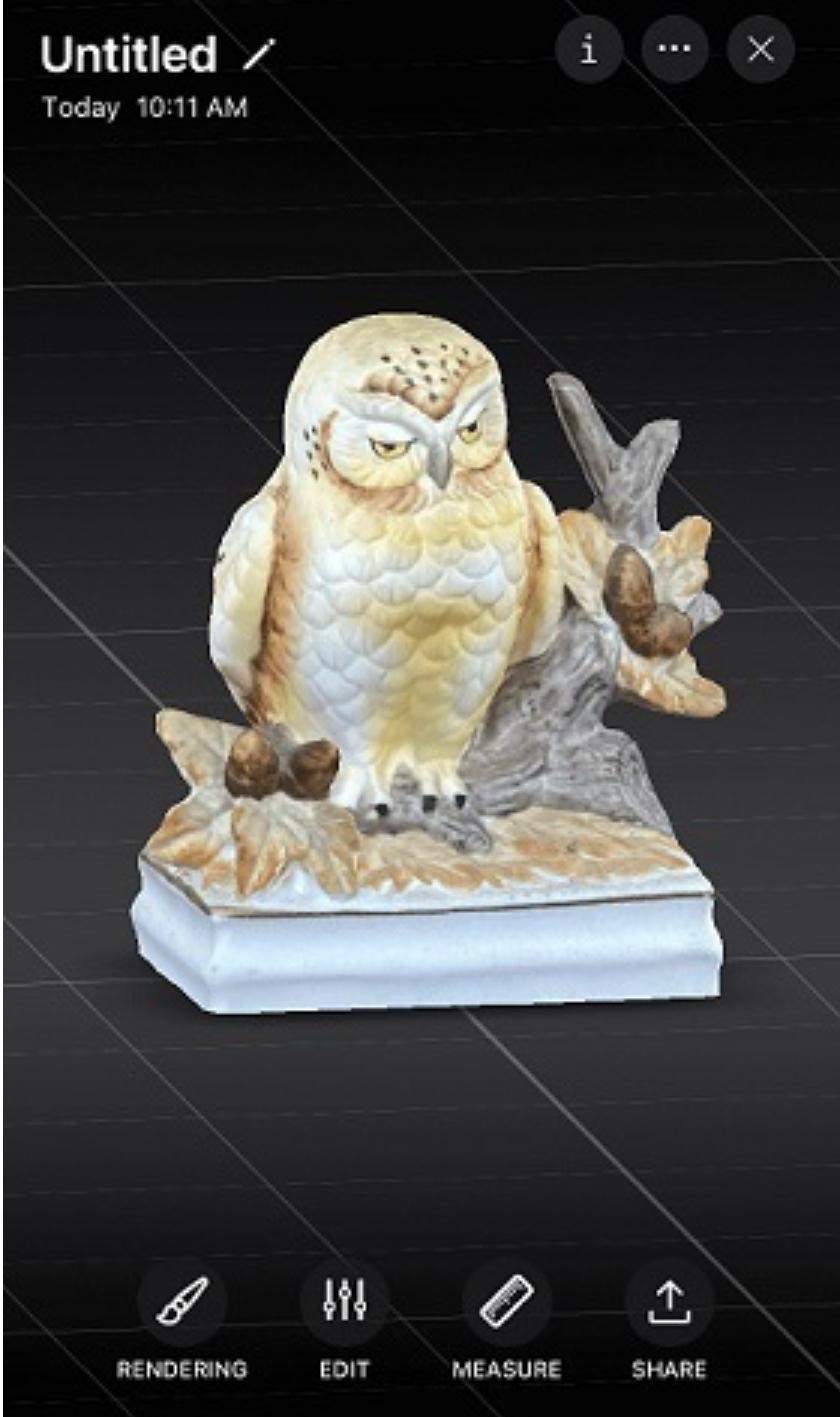
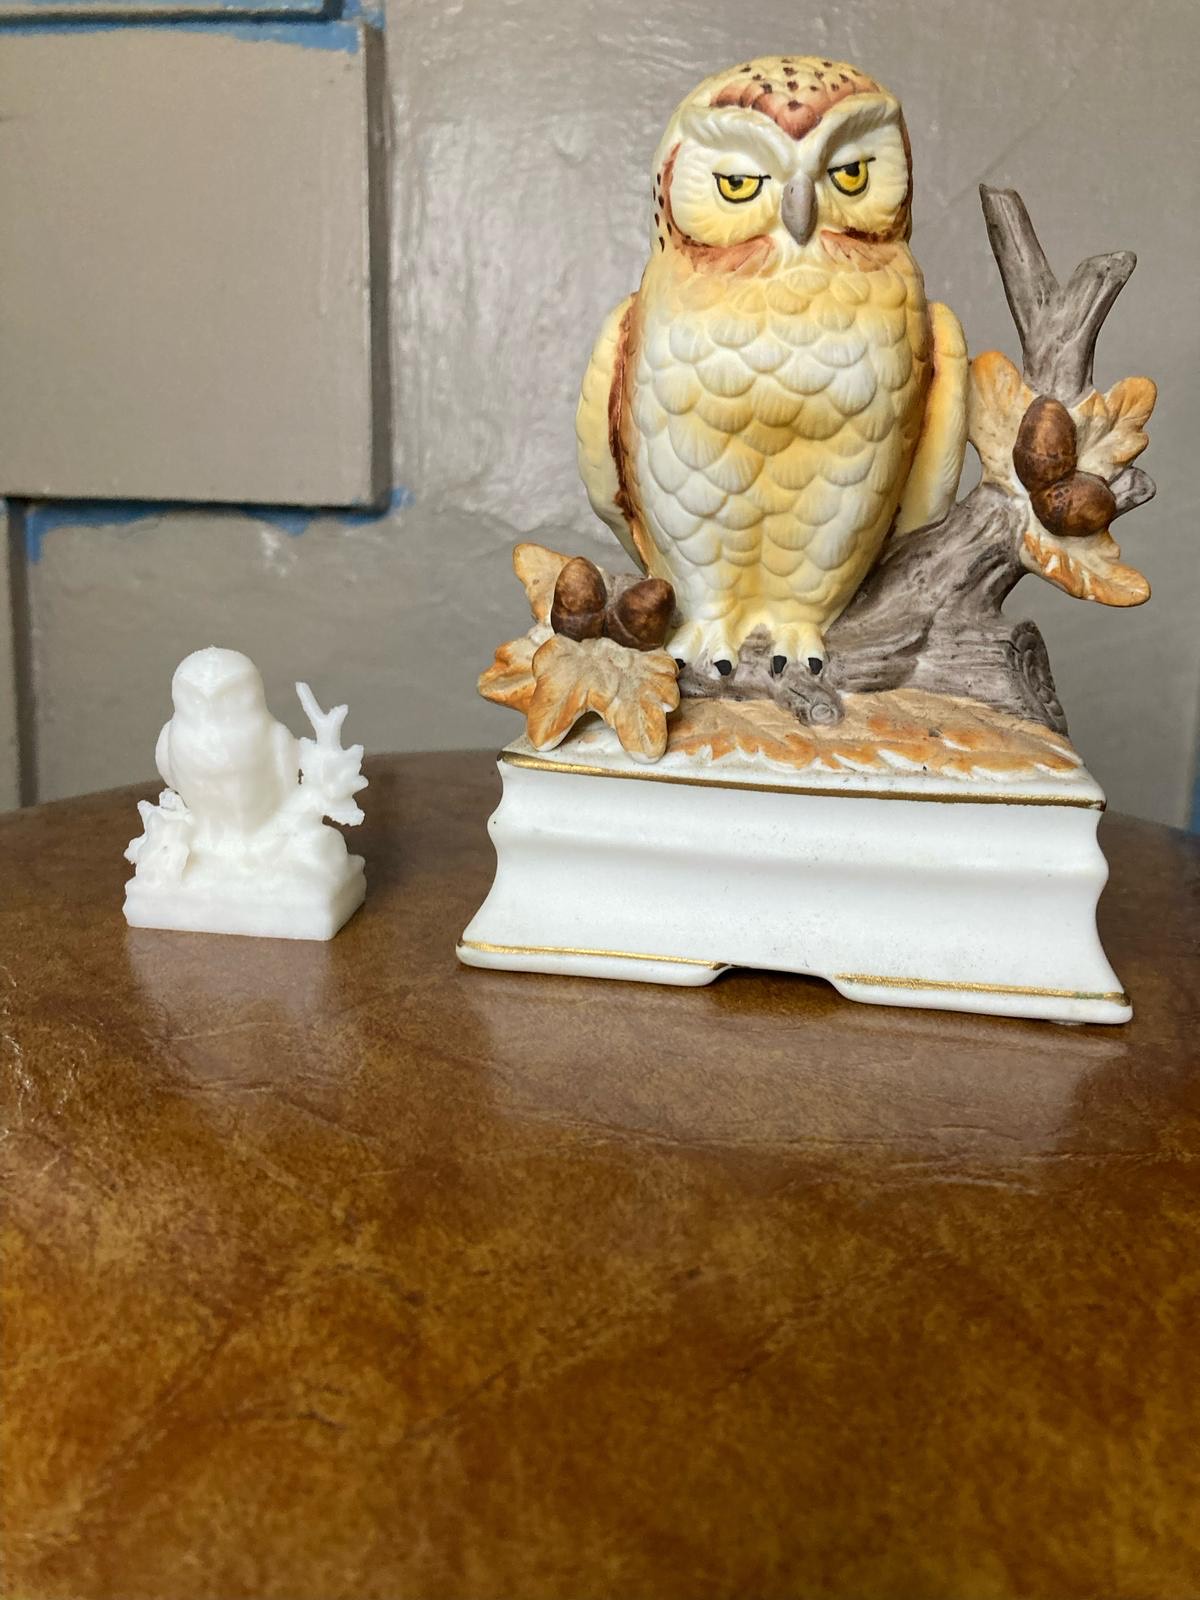
With the combination of more photos and the use of the rotary swivel chair, I was able to scan and print the owl figurine successfully.
Conclusion & Learnings
This assignment aimed to demonstrate the unique capabilities of additive manufacturing by enabling the creation of designs impossible with conventional machining. Additionally, 3D scanning highlighted digital replication challenges and the importance of scan accuracy. Understanding the differences between additive and subtractive manufacturing is essential in selecting the right method for different applications, balancing efficiency, complexity, and production needs.