Week 16 - Wildcard Week
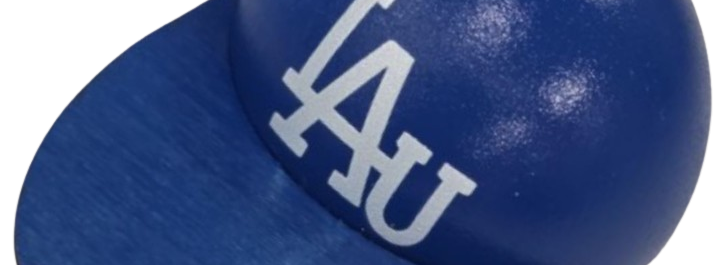
This week's task was to design and produce something using a digital fabrication process not covered in previous assignments. I chose to explore UV printing on curved, 3-dimensional surfaces, which presents challenges I hadn’t addressed earlier. Previously, I had only printed solder masks on flat, thin PCBs. This time, I printed on a 40 mm diameter ping pong ball to create a custom-designed ball for my final project. I also made a custom cap featuring a UV-printed, LA Dodgers-inspired logo for the small player in the game.
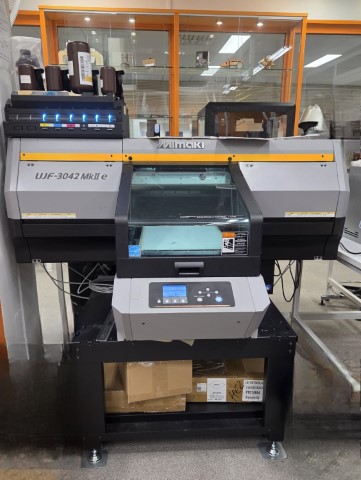
My goal was to test how well our Mimaki UJF-3042MkII UV printer performs when printing on 3D objects, while also enhancing the visual appeal of my final project. This printer has an on-demand piezo printhead (3 printheads arranged in a staggered line), meaning it creates small drops of ink with a piezoelectric head [Wikipedia]. When printing on a 3-dimensional object, if the printing location is far from the printing head, the ink drops land in wrong lateral positions, creating a blurry image.
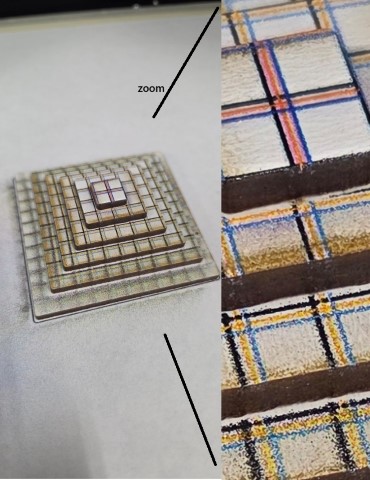
To evaluate how well the printer handles a 3-dimensional shape, I tried UV printing on pyramid-like test structure made of 3 mm thick wood panels.
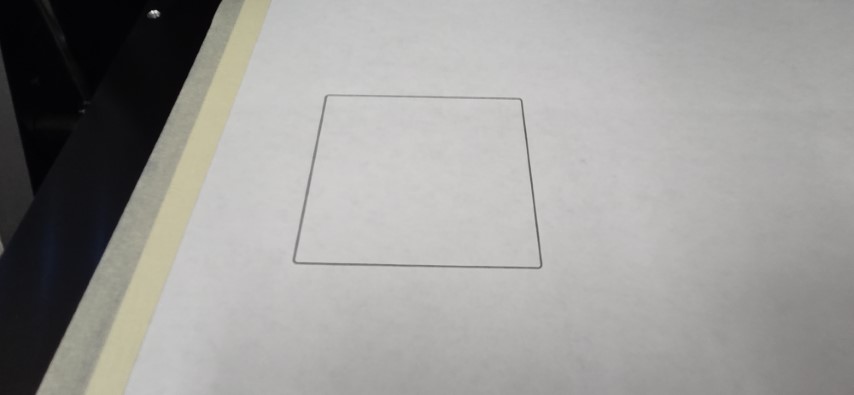
First, I printed a rectangle with the same dimensions as the test pattern on a paper attached with tapes on the printed bed. I opened Mimaki Rasterlink II software, and chose the PDF including a picture of the rectangle.
I then attached the pyramid test structure on the square.
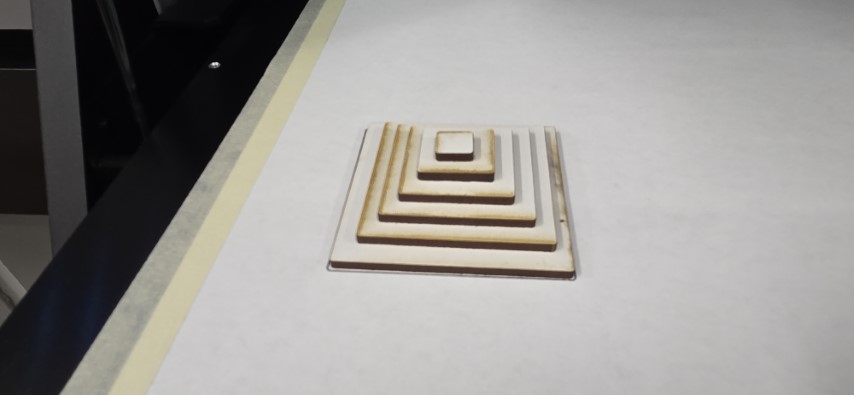
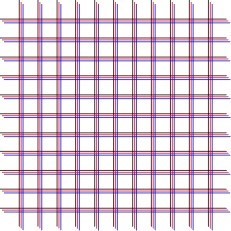
I then printed the following test image on the pyramid
In the device menu under "head height" there are "media thickness" and "head gap" settings which adjust the distance between the printhead and the media surface. I intentionally set the media thickness to 22.0 mm and the head gap to 2.0 mm to create an exaggerated 6 mm clearance from the top of the pyramid. The top layer looks good, but on the lower parts, the colors distort and the lines blur.
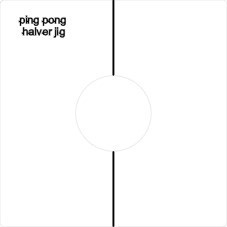
Based on this experiment, it seems possible to print on the curved surface of a ping pong ball with a radius of 2 cm. To make the cap, I'll use a ping pong ball split in half. When I asked ChatGPT, “What's the best way to halve a ping pong ball? I have access to a Fab Lab,” the most recommended method was to design a simple jig to hold it steady in the laser cutter. Then, using low power and multiple passes, the ball is rotated between cuts to ensure an even split. Since ping pong balls are flammable, it’s important to use low power, ensure good ventilation, and keep a fire extinguisher nearby.
Here's the jig I designed to cut a ping pong ball in half:
The ball halving worked, but in hindsight, this was not a good idea because ping pong balls are made of ABS, which is unsafe to cut with a laser cutter as it emits cyanide gas.
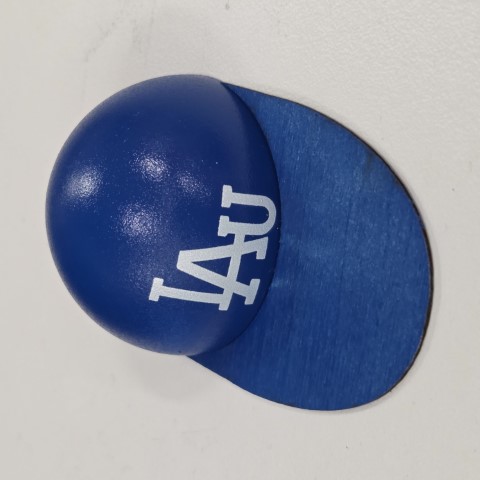
I wanted the baseball cap to be blue. I first tried to paint it using the UV printer, but it was only able to color a small portion of the top. To fully cover the ball half, it would have needed to be rotated multiple times during printing.
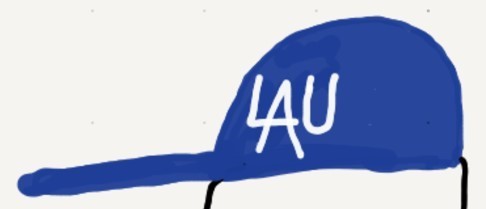
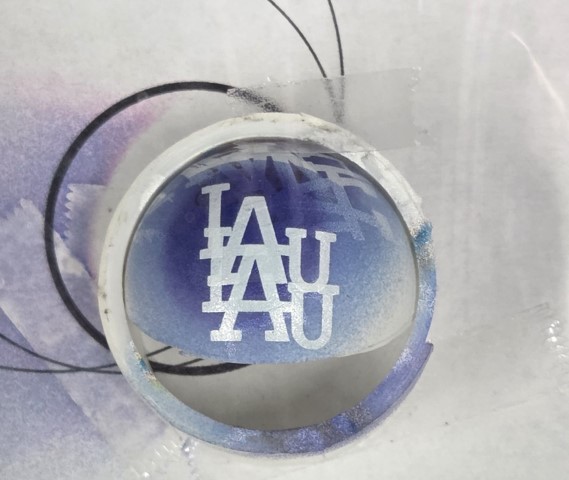
I ended up spray painting it blue. For the logo, I asked ChatGPT: "Picture LA dodgers inspired logo, LAU instead of LA?" I converted the result to a vector in Inkscape with Path > Trace Bitmap and modified it slightly to the following result. The white parts are not printed by the UV printer.
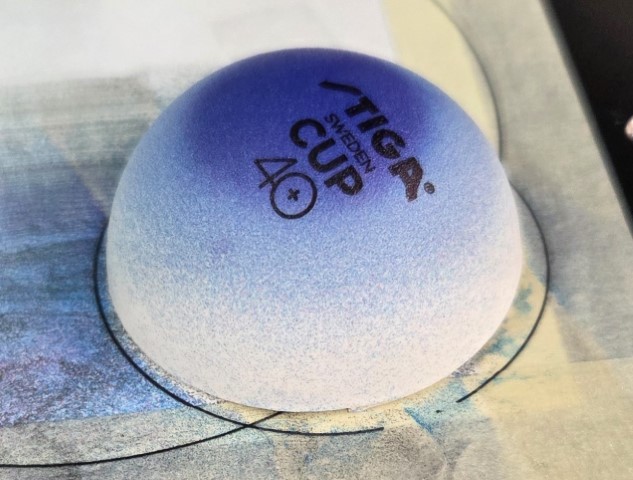
To print the LAU logo on the cap, I first did some test prints on a halved ping pong ball placed in a holder. Once I achieved the correct alignment, I replaced it with the final halved ping pong ball in the same position.
Then I glued a laser-cut visor onto the cap using a 3D-printed attachment piece, as attaching it earlier would have interfered with the UV printing process.
Since the final project game somewhat resembles basketball shooting — especially when the target loop rotates backward — I’m considering naming it "FABulous fan BASEketball." With this theme in mind, I could UV print the ping pong ball to look half like a basketball and half like a baseball. I asked ChatGPT, "Can you make a picture of a ball half looking like a baseball, half like a basketball?" and got a draft of what the ball could look like:

Since printing works well only on the top side of the ping pong ball, I printed a deliberately faded image of a basketball on one side and a side of a baseball on the other. I created these images in Inkscape by using Object > Clip > Set, combining a picture of the ball with a circle. Then, I applied a faded edge effect to the circle using a radial gradient via Object > Fill and Stroke > Fill tab.
I attached the ping pong ball to the printing surface using double-sided tape and printed the images on both sides. Some residual printer marks appeared along the lower edges of the images (still visible in this video in the white areas of the ball), which I was mostly able to remove afterward using a melamine sponge.
Design files
Ping pong halver jig laser cutter file (don't use, laser cutting ABS emits cyanide gas)
Outline for printing the images on the ping pong ball
Baseball image for one side of the ball