Week 13 - Molding and casting
In this week's group assignment, we made and compared test casts and reviewed the safety data sheets for the molding and casting materials. We also compared 3D printing versus milling for making molds. It's quite a lot more work than simple 3D printing, but some things are possible with molding and casting that aren't easily achievable with 3D printing: for example, casting tin metal directly around a steel rod, or using different types of materials such as soft rubber, chocolate, or even concrete.
For my individual assignment, the task is to design a mold around the process I'll be using, produce it with a smooth surface finish that hides tool marks from the production process, and use it to cast parts.
Mold Box design
I decided to make a mold of the bat for my final project and cast it directly around a steel rod that rotates. I am also able to experiment with different materials. For the bat, I plan to try the following materials:
- Tin metal for a shiny look and weighty feel
- Smooth-Cast 305 for a tough, durable, and paintable and lighter option
- Smooth-Sil 936 for a comically flobby version (Jani's idea). The handle part might have to be reinforced with some polymer sticks, for example.
I made the model of the bat in Fusion 360. I selected the size based on my previous estimations. The overall weight in tin is about 300 grams, and less with the other material options.
Here is a video of the design process in Fusion 360. I used the same modeling methods as in previous weeks. There was slight misalignment in my model first, this is the version we made with Gleb. The point is to make a negative model of the item to be cast, split into two halves. Filleted registration lips were added at the edges to help the two halves align and fit together after molding.
I set up the milling of the design in Modela player, here is a step by step guide for the roughing:
Create new process
.jpg)
Choose size and orientation
.jpg)
Place origin spot on the top corner
.jpg)
Surfacing to make an even top layer
.jpg)
I chose 3 mm square mill
.jpg)
Next
.jpg)
Choose scan line direction
.jpg)
Upcut was chosen (spin direction of the mill)
.jpg)
Choose settings according to the material
.jpg)
Similar profiles were made for roughing and finishing
.jpg)
The finishing can be done only in locations with fine details to speed up the process (location chosen here).
.jpg)
The milling of the mold took a long time, about 24 hours, because the tub models were made about 1 cm too deep, and V-panel was mistakenly set to 30% speed for most of the milling time.
Also, due to the design being too deep, the mill went slightly through the wax block, creating a small hole in the bottom and making part of it almost see-through. I covered the hole with tape, and the mold still worked.
Molding
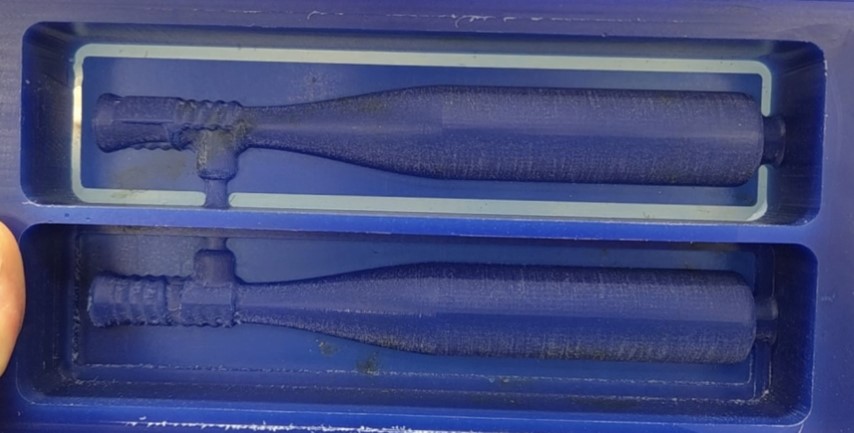
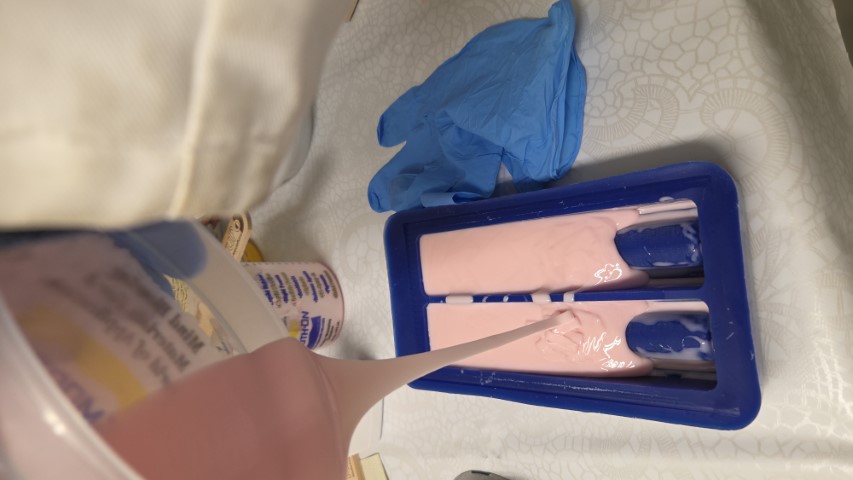
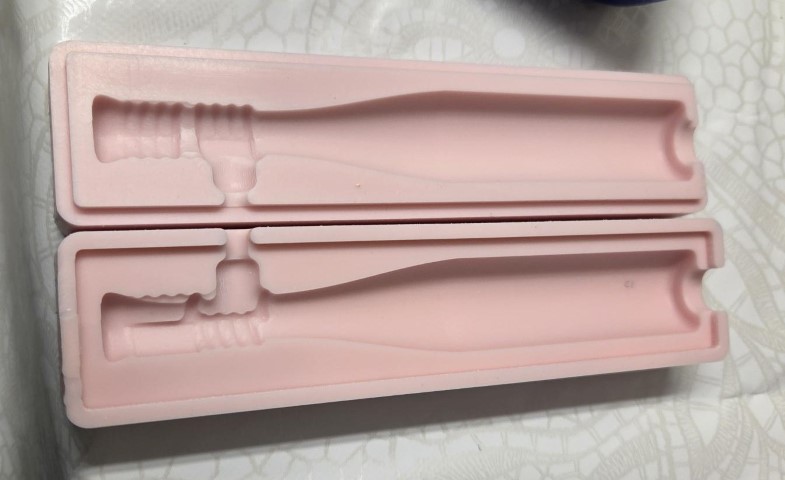
I filled the milled "tubs" with Smooth-Sil 940, which has good chemical, abrasion, and heat resistance, and is ideal for making durable molds for casting materials like plaster, concrete, wax, low-melt metals, and resins.
After curing for 24 hours, the molds peeled off cleanly.
Casting
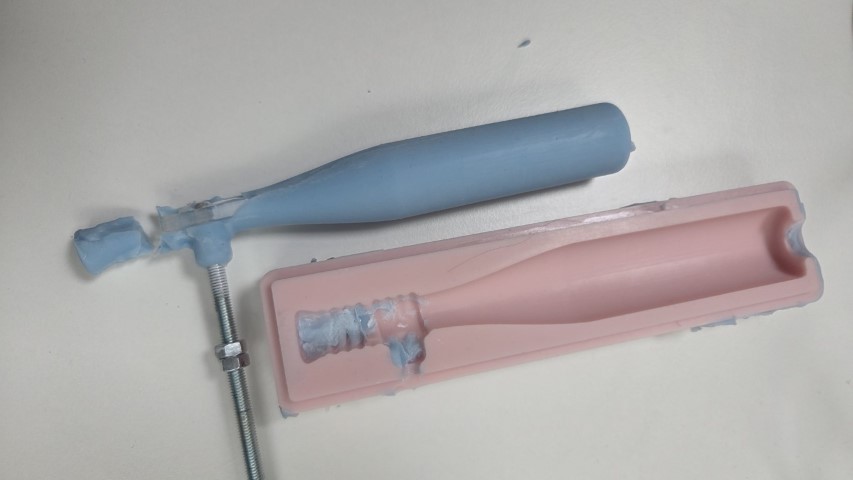
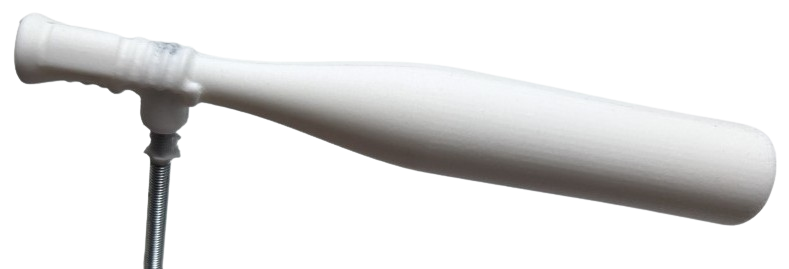
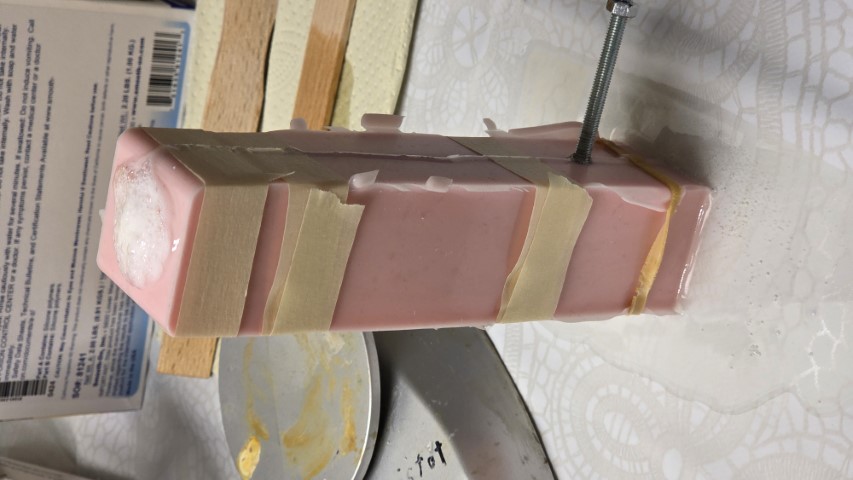
I connected the molds, placed a threaded metal stick into it, taped it together and poured Smooth-Cast 305 into it.
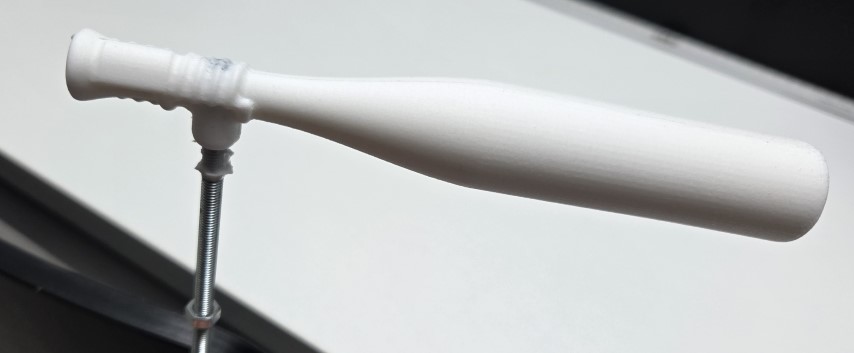
I let it cure for 24 hours and peeled off the mold
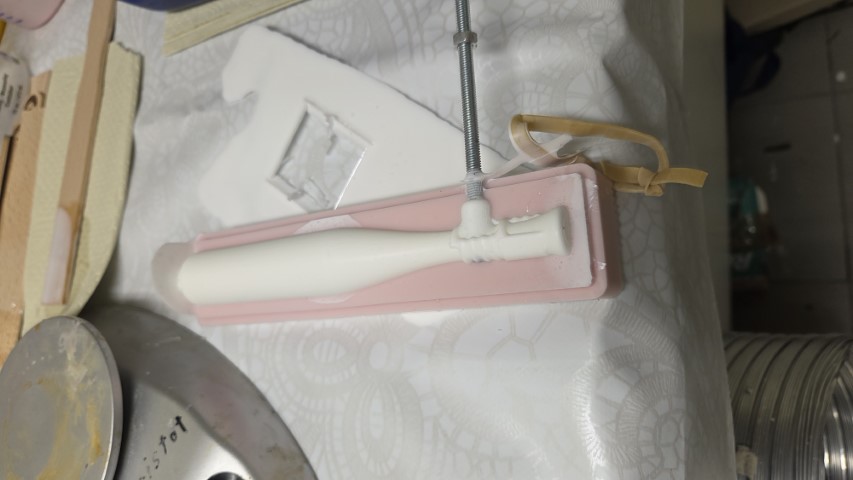
The molded and cast result looked pretty good. The swinging inertia felt just right, so I decided there was no need to cast a metal bat.
I also tried to make a flobby alternative bat with Smooth-Sil 936. I put in an acrylic piece to help support the thinnest part of the bat (in the previous model this was not needed). I also sprayed the mold with Mann Easy Release 200 to help avoid the Smooth-Sil 936 cast sticking in the Smooth-Sil 940 mold, which is a common problem when trying to cast a soft material in a soft mold.
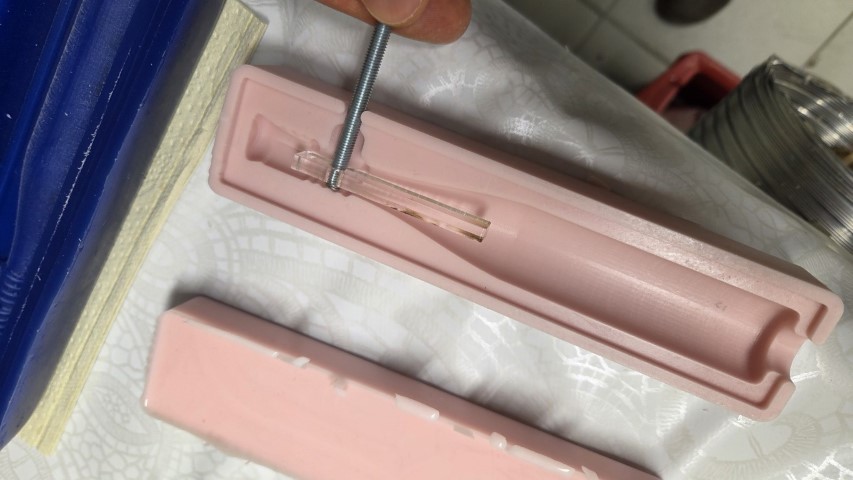
It seems I should have put a second layer of Mann Easy Release 200 spray, as there was some sticking of the cast to the mold. But I was happy with the first cast, so that was sufficient.