WEEK 4: Embedded Programming
Group Assignment
Demonstrate and Compare the toolchains and development workflows
for available embedded architectures
Assignment Objective
Compare and demonstrate the toolchains and development workflows for different embedded architectures to understand their similarities, differences, and relative strengths.
Teams & Architectures to Cover
Each group should select 2-3 of the following embedded architectures to compare:-> ARM Cortex-M (STM32, NXP Kinetis, etc.).
-> AVR (Arduino, ATmega, ATtiny).
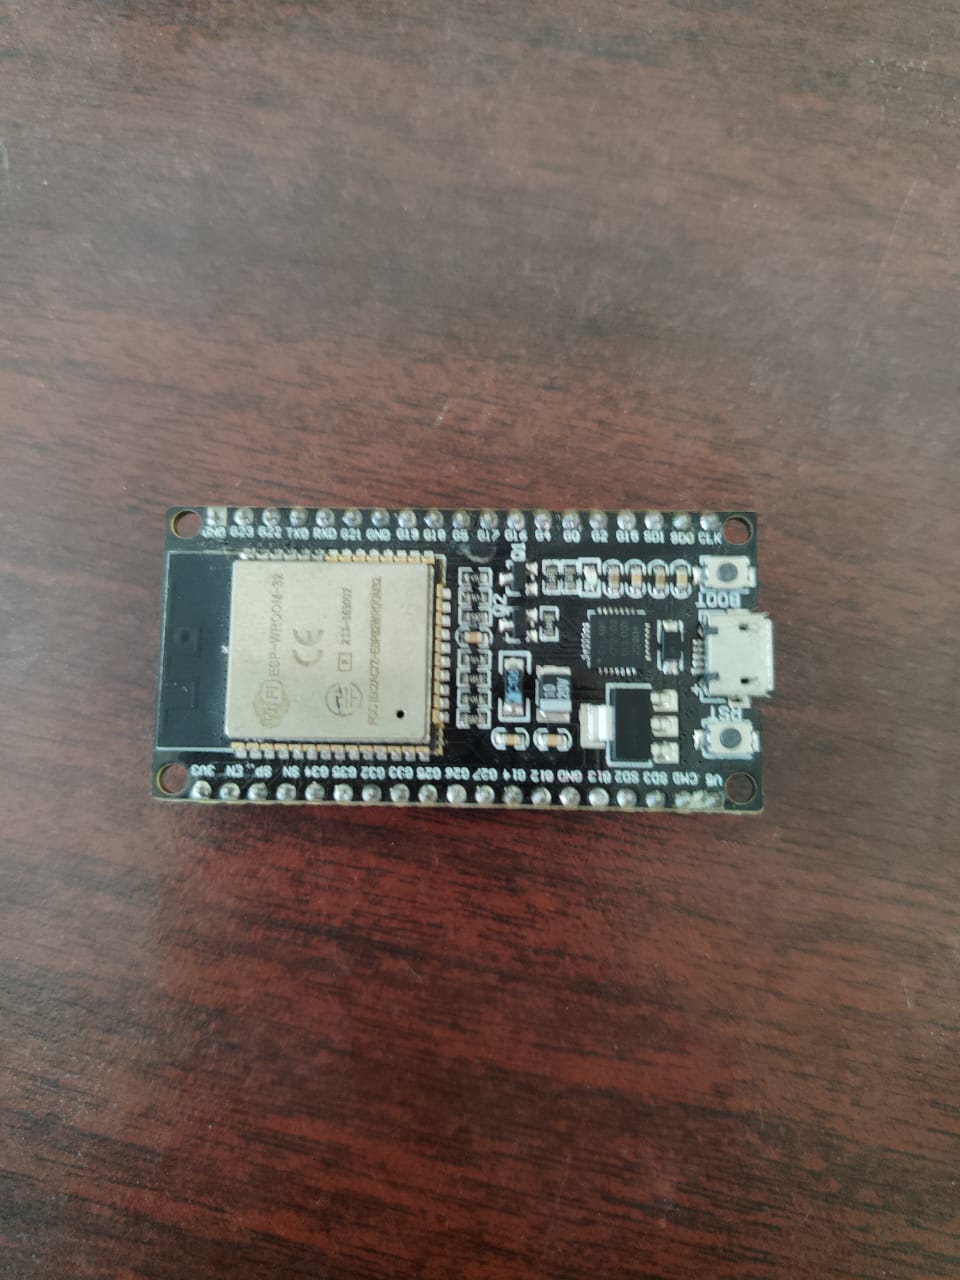
-> ESP32
-> PIC (8-bit or 16-bit)
-> RISC-V (SiFive, GD32V, etc.)
-> MSP430
-> RL78/RX (Renesas)
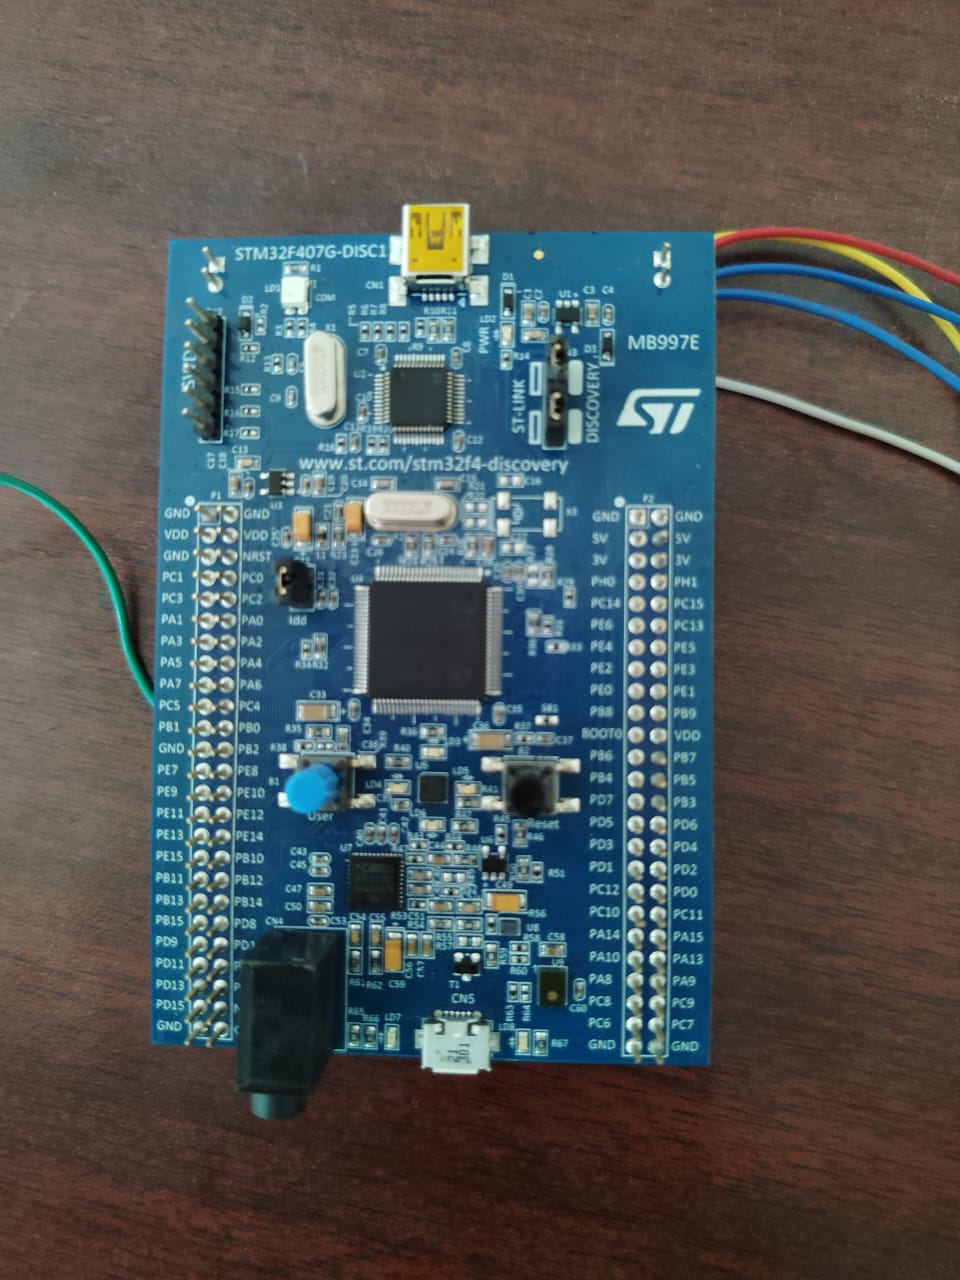
For this assignment, I have compared the toolchains and development workflows for ESP32 (ESP32-C6 series) and STM32 (STM32F407VG-DISC1), two widely used embedded architectures. The goal is to analyze their development environments, debugging capabilities, and workflow efficiency for embedded programming.
Reference LinkESP32 STM3232
Toolchain Comparison Matrix
| Category | ESP32-C6 (RISC-V) | STM32F407VG-DISC1 (Cortex-M4) |
|---|---|---|
| Recommended IDE(s) | - ESP-IDF (Official) - PlatformIO - Arduino IDE (Limited) |
- STM32CubeIDE - Keil MDK - IAR Embedded Workbench |
| Open-Source Toolchain | - ESP-IDF (GCC for RISC-V) - OpenOCD (Debugging) |
- GNU Arm Embedded Toolchain - OpenOCD (with ST-Link) |
| Commercial Toolchain | - Espressif’s tools (Free) | - Keil MDK (Paid) - IAR Embedded Workbench (Paid) |
| Compiler | riscv32-esp-elf-gcc (ESP-IDF) | arm-none-eabi-gcc (GNU Arm) |
| Debugger Hardware | - ESP-Prog - J-Link (with adapters) - USB-JTAG (Built-in) |
- ST-Link/V2 (On-board) - J-Link |
| Debug Protocol | - JTAG (Standard) - USB-OTG (Serial) |
- SWD (Primary) - JTAG (Optional) |
| Build System | - ESP-IDF (CMake-based) - PlatformIO |
- STM32CubeIDE (Eclipse-based) - Makefile/CMake |
| Flashing Method | - idf.py flash (ESP-IDF) - UART/USB-JTAG |
- ST-Link (SWD) - st-flash (OpenOCD) |
| Simulation Options | - QEMU (Limited RISC-V support) | - QEMU (Cortex-M4) - Keil Simulator |
| Key Development Tools | - idf.py (CLI) - ESP-IDF Eclipse Plugin |
- STM32CubeMX (Pin/Clock Config) - STM32CubeProgrammer |
Refernece
STM32CubeIDE Installation Guide
Arduino IDE Installation Guide
Workflow Demonstration
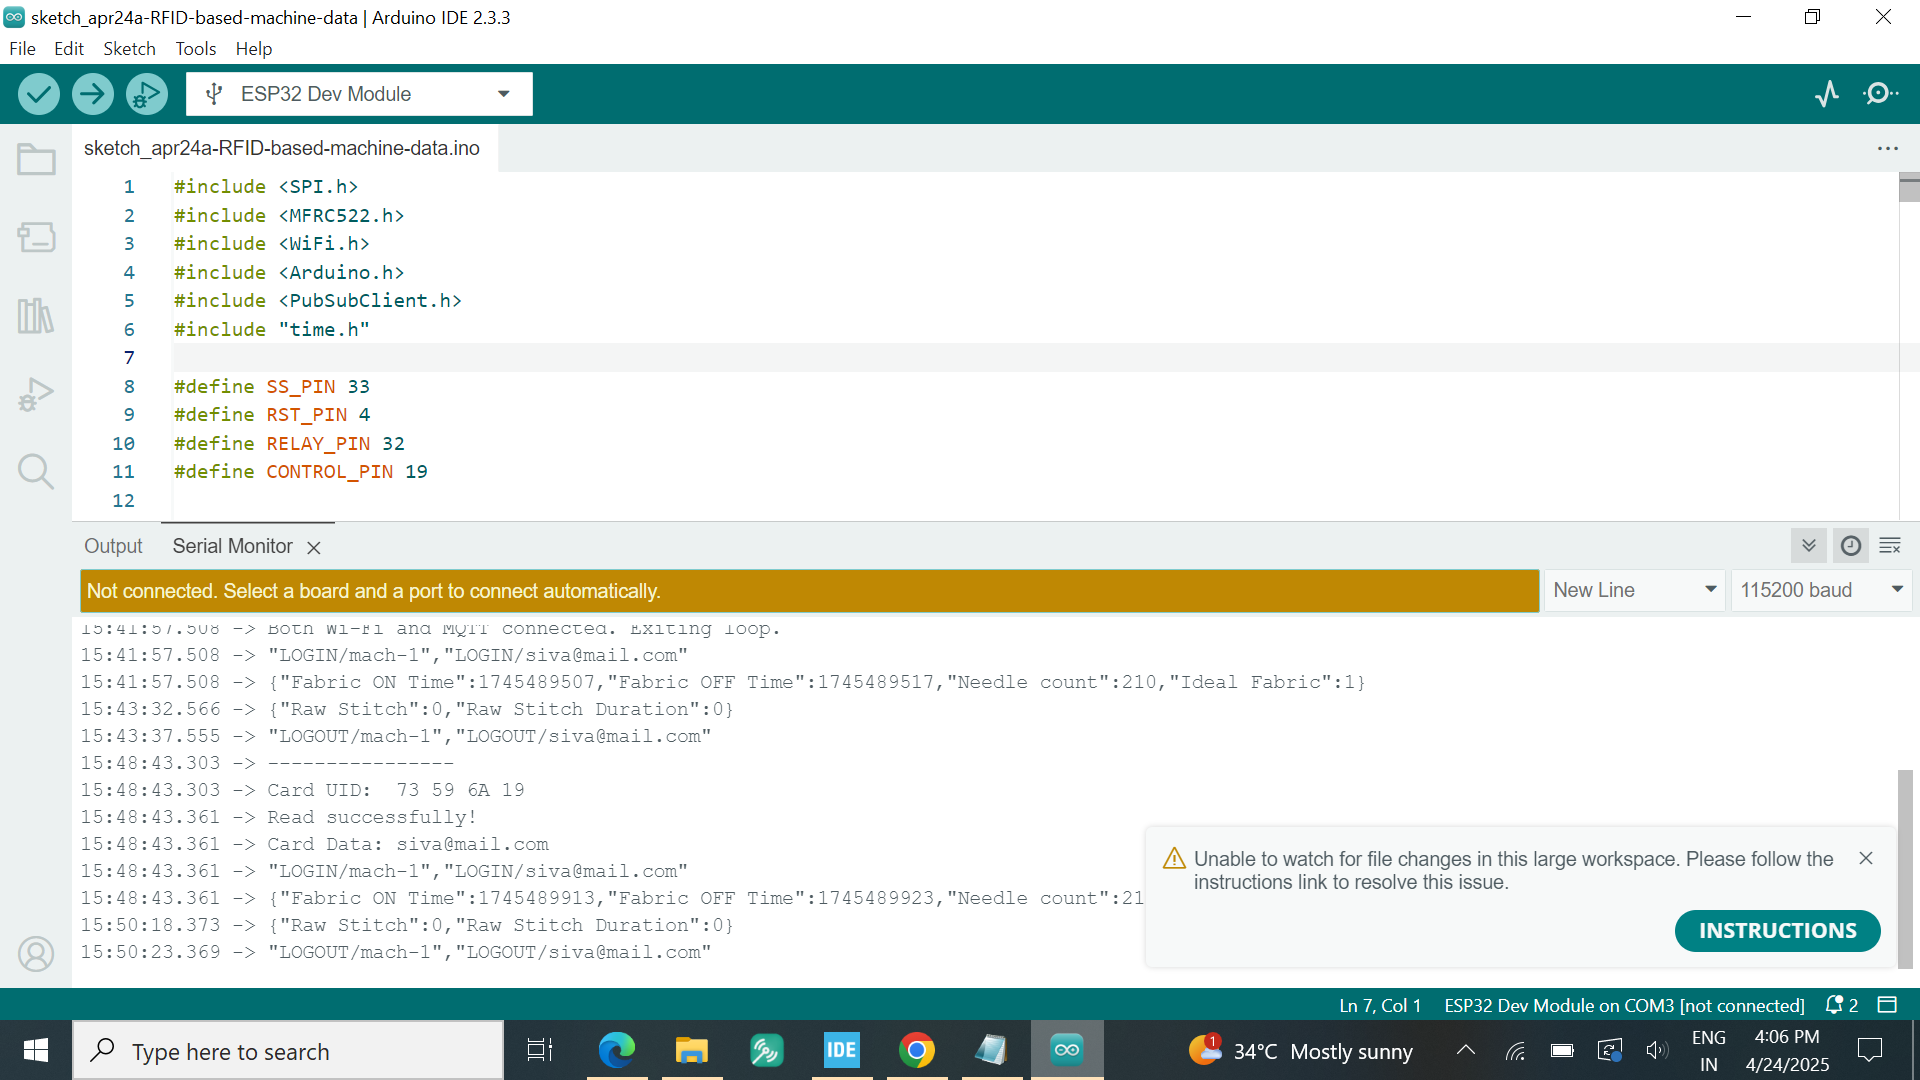
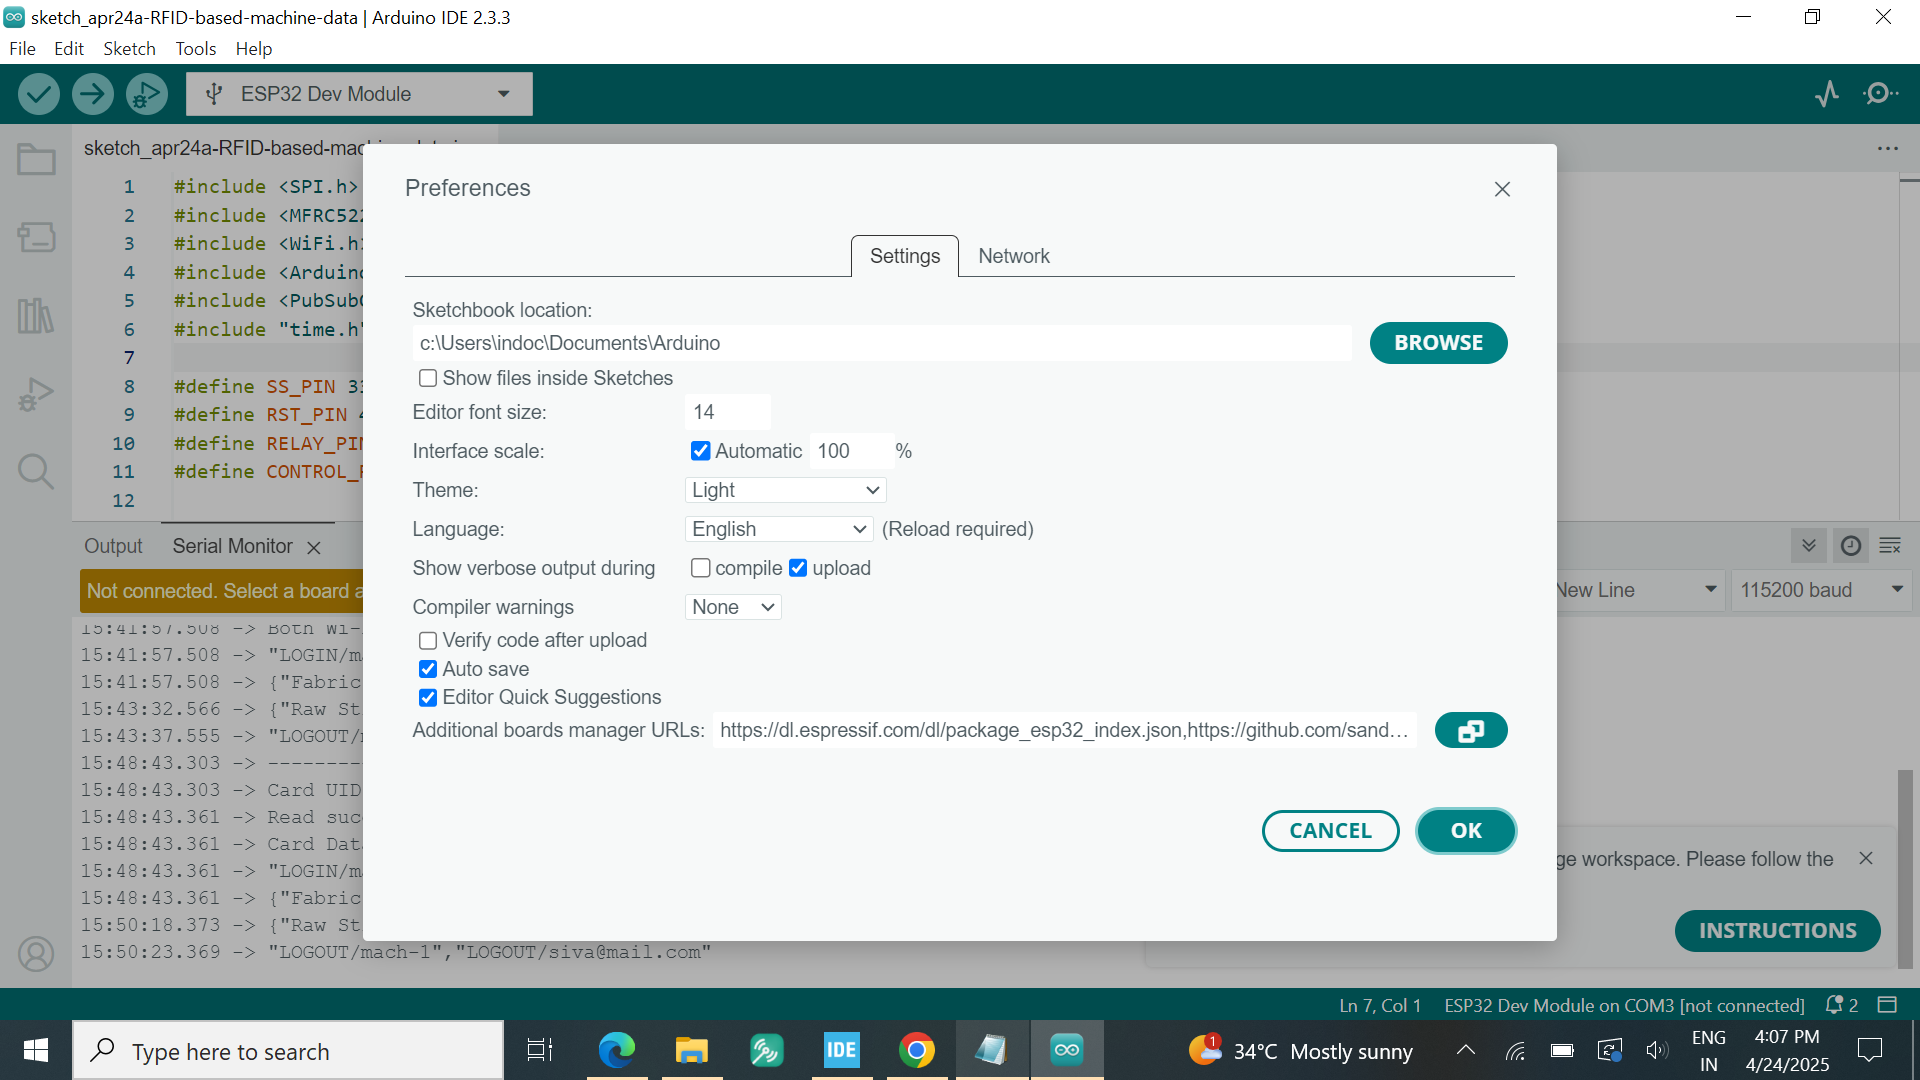
ESP32
Project Creation: Used idf.py create-project or ESP-IDF Eclipse plugin.
Code Editing: Wrote LED toggle code using ESP32 HAL.
Build: Compiled with xtensa-esp32-elf-gcc.
Flashing: Uploaded via ESP-Prog (JTAG) or USB (UART bootloader).
Debugging: Used GDB with OpenOCD for breakpoints.
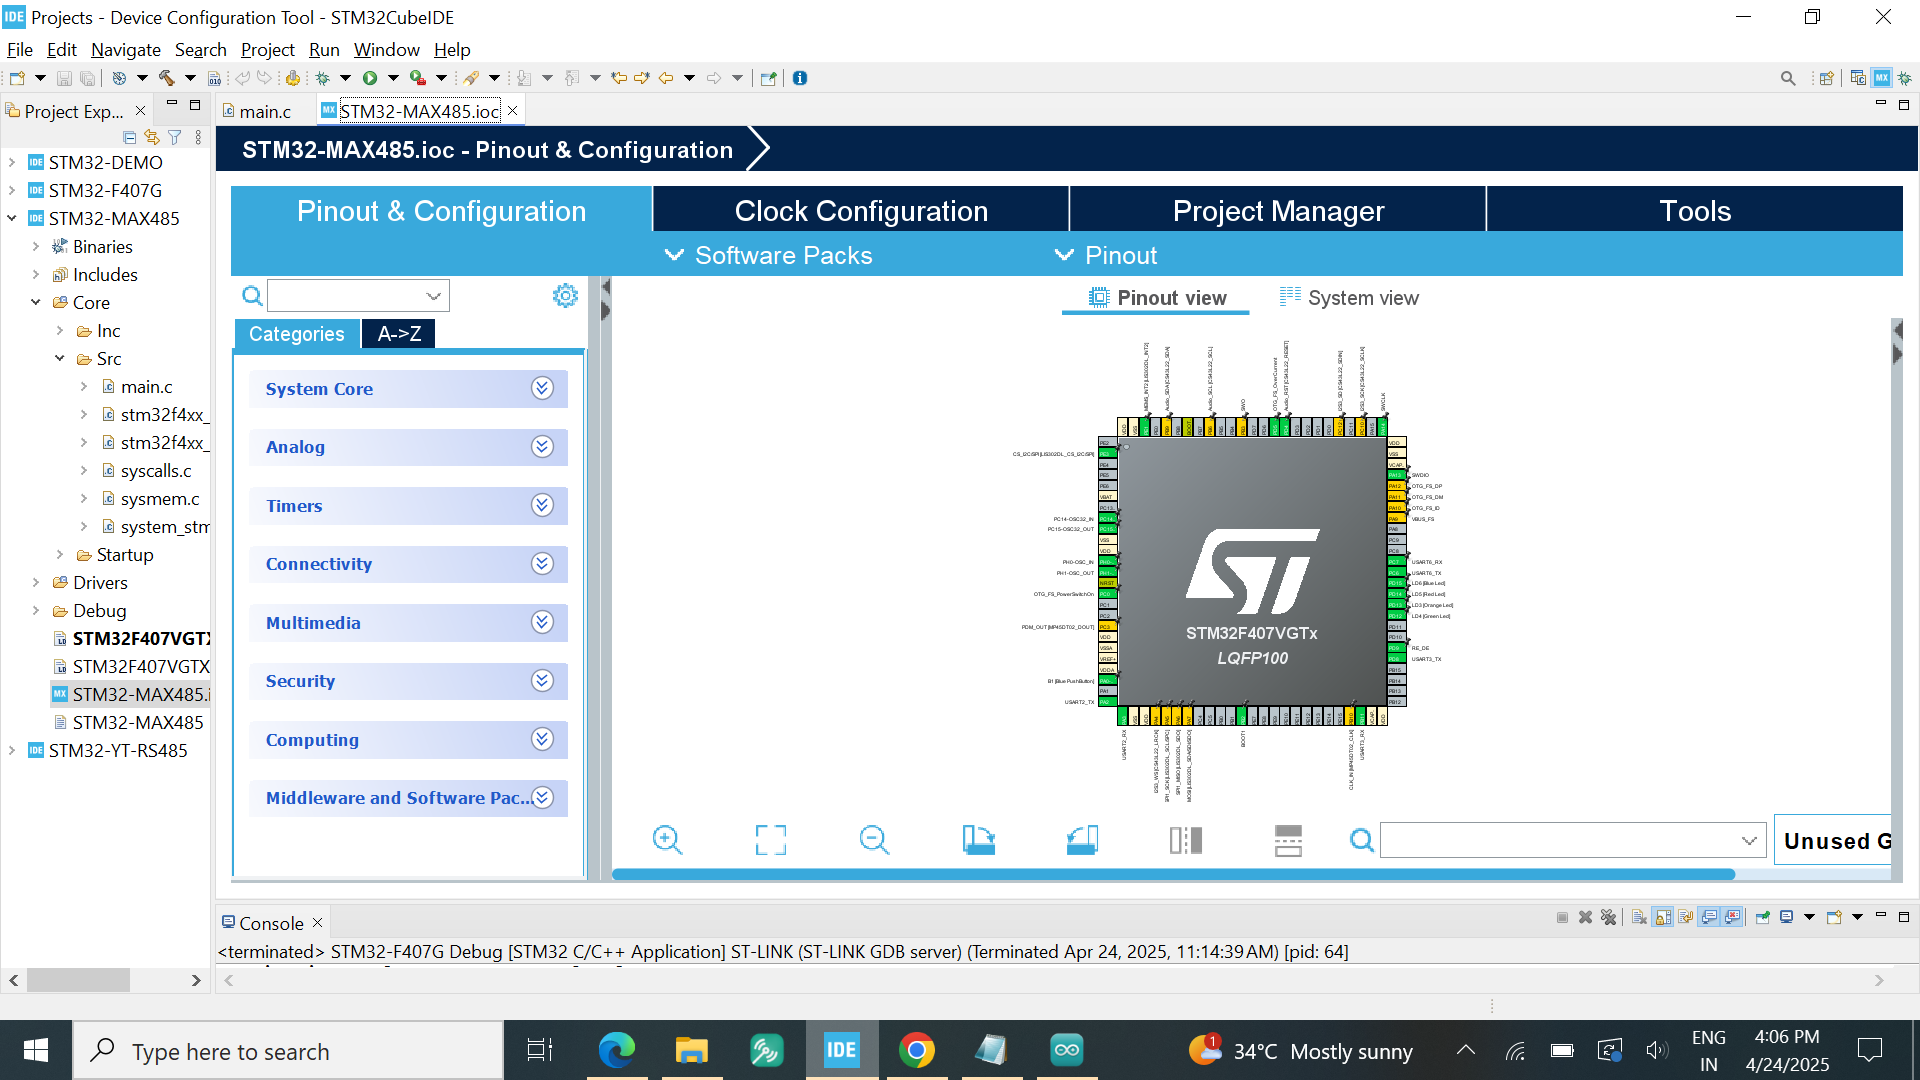
Sample screenshots
STM32
Project Creation: Used STM32CubeMX for clock/pin configuration.
Code Editing: Wrote HAL-based LED toggle code.
Build: Compiled with arm-none-eabi-gcc.
Flashing: Uploaded via ST-Link (SWD).
Debugging: Used STM32CubeIDE's built-in debugger.

Pros & Cons Analysis
ESP32
Pros Built-in Wi-Fi/BT support.
Strong open-source ecosystem (ESP-IDF, PlatformIO).
Free toolchain with good documentation.
Steeper learning curve for non-Arduino workflows.
Limited simulation options.
STM32
Pros Professional-grade debugging (SWD/JTAG).
STM32CubeMX simplifies peripheral configuration.
Scalable from small (Cortex-M0) to high-performance (Cortex-M7) MCUs.
Larger code footprint (HAL vs. LL drivers).
Commercial IDEs (Keil, IAR) require licenses.
Conclusion
ESP32 is ideal for IoT projects with wireless needs and open-source preferences.
STM32 excels in industrial applications requiring robust debugging and vendor-supported tools.