WEEK 3: Computer Controlled Cutting
Group Assignment
Do your lab’s safety training
Characterize your lasercutter’s focus, power, speed, rate, kerf, joint clearance and types.
Document your work to the group work page and reflect on your individual page what you
learned.
Lab Safety Training Summary
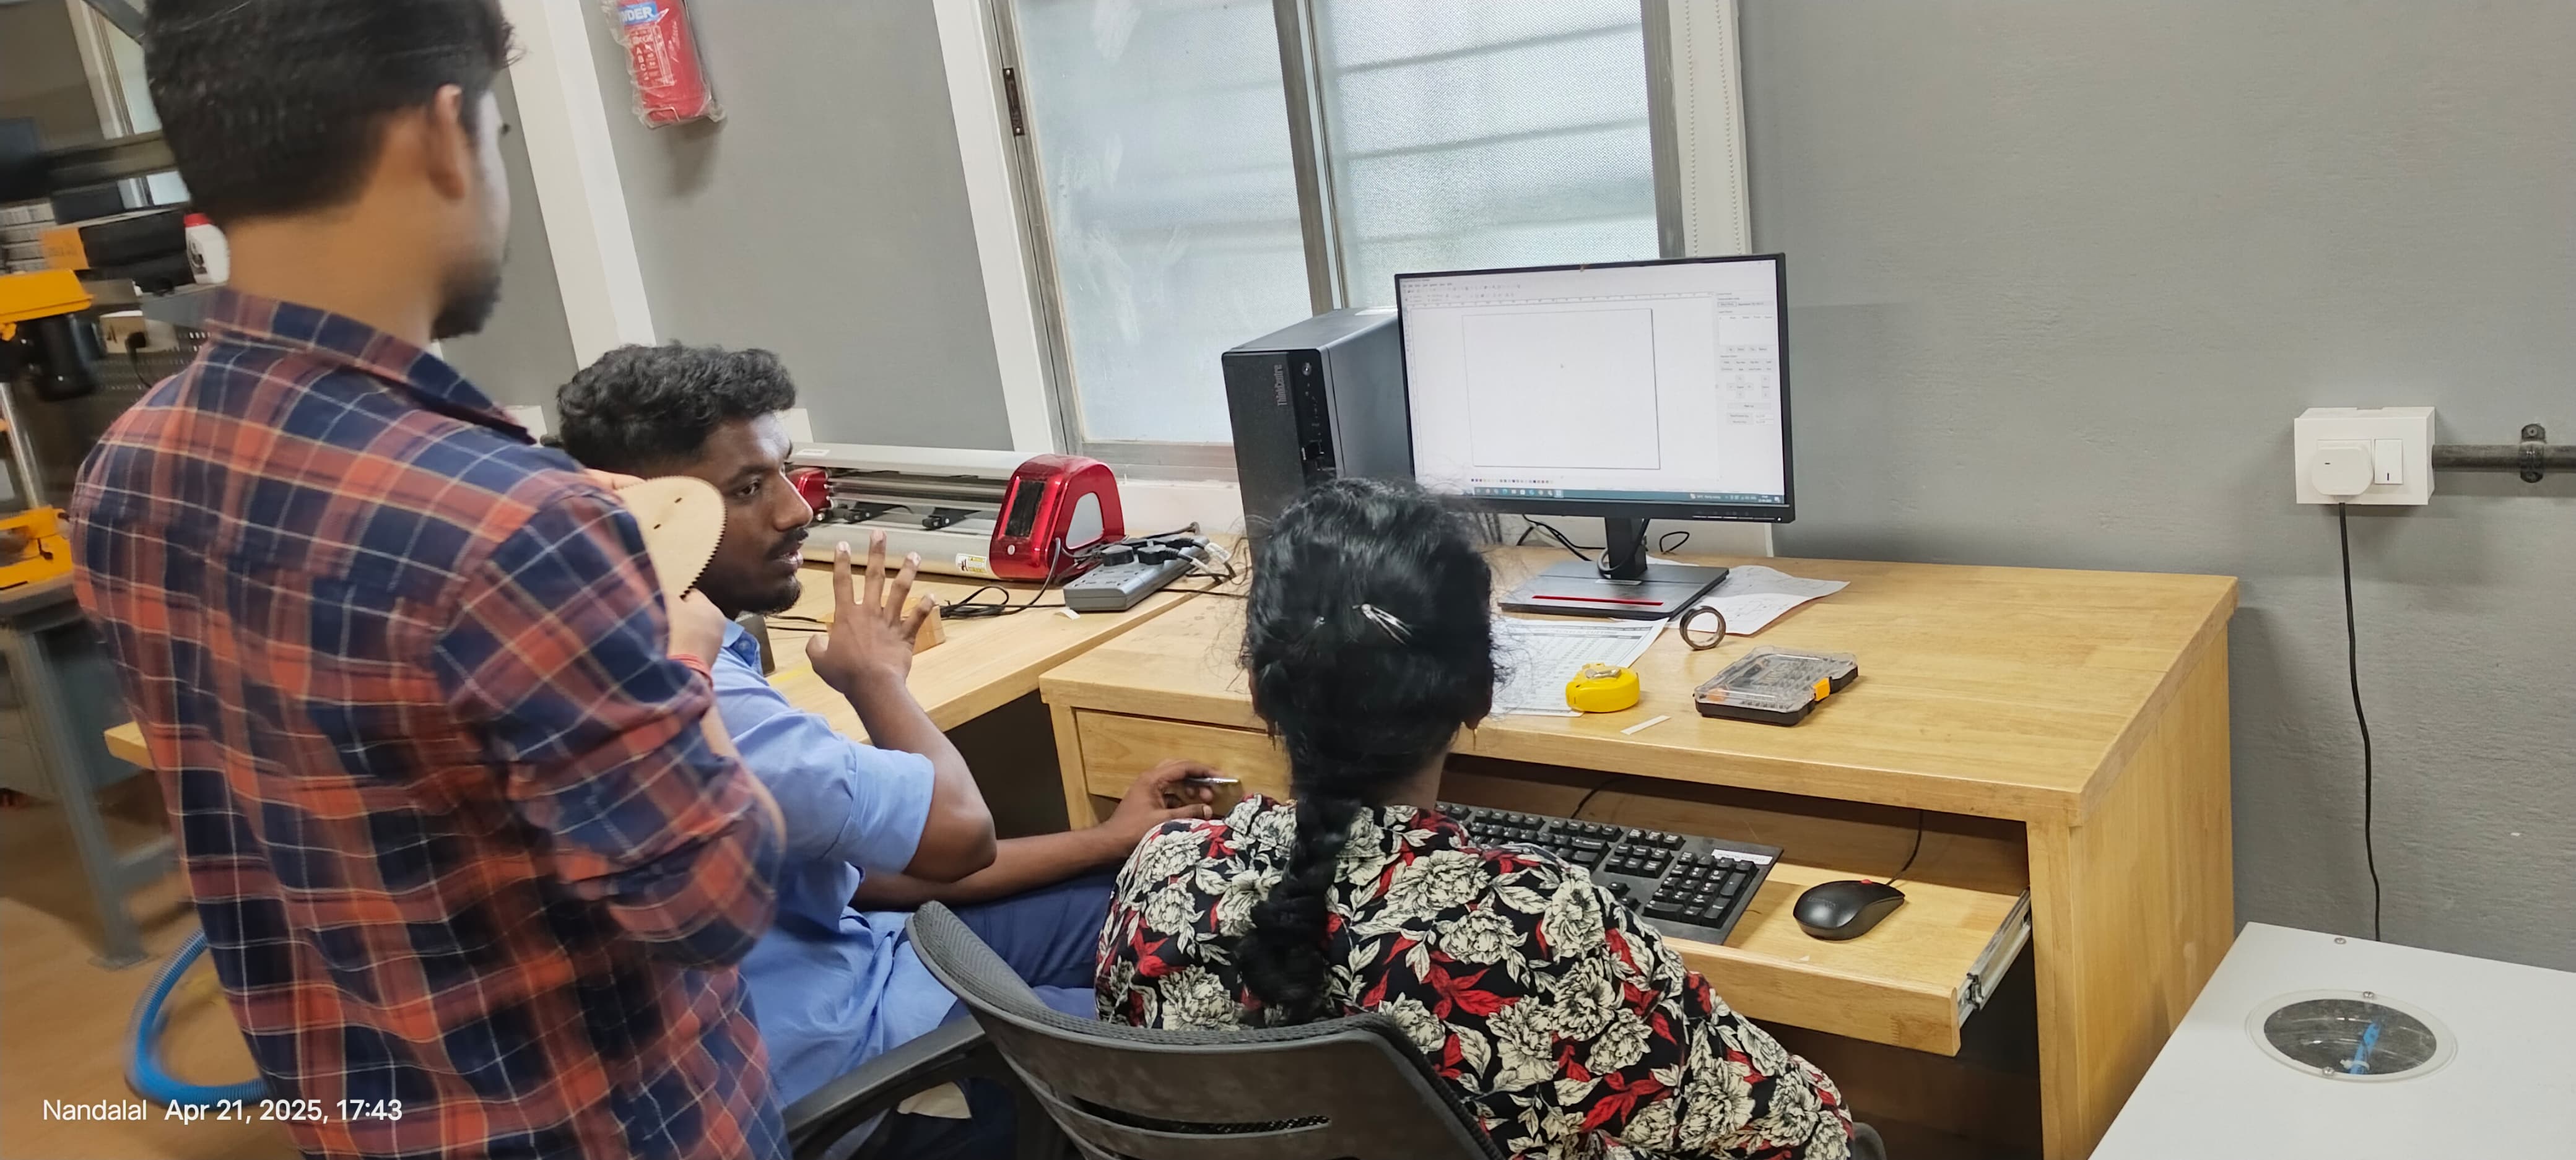
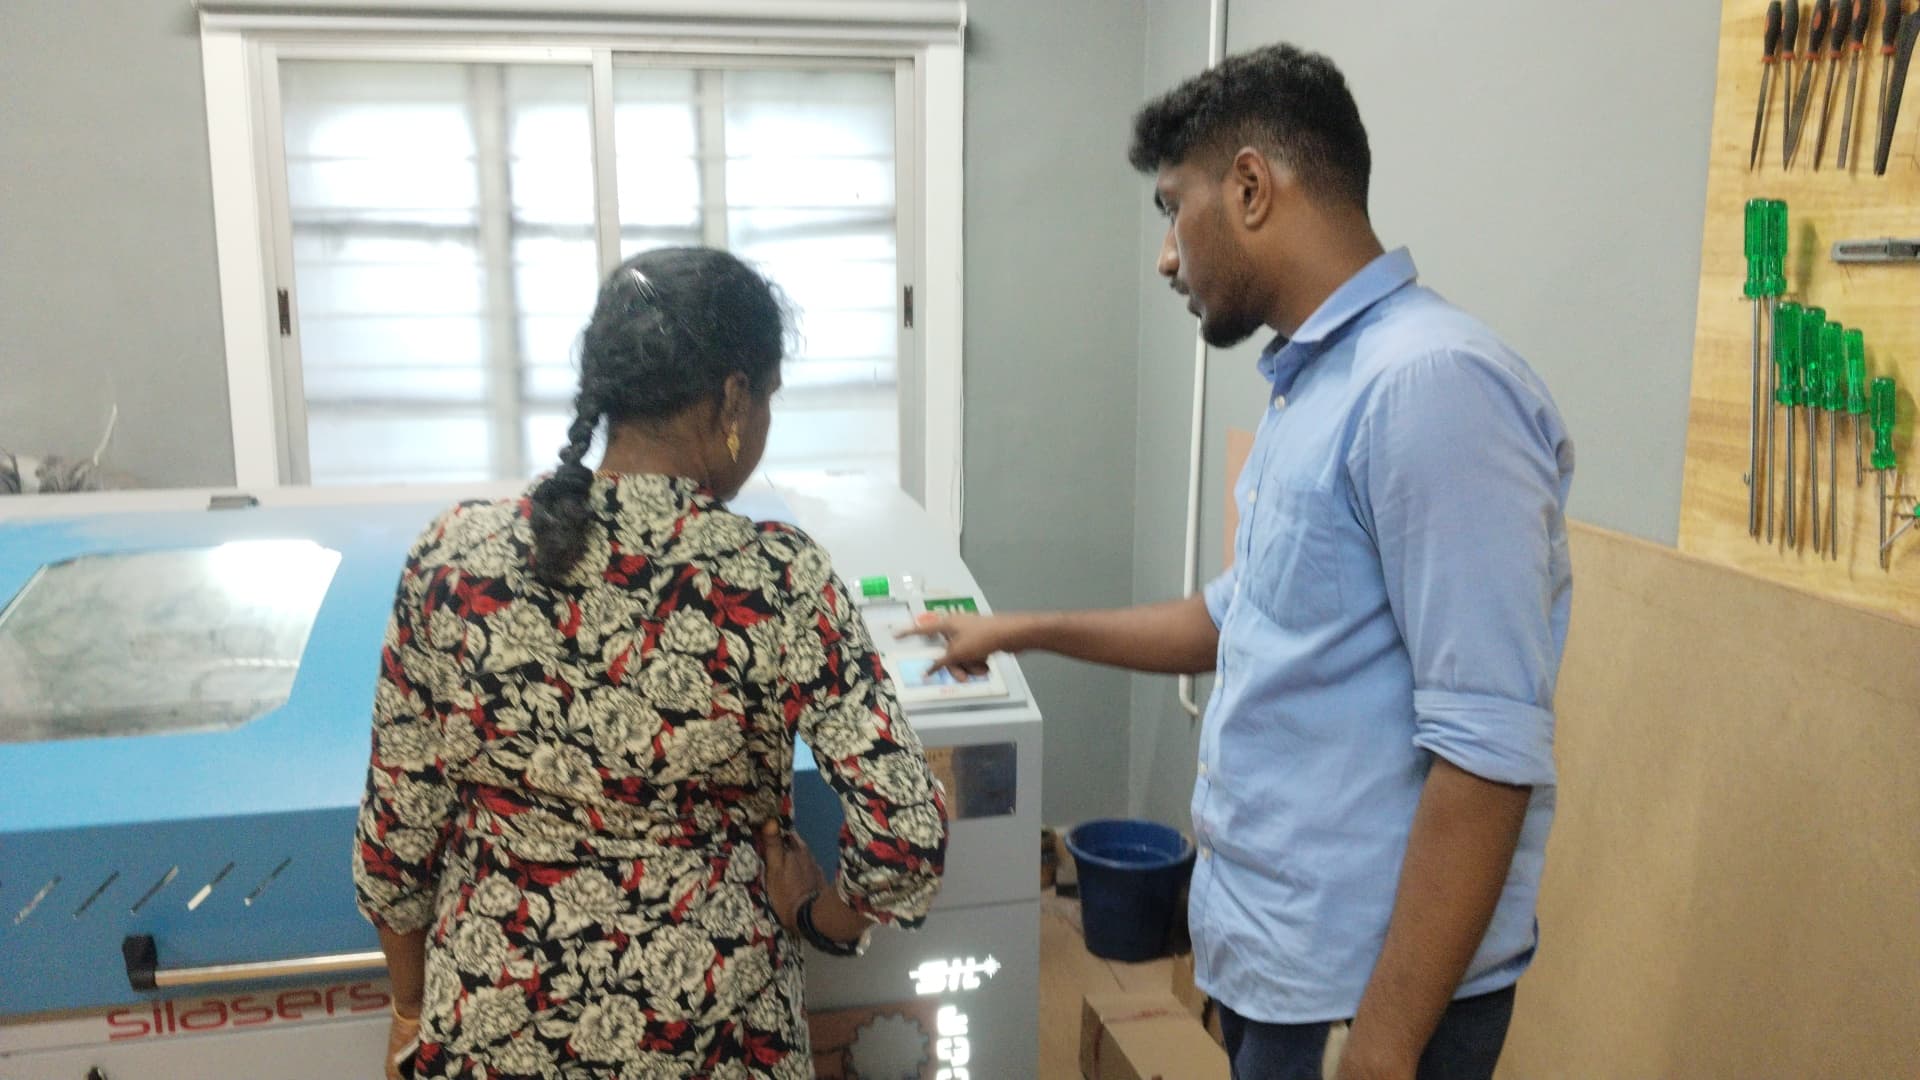
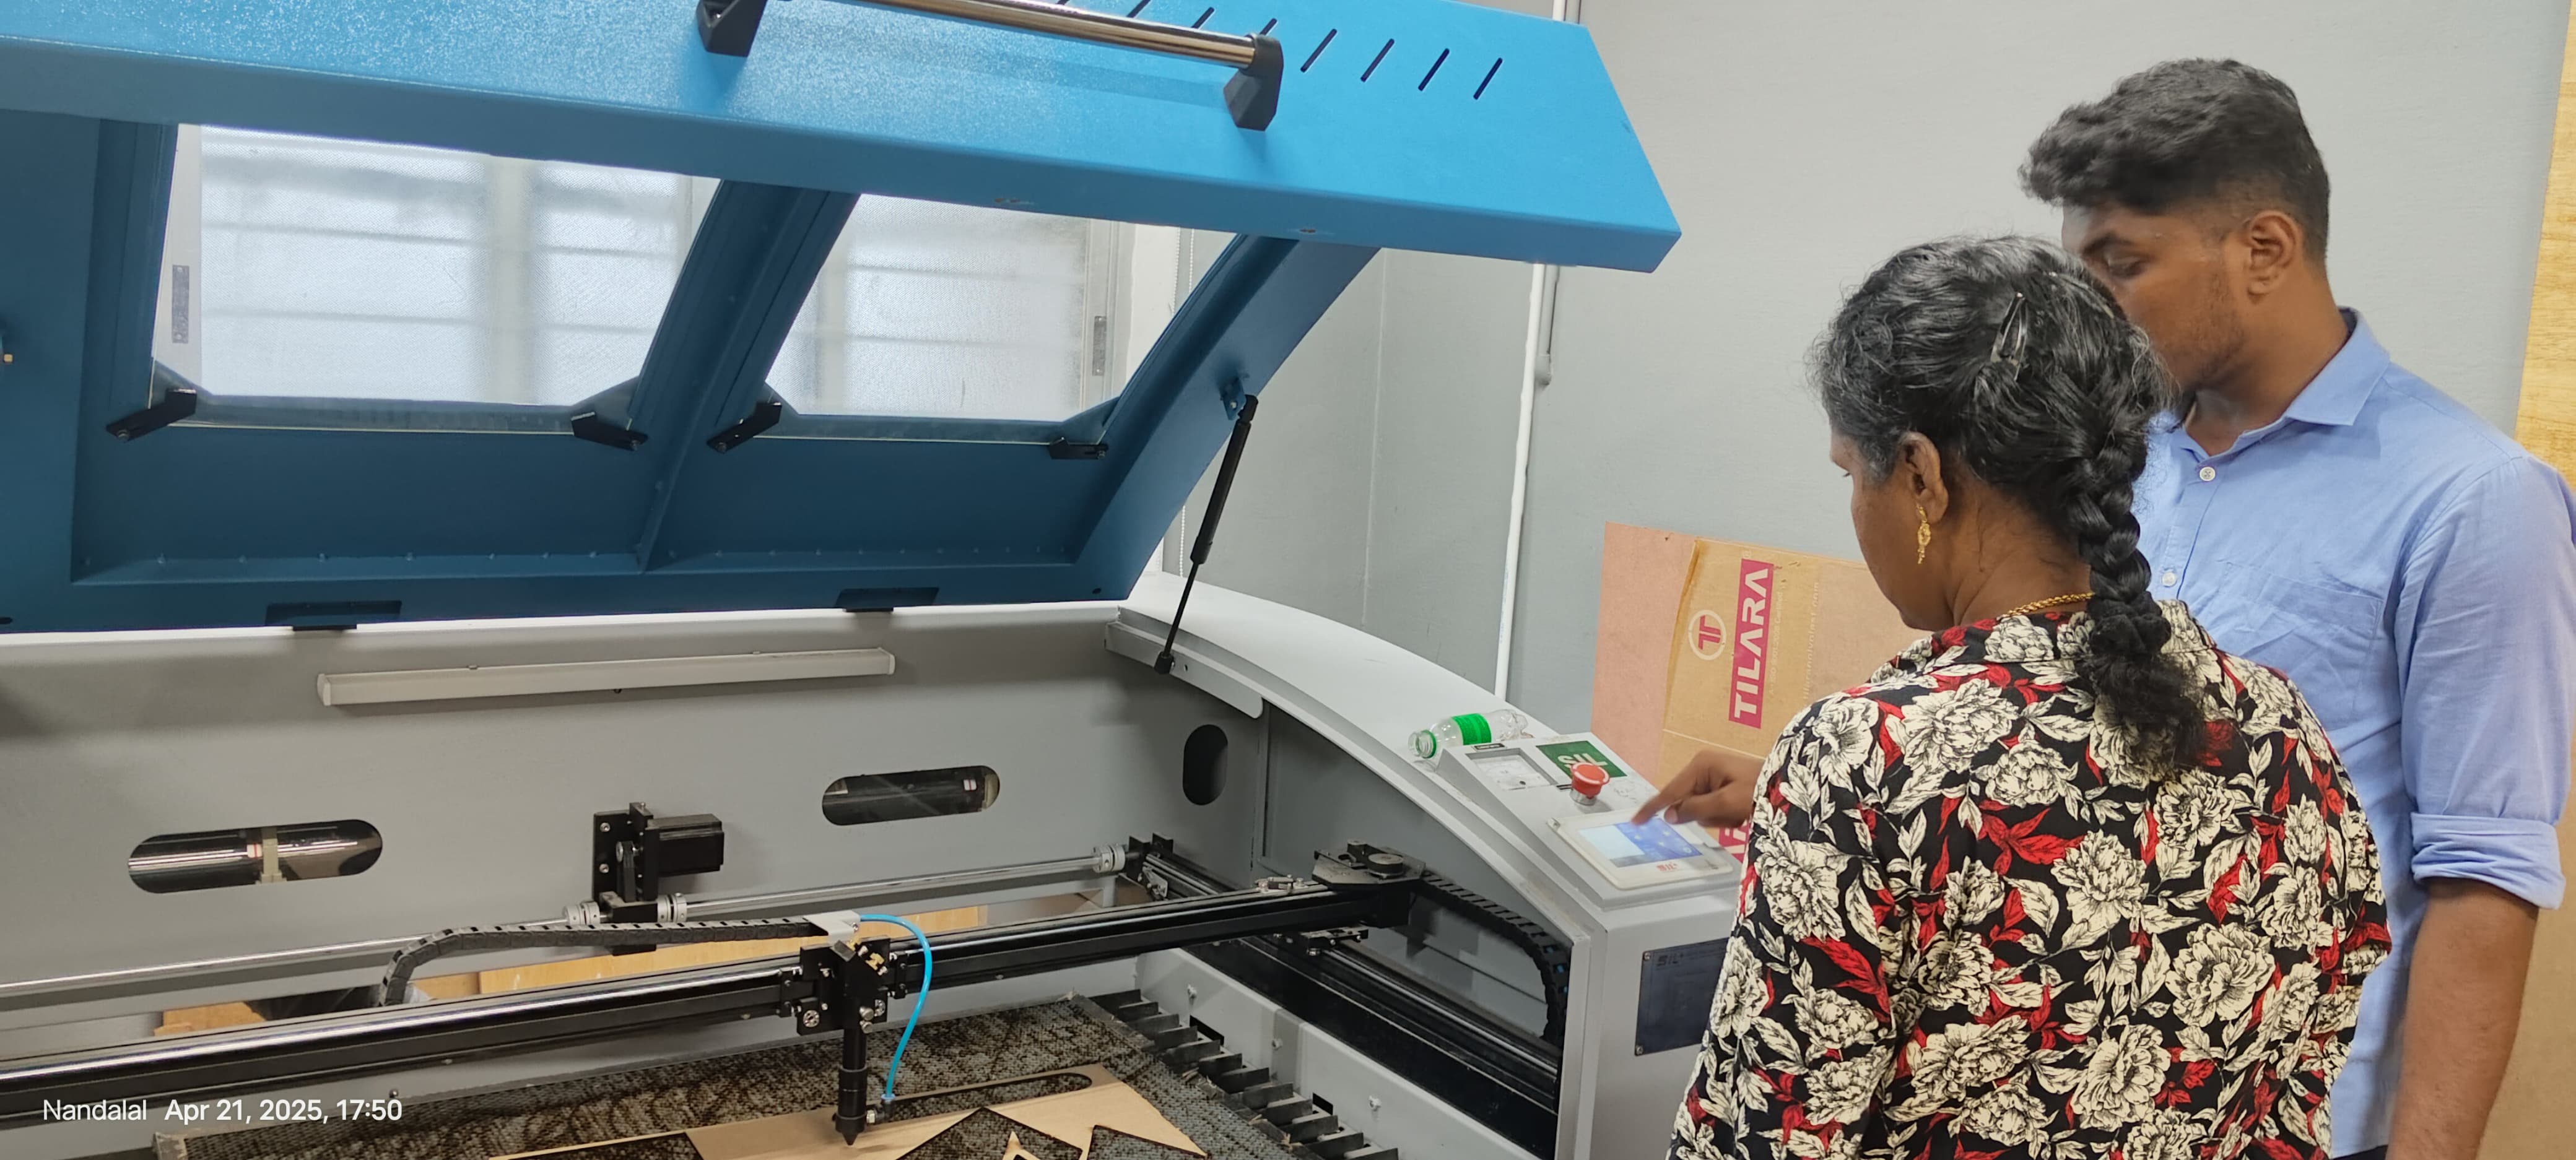
Before operating the SIL E9060 laser cutter, I completed the mandatory safety training which is given by Nandalal who is working in Fab Lab. Key takeaways included:
1. Personal Safety:
-> Always wear protective eyewear rated for the laser's wavelength.
-> Avoid wearing reflective clothing or jewelry.
-> Tie back long hair and avoid loose clothing.
Machine Safety:
-> Never leave the laser cutter unattended during operation.
-> Ensure proper ventilation or the exhaust system is active.
-> Keep a fire extinguisher nearby (CO₂ preferred).
-> Check materials for compatibility-never cut PVC or unknown plastics (toxic fumes).
Emergency Protocols:
-> Know the location of the emergency stop button.
-> Shut down the machine immediately in case of unusual smoke or fire.
-> Inform lab supervisors if there’s any issue with the machine.
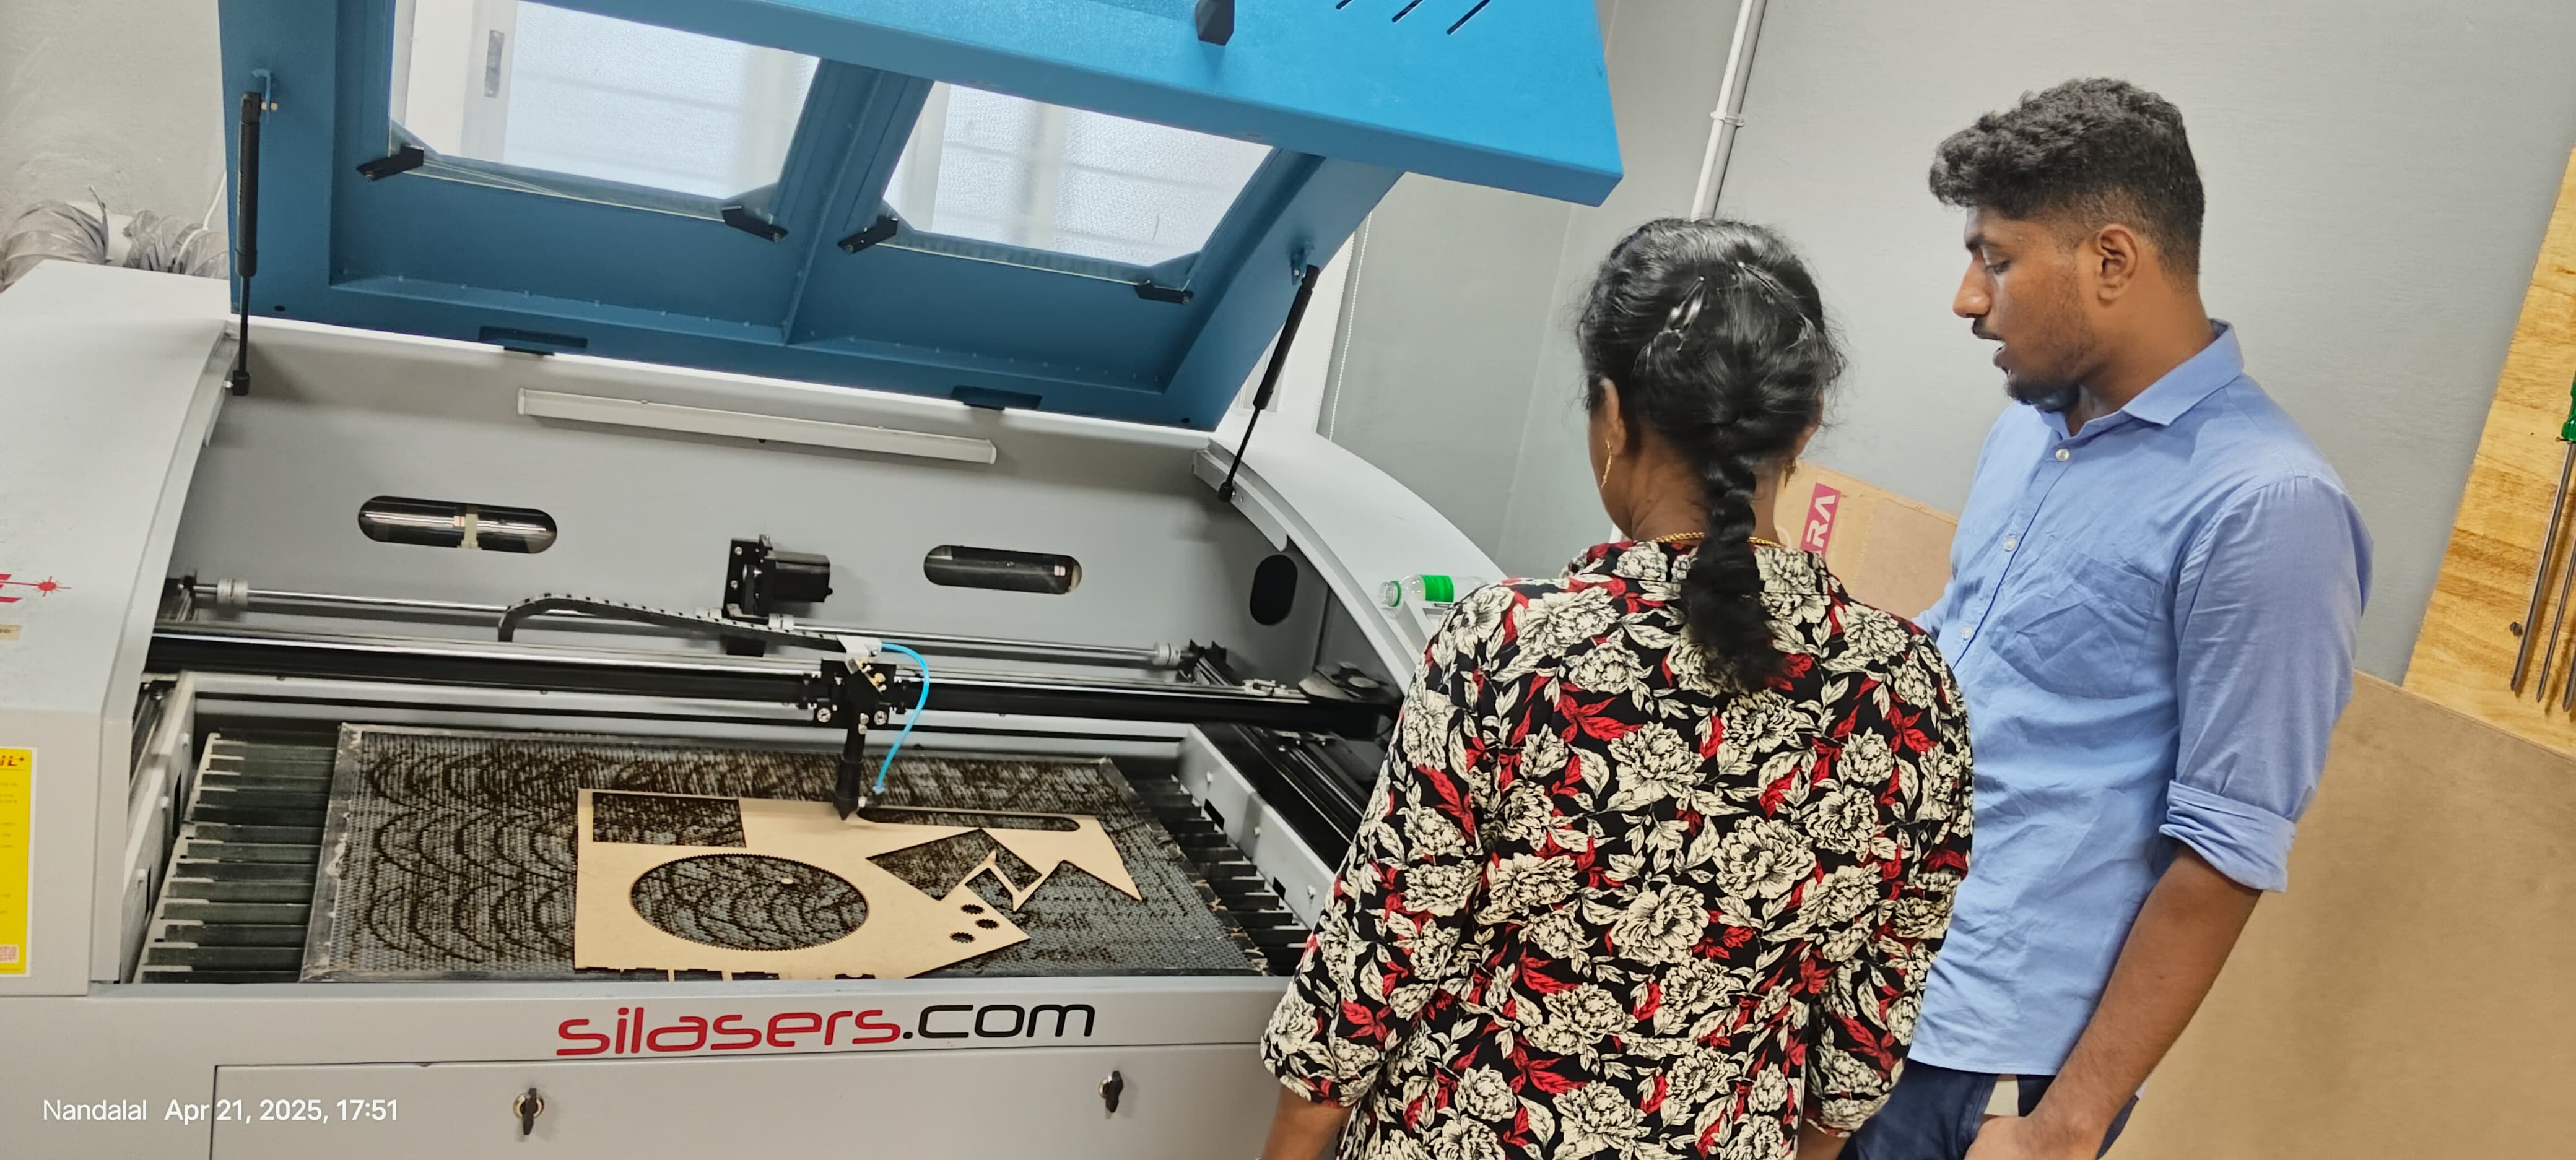
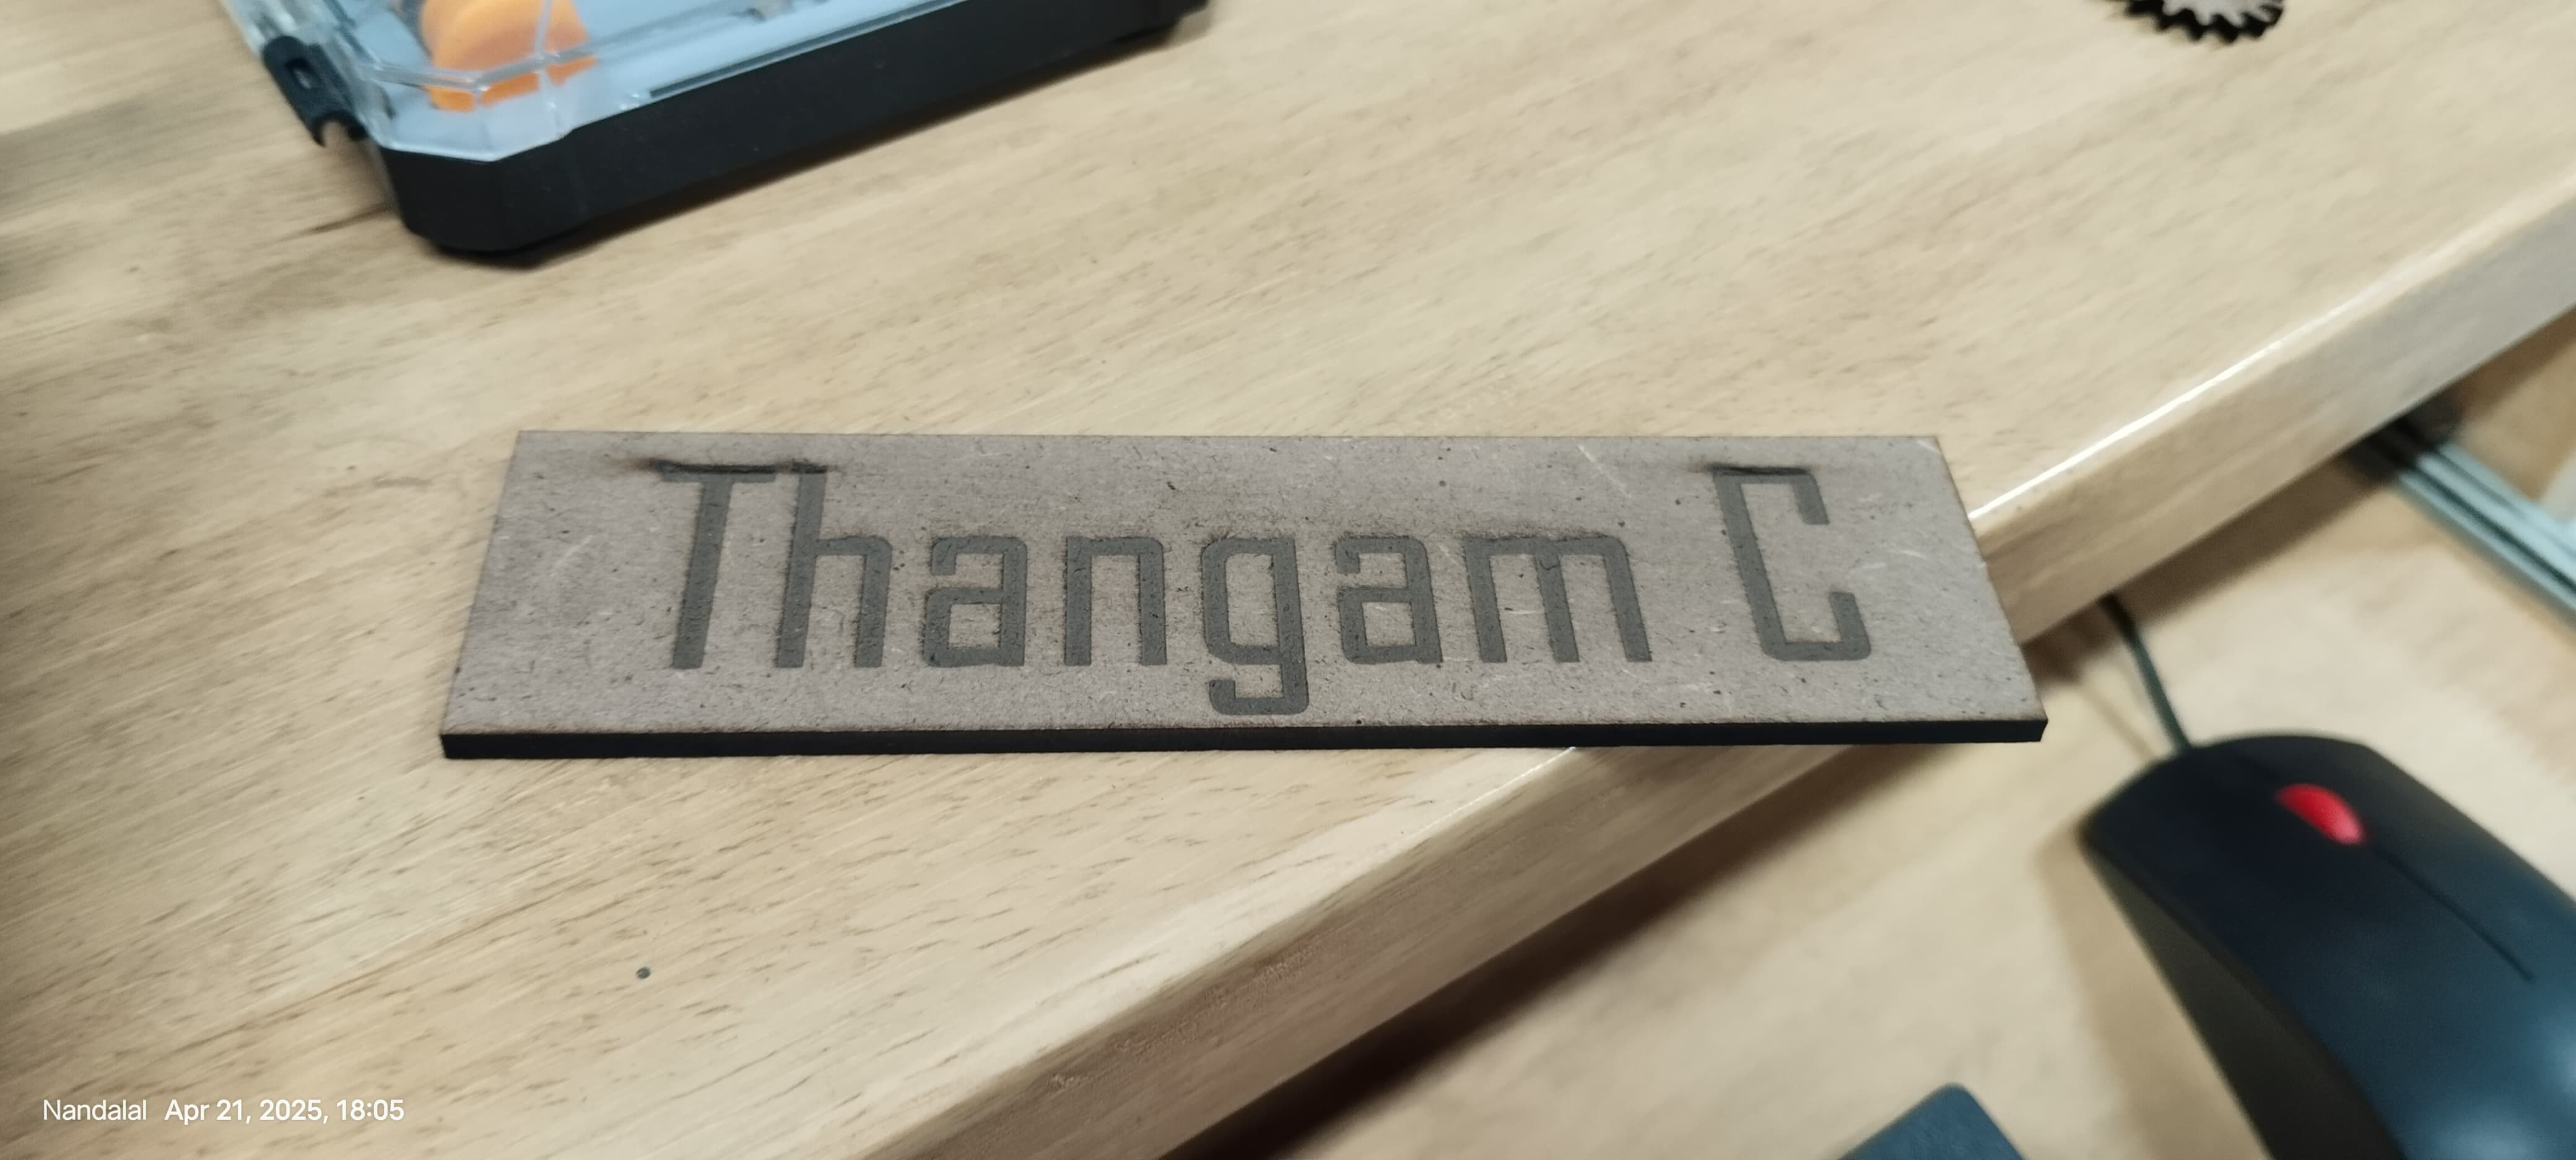
Hero Shots
2. Machine Characterization
Focus Test
-> Focus is adjusted using the provided calibration tool (~5-8 mm from the nozzle to the material).
-> Best focus achieved sharp and clean cuts, whereas poor focus caused charring or incomplete cuts.
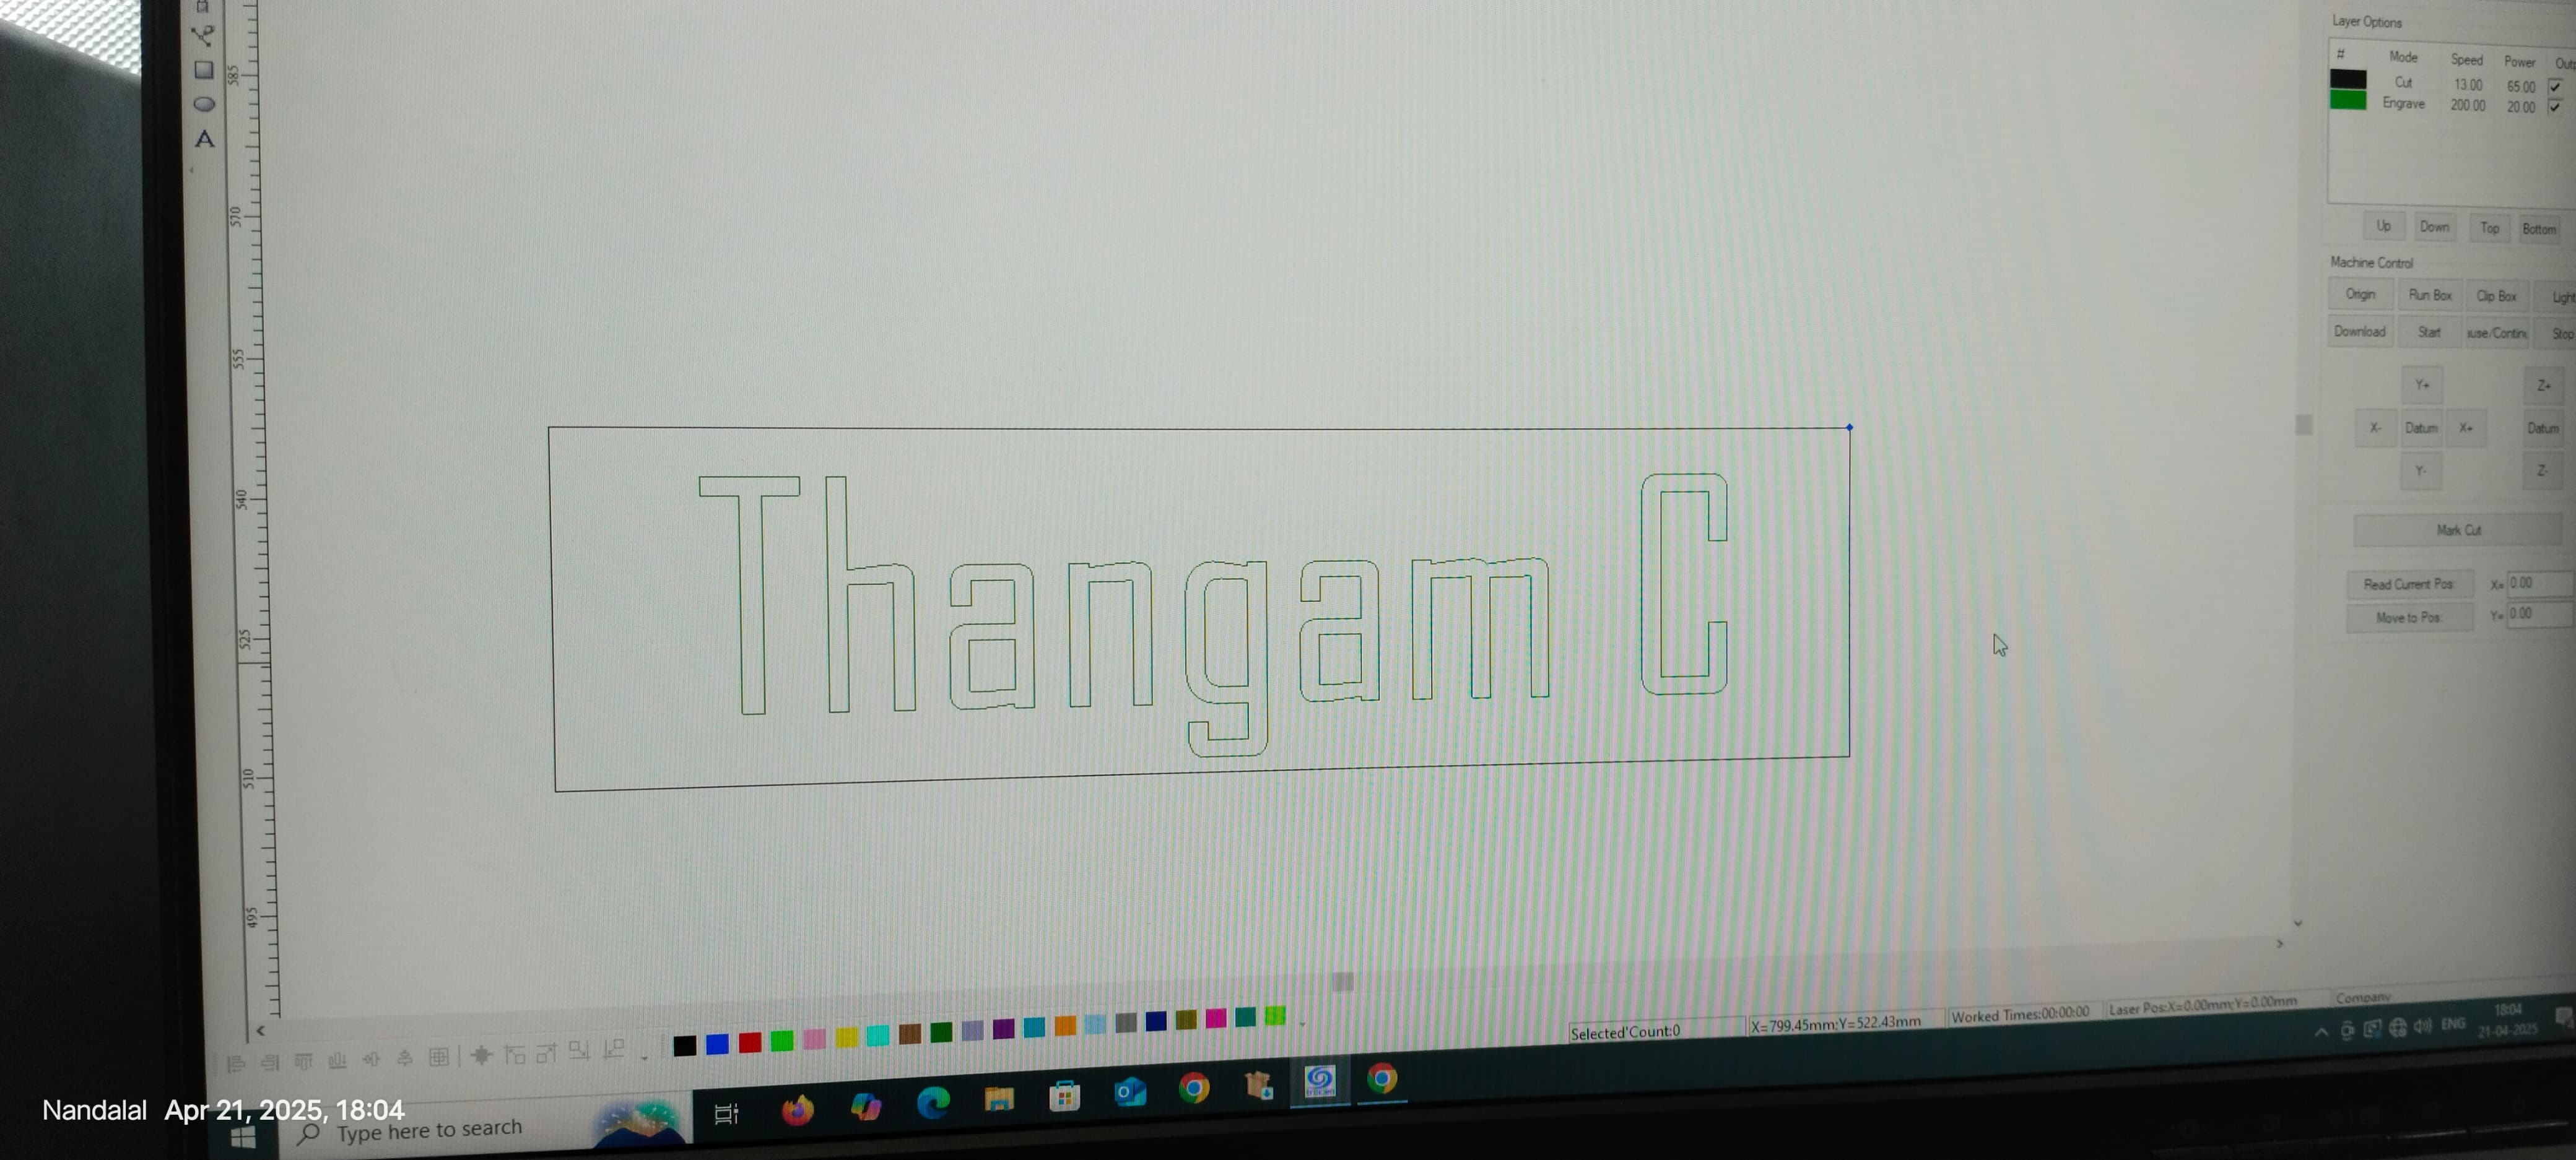
Power Settings
-> Cut Power for MDF is 80% and acrylic is 85%.
-> Engrave Power for MDF is 30-50% and acrylic is 40-60%.
Speed Settings
-> Cut speed for MDF is 10-15mm/s and acrylic is 8-12mm/s.
-> Engrave speed for MDF is 200mm/s and acryllic is 180mm/s.
-> Lower speeds produced deeper cuts but could burn edges.
-> Higher speeds were cleaner for engraving.
Kerf Measurement
-> Kerf: ~0.15 mm on MDF.
-> Measured by cutting a square and subtracting its size from the original design, divided by two.
Joint Clearance
-> Ideal clearance for press-fit parts: 0.15 - 0.2 mm for MDF
-> Too tight = difficult assembly
-> Too loose = wobbly joints
Types of Cutting and Engraving
-> Vector Cutting: Cuts through the material along a path.
-> Raster Engraving: Surface-level engraving used for text, logos, and images.
-> Score Lines: Low-power cuts to create foldable sections.
This assignment gave me hands-on experience with the SIL E9060 laser cutter, helping me understand how small changes in power or focus affect output quality. I learned the importance of proper machine calibration, how to fine-tune joint clearances for press-fit parts, and how different materials react to the laser.
Most importantly, I developed a greater respect for safety in the lab. Laser cutting is powerful and useful but comes with serious risks if not handled correctly. I now feel confident in preparing files for laser cutting, adjusting parameters, and identifying errors in real-time.
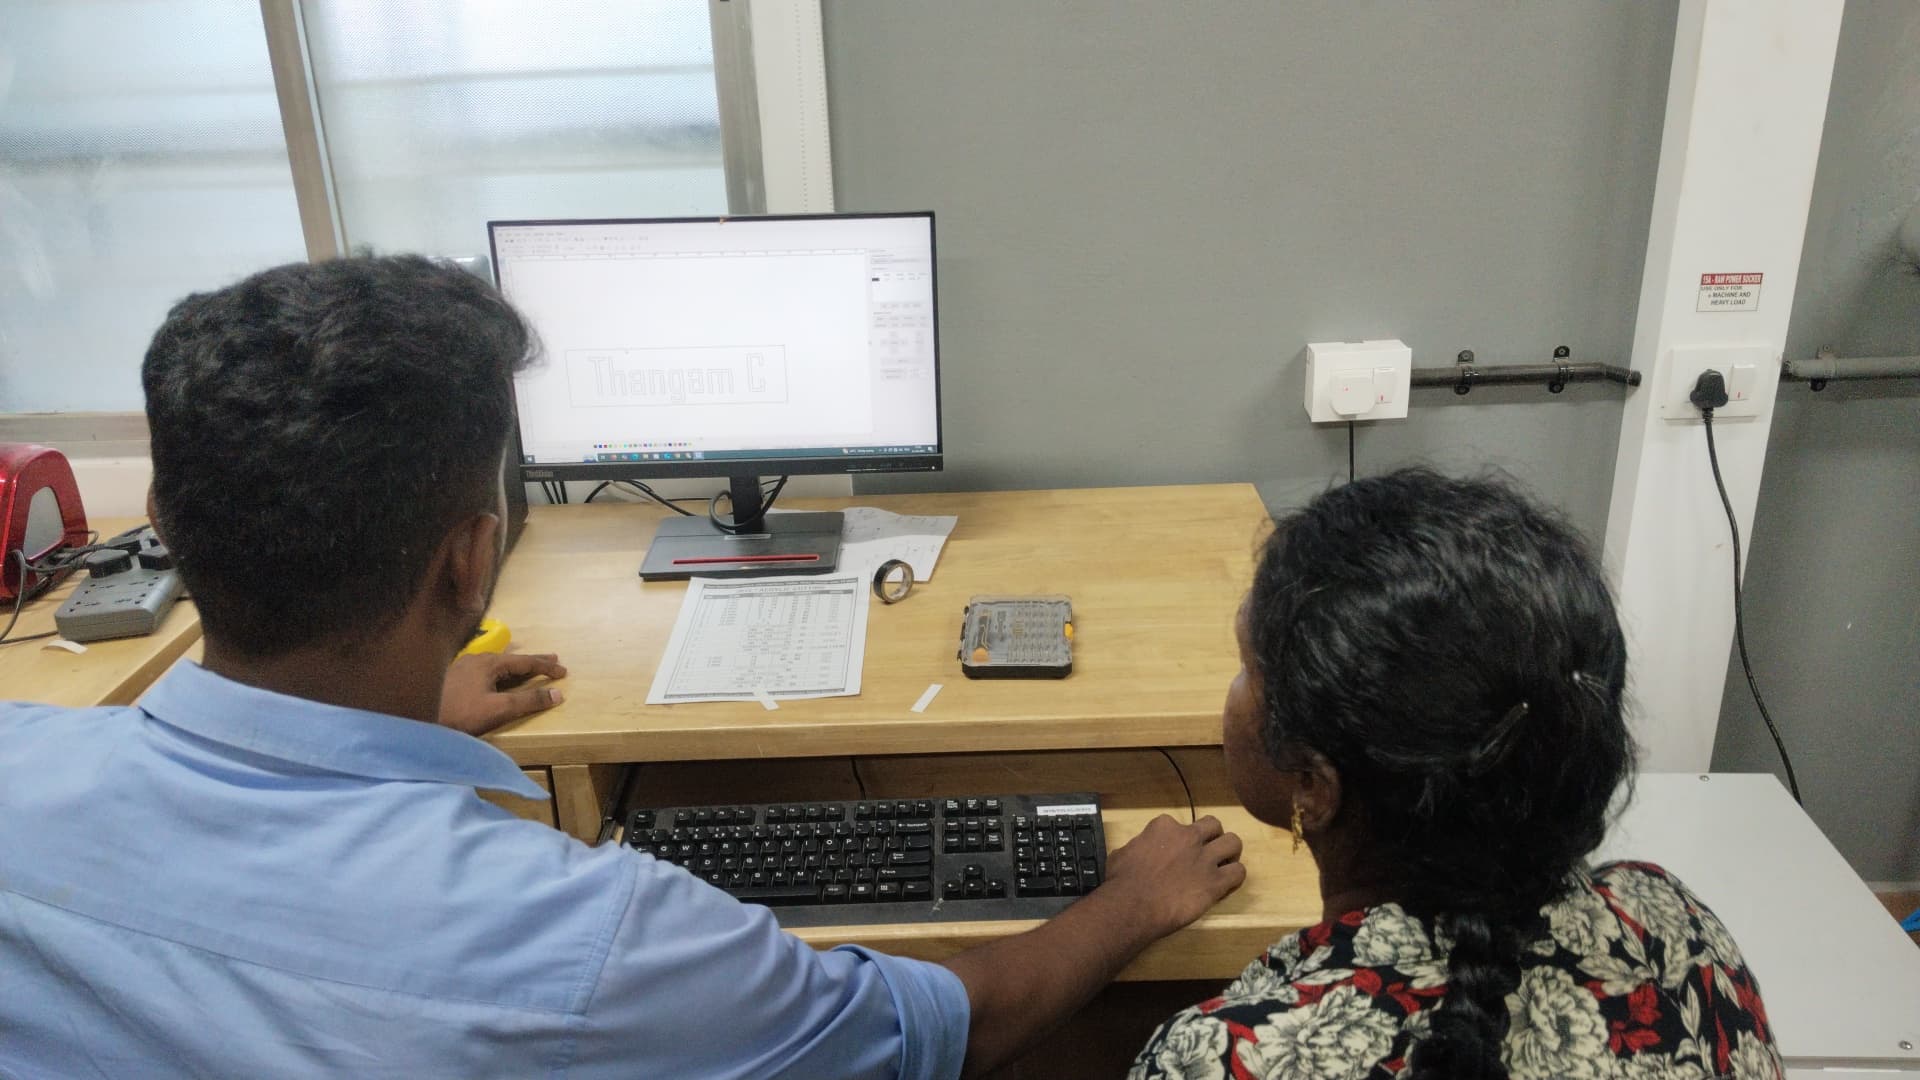
As part of this assignment, I designed and generated my name using the lasercut software (2D design) and successfully printed it onto an MDF sheet using the SIL E9060 laser cutter. This hands-on activity helped me understand how to prepare a design file, set appropriate cutting parameters, and operate the machine safely and effectively.
Reference
LaserCut SoftwareHero shots